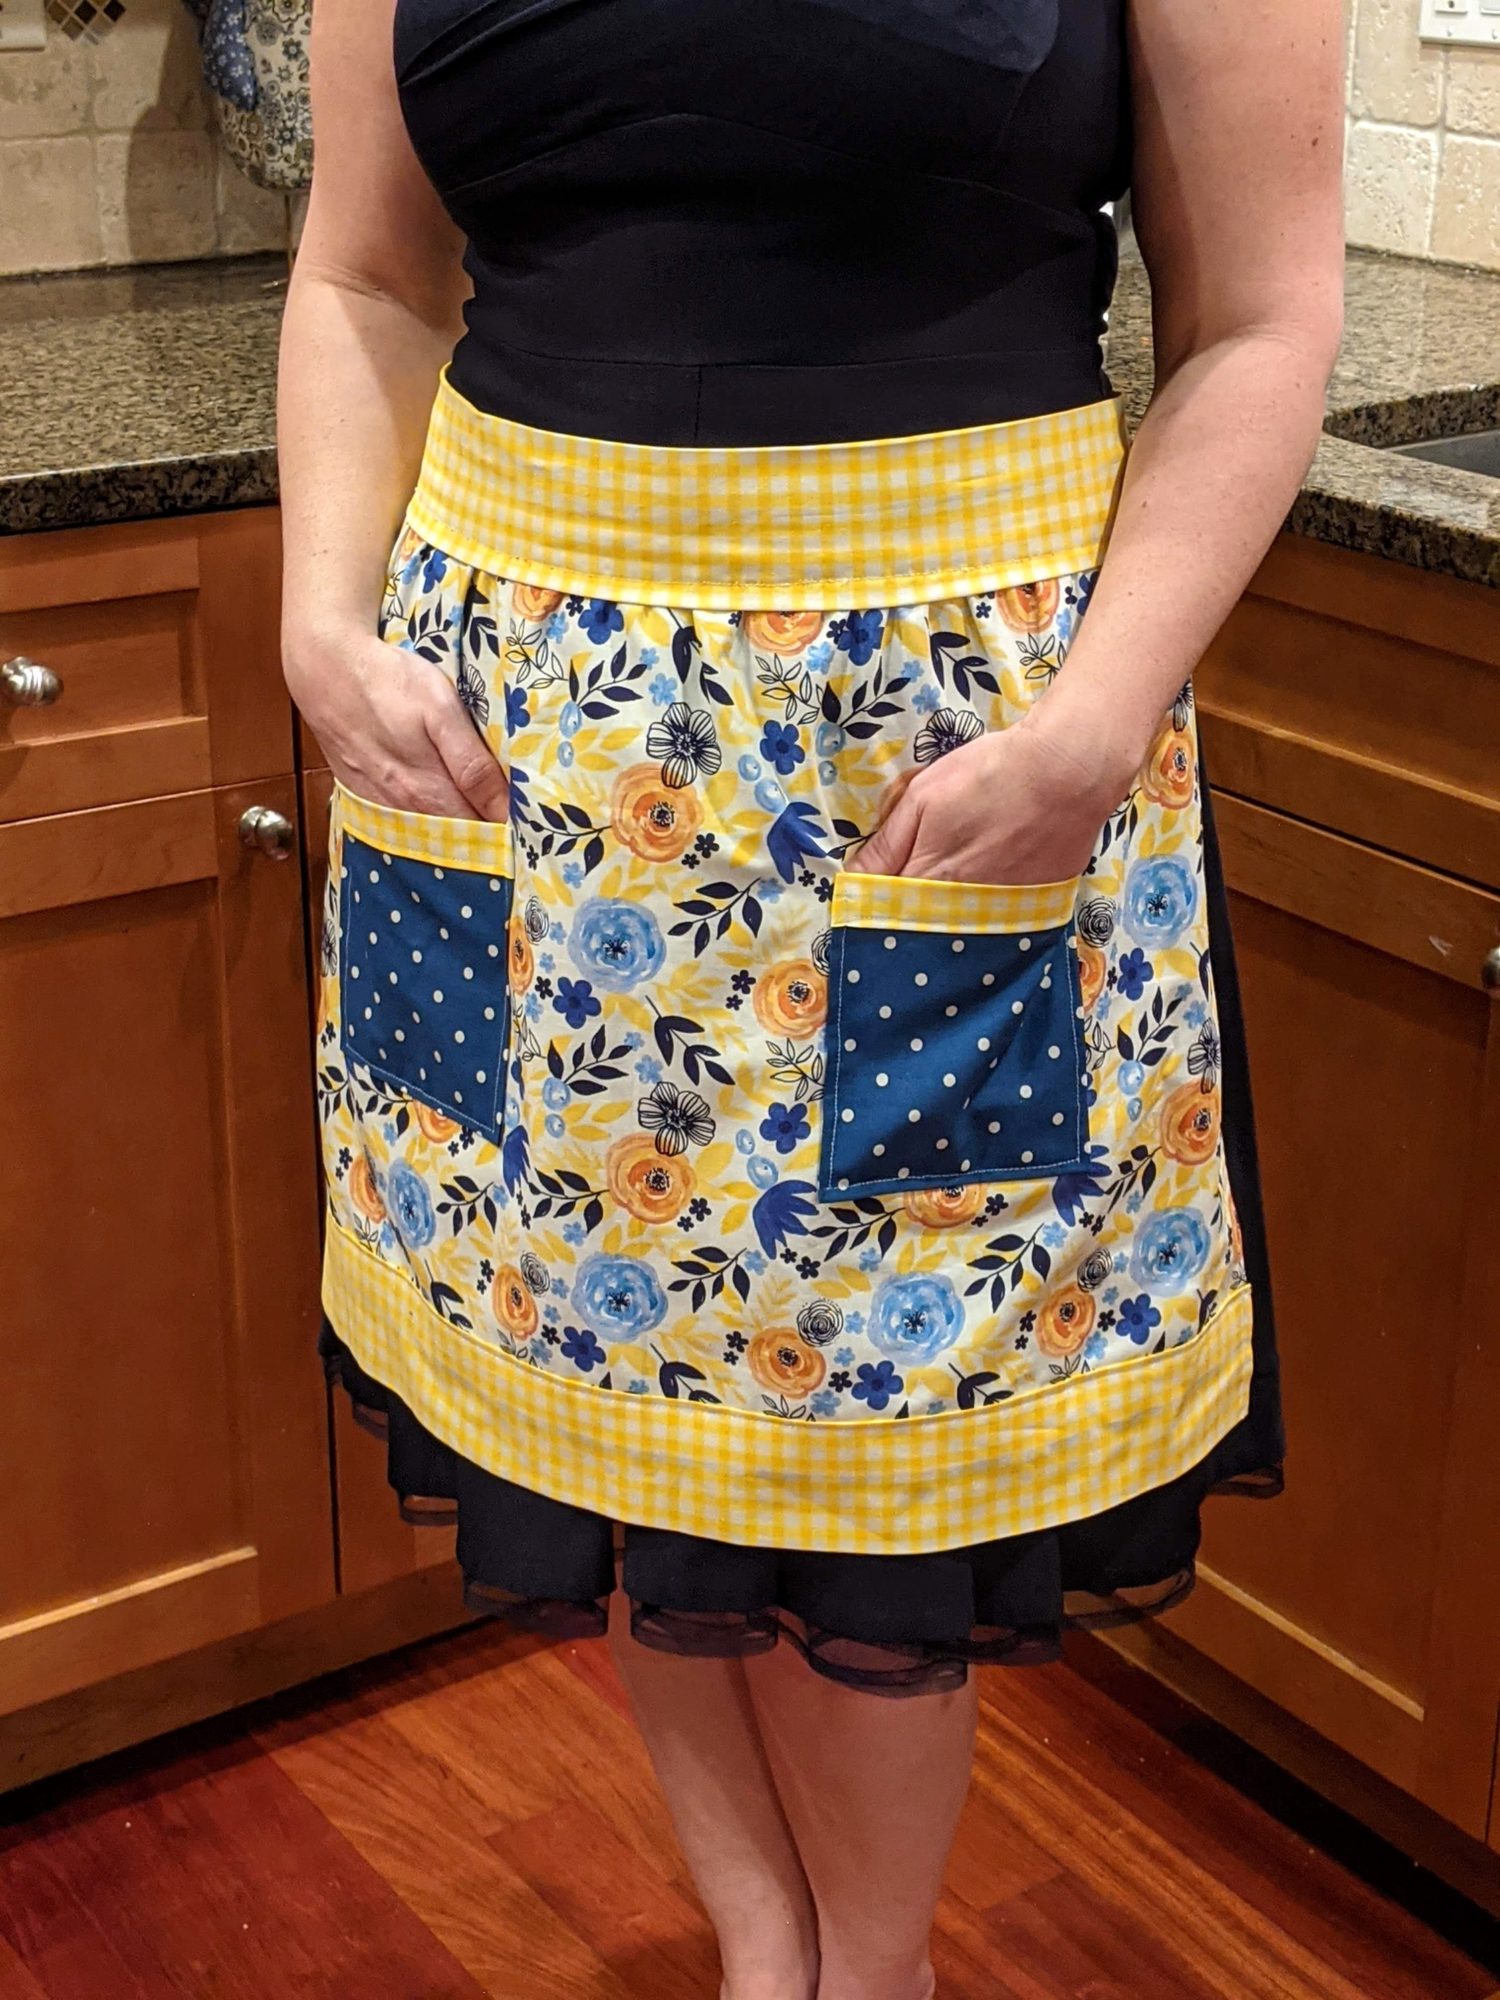
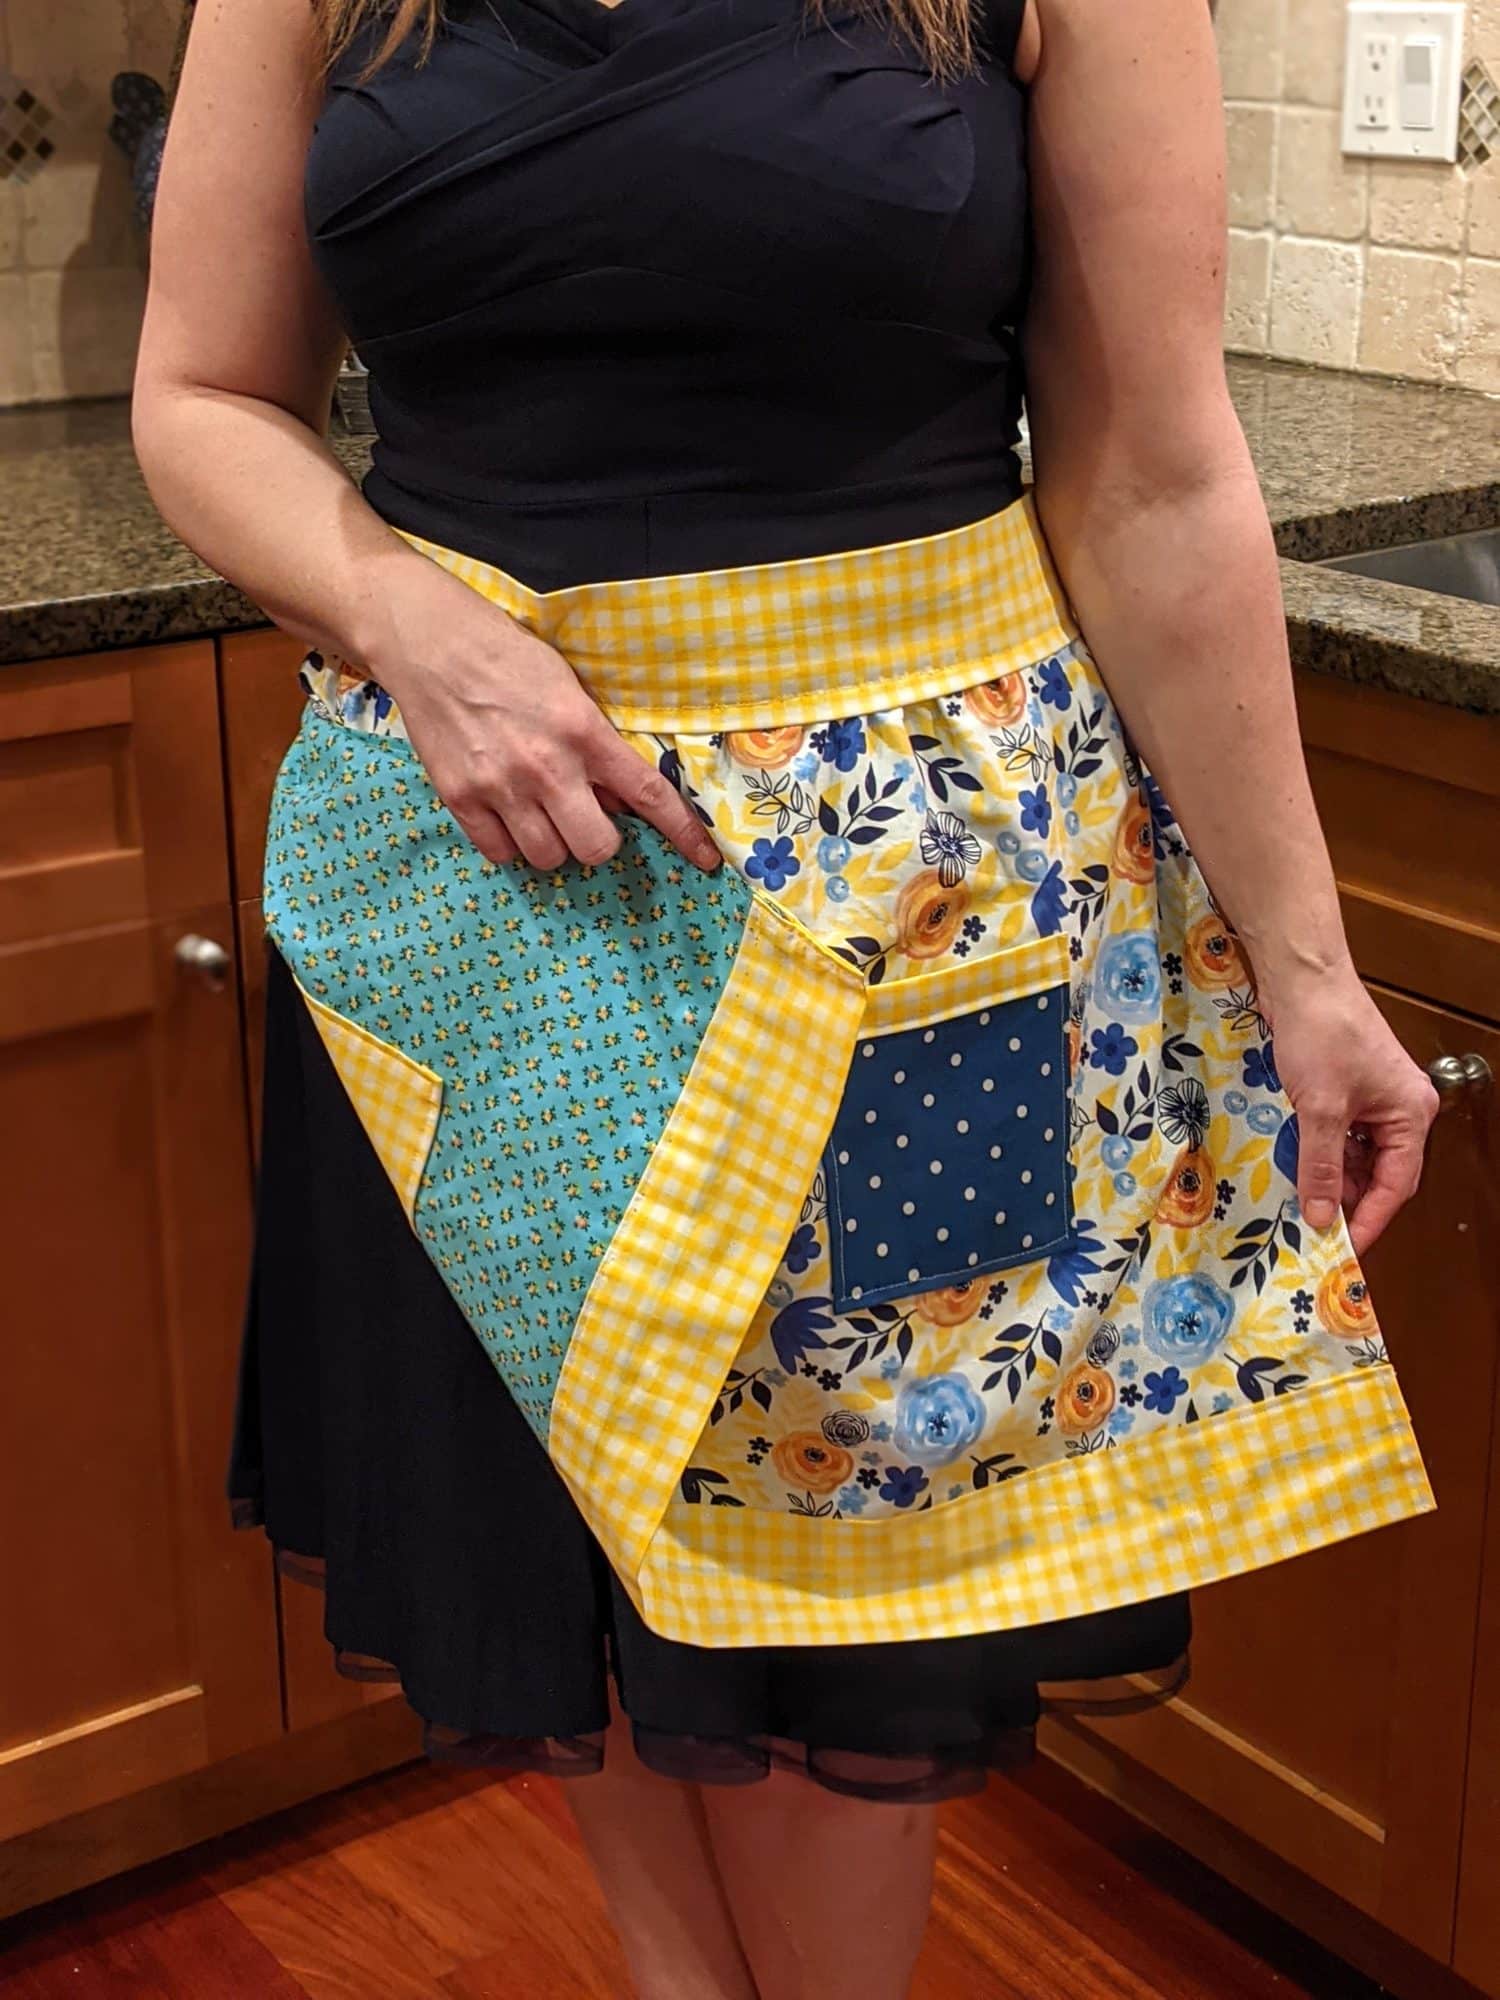
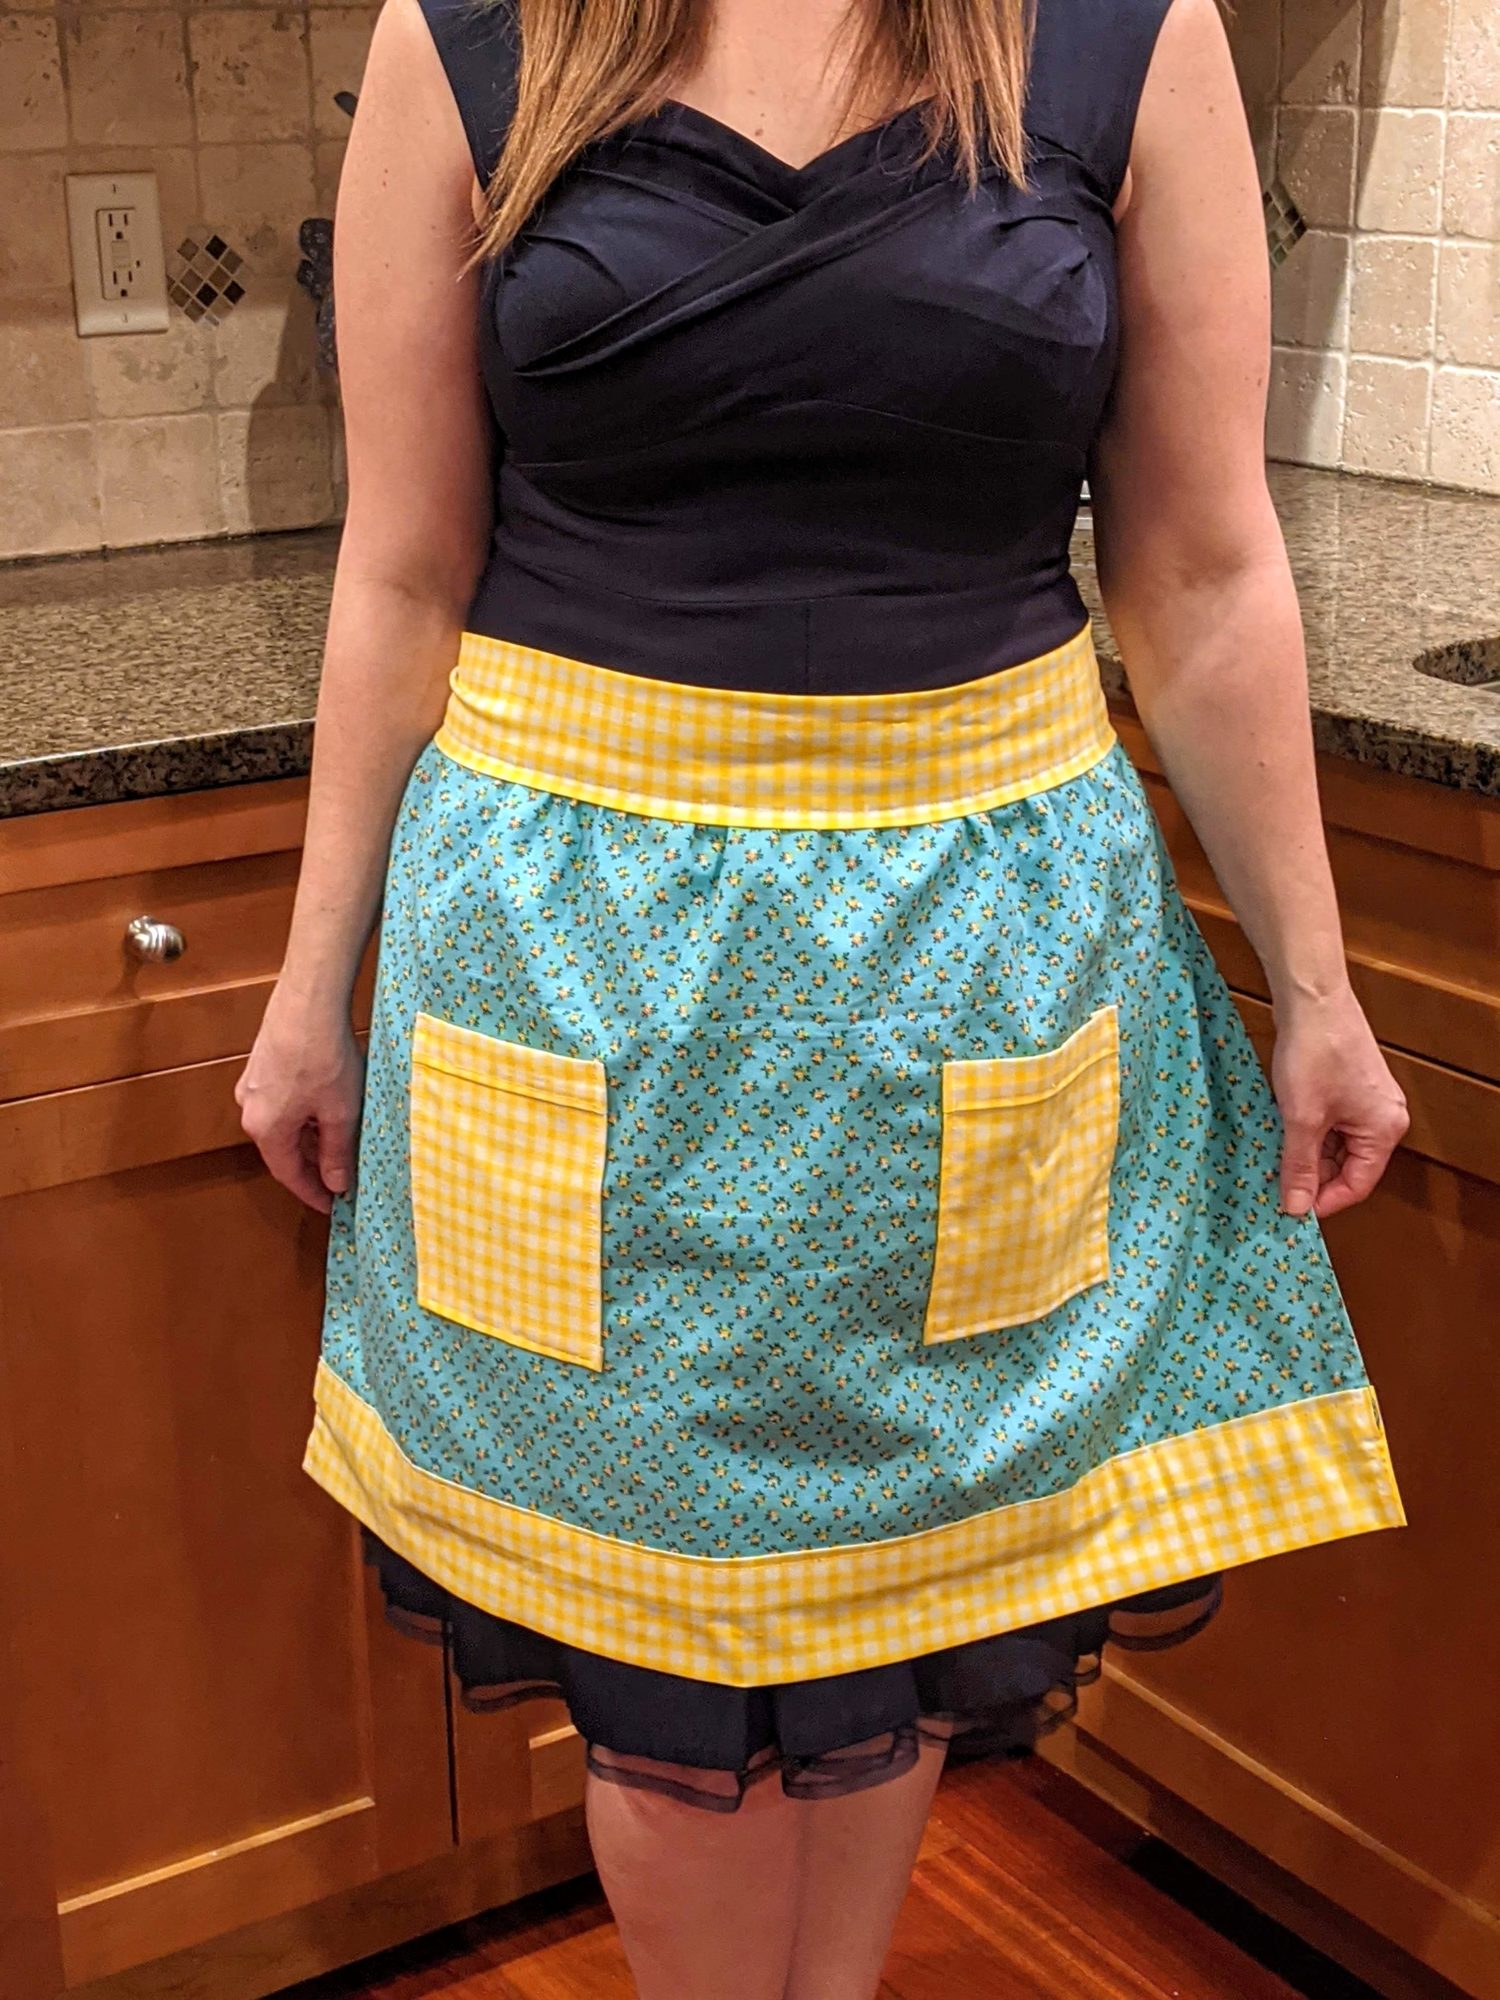
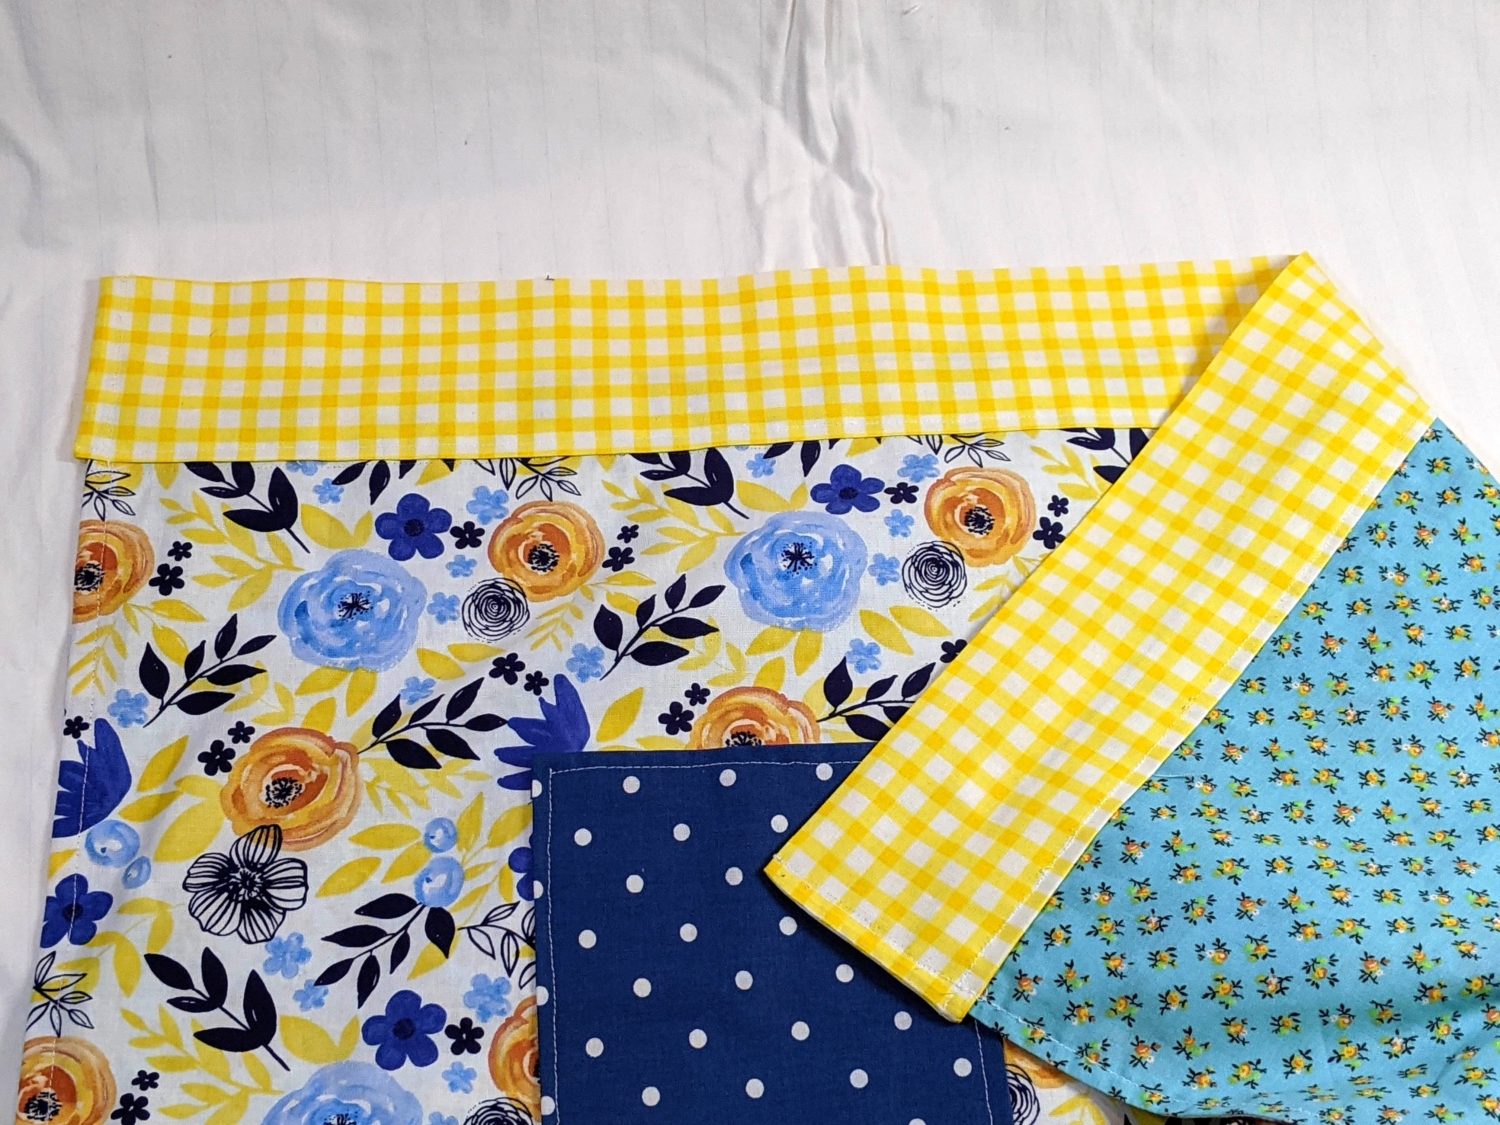
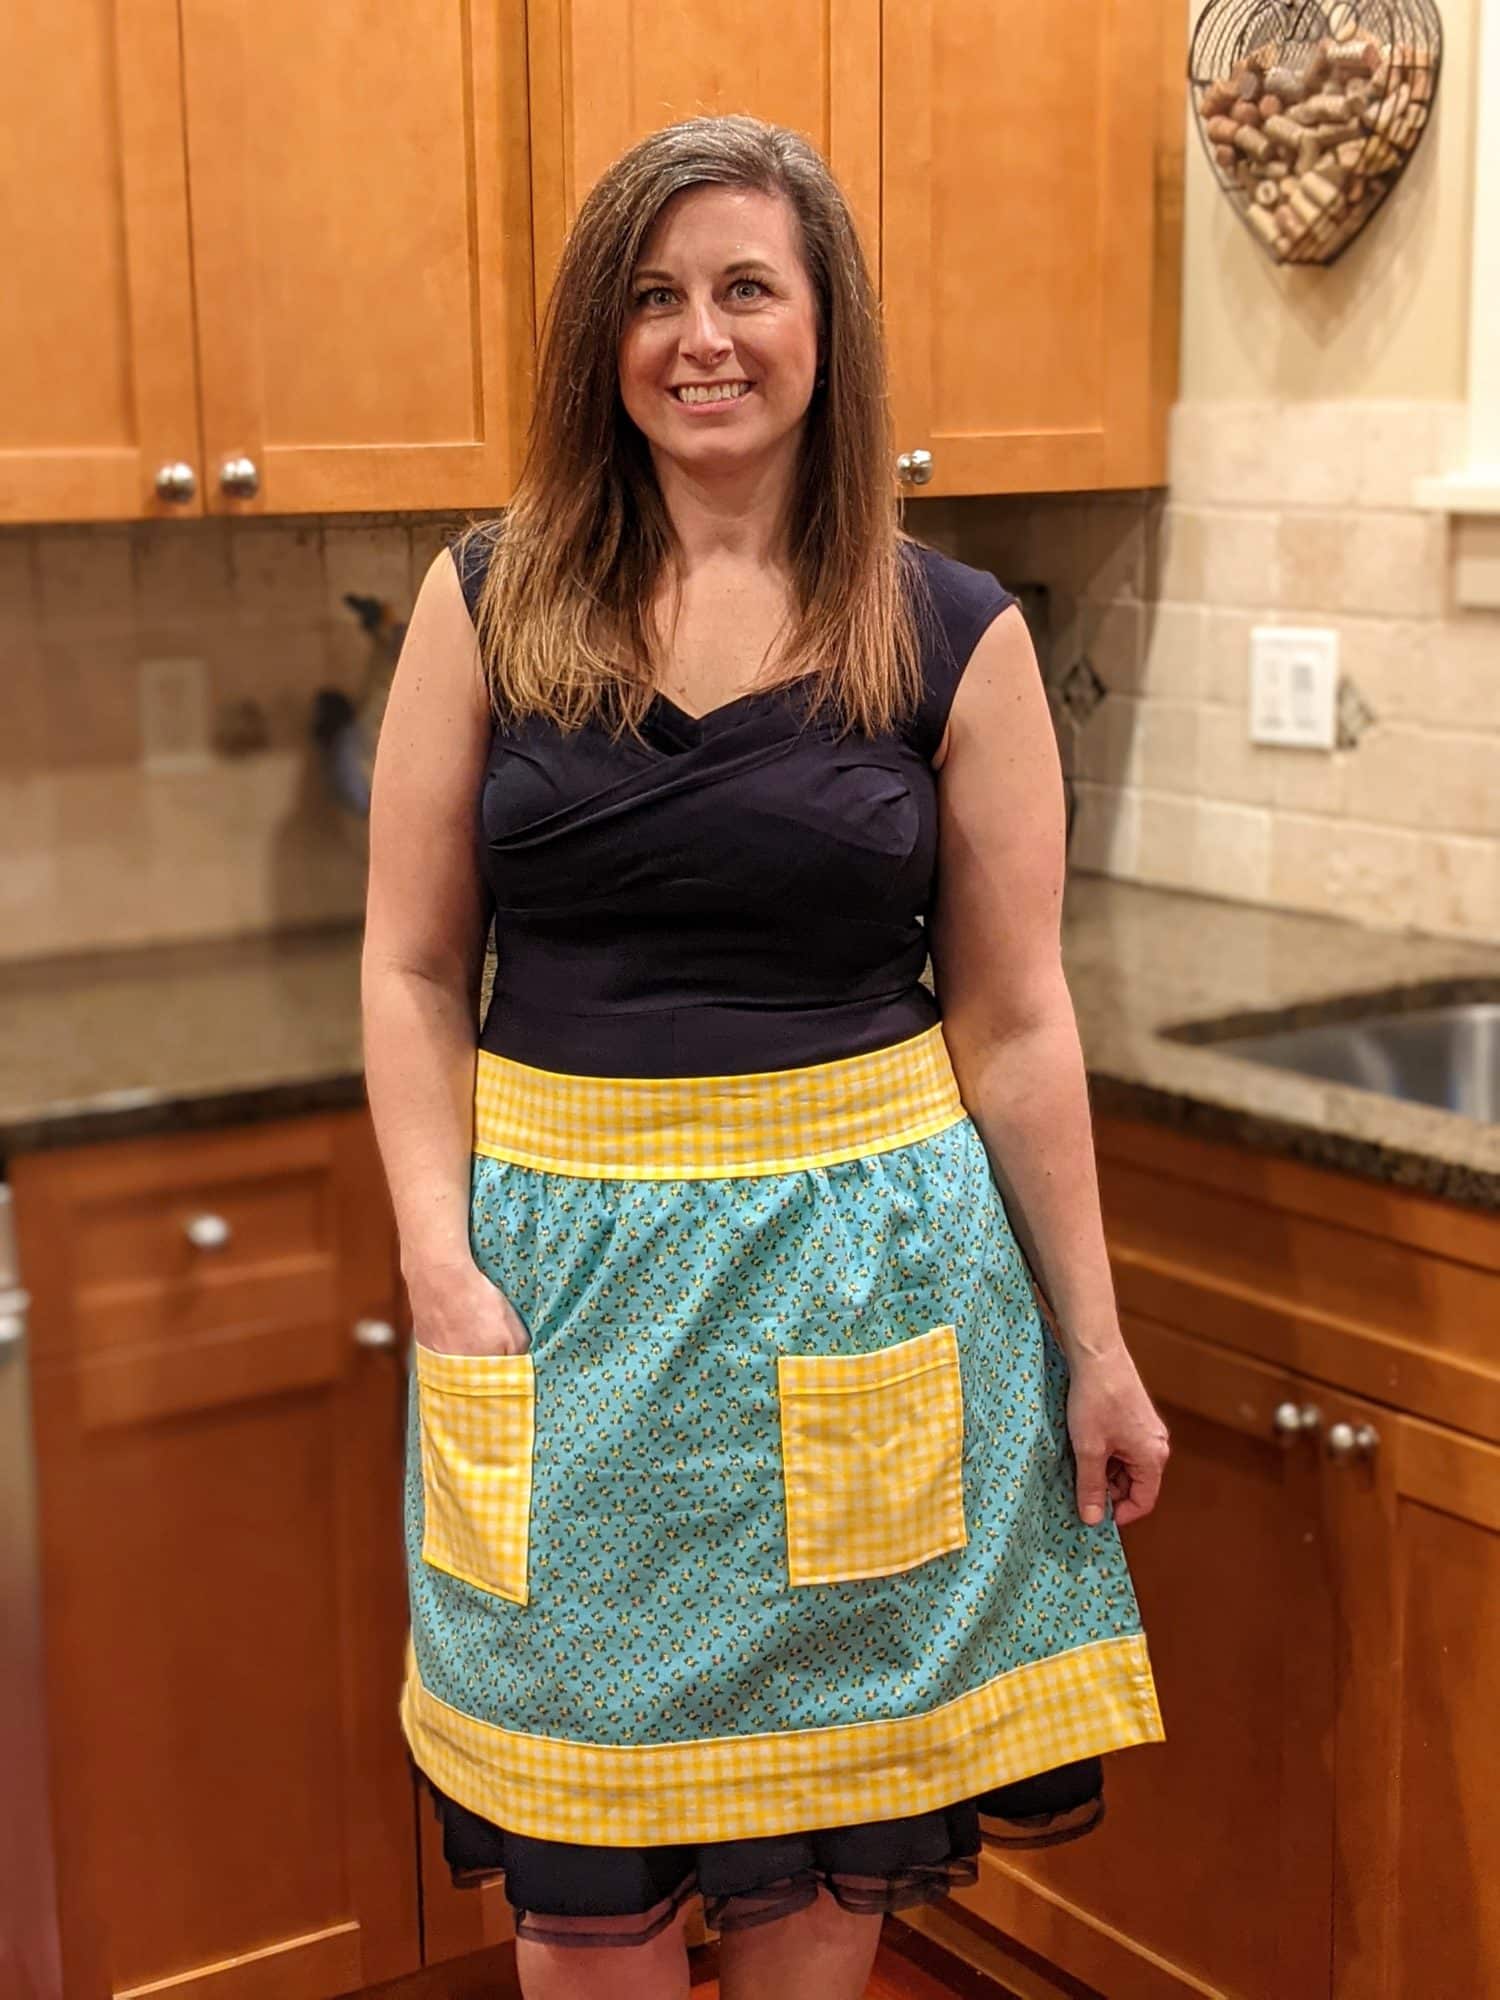
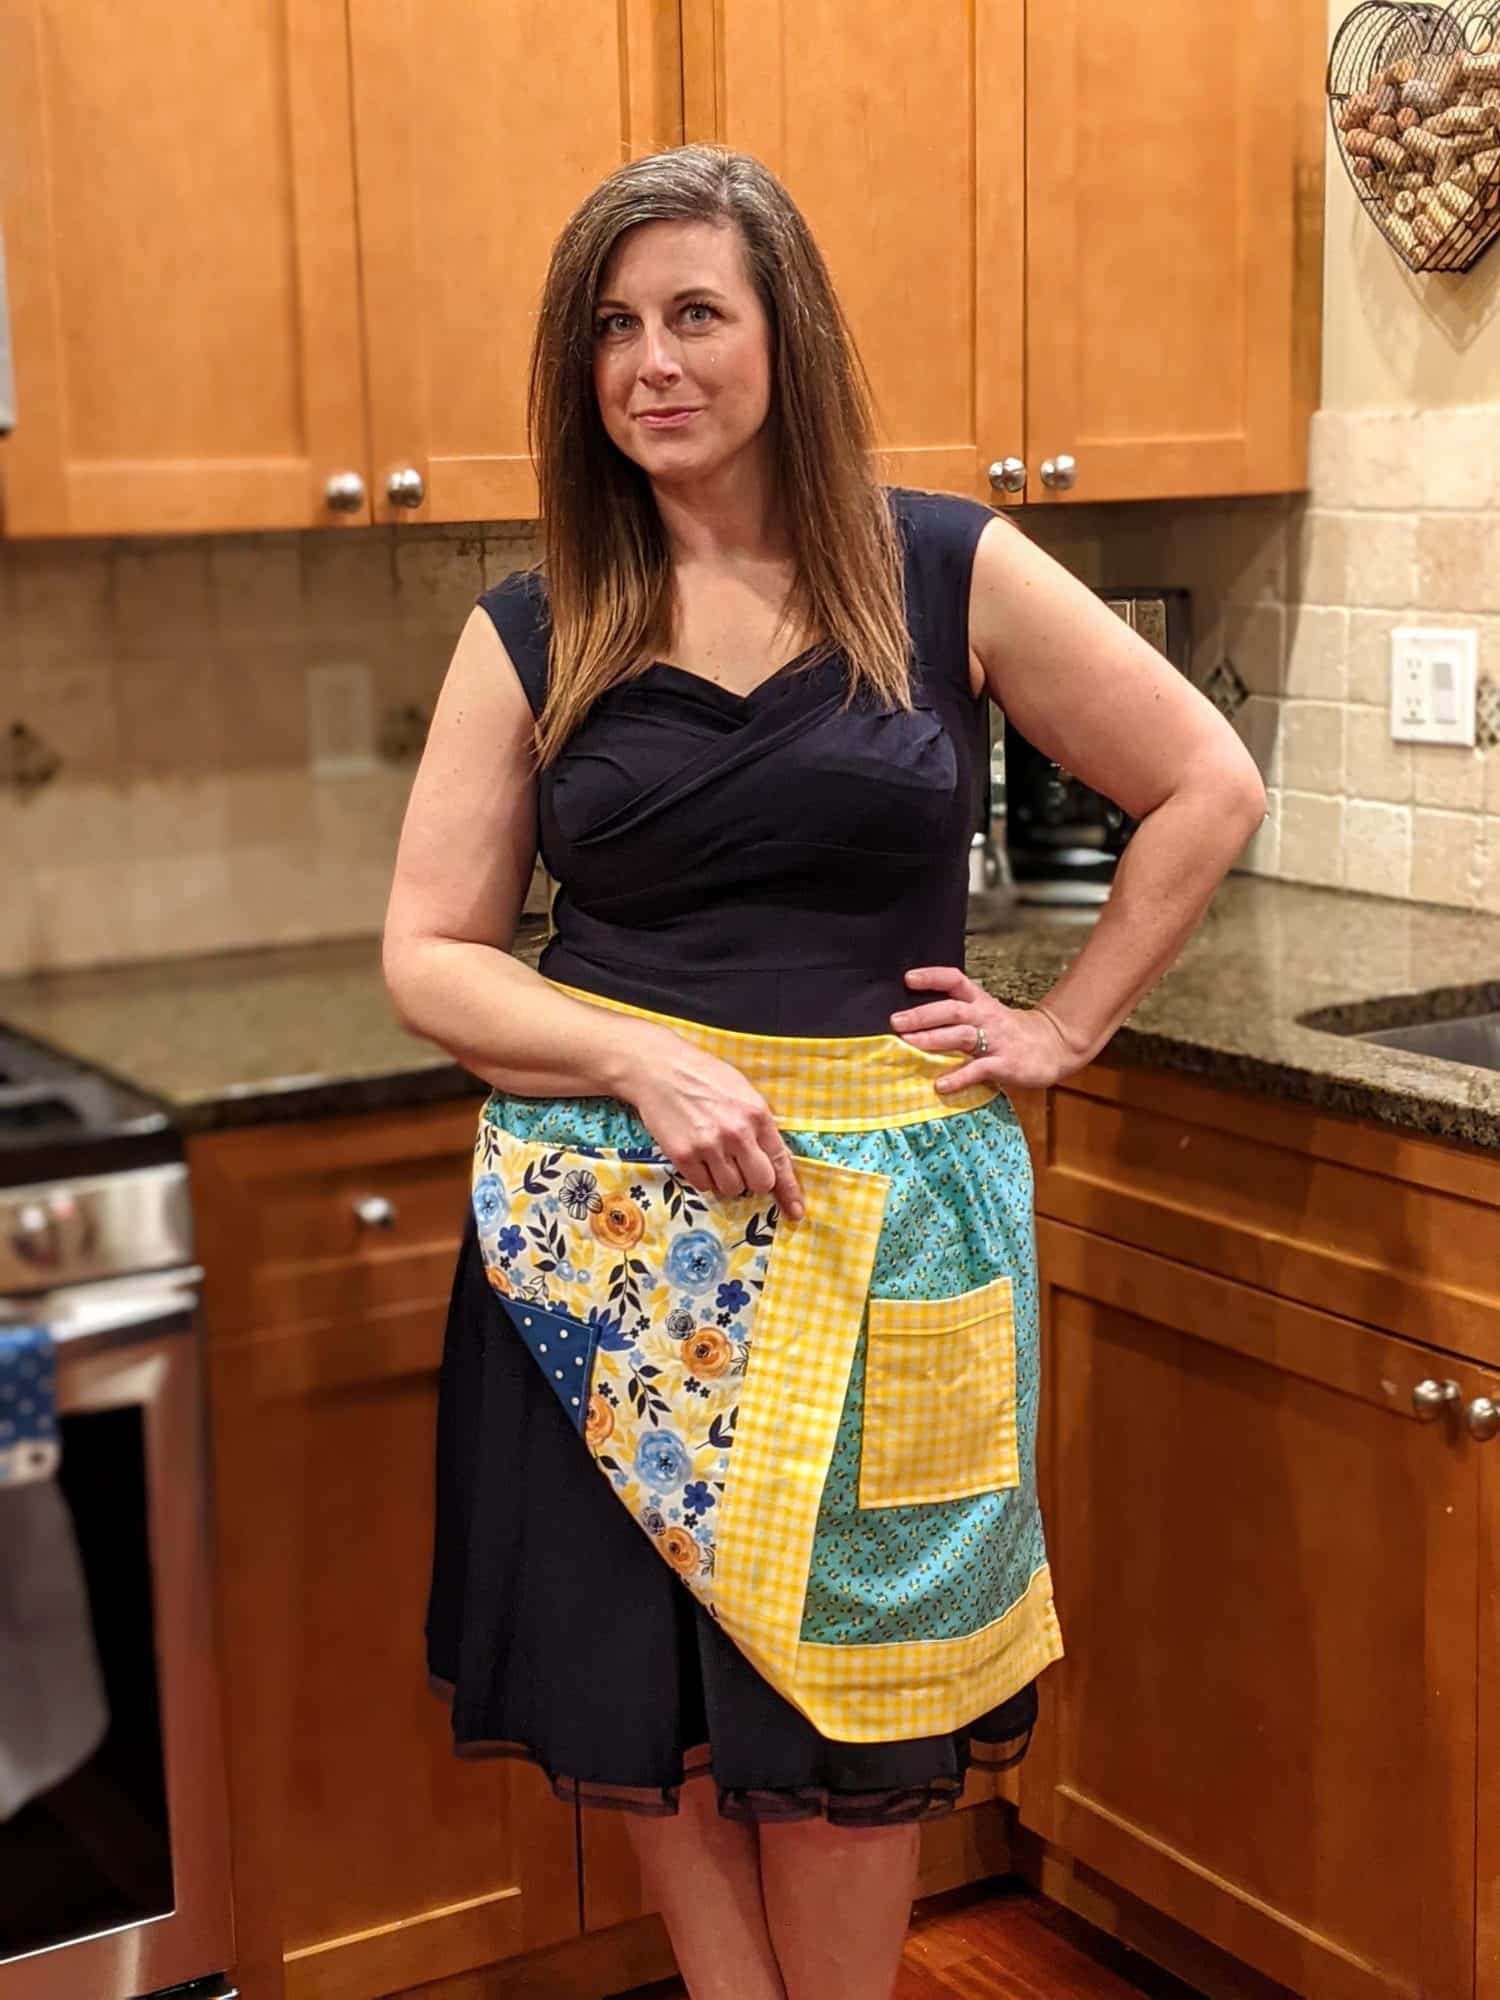
I love a cute apron! They make me feel fancy while I cook, sew, or craft. They also make a great gift and are easy to customize. Follow along as I show you how to make this fun reversible apron!
Materials Needed
- Woven cotton fabric: one for each side of the apron
- Contrast fabric for top and bottom bands, waist ties, and pockets
- Sewing machine
- Iron
- Wash away Wondertape is helpful but pins work too
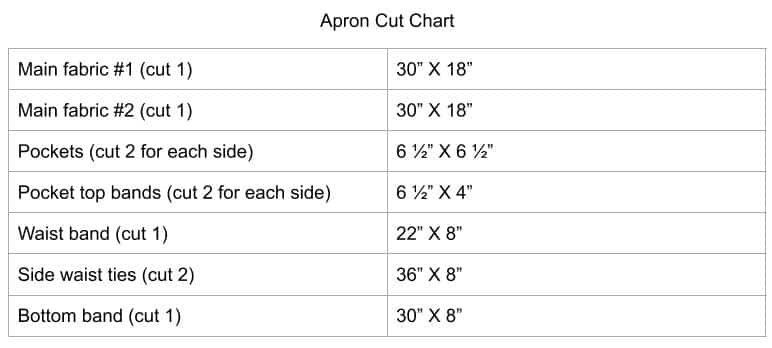
Cut Chart
Getting Started
Cut out all of your apron pieces per the cut chart above and iron them all smooth. Tip: label all the band and tie pieces to keep them organized.
Pocket Prep
Starting with the binding:
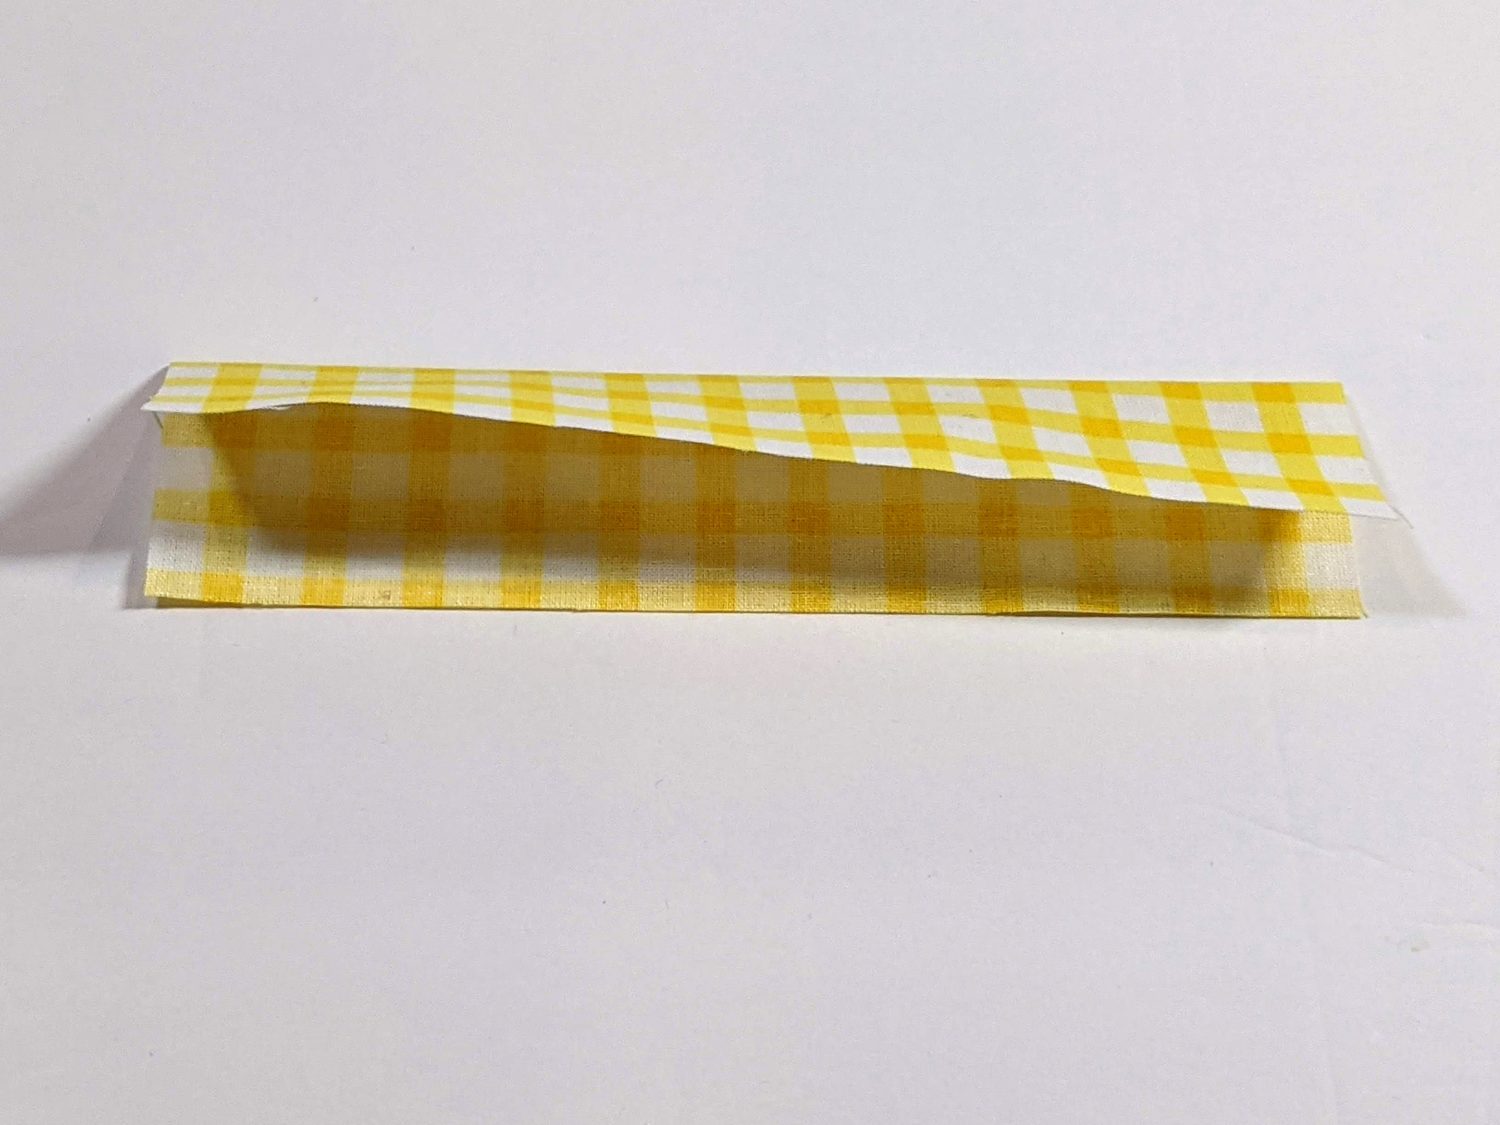
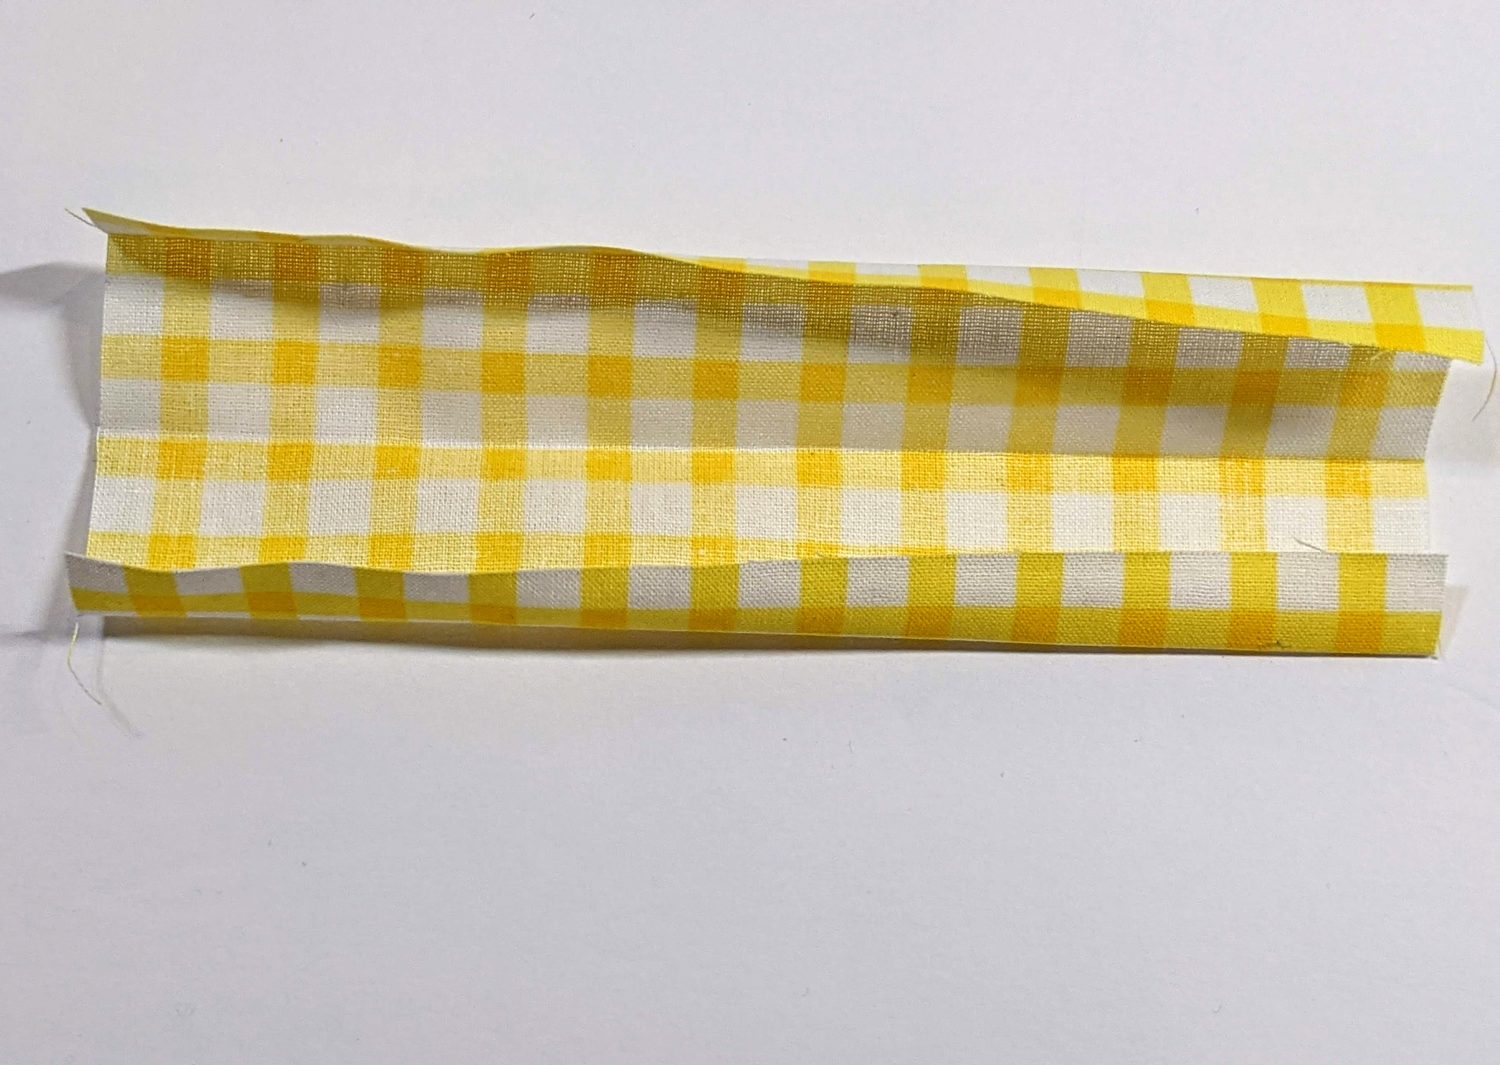
- Take your pocket binding piece, fold it in half long way and press
- Fold each long edge in 1/2″ towards the center and press
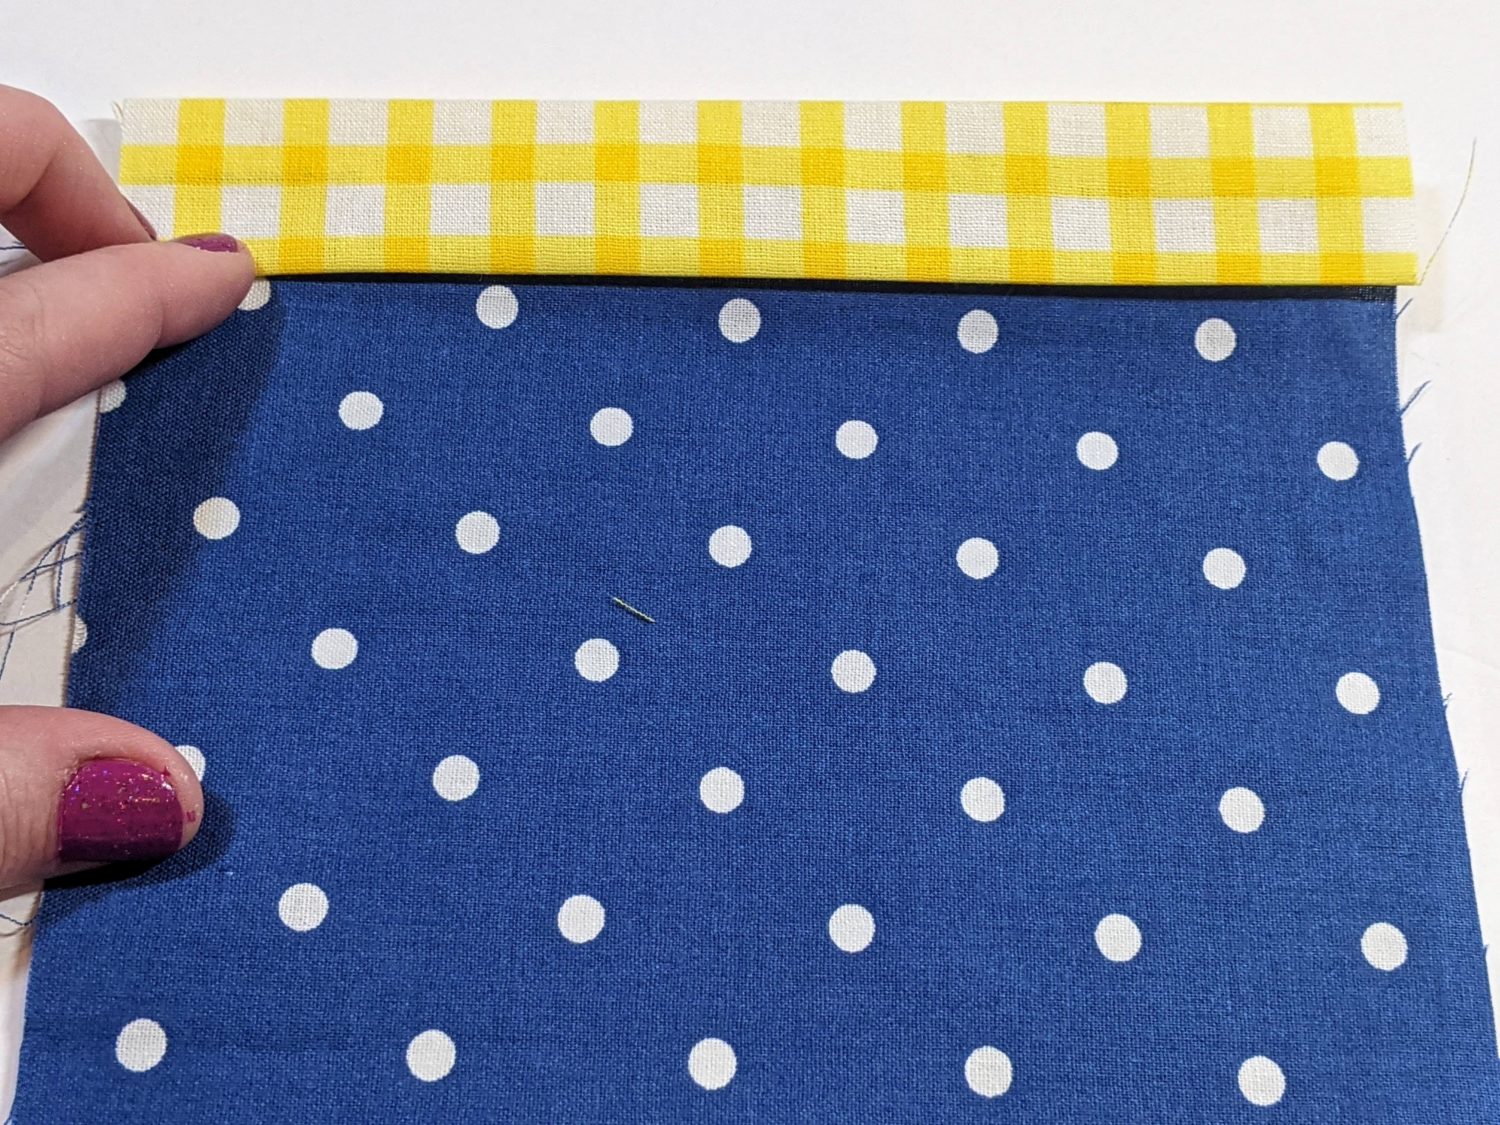
- With the open side of the binding facing you, line up the top edge of the pocket along the inner edge of one folded side of the binding
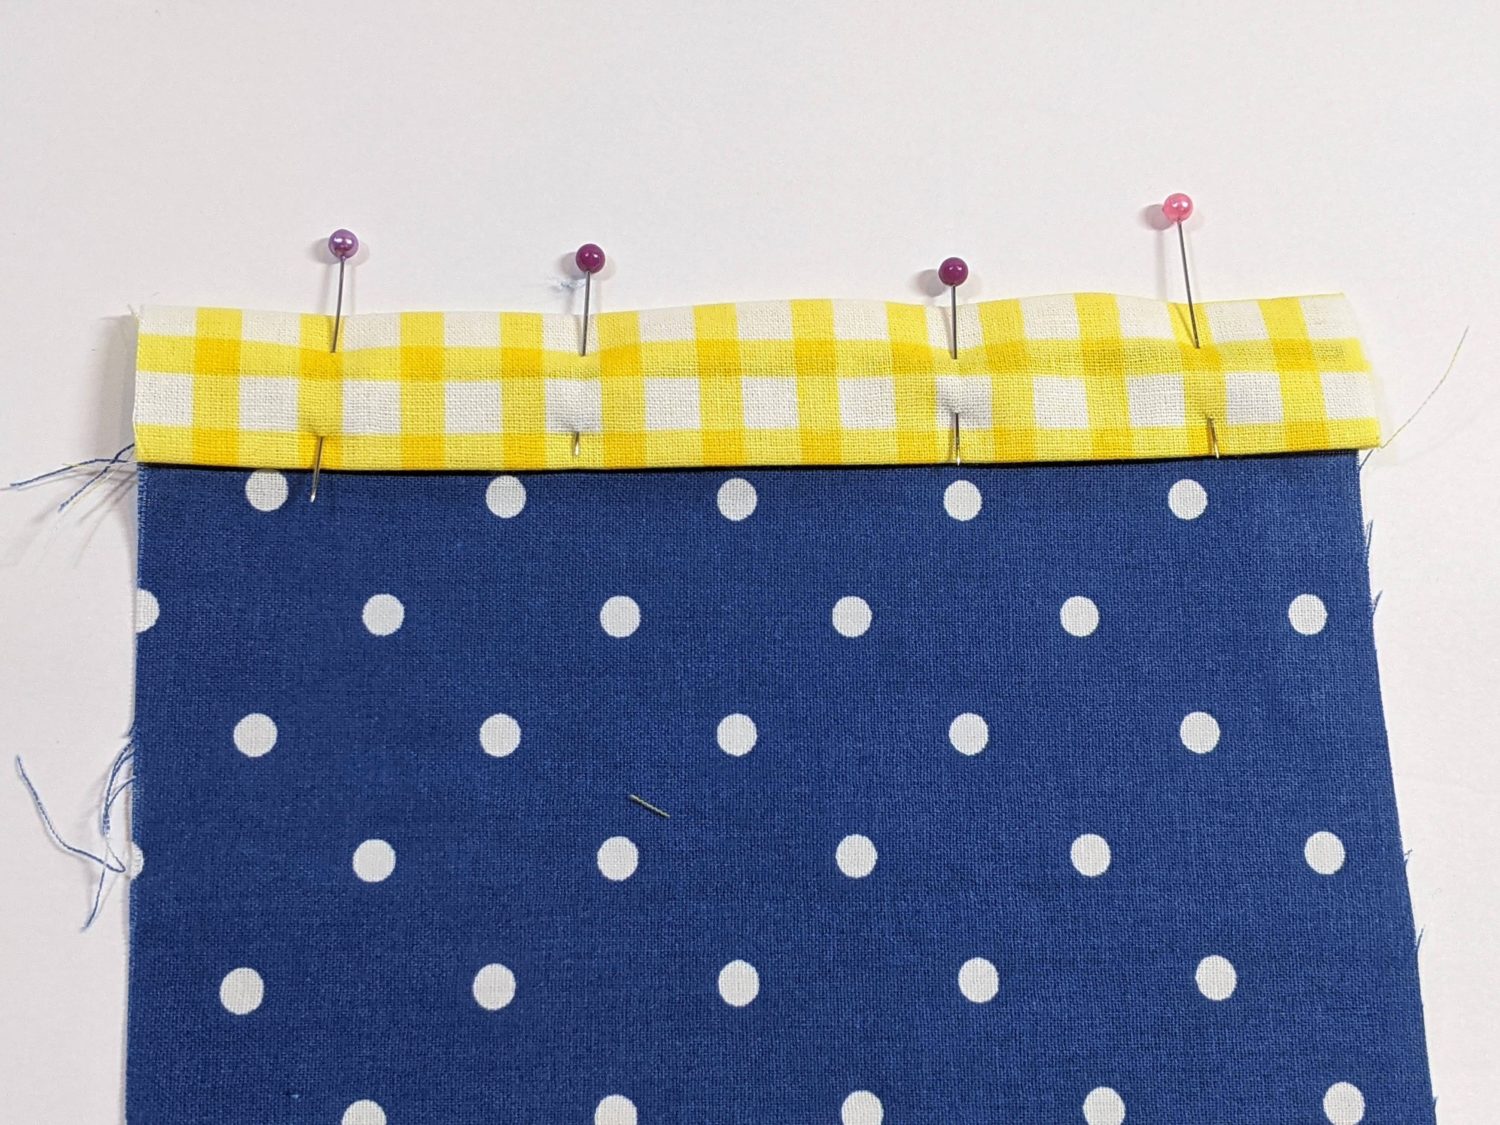
- Fold the other side of the binding down to sandwich the top edge of the pocket between the binding and pin in place
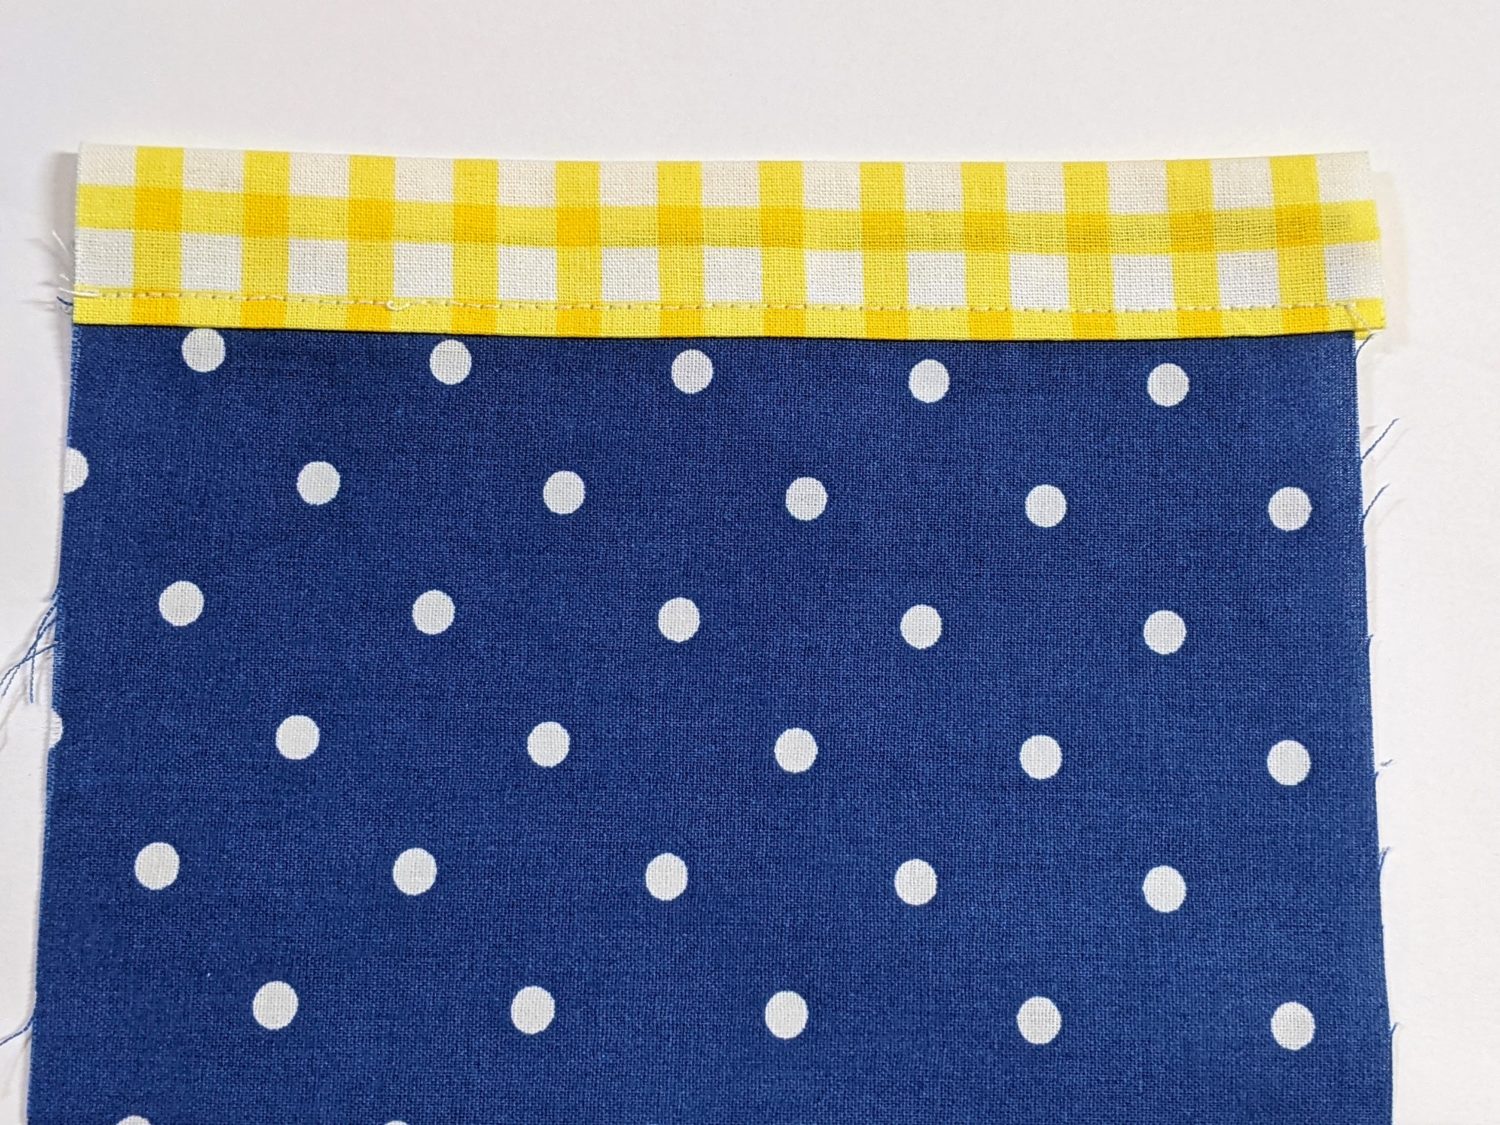
- Topstitch along the inner edge of the binding using a 1/4″ seam allowance
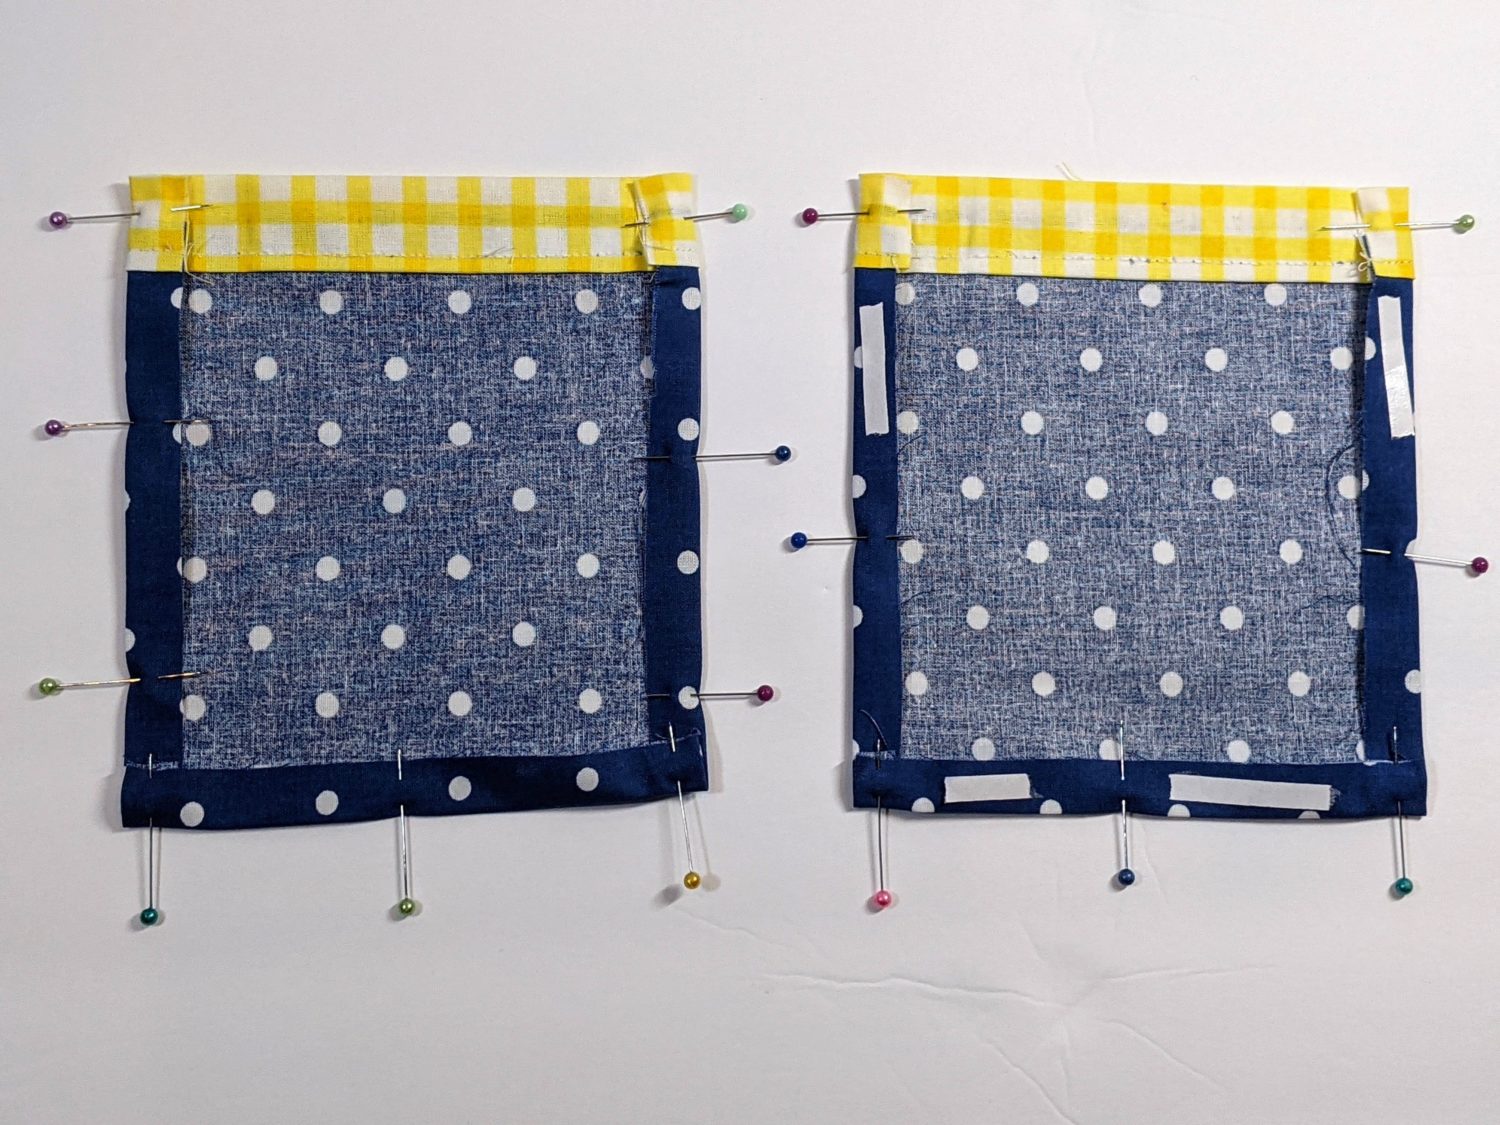
- With the pocket wrong side up, fold the sides and bottom edge in 1/2″ and hold in place with wash away wondertape or pins
- Attach wash away wondertape along the back of bottom and side edges (or use pins to hold in place while you sew on the pockets)
- Repeat the same steps for all pockets
Pocket Placement
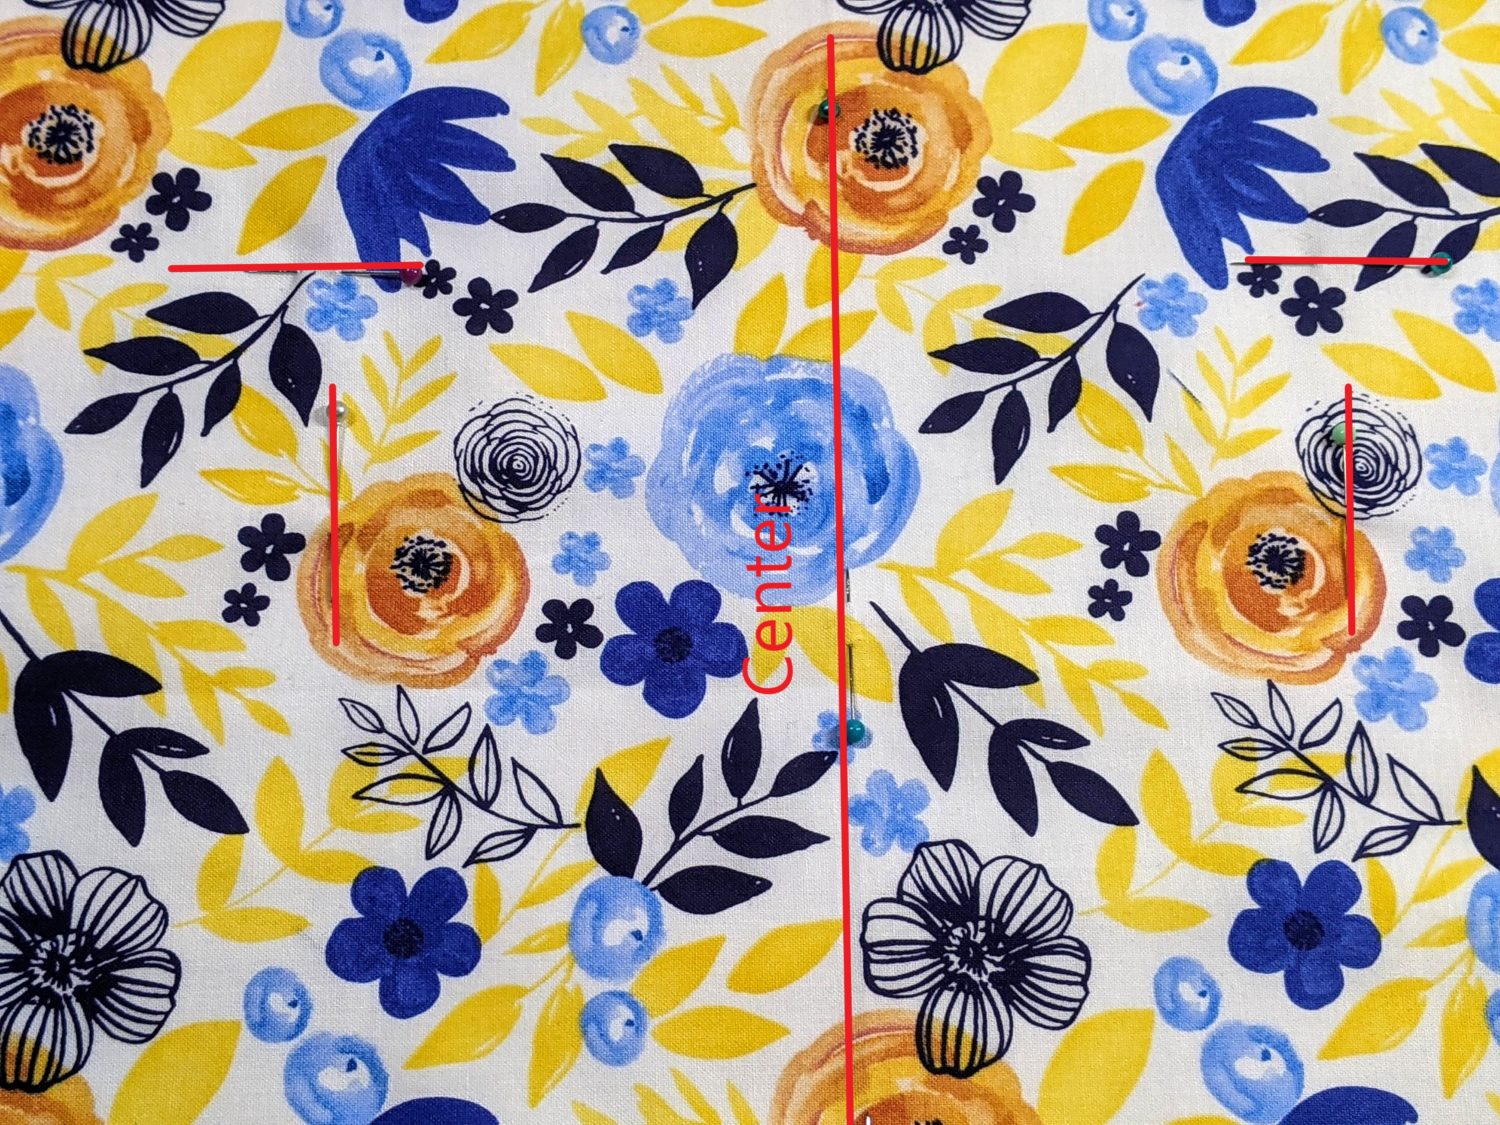
- Take one of your main apron fabric pieces and fold it in half vertically to find the center and mark it with pins
- With your fabric facing right side up, measure over 3 1/2″ on either side of the center and mark it with a pin (This will mark where the inner edge of each pocket will hit)
- Measure down 6″ from the top edge of the main fabric on either side of the center line and mark it with a pin (This will mark where the top edge of each pocket will hit)

Mark the center

Measure 3 1/2″ from the center 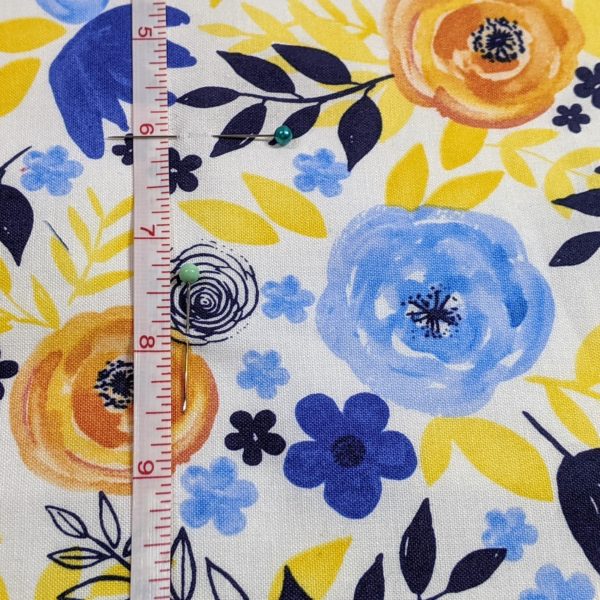
Measure down 6″ from the top
- Make the same markings for your reverse side main fabric piece

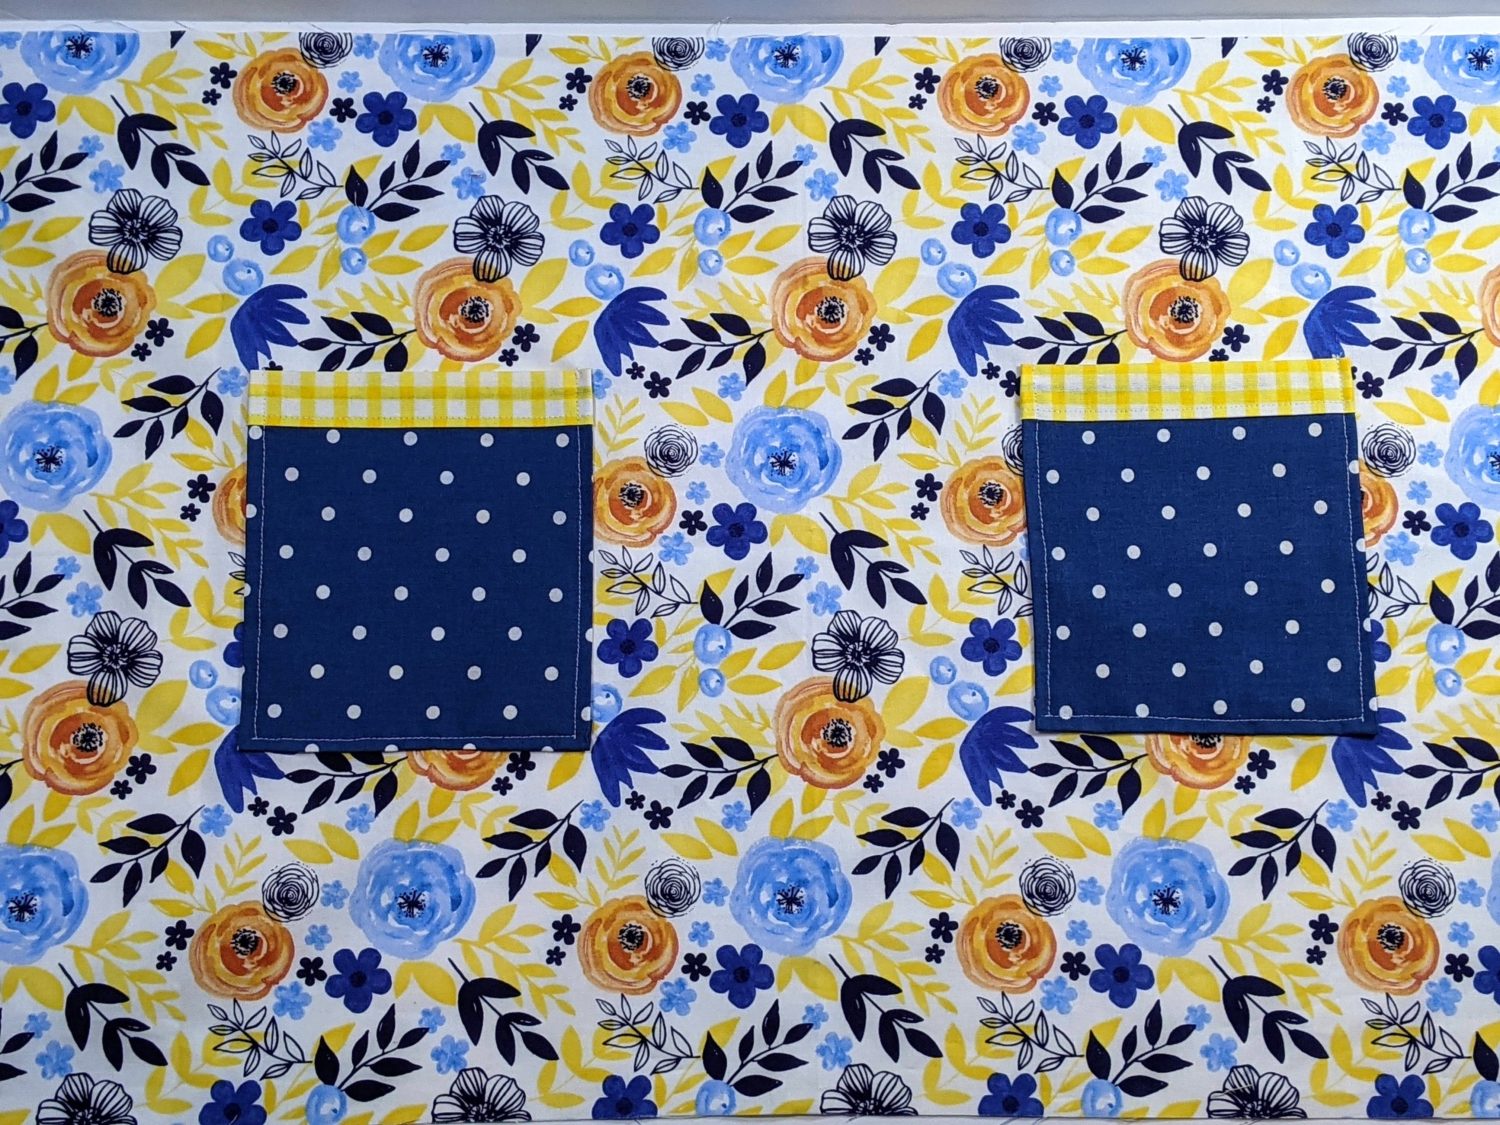
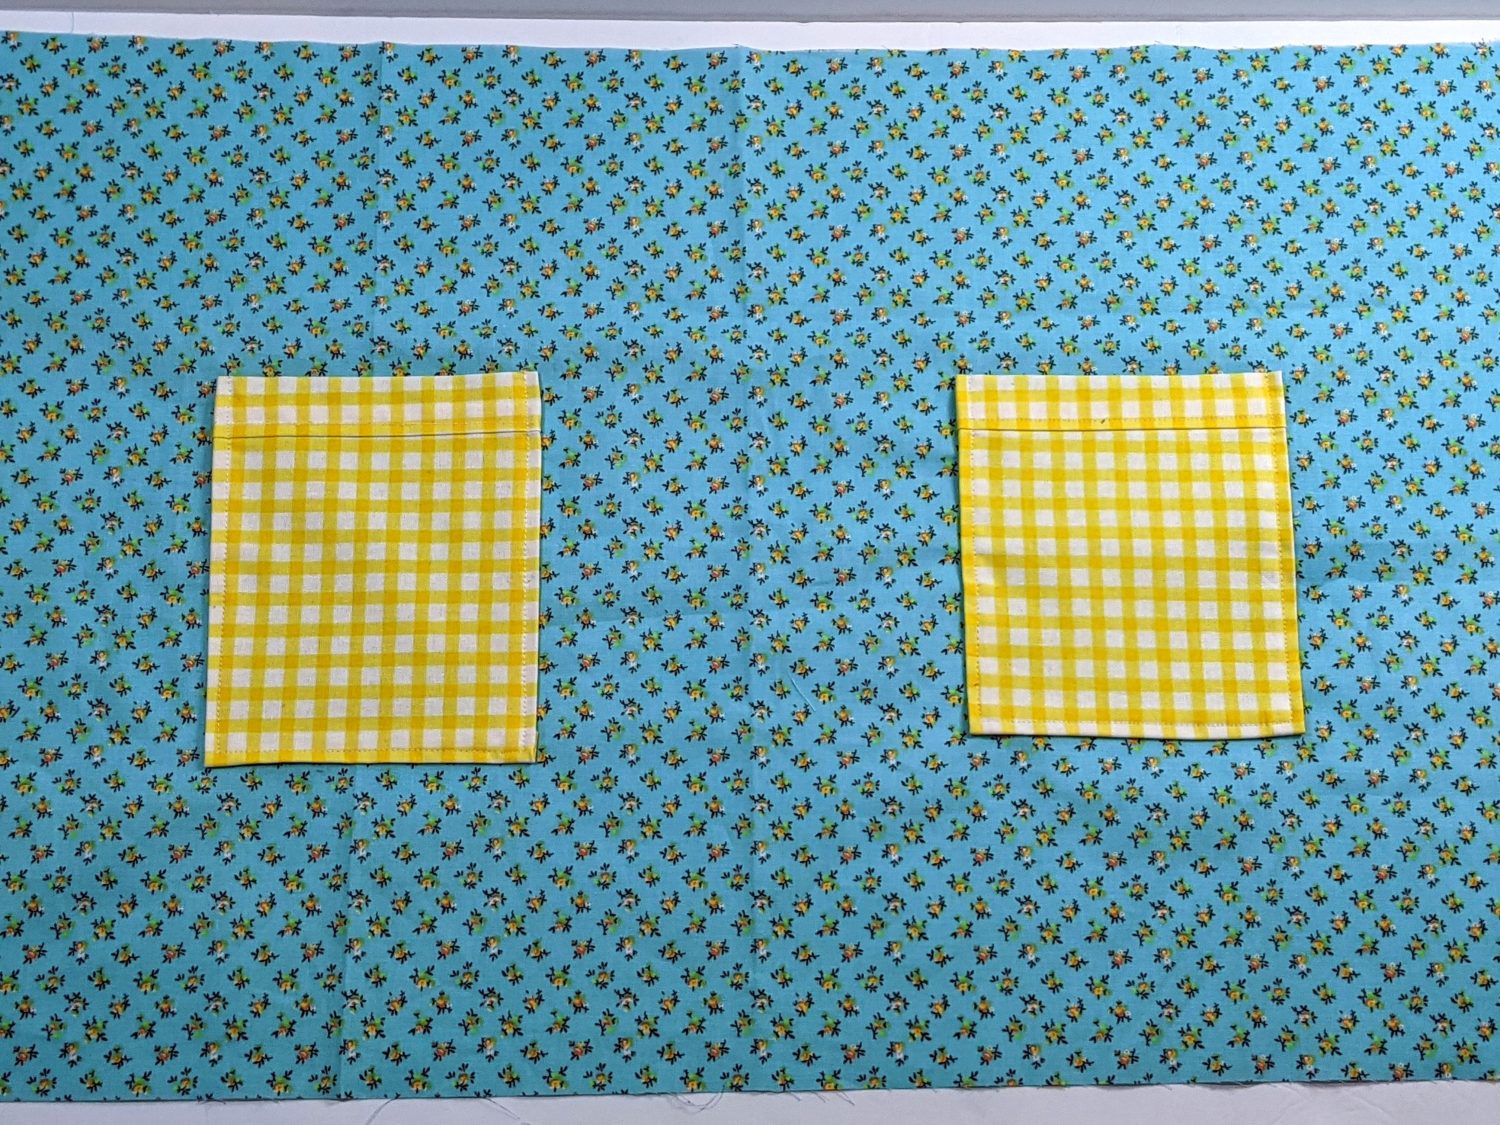
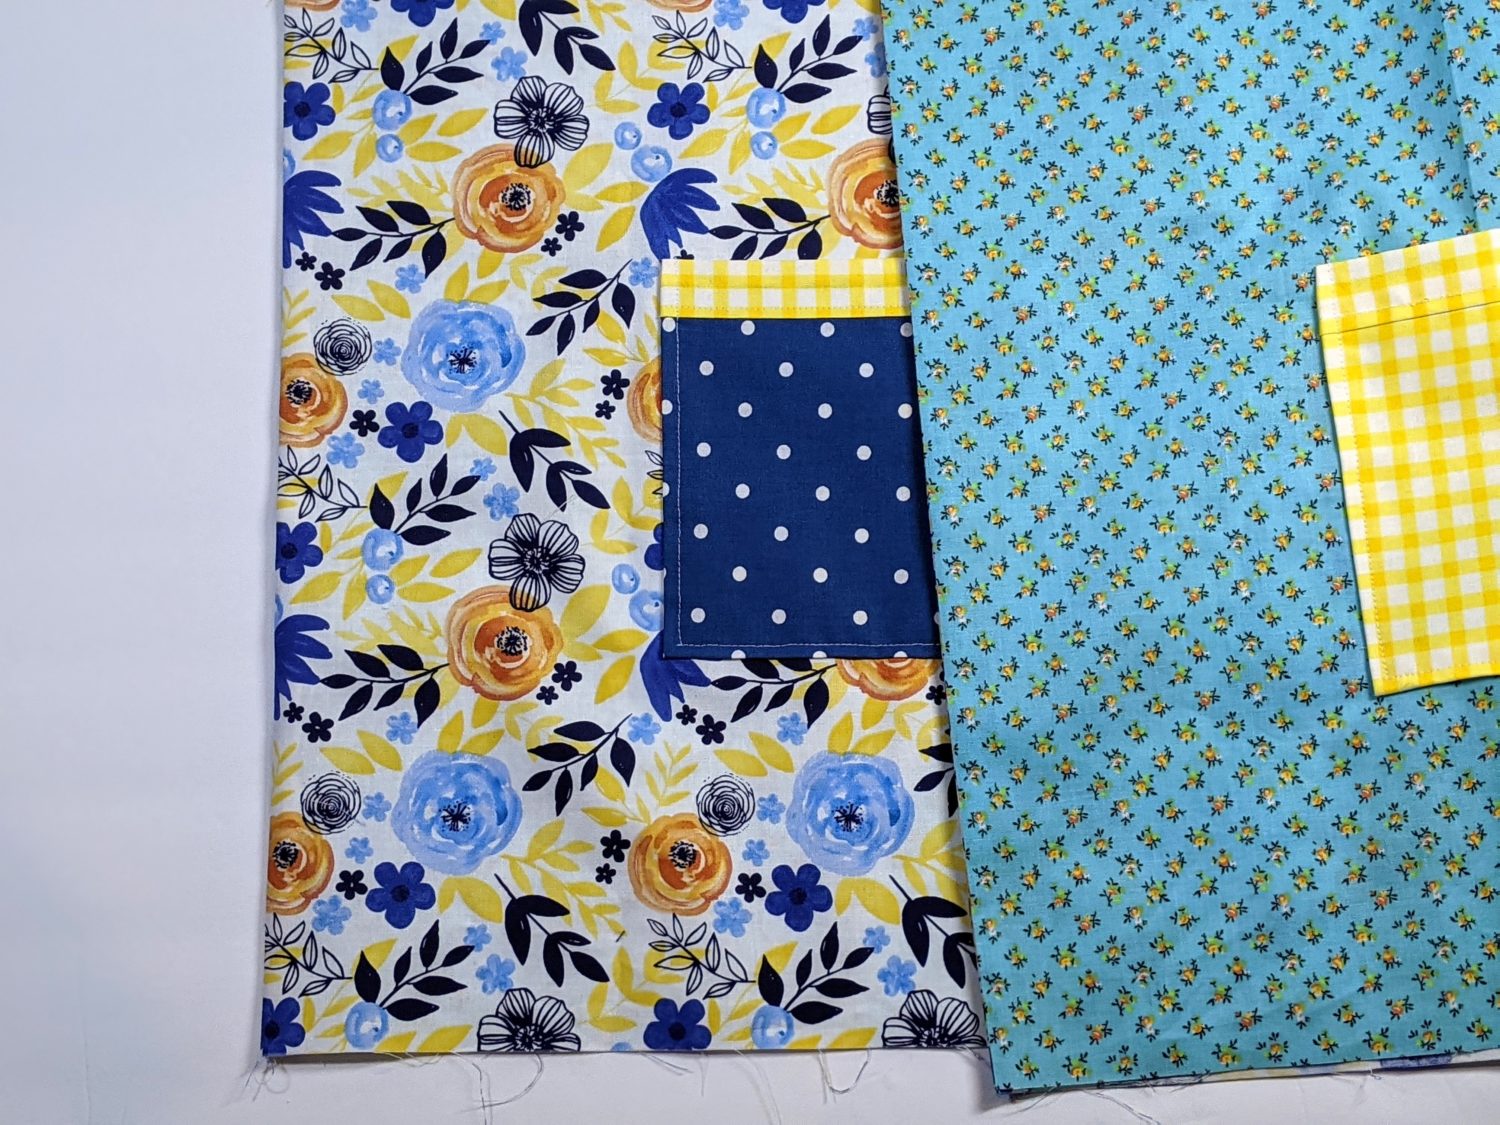
Sewing on the Pockets
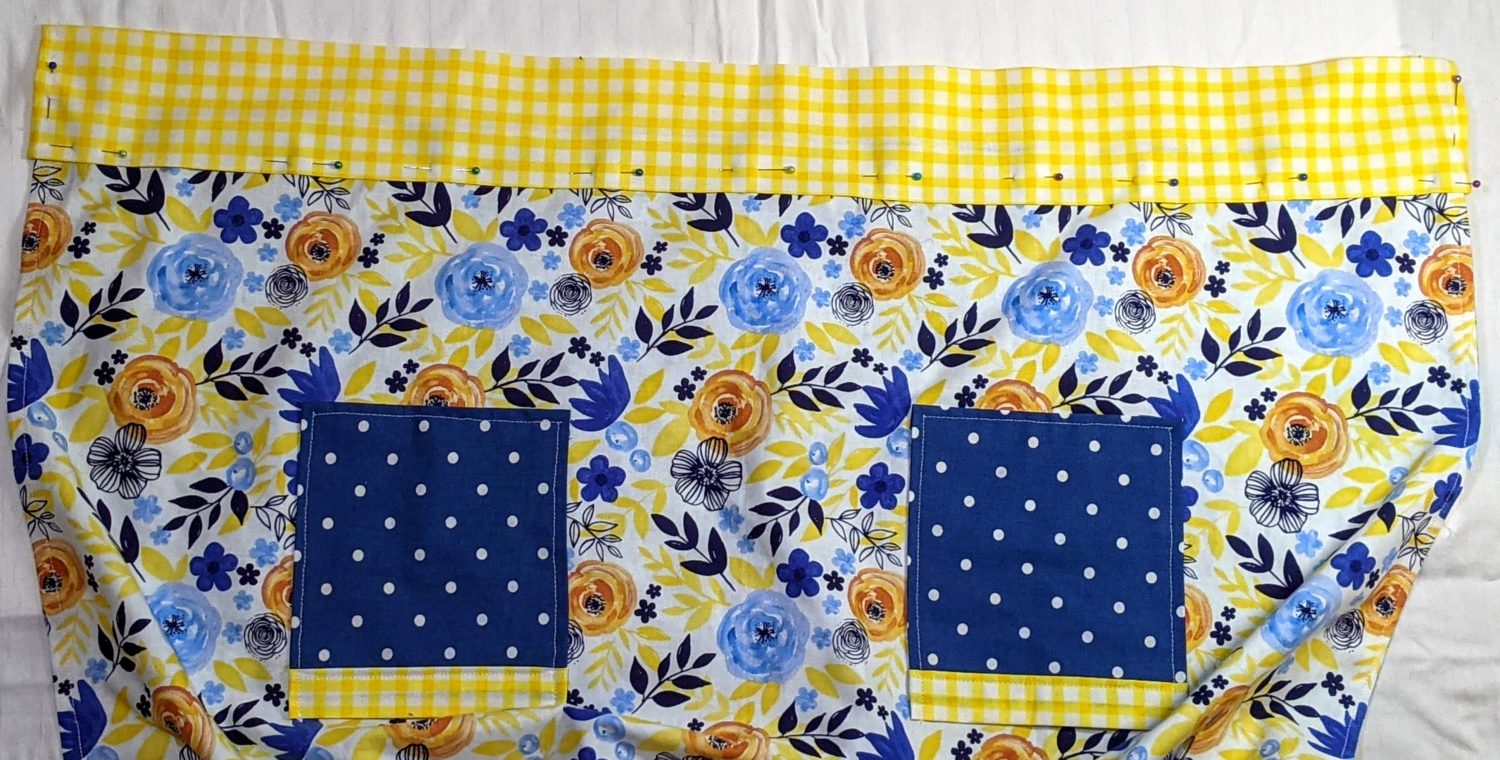
- Lay your main fabric piece out with the pocket markings facing up
- Remove the backing from your wash away wondertape on your prepared pocket piece (or, if you’re like me and ran out of wash away wondertape one pocket into this project, you can just use pins)
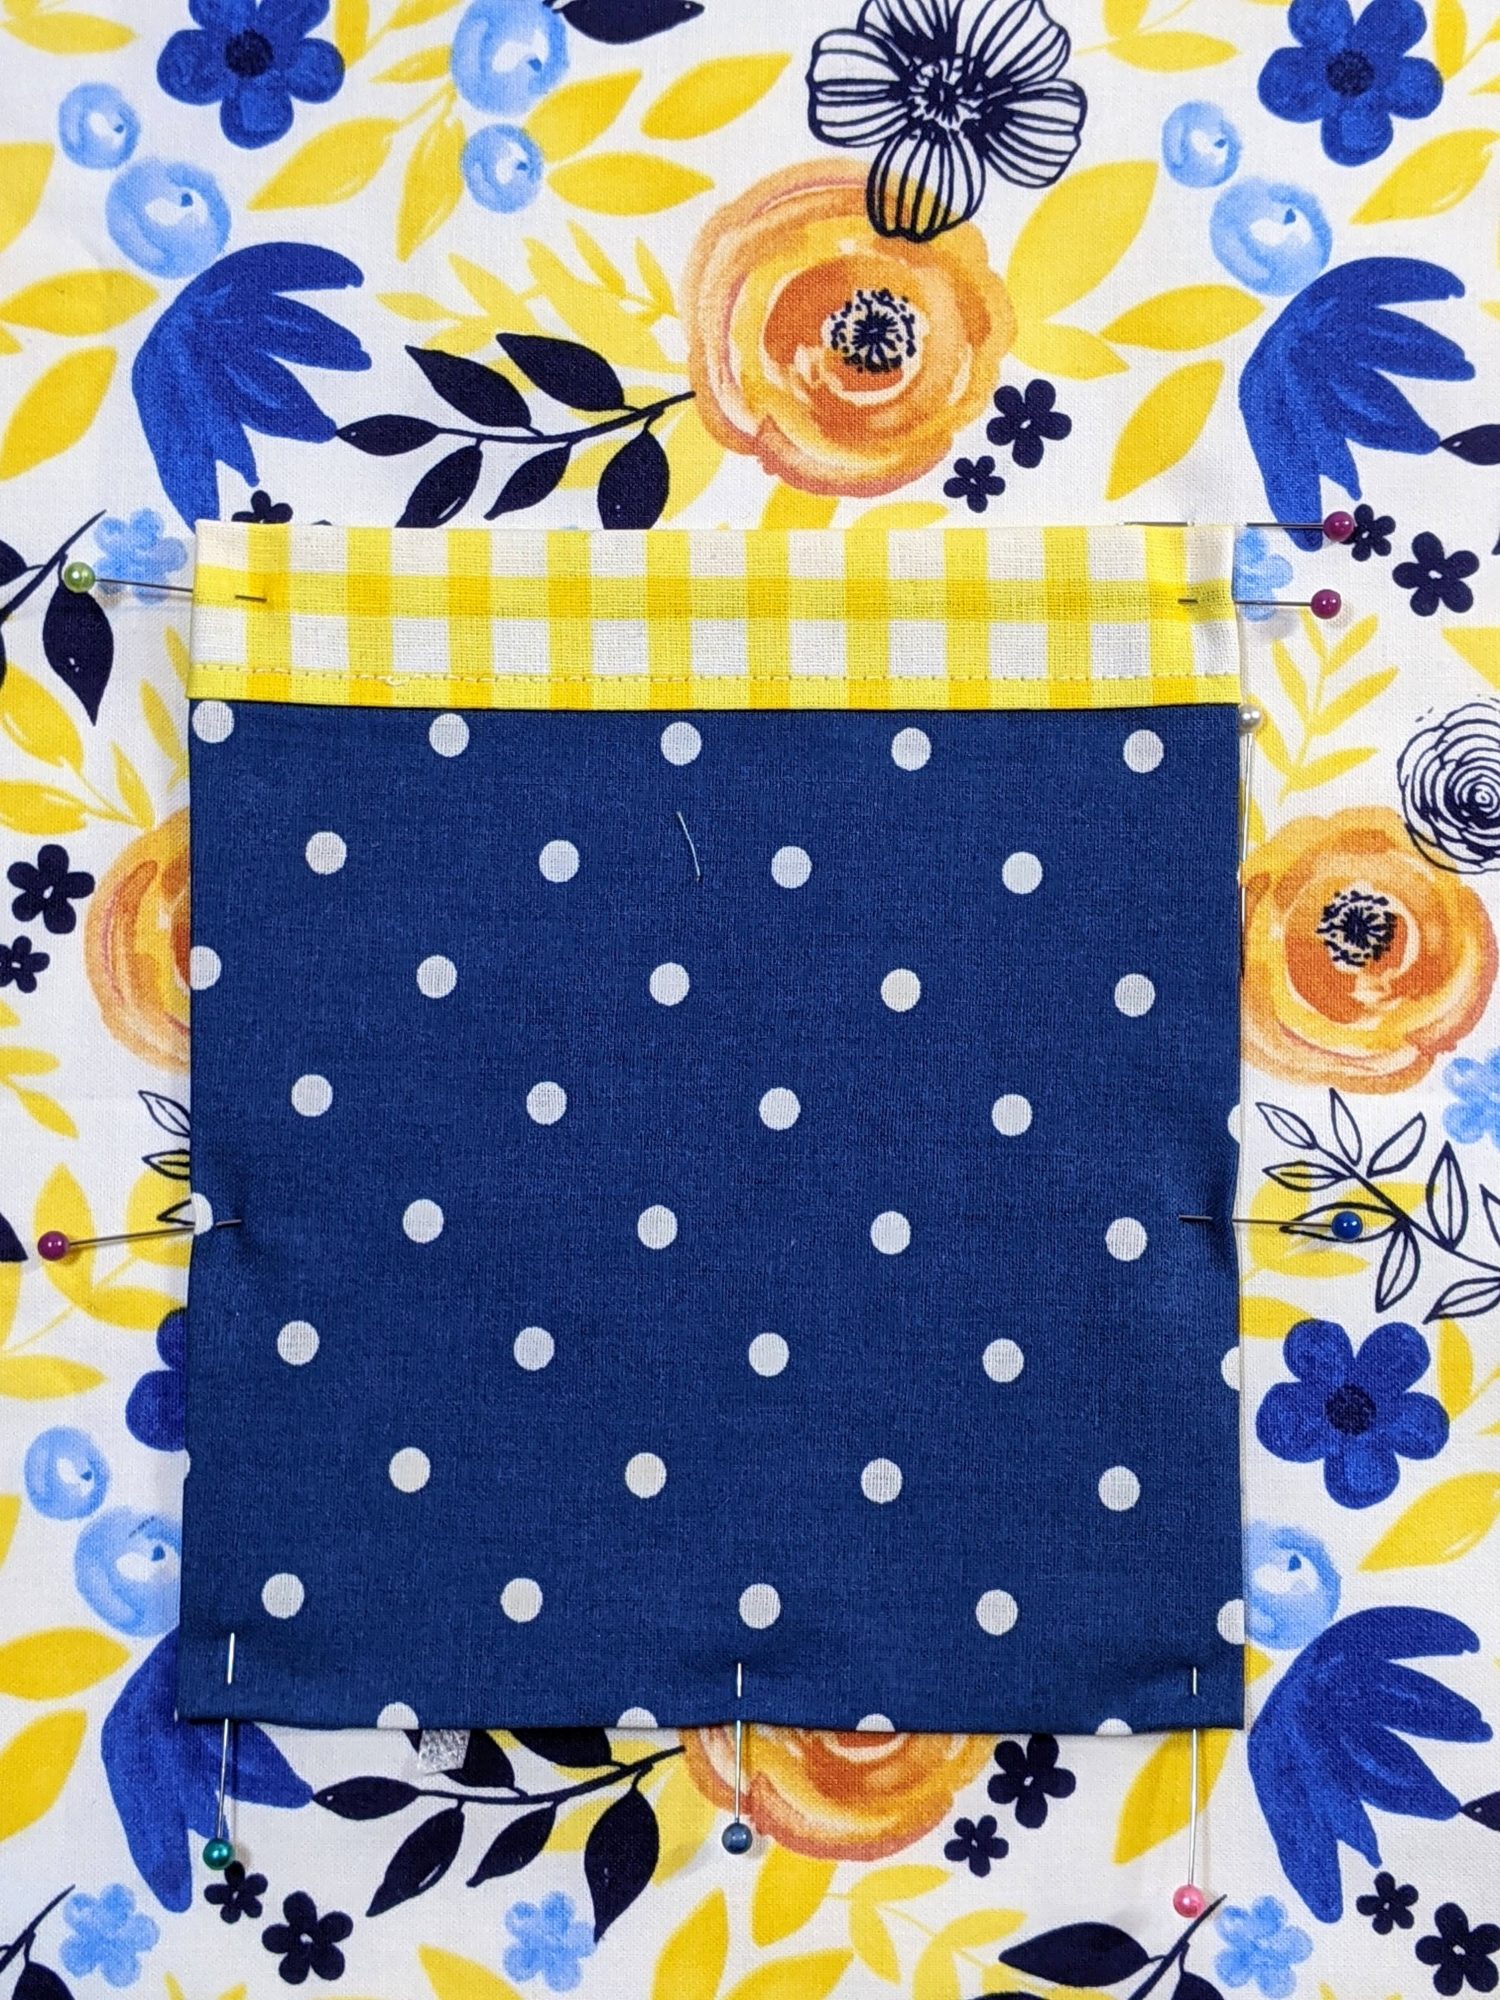
- Line the top edge of the pocket up with the pin that is 6″ down from the top and the inner edge of the pocket with the pin that is 3 1/2″ over from the center
- Make sure pockets are even and level and pin (or press the wash away wondertape in place)
- Topstitch along the sides and bottom edges using a 1/4″ seam allowance backstitching at the top edge of the pocket
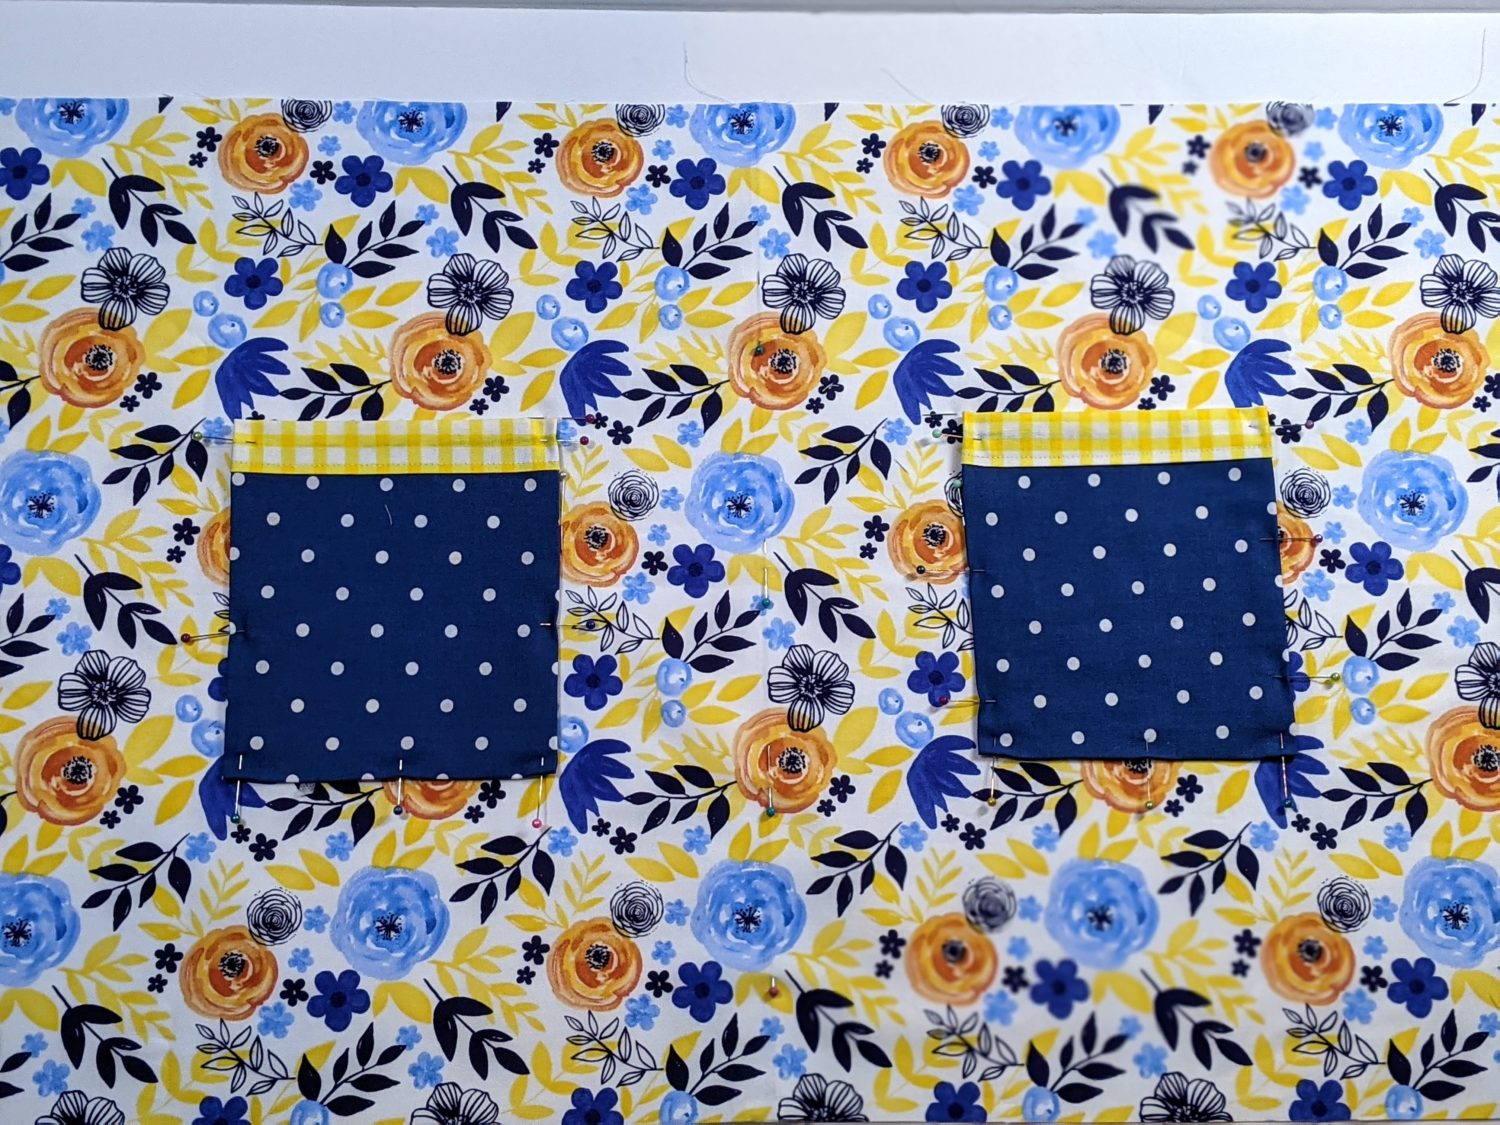
- Repeat with all pockets on both main apron pieces
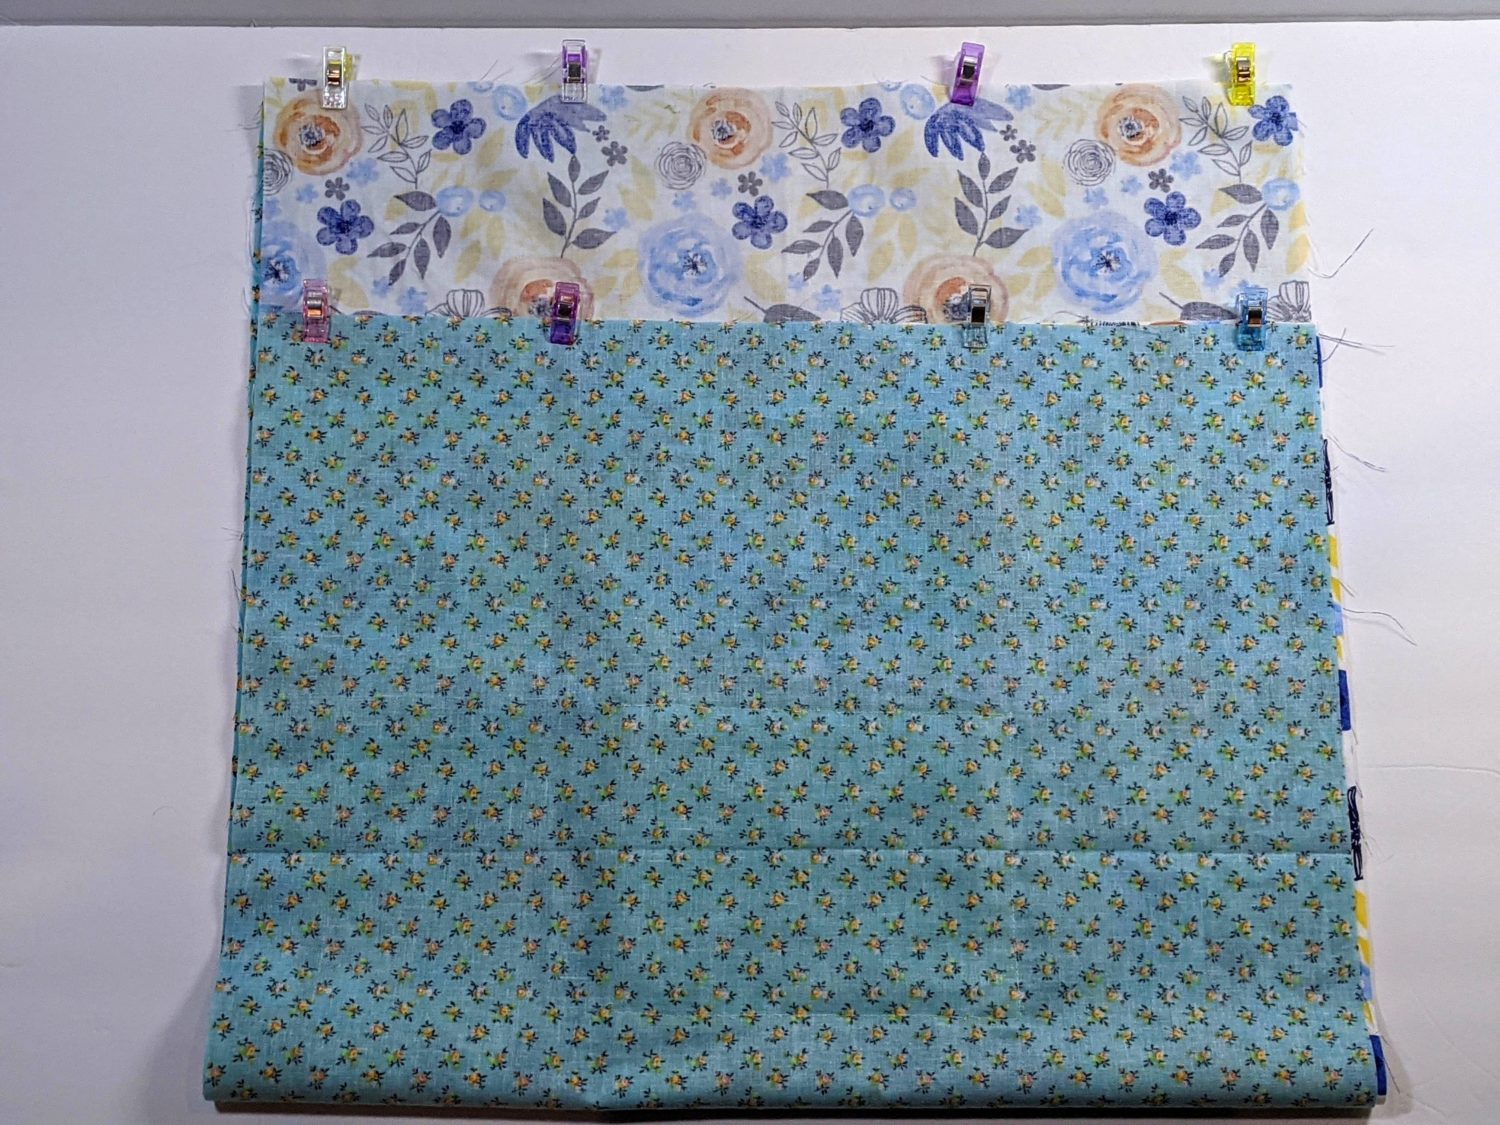
Putting both sides together
- Lay both of the main fabric pieces on top of each other with the right sides together lining up all the edges
- Pin the vertical sides together and sew with a 1/4″ seam allowance
- Press seams open
- Turn right sides out and press along the seams
- Topstitch along both sides with a 1/4″ seam allowance
- Baste along the top and bottom edges to keep layers from shifting while you attach the bands
Sew sides together 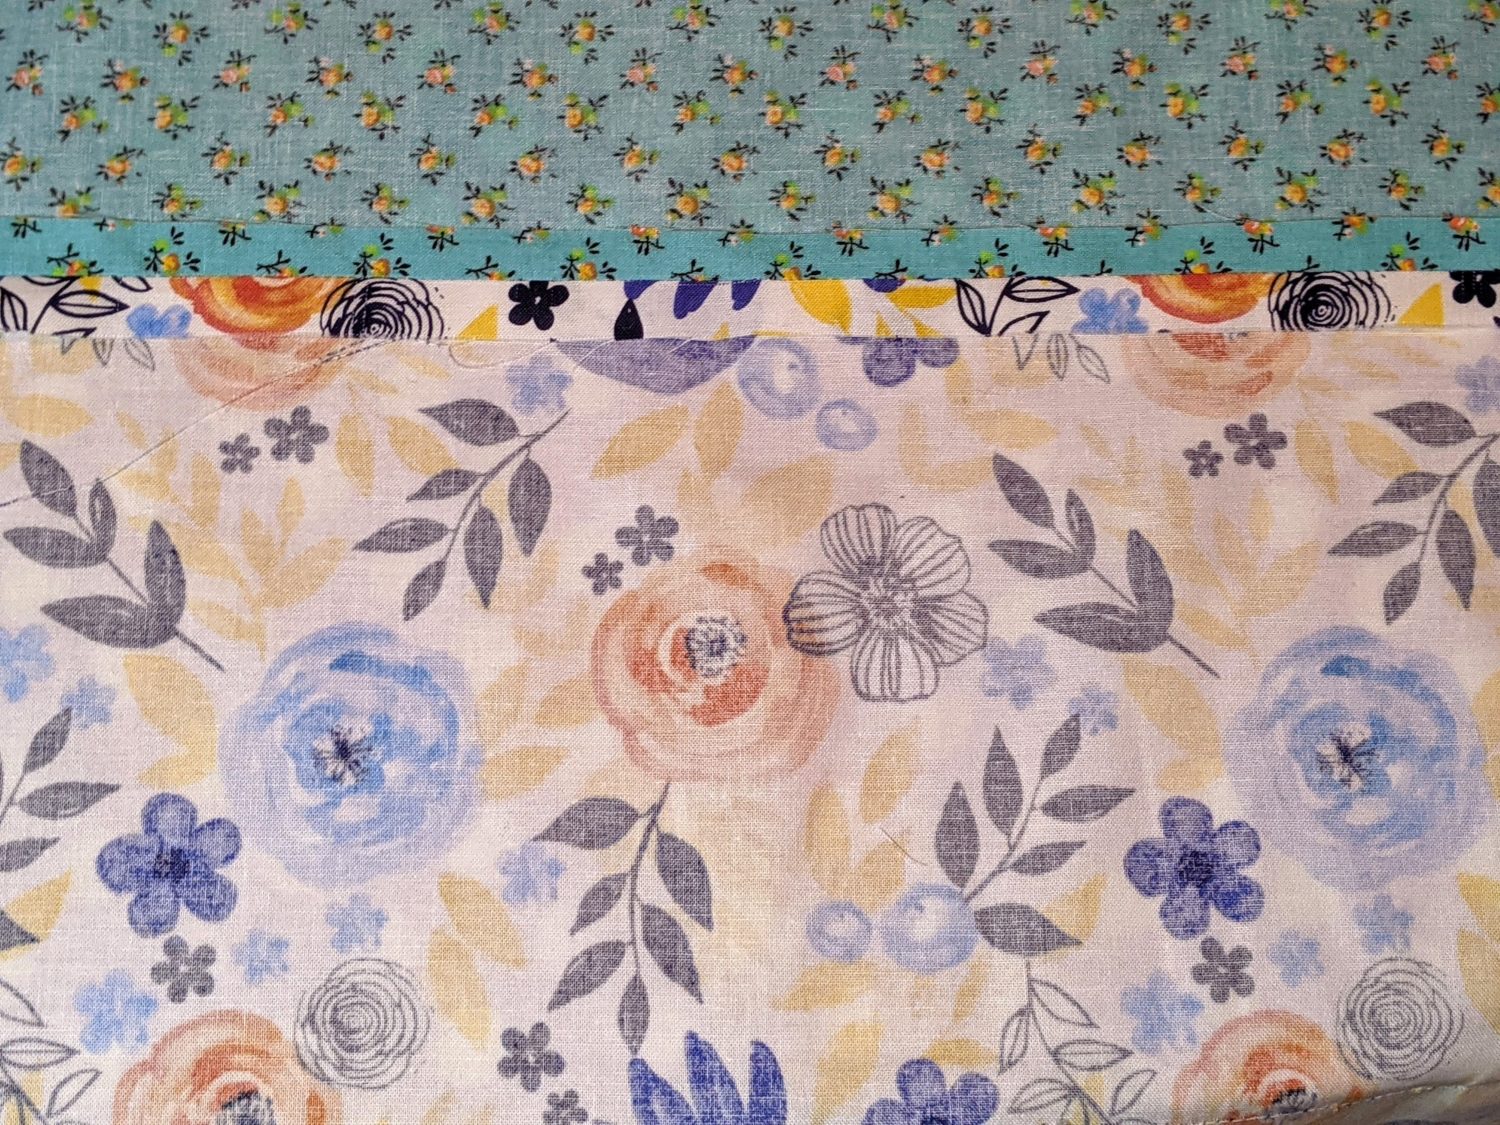
Press seam allowance open
Turn right side out, press and topstitch 
Baste the top and bottom edges
Bottom Band:
- With your bottom band wrong side up, fold it in half lengthwise wrong sides together and press
- Fold in each long side in 1″ with its raw edge towards the center and press
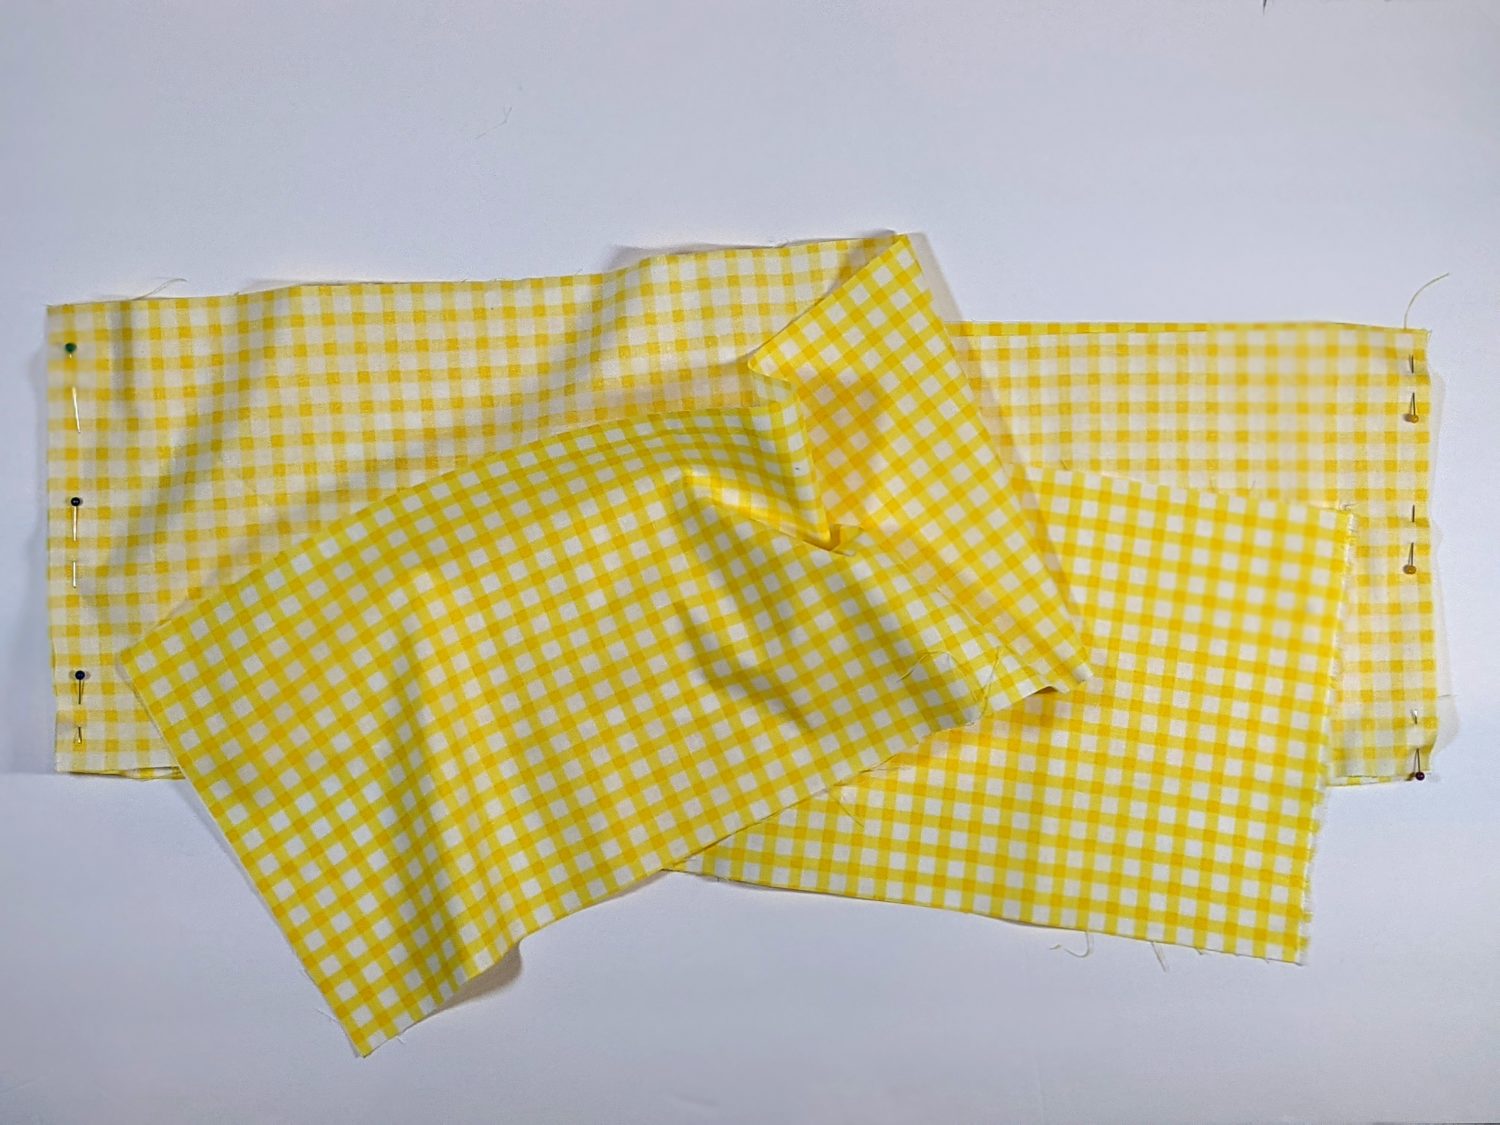
- Open up the band, and on each short end, fold it in half lengthwise with right sides together and pin
- Sew along pinned ends with a 1/4″ seam allowance
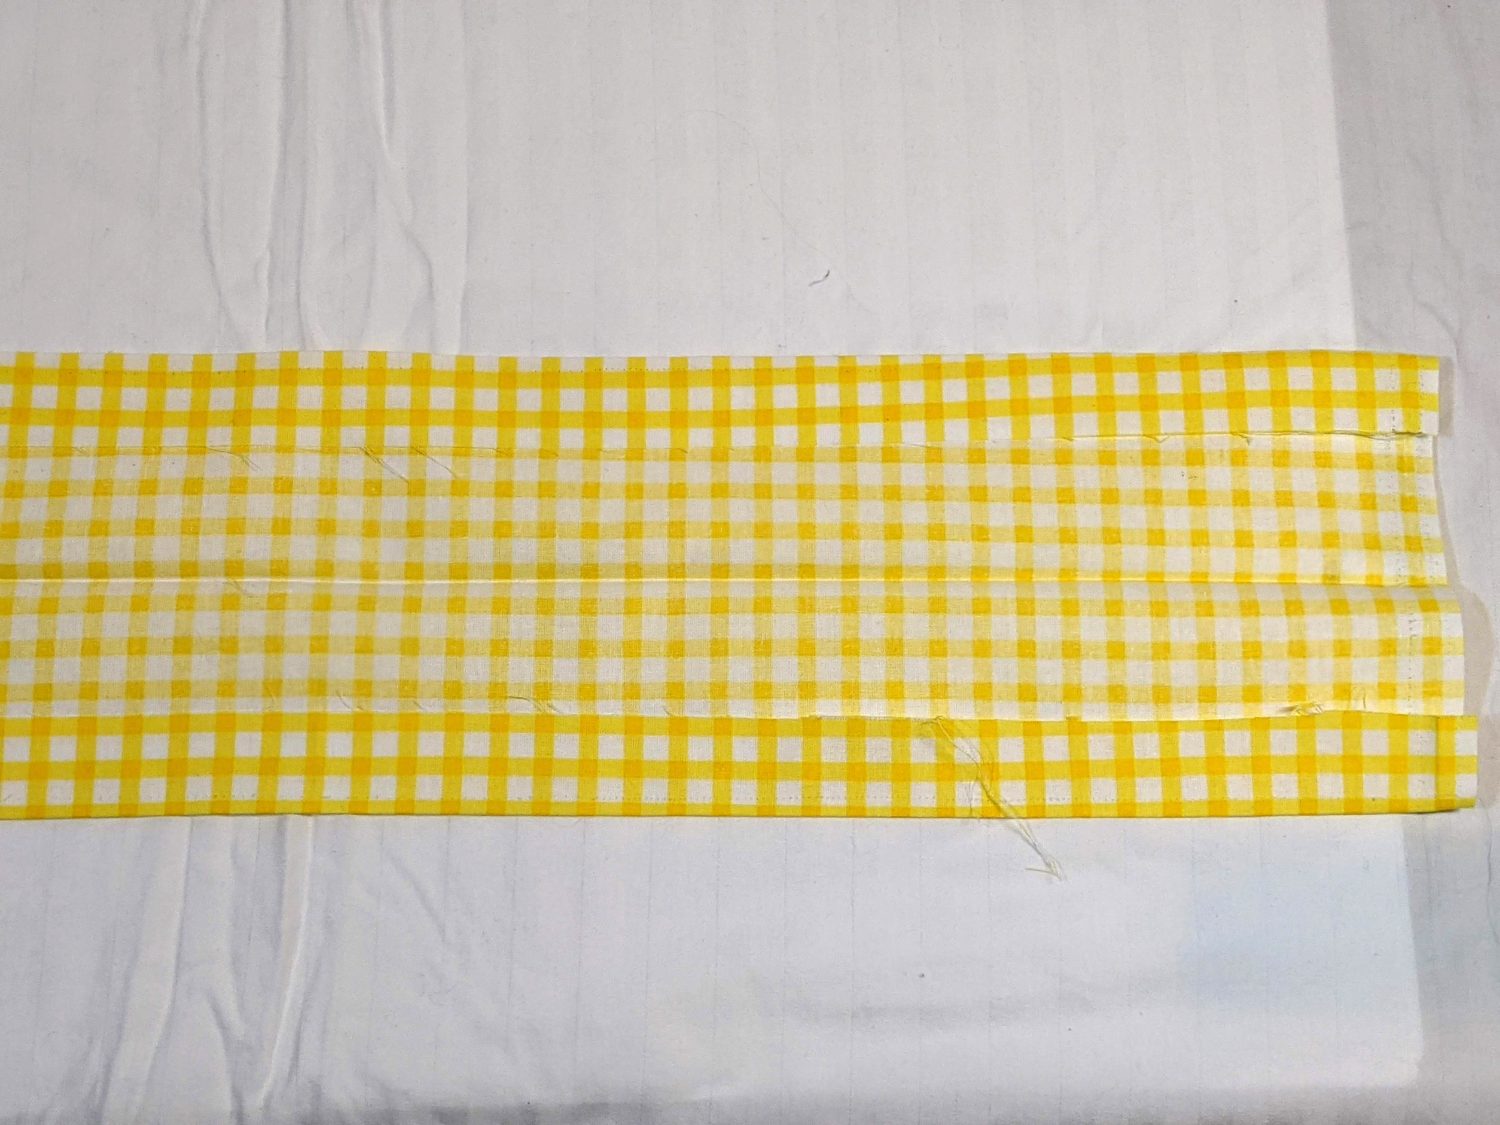
Fold down the center and fold in the sides 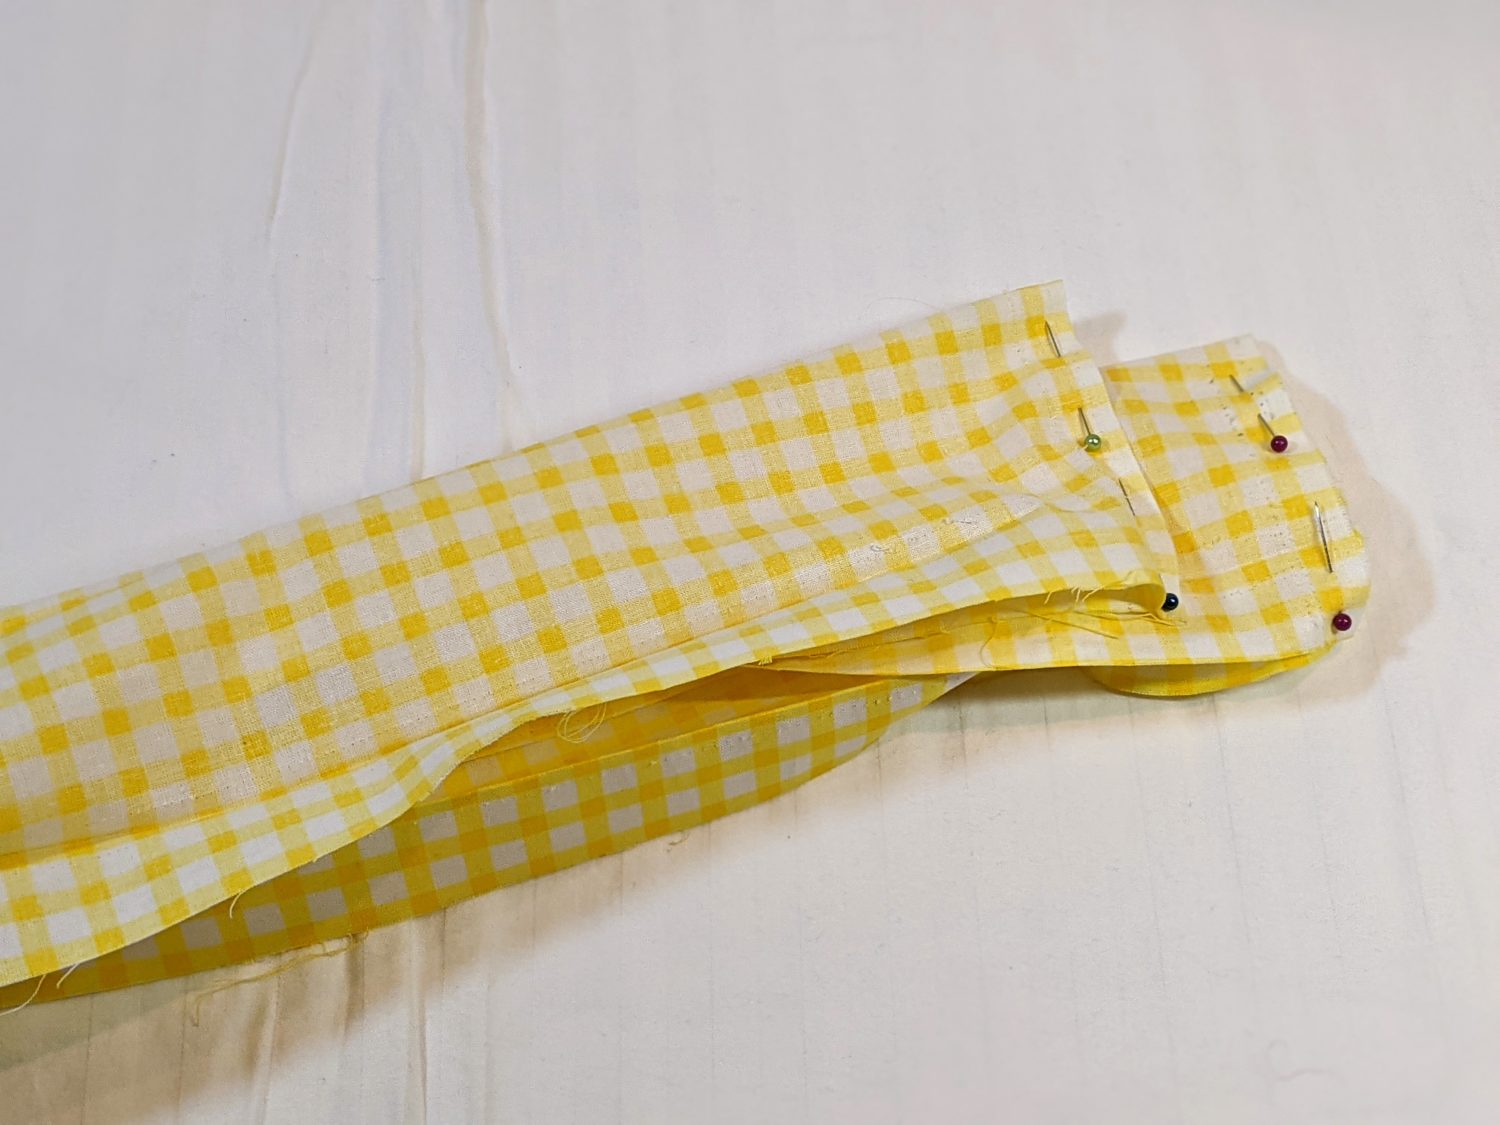
Pin short ends right sides together
- Turn the band right sides out and push out the corners
- Refold the sides in and give the whole band a good press
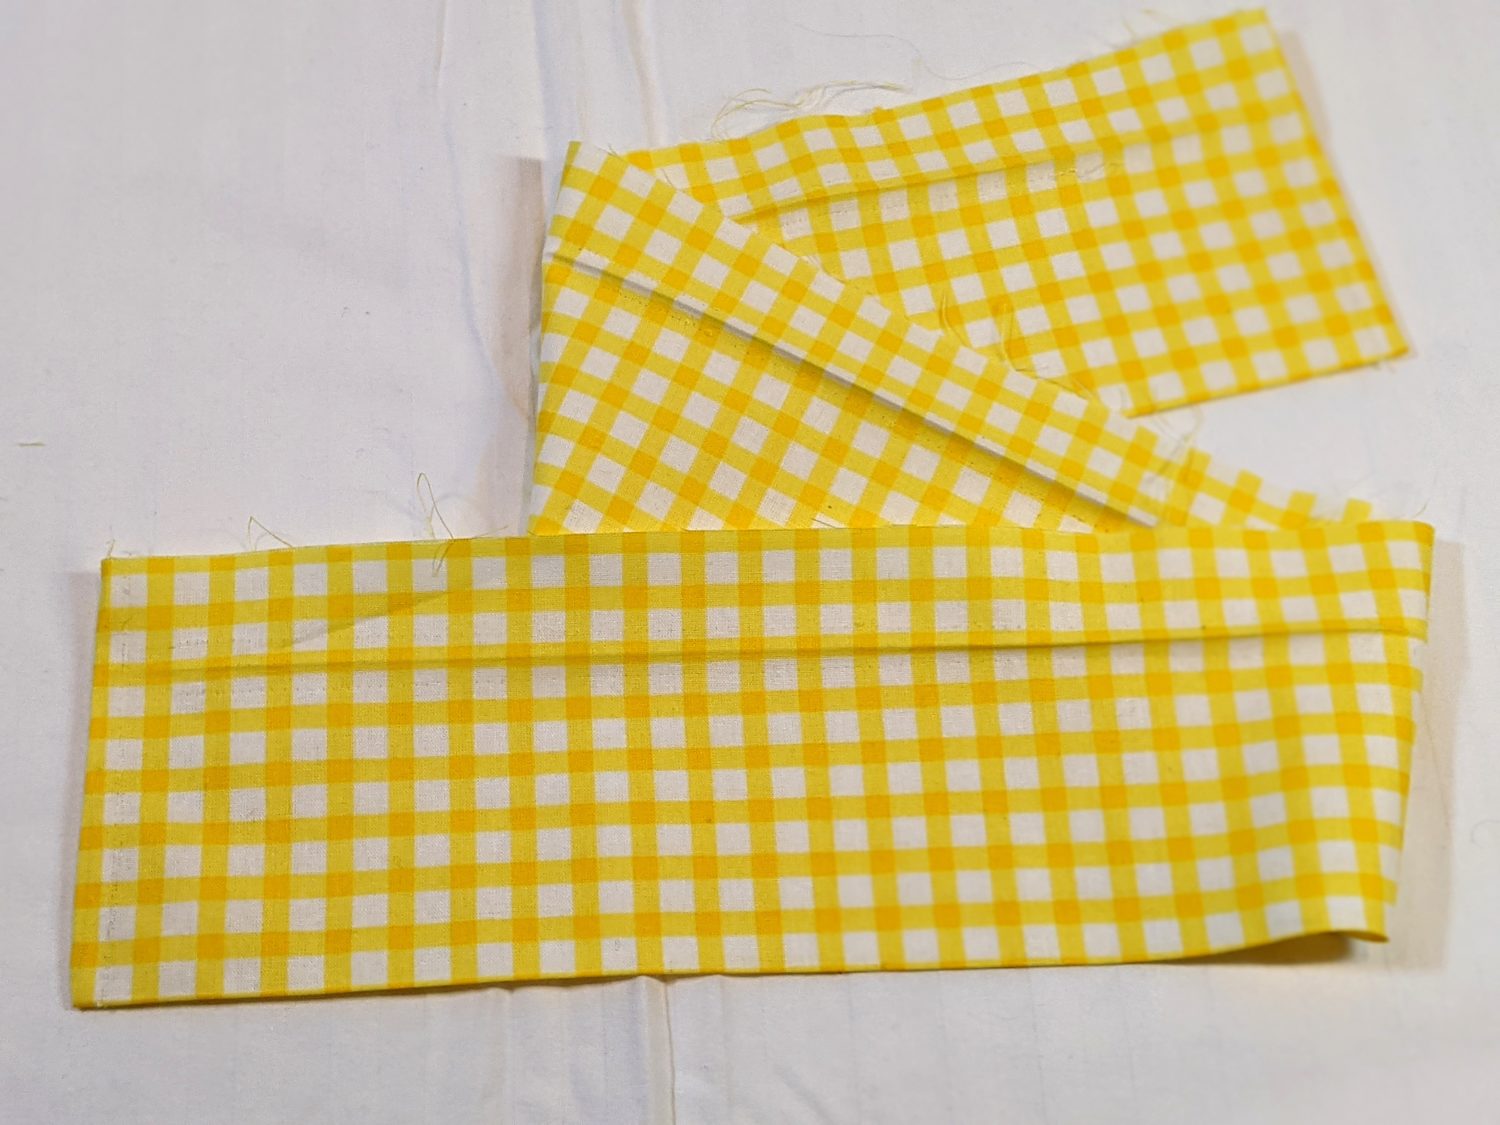
Turn right side out 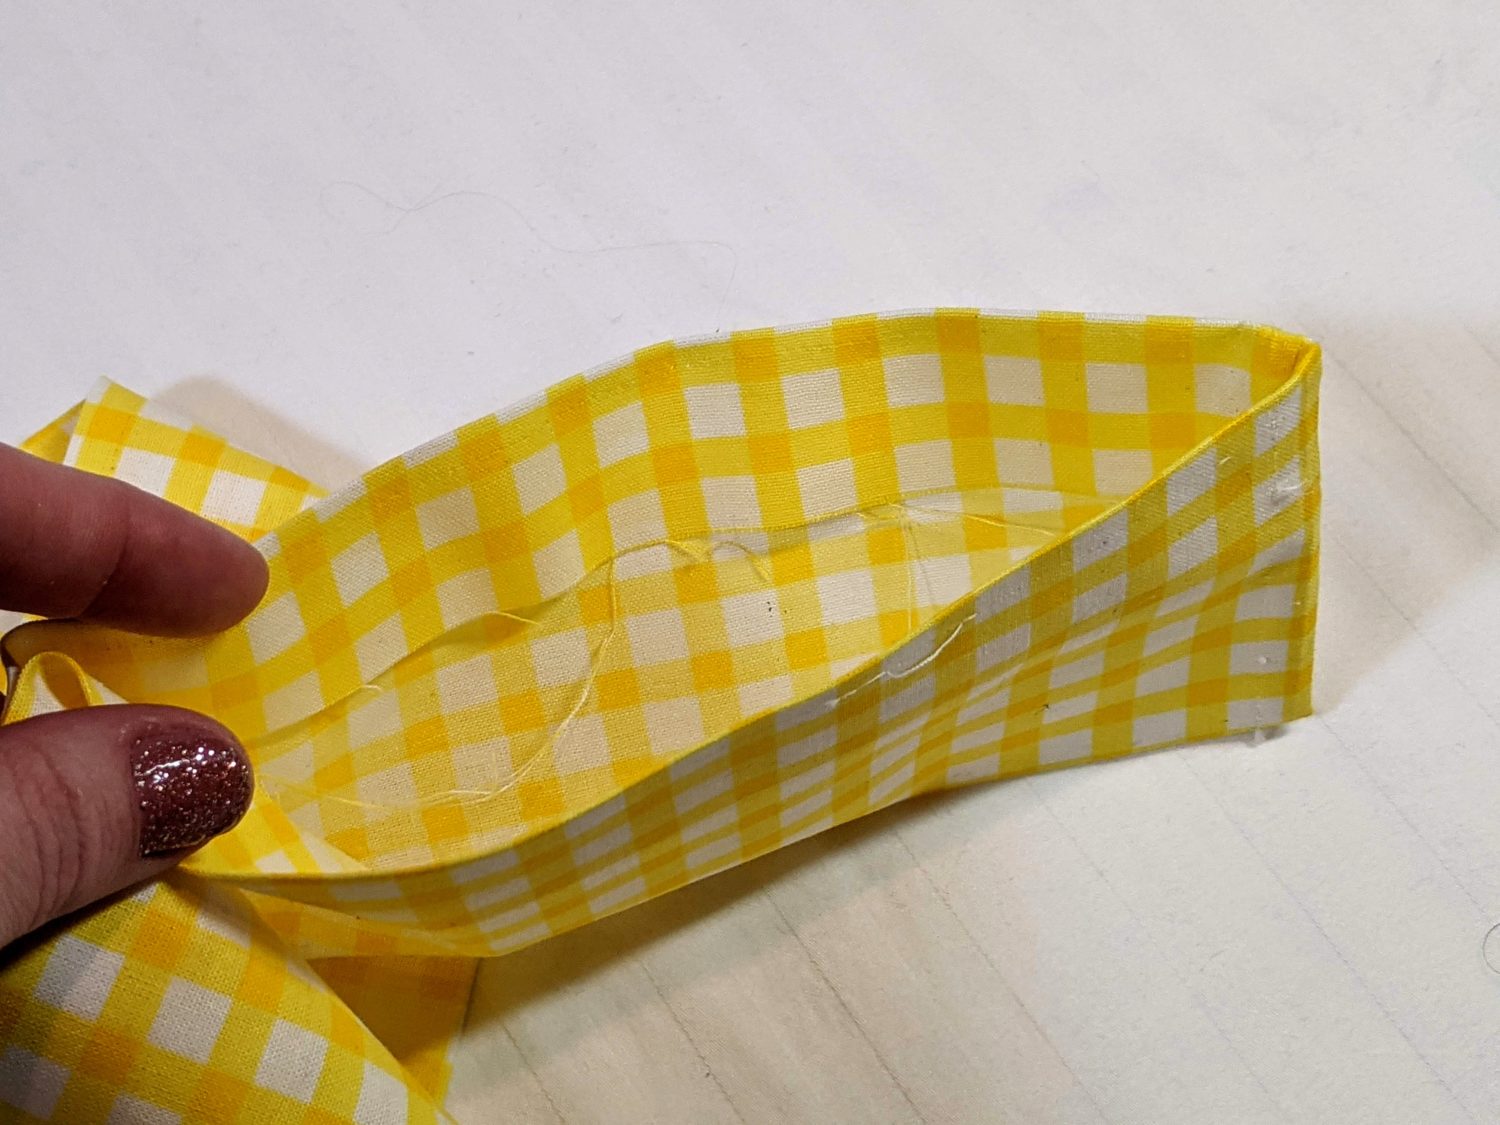
Refold the sides in 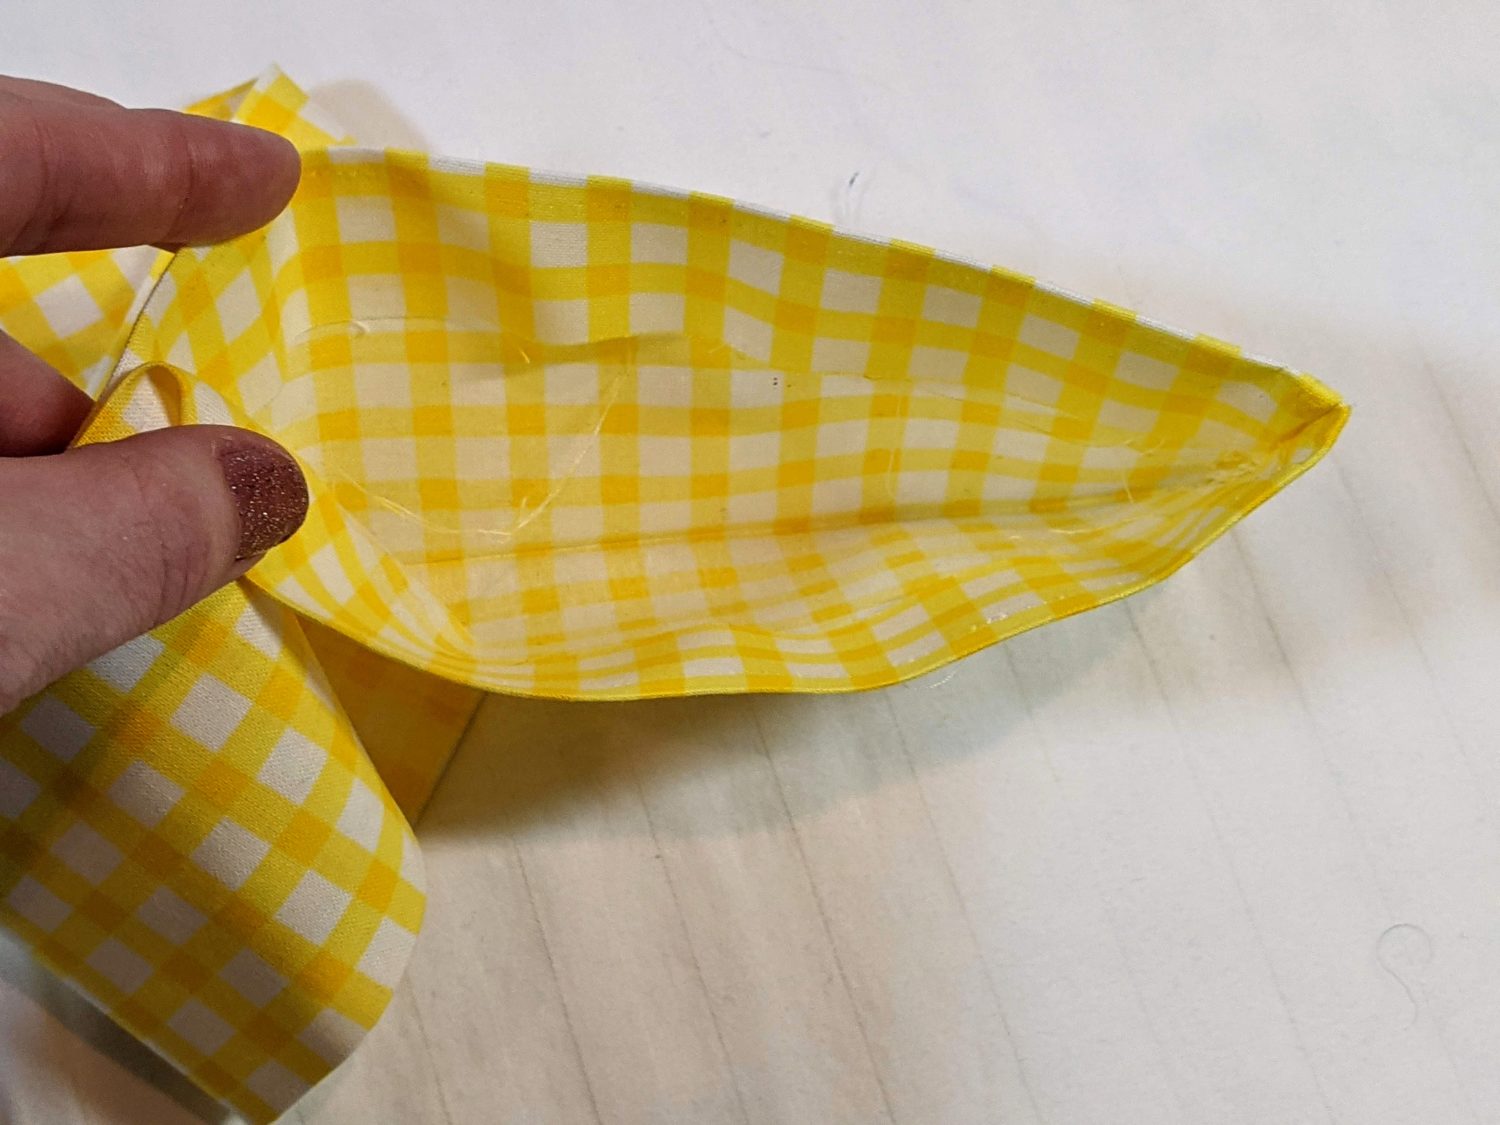
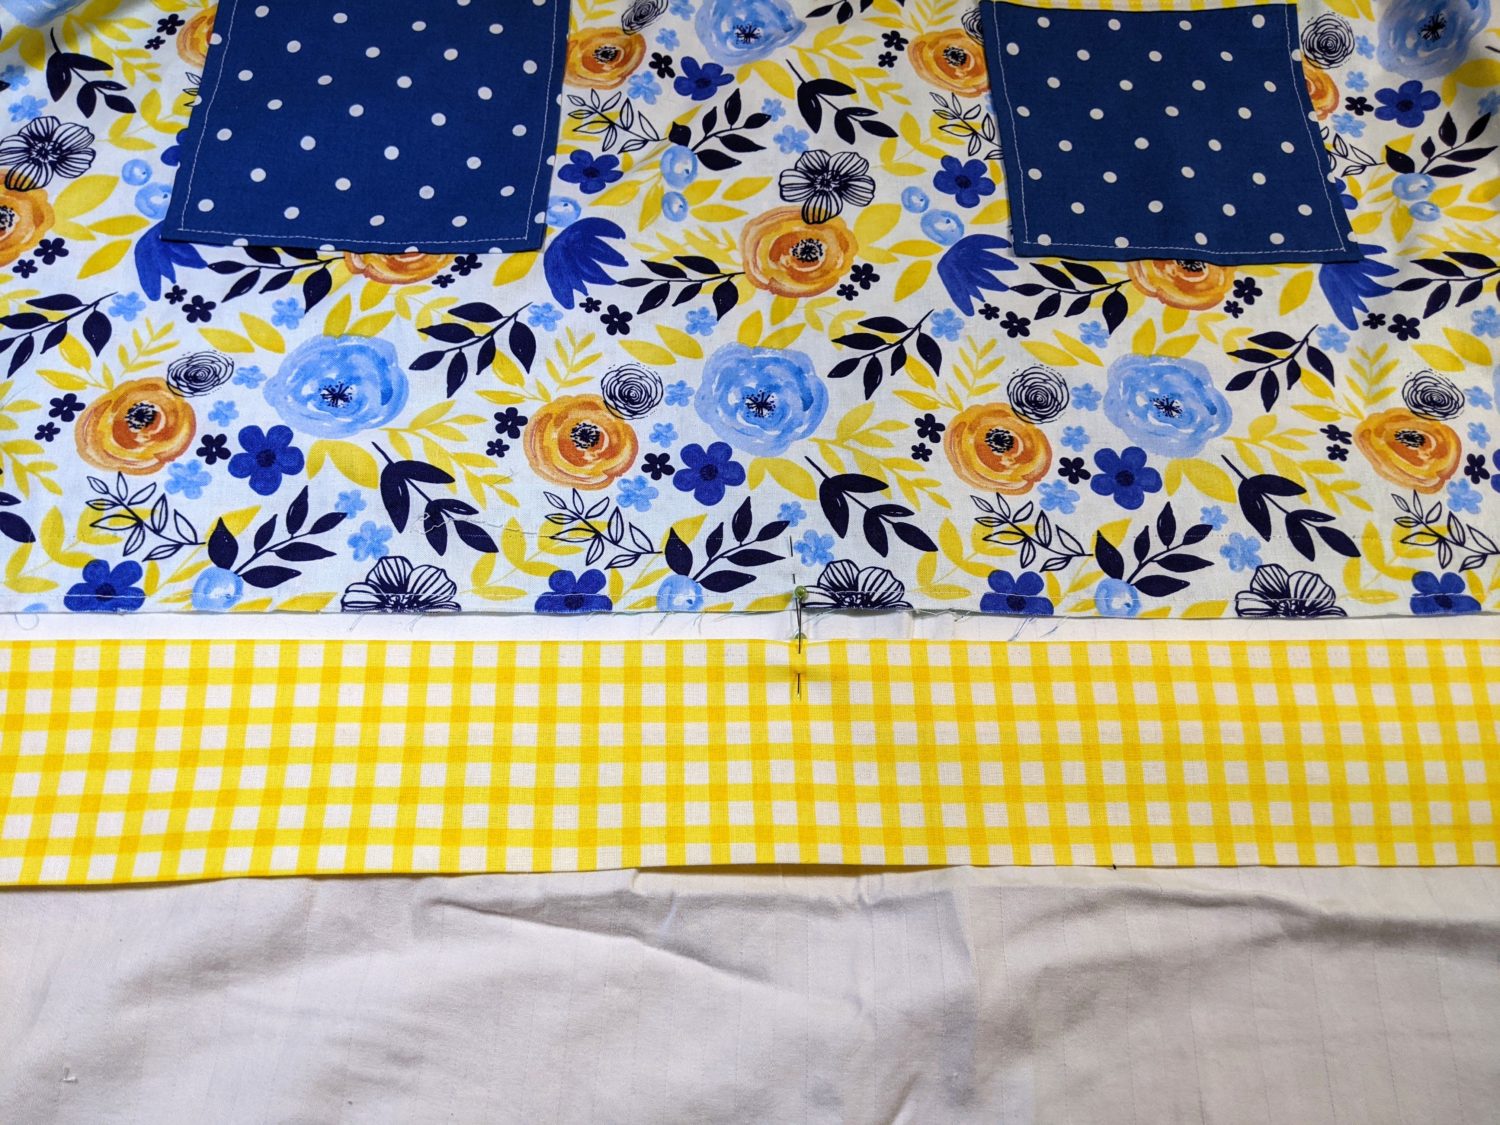
- Mark the center of both the band and the bottom edge of the apron
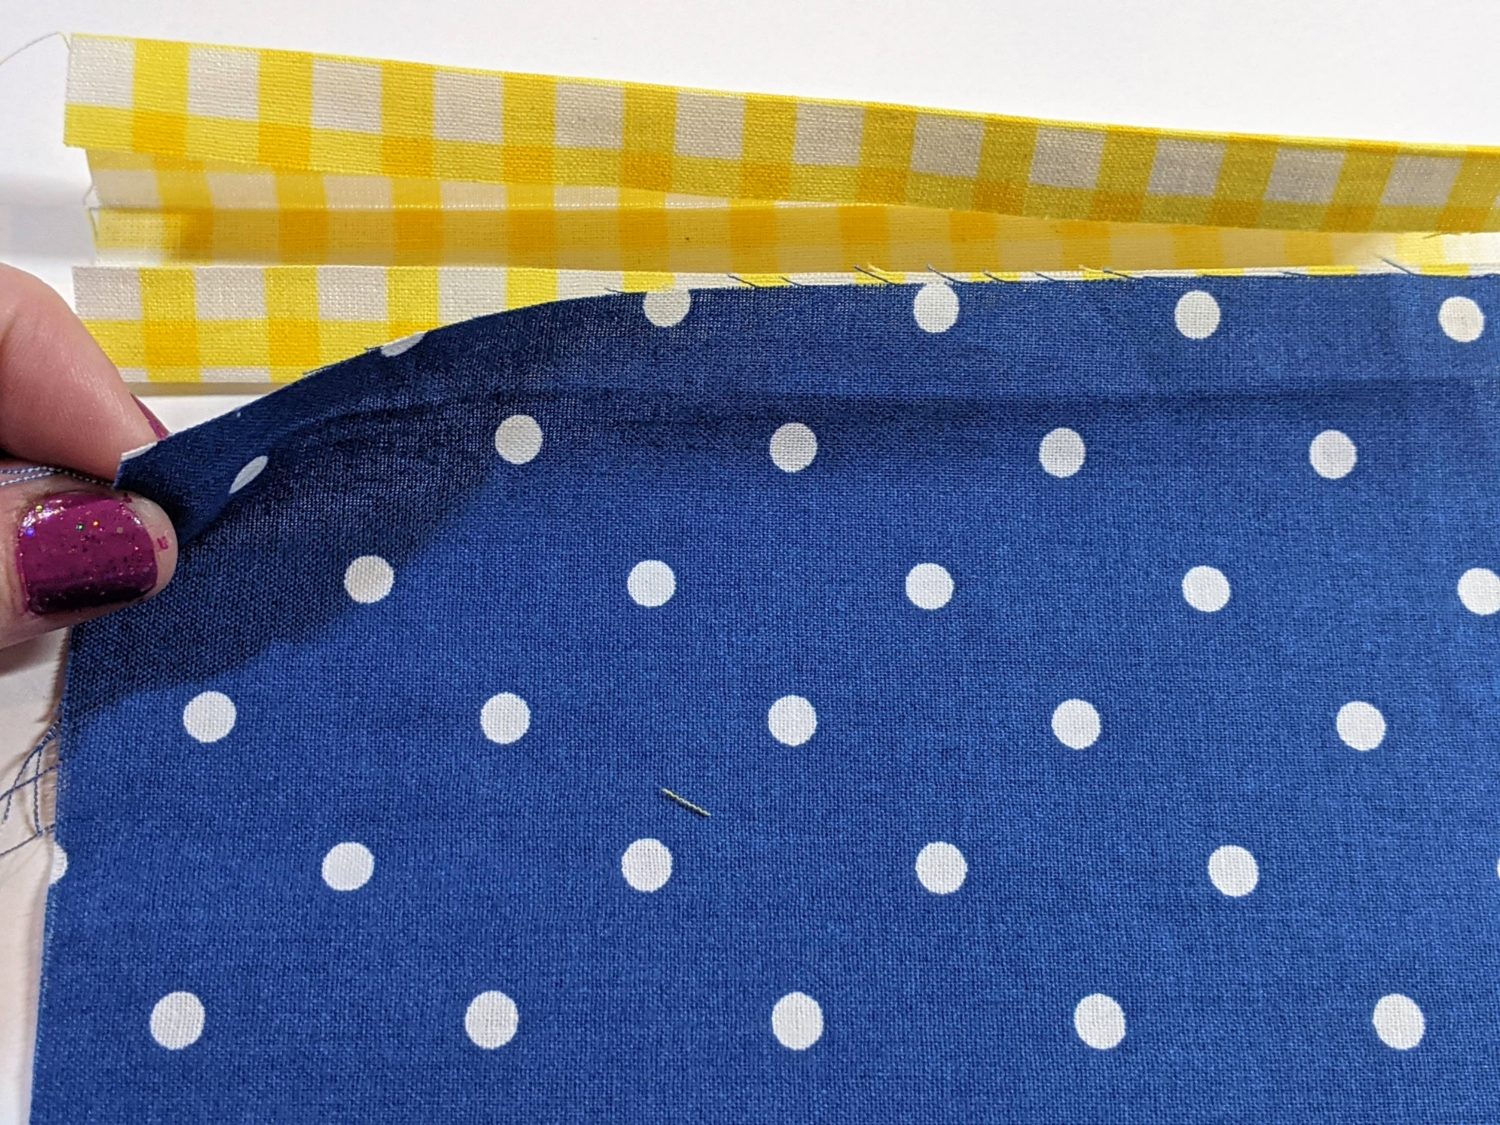
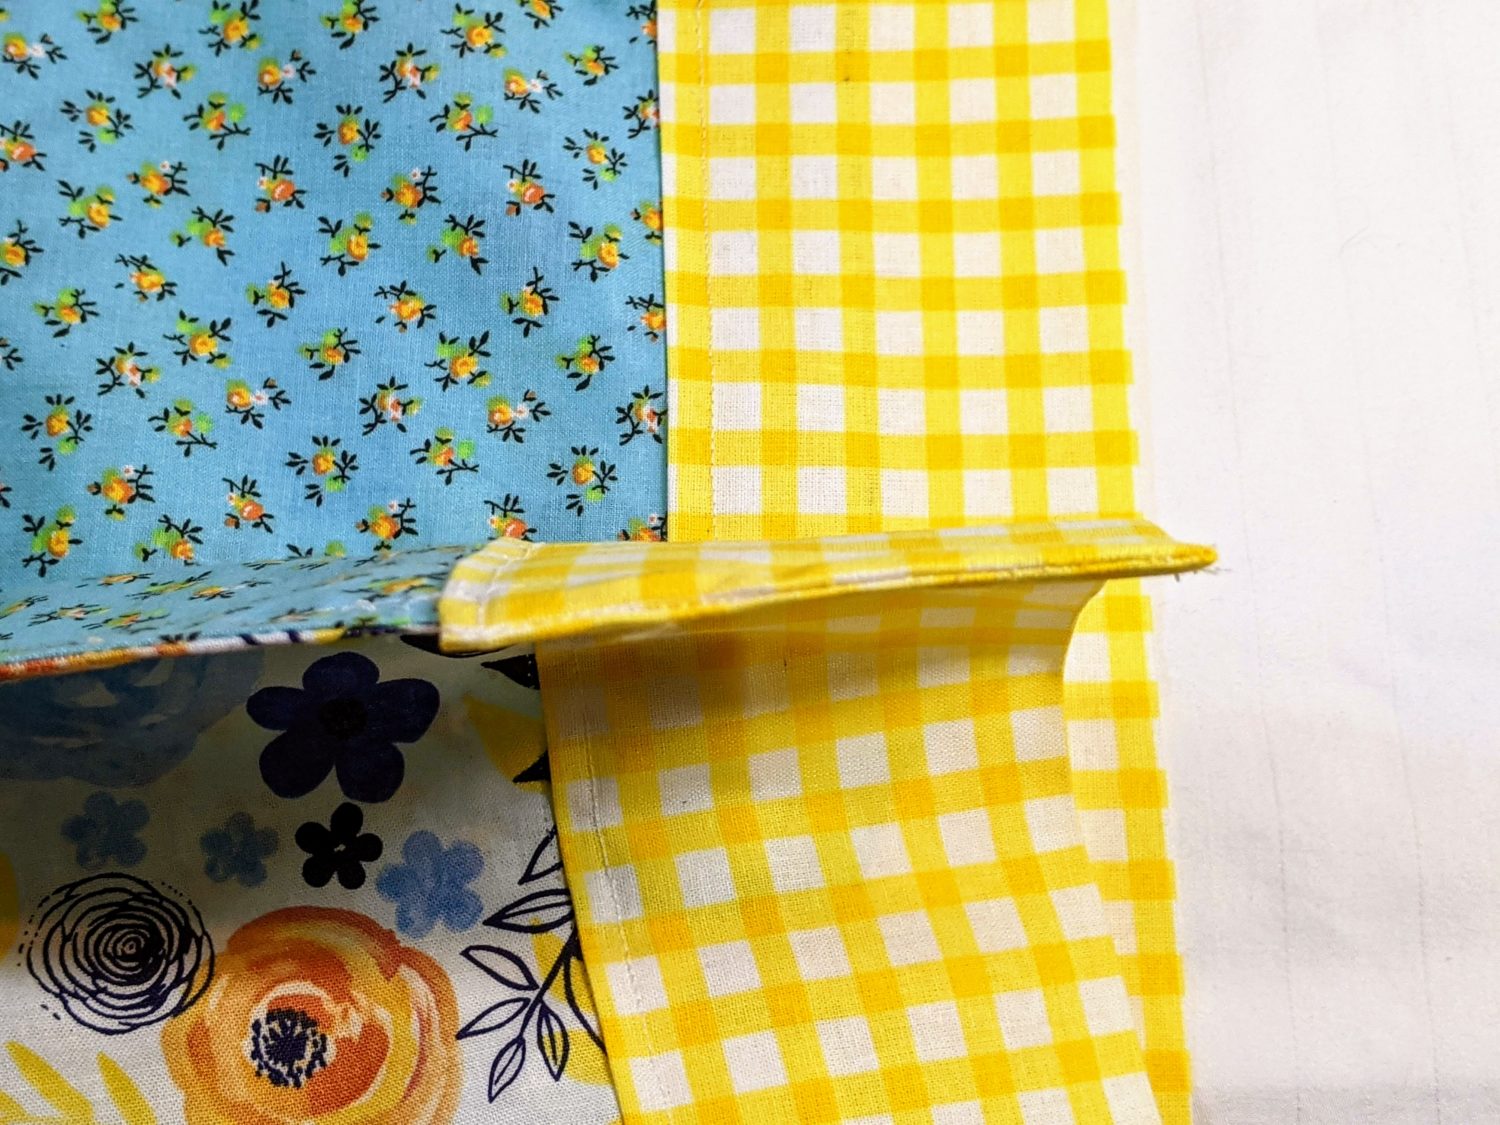
- Lining up the center points, slide the apron into the band
- Match up the raw edge of the apron with the raw edge of the folded-in portion of the band and sandwich the apron between the two sides of the band
Line up center pins 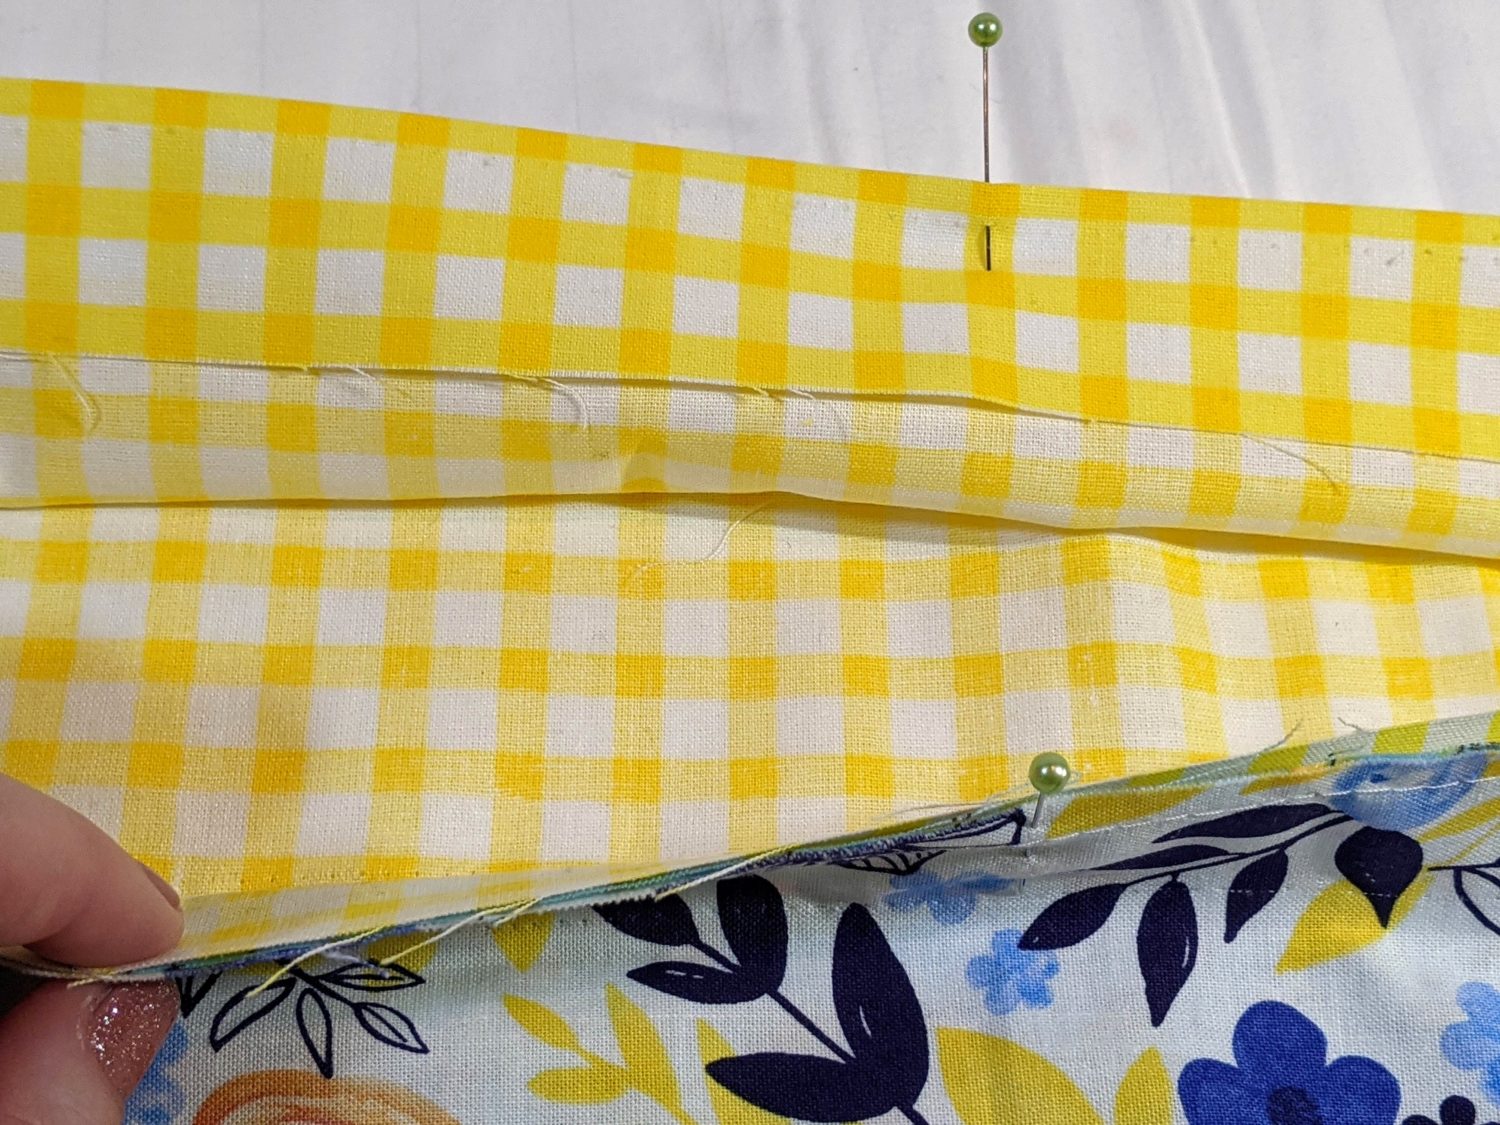
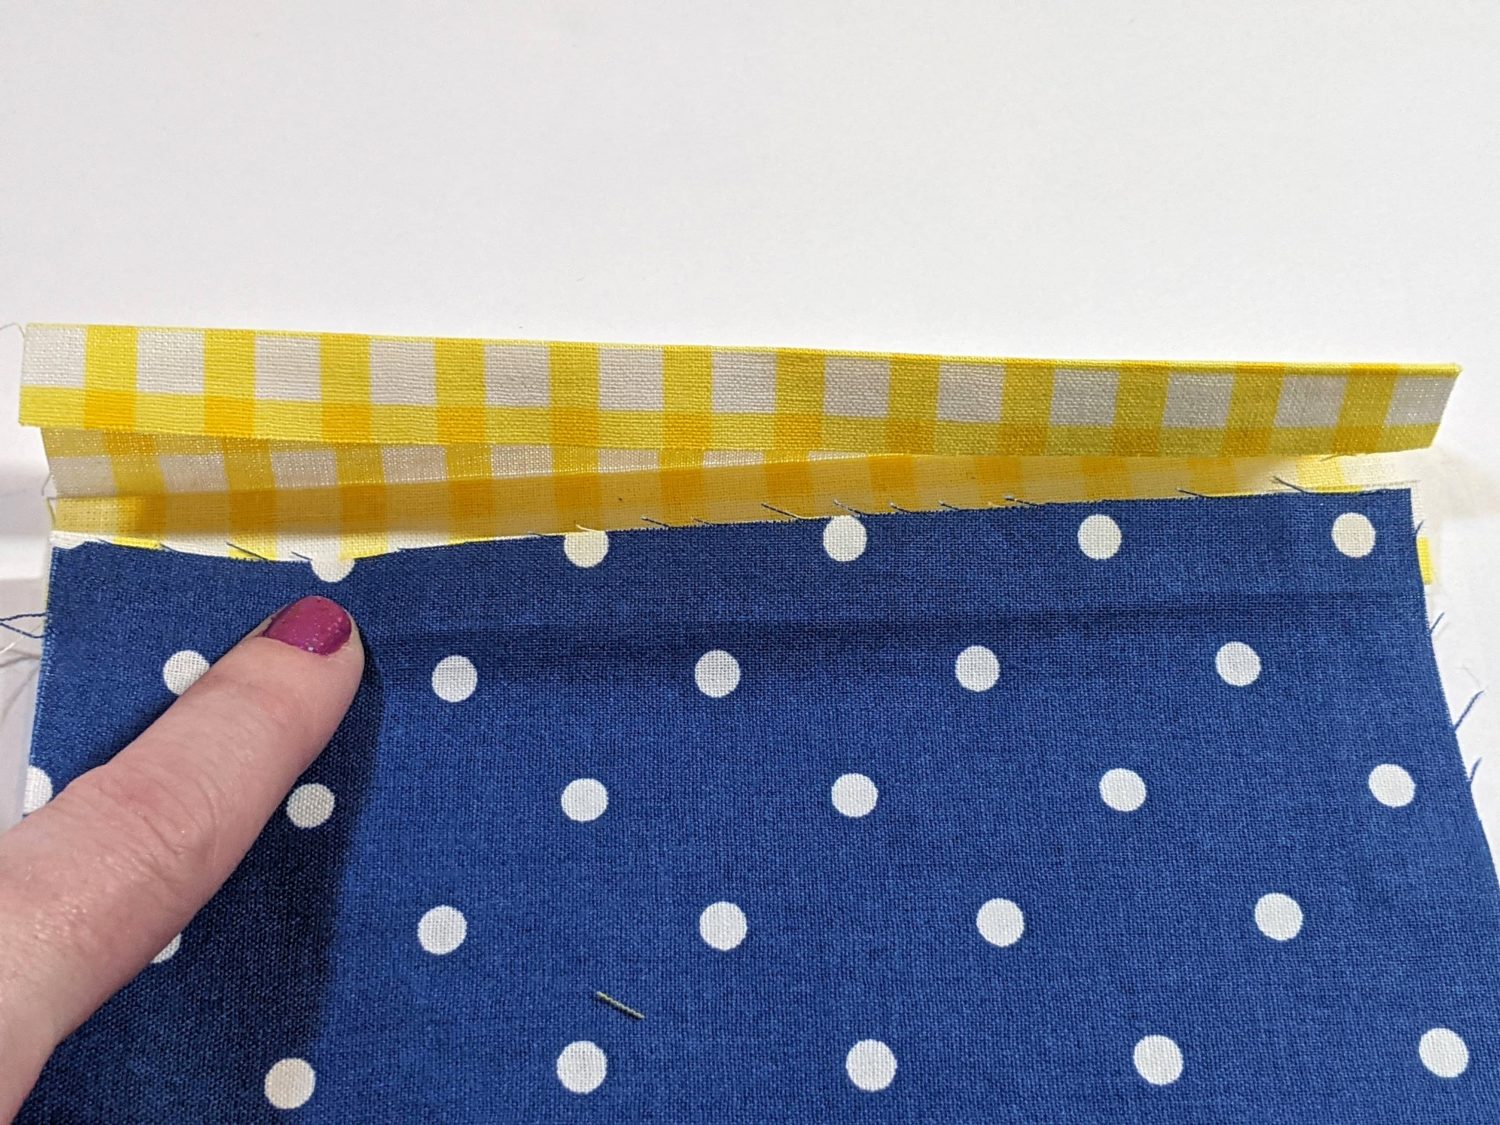
Line up raw edge of apron with one raw edge of band
Sandwich the main apron with the band
- Pin in place along the inner edge of the band
- Topstitch along the inner edge of the band and along the 2 short sides with a 1/4″ seam allowance
Top Band and Ties
- Take the top band piece and lay it out right side up
- Line up one short end of each of the tie pieces with the short ends of the top band piece with right sides together and pin
- Sew the ties onto either end of the top band piece with a 1/4″ seam allowance
- Press the seams open
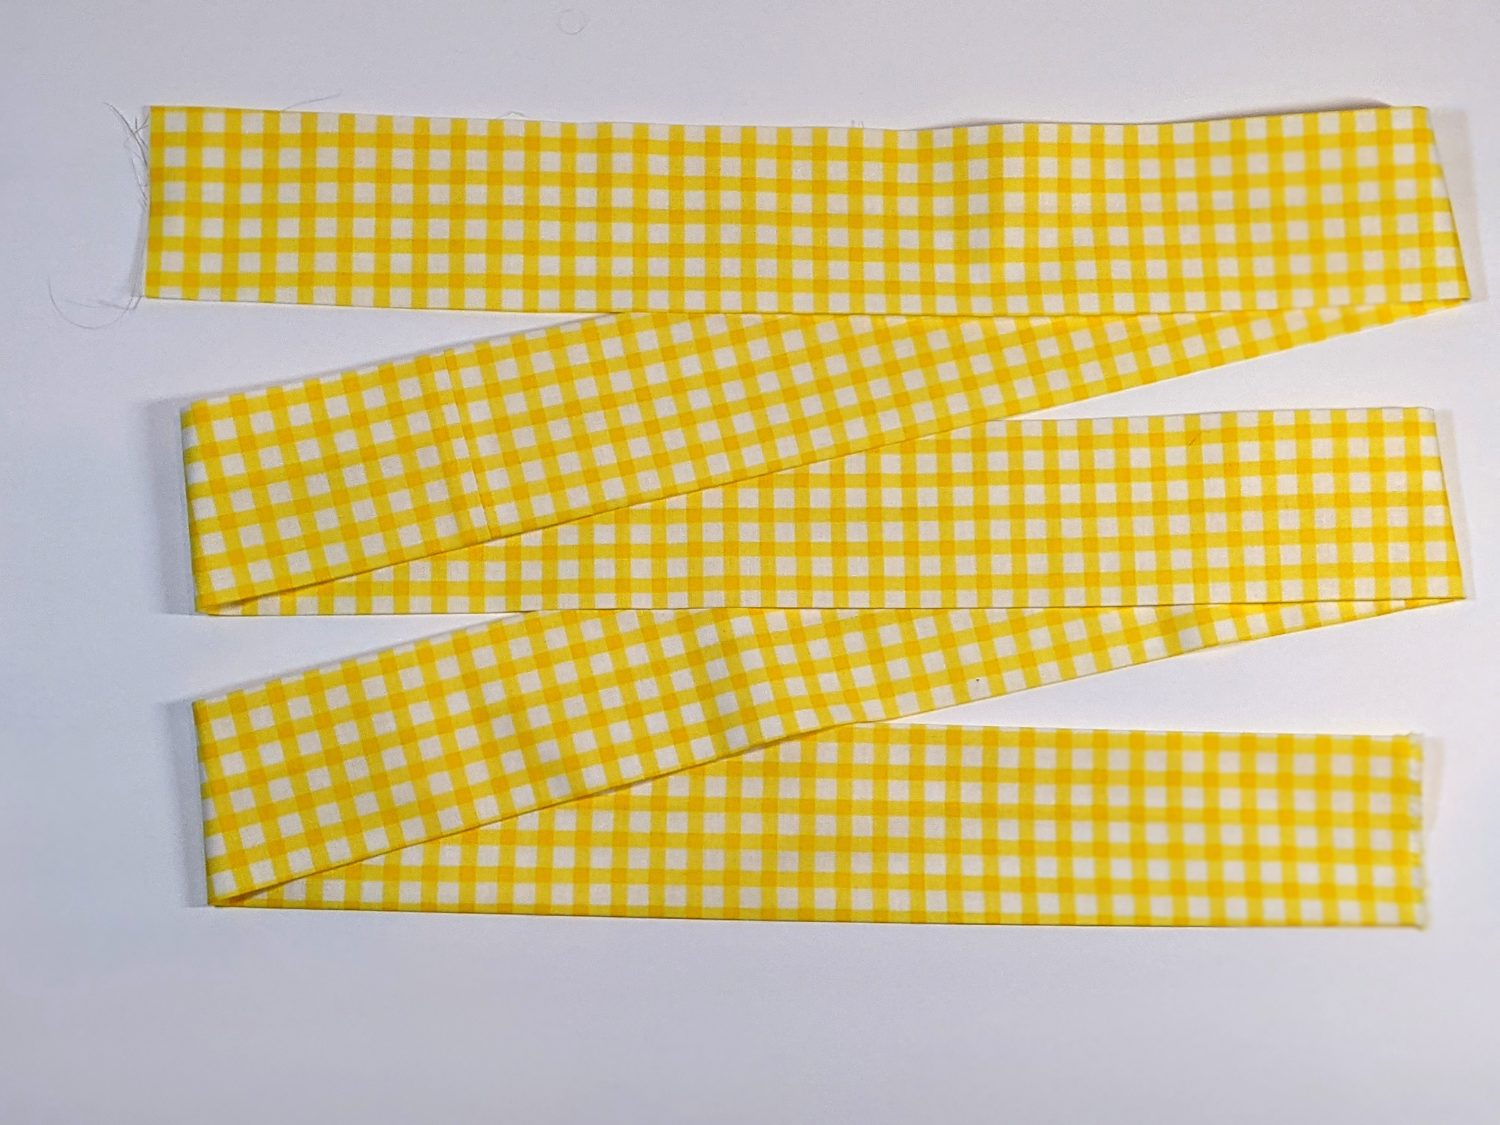
- Follow the same steps to fold and press the top band and ties (that are now one long piece) as you did in the steps for the bottom band
- Once folded and pressed, fold both short ends in 1/4″ and press
- Topstitch along each short end with a 1/4″ seam allowance
- Mark the center of the waistband with a pin
Pin ends of ties to ends of waistband and sew 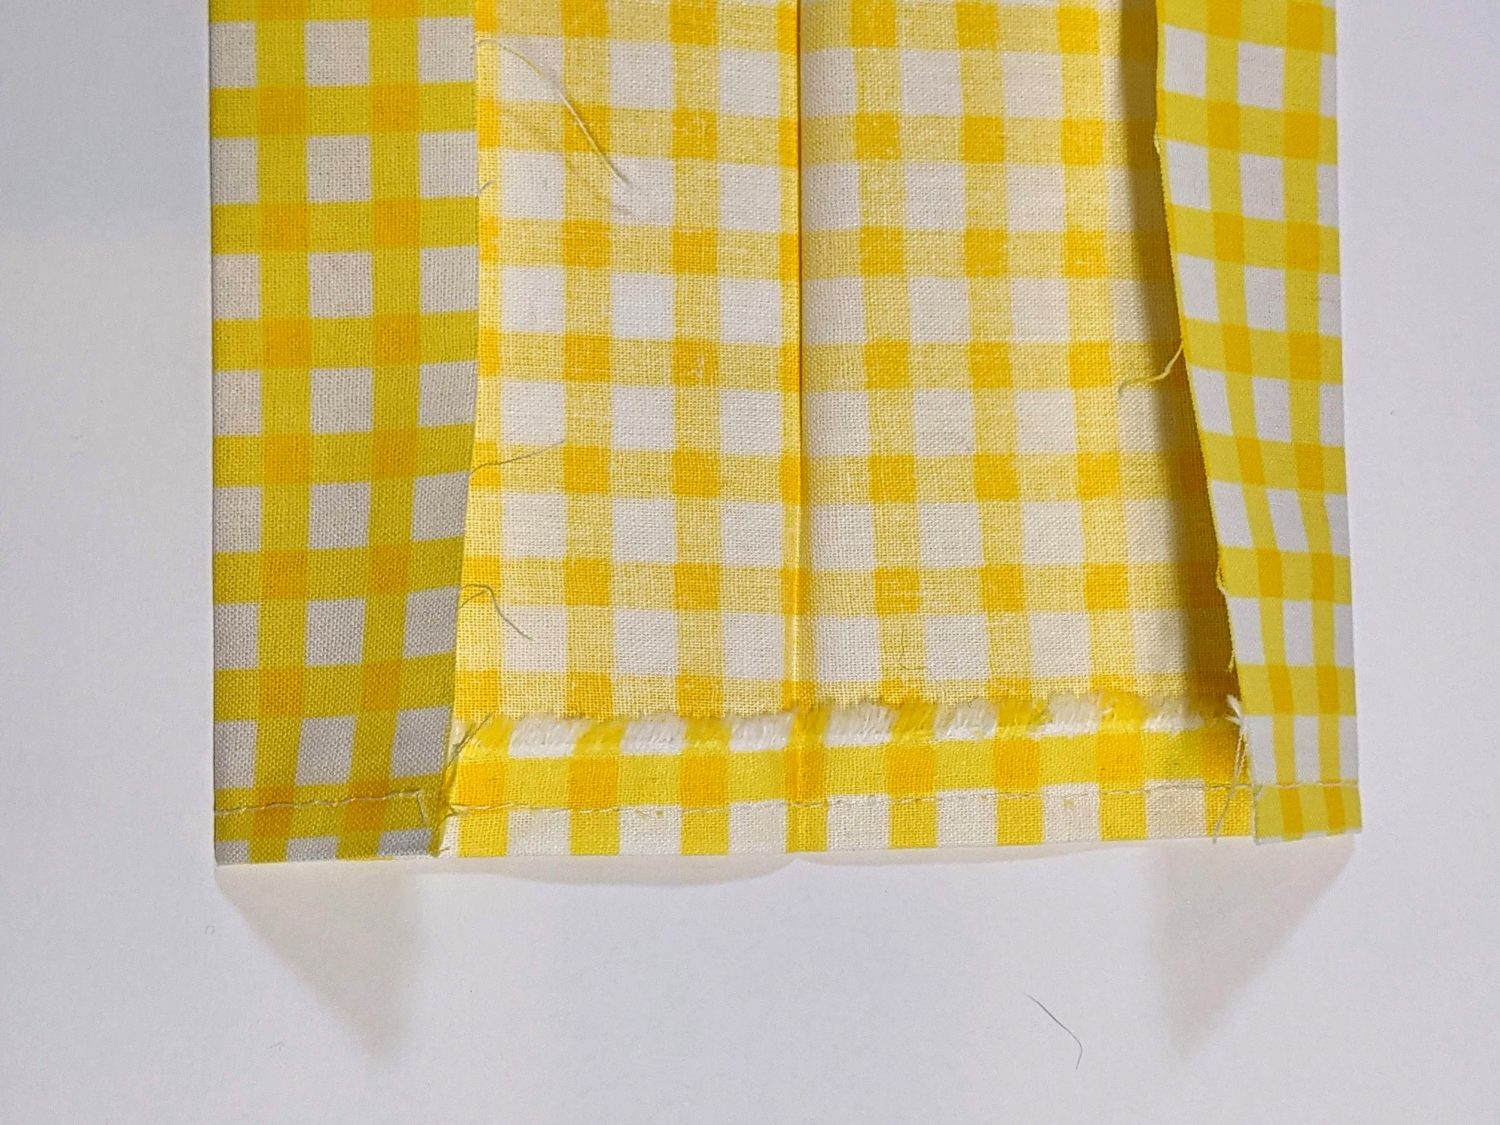
Fold in ends of ties and sew
Attach the Top Band to the Apron
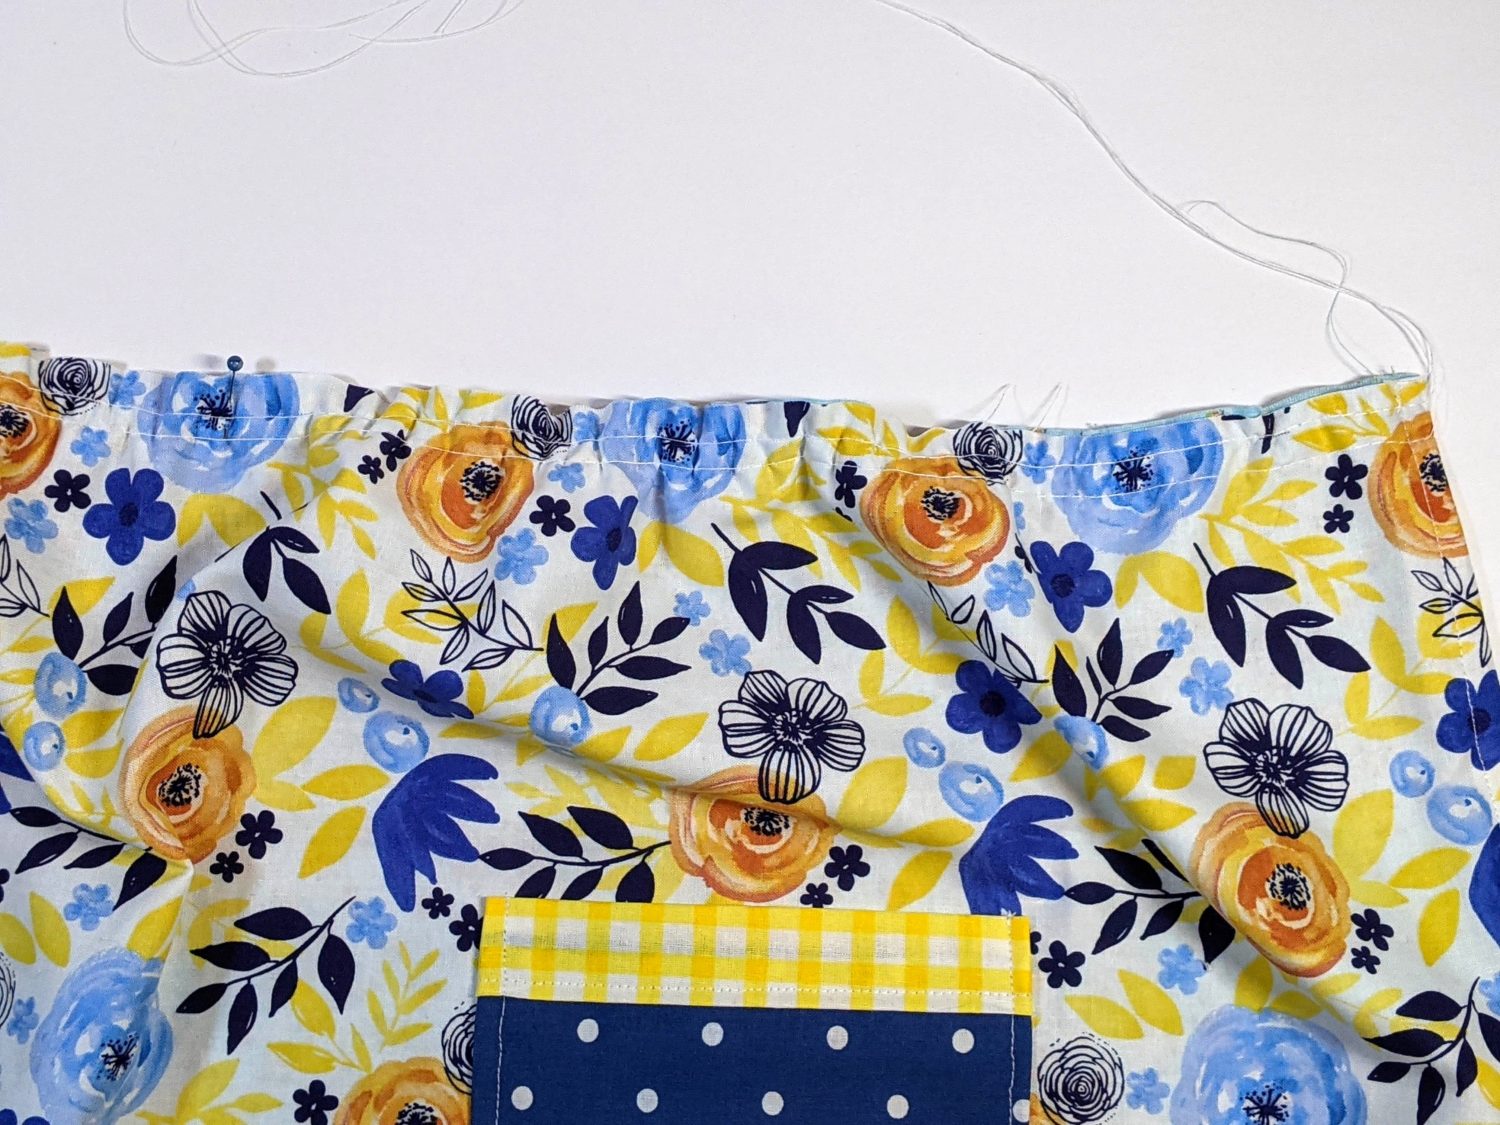
Before we can attach the band and ties onto the apron, we need to gather the top edge of the apron.
- Fold the main apron piece in half the short way and mark the center with a pin
- With you sewing machine on the longest straight stitch and loose tension, sew along the top edge of the apron 1/4″ in from the edge leaving the tails of the thread long
- Sew a second row of gathering stitches 1/4″ in from the previous row
- Gently pull on the bobbin thread to gather the top edge
- You want to gather it enough that it ends up being the same length as the top waistband piece in between the seams where the ties are attached
- Once the apron is the correct length, tie off the threads on either end to hold in place
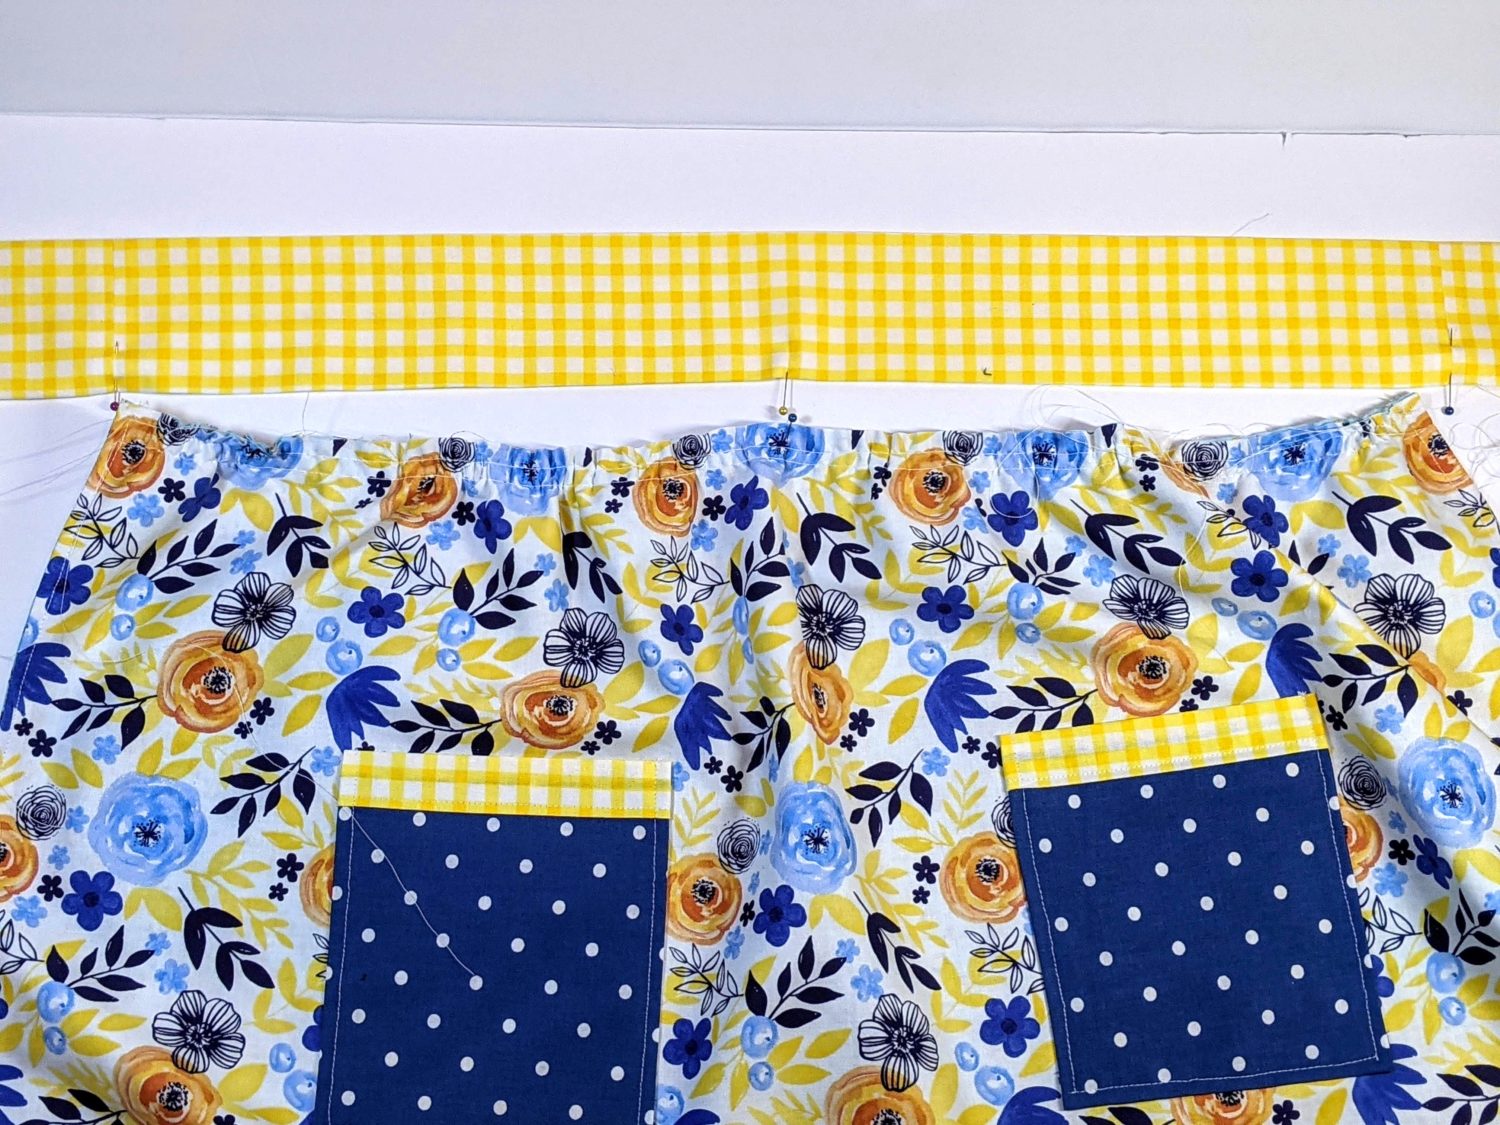
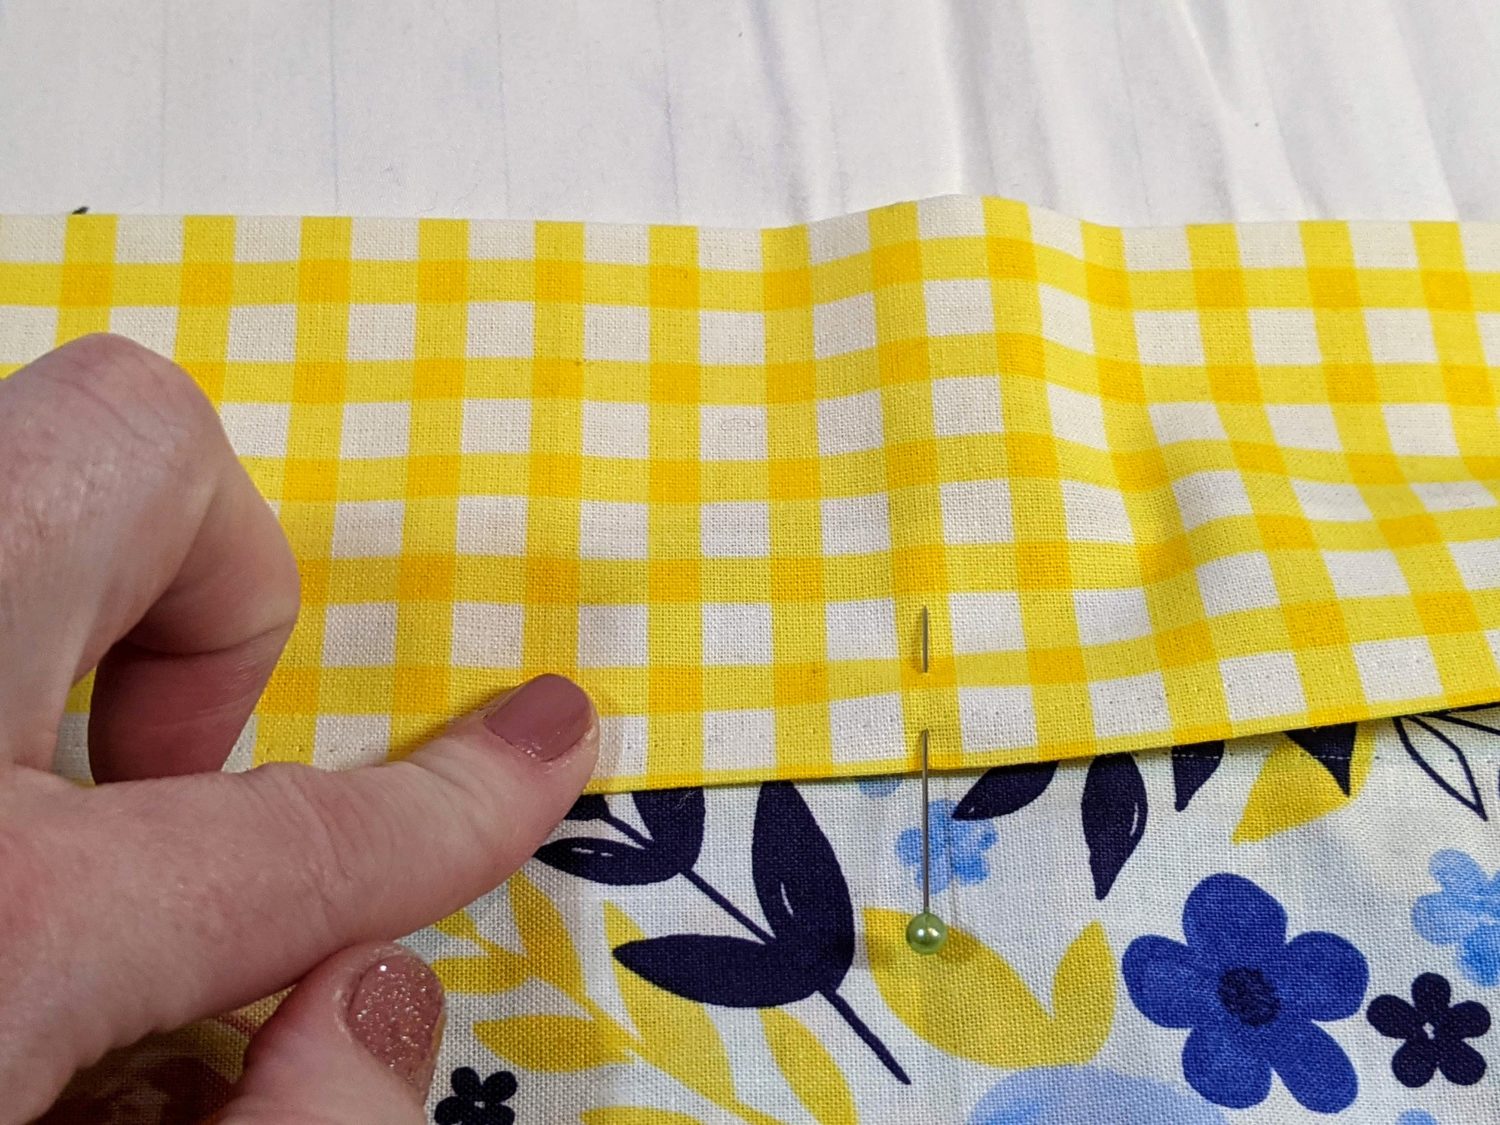
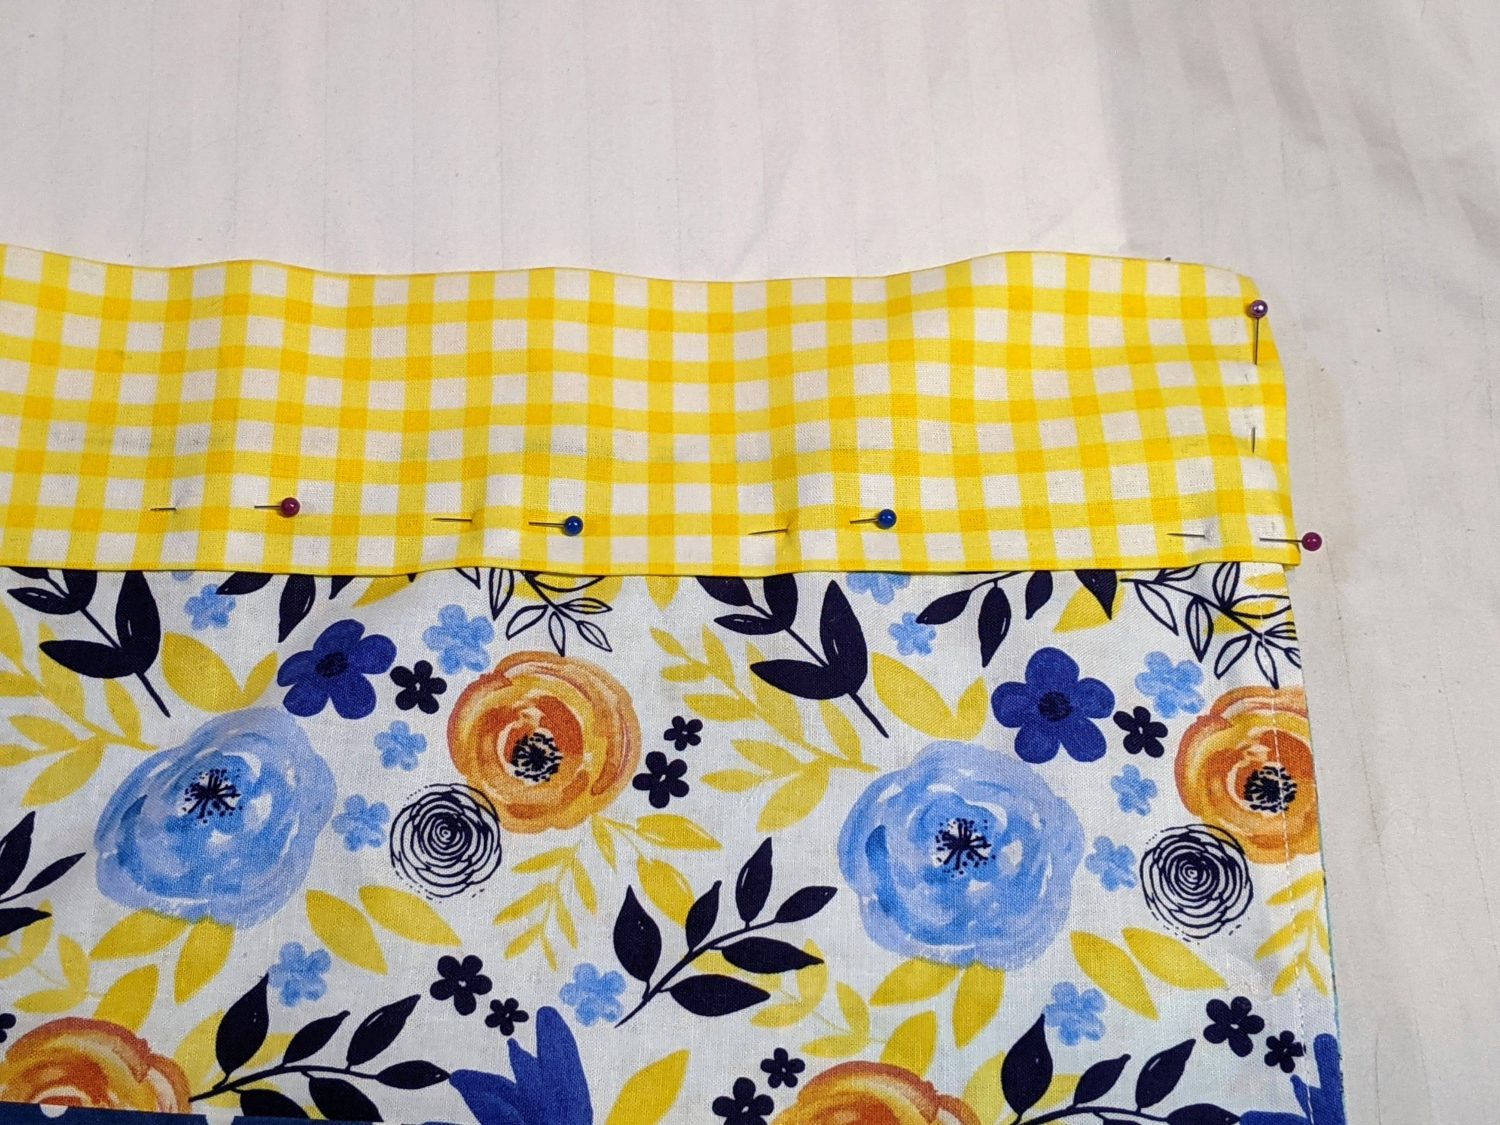
- Line up the two pins that mark the center of the band and the apron, and line up the sides of the apron with the seams where the ties attach
- You will place the top band on the apron the same way you did for the bottom band lining up the raw edges of the apron and the band and sandwiching the apron
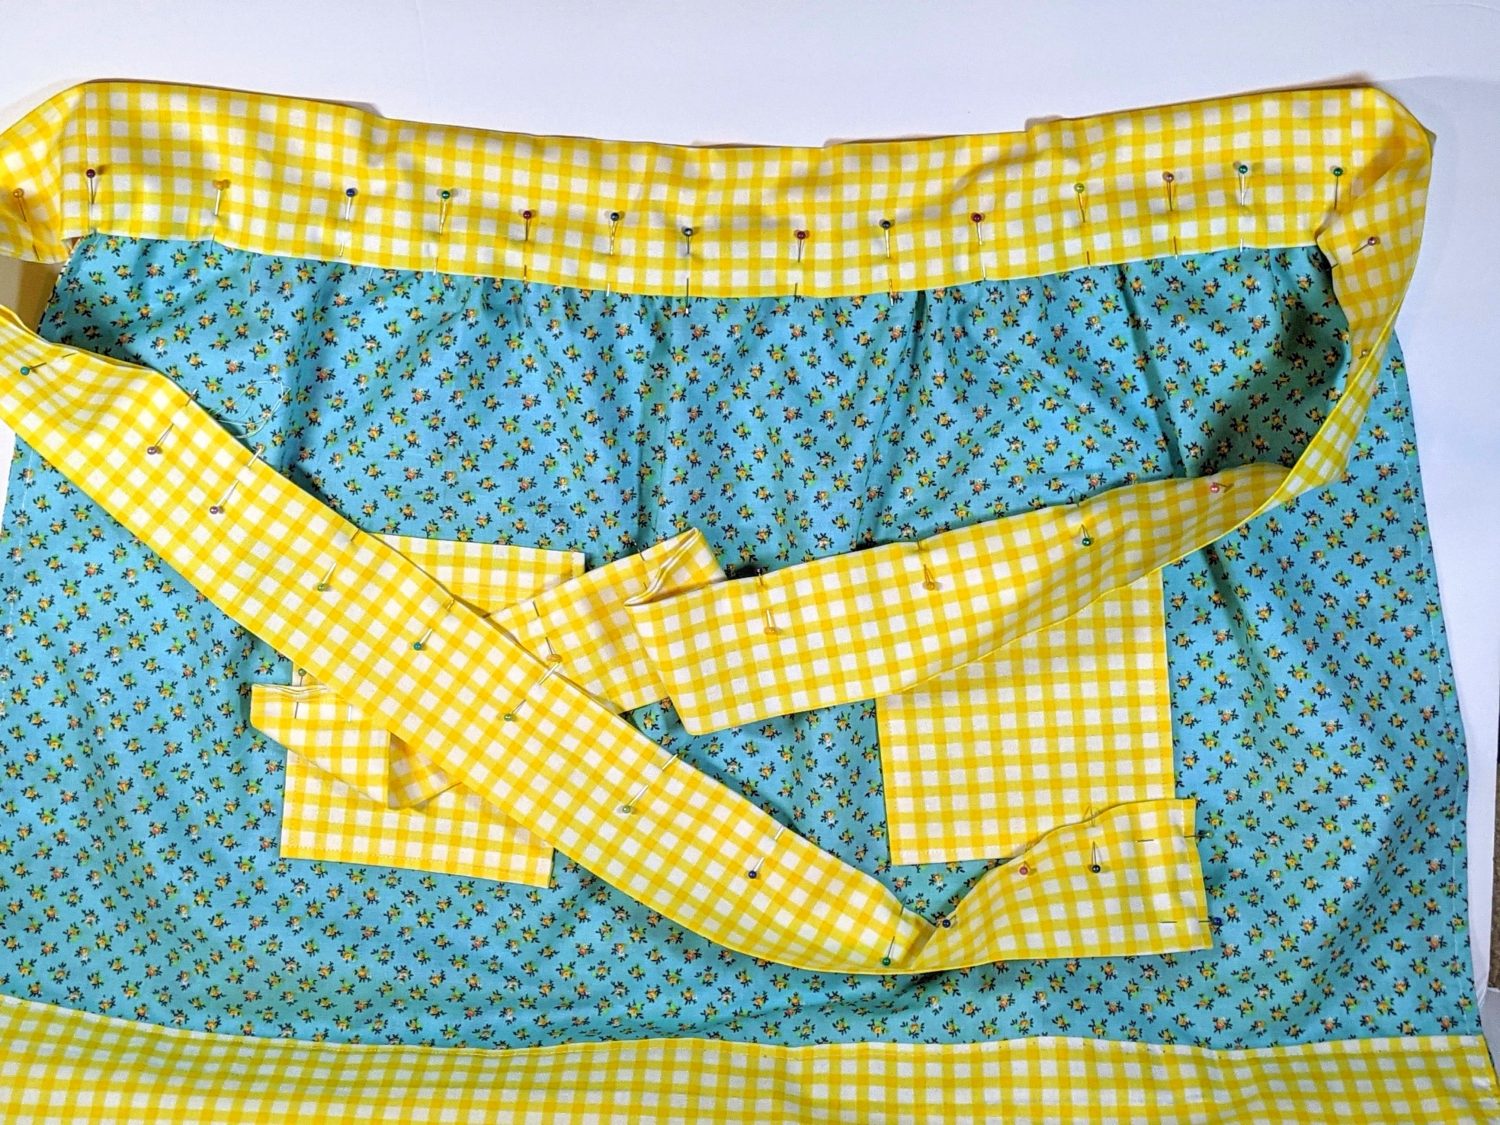
- Pin the band on along the body of the apron
- Pin along the open edge of the tie pieces and the short ends
- Sew along all pinned sides of the waistband and ties with a 1/4″ seam allowance
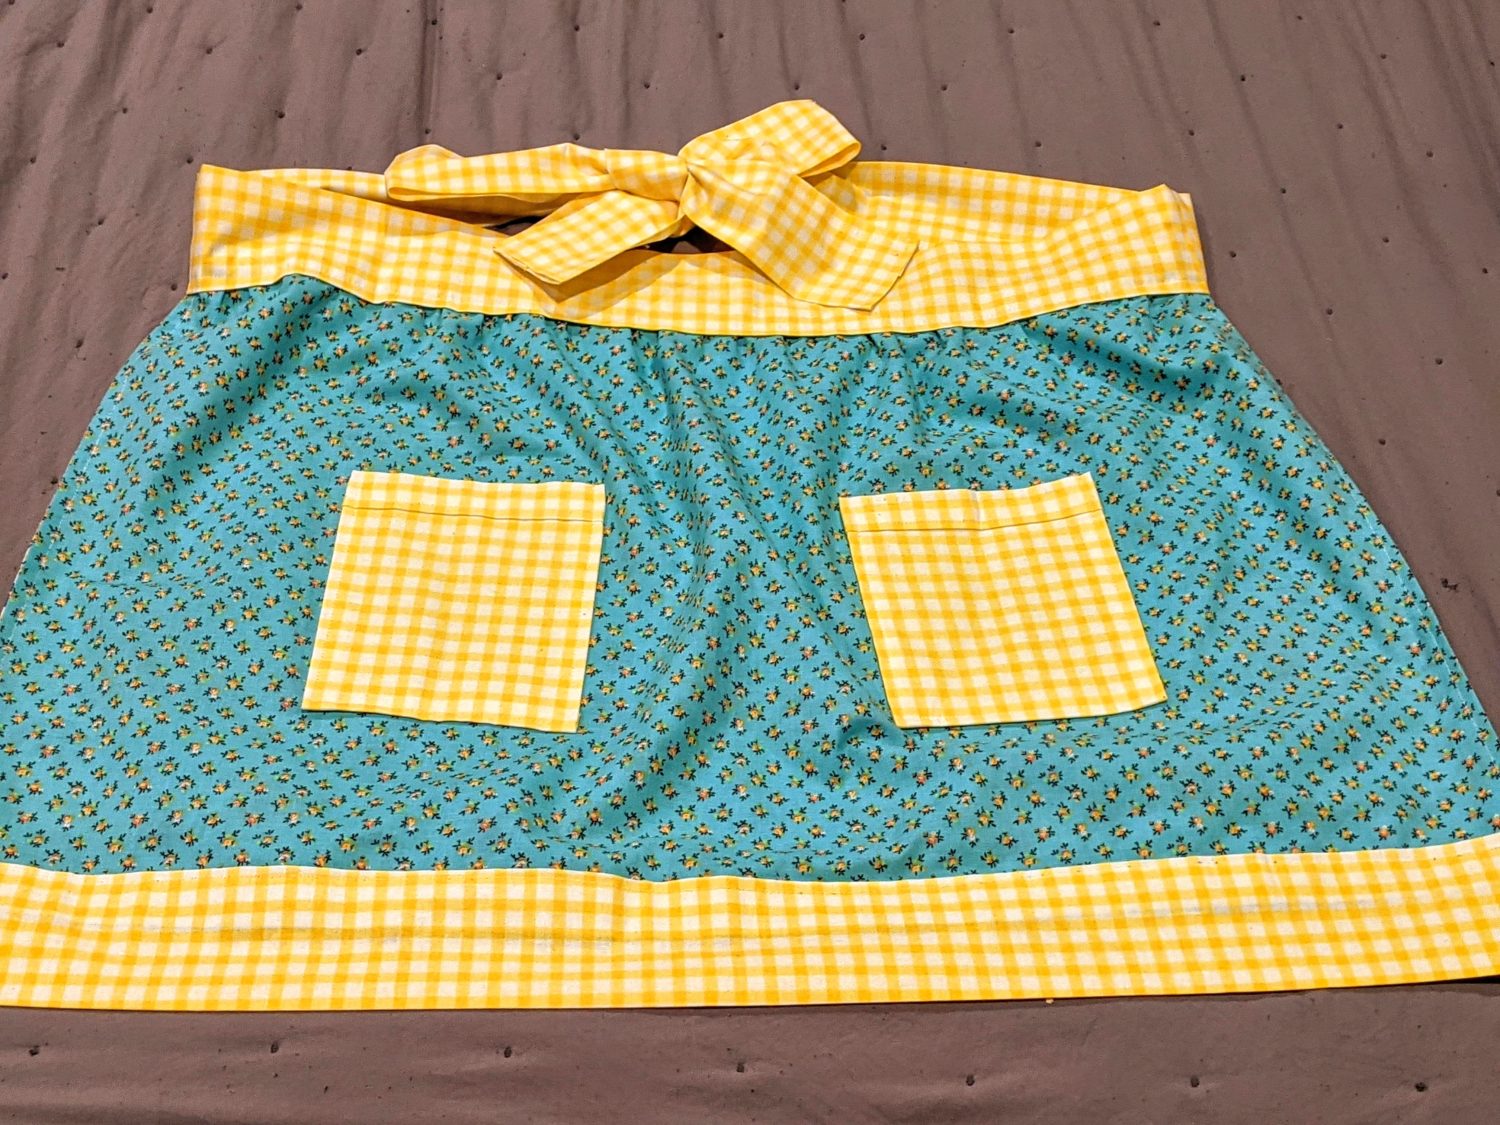

You’re done with your cute apron! Go wear it around and feel fancy while you cook and create!

Want more FUN DIY Freebies? Check out the FREEBIE TUTORIALS and the FREEBIE PATTERNS!
As always, we’re here to help if you need it! Join us HERE and on Facebook, Instagram, Twitter, Youtube, and Pinterest. We’re everywhere you are.
These are bar none the most thorough instructions I’ve ever seen… THANK YOU 😊
I made this as a Christmas gift for my mom and it matches napkins, I also made her. An easy sew!!