My kids have just gone back to part-time in-person school. For some reason, my 13 year old no longer wants to take the cute pink lunch bag she had from the beginning of middle school long ago, and my other girls wanted new lunch bags too. They wanted new backpacks, but I drew the line at lunch bags. I cut apart a paper lunch bag to figure out how big I wanted it to be when finished and made adjustments from there.
Supplies
- Paper to make a pattern (or you can just measure and cut if you’d prefer)
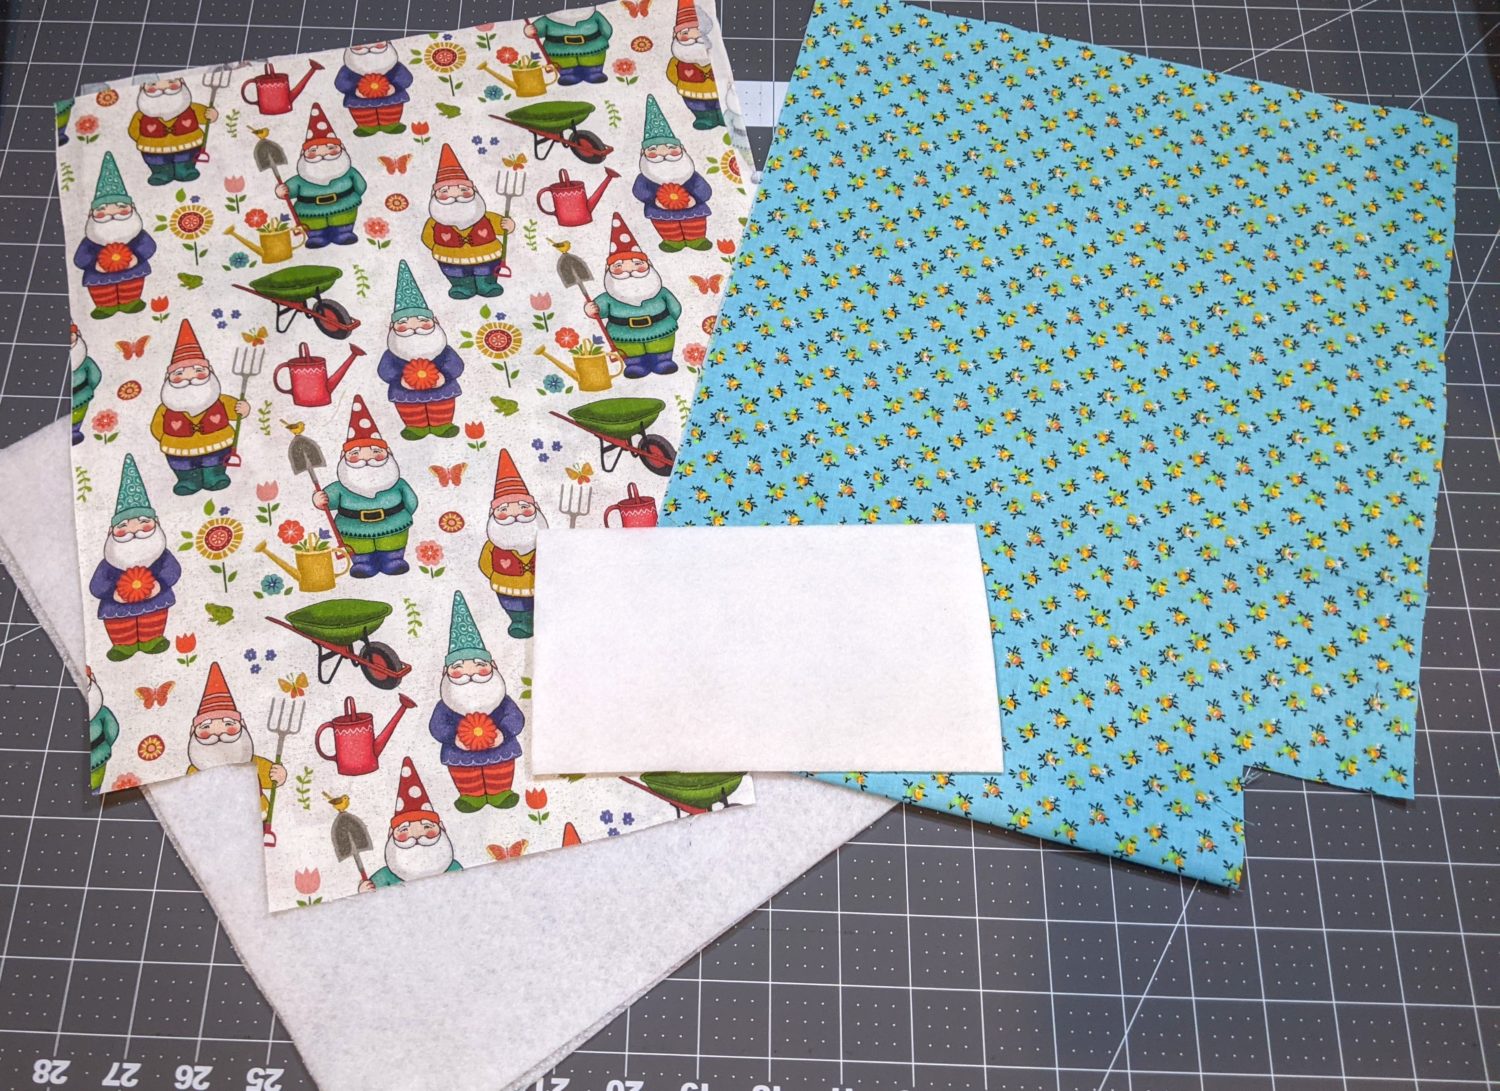
- Woven fabric: 1 main and 1 lining, each measuring 30″ X 12″
- Interfacing: this is optional, but gives it a lot more stability
- Fusible fleece interfacing
- Pellon 71F fusible stabilizer
- Iron
- Sewing machine
- Needle and thread
- Small piece of elastic or a hair elastic
- Buttons: 1 large, 4 small
Making the Template
- Tape paper together, or use a large sheet of paper to draw your template on
- Fold your paper in half vertically
- Measure up 15″ and across 12″ then draw your lines and cut out. You will have a folded 15″ X 12″ rectangle.
- On the folded edge, at each corner, measure over 2.5″ and up 2″ then draw your lines and cut the corners out.
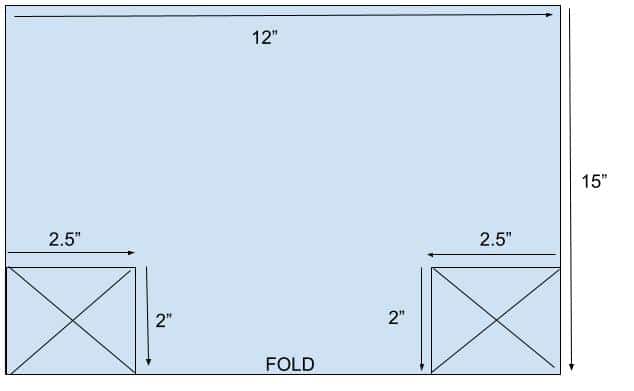
Bag template folded 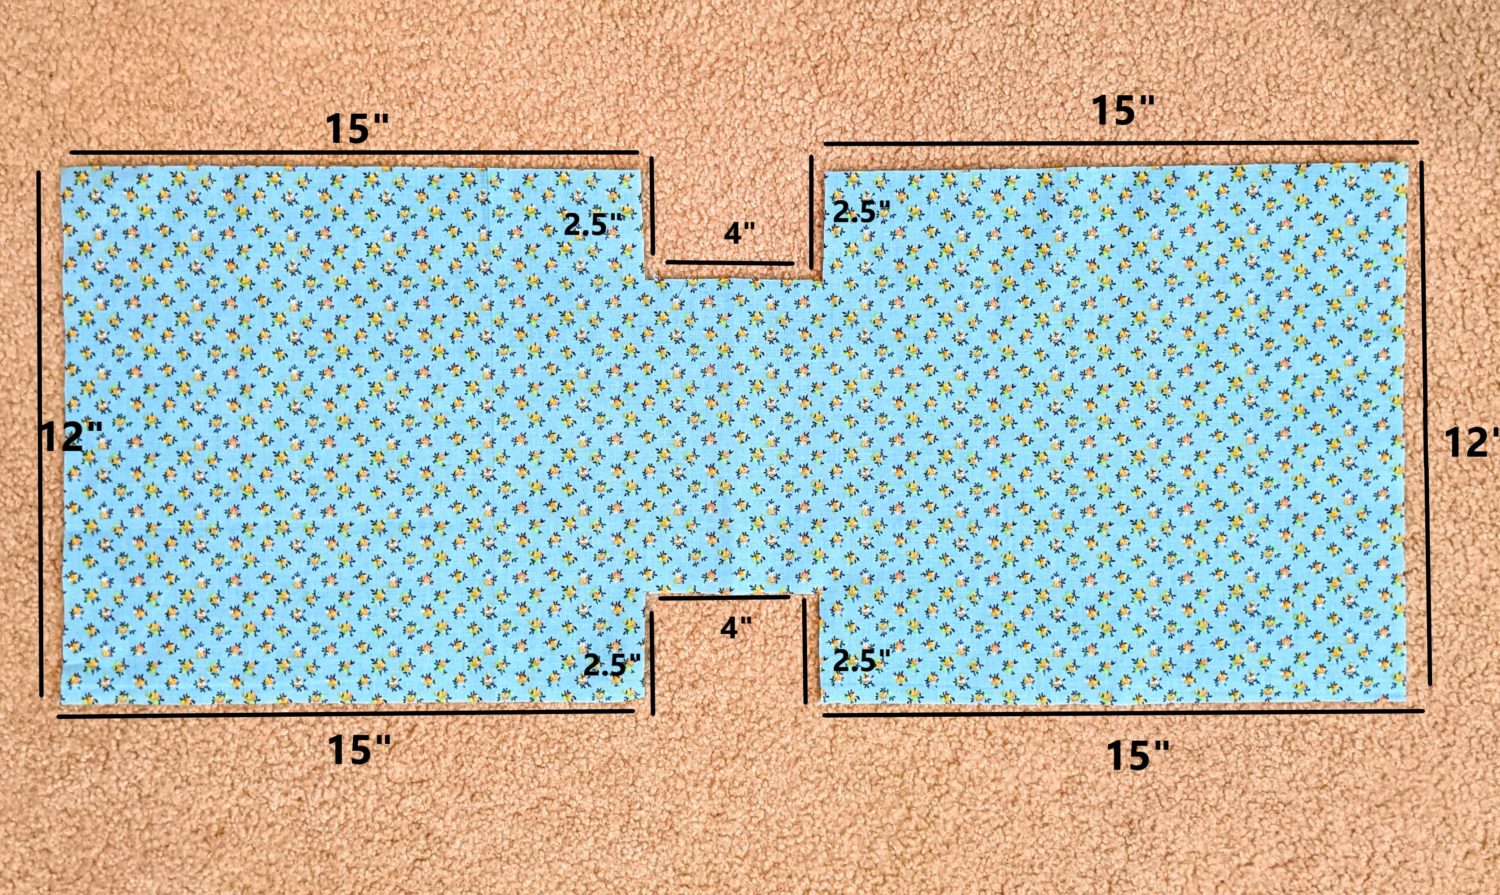
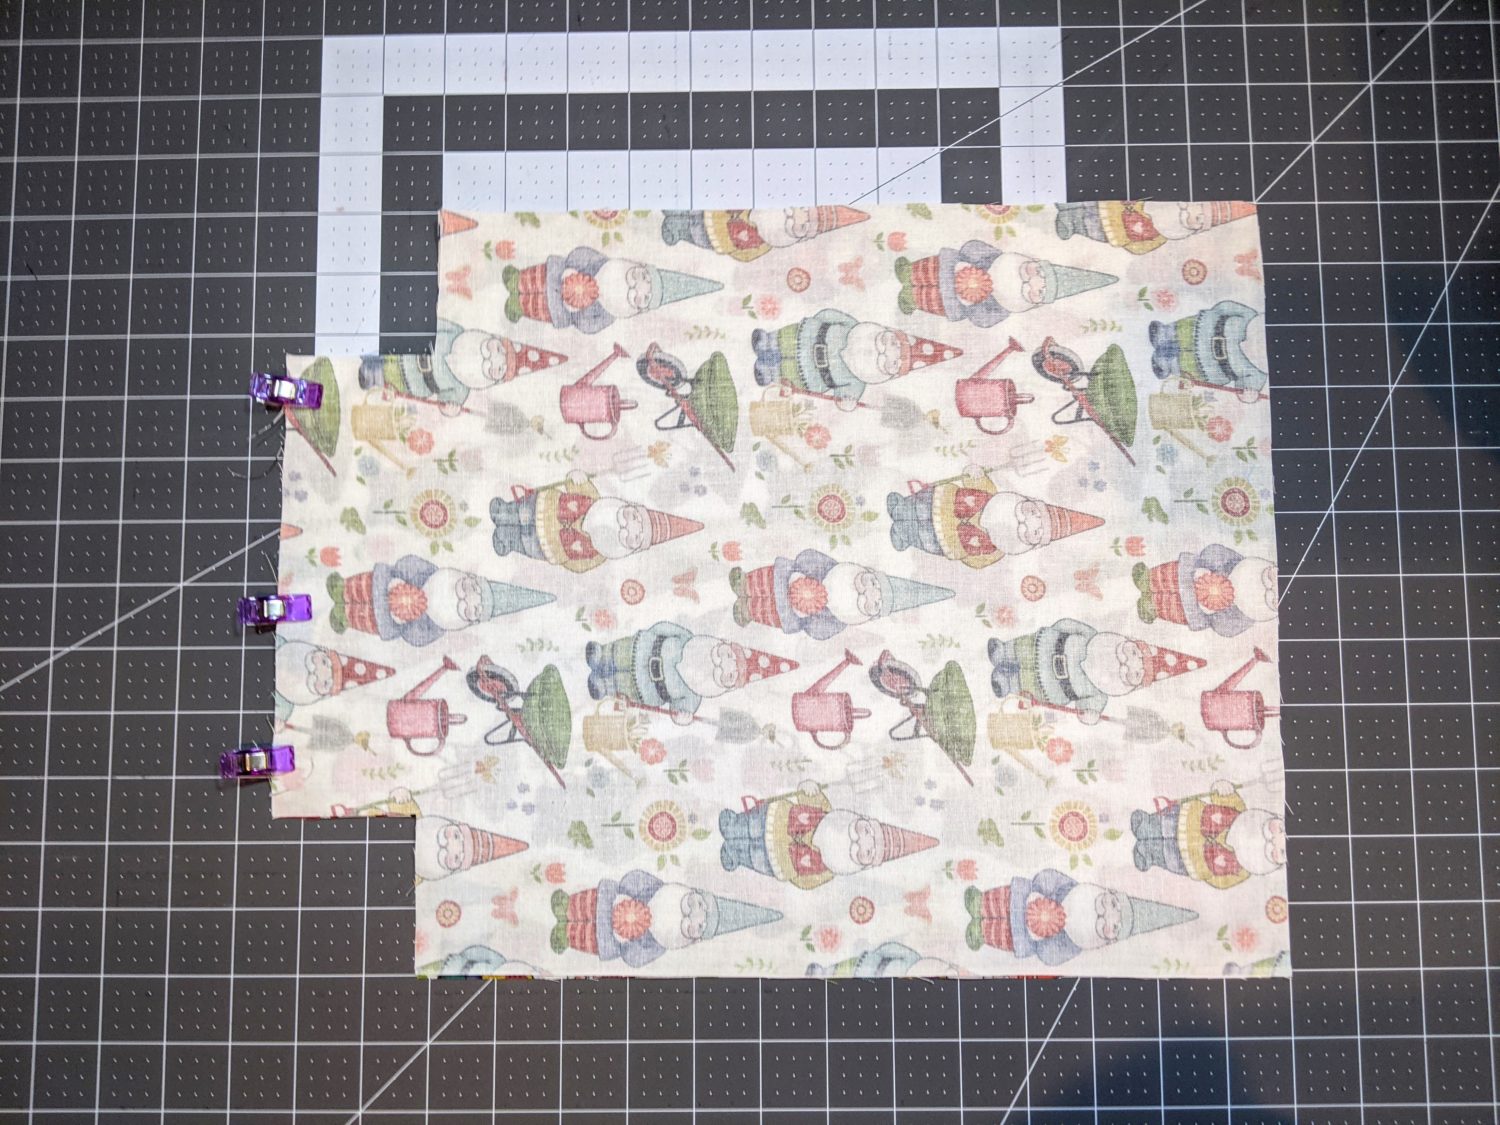
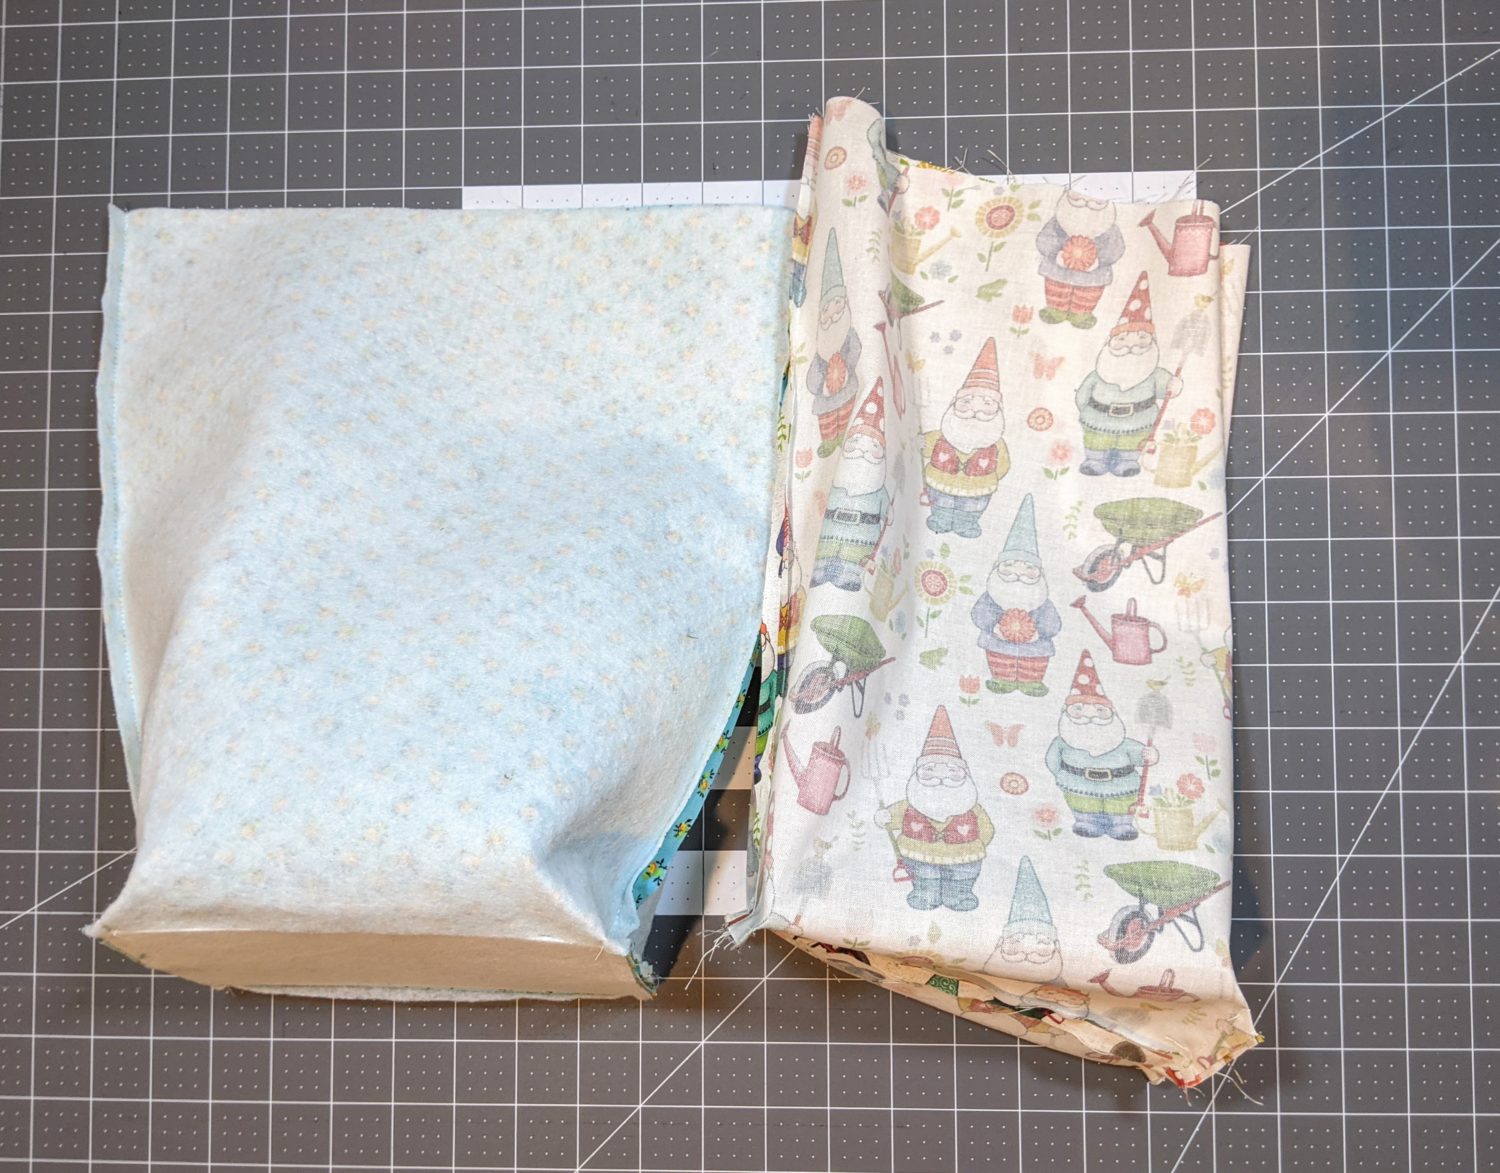
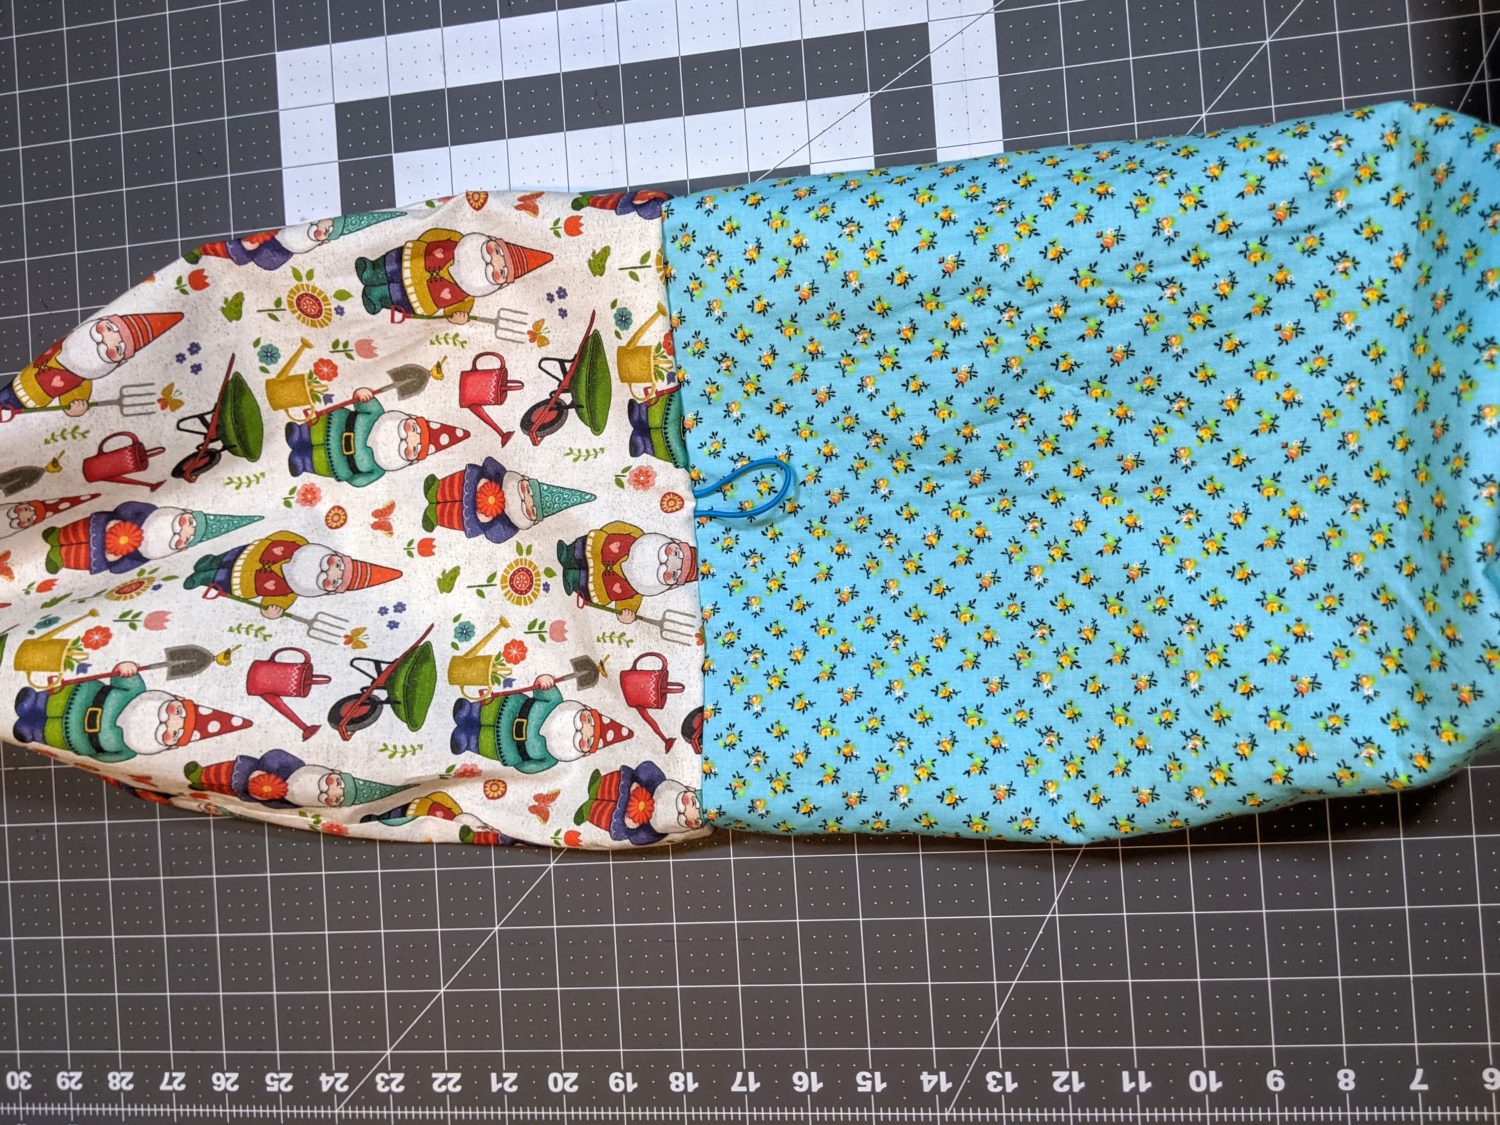
Bag fabric cut and laid out flat
Cut out your Pieces
*You can cut your main and lining either on the fold or lay the full piece out flat. If you have a directional print (like my gnomes are) you will cut two separate pieces with added seam allowance.* *If you want your bag to have structure, I recommend using interfacing. If the structure doesn’t matter to you, you can just skip over that part*
- Main and lining fabrics: Cut one of each using your template
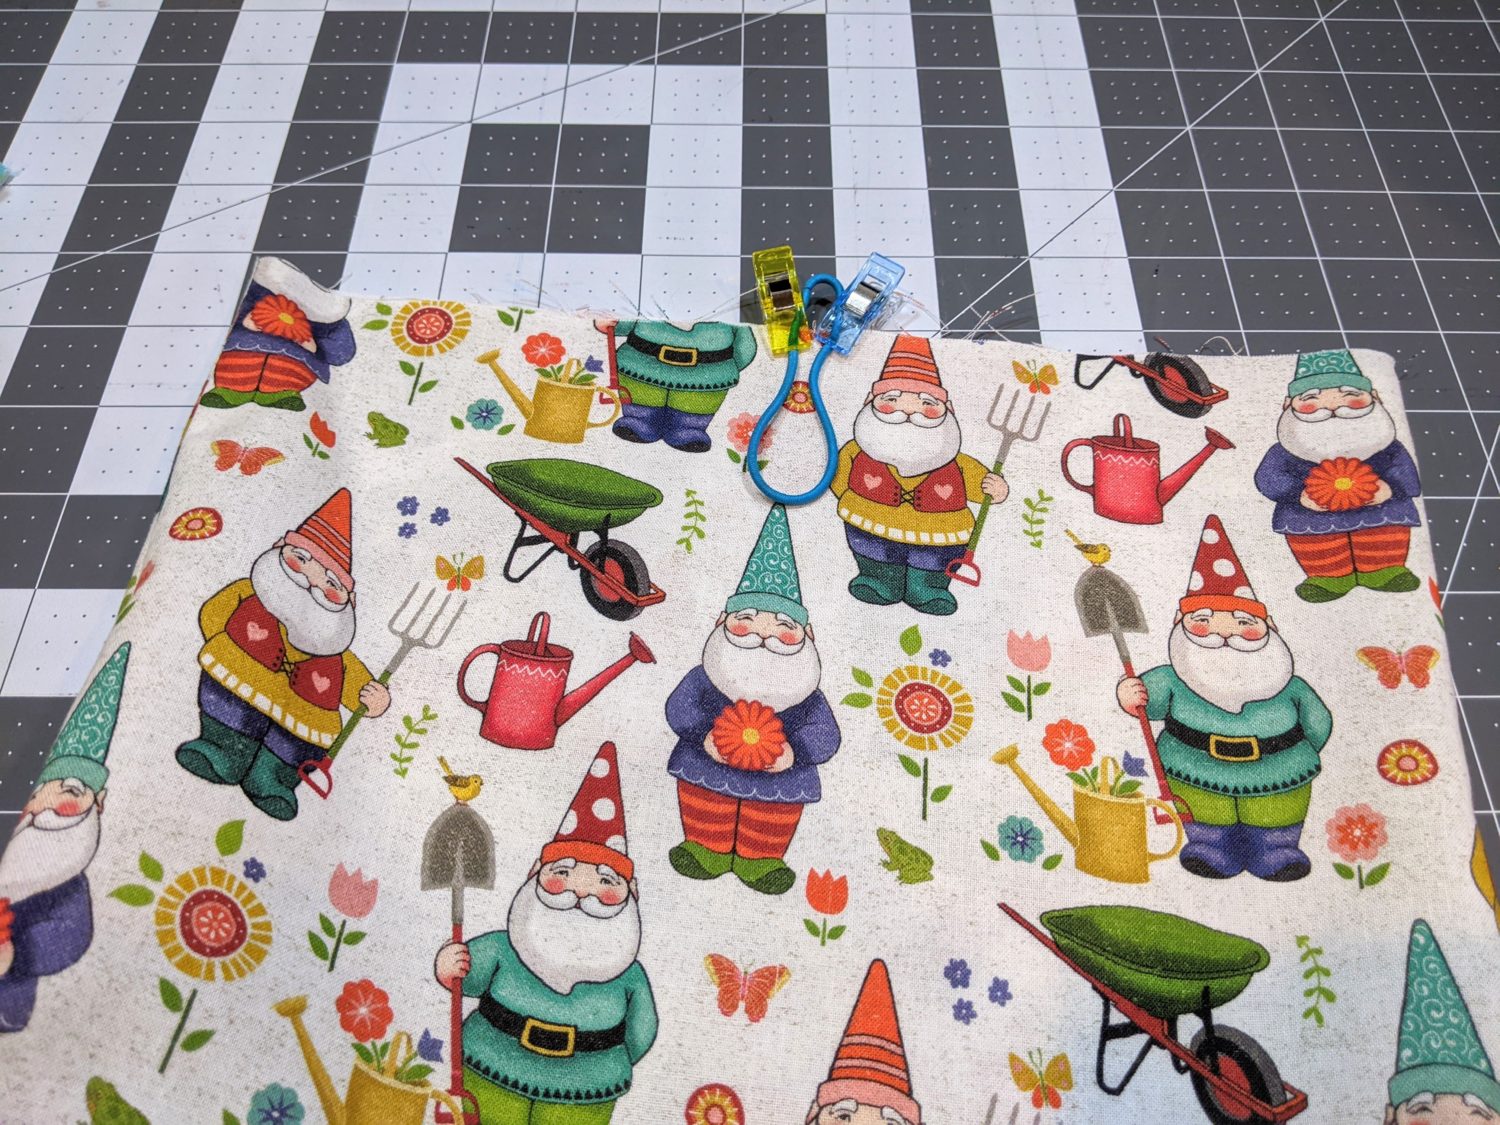
- If you have a directional print, do not cut on the fold. Cut each piece separately so the print is facing the correct way. At the fold line, cut 3/8″ below the pattern piece to add in your seam allowance.
- Interfacing:
- Fusible fleece: Cut two 13″ X 12″
- Pellon 71F: Cut one 7″ X 4″
Fuse your Interfacing
* If your lining fabric is a directional print and you cut it in two separate pieces, skip down to the next section first before attatching your interfacing.
- Lay your lining fabric piece wrong side up.
- Start with lining up the Pellon 71F on the center rectangle part of the bag.
- Set each piece of fusible fleece on either side of the bag butting the bottom edges up against the Pellon 71F but not overlapping.
- Iron on to adhere it to the fabric per the instructions included with your interfacing.

Sewing the Main and Lining Pieces
All pieces are sewn using a 3/8″ seam allowance and a straight stitch unless otherwise stated.
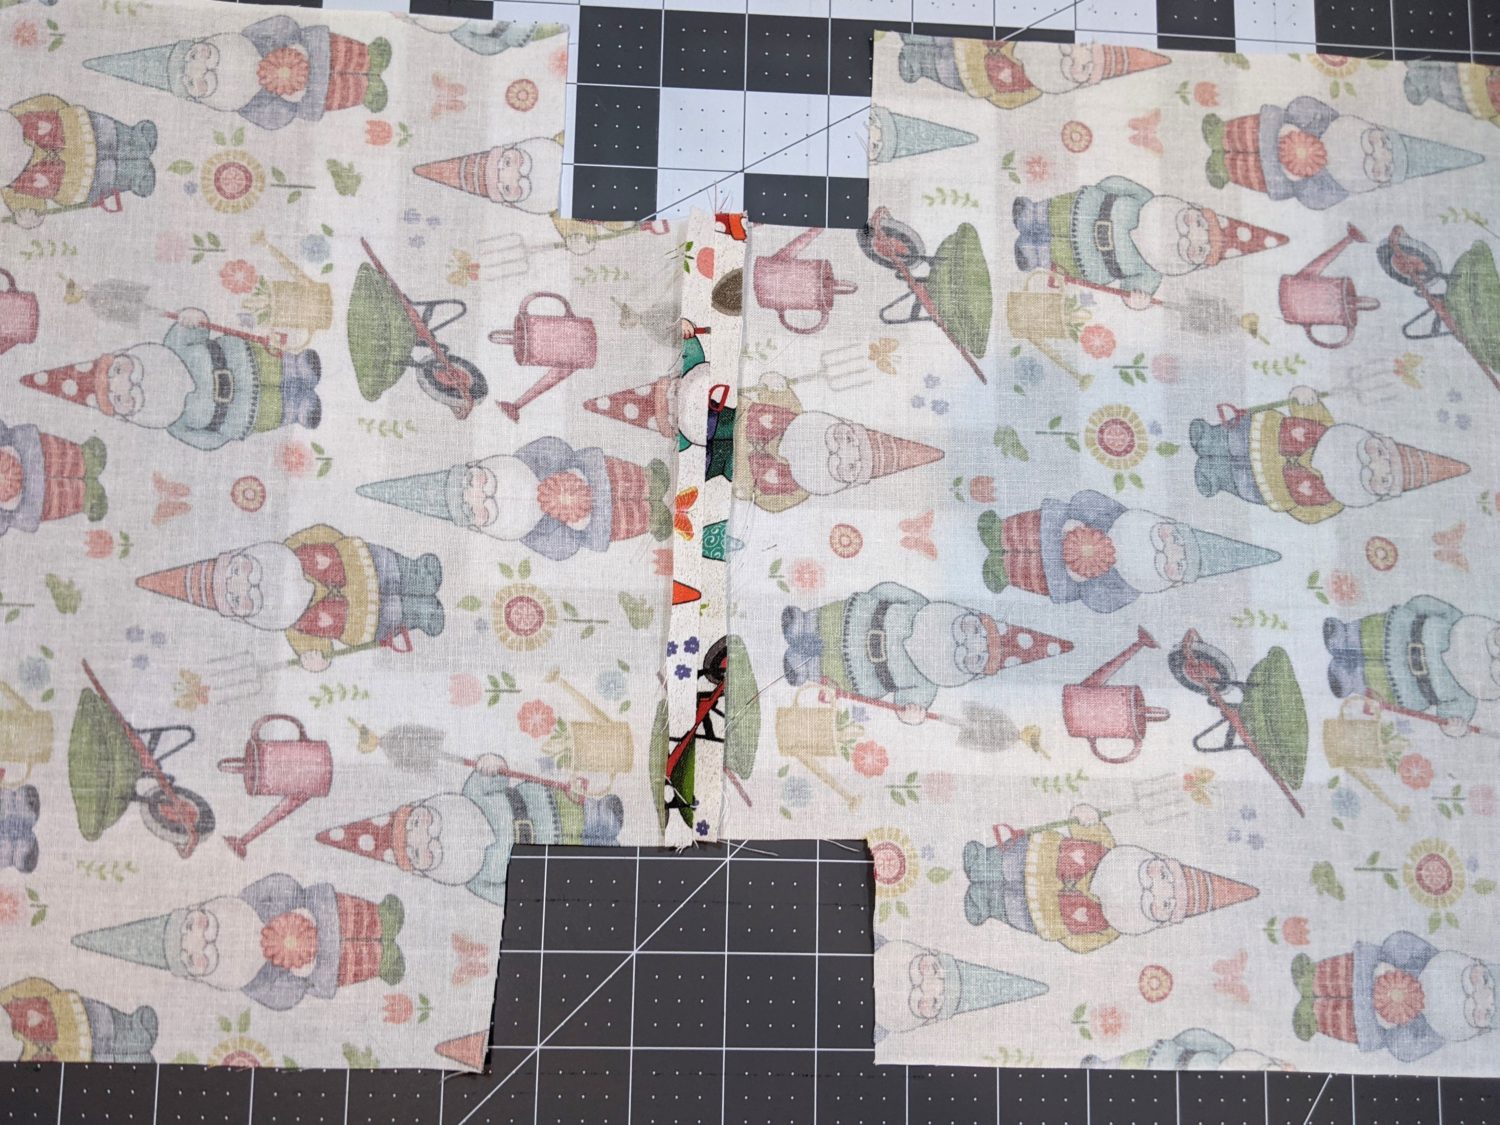
- If you cut two separate pieces instead of cutting on the fold:
- stack your pieces on top of each other right sides together.
- Line up the bottom edge where the fold line was on the template and pin together.
- Sew along the pinned edge then press your seam open.
- For both options of either cut on the fold or sewn at the bottom:
- Fold each piece in half at the fold marked on your template, lining up both vertical edges.
- Pin edges together.
- Sew both edges together then press your seam allowance open.

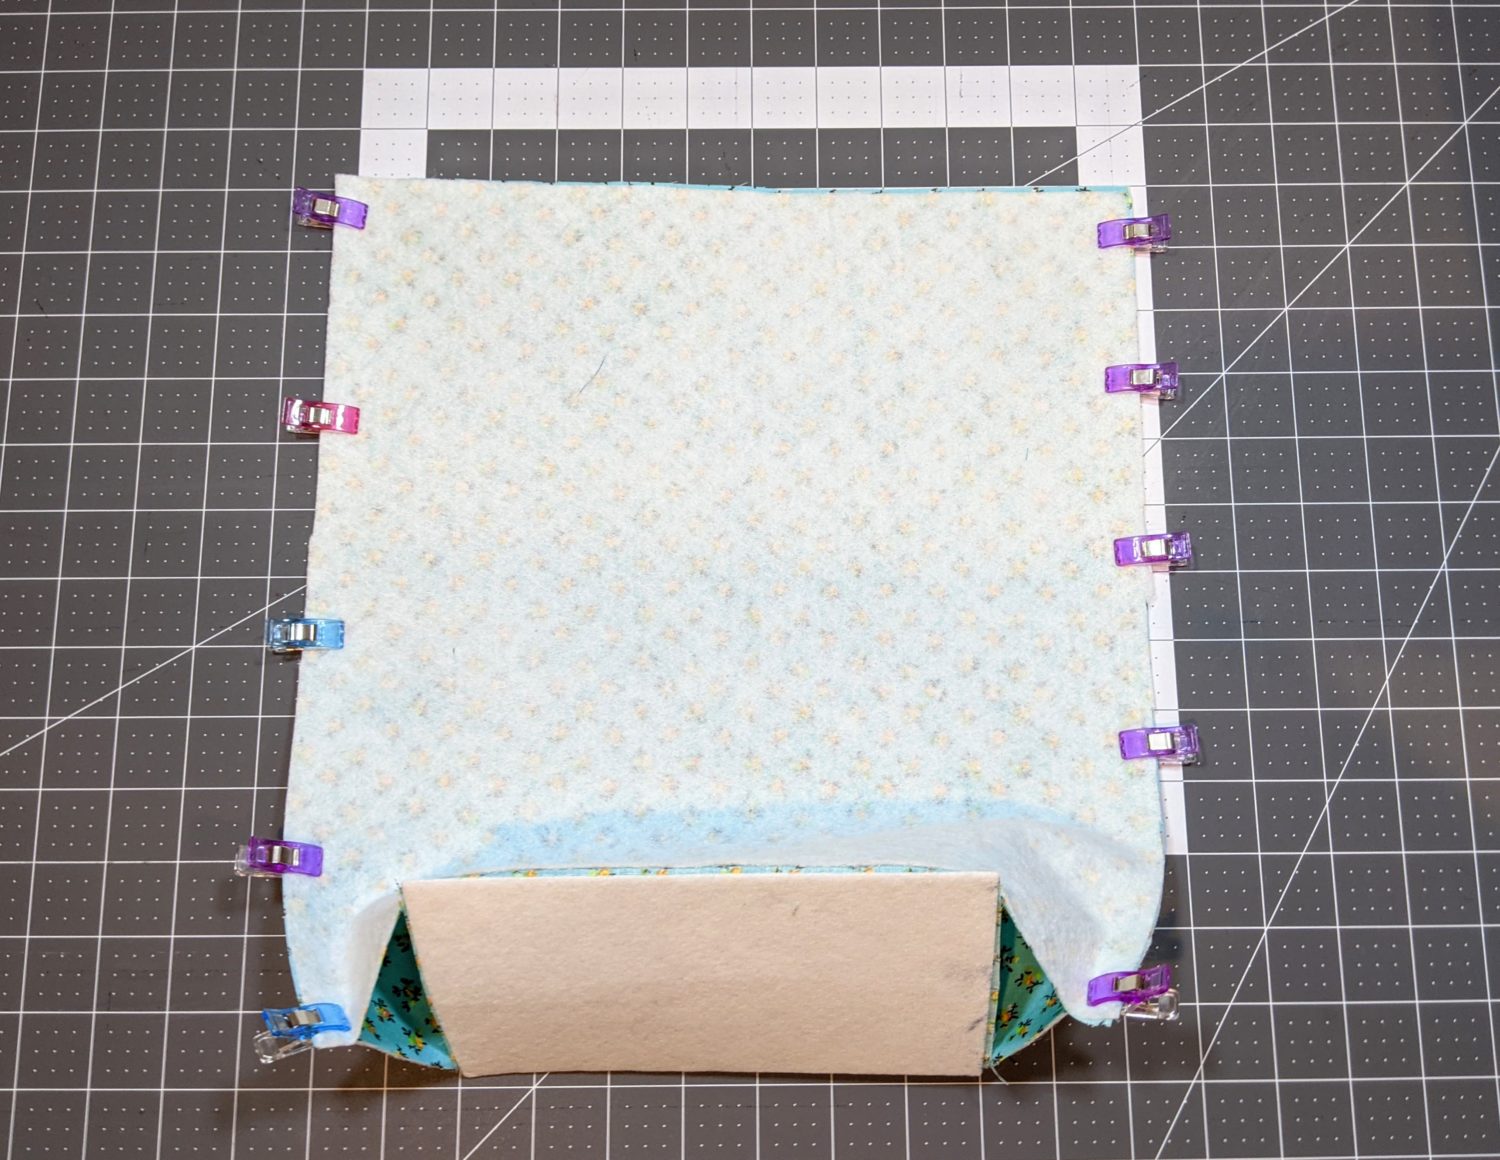
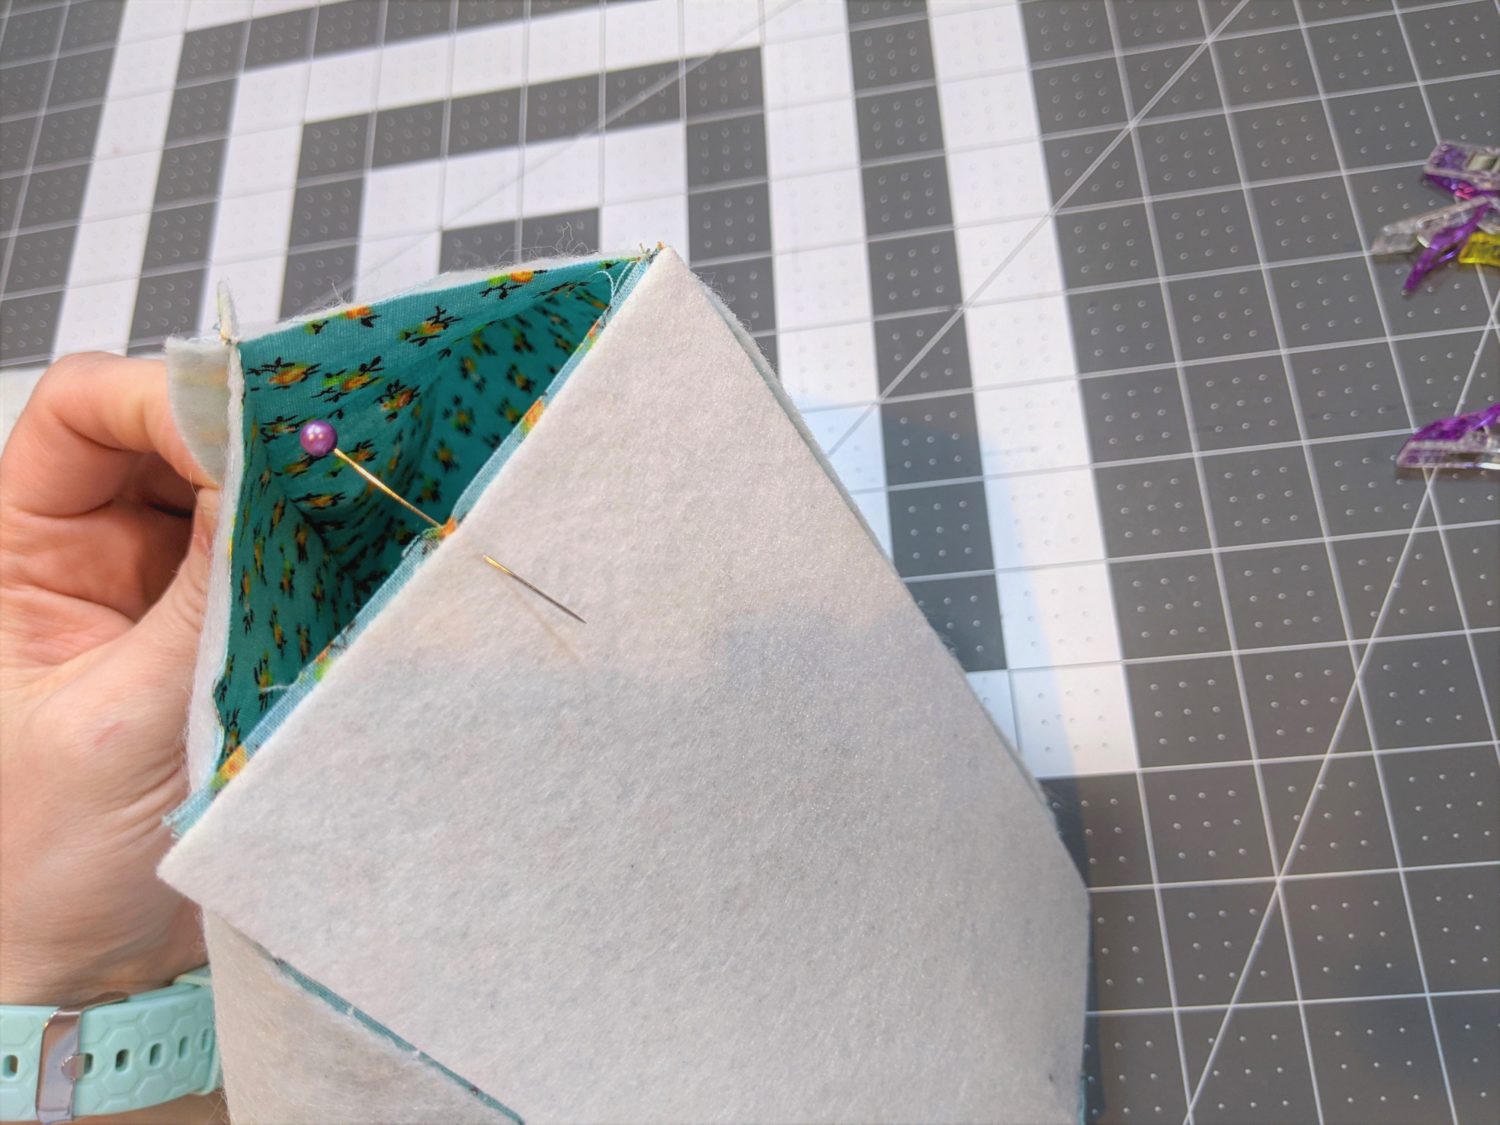
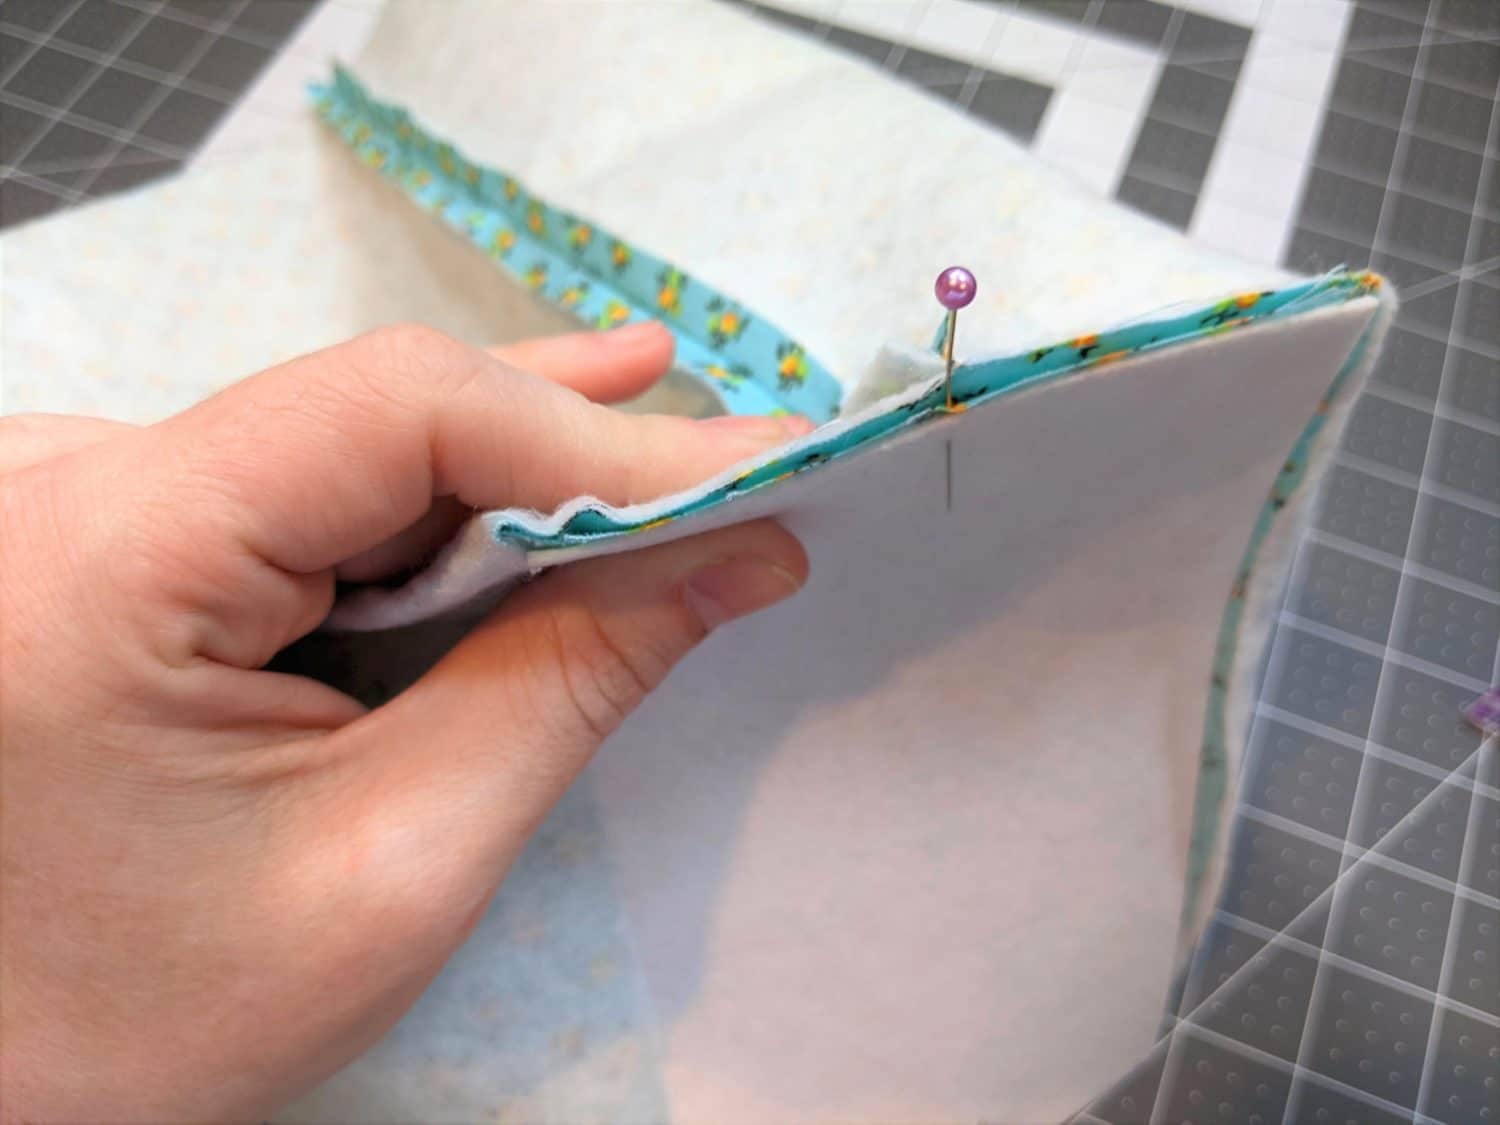
- Find the middle of the bottom piece and place a pin there. (If you sewed 2 pieces together, your seam is the middle.)
- Pull the bottom middle point up to meet the side seam, line them up, and pin together.
- Line up the rest of the bottom edge with the flattened side edge. (Click on pictures below to enlarge.)


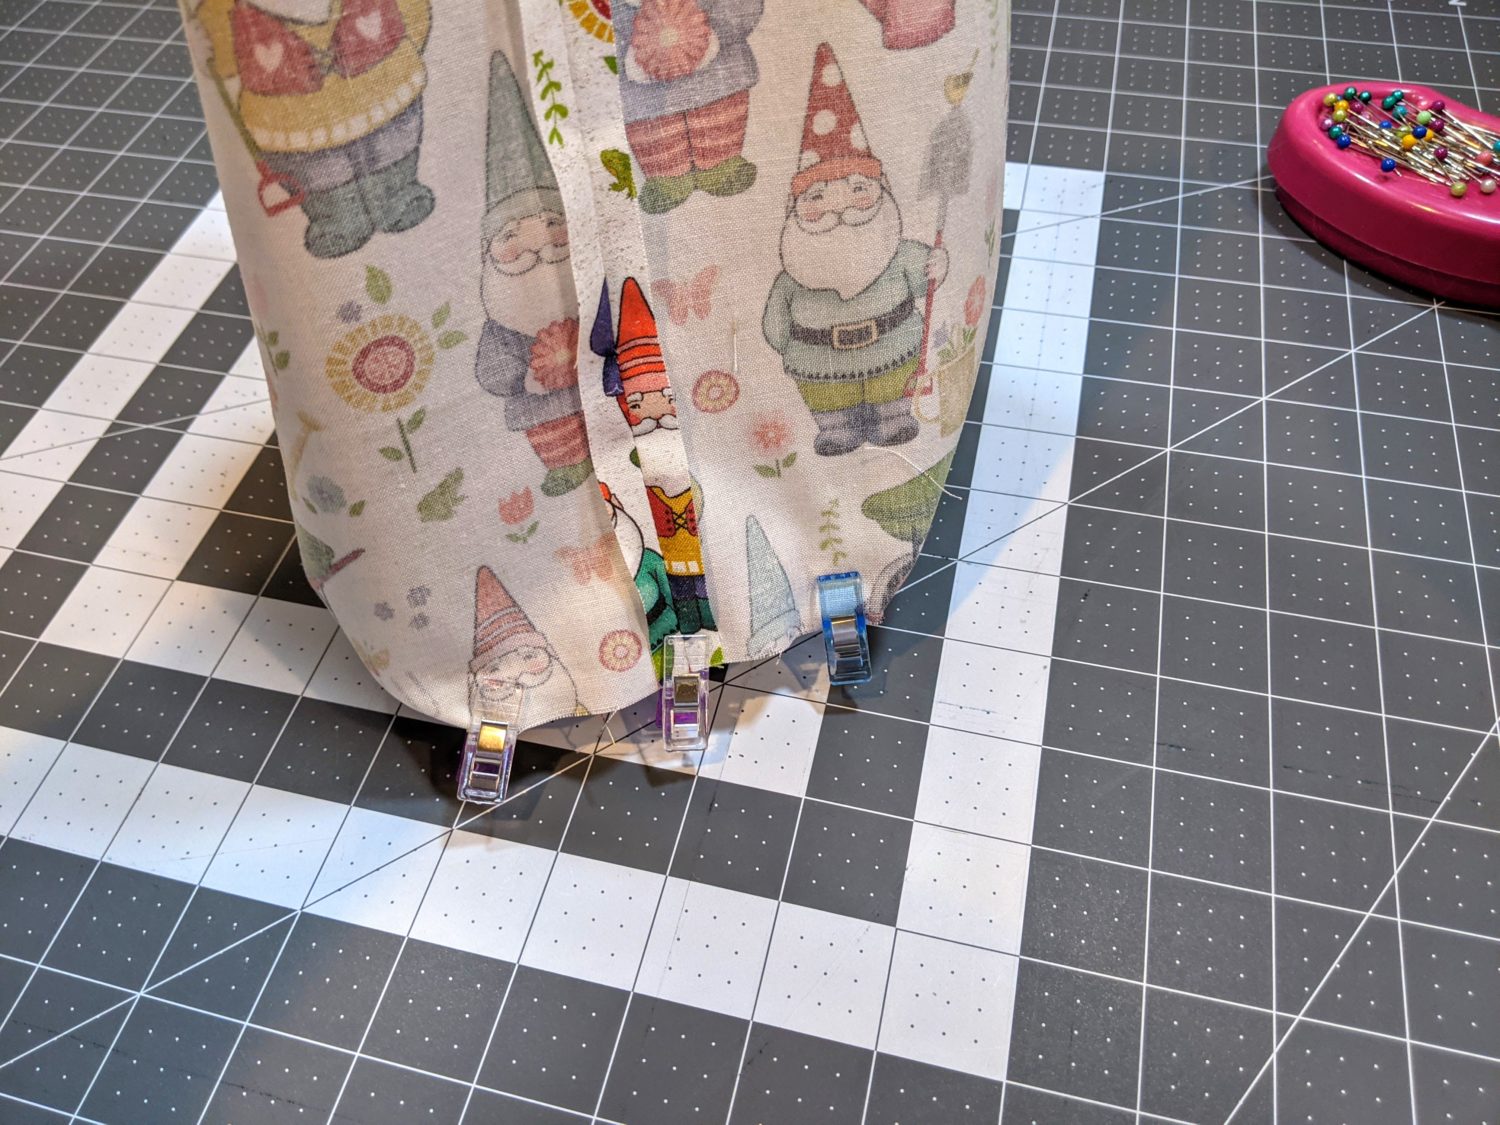
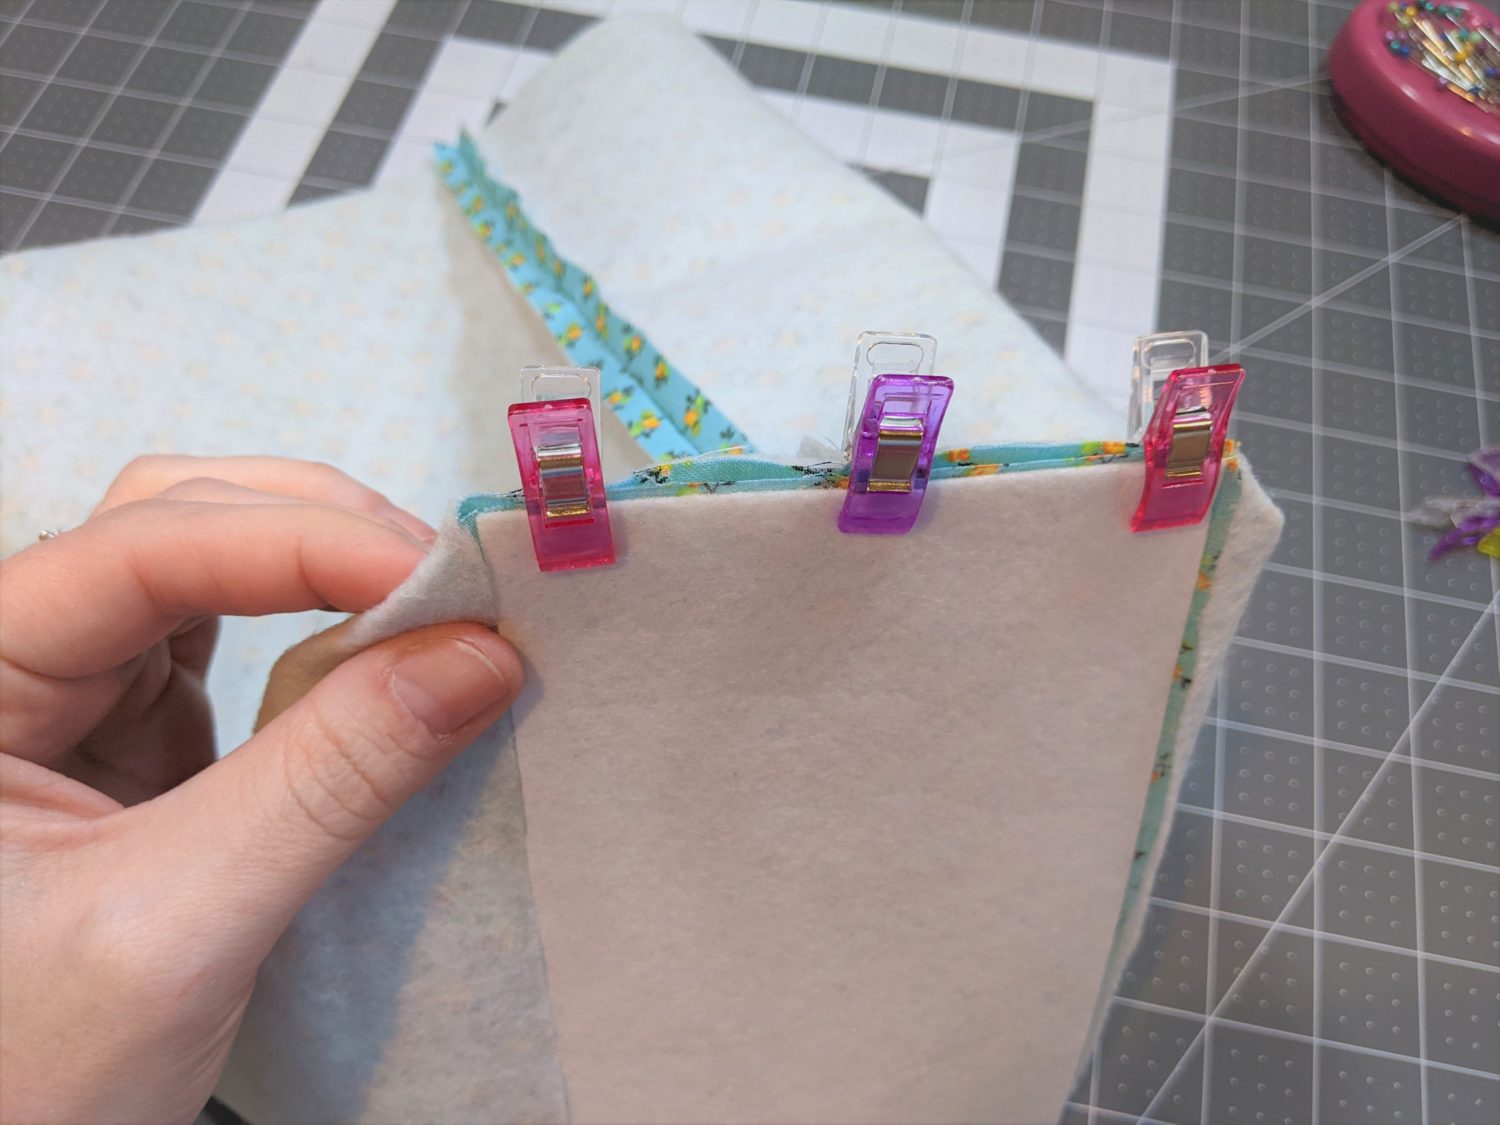
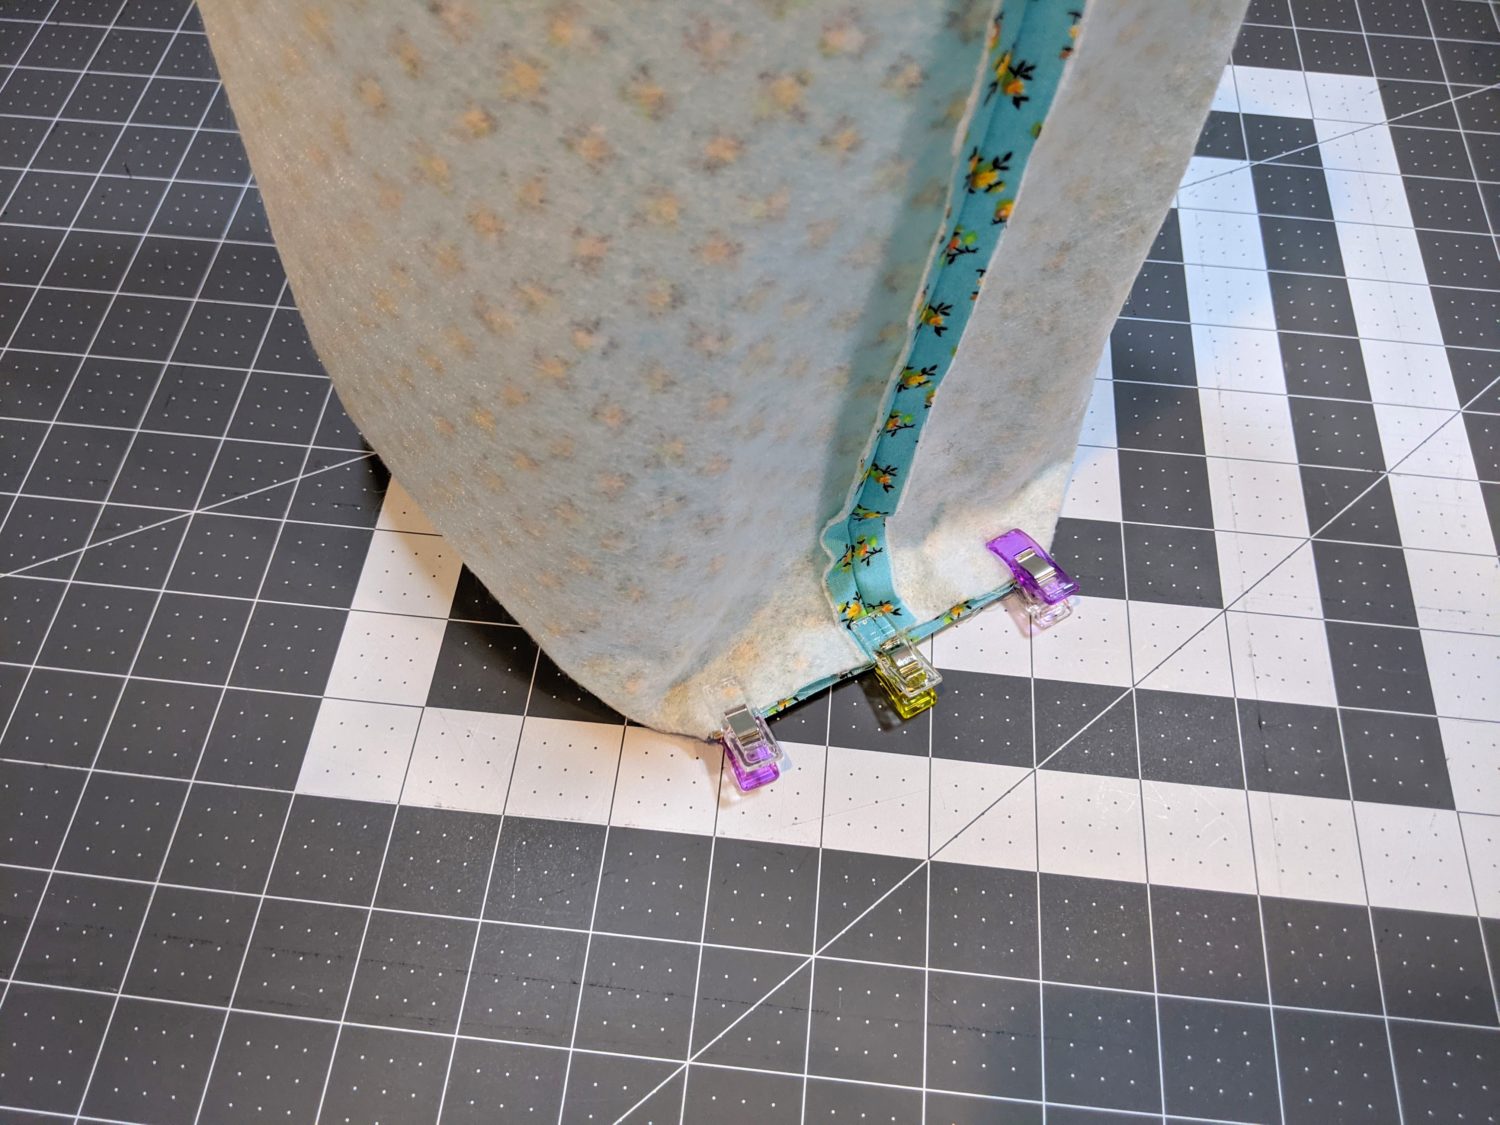
- Sew along each pinned bottom edge of the main and lining bags.
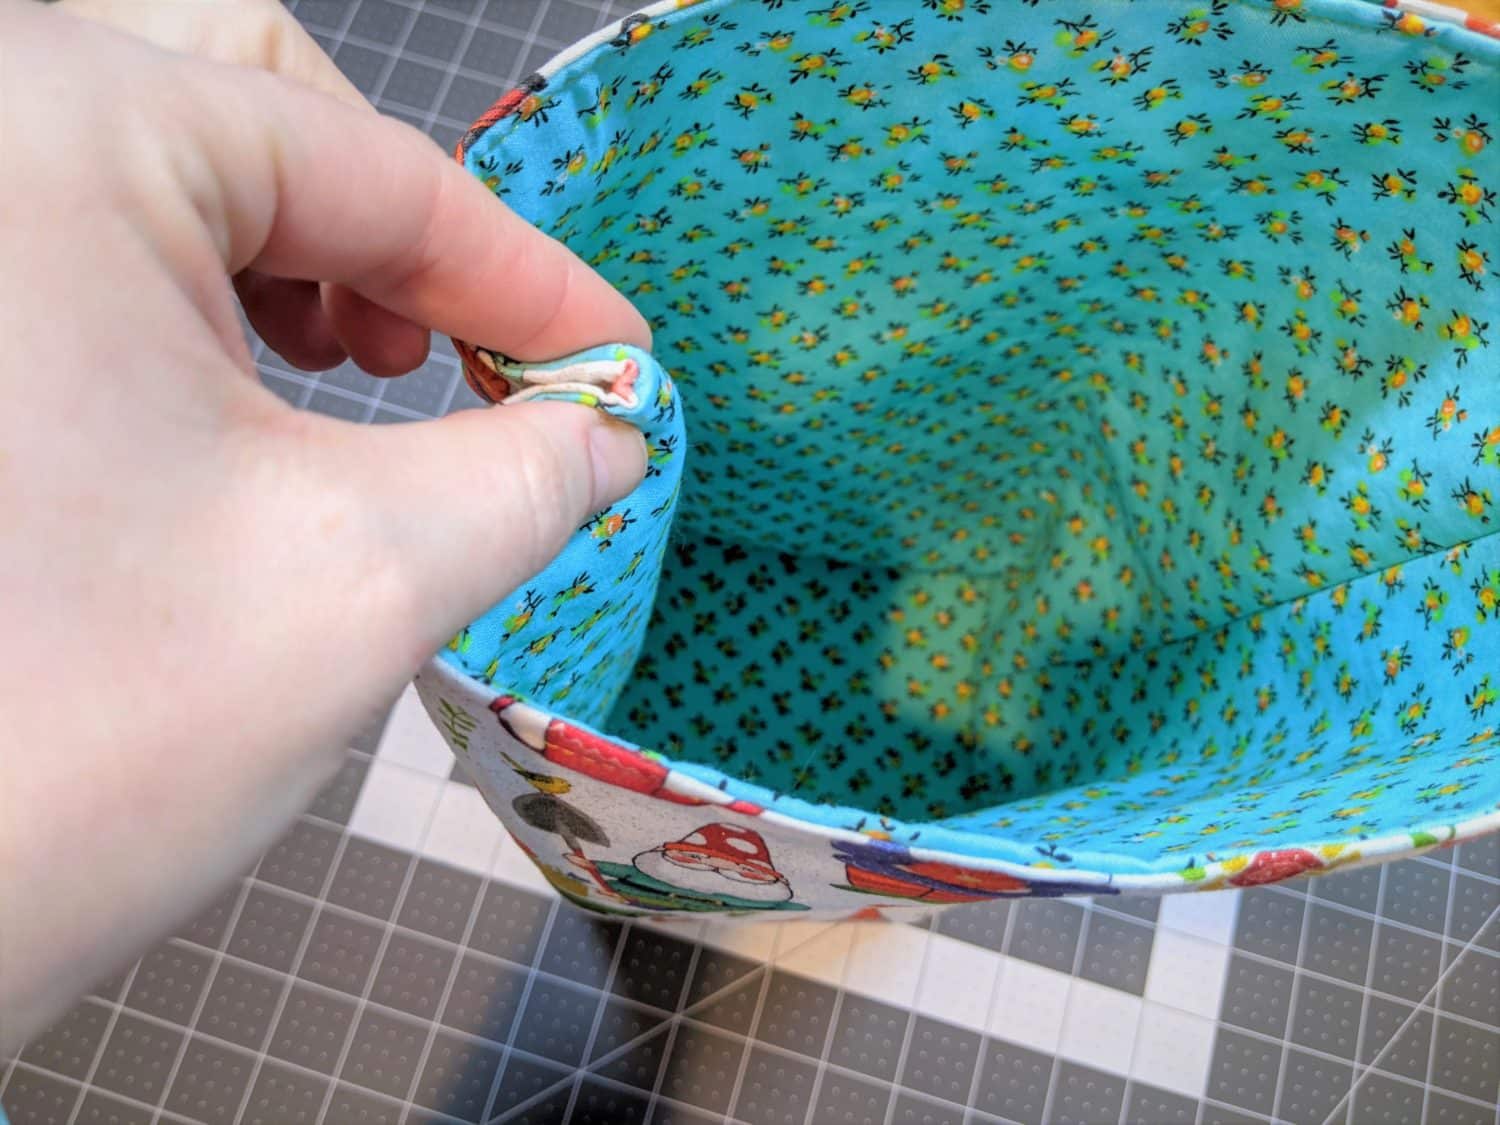
Putting them Together
- Turn your main bag right side out.
- Find the top center of one large side of the bag and pin elastic or hair tie with the large part of the loop facing down towards the main part of the bag.
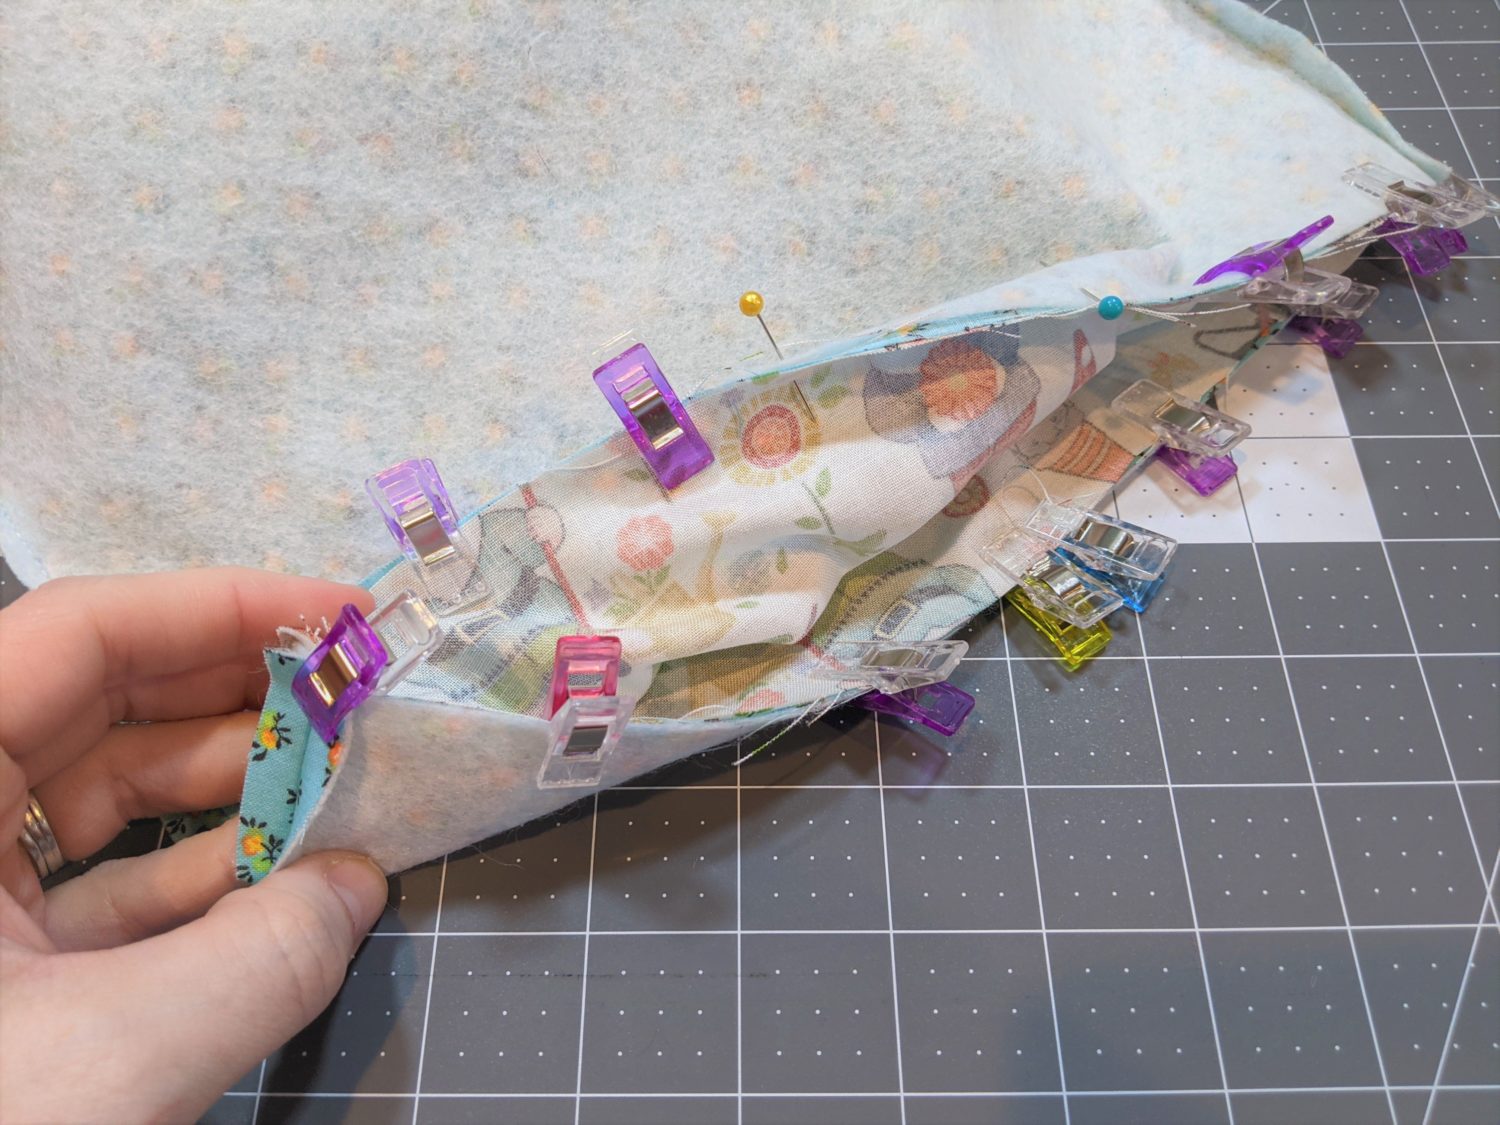
- Slide the main bag inside the lining bag with right sides together.
- Line up the side seams, pin/clip all the way around leaving a 3″ opening to turn the bag right side out.
- Start sewing at one pin being sure to backstitch several times, continue sewing all the ways around the top until you get back to the other pin, and backstitch several times there as well.
- Pull the bag through the hole you left open and turn the entire thing right side out.
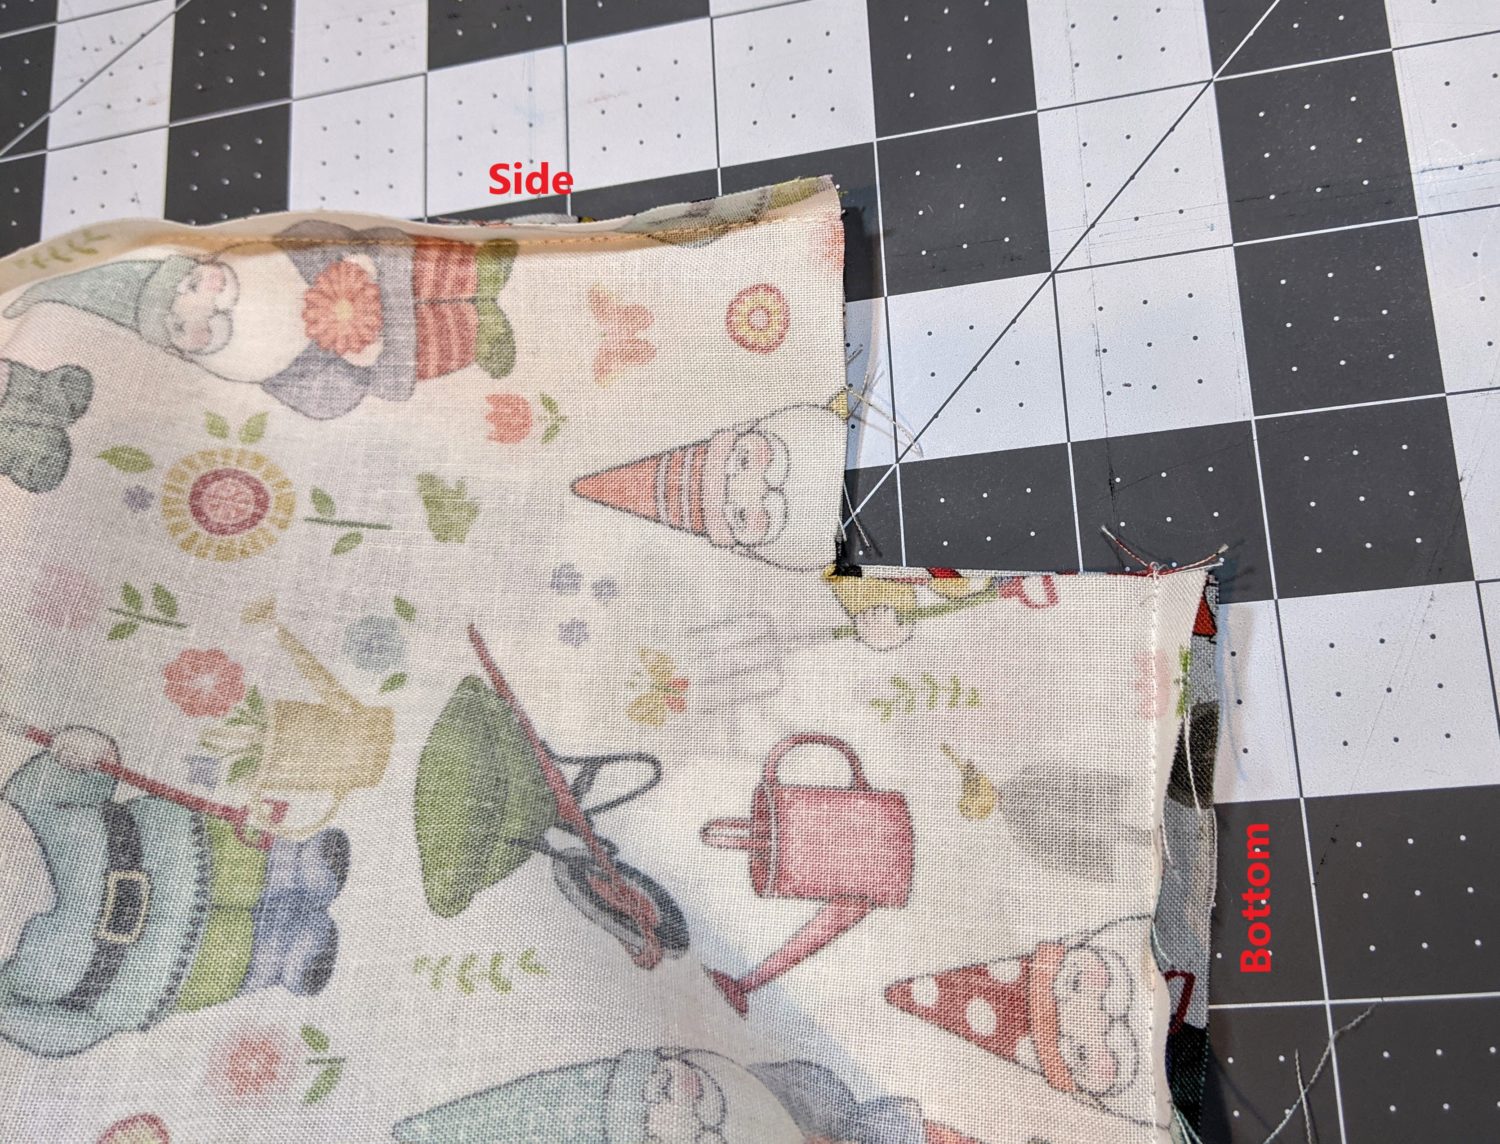
- Push the lining down into the main part of the bag and push out all corners of both bags.
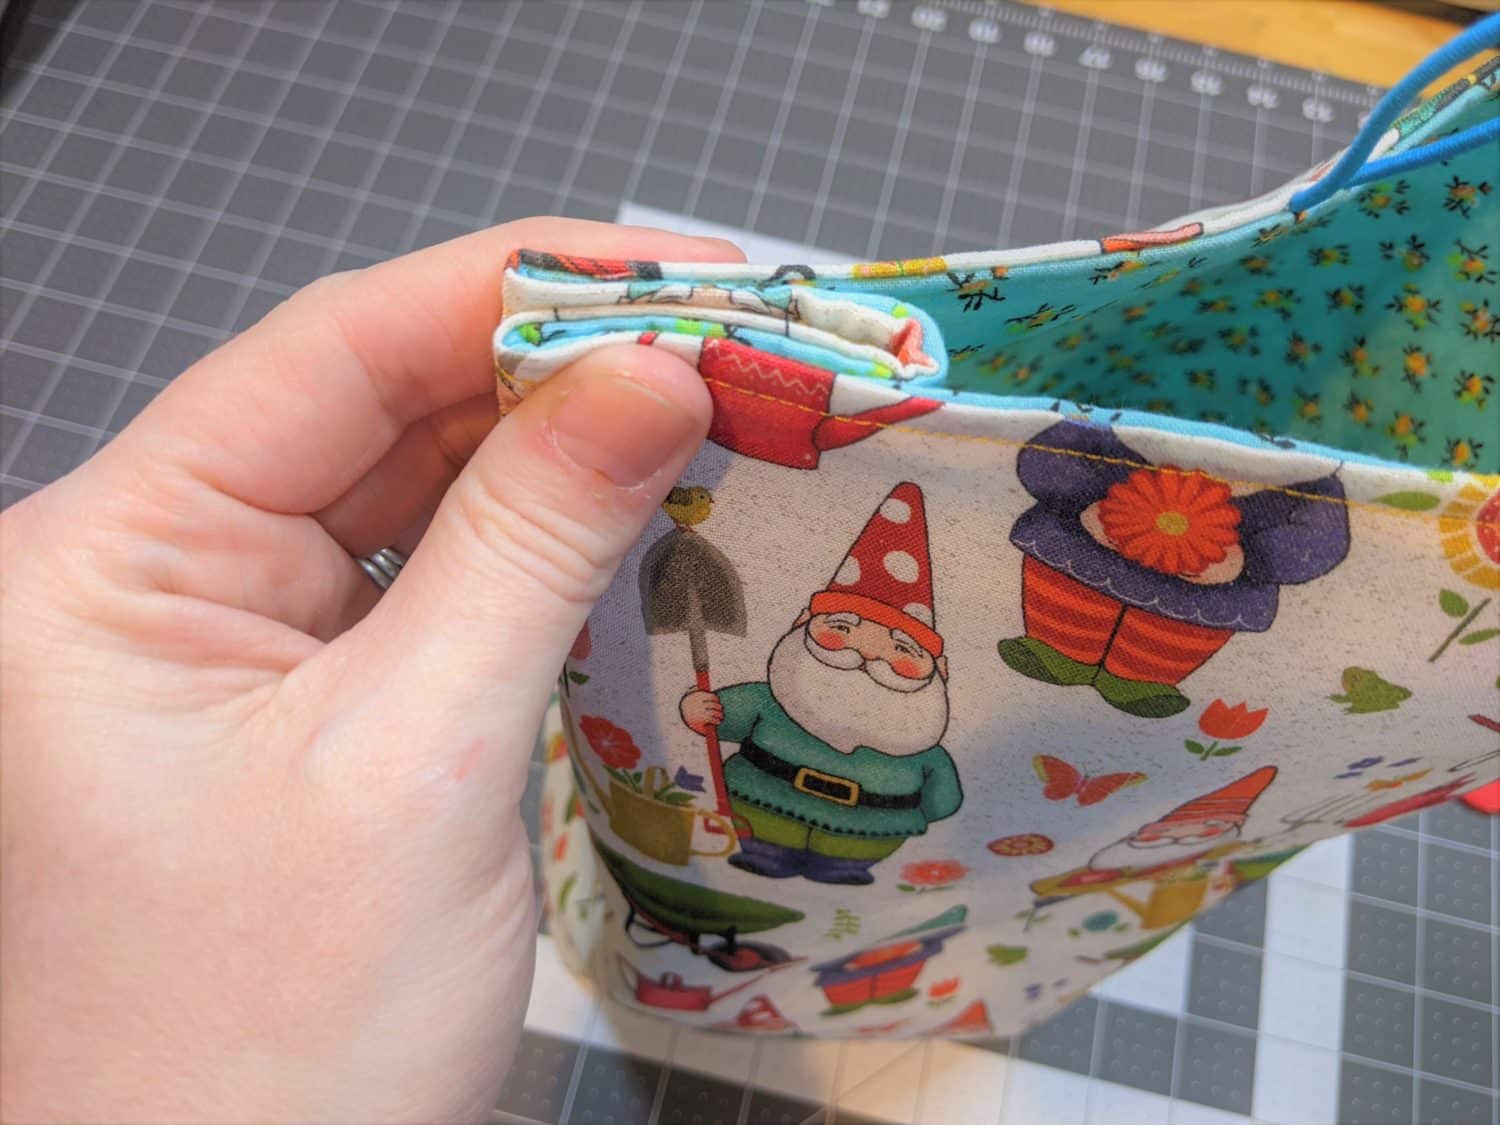
- Fold the edges of the opening down and press all along the top edge. Pin along the opening.
- Topstitch with a 1/4″ seam allowance to close the hole and finish the top edge.

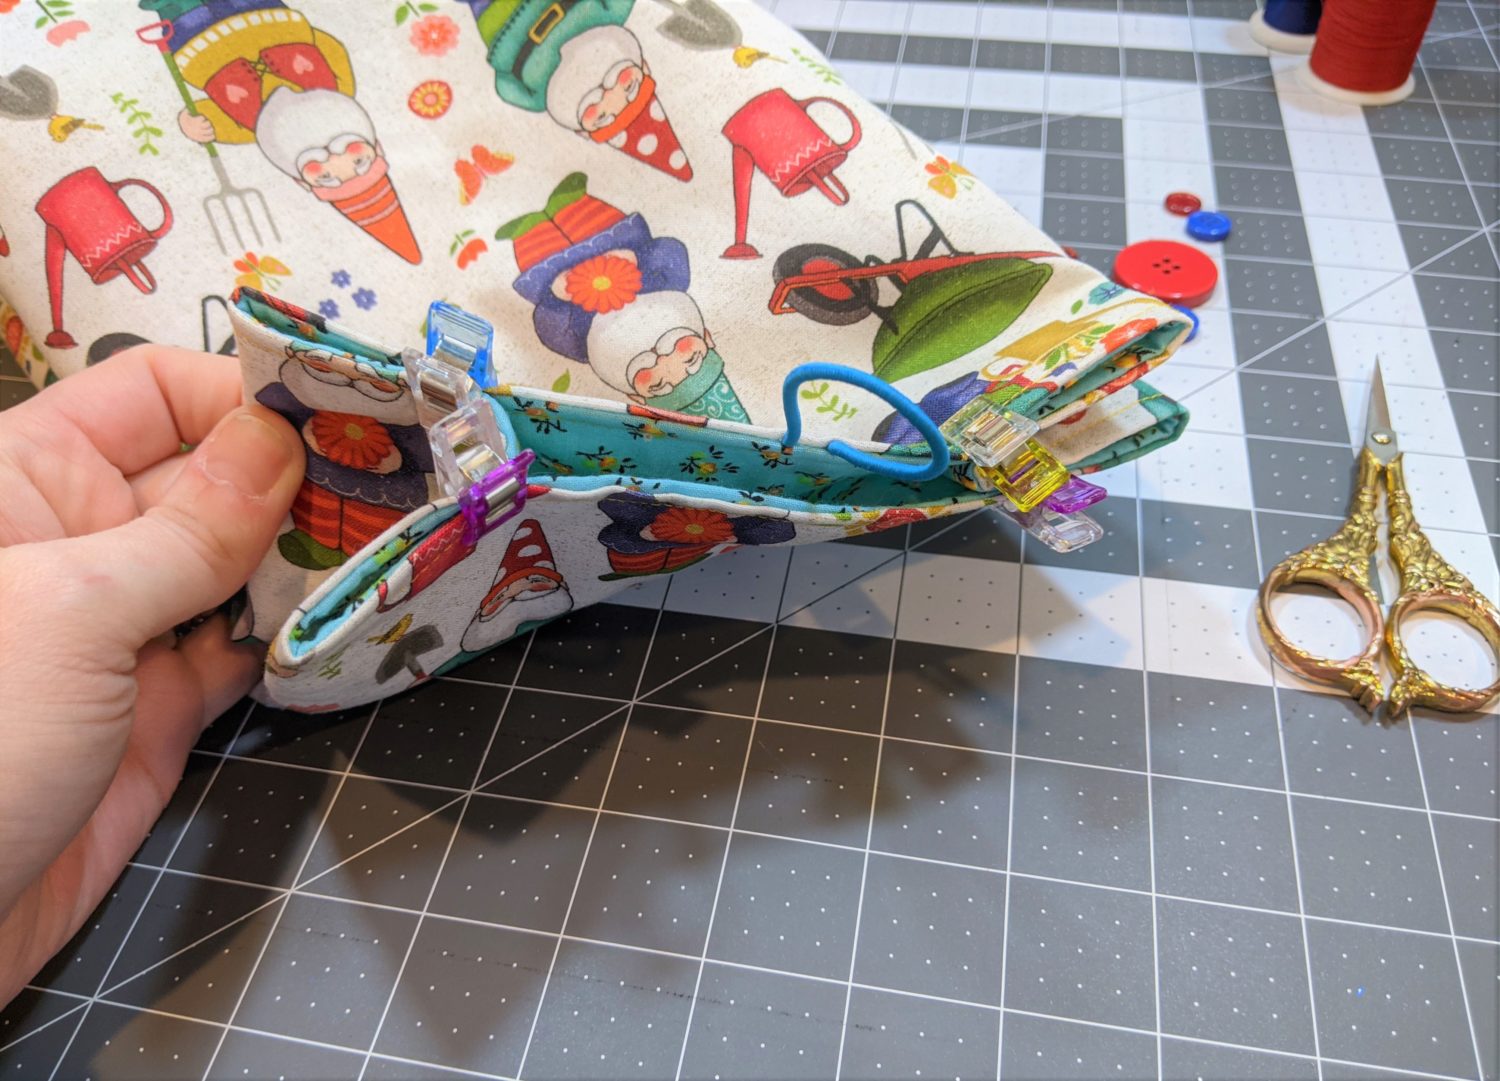
Button up!
The buttons are optional, but give them that corner fold normally seen in lunch bags. Additionally, you could just sew some small stitches if you’d prefer to not use buttons.
- Pinch one side at the seam, push it in towards the center of the bag, and fold the side corners in slightly. Pin to keep in place.
- Do the same on the opposite side making sure the sides are pushed in equally on both sides. Pin.
- At each corner, sew a small botton about 1/2″ down and 1/2″ in. (This is personal preference, just try to place them evenly at all 4 corners.)
- Fold the top of your bag down and mark where you like the bottom of the elastic to hit to find the placement for the large button.
- Sew the large button in place.

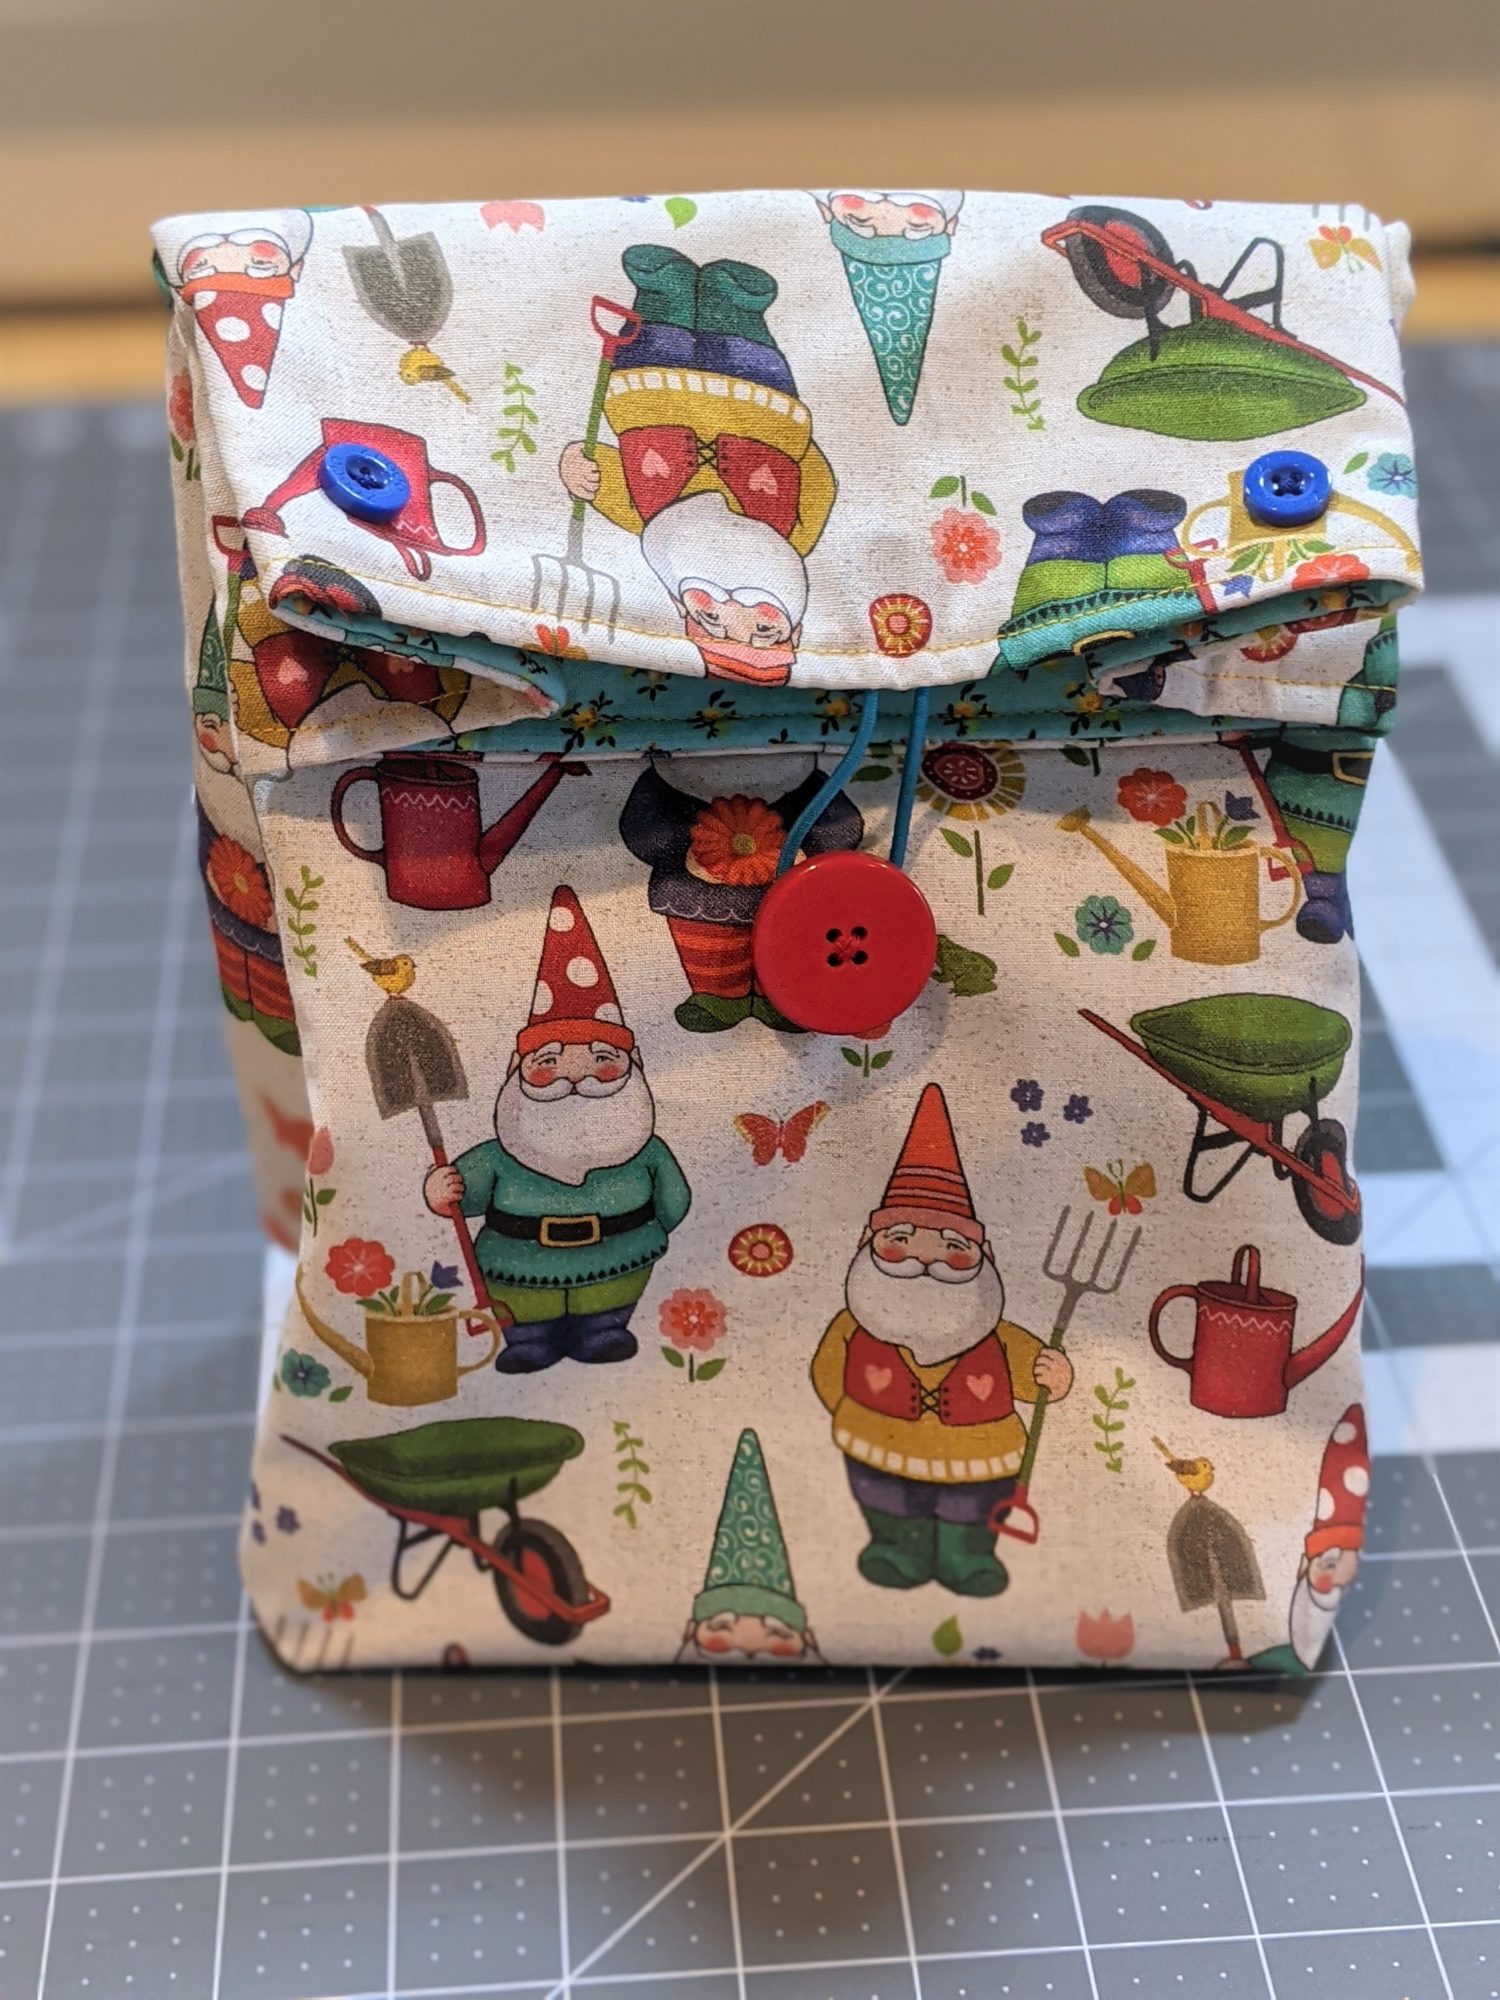
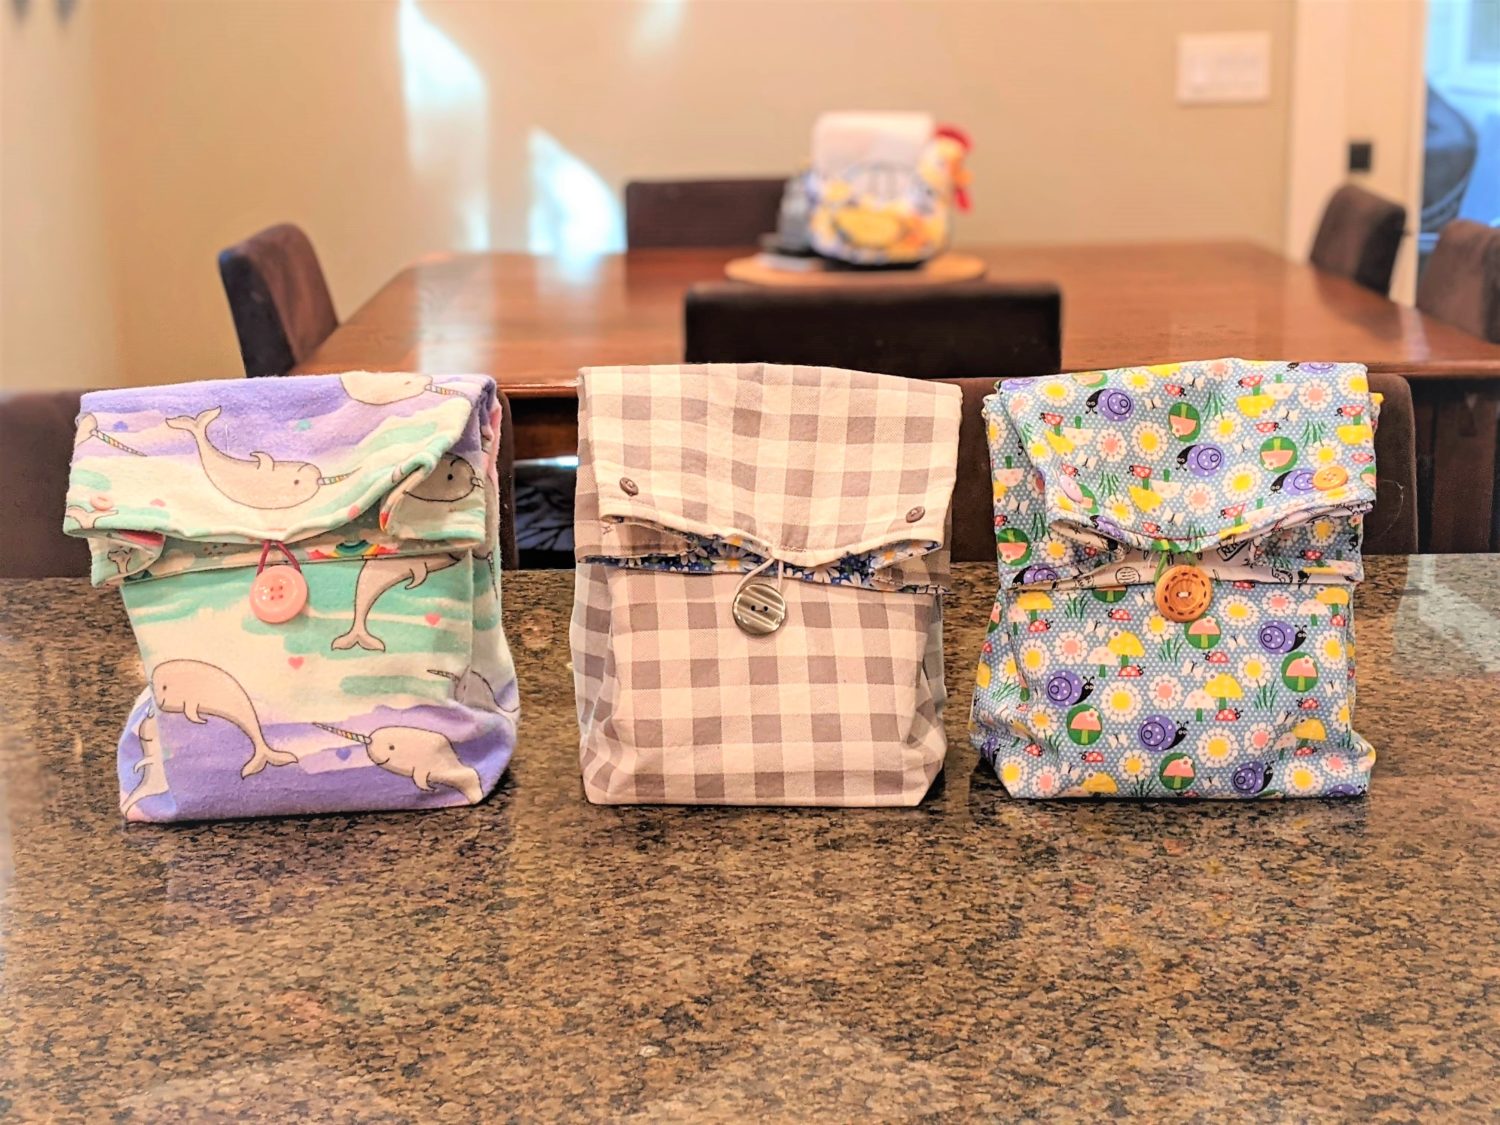
These are so cute, and my girls are excited to be able to choose the colors and patterns they like.
Want more FUN DIY Freebies? Check out the FREEBIE TUTORIALS and the FREEBIE PATTERNS!
As always, we’re here to help if you need it! Join us HERE and on Facebook, Instagram, Twitter, Youtube, and Pinterest. We’re everywhere you are.
Leave a Reply