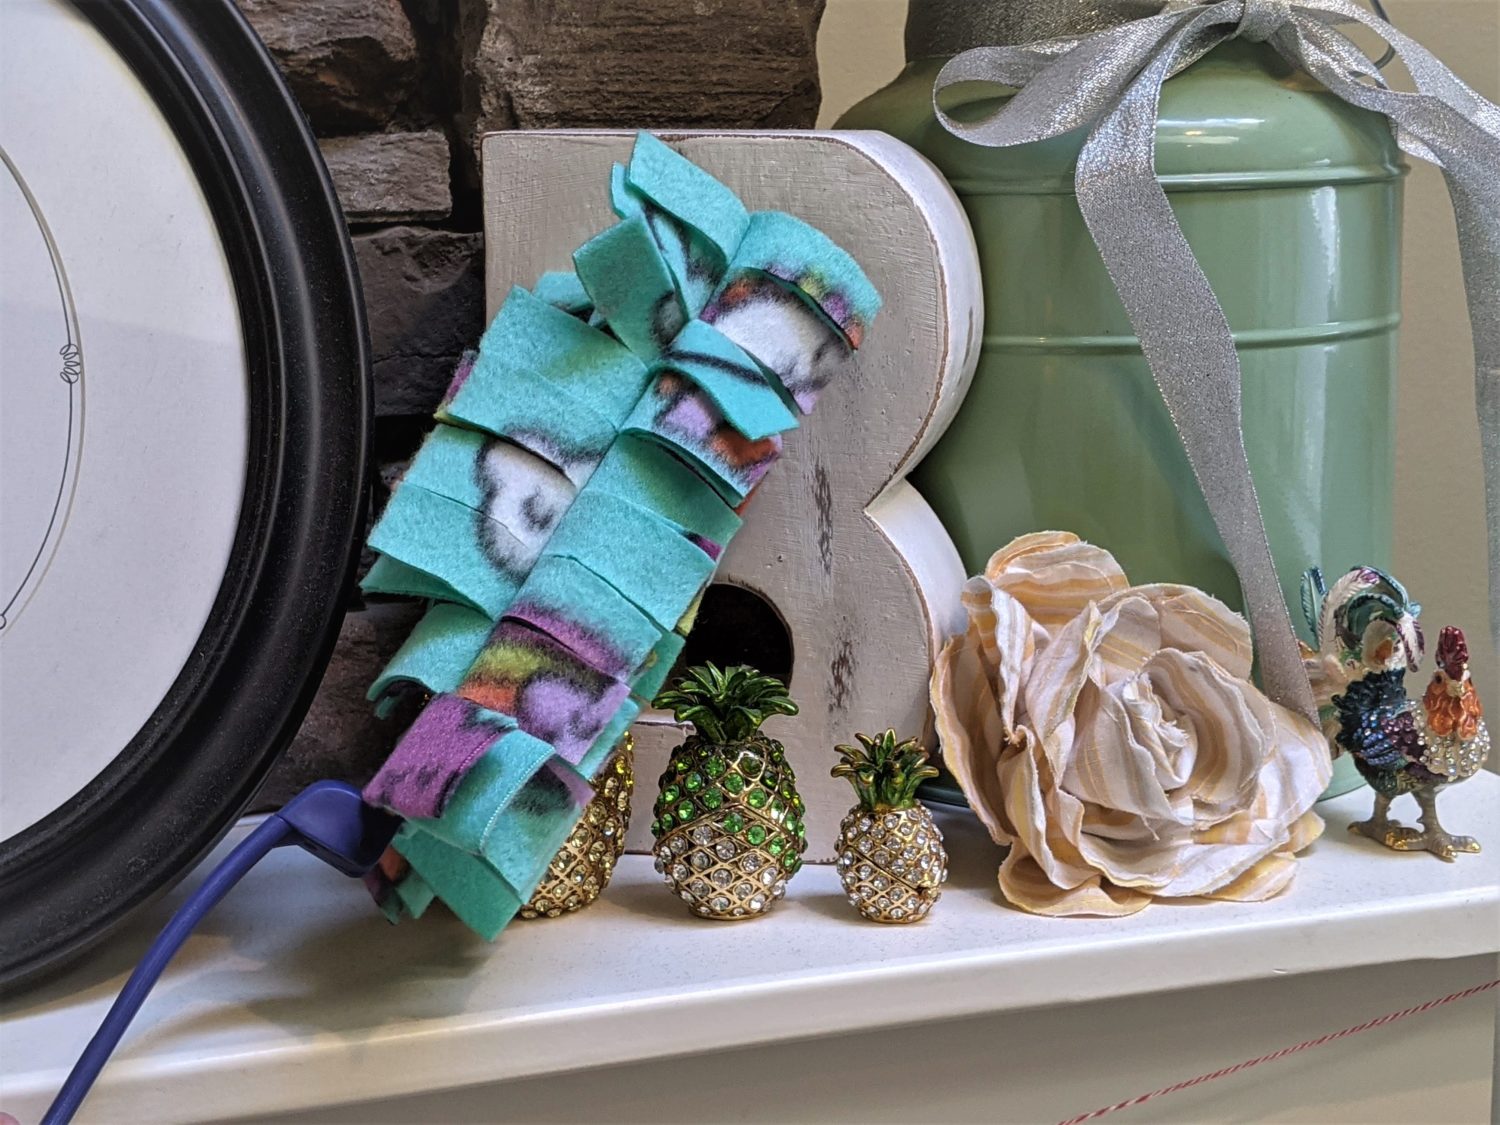
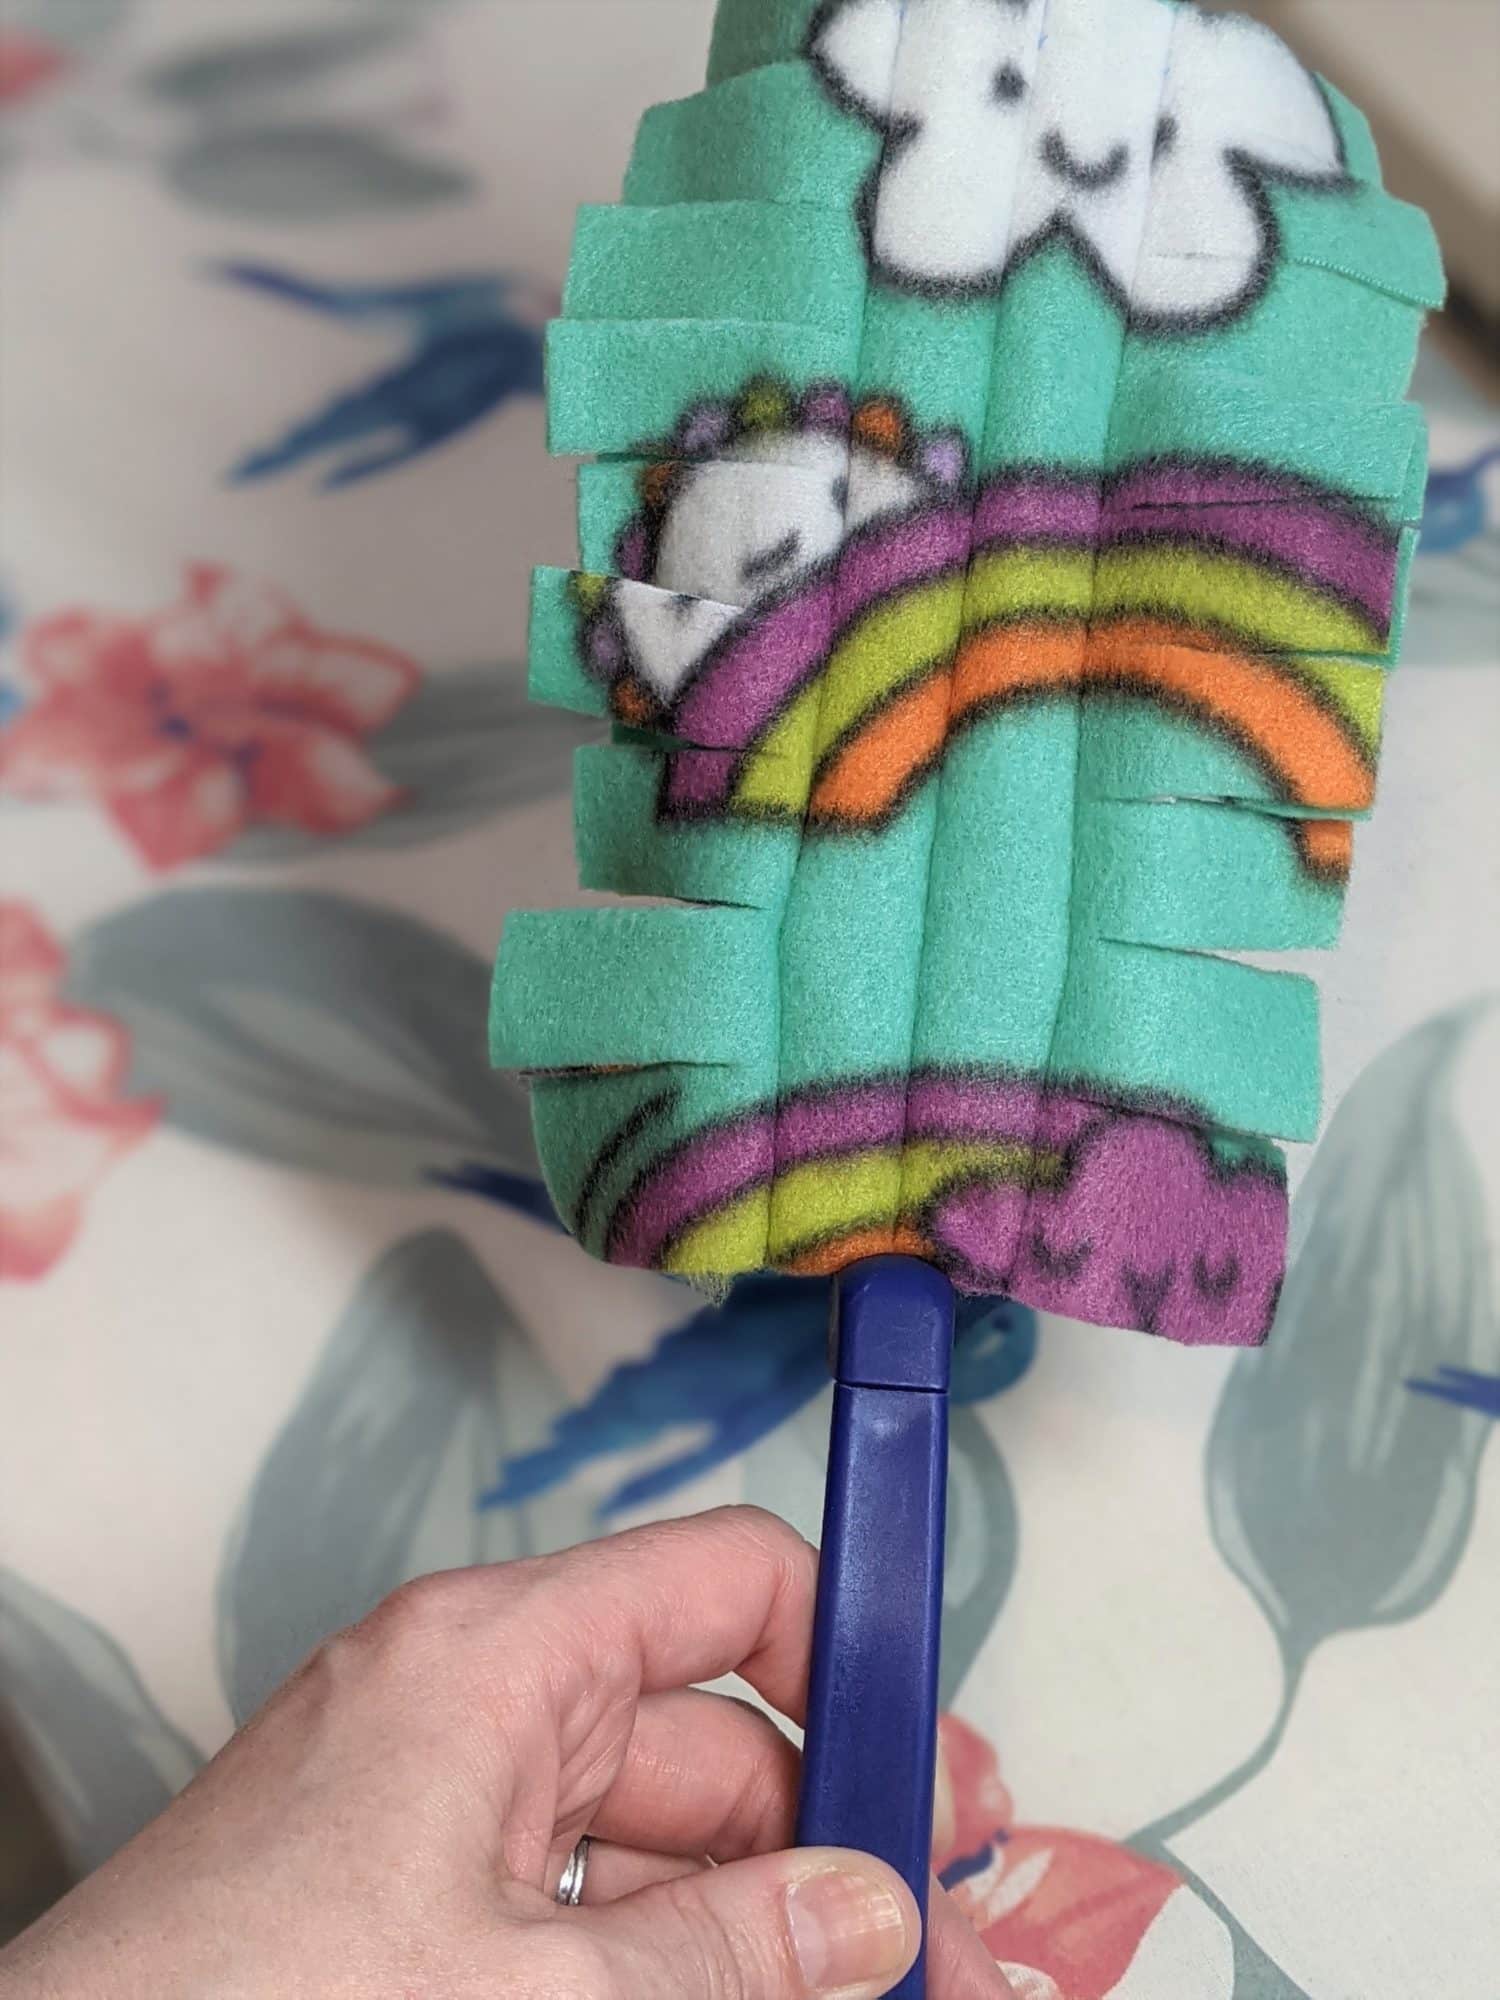
If you happen to have this type of duster, you know you are always needing to buy replacement covers to slide onto the handle. My sister suggested that I make my own reusable duster covers that I can just throw in the wash when I’m done. I have no idea why I didn’t think of this a long time ago. They’re super easy to make, and a great use of those random fleece pieces that are lying around my sewing room.
Supplies:
- Fleece
- Ruler
- Air soluble or heat erasable pen
- Fabric scissors
- Sewing machine and basic sewing supplies
Sew it all Together
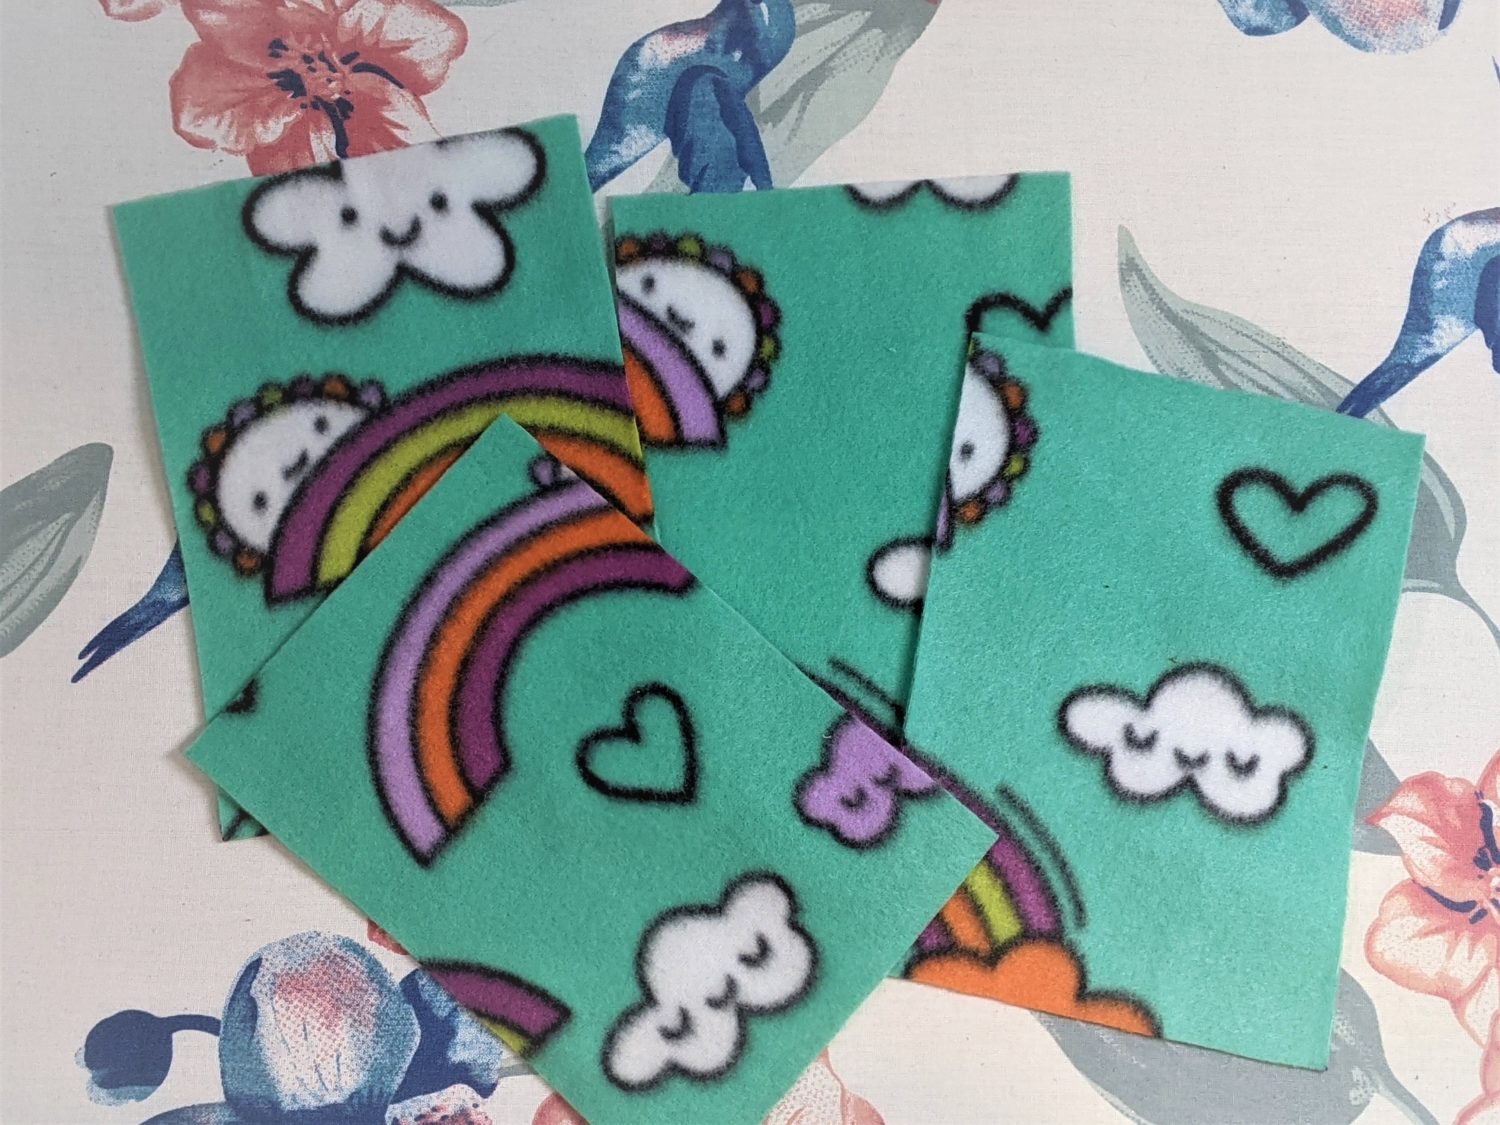
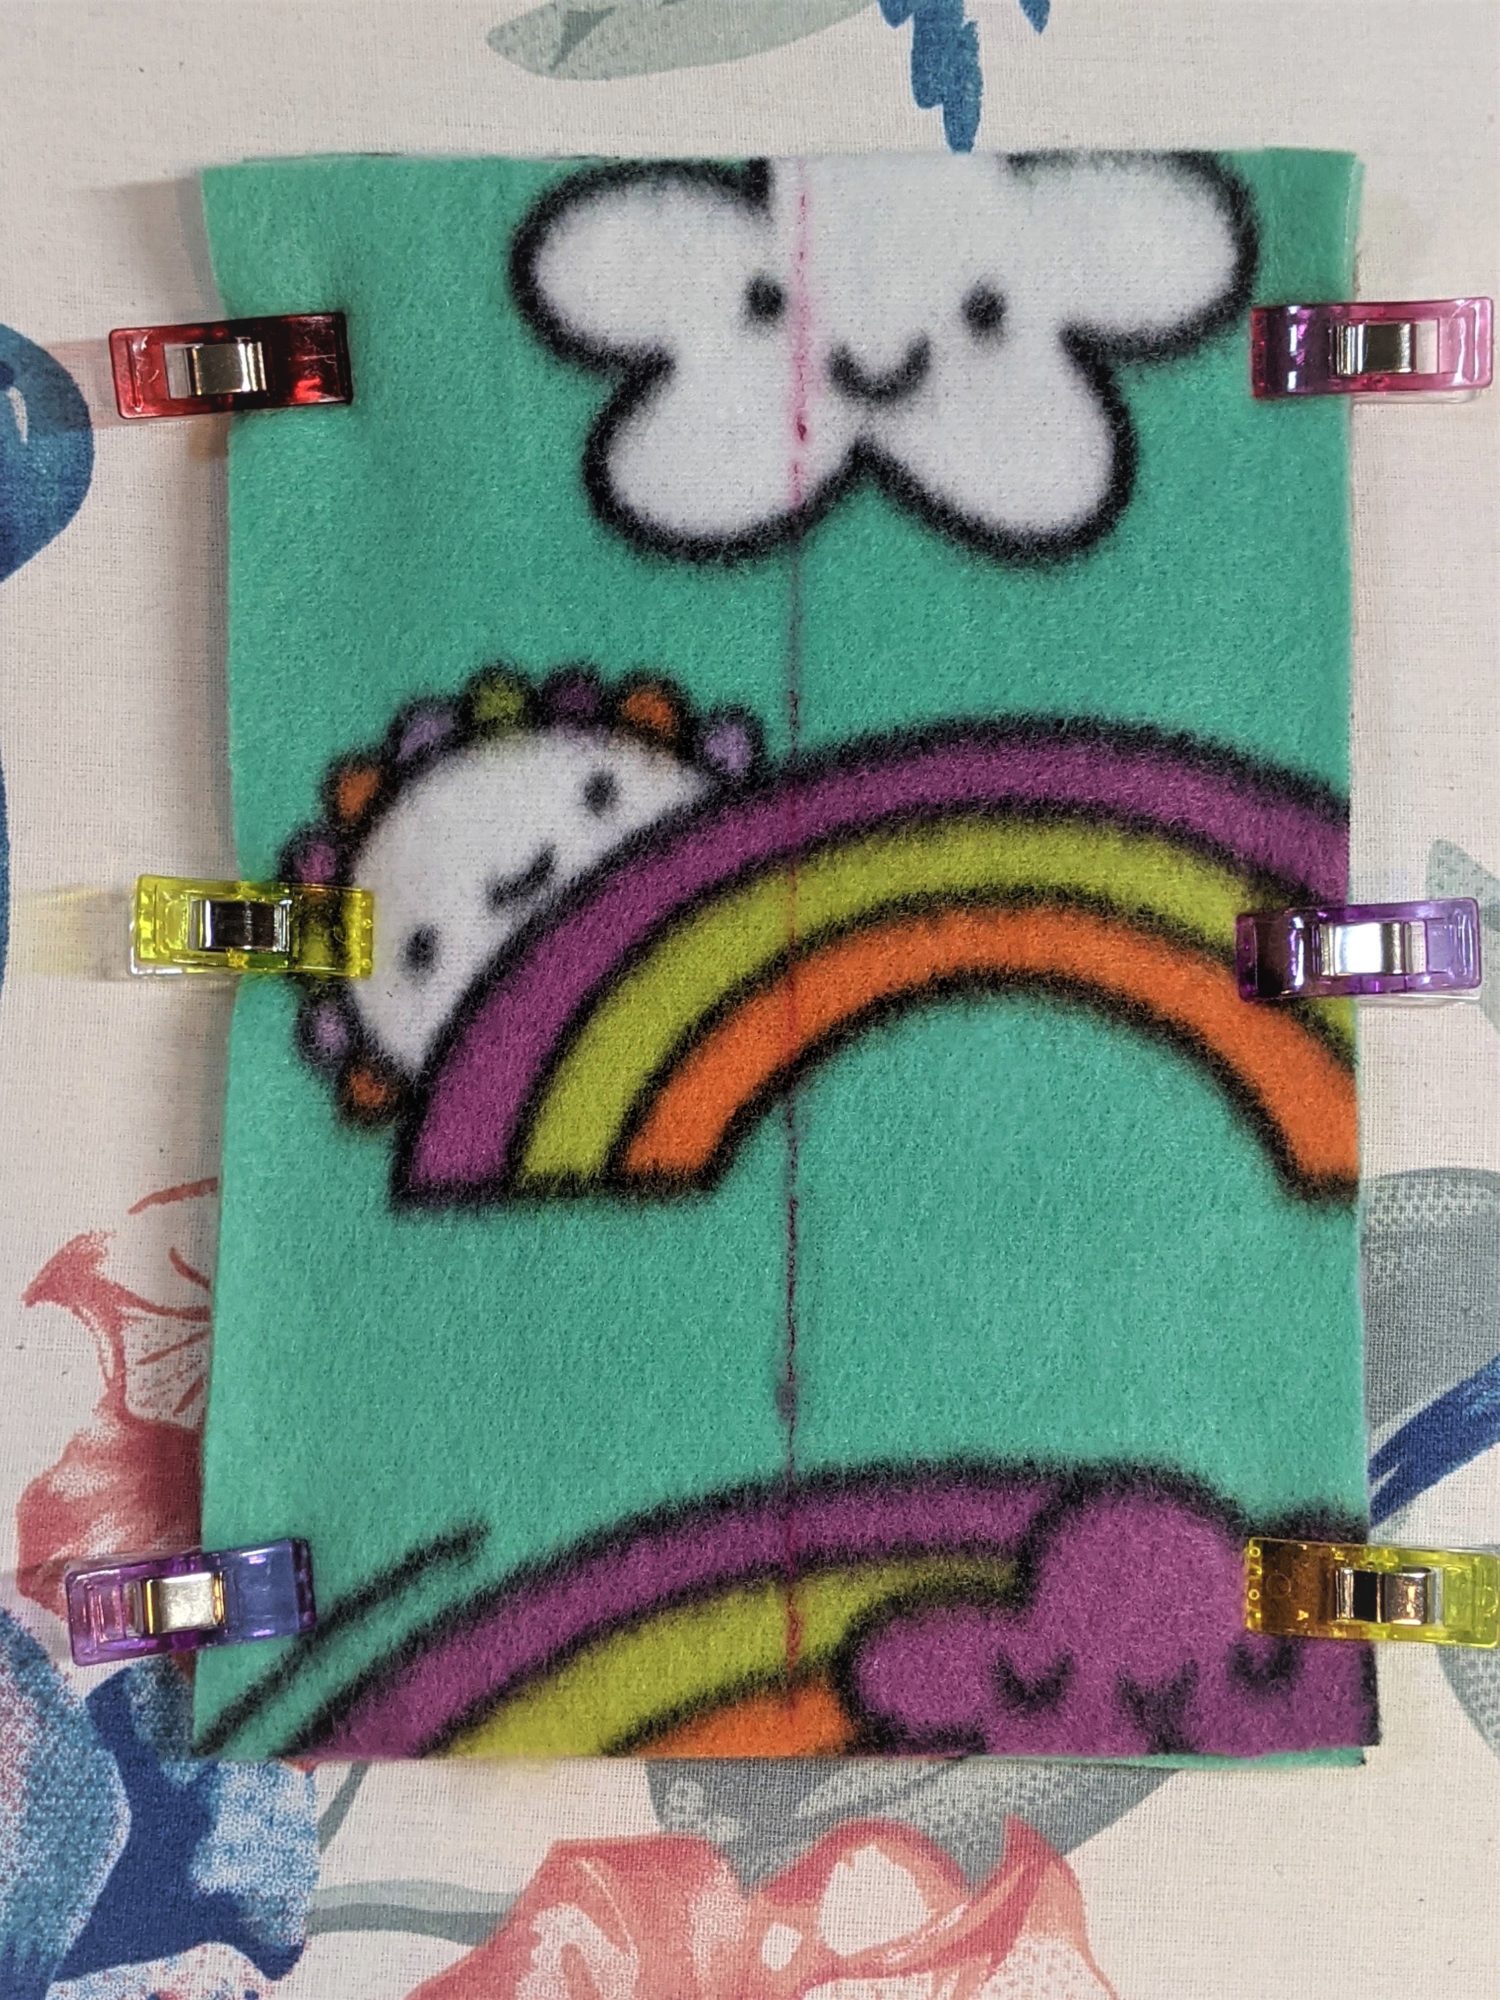
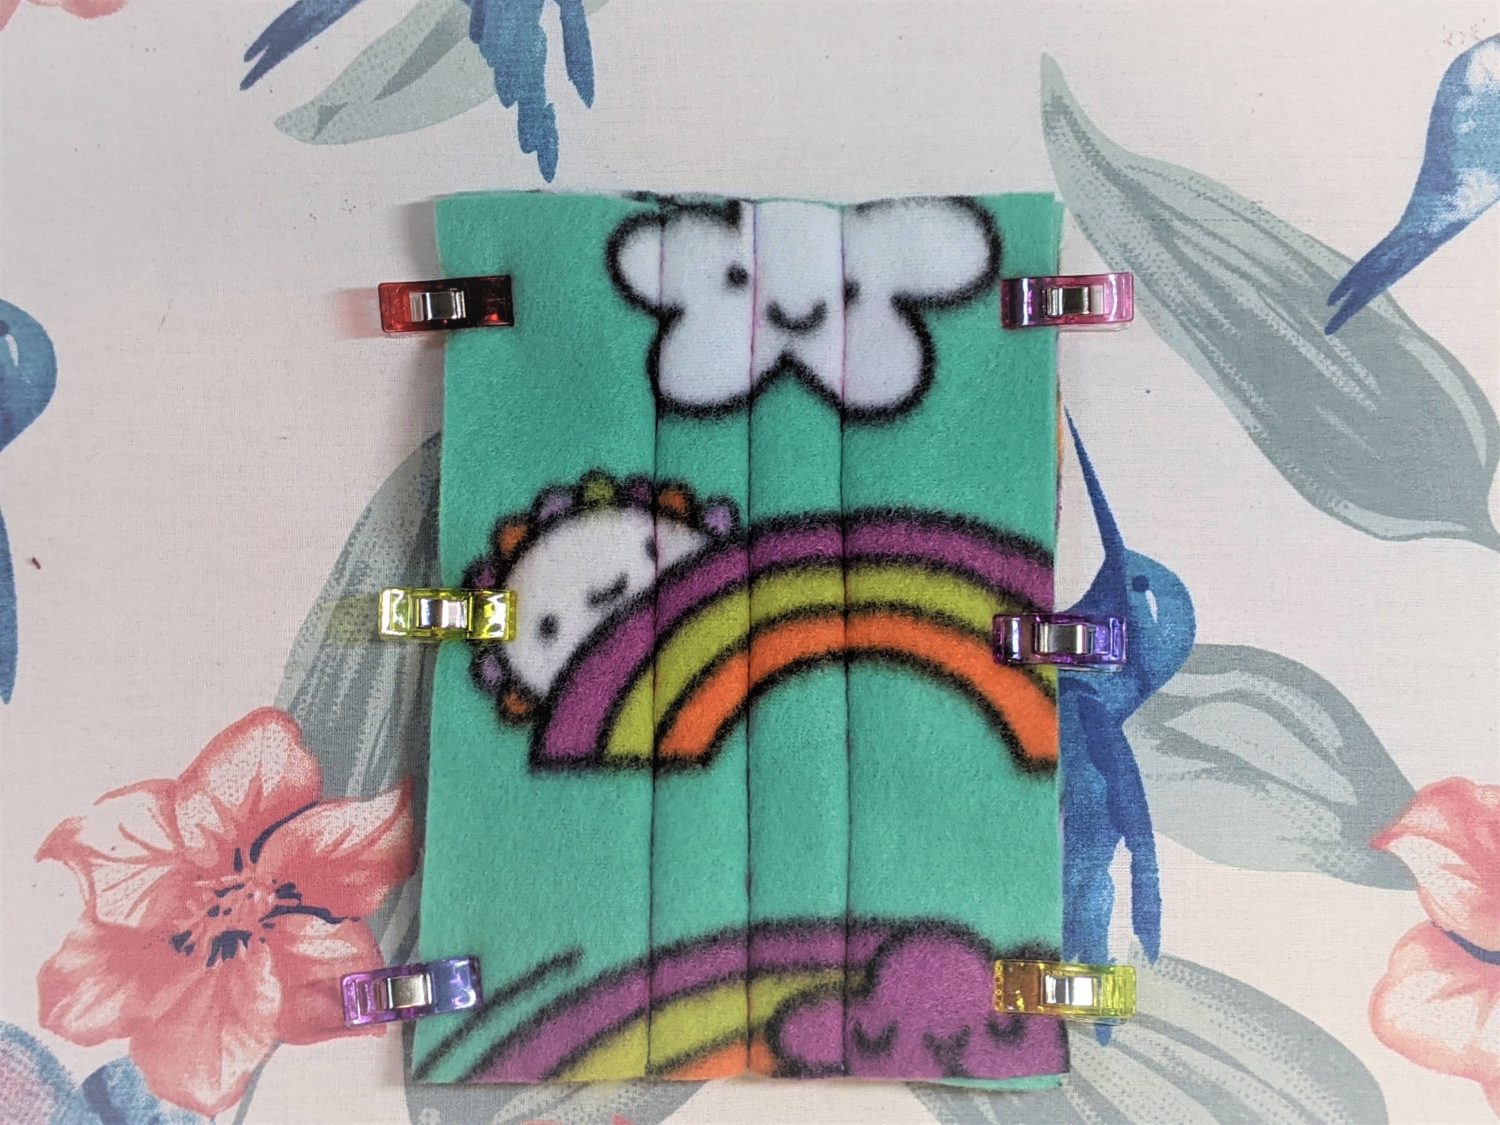
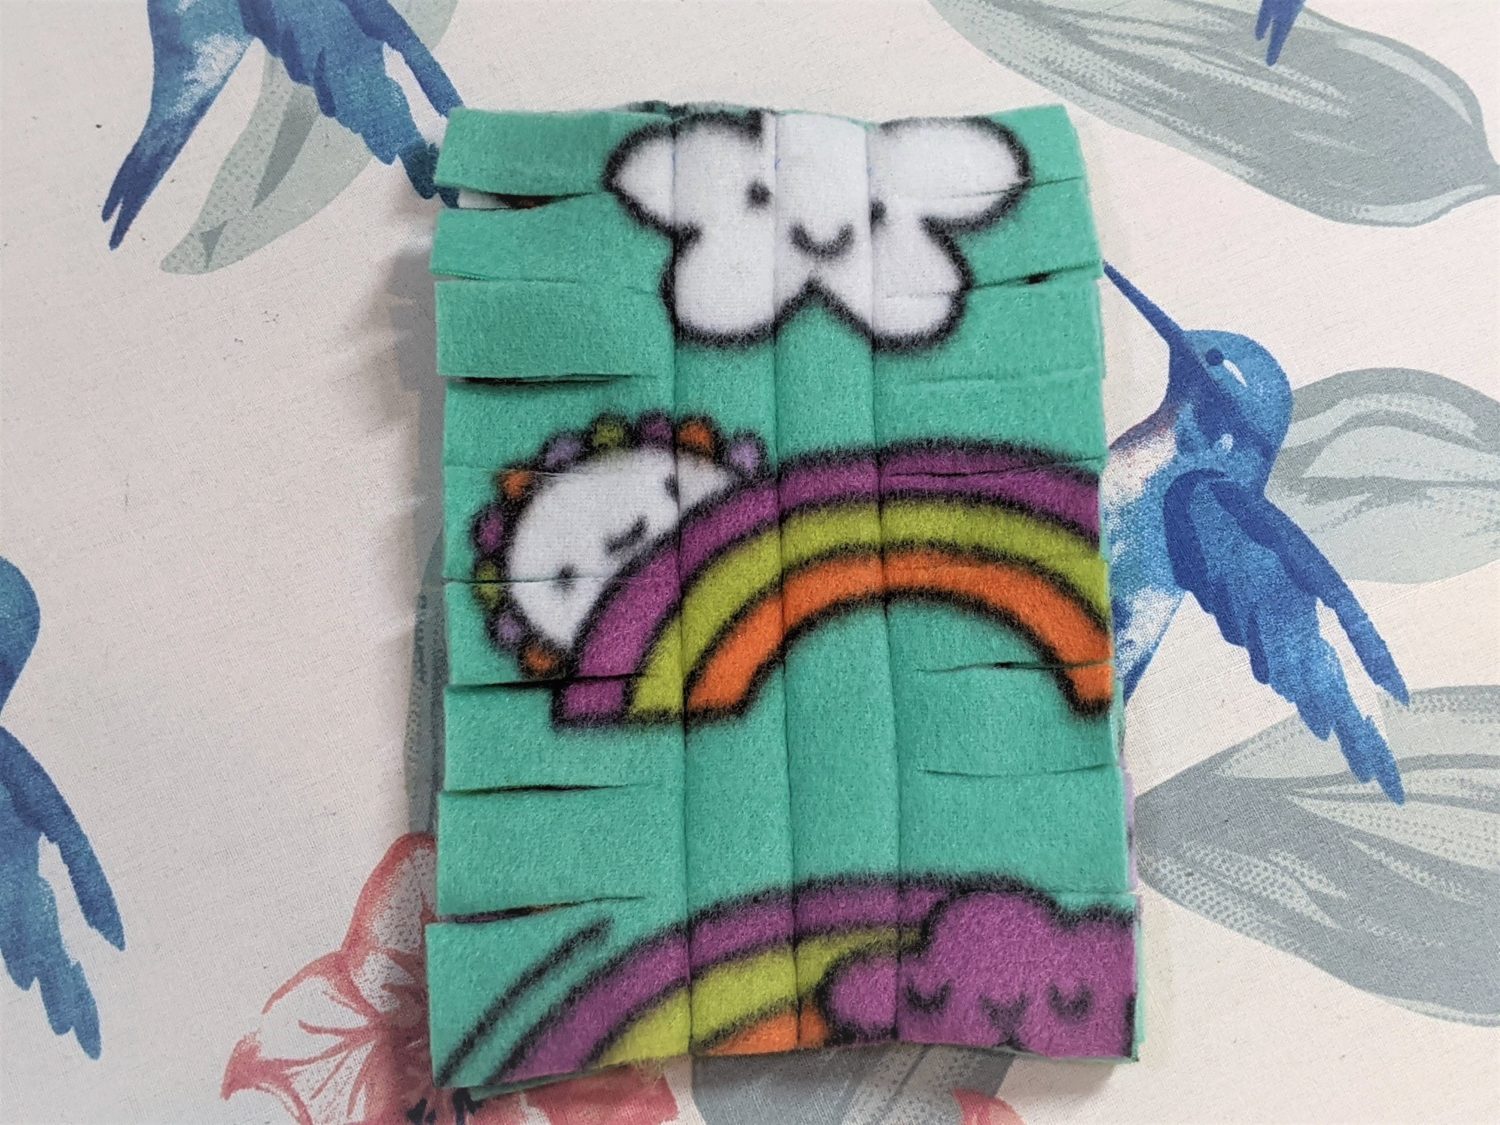
- Cut four pieces of fleece into 5″ X 7″ rectangles.
- Stack all four pieces on top of each other.
- Mark the center vertically all the way down using an air soluble or heat erasable pen.
- Pin the edges to hold all the layers in place as you sew.
- Use a straight stitch and sew along the centerline.
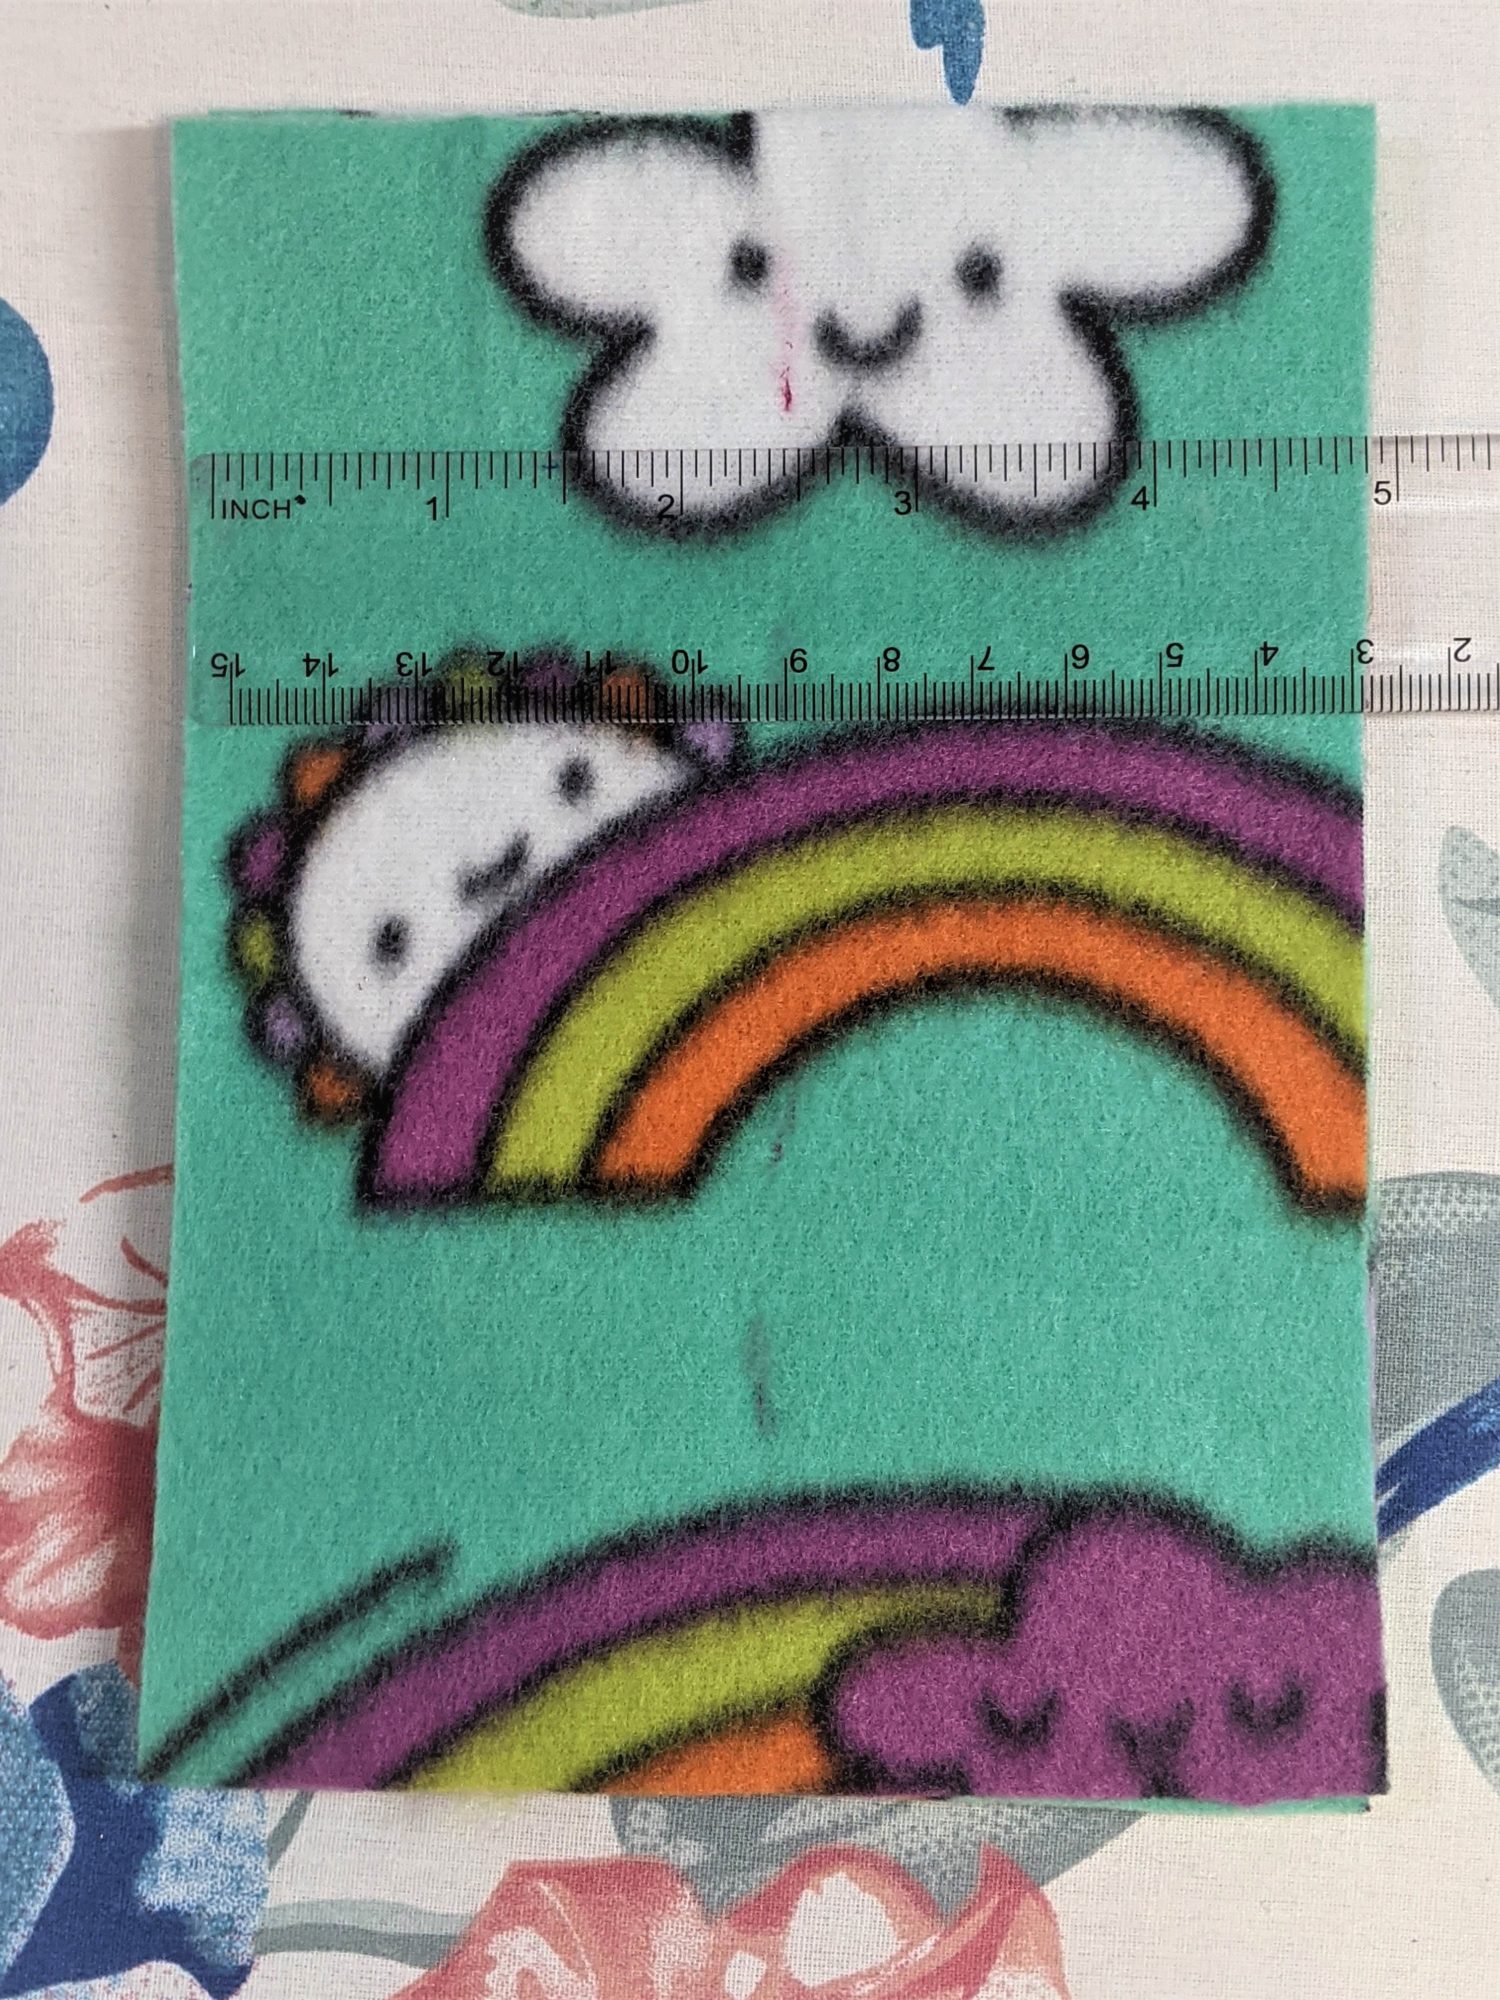
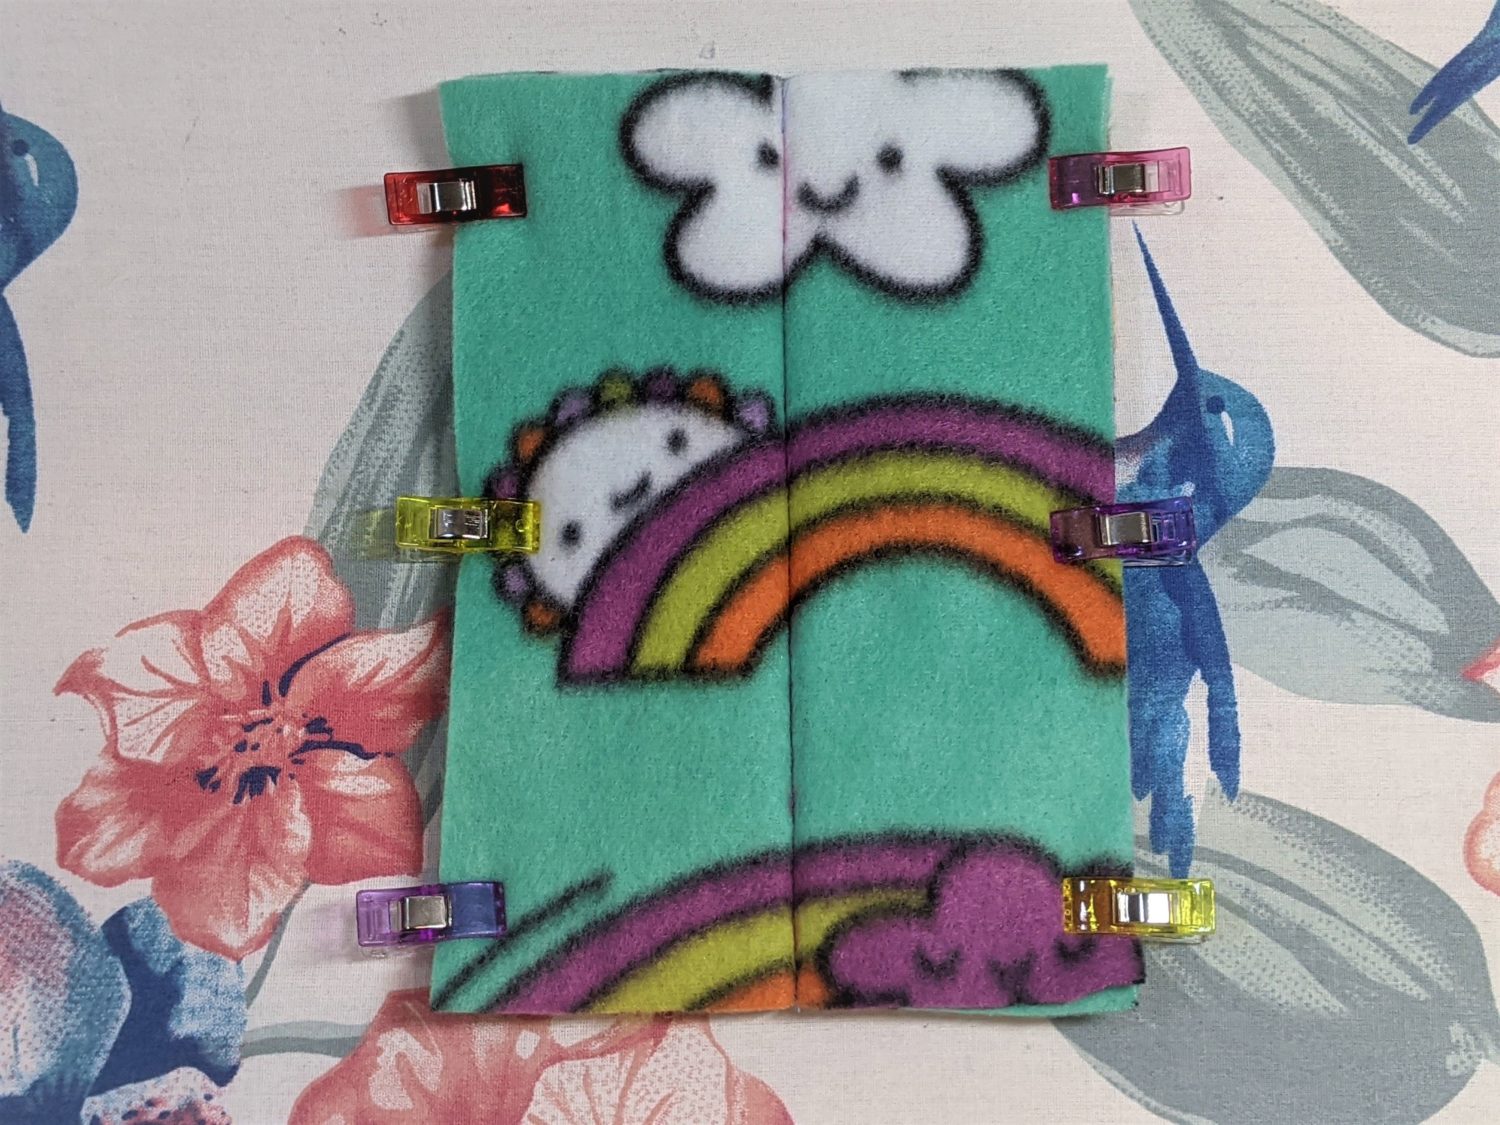
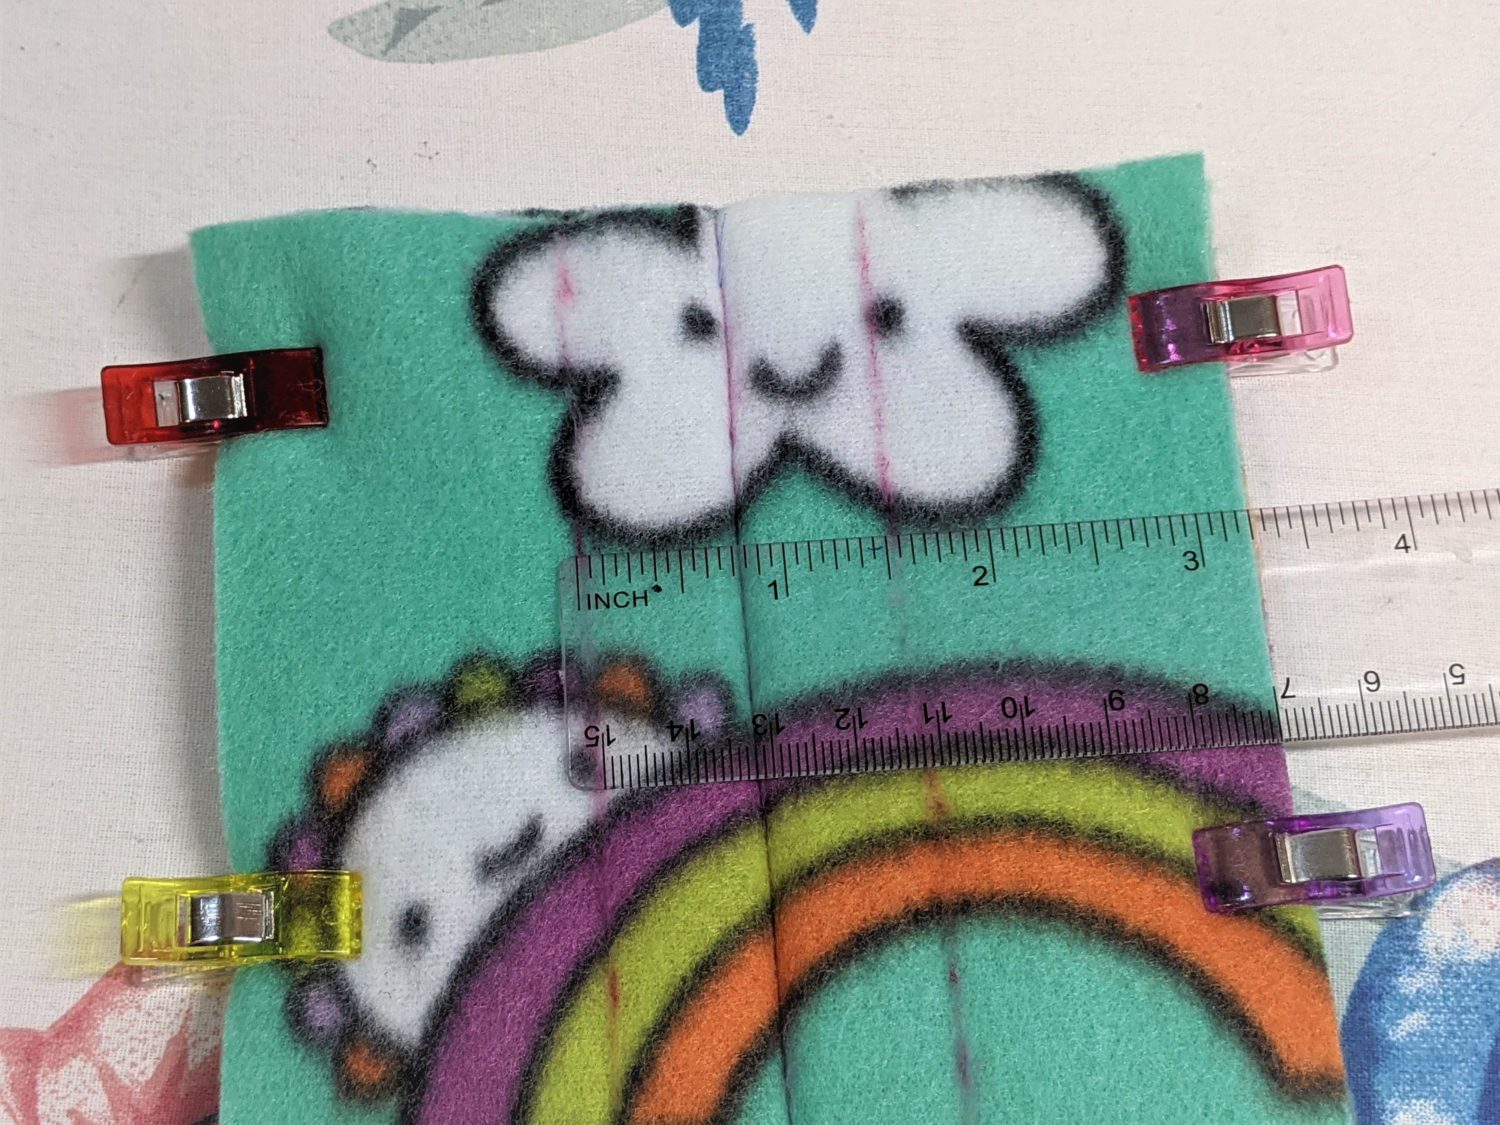
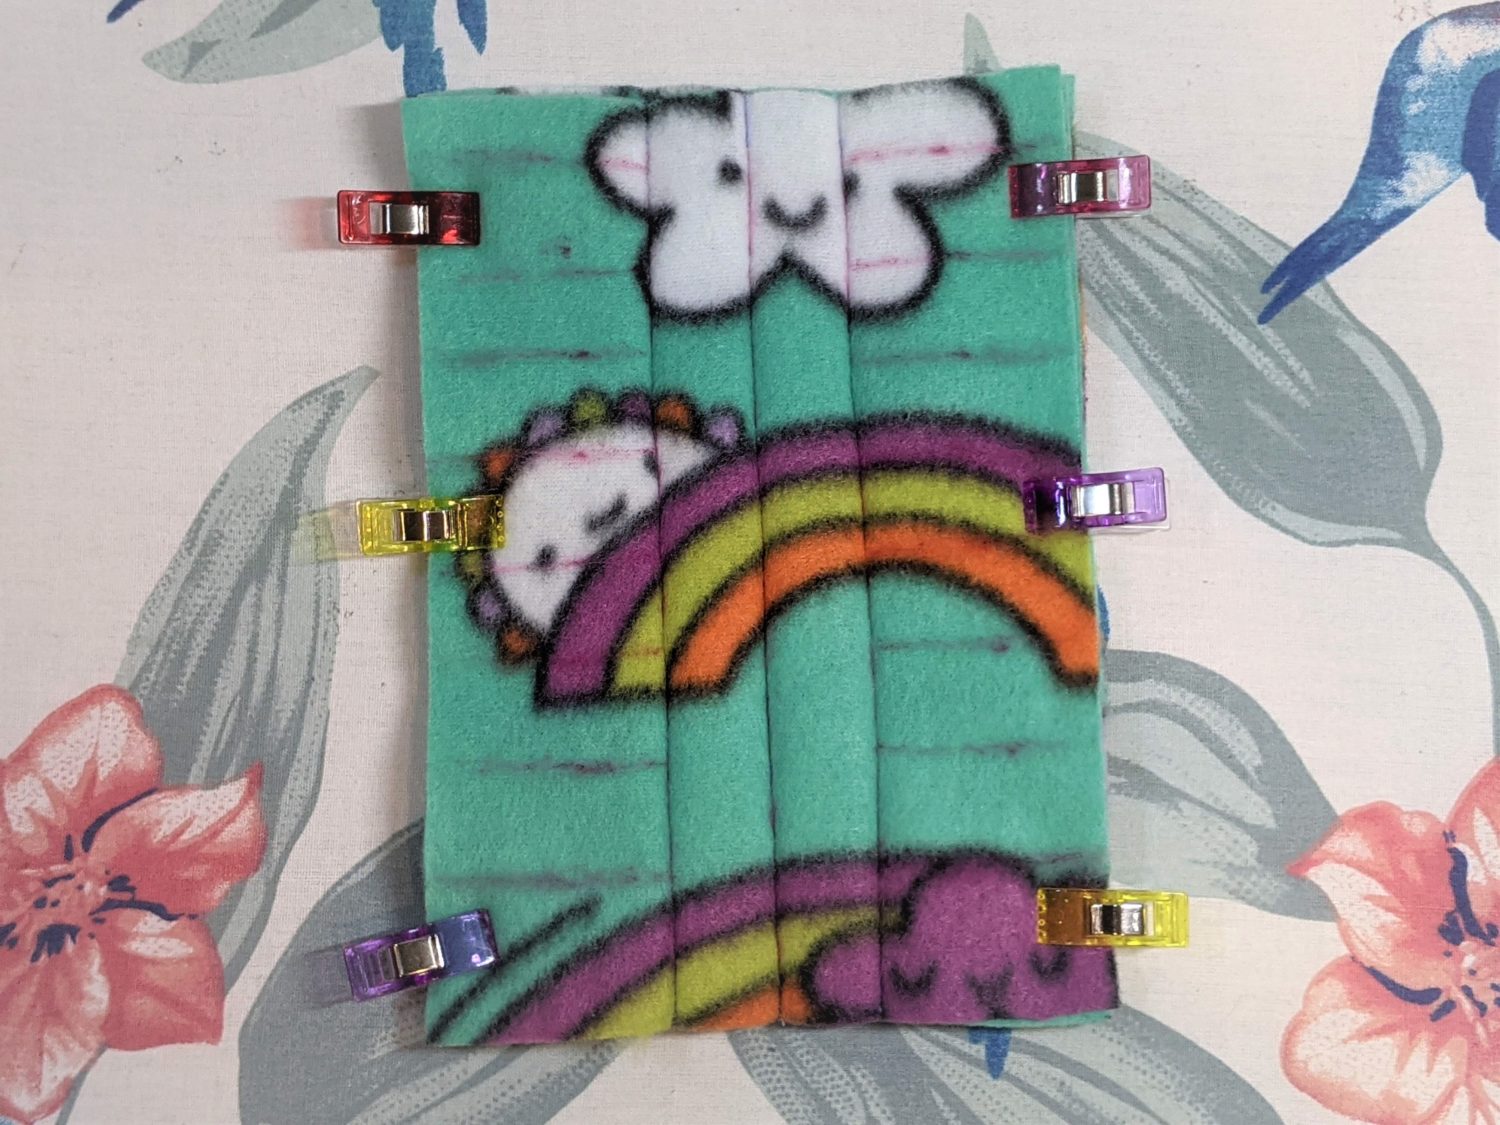
- Grab your pen and ruler, then measure 3/4″ over on either side of the stitching and draw the lines all the way down.
- Sew along you drawn lines.
Cutting Time
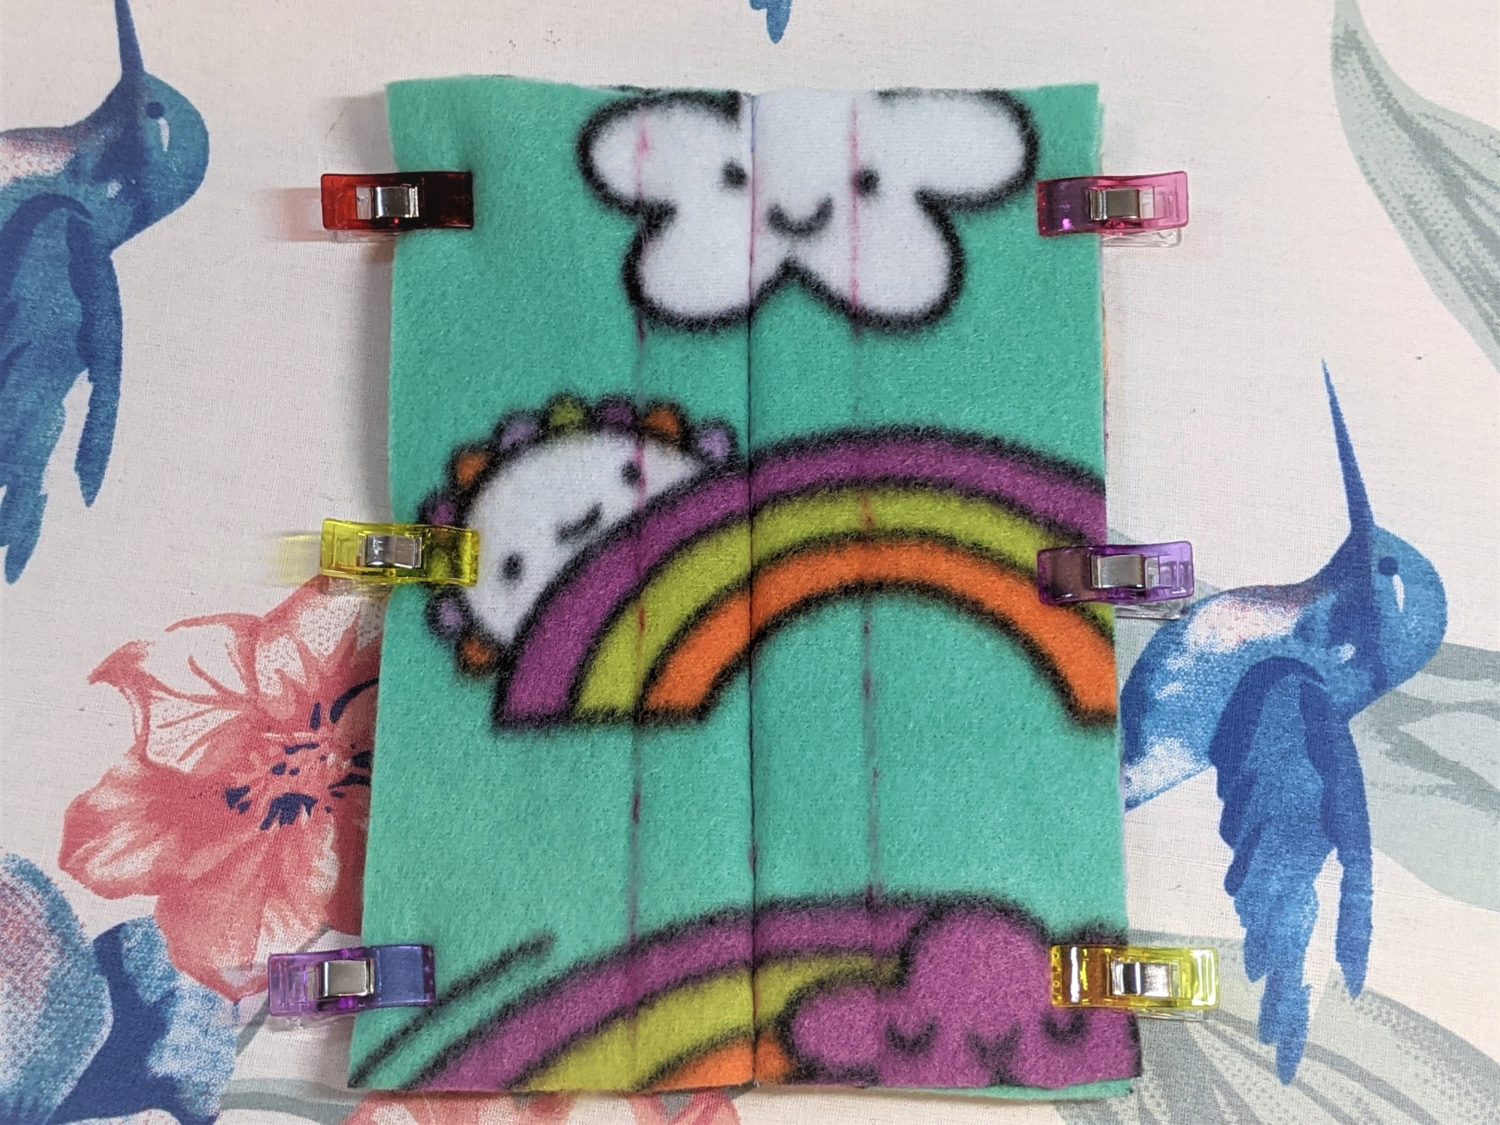
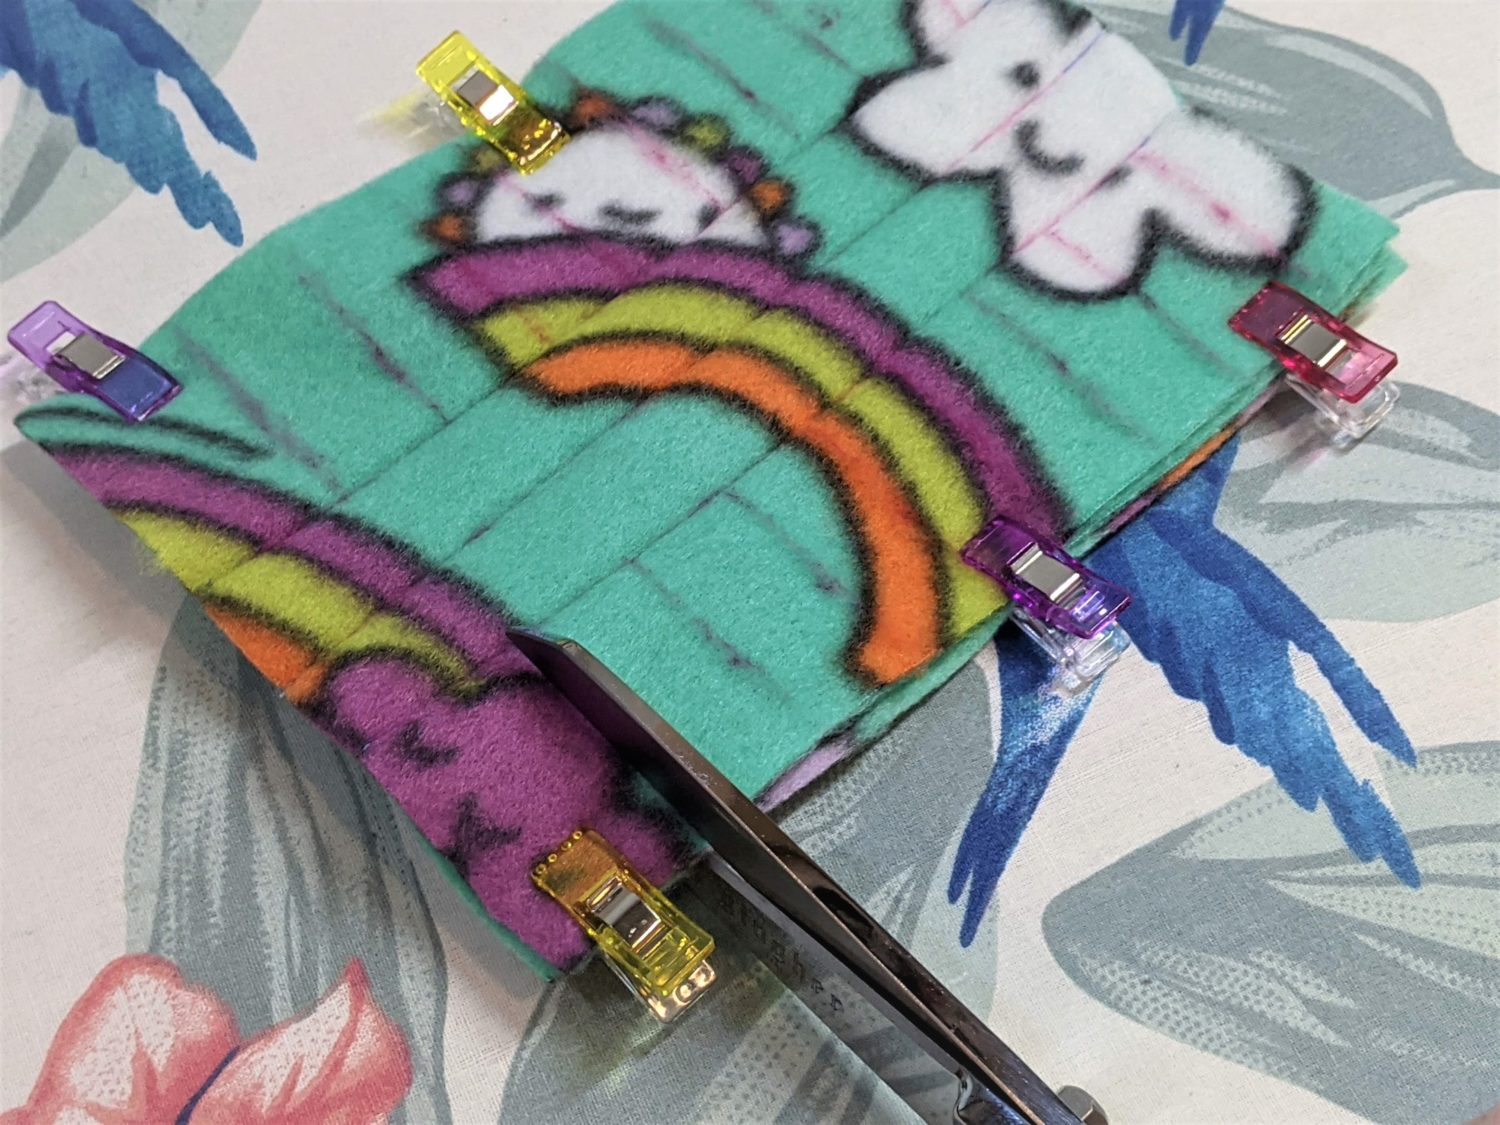
- Measure 1″ up from the bottom and draw a horizontal line across.
- Measure the rest of the way up marking every 3/4″.
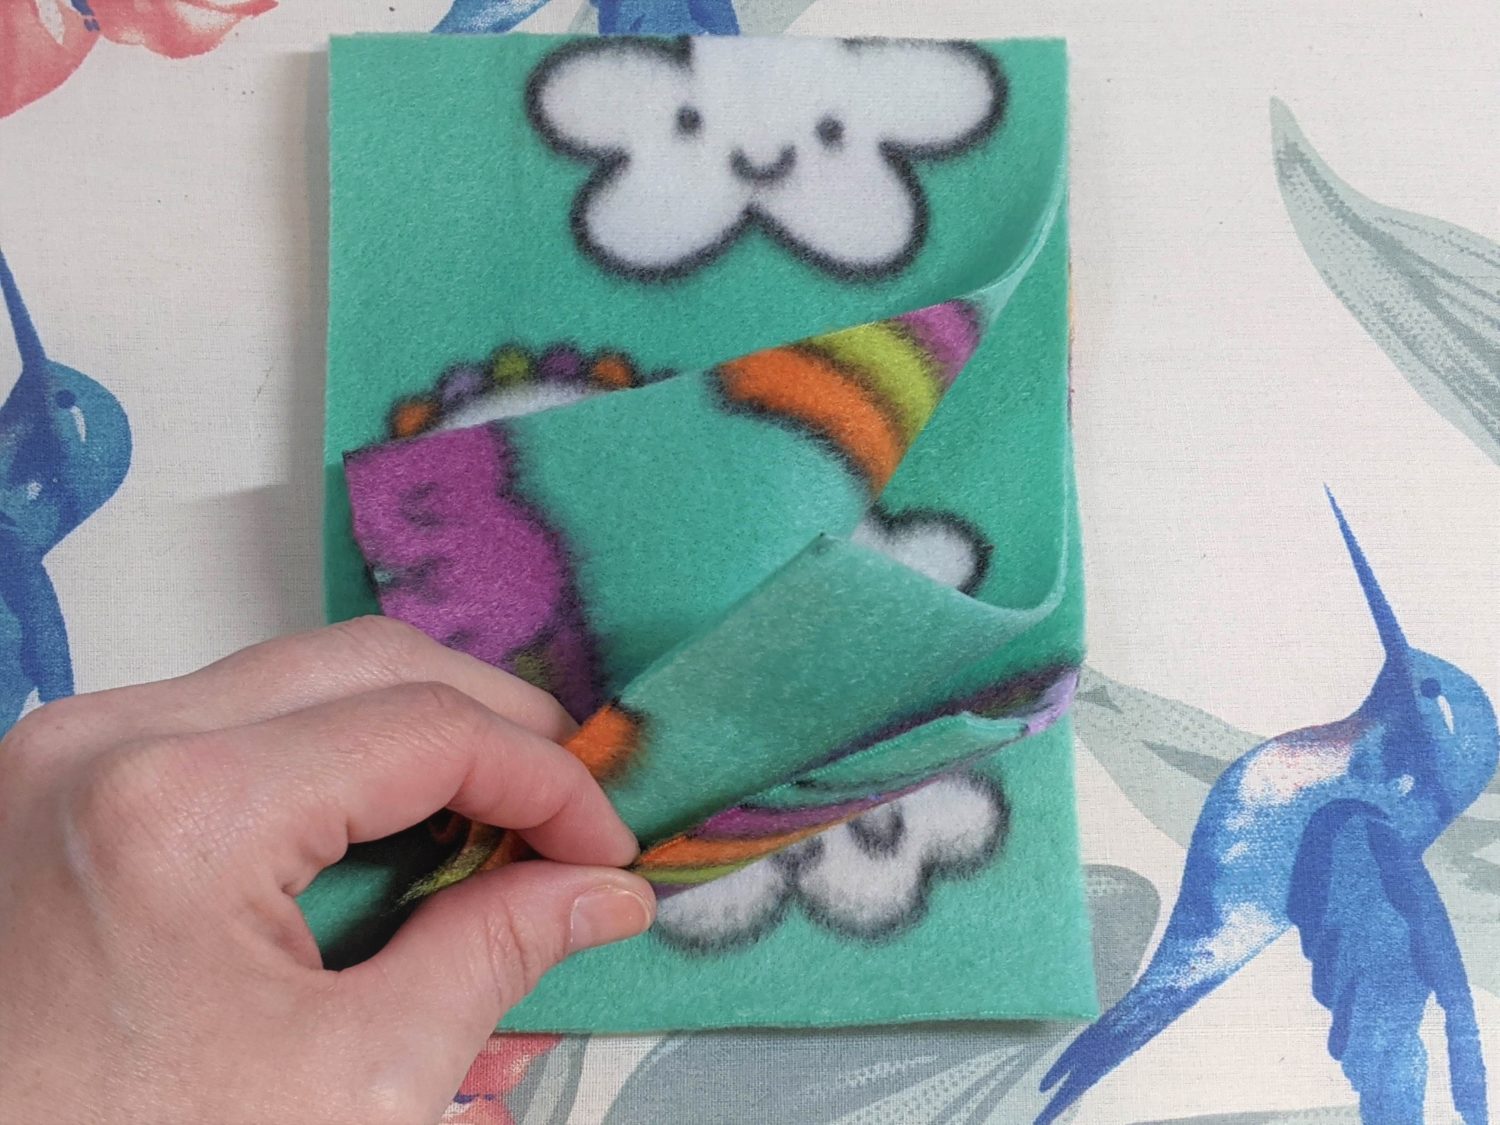
- Cut along each line from the outer edge up to the stitching without cutting any stitches.
- If you used a heat erasable pen grab your iron and erase the pen off.
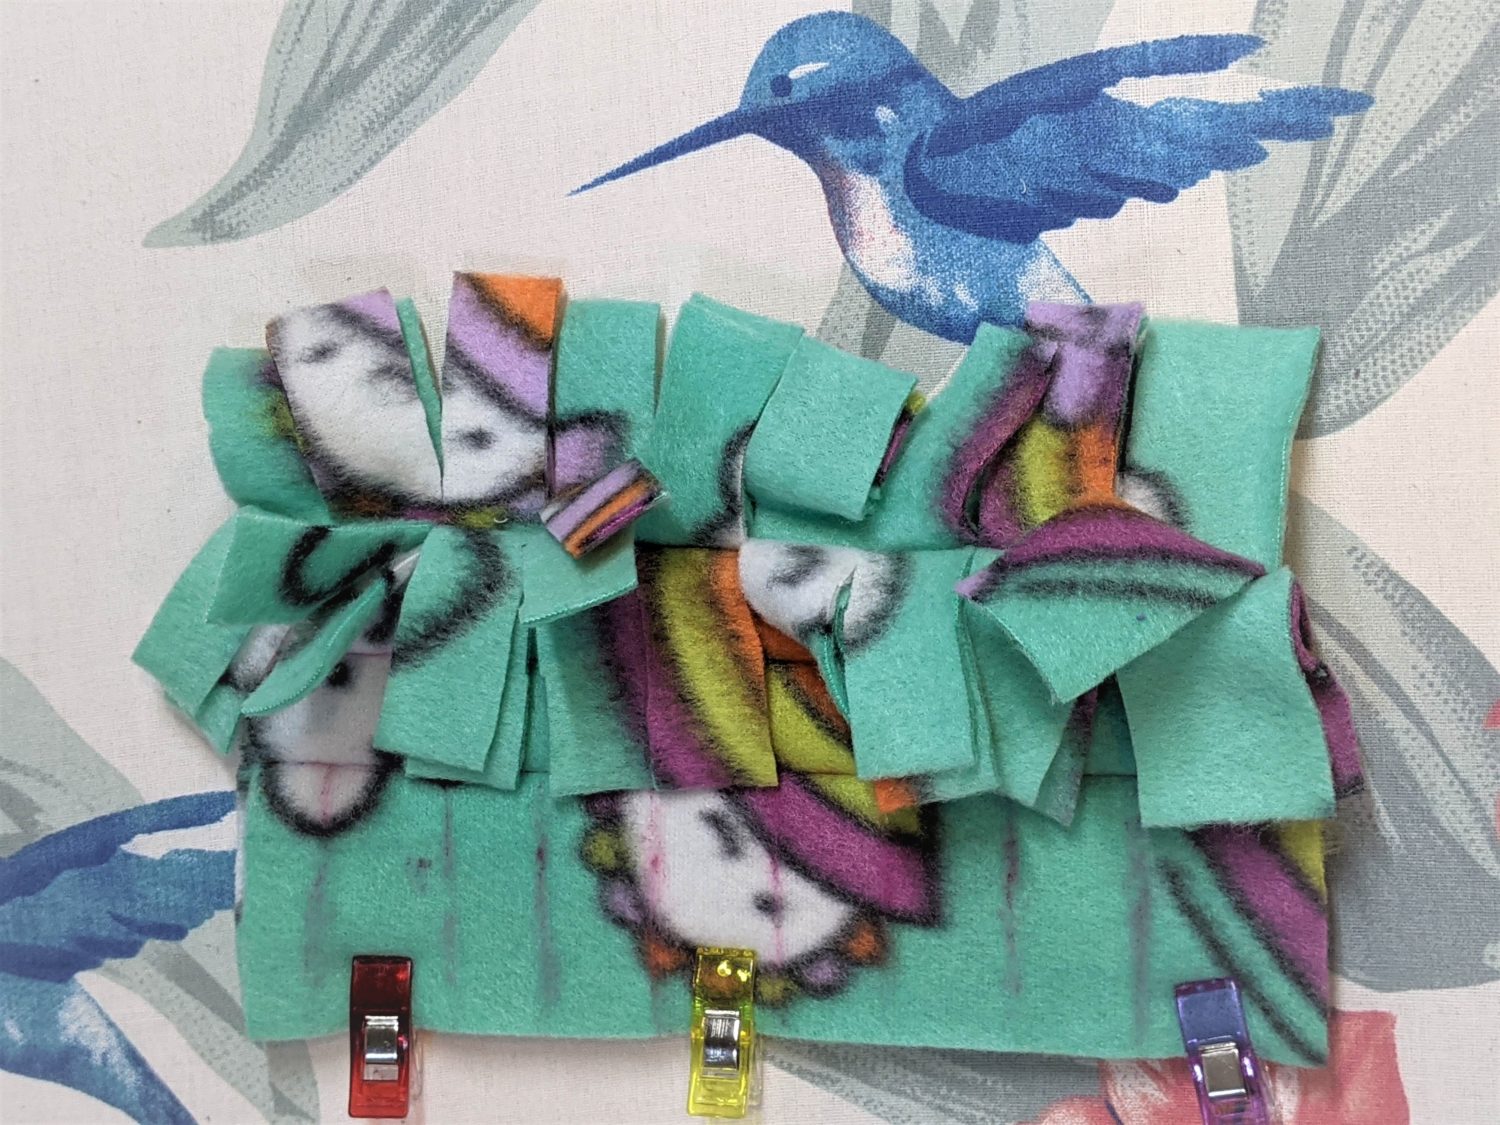
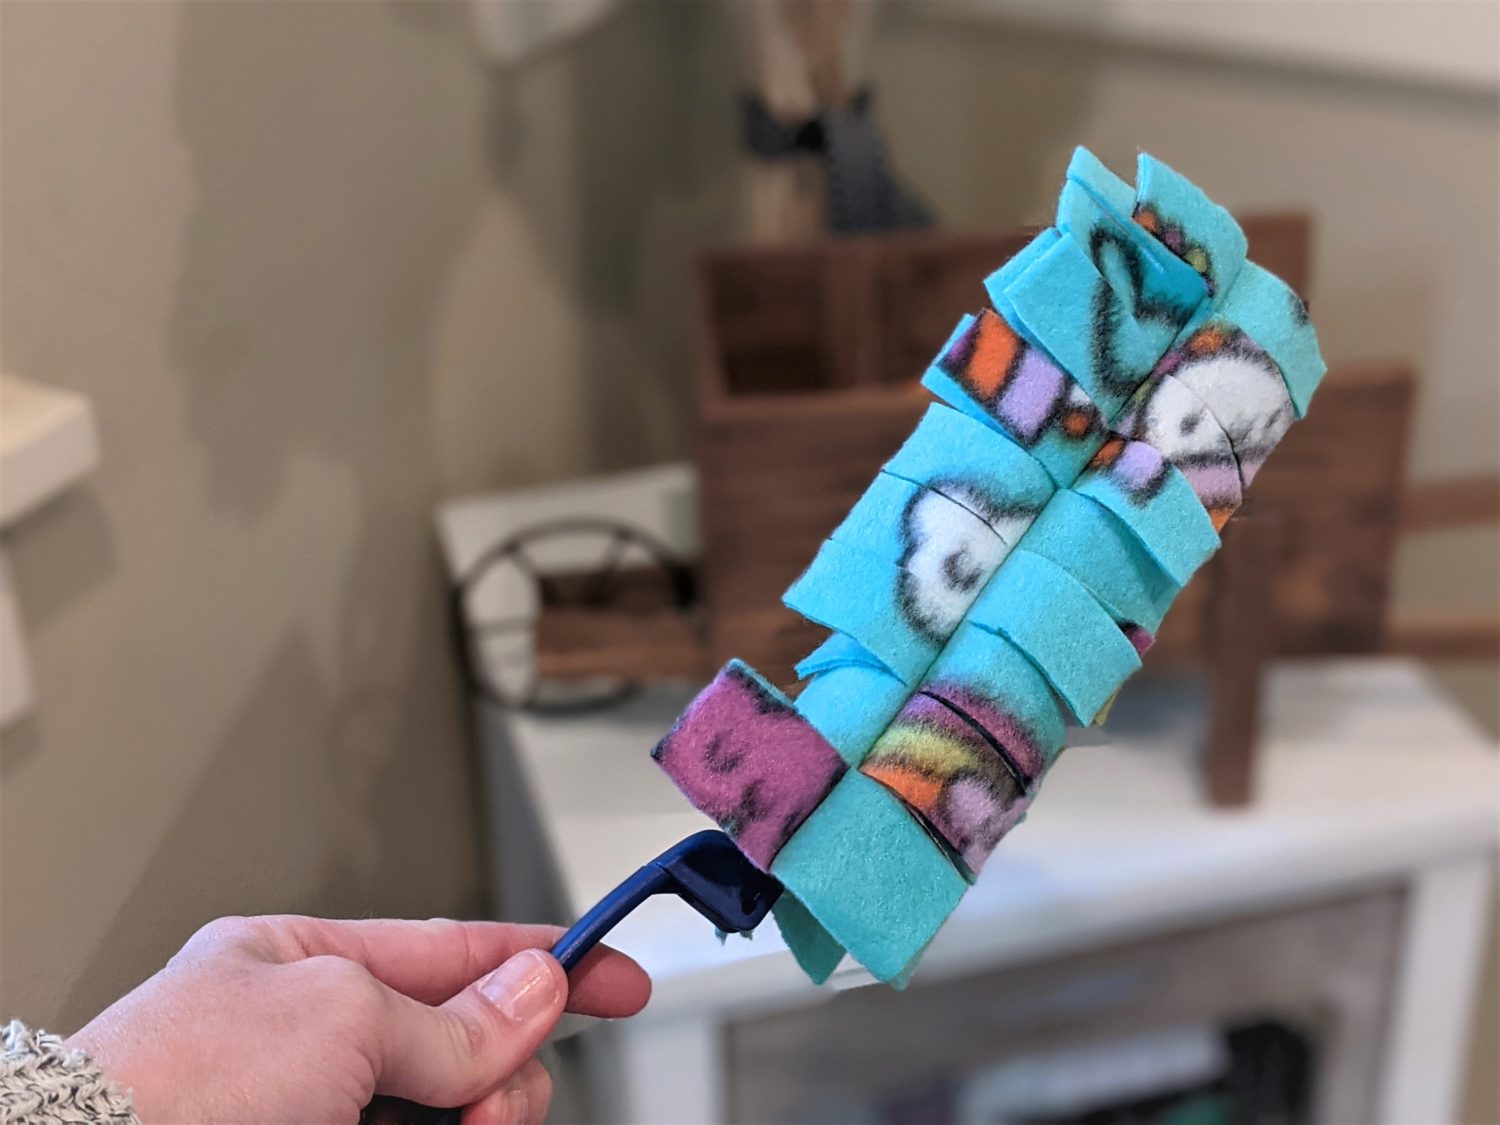
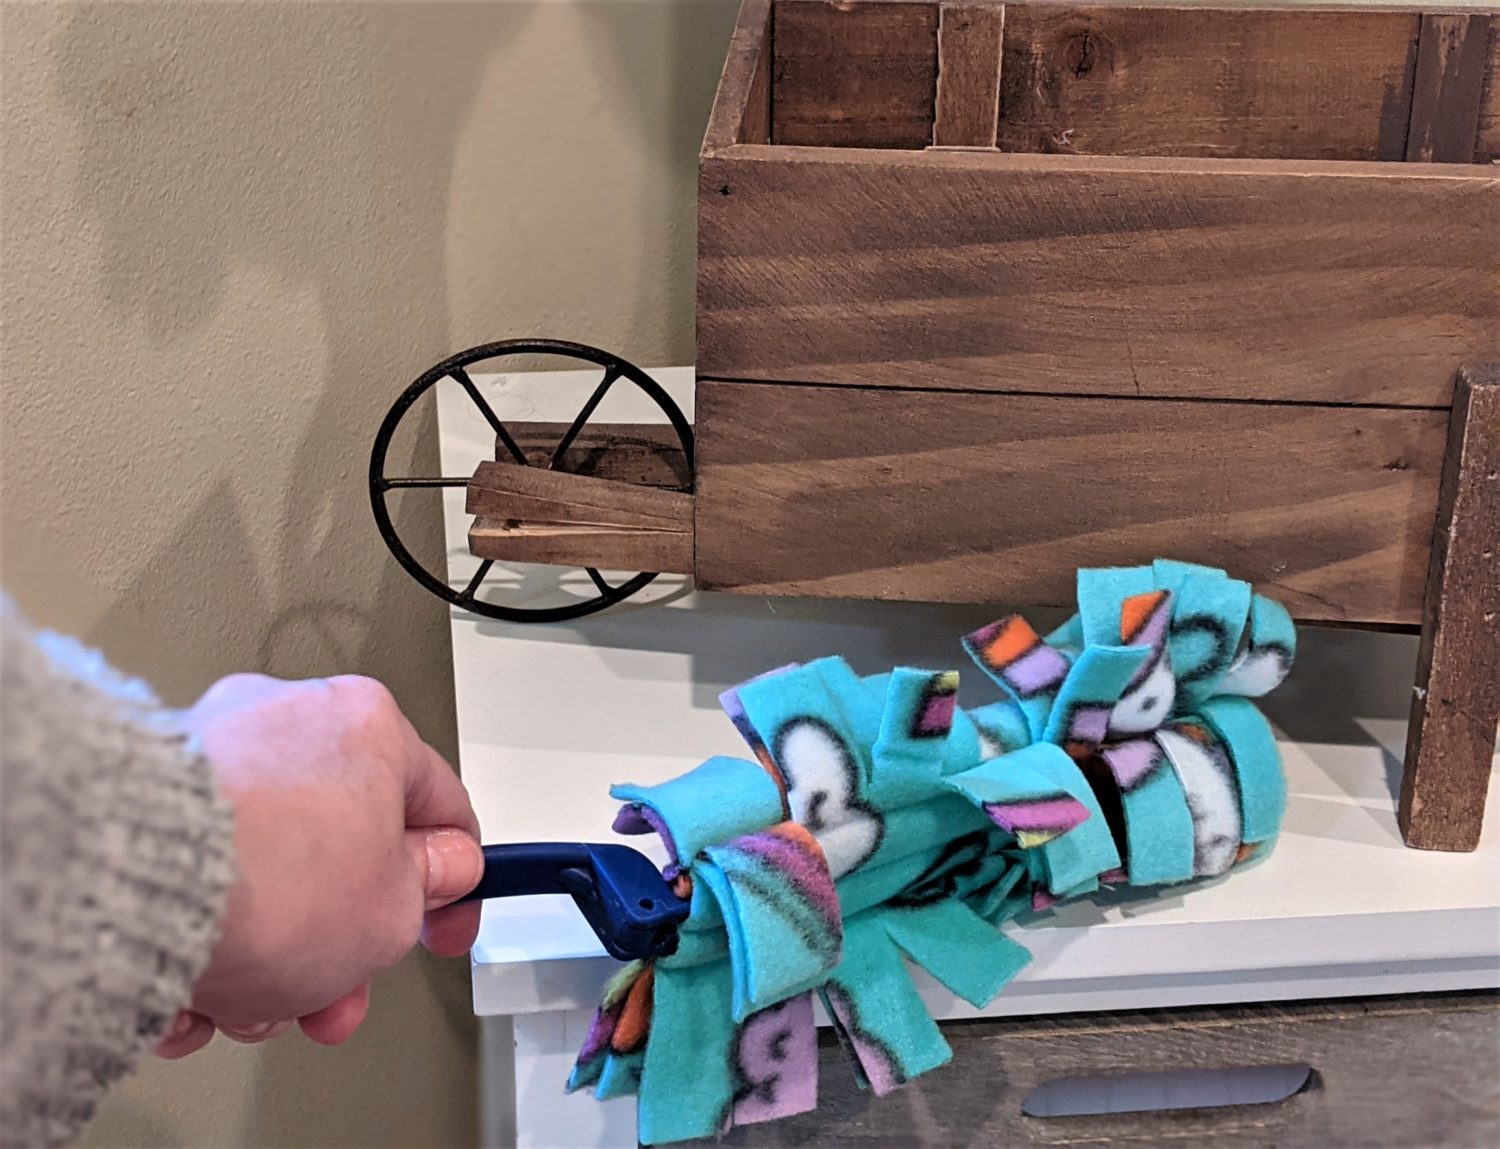
So quick and easy, and when you’re done, just throw it in the wash!
Want more FUN DIY Freebies? Check out the FREEBIE TUTORIALS and the FREEBIE PATTERNS!
As always, we’re here to help if you need it! Join us HERE and on Facebook, Instagram, Twitter, Youtube, and Pinterest. We’re everywhere you are.
The one problem I have with the disposable refills is that they constantly want to slide off the handle on me, but I was thinking if I added a little strap on the handle end with a snap or velcro that wraps around the handle, it would keep it in place. Does that sound like a good idea to anyone else?
I’m probably going to try microfiber cloths instead of fleece for this, as I think it’ll do a better job, but this is a great tutorial! Thank you for posting it.