With a few small tweaks, any raglan pattern can be adapted in to the perfect summer rash guard. Here’s how:
The Pattern
5 out of 4 Patterns has three raglan patterns that will work perfectly: Rocket Raglan, Nancy Raglan, or Ryan Raglan. I’m going to specifically show you using the Rocket Raglan, but you can use the crew neck option on any raglan pattern.
Fabric
For fabric, I recommend swim nylon or quick-dry/performance fabric. I’m using some quick-dry fabric from The Fab Clique Fabric Shoppe in this tutorial.
Sizing and Pattern Piece Adjustments
Use the sizing chart in the pattern tutorial to figure out what size you need. I recommend sizing down (and lengthening as needed) for a more fitted look. My son normally wears a 5, but I sized down to a 4.
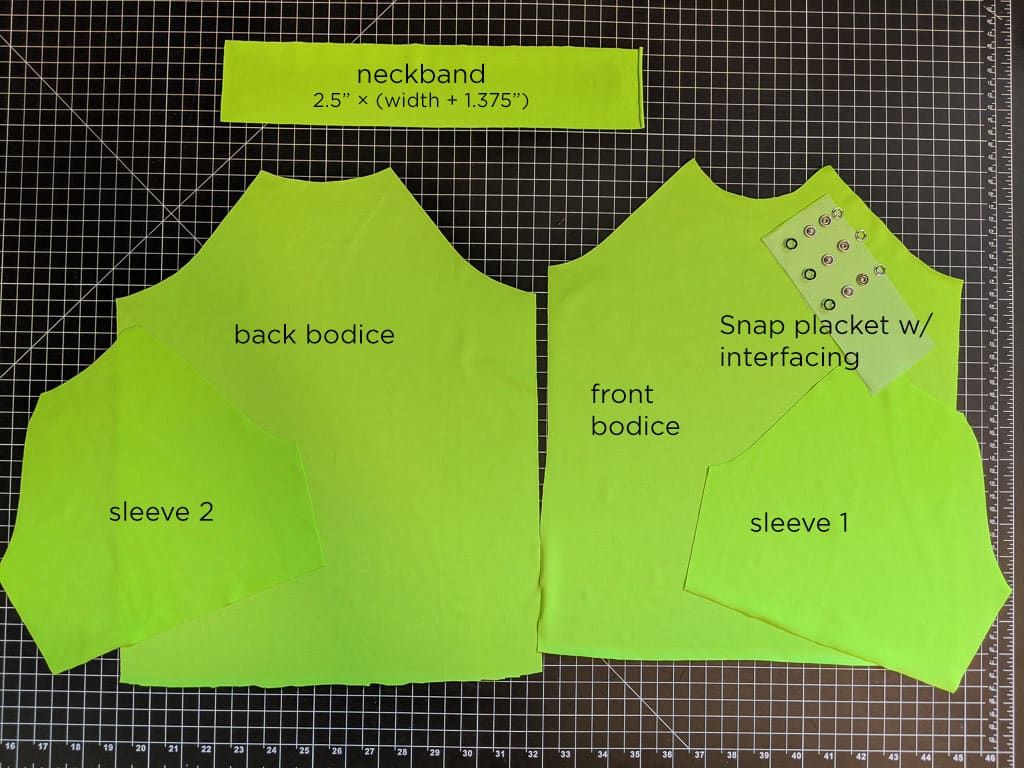
- Cut out the front bodice, back bodice, and mirrored sleeves as you normally would for the crew-neck option.
- When cutting the crewneck band, increase the length (grain) to 2.5”, and increase the width (stretch) by 1.375”. This will give you a taller collar that will overlap at the placket.
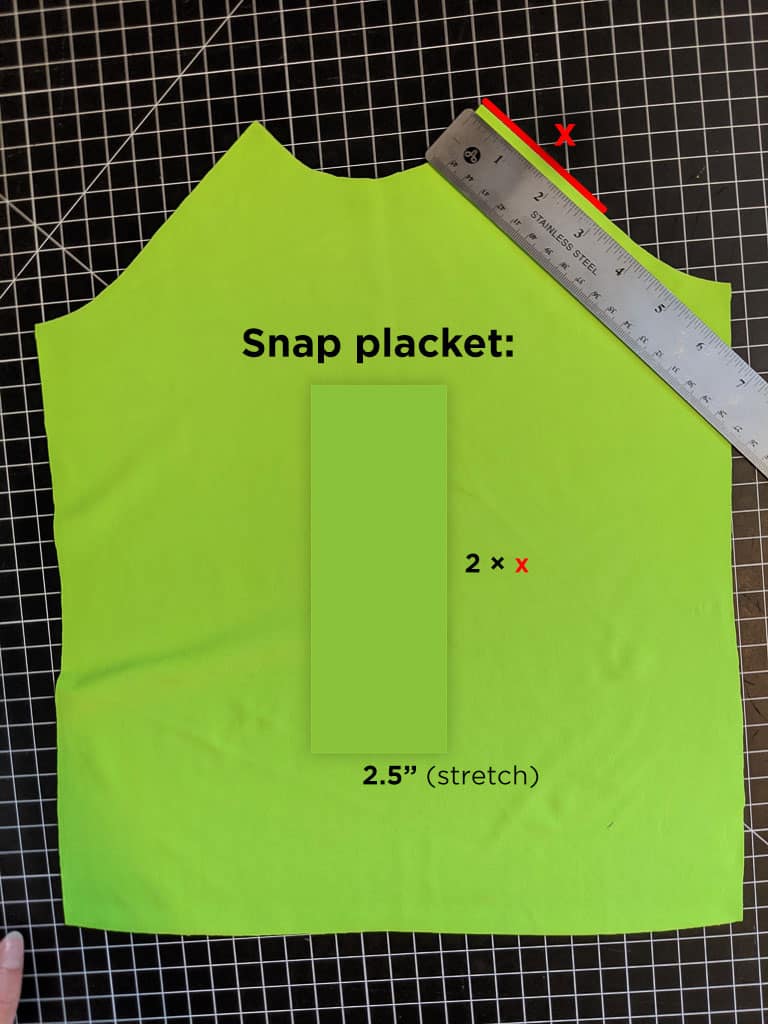
- You’ll also need to cut one extra piece to serve as the snap placket. Your placket will be 2.5” wide (stretch) by double your placket length (grain). In order to figure out how long you want your placket to be, measure down the front bodice of your shirt along where the sleeve will attach and decide what you think would look good. In my son’s case, we’re going to make a 3” placket. So my placket piece is 2.5” wide (stretch) by 6” long (grain). You’ll also want to cut a piece of knit interfacing of the same size.
- You will need snaps or buttons to fasten your placket. I’m going to do 3 sets of snaps for my 3”. If your placket is longer—you may want more, shorter—less.
Placket Assembly
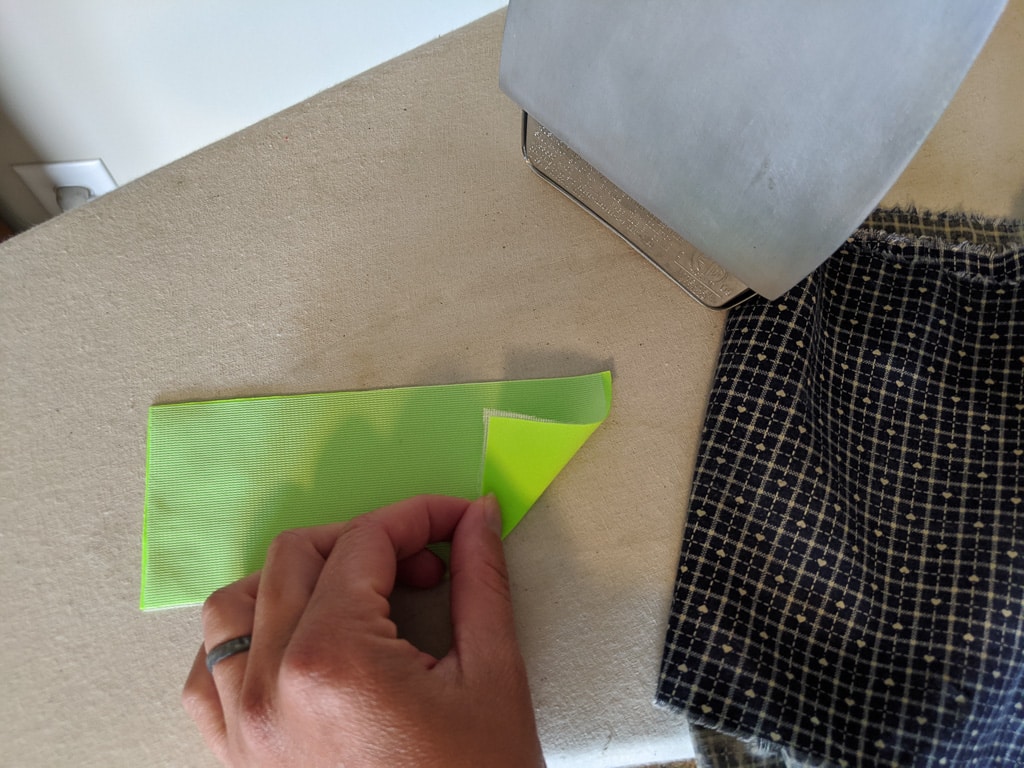
- Fuse interfacing to the wrong side of your placket piece following manufacturer instructions. Be careful not to melt your placket.
- Match the front of the sleeve to bodice front, right sides together, but do not sew. Measure from the collar your placket length (3” for me), and mark.
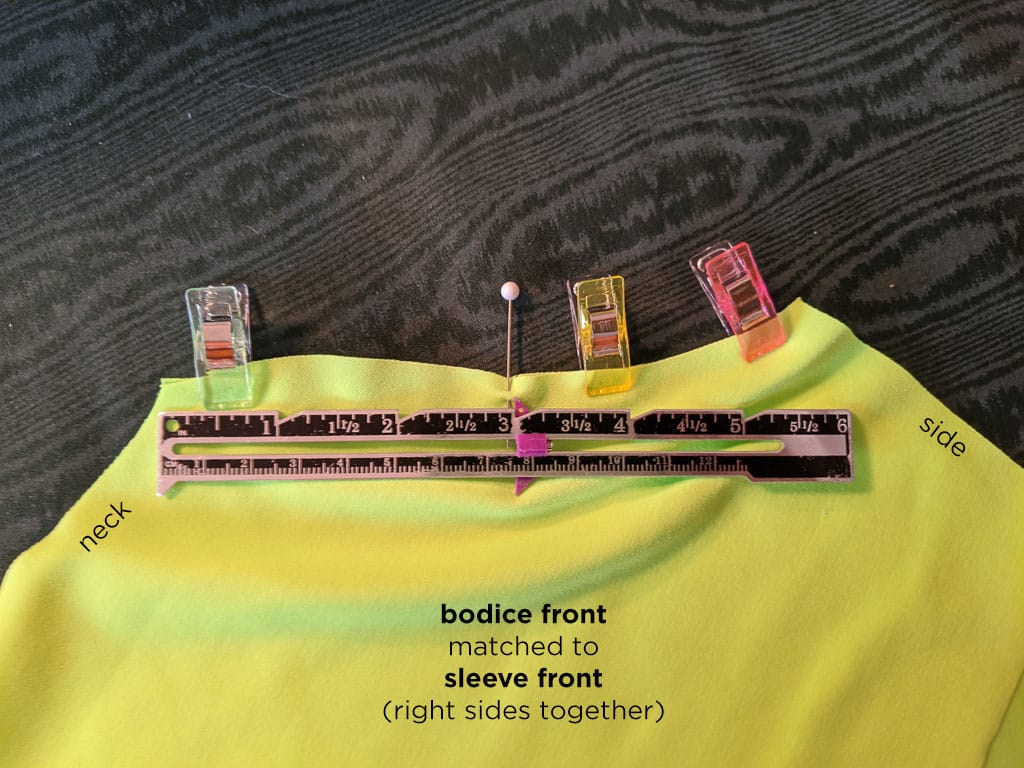
- Sew from the your mark to the armpit using a stretch stitch. I do not recommend using a serger here, as you’ll want this to be pretty exact on your mark.
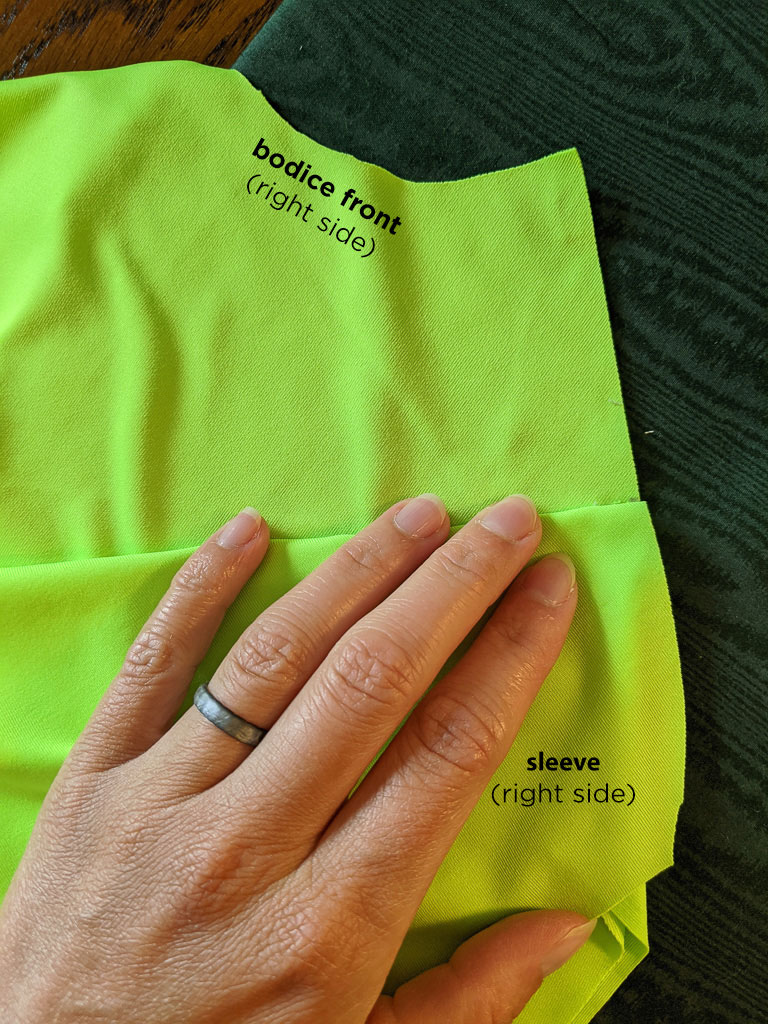
- Fold the sleeve down from the bodice piece, stopping at your stitching. This should form a straight line from the neck of the bodice at the top to the neck of the sleeve at the bottom. The right sides of both the bodice and the sleeve will be exposed.
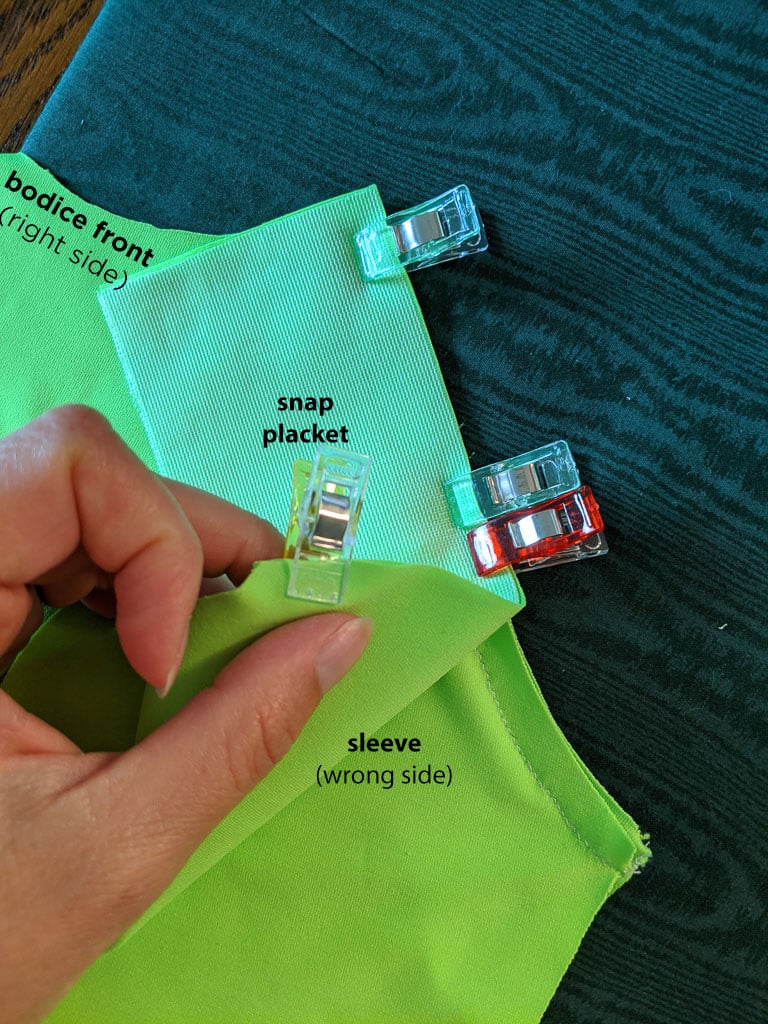
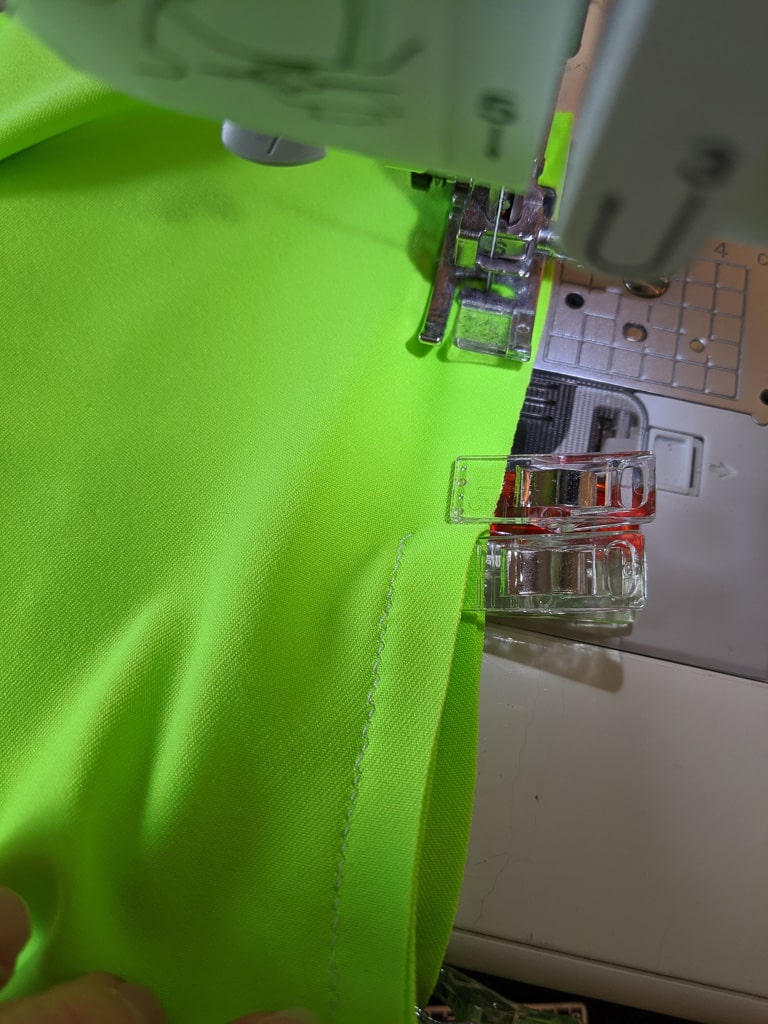
Align your placket, right sides together, along this new straight edge. Pin or clip raw edges together. Be sure to only clip on layer to the placket.
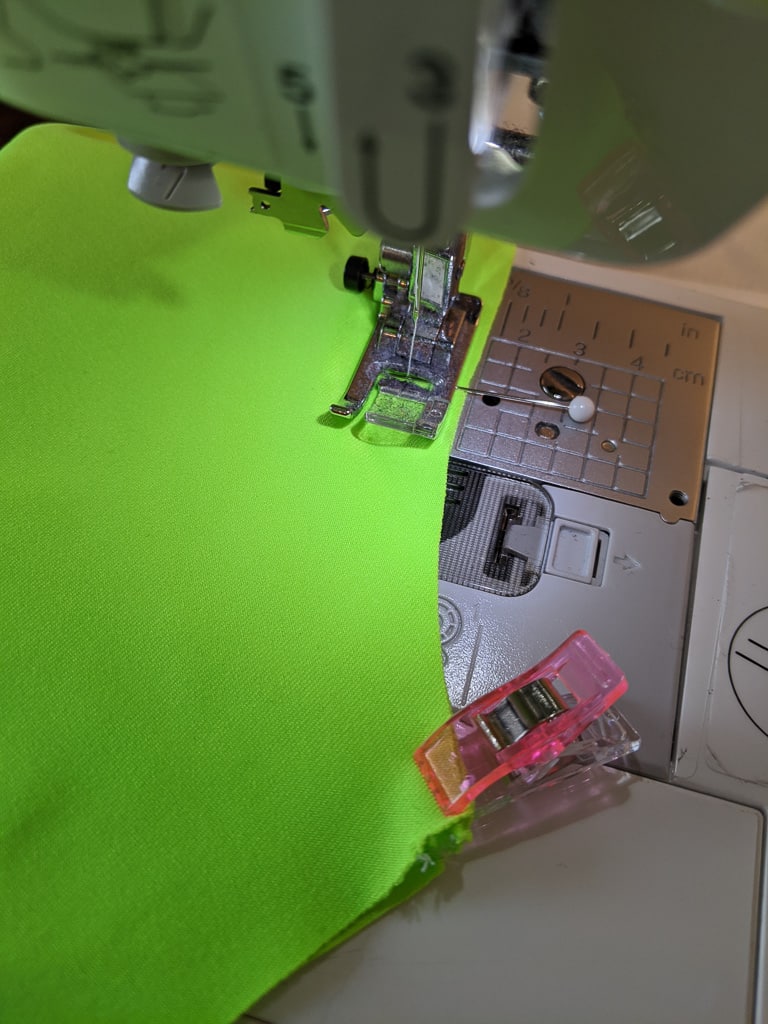
- Flip over and sew the placket to the bodice using a stretch stitch from the top of the collar to your previous stitching. You do not want to catch any extra fabric when stitching, so be careful as you approach your original seam.
- Now you will need to sew the placket to the sleeve from the top of the sleeve to your previous stitching. Again, be careful here not to sew anything other than the sleeve and the placket pieces.
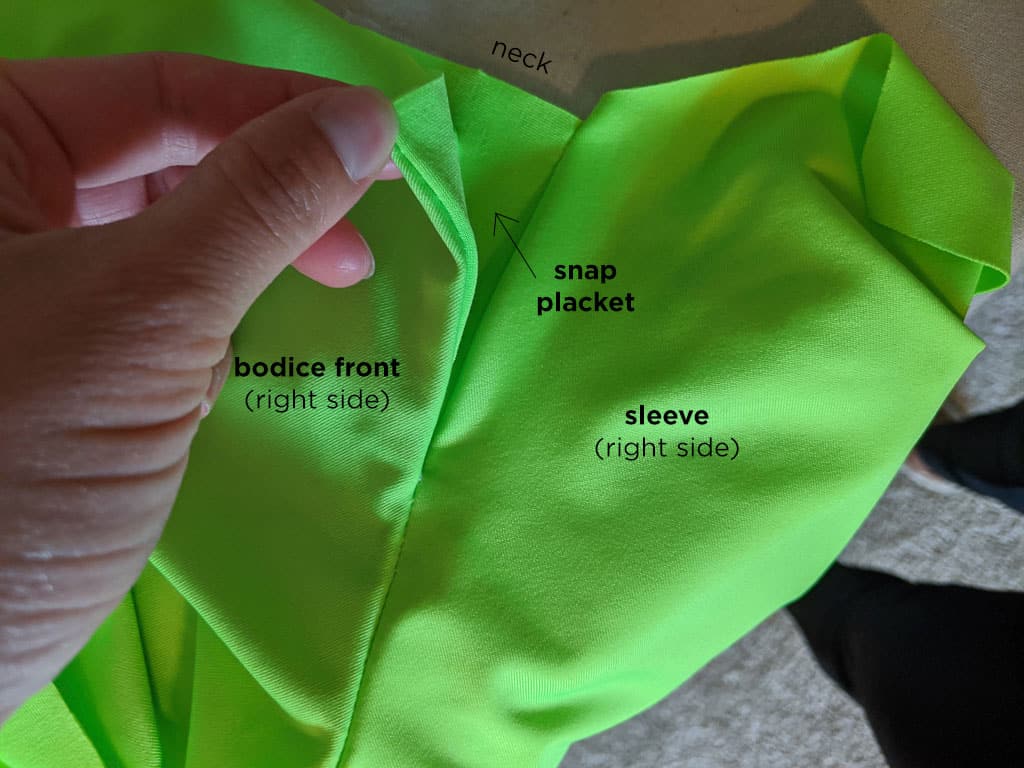
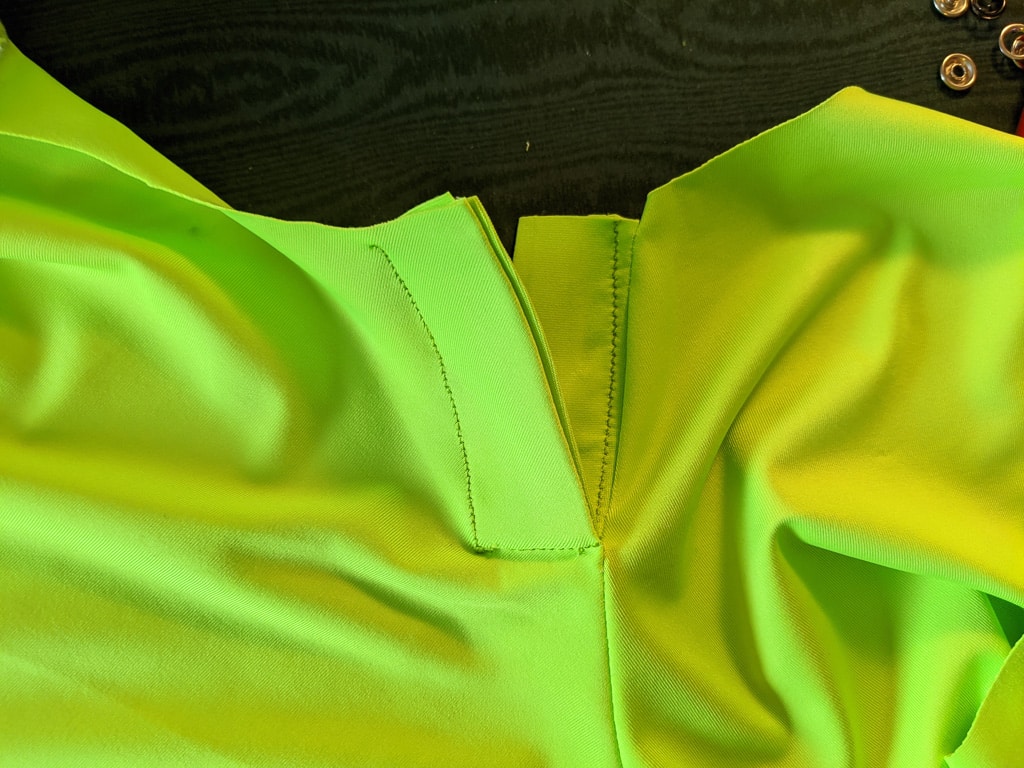
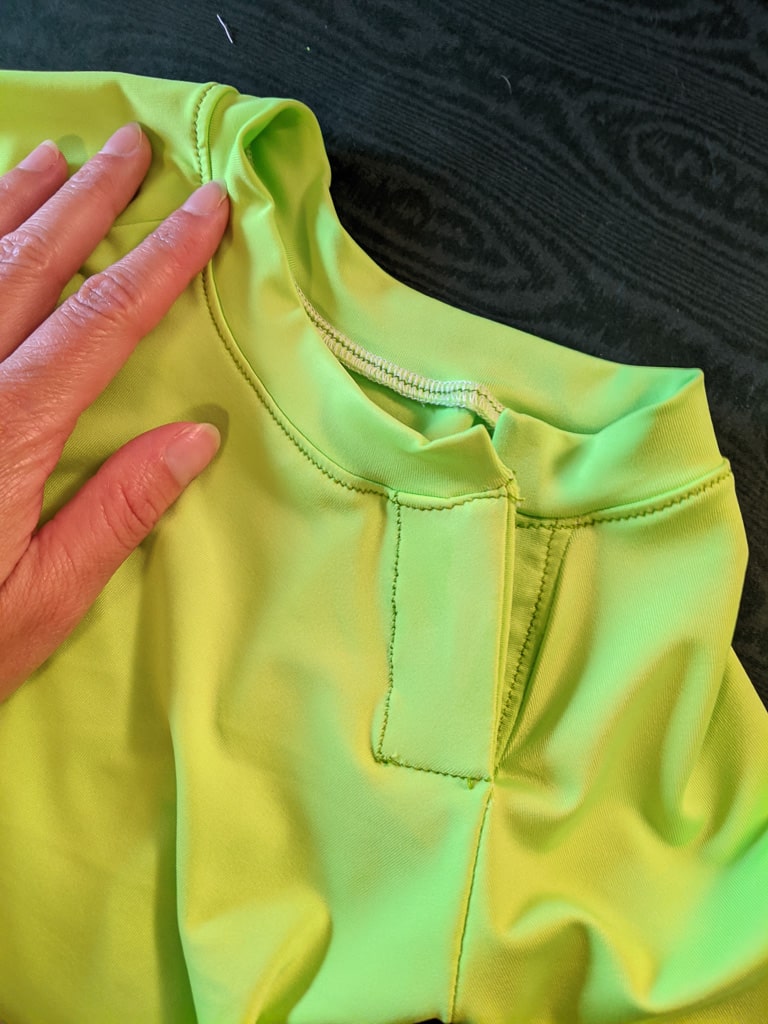
- Bring the neck corner of your arm piece and the neck of your bodice together. The placket will fold in half vertically inside the arm seam. This is really hard to explain, so hopefully this photo will help.
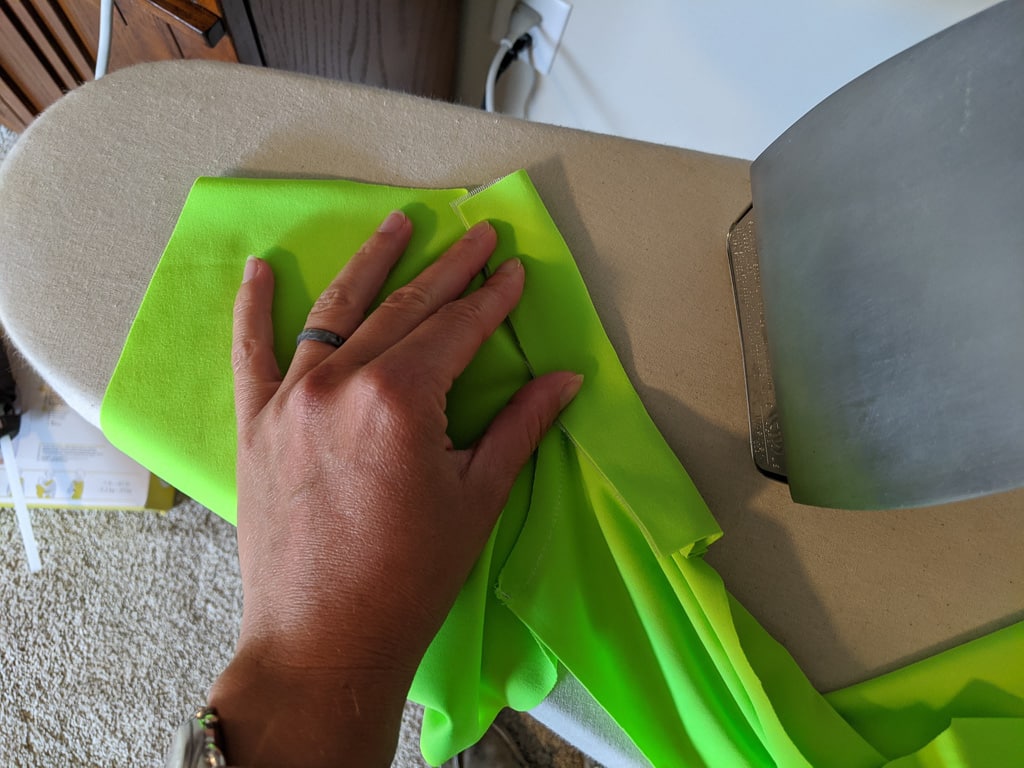
- Open the placket up so that it is flat, flip over garment, and press placket in half vertically.
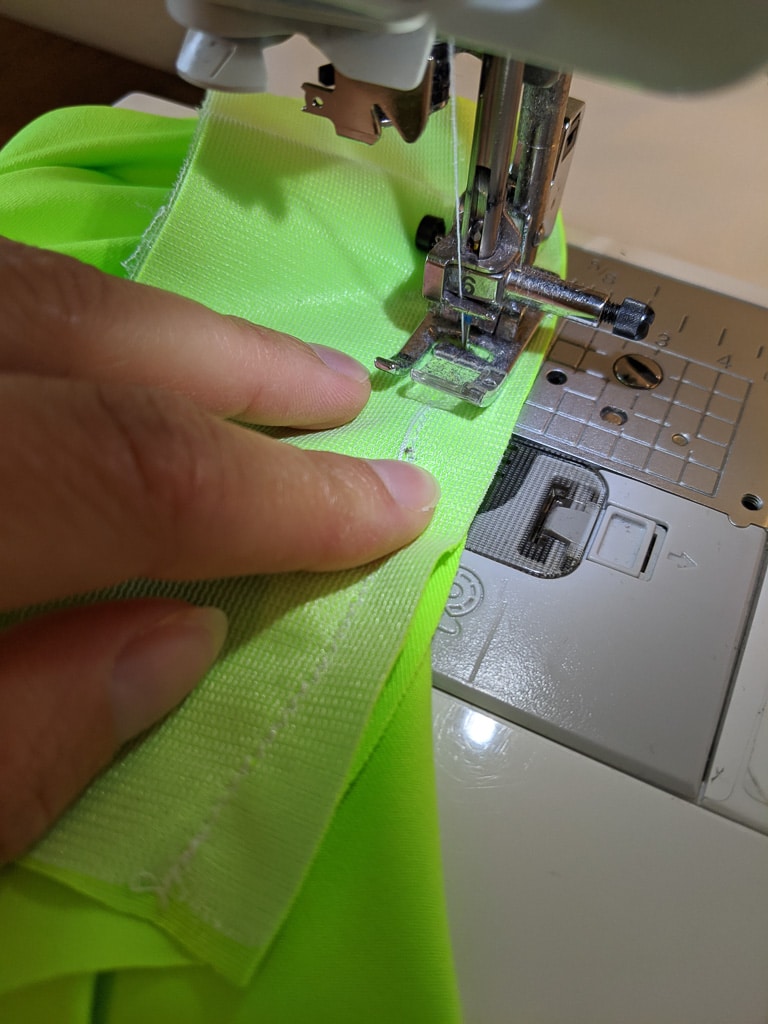
- You can now fold this back up and press as much as needed to make everything look nice and neat. Then use your sewing machine and top stitch near the edge of the placket on both the bodice and arm pieces.
Your placket is finished. At this point, I like to clip or pin it closed while I finish the remaining assembly. Follow instructions as normal until you are ready to do the neckband.
SPECIAL NOTE: I like to increase my seam allowance a bit on the side seams for a more fitted look. You may want to do a fitting first, especially if you sized down 1 or 2 sizes initially.
Neckband Assembly
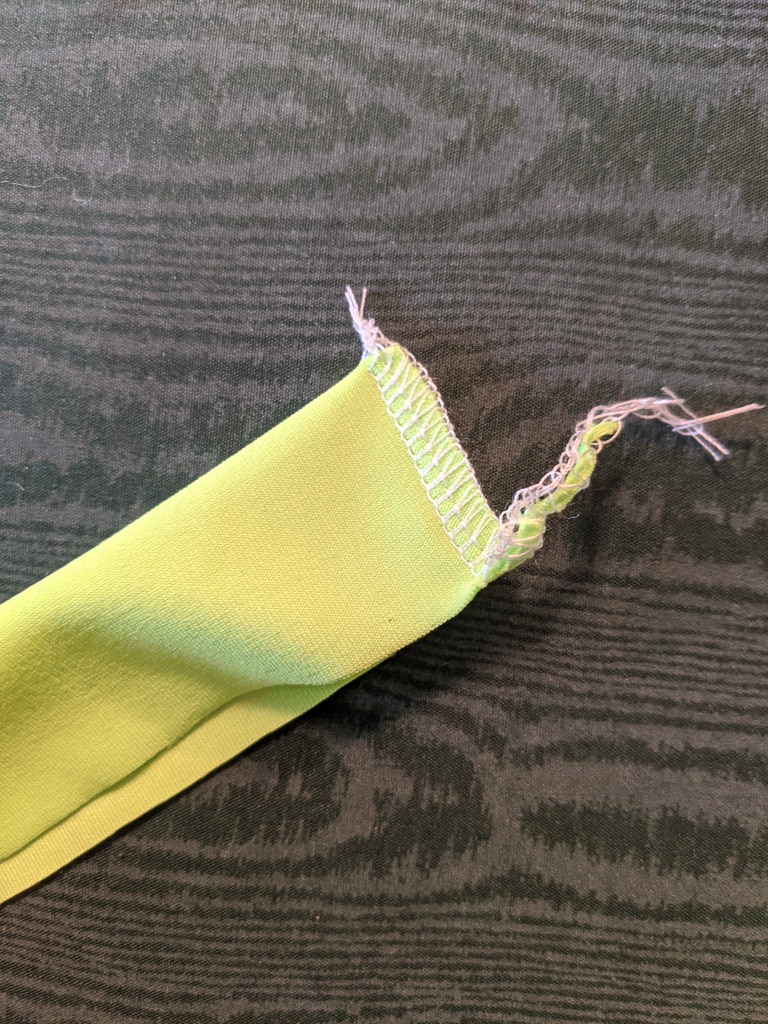
- Fold neckband in half lengthwise, right sides together and sew the short ends using a stretch stitch or serger.
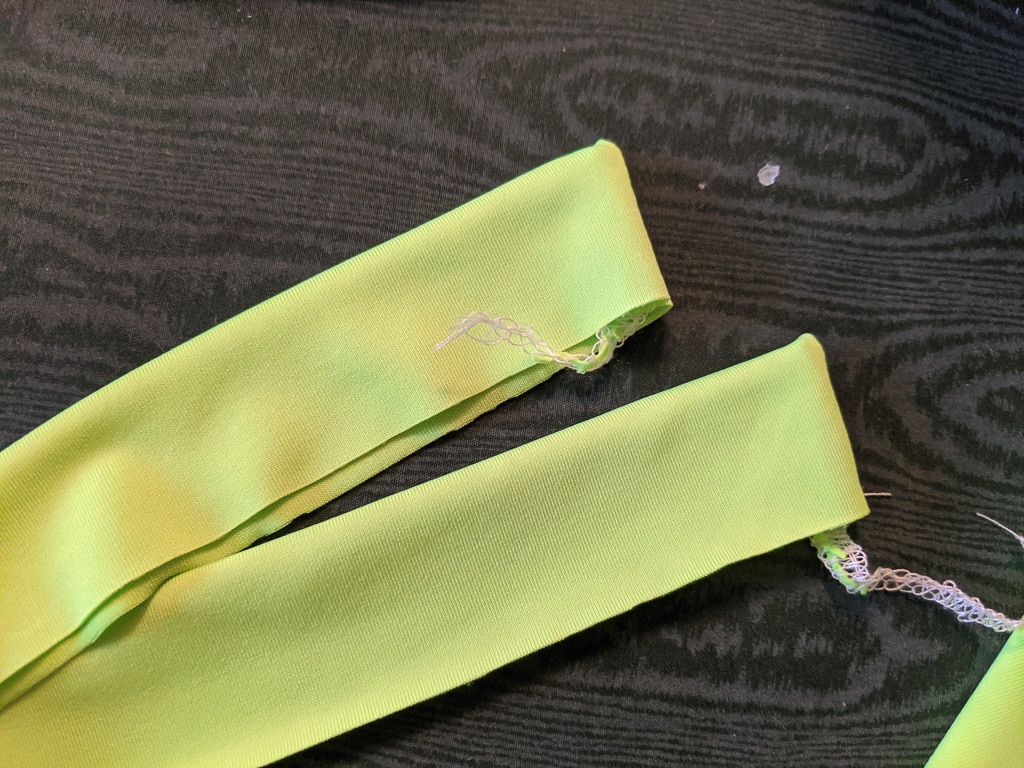
- Turn neckband right-side out (wrong sides together), push out corners and press in half.
- Quarter your neckband piece and top. When quartering your top, use the placket corners as one mark, not center back/front.
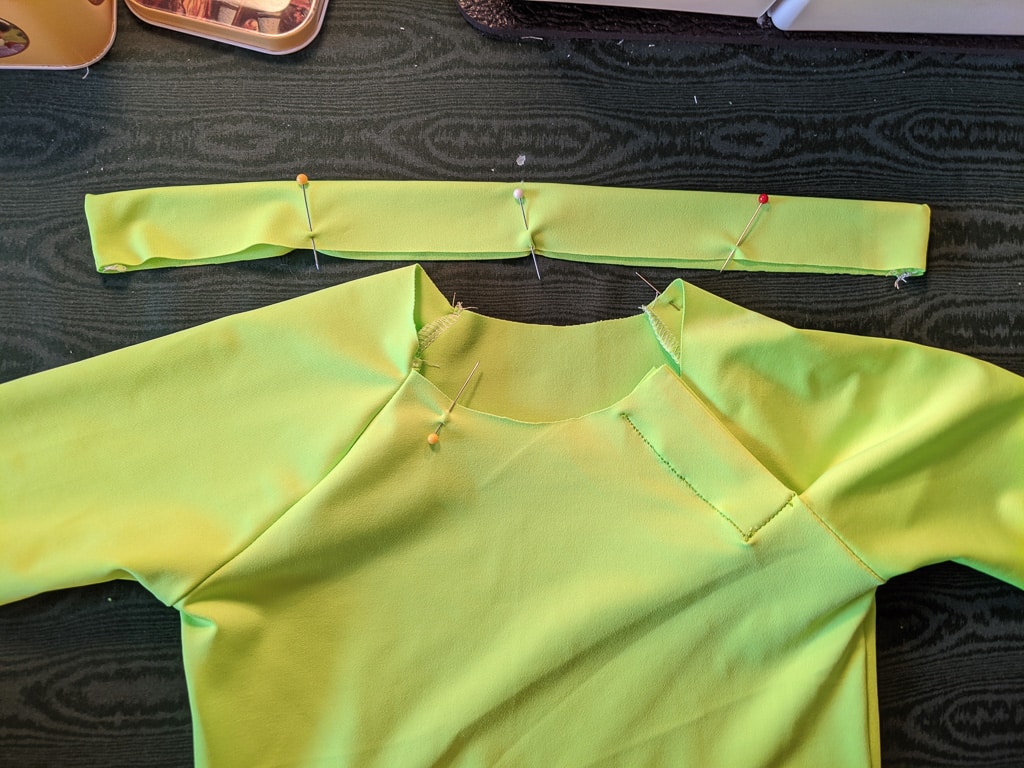
- Match up your quarter points (right sides together), starting and ending with the placket corners. Sew using a stretch stitch or serger while gently stretching the shirt, but being careful to not stretch the neckband.
- Press the seam down and top stitch.
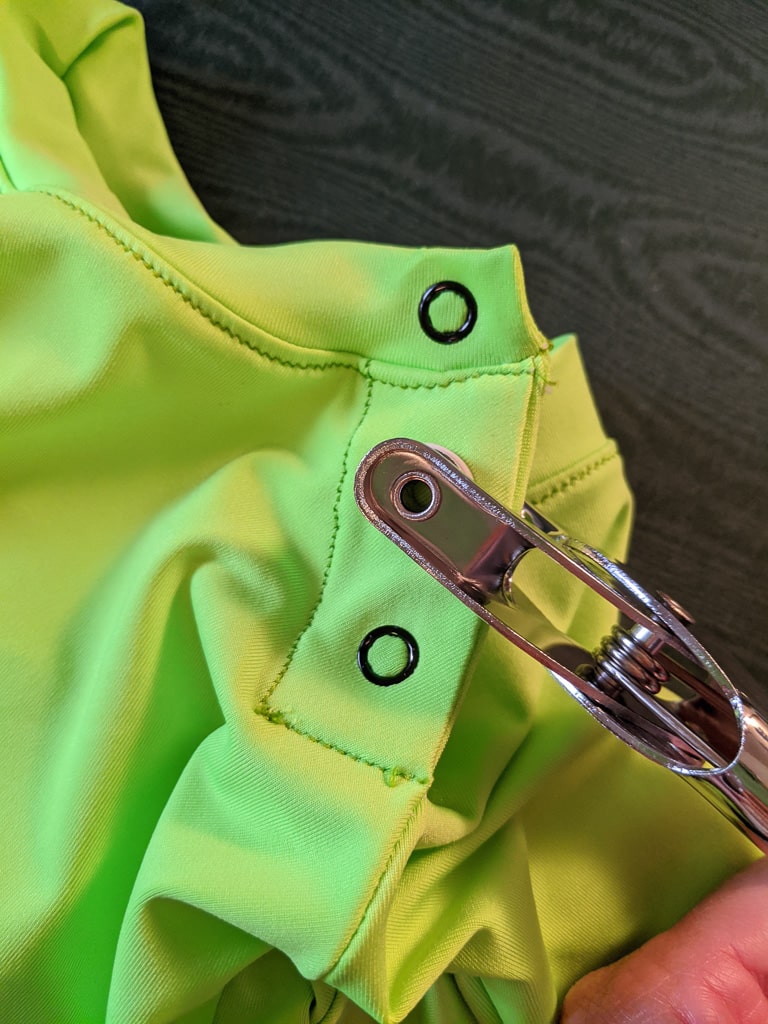
- Next, you’ll want to mark where your fasteners (snaps in my case) will go and attach them.
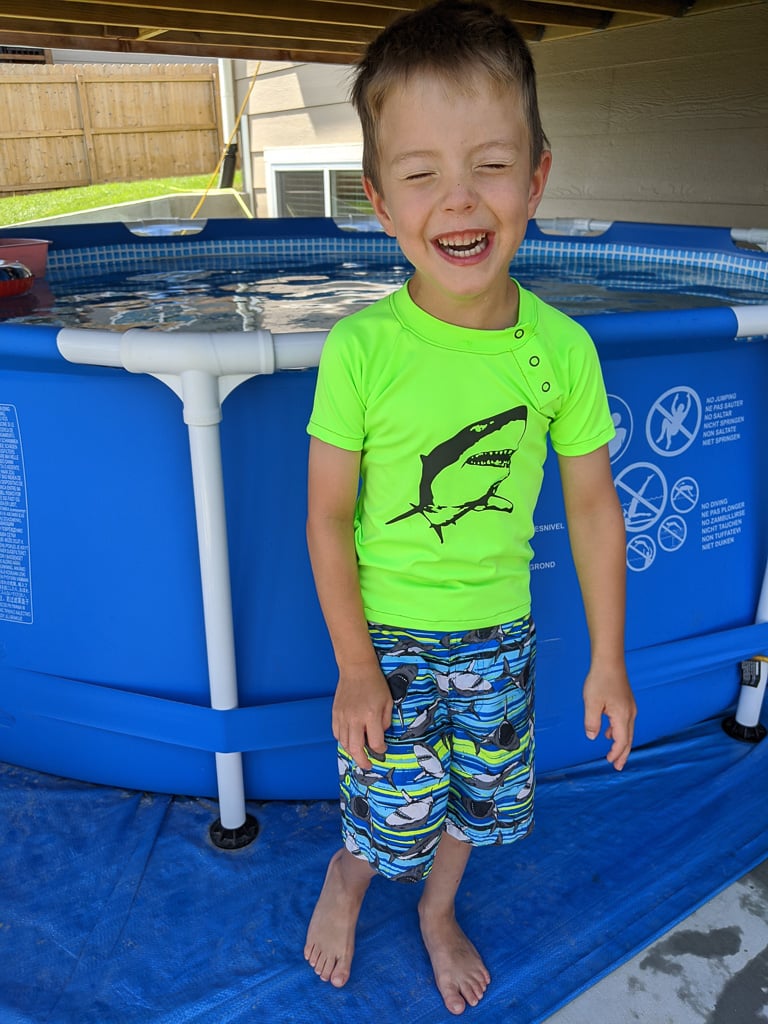
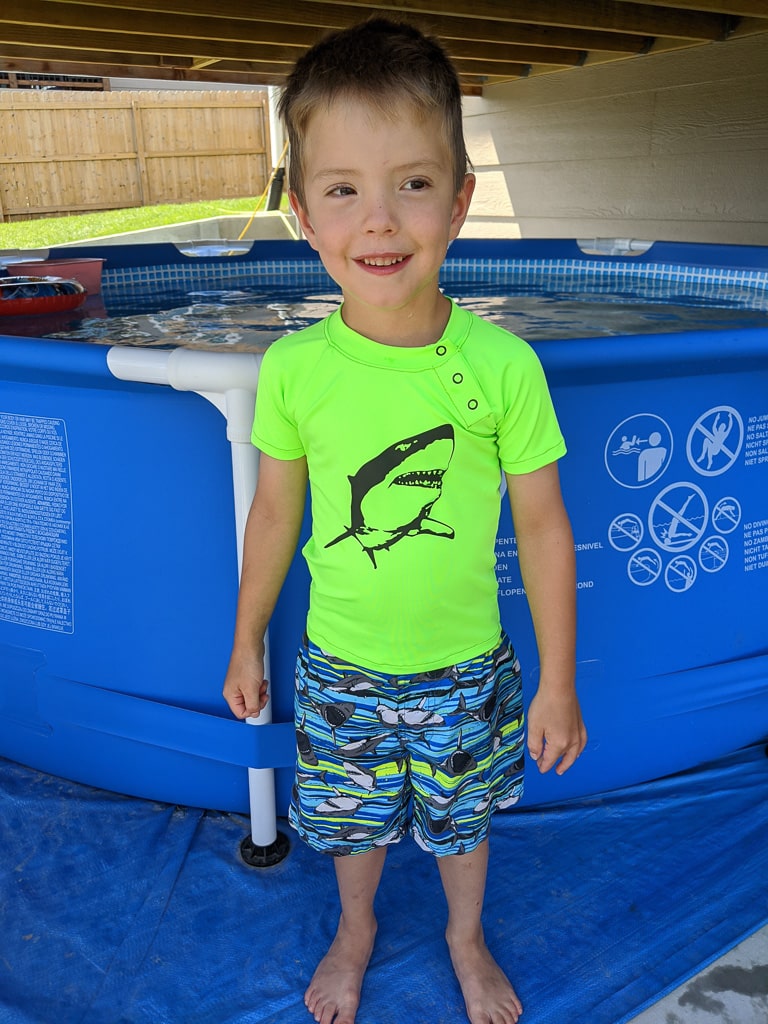
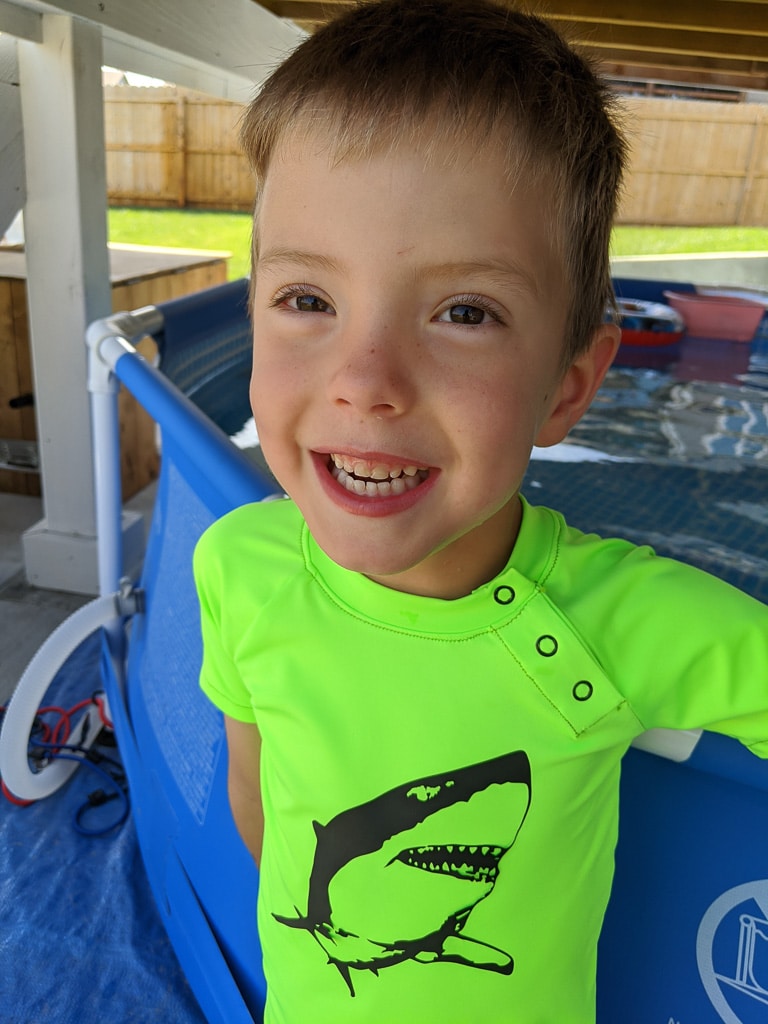
Finally, finish up the tutorial by hemming your sleeves and bodice and you have a fabulous Rash Guard. If you want to dress it up, use some stretch vinyl for something fun. I made a shark to go on my son’s to match his swim trunk fabric. Now go splash!!
As always, we’re here to help if you need it! Join us HERE and on Facebook, Instagram, Twitter, Youtube, and Pinterest. We’re everywhere you are.
This is exactly what I needed to see. I’ve been wanting to make a rashguard for my husband and this will work perfectly! Thank you!