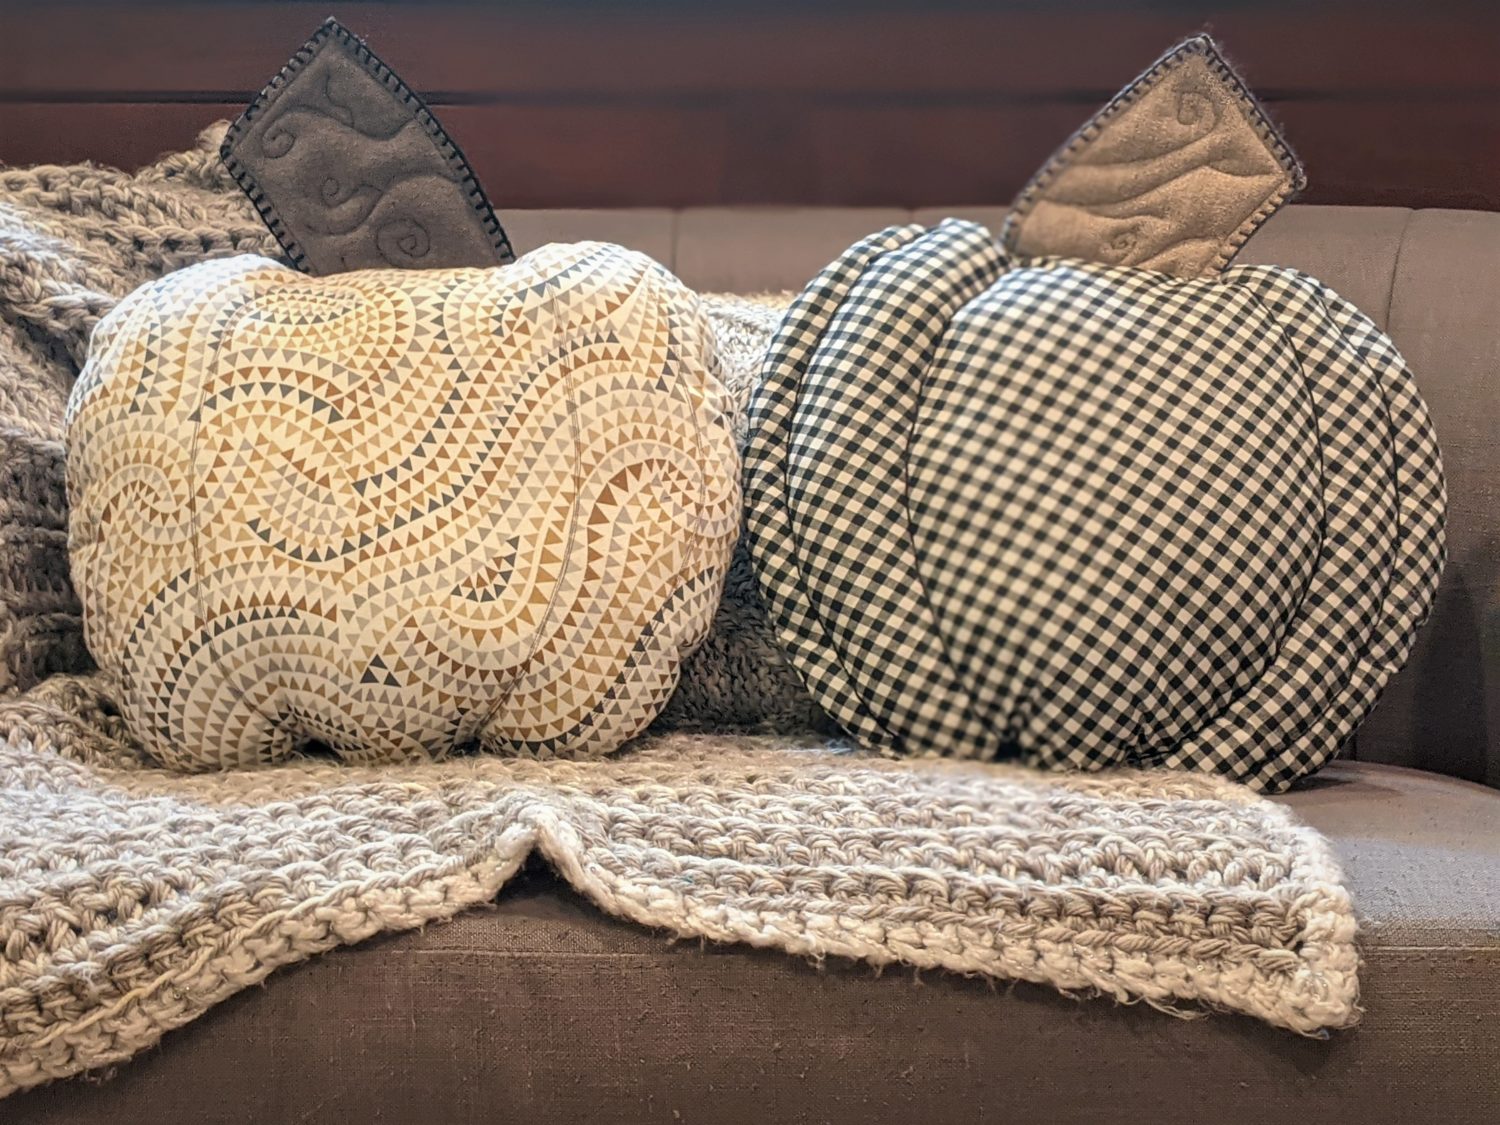
In case you were unaware, I love pumpkin decorations. I really wanted pumpkin-shaped pillows but all I found were pillows shaped like actual pumpkins or square pillows with a pumpkin printed on them. I envisioned a pillow that was flatter like the square ones, but the general shape of a pumpkin. Since those were nowhere to be found, I just had to make my own. These are about 15″x15″ when finished, and I even made a free PDF pattern so you can skip right to the fun part.
Supplies
- Woven fabric-enough for two 16″ X 16″ pieces
- Felt, upholstery fabric, or other sturdy sewable material (for the stem)
- Small piece of quilt batting (for the stem)
- Embroidery floss or yarn and embroidery needle
- Heavy fusible interfacing or fusible fleece
- Fiberfill stuffing
- Sewing machine and basic sewing supplies
- Air or heat soluble pen
- Downloaded and printed pattern
Pattern
Pieces to Cut
- Pumpkin:
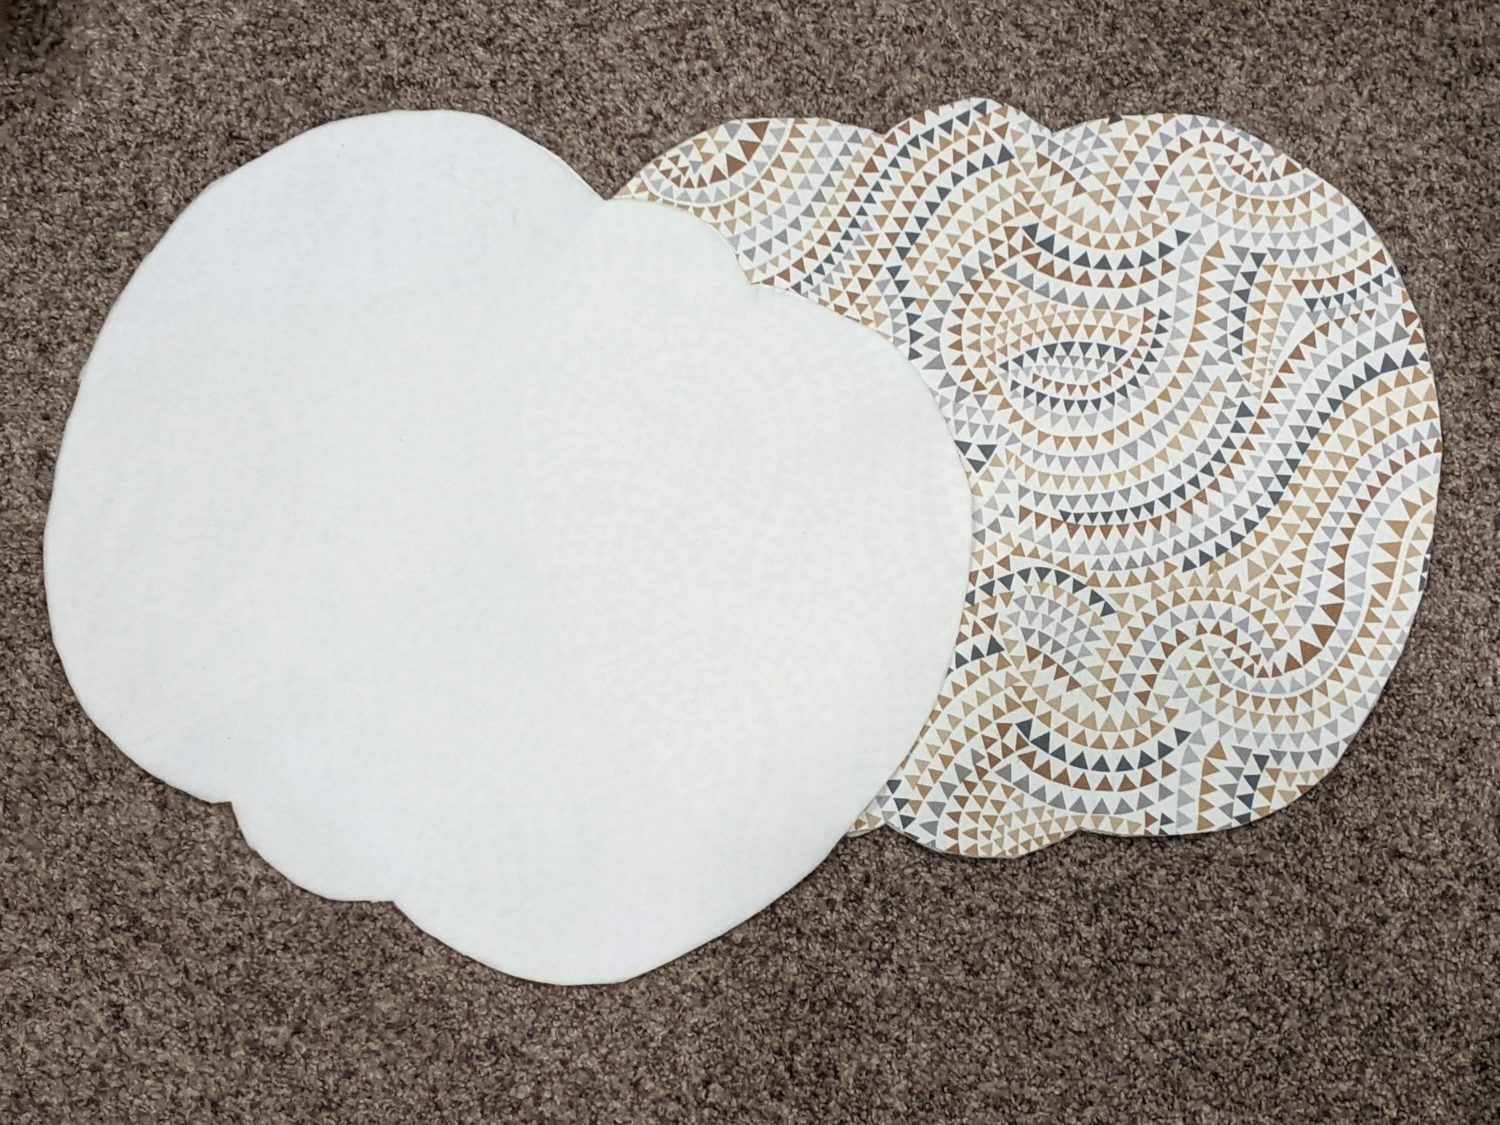
- Interfacing or fusible fleece: cut 2 mirrored
- Woven fabric: cut 2 mirrored
- Stem:
- Felt or other chosen material: cut 2 mirrored
- Quilt batting: cut 1
Pumpkin Pieces:
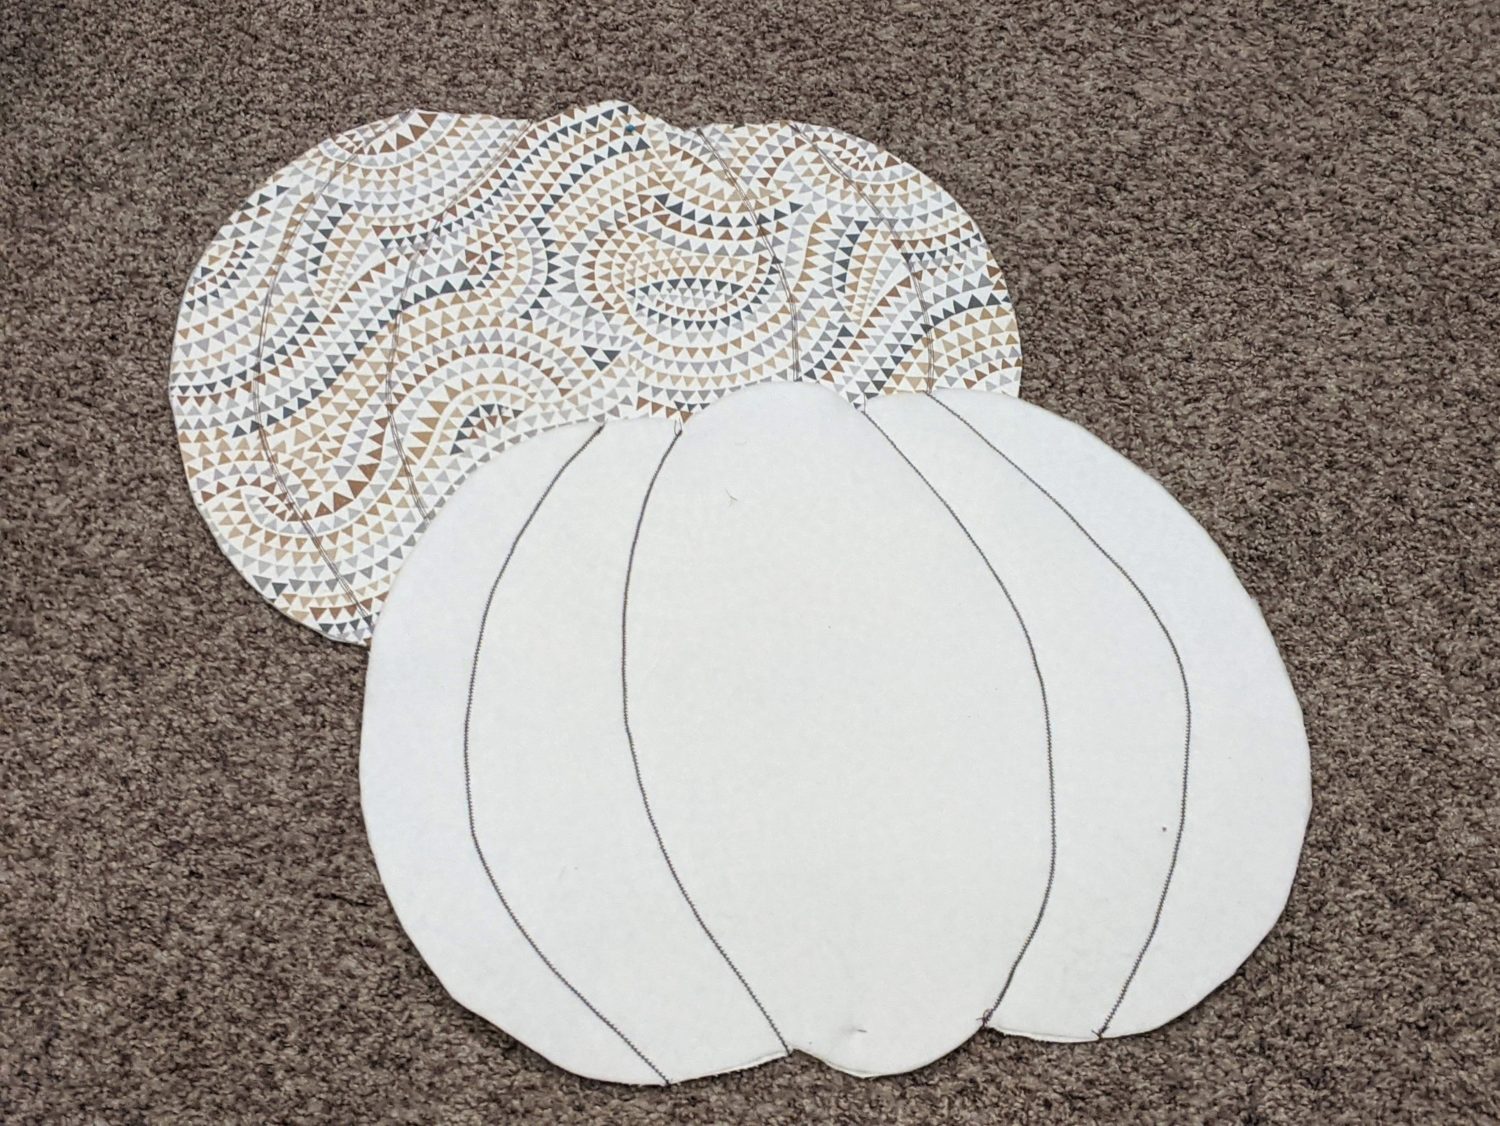
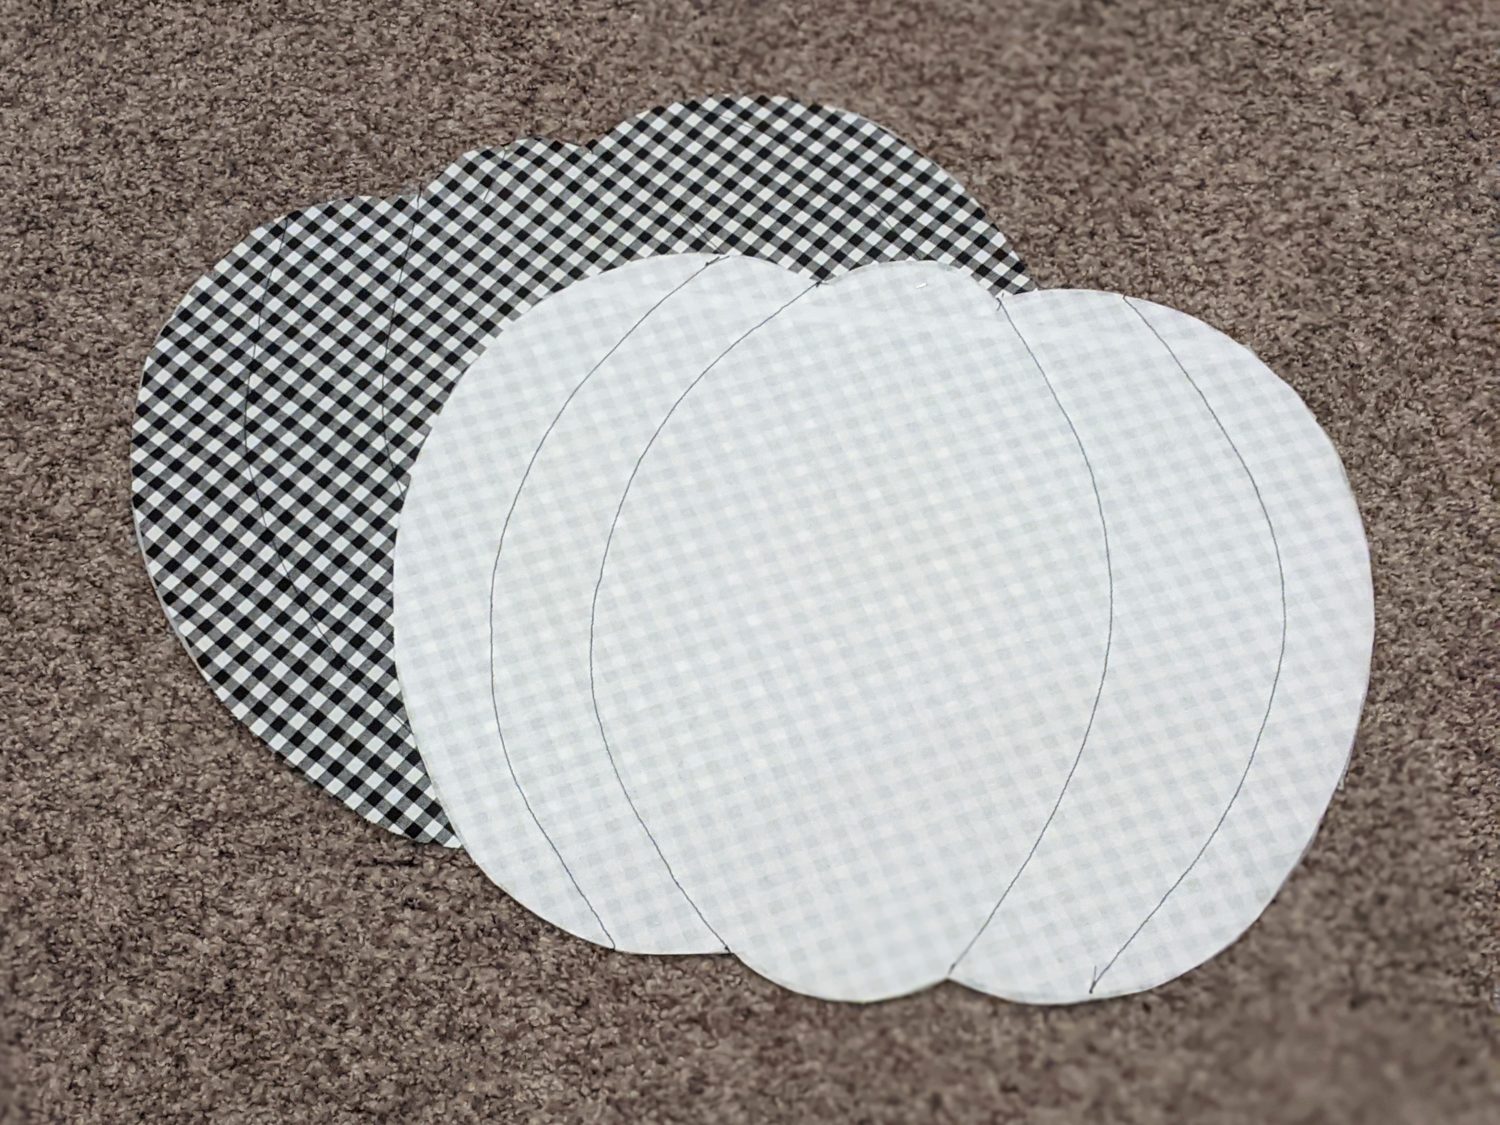
- Iron your fusible fleece or fusible interfacing to the wrong side of each fabric pumpkin.
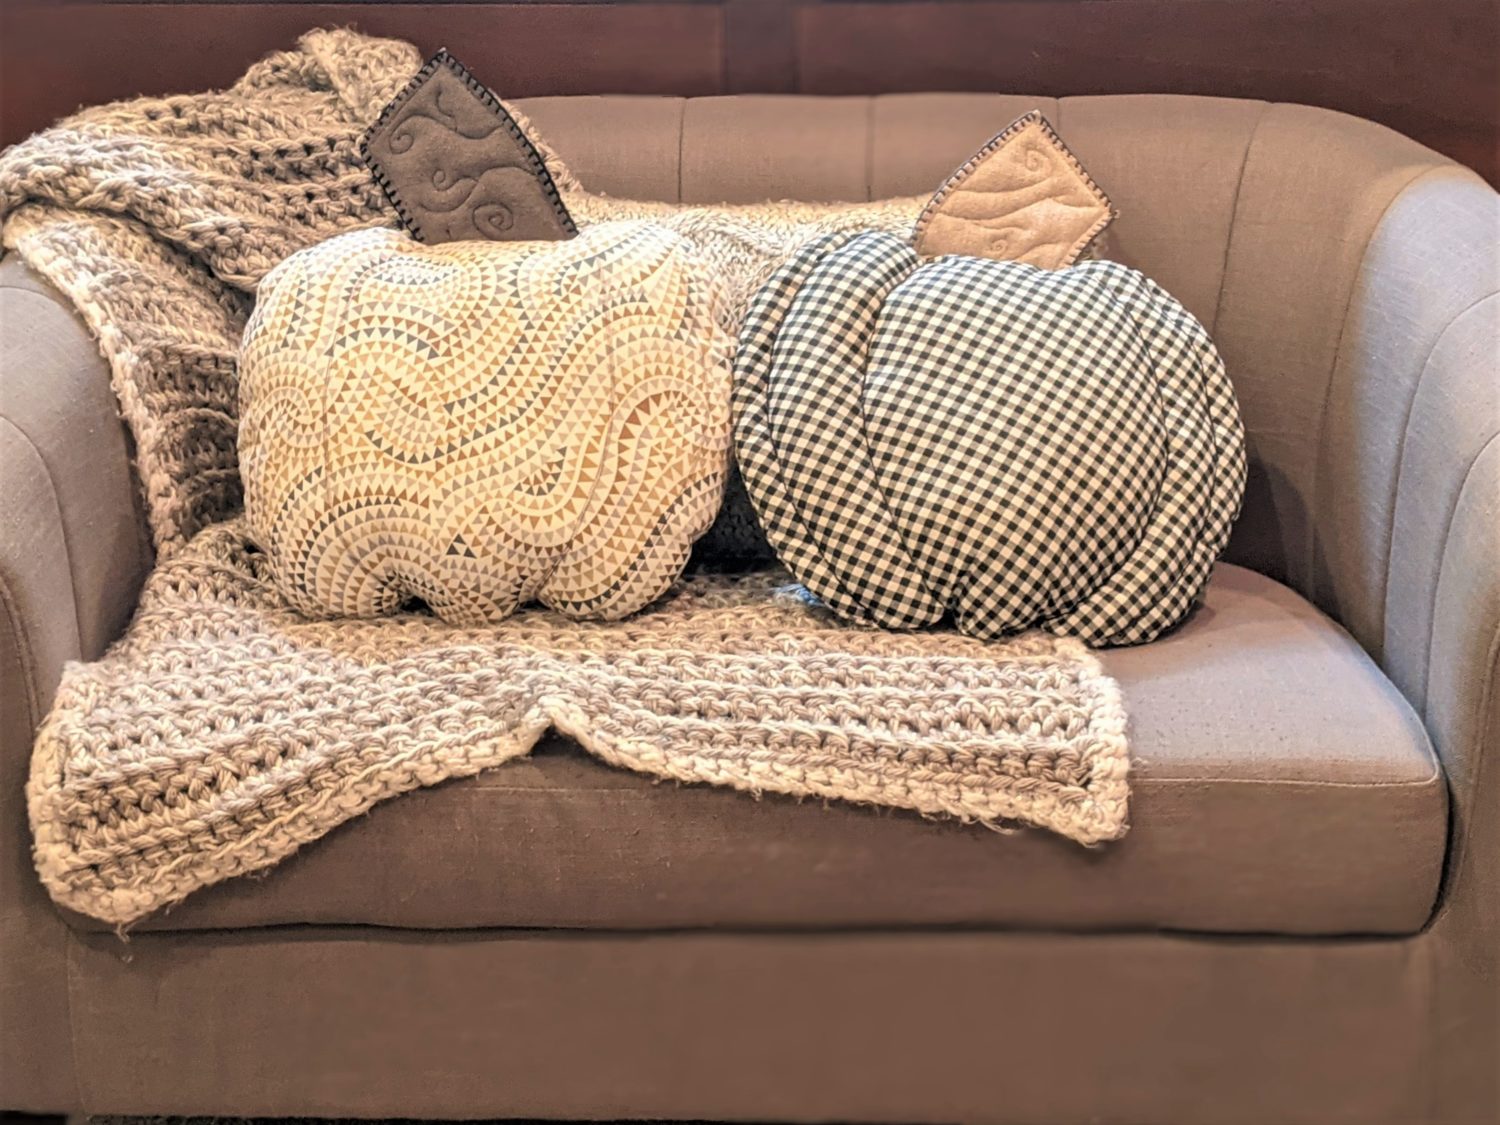
- Either type of interfacing works, the fleece is just a little bit sturdier than the interfacing. The plaid pillow pictured has heavy interfacing, the lighter print has fusible fleece.
Fusible fleece interfacing 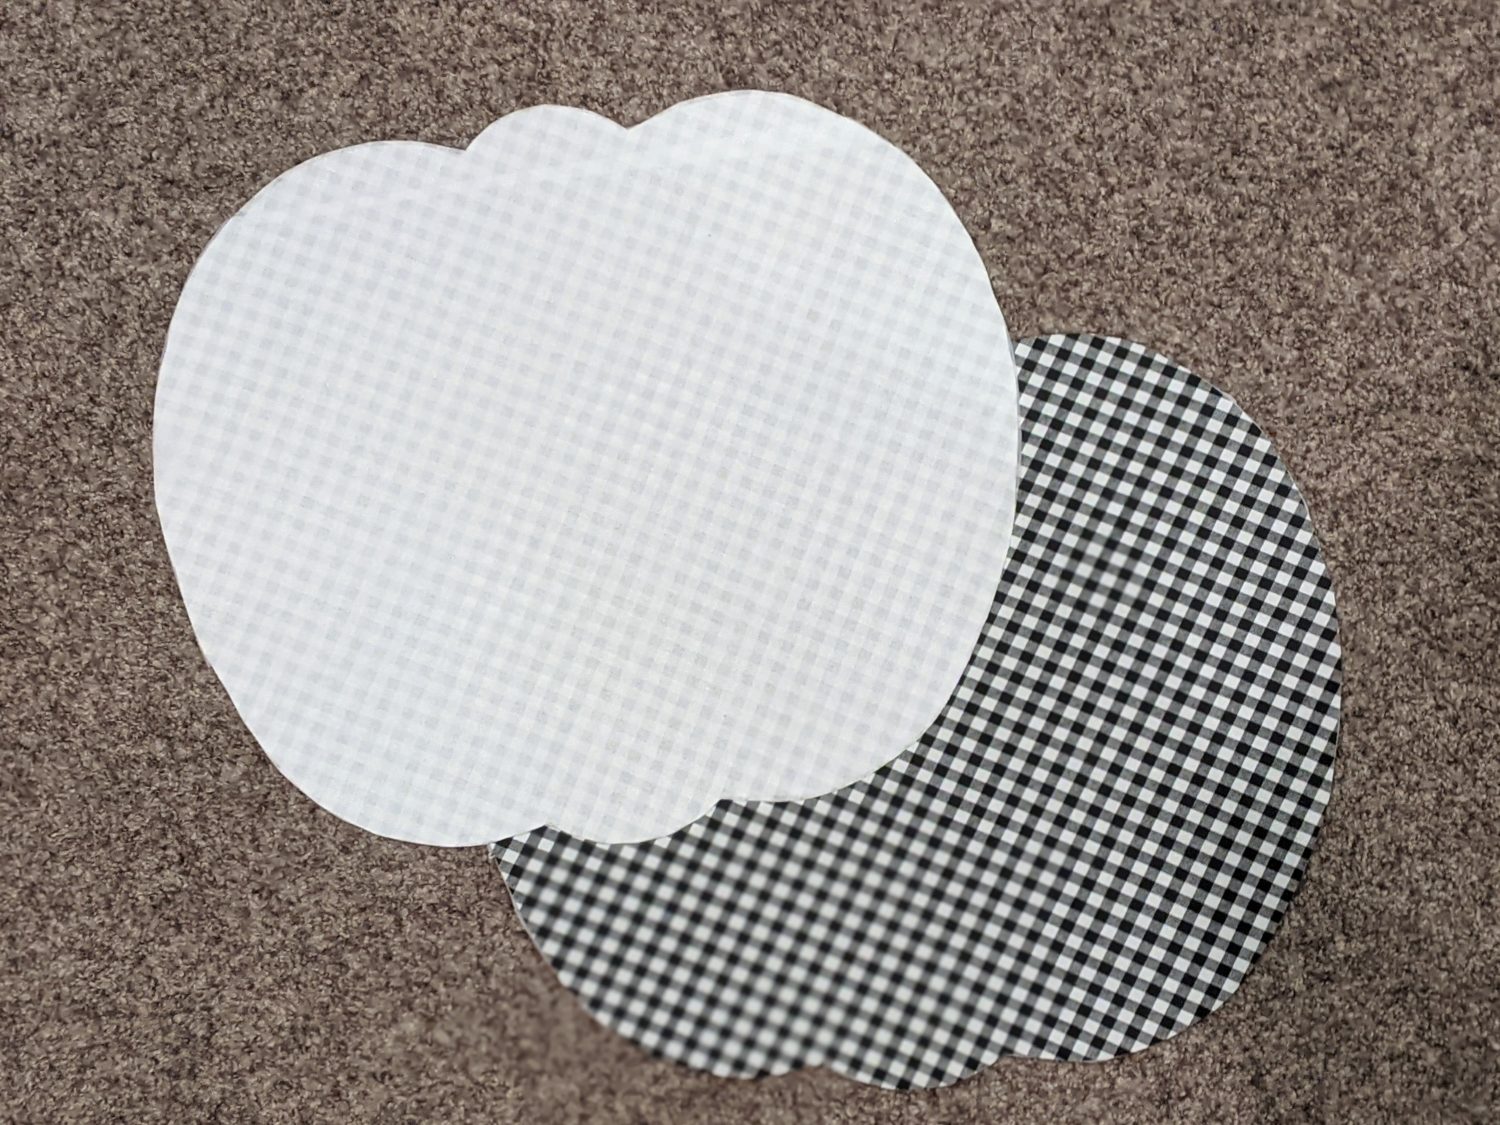
Heavy fusible interfacing
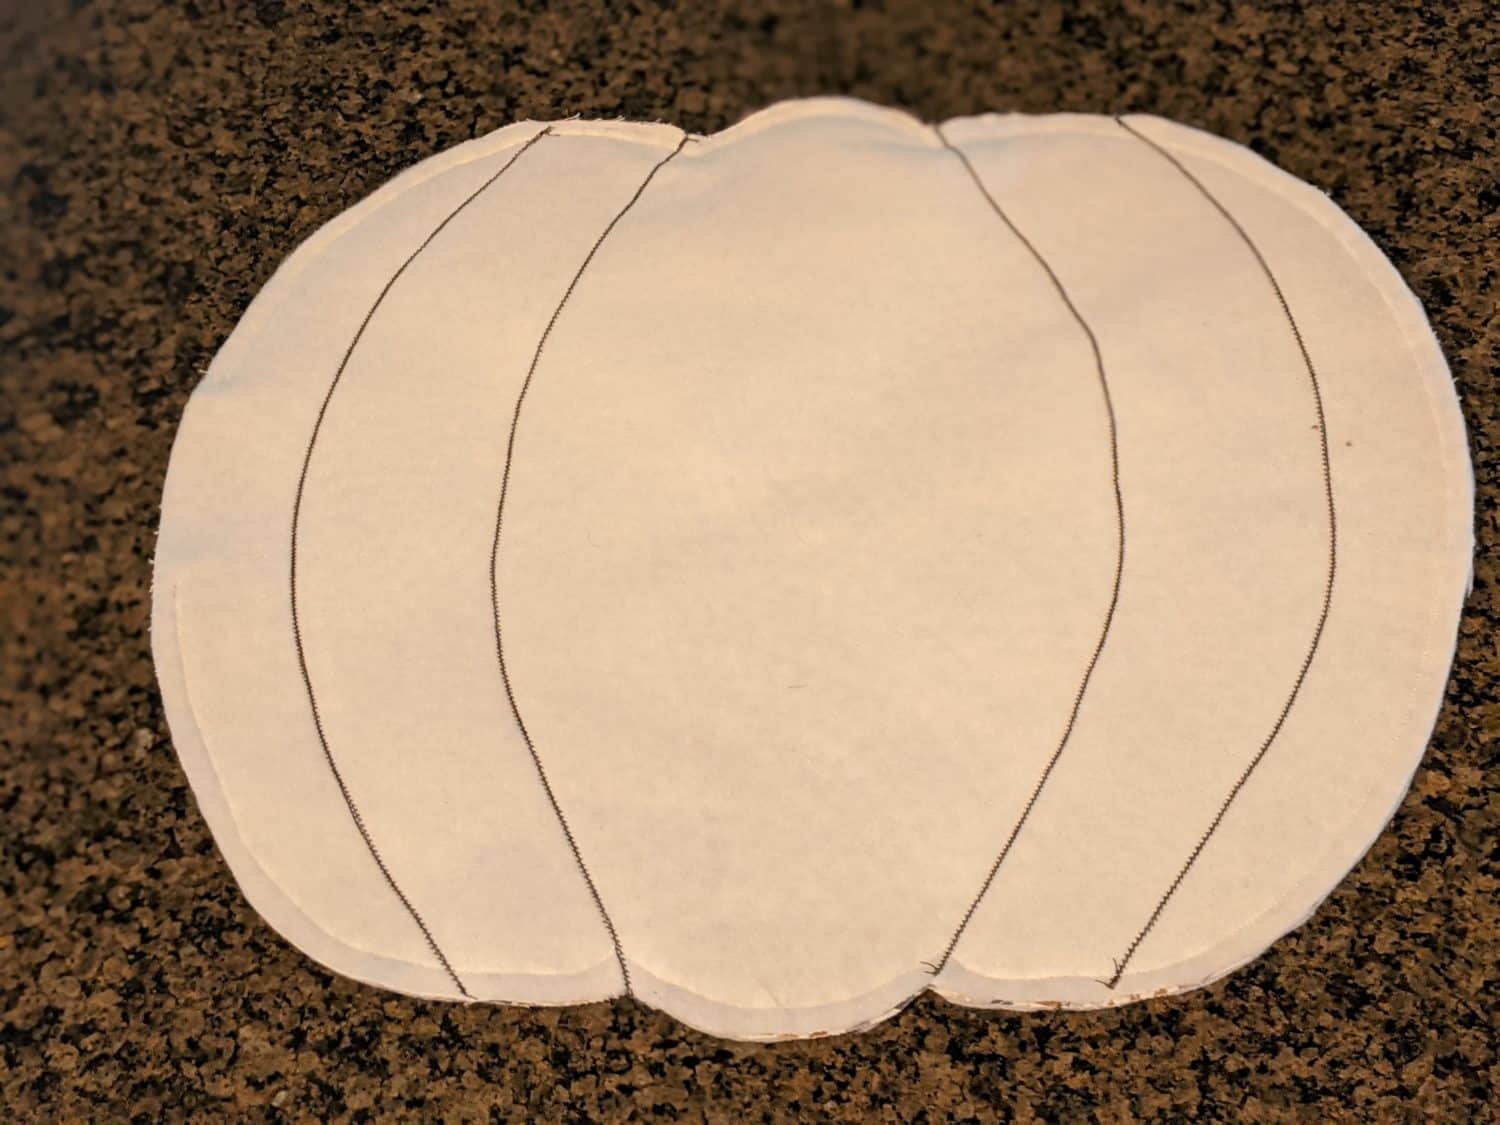
- Draw ridge lines on the front of each pumpkin with an air or heat soluble pen for sewing guidelines.
- Folding your pumpkin over and using the edge as a general guide helps to get semi-uniform lines.
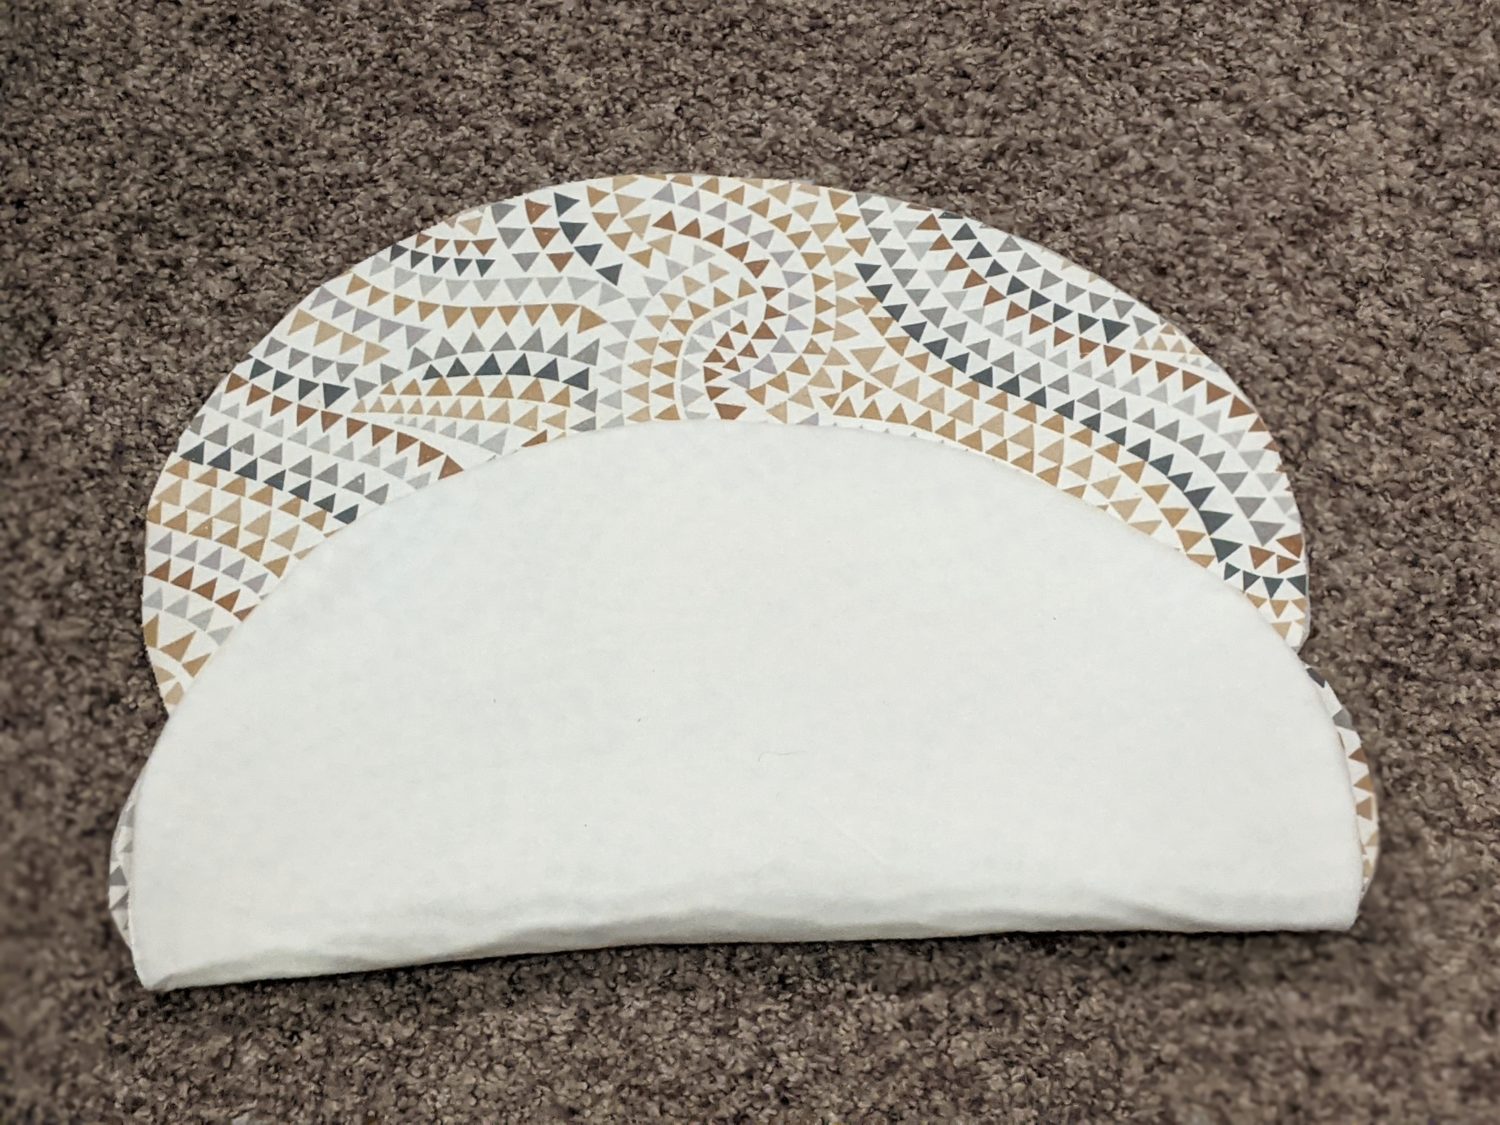
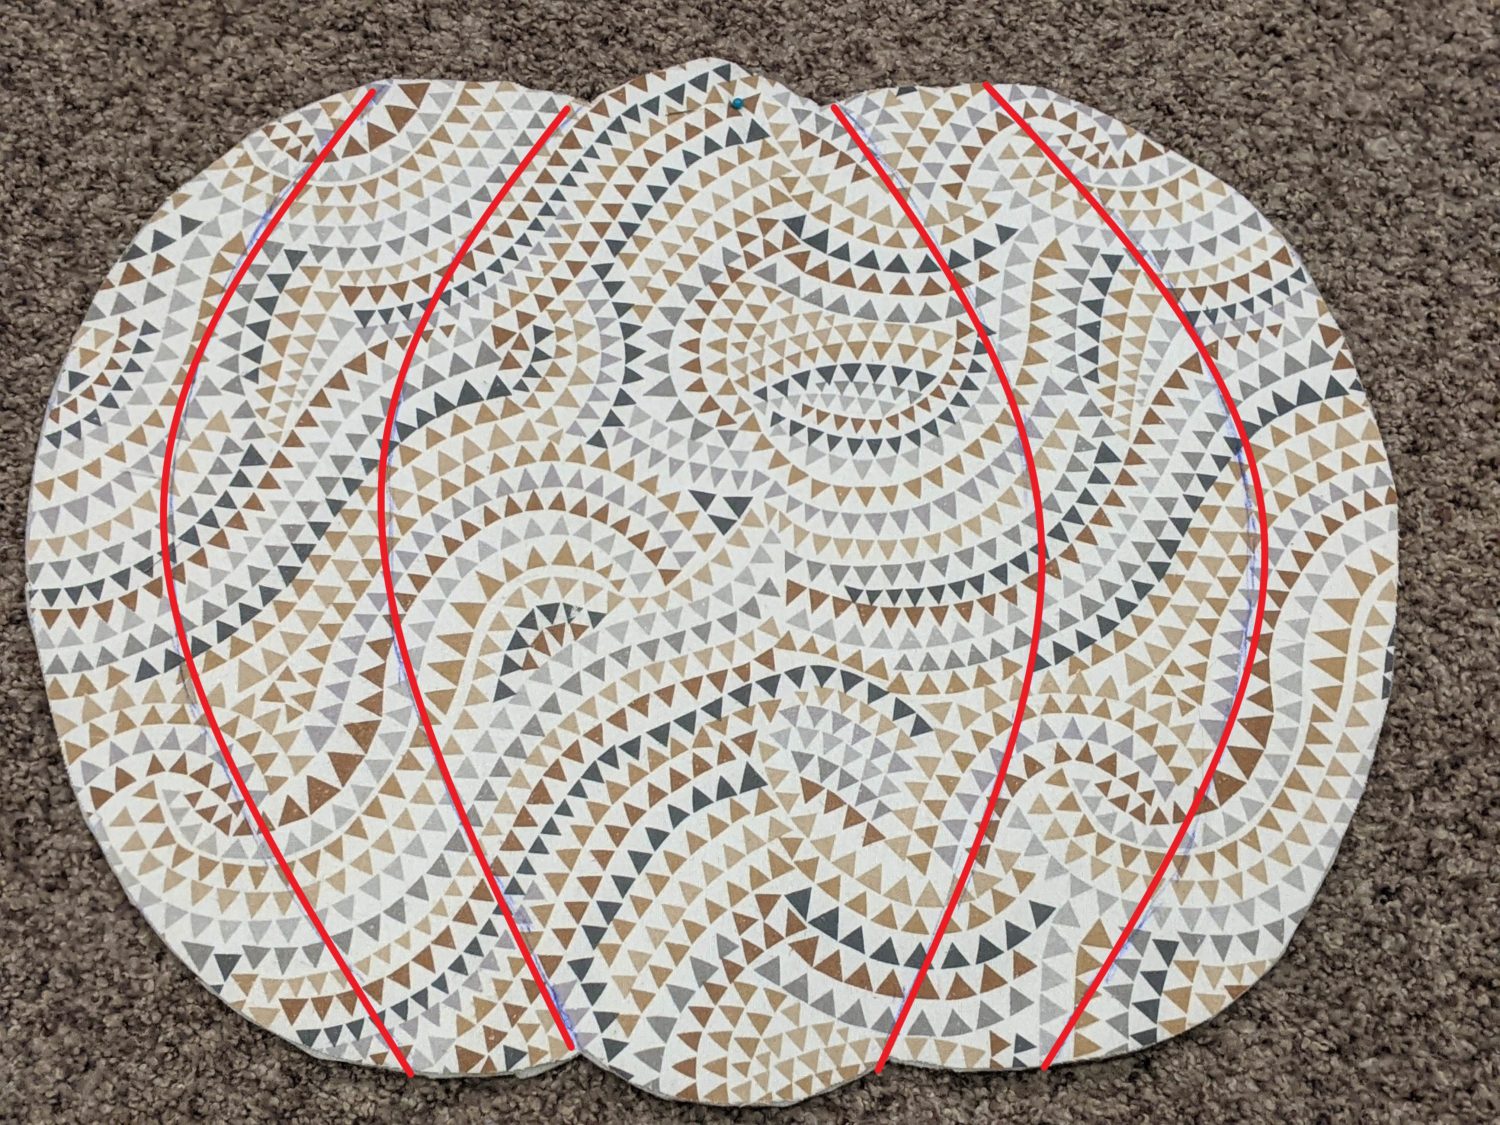
Draw guidelines for ridges
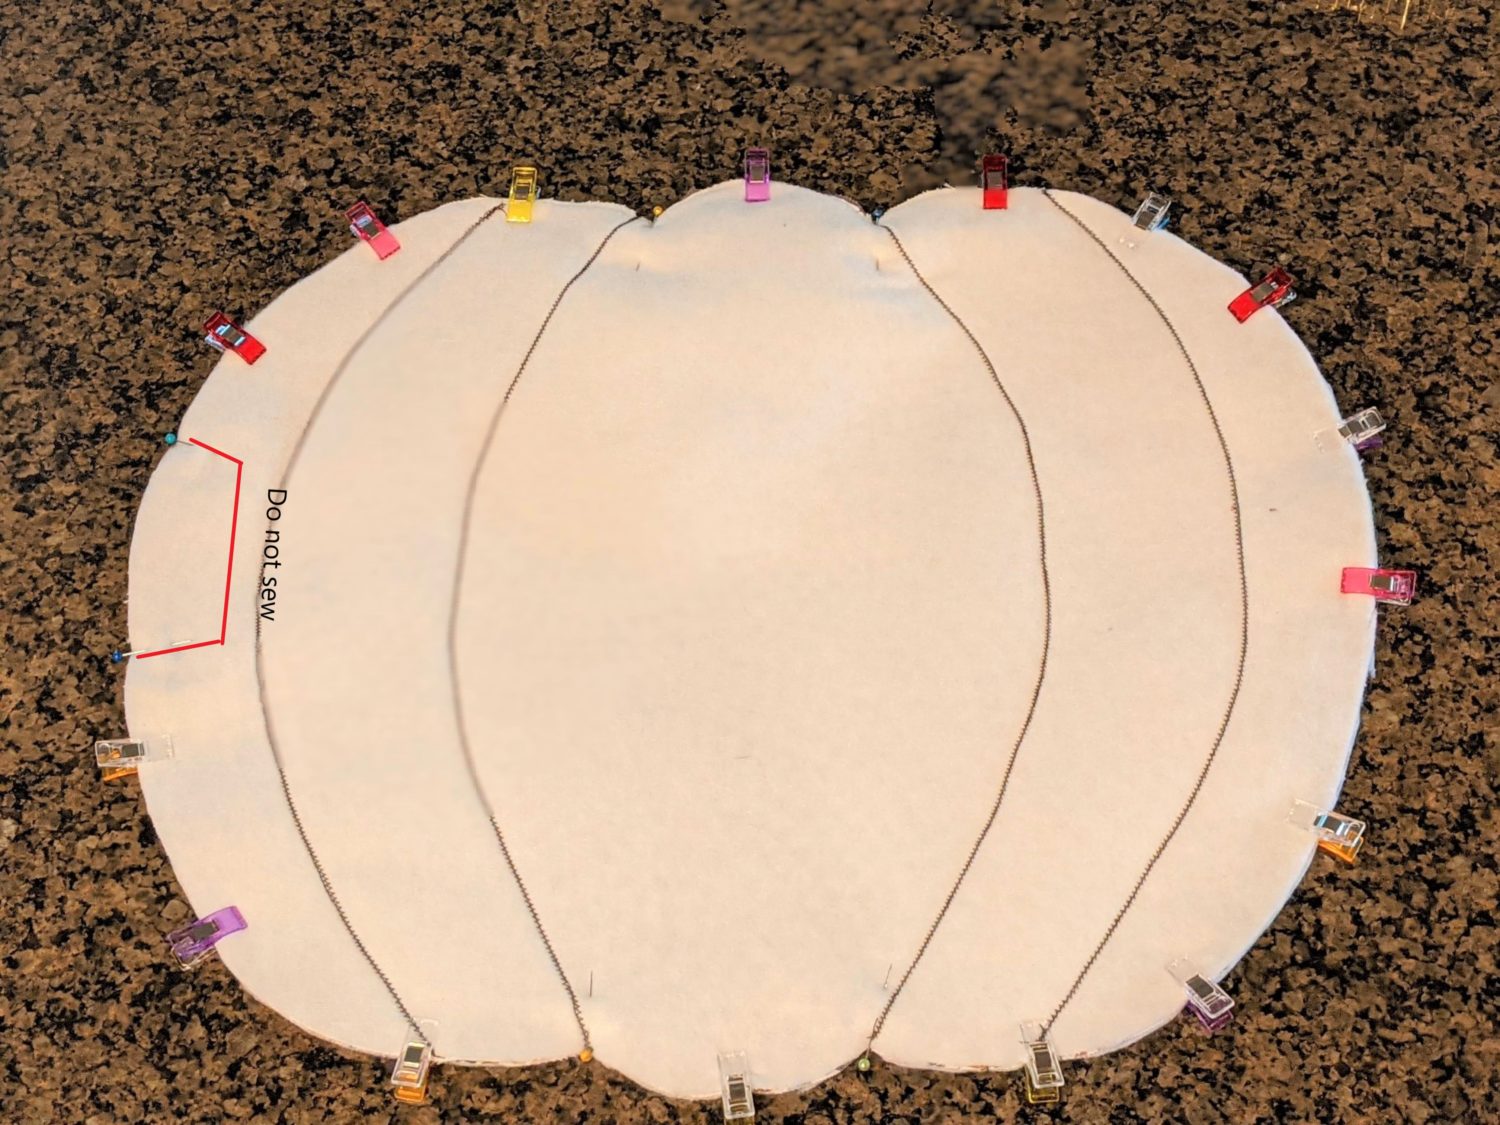
- Use a straight stitch and sew along your guidelines.
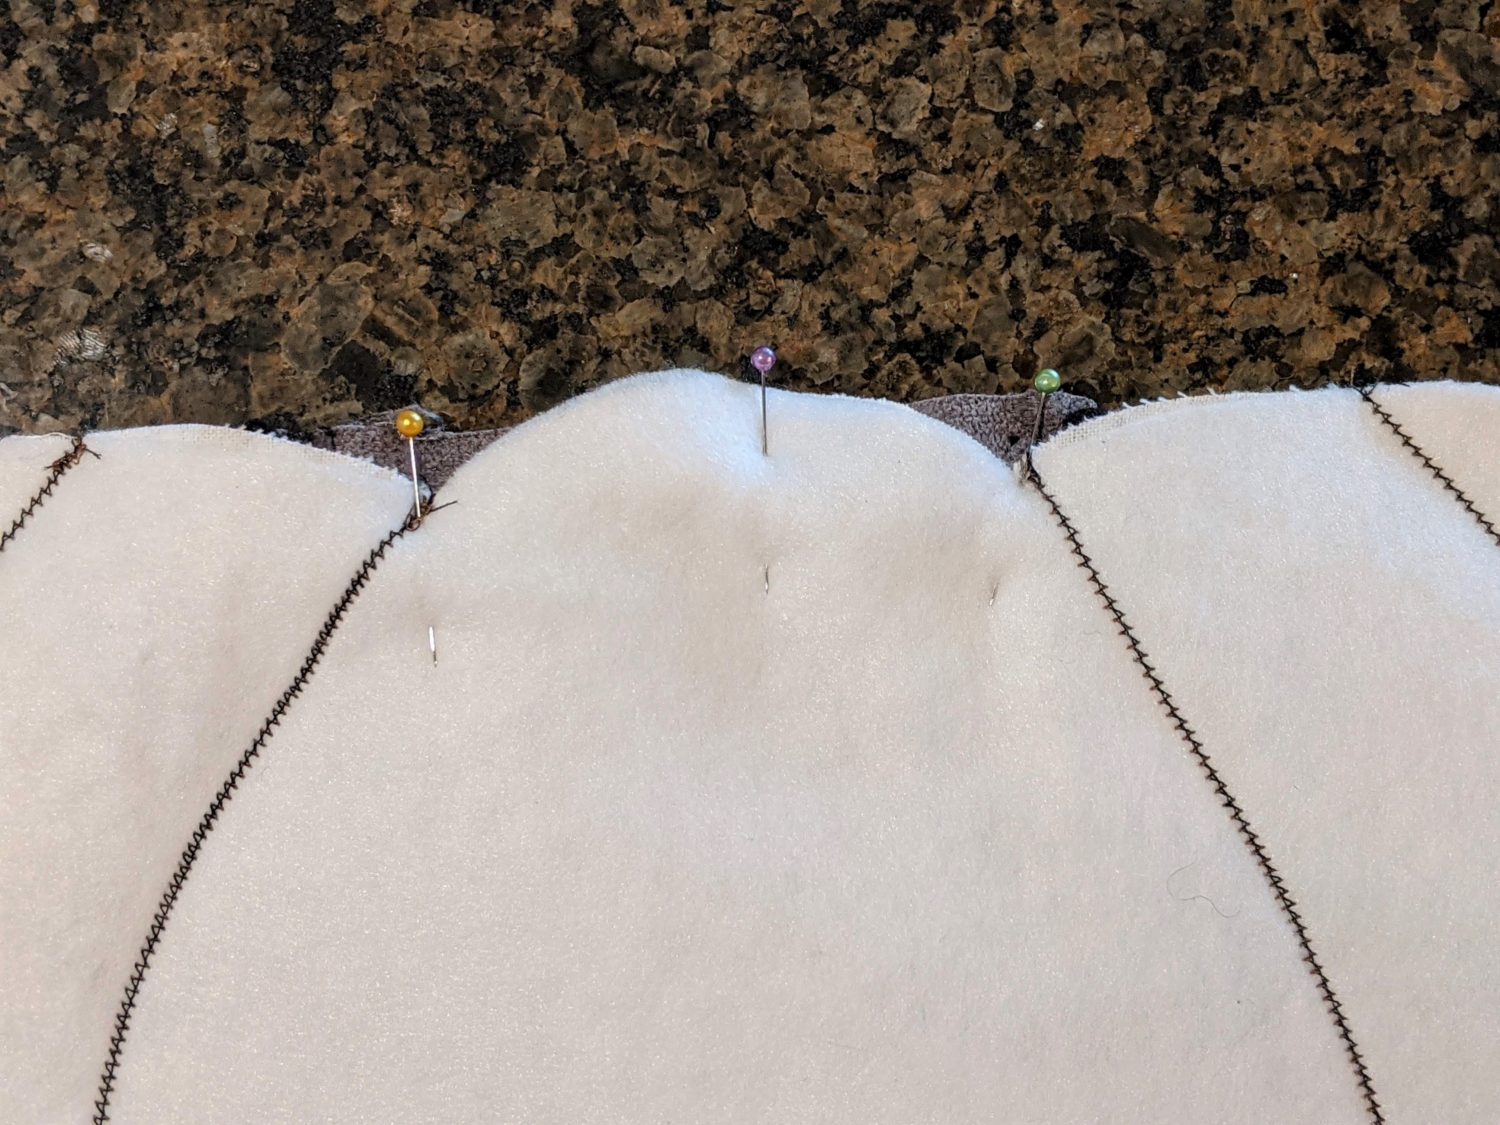
- Mark the edge of each piece that will be at the top with pins and set them to the side while you work on the stem.
Stem:
- Take your stem batting piece and trim along the edges about 1/4″ so that it is slightly smaller than the outer stem pieces and won’t stick out the sides once sewn in.
- Sandwich the batting piece in between the two outer stem pieces using wash-away wondertape or pins to hold it all together. (The right side of both stem pieces should be facing out.)
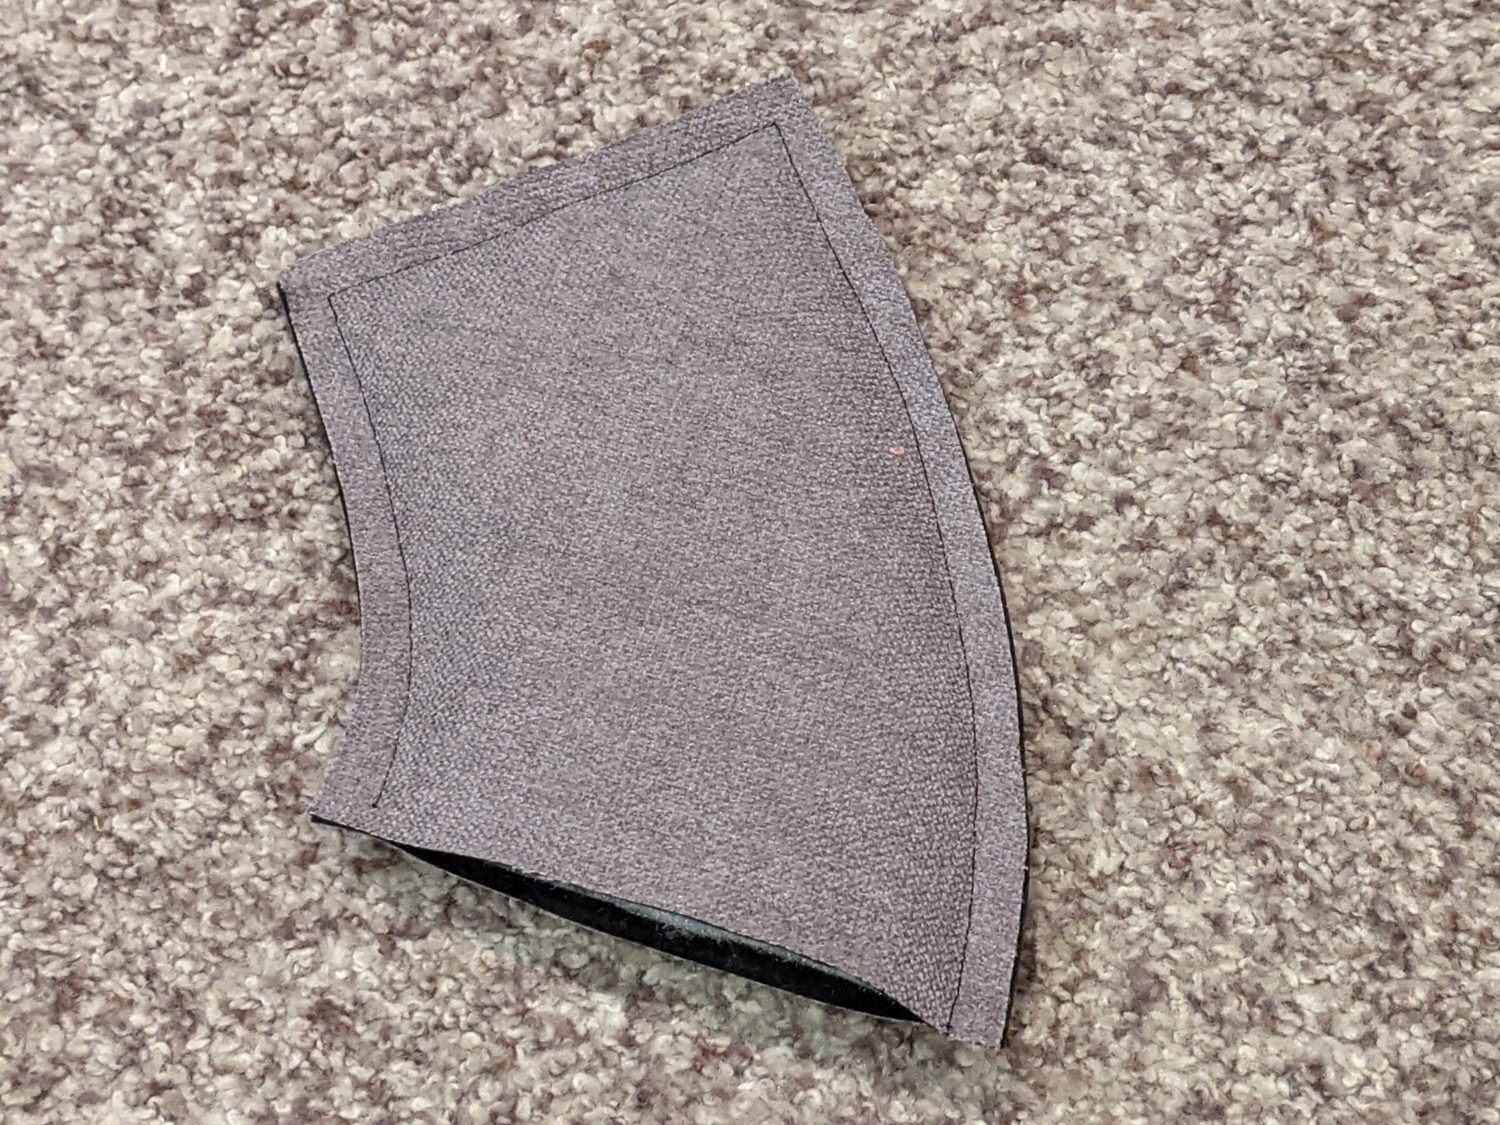
- Sew around the perimeter with a 3/8″ seam allowance. It isn’t necessary to sew the bottom edge.
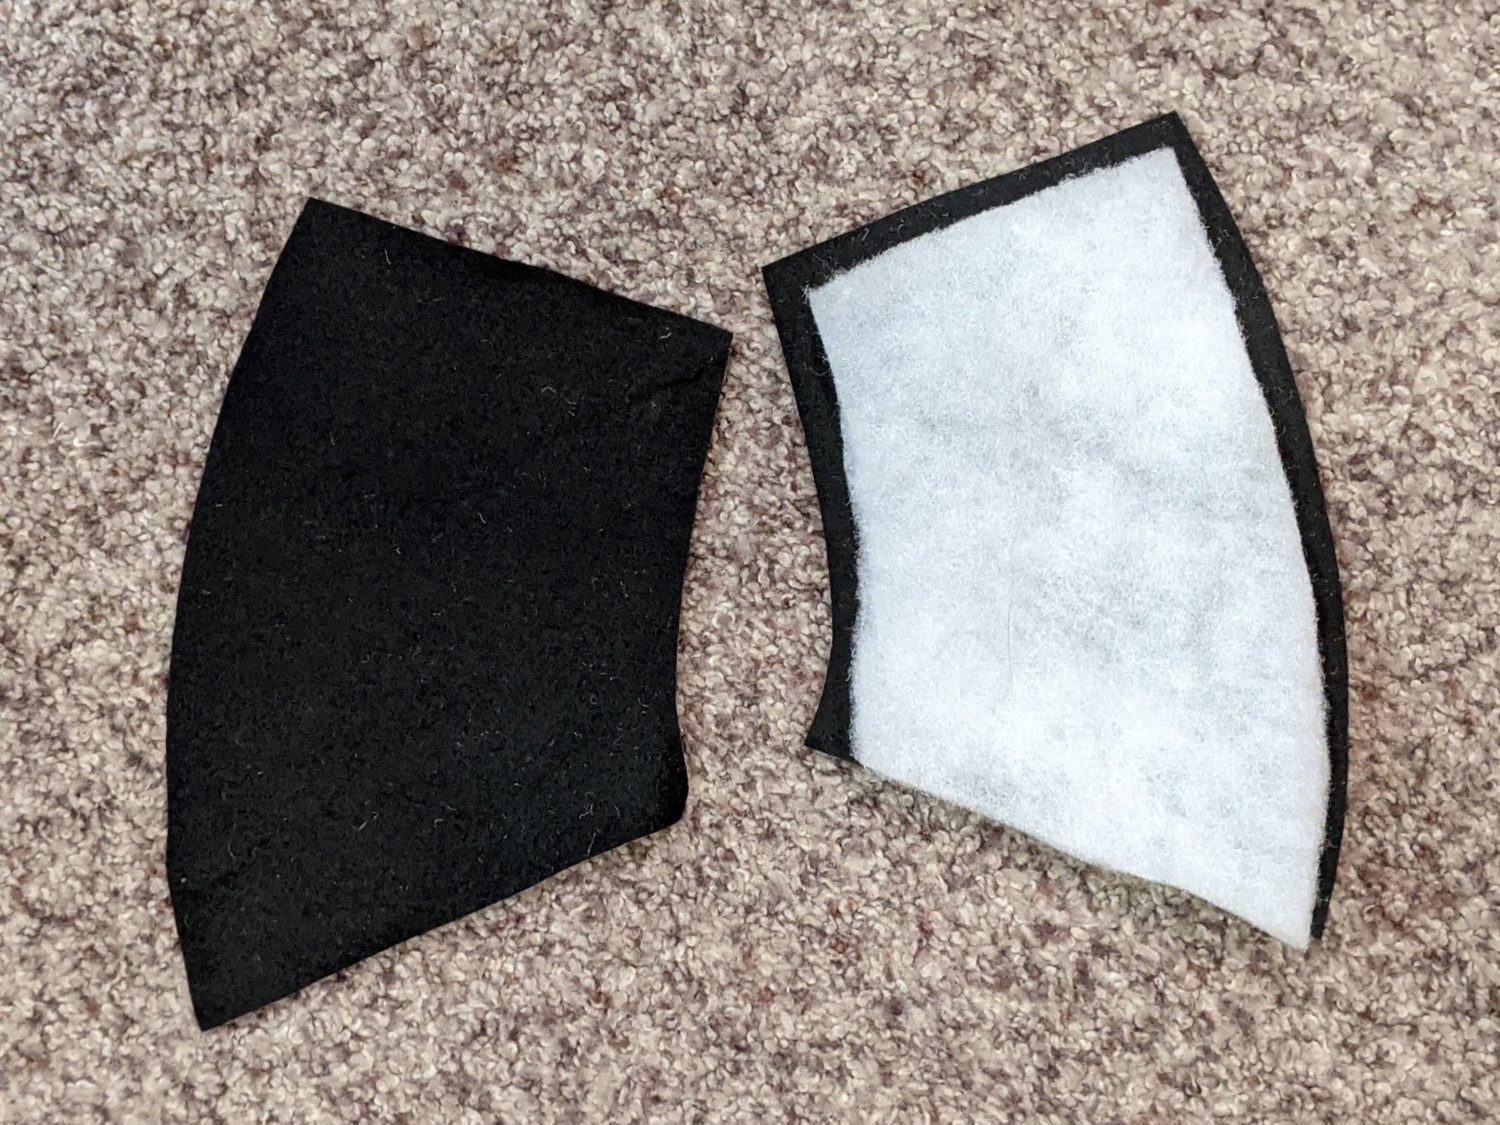
Trim the batting 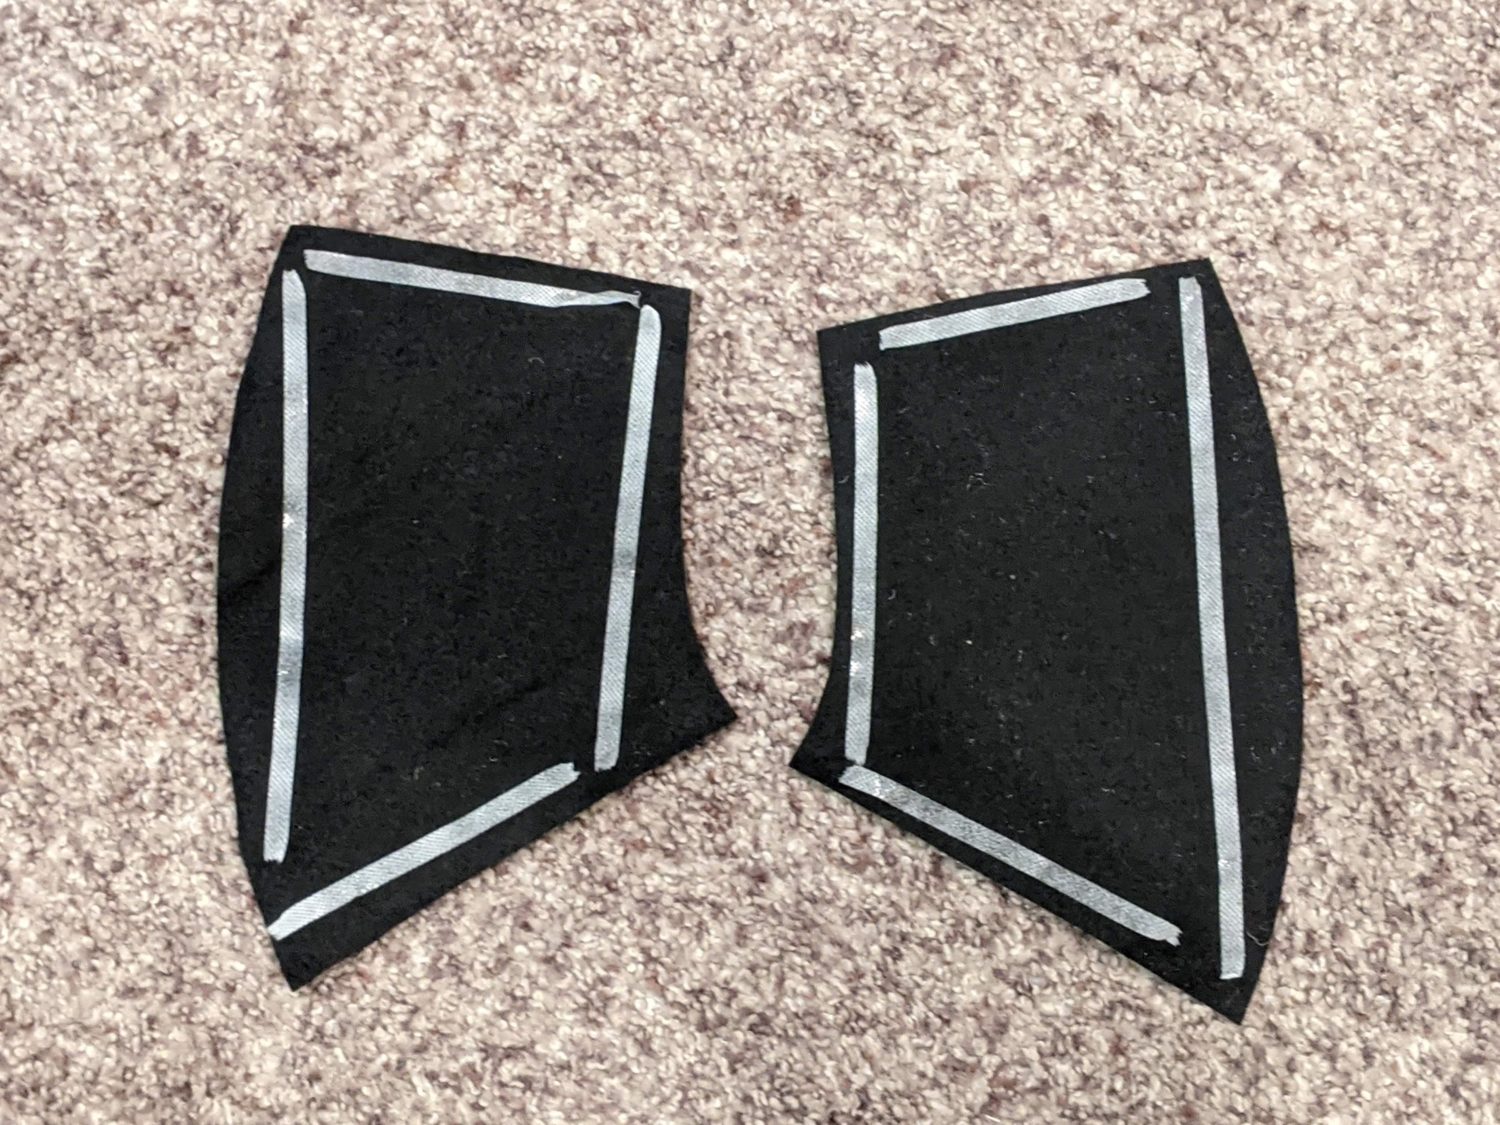
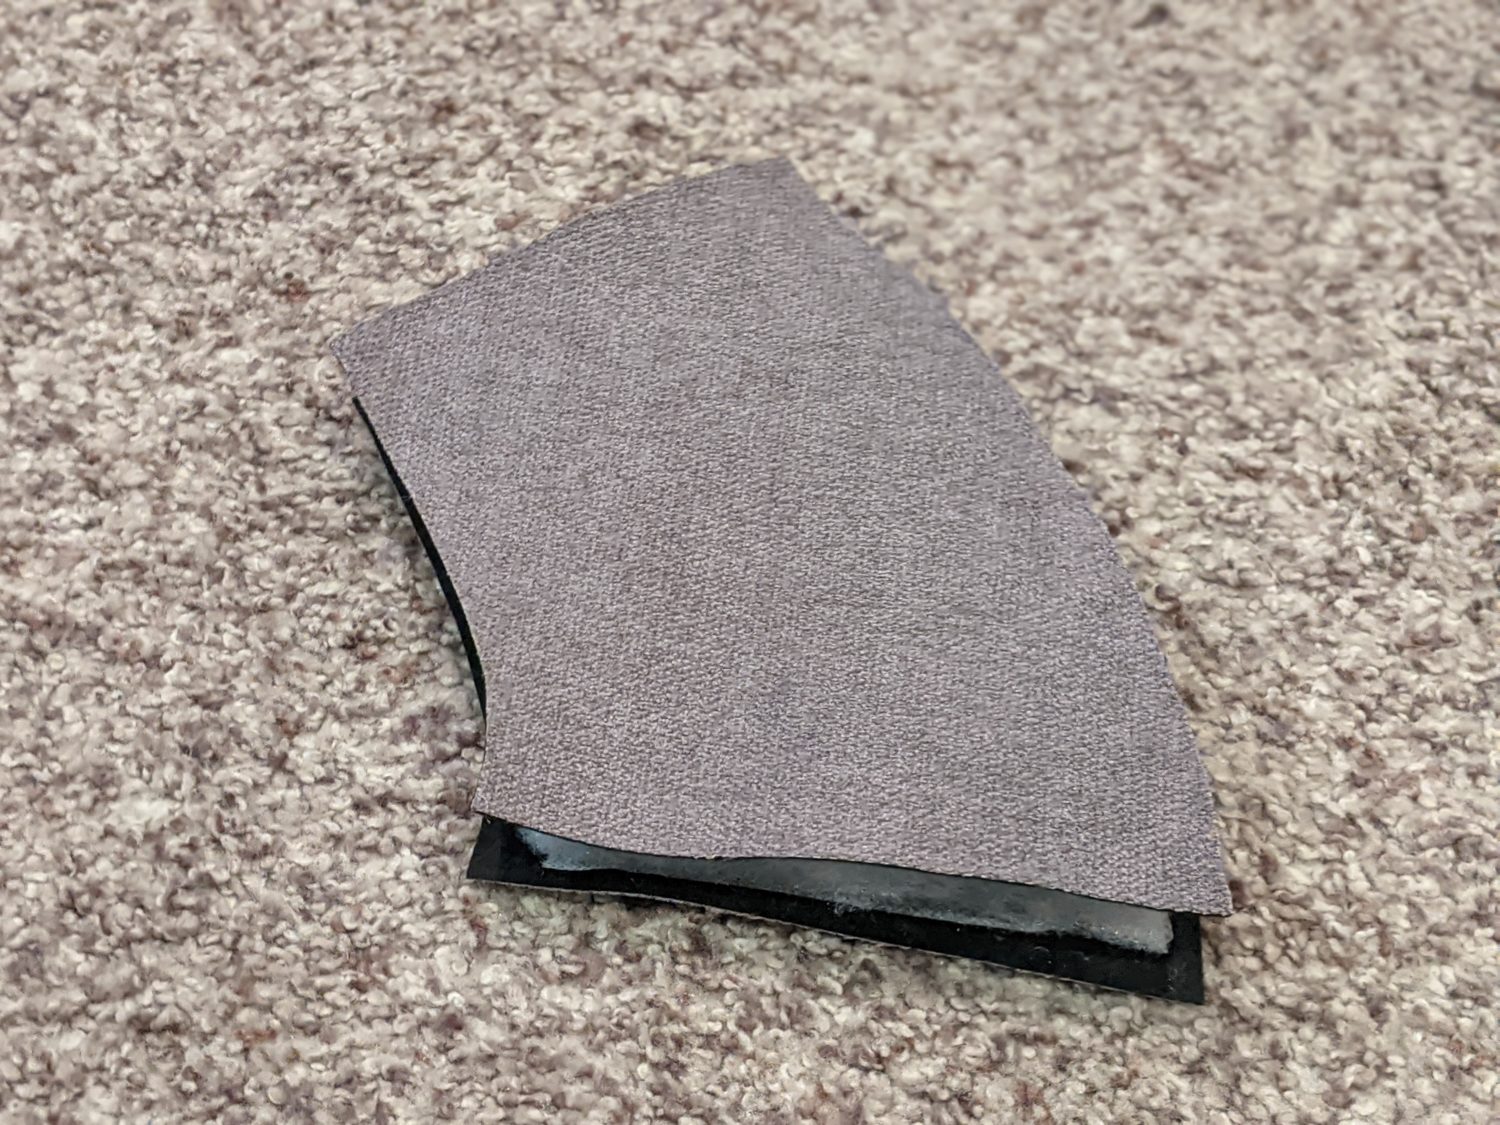
Sandwich the batting between the stem pieces
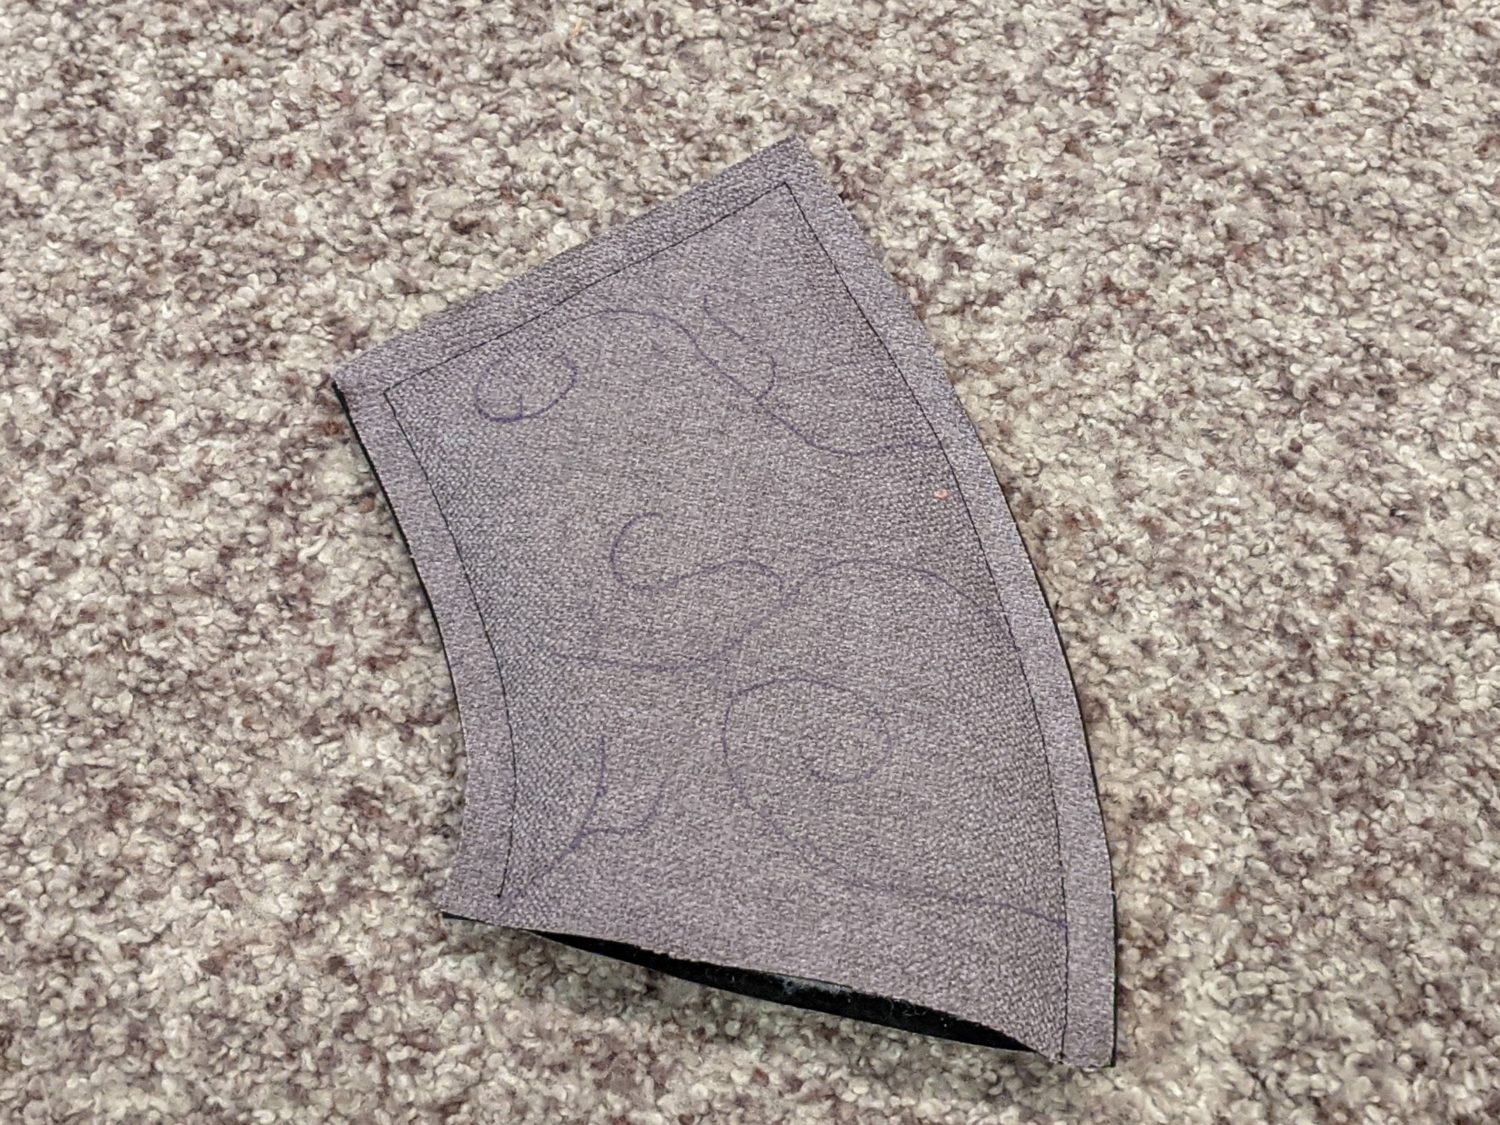
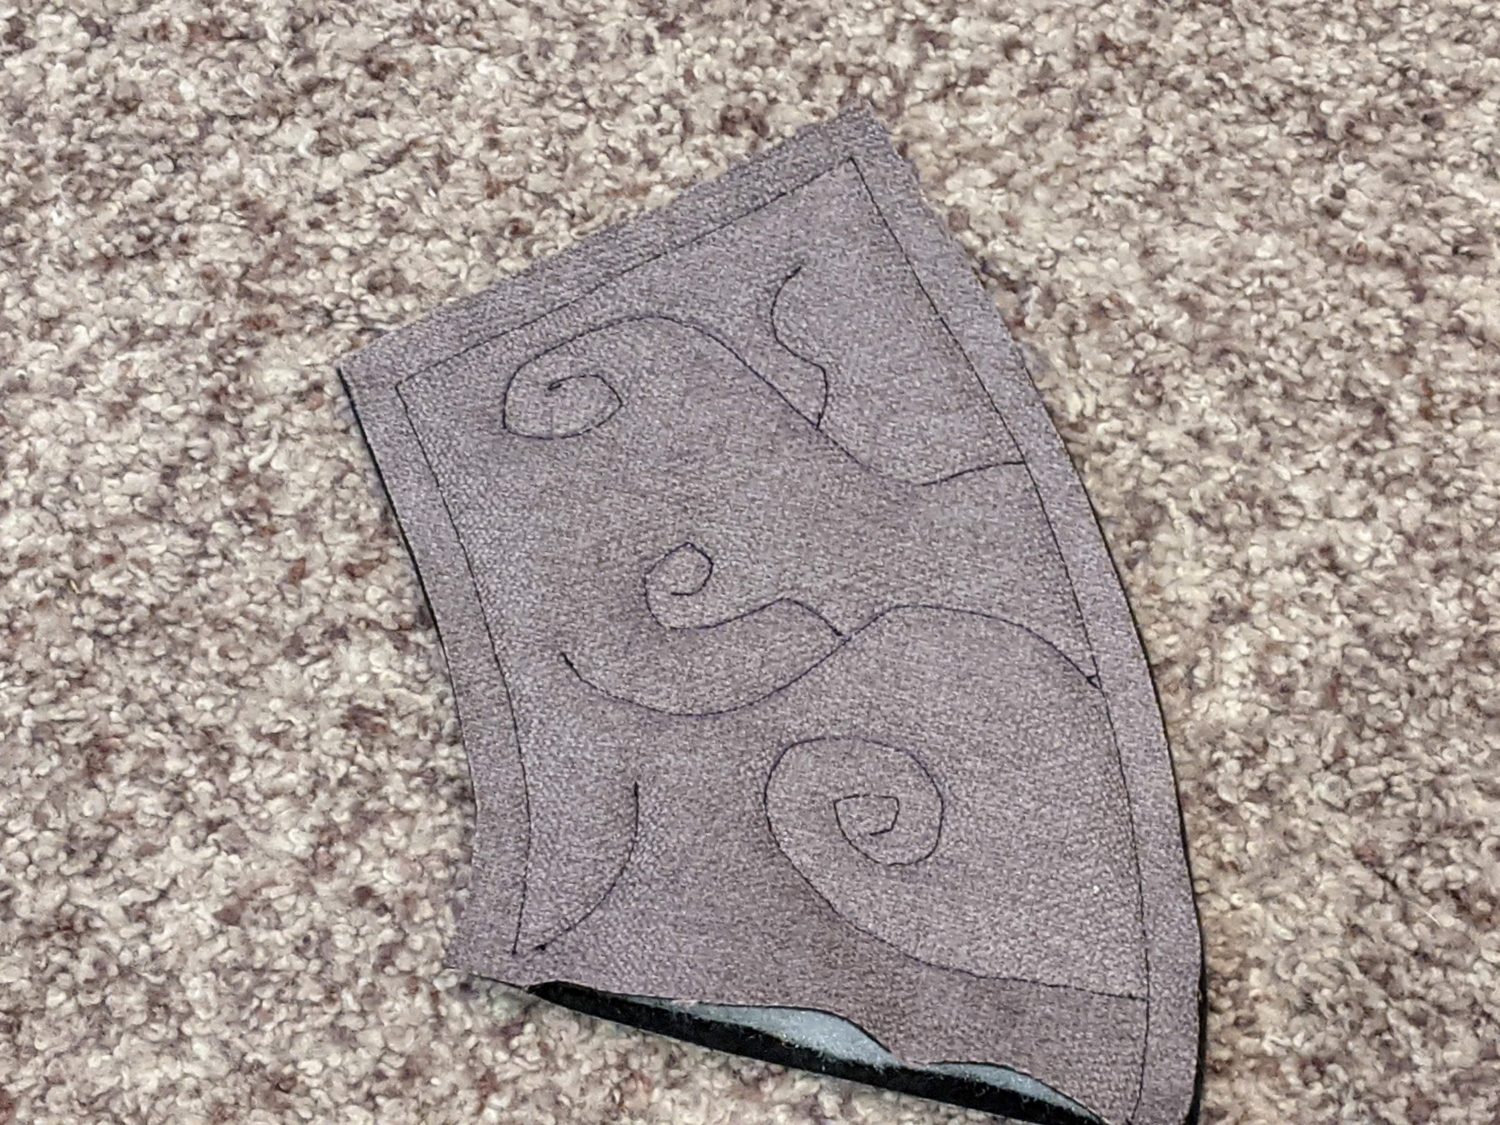
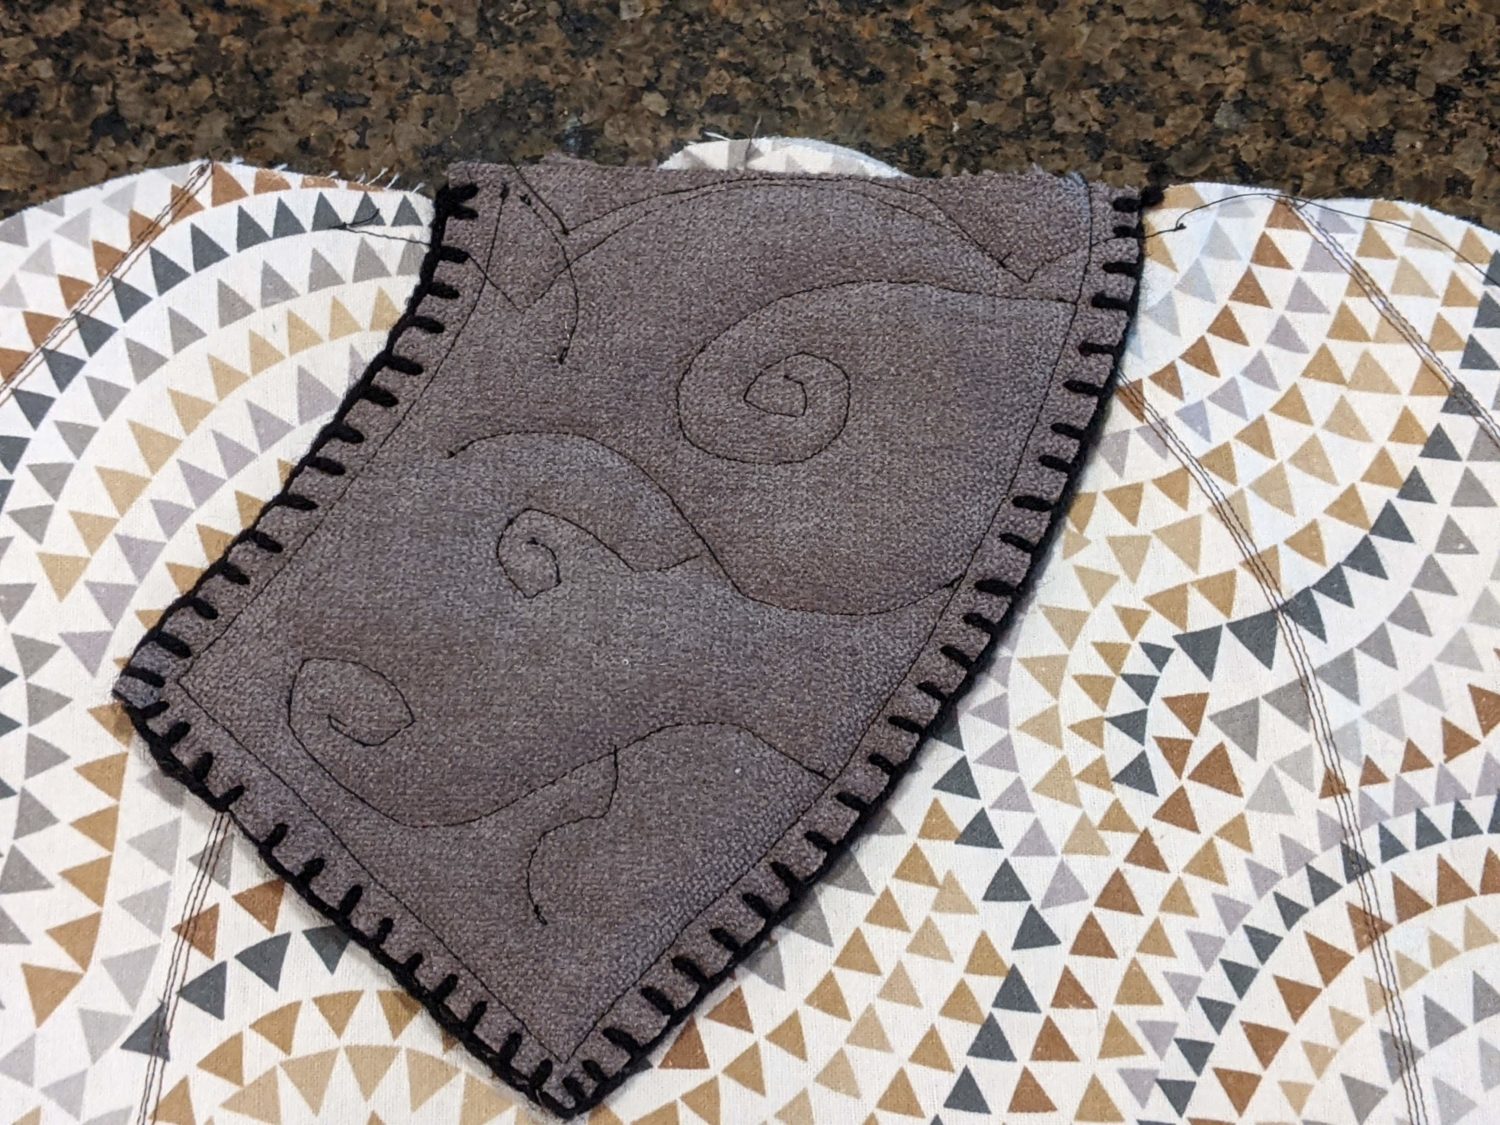
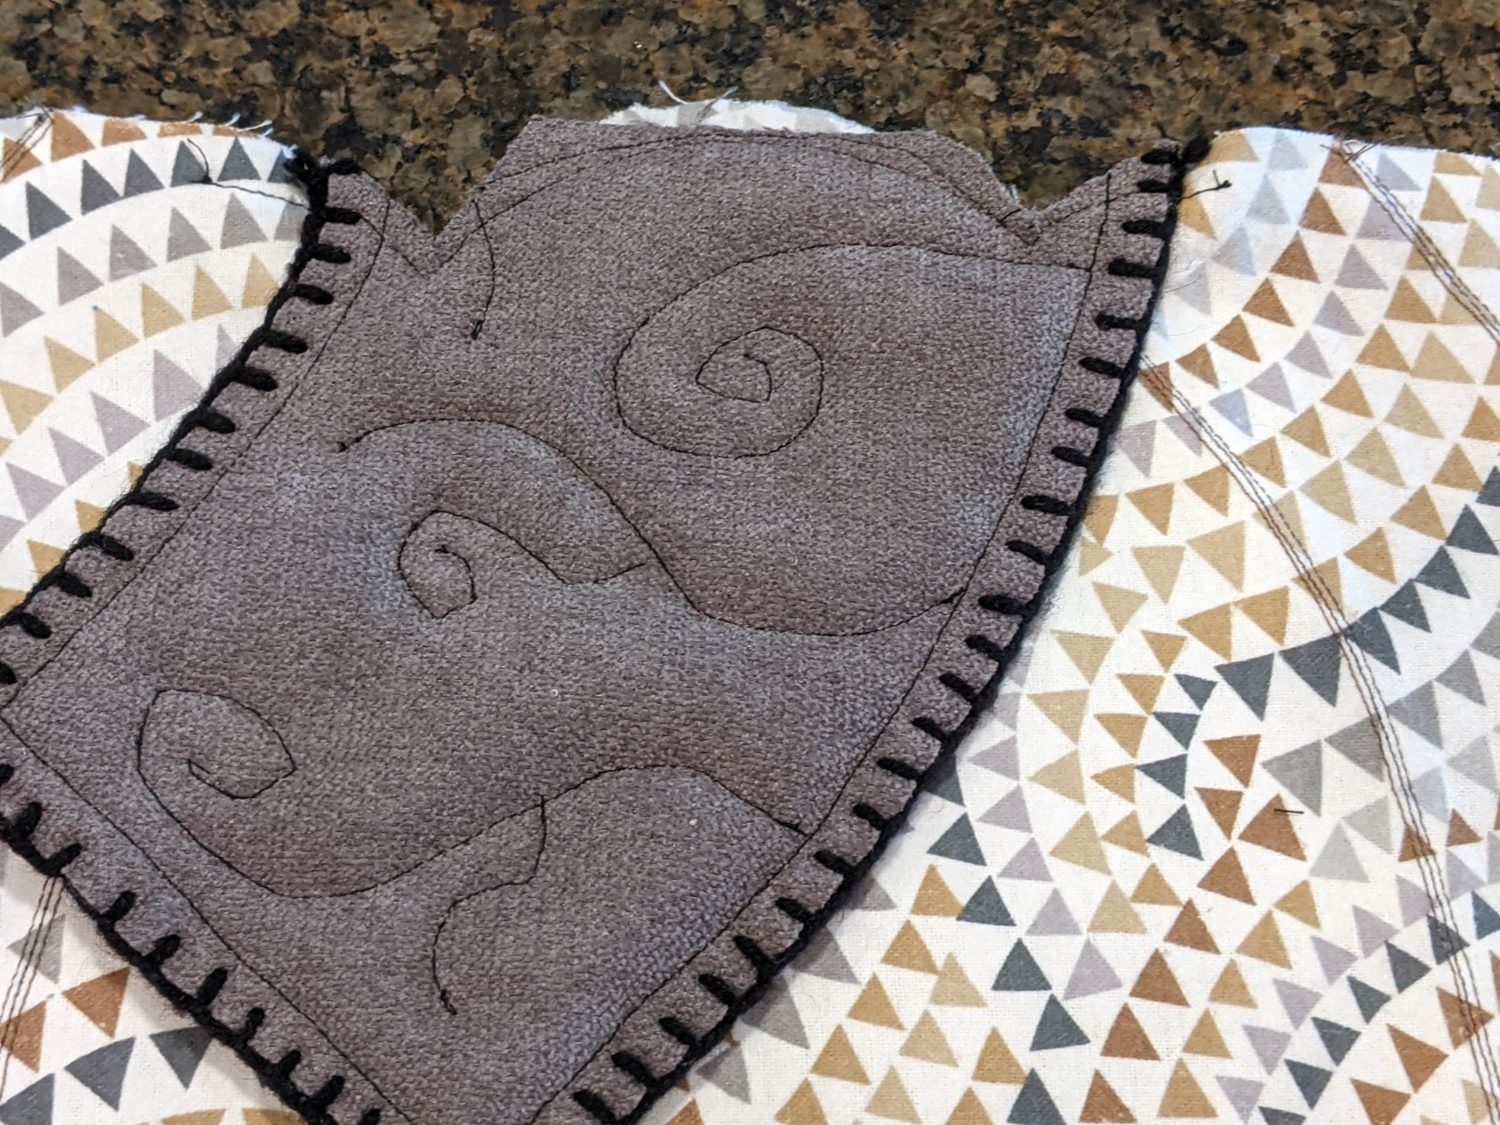
- If you want to get extra fancy, draw some lines and swirls on the stem with your air or heat soluble pen, then use your sewing machine to stitch over them.
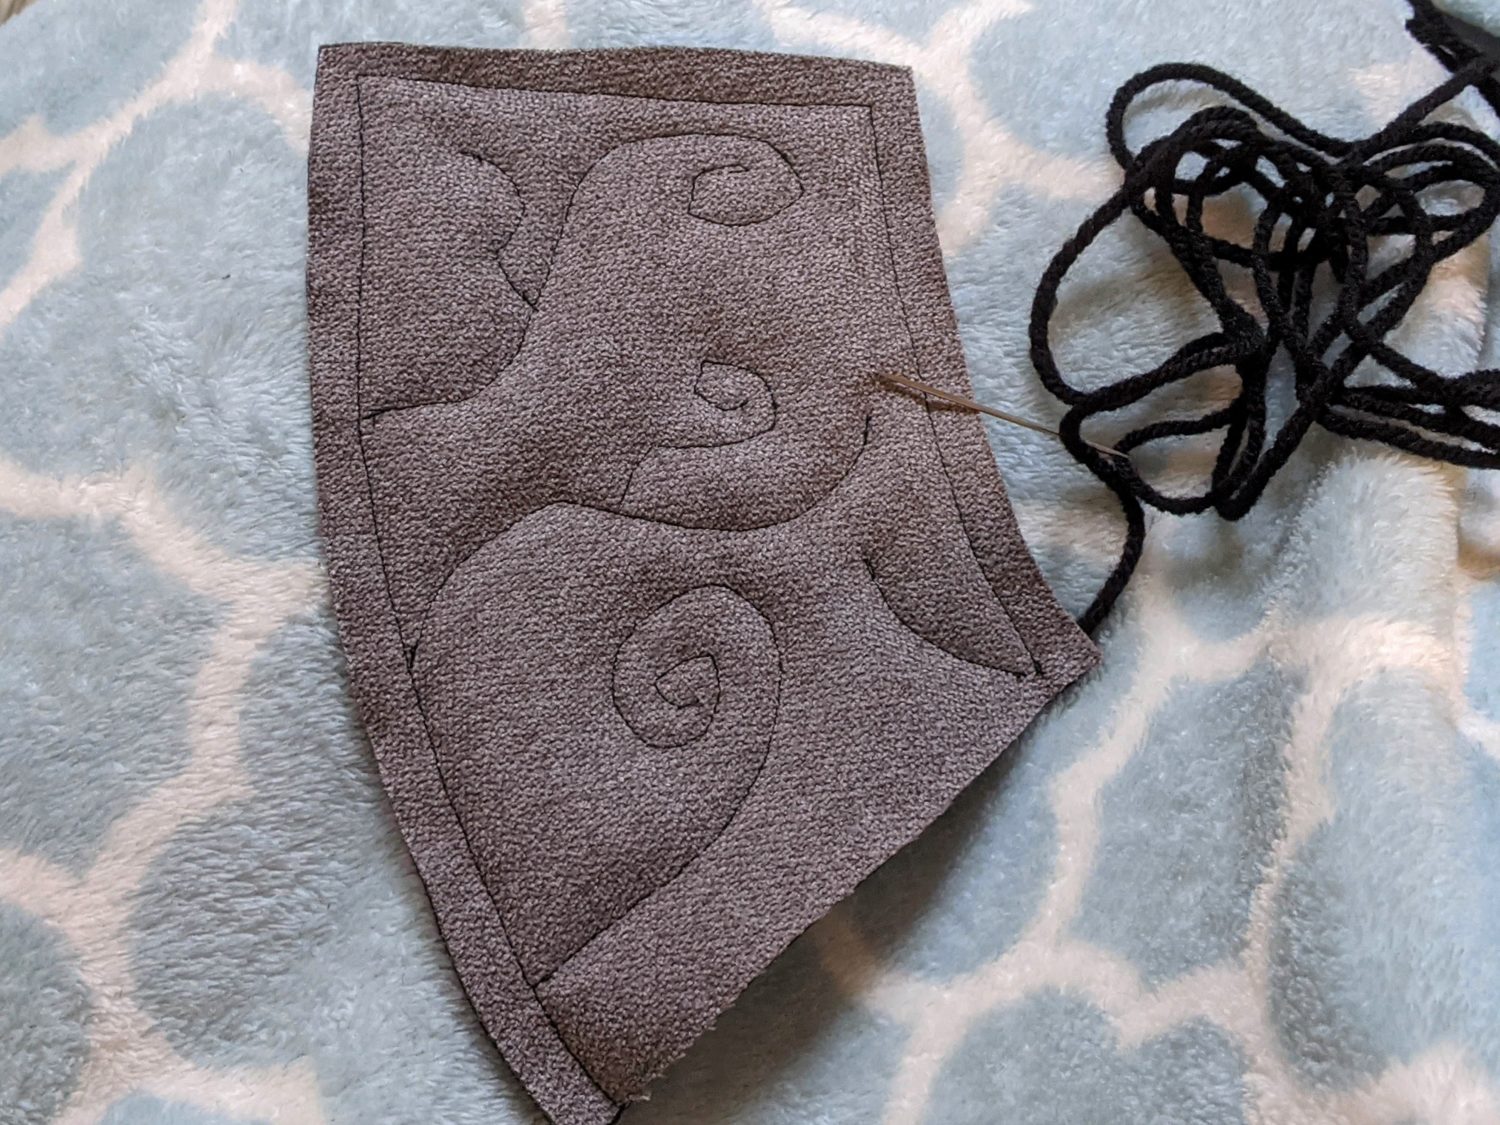
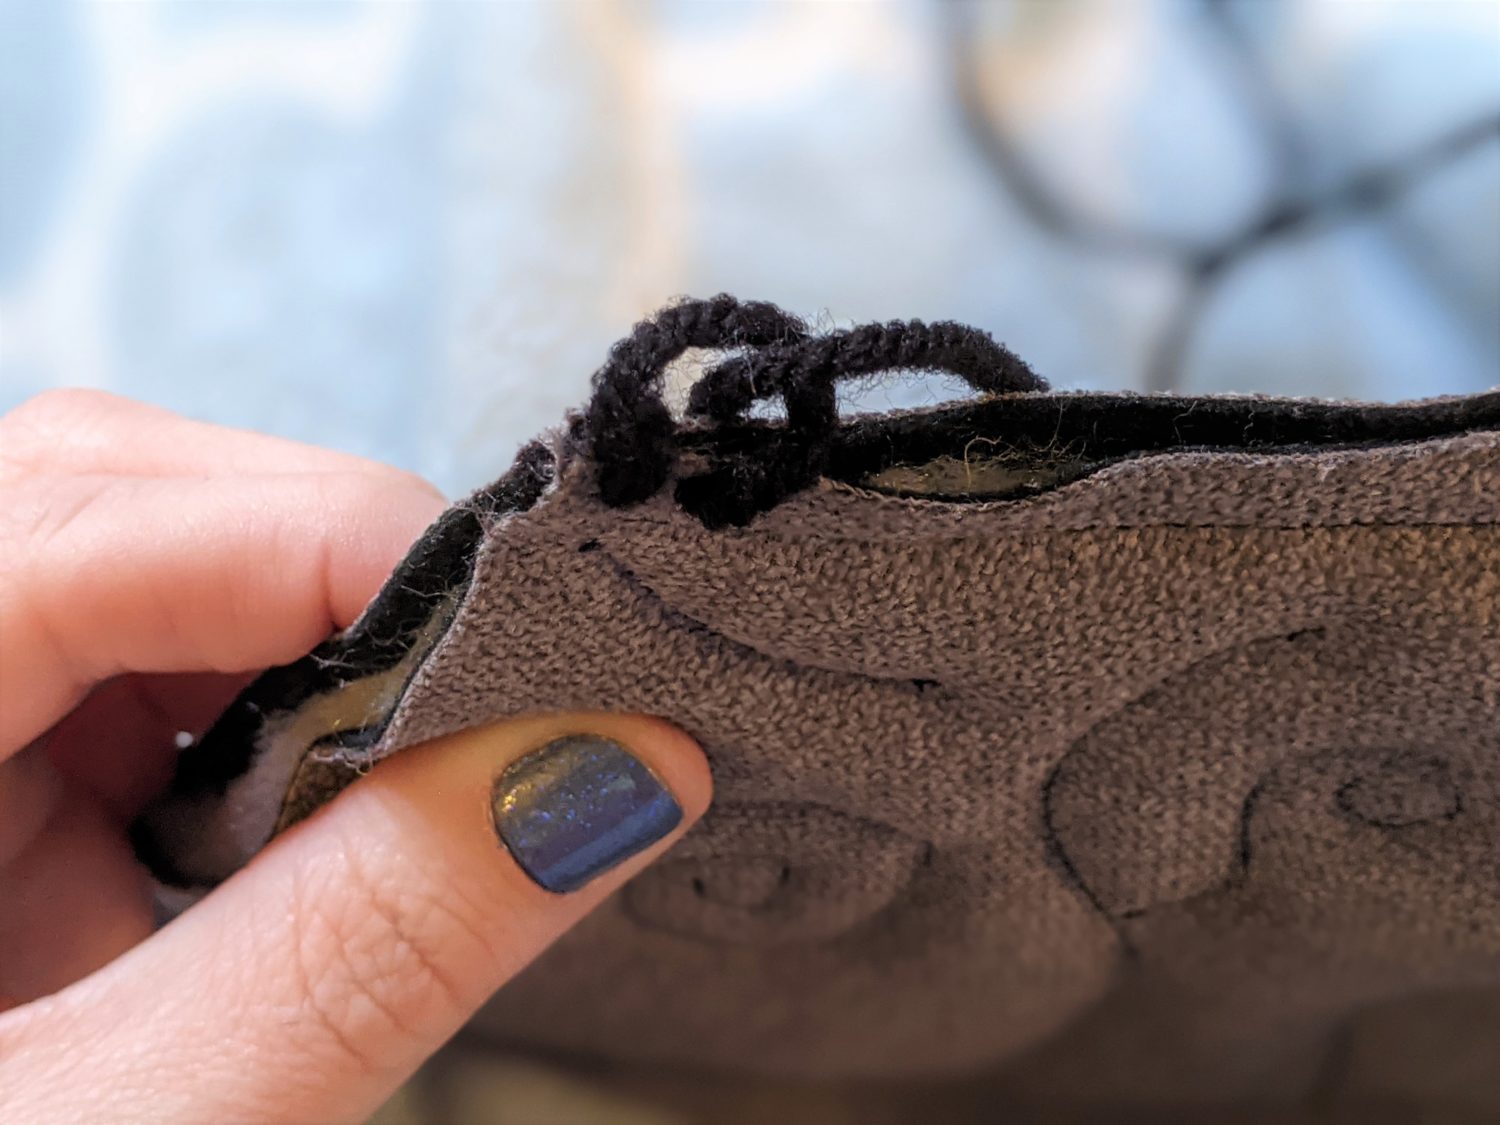
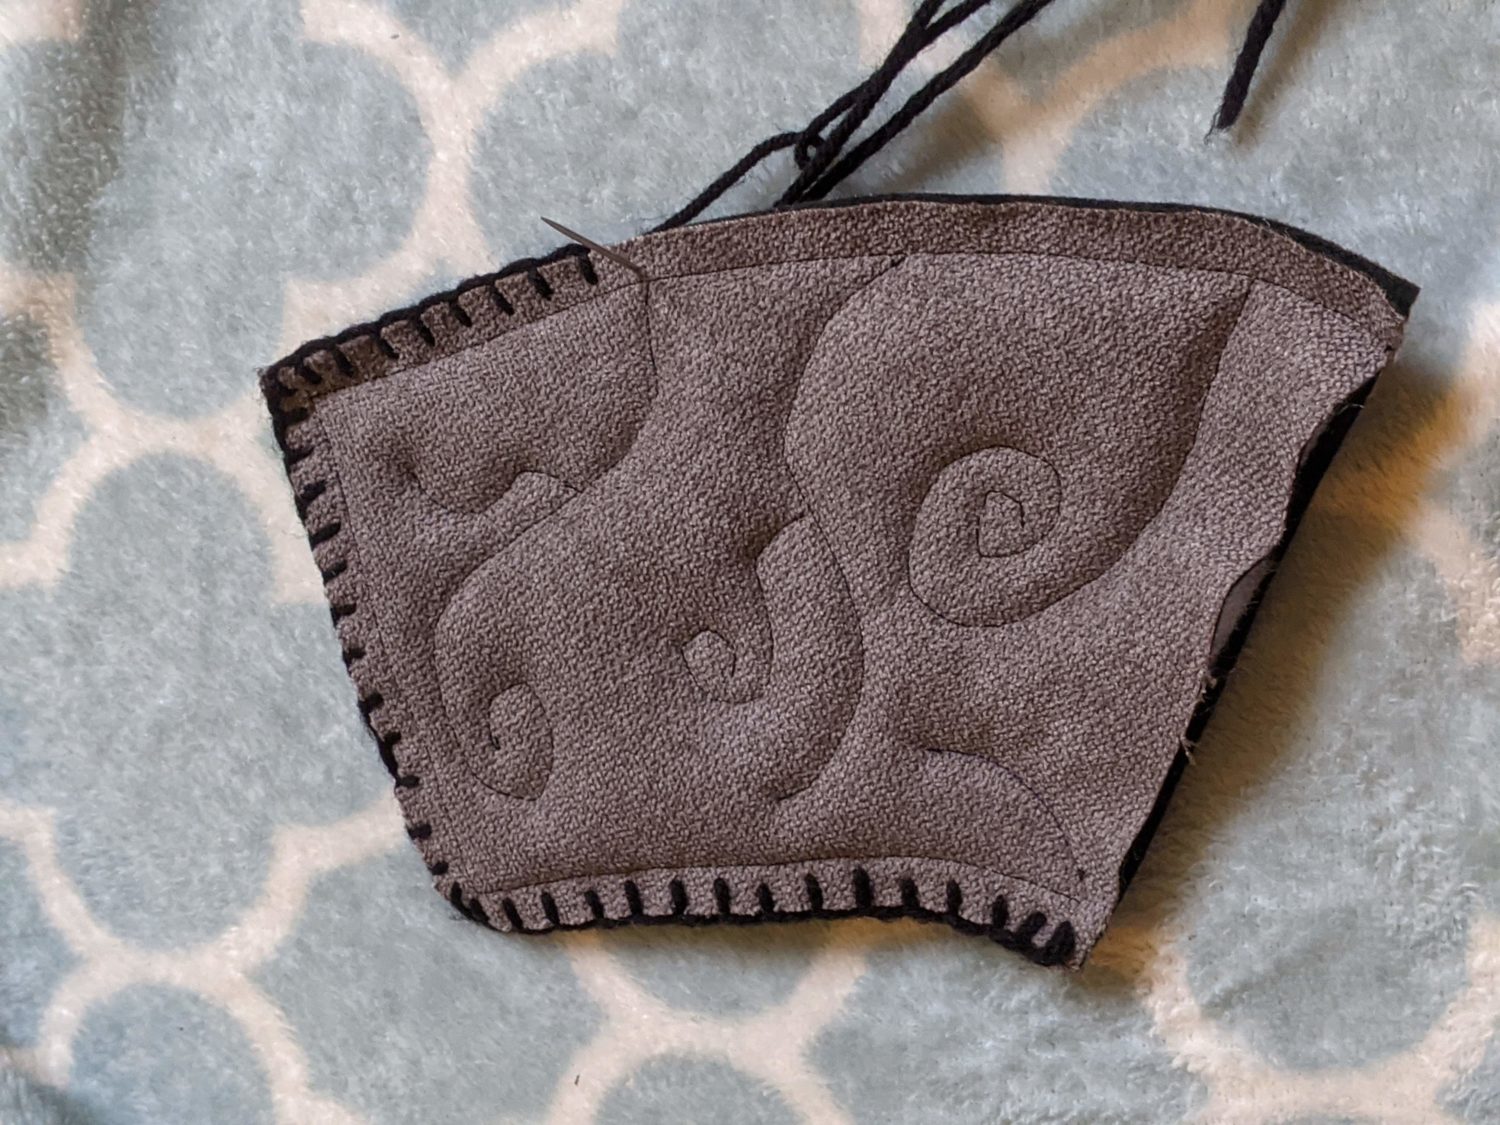
- Finish the stem edges with your embroidery needle and yarn or embroidery floss.
- You can use any stitch you like. A whipstitch and blanket stitch are both good options. I used a blanket stitch on my pumpkins. For more detailed instructions on how to sew a blanket stitch, you can find more information in the Lovebirds Pattern blog post.
Build your Pumpkin
- Take one side of your pumpkin and lay it right side up.
- Find where you want your stem to be on your pumpkin.
- Once you have your placement decided, flip the stem down so the right side of it is facing the right side of the pumpkin and the straight edge (the open edge) of the stem is along the top edge of the pumpkin.
- Hold or pin the stem in place and flip the pumpkin over so you can see the back.
- Check that the stem edge reaches the top edge of the pumpkin and pin it in place.

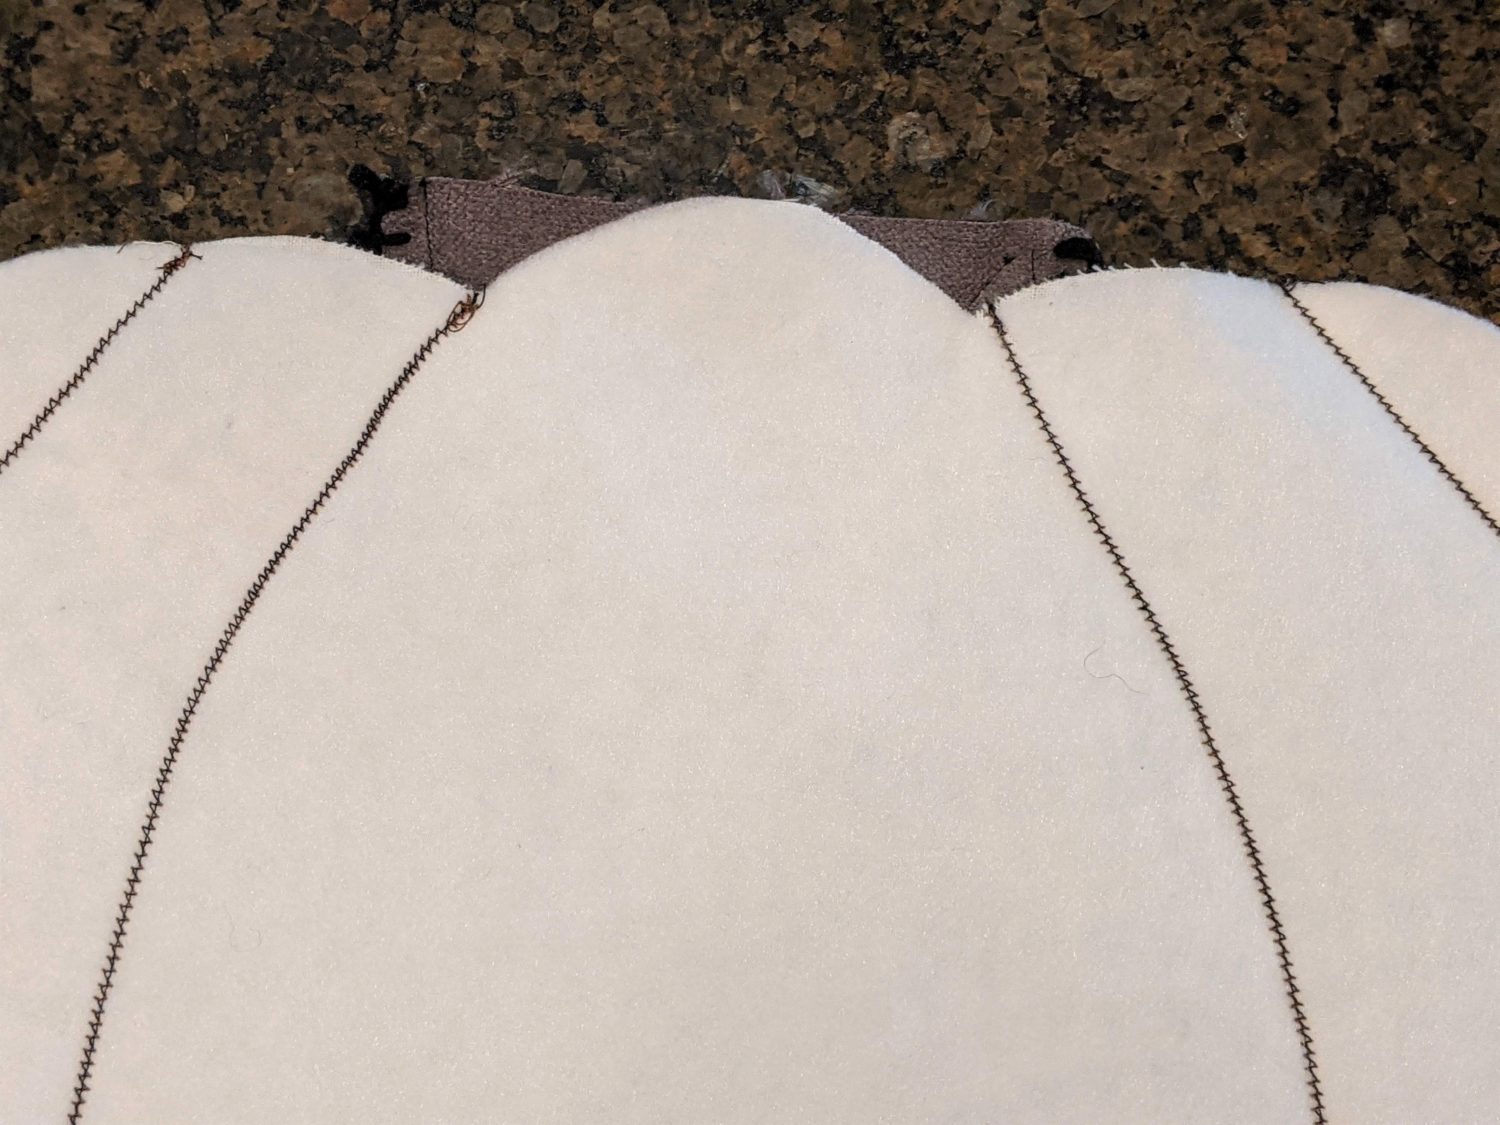
- Sew the stem to the top edge of the pumpkin using a 3/8″ seam allowance.
- This is easiest to do if the backside of the pumpkin is facing up so you can see where each “V” and bump is.
- At the point of each “V,” stop sewing, lift the presser foot, turn your pumpkin to sew up the other side of the “V” then set the presser foot back down and continue sewing.
- Once done, flip the stem up and the pumpkin face up and check your work.
- If all looks good, clip the “V” on each side of the stem.

- Turn the stem back down so that it is against the right side of the pumpkin.
- Take the other side of the pumpkin and set it right sides together with the first piece. Make sure the stem is sandwiched between the two pieces.
- Pin all the way around the edge leaving a 3″ section unsewn for turning. Be sure to backstitch a couple of times at the beginning and end of the stitching.
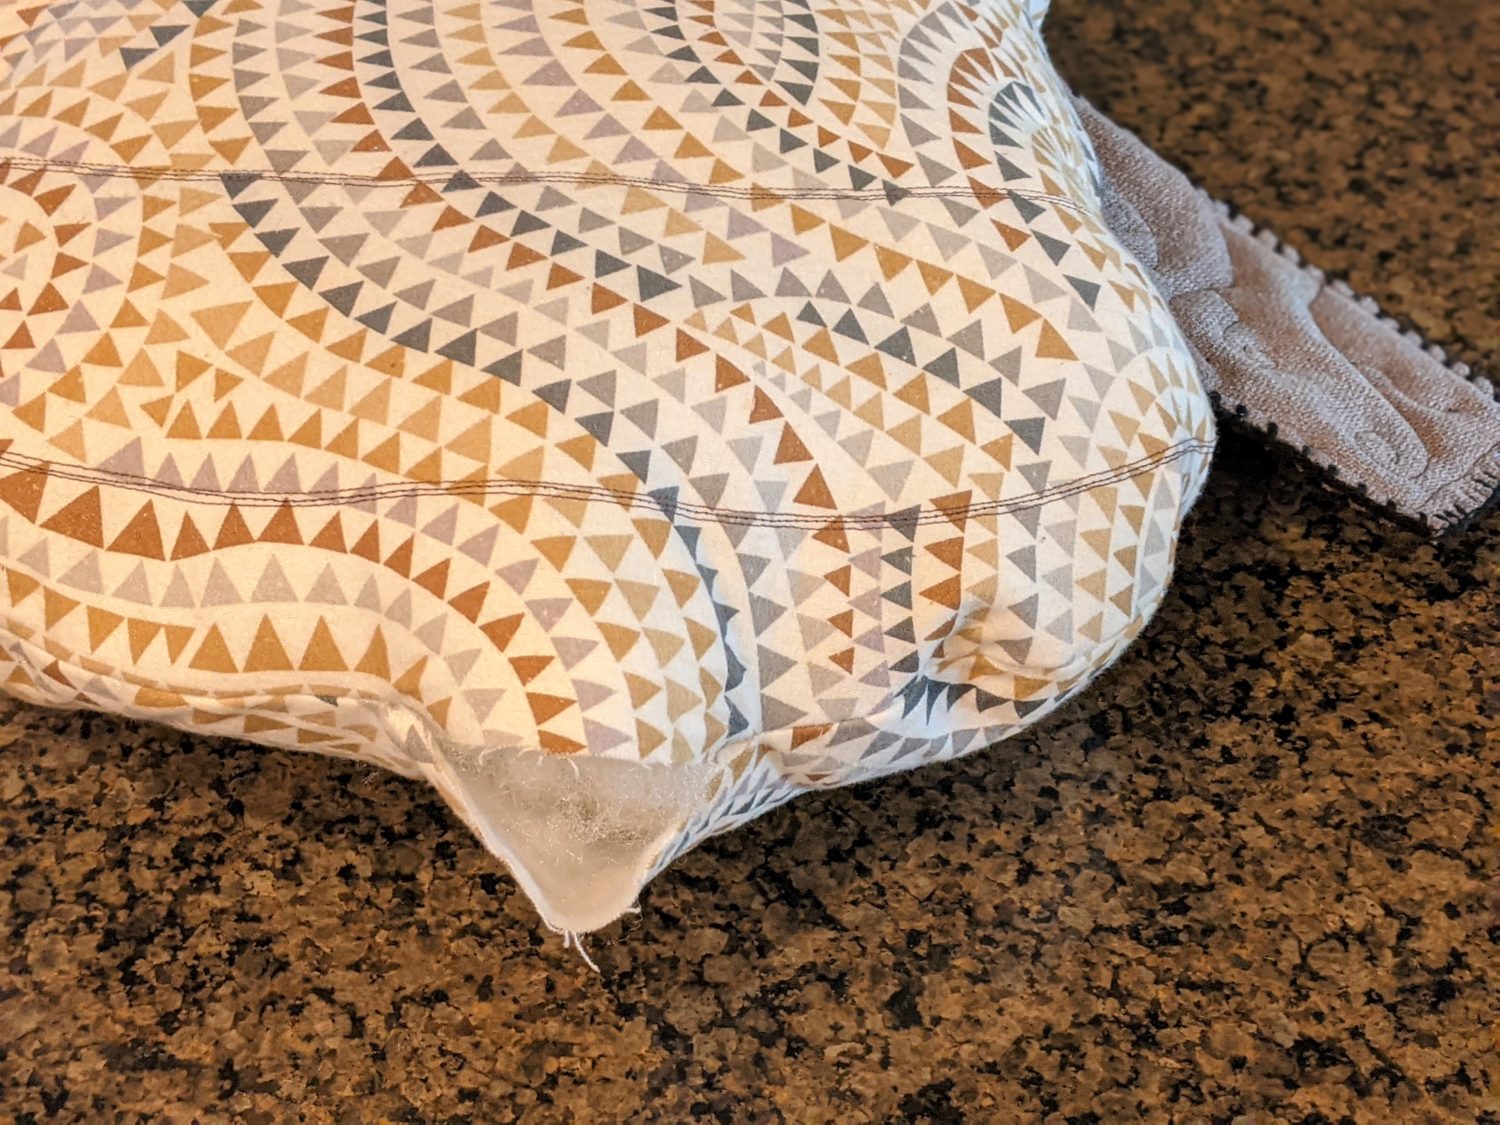
- Snip the fabric along the curves and “V’s” being careful not to cut any of the stitching.
- Turn your pillow right side out.
Stuff that Pumpkin
- Stuff your pillow with fiberfill stuffing through the opening.
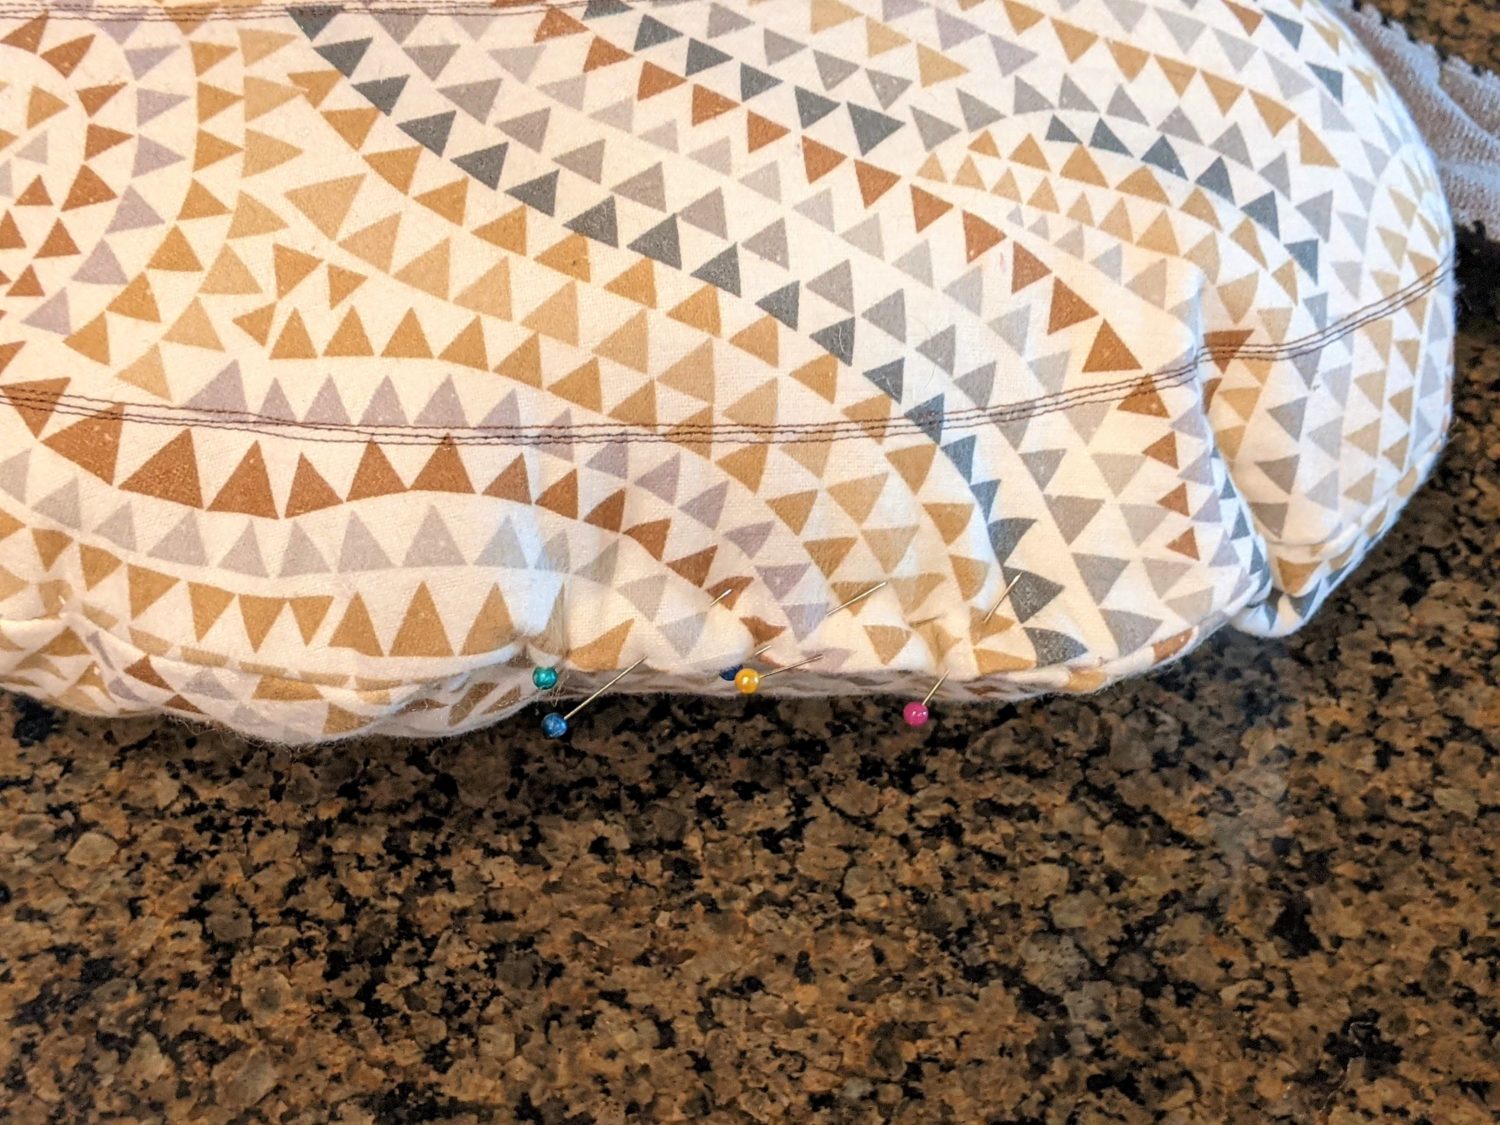
- Once filled, turn the edges of the opening in and pin it together.
- Sew the edge closed using a ladder stitch or whipstitch.
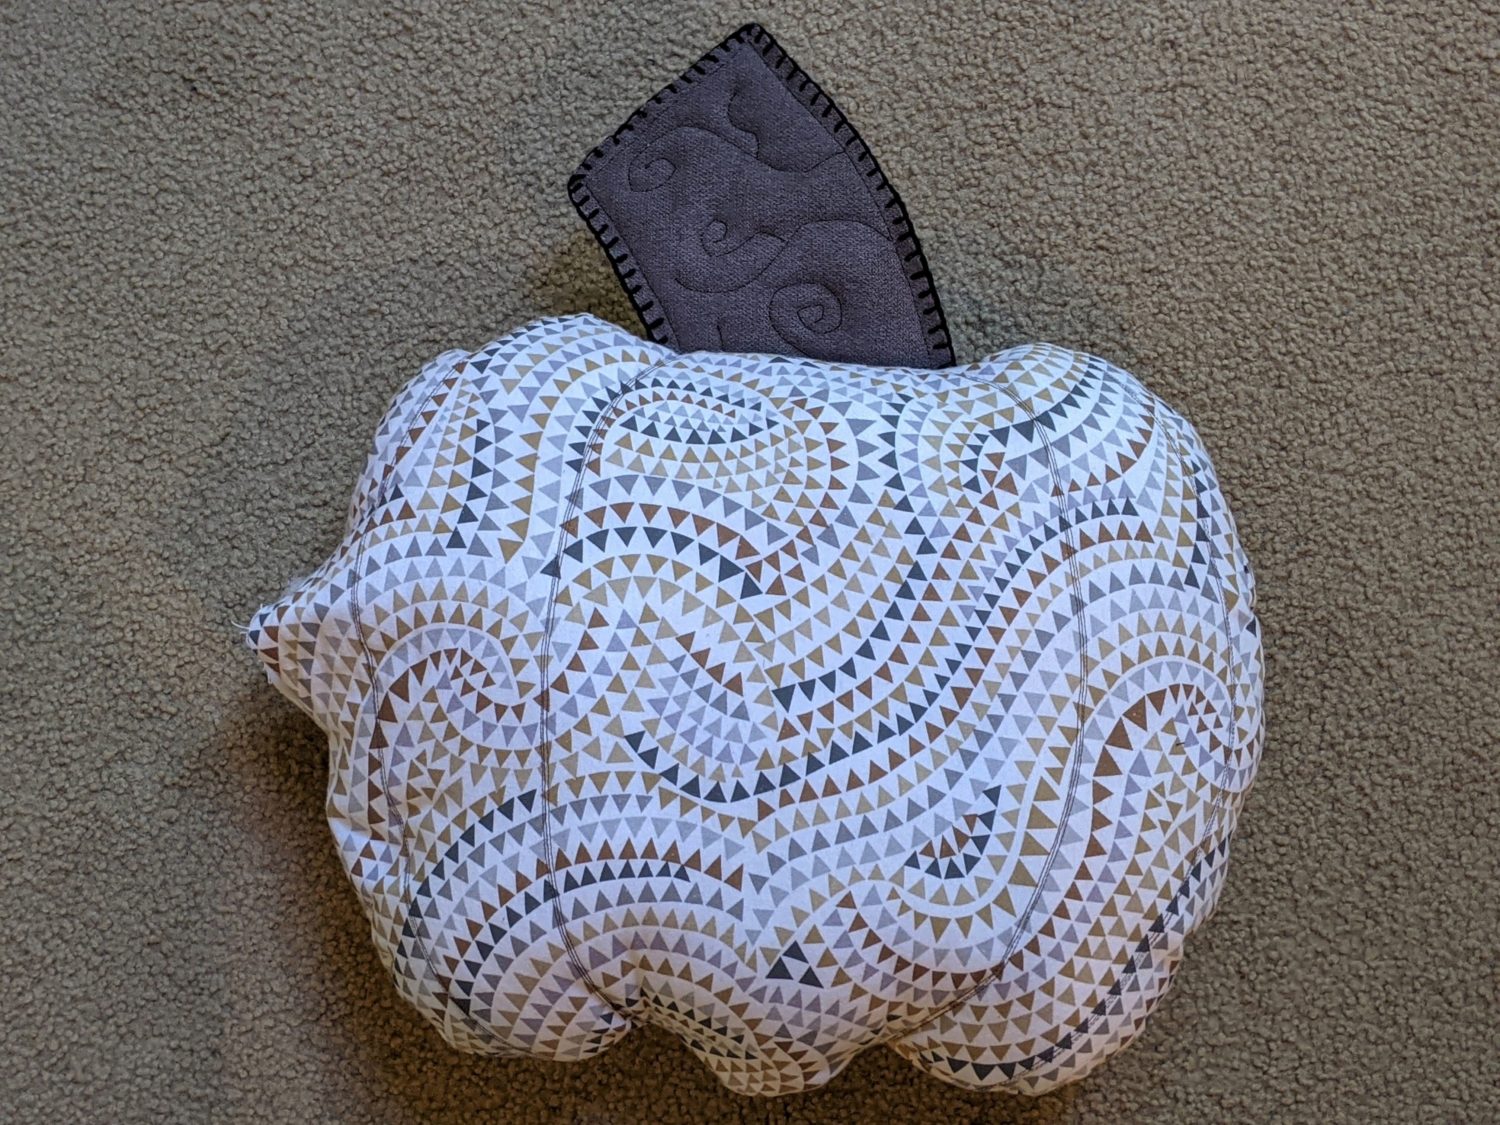
- Optionally, you can use your embroidery needle and yarn or embroidery floss and hand sew along the stitching on the ridges to give them more definition.
Hand sewn ridges using embroidery floss 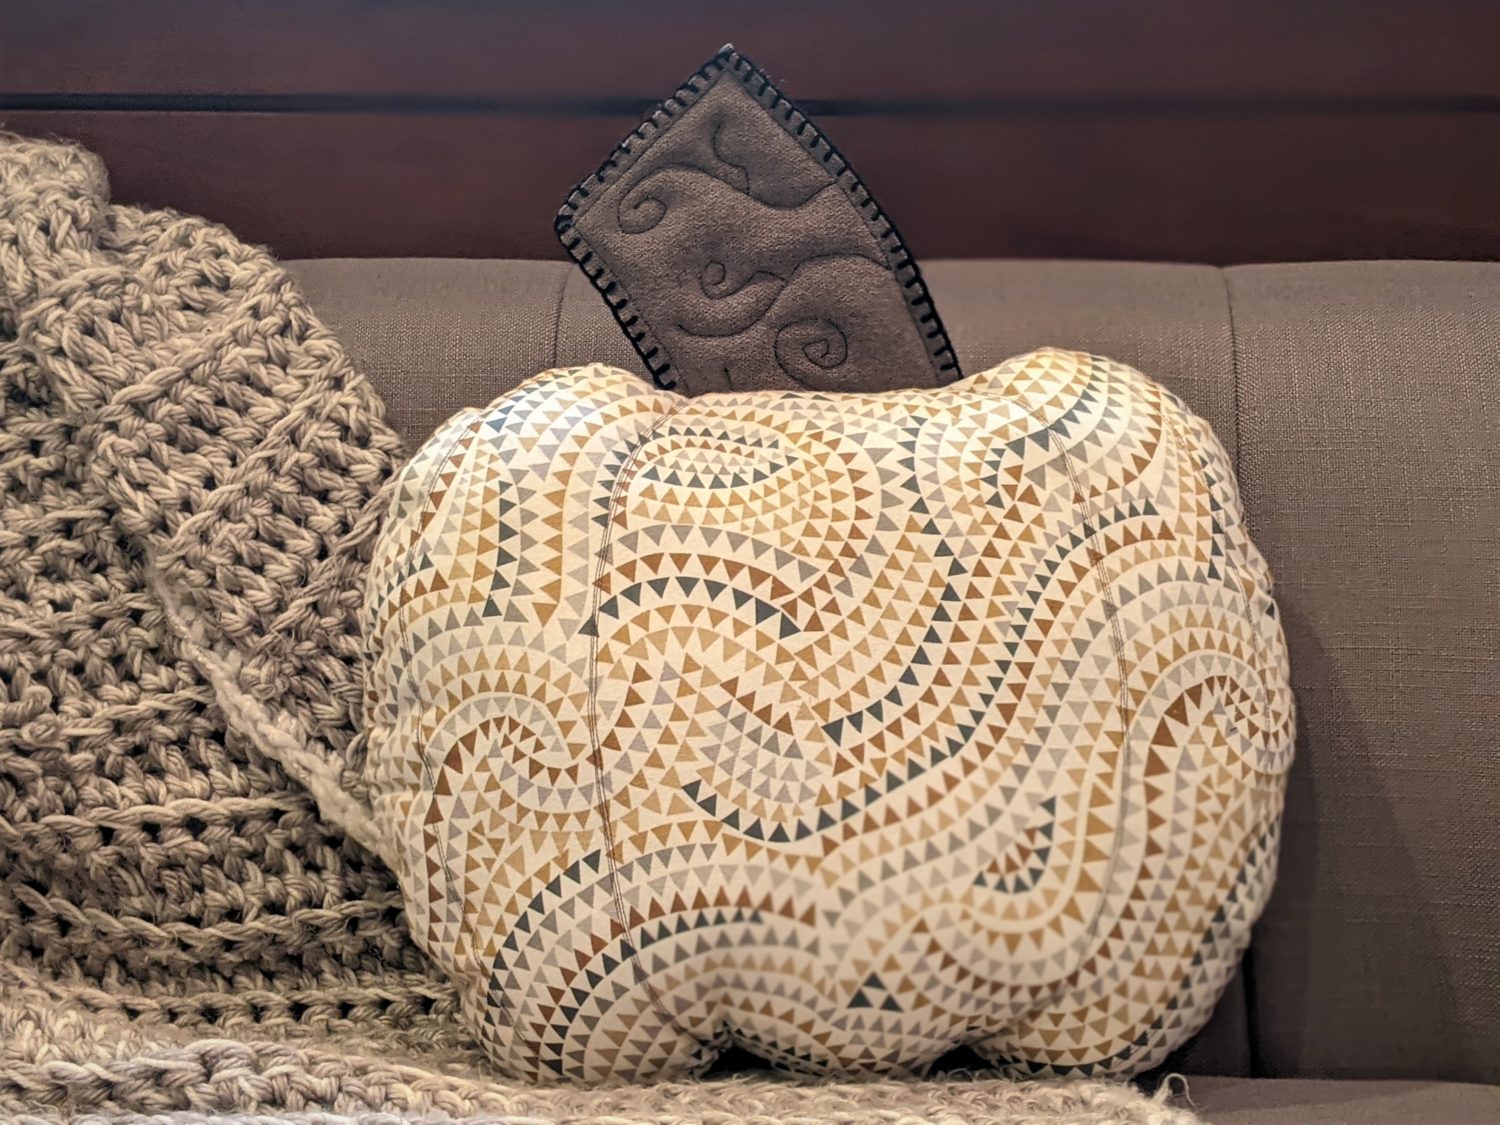
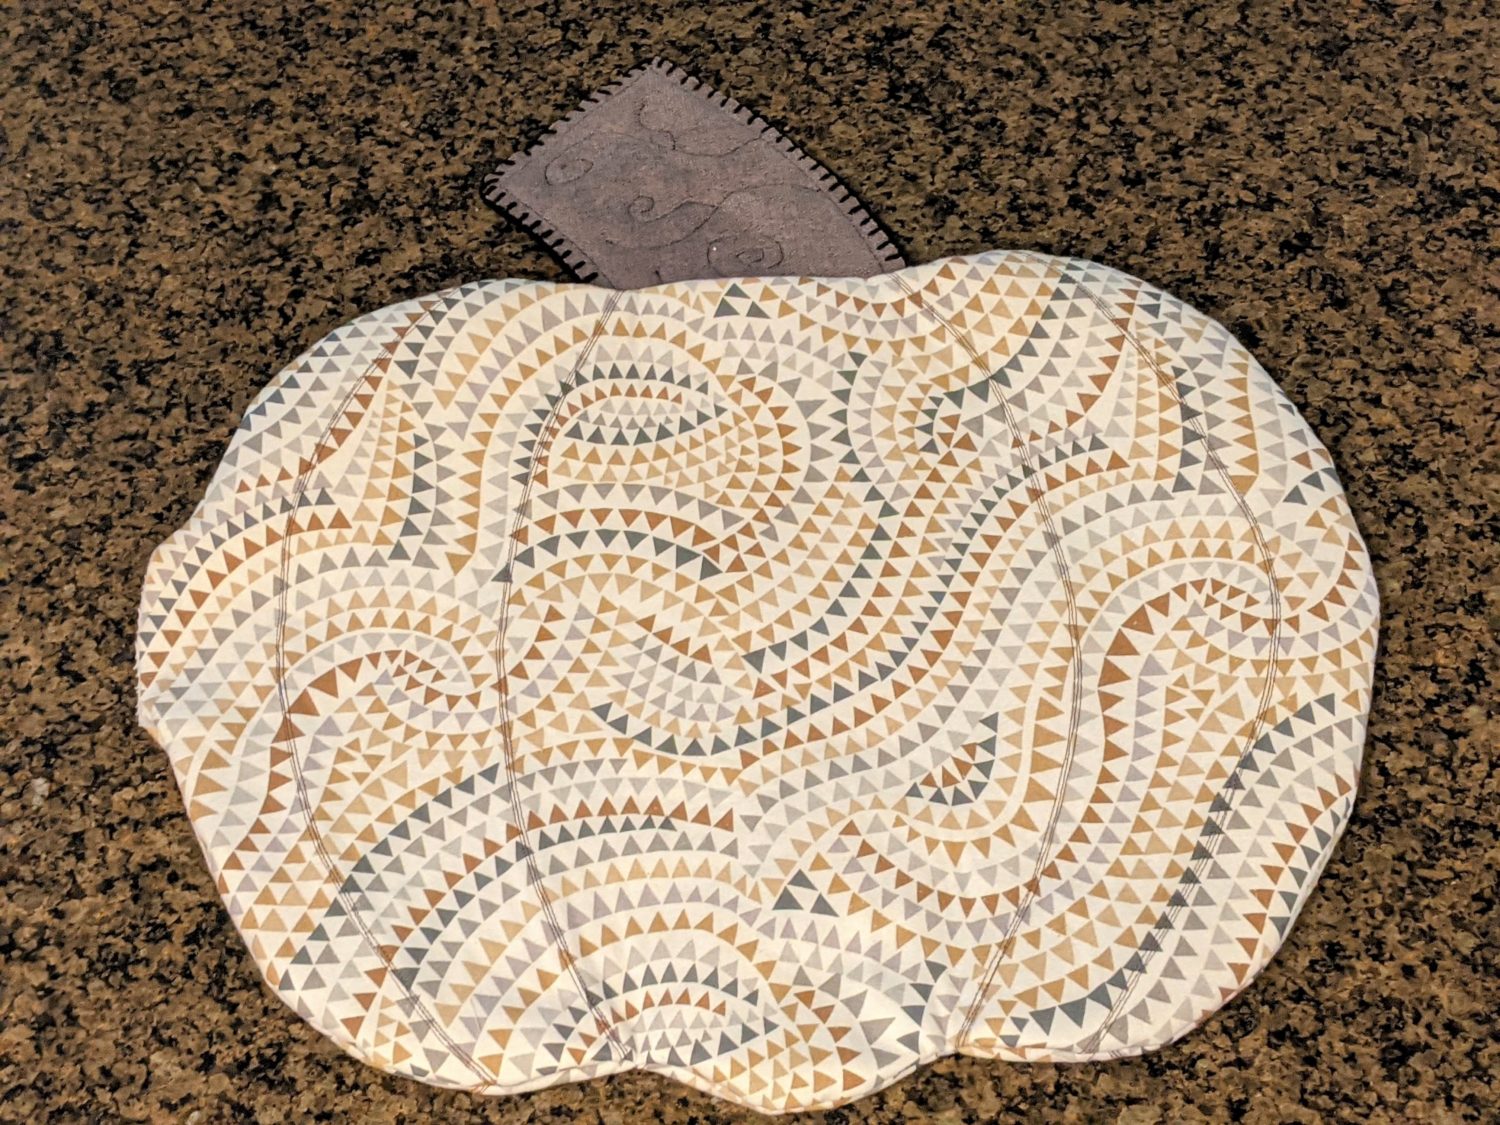
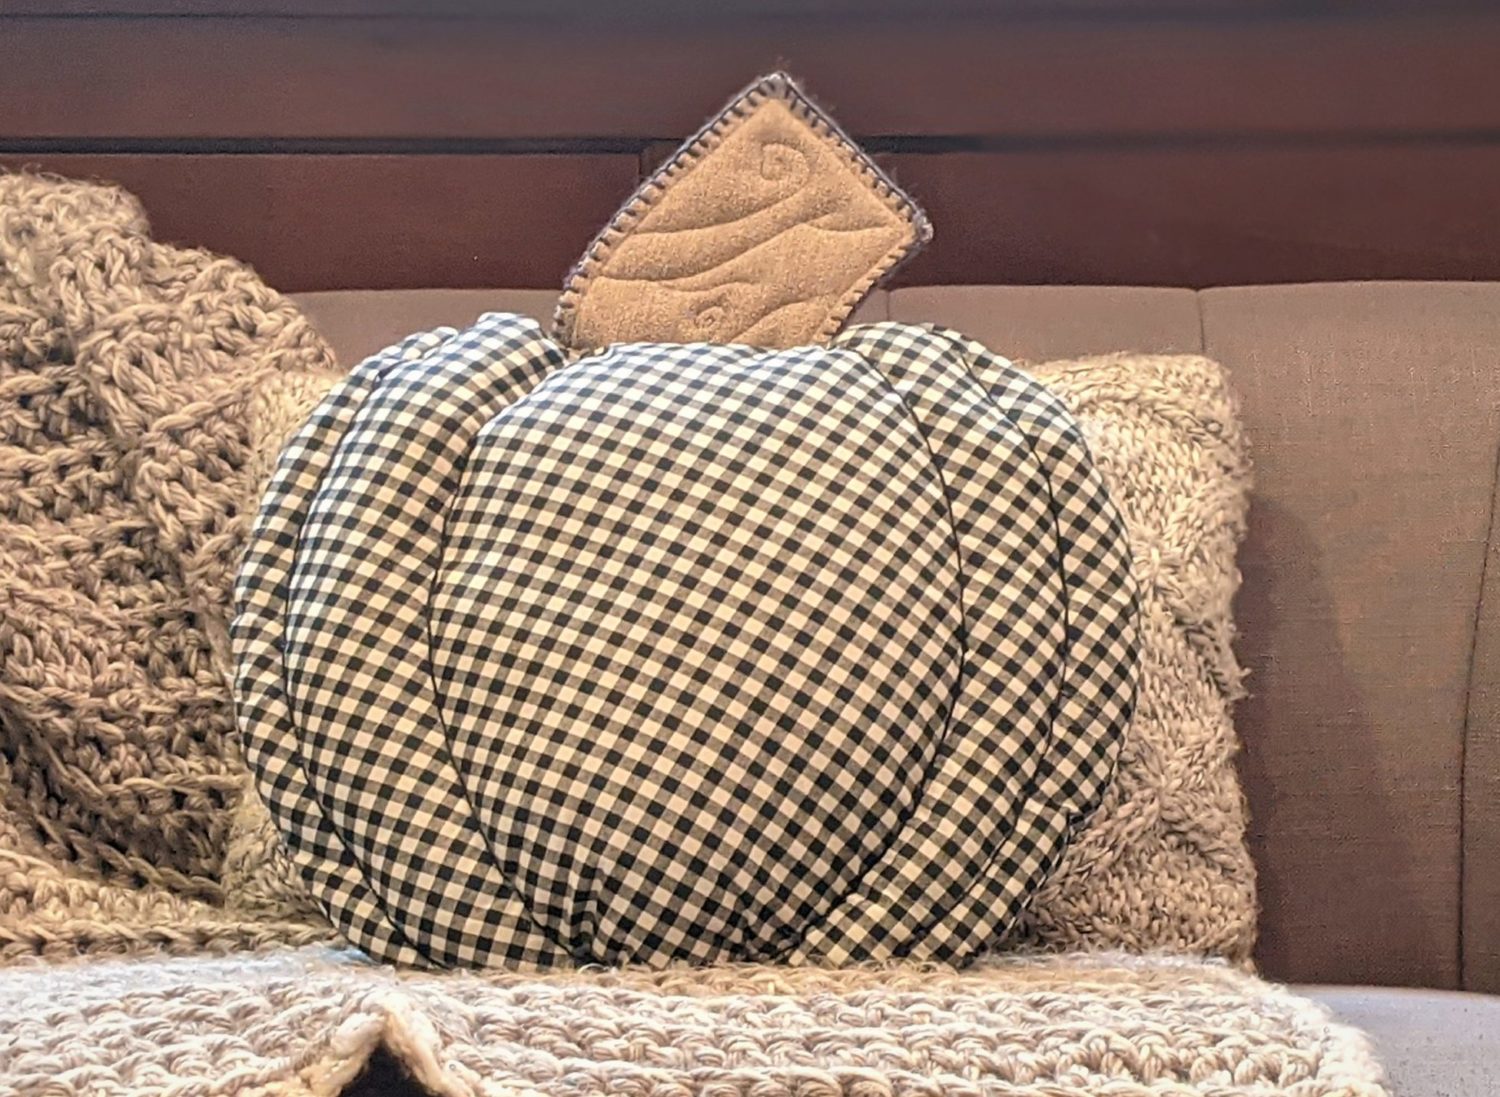
Machine sewn ridges only
Look at those adorable pumpkin pillows!
Want more FUN DIY Freebies? Check out the FREEBIE TUTORIALS and the FREEBIE PATTERNS!
As always, we’re here to help if you need it! Join us HERE and on Facebook, Instagram, Twitter, Youtube, and Pinterest. We’re everywhere you are.
Leave a Reply