
At 5 out of 4, our patterns that have a v-neck option are made to have a center seam on the neckband where the two ends meet to create a V. I made just a tiny change to how the band is attached, and now I have an overlapped v-neck. For this example, I used the Women’s Easy Tee pattern, but you can do this on a variety of our patterns.
Cut Your Pieces
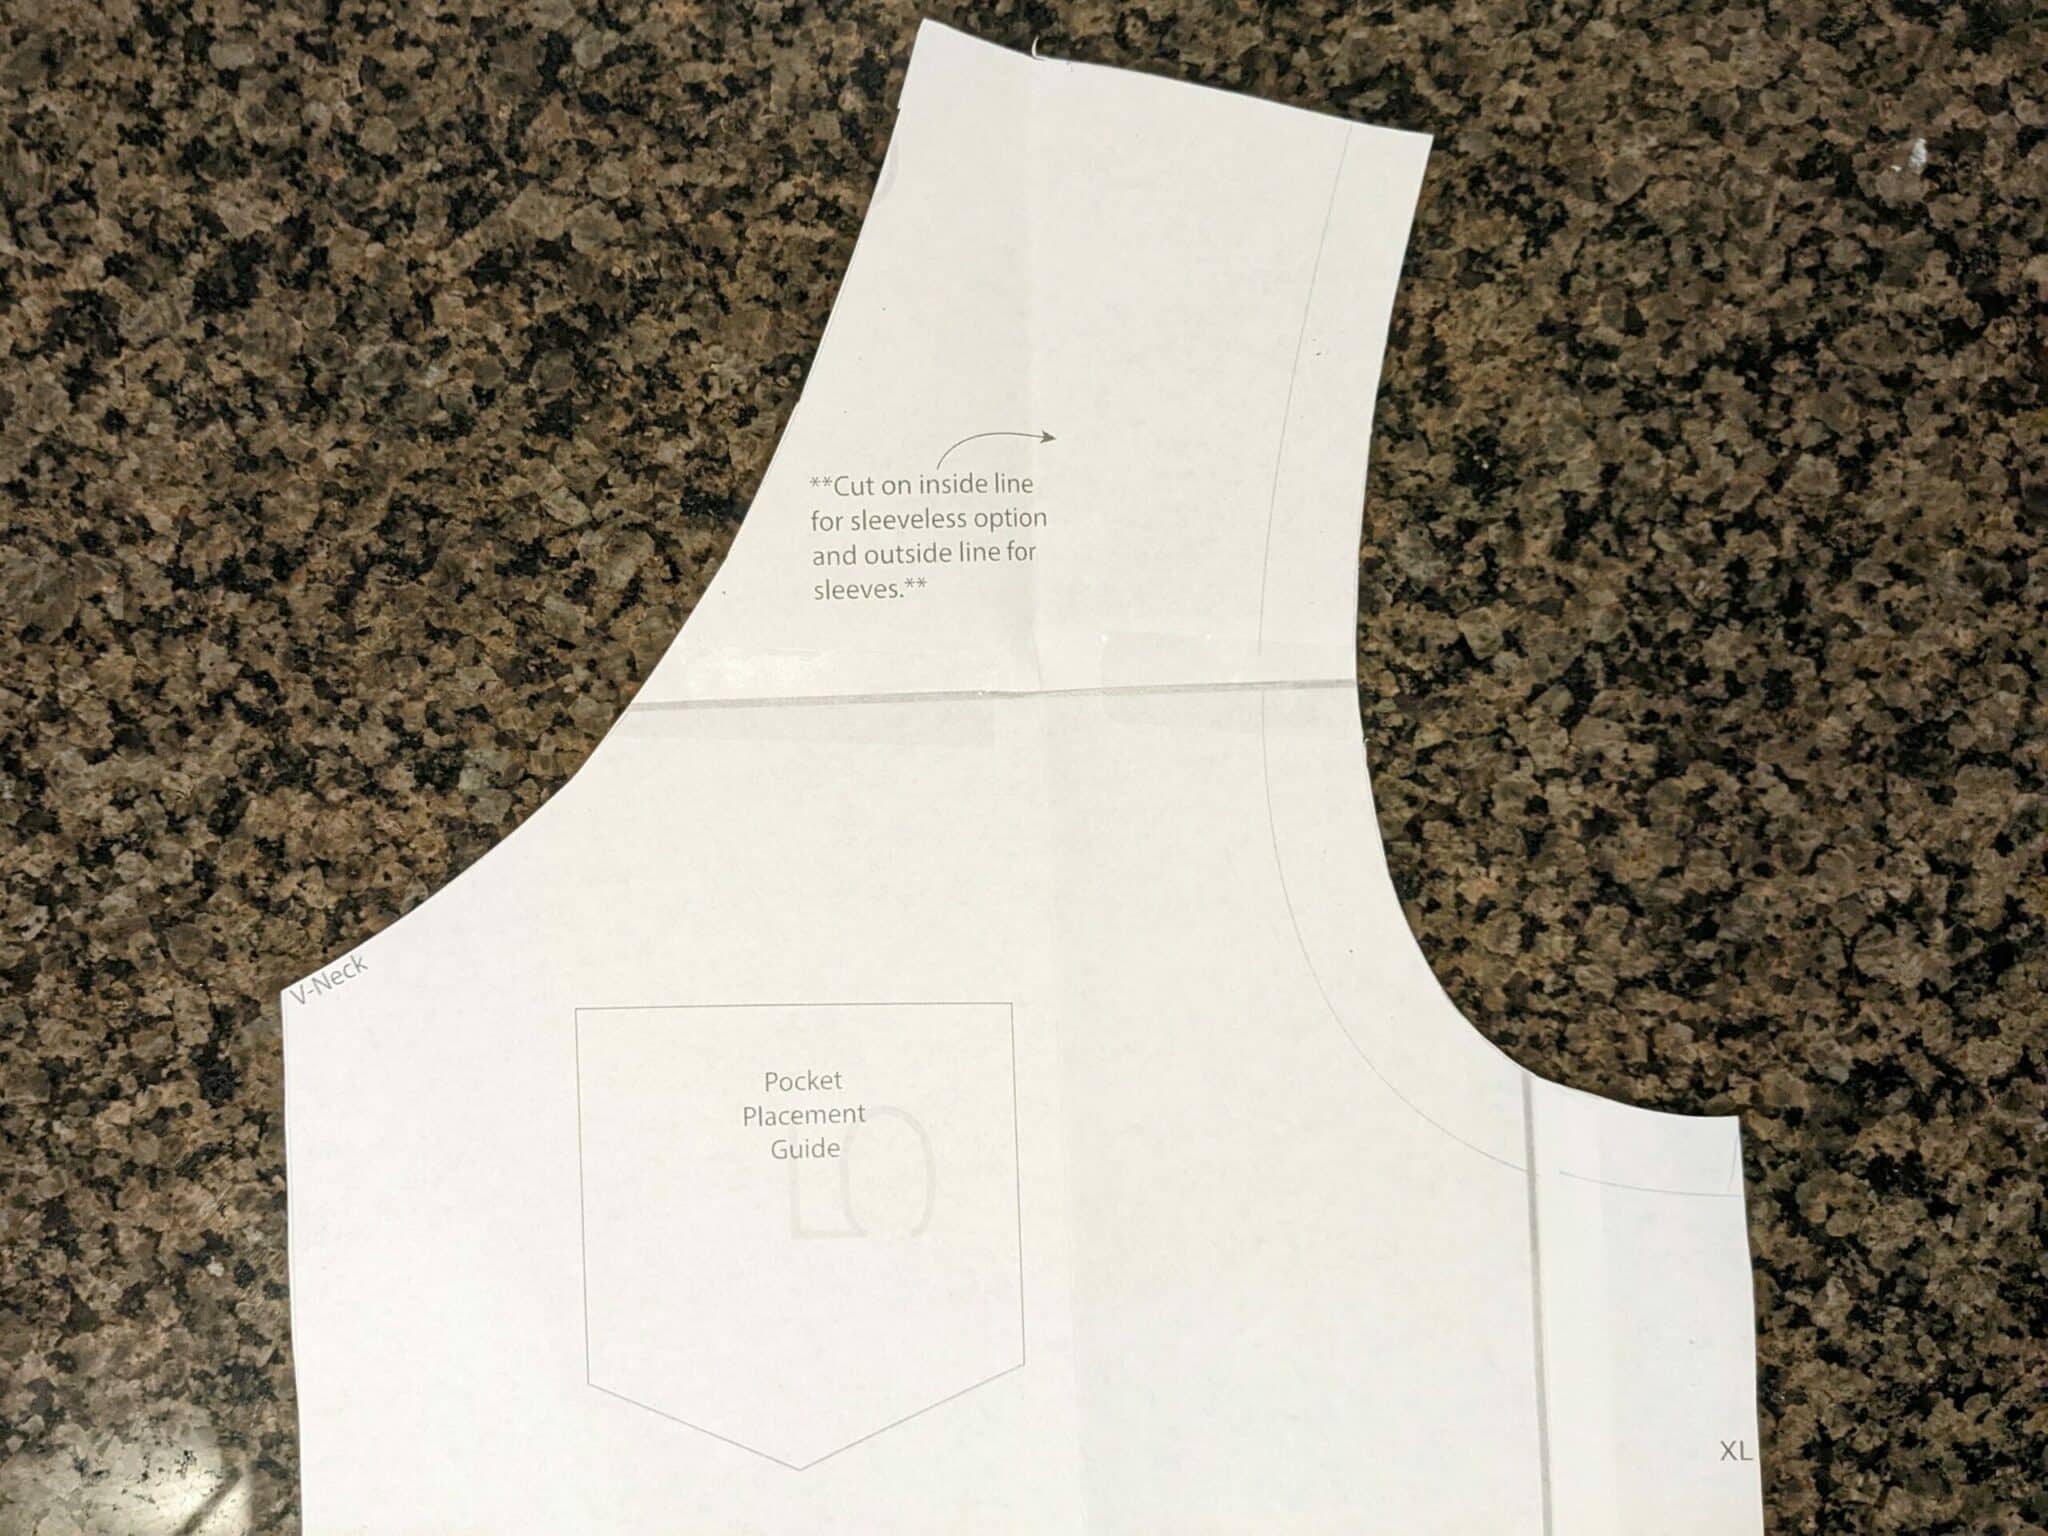
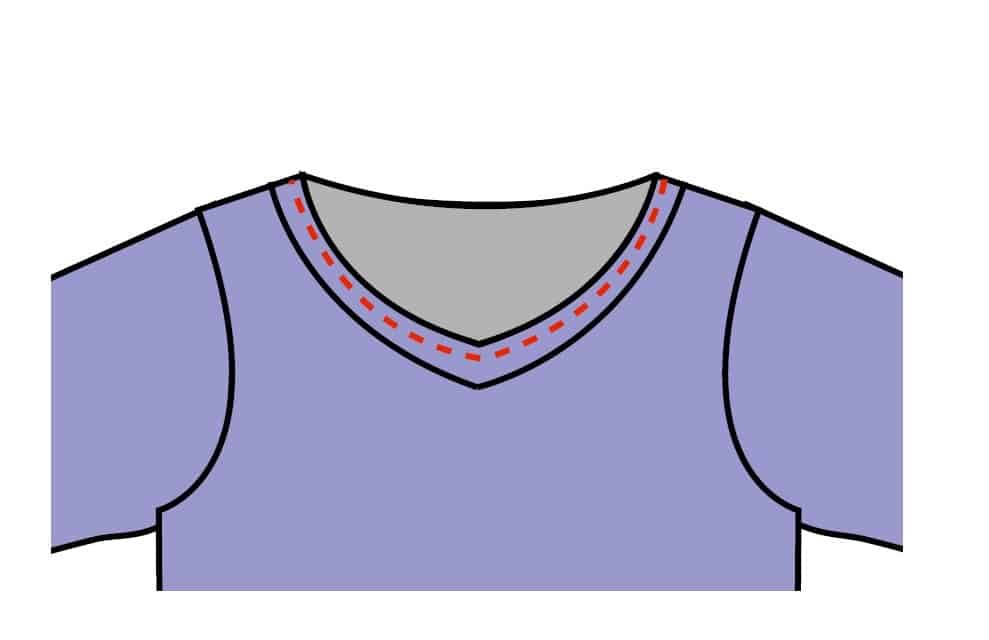
- Cut the front bodice at the v-neck marking on the pattern piece.
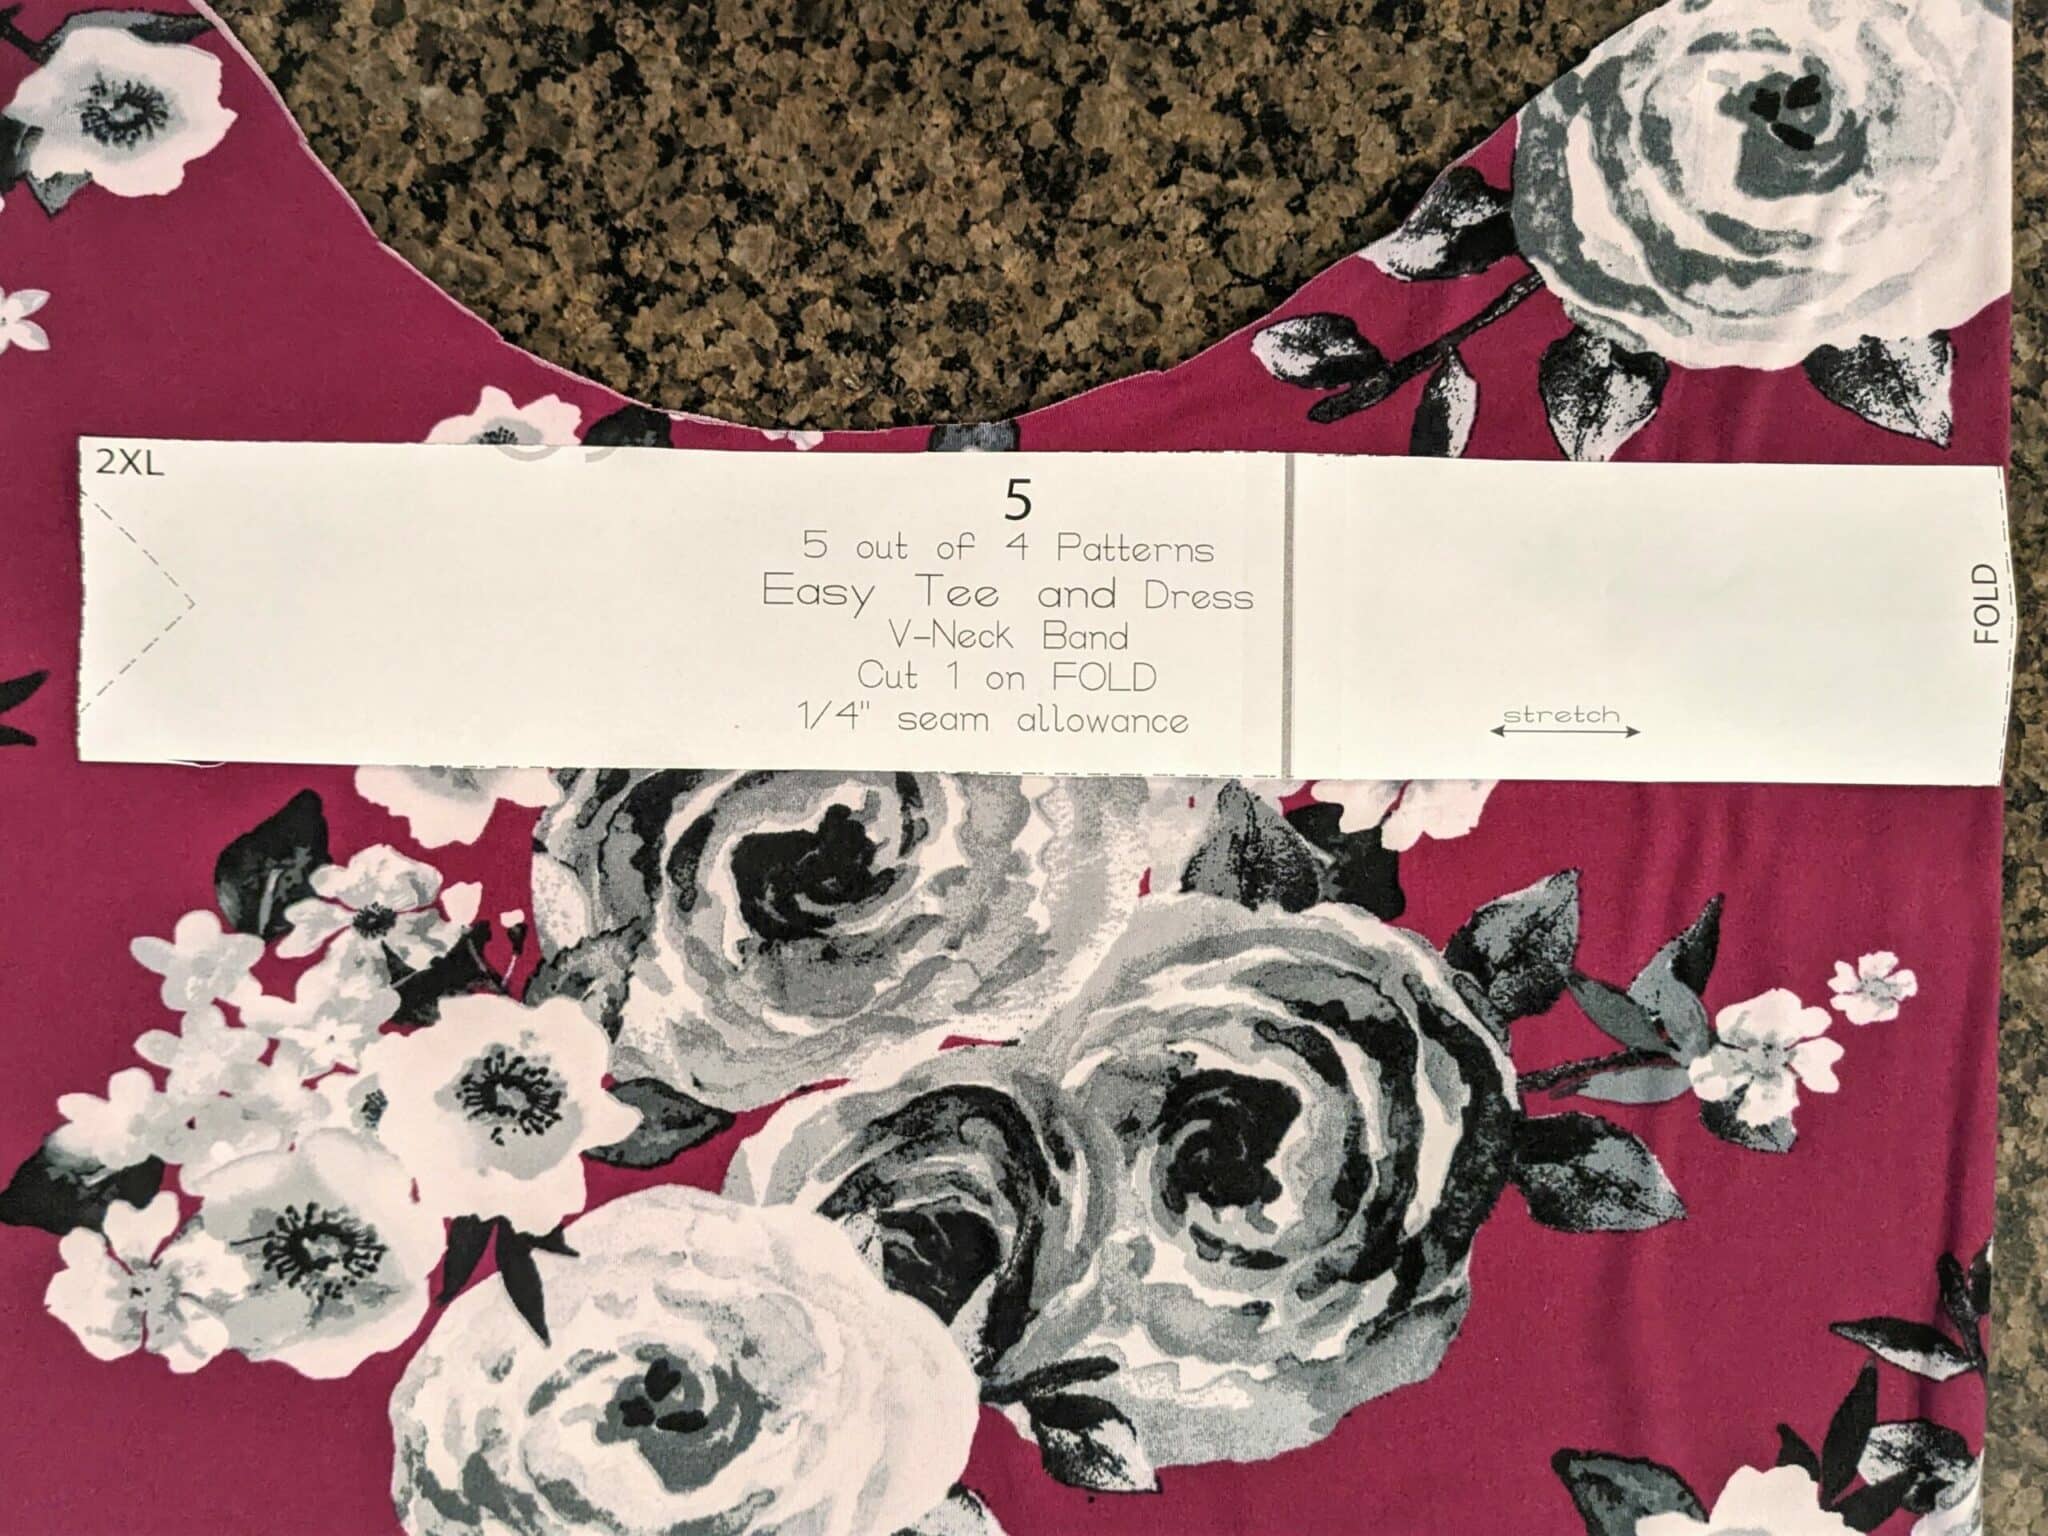
- Use the included v-neckband pattern piece, but instead of cutting out the small triangle part at the end, you will cut straight across.
- All other pattern pieces for your chosen options will be cut as usual.
Prepare the V-neckband and Bodice
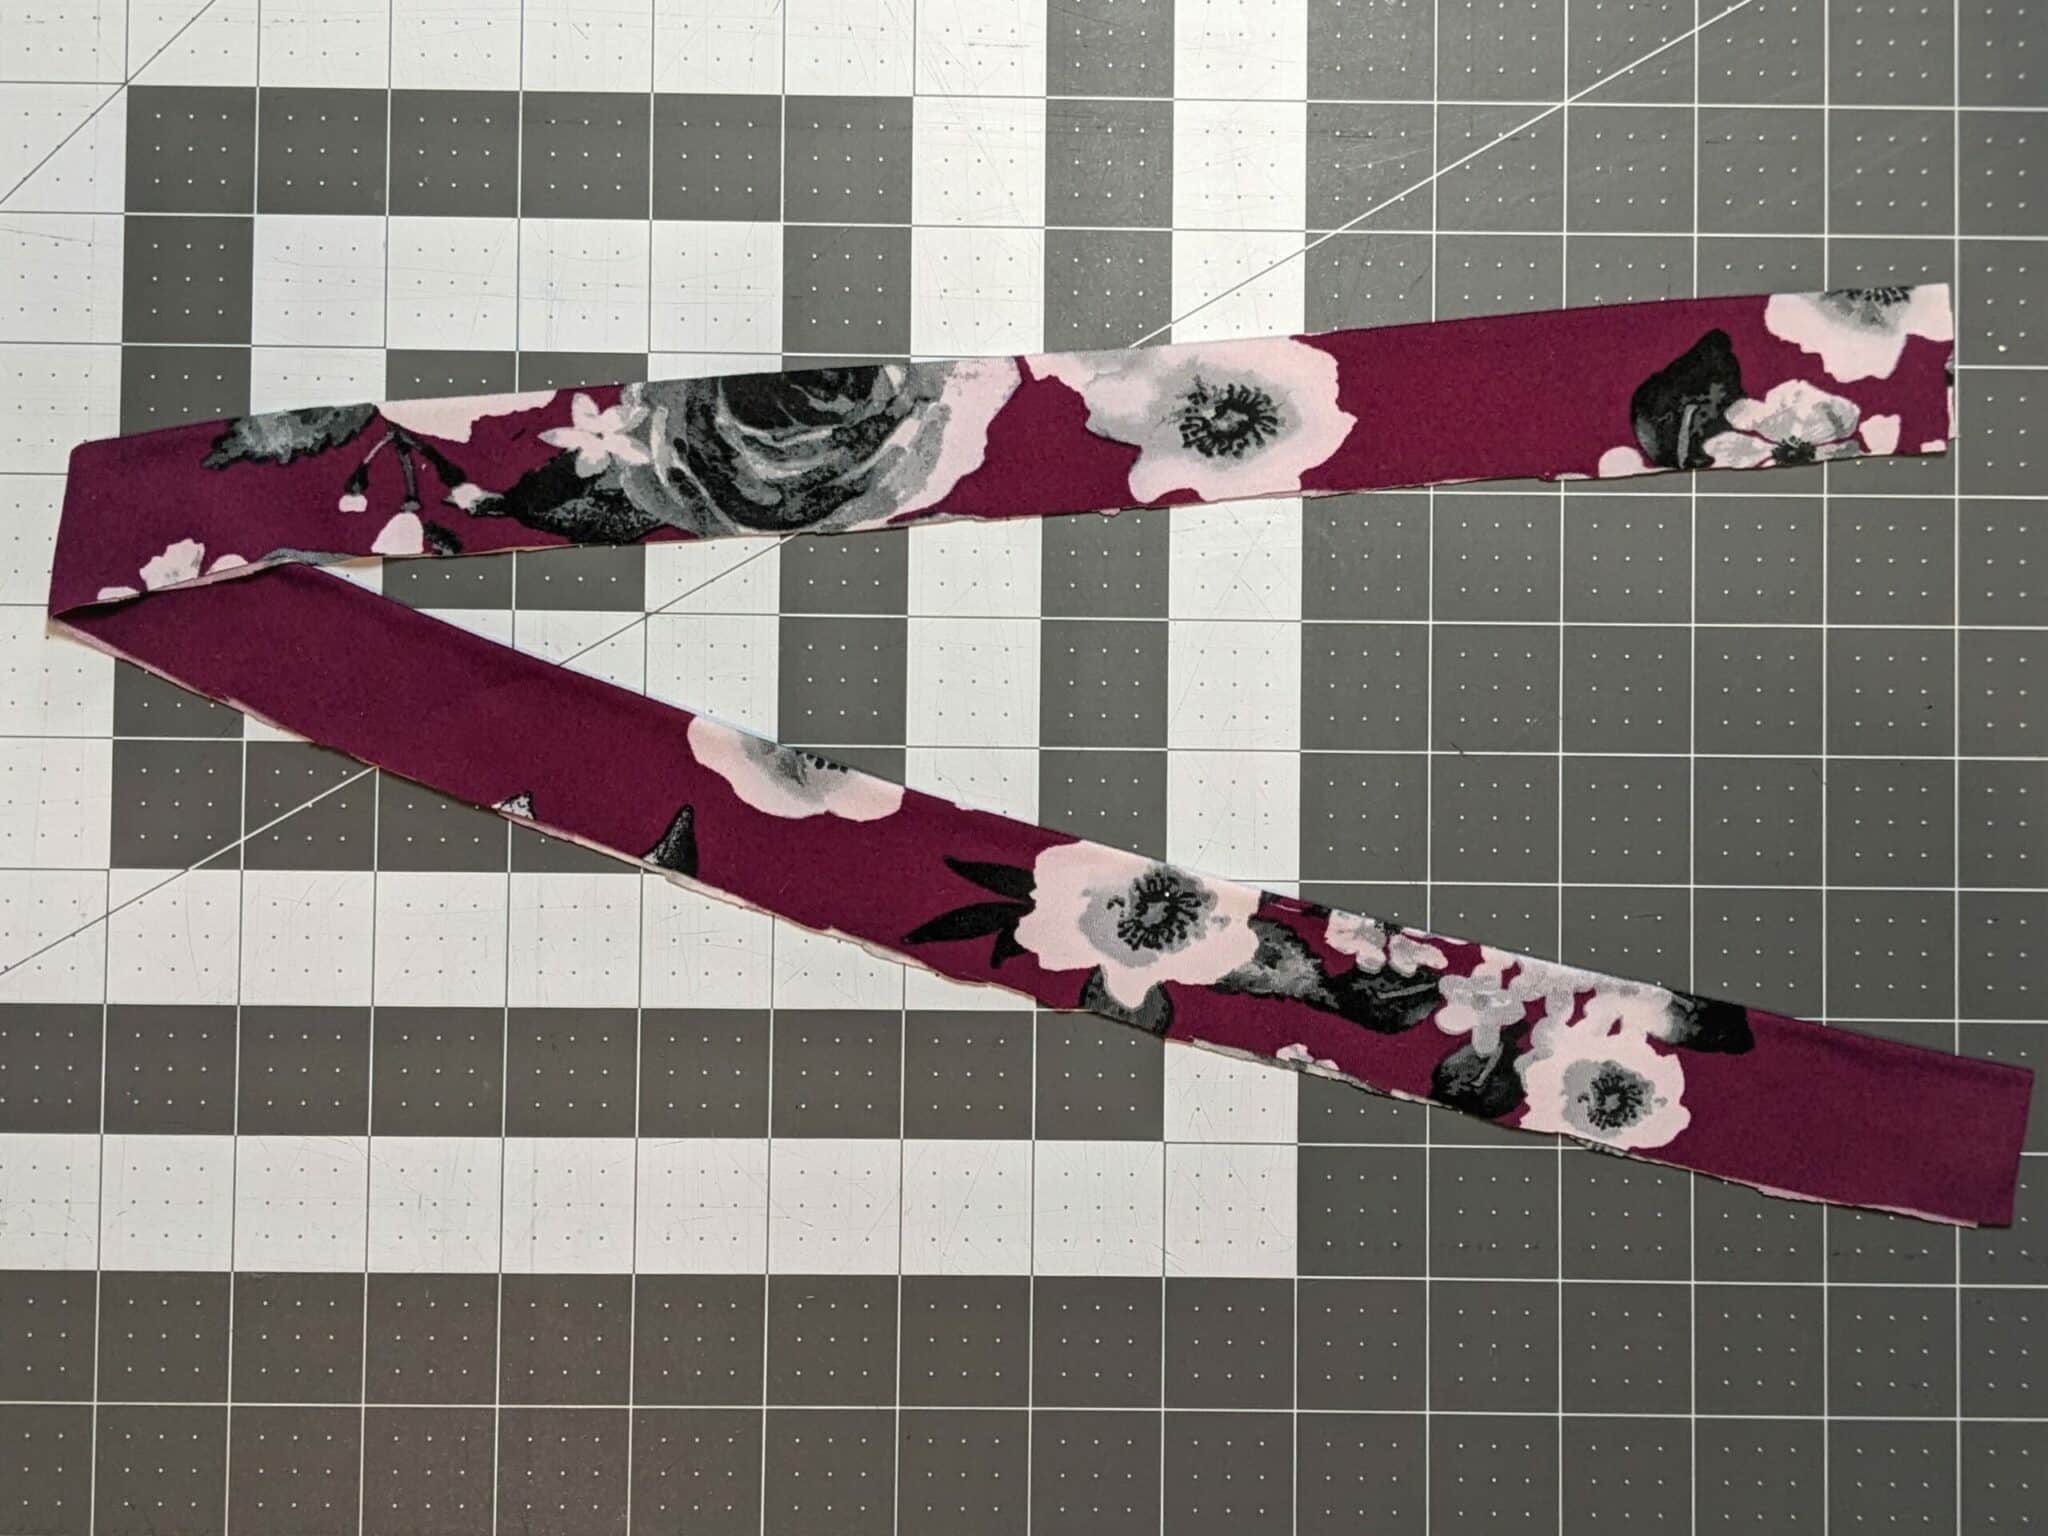
- Fold your neckband in half lengthwise and press it.
- Bring the two ends together so that they stack on top of one another with the raw edges to the outside and folded edges to the inside. Pin the two ends together.
- Sew a basting stitch around the pinned section to keep the band together while you attach it to the bodice.
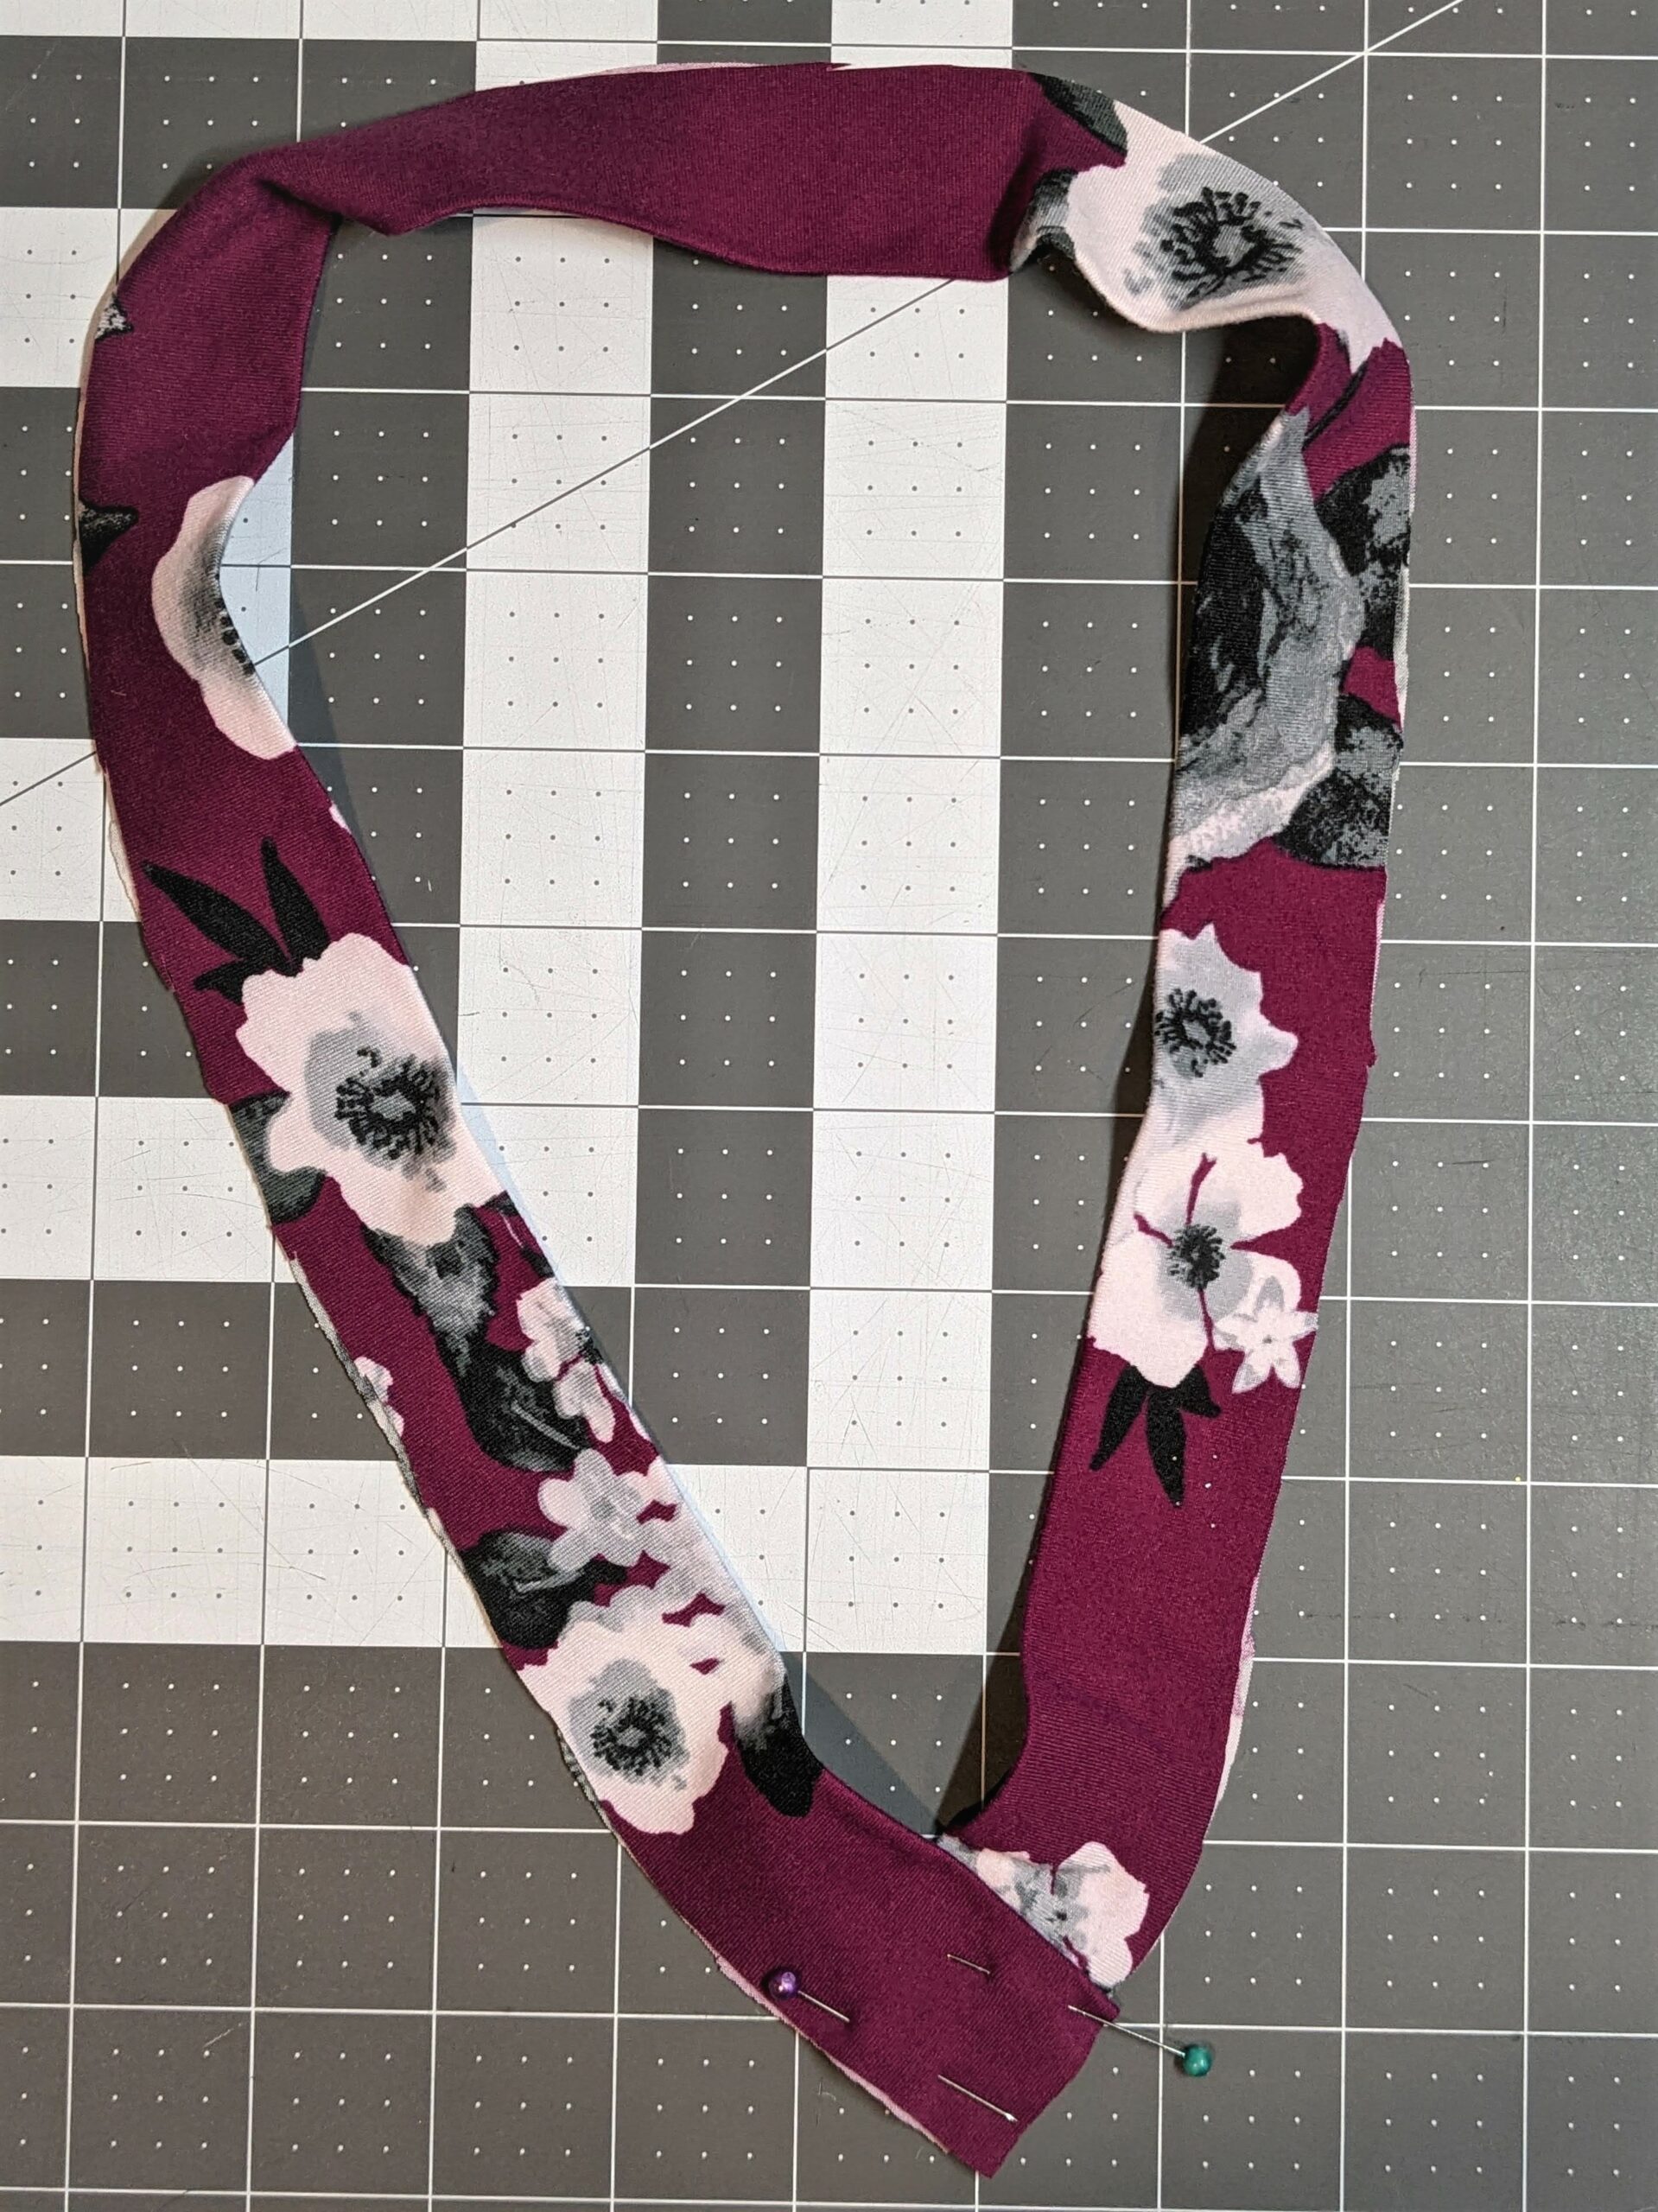
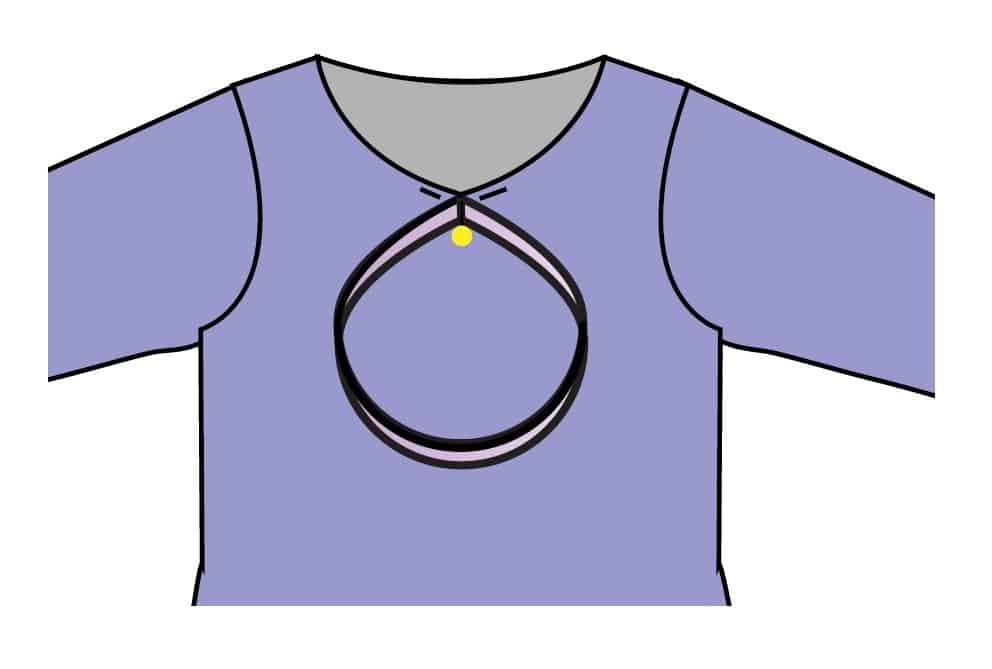
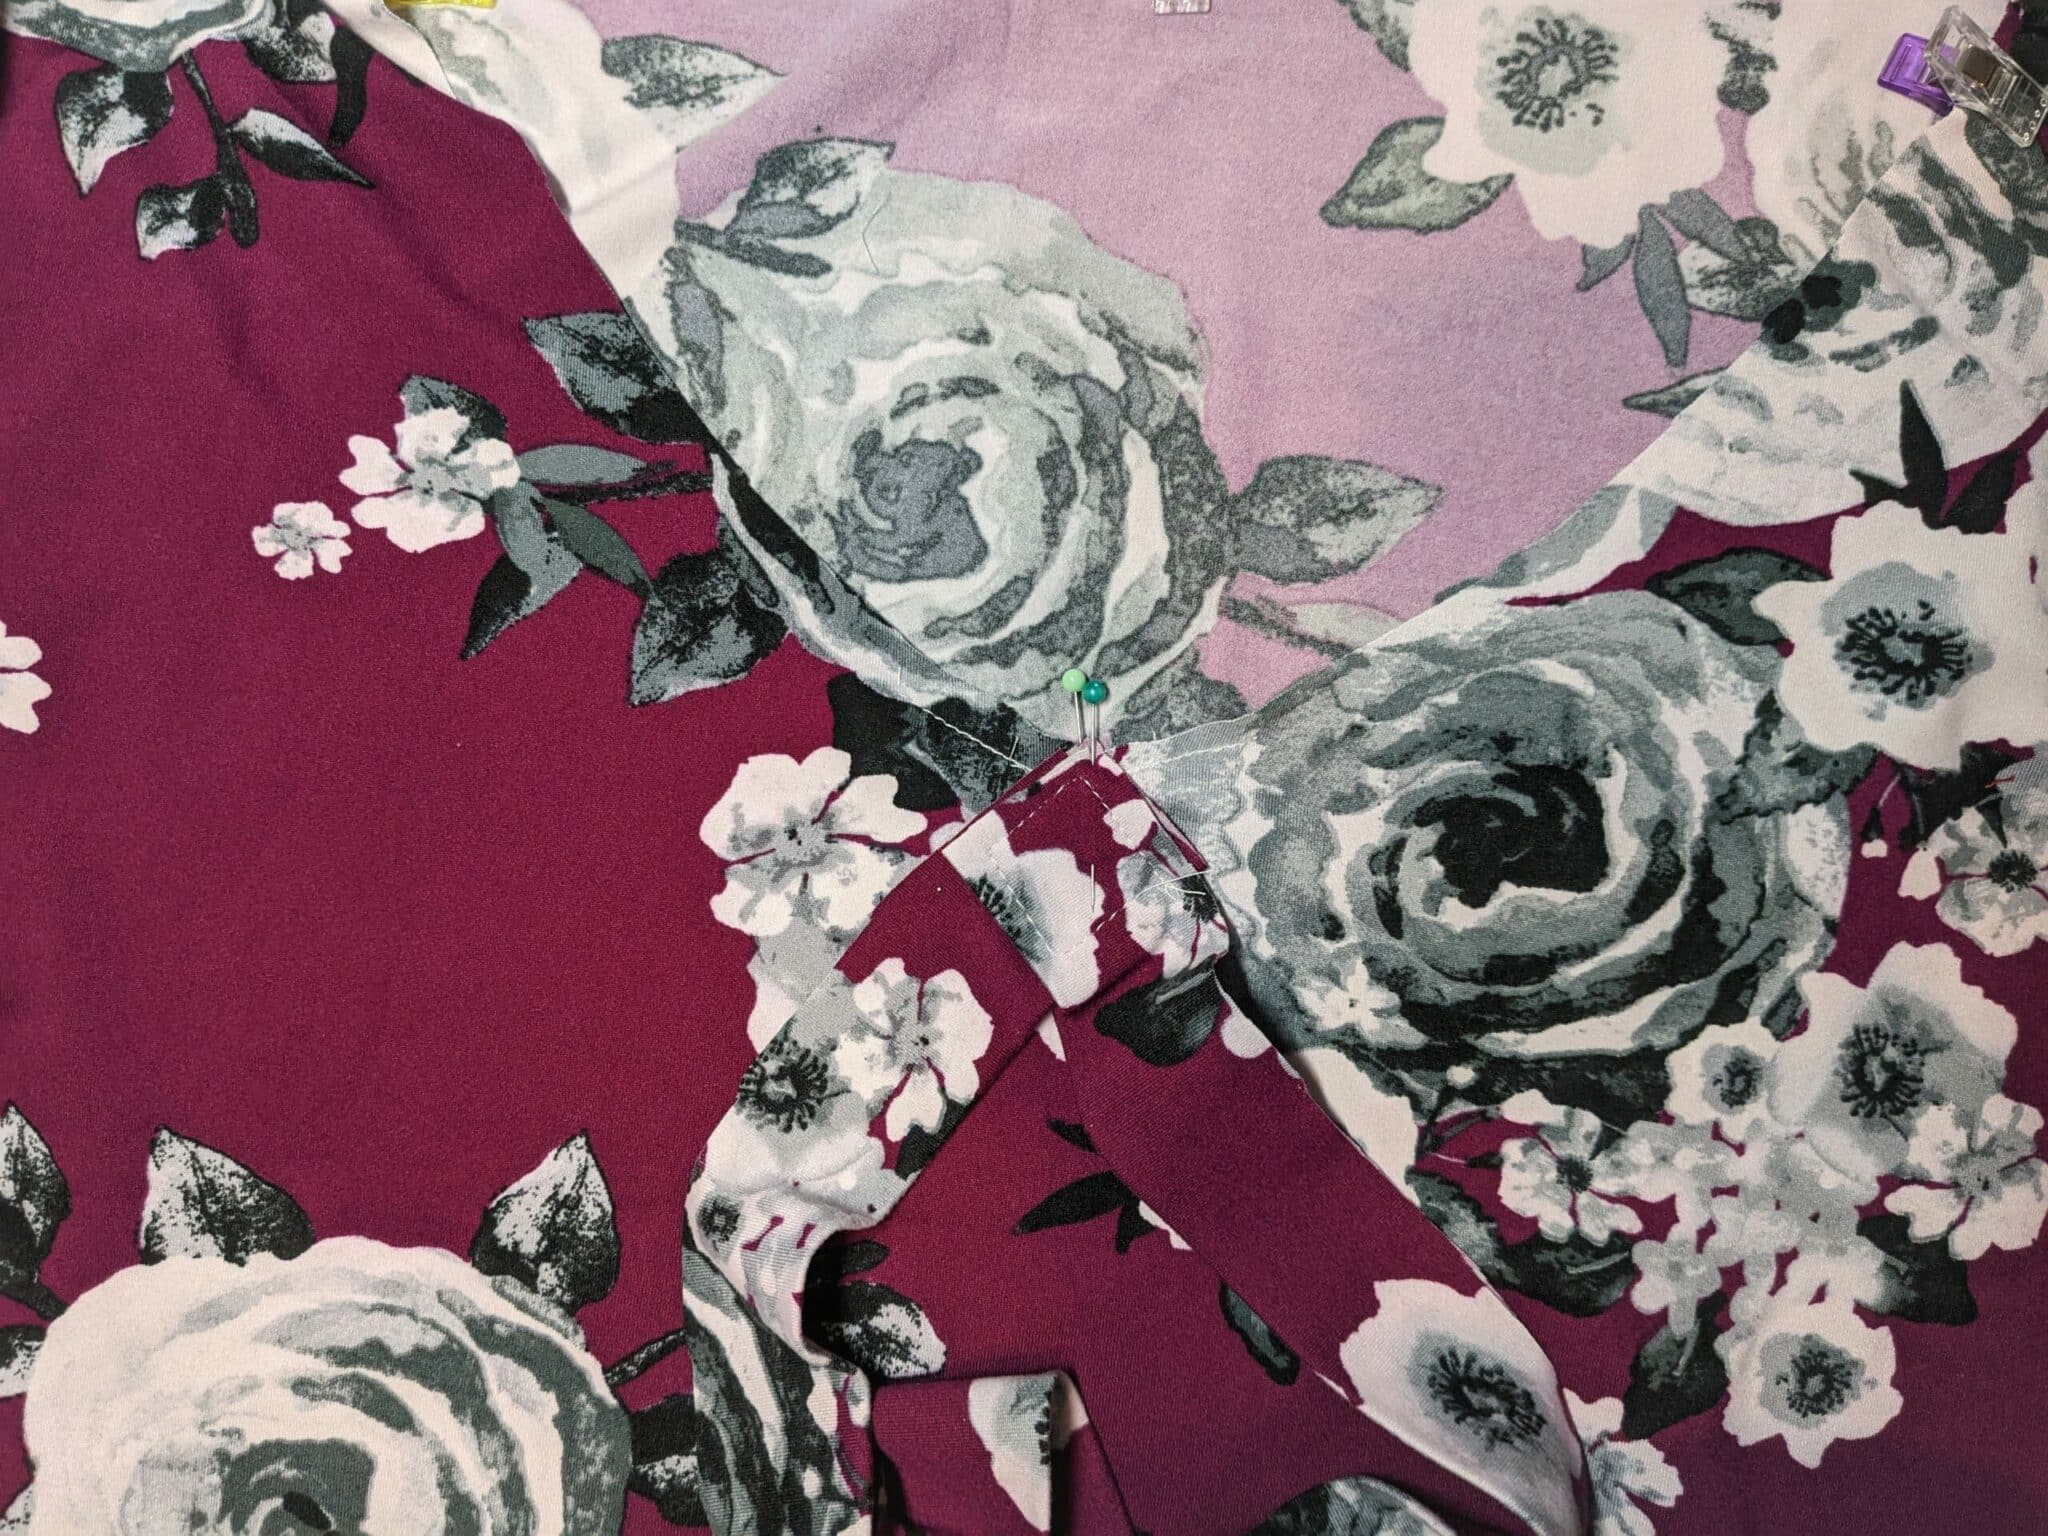
- Place a pin at the very point of the band where the two overlapped sides create a v.
- Sew the front and back bodices together at the shoulder seams. You can sew the sides as well or wait until you’ve attached the neckband.
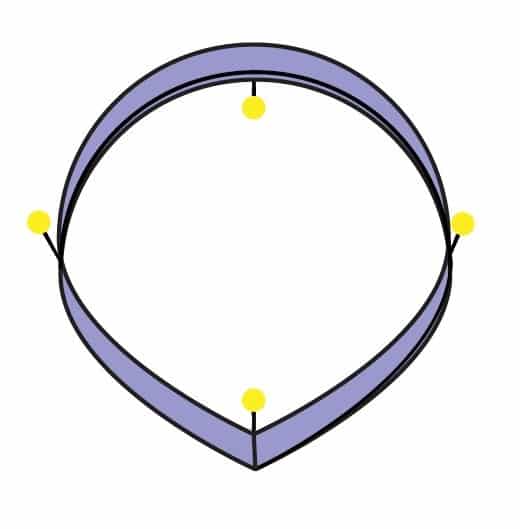
- Find the quarter points of the neckband and bodice and mark those points.
Attaching the Band
The process of attaching the overlapped v-neck is the same steps in the tutorial. I will show the basic steps here, but for further detail, refer to your tutorial.
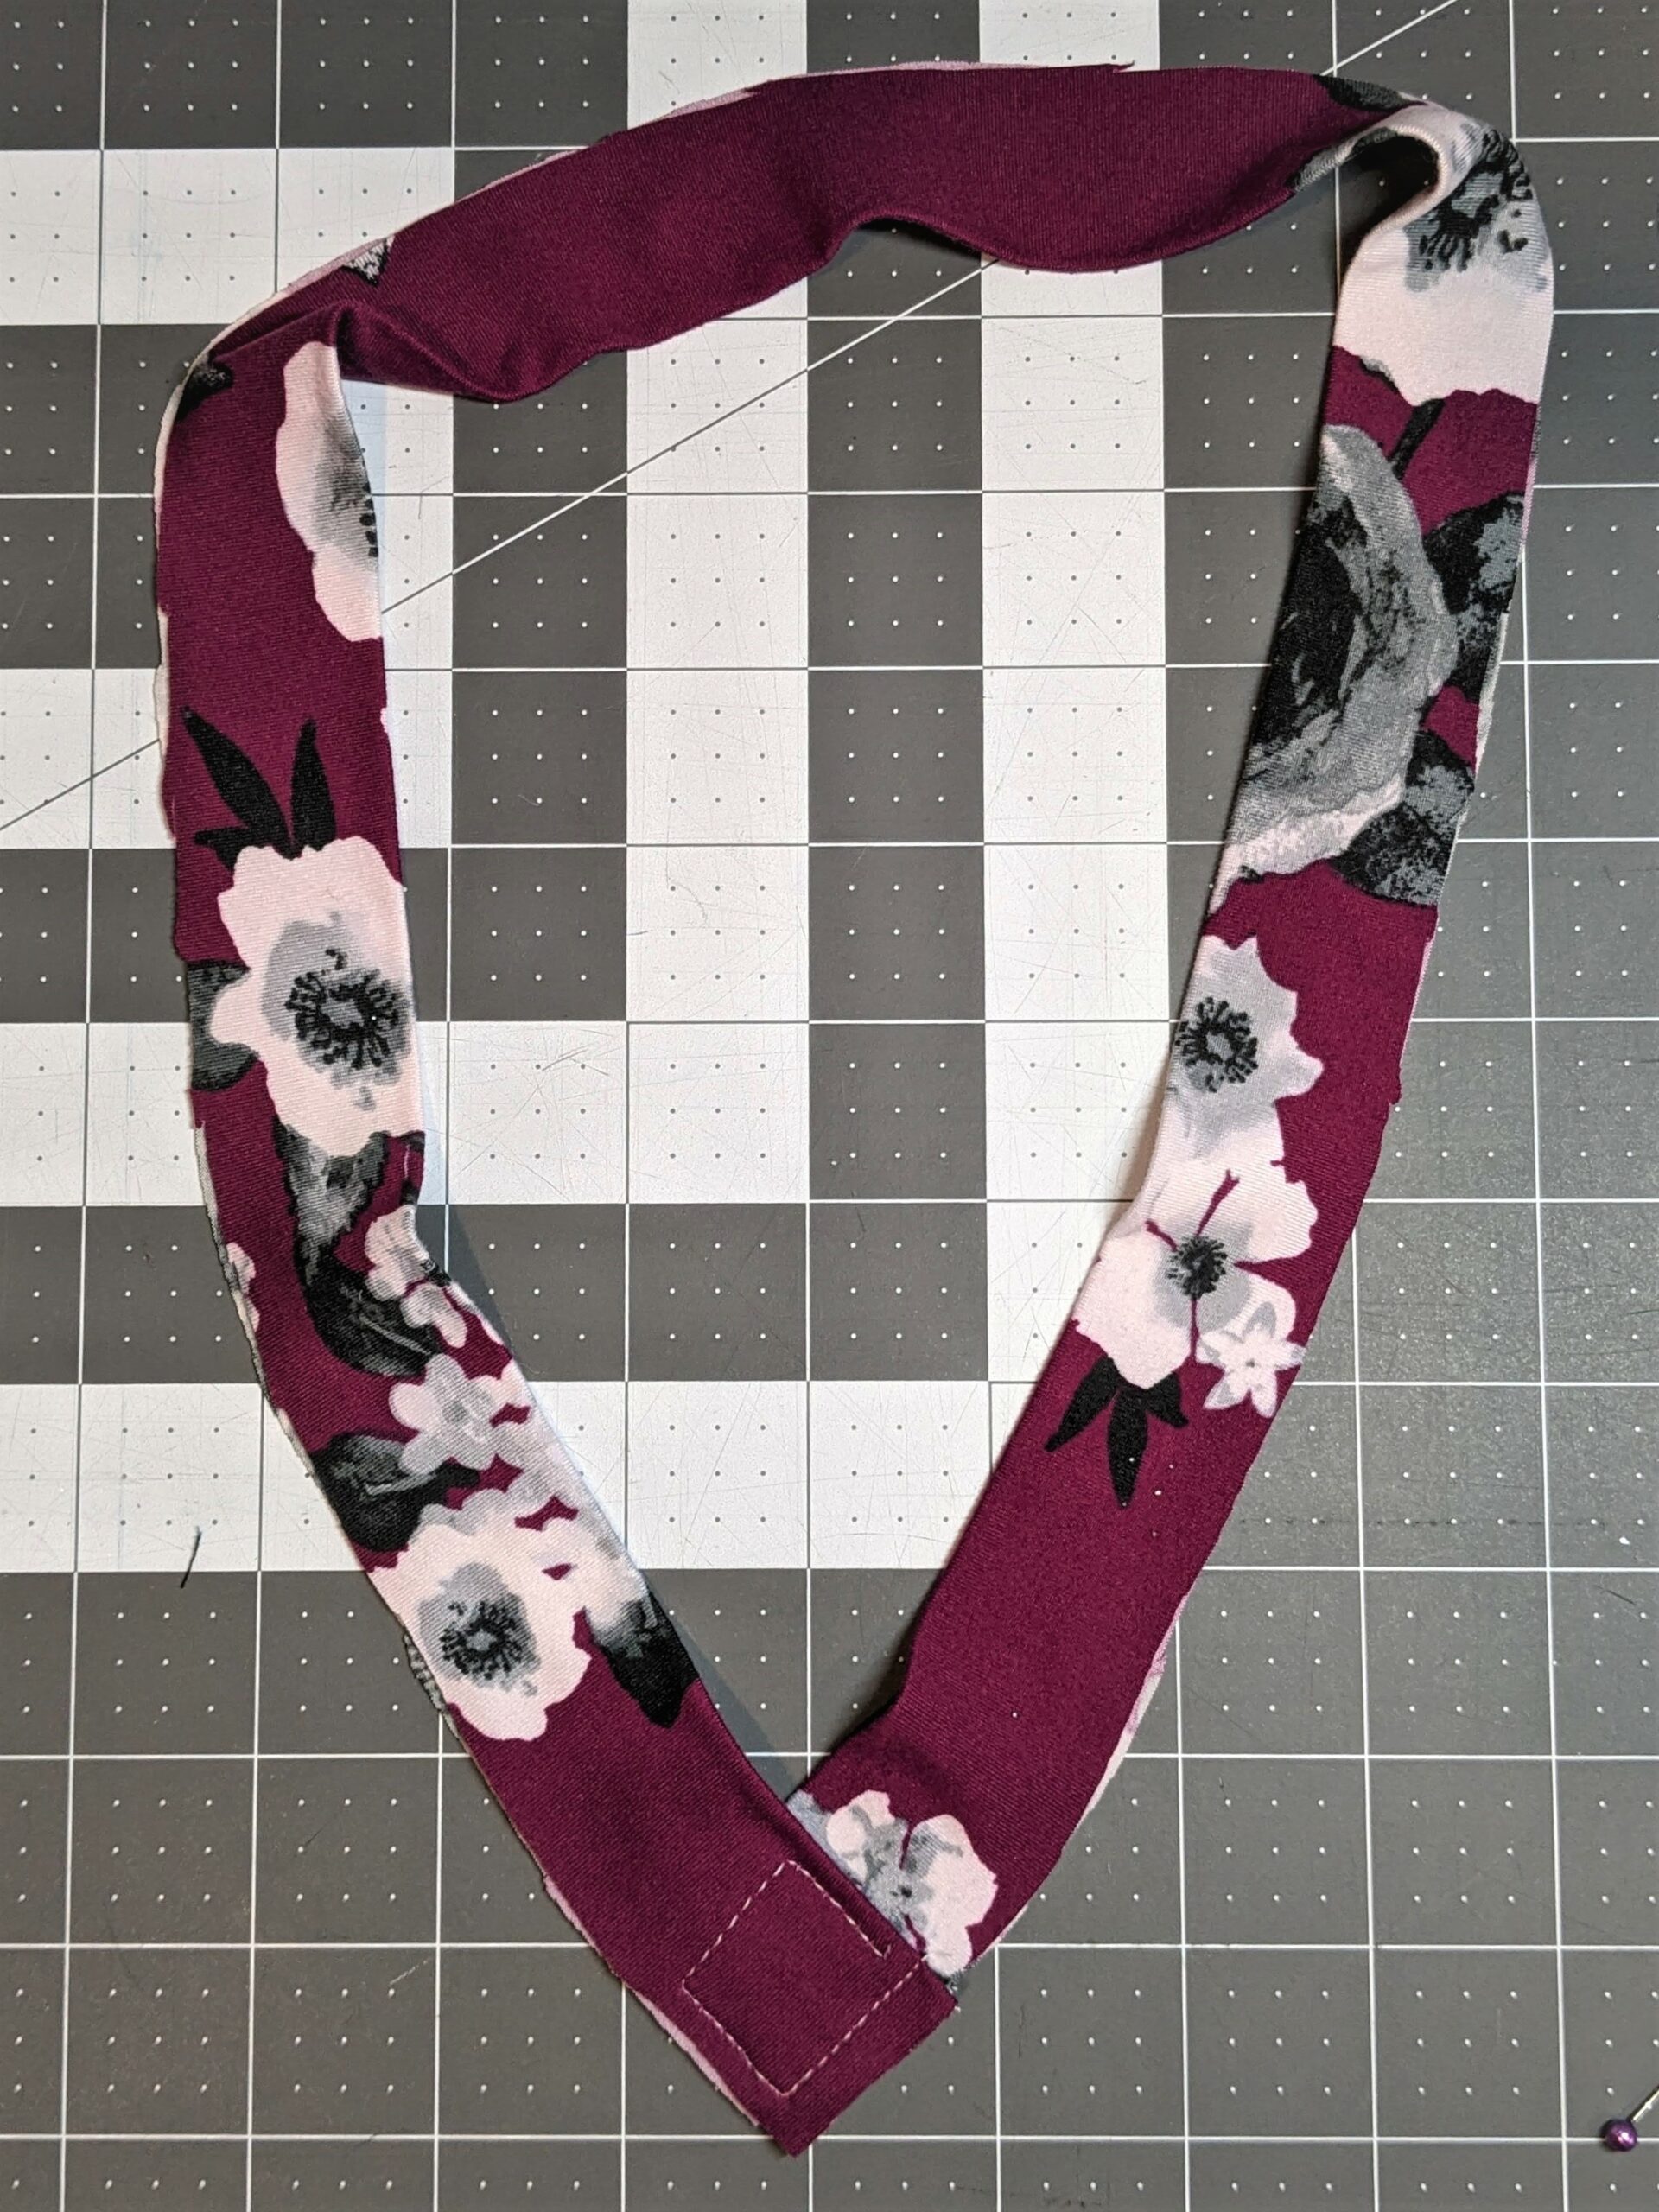
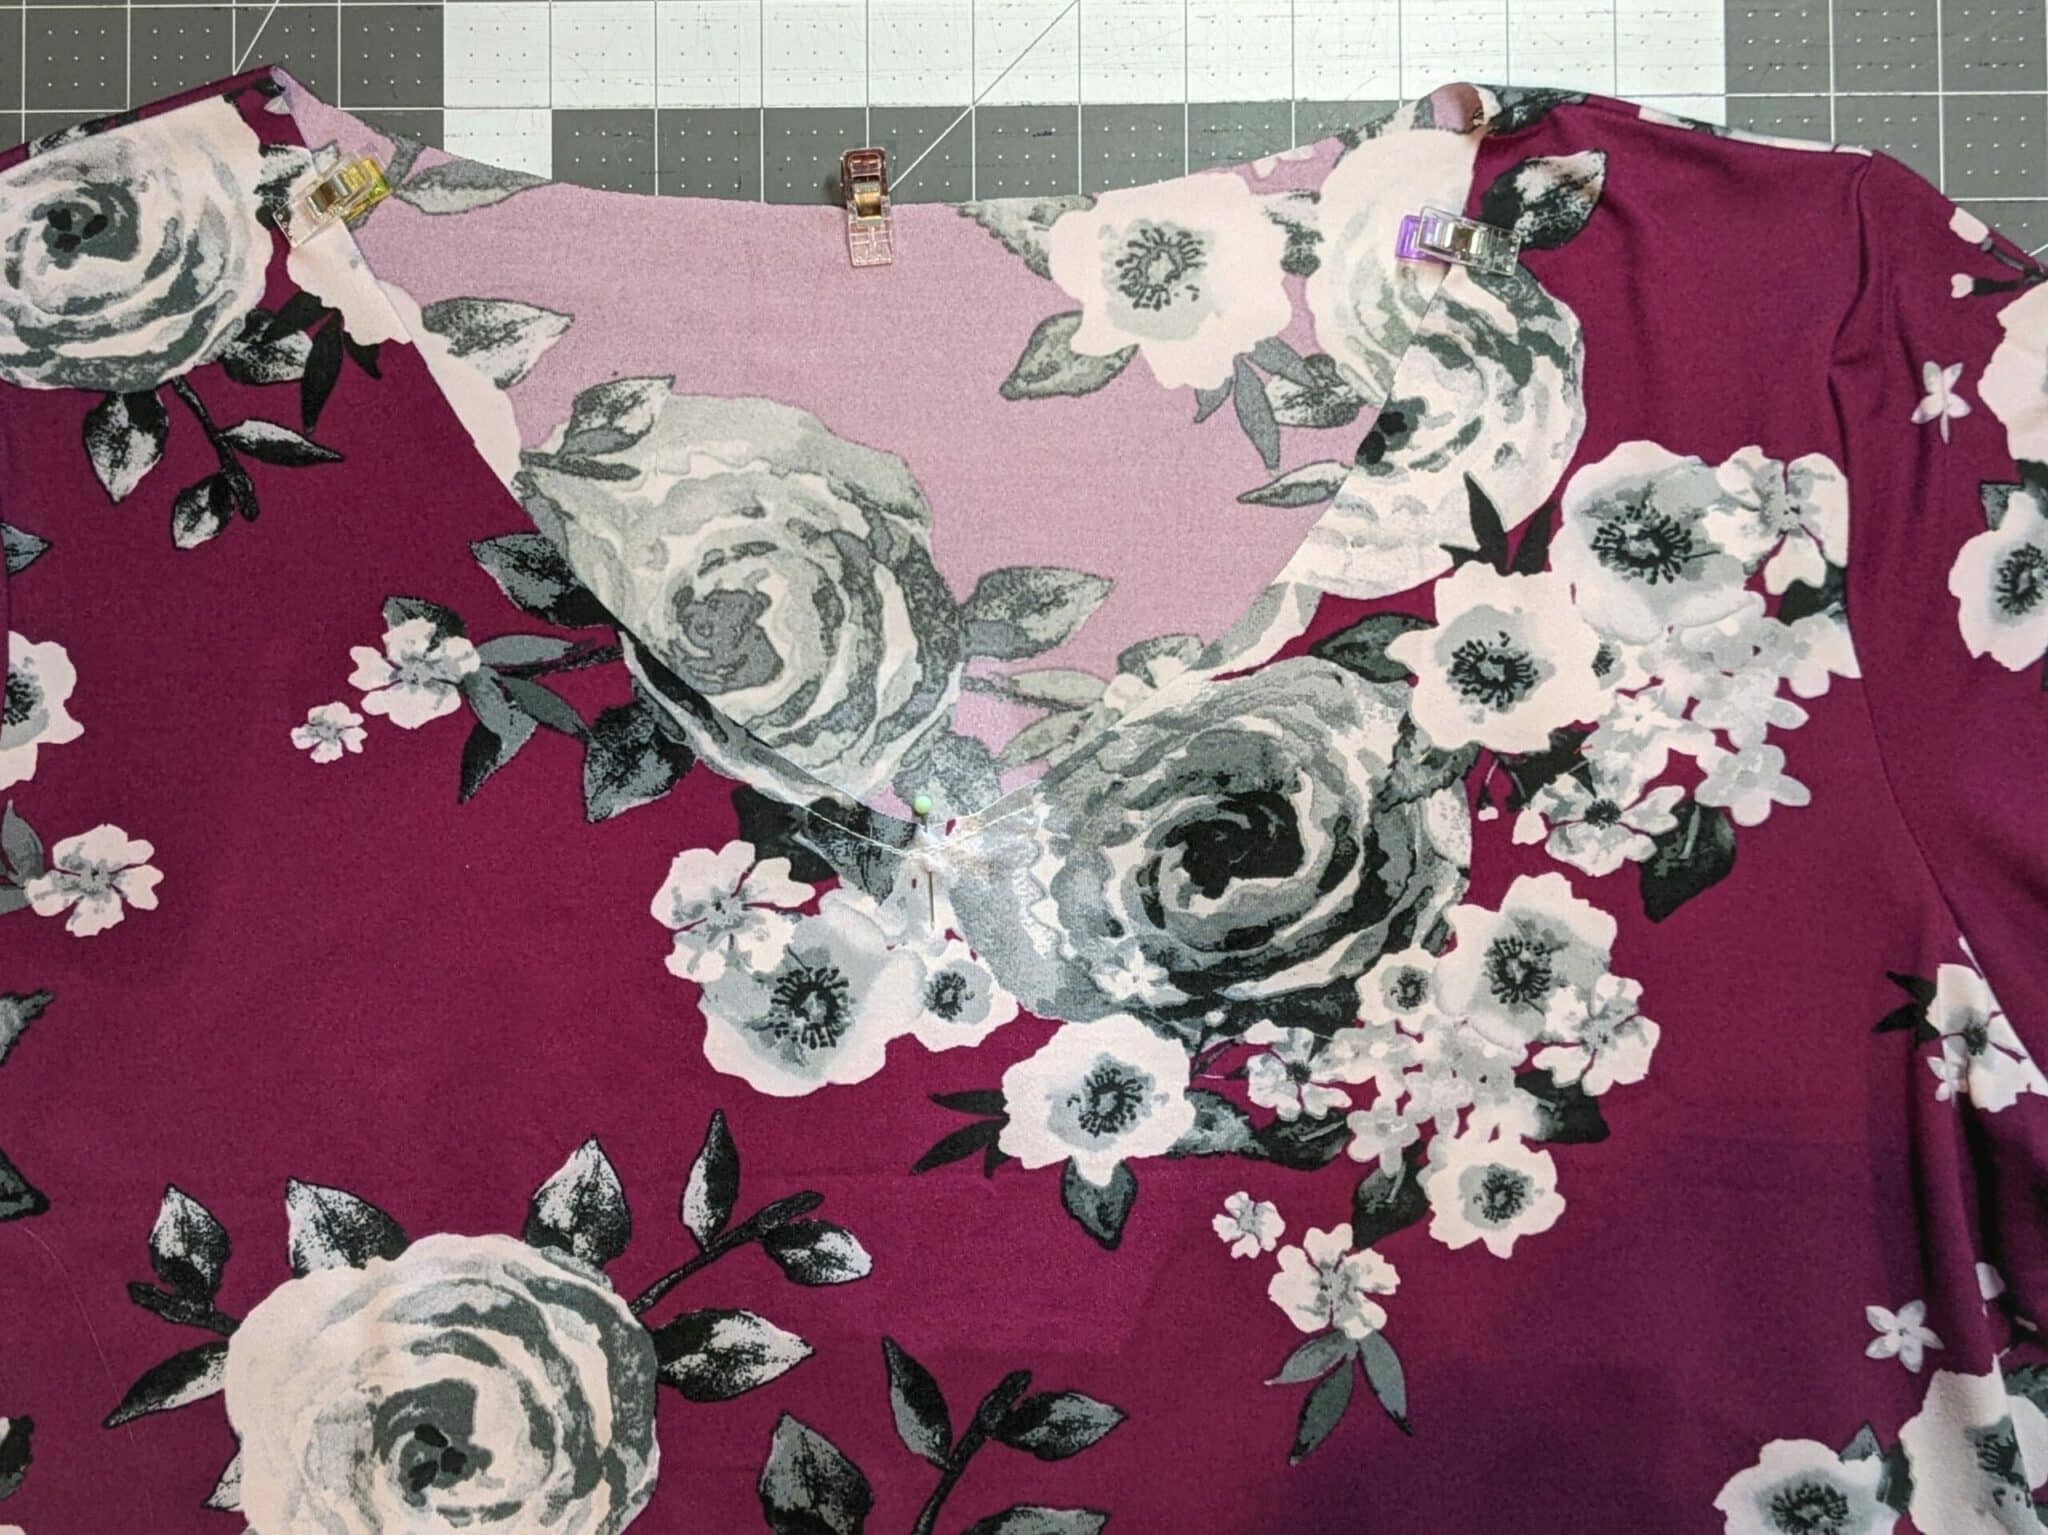
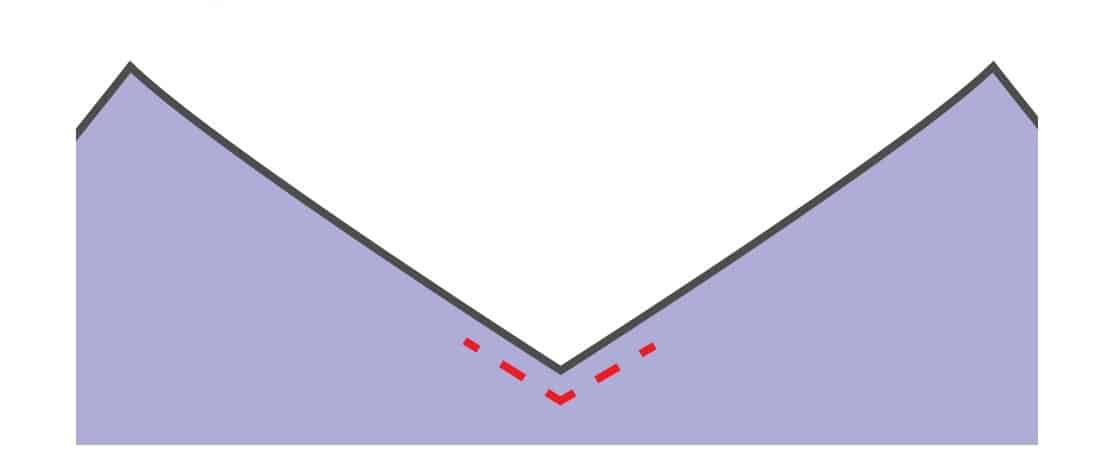
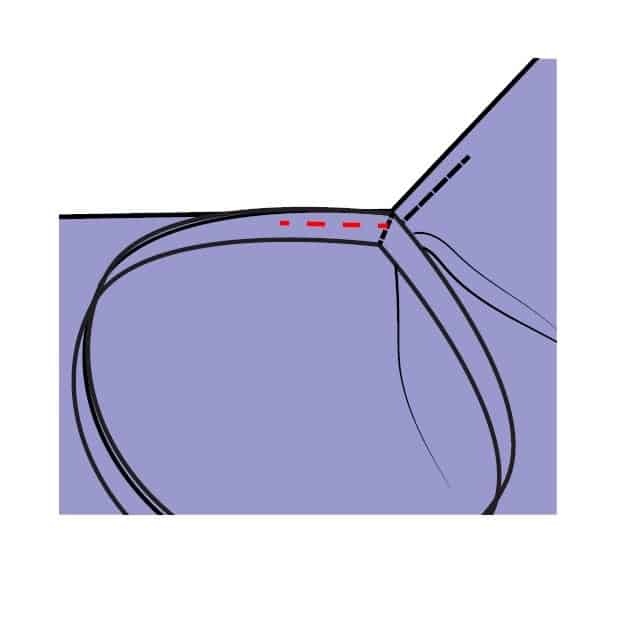
- Using a 1/4″ seam allowance sew up from the v 1″ on both sides.
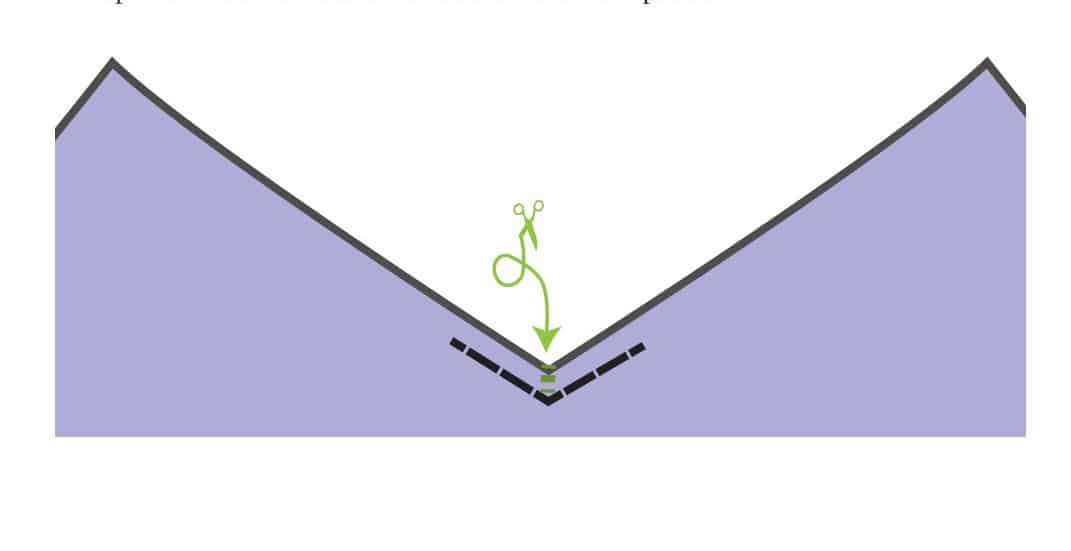
- Clip the seam allowance at the v.
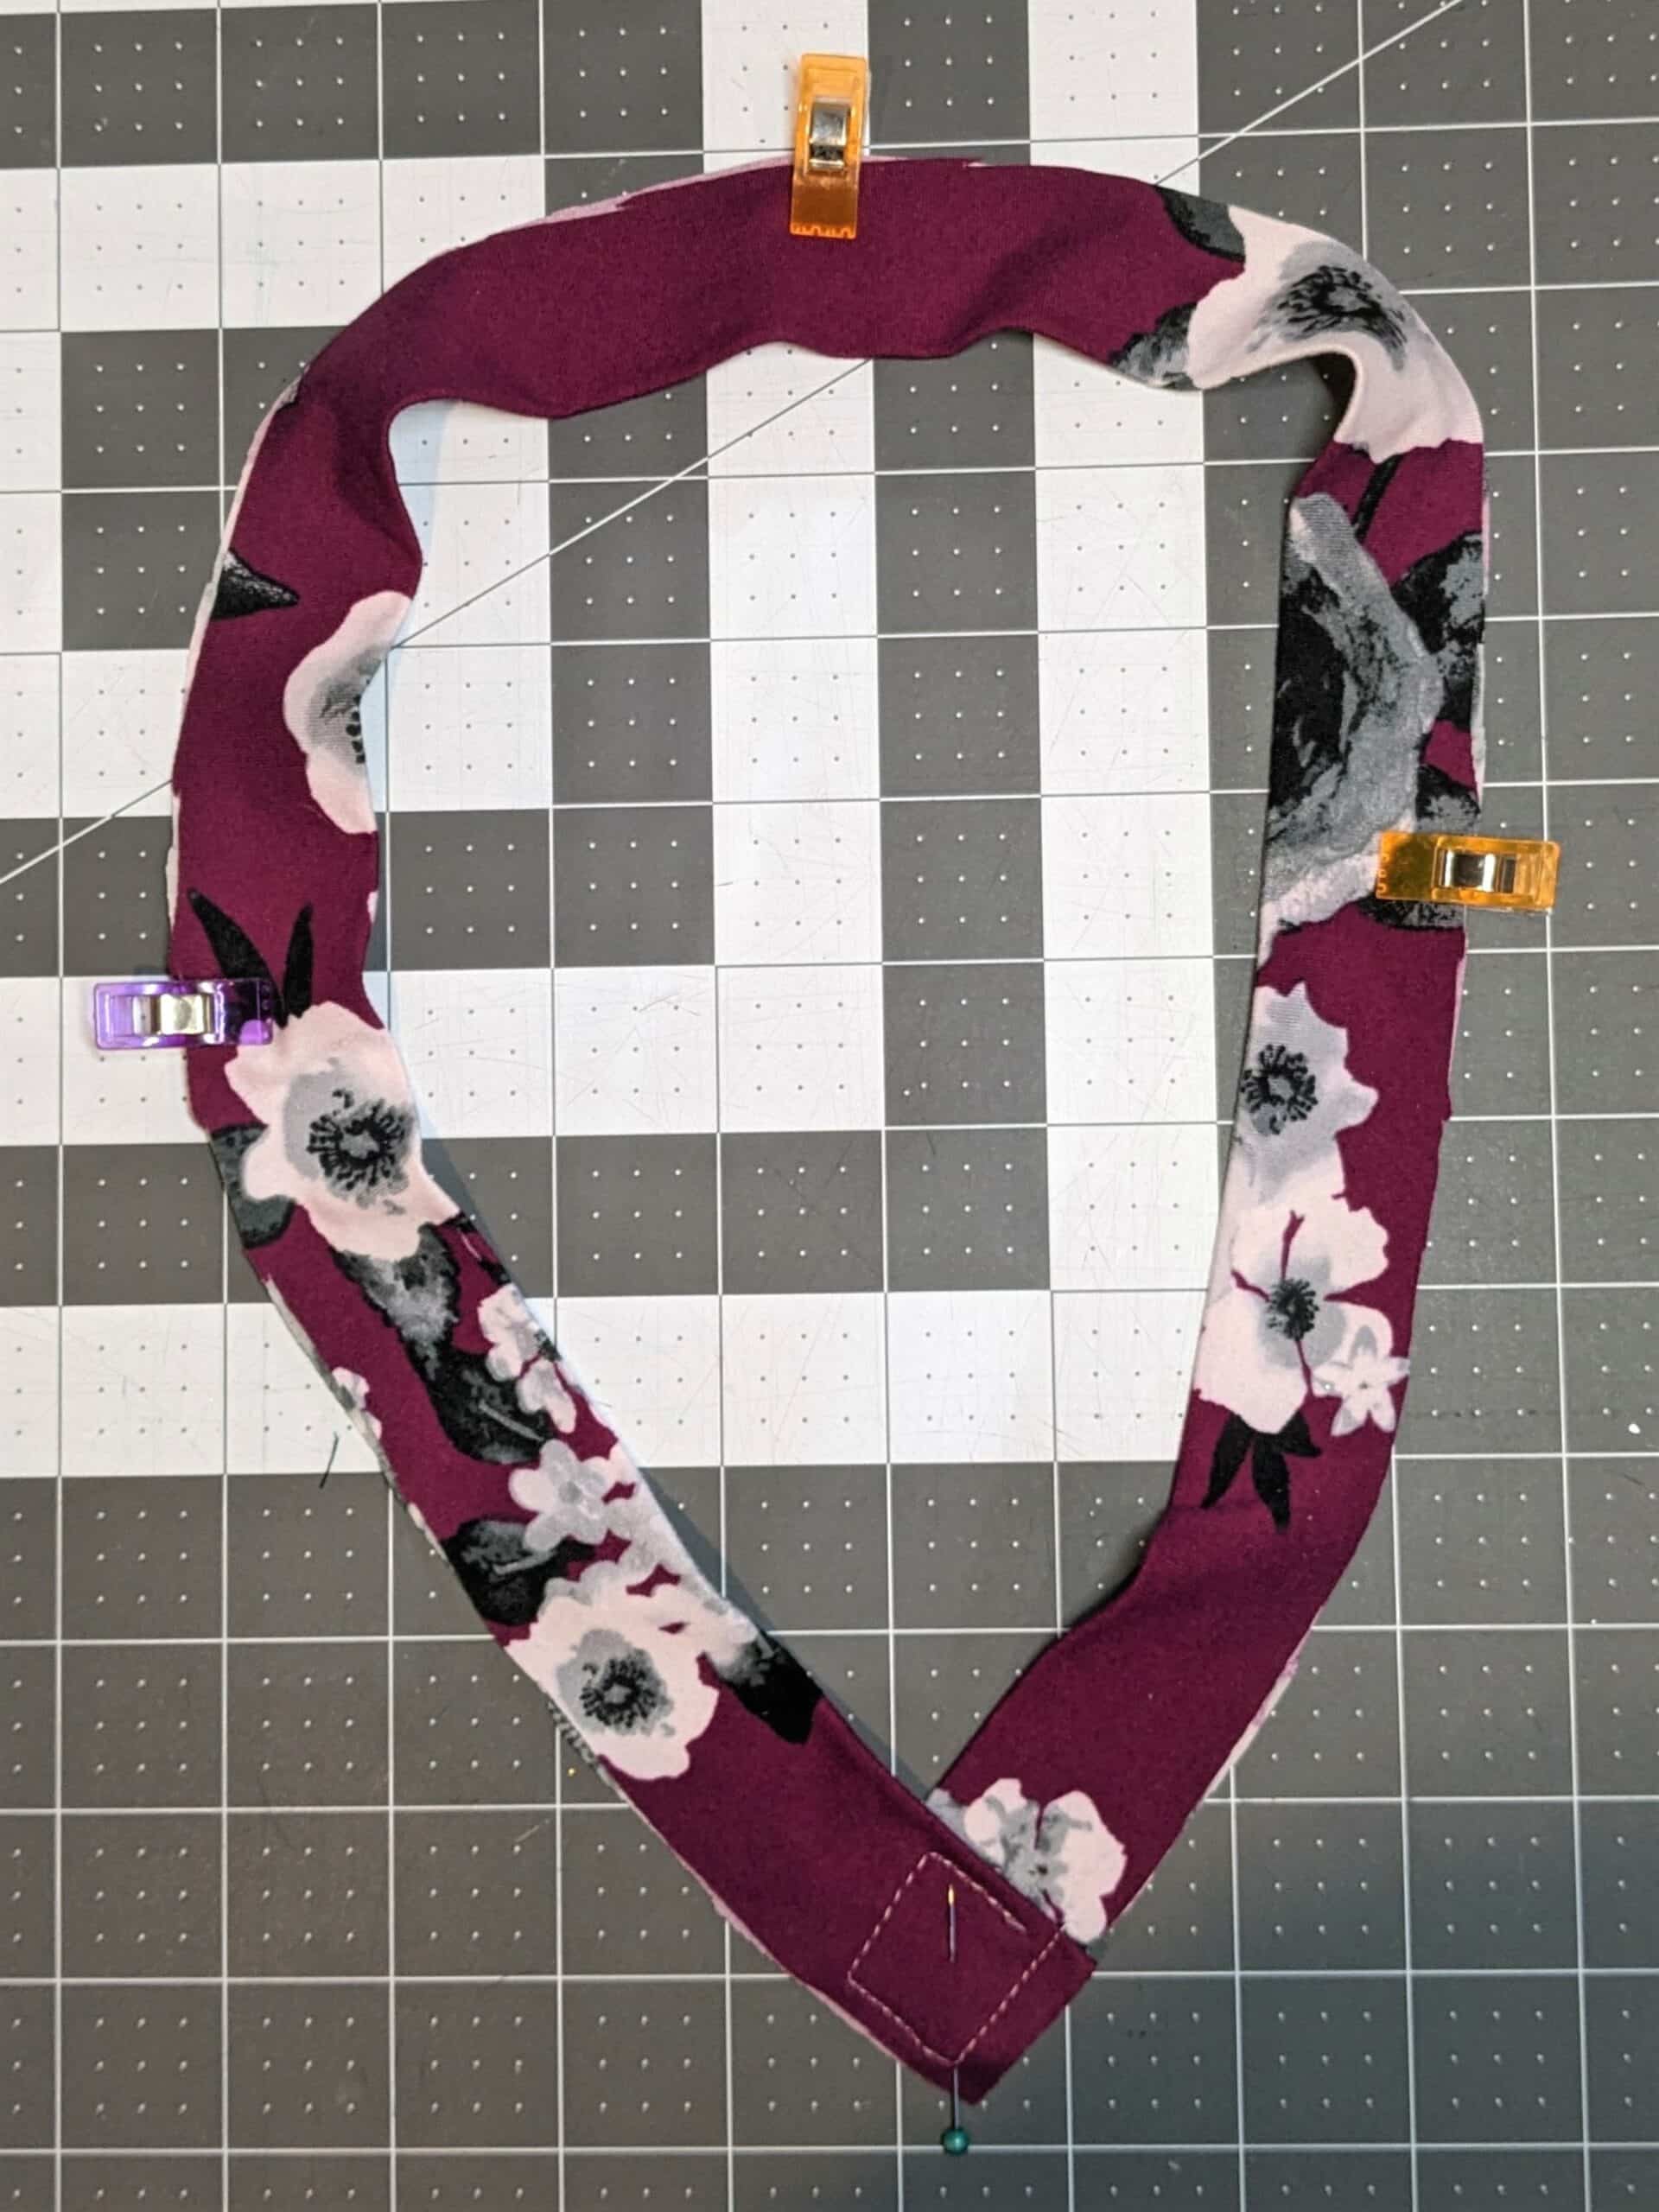
- Line up the point of the v on the neckband with the v on the bodice and pin them right sides together.
- Baste the neckband to the bodice along the staystitching on the shirt following the instructions in the tutorial.
- Flip the band over to see how it looks. If you’re happy with it, continue on. If not, take out those basting stitches and try again.
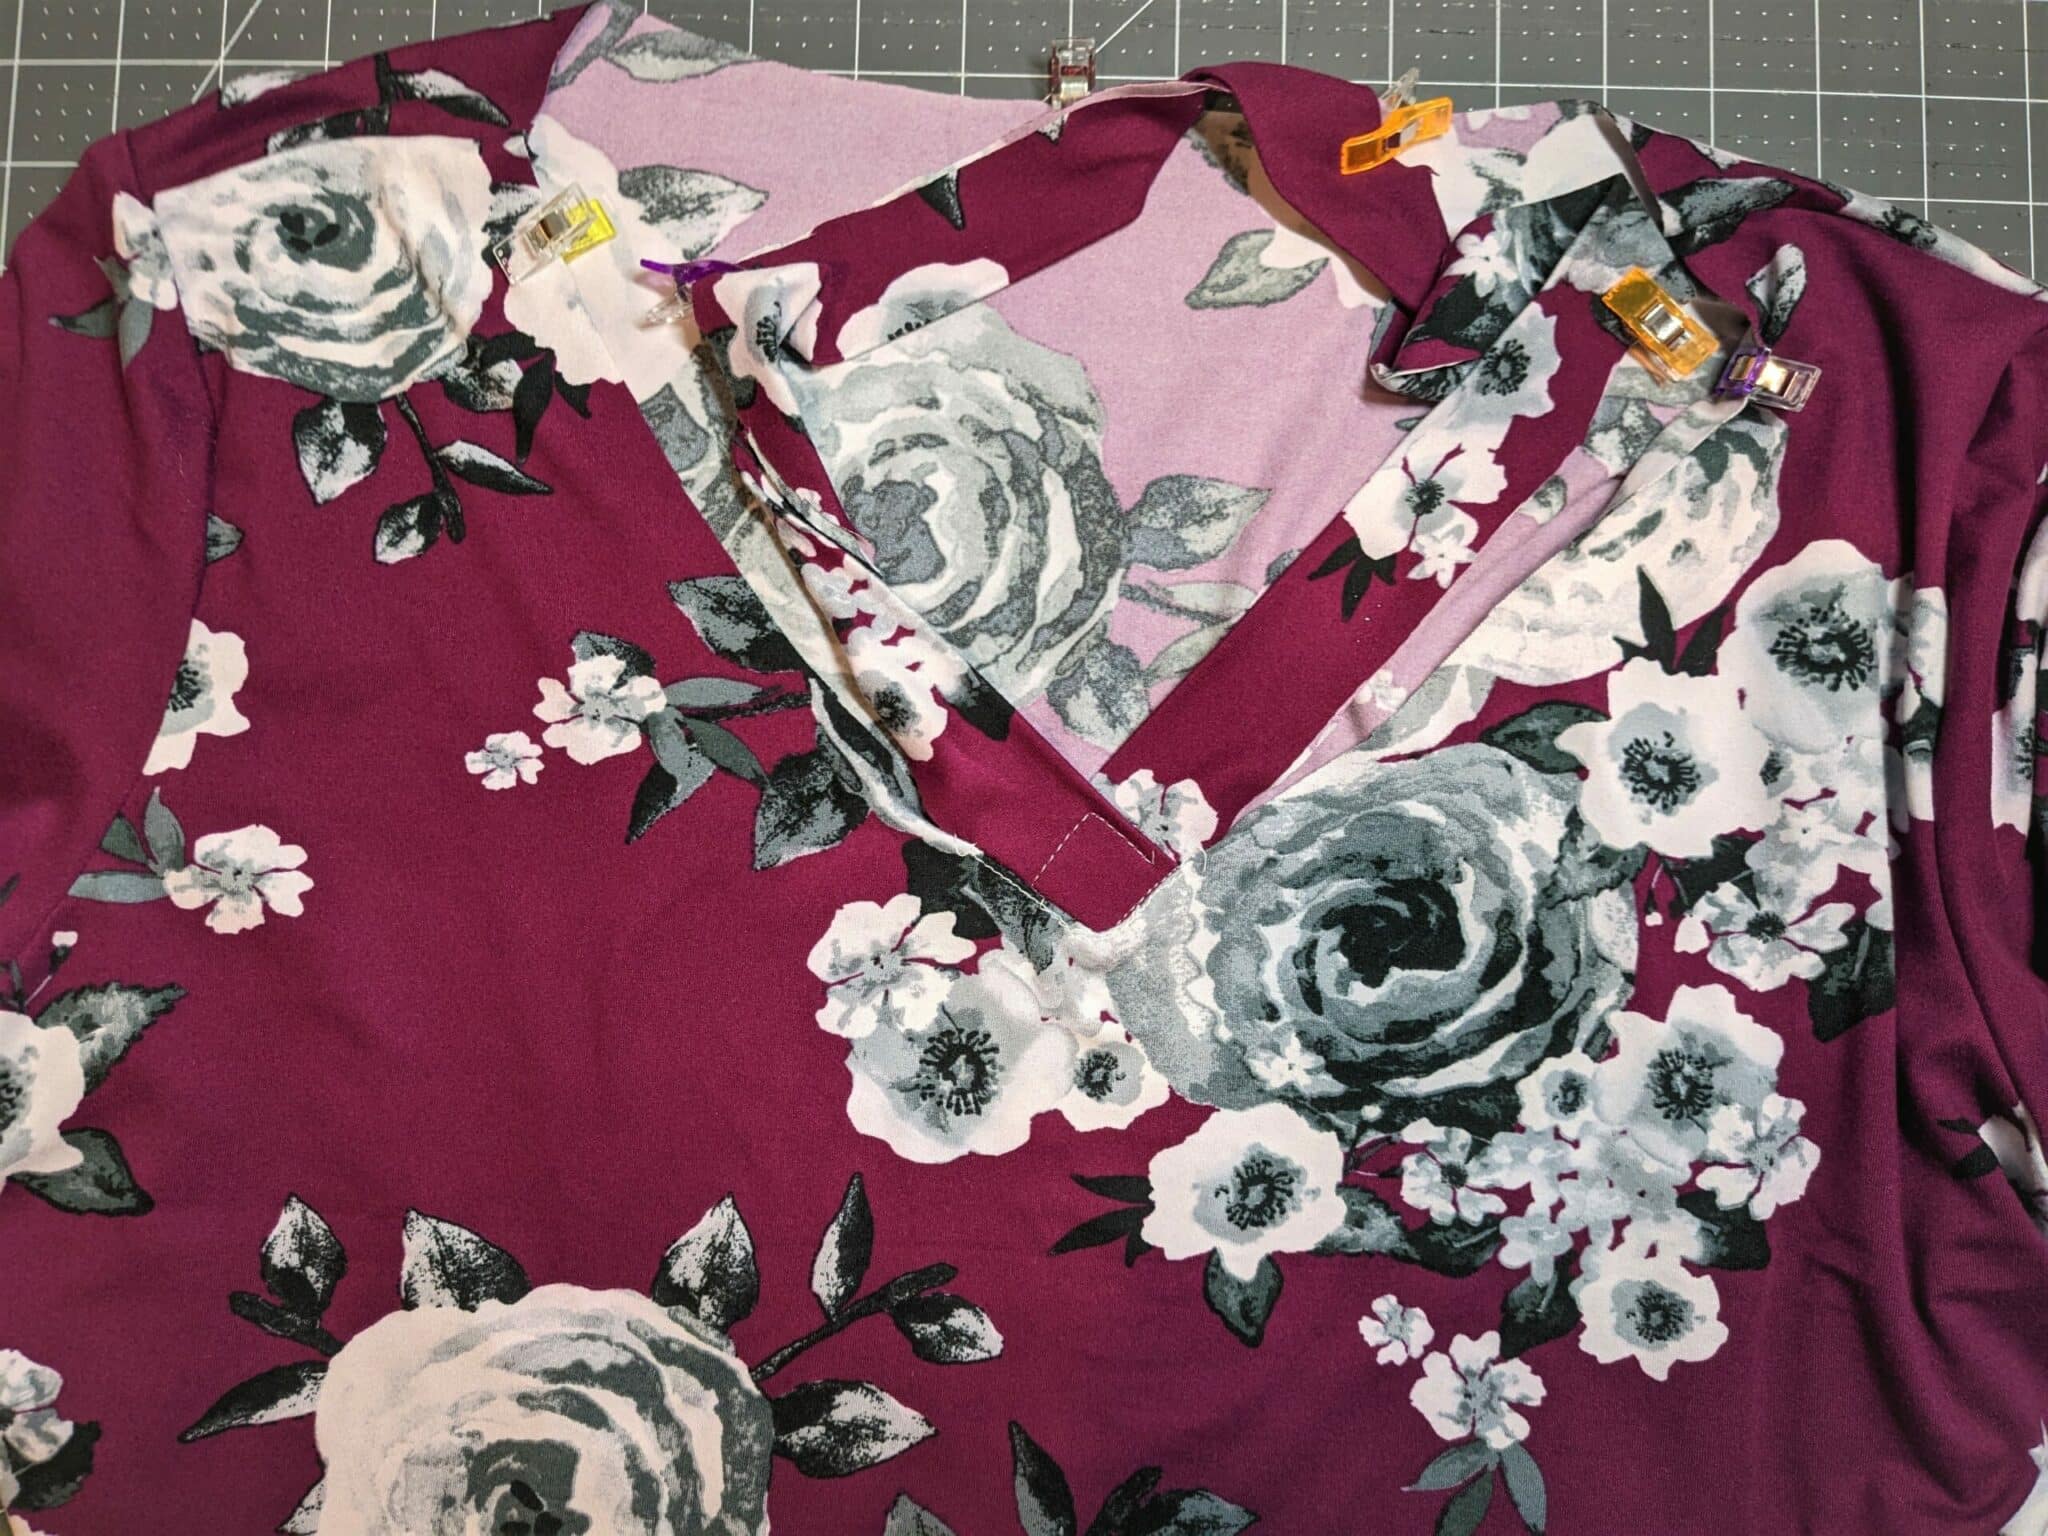
- Once the v-neck is looking lovely, match up the other quarter points of the neckband and bodice and continue to attach the neckband.
- Topstitch the neckband if desired.
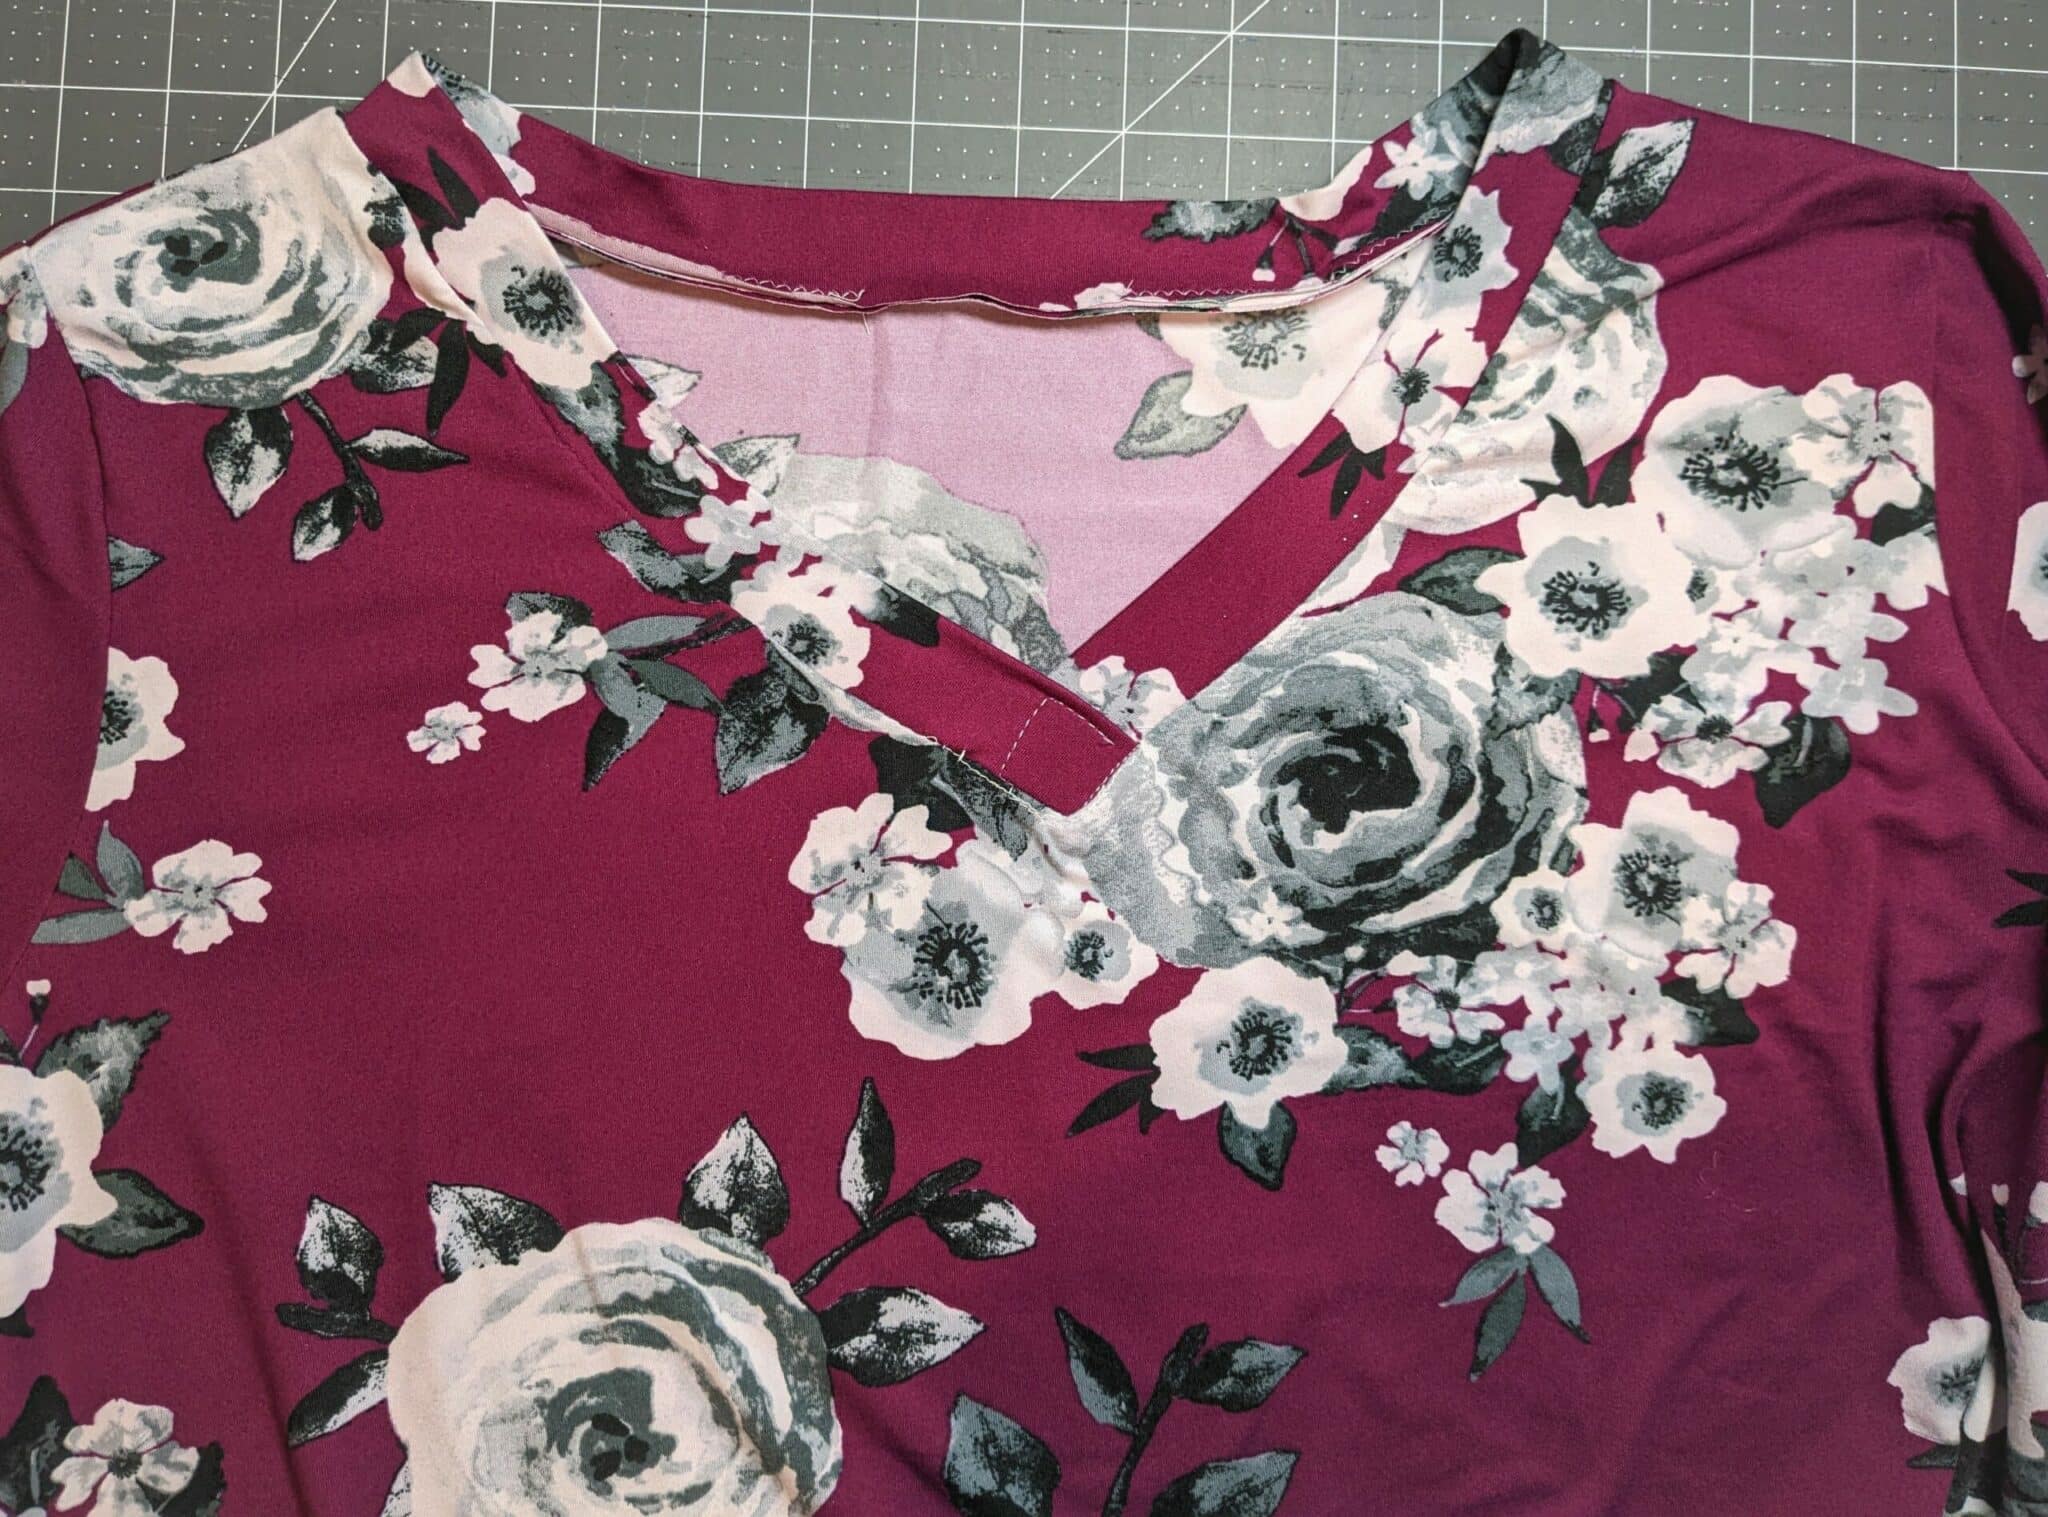
That’s all there is to it!


Want more FUN DIY Freebies? Check out the FREEBIE TUTORIALS and the FREEBIE PATTERNS!
As always, we’re here to help if you need it! Join us HERE and on Facebook, Instagram, Twitter, Youtube, and Pinterest. We’re everywhere you are.
Leave a Reply