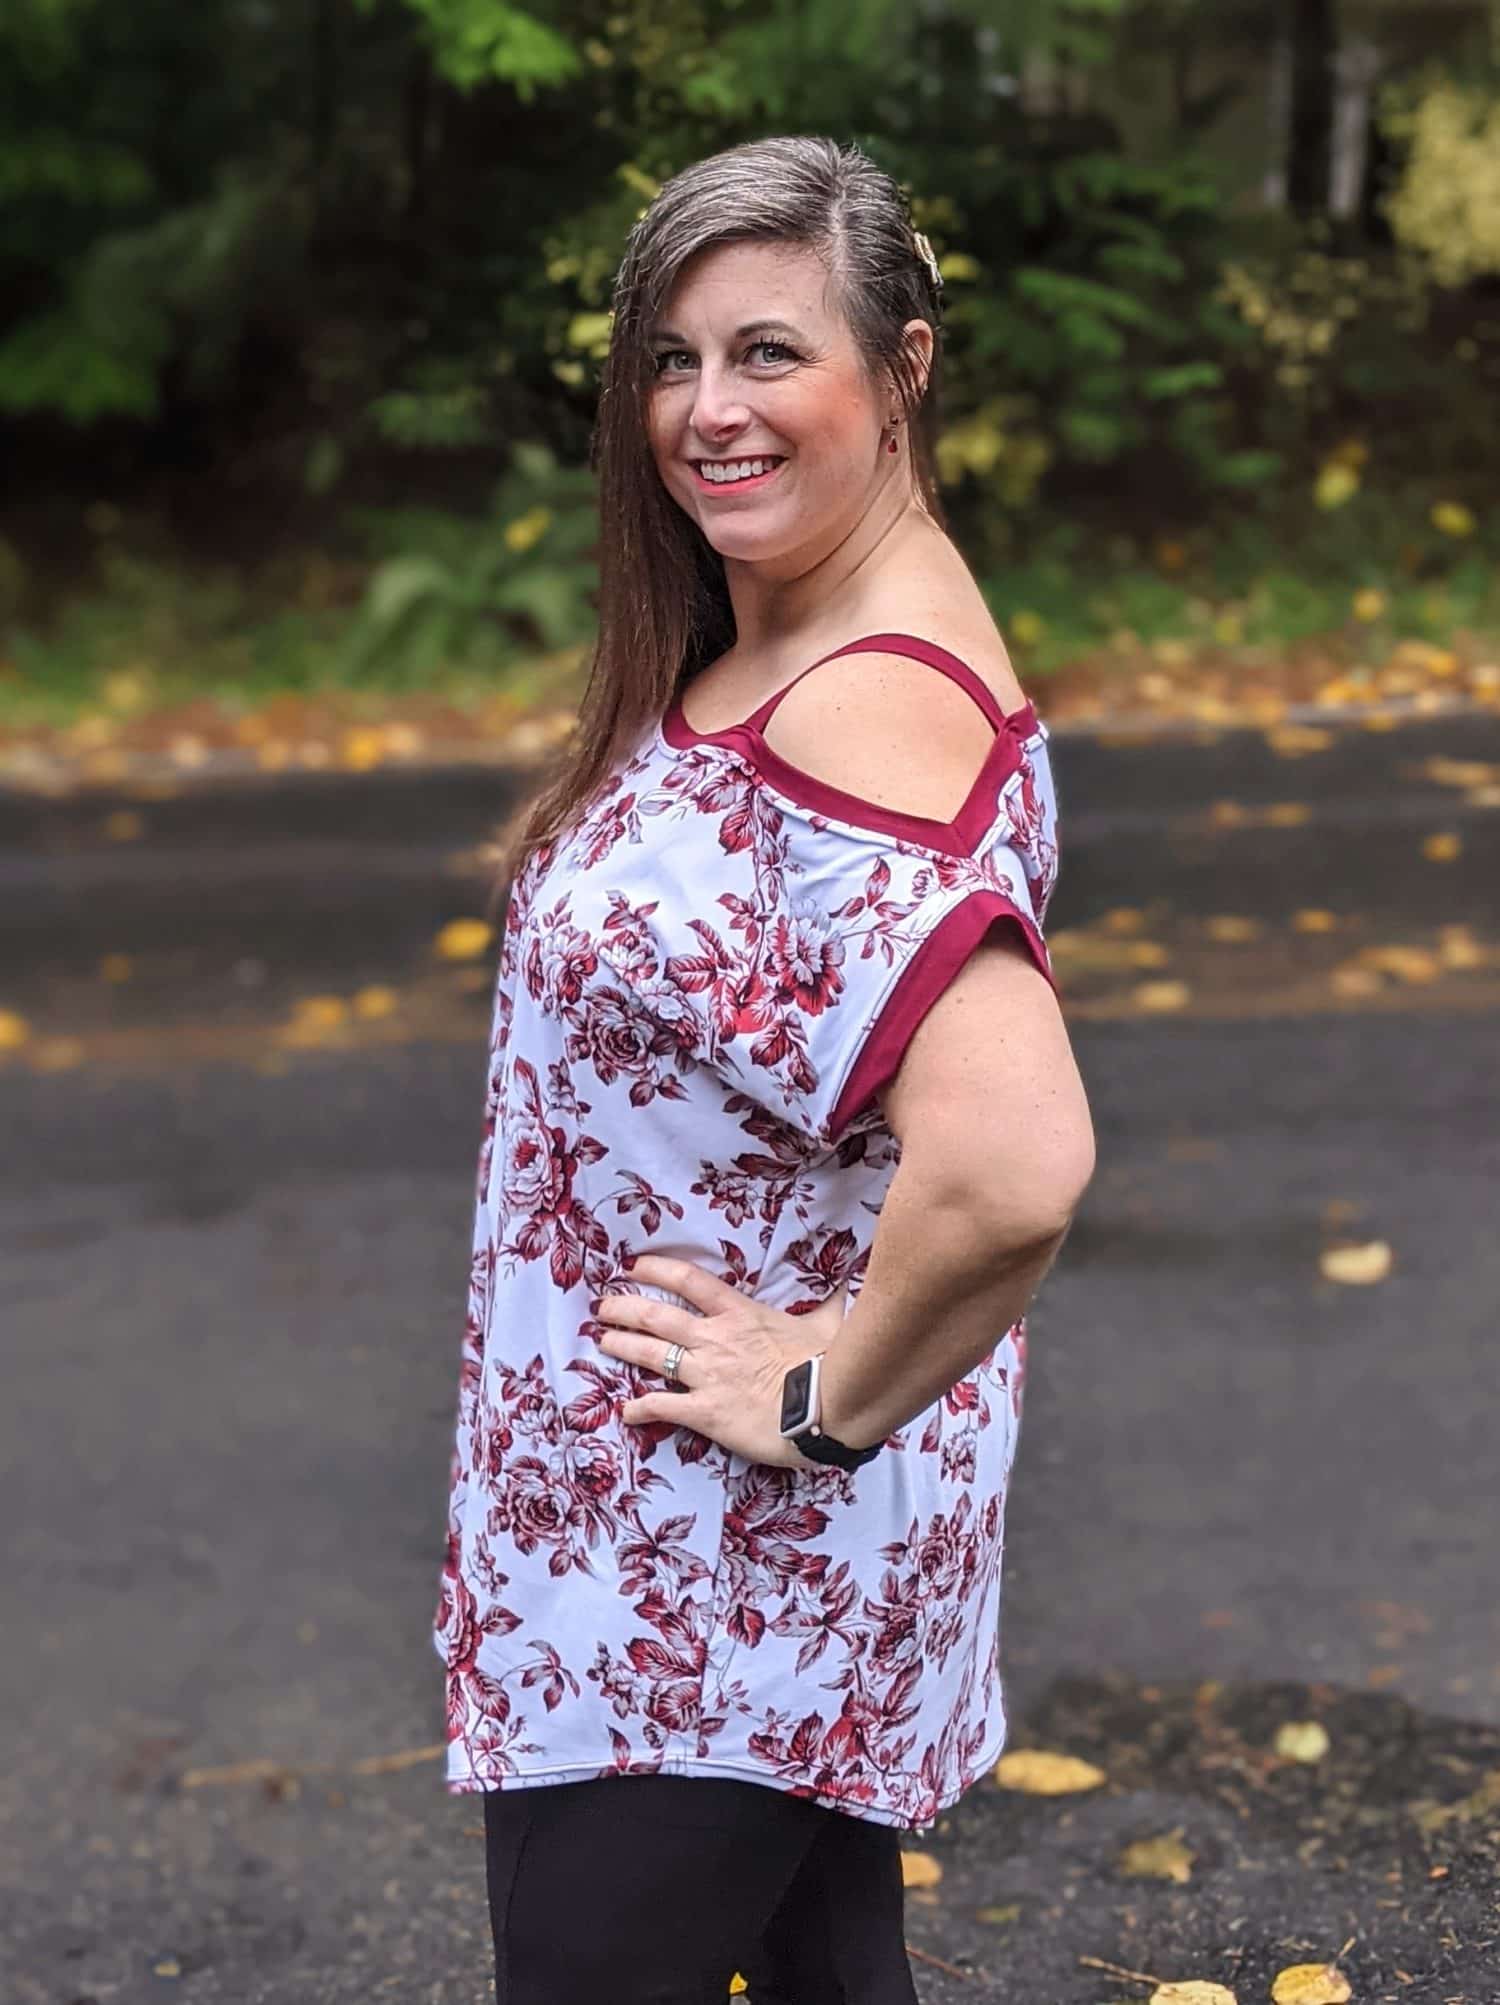
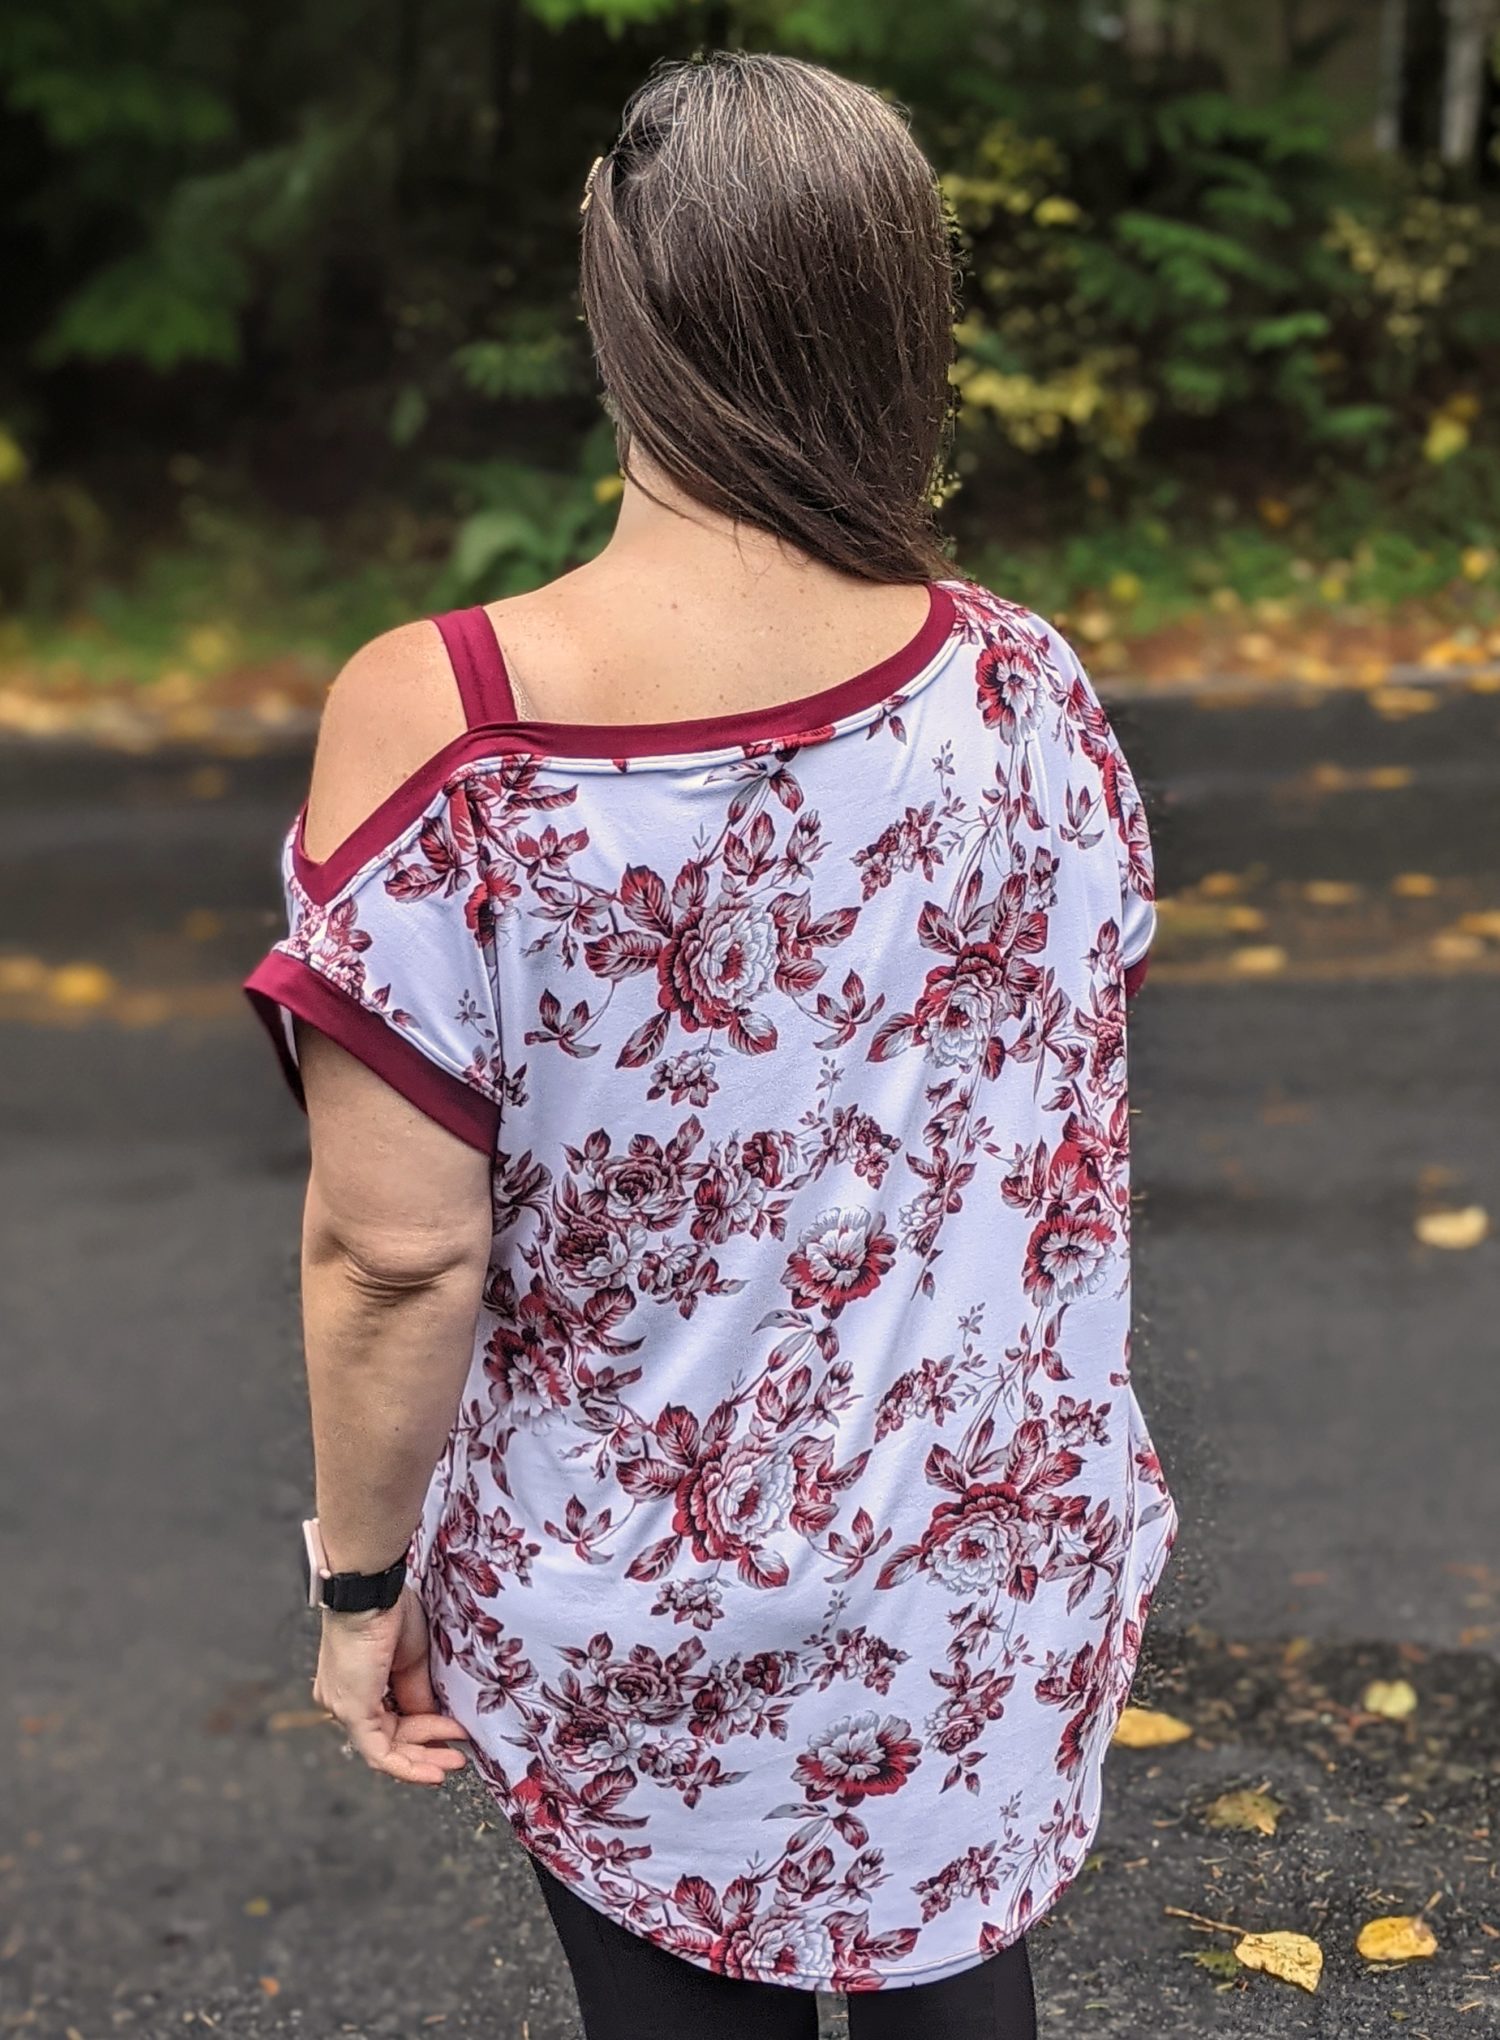
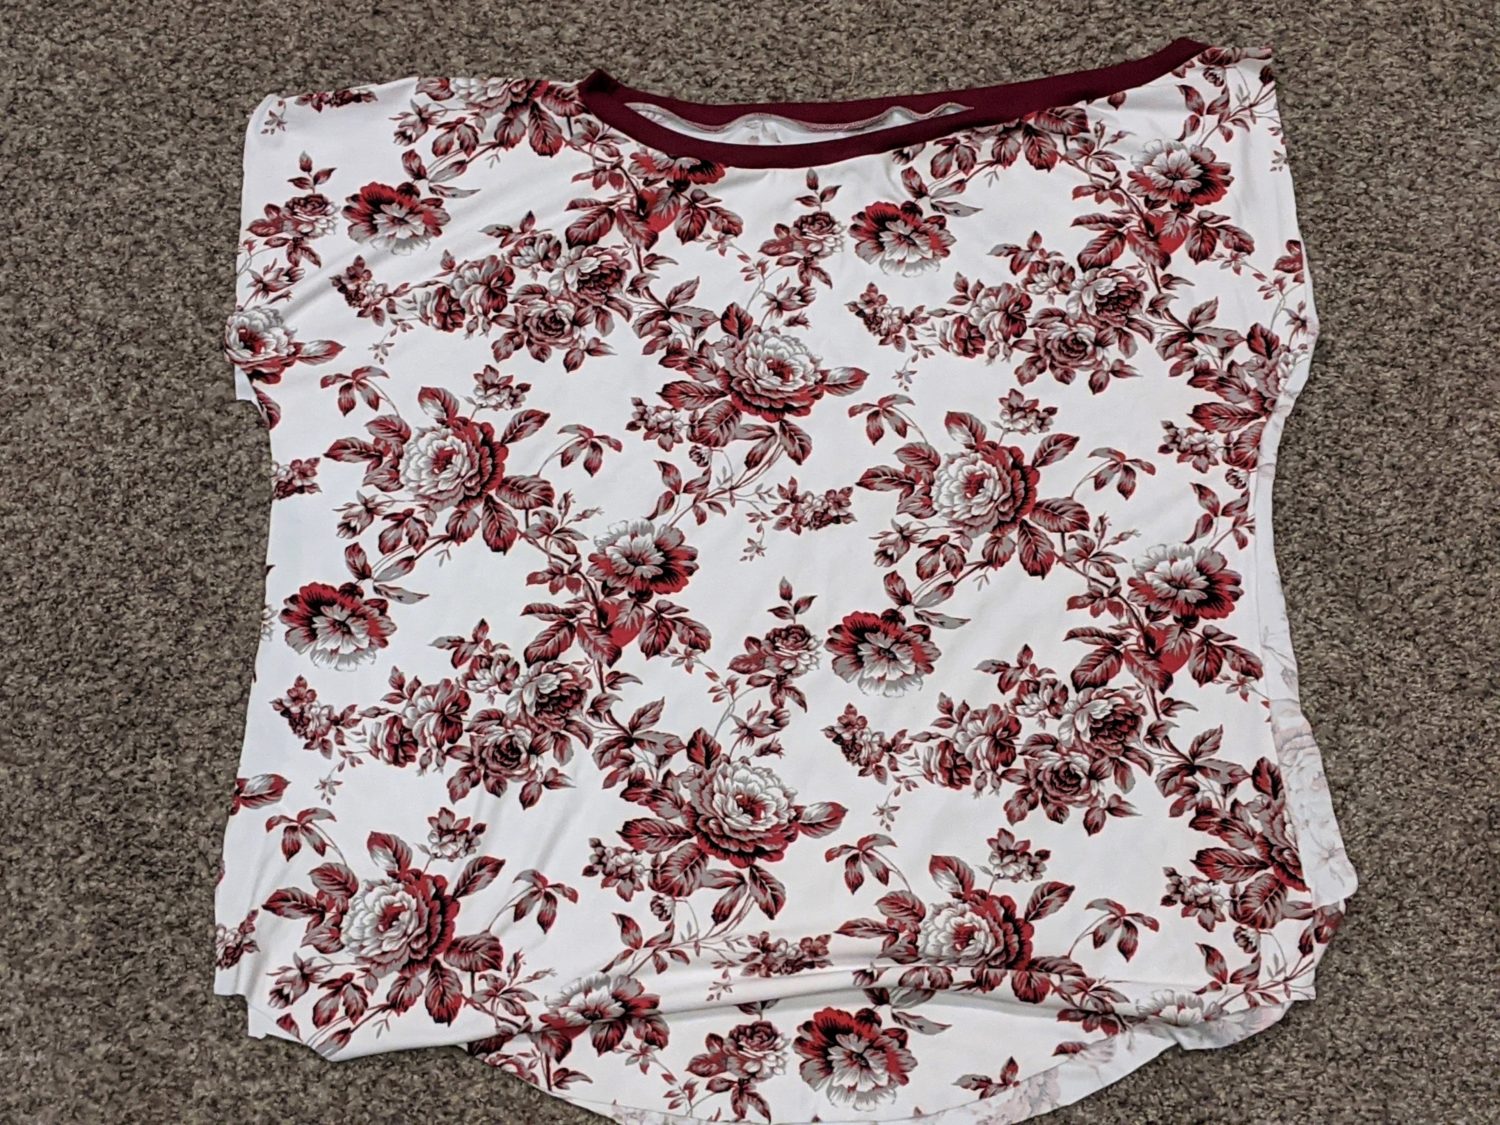
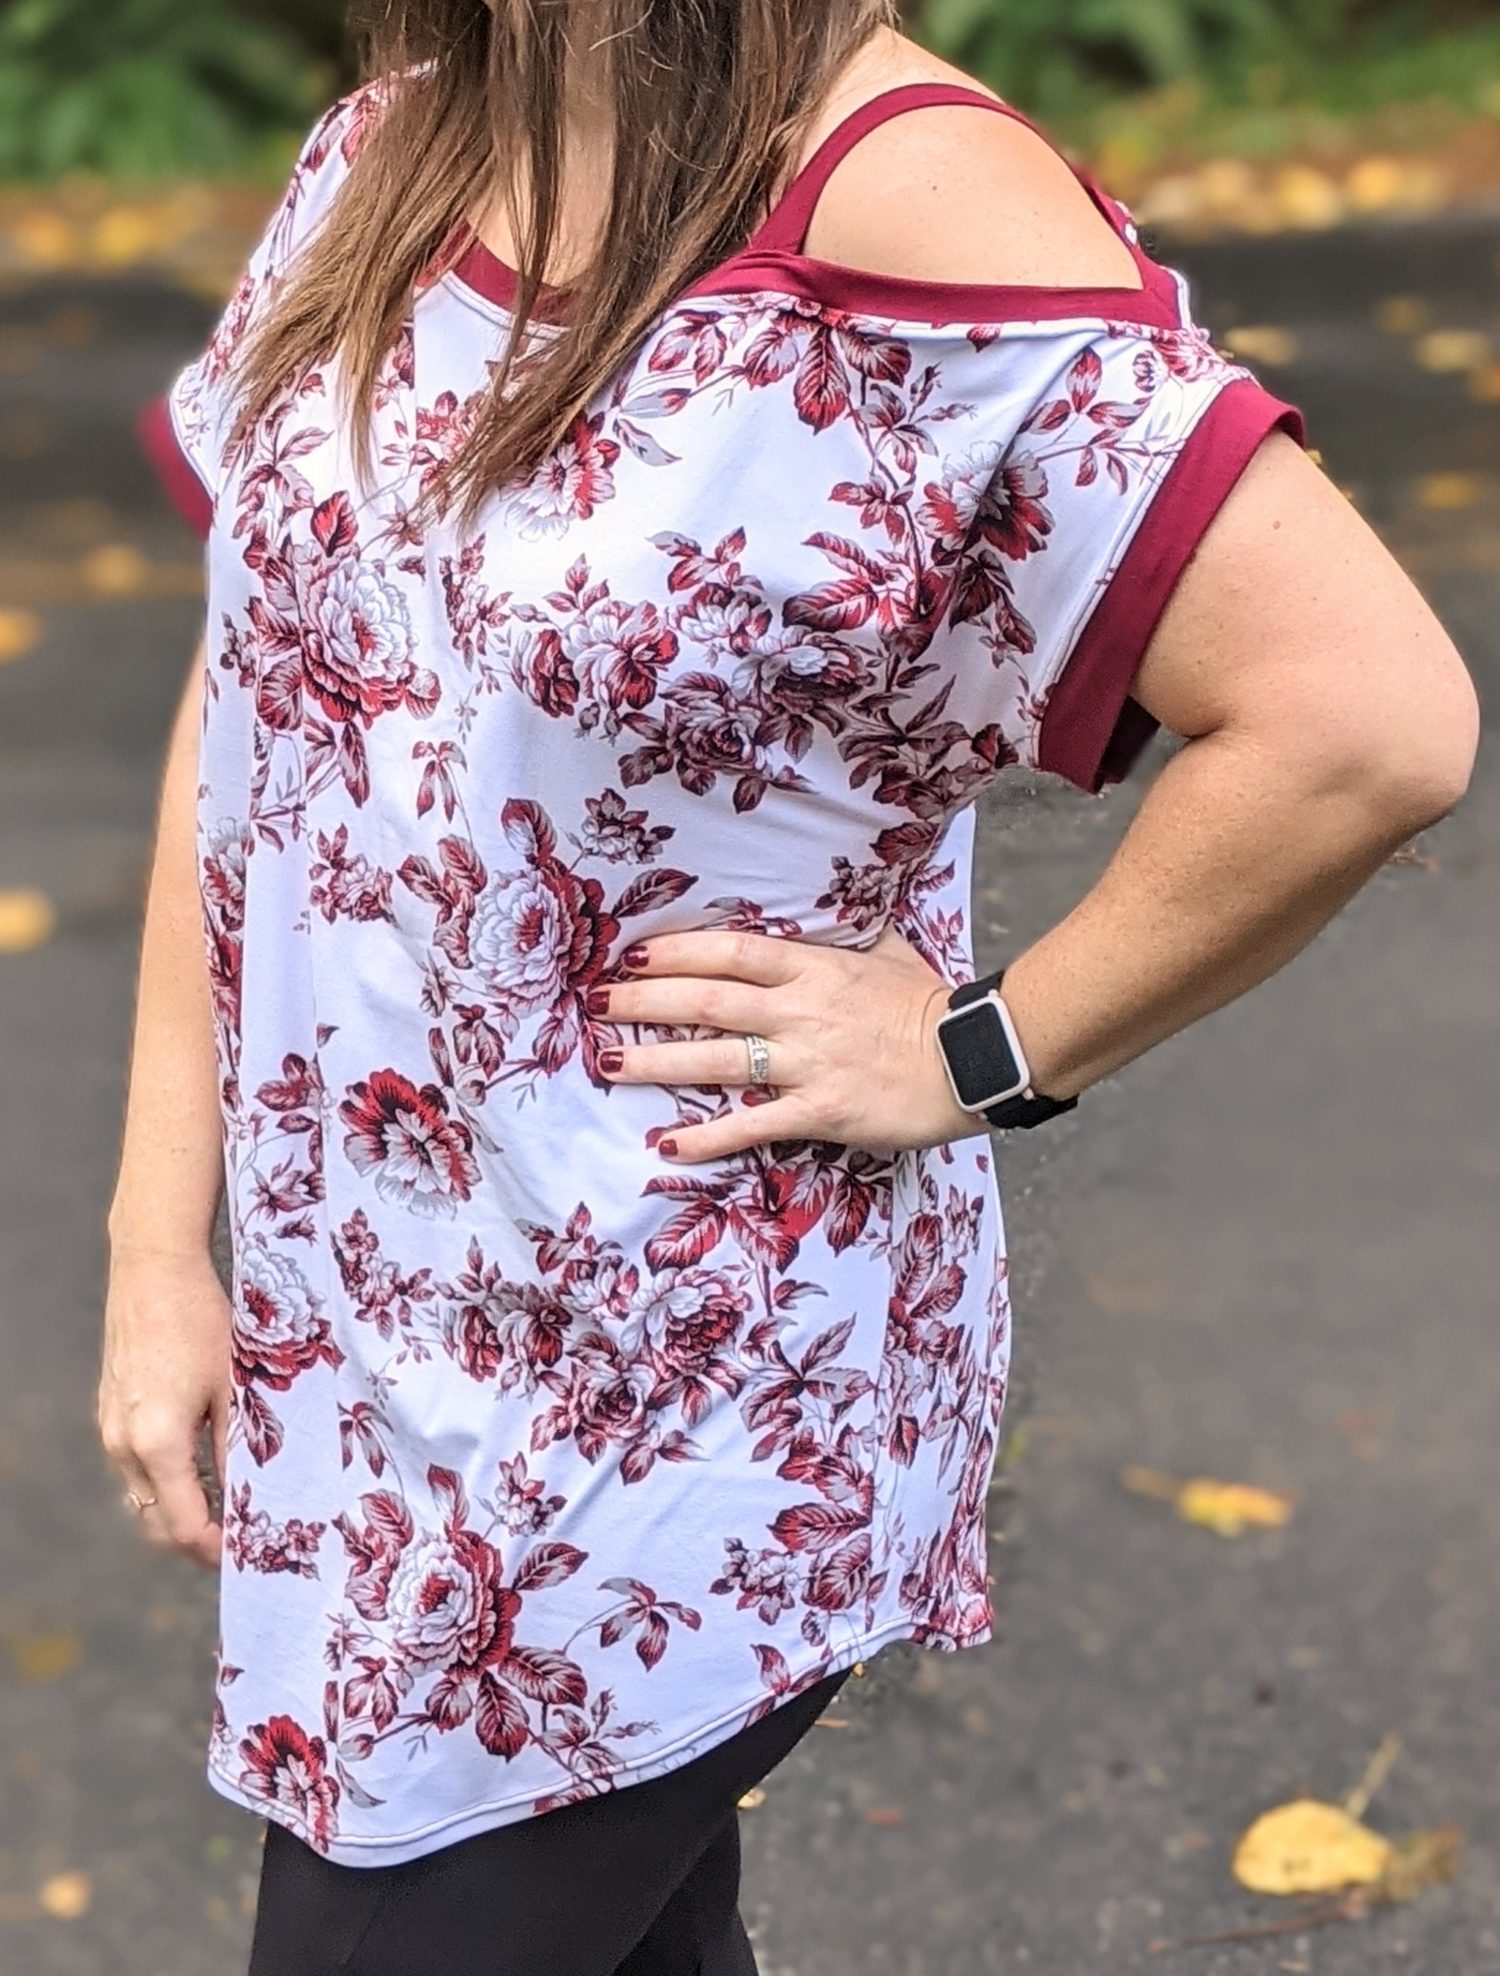
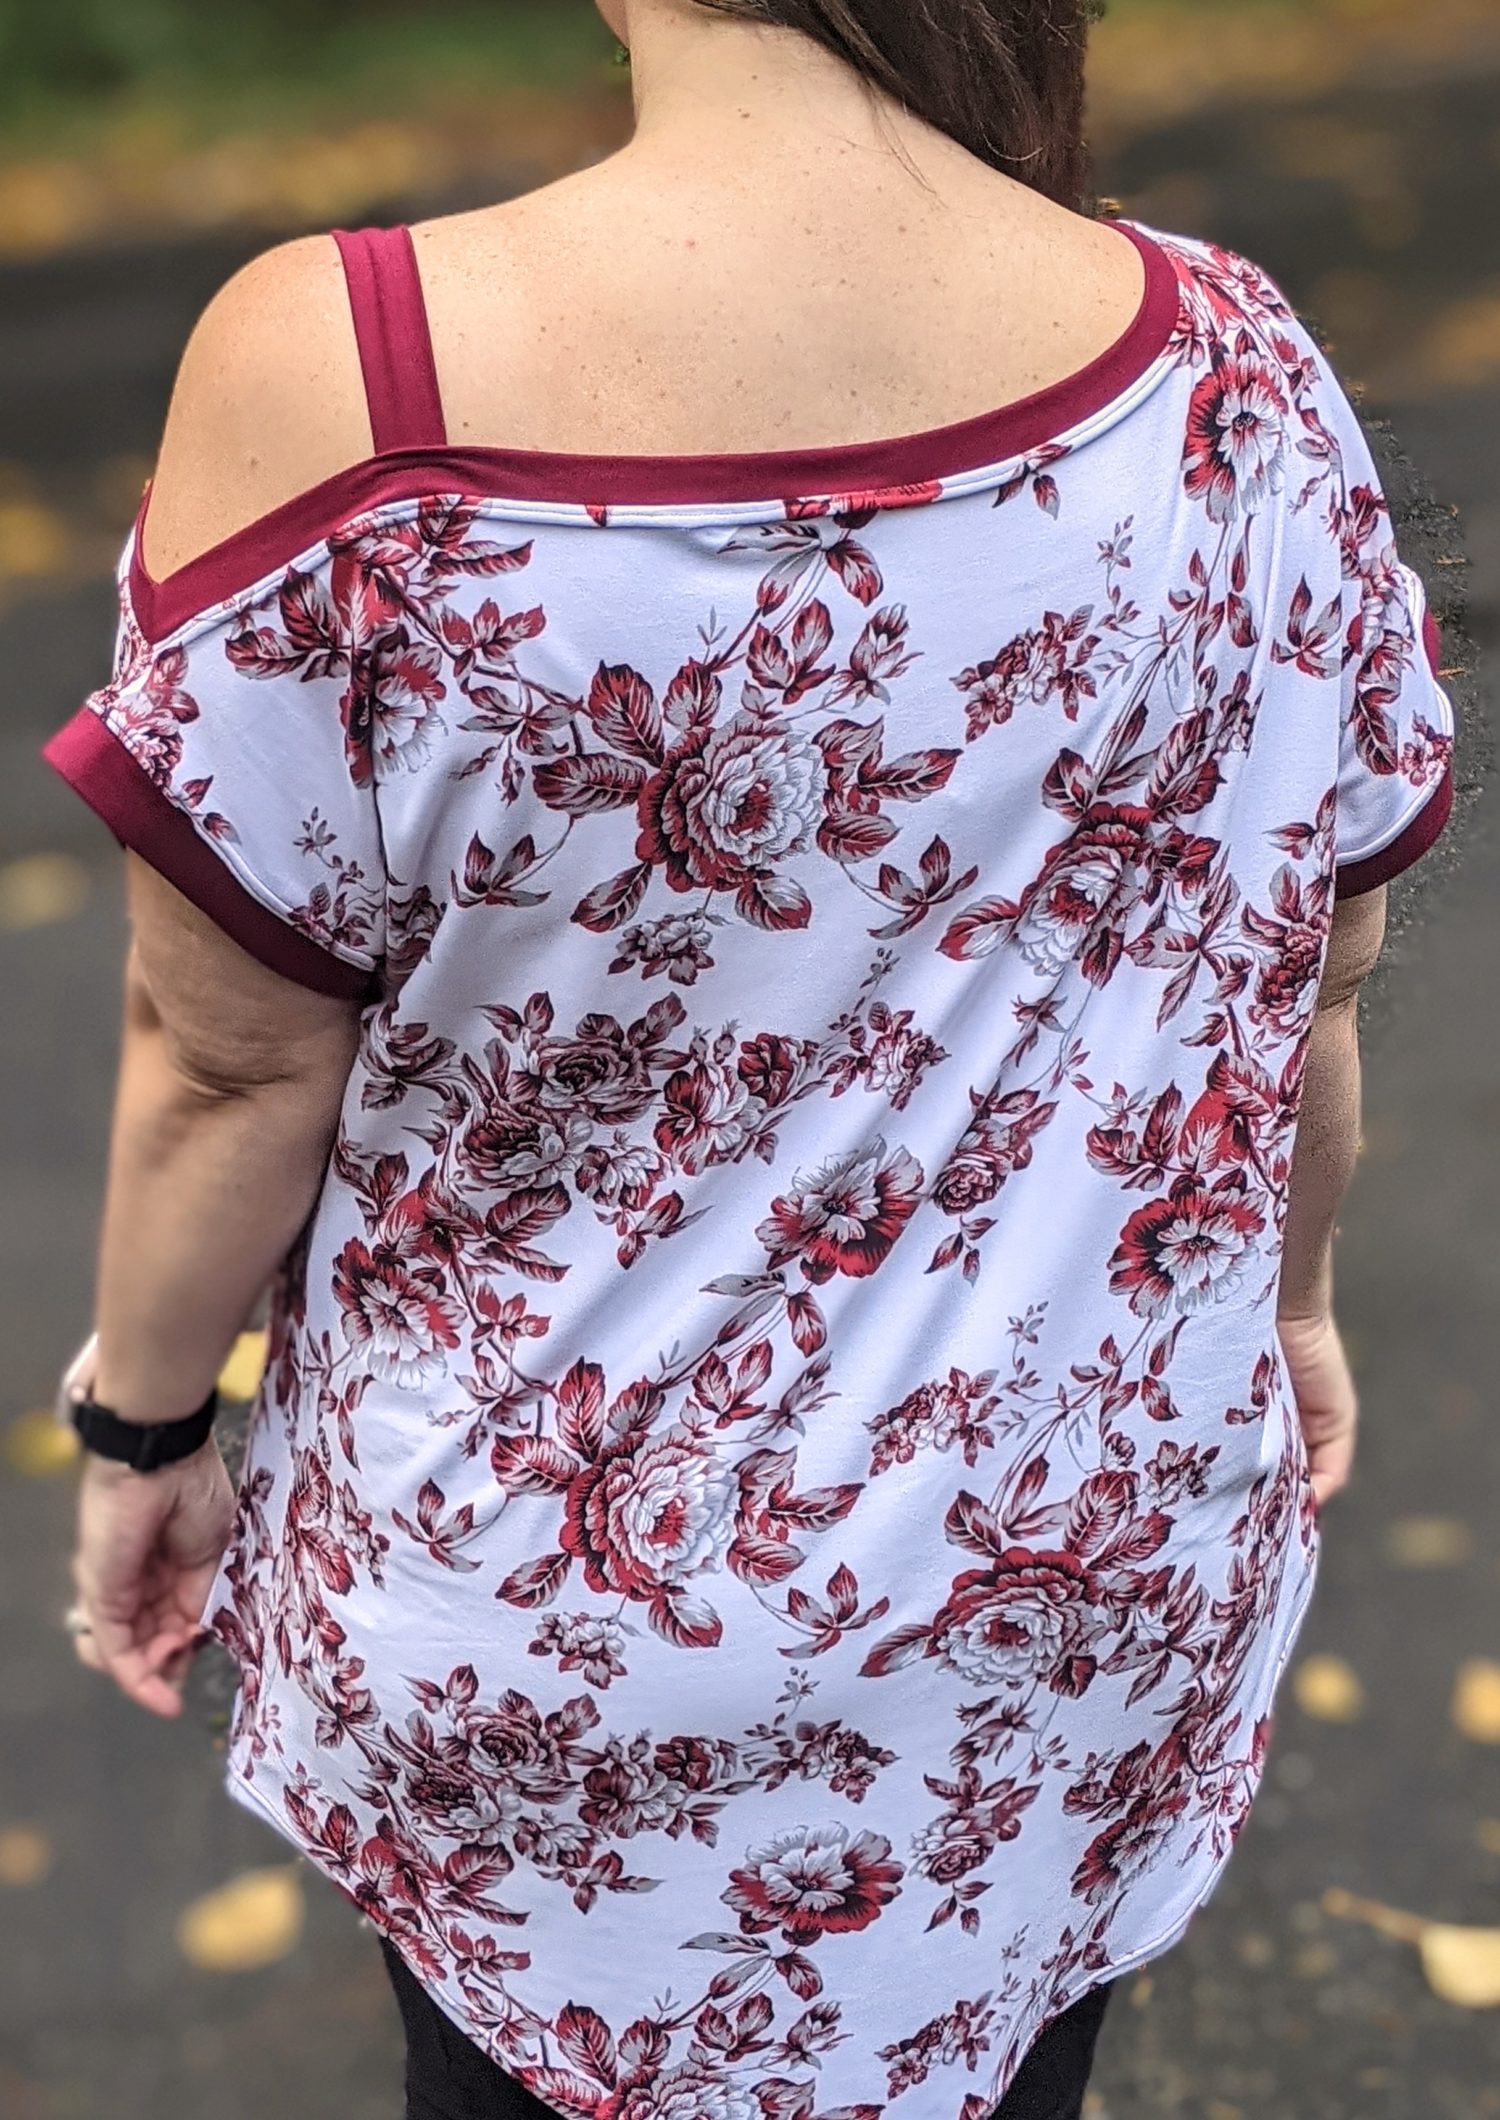
I’ve been seeing so many off-shoulder tops that I love, but I prefer to have my bra strap covered. I decided to take the top from the Susie Lounge Set and made my own version.
Pattern
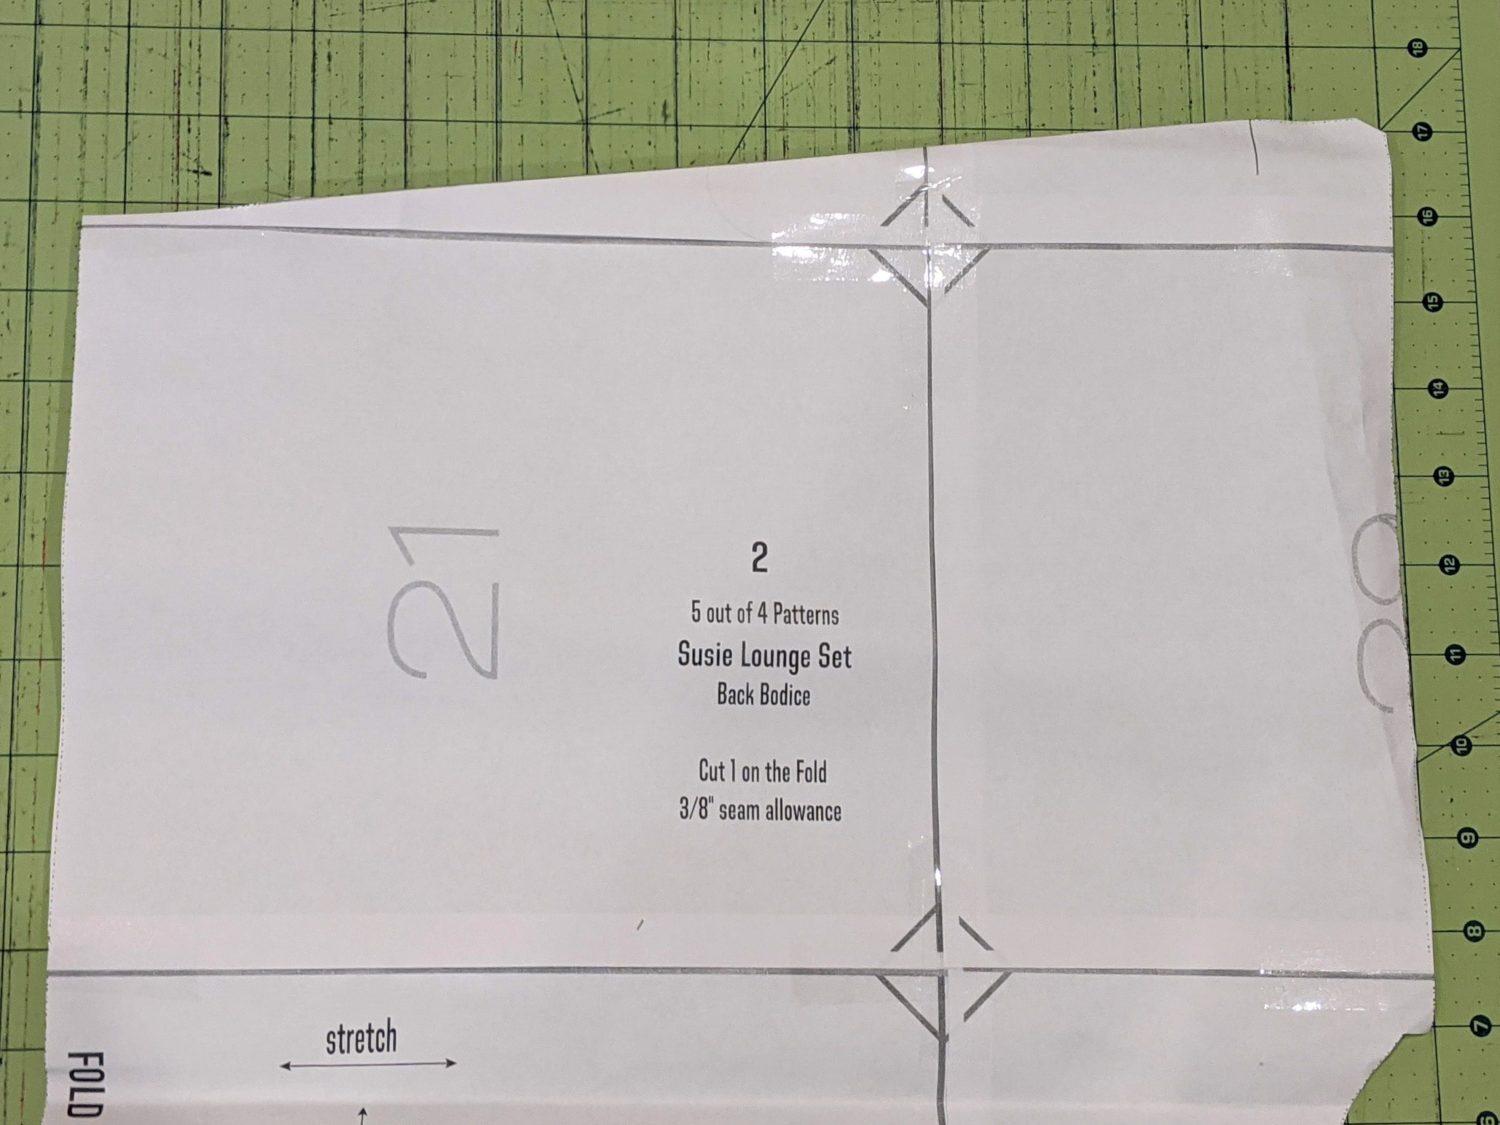
- Print and assemble the Susie Lounge Set top. You can choose any length and options you’d like, but the crew neckline is going to work the best.
- (Mine is short sleeves, plus sleeve cuffs, top length, and a curved hem.)
- The length for the neckband is 2.25”, and we will determine the width for your band a bit later.
Pattern Adjustments
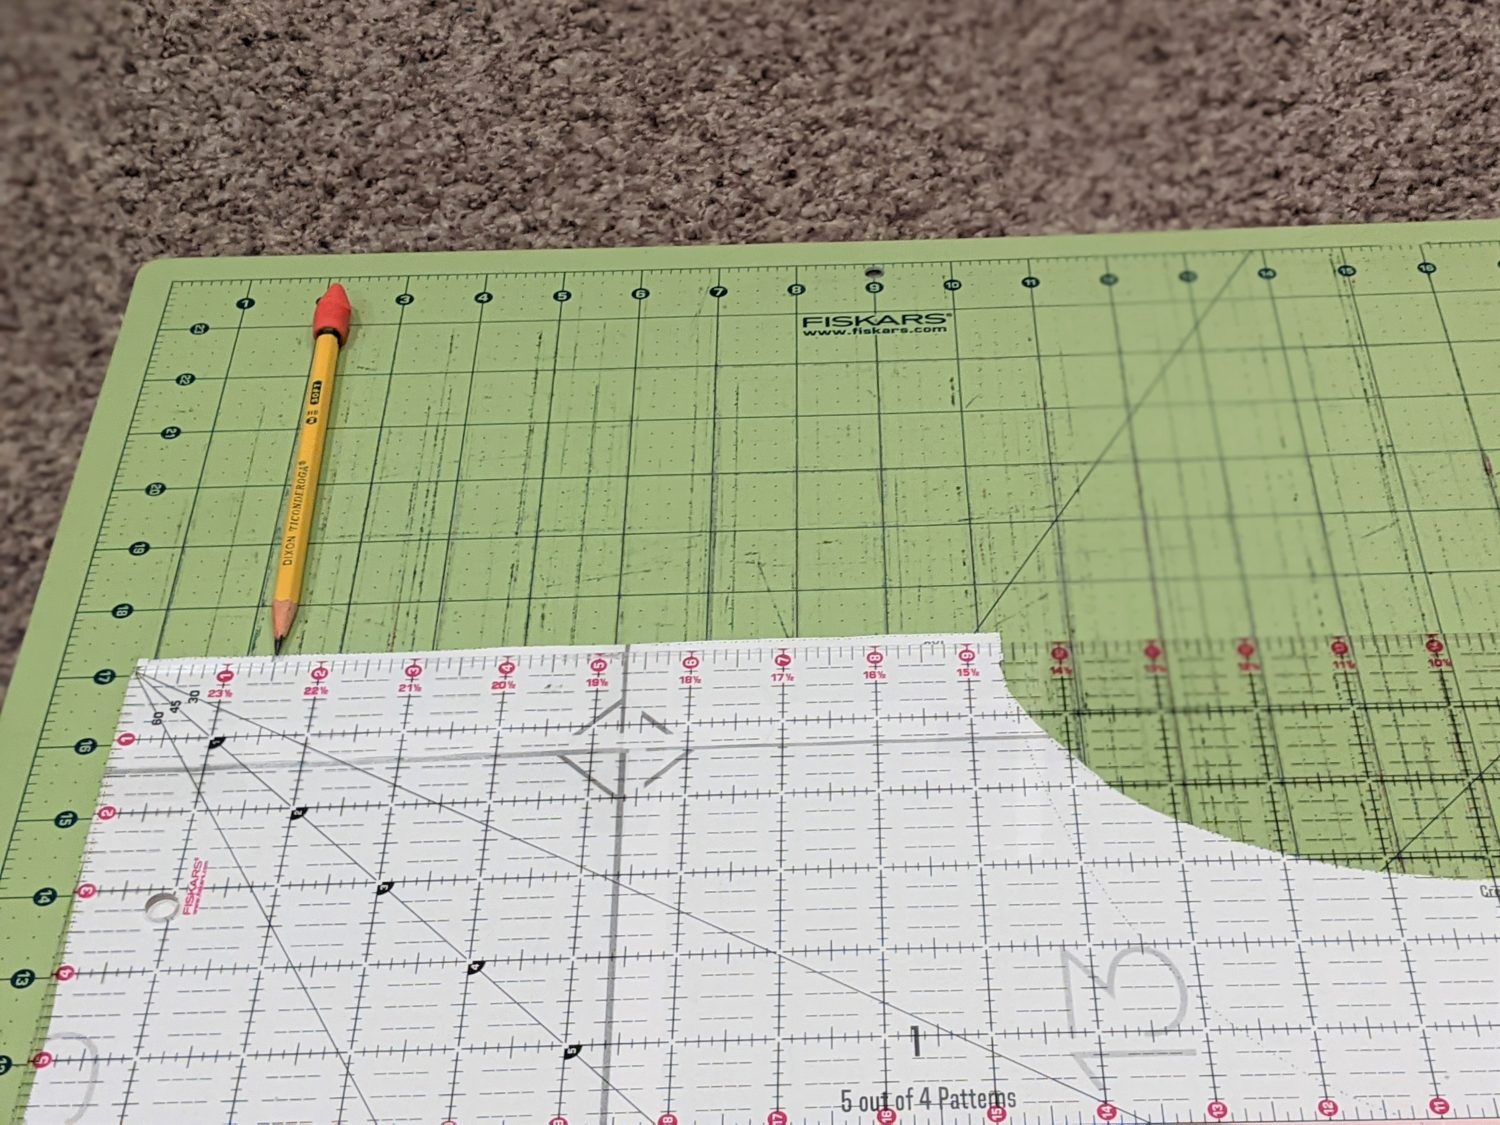
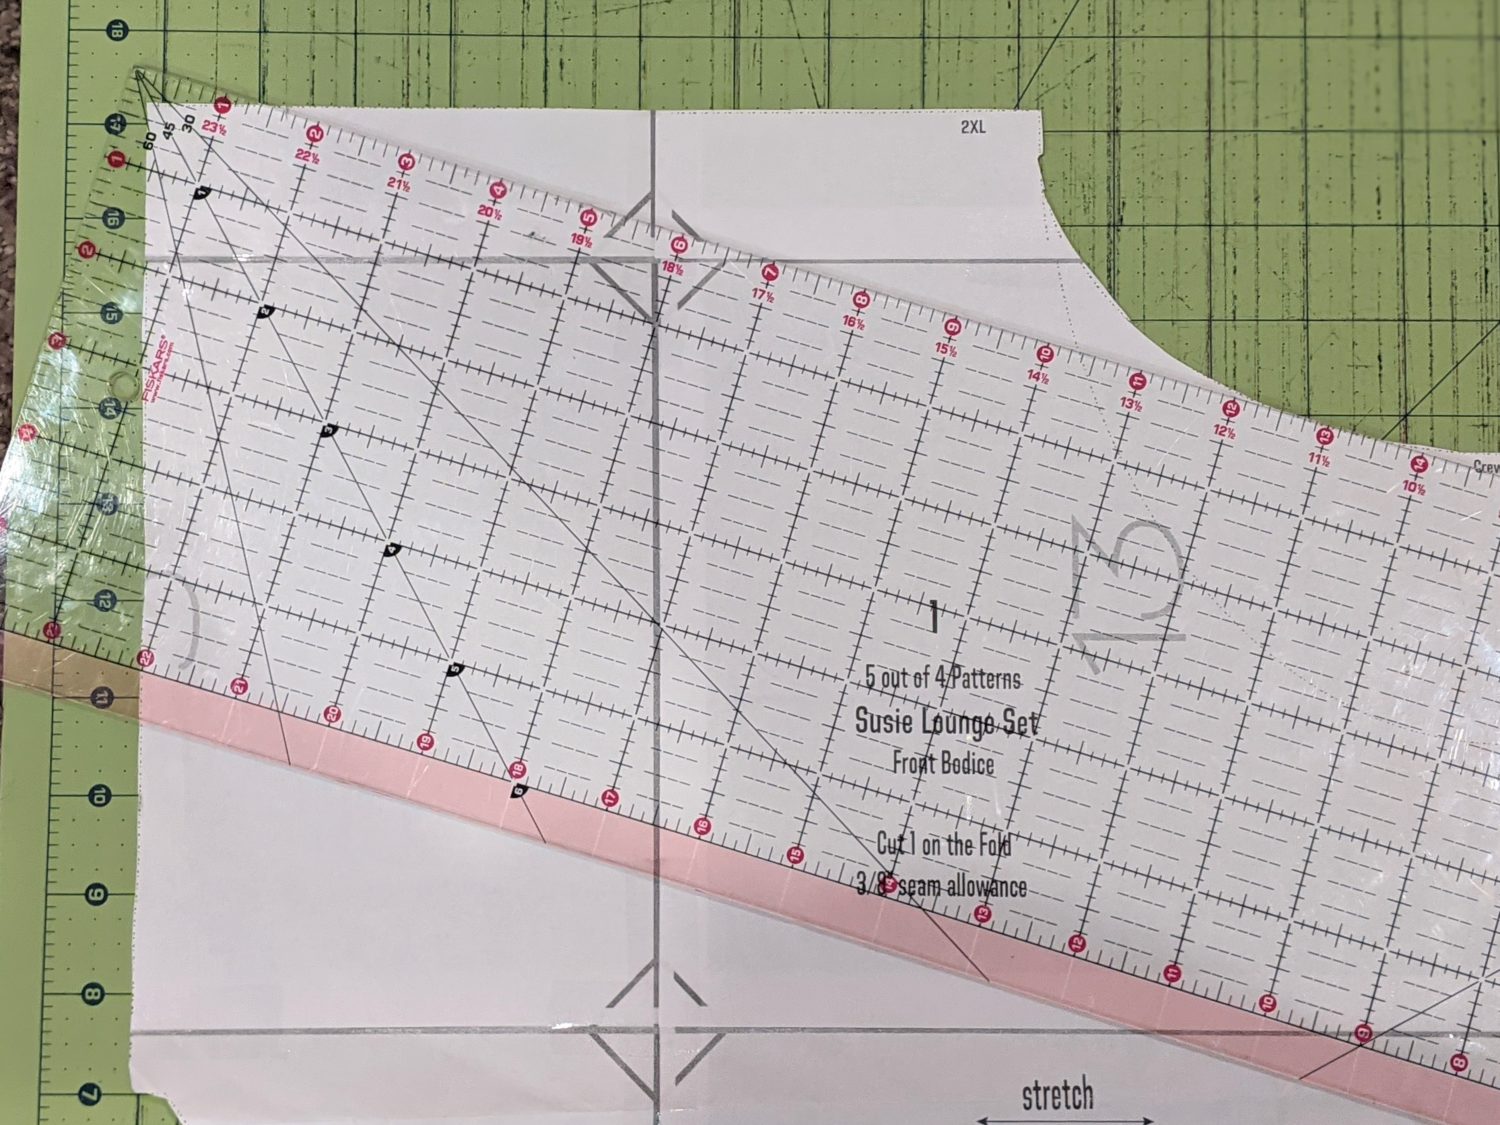
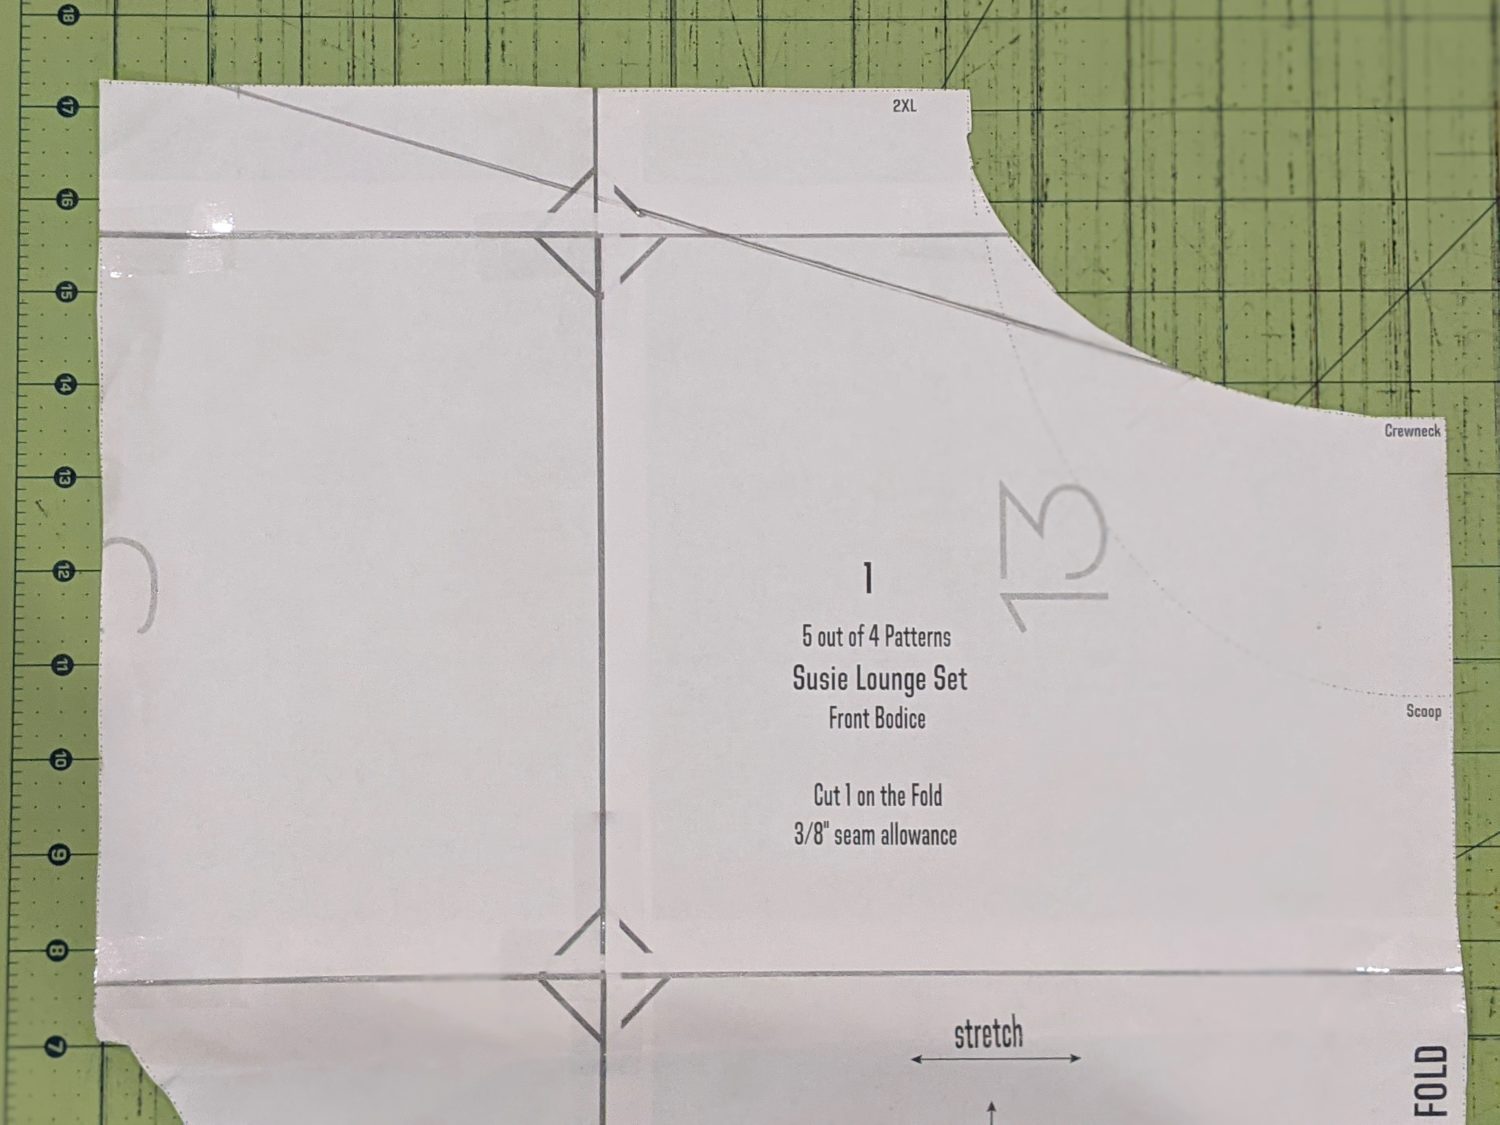
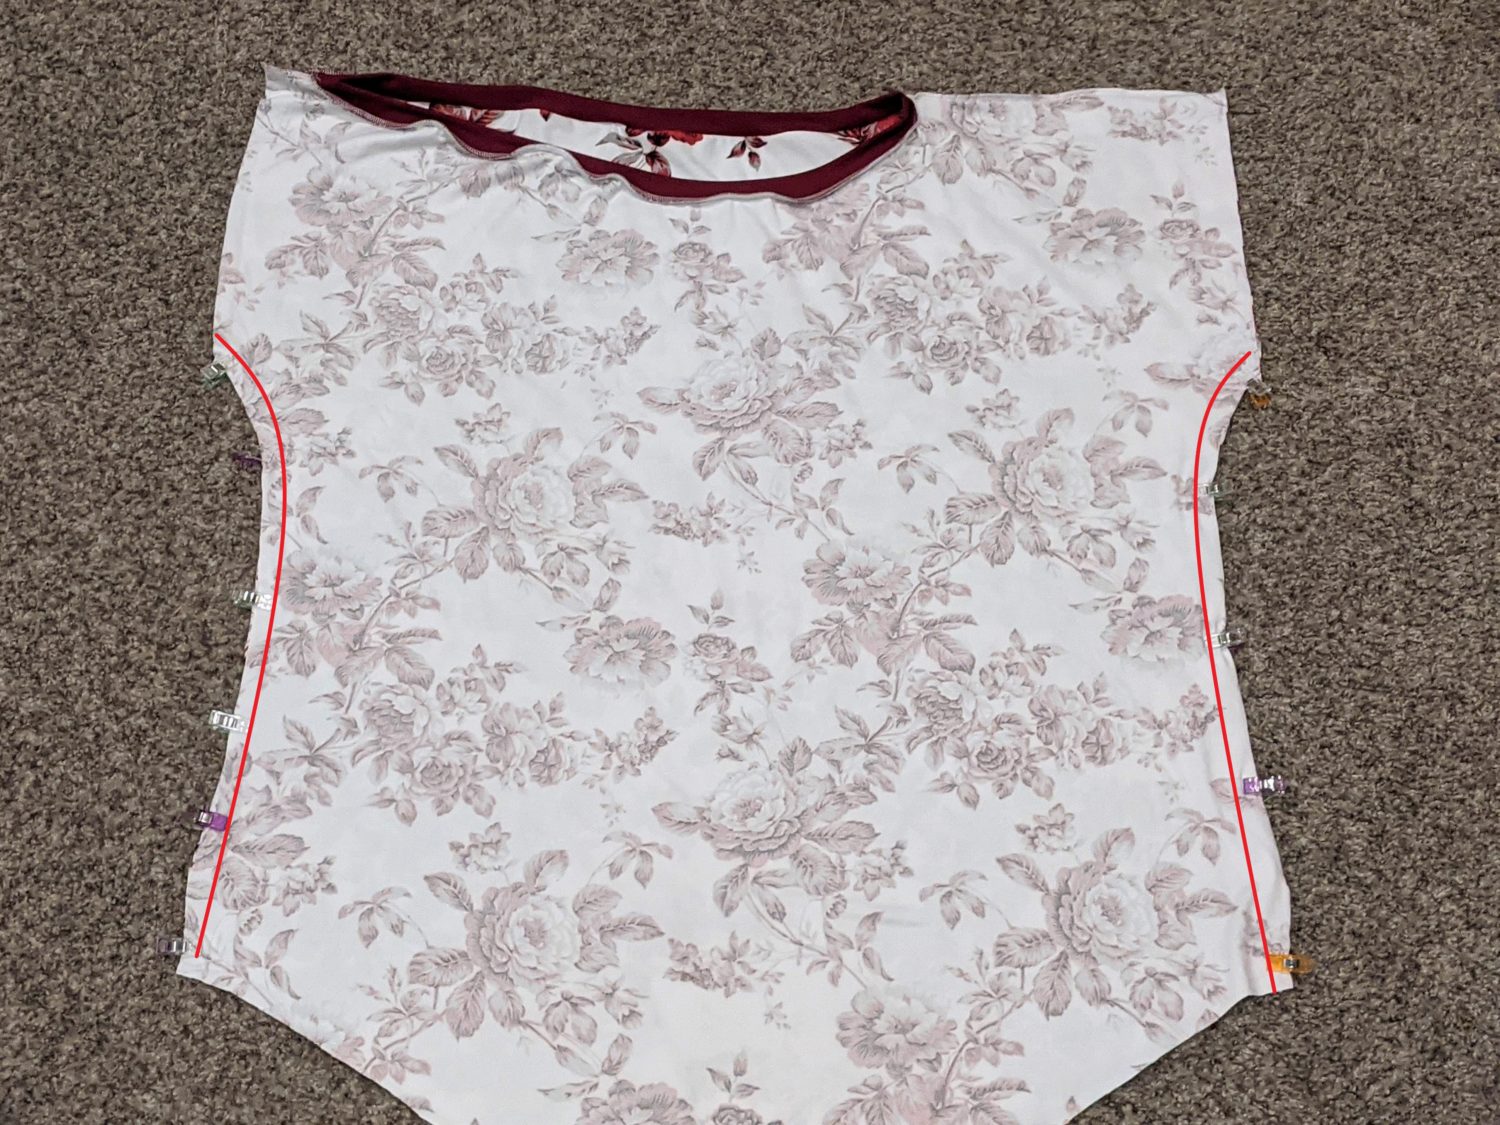
- Lay out the front bodice piece and mark 1.5” in from the sleeve edge at the shoulder.
- Angle a straight edge from the neckline to the marked shoulder point and draw a line. You just don’t want to change the front of the neckline.
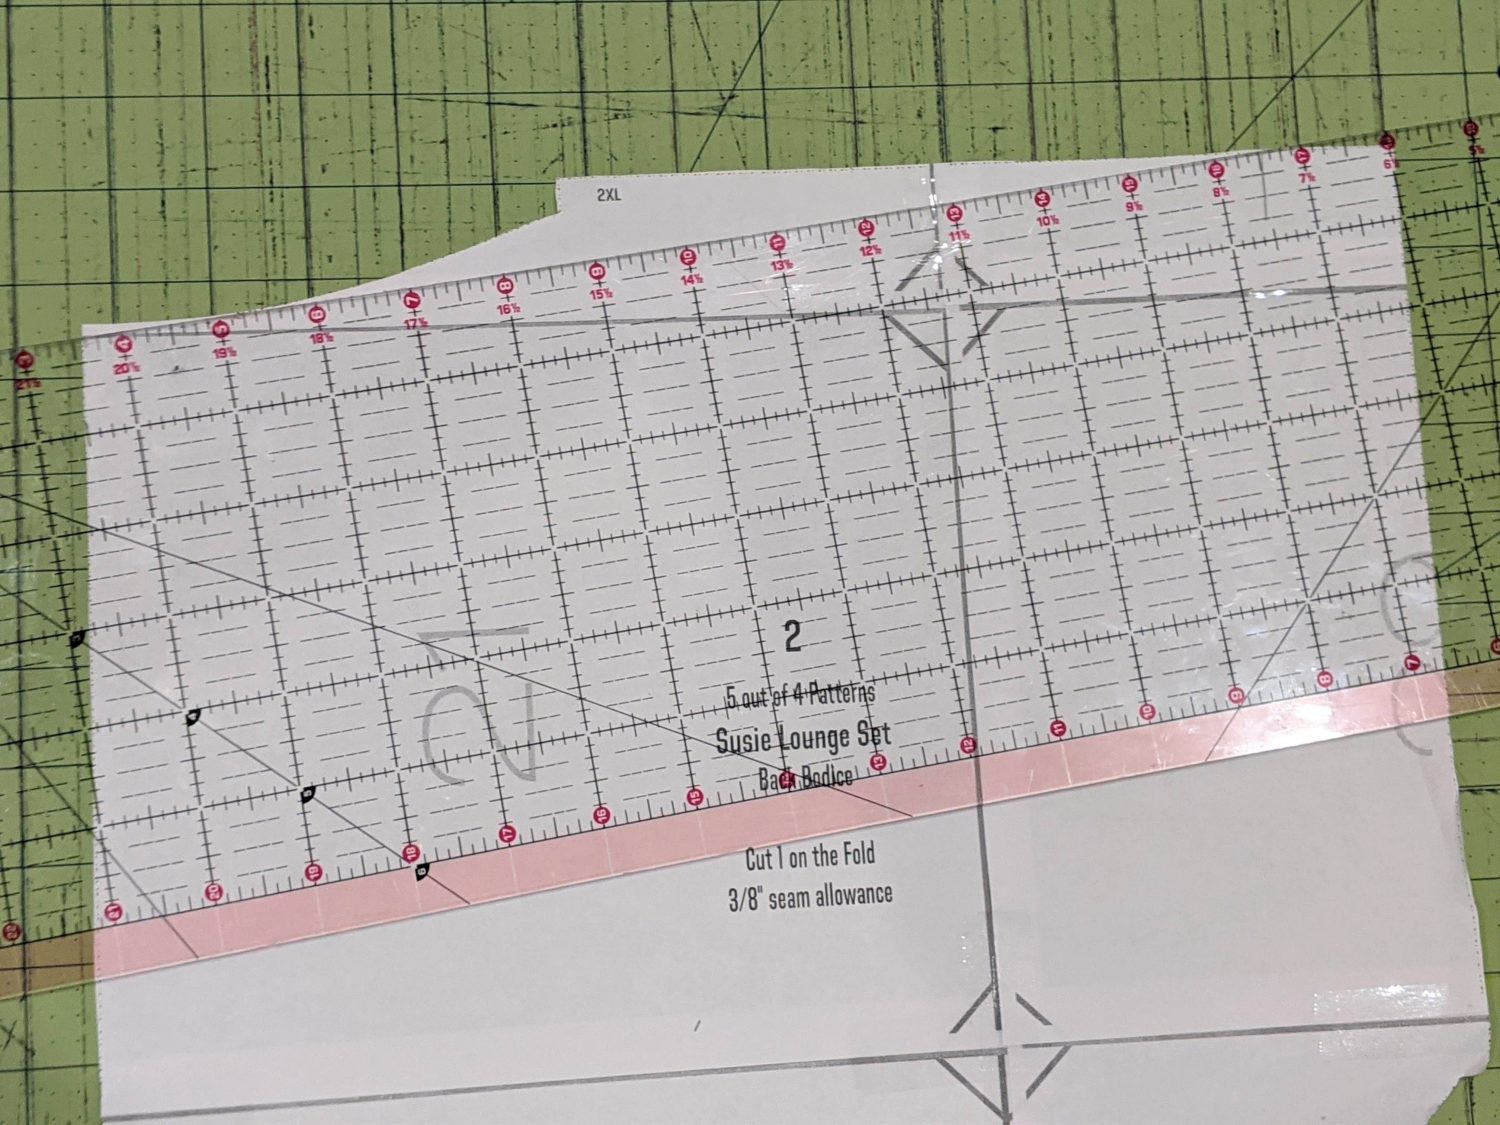
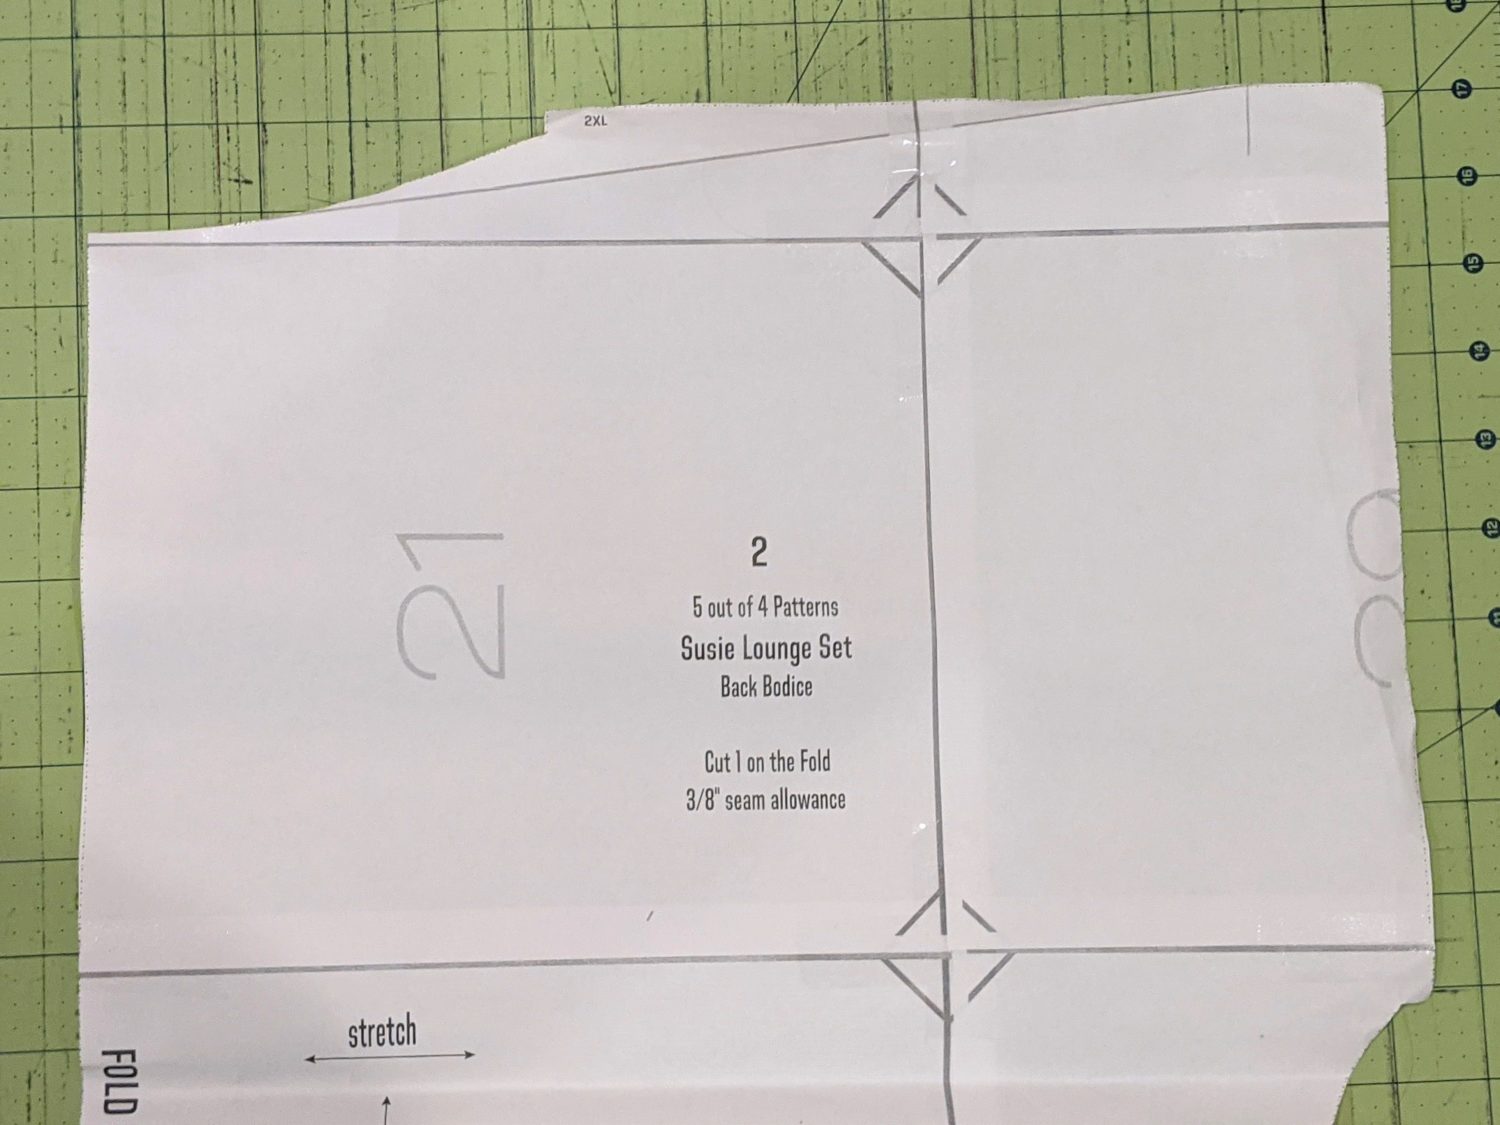
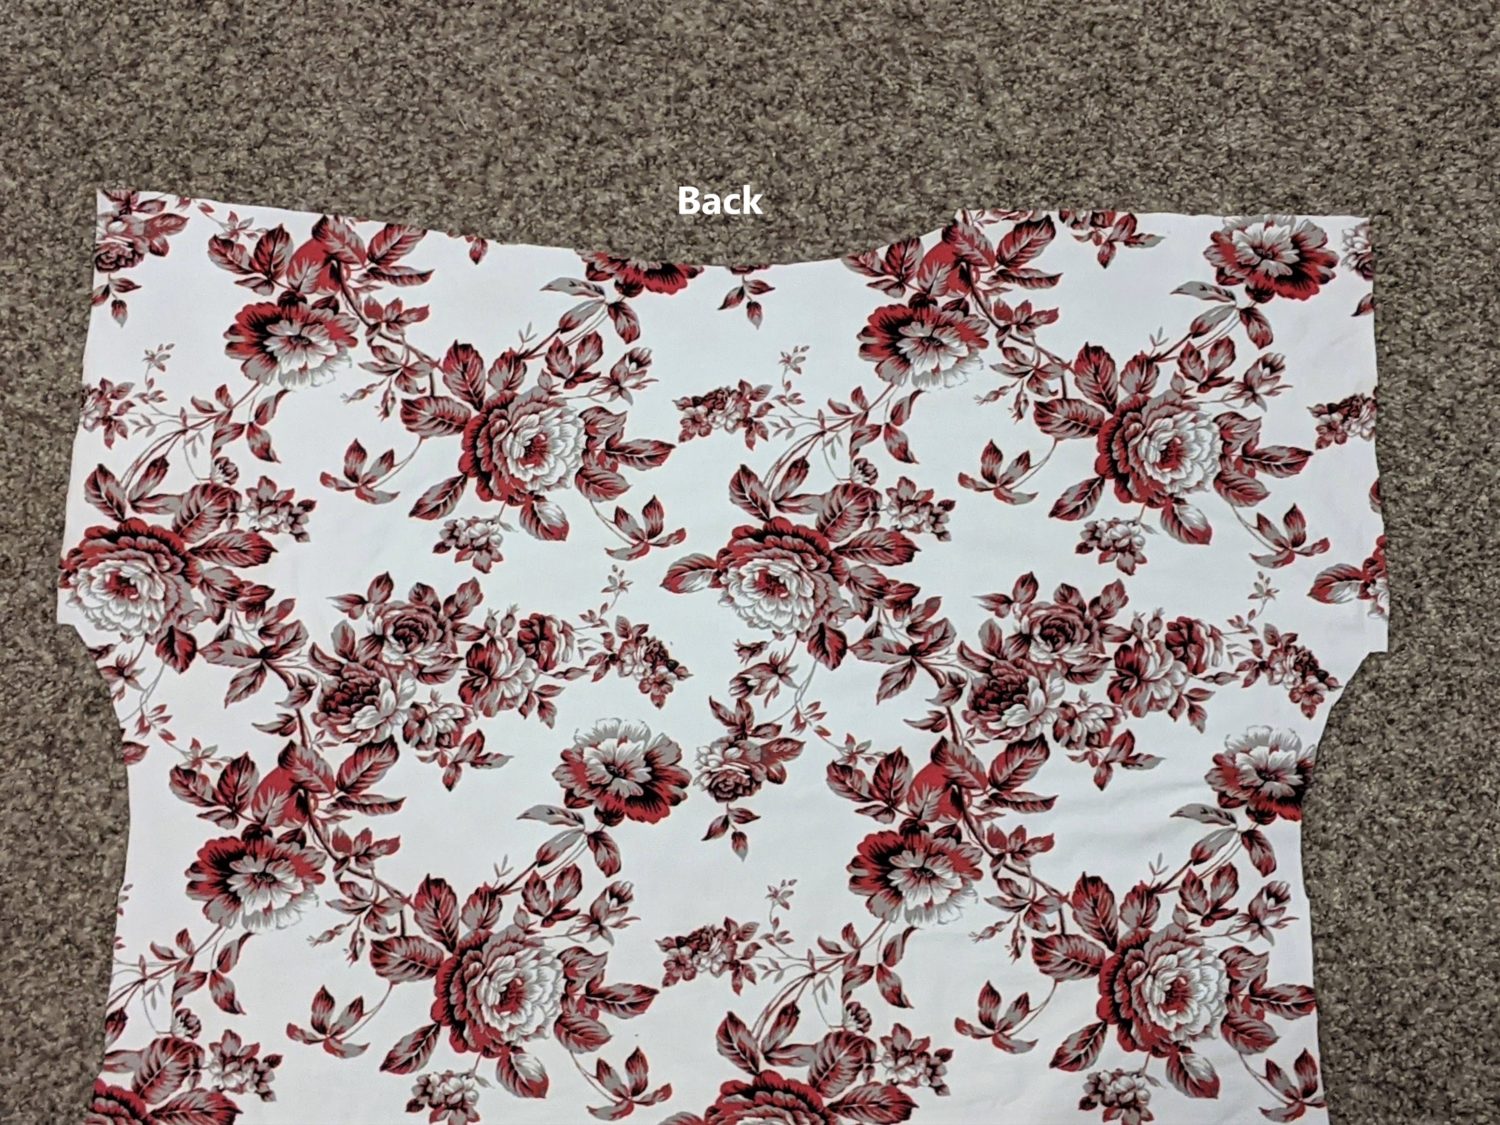
- Repeat the same thing for the back bodice. This won’t be as dramatic an angle as the front since the neckline is higher in the back.
Front:
Back:

Cut and Sew the Bodice
- Start by cutting out one front bodice and one back bodice both on the fold.
- Decide which side of your body you want to be off your shoulder and make sure you mark the correct side for both the front and back bodices.
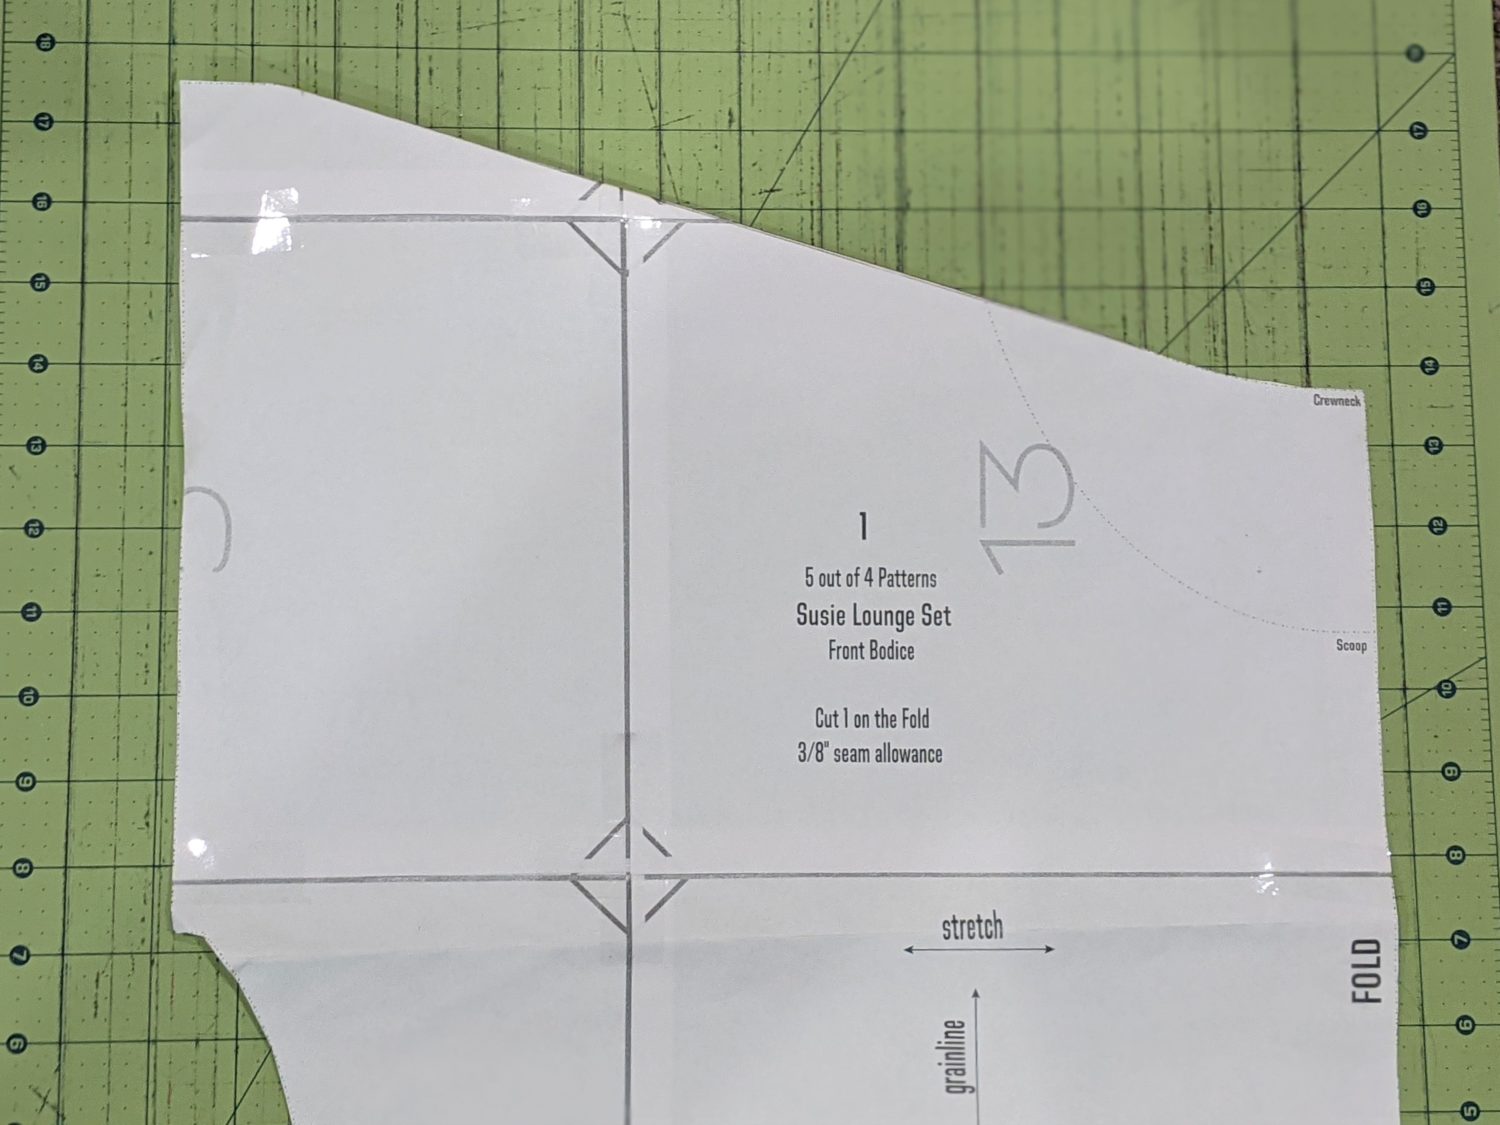
- On the front bodice, fold back the pattern piece where you angled the line, lay it on top of the bodice and cut off the excess shoulder piece.
- Repeat the same for the back bodice making sure it’s the same side as the front.
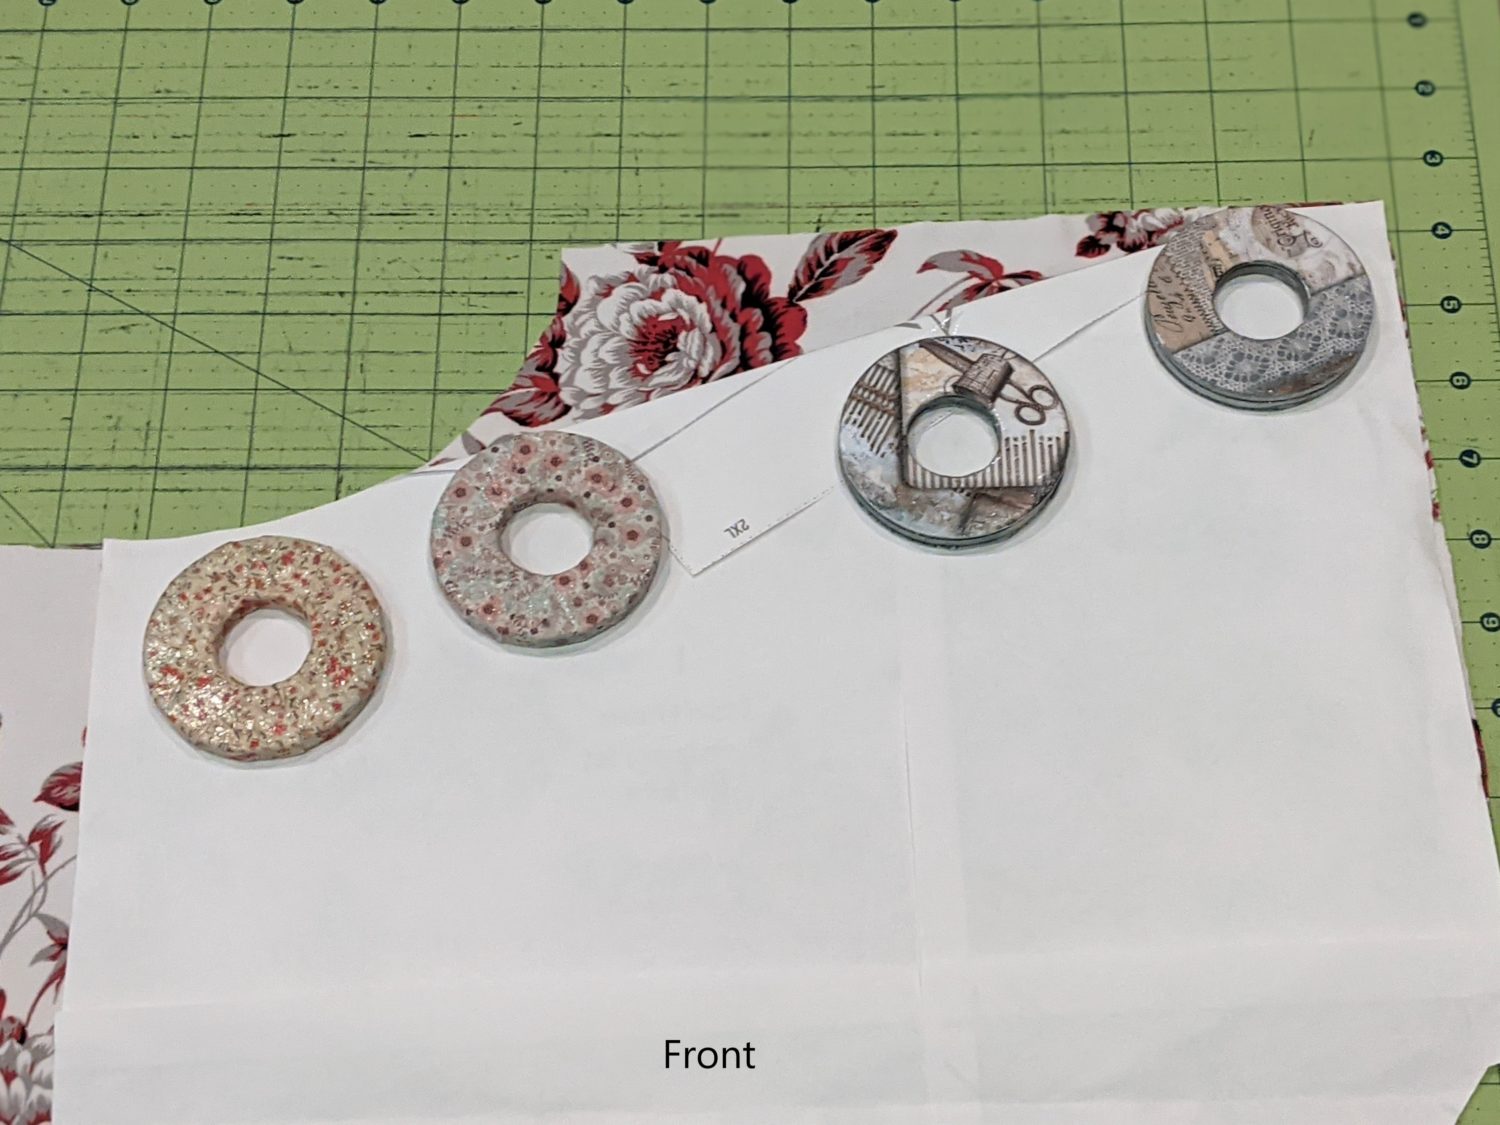
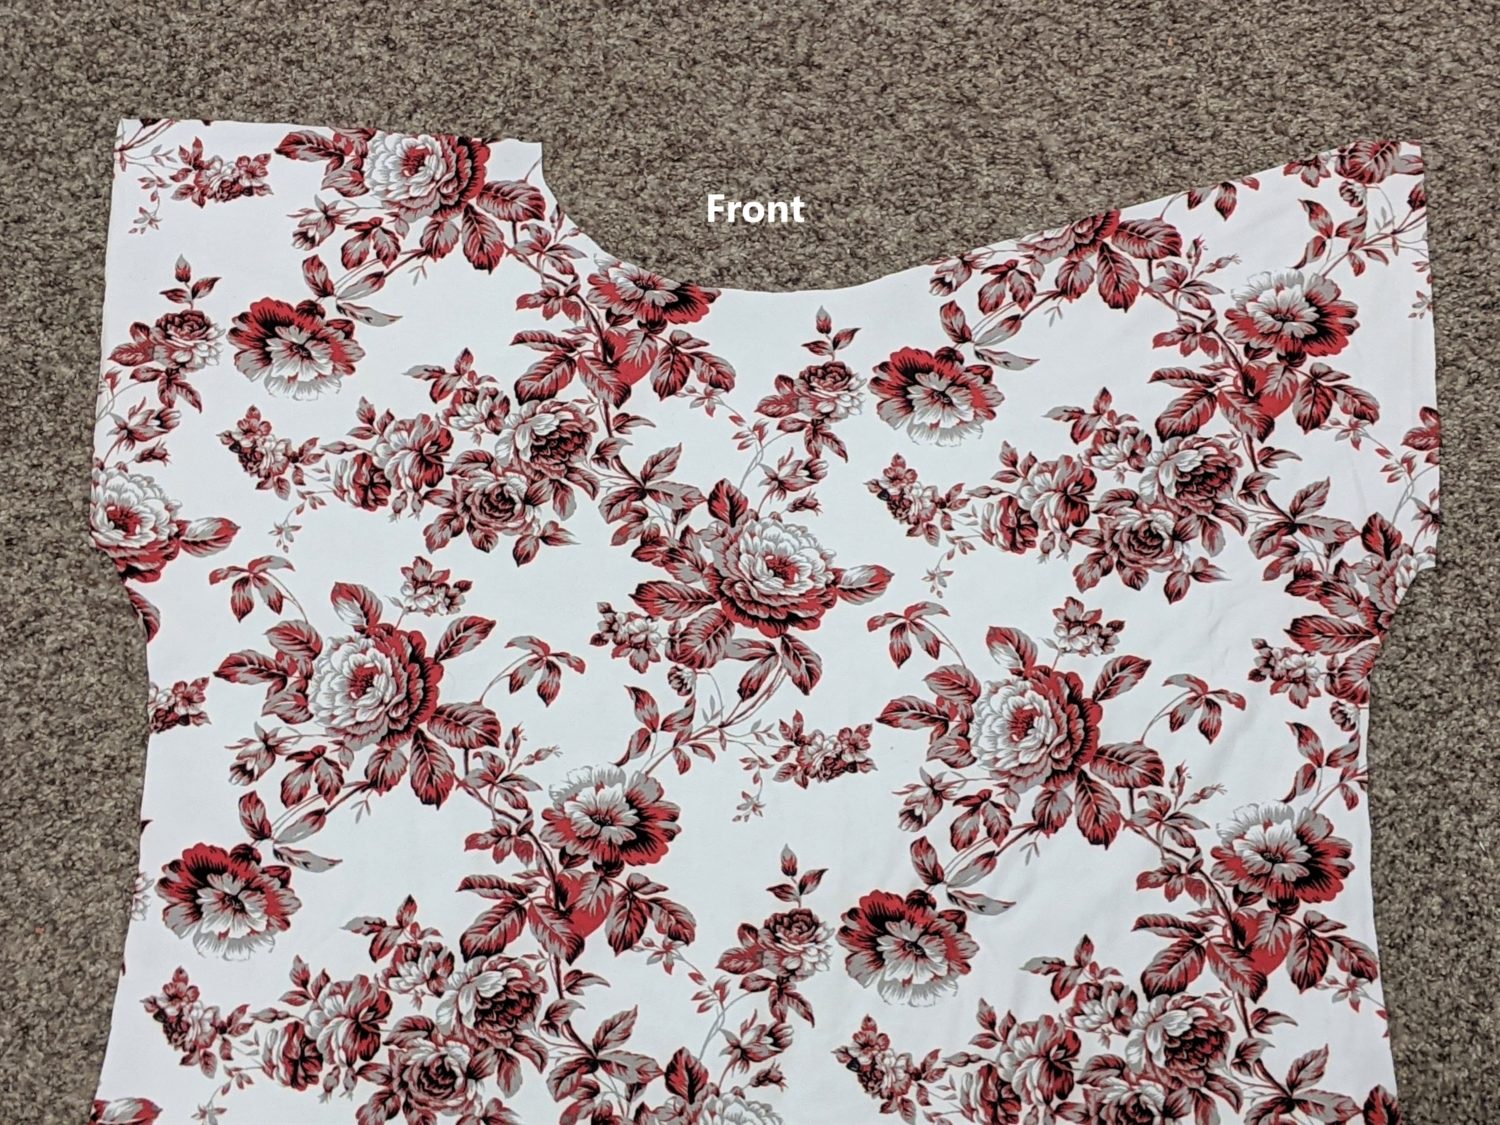
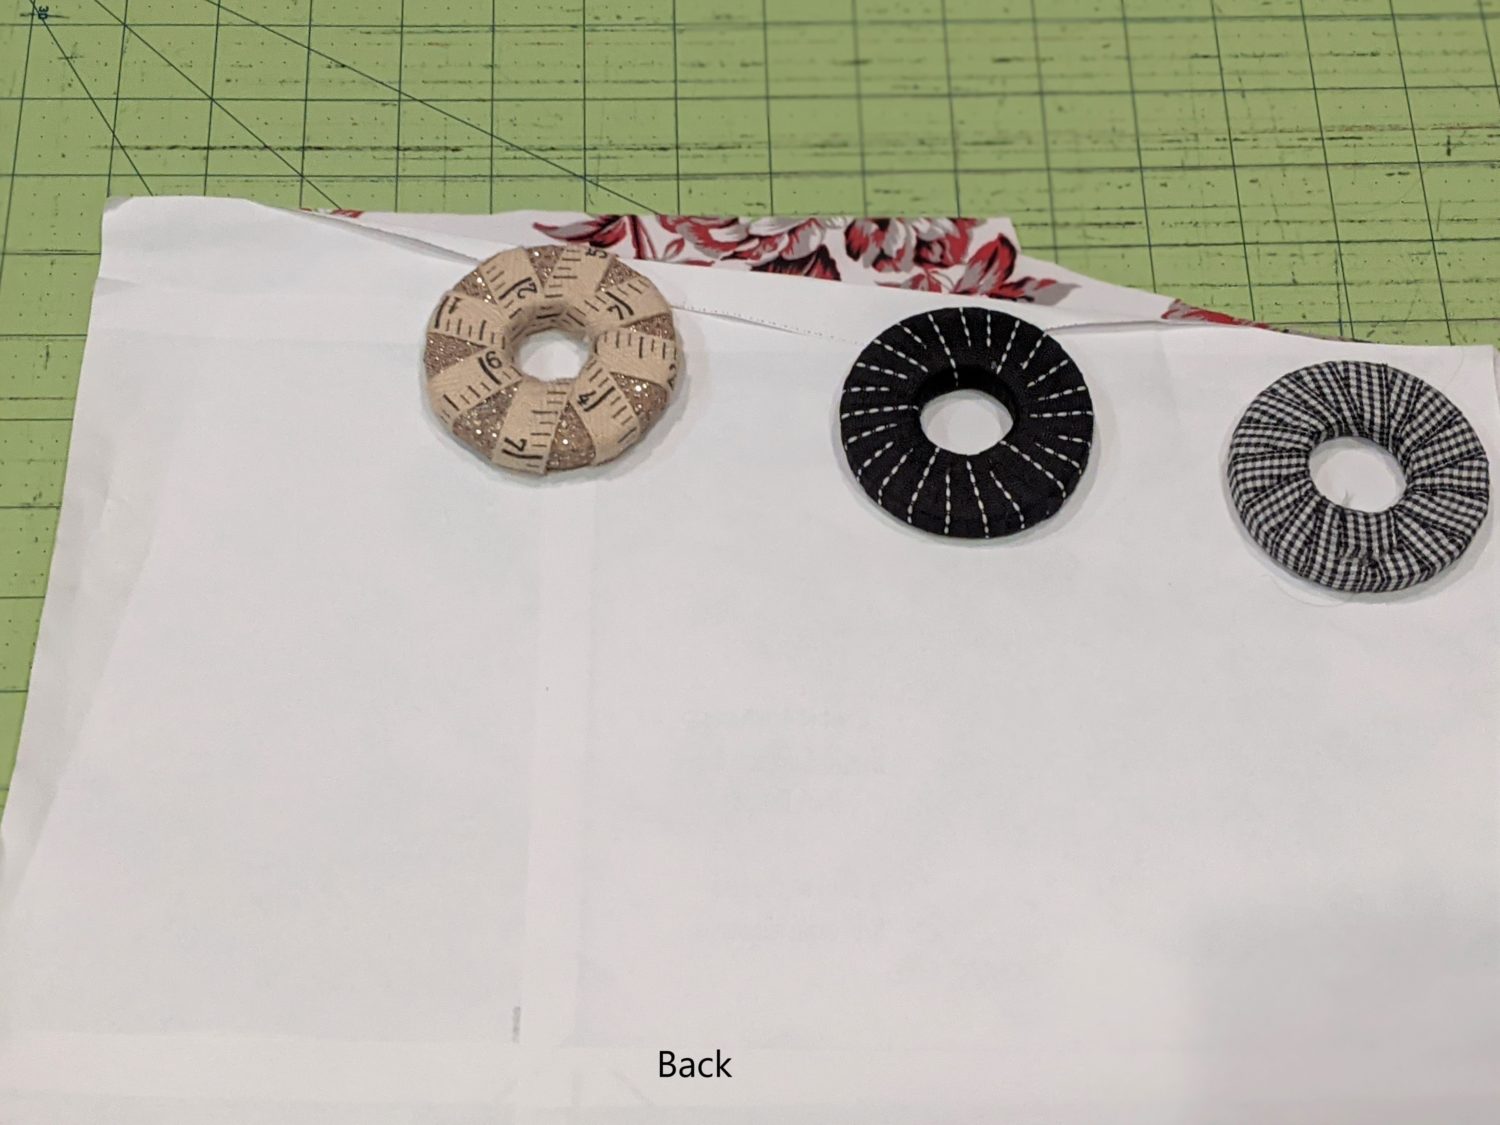
- Lay the bodice pieces right sides together and line up the shoulders. Pin along the full shoulder seam and just the outer 1.5” of the sloped shoulder.
- Sew the shoulder seams.

Neckband
Measure and Cut:
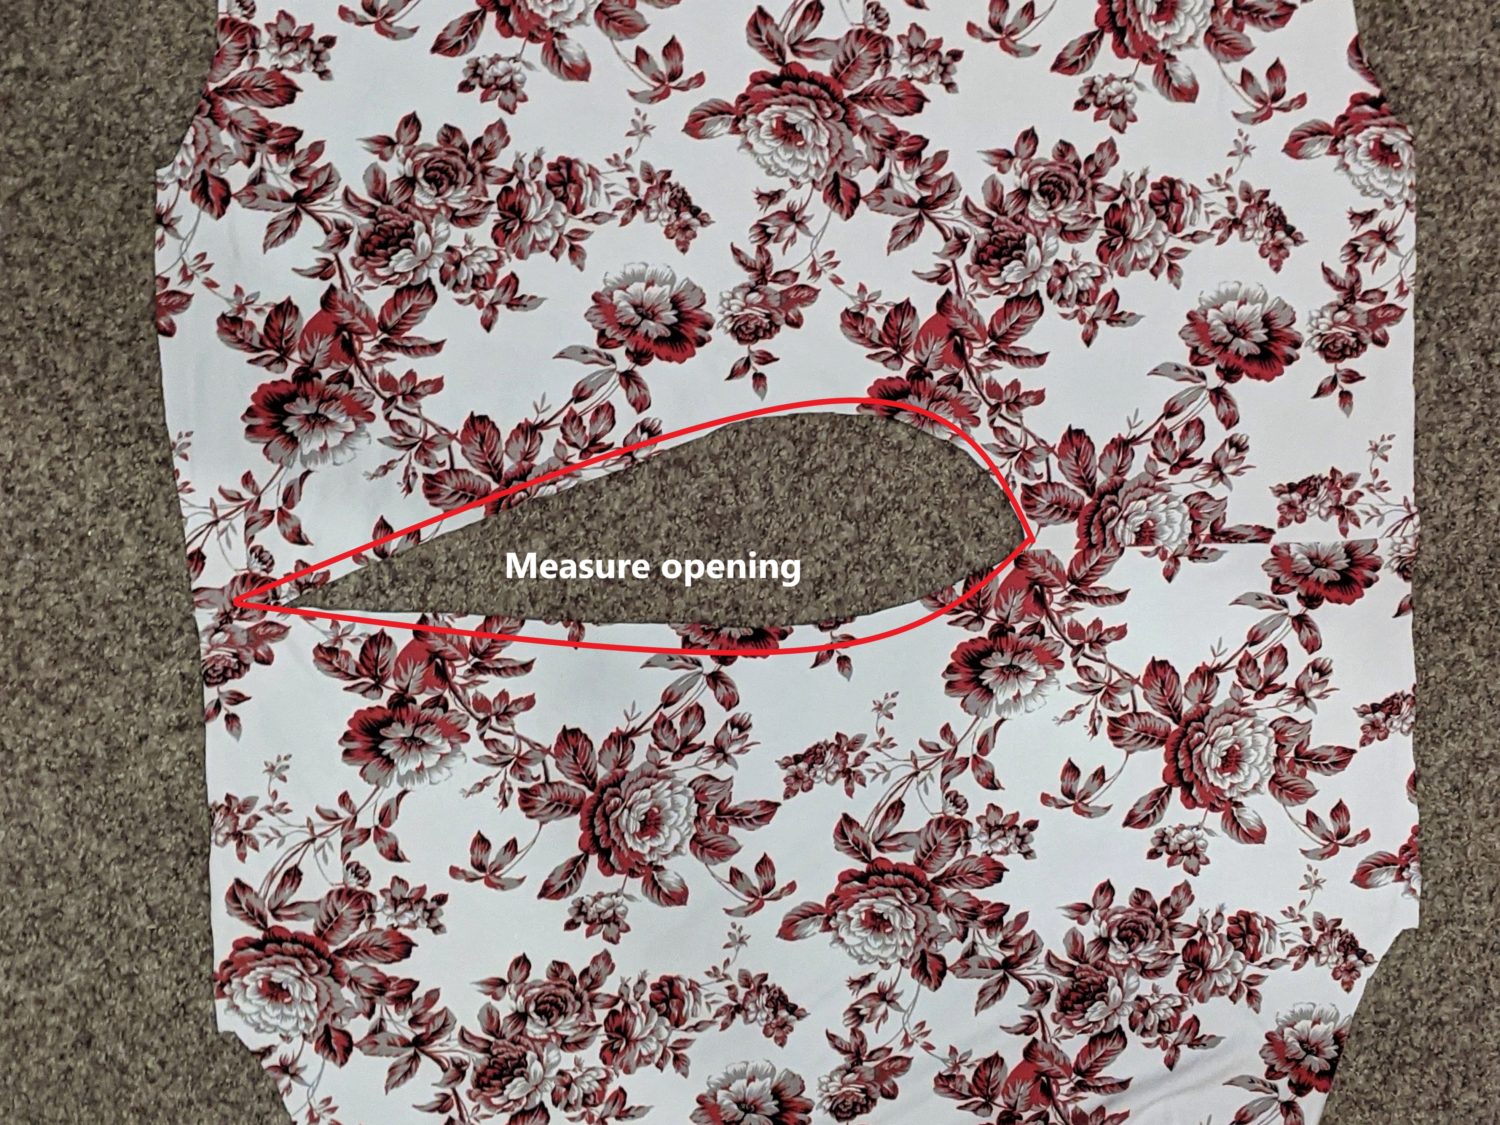
- Lay the bodice out flat and measure around the full neck opening. (Mine is 39”)
- Multiply that measurement by 90% (Mine is 35.1” and I rounded down to 35”)
- Finally, add .75” to that to compensate for the seam allowance and you will have your total neckband width. (35.75”)
- Cut your band to that width by the 2.25” length.
Sew the Neckband:
- Fold the neckband in half lengthwise with right sides together.
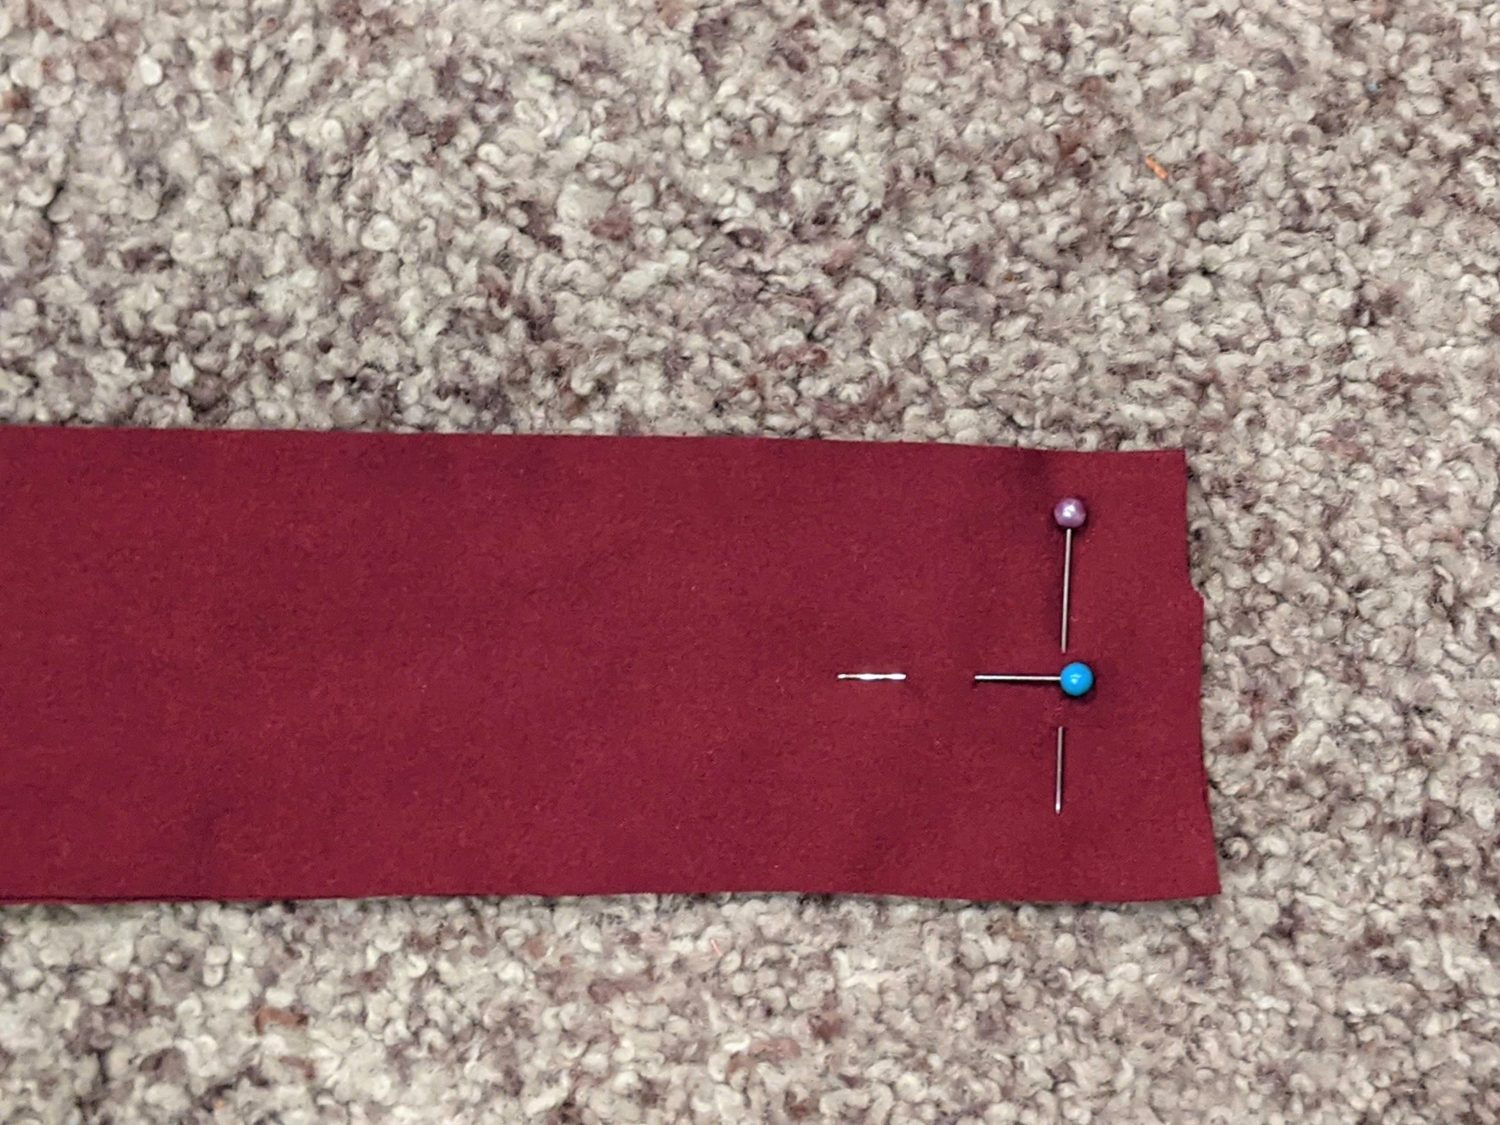
- Find the center of the short end, and measure in ⅜”, and mark.
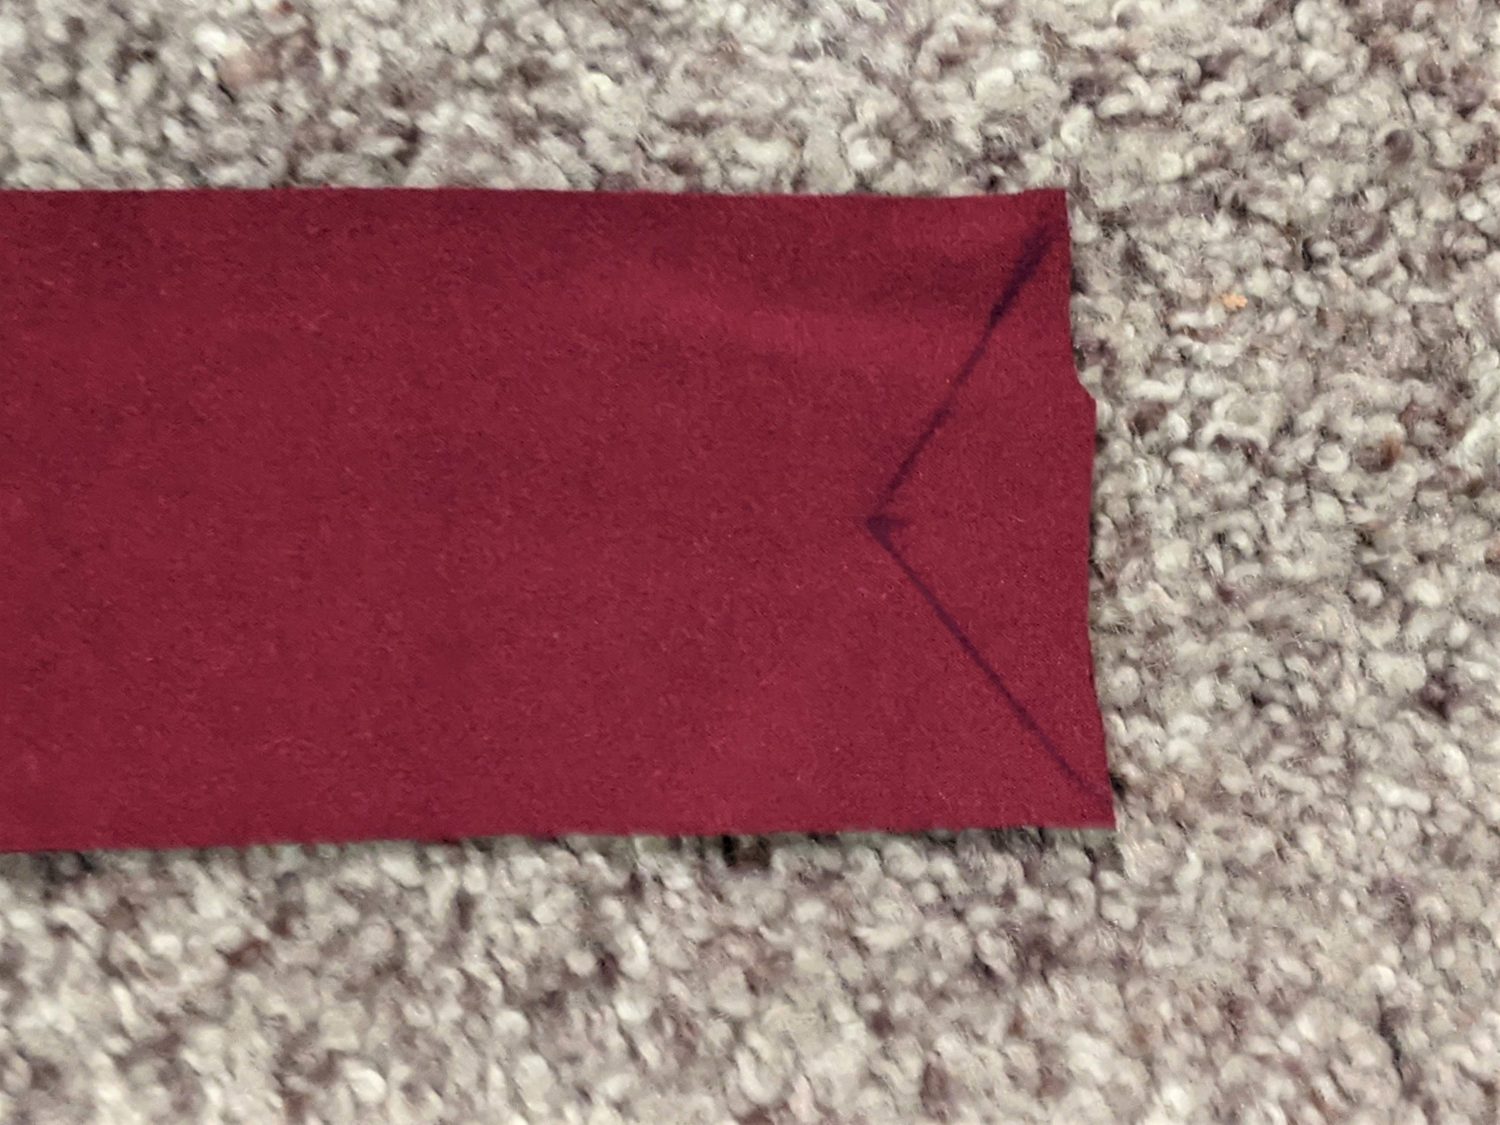
- Draw a straight line from that point up to each outer edge.
- Cut out the drawn triangle.
- Sew the “V” of the band with a ¼” seam allowance, stopping at the point, lifting and pivoting the presser foot then continue up to the other edge.
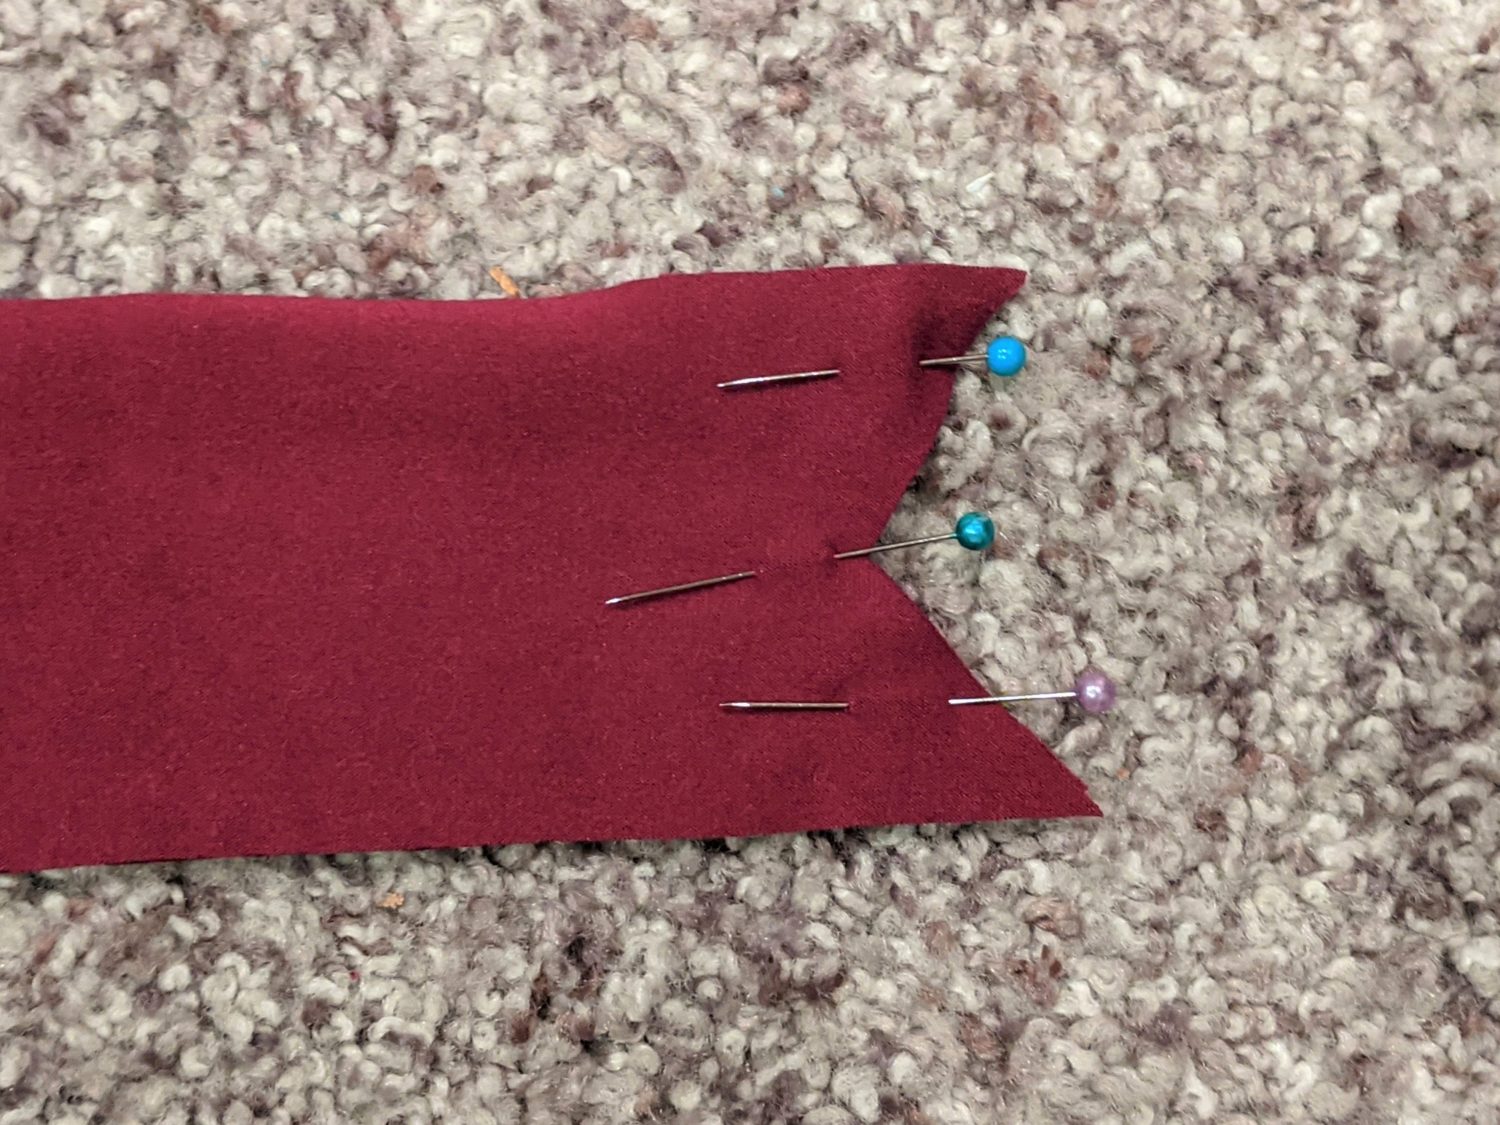
- Clip the seam allowance at the “V” up to the stitches but not through them.
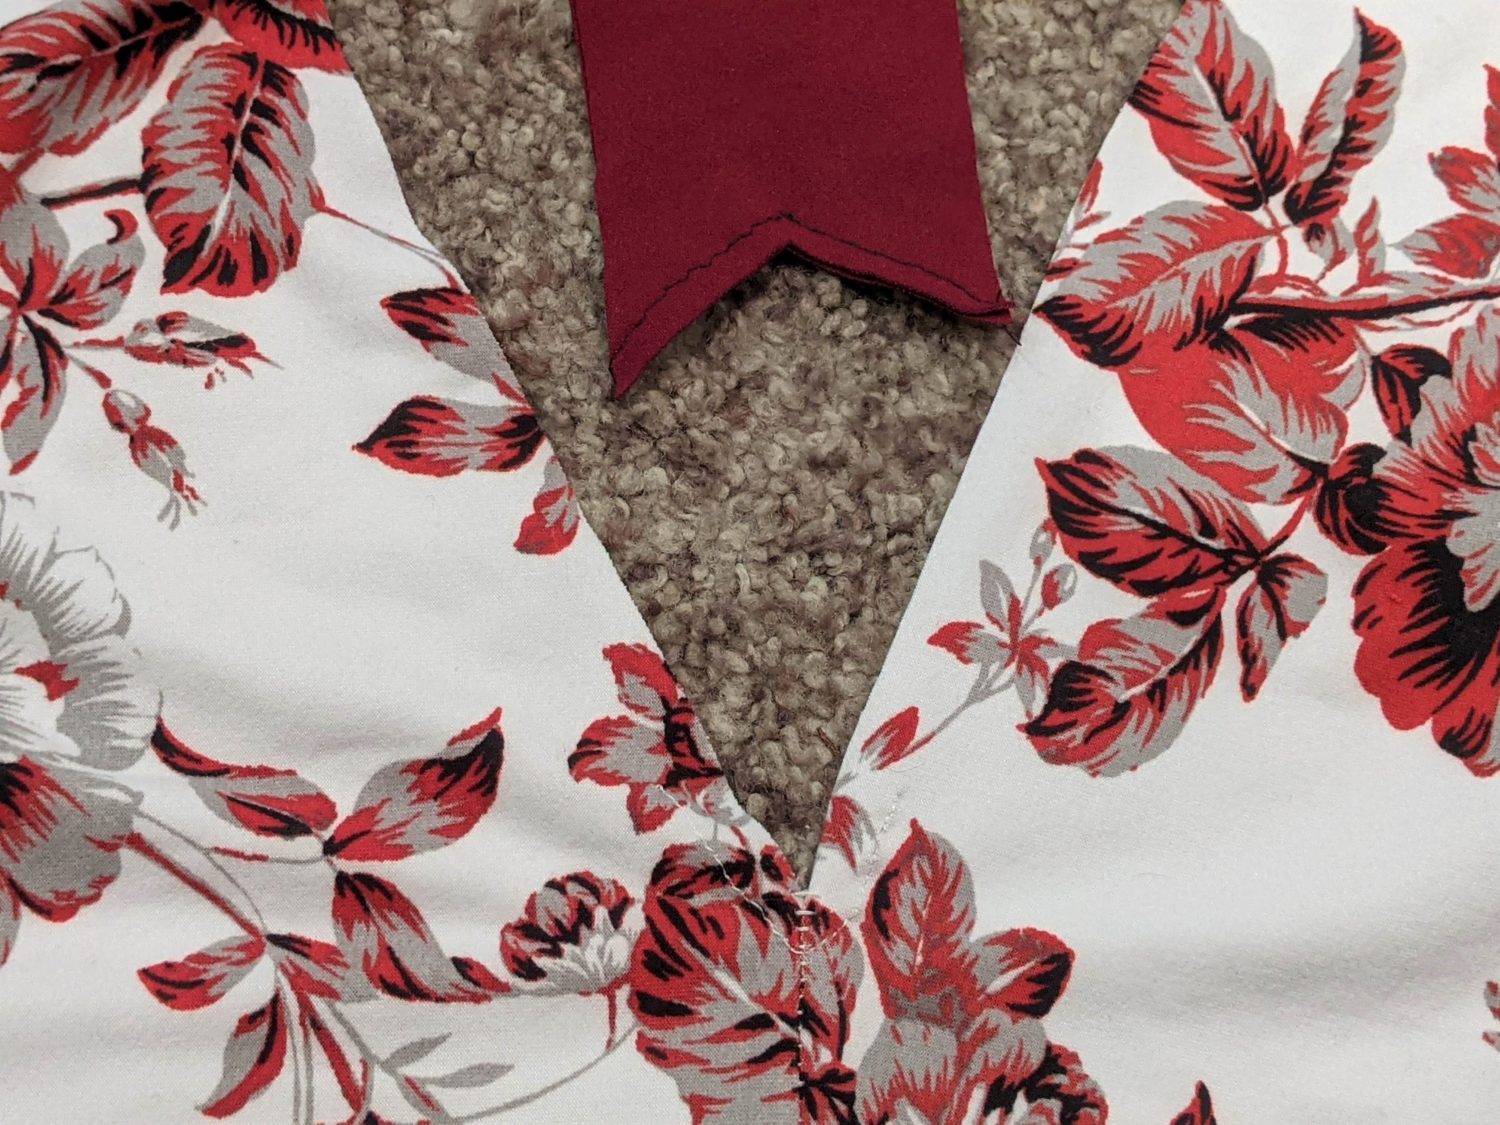
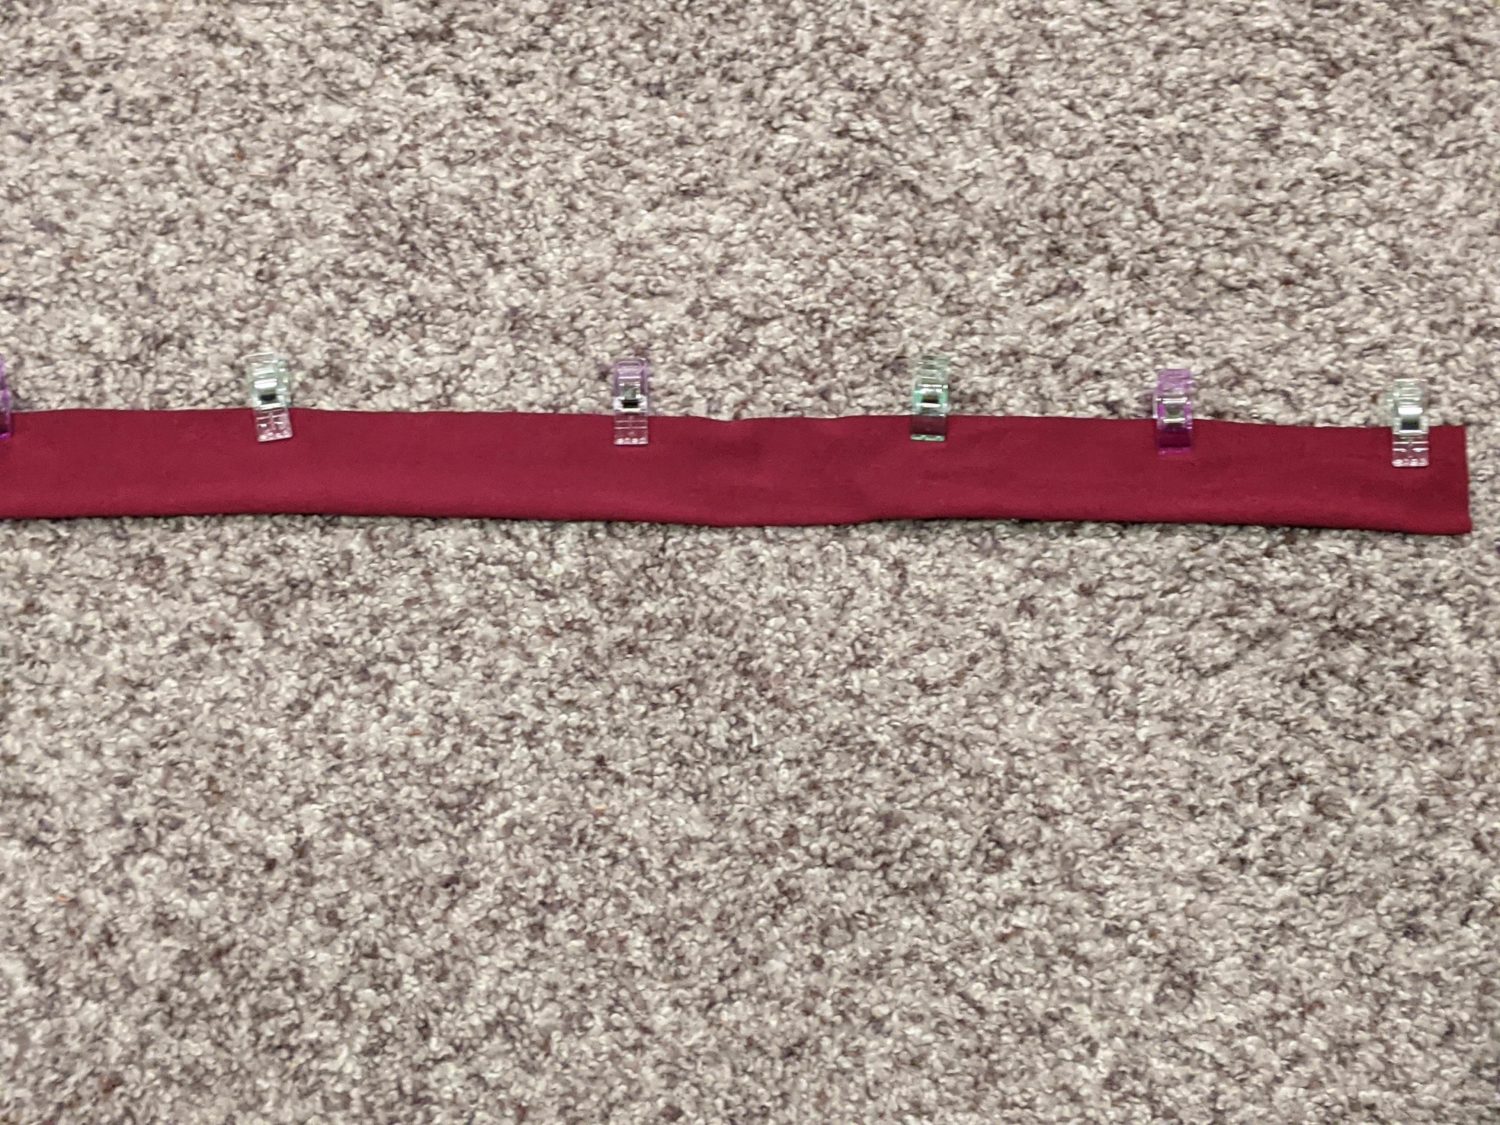
- Press the seam allowance open, then fold the band in half wrong sides together, and press.
- Pin the point of the “V” and mark the other three quarter points.
- On the bodice neckline, sew a straight basting stitch 1” up either side of the sloped shoulder seam with a ¼” seam allowance.
- Mark the quarter points of the neckline with the sloped shoulder seam as one point.
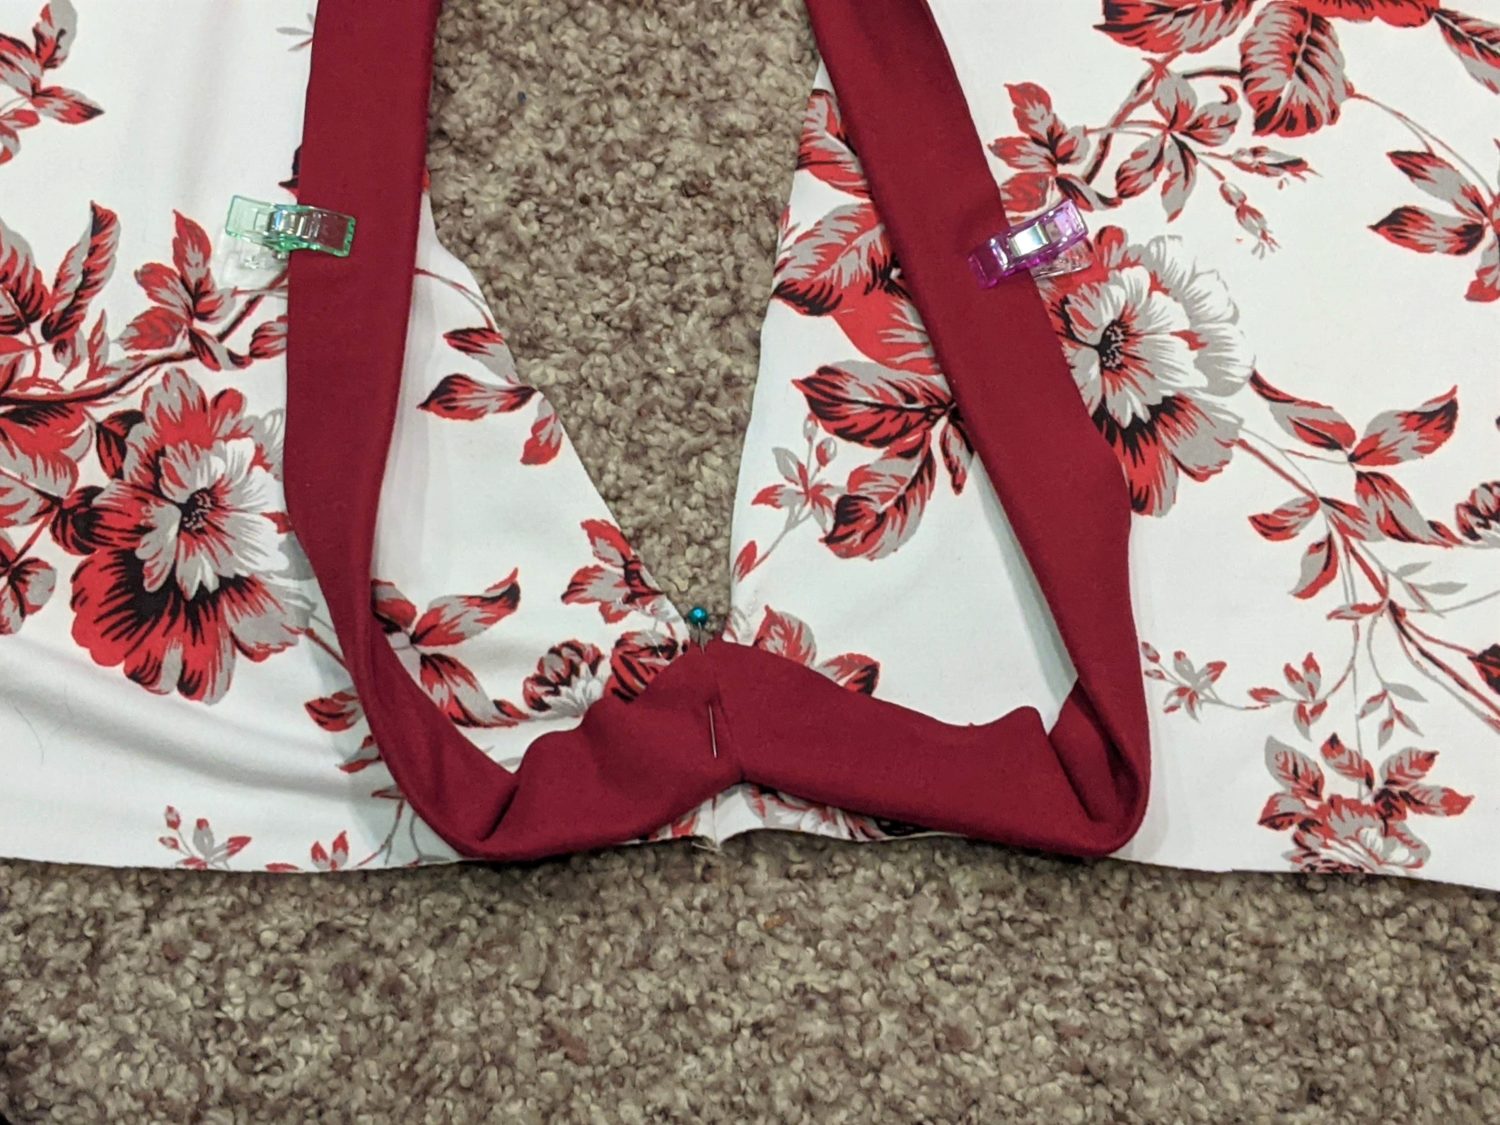
- Pin the neckband point of the “v” to the seam allowance of the sloped shoulder. Bast the “V” in place.
- Check your work and make any adjustments if necessary.
- Match up the other quarter points of the band to the bodice with raw edges matched up.
- Sew the neckband and press the seam allowance towards the bodice.
Sew the Bodice
- Match up the bodice side seams right sides together and sew.
- If you are adding long sleeves or bands, you can do that now.
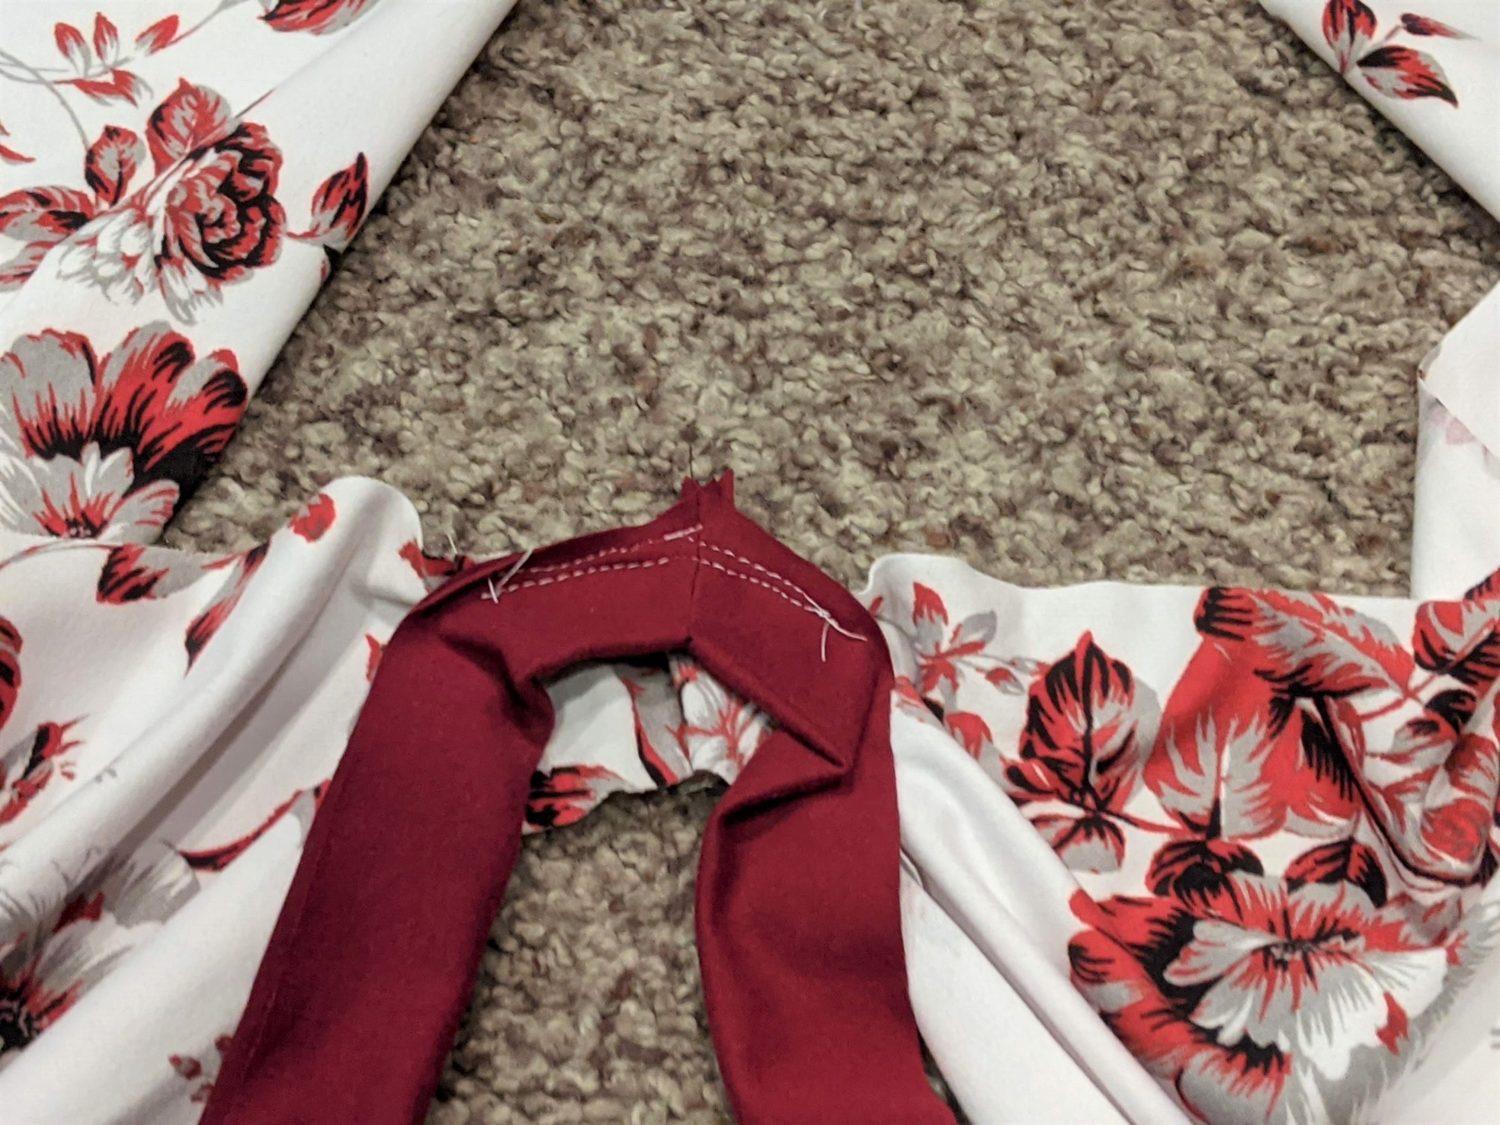
Add the Strap
- Decide how wide you want your strap to be when finished then add in the ¾” seam allowance. Make sure it is going to be long enough to have extra room to adjust it to a good length.
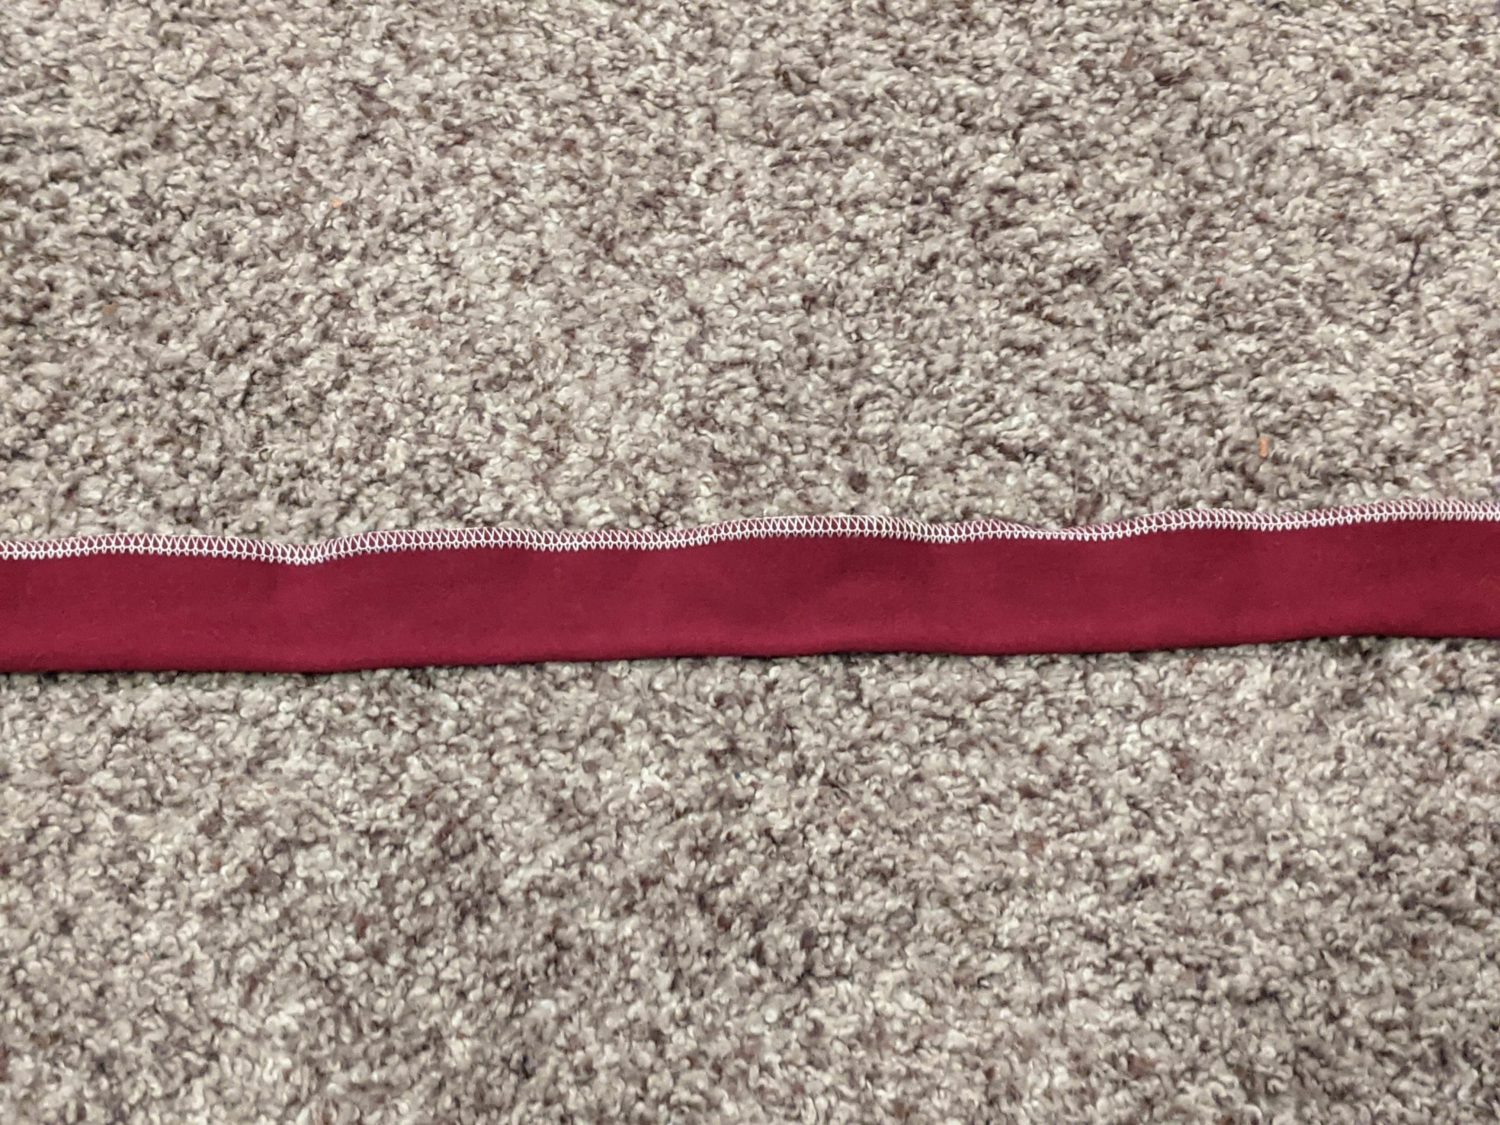
- Fold the strap in half lengthwise right sides together and sew along the raw edge.
- Turn right side out and press well.
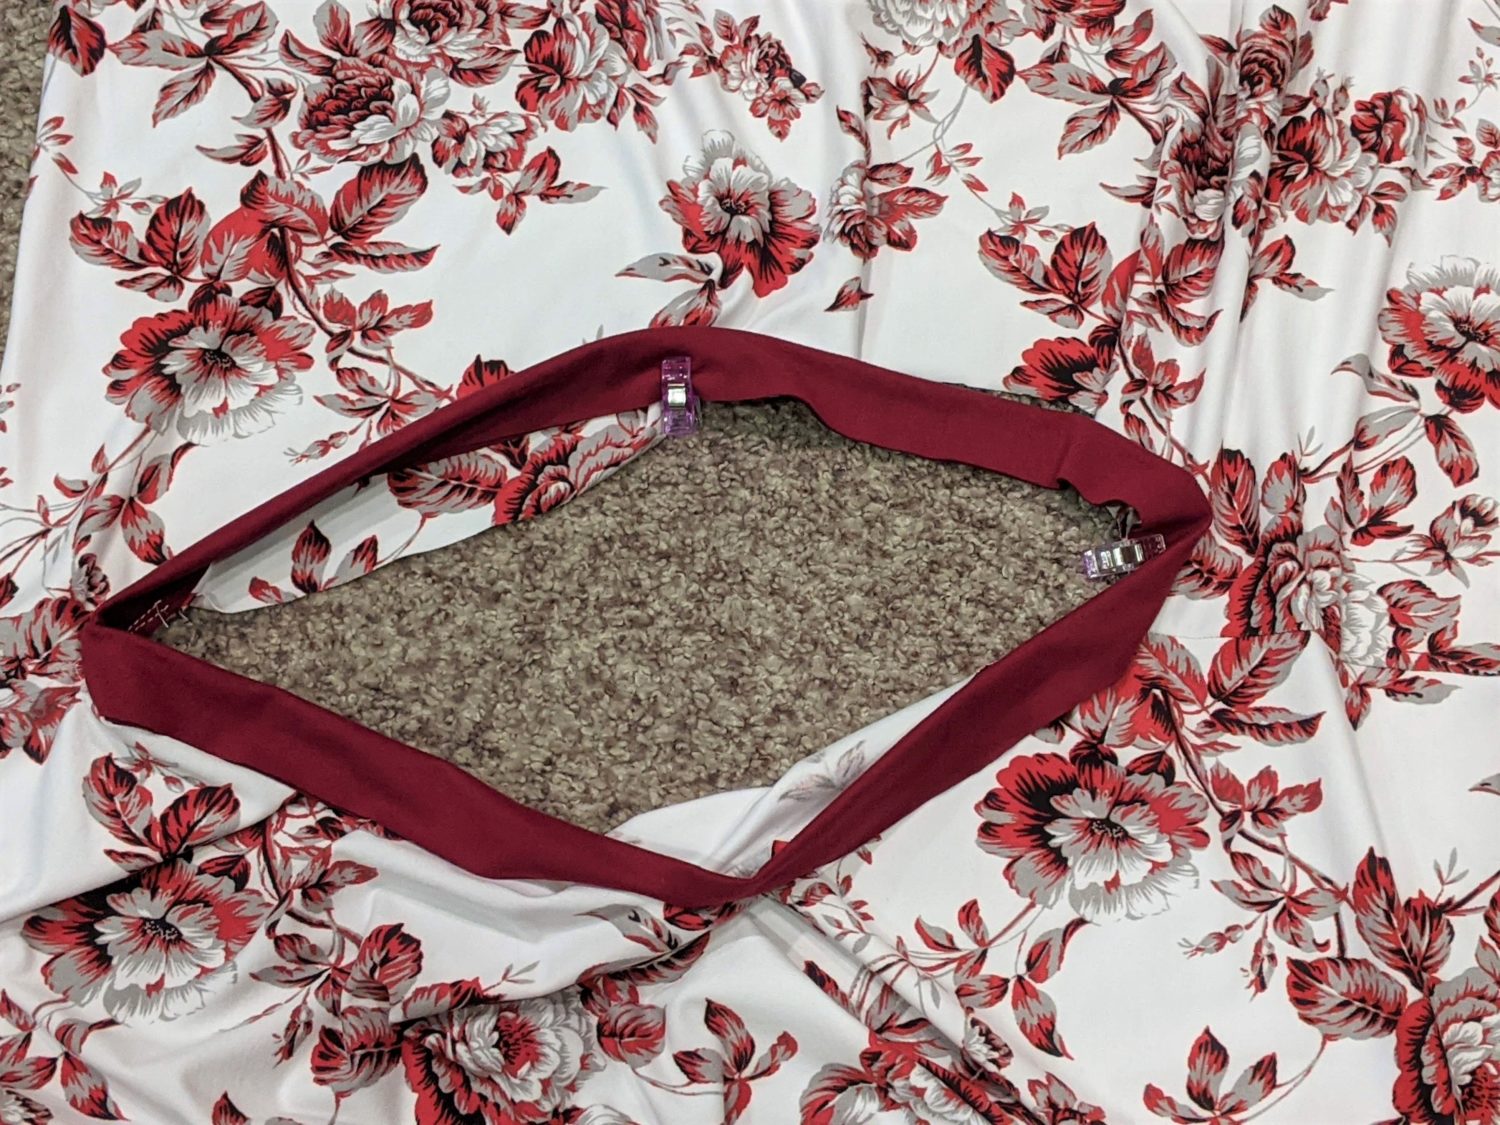
- Pin the back part of the strap inside the neckline along the seam allowance so that it sits comfortably and covers your bra strap.
- Bring the other end to the front inside the neckline just over your bra strap and pin in place along the seam allowance.
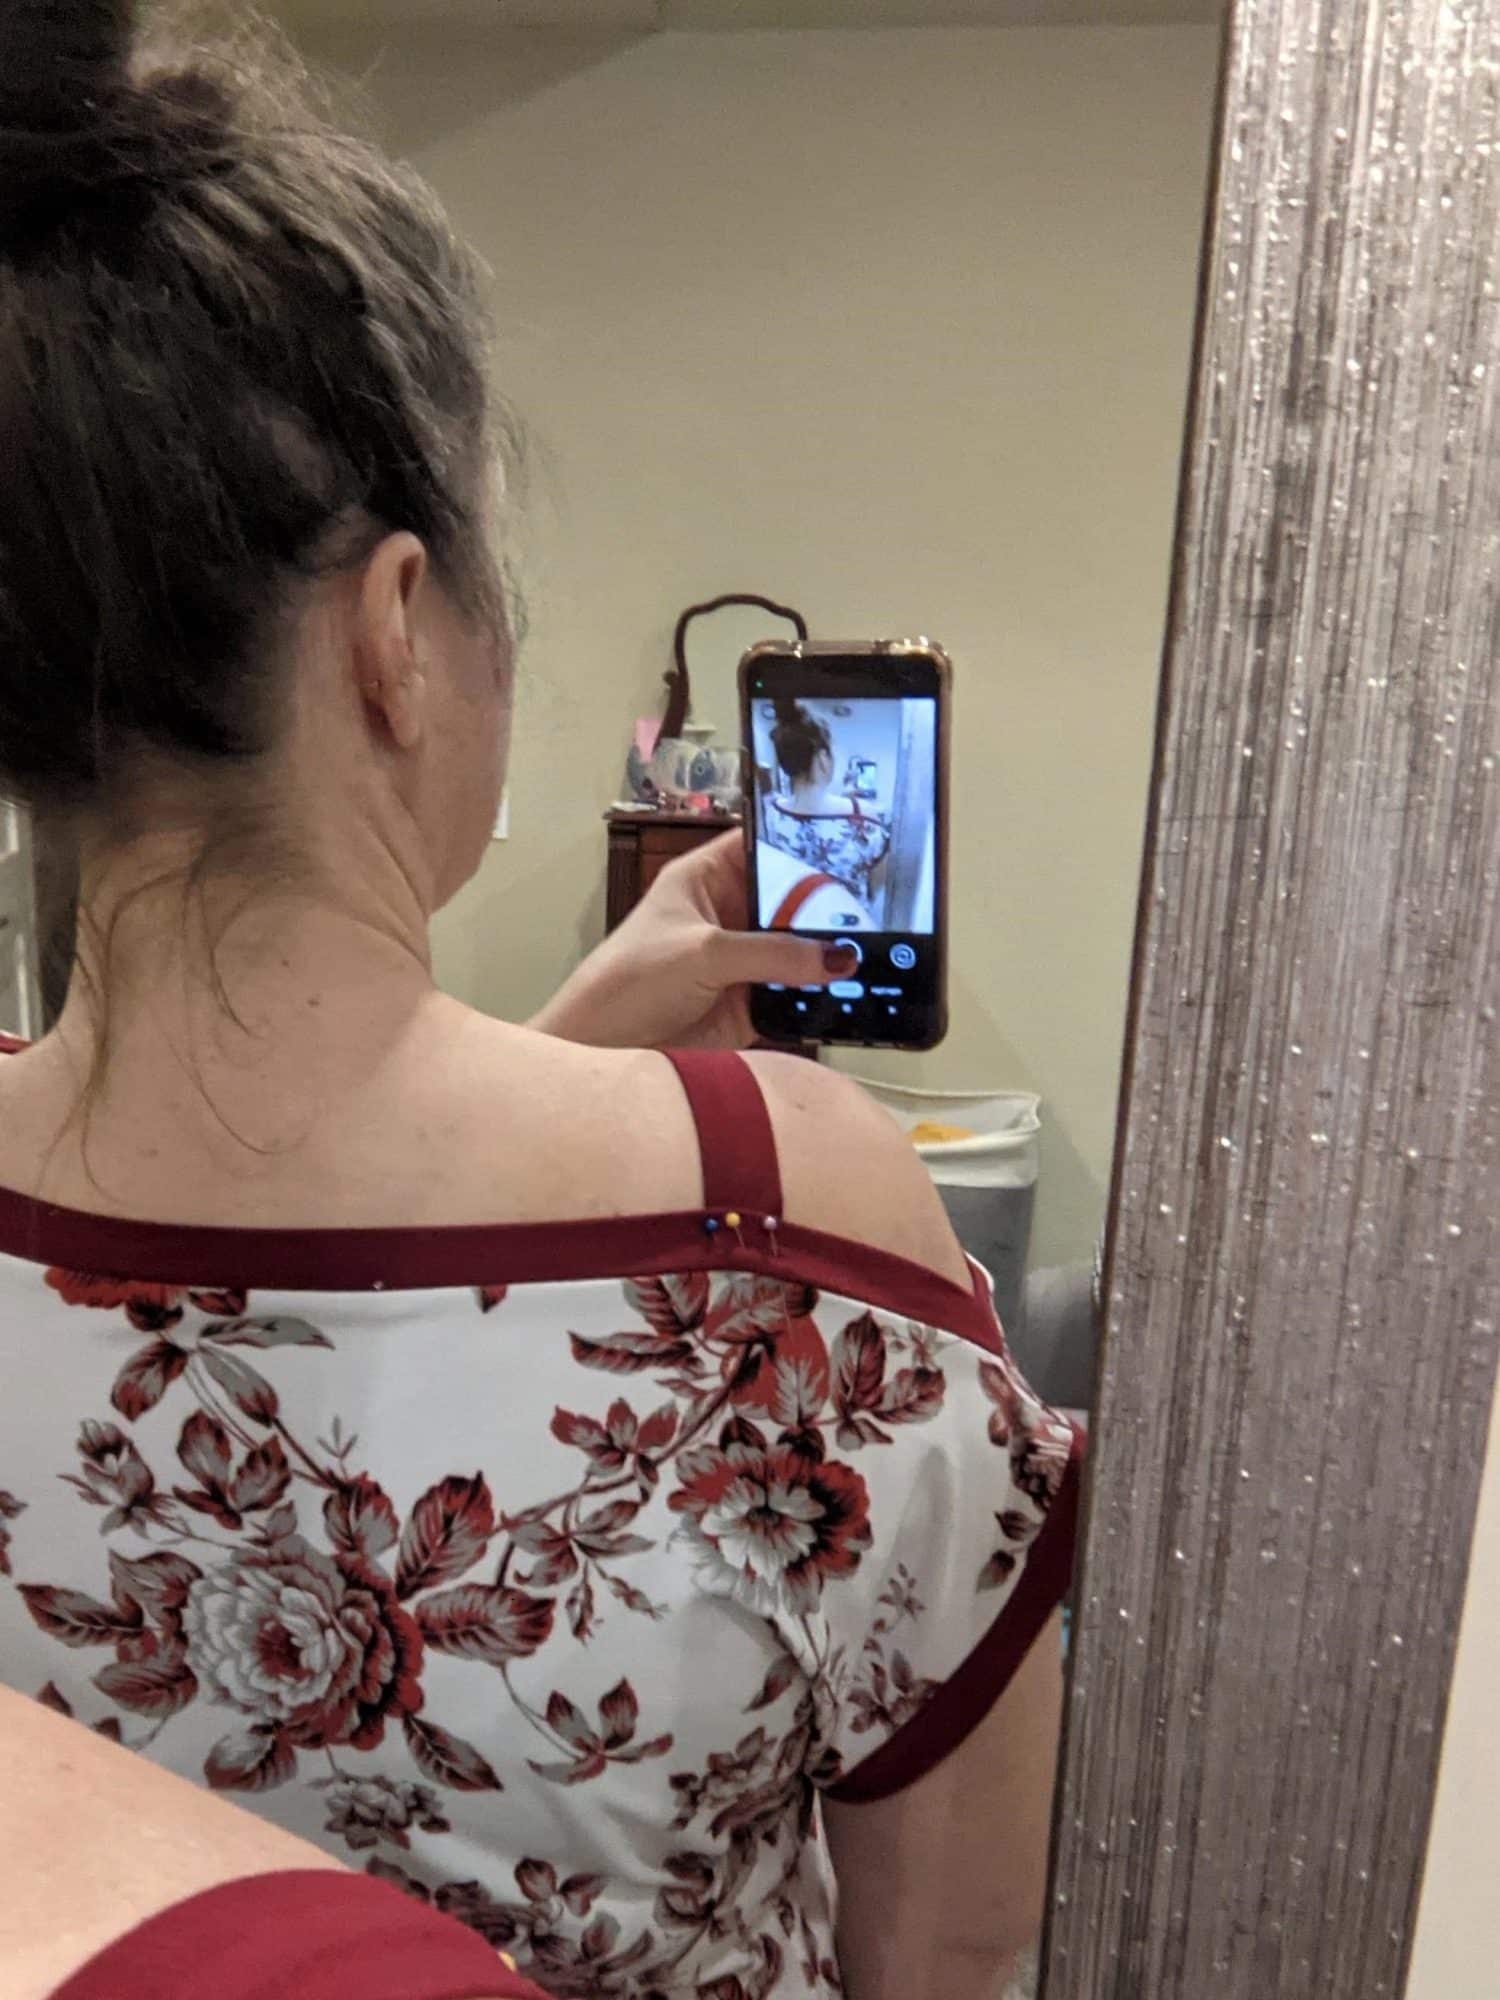
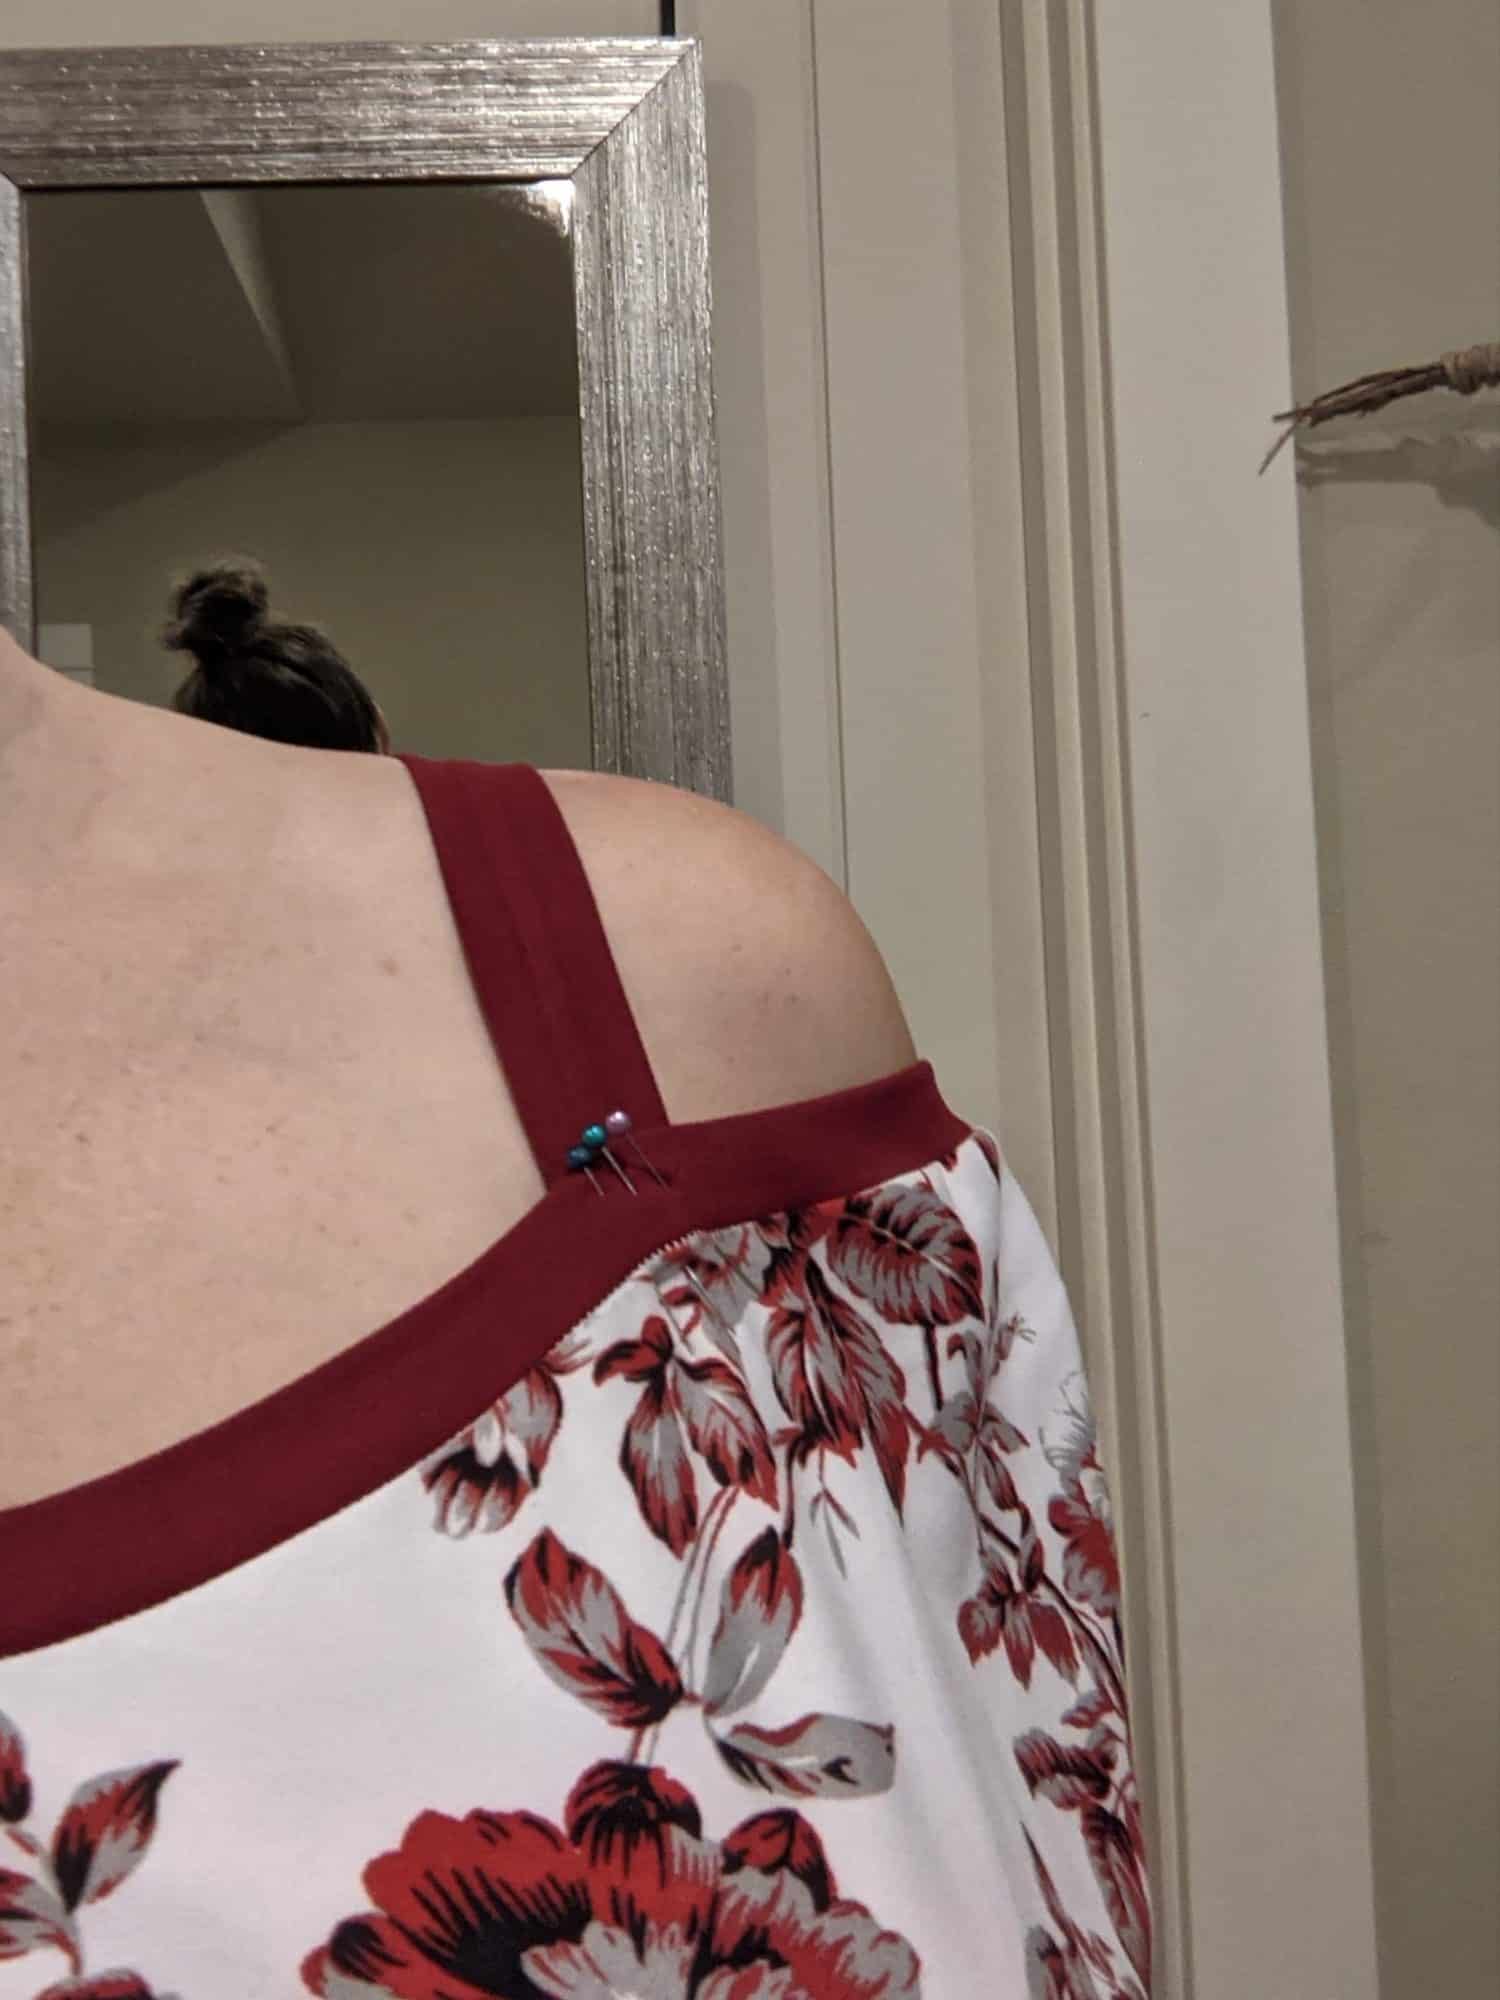
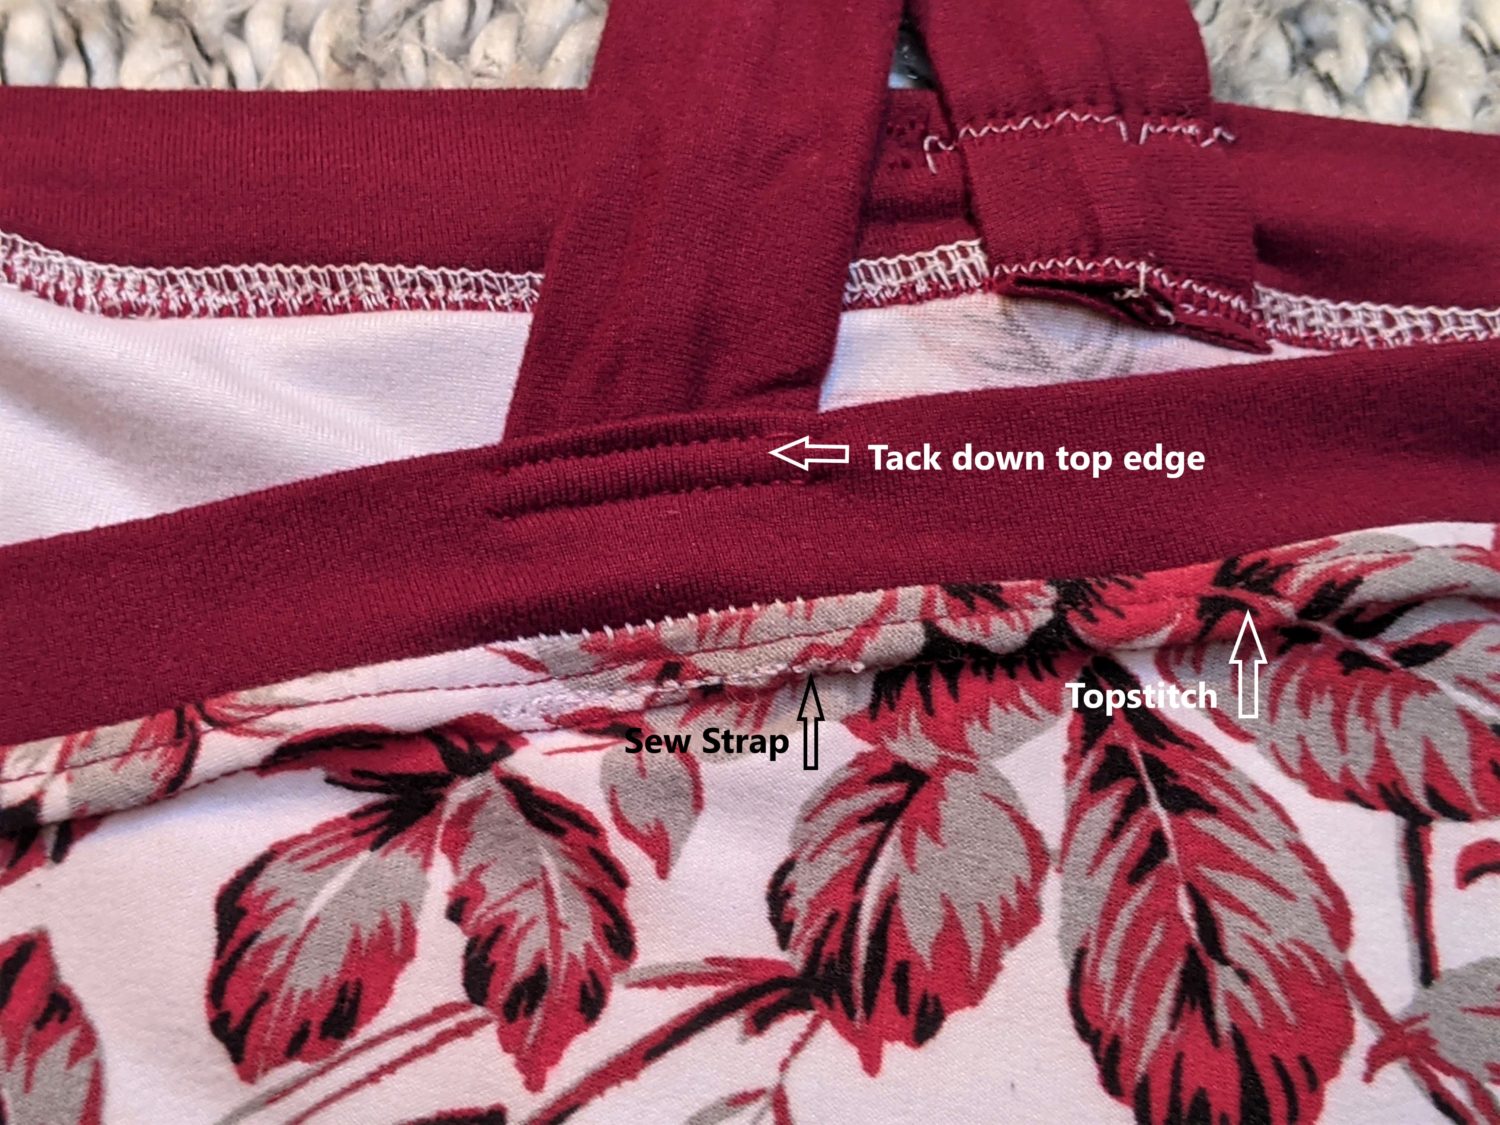
- Sew with a triple stretch stitch or lightning bold stitch along the neckline seam allowance securing the strap. (You can baste it on first to check positioning if you prefer.)
- Once the strap is attached, press the seam allowance well.
- Topstitch the seam allowance. This will give the strap extra security as well.
- You may need to tack the neckband along the top edge to the strap also to keep the neckband from flipping down.
You are ready to go show off your new shirt!
Want more FUN DIY Freebies? Check out the FREEBIE TUTORIALS and the FREEBIE PATTERNS!
As always, we’re here to help if you need it! Join us HERE and on Facebook, Instagram, Twitter, Youtube, and Pinterest. We’re everywhere you are.
Leave a Reply