So you love the look of the Riptide Shorties but want a bit more coverage? Here’s how to mash the Riptides and the Ninja Shorts together to make a pair of awesome swim shorts!
First things first, you’ll need the patterns!
Click HERE to get the Riptide Reversible Shorties Pattern.
Click HERE to get the Ninja Pants Pattern (there’s a free code for this one in the Facebook group as well!)
For the swim top patterns, I’ve linked them at the bottom of this post.
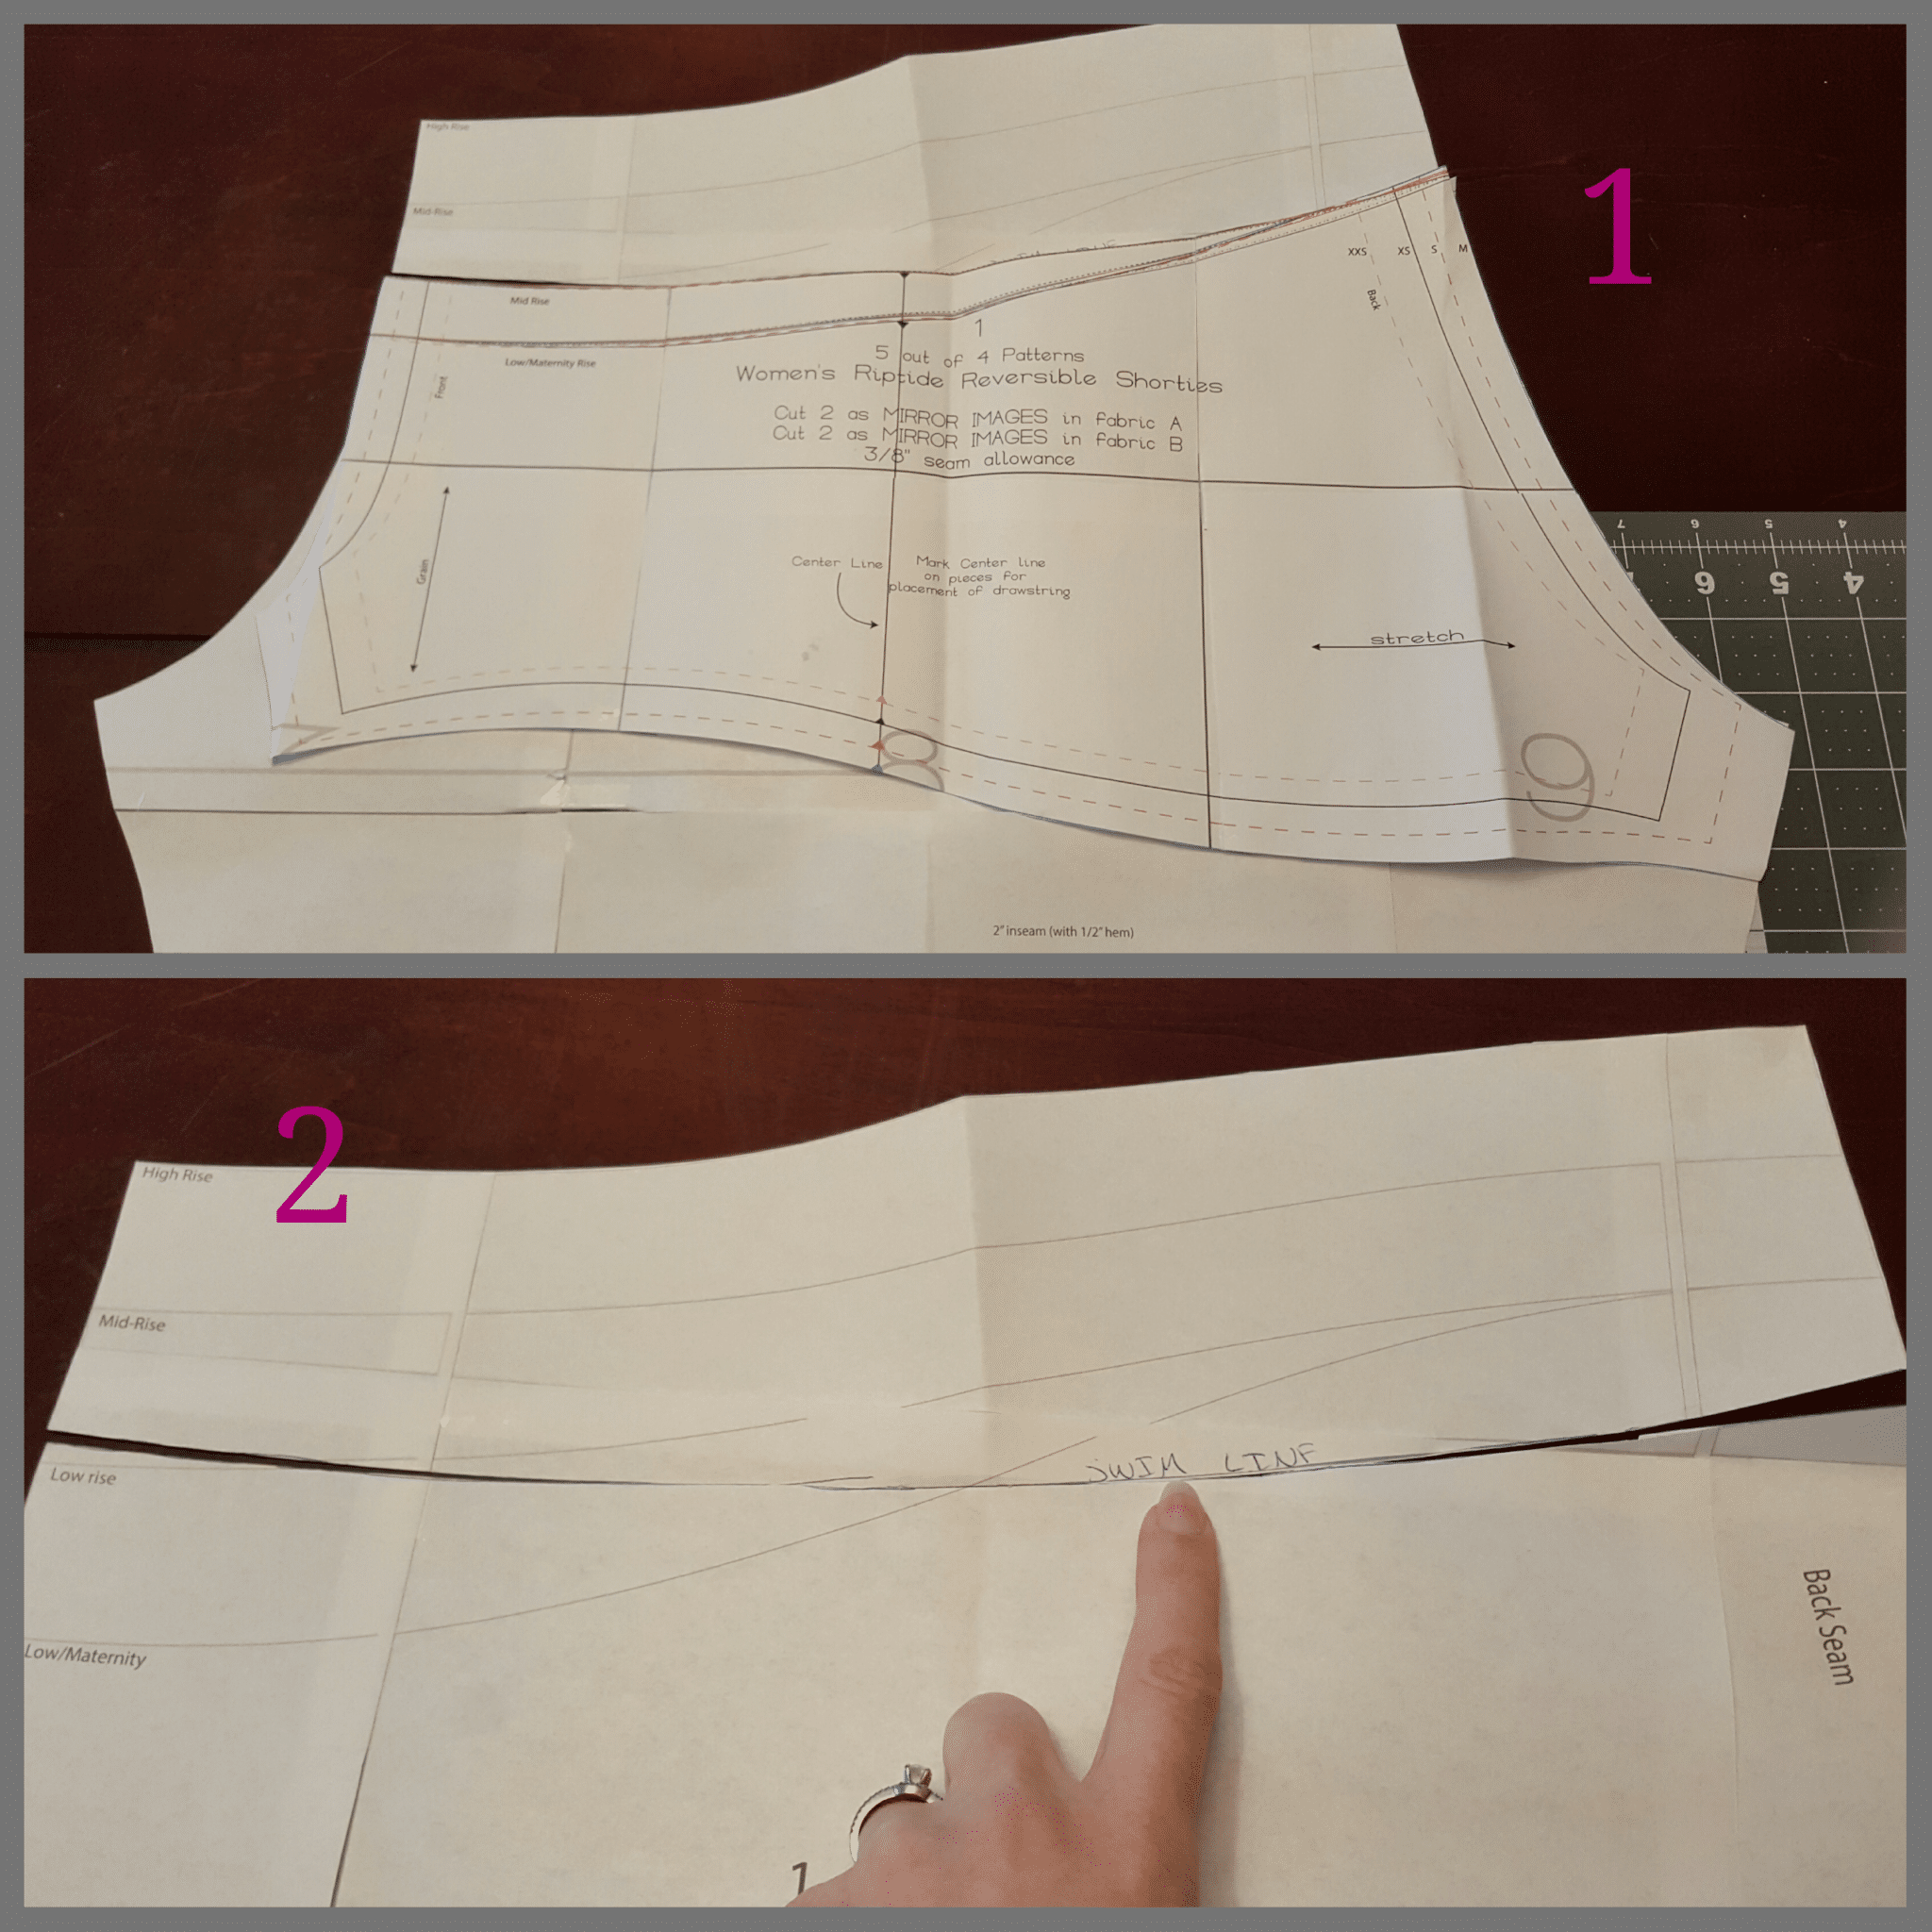 Ok! Got them? Let’s go. Prep both of your patterns (in the same size – mine is a medium). 1) You’re going to lay the Riptides down over the Ninjas. It won’t match up exactly across, but you’ll get pretty close. The low-mid-high rise lines won’t match at all. Don’t worry about the Ninja rise lines. The goal is to trace the Riptide waistband line on to the Ninja pattern. These are the Mid Rise Riptides. 2) After tracing the new Swim Line, remove the Riptide pattern and your Ninja pattern should look like this.
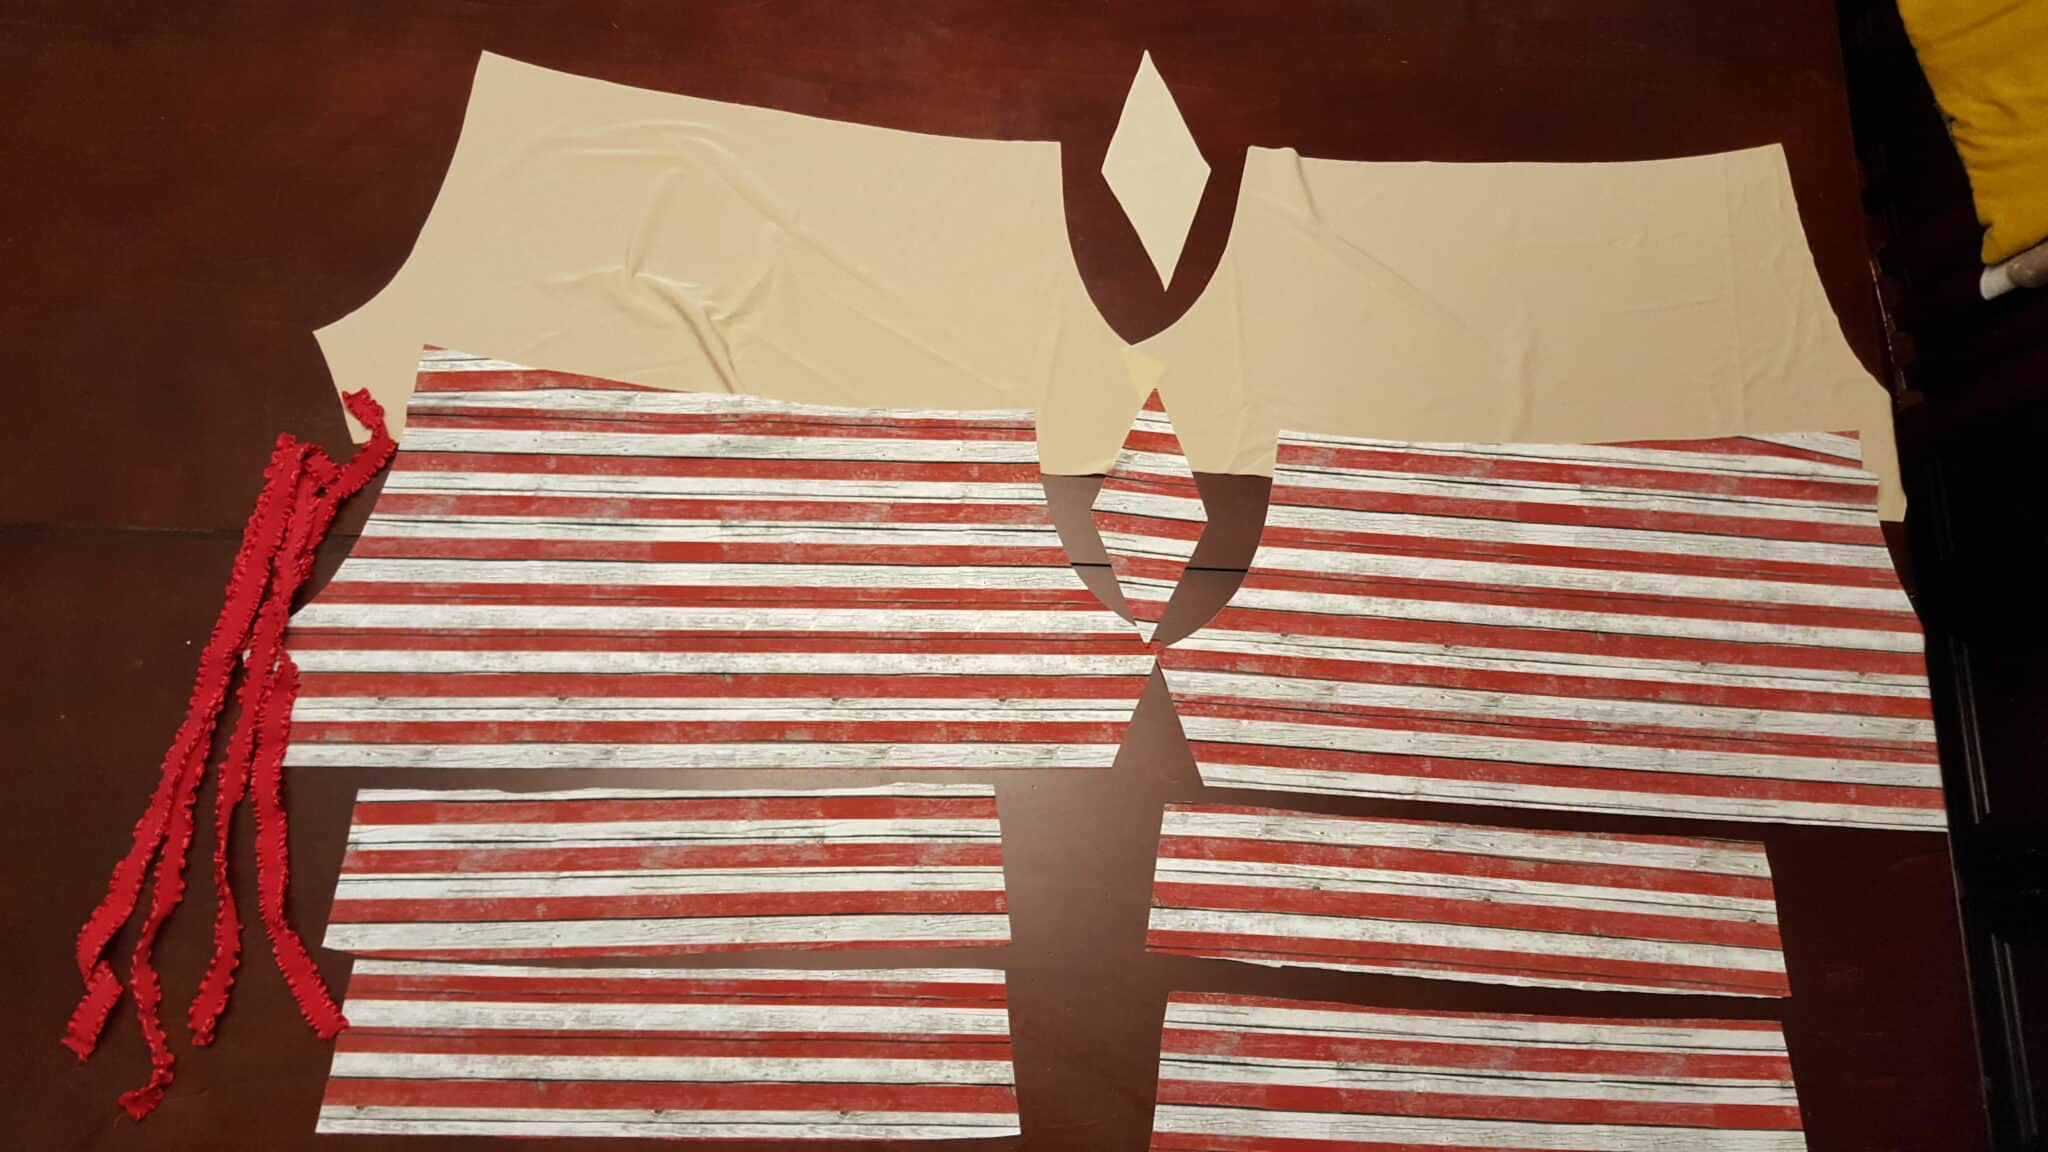
Using your Ninja pattern with the new Swim Line and whatever length you want (I used the 2” shorts length), cut the following:
2 Mirror Image Shorts in main fabric
2 Mirror Image Shorts in lining fabric
1 gusset in main fabric
1 gusset in lining fabric
You are also going to use the waistband pattern piece from the Riptide to cut your 4 waistband pieces and also the drawstring pattern pieces to cut your 4 drawstring pieces (I lengthened mine by 2” to correlate with the extra length on the shorts). Your piece pile should look like this:
CONSTRUCTION:
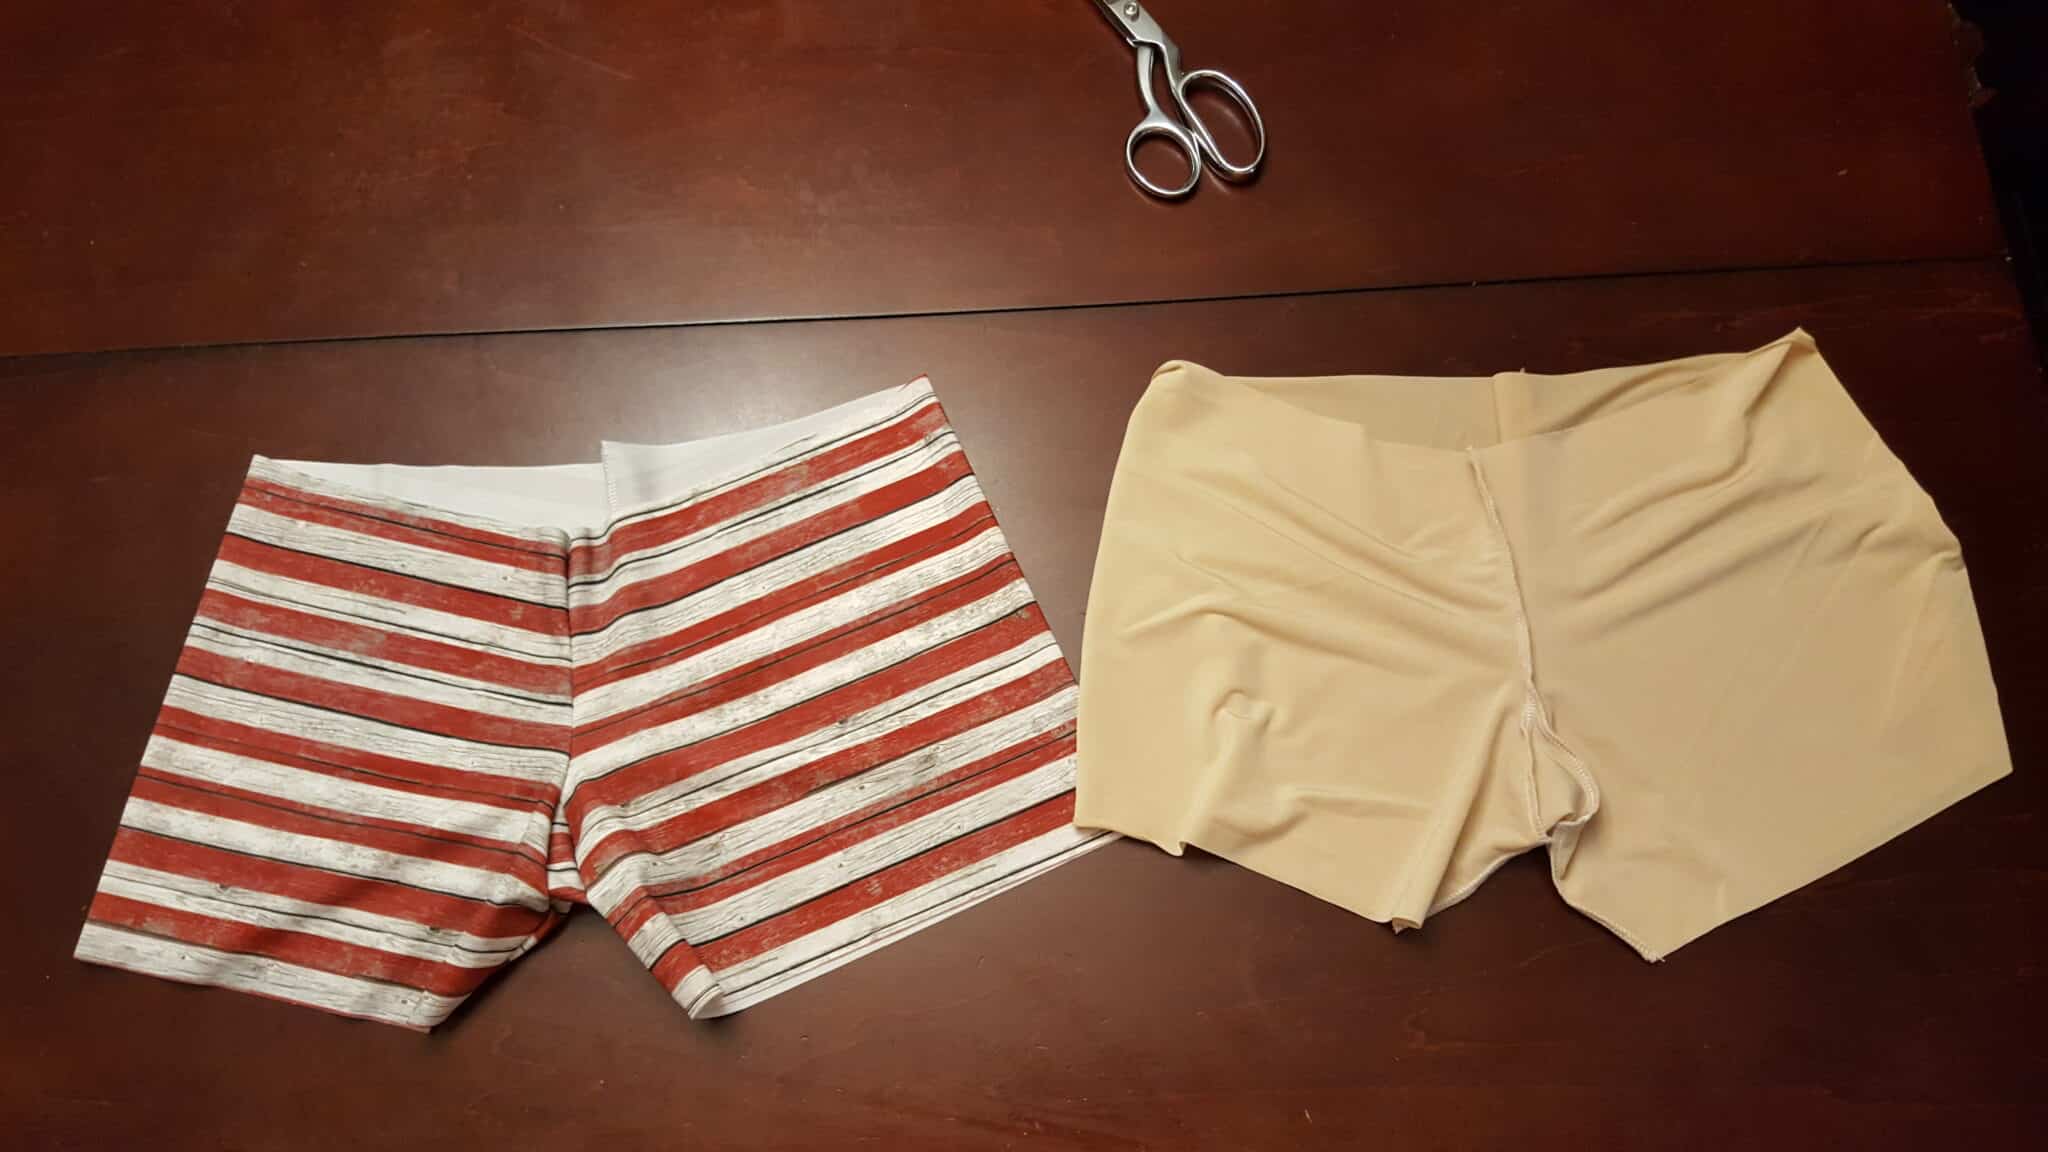
Using the Ninja Instructions, sew together the main shorts and the lining shorts.
With the main shorts right side out and the lining wrong side out, slide the lining inside the main and match up the raw edges. The shorts should be wrong sides together so that all the seams are away from your skin. I tried them on at this point to make sure I liked the length. Sew around the raw leg edges with your serger or stretch stitch. This will keep the lining and main layers together when you hem.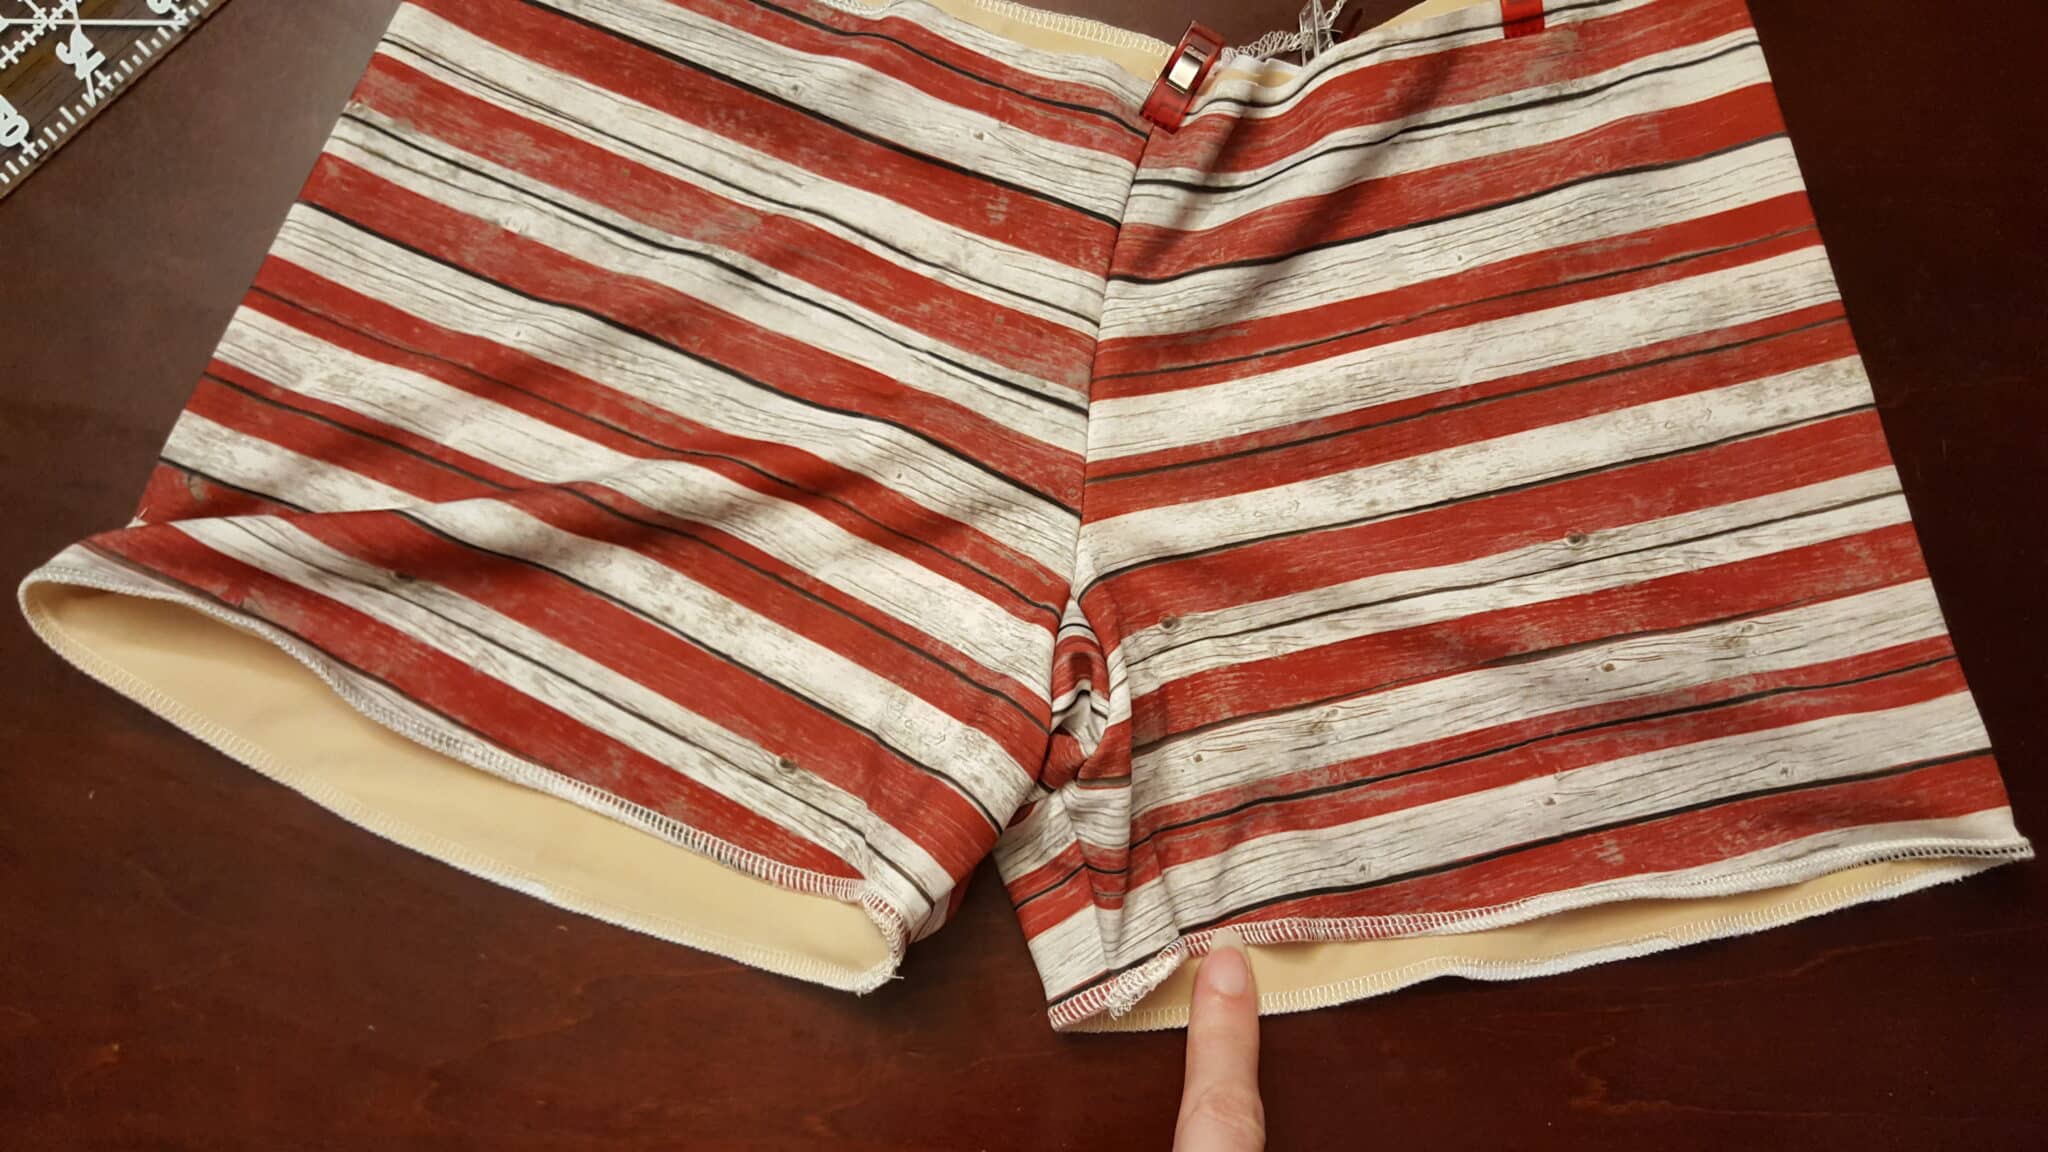
Now go back to your Riptide instructions to mark and stitch your drawstring casings.
Next, hem your legs, top stitching around the leg opening, but not over your drawstring lines. Add your drawstrings.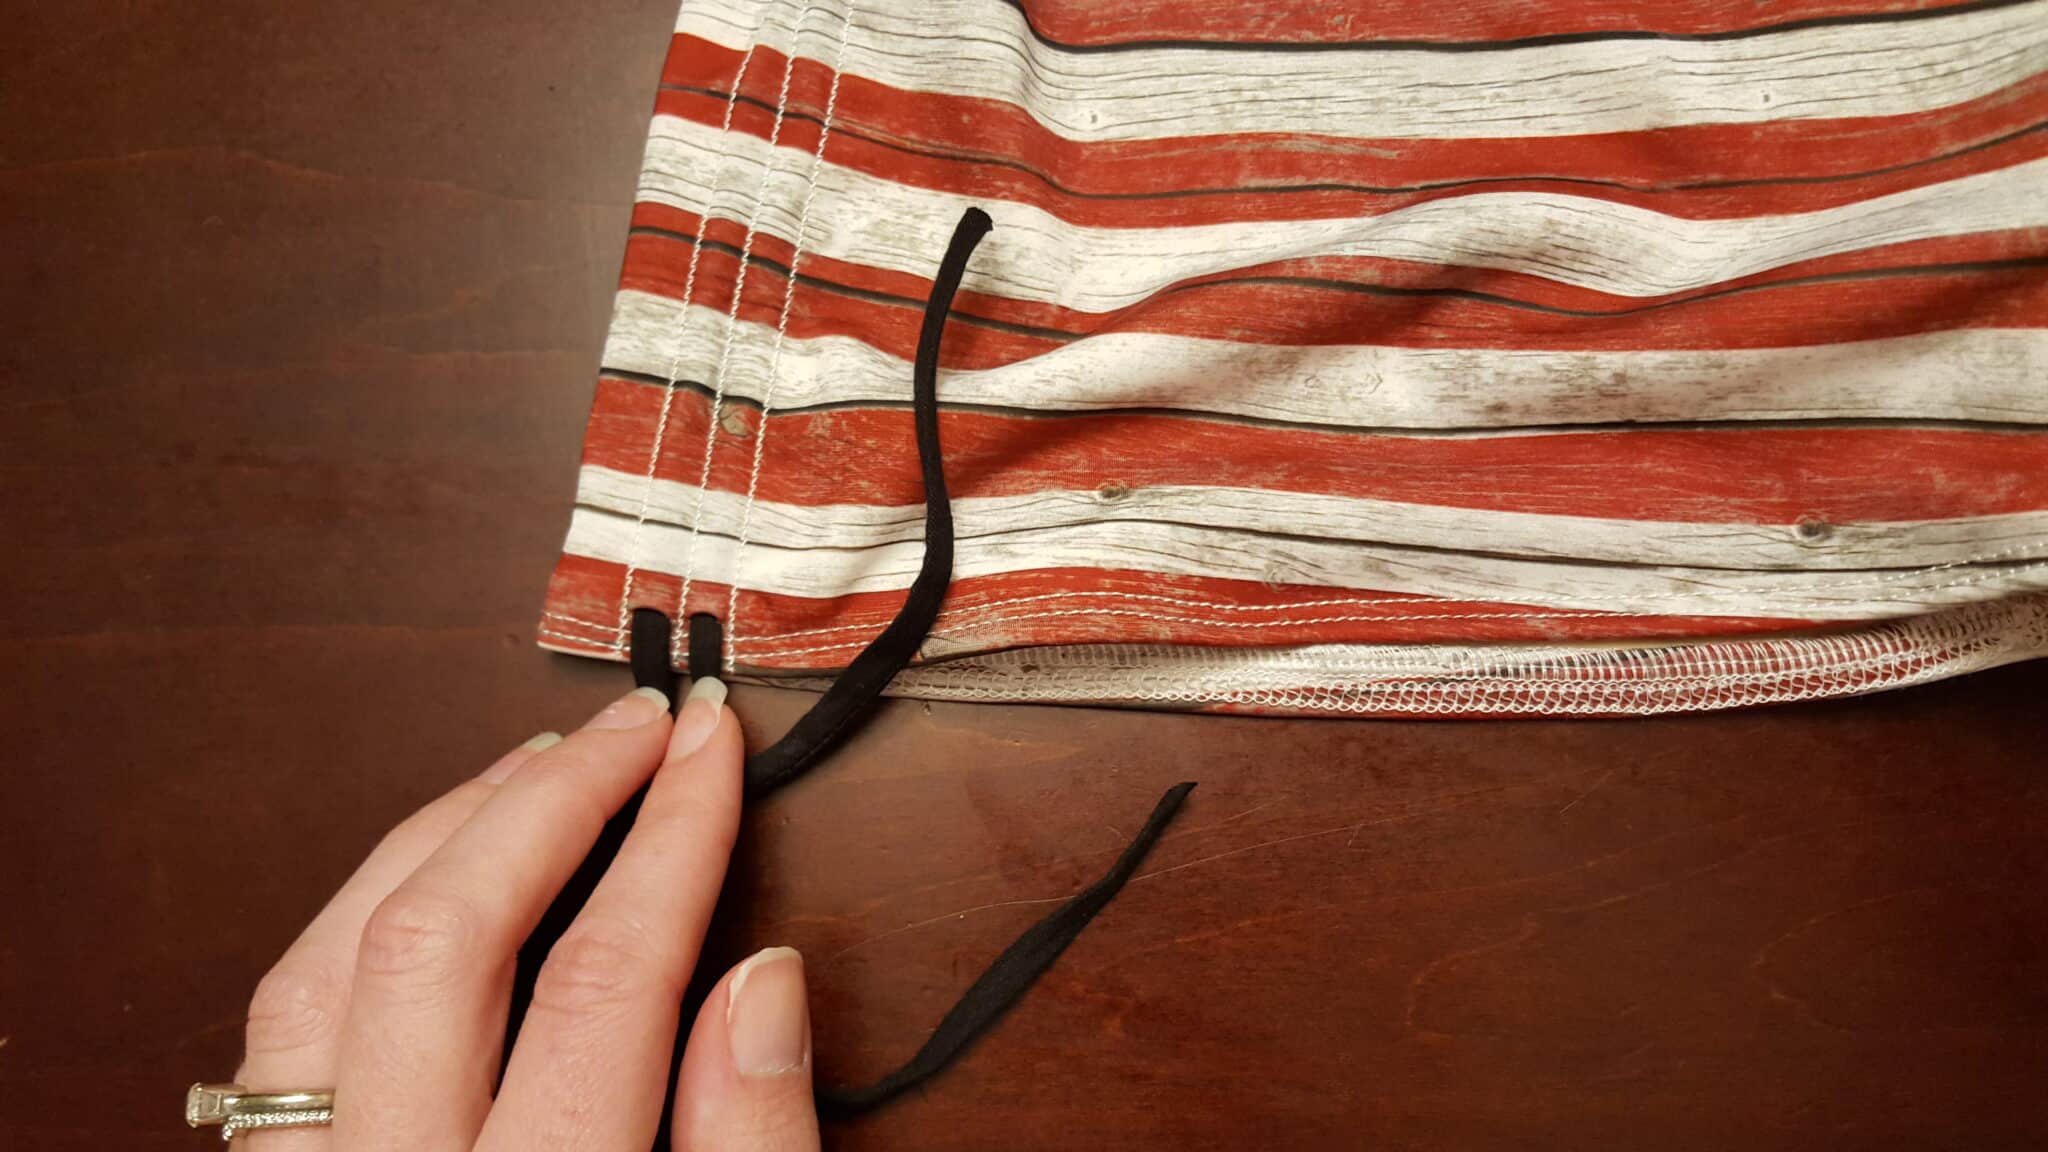
Last of all, add your waistband per Riptide instructions.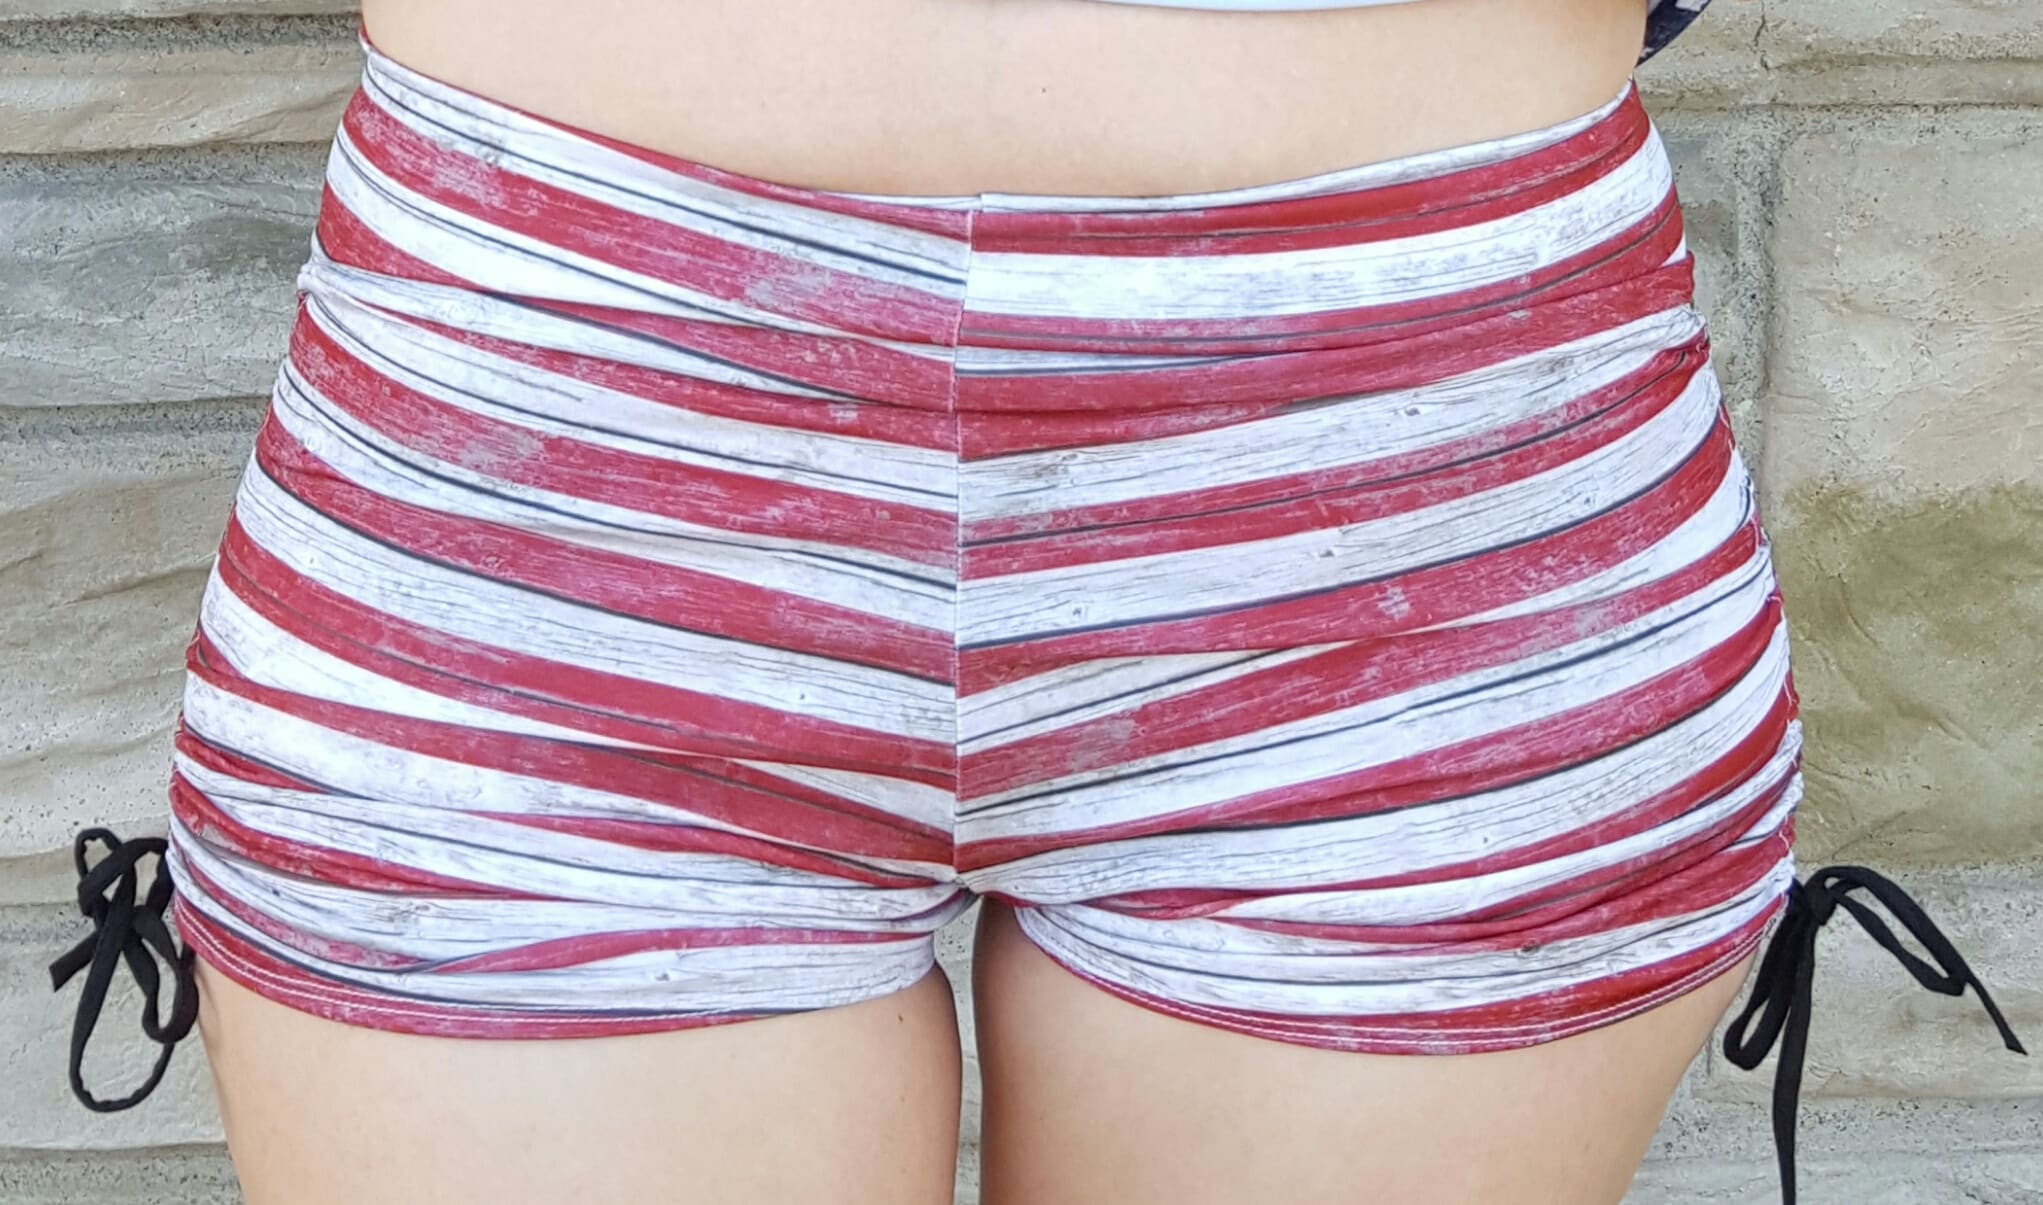
And there you go!
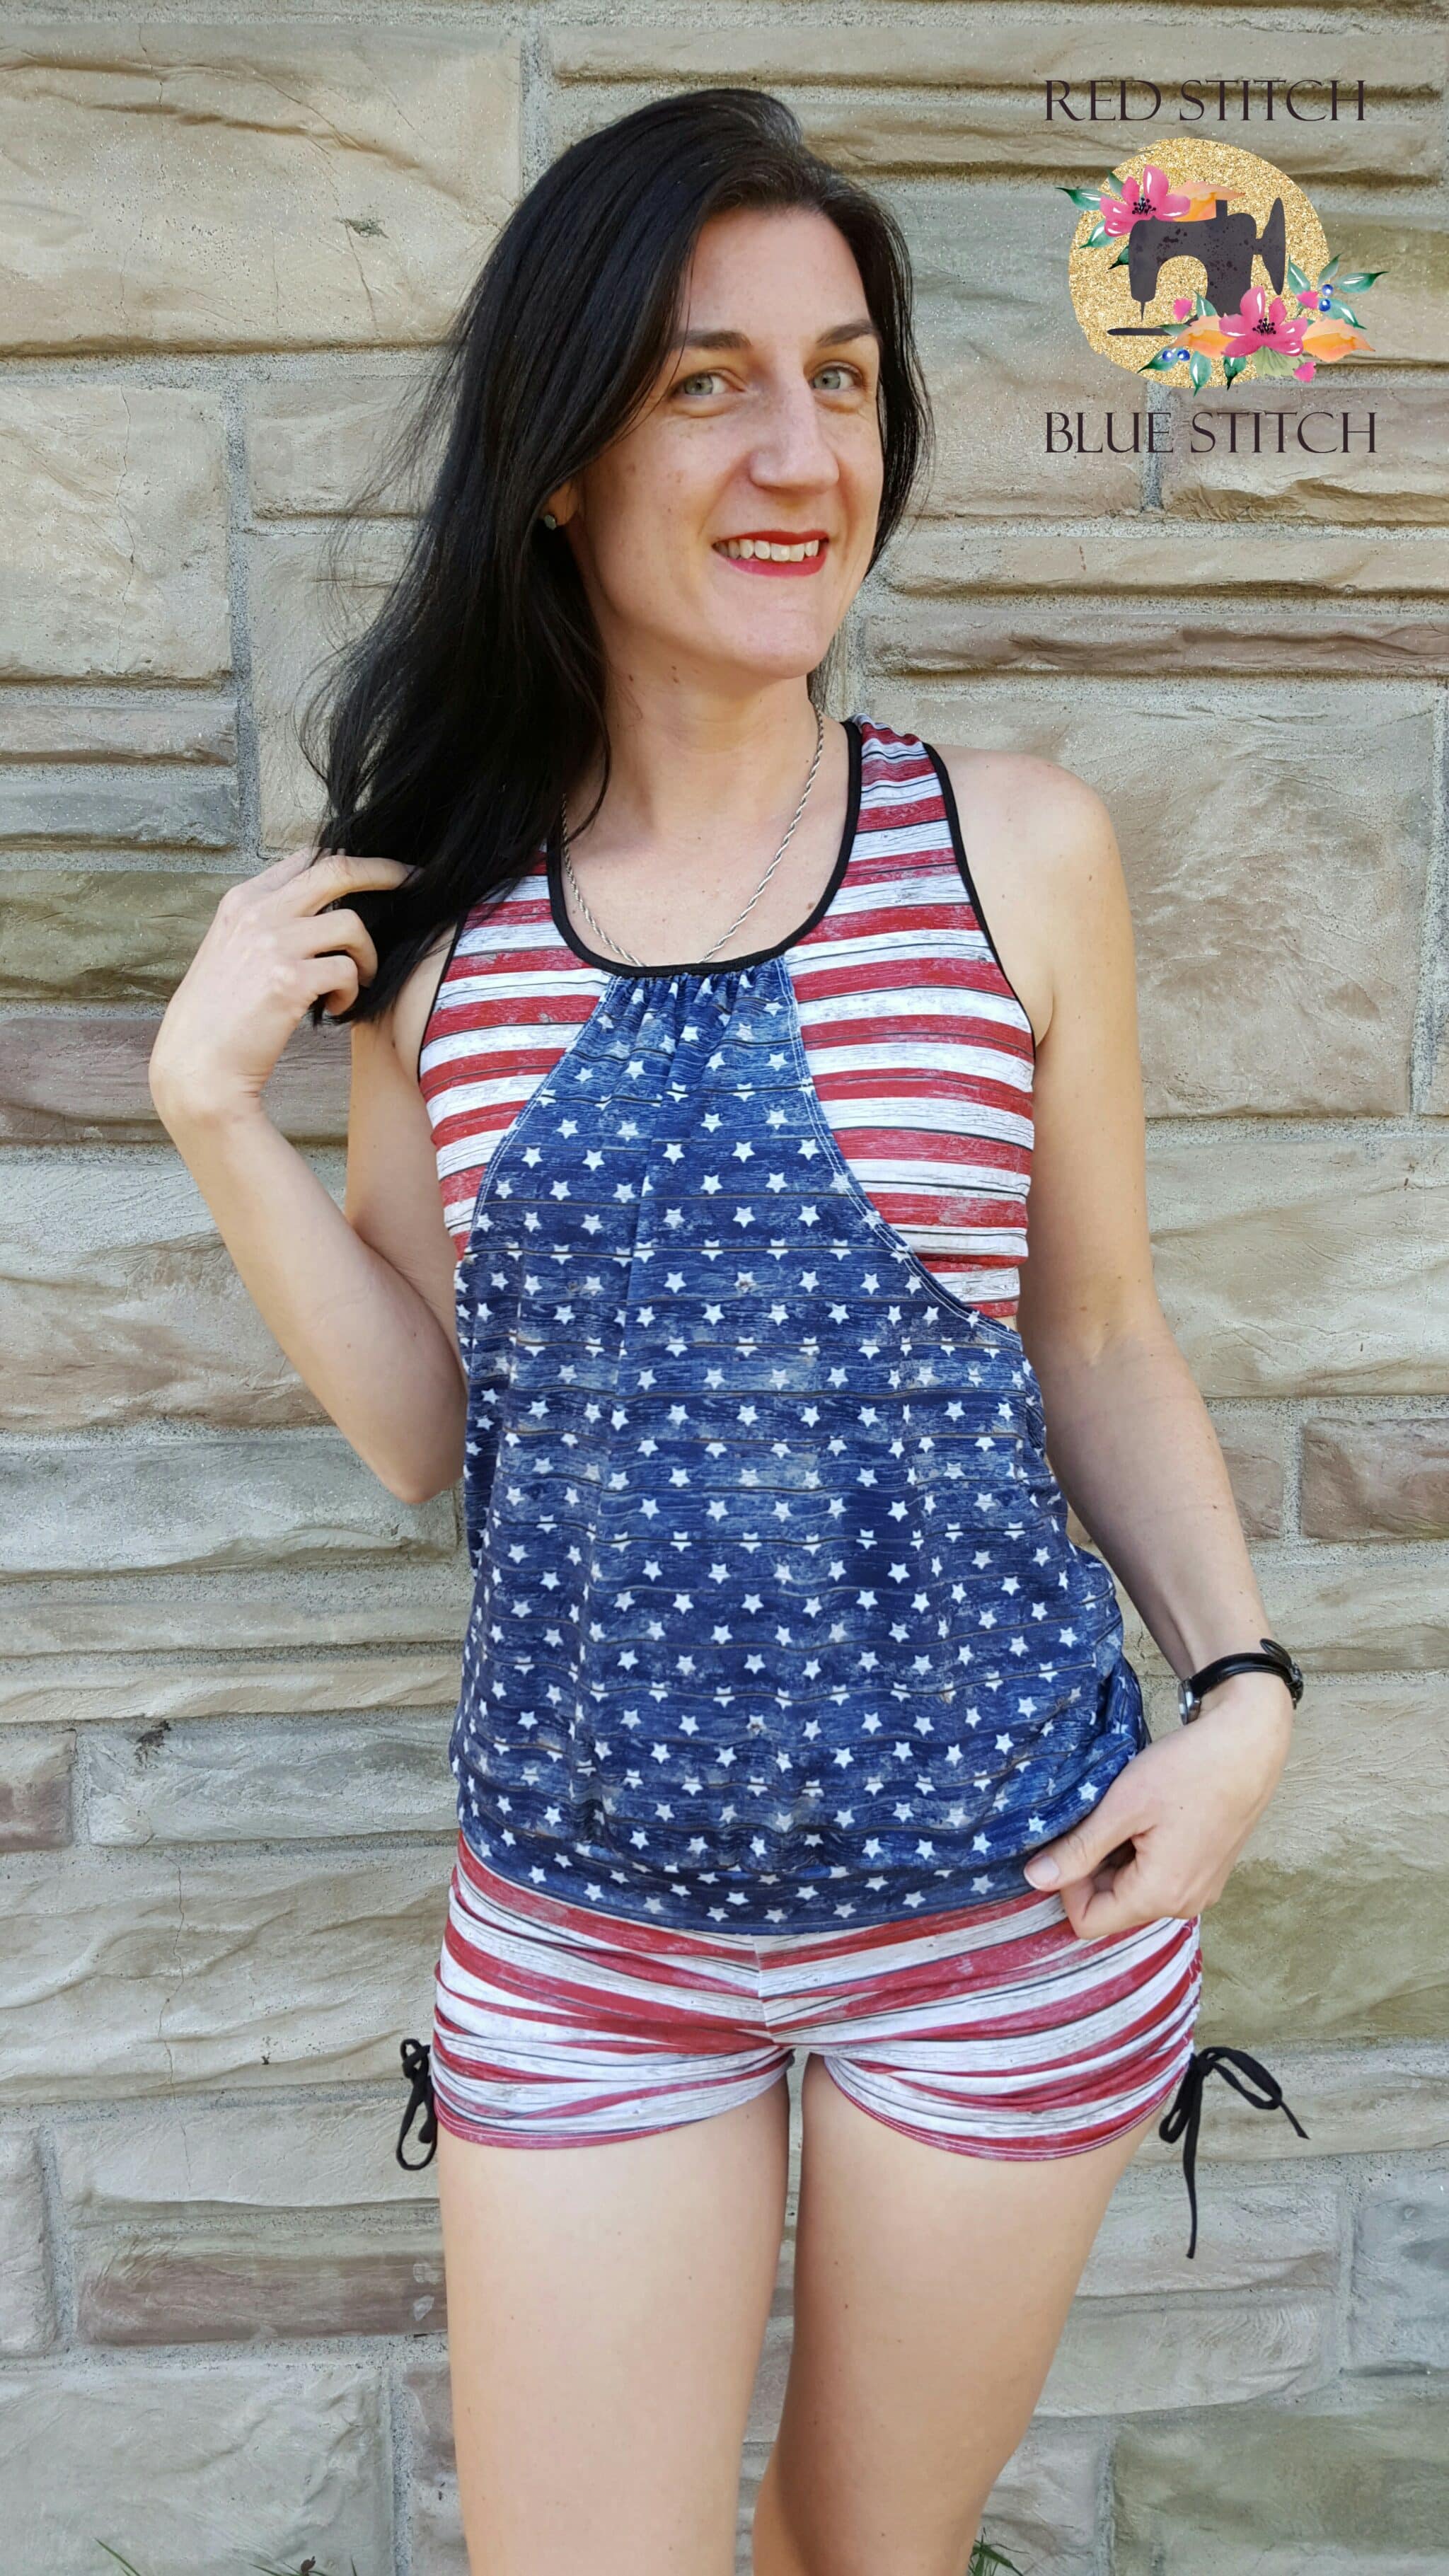
I made an X-factor/Agility mash tankini top to go with the shorts. Follow the instructions for the X-factor bra and attach the overlay using the Agility Pattern (in case you are wondering, the overlay IS on backwards. That’s what happens when mommas who are up at the crack of dawn sew way past their bedtime). Perfect suit for running after my kids! Too bad it’s 20 degrees out right now!
X-Factor Bikini and Tankini Pattern: CLICK HERE
Agility Tank and Dress Pattern: CLICK HERE

Looks amazing! Thanks for sharing!