In this mug rug tutorial, I want to give you a quick and easy gift for the holidays. Every year I stress over what to make for teachers, but this year I knew right away I wanted to make a mug rug for at least a few of them. I *really* like it when my kids can help me make something for their teachers too. Mug rugs are super cute and perfect as a teacher’s gift either on their own or when combined with Tiffany’s coffee mug sleeve. I try not to use holiday-themed fabric, but I have so much that I’ve hoarded over the years and I think it’s so so cute! It’s hard to resist.
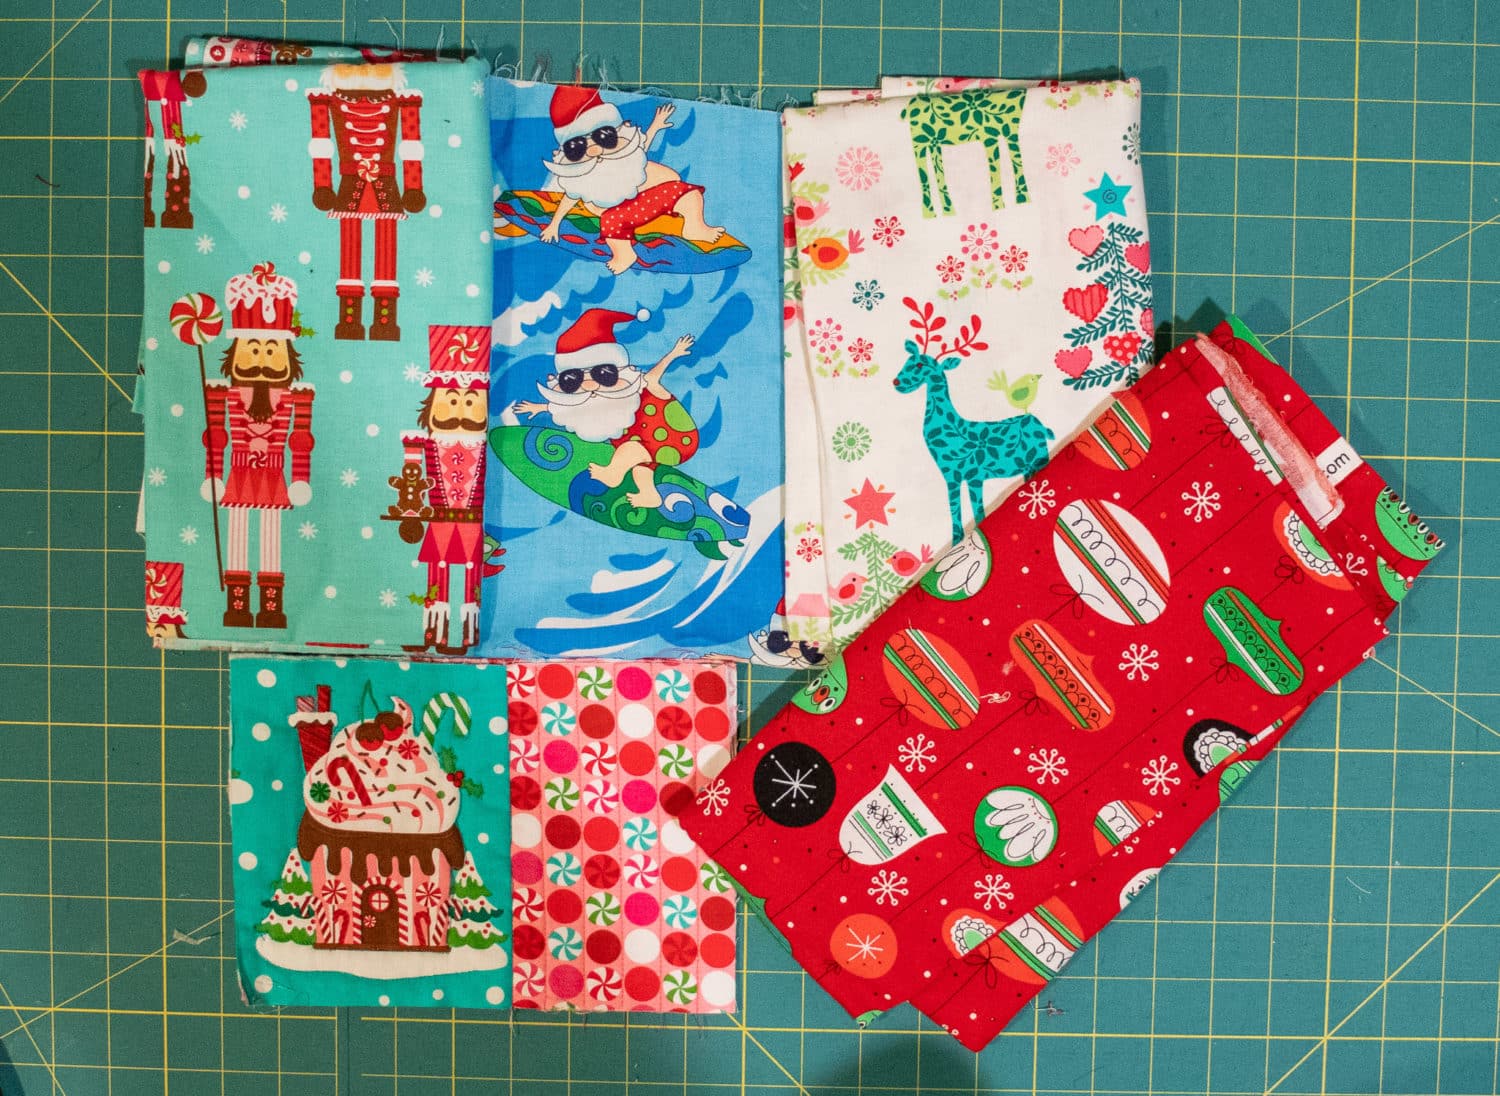
Today I’m going to show you how one way to make a mug rug, but I have a few other options planned too! This one uses a holiday-themed fabric that I fussy cut to show off a gingerbread house. Then I attempted to do free-motion quilting around the house. Cough cough. I need more practice! But–a free motion quilting foot came with my machine and a mug rug is the perfect size project to attempt it on! Let’s get started on the mug rug tutorial!
You really can make these any size. For example, you can do a small coaster for just a mug, a bigger mat for more treats, etc. If you don’t have a wide enough piece of fabric for one strip of binding, you can piece it together. If you don’t have quilt batting, you can use sweatshirt material, fleece, or even two layers of flannel.
Supplies Needed:
- Quilting weight cotton
- Coordinating thread
- Quilt batting
- 505 Temporary Adhesive spray or safety pins (These are linked to the 5oo4 Amazon storefront. By using these links, 5oo4 gets a small kickback.)
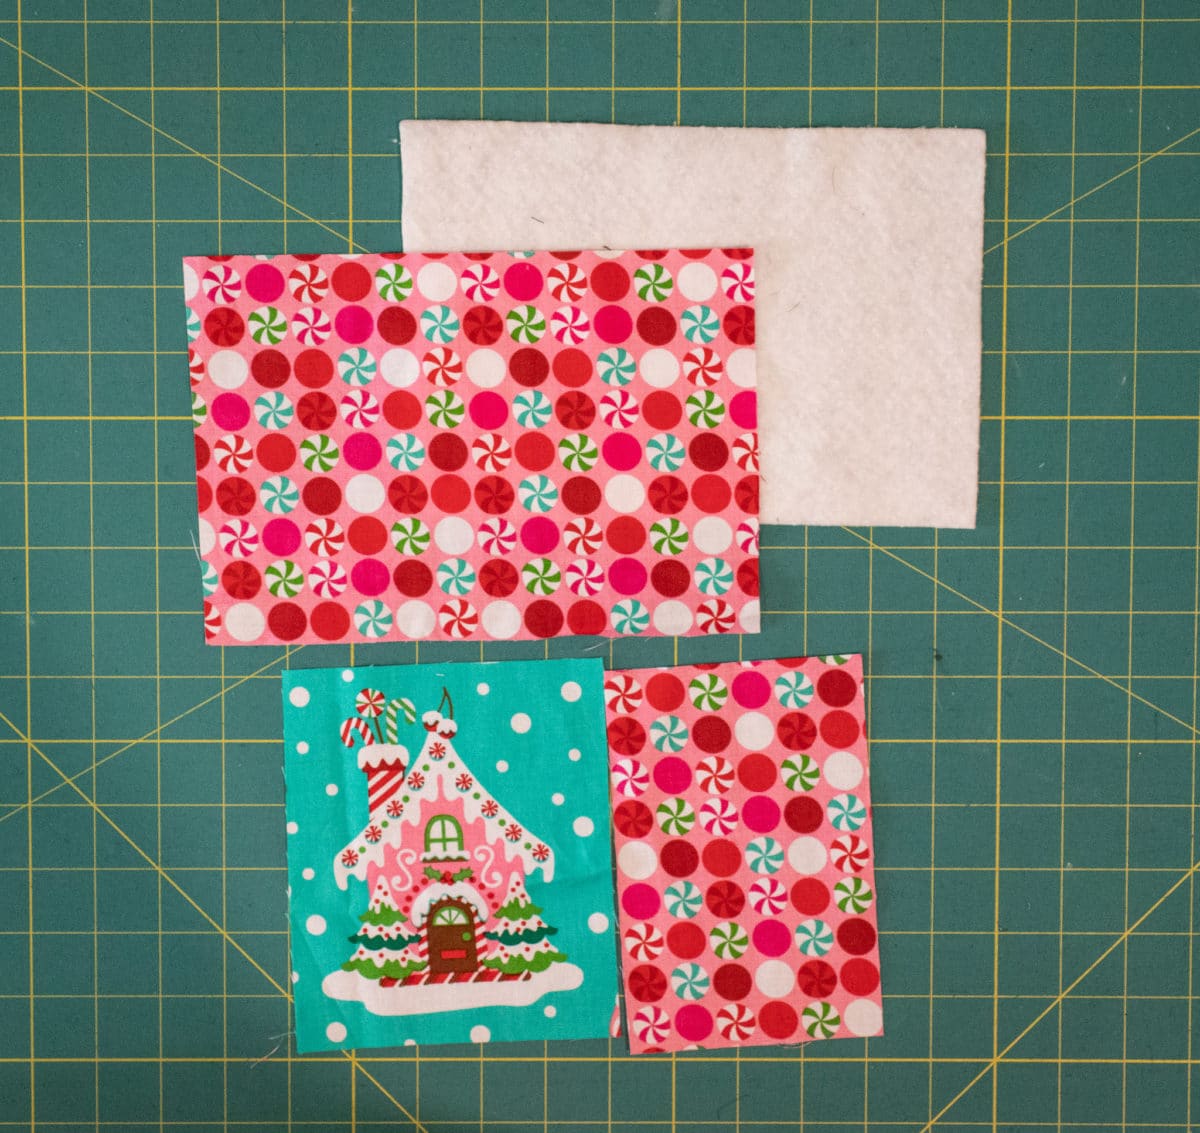
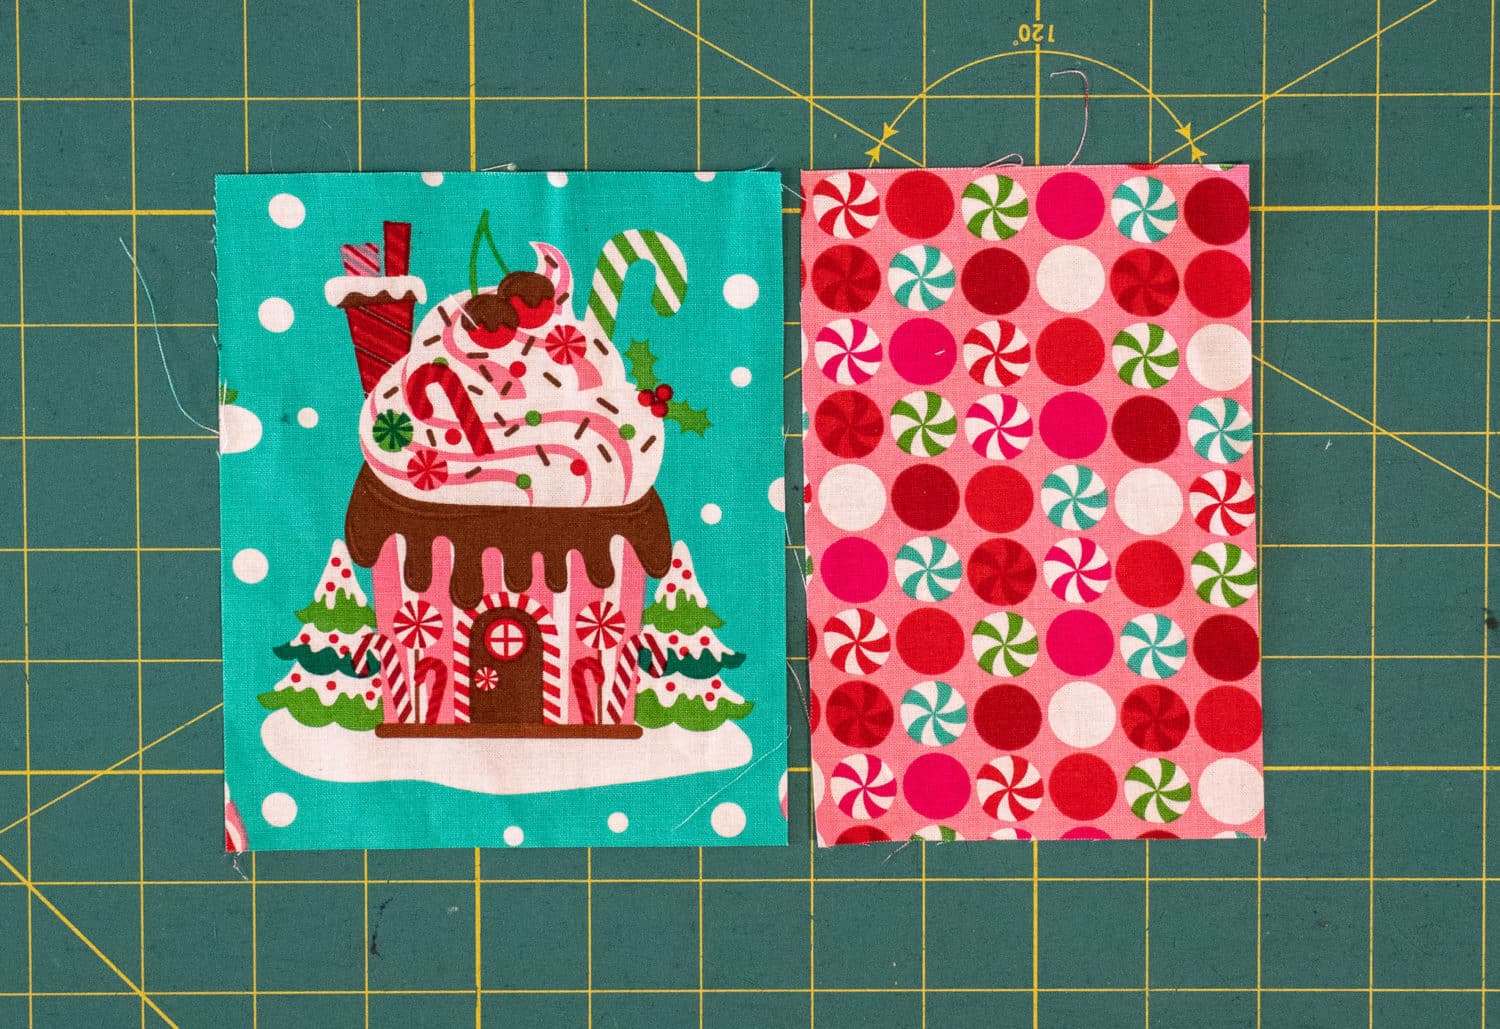
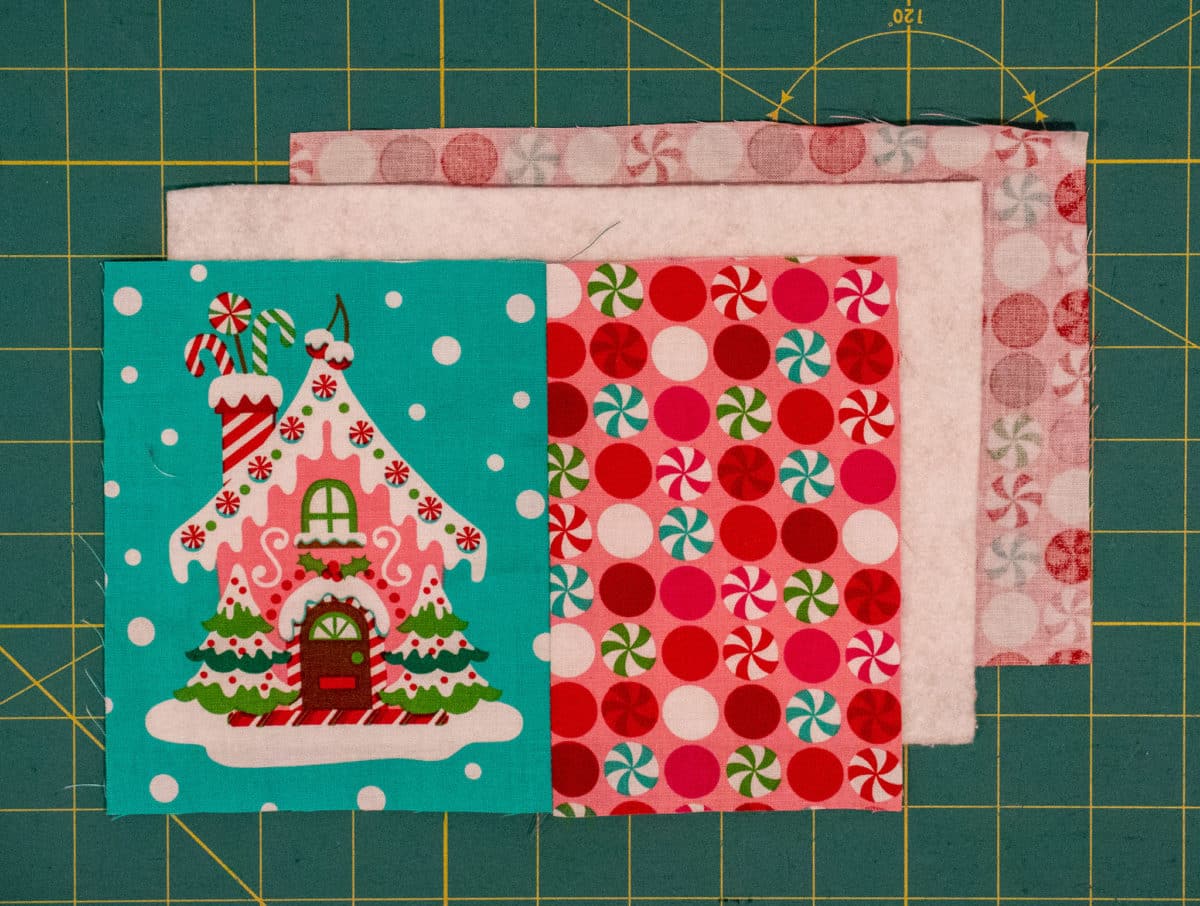
- Cut your pieces. For this example, I cut one piece (gingerbread house) that was 6″ L x 5″ W, and the dots are 6″ L x 4″ W. The back (also dots) and quilt batting is 6″ L x 8.5″ W. Not shown: binding 2.25″ L x 38″ W.
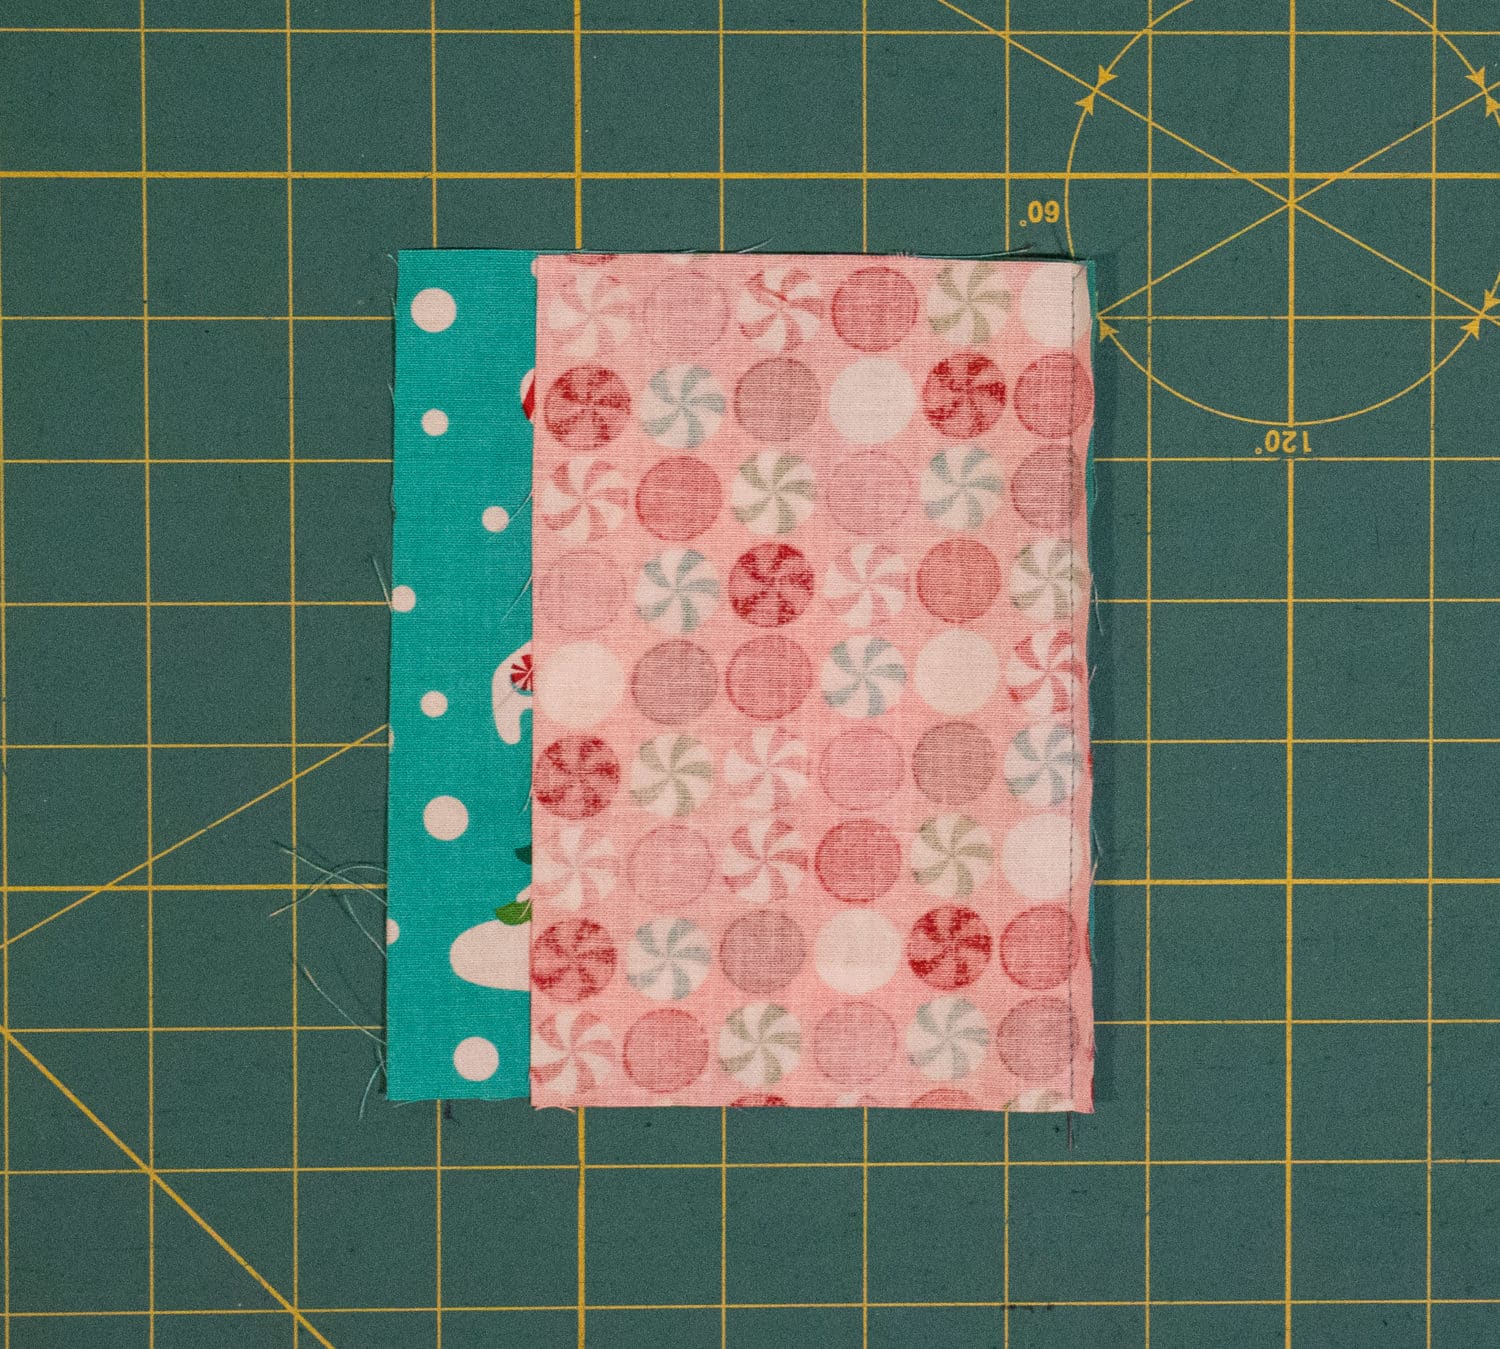
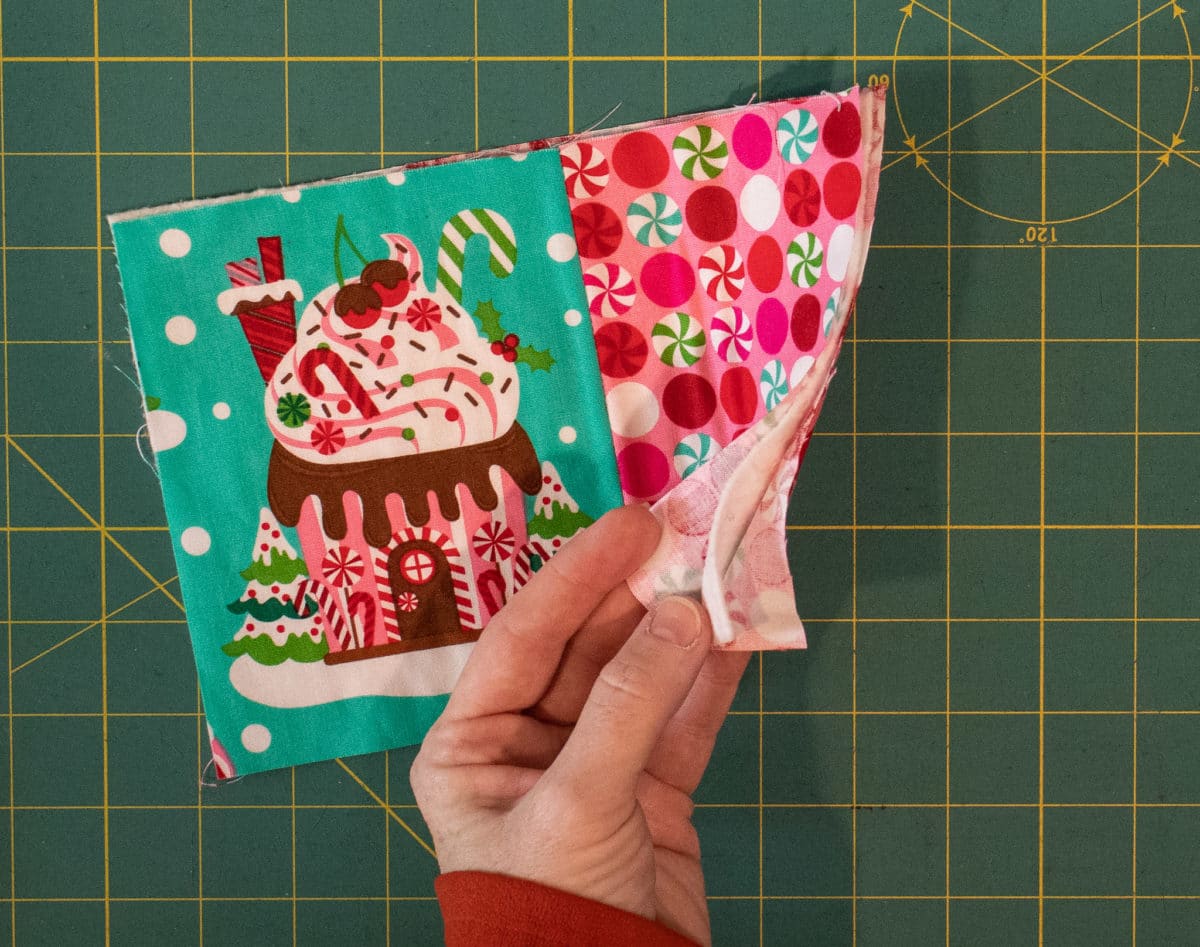
2. Sew your two front pieces Right Sides Together along one side with a 1/4″ seam allowance. Press the seam open.

3. Make your “quilt” (or in our case mug rug) sandwich by layering the back fabric, the quilt batting, and your top. The wrong sides of your top and back fabric should be touching the quilt batting. I like to use 505 Temporary Adhesive spray when I have it, but you can also use safety pins to keep your fabric from moving. You’ll want to pin through all three layers. The 505 spray makes this super quick and easy (and I can never find my safety pins)!
4. Quilt however you’d like. I attempted to use my free motion quilting foot to go around my gingerbread house. On the side with the dots, I did straight lines. I suggest starting from the middle and going toward the outside. If you have a walking foot, I’d use it, but it’s definitely not mandatory on so small a project.

5. Trim your rectangle so it’s nice and tidy.
6. Attach your binding. You’ll want to leave 3-4″ loose and then start stitching near the middle of one side. Use a 1/4″ seam allowance. This is a great place to use your 1/4″ foot if your machine came with one. Watch the video below to see how to attach the binding and miter the corners.
7. Fold your binding to the back and attach it by hand sewing. Yes, I said hand sewing. I swear it’s not terrible. And I made a video for you to watch! Yes, you can stitch in the ditch from the front, but I promise the back won’t look as nice.
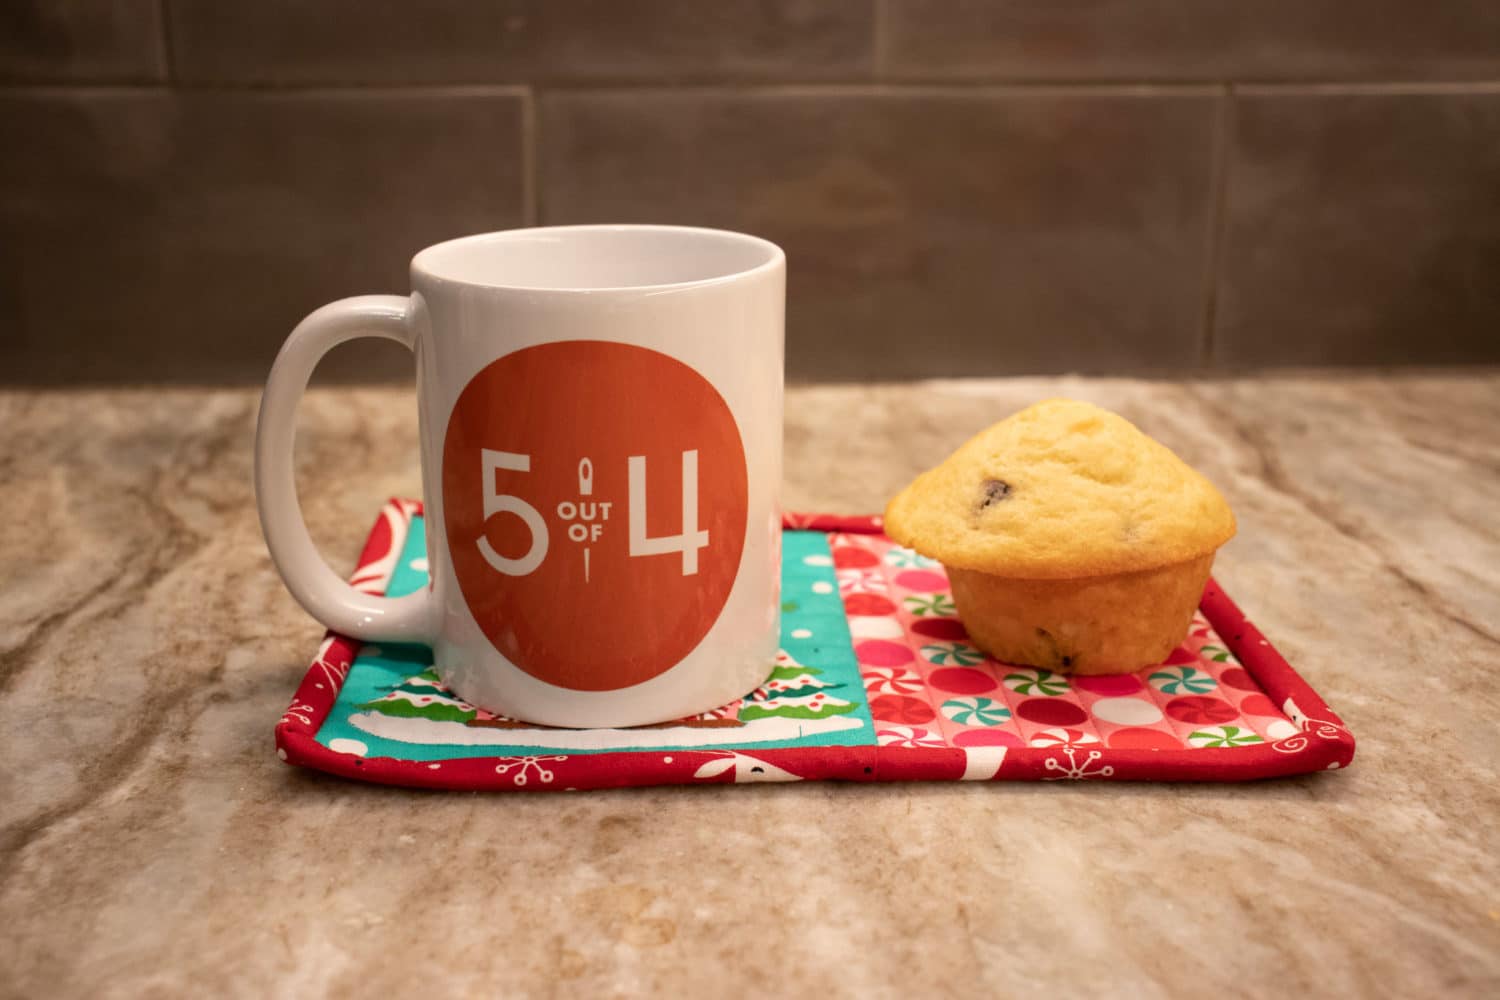
You’re done! Now, keep this one and make a few others for gifts. 😁
Reader Interactions
Comments
Trackbacks
-
[…] Apply binding, turn and hand stitch your binding to the back. For in depth instructions on how to do this, see the previous Mug Rug post here. […]
so cute! this is first on my list of projects once i start vacation on Friday! thank you!
Such a “cute” & quick project to make. Thanks for all Your information.
I just Love Fast ideas like this to sew.
Aw, thanks! I’m glad you like it! I find this kind of gift so satisfying.
I love this little mug rug!!
Thank you!
I would just sew all around, leave an opening, turn inside out and sew the opening closed. Use batting in between and quilt lines to hold it together.