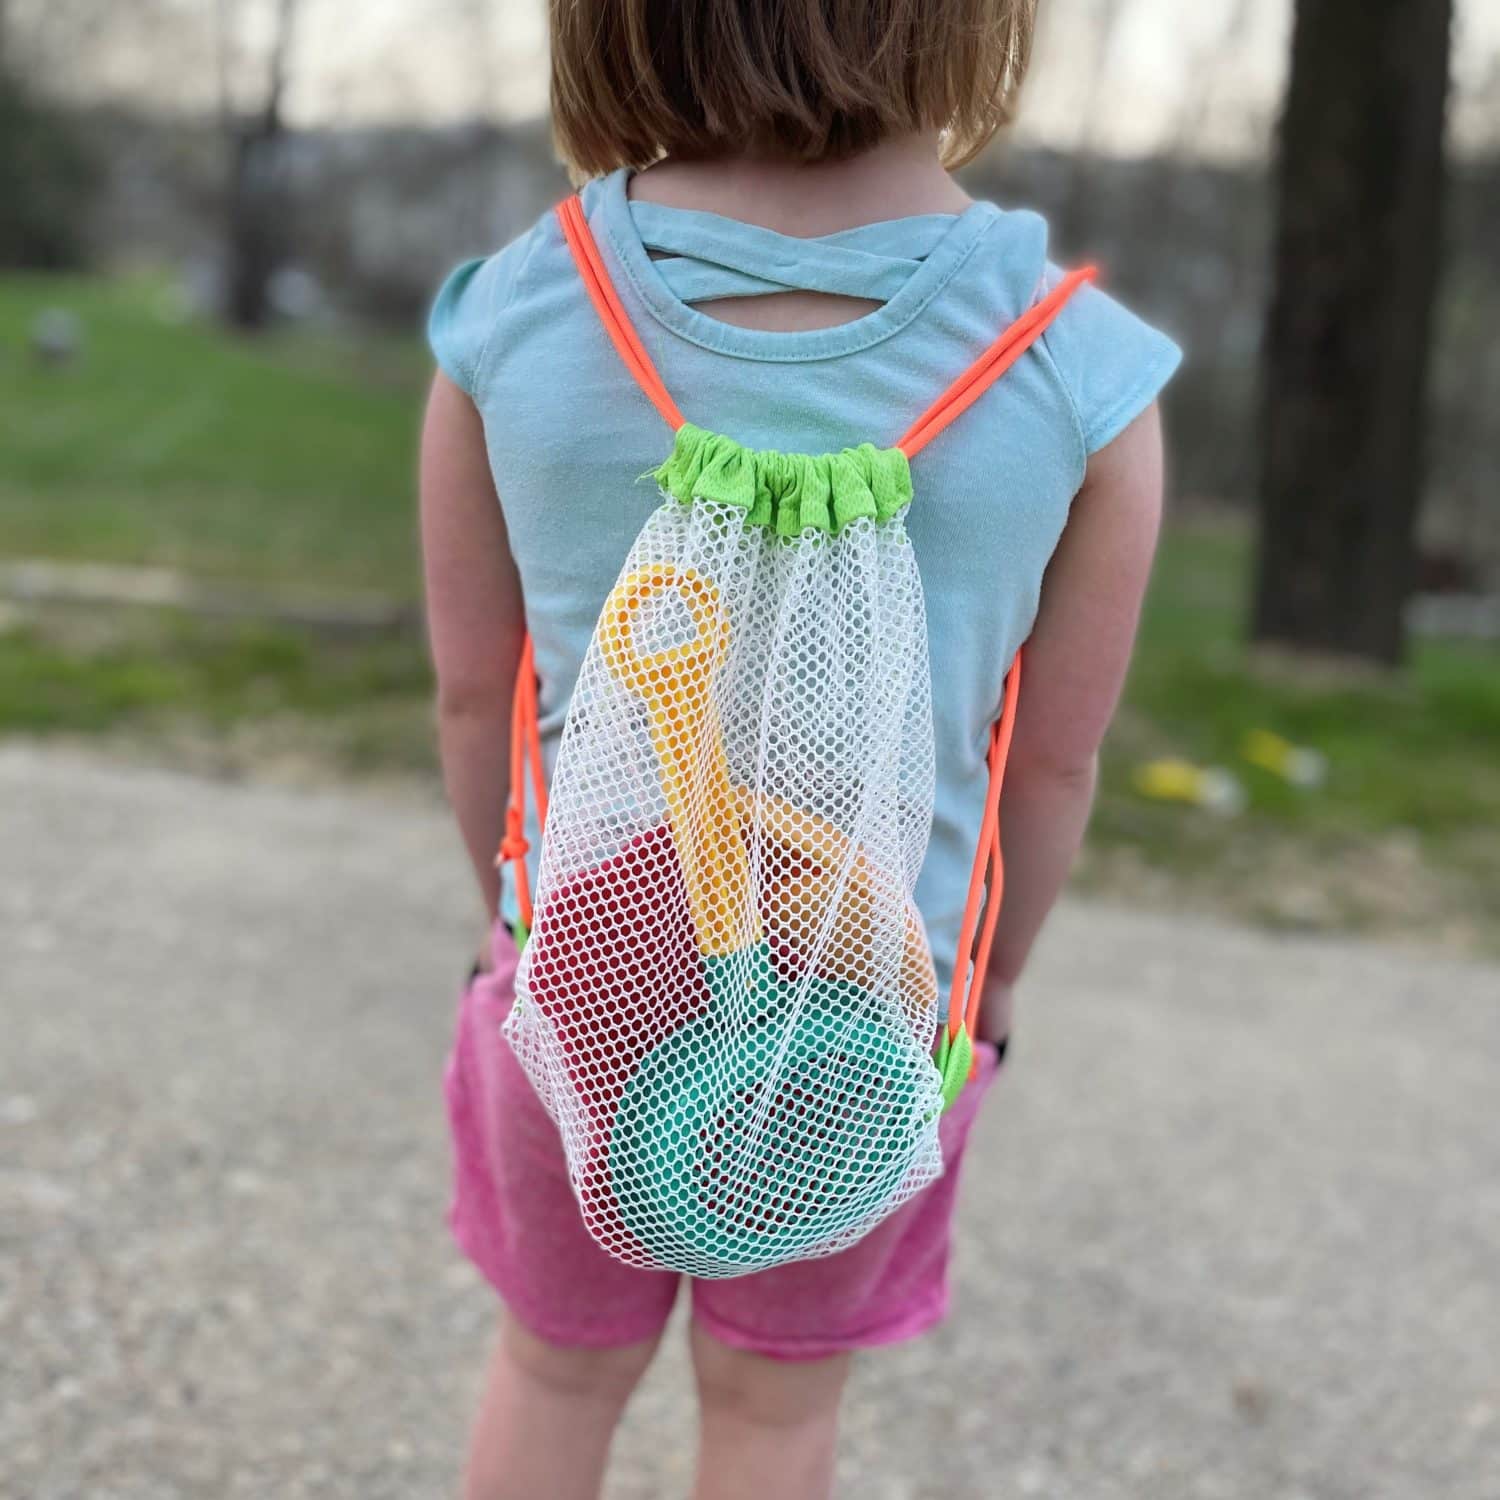
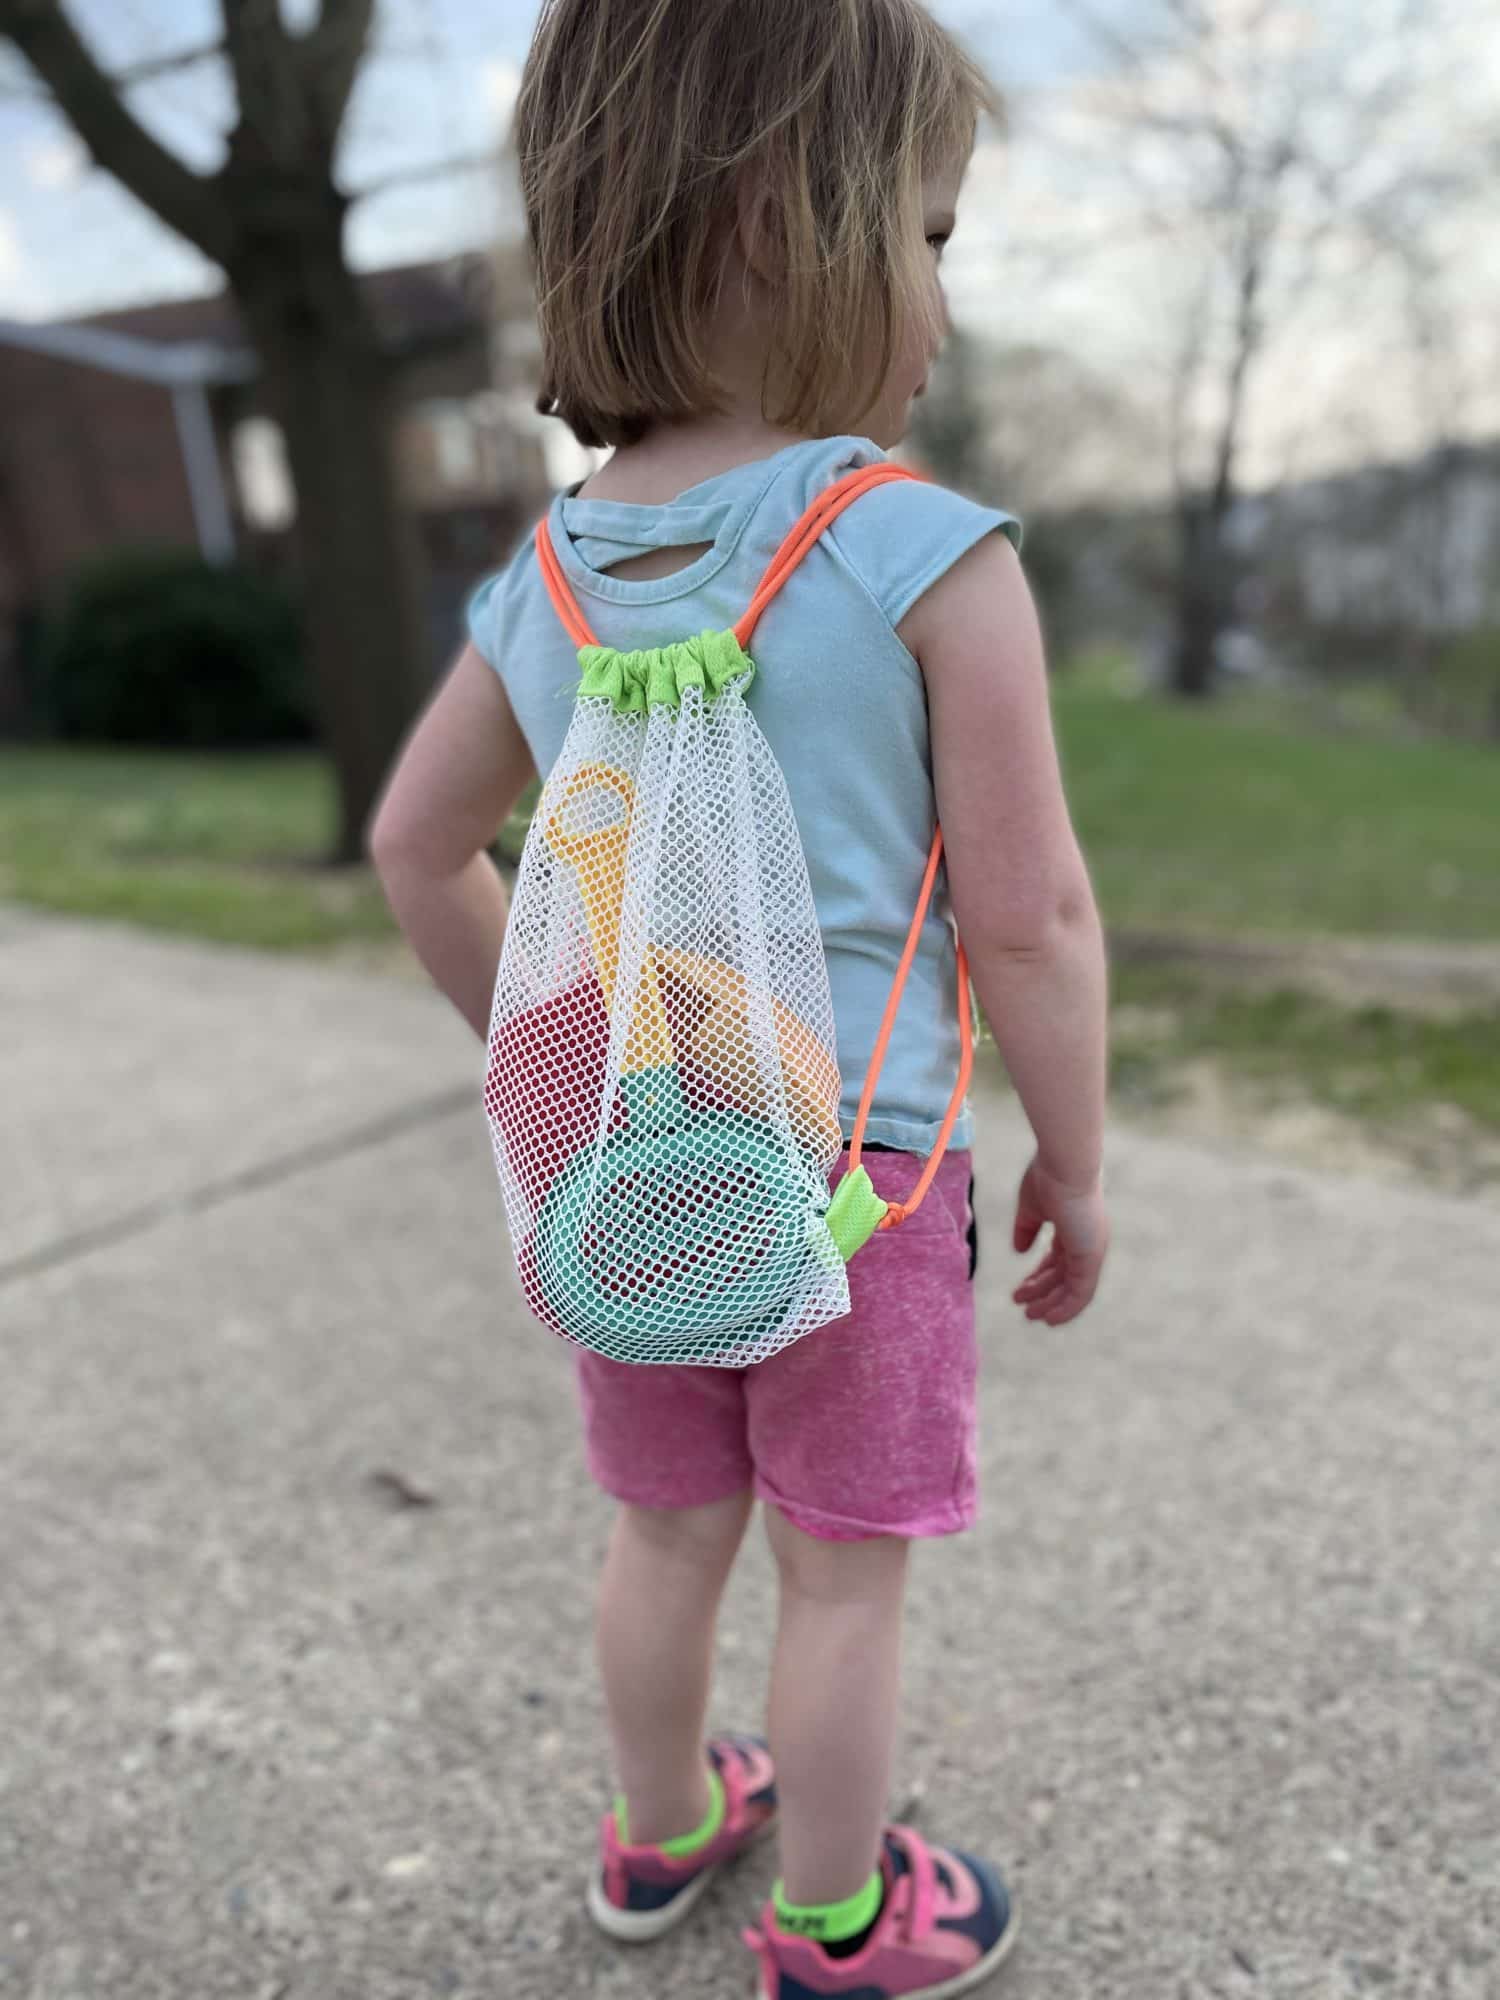
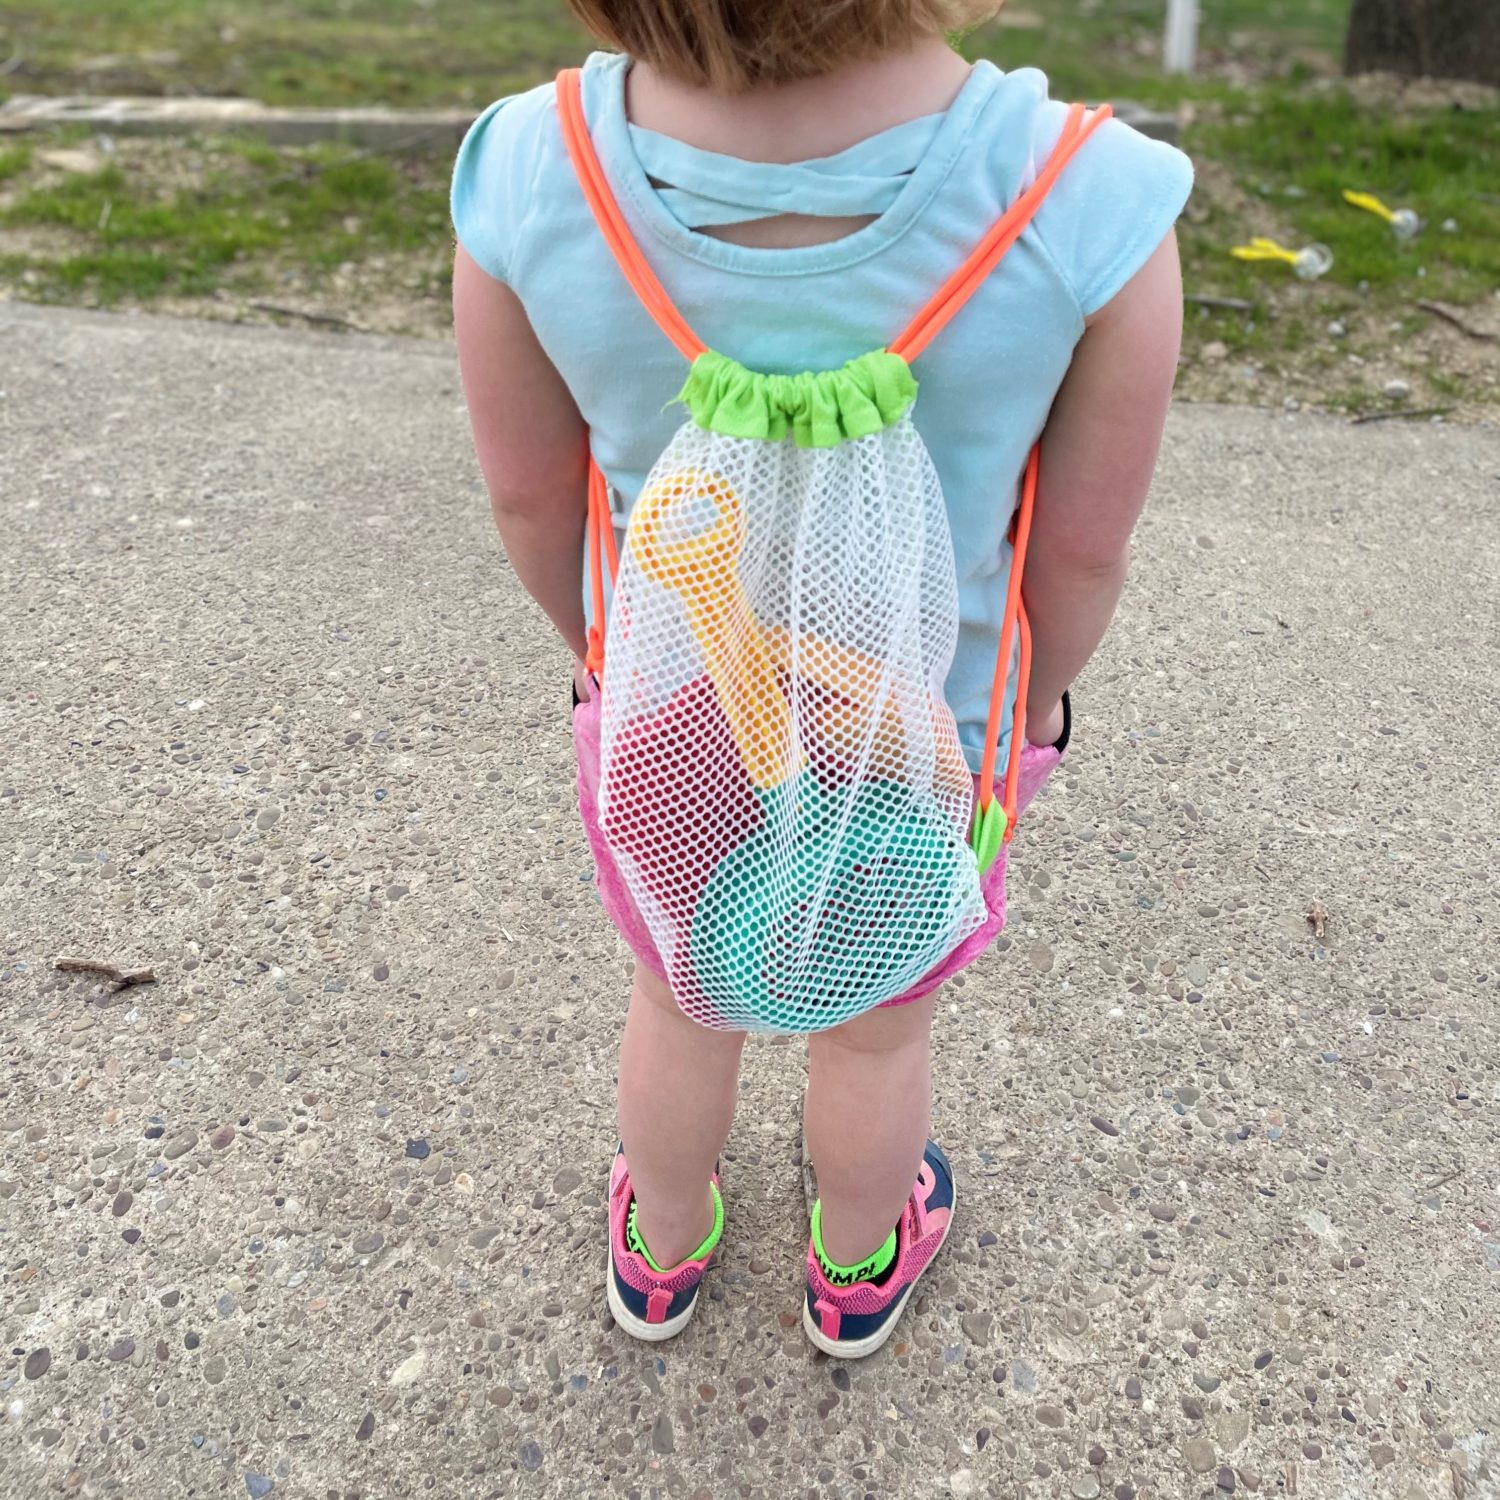
We are hoping to head to the beach at some point this year and I want to be prepared for when that happens! My kids are so excited to play in the sand, make sandcastles, and collect sea shells! I decided that they are going to need to help carry all their stuff to and from the beach, but fabric bags can get wet and heavy. Normal bags also carry all the sand back with us! Then, we’re finding sand for weeks!! I finally realized that a mesh beach backpack is the perfect solution! The sand will fall out (at least most of it!) and it will dry much more quickly. I made these little drawstring backpacks so that the kids can carry them hands free! These are a small child sized version, but you can easily make them bigger to suit your needs! My kids are little and a big bag will get too heavy and mommy will end up carrying it anyhow! So, a small bag is perfect for us! Want to learn how to make your own fun beach backpack?! Let’s get started!
Materials for your beach backpack
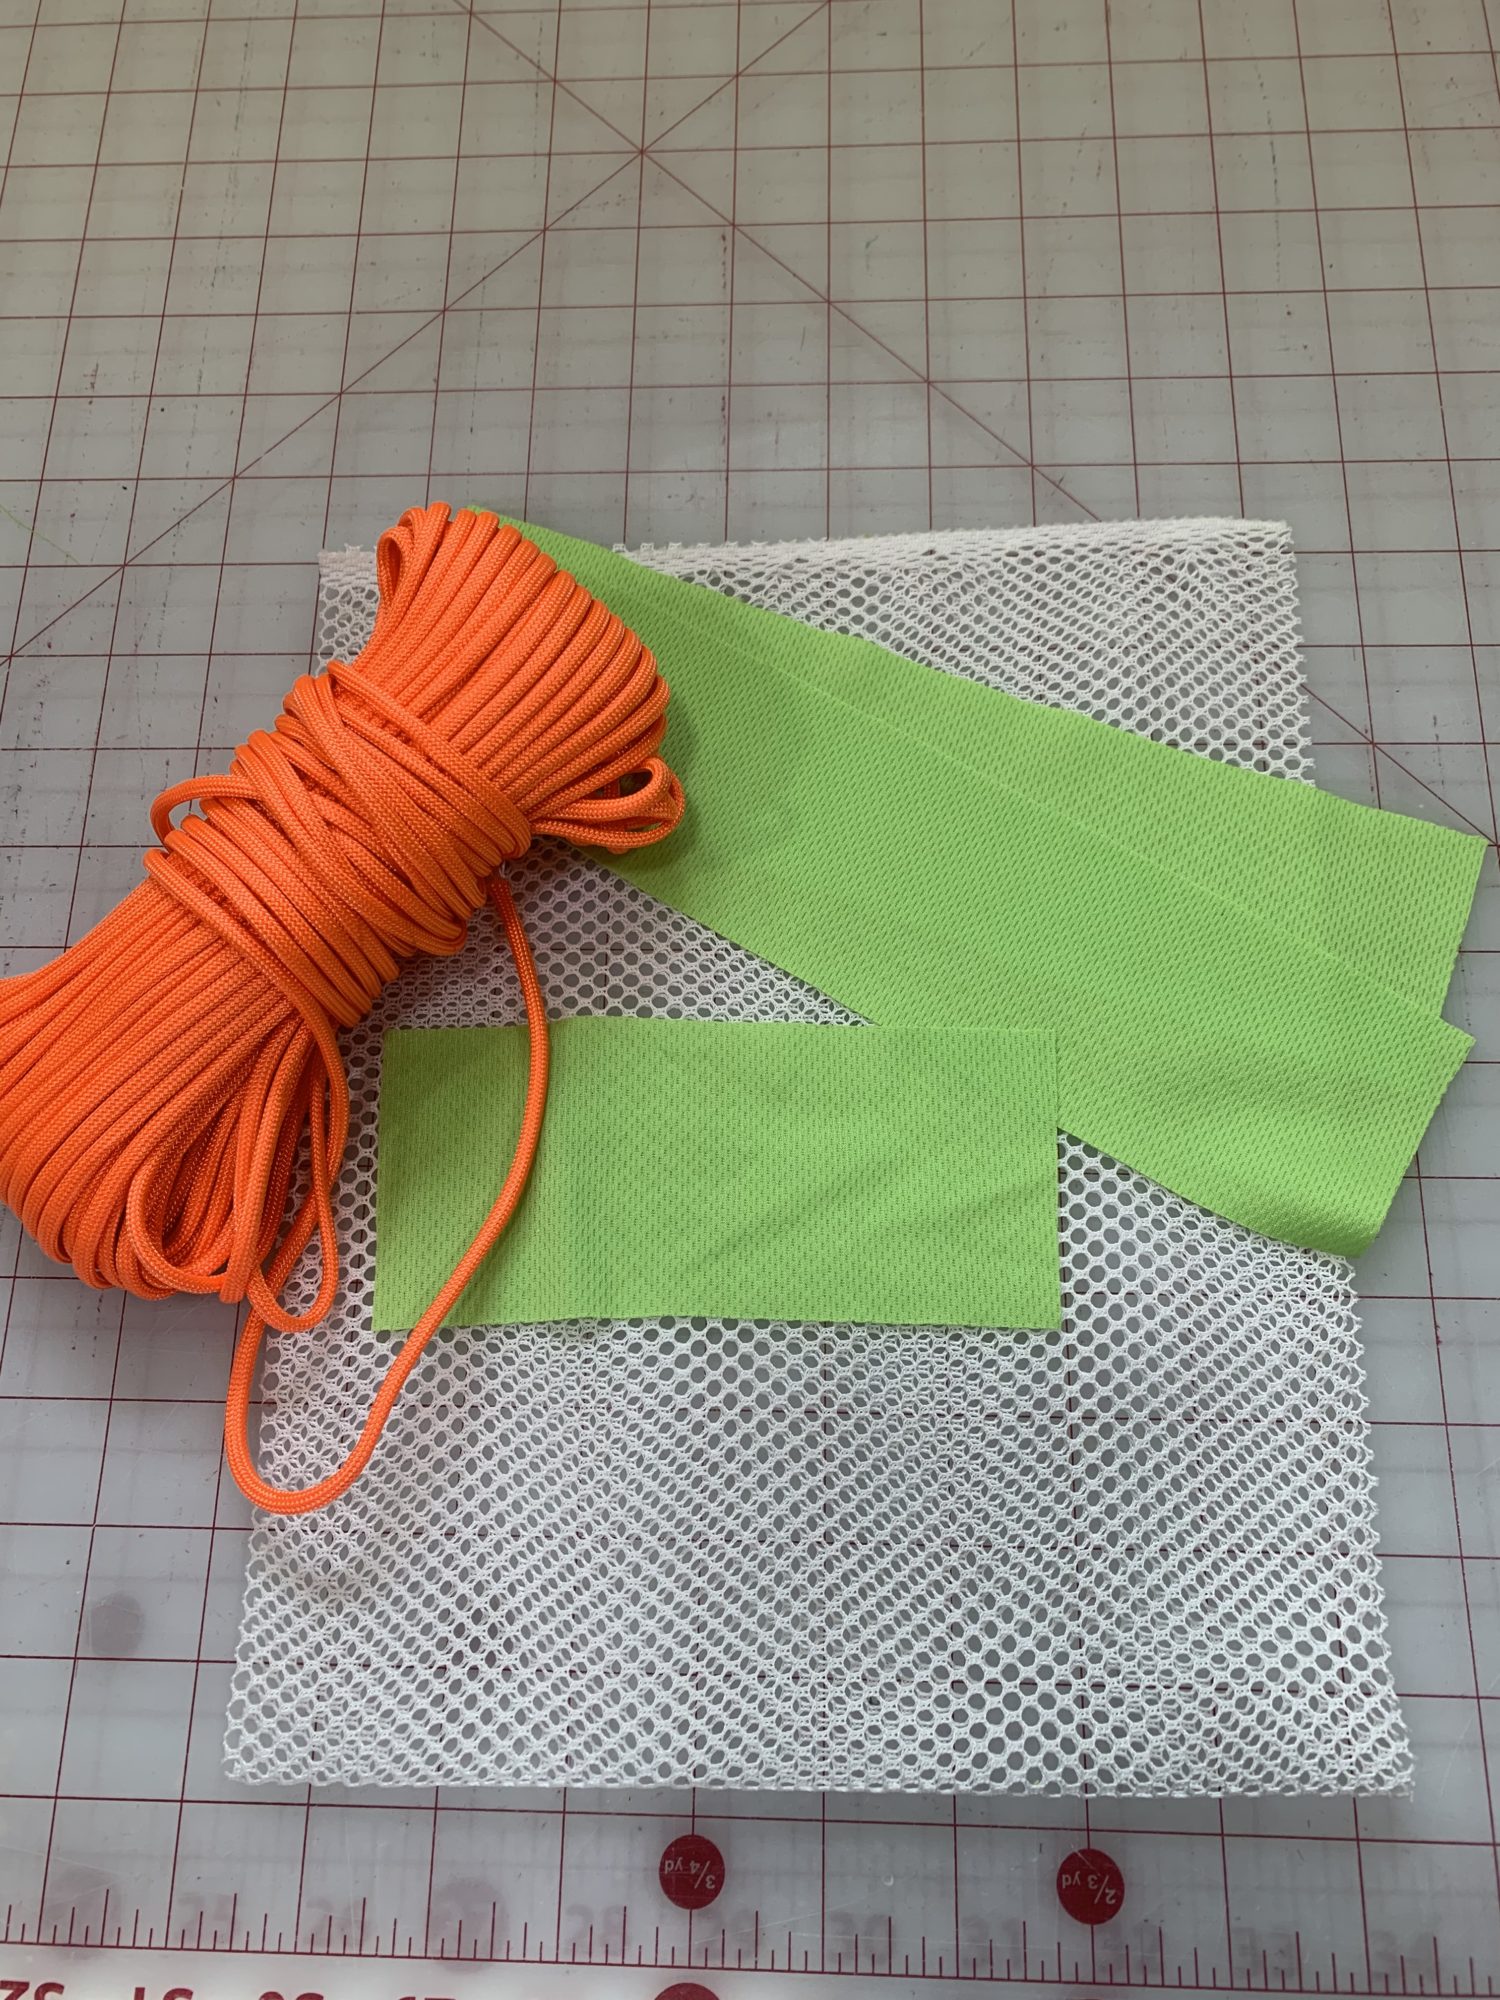
- Mesh Fabric
- I was able to get quite a few bags out of 1 yard, but it will all depend on how big you make your bag
- I found my mesh at Joann’s
- Fabric for casing and drawstring loops, just some scraps will be fine
- I used a very lightweight athletic type material for this. I’m honestly not sure what it is exactly, its been in my stash a long while! I used it because it is thin, has minimal stretch, and will dry very quickly!
- Ribbon, drawstring, rope, or something similar to make your drawstring straps
- I used Paracord in an awesome orange color that I found out at the hardware store. I used about 1.25 yards, but you may need more if you make the bag bigger or if you just prefer longer straps.
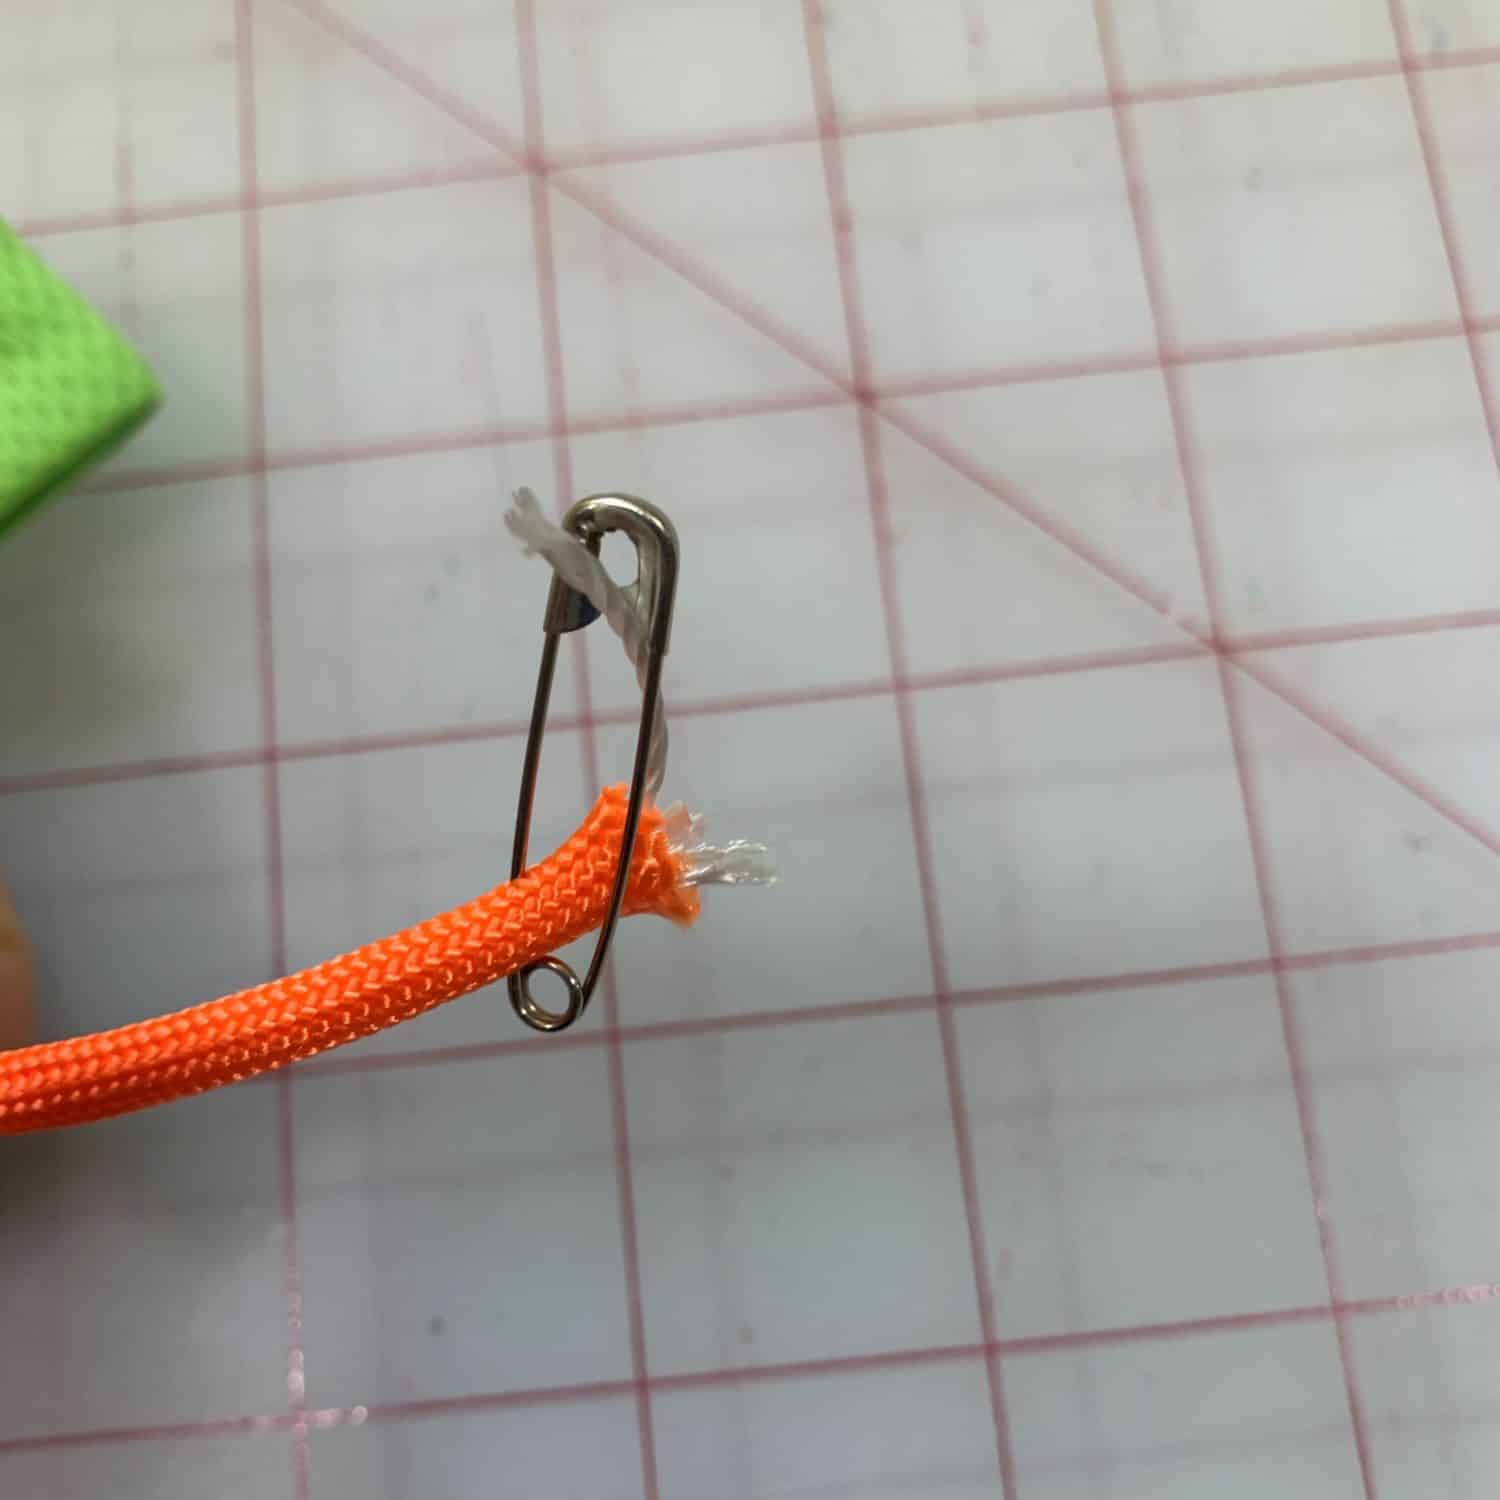
- Safety pin or bodkin to thread the drawstring
Time to cut the fabric!
- Cut 1 rectangle of mesh fabric 9 inches by 22 inches
- 9 inches is the width
- 22 is the length and will be folded up, so it will end up being about 11 inches long
- You can make yours bigger if you want to, just determine how long and wide you want it to be and cut a rectangle to those dimensions!
- Cut 2 rectangles of your accent fabric for the top casing each 10 inches by 2.5 inches
- If you increased the width of your mesh, be sure to make the casing wider, as well! You want it to be about 1 inch longer than the mesh
- Cut 1 small rectangle of accent fabric for the loops 6 inches wide by 2.5 inches long
Let’s sew that beach backpack!
Casing
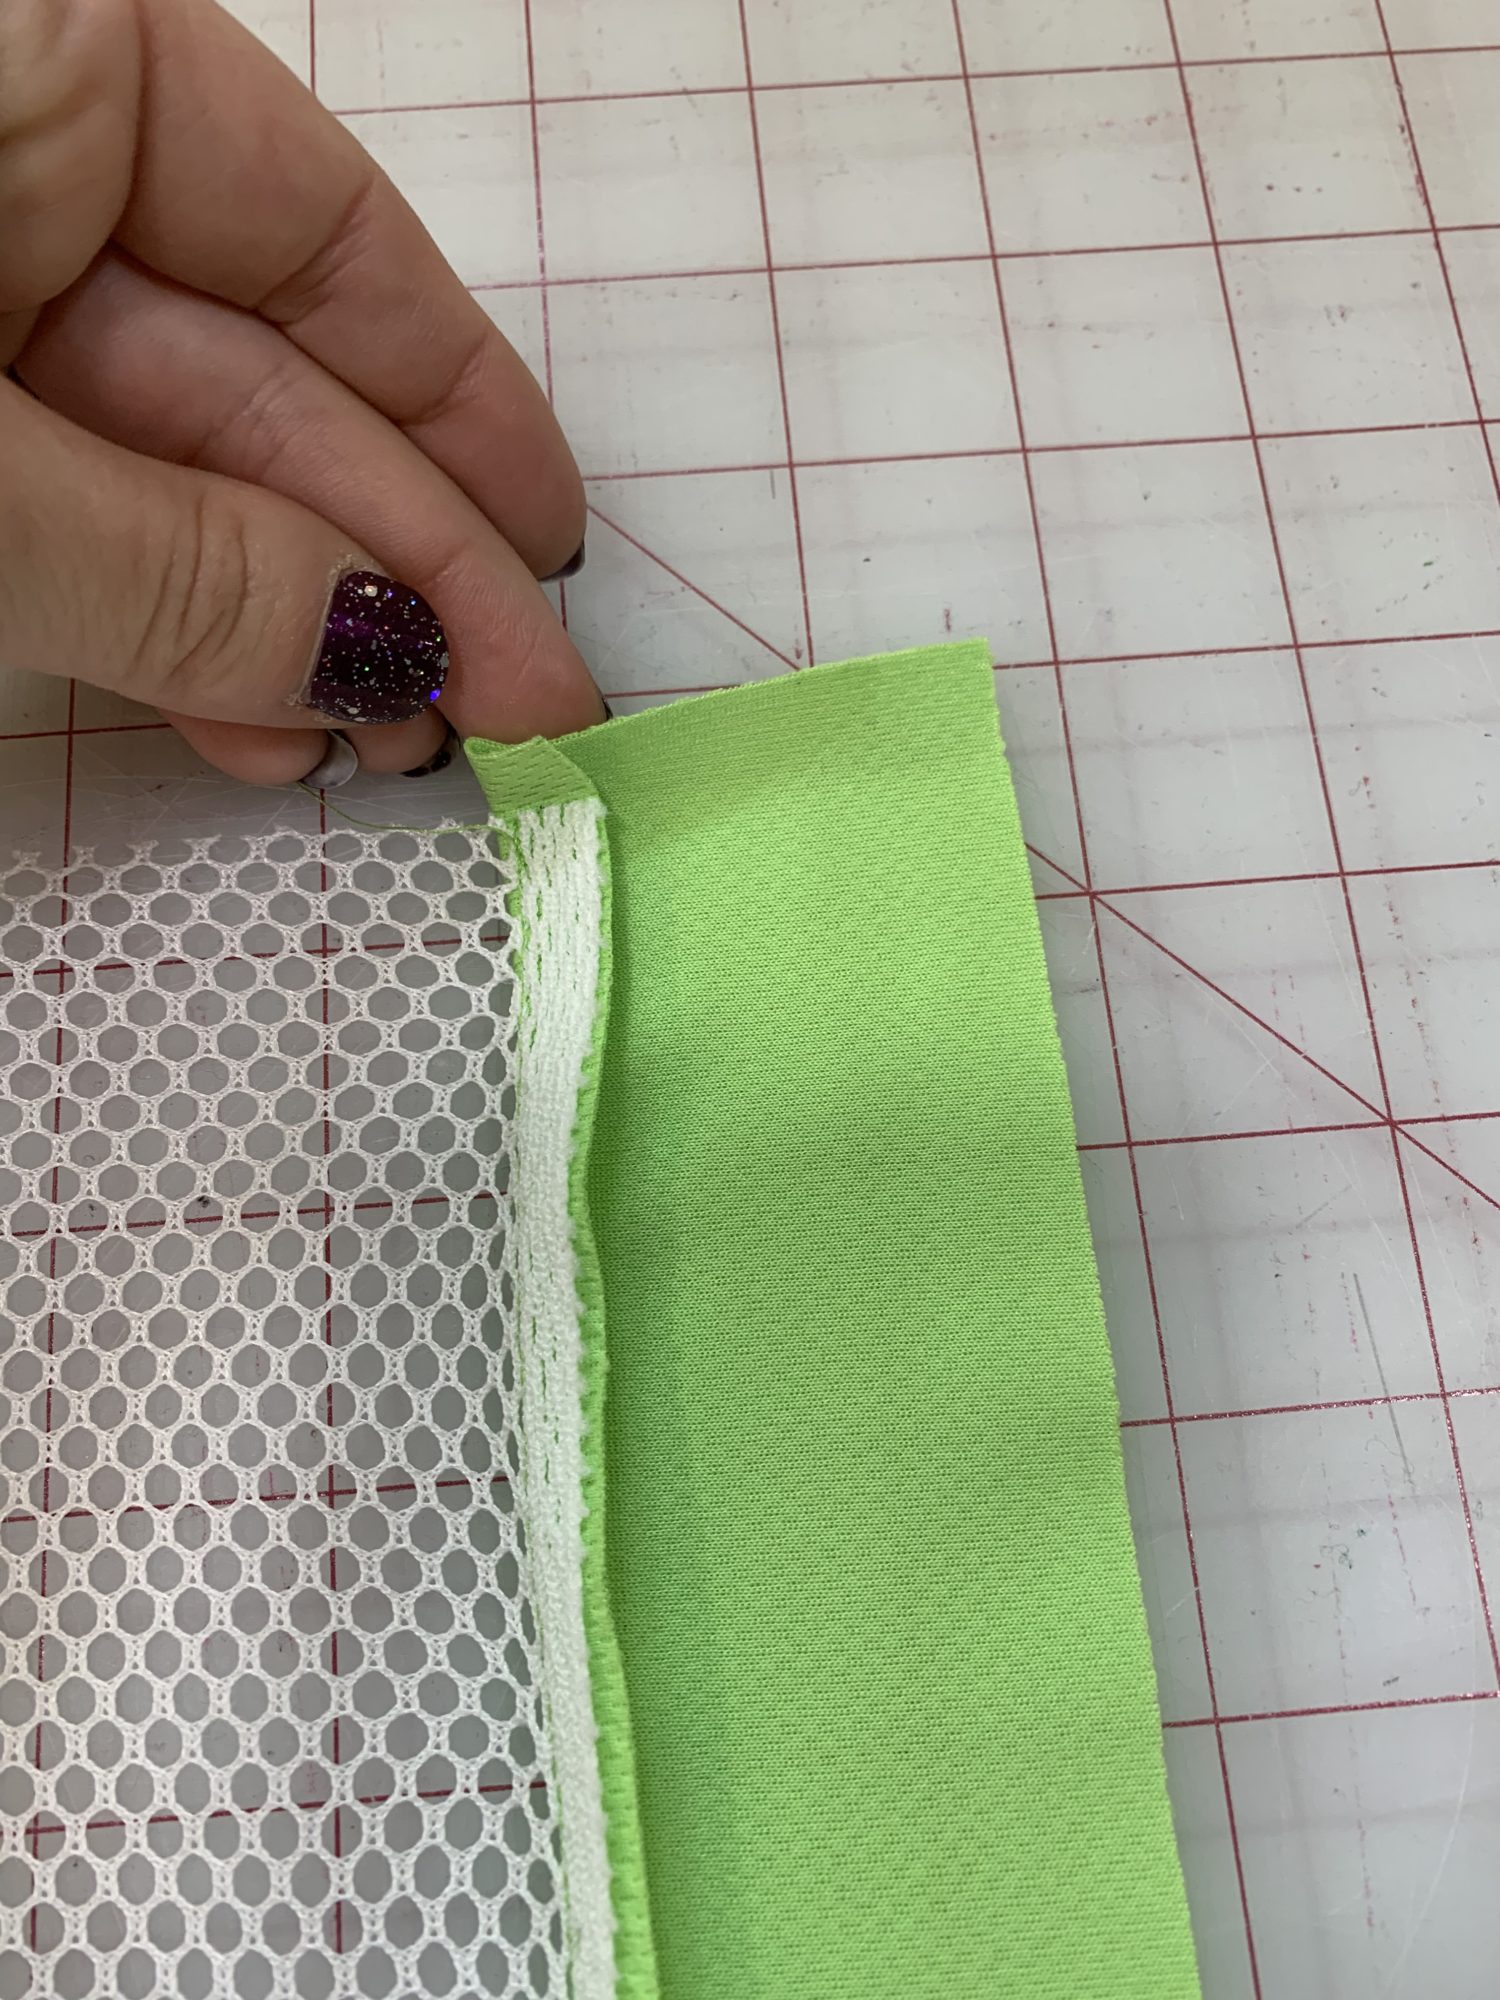
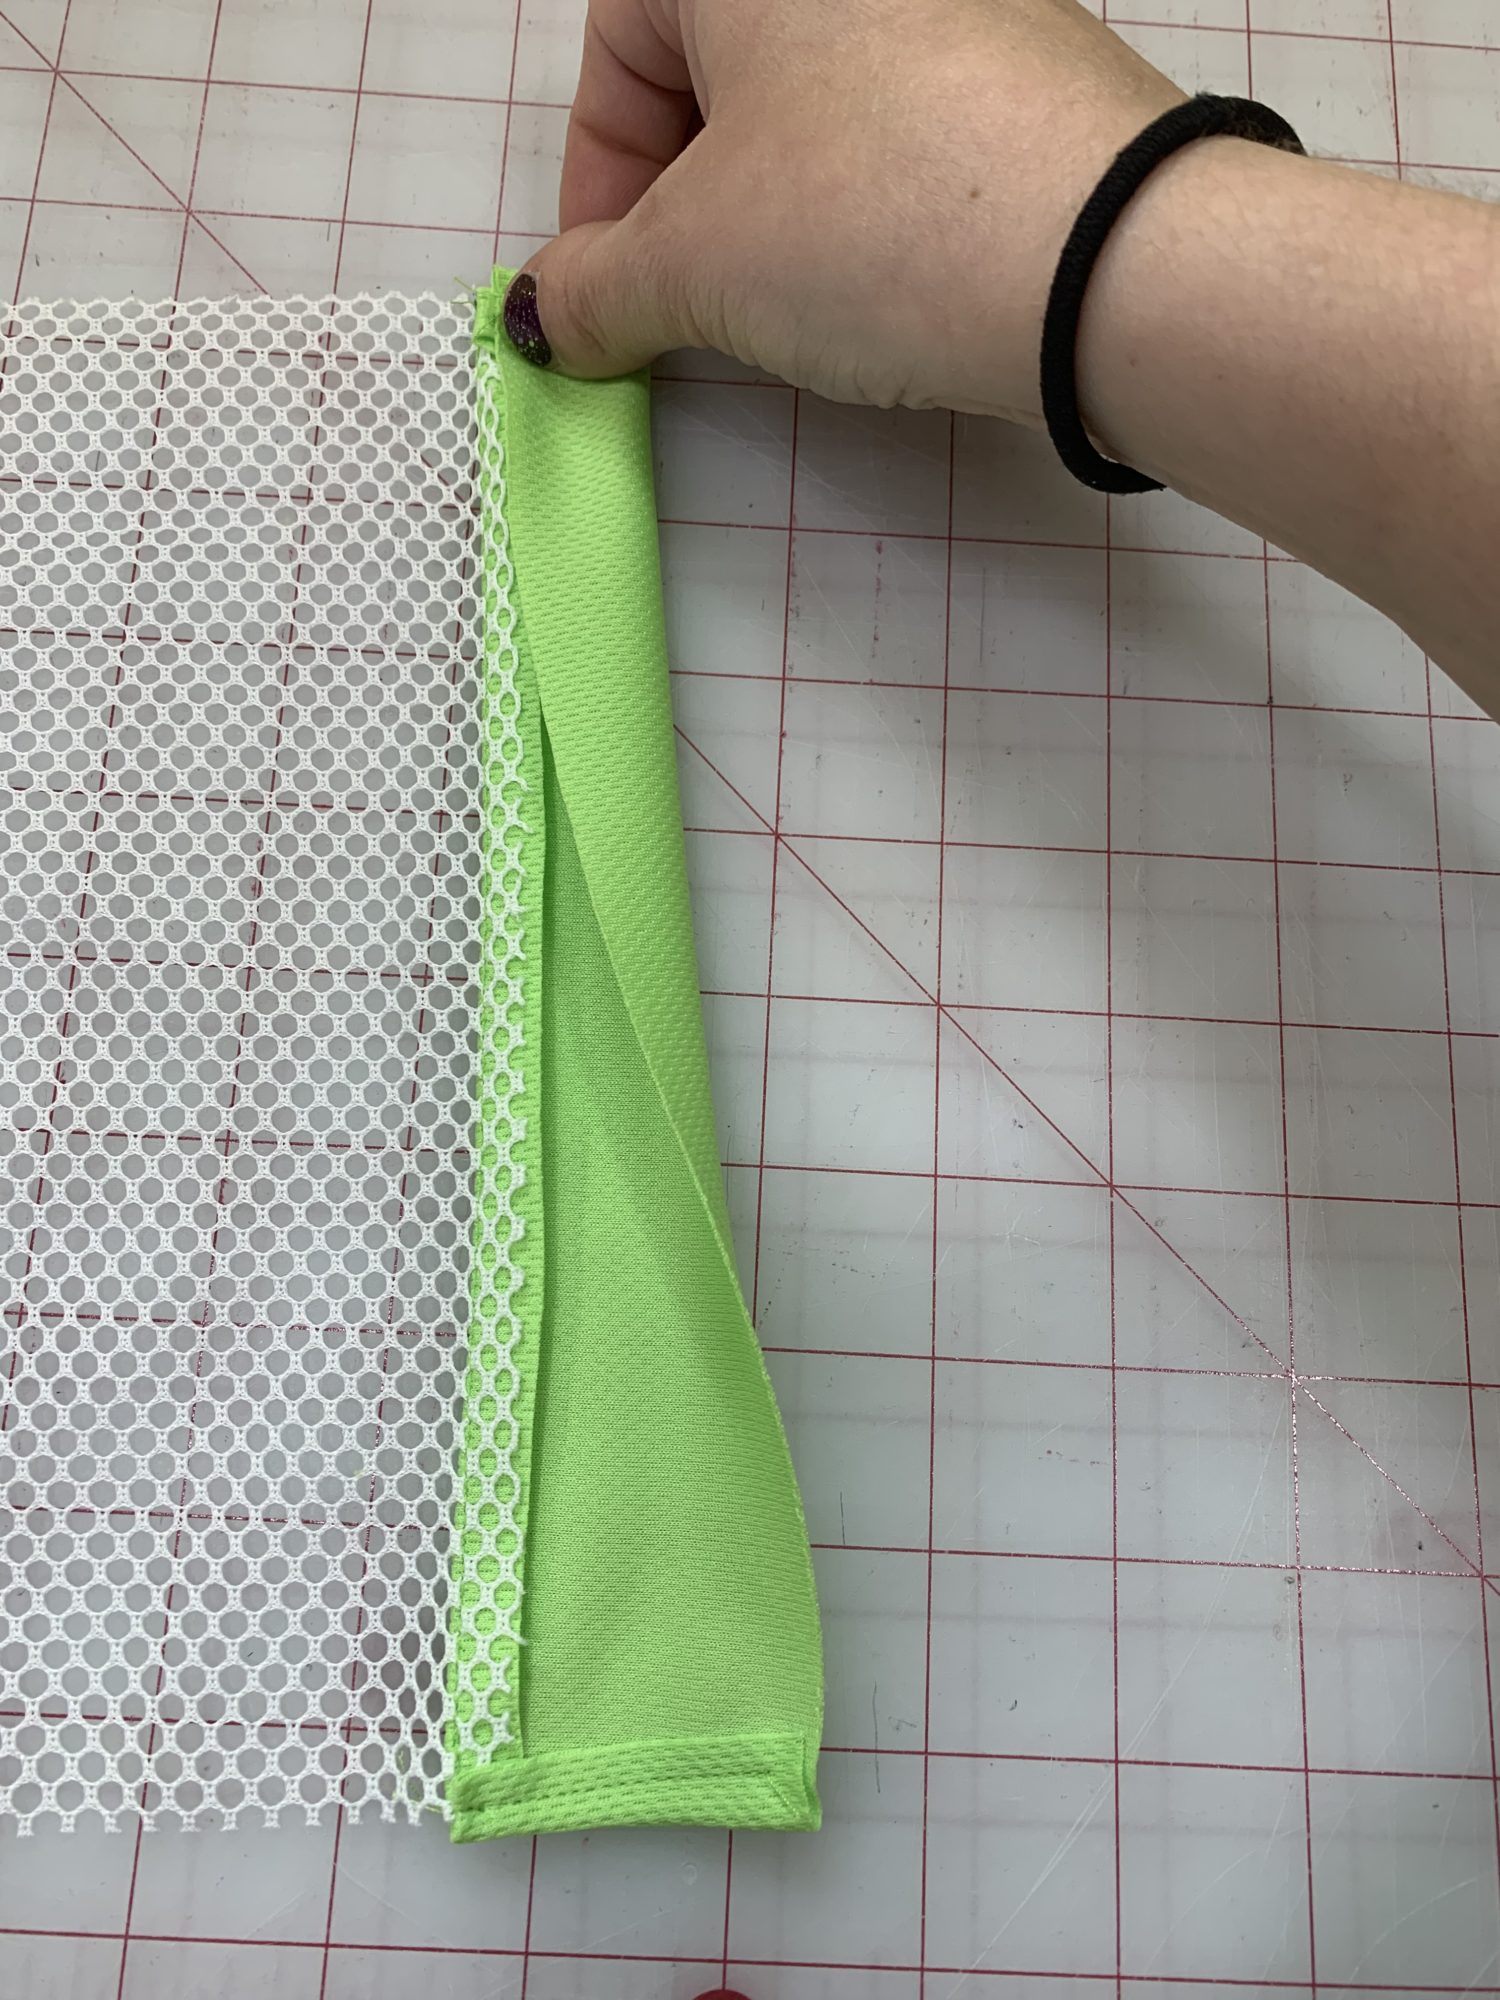
- Take one casing piece and put it on top of 1 of the short sides of the mesh, right sides together
- You will have overlap on the sides, this is so we can finish the edge of the casing later. Center the casing piece over the mesh so that the overhang is equal on both sides
- Sew along the top edge
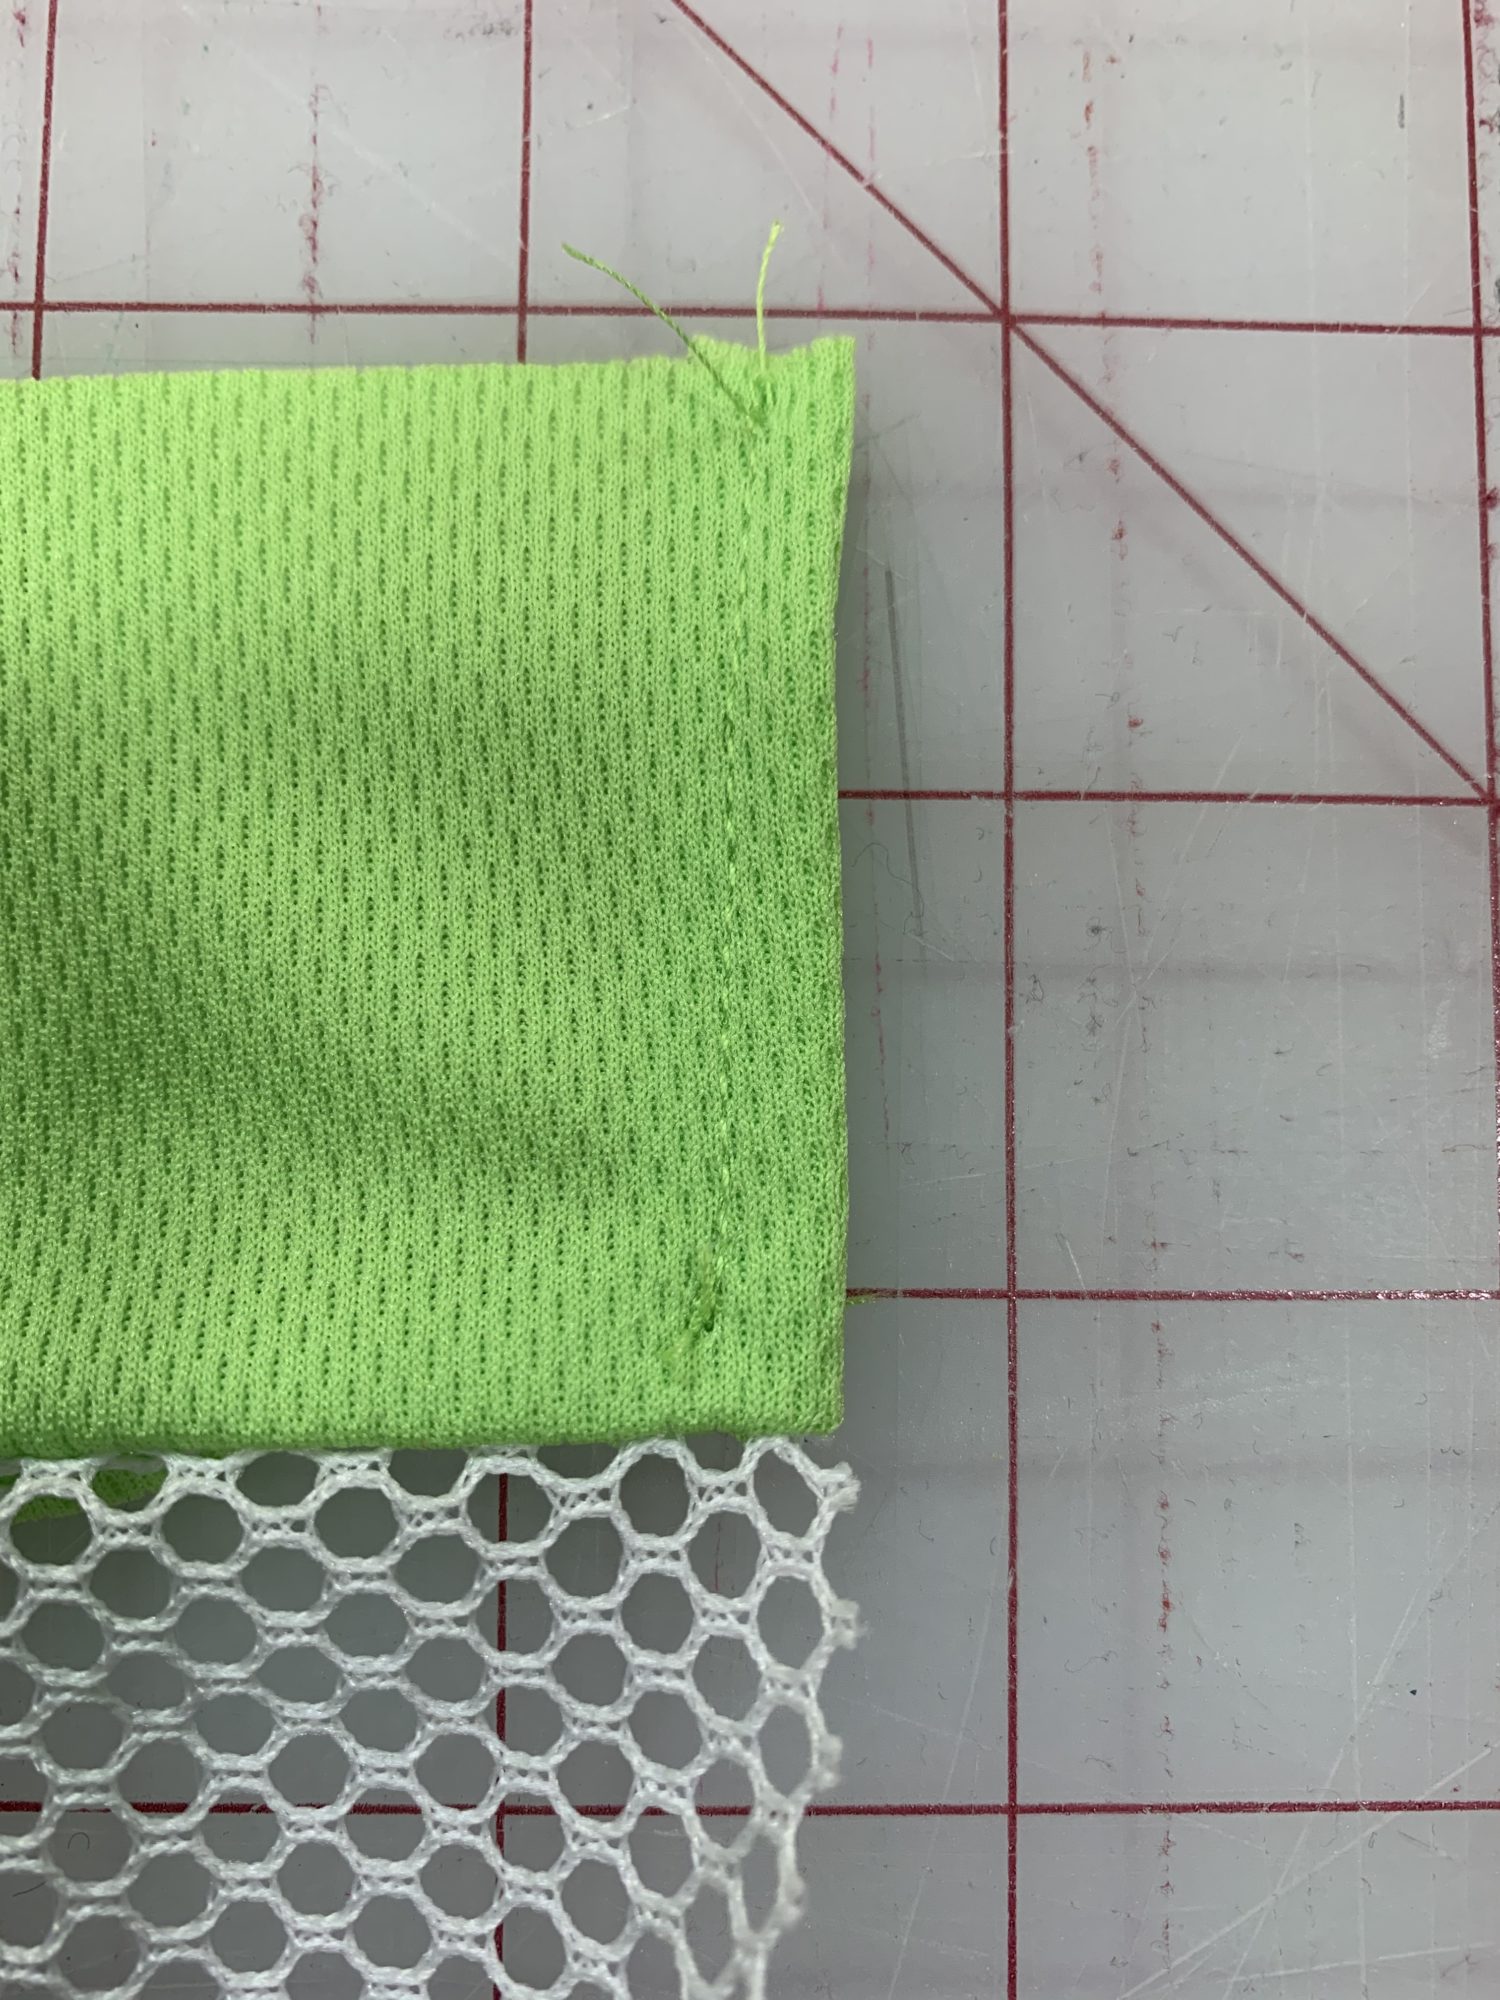
- Press your seam allowance up toward the casing. I used a low heat to press.
- Repeat with the other casing piece and the other side of the mesh. Make sure you are sewing the right sides together! The mesh makes it really difficult to tell!

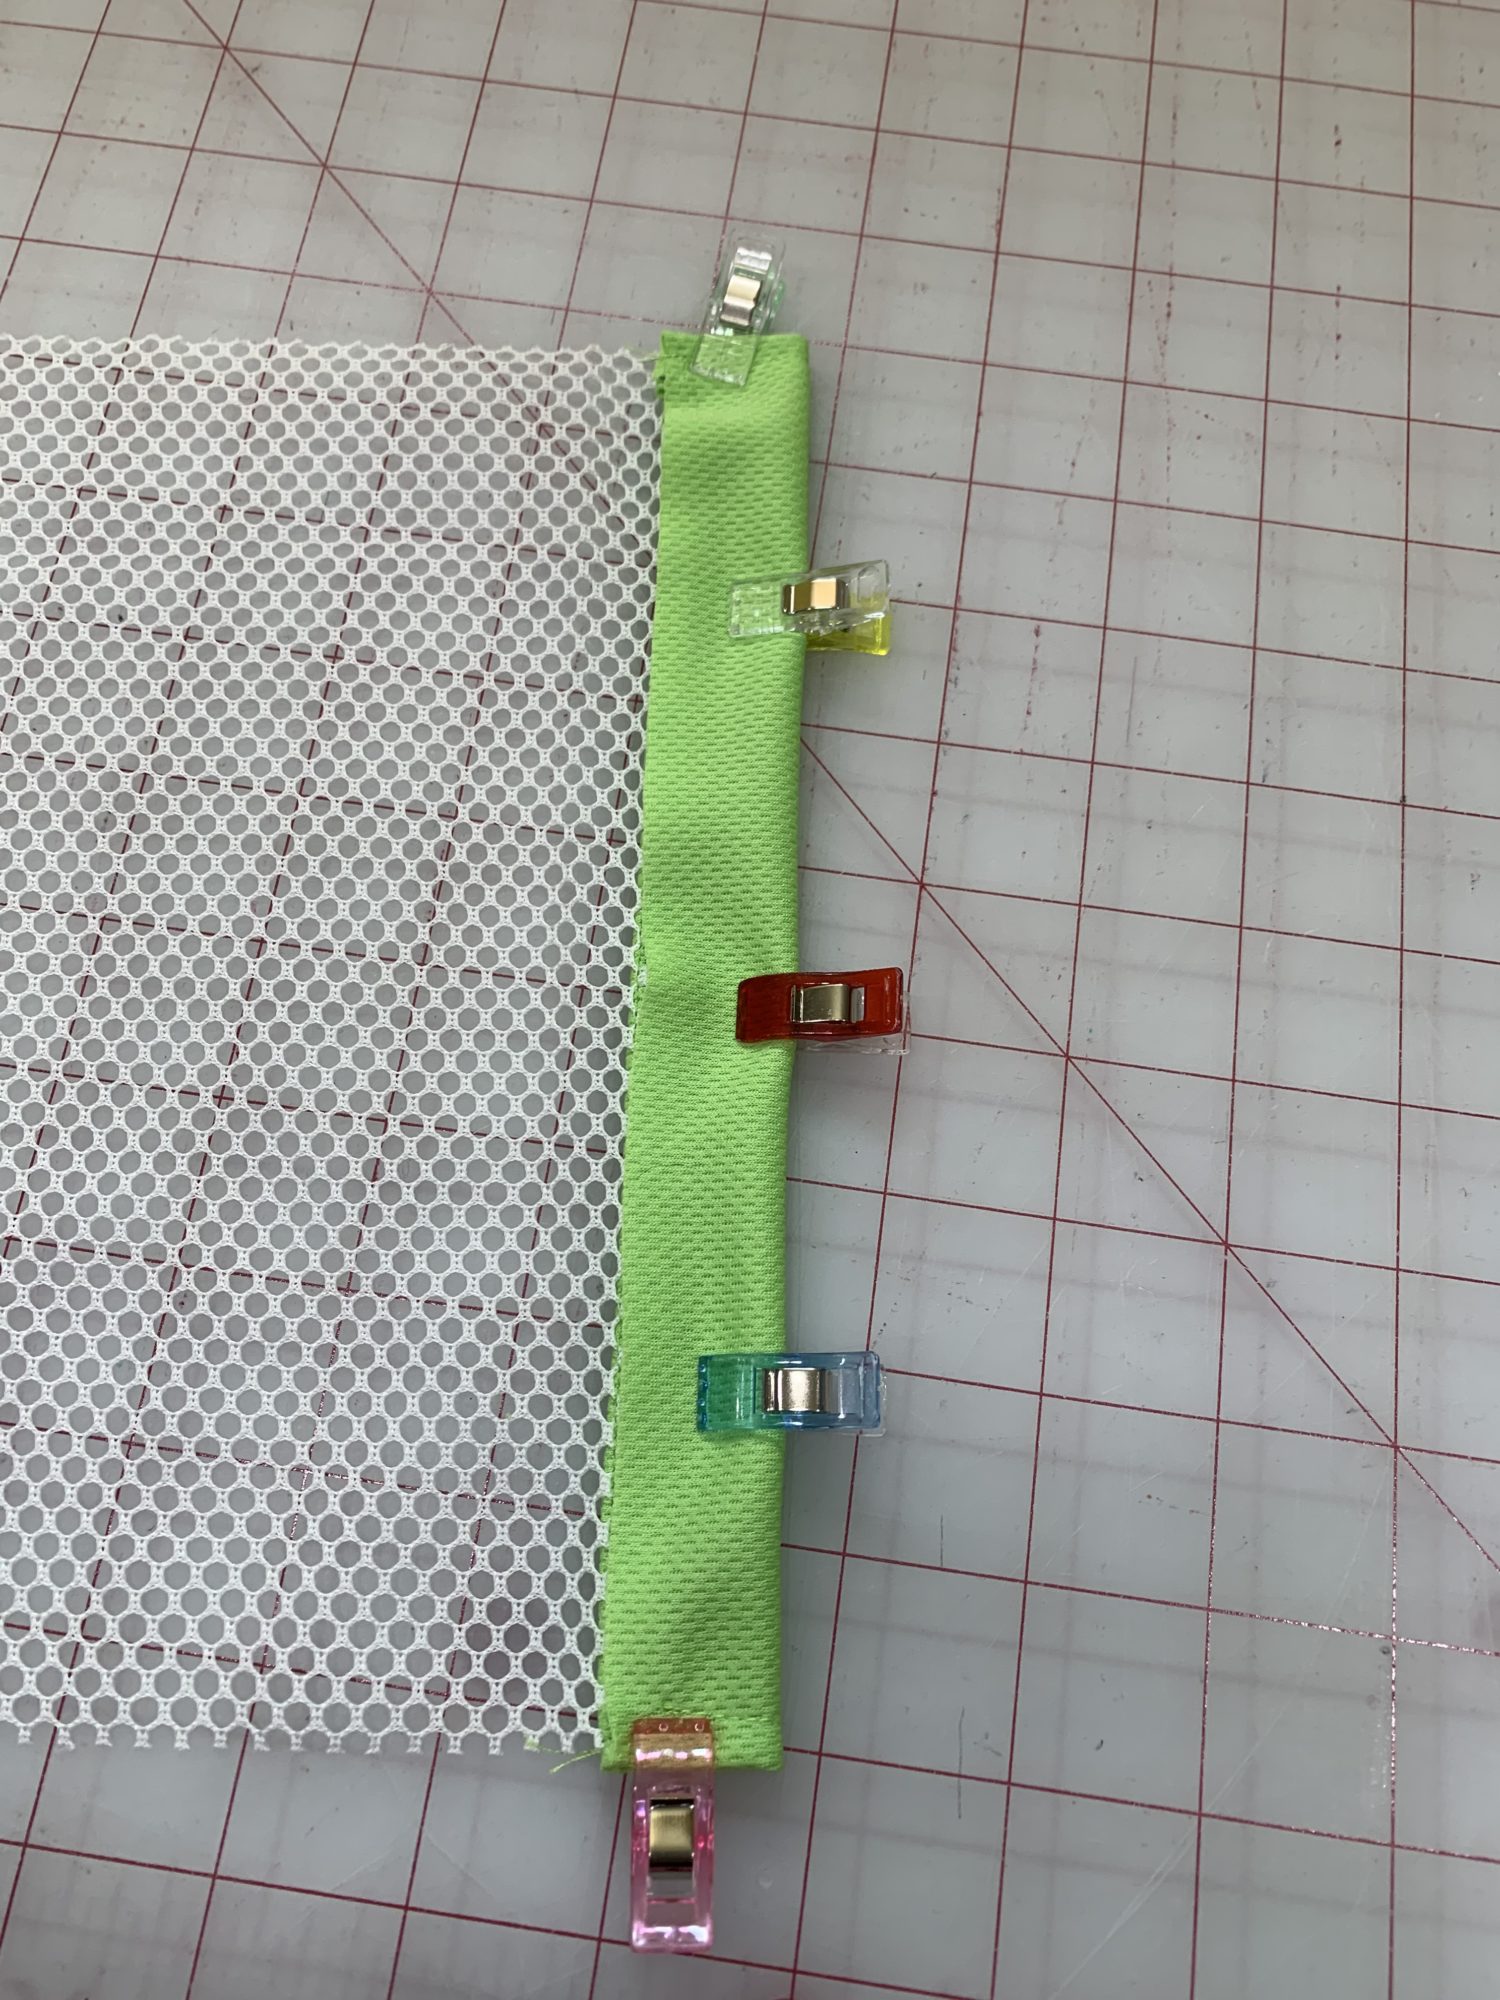
- Fold the excess fabric on the short edges in toward the mesh so that it makes a smooth transition from mesh to casing.
- Stitch along the 2 short edges on both casing pieces.
- Fold the top edge of the casing piece down over the seam allowance and match it up to the bottom edge of the casing.
- Edge stitch along the casing. Just sew along the bottom, don’t sew the short ends closed!
- Repeat with the other casing
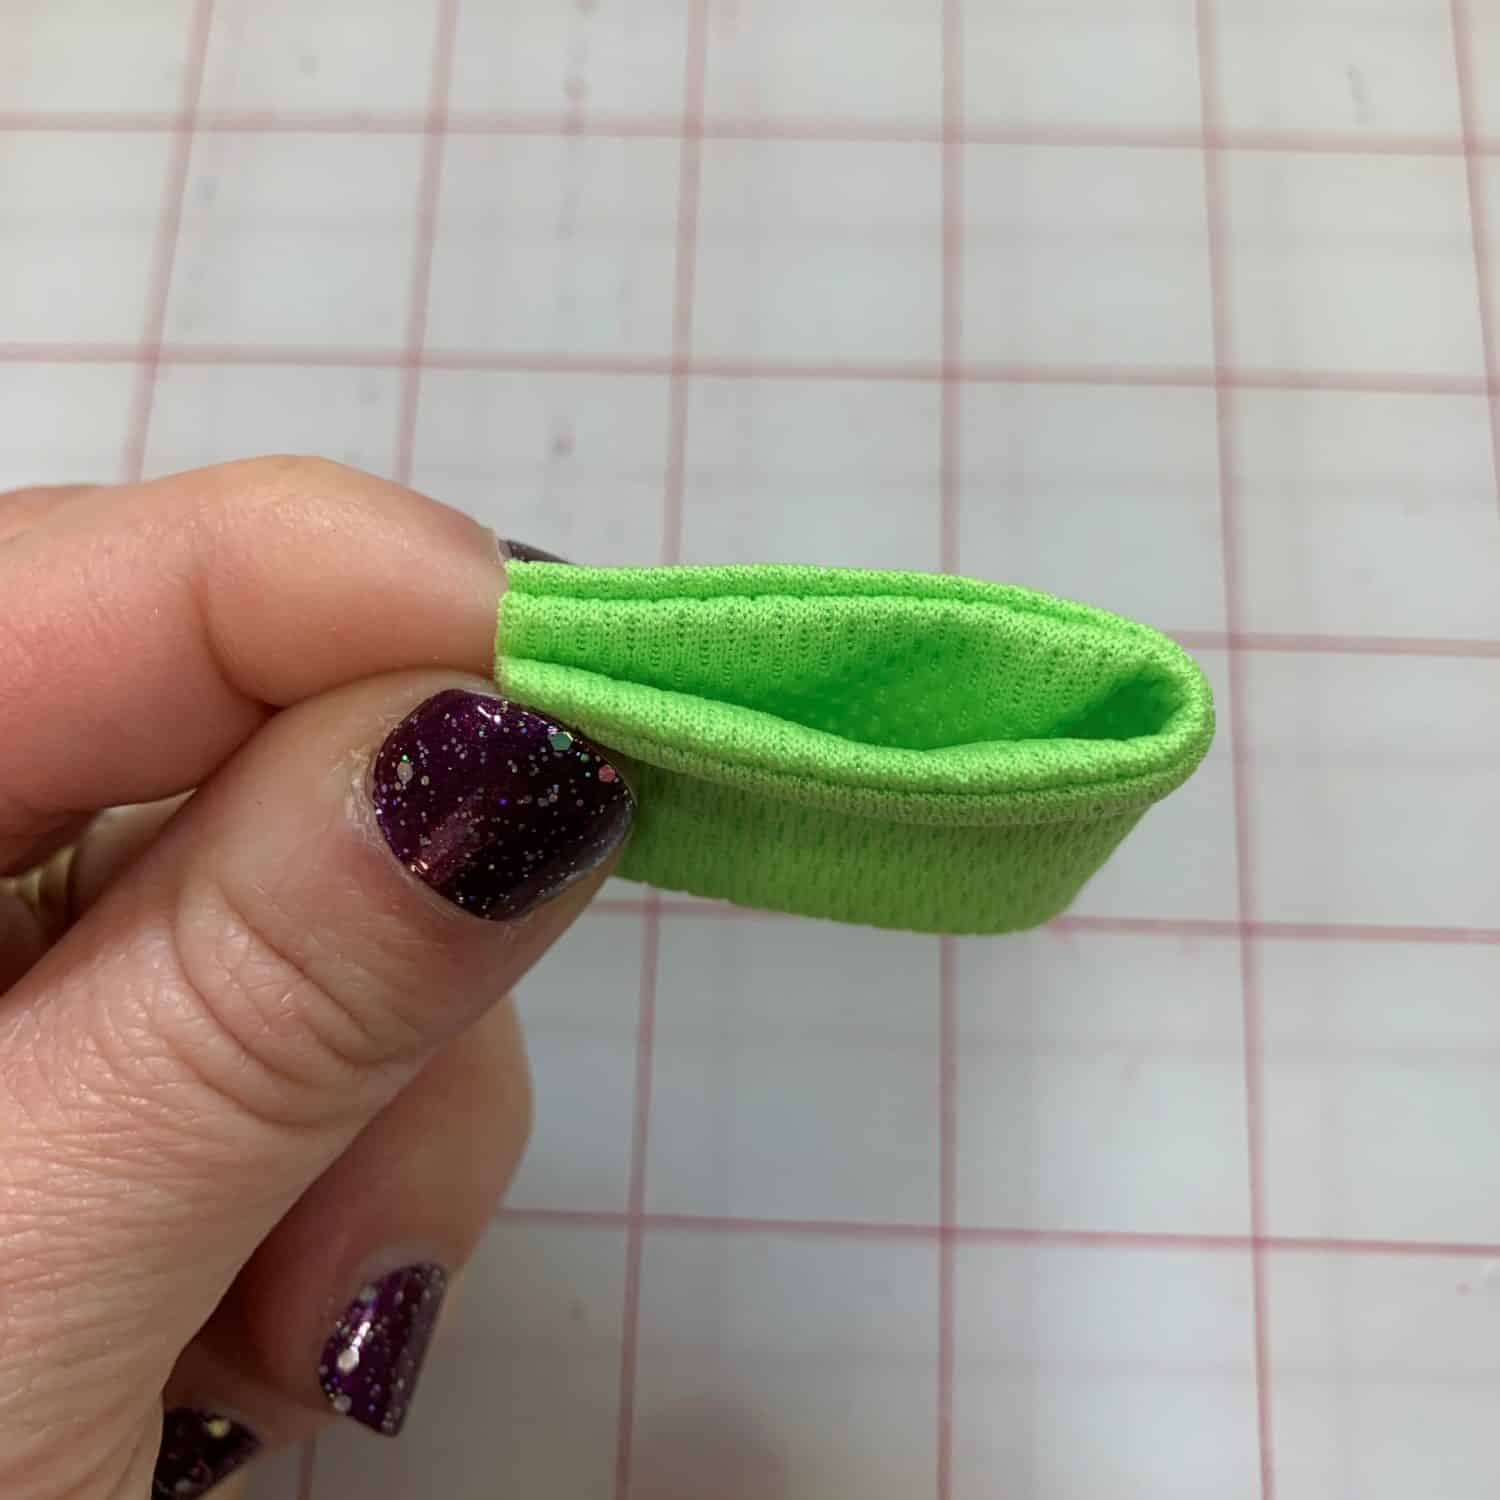
Bottom loops for drawstring
- Fold your loop piece long ways with right sides together
- Sew along the long edge
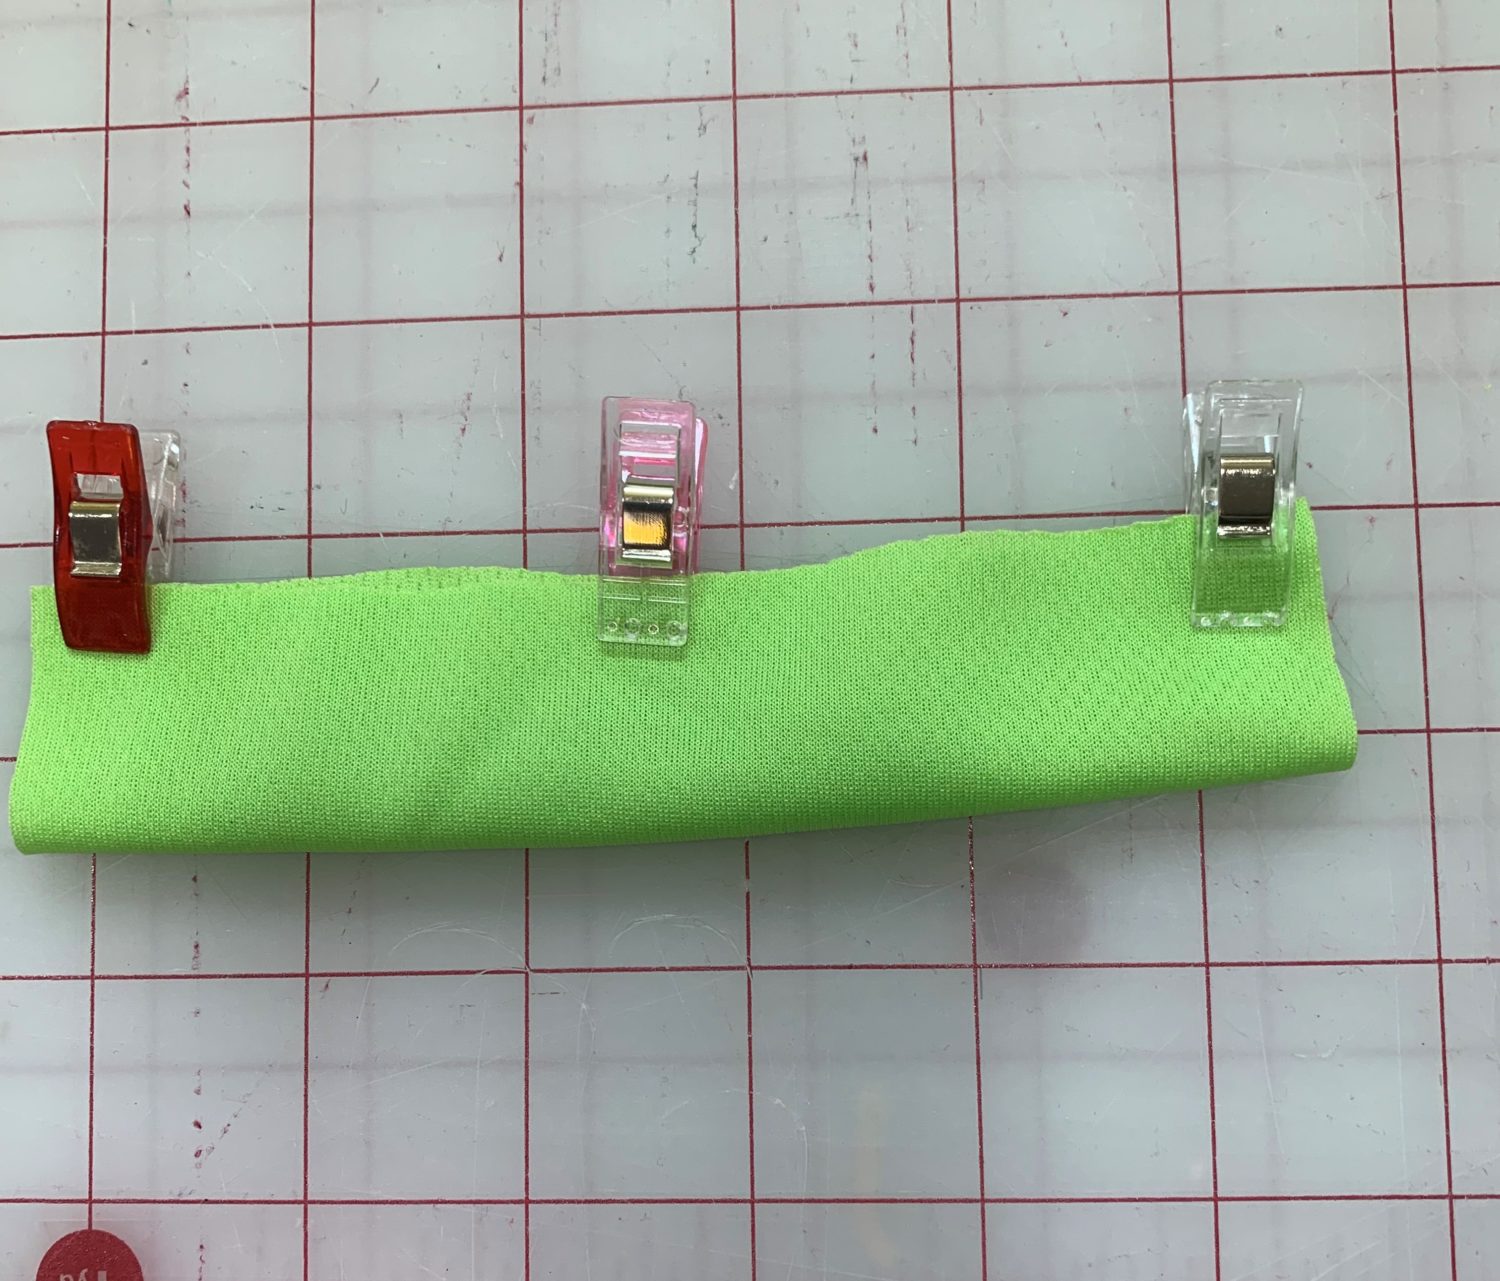
- Trim seam allowance, if necessary.
- Turn the loop right sides out
- Press
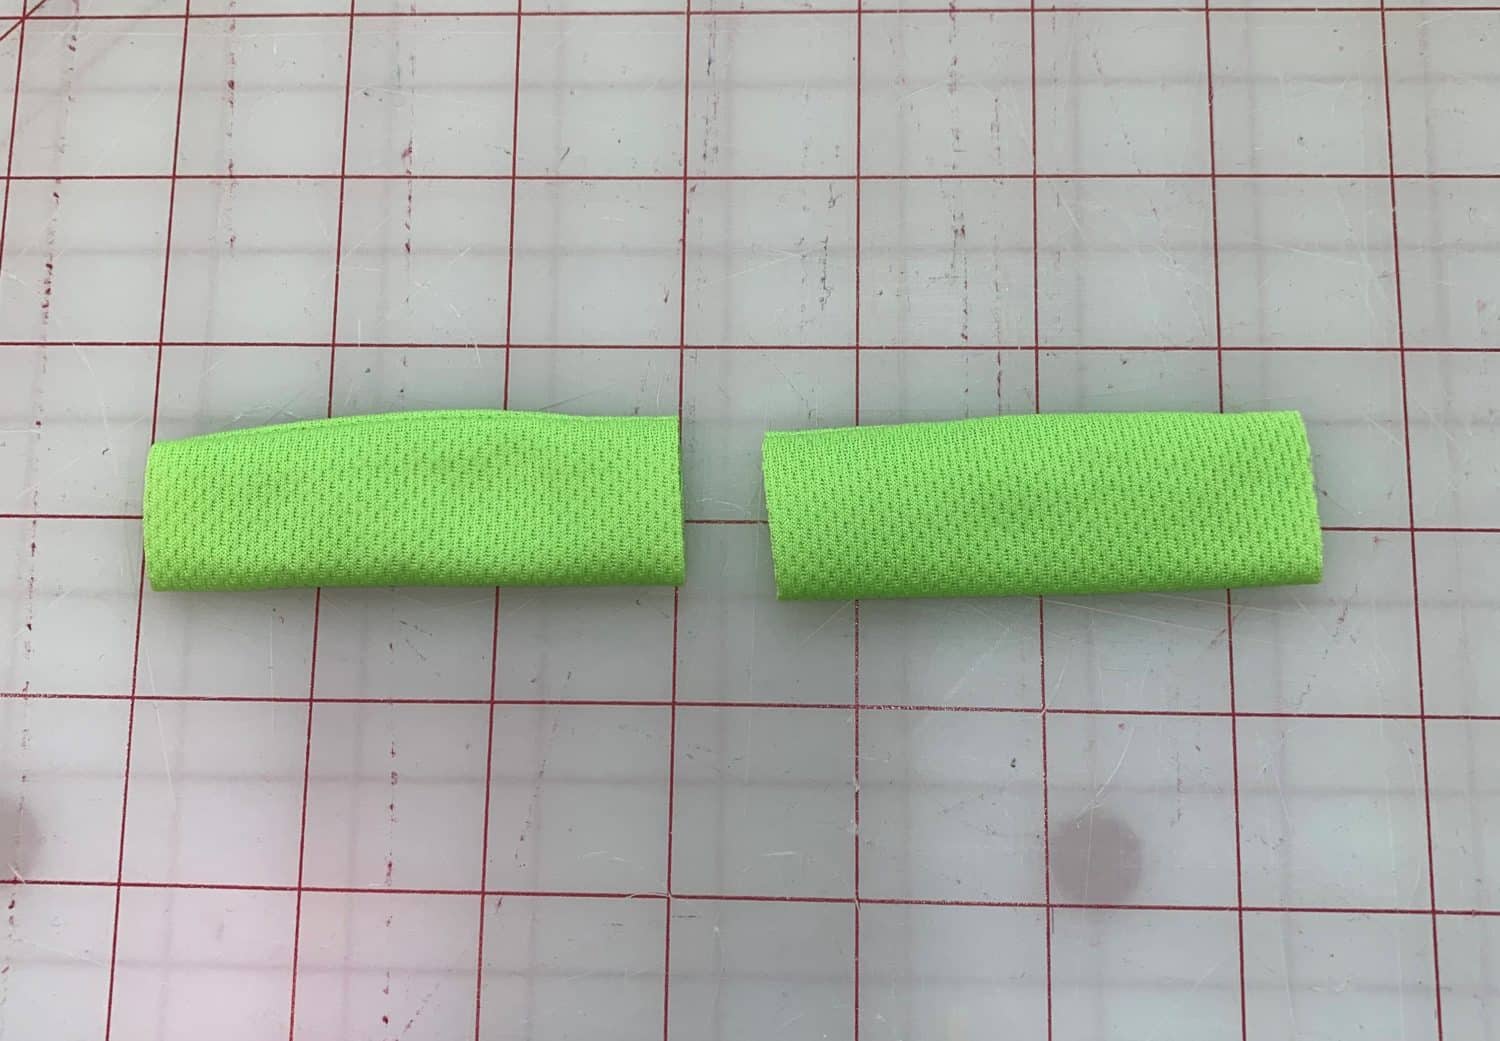
- In order to make it 2 loops, you need to cut it in half
- Fold your mesh in half longways so that the two casings match at the top, right sides together
- Match up the sides and clip together

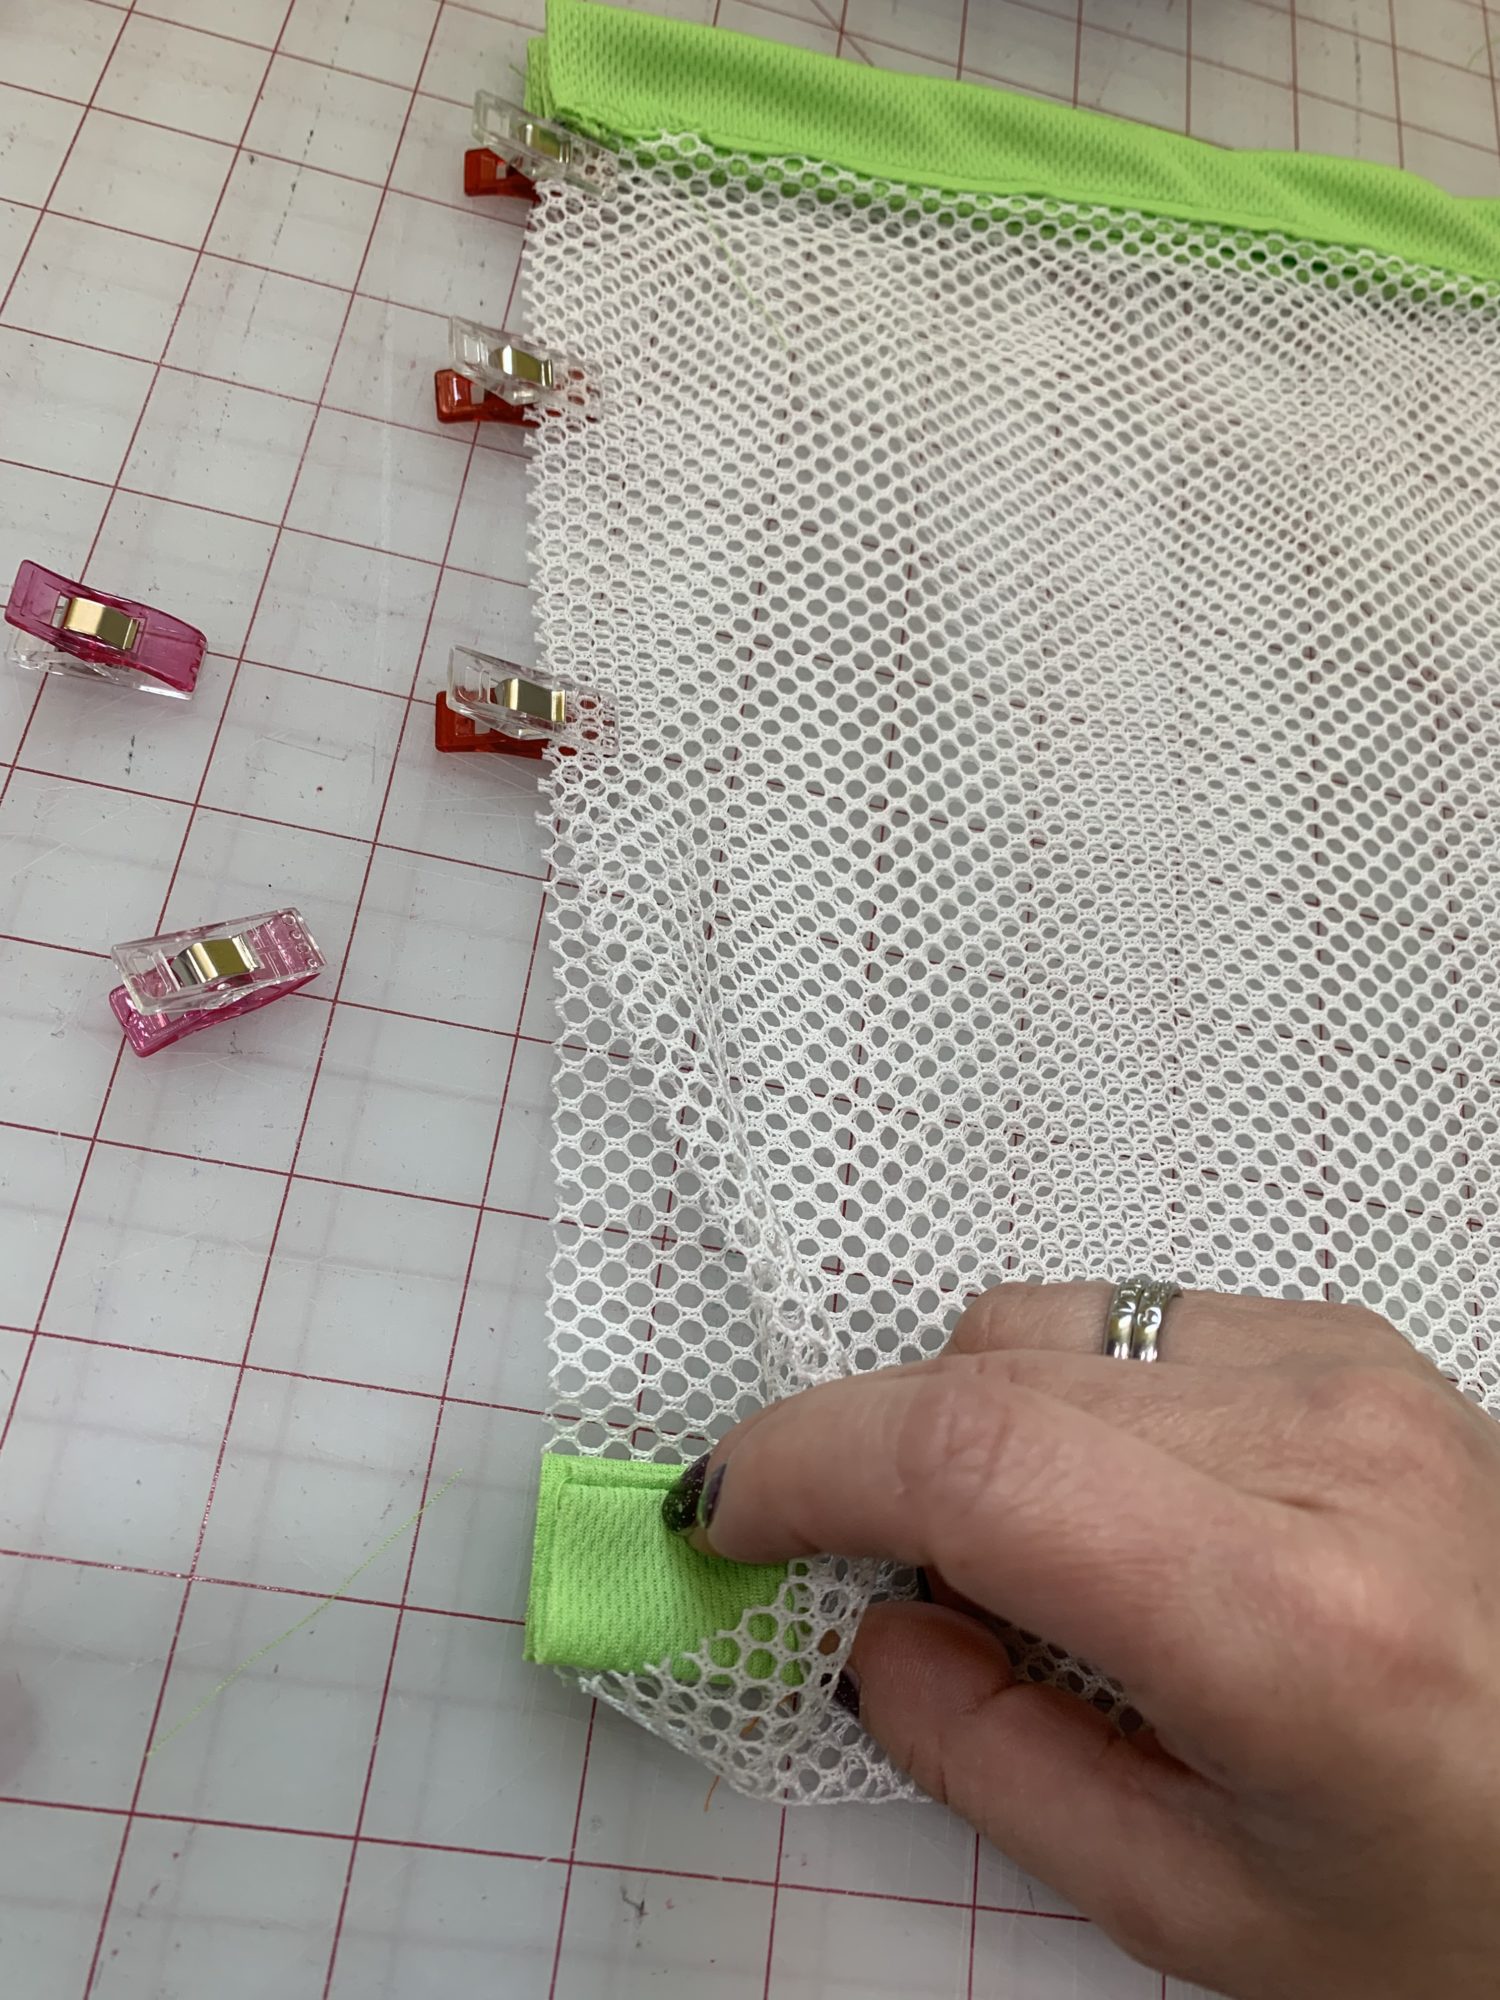
- You will fold your loop pieces in half, baste if you wish
- Place the loops on the inside of the bag. The raw edges will match the raw edges of the bag and the loop will be facing the center of the bag
- Make sure that the loops are touching the right sides of the bag so that they will be on the outside of the bag when sewn
- Repeat with the other loop on the other side. Make sure the loops are the same distance from the bottom of the bag
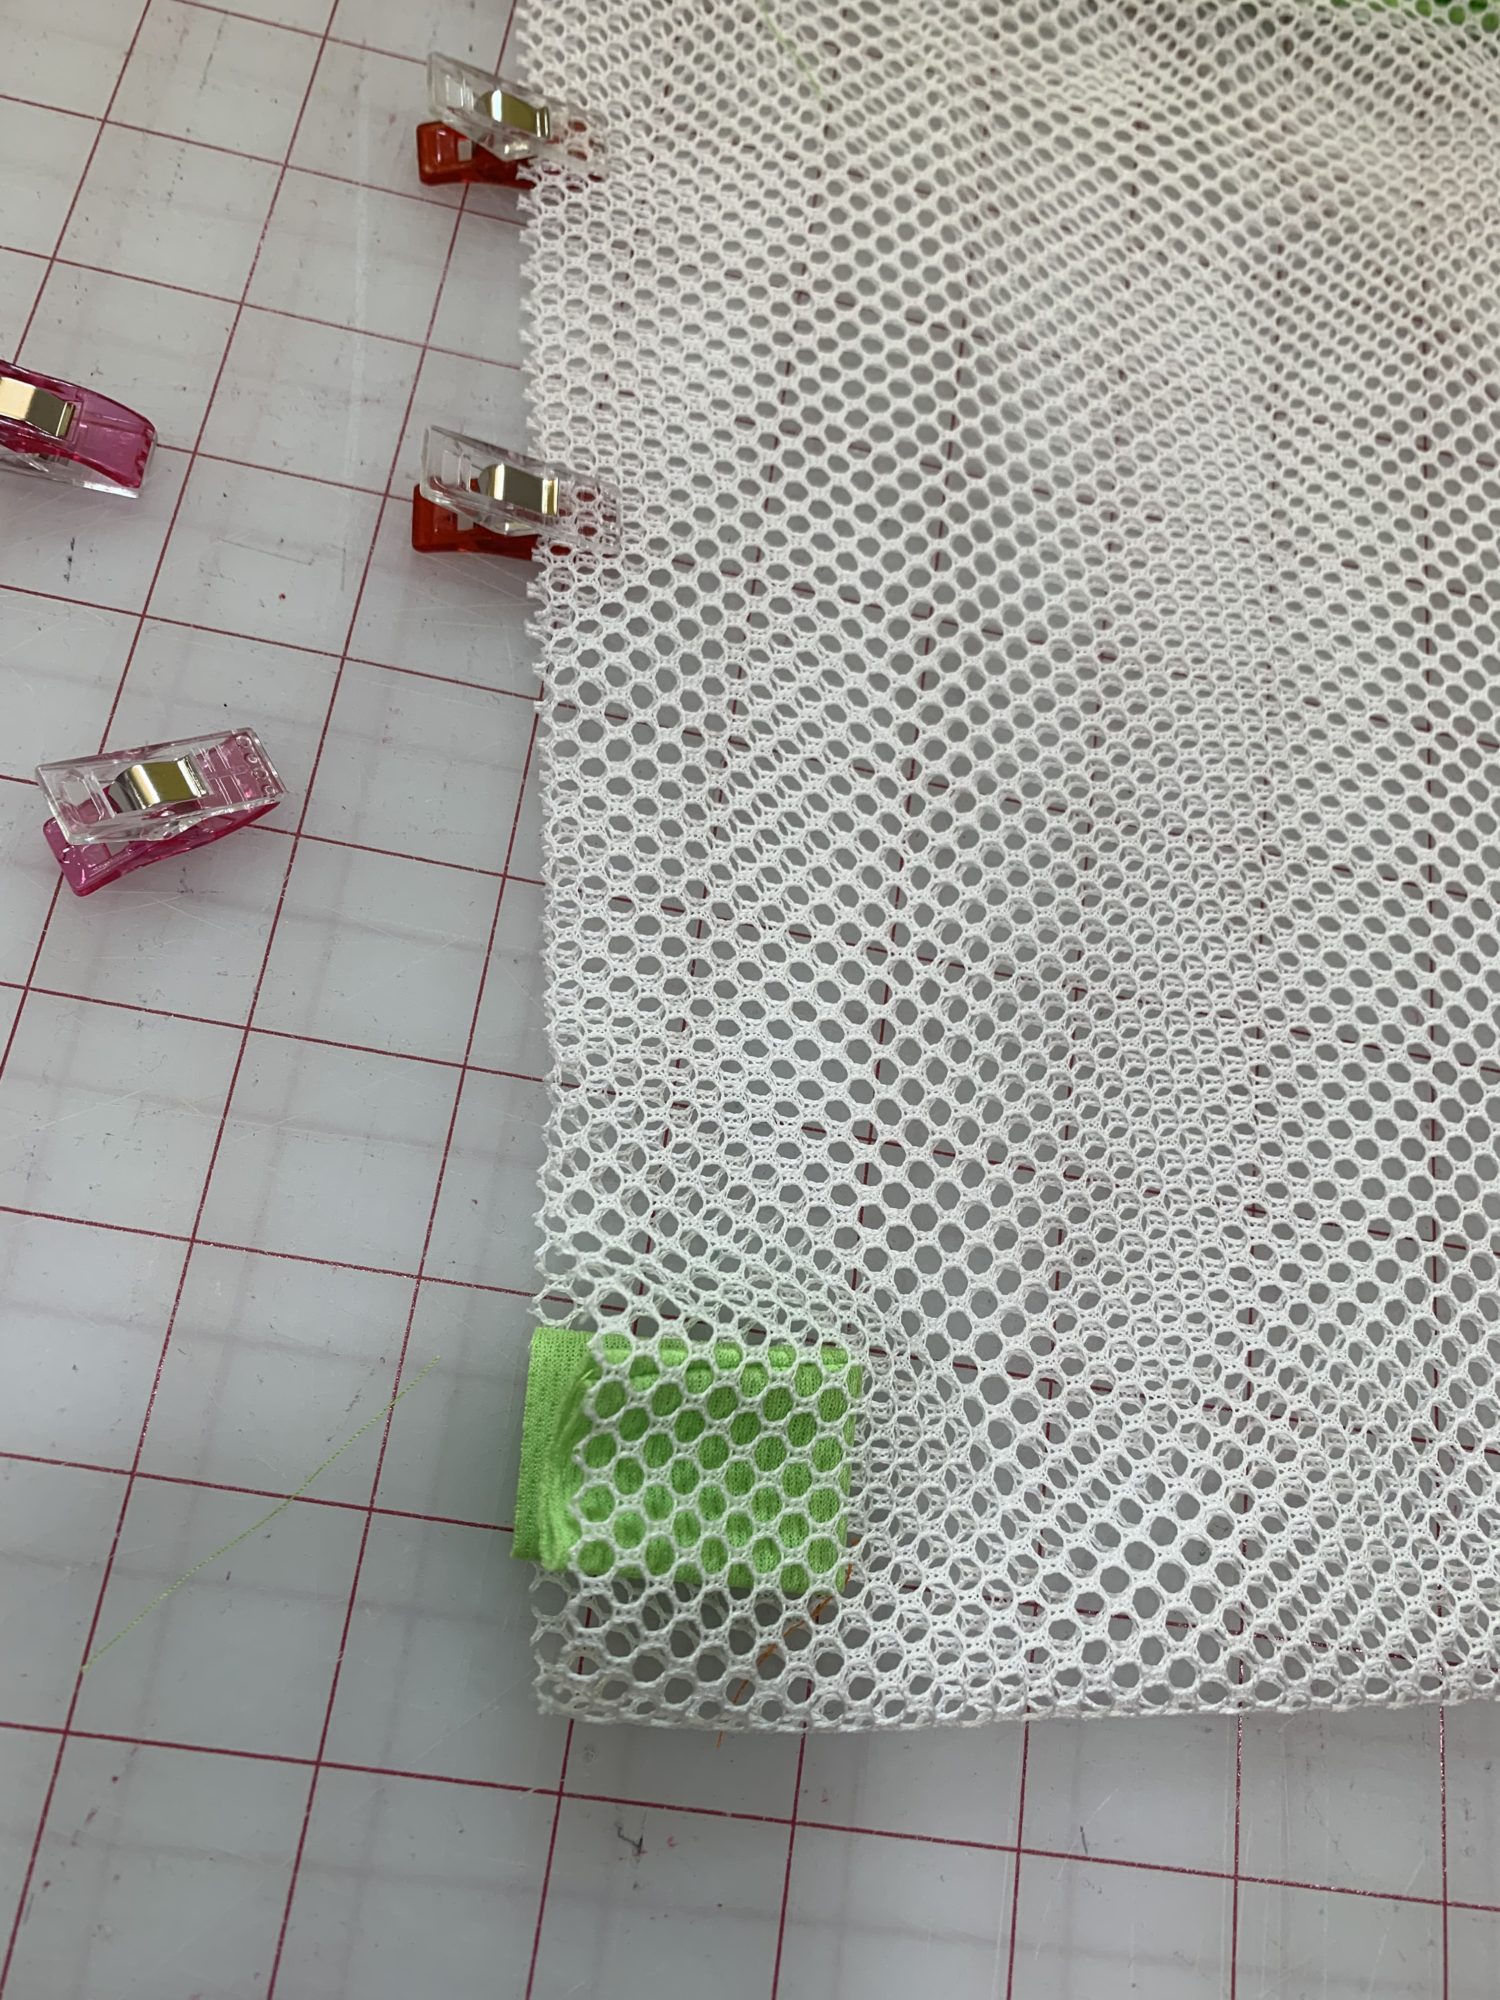
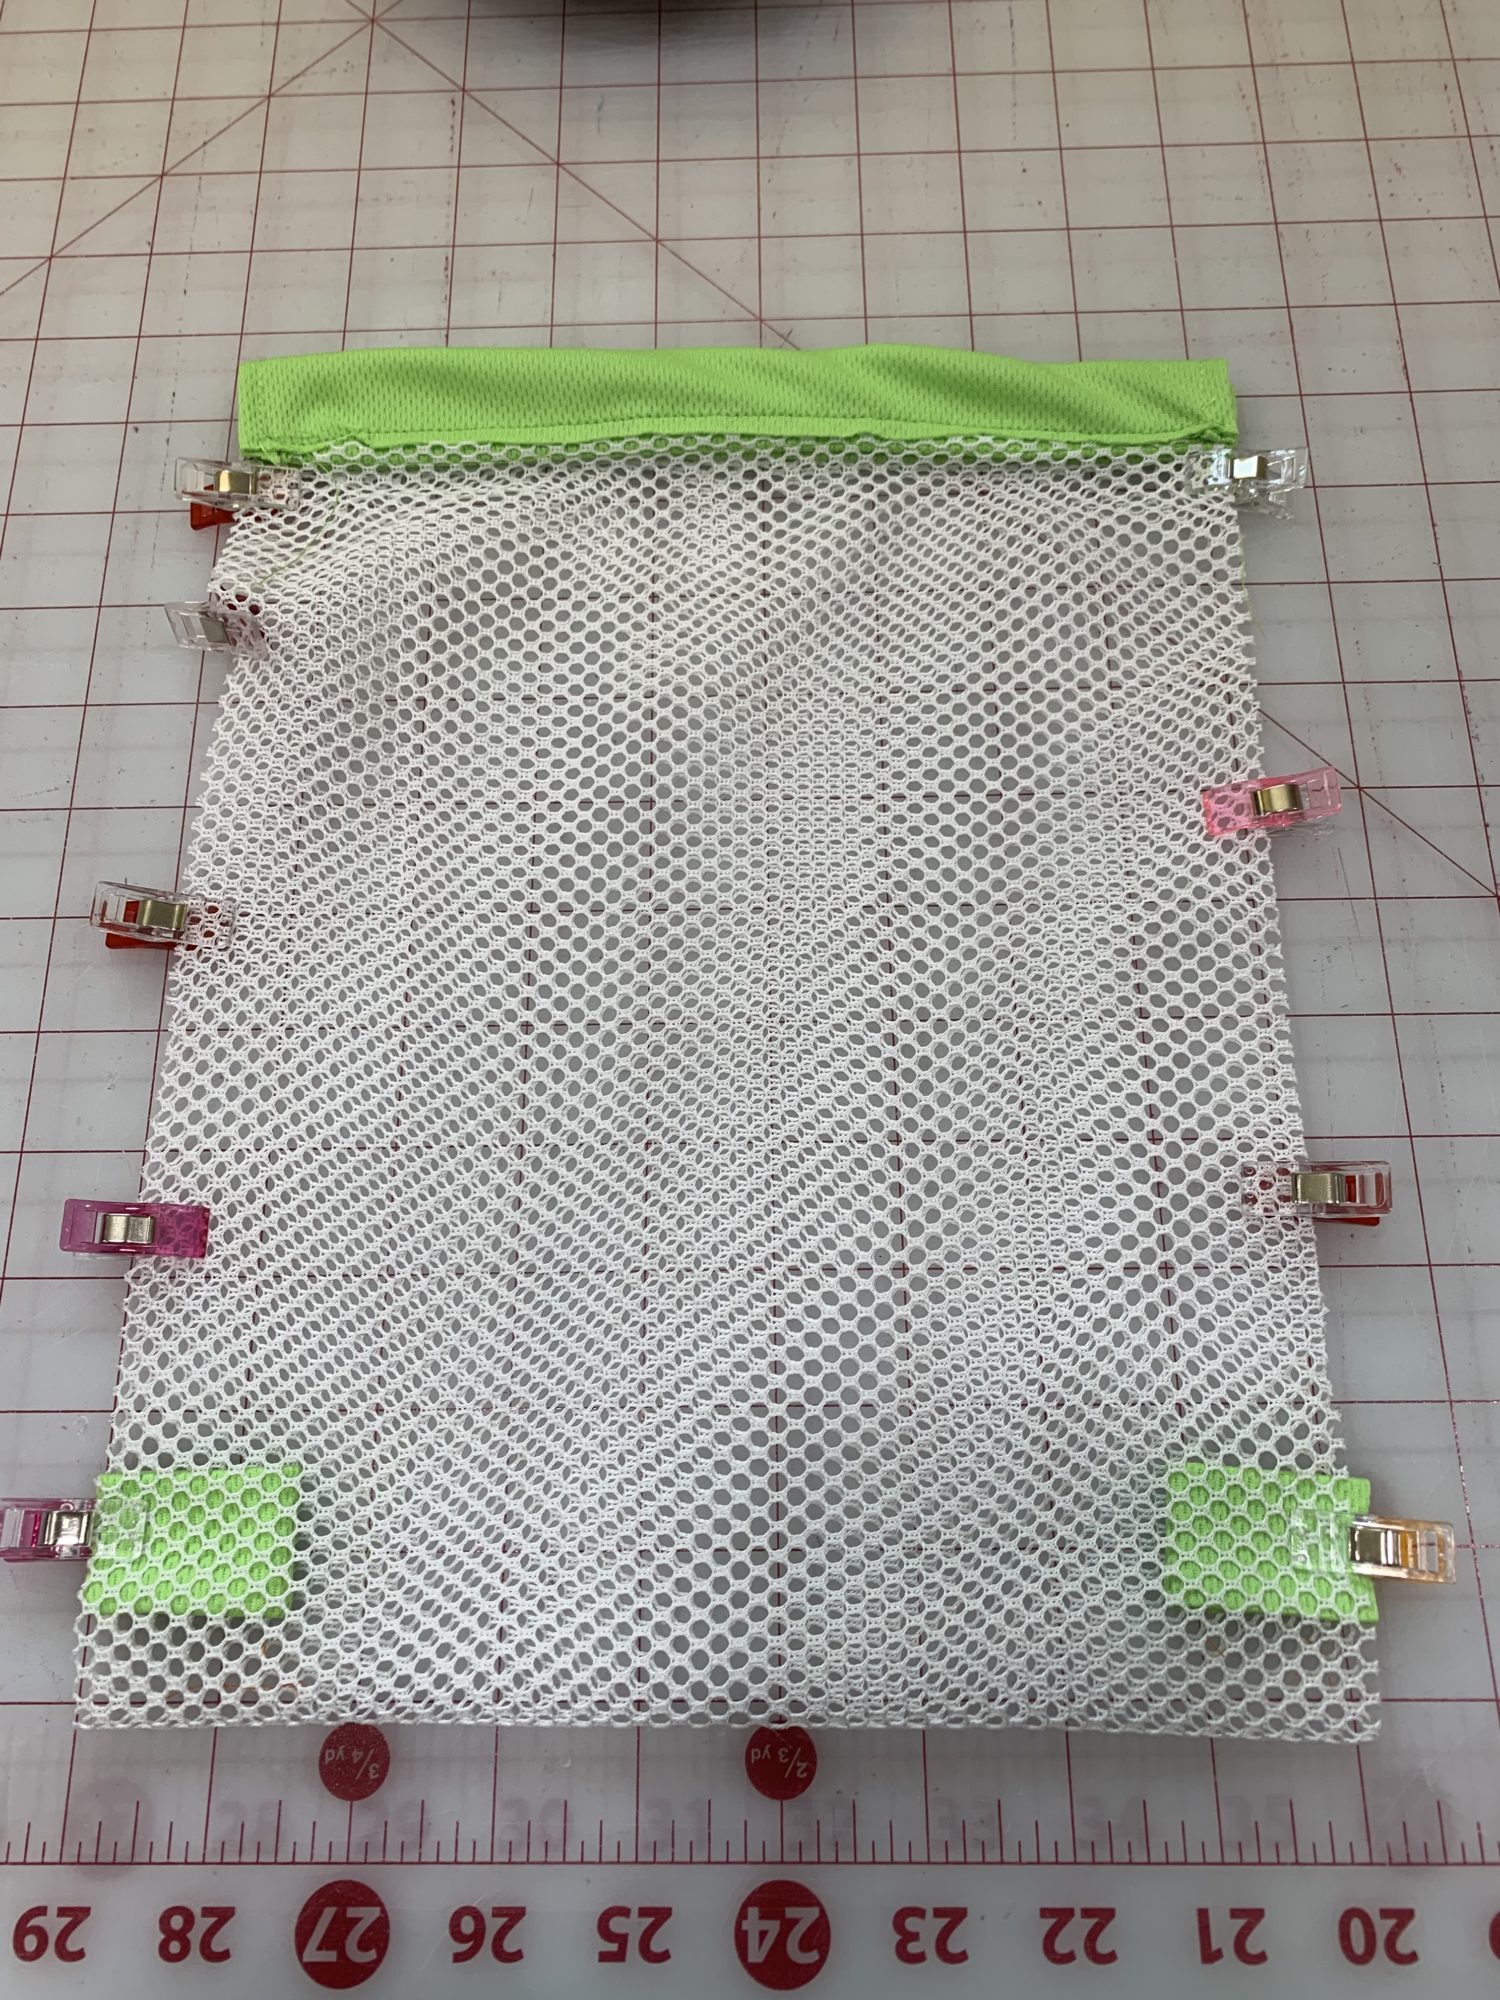
Loops are sandwiched between the two pieces of mesh
Sew the side seams
- Sew down both side seams. Start after the casing, don’t sew the casing!
- Be sure to catch your loops in your stitches
- I sewed my loops twice just to reinforce those stitches
- Sew all the way to the fold at the bottom
- Turn bag right sides out
Add the drawstring!
- If you haven’t already, cut 2 pieces of drawstring. I cut each piece at 45 inches long. You may need to cut longer than that if your bag is larger.
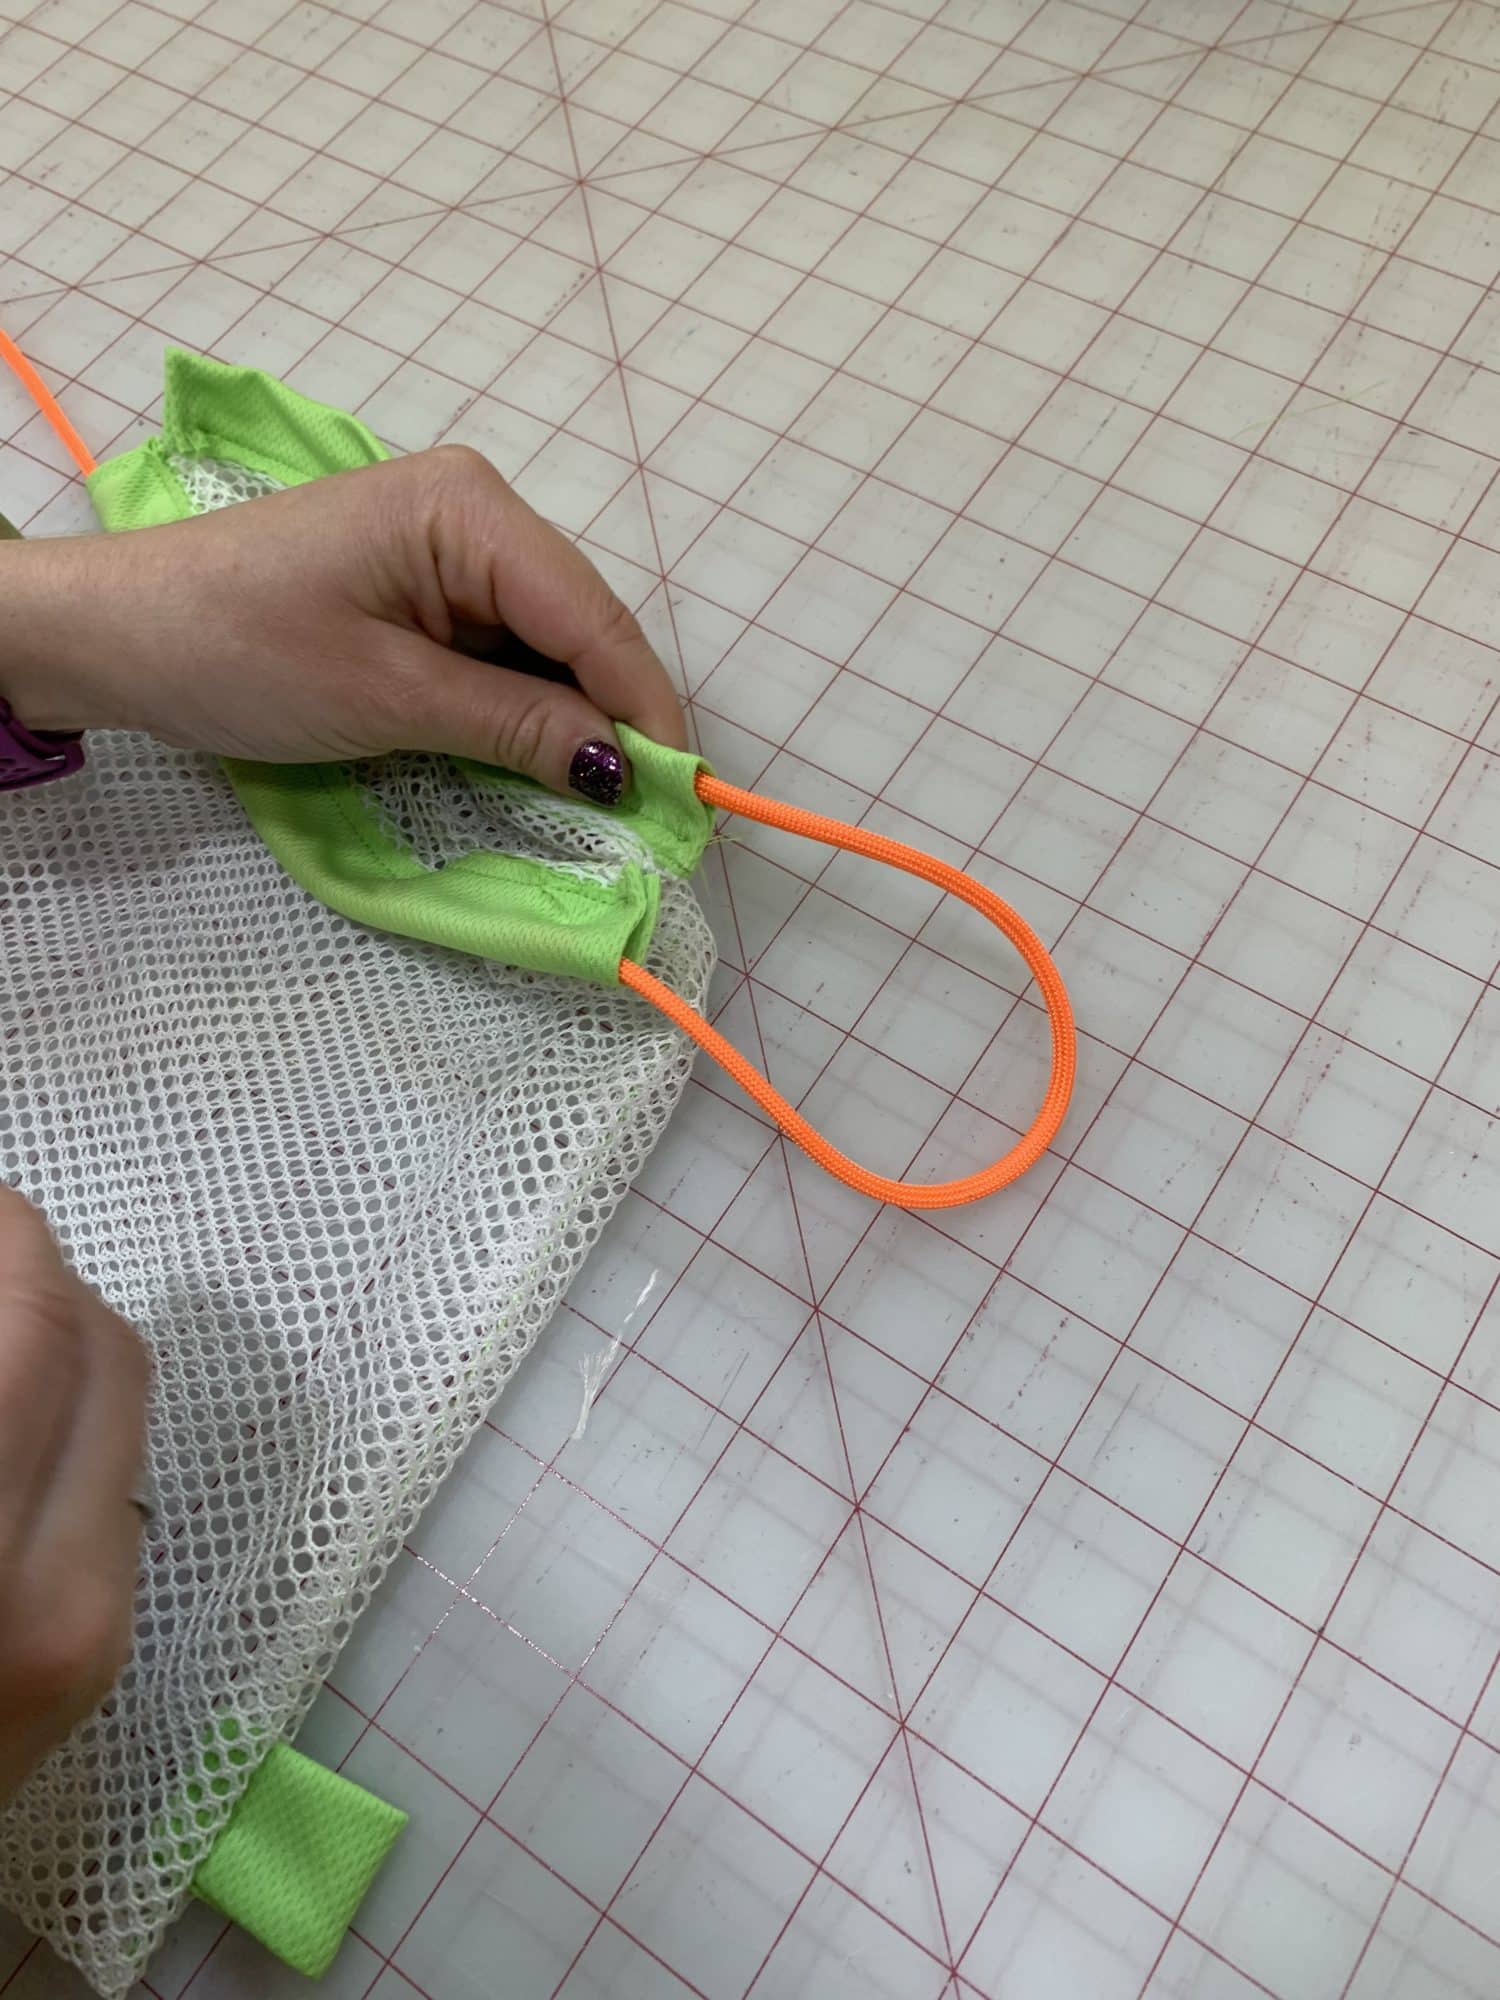
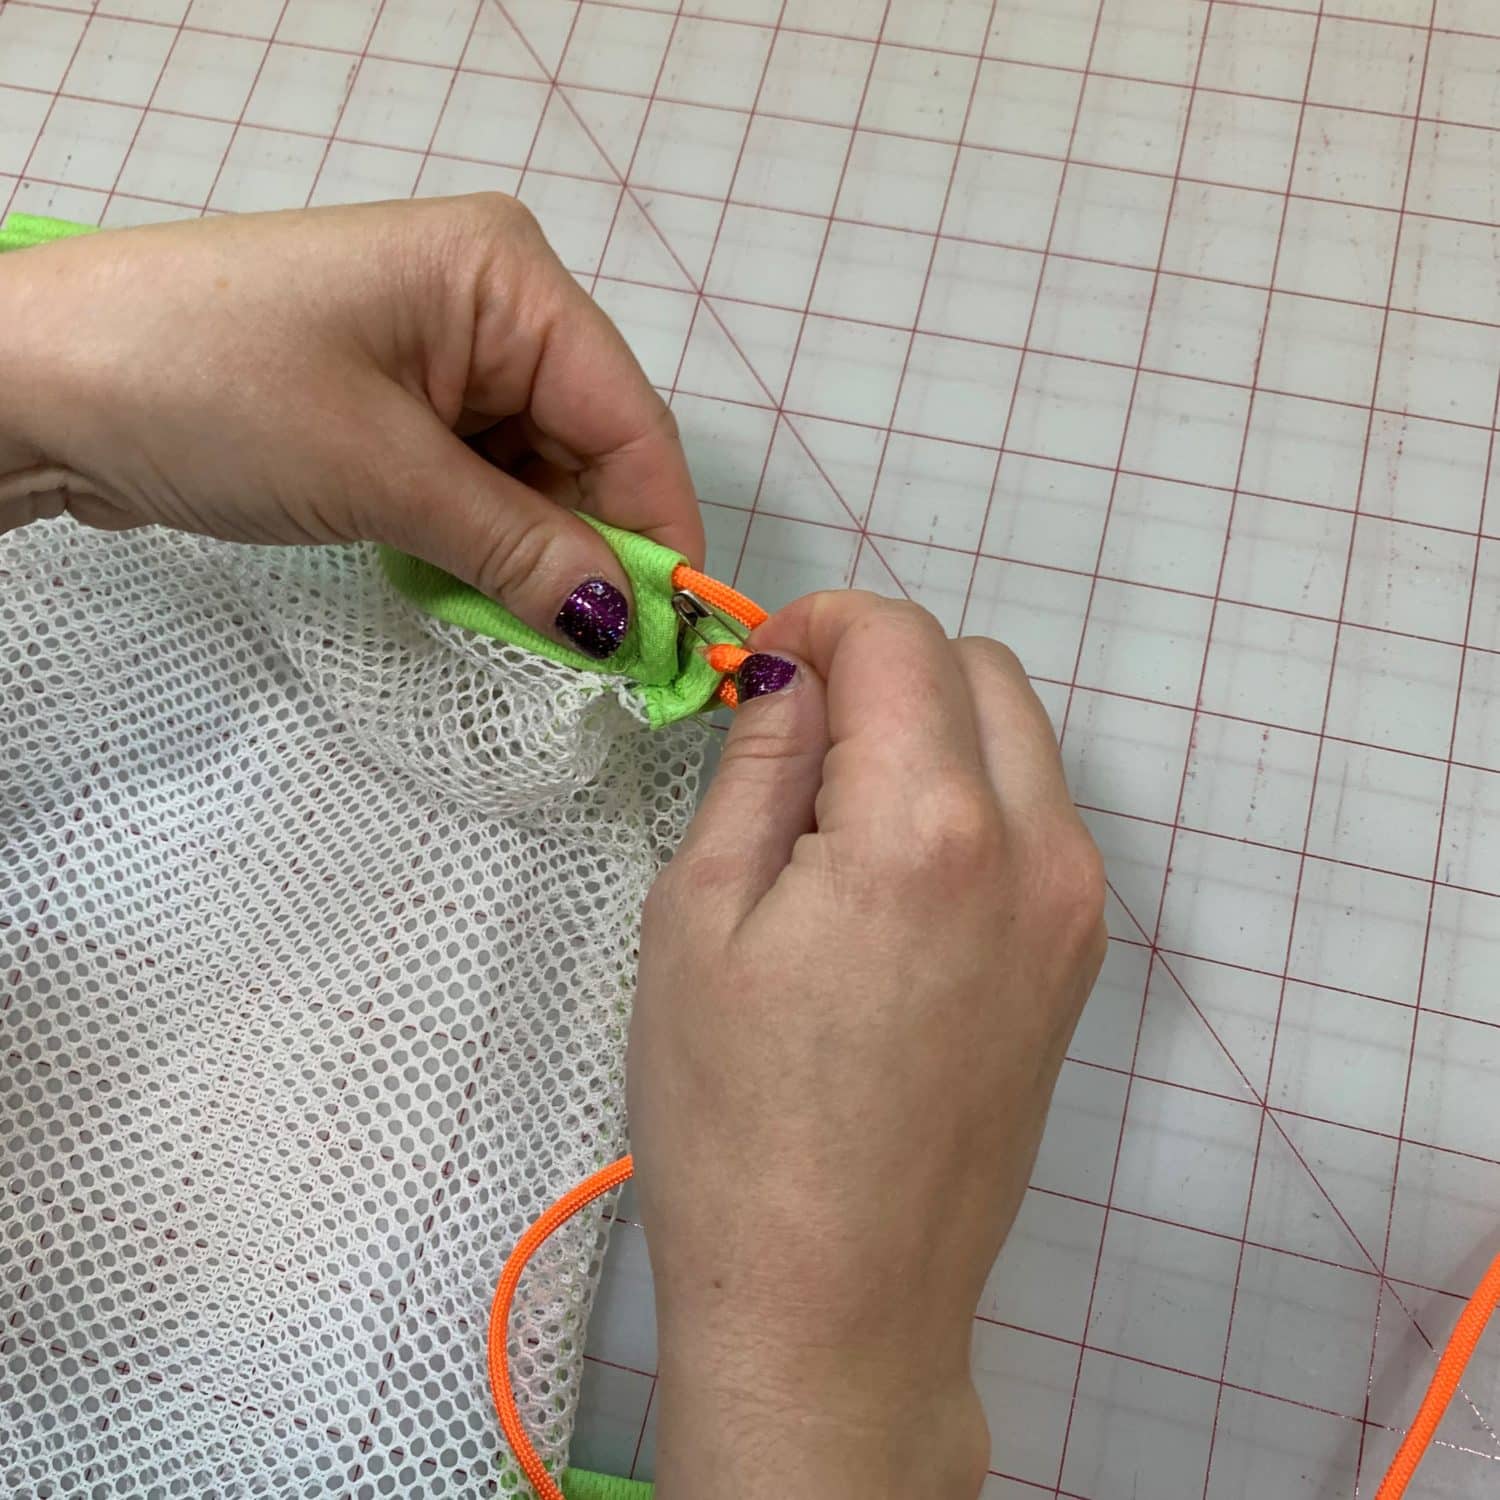
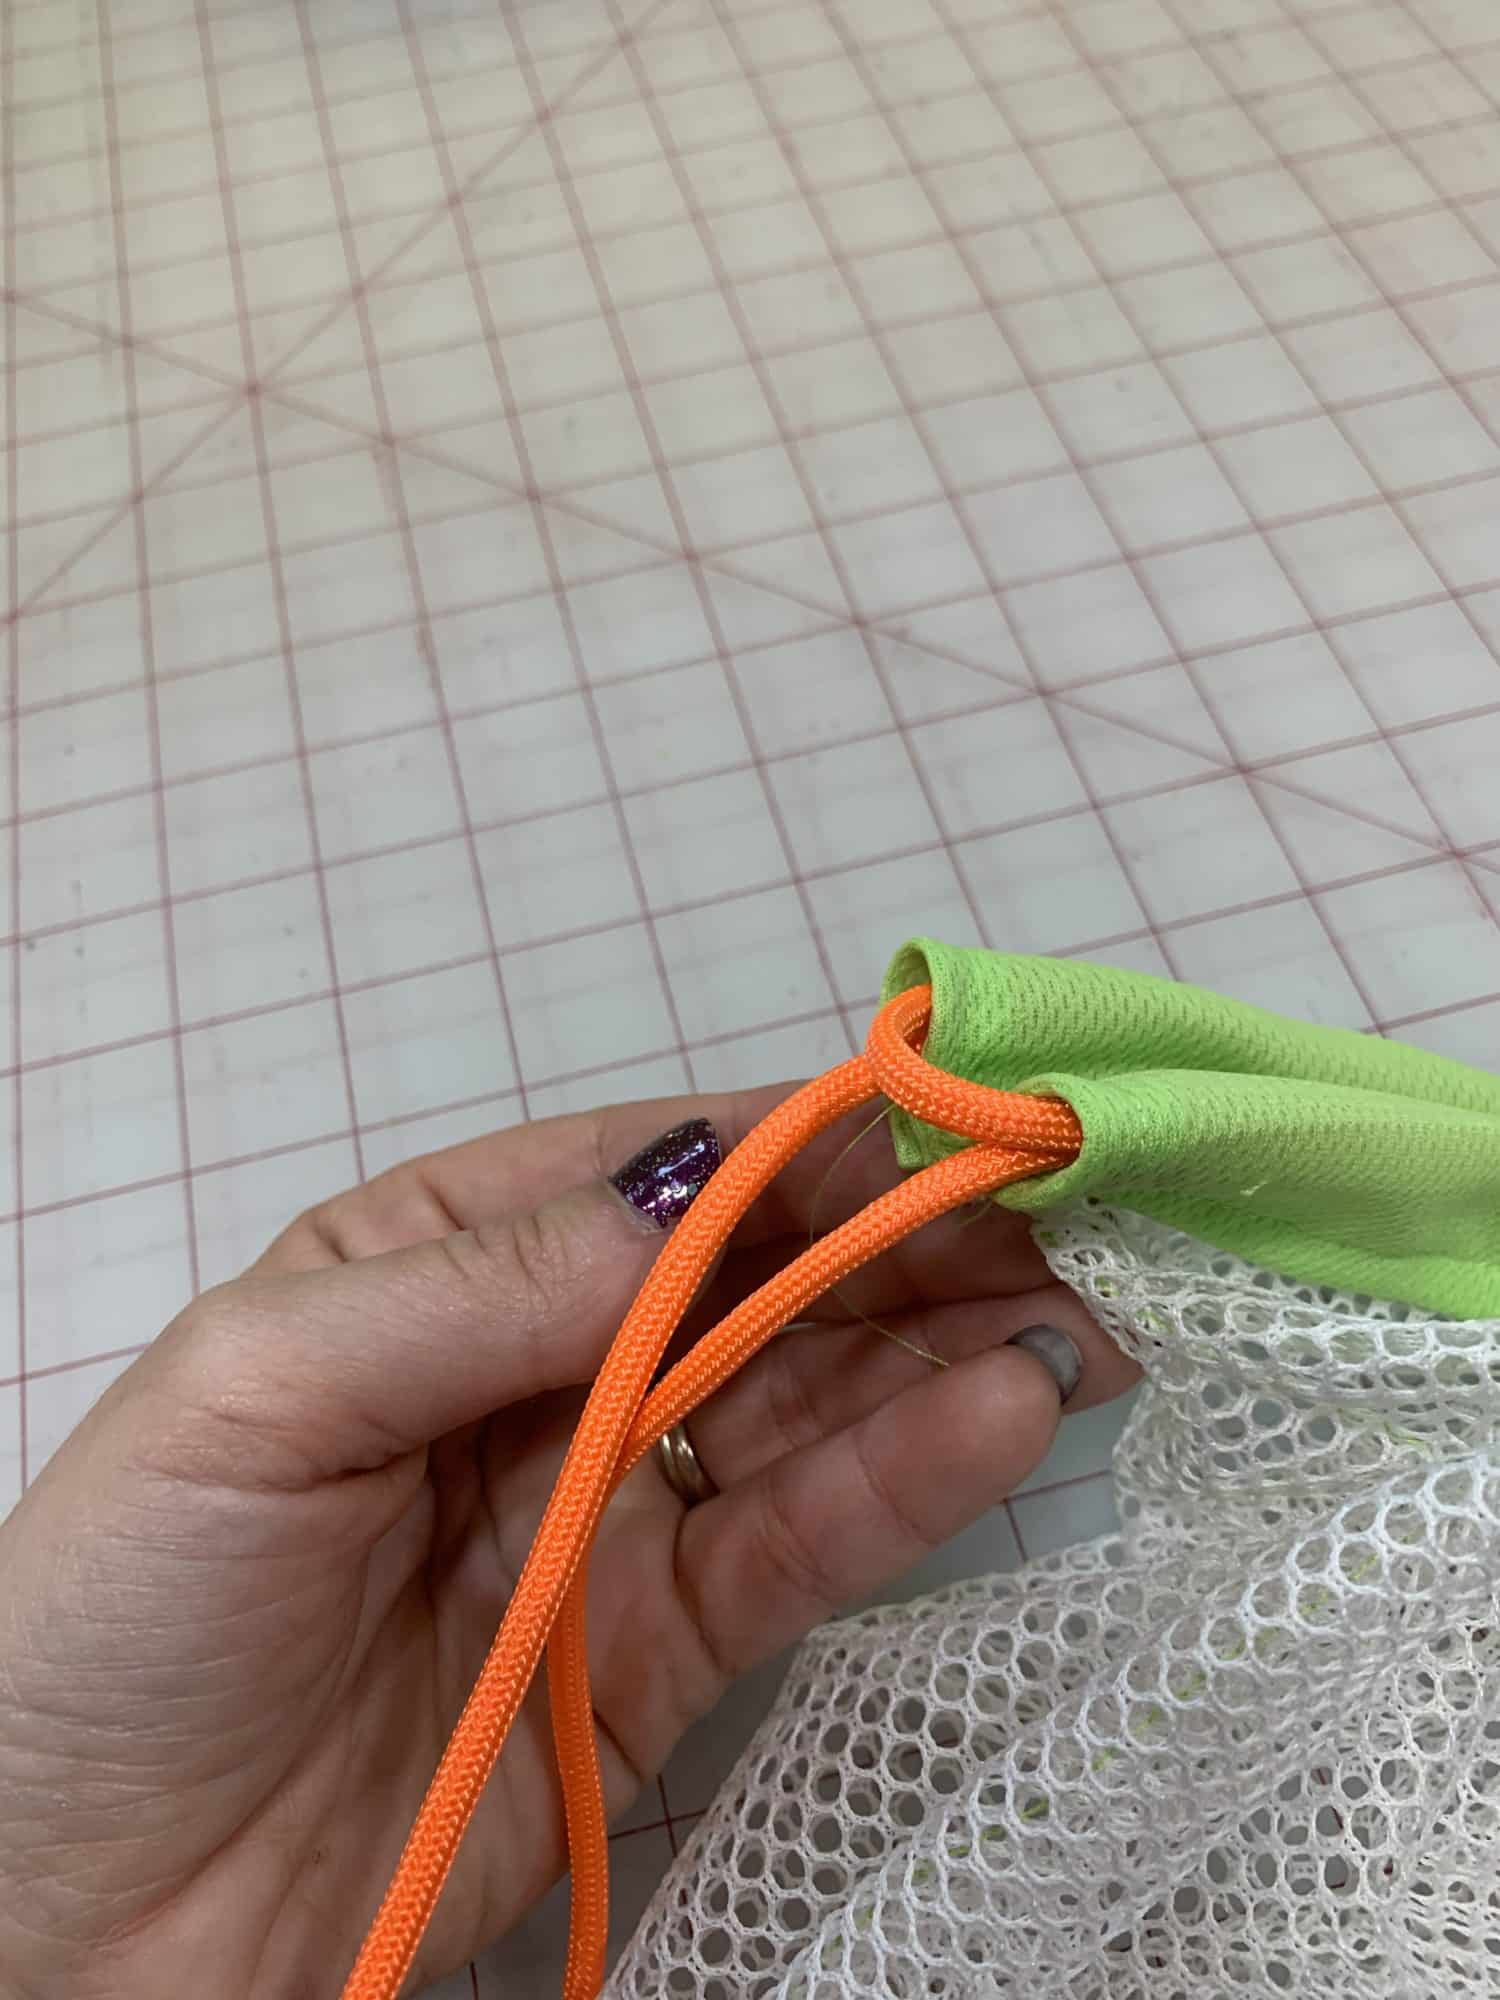
- Put a safety pin on one end of 1 piece of drawstring.
- Thread the string through one casing. I started on the left side of the bag.
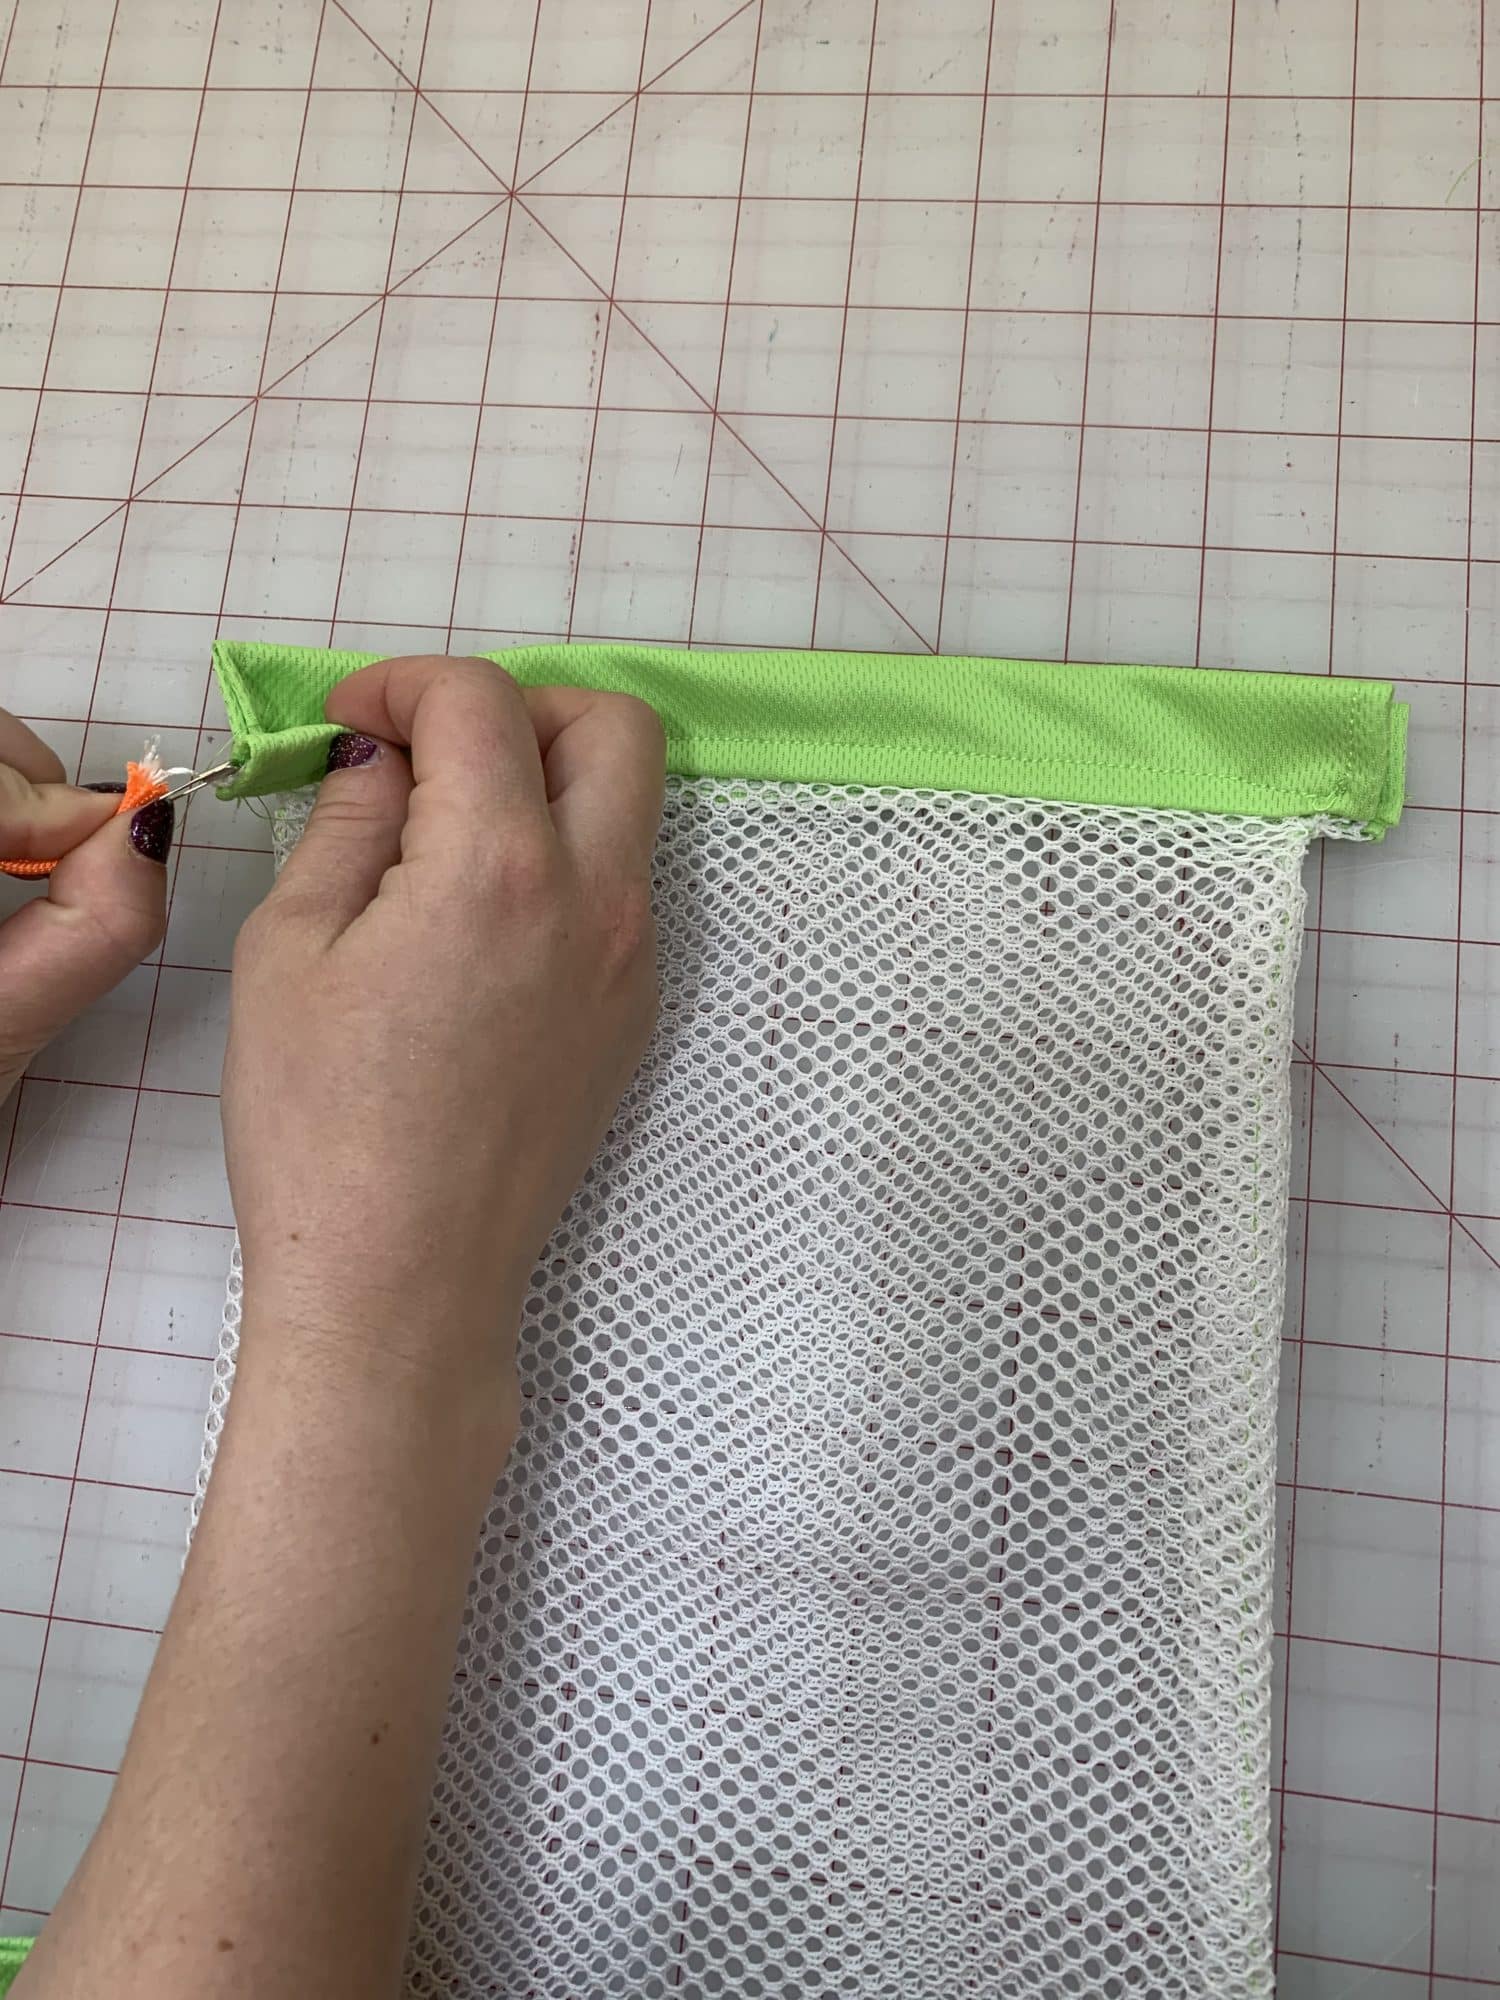
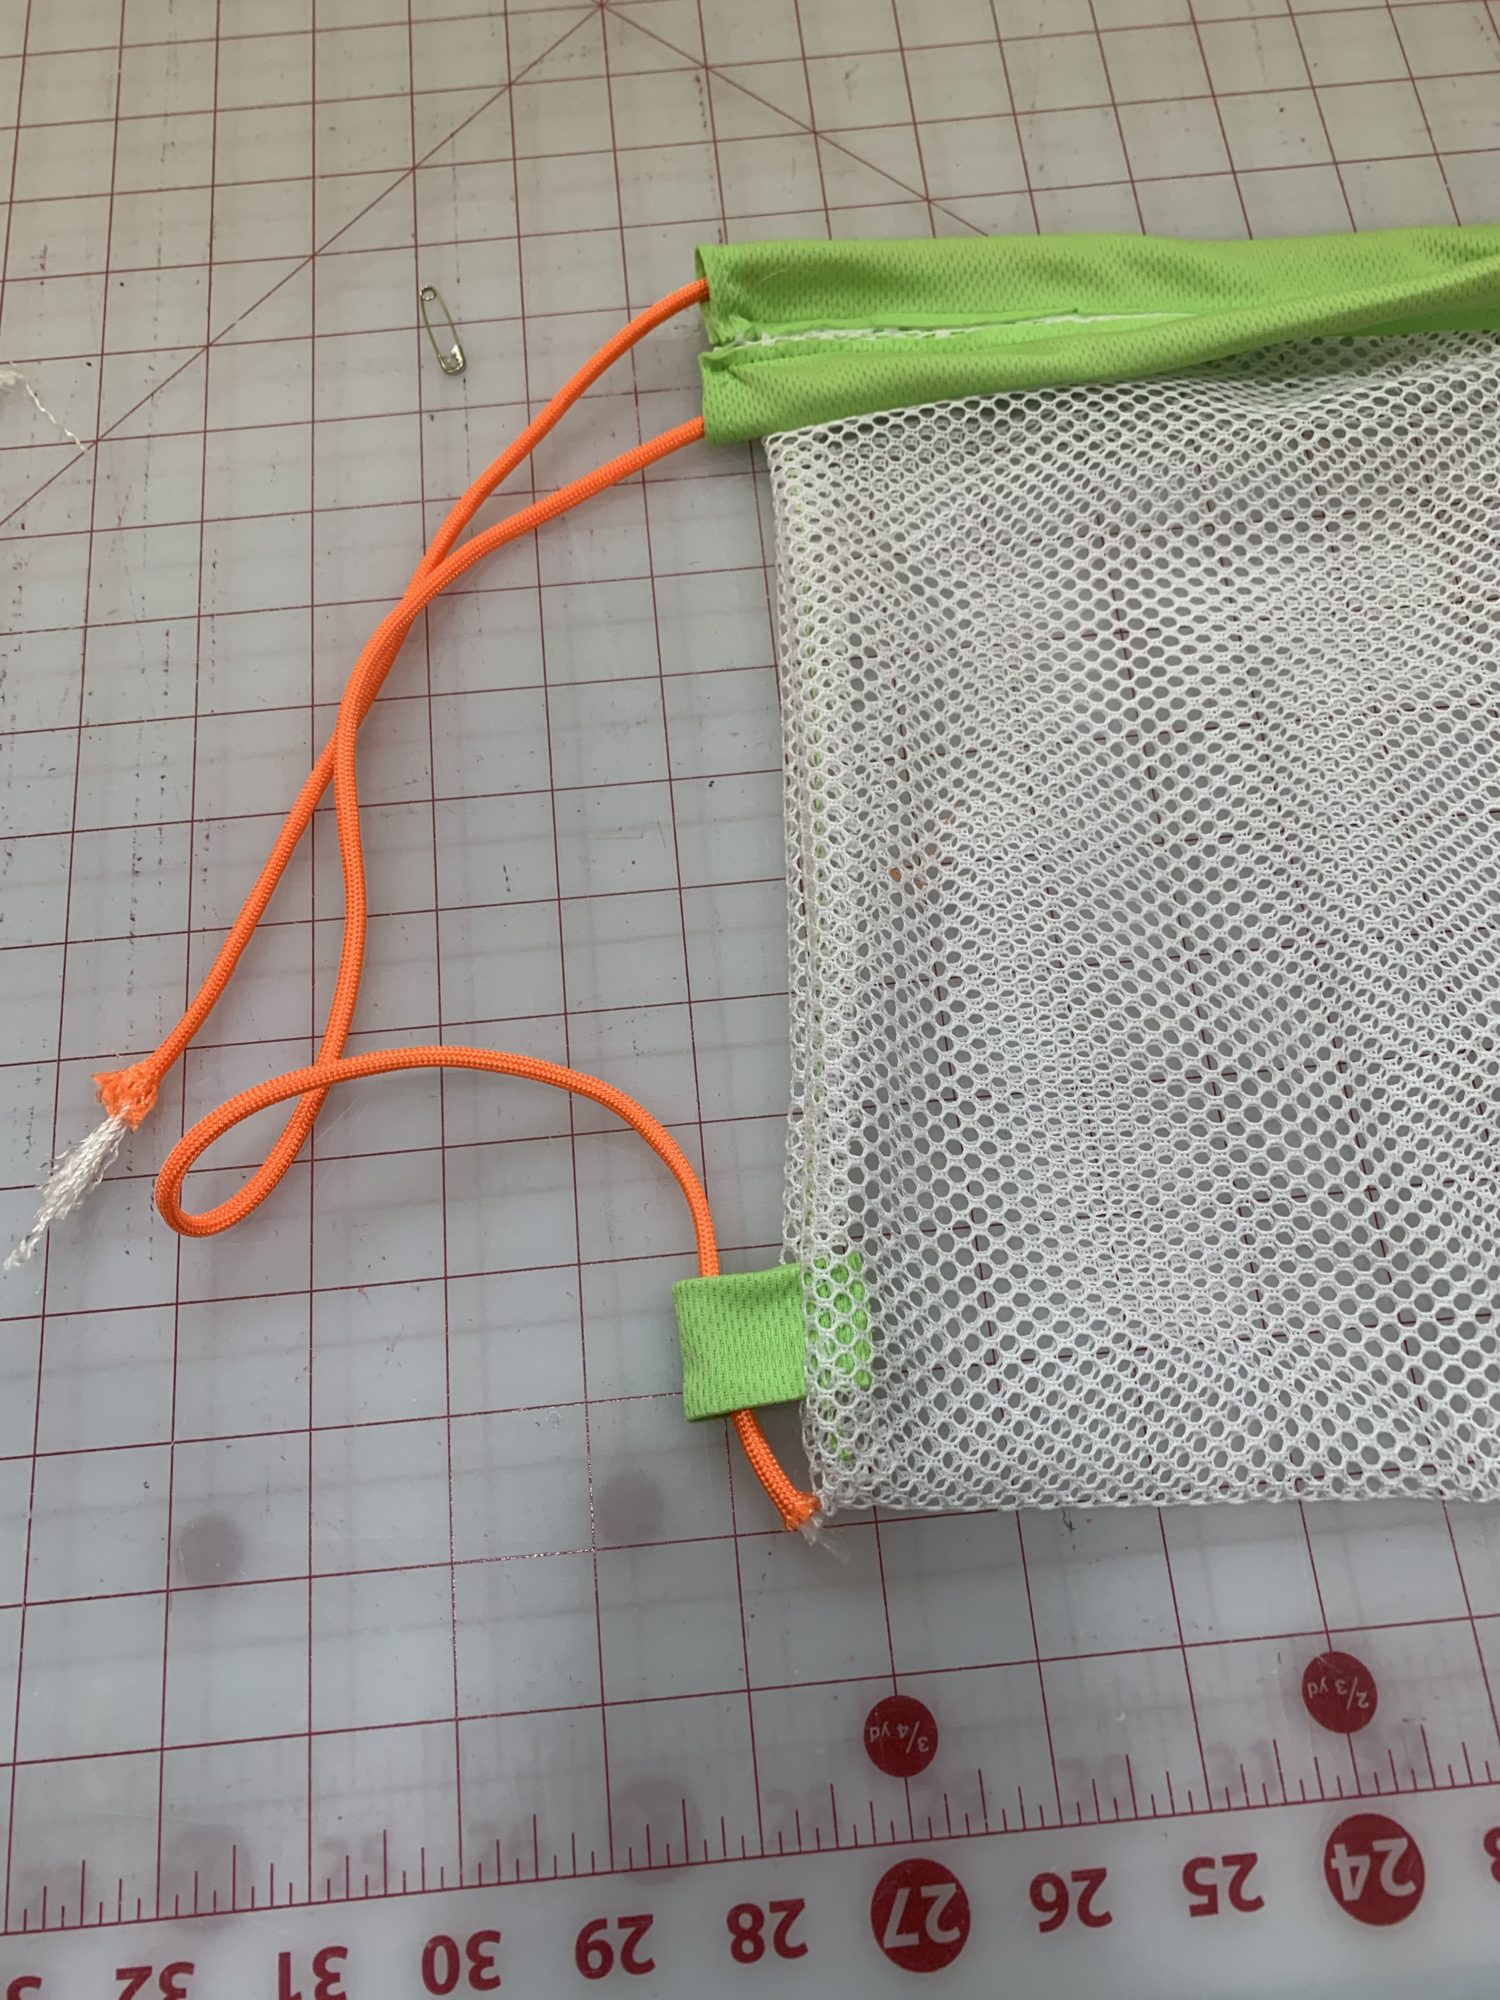
- When the string comes out of the other side of the casing, turn it and put it through the next casing (on the right side this time) so it will make a complete circle around the bag.
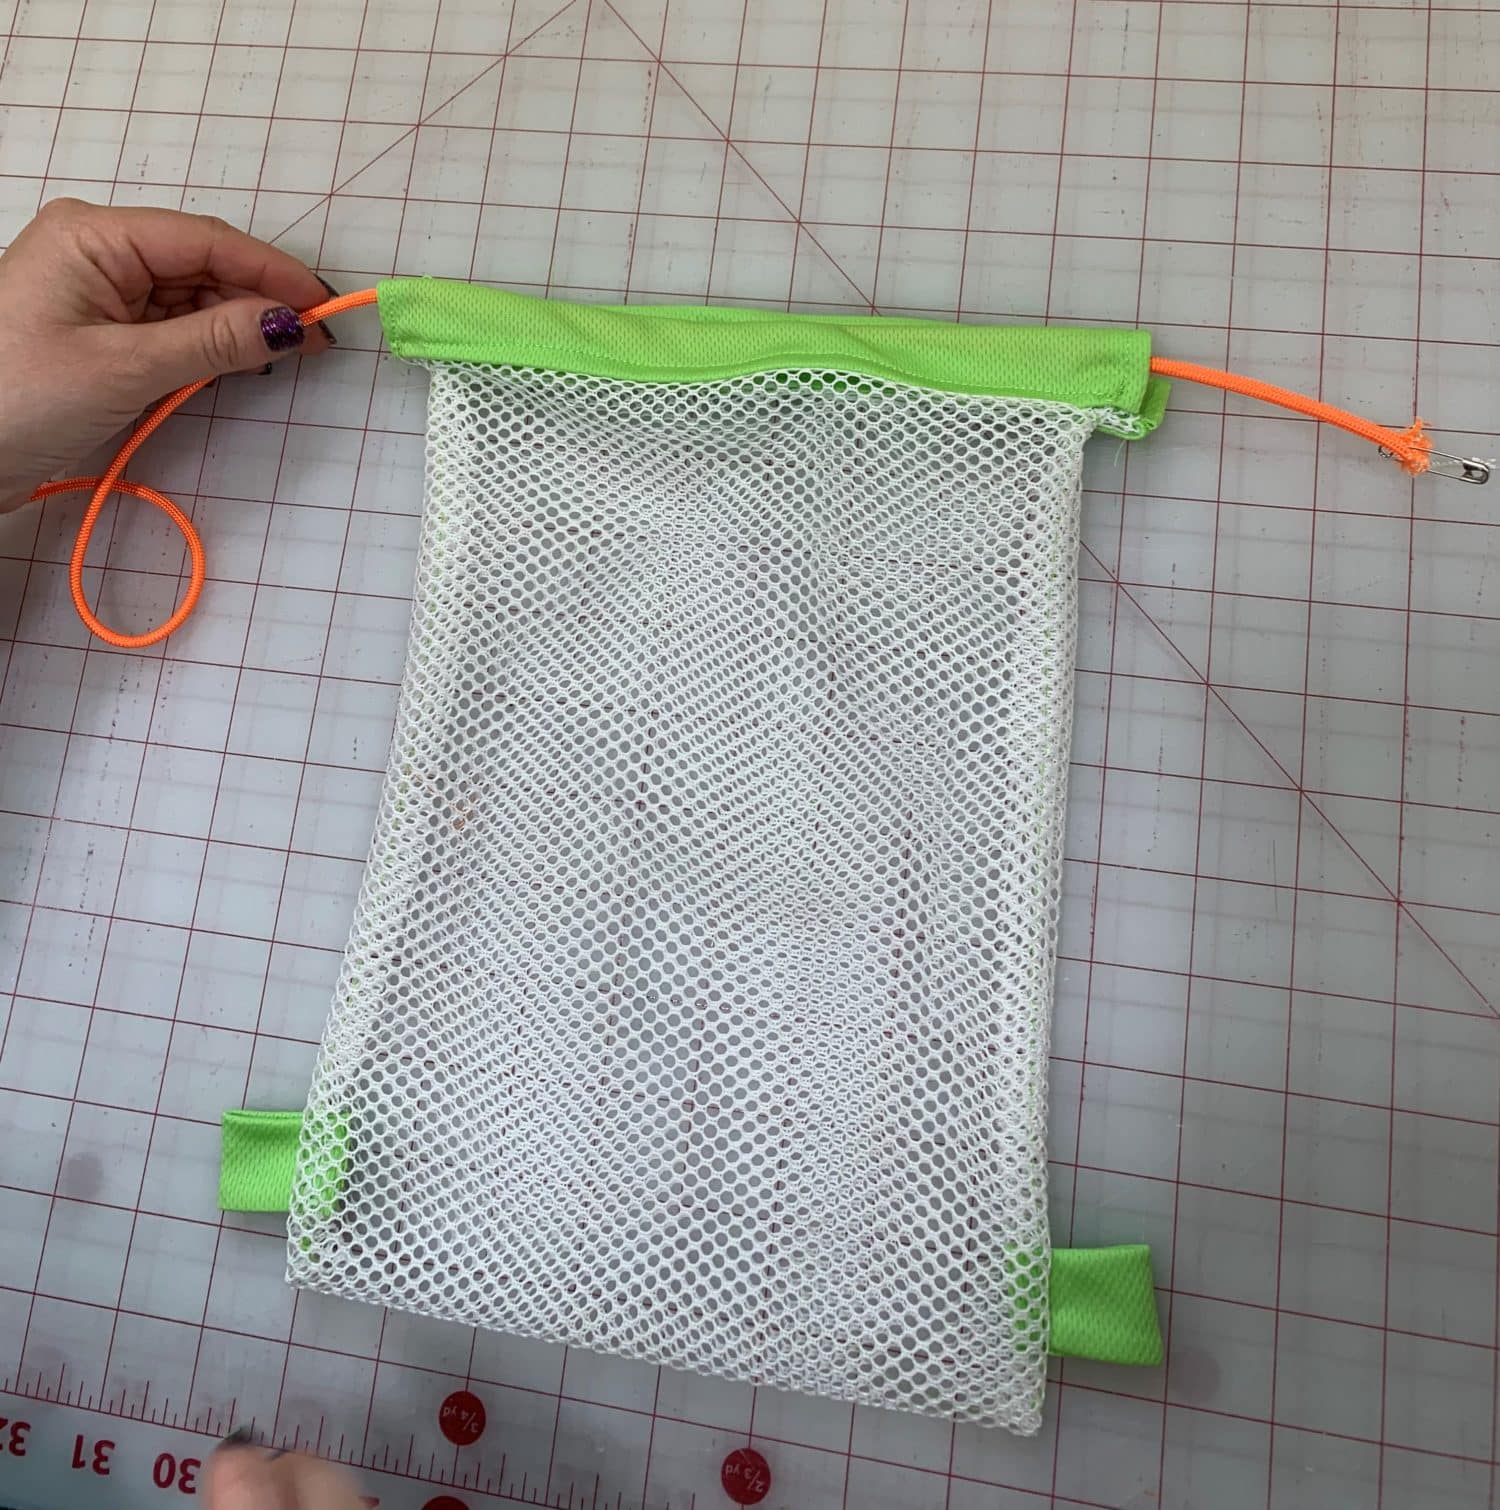
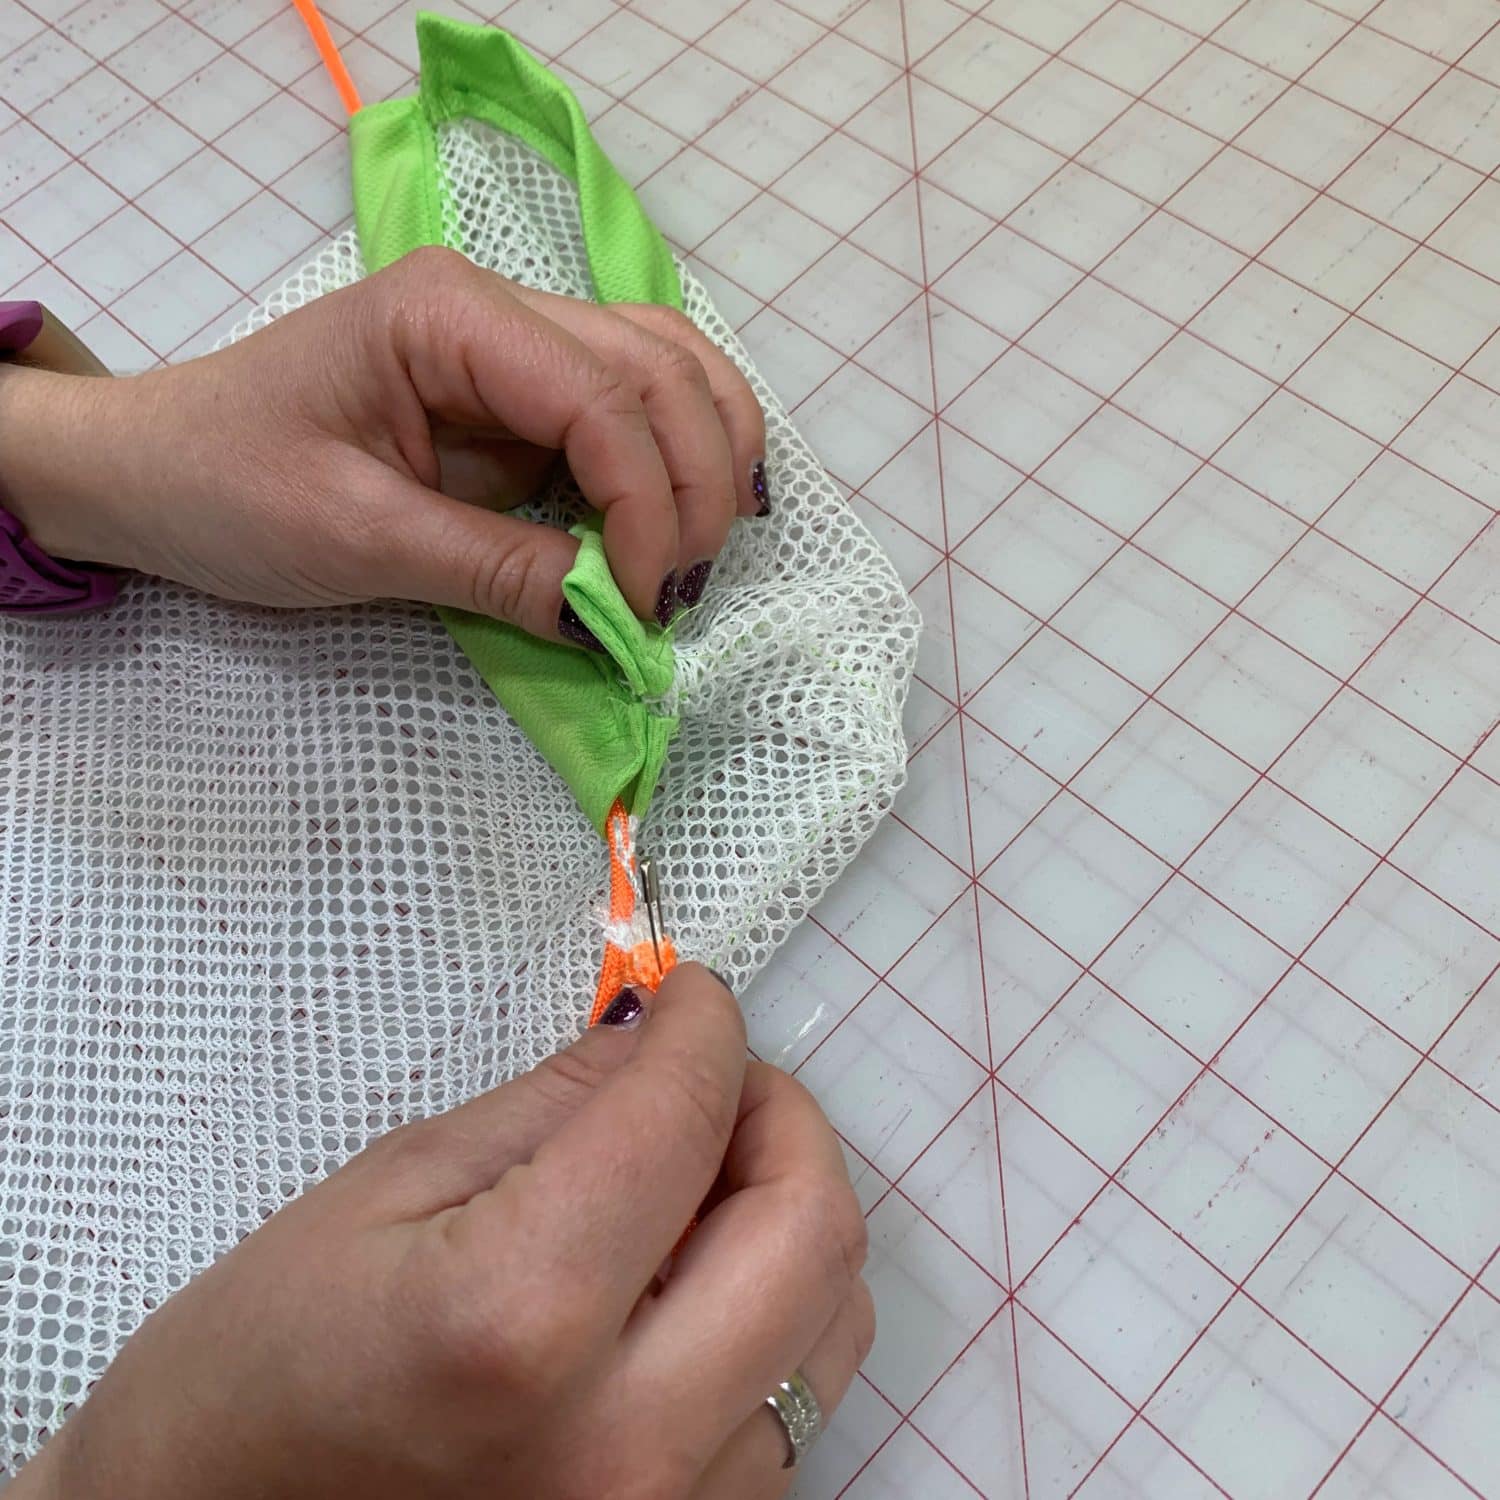
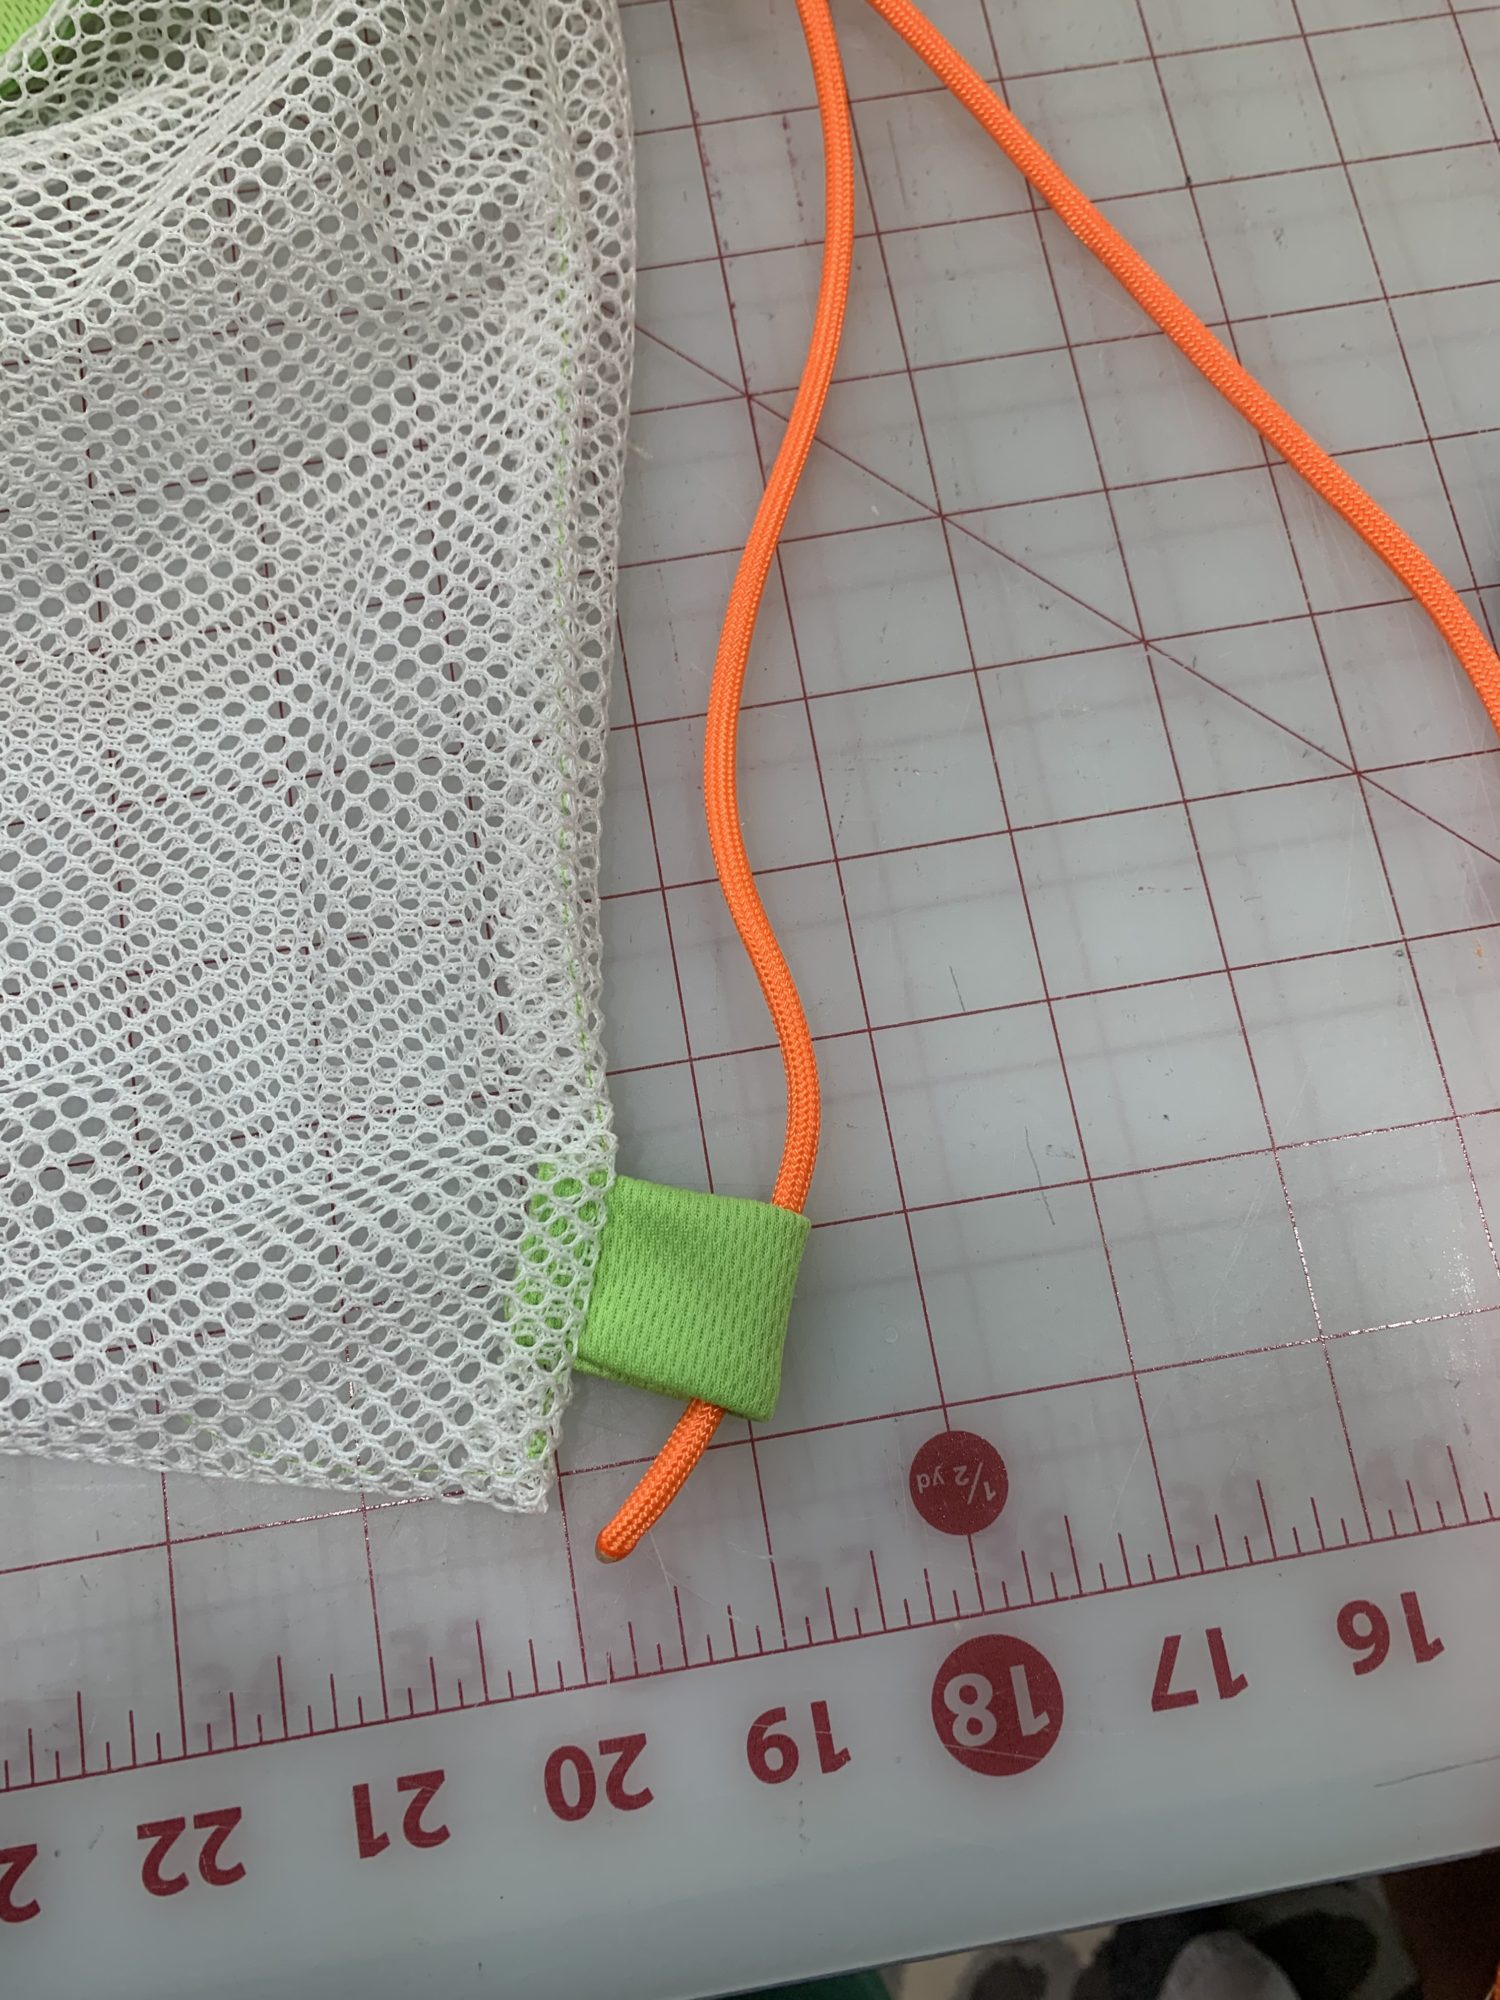
- Then, pull both strings to the bottom of the bag.
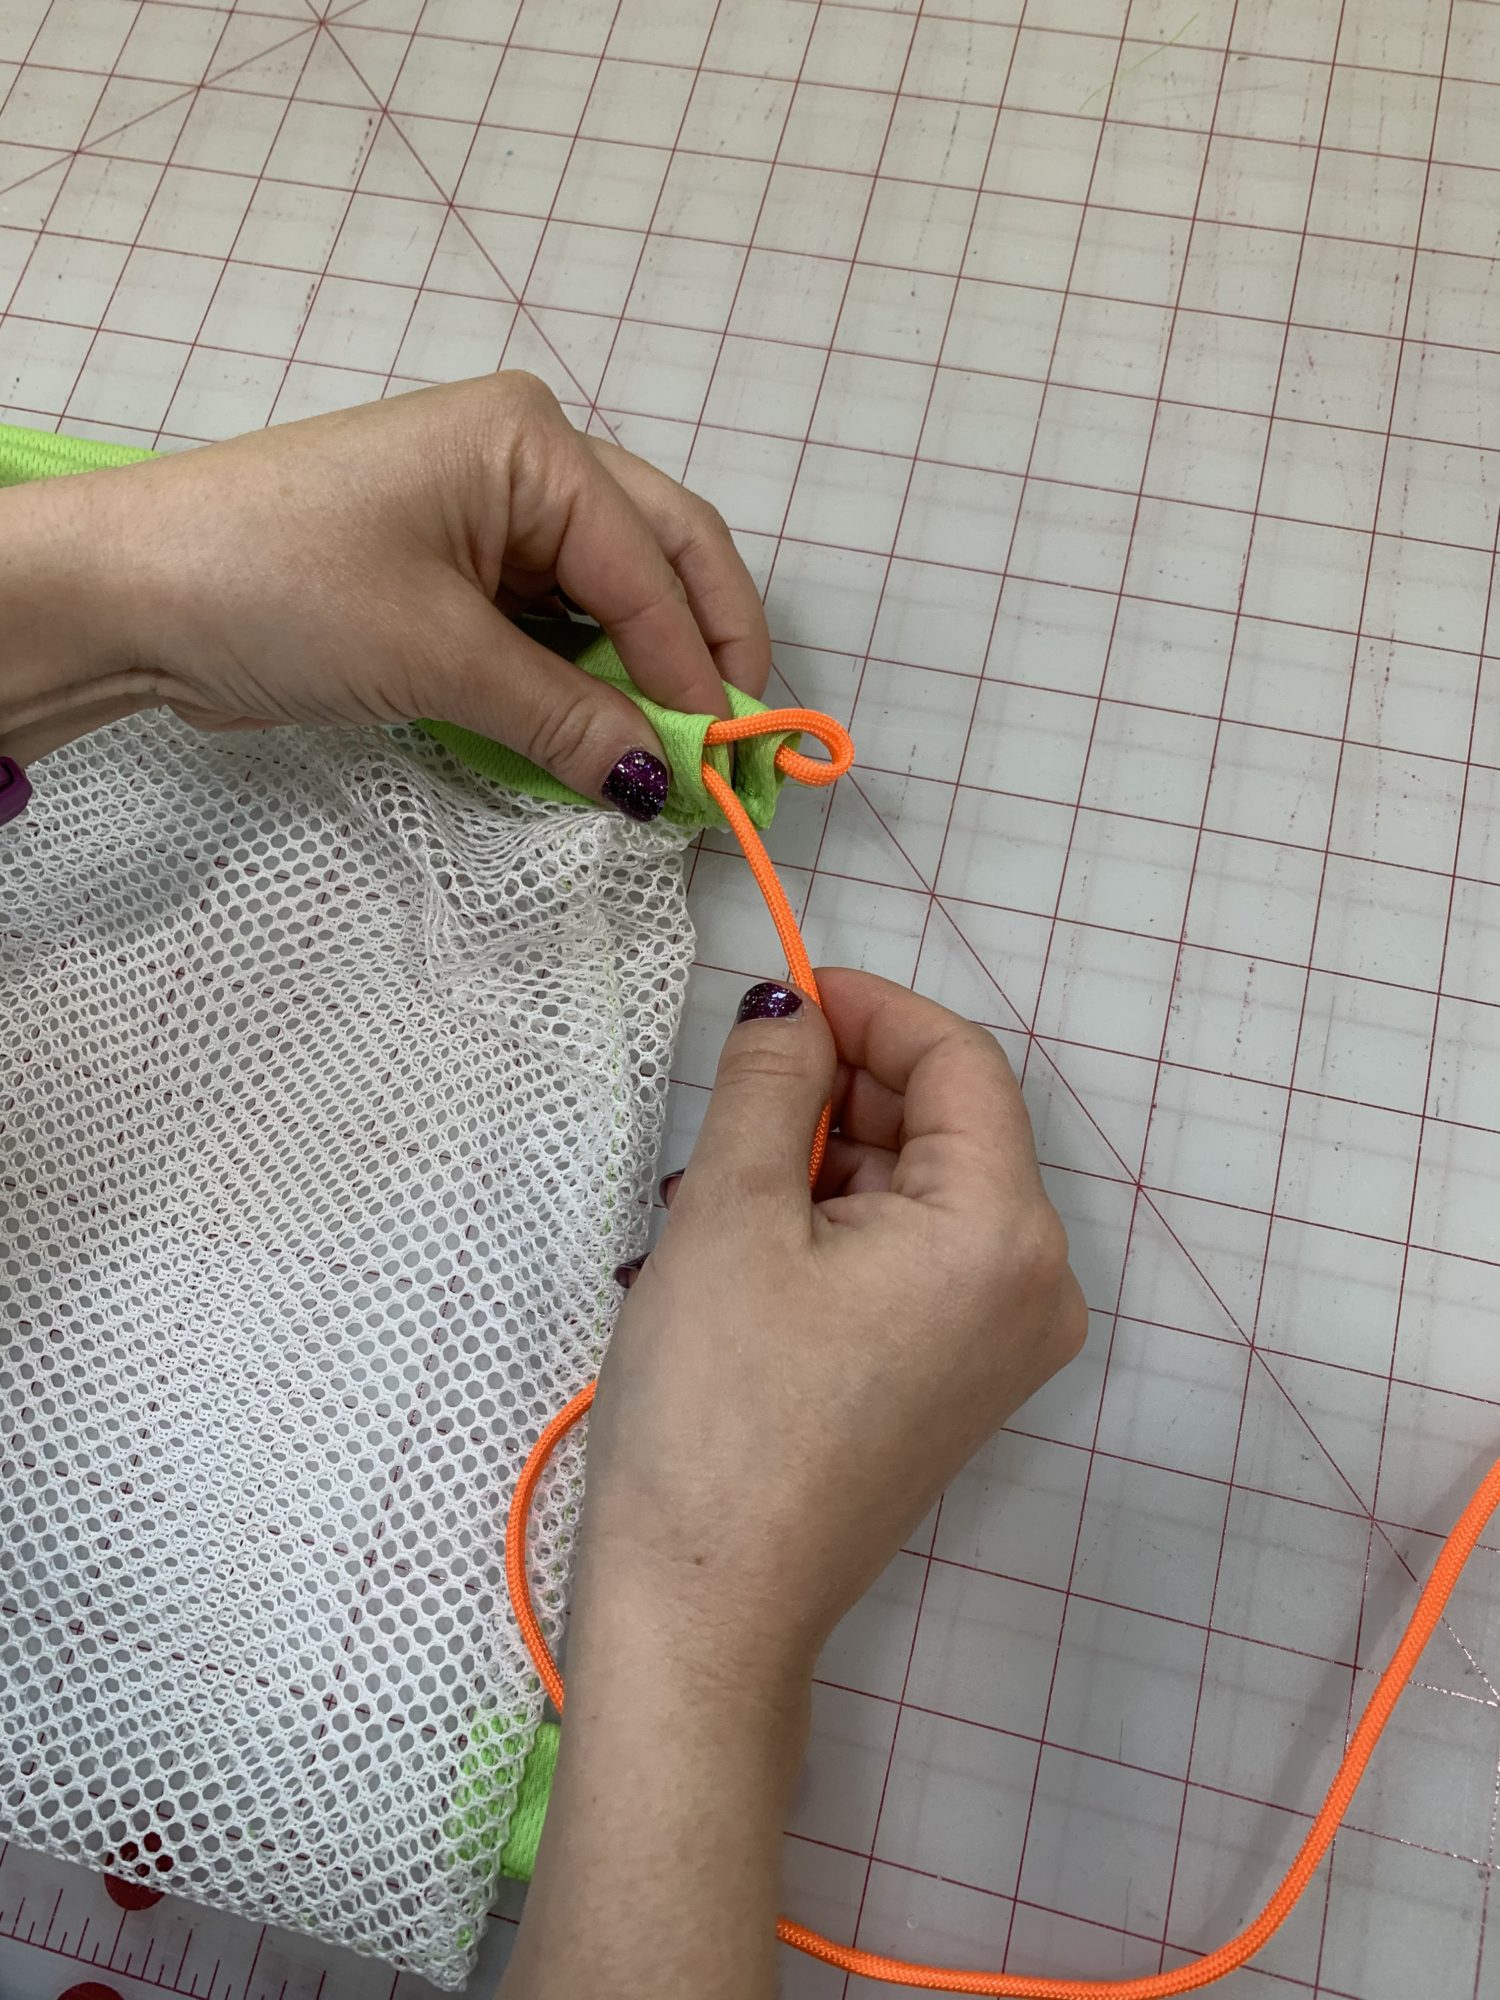
- Put one string through the loop
- Tie the ends in a tight knot
- Now you are going to the same thing but start on the opposite side of the bag. So I’m starting on the right this time.
- Thread the 2nd piece of drawstring through the casing
- Just like before, once it comes out, put it through the left side so that it makes a circle around the bag
- You now pull both of those strings down to the bottom and put one into the loop
- Then tie a knot tightly
- When you pull the straps, they will cinch the top of the bag closed
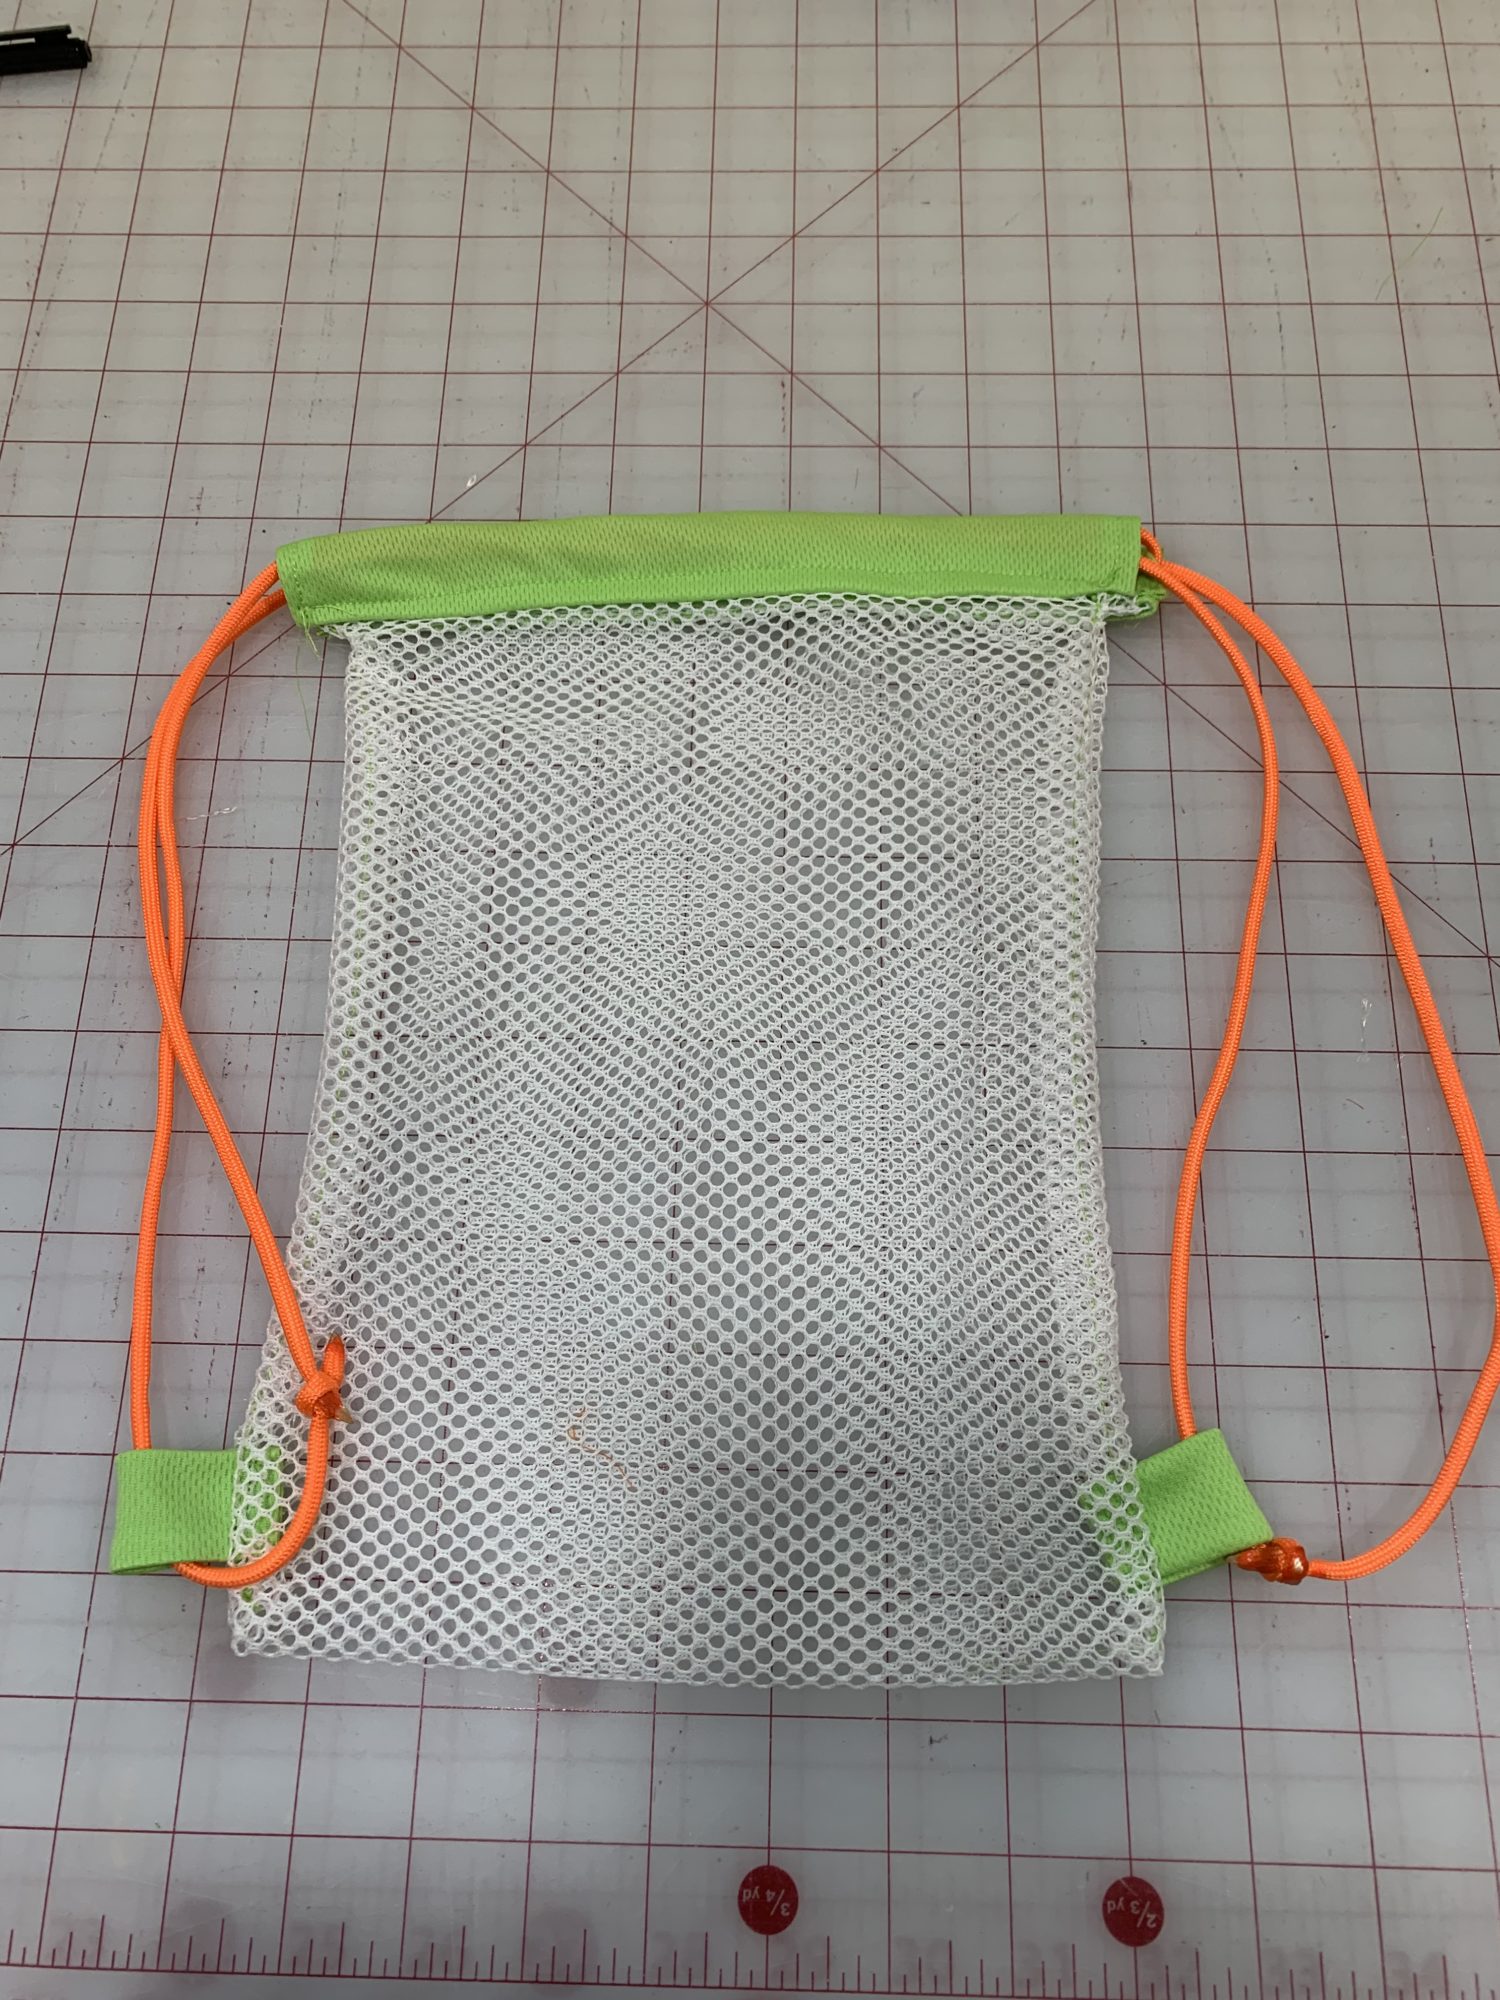
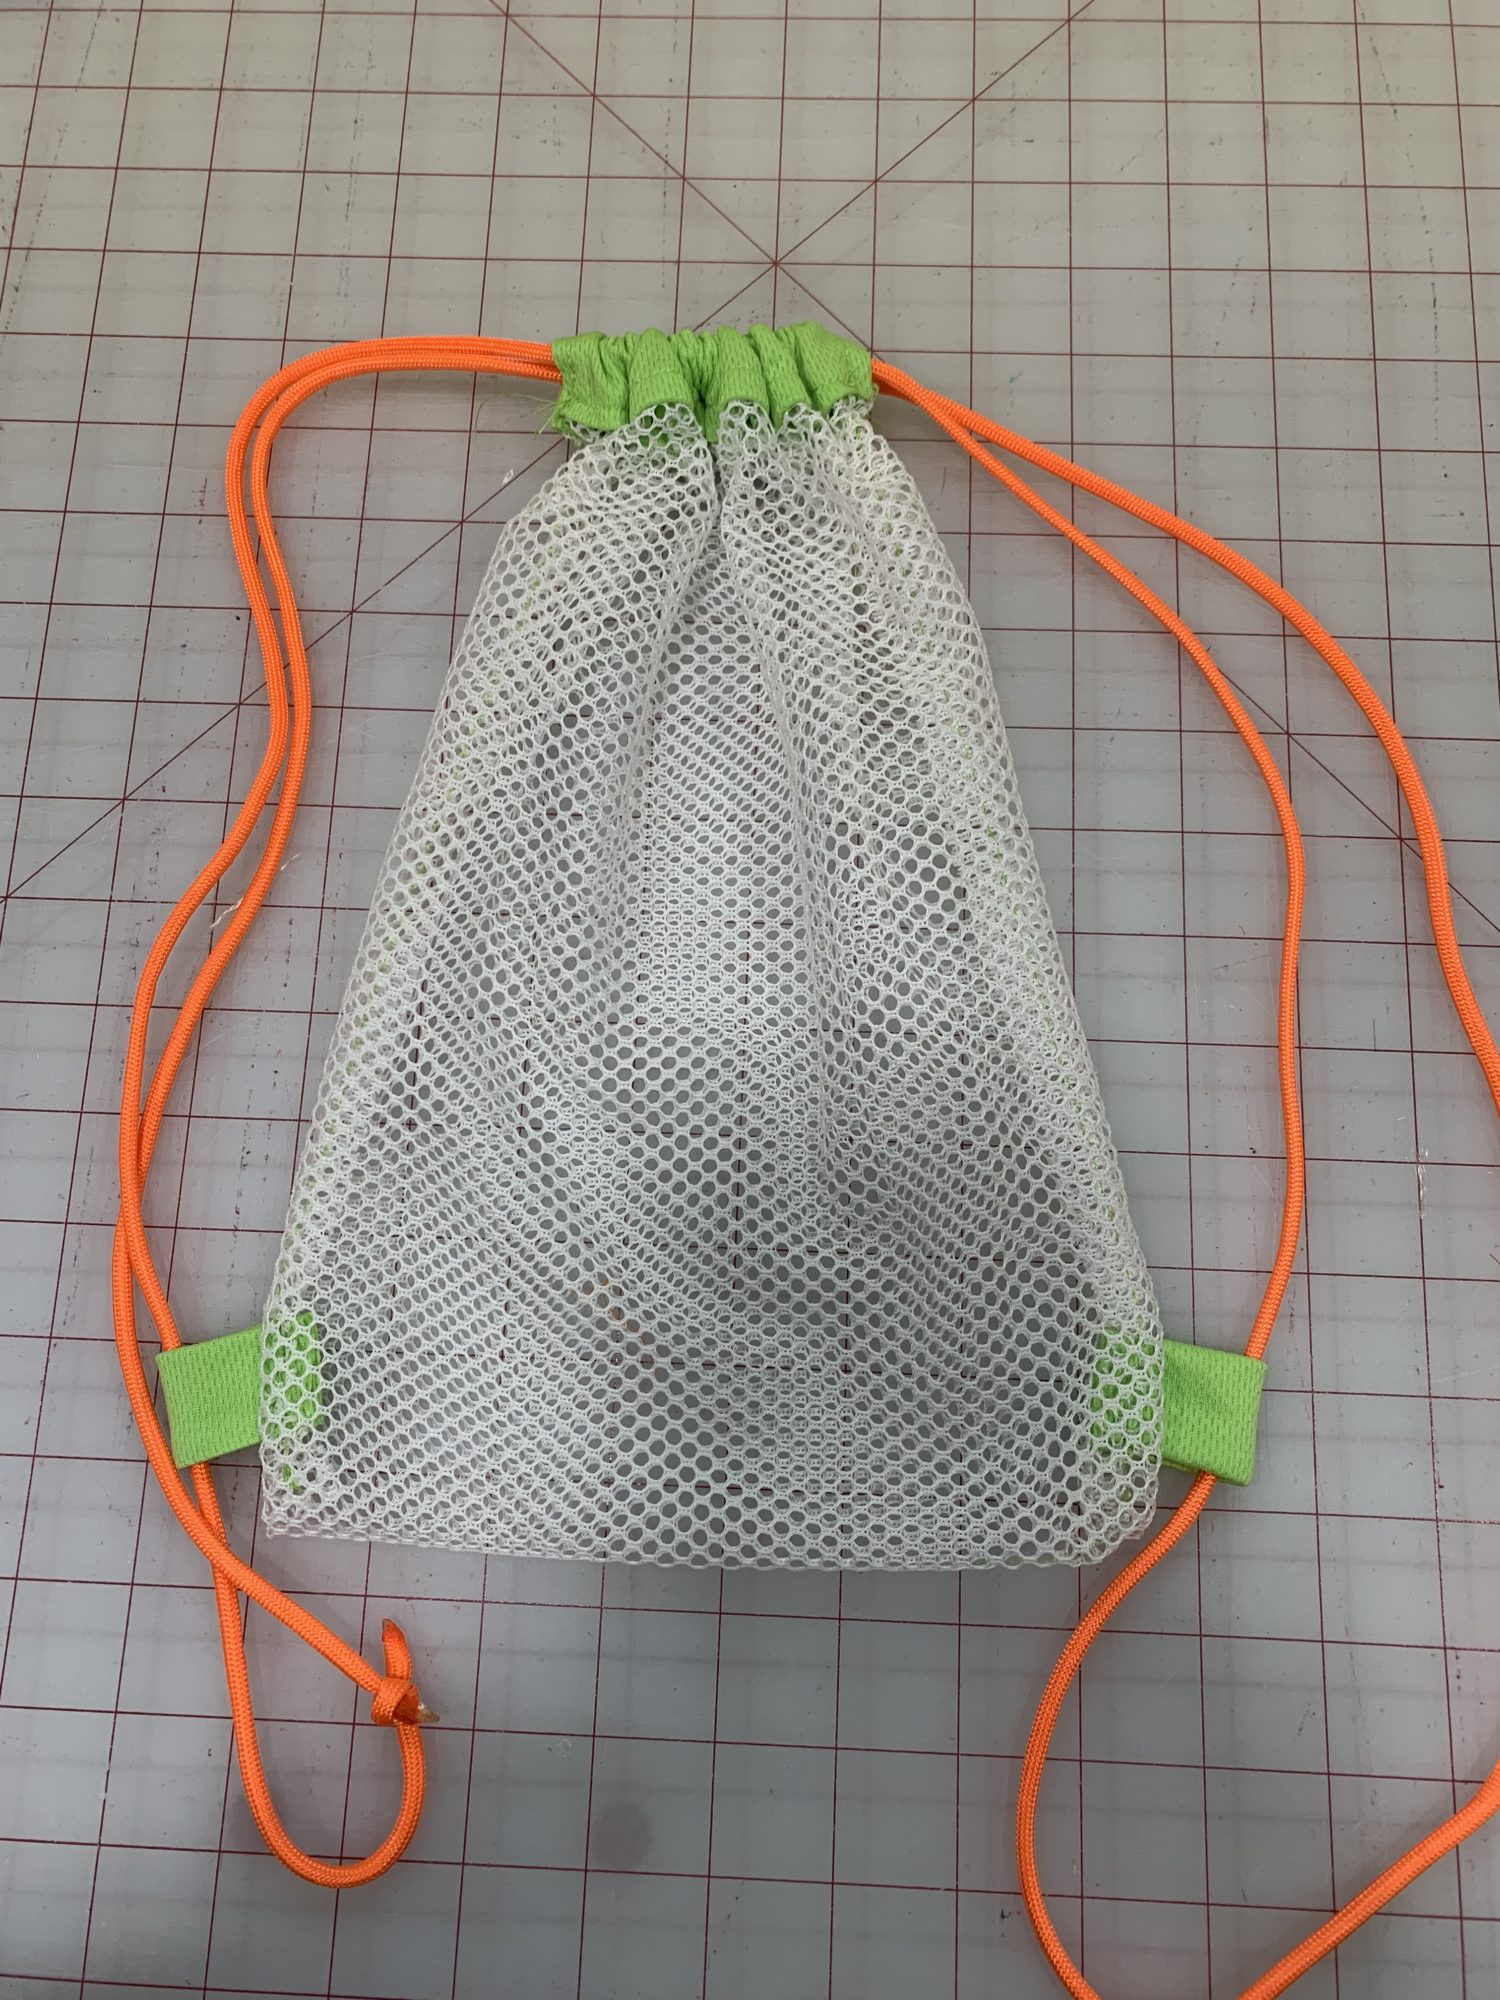
You’ve finished your drawstring beach backpack!
You’re ready to head to the beach…or maybe the backyard sandbox! Either way, you have an awesome new mesh backpack for anything you may need it for!
Want more FUN DIY Freebies? Check out the FREEBIE TUTORIALS and the FREEBIE PATTERNS!
As always, we’re here to help if you need it! Join us HERE and on Facebook, Instagram, Twitter, Youtube, and Pinterest. We’re everywhere you are.
What a great project! I would suggest that if there are specific toys or objects you expect the person to carry, make sure the beg dimension is sufficient… needing just another half inch is the pits (been there). Enjoy bed by days! Thanks
I tried this I liked the concept and as a beginner I was confused by the instructions of stitching on the casing and pressing it appropriately. I figured it out! But I’d added a few inches to length which measures up to 13” I cut at 14 inches and trimmed. As for string I used paracord I cut 2 of 47 inches and the whole thing is so small idk how u got 45 inches to be okay for 11 inches because after falllowing ur steps by steps taking me 3 days since I’m a perfectionist. It came out unfortuntly small! Like my 5 year old could not wear this peice 😭 I suggest clear instructions and diffrent dimensions again I love the concept since I can hardly find a pattern for something similar but it’s just way way off.
I’m sorry that you struggled with this project! I will certainly go back and look at the directions to make sure that everything is clear! Do you have any questions or a specific step that I can clarify for you? The bag is on the smaller side, it was designed that way so that my kids could carry it easily. They love the size and it has worked really well for them, but I apologize that it was too small for you!