So you’re pregnant. Congratulations! Now how are you going to clothe that growing bump? If you’re like me, you have a fabulous pattern stash – and not too many of them have maternity options. This post will cover a quick and easy way to turn your knit top patterns into a maternity-friendly version. I am using the Jessie as an example, but this will work for most knit tops that do not have a horizontal waist seam.
All the modifications are going to be done to your FRONT bodice. You want the back bodice to remain the same while adding extra room up front for your belly. First, find the waistline – generally the smallest part of the pattern. Draw a horizontal line at that spot.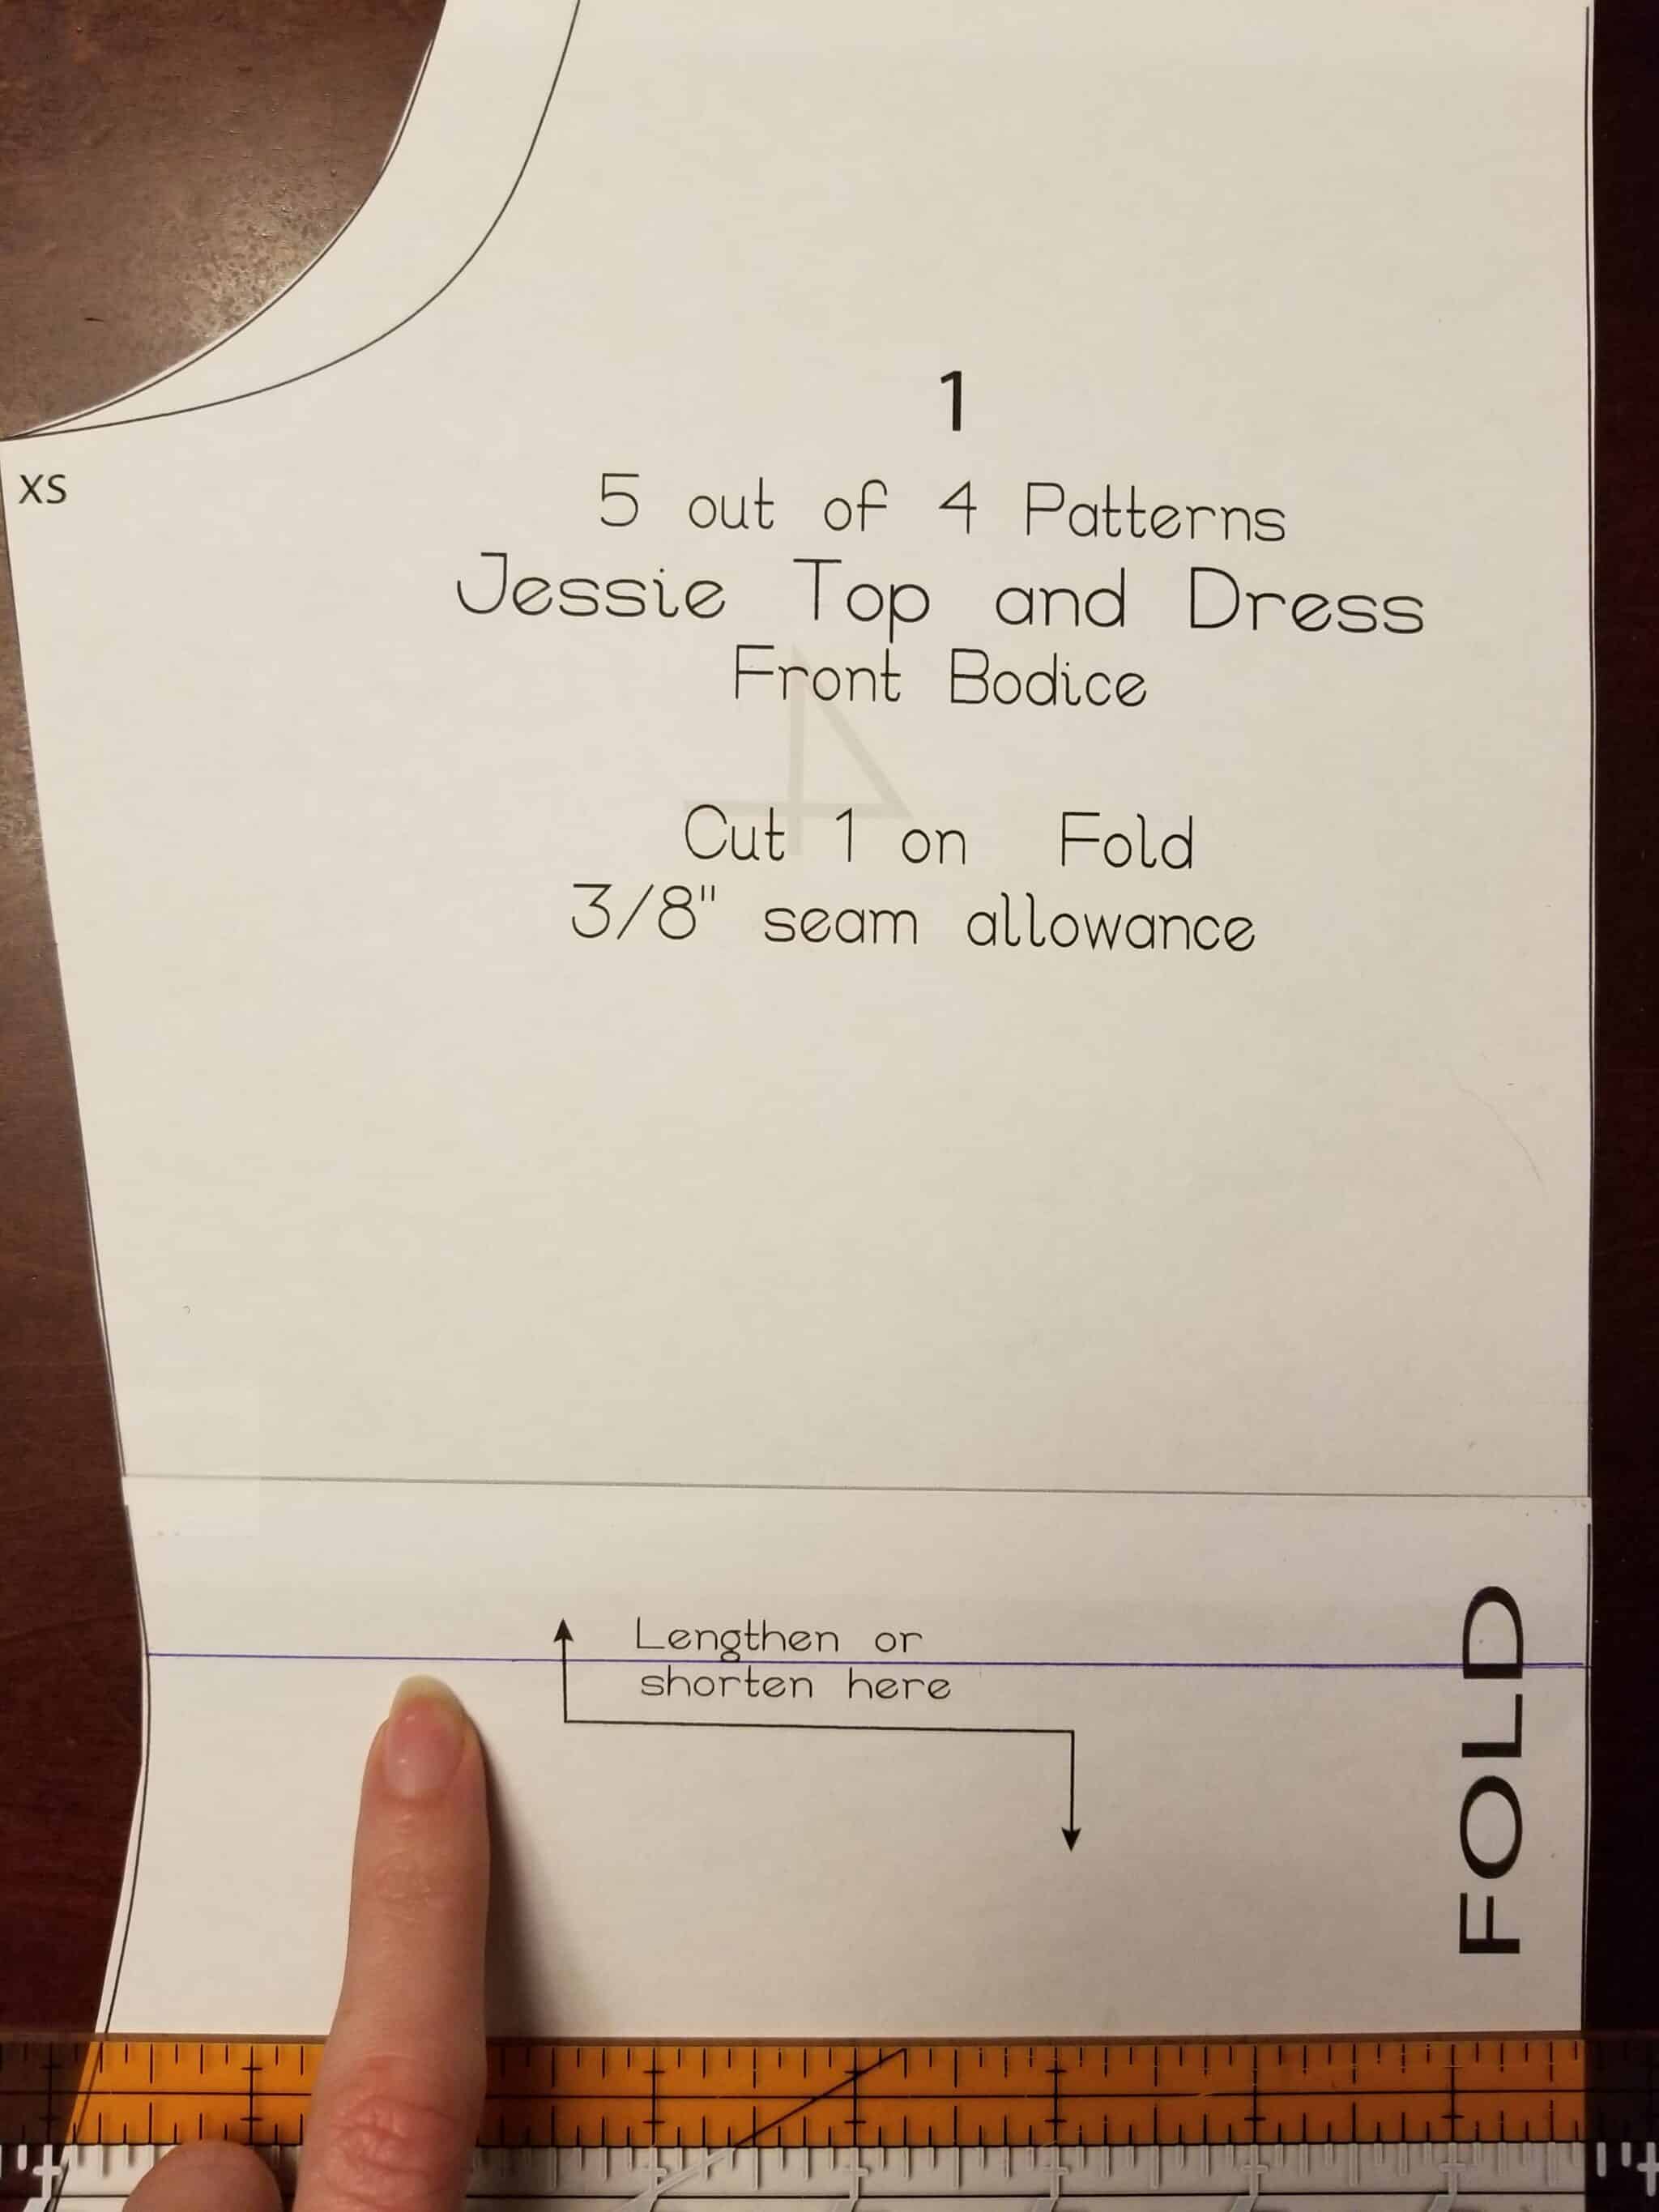
Measure up 2″ from that waist line and draw a second line. 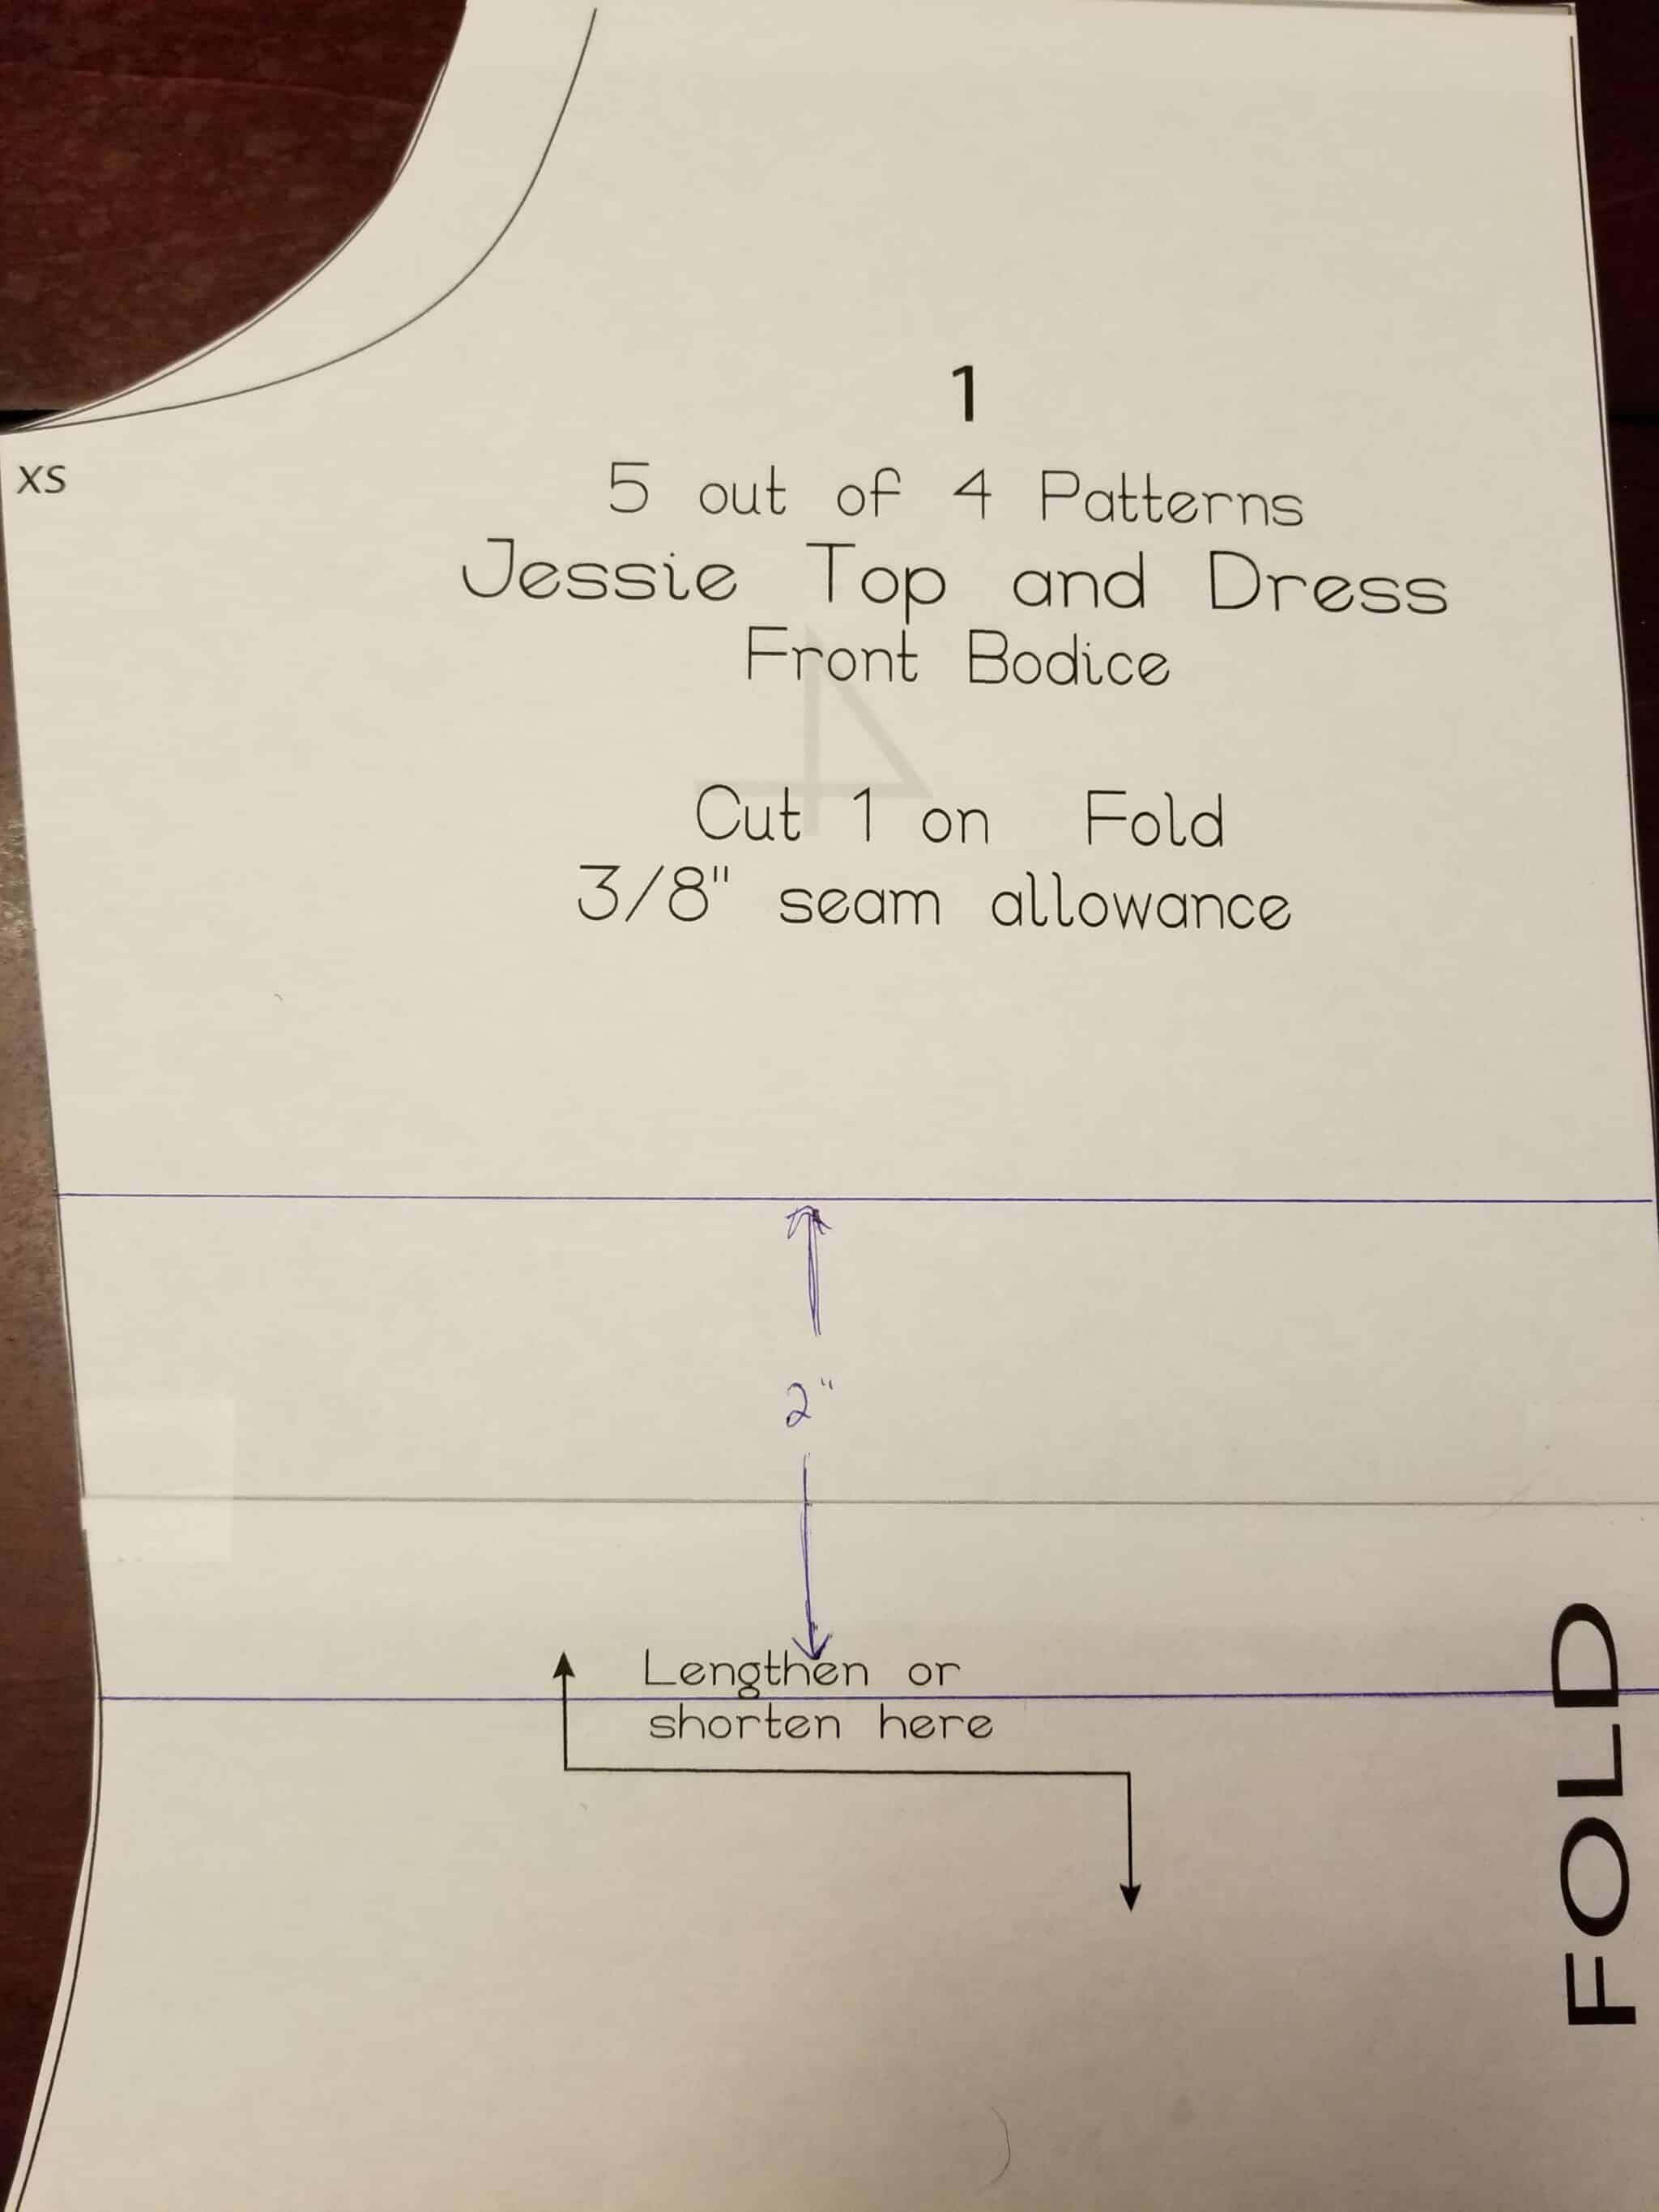
Cut the bodice horizontally at that second line and place the pieces onto a large piece of paper (tissue paper, brown roll paper, Swedish tracing paper, etc). Tape the BOTTOM portion of the bodice to the paper underneath.

Using a straight ruler, move the top piece up and away from the bottom piece by 5″ or so. This measurement is an ‘average’ measurement and not a hard and fast rule. If you find yourself in the 3rd trimester looking like you’re hiding a beach ball under your shirt, you may want to add a bit more. Conversely, if you have a more petite bump, you may find 5″ to be too much. Fabric choice will also factor in. If you have a very stretchy fabric with excellent recovery, you’ll need less than working with a more stable knit.
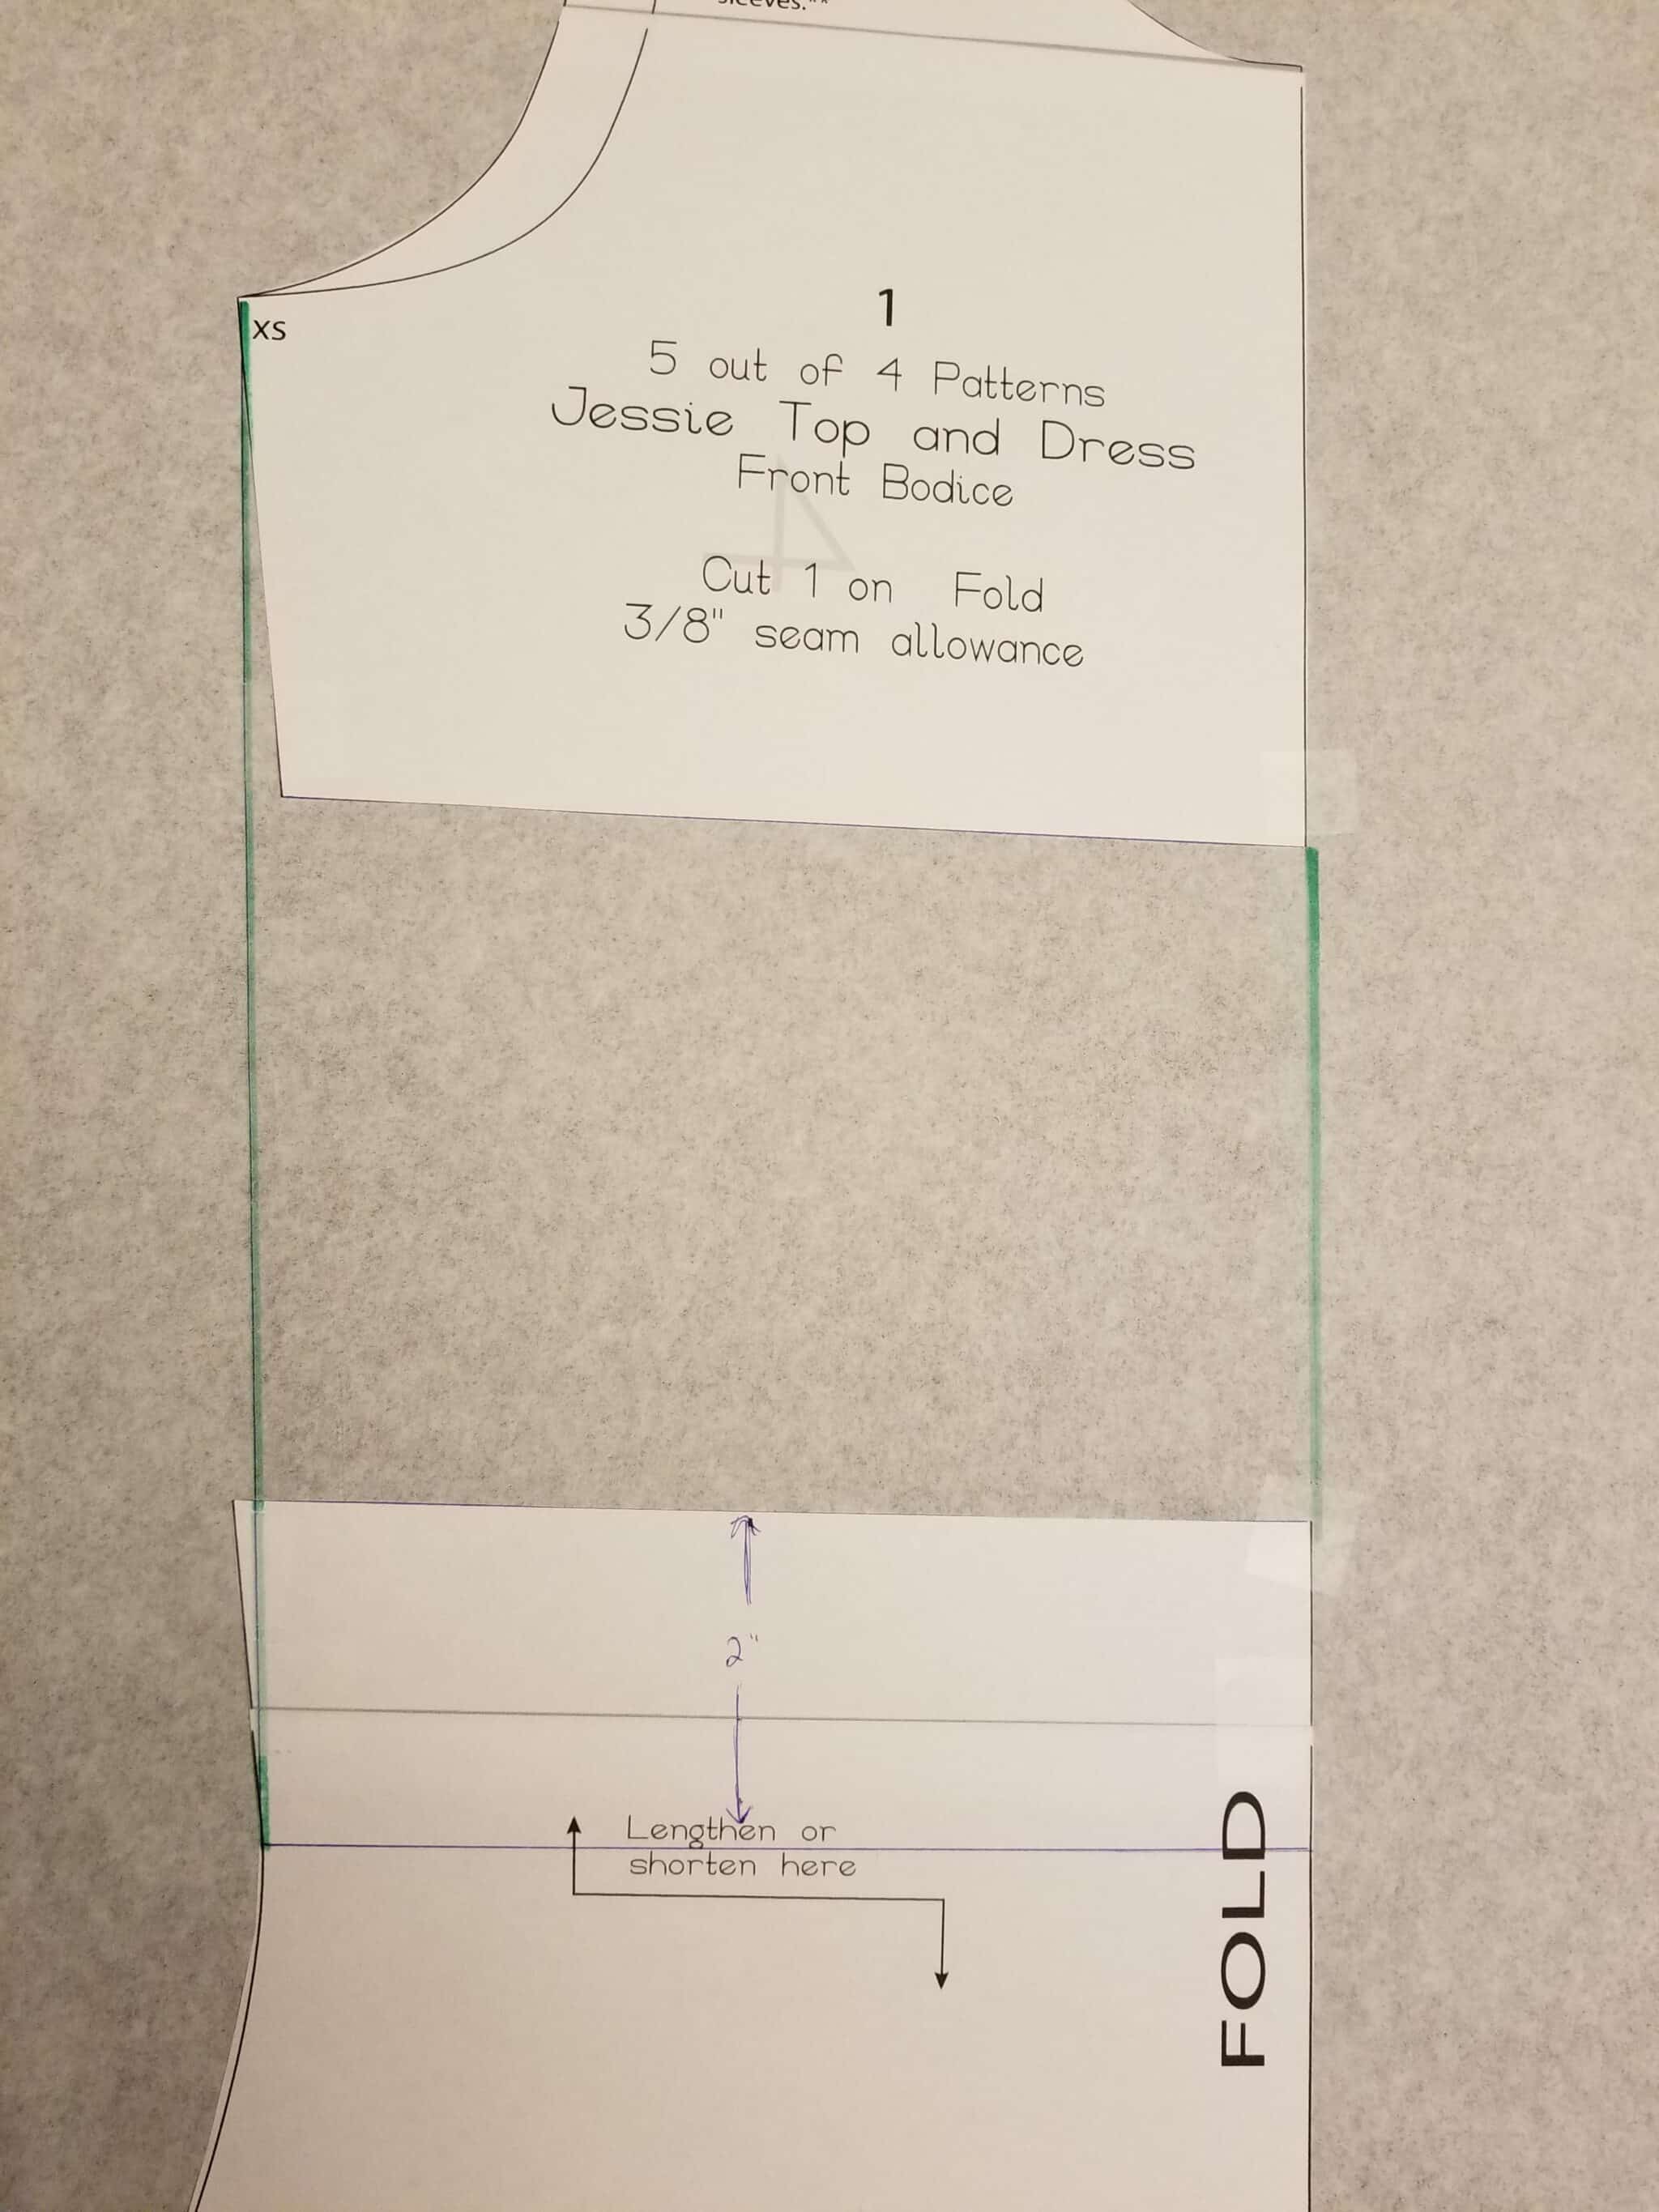
Tape the top piece down. 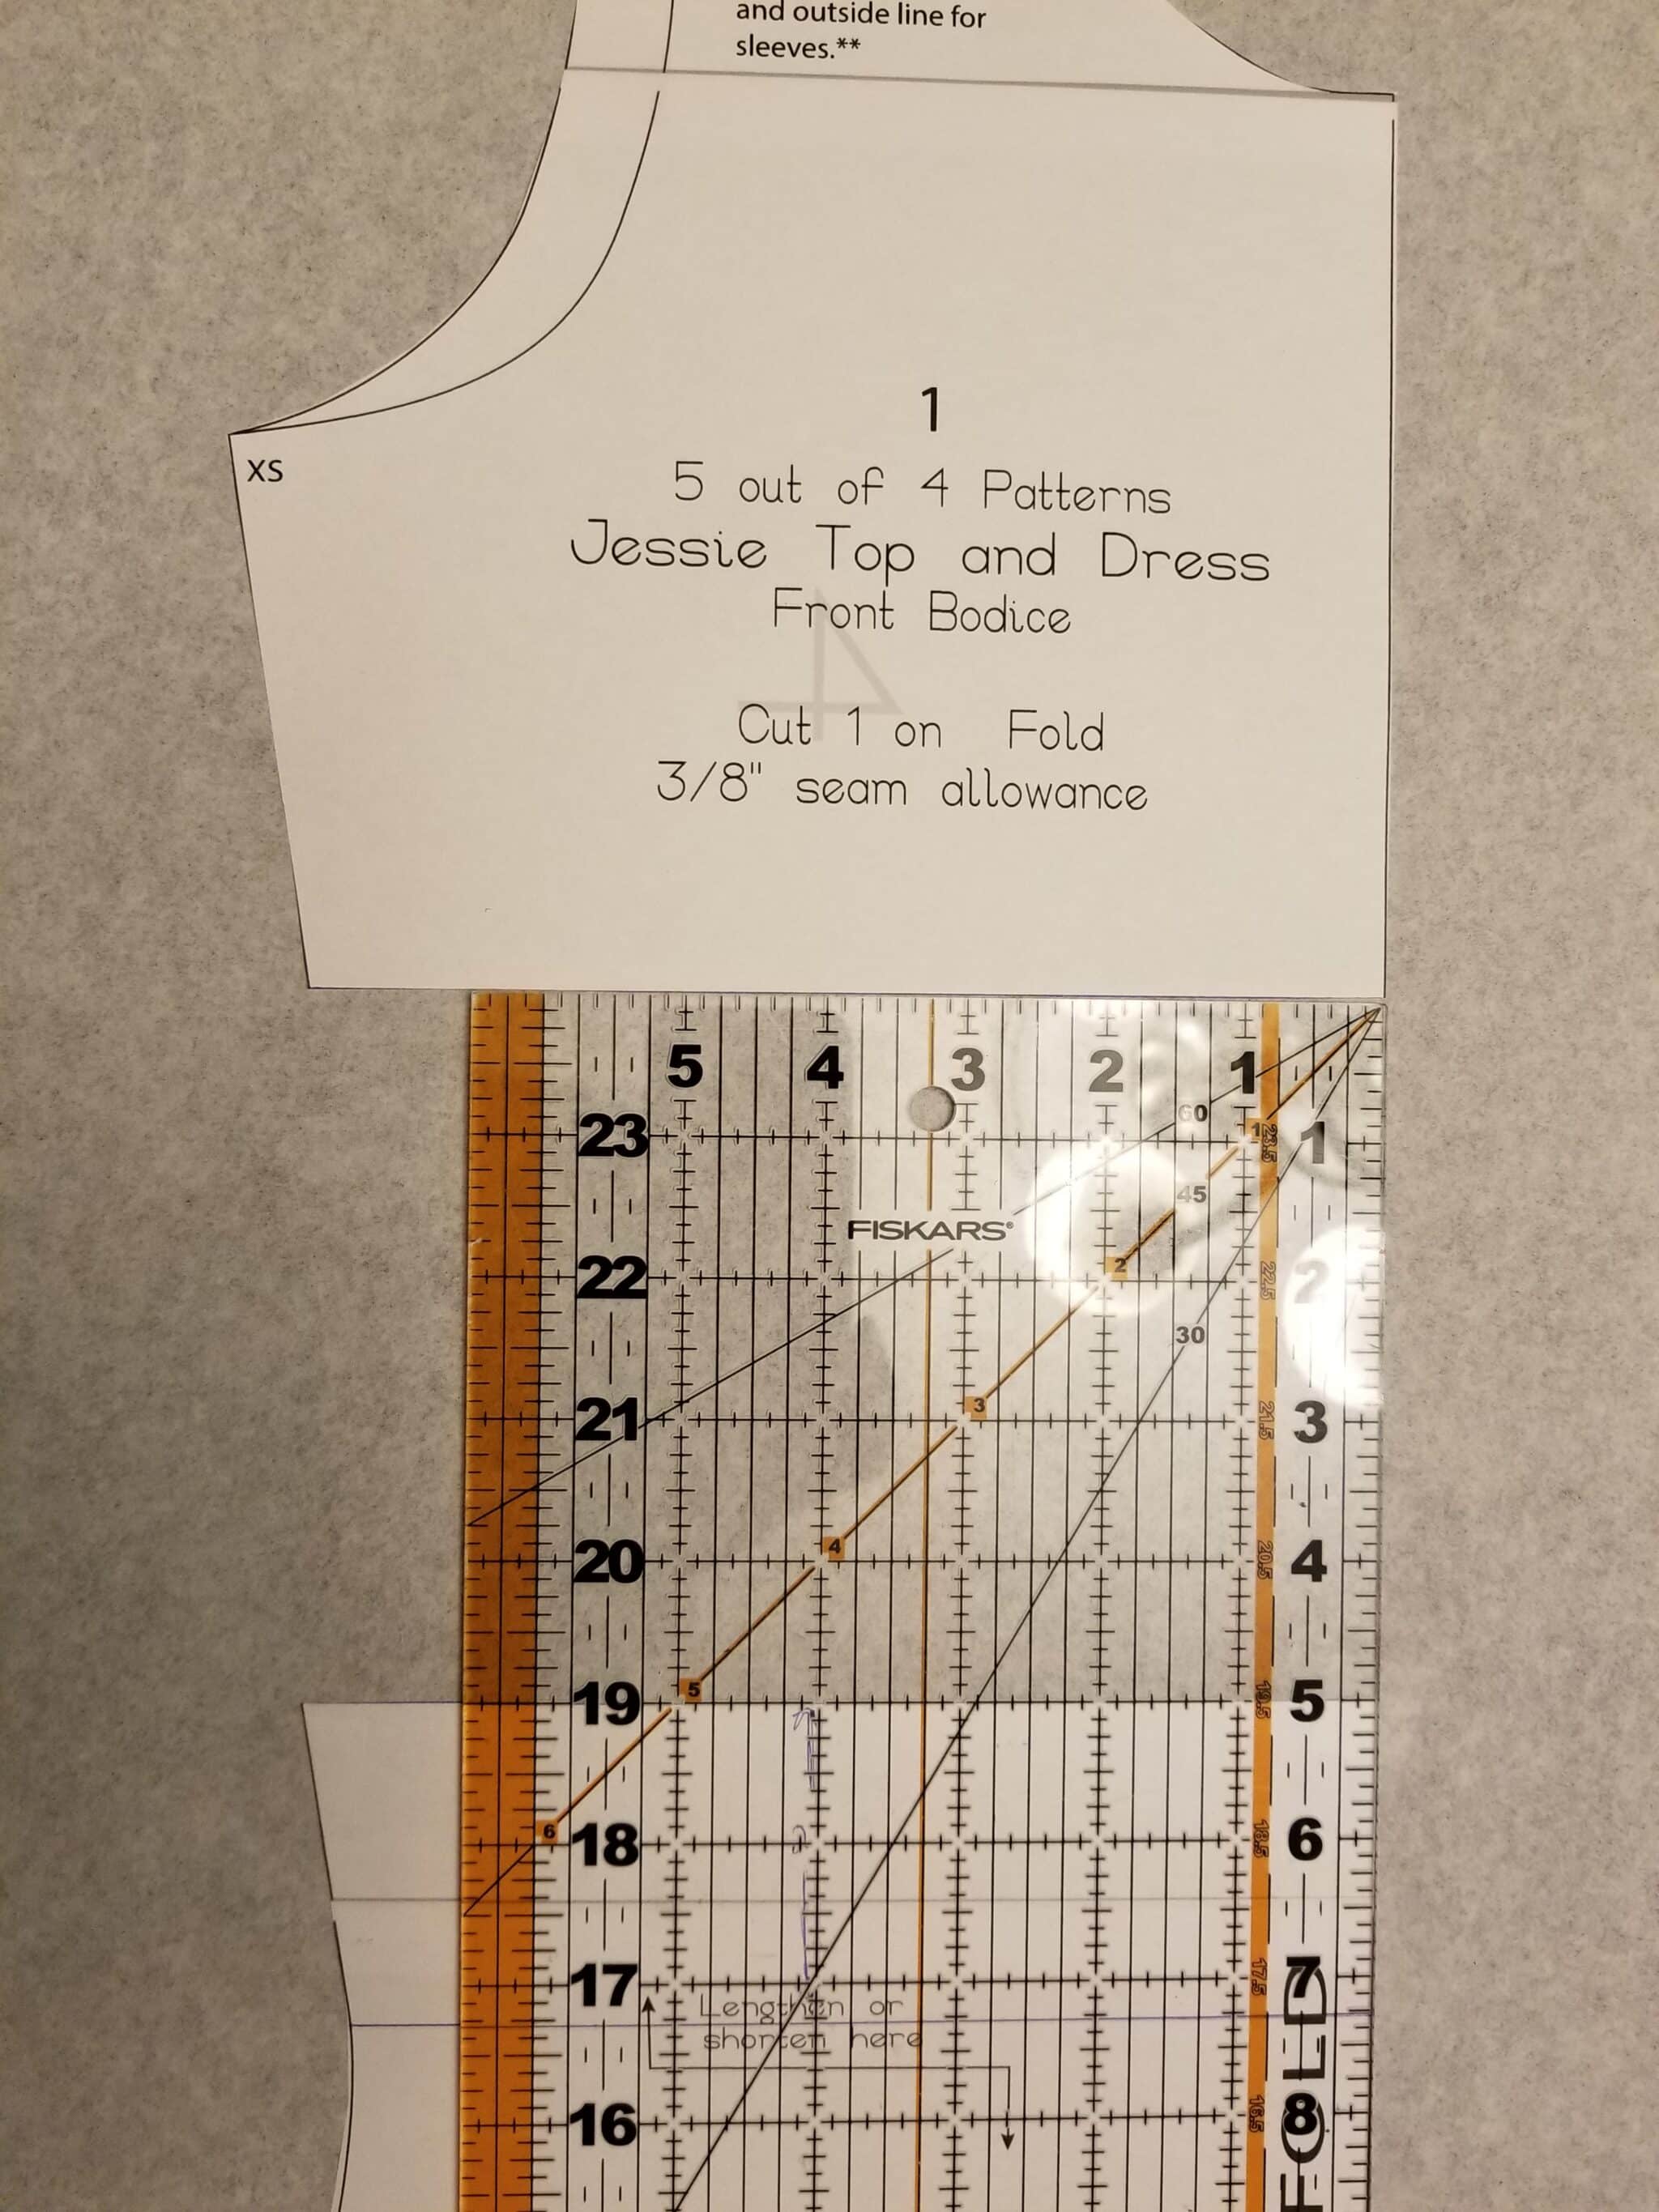
Now we need to redraw the lines. The fold line should be a straight line. The side seam is a bit trickier. You will need to connect from the arm scye line down to the waist. Different patterns look differently on their side seams depending on the designer and what drafting software was used. Use your best judgement.
We’ve successfully lengthened our bodice! YOU MAY ALSO NEED TO WIDEN YOUR BODICE AT THE WAIST LINE. Depending on the pattern, where you carry your bump, fabric choice, etc, you may find you need to straighten out the waistline of a pattern to add a bit of width to the front bodice waistline so that your side seam doesn’t pull forward. To do this, draw a straight line from the under arm scye to the start of the hip curve. This will be more necessary in a fitted top with a pronounced waistline than in something boxier where the line from bust to hip is already fairly straight.
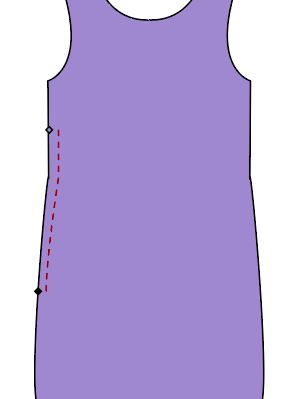
Now we need to mark our gathering points. The top one is right at the edge of the original bodice. For the bottom mark, measure down approximately 4″ from the cut line on the original bodice.
My marks are in pink. The pink line between the marks in the second photo is where you will run your basting stitch. 

Cut your pattern out and use this front to cut your fabric. The rest of your pattern you will use your original pieces. Run a basting stitch between your two pink marks along both side seams.
Gently pull on the bobbin threads to gather both side seams of your bodice. Lay your front bodice on top of your back bodice RIGHT SIDES TOGETHER and adjust the gathers to match the back bodice.
You want the side seams of your front bodice to match those of your back bodice. 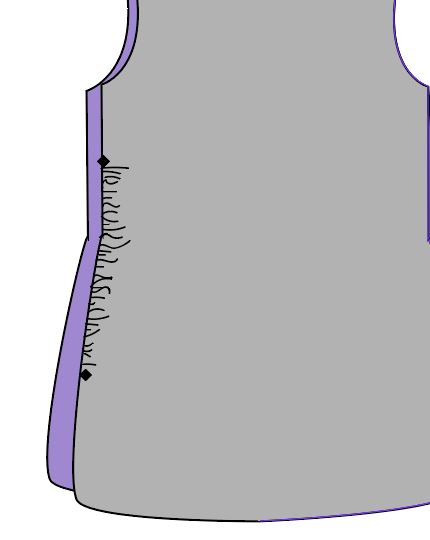
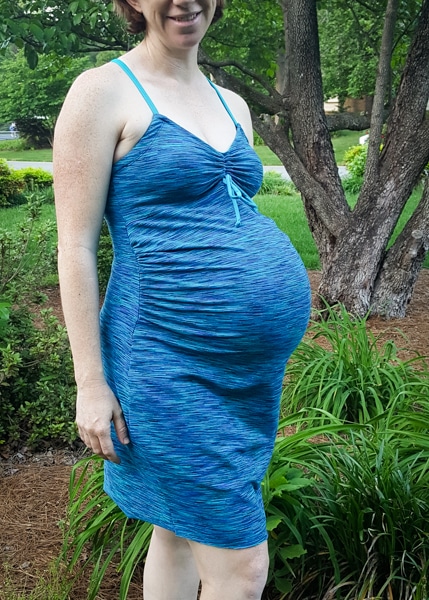
Sew your side seams of your front and back bodice and continue with construction per pattern instructions. That’s it! You’ve added room to your front bodice to accommodate your belly! Pregnancy may or may not be uncomfortable, but your clothes will be comfy AND as beautiful as you are.
Leave a Reply