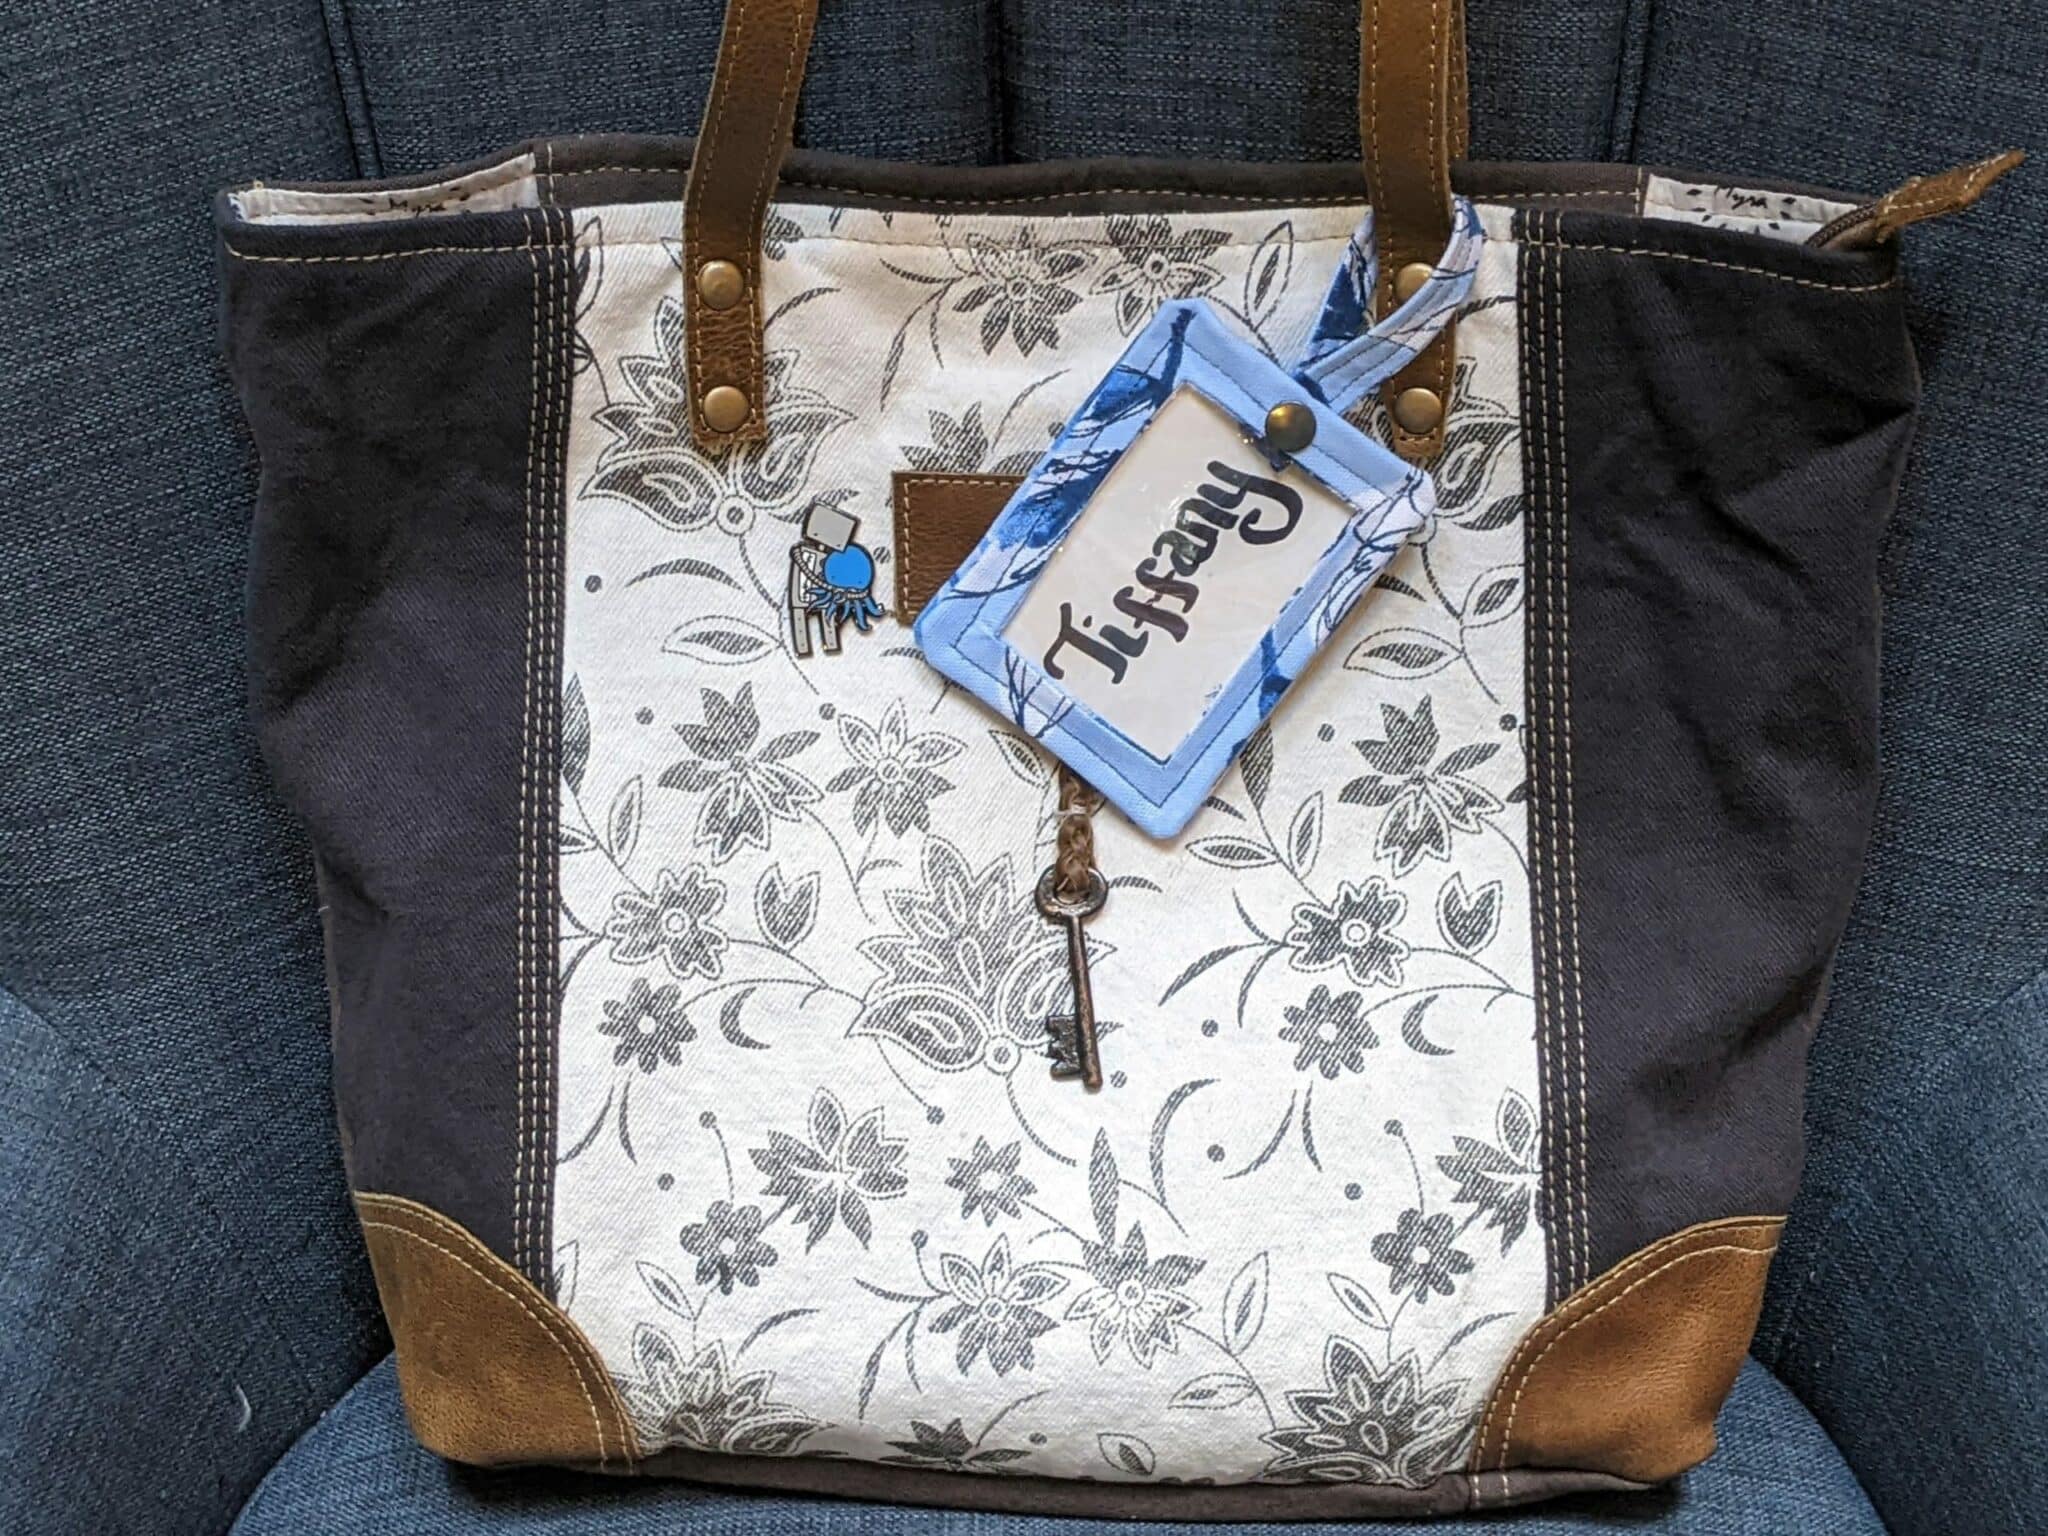
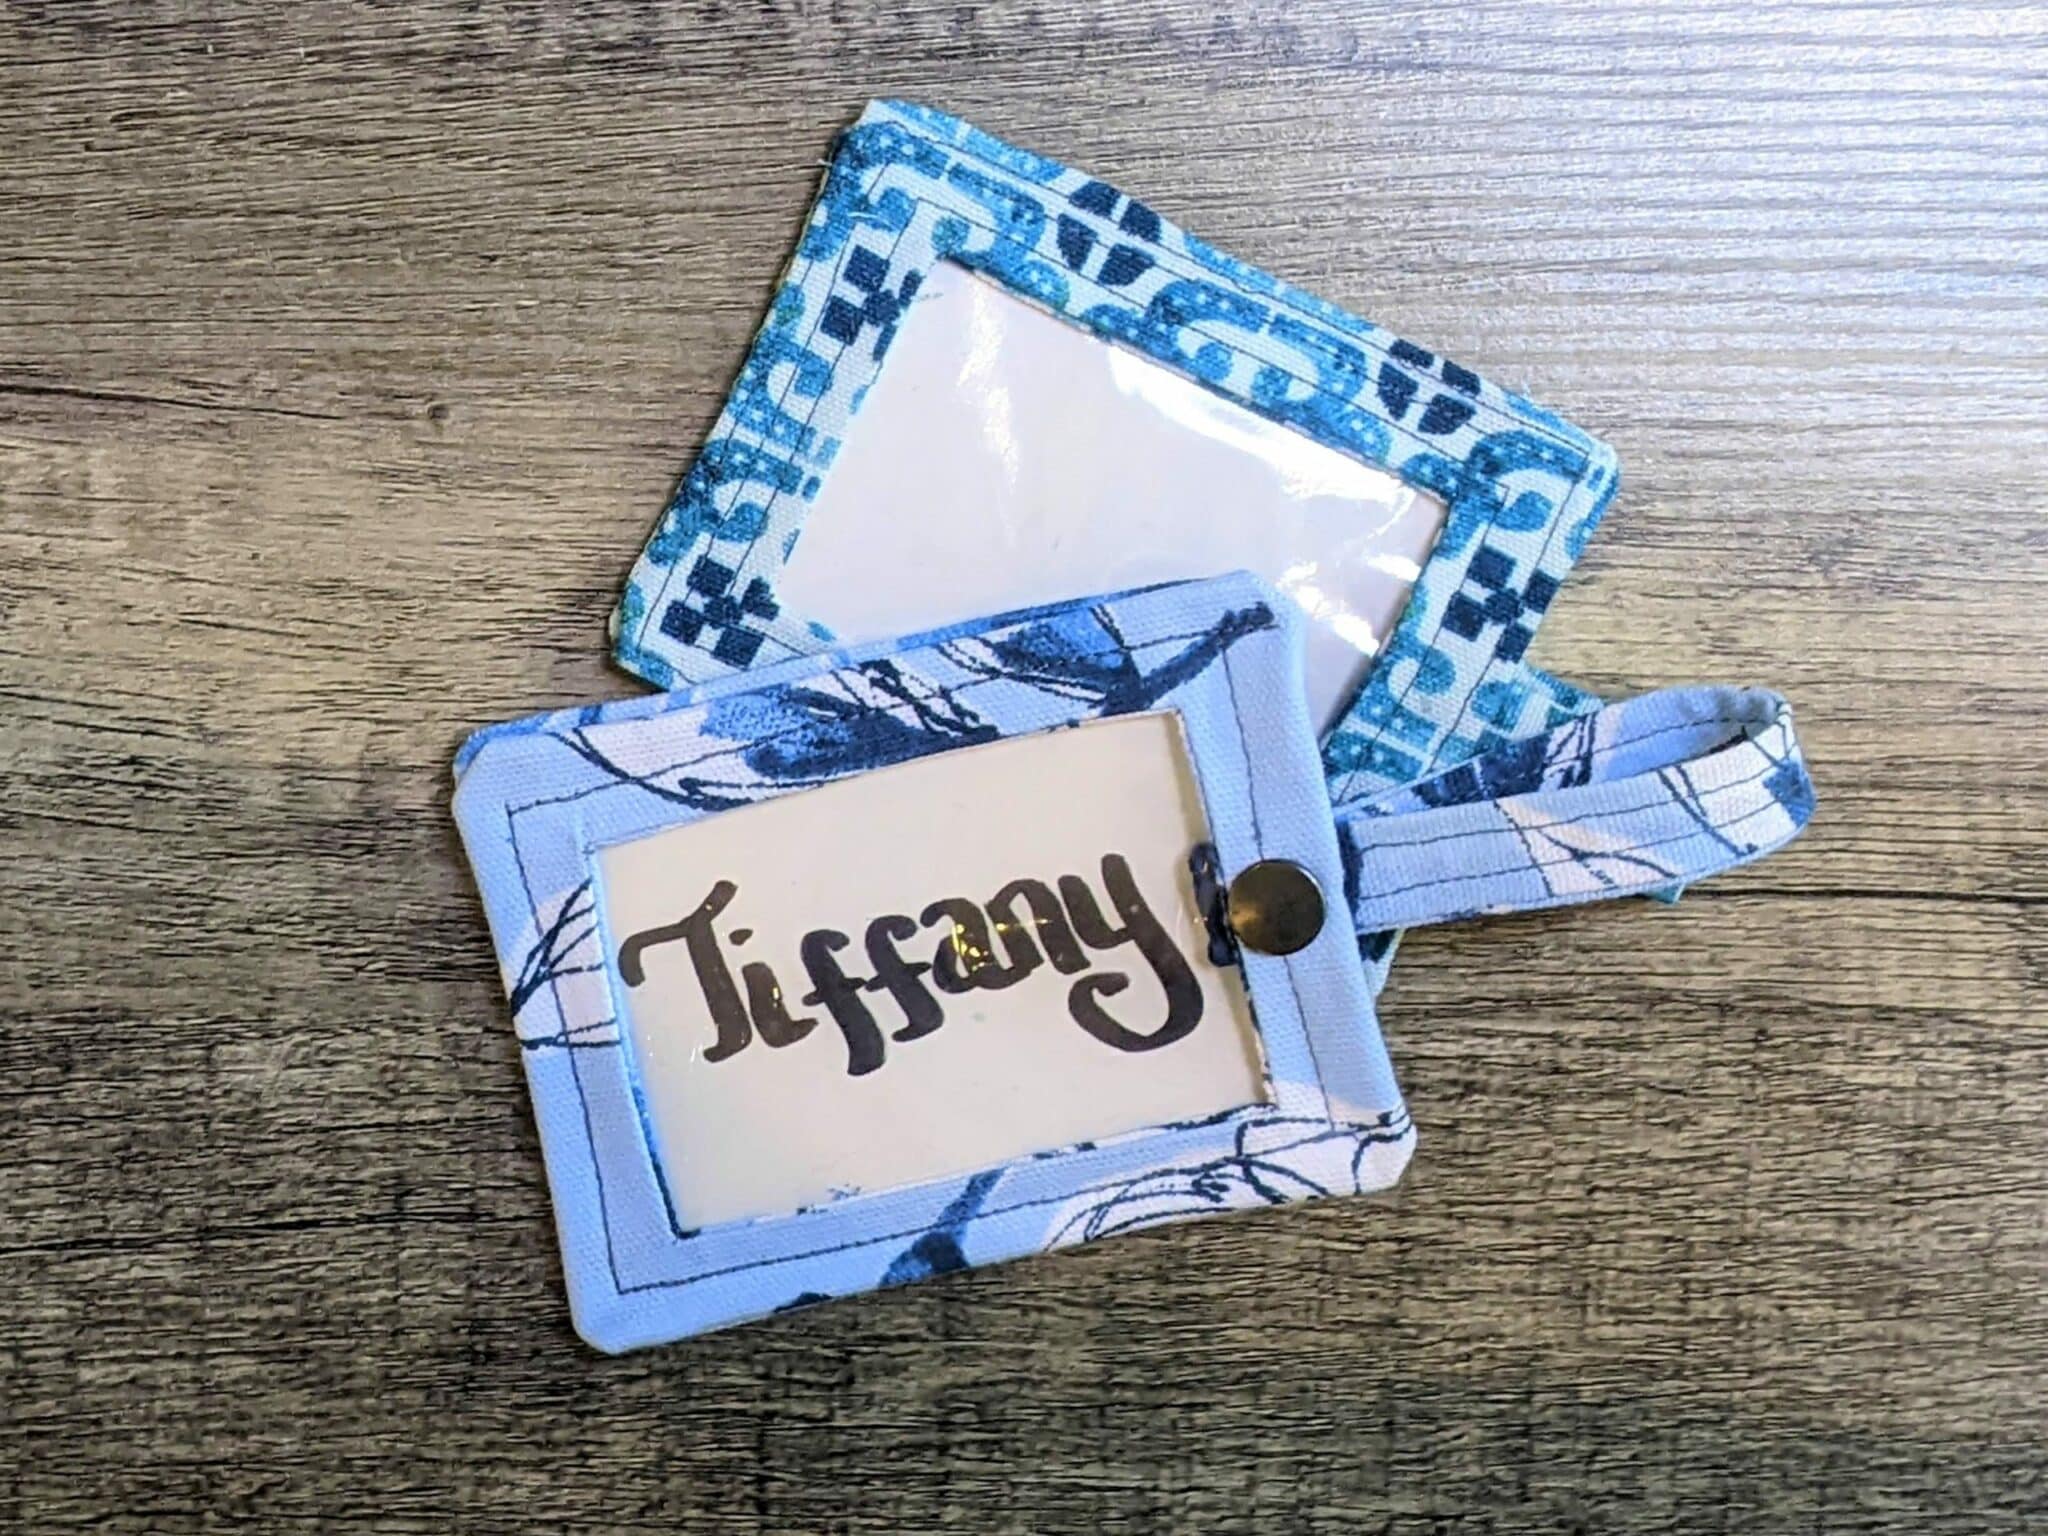
I have big dreams of traveling again someday. Maybe it will happen this year, or maybe that’s just wishful thinking. Either way, I decided to be proactive and make a new luggage tag or two so I would have at least one thing done if we ever start planning a trip.
Supplies:
- Sturdy woven fabric or canvas
- Clear vinyl (I used a bag that some sheets came in)
- Fusible interfacing: fleece or heavy depending on how sturdy your fabric is and how stable you want the tag to be.
- Snap
- Sewing machine (preferably with denim needle or one made for thicker fabrics)
- Basic sewing supplies
- Optional: double-sided tape or wash-away wondertape
- Template pieces: download, print, and cut
Cut
- Front outer fabric (1)
- Front inner fabric (1)
- Clear vinyl piece (1)
- Back fabric (2)
- Back interfacing (2)
Let’s Get Sewing!
Front:
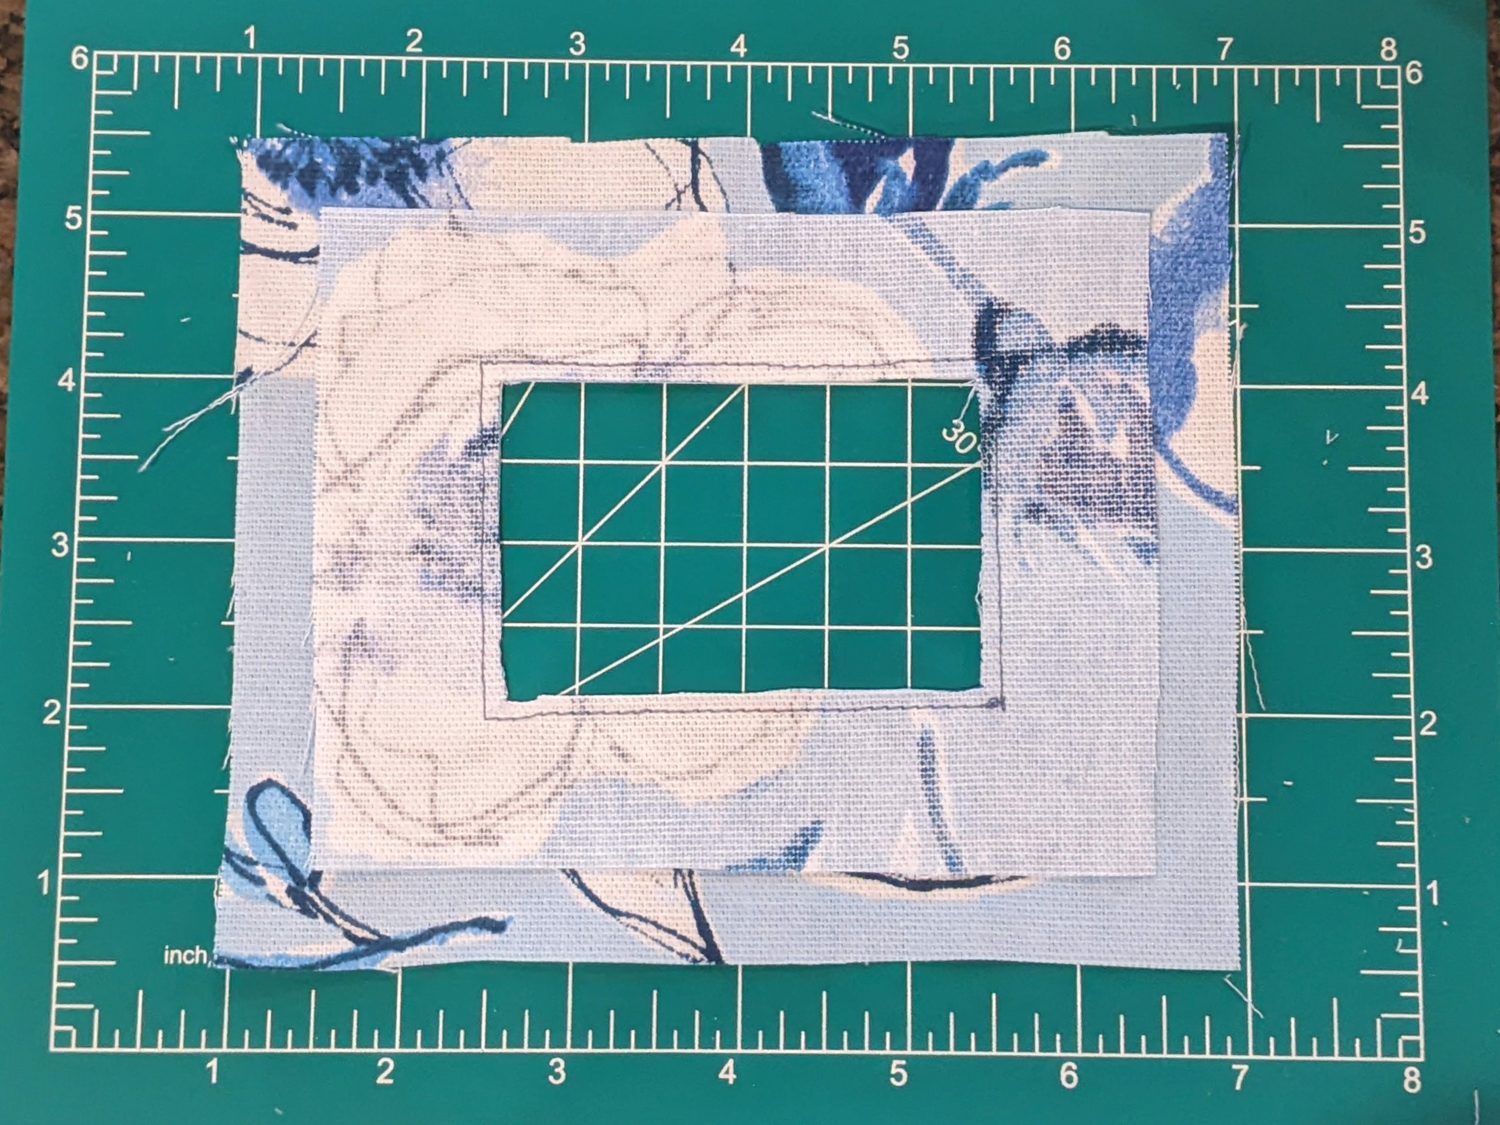
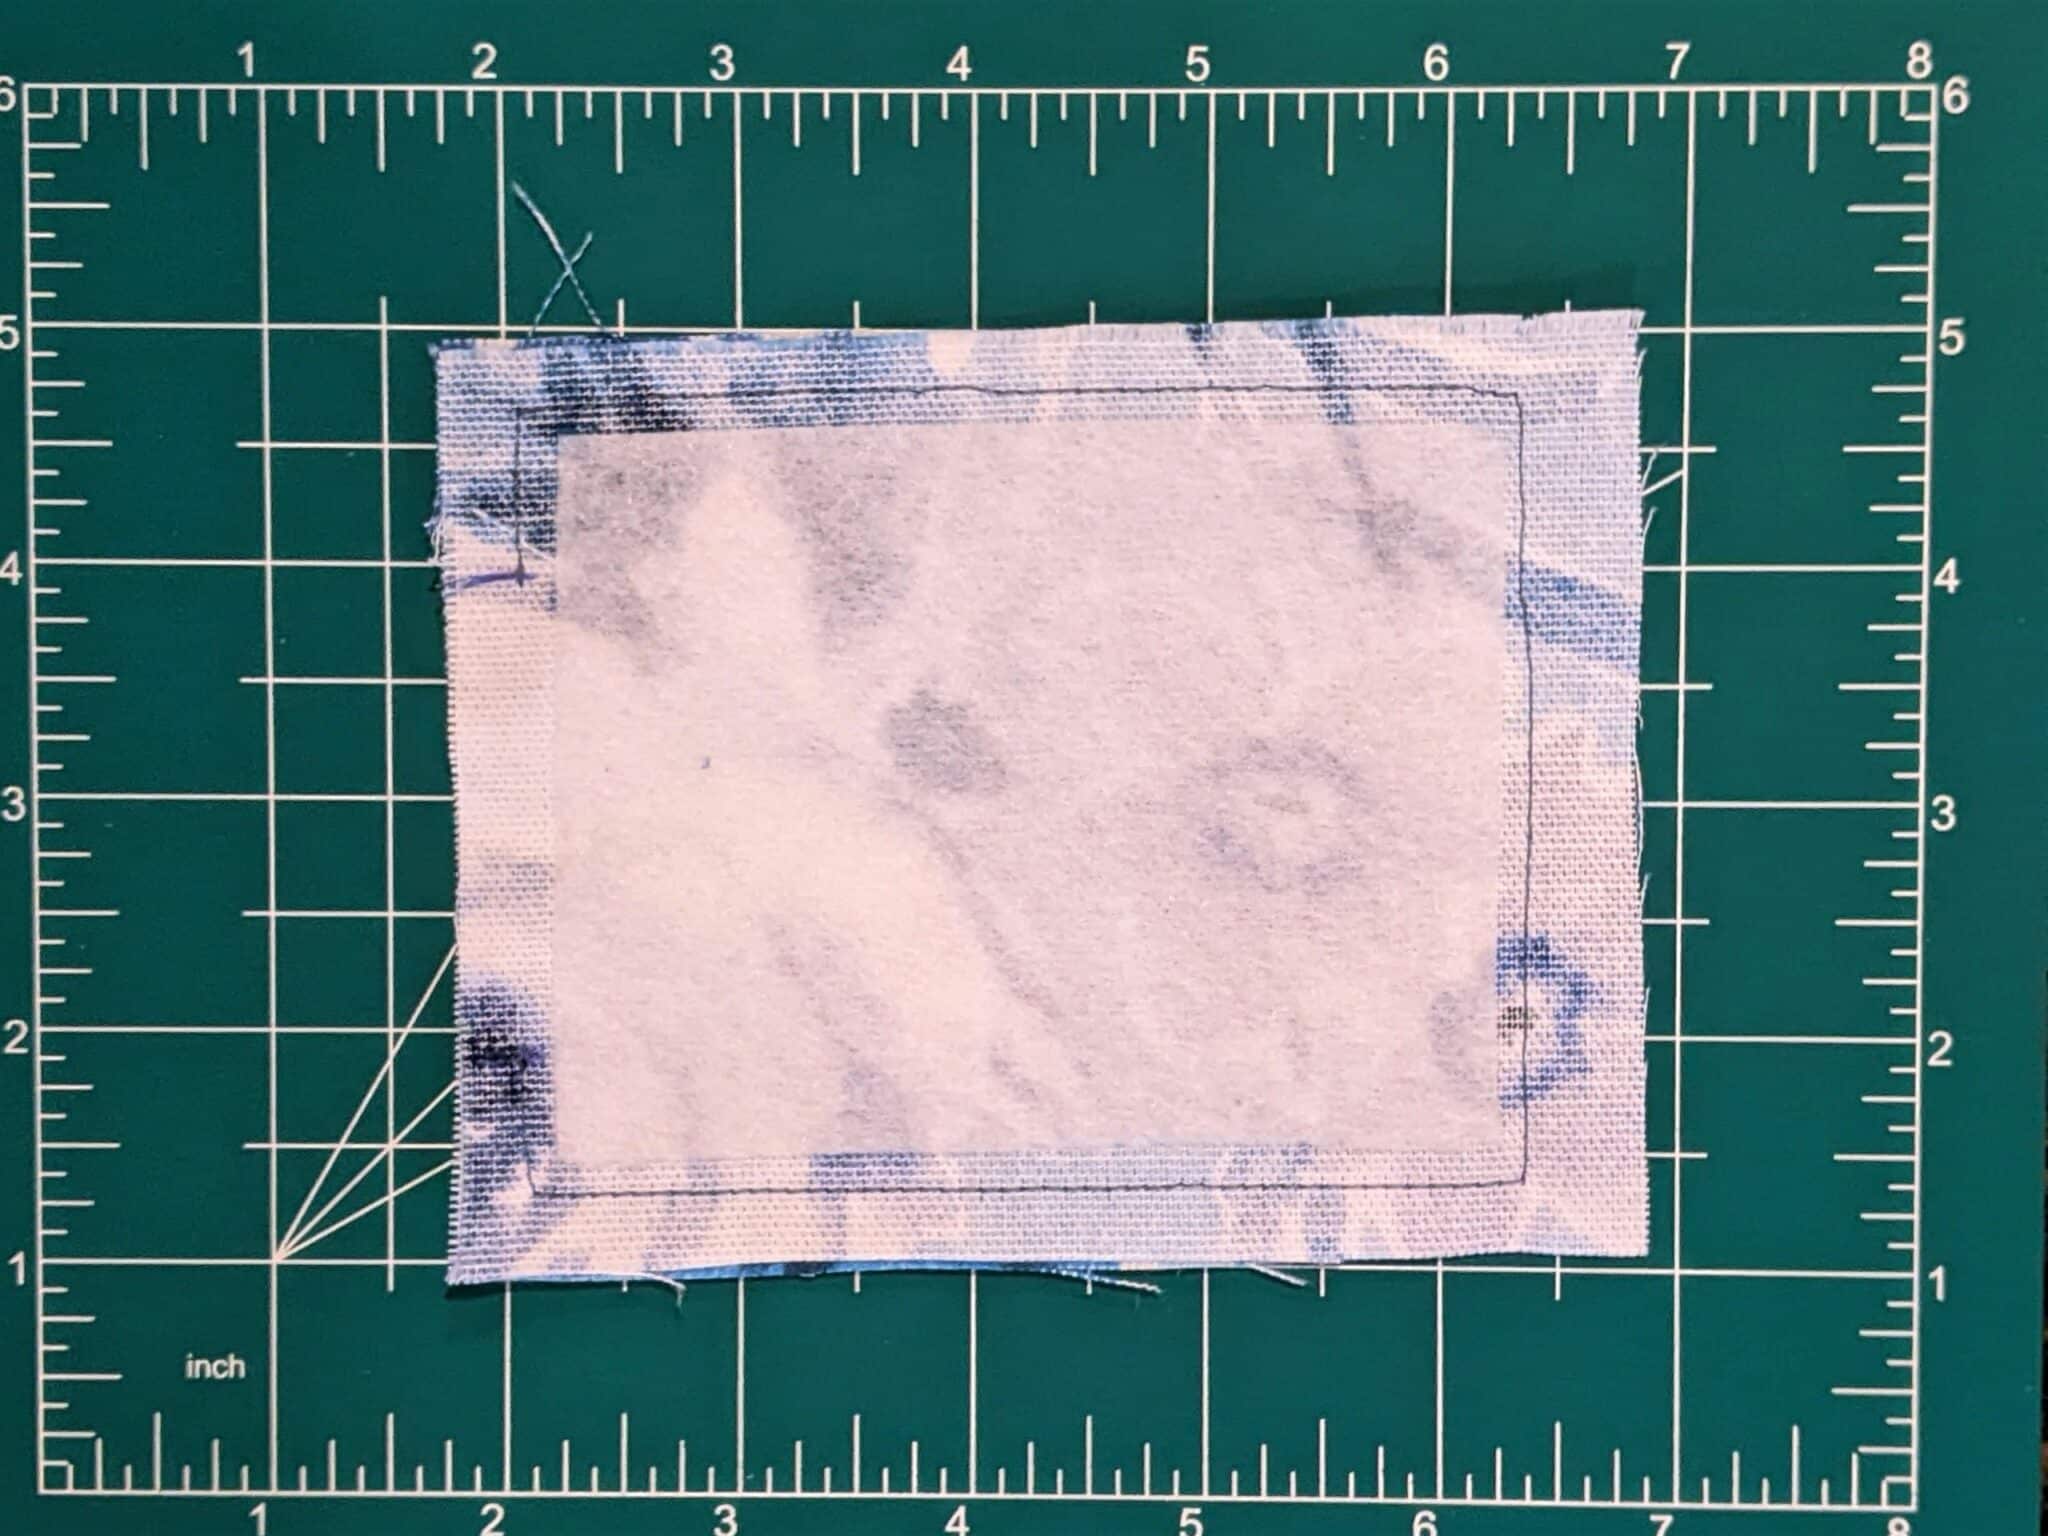
- Center the inner fabric piece on top of the outer piece right sides together and pin to hold them in place.
- Place the cut-out template piece on the inner fabric and make sure it’s centered.

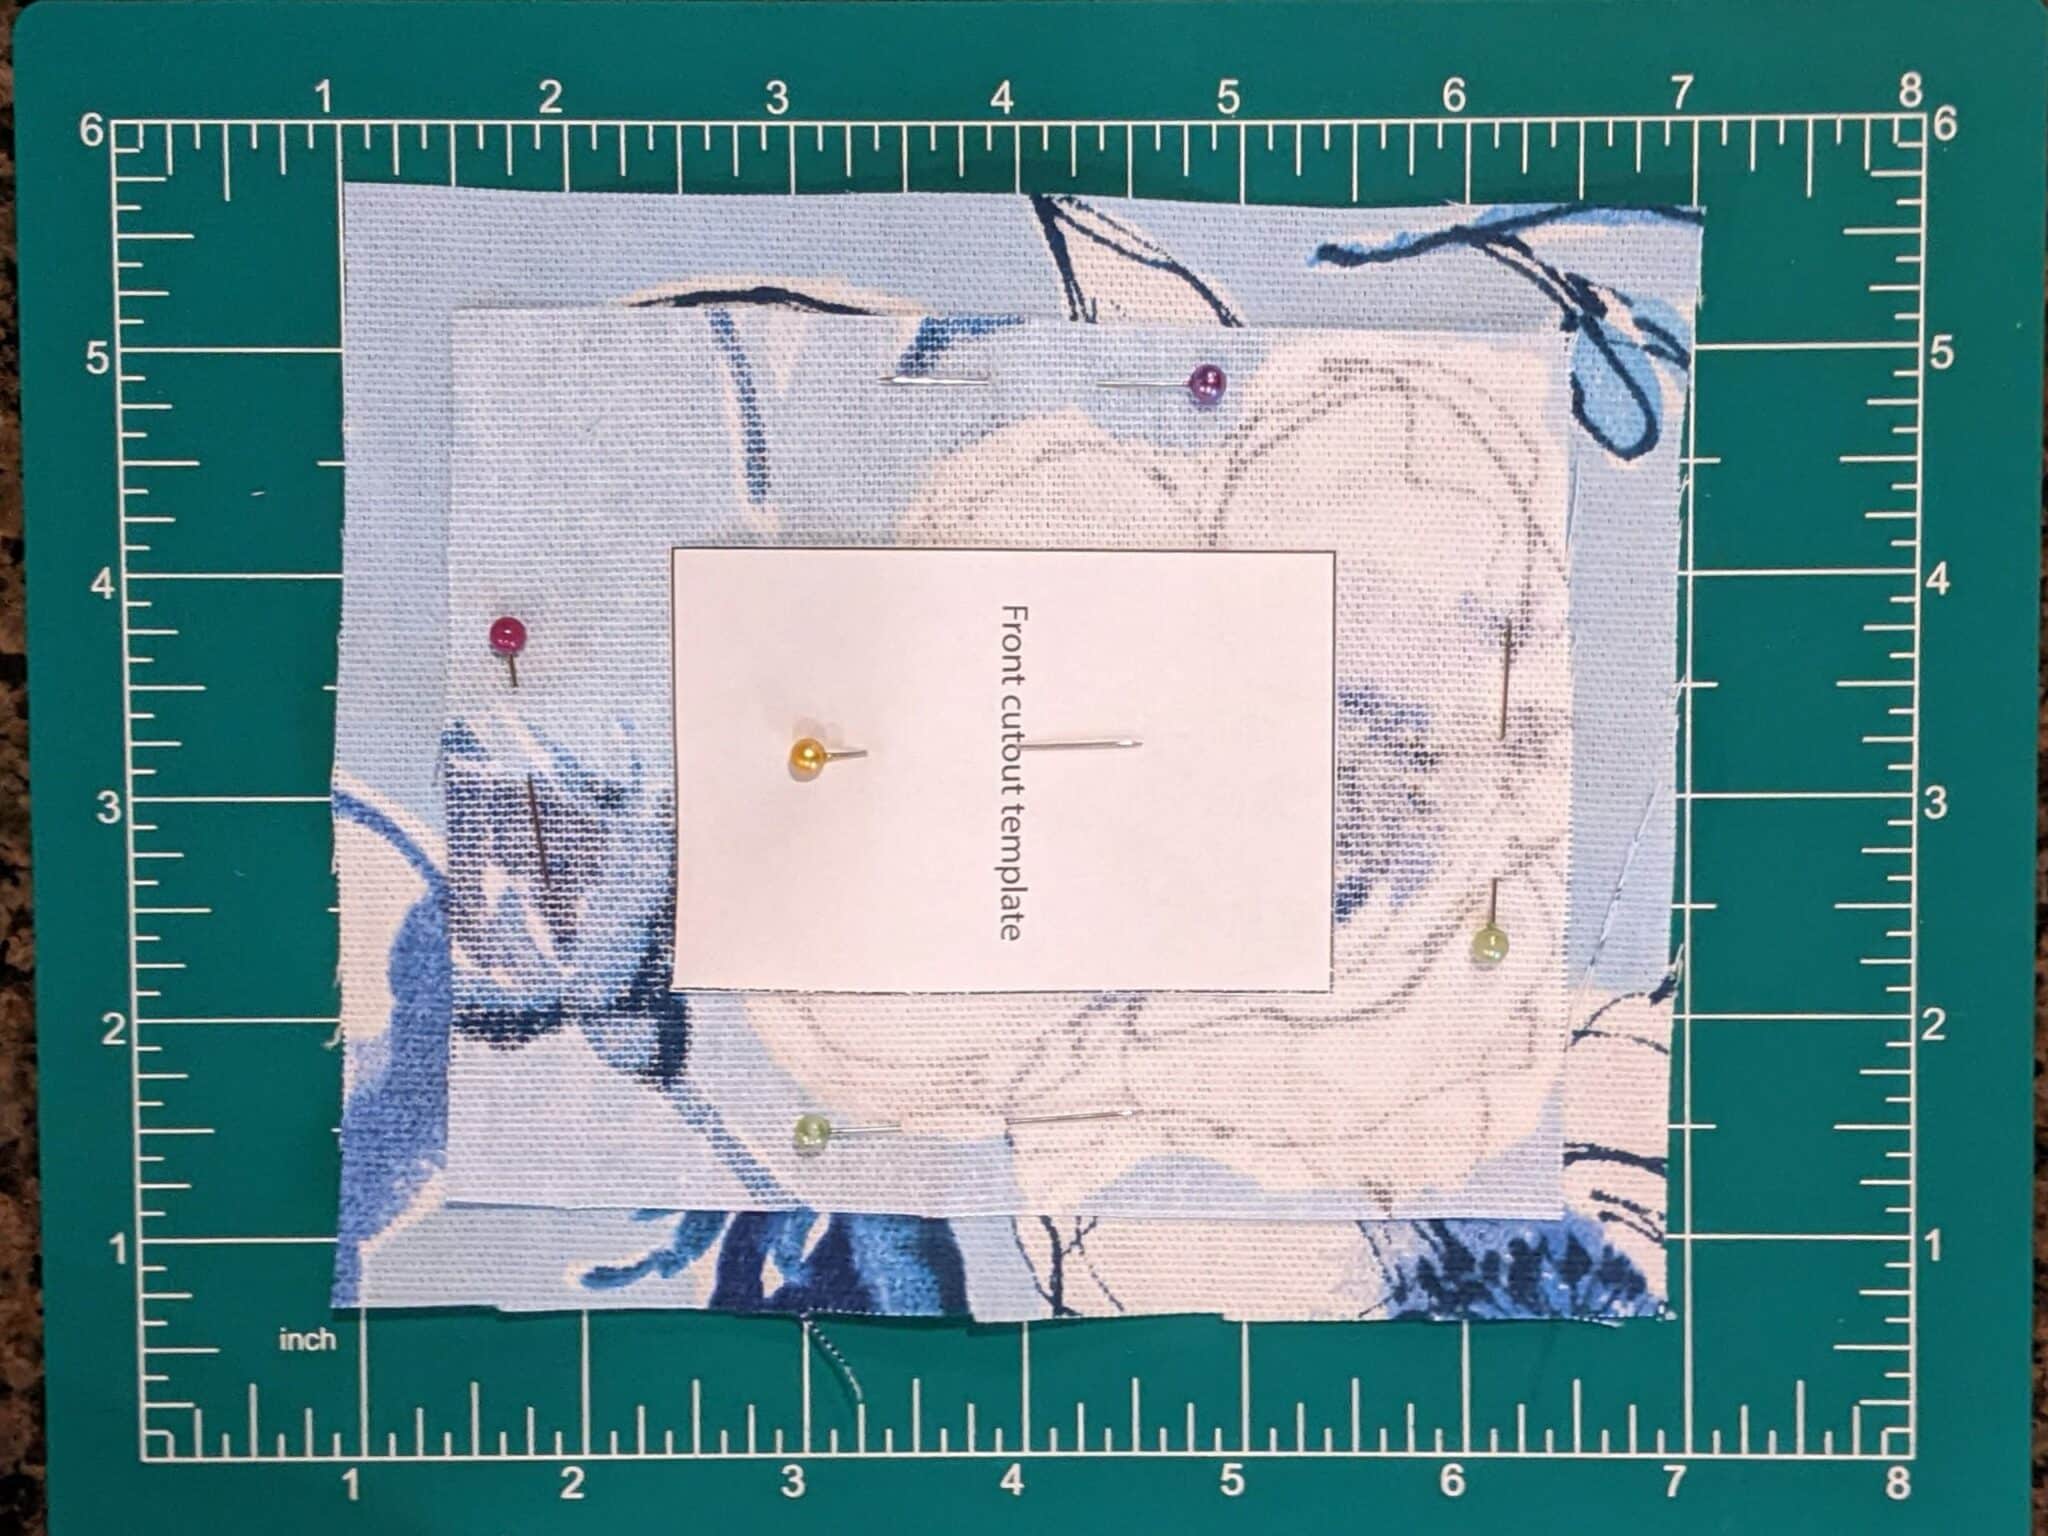
- Trace around the 3”x2” cut-out piece.
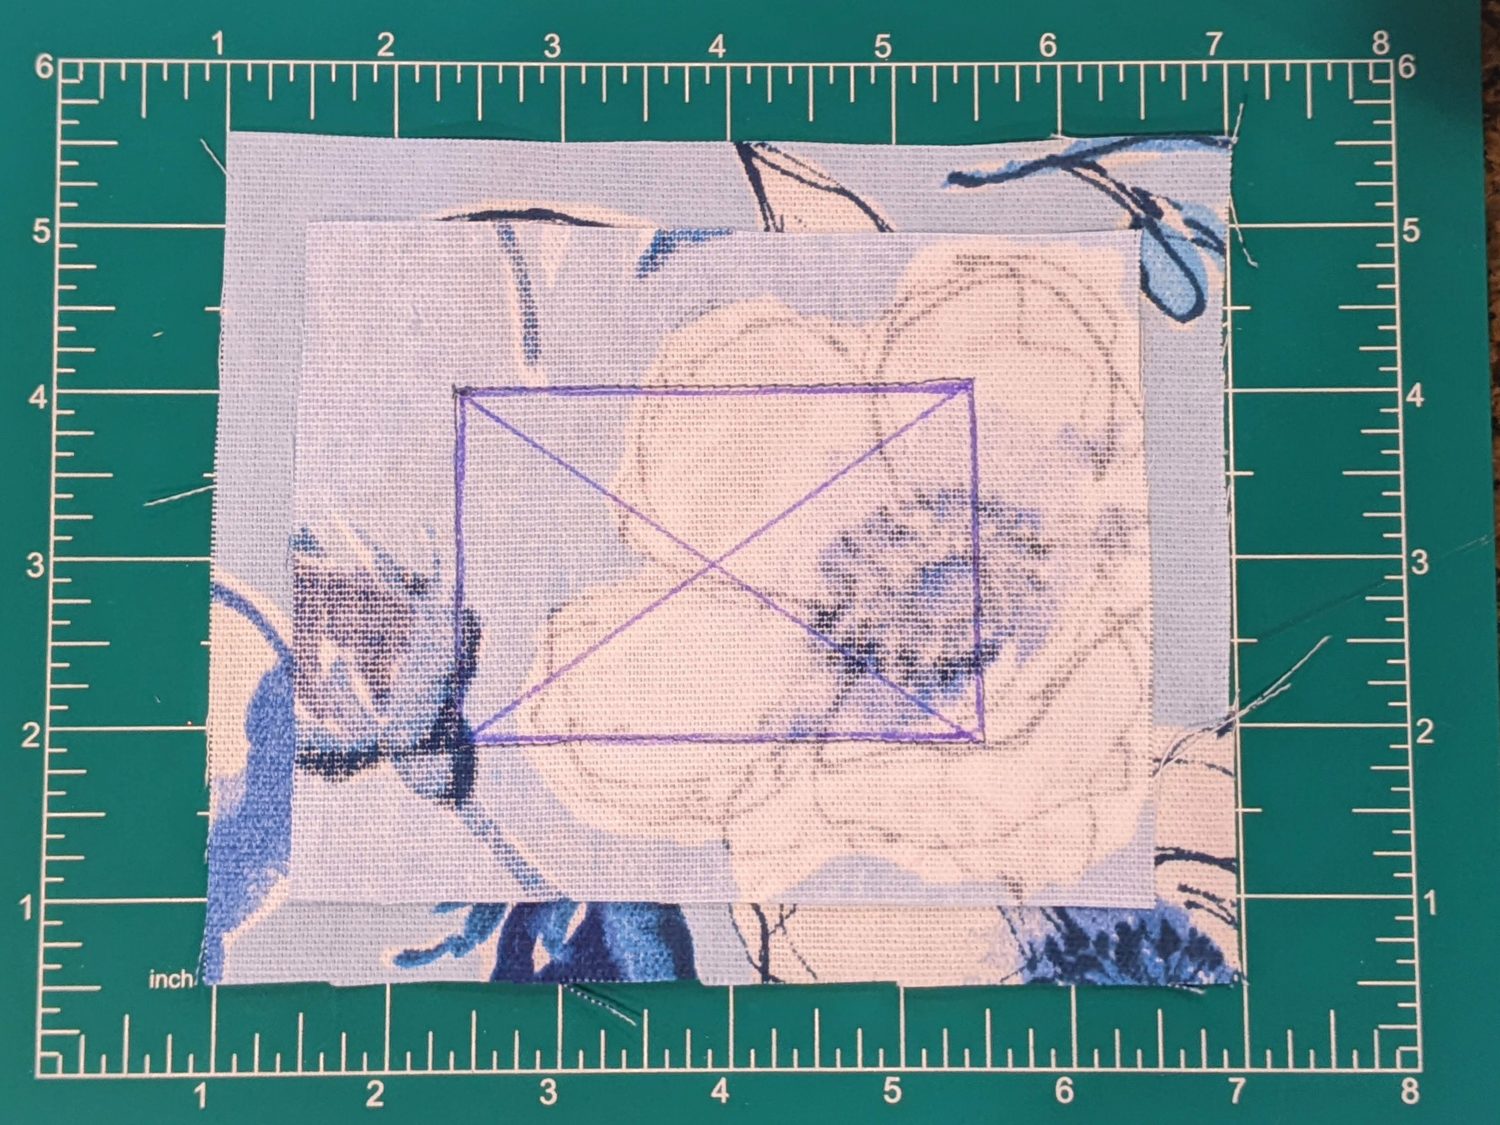
- Sew around the traced rectangle.
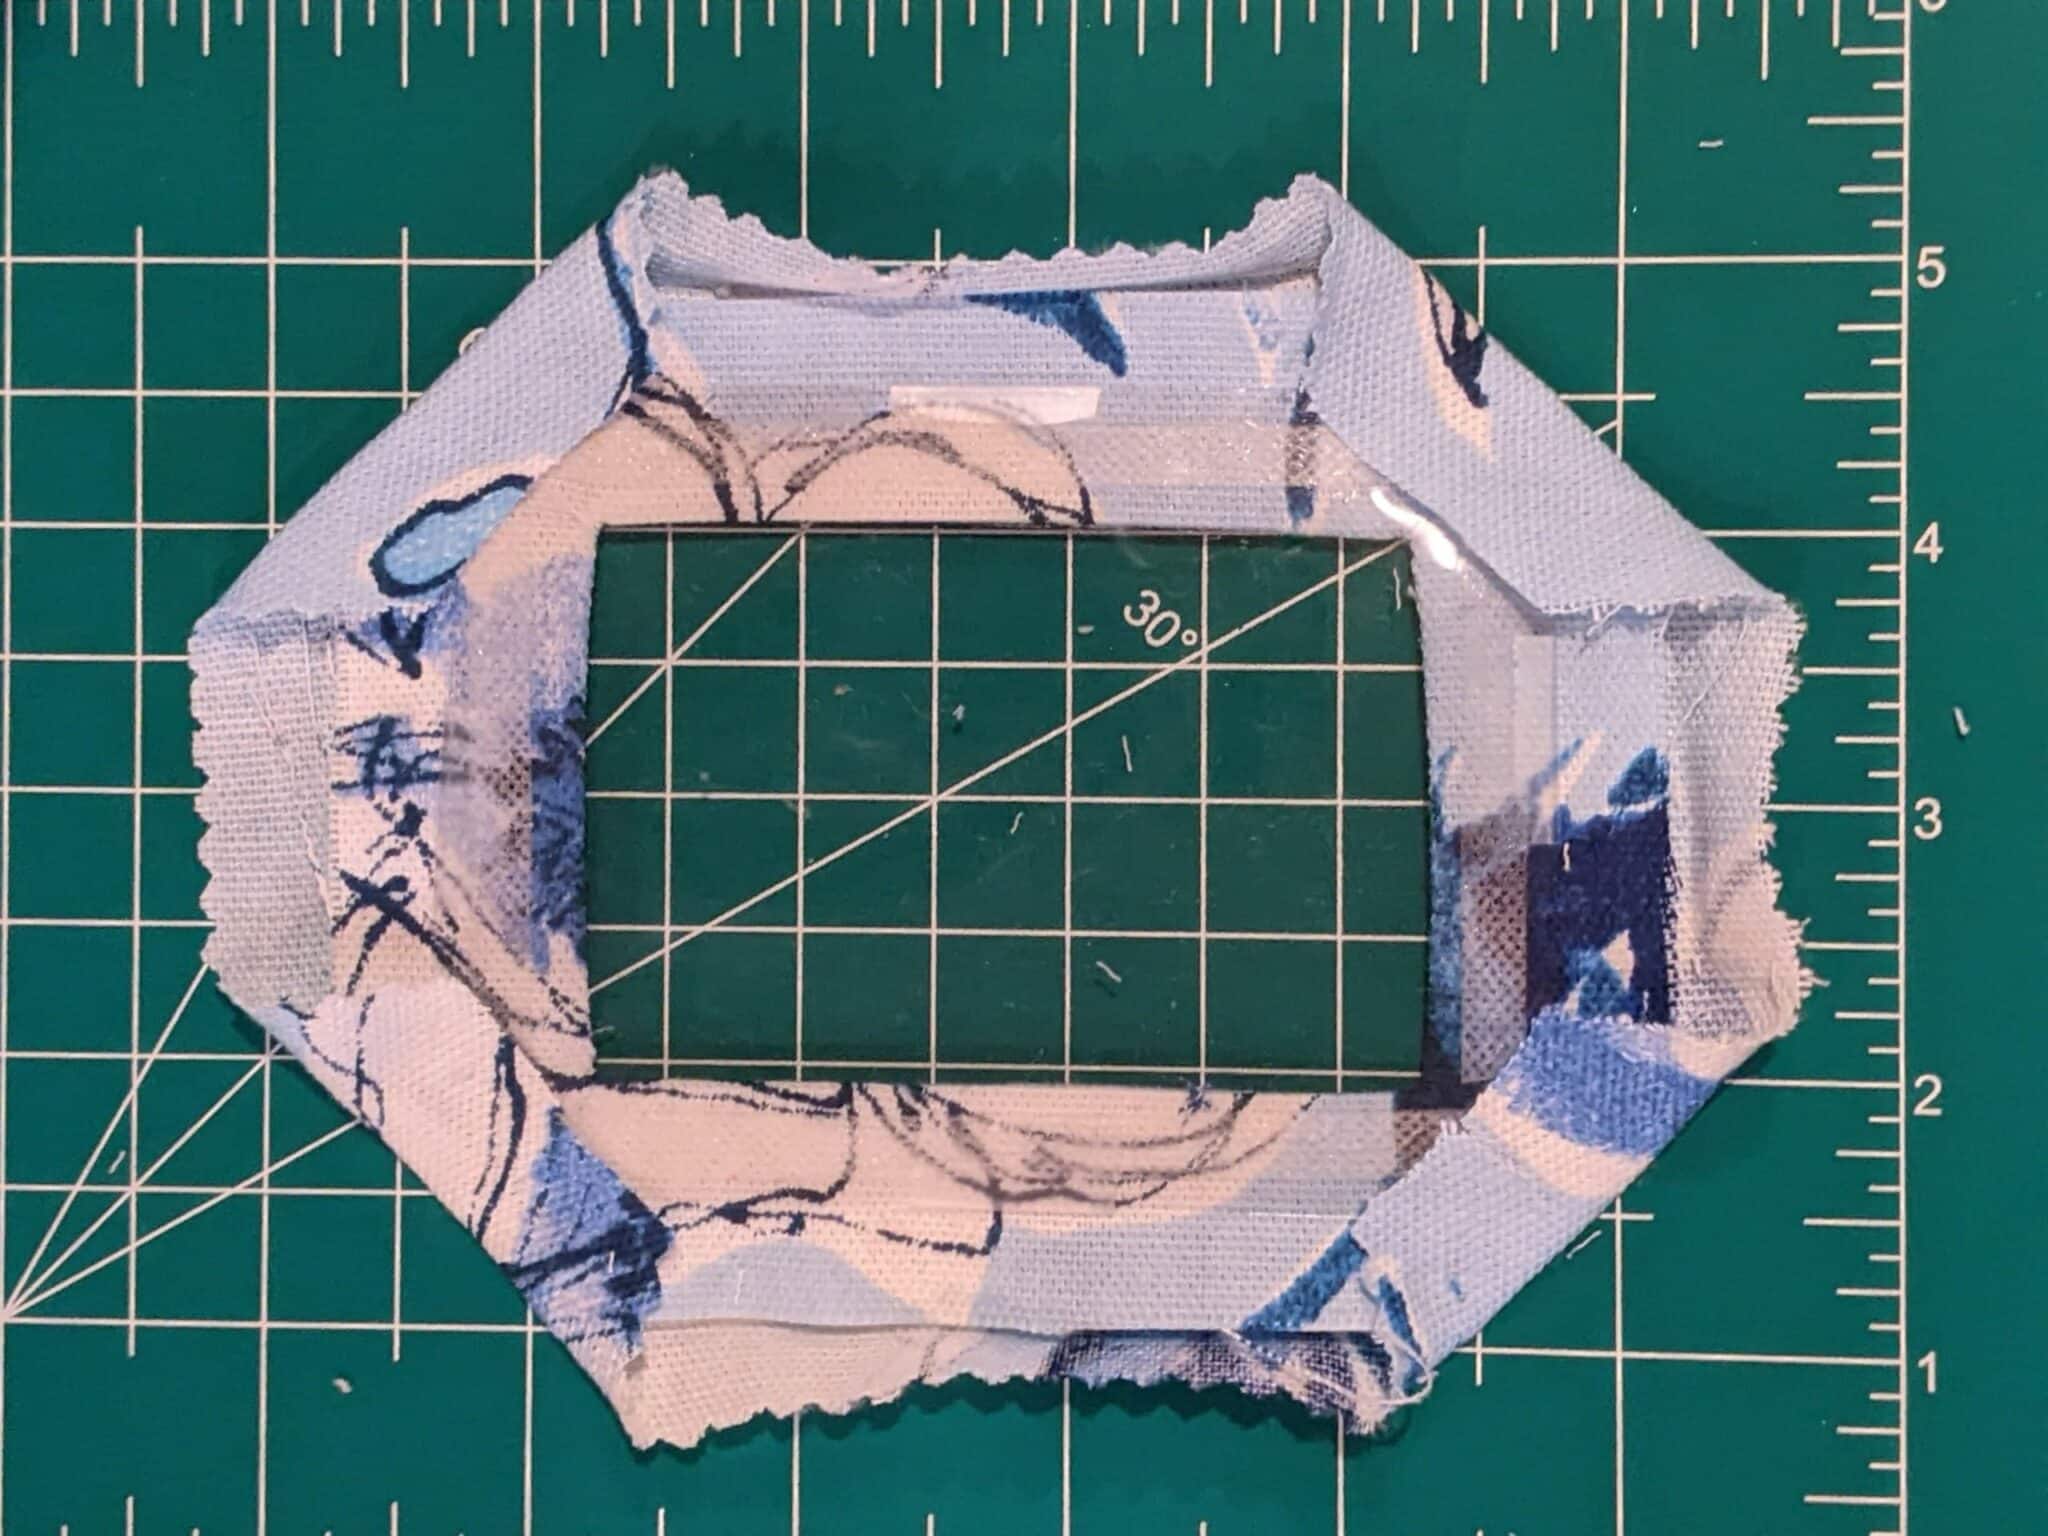
- Cut out the center of the rectangle (shown in the photo with the “X” through it) leaving a ⅛” seam allowance.
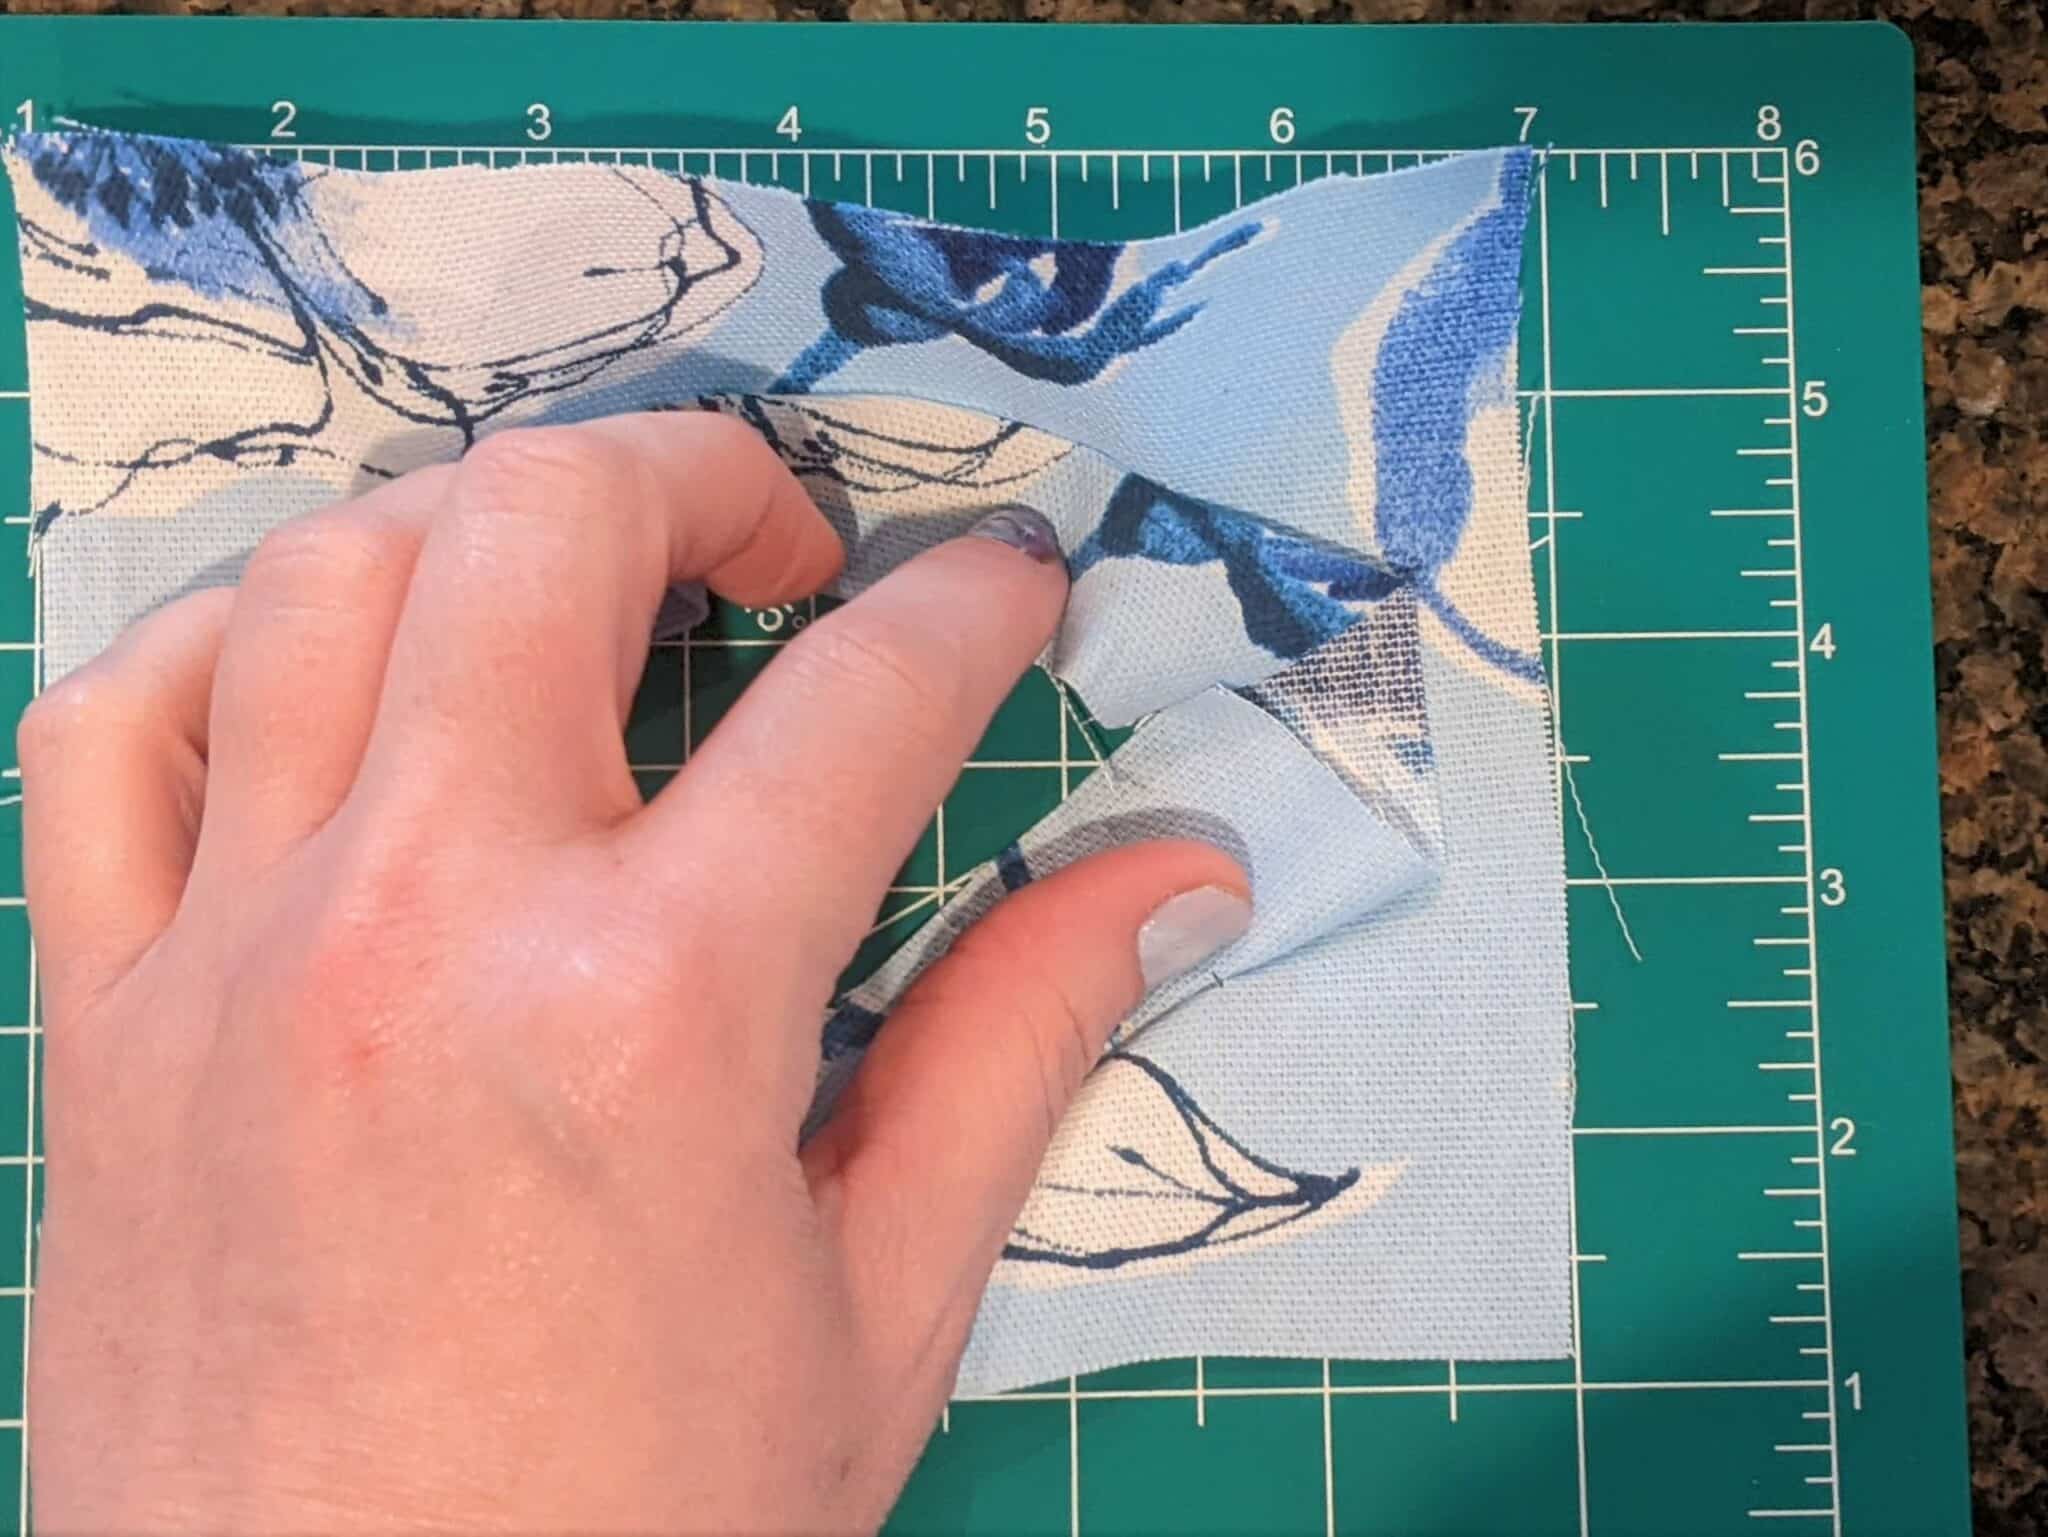
- Push the smaller (inner) piece through the hole flipping it to the backside of the larger piece so they are now wrong sides together. Press well around the seam allowance.
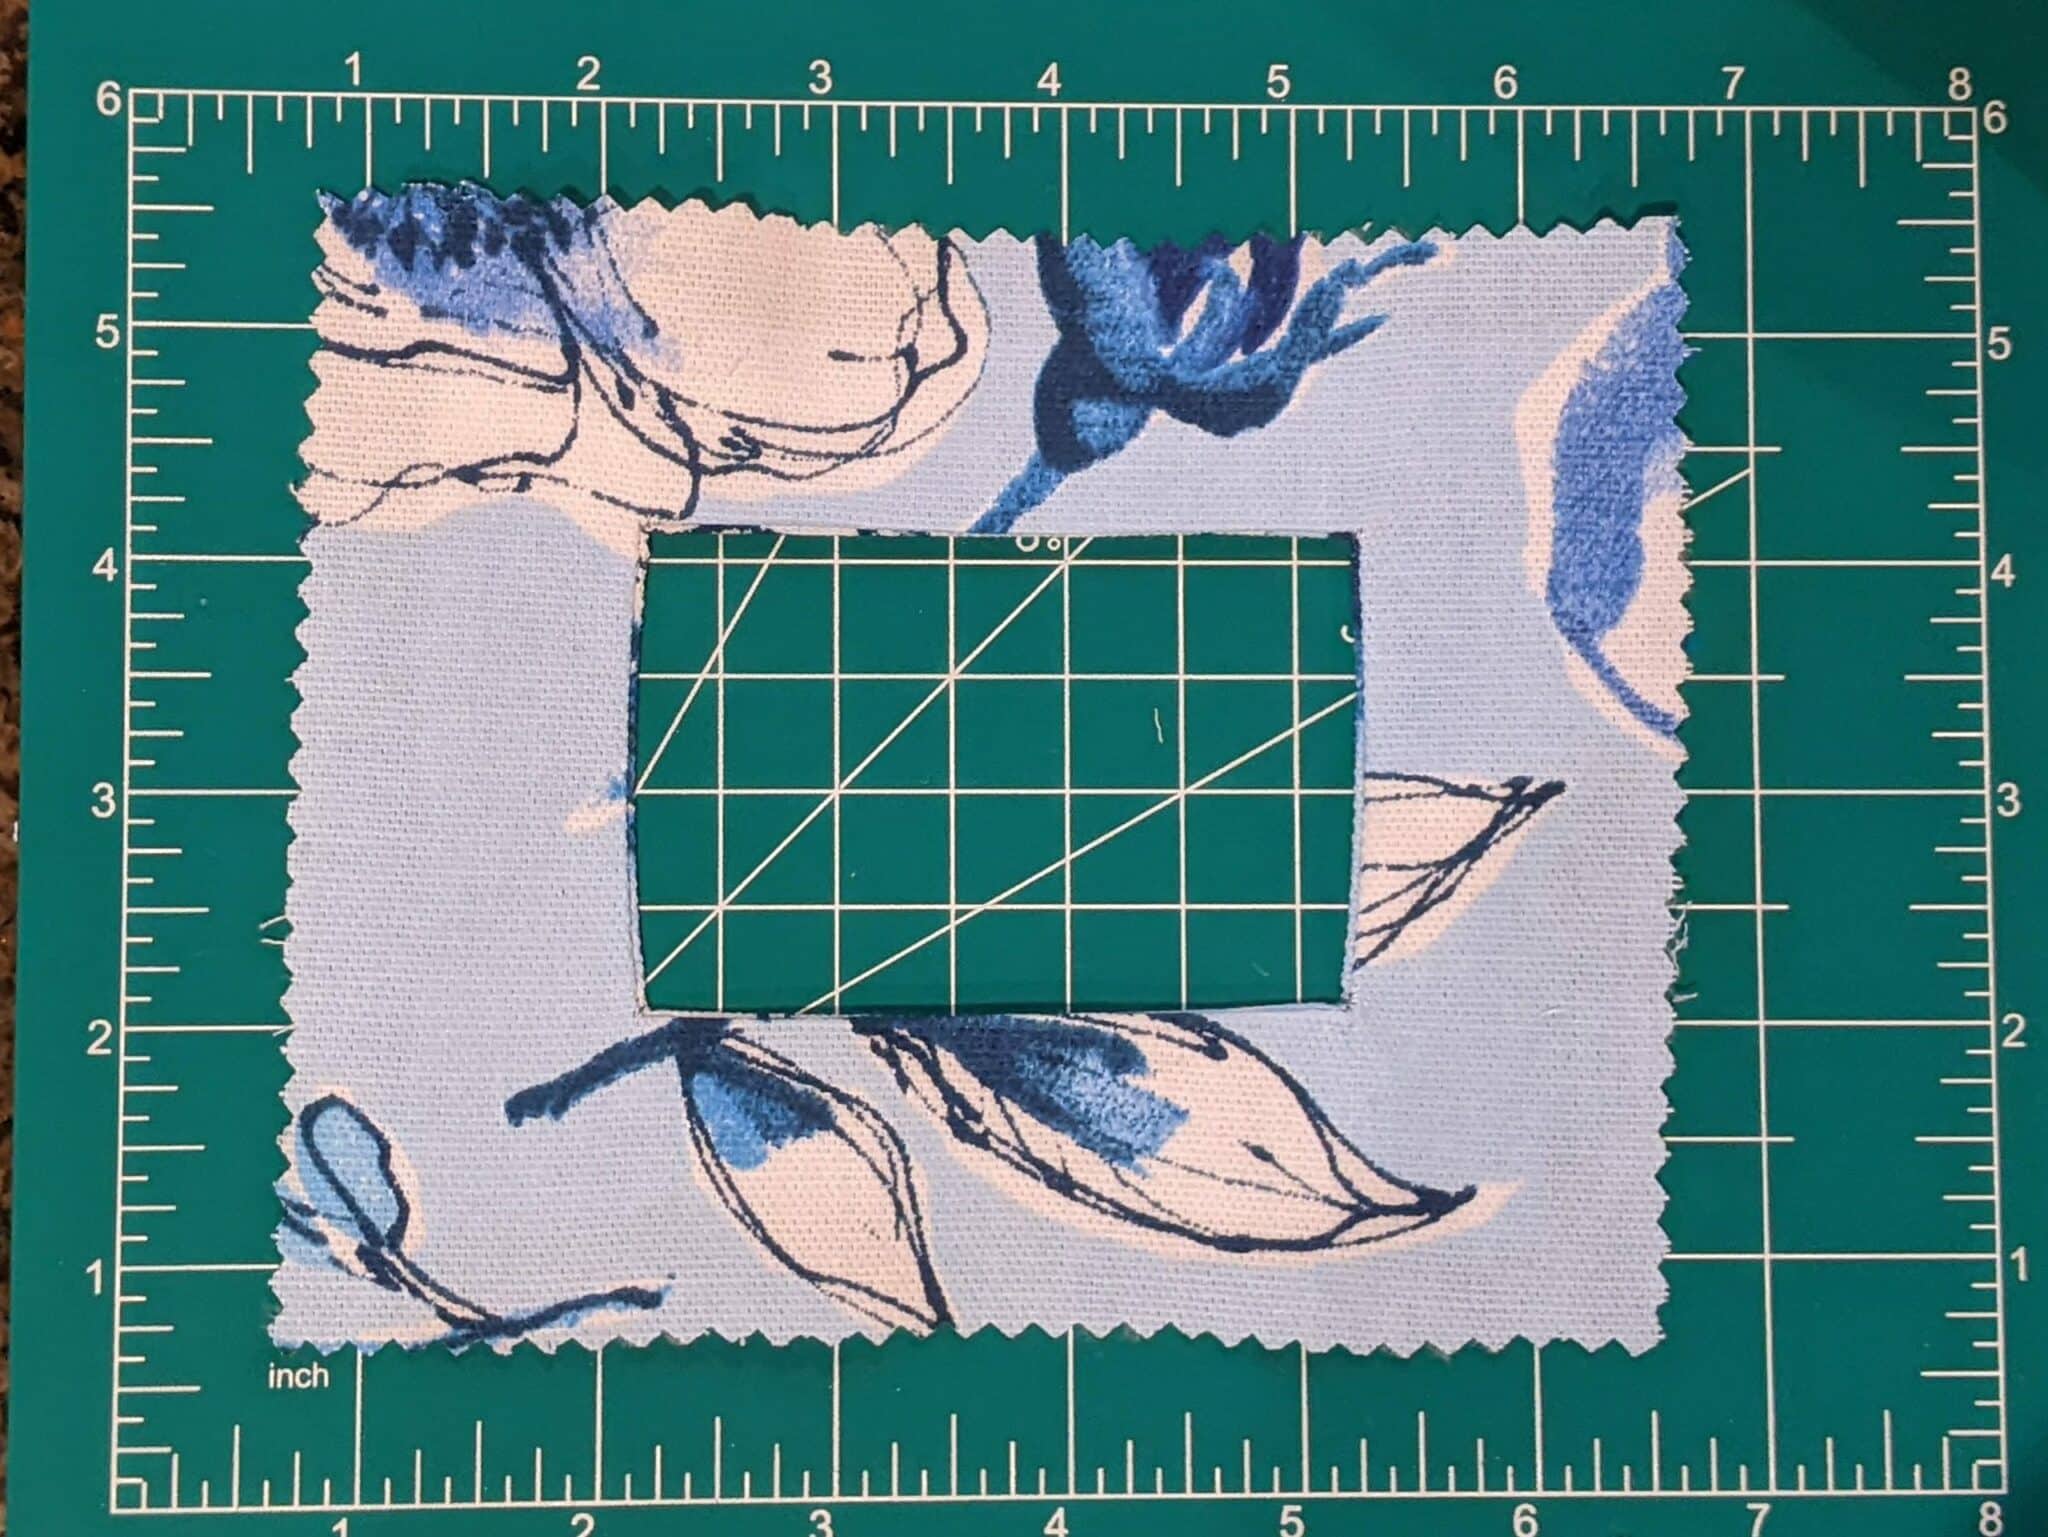
- Fold the edges of the larger (outer) piece towards the back along the edges of the inner piece and press.
- Place your clear vinyl piece on the backside of the cutout and use pins, double-sided tape, or wash-away wondertape to hold it in place.


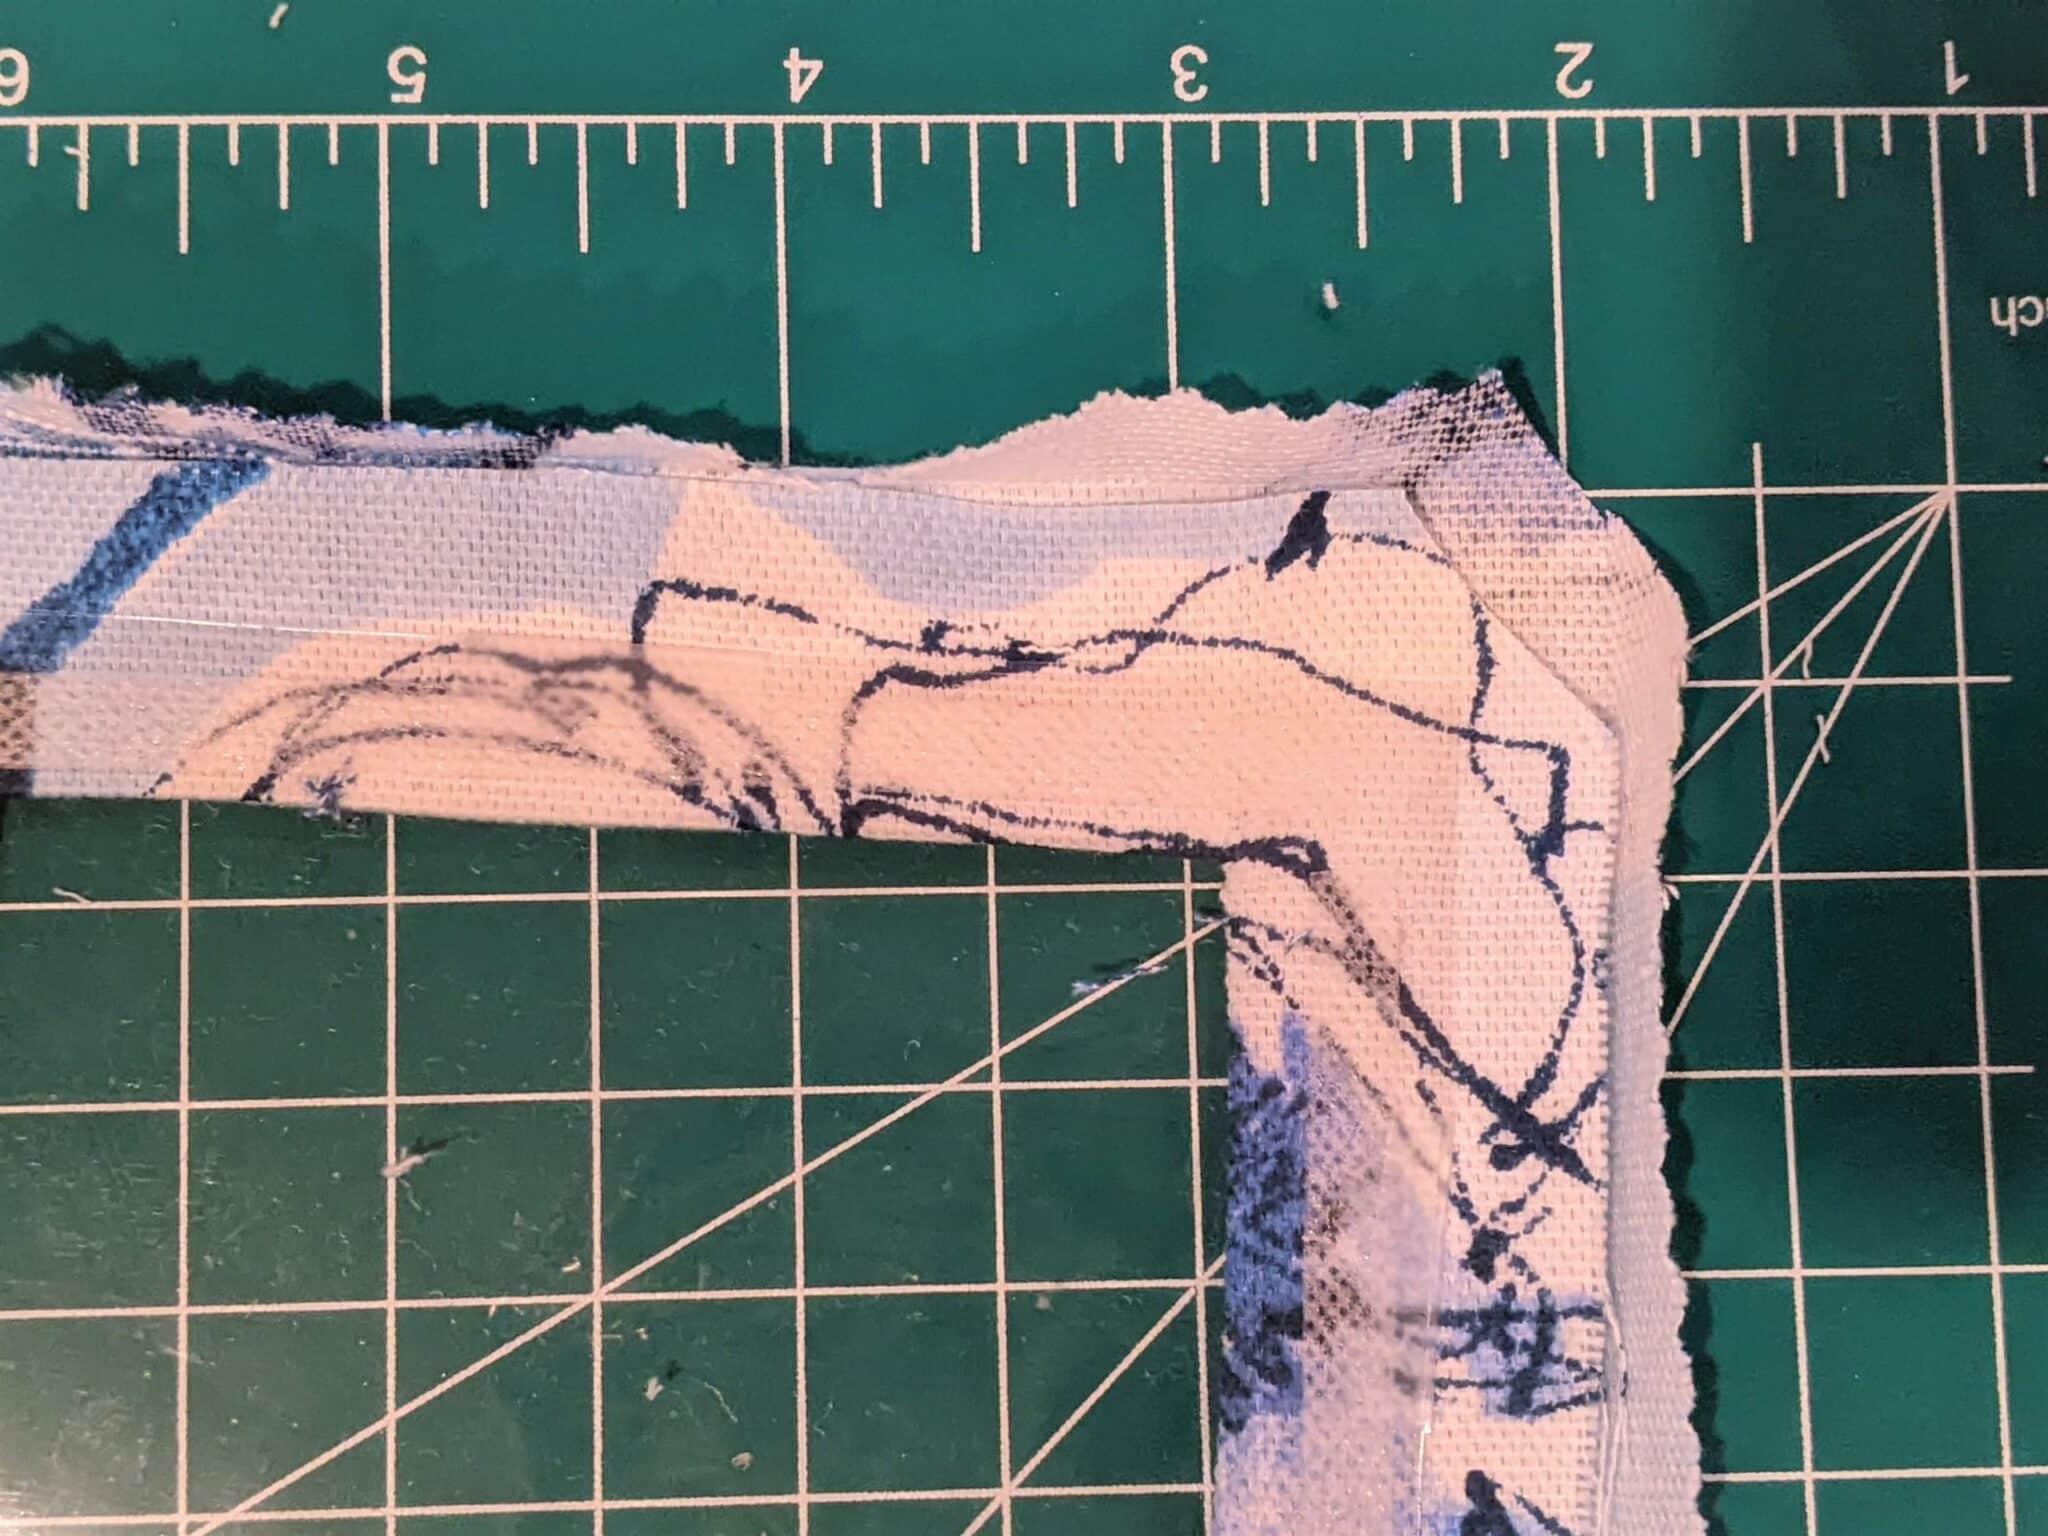
- Going back to the pressed edges of the outer piece, trim off the corners of both the inner and outer pieces on all 4 corners.
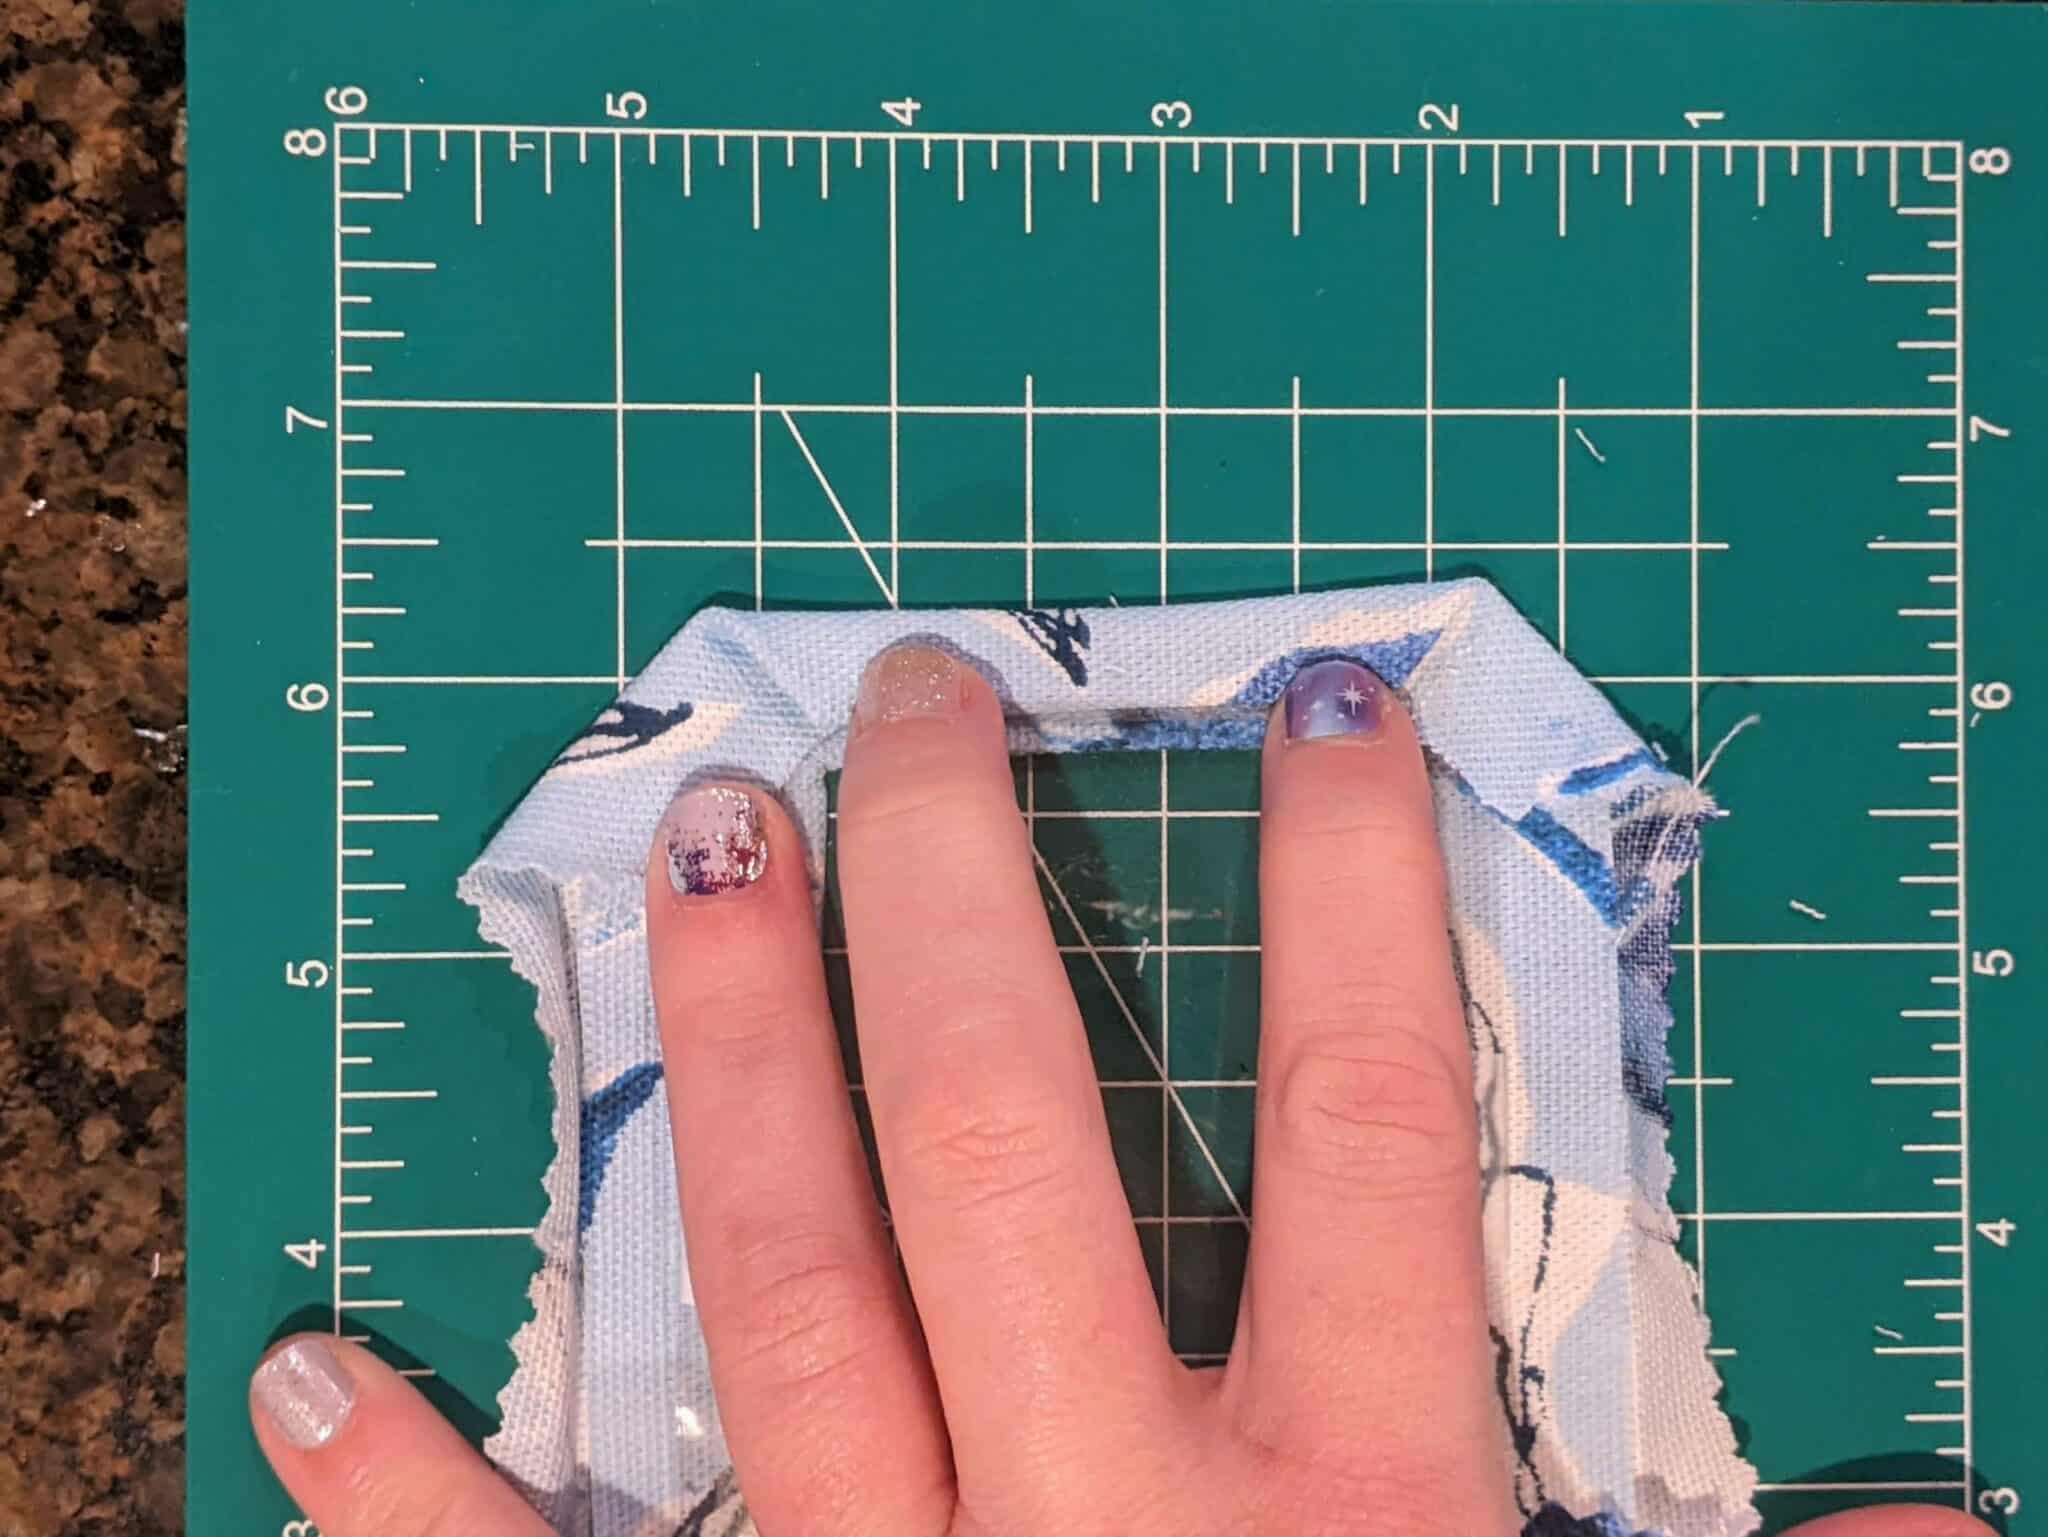
- Fold the corners in like you are wrapping a present then fold each side down to cover the edges of the clear vinyl and pin it in place.
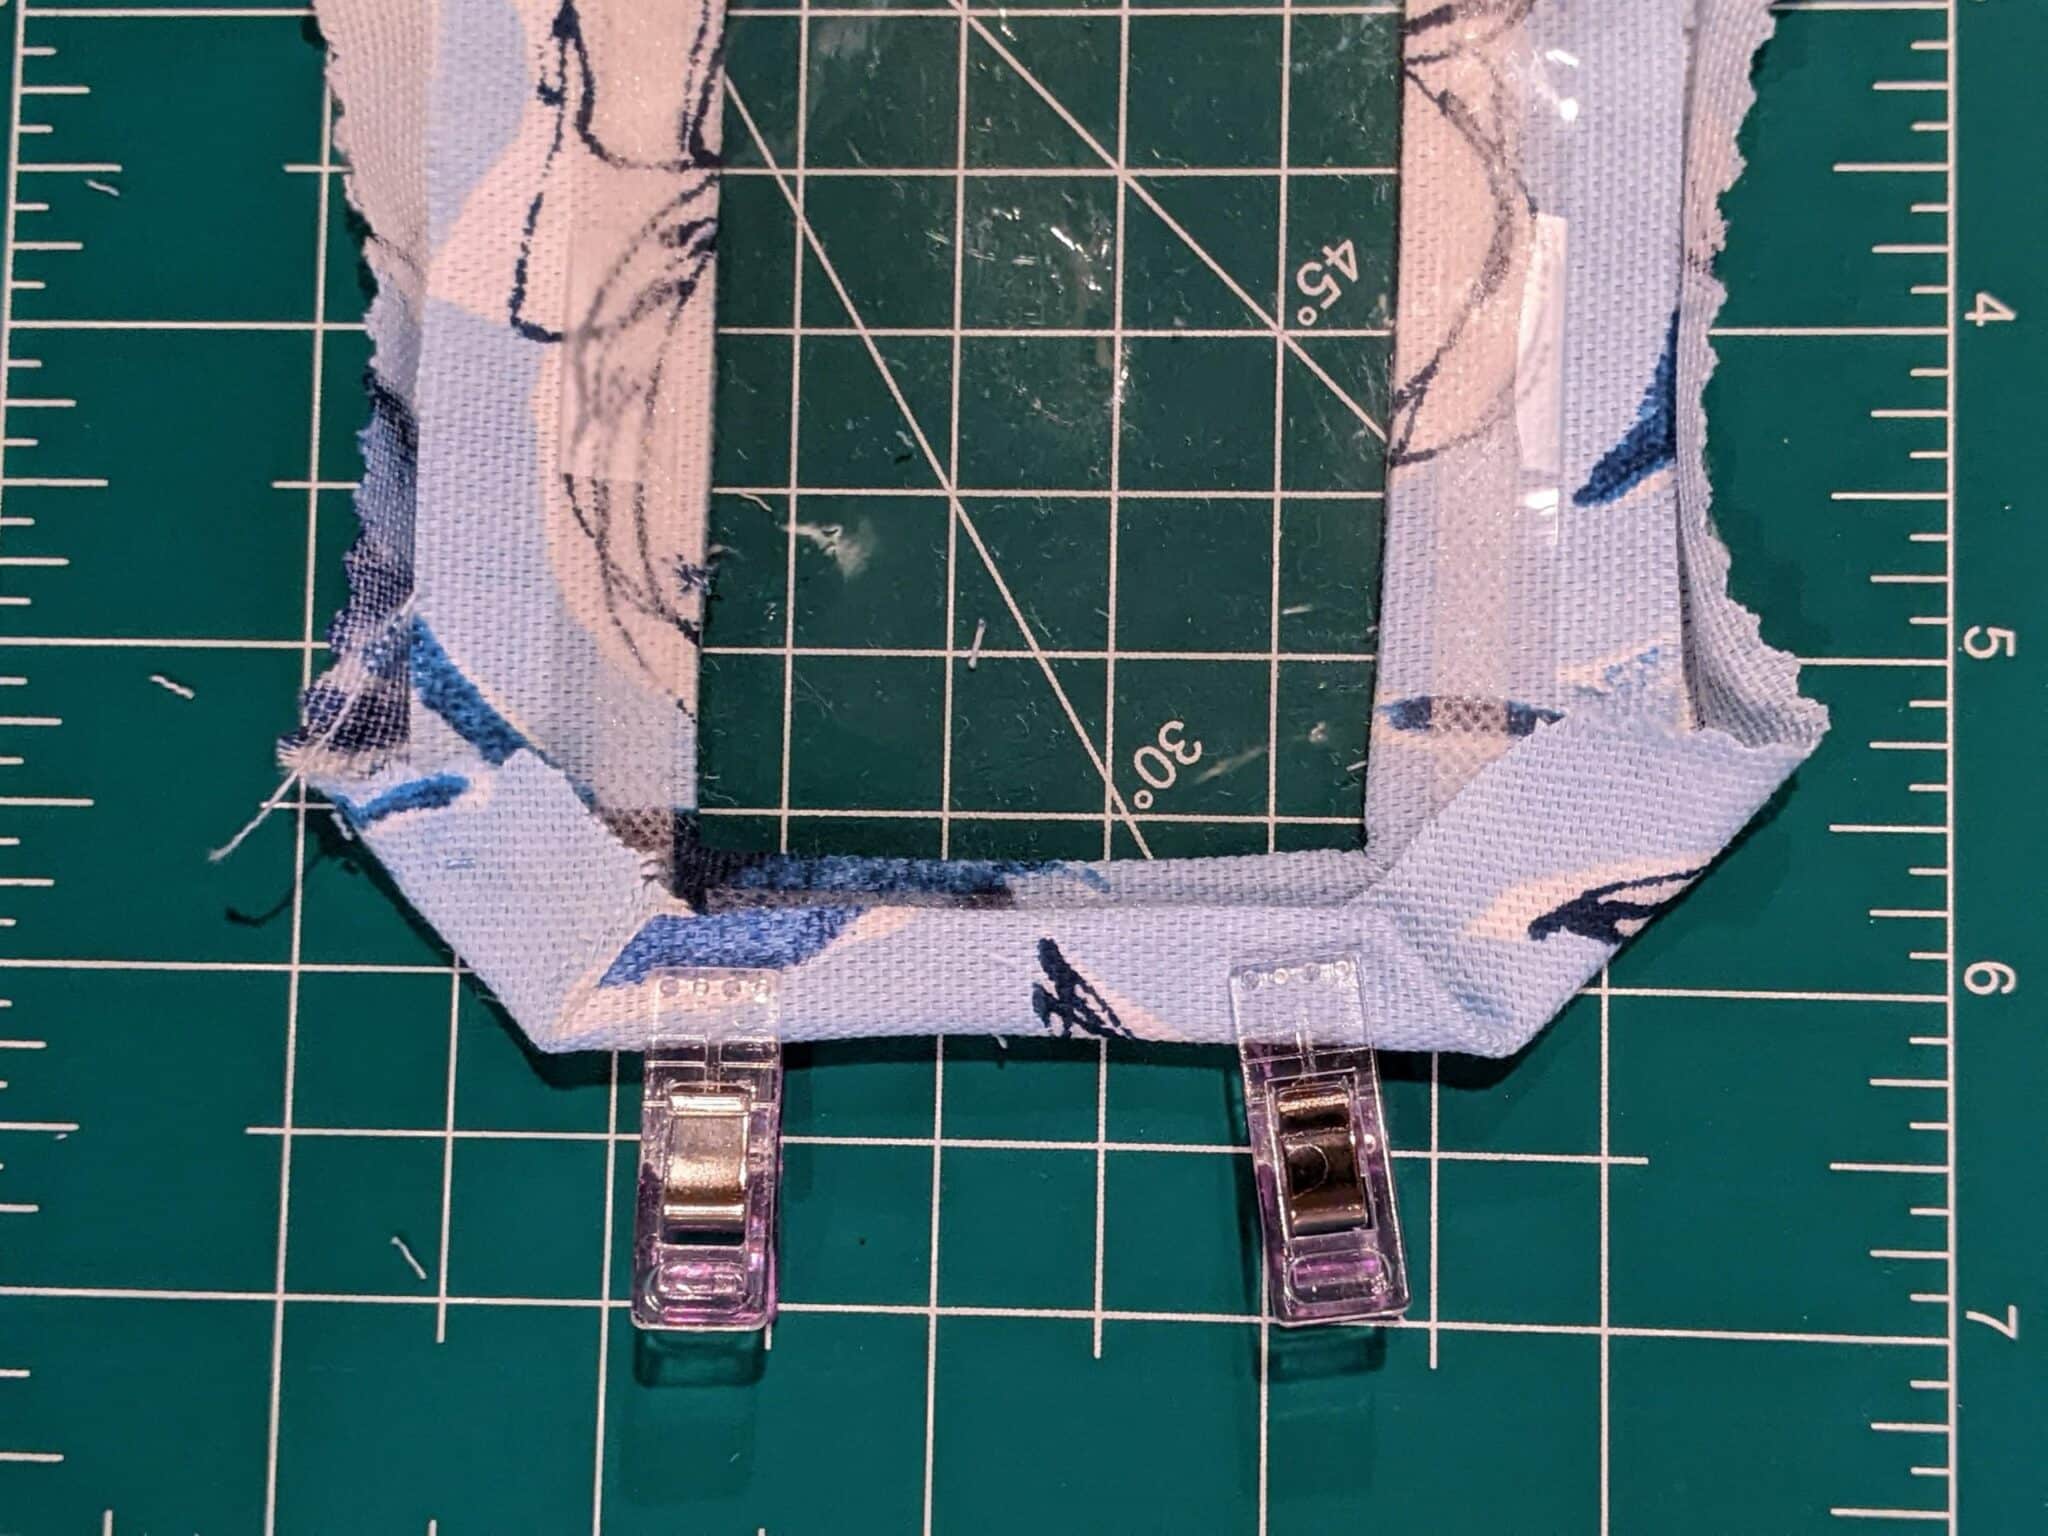
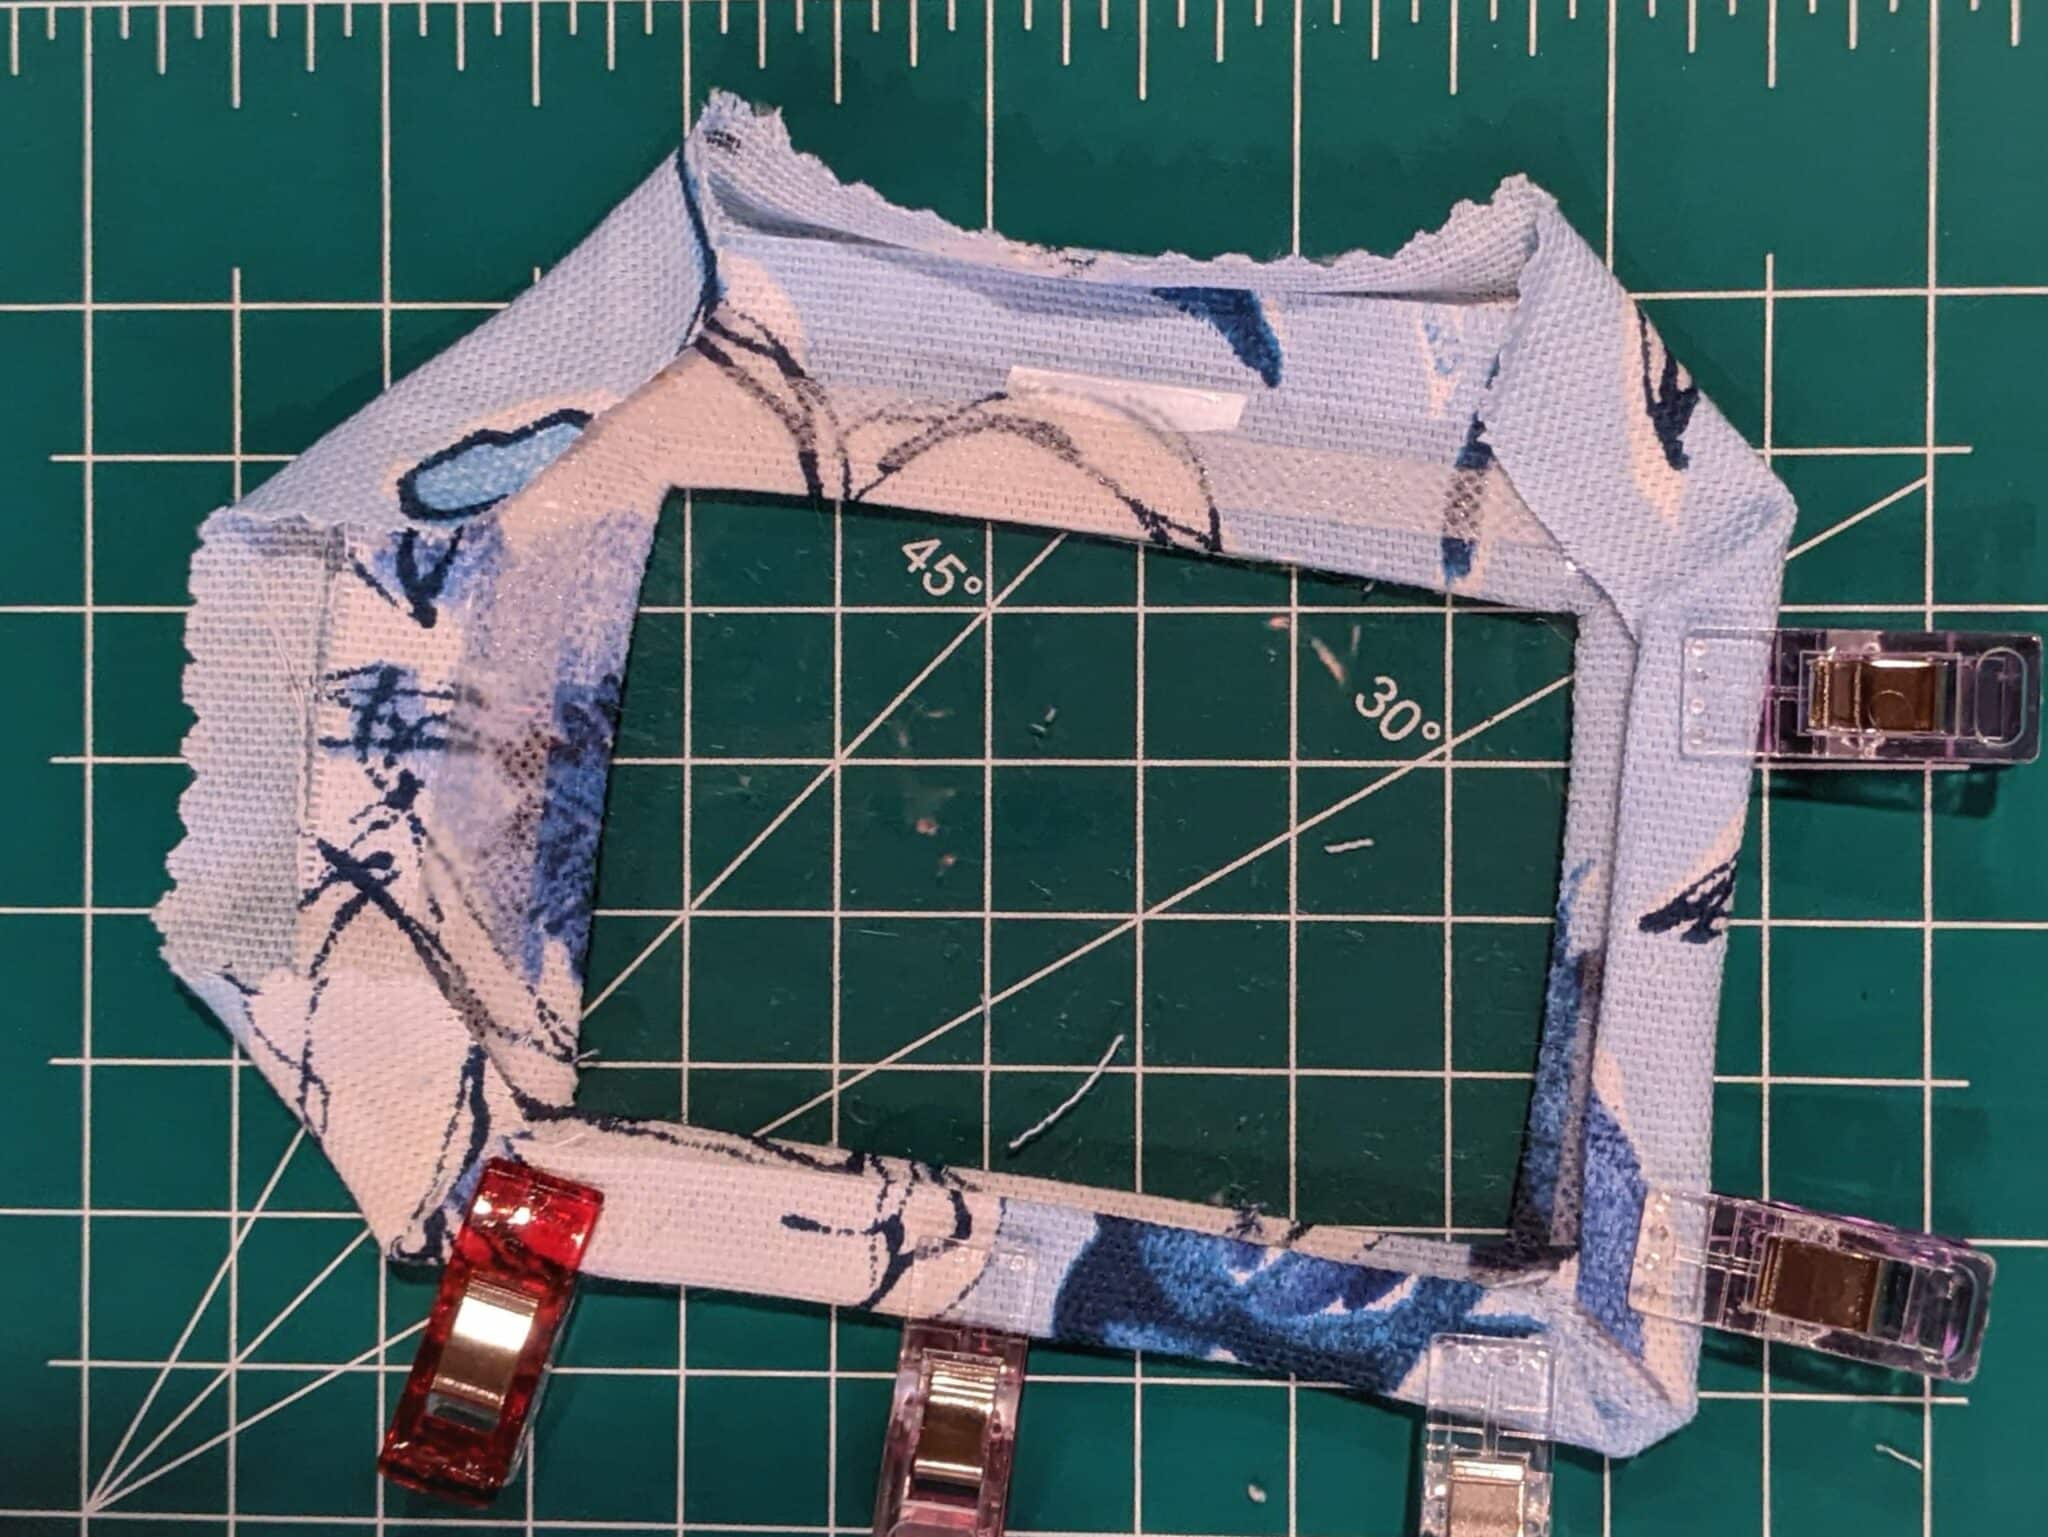
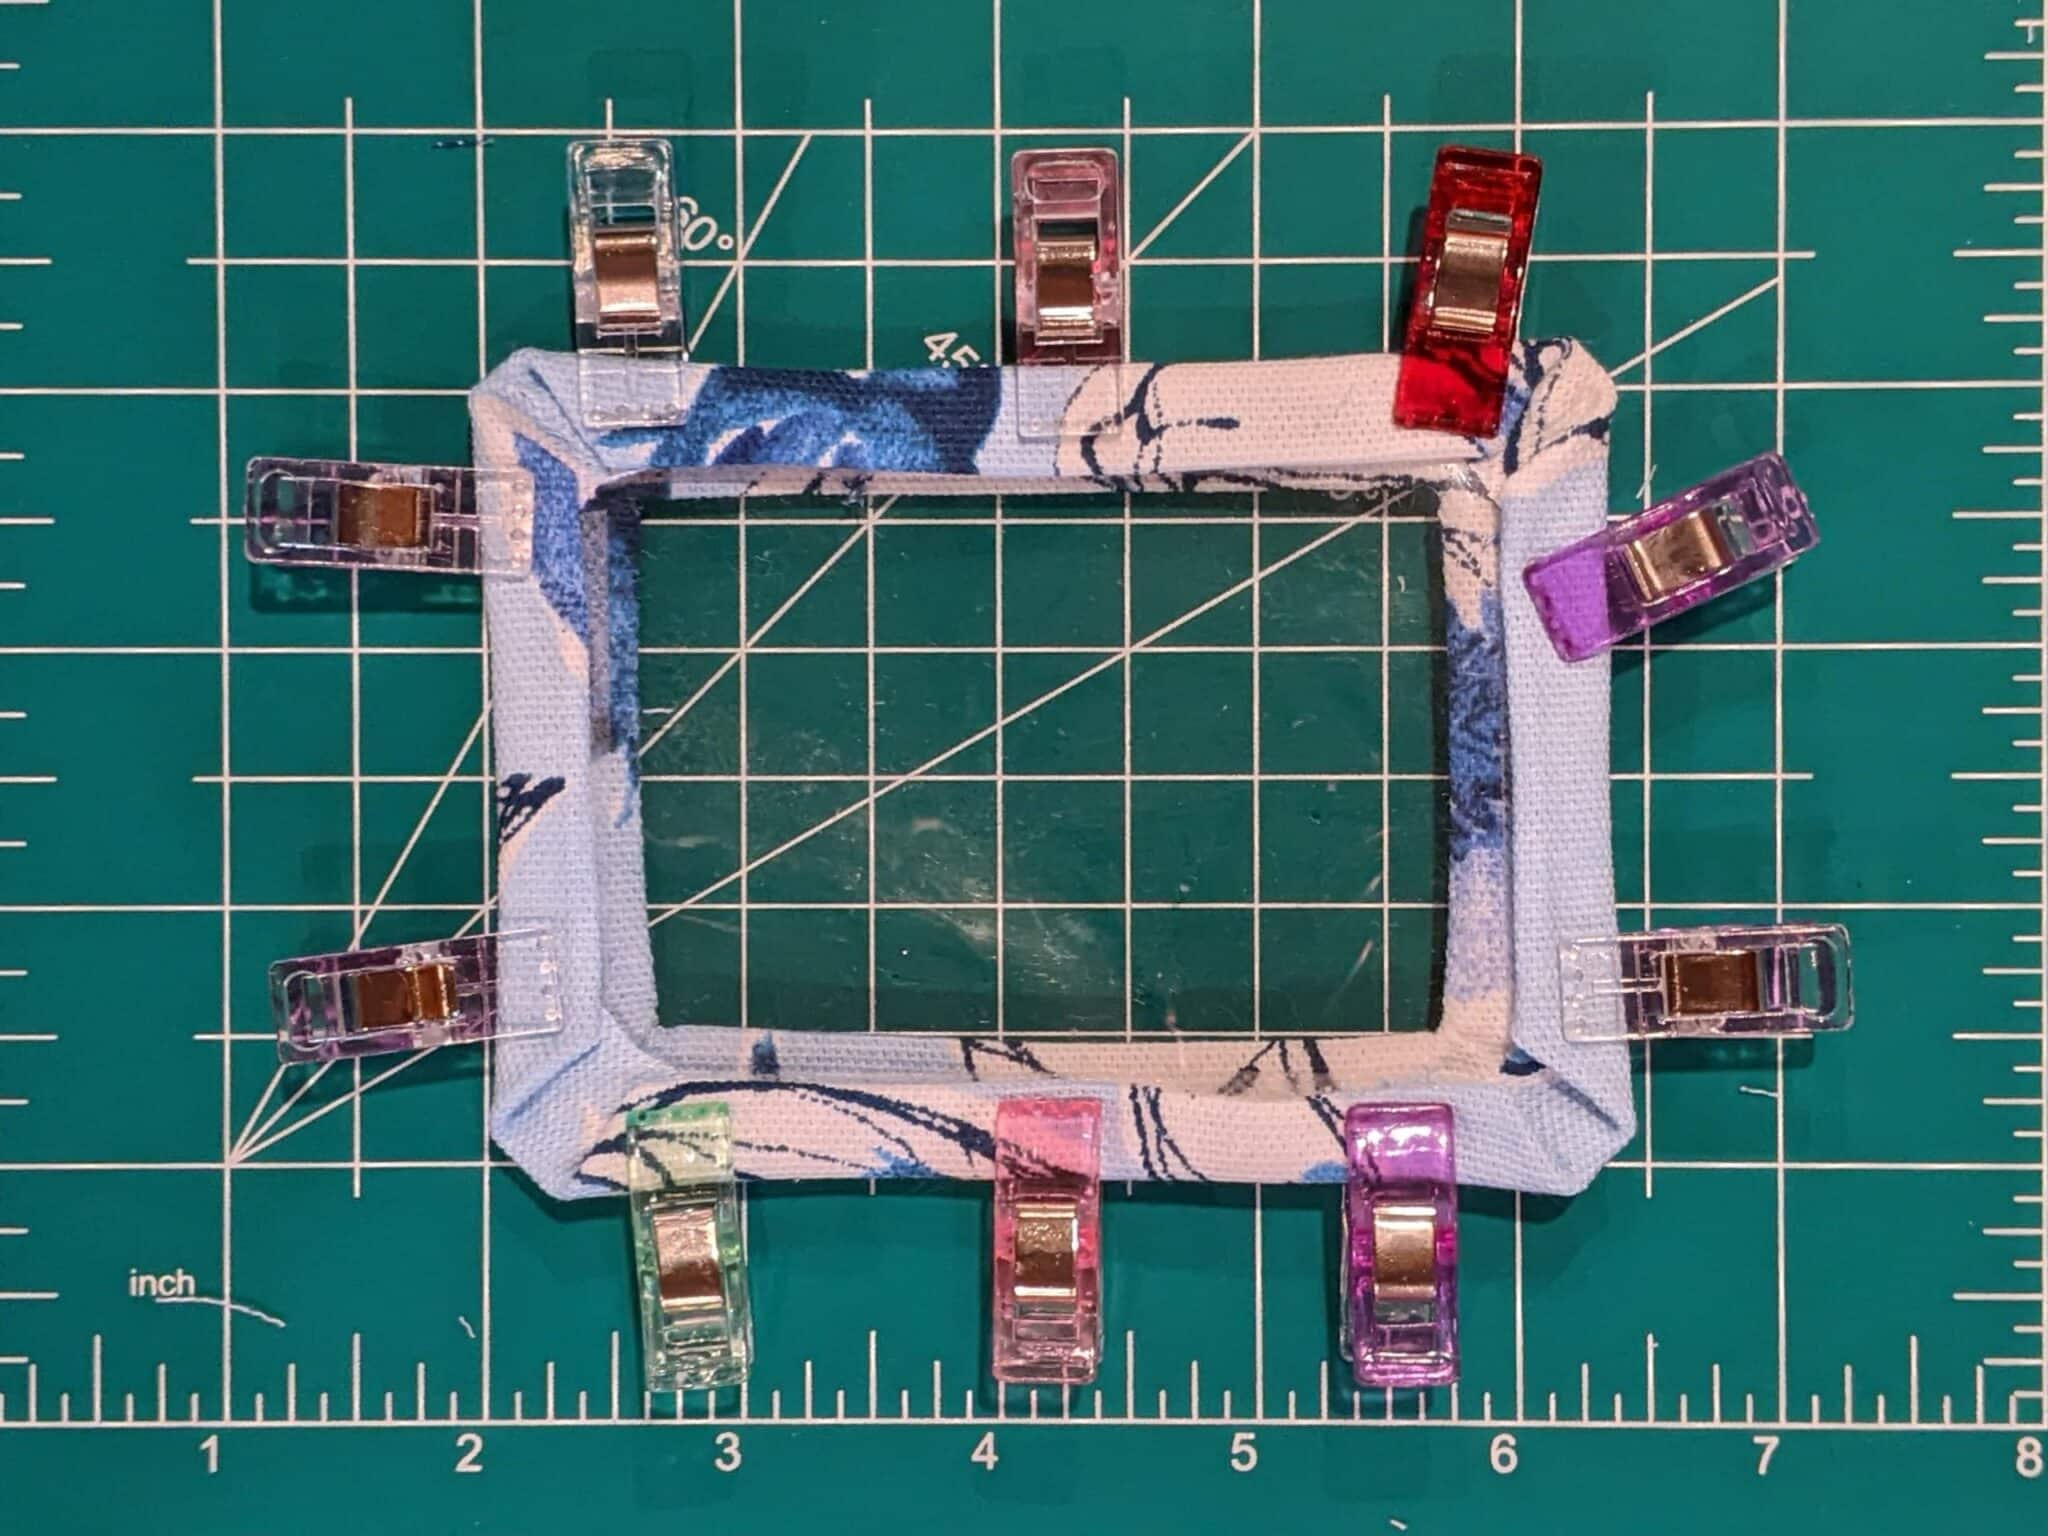
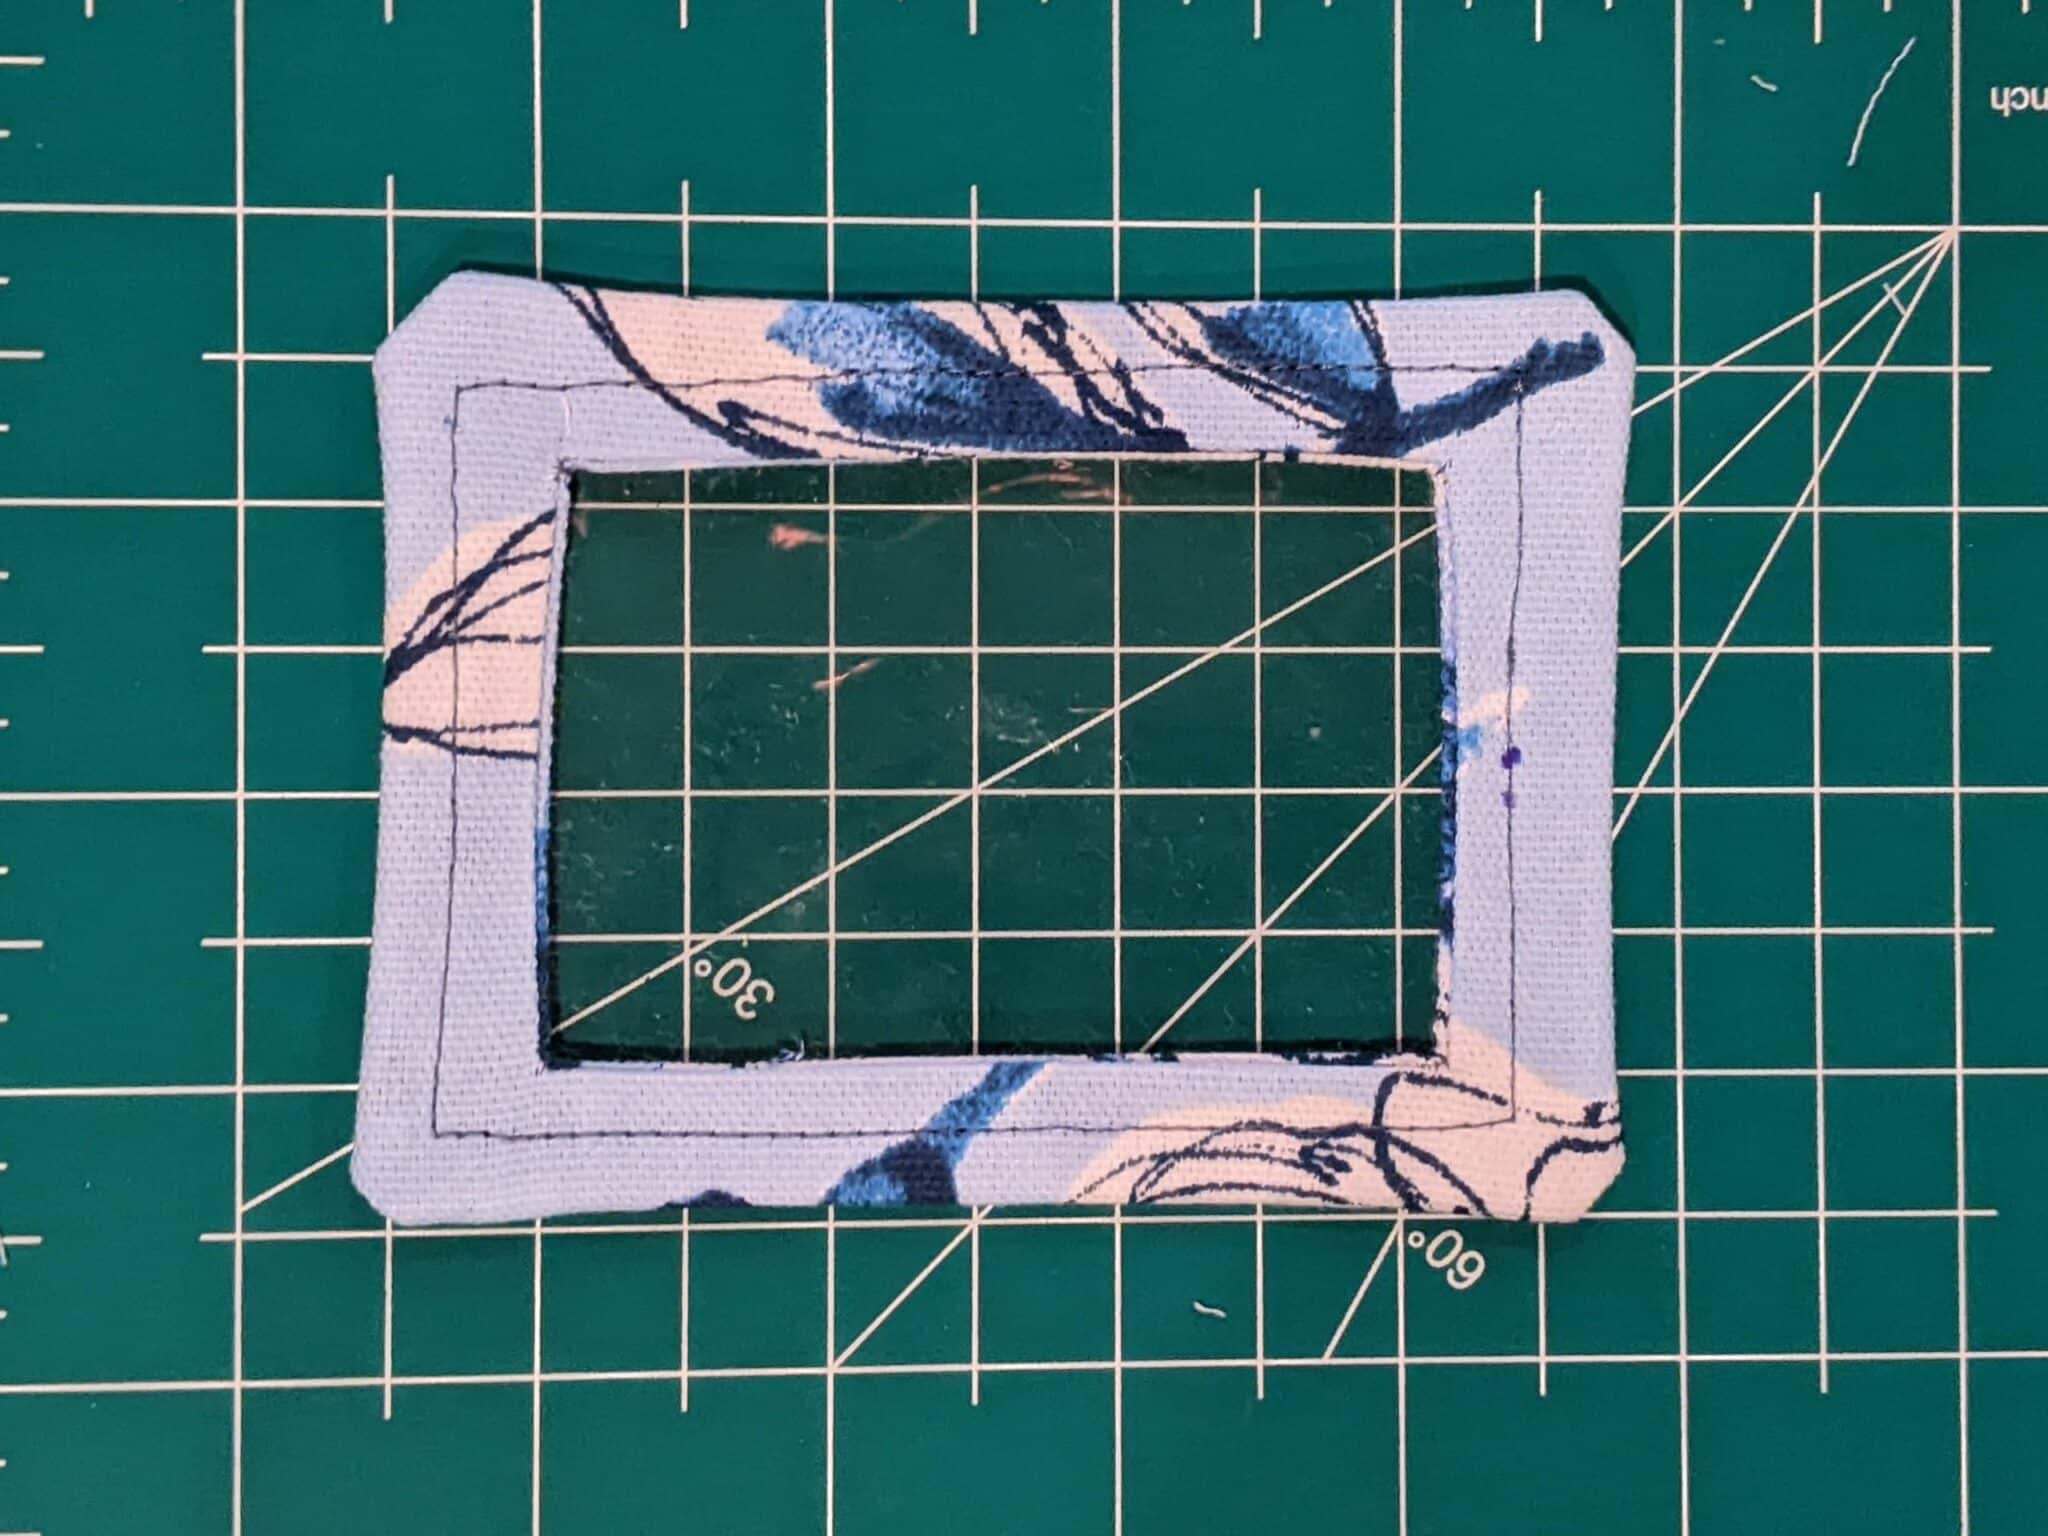
- Sew around the edge with a ¼” seam allowance.
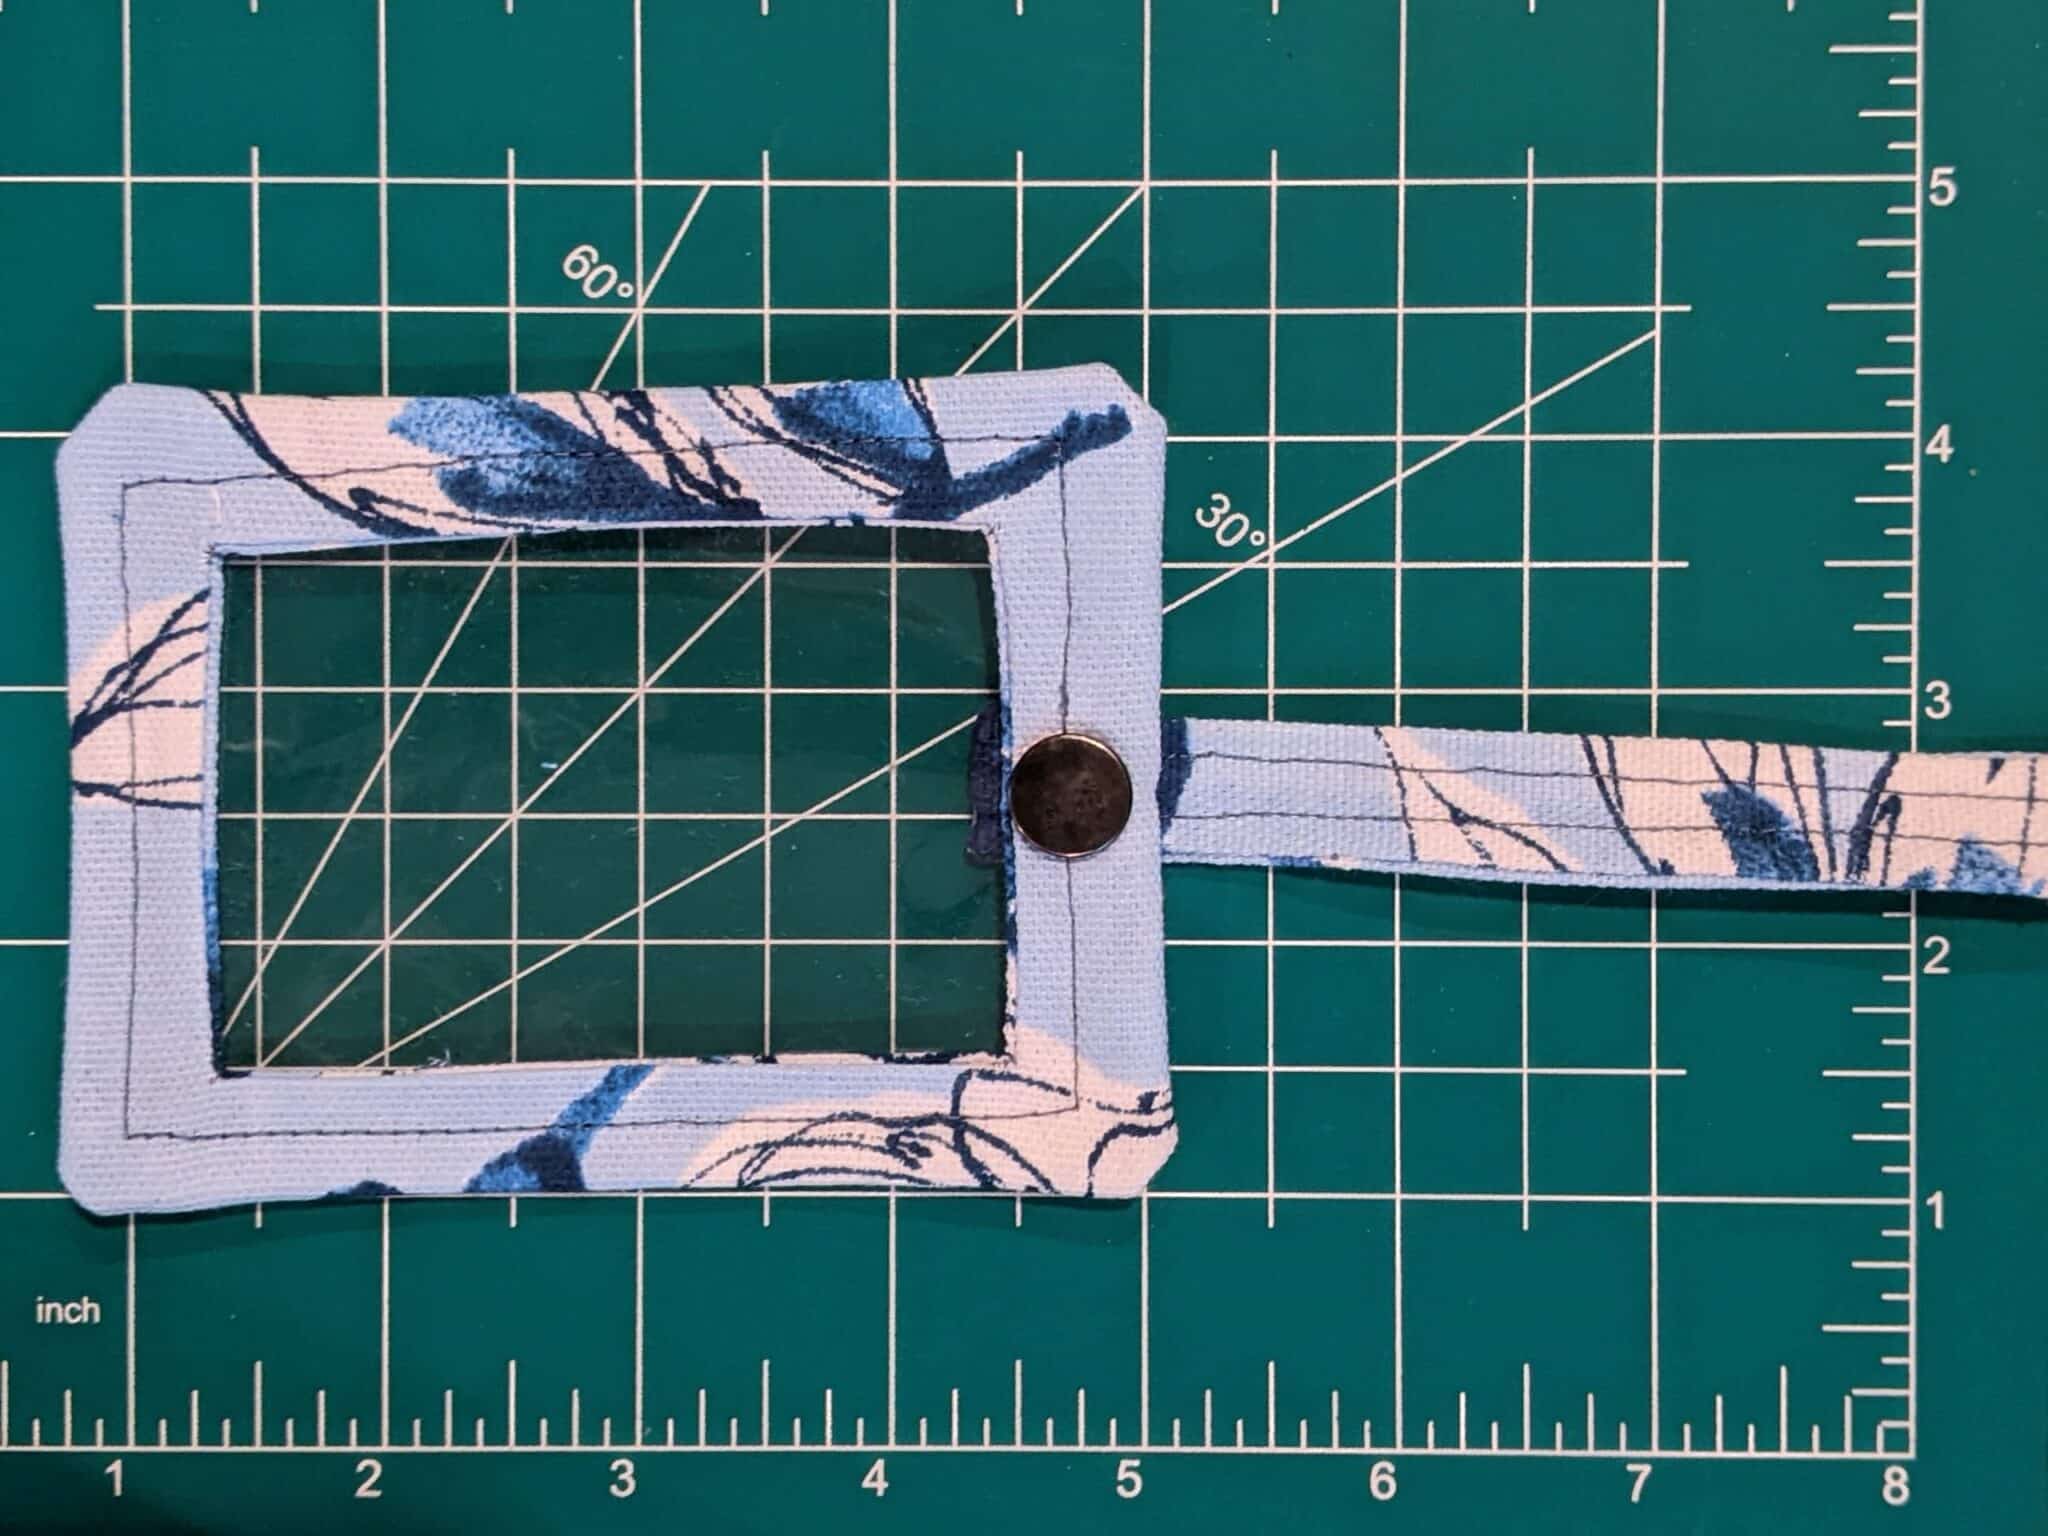
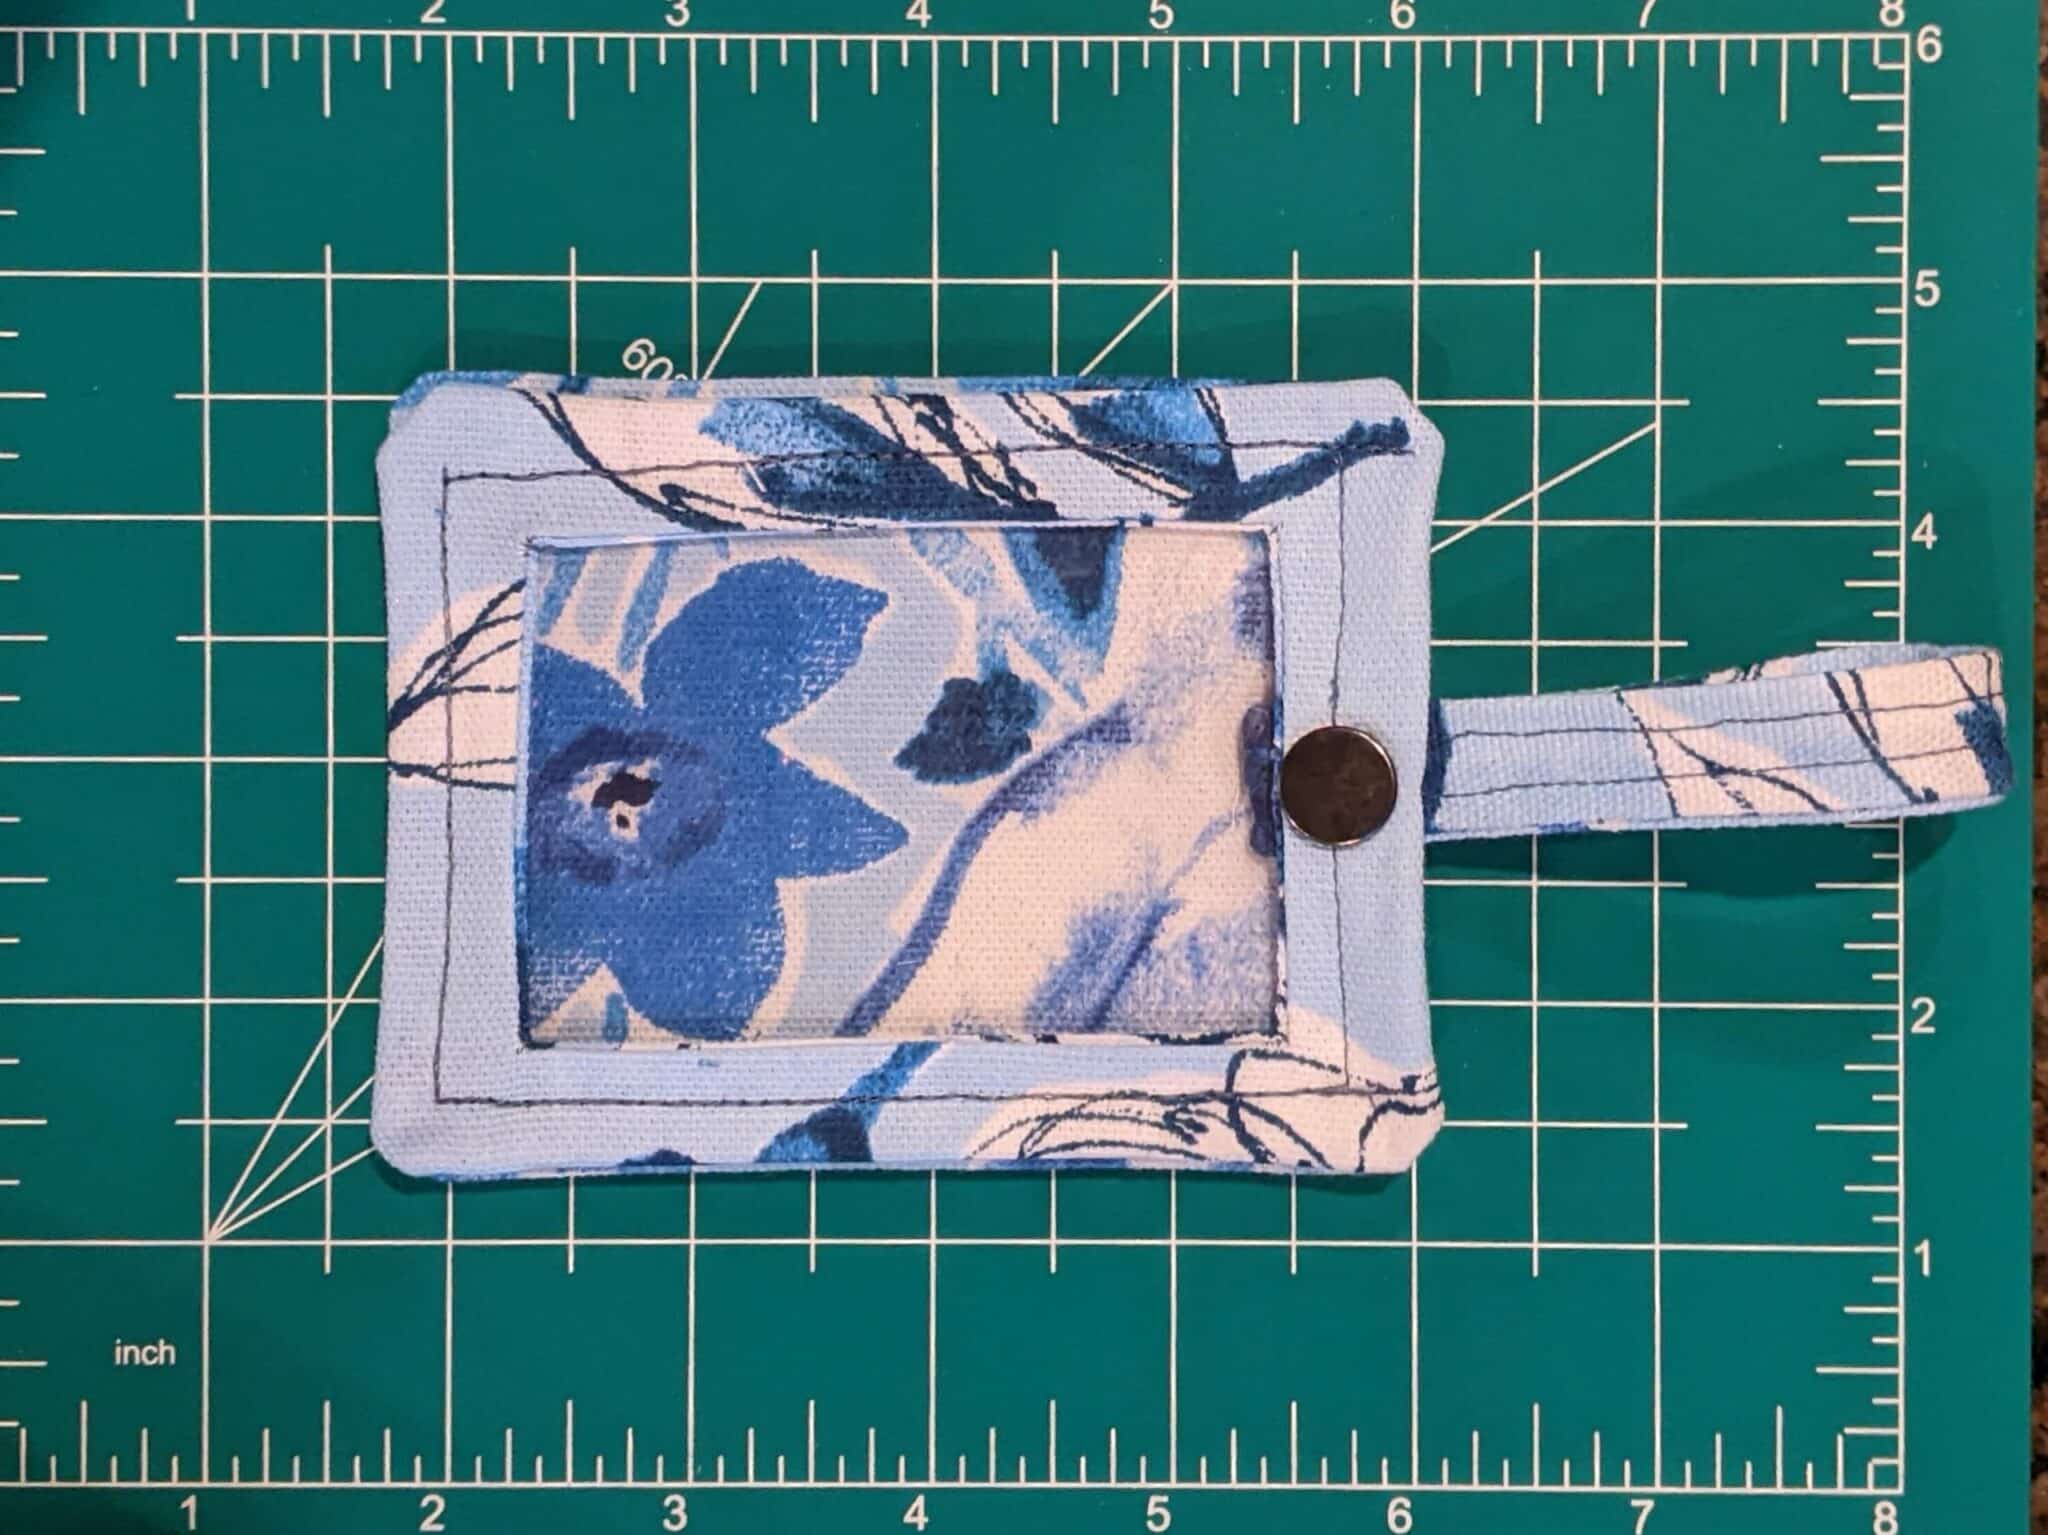
- On one short end, find the center and attach the top (smooth) part of the snap.

Back:
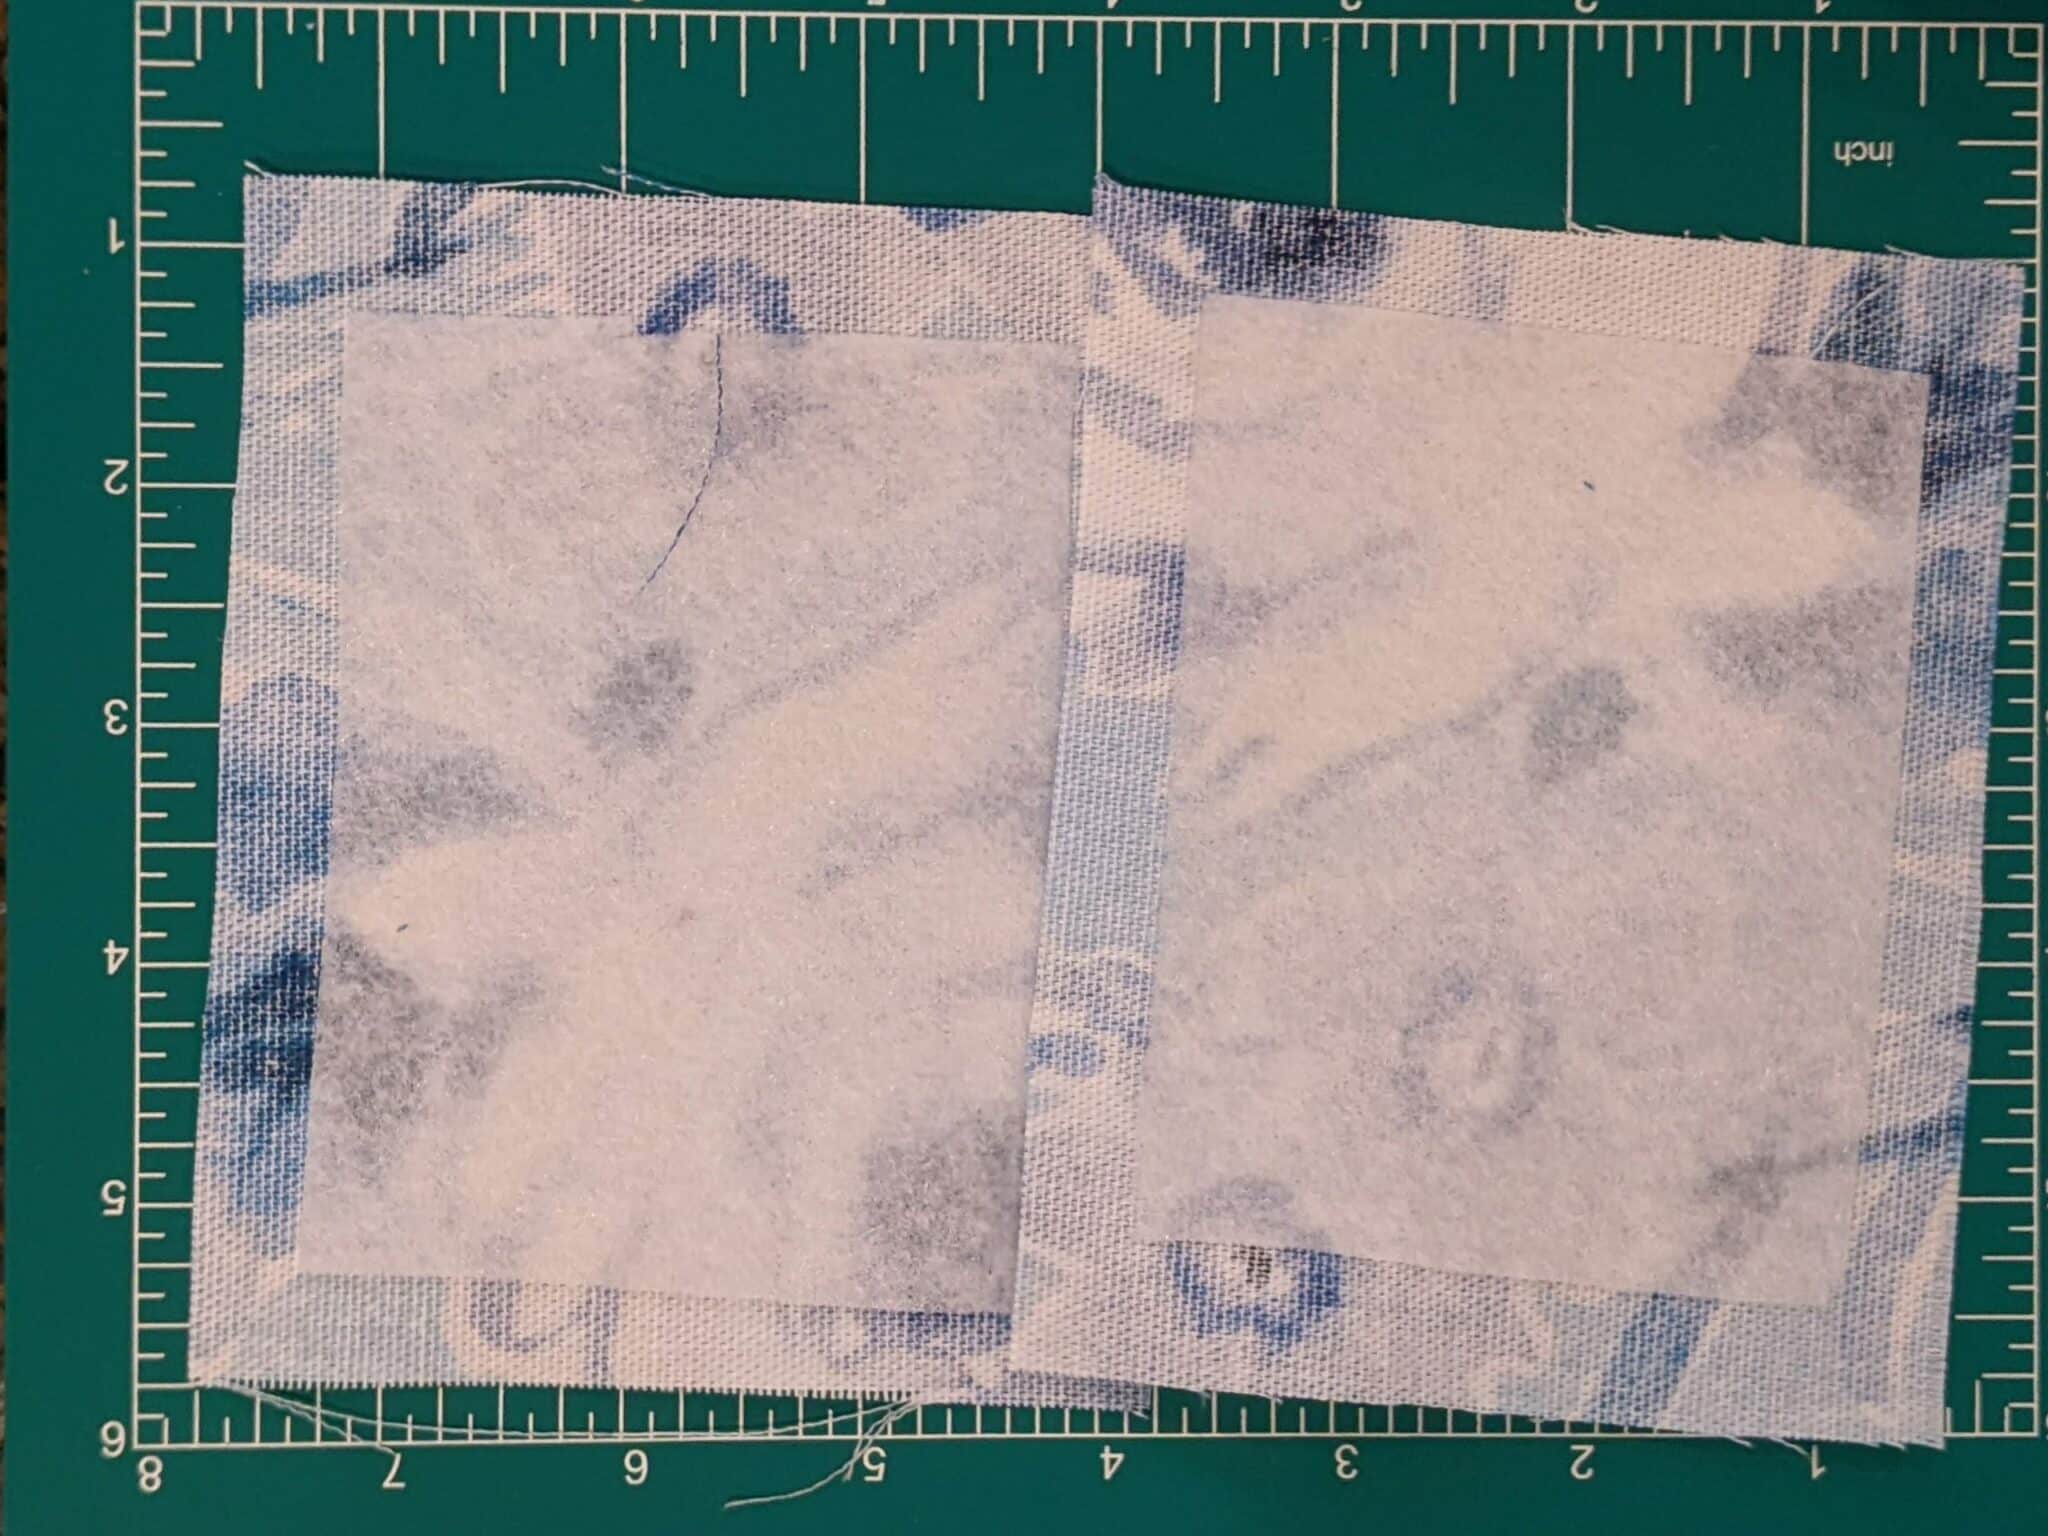
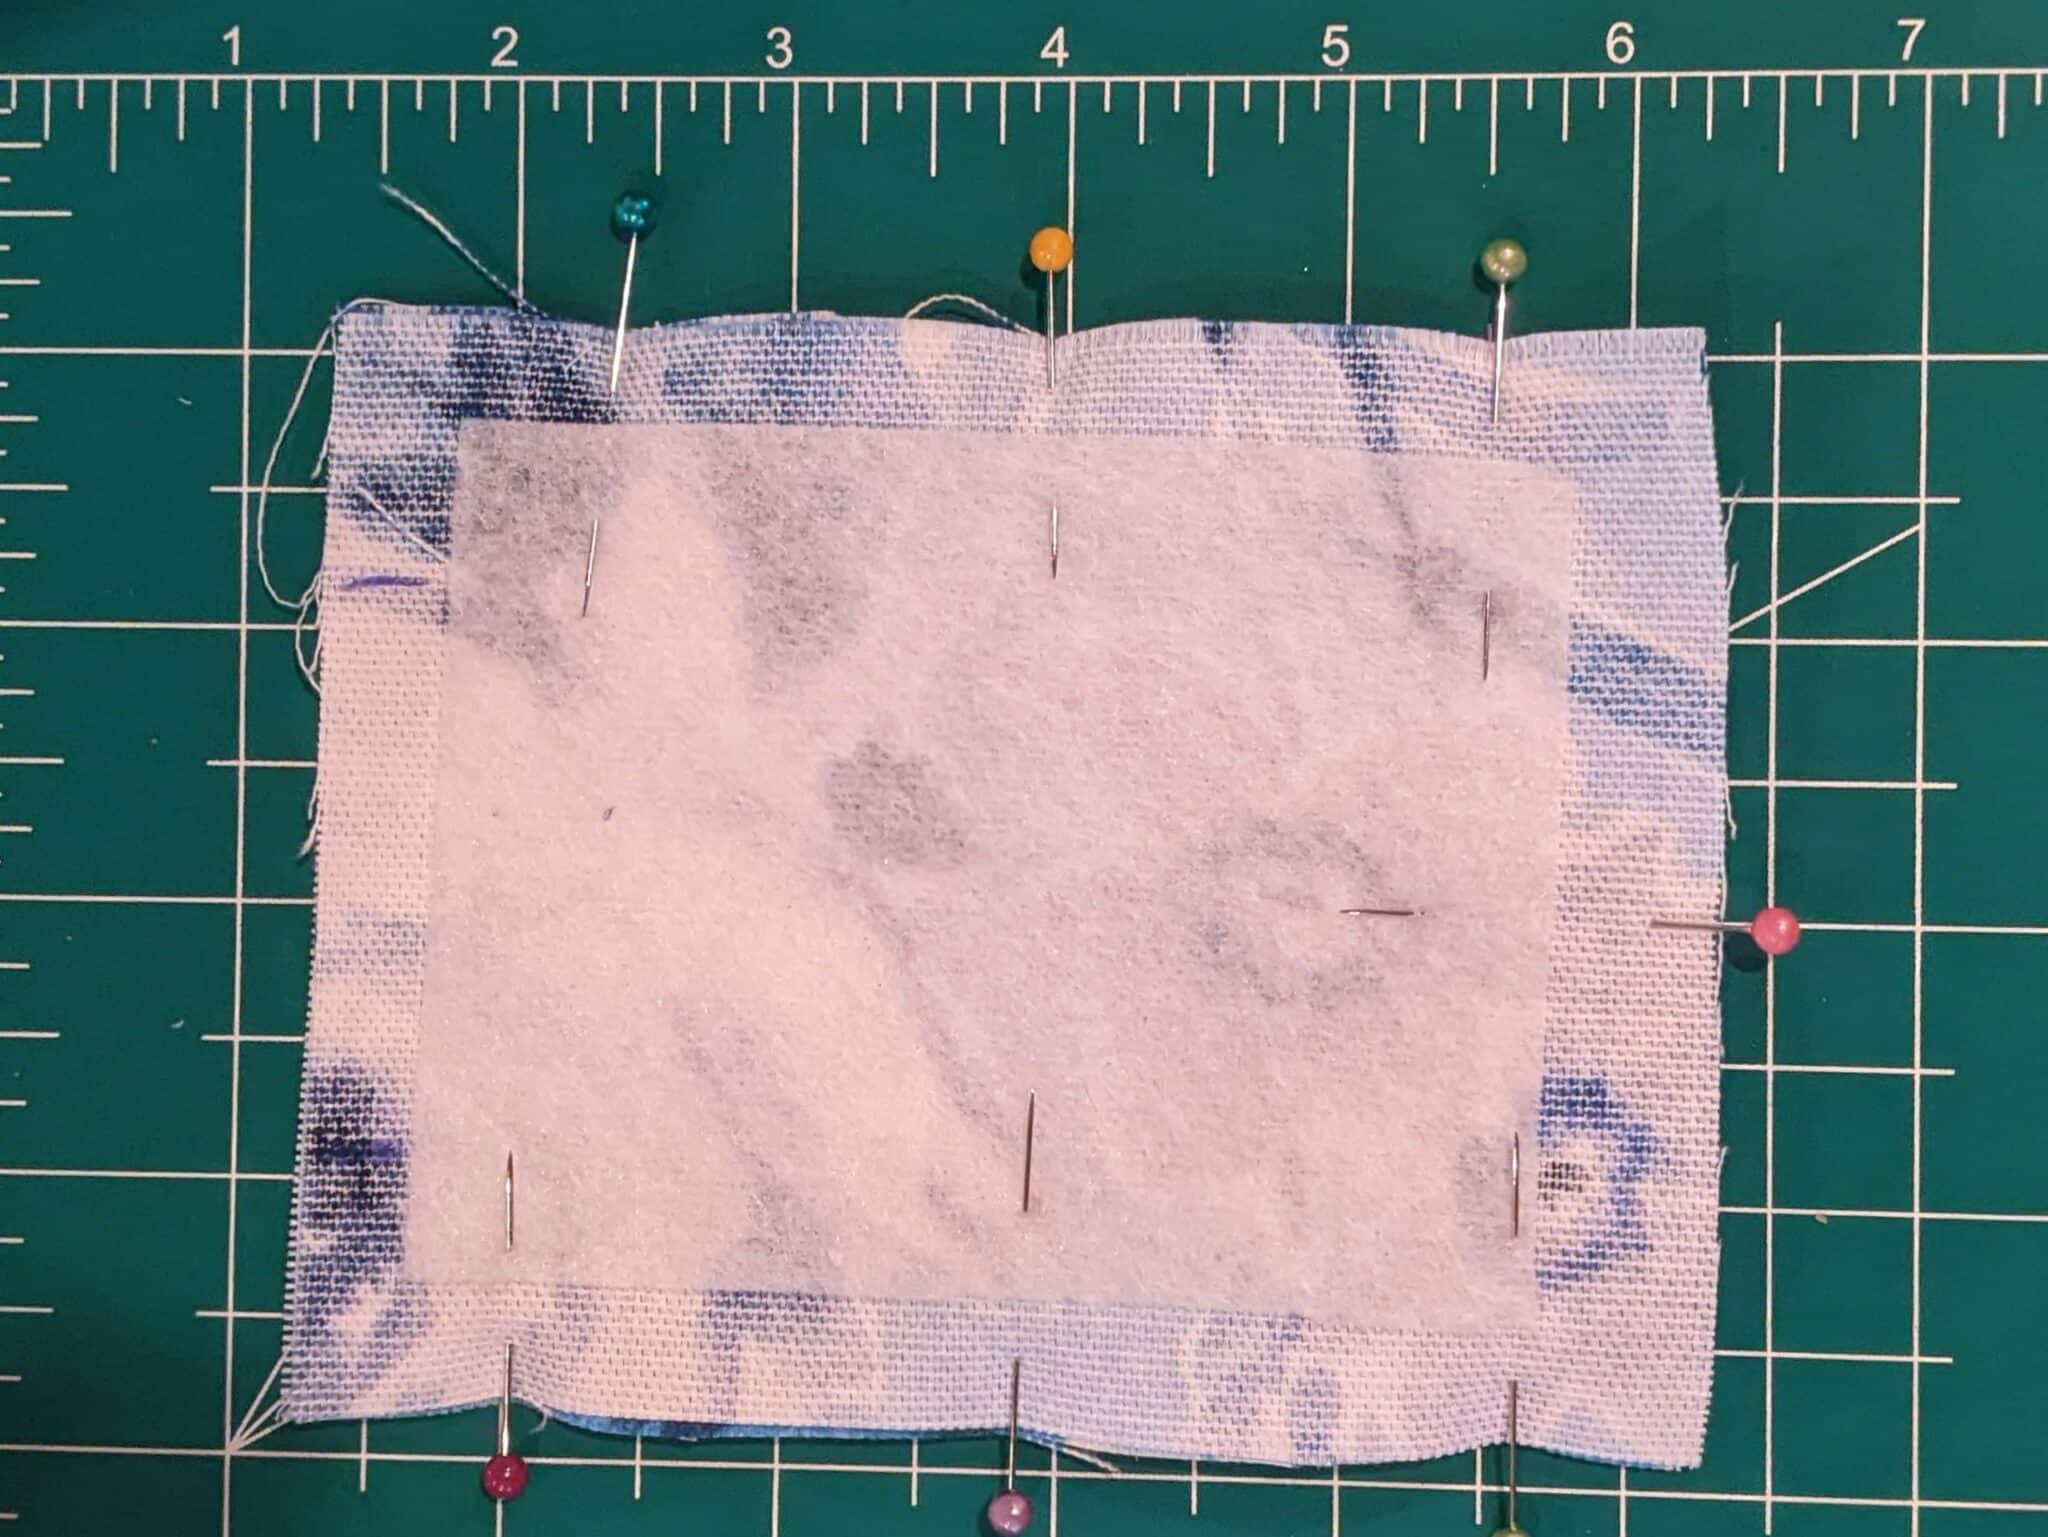
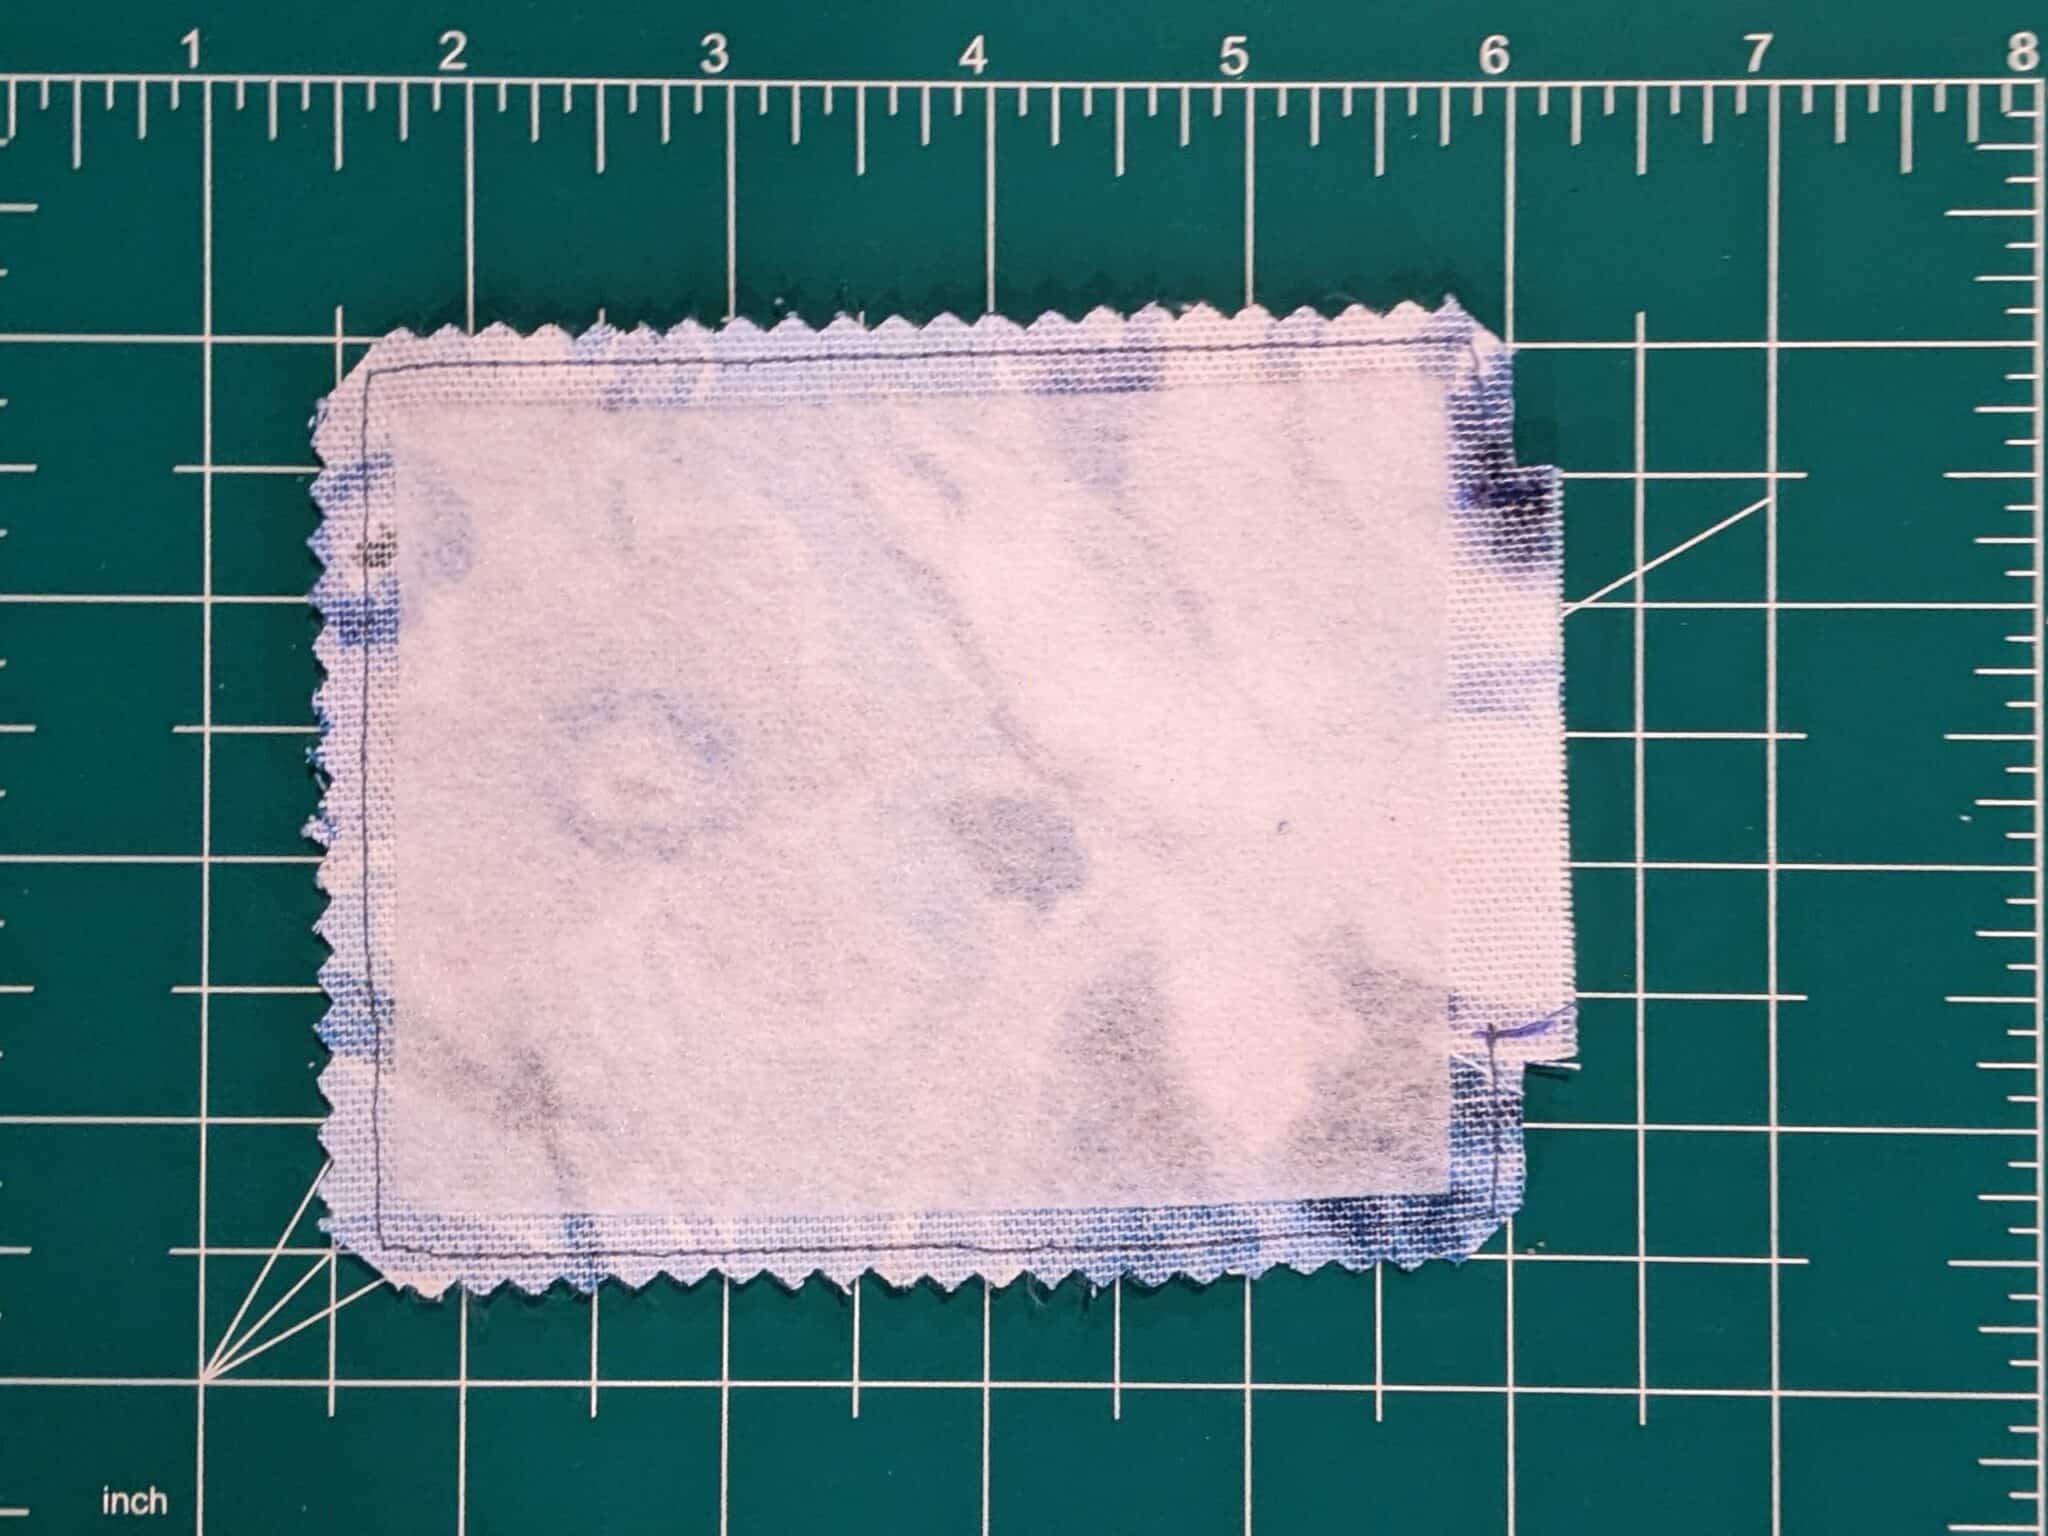
- Center the interfacing on the backside of both of your back pieces and iron on to adhere them.
- Place the two back pieces right sides together and pin around the edges leaving most of one short side open.
- Sew around the rectangle ¼” away from the interfacing making sure to leave most of one short side open.
- Trim off the excess fabric leaving the extra fabric along the open section.
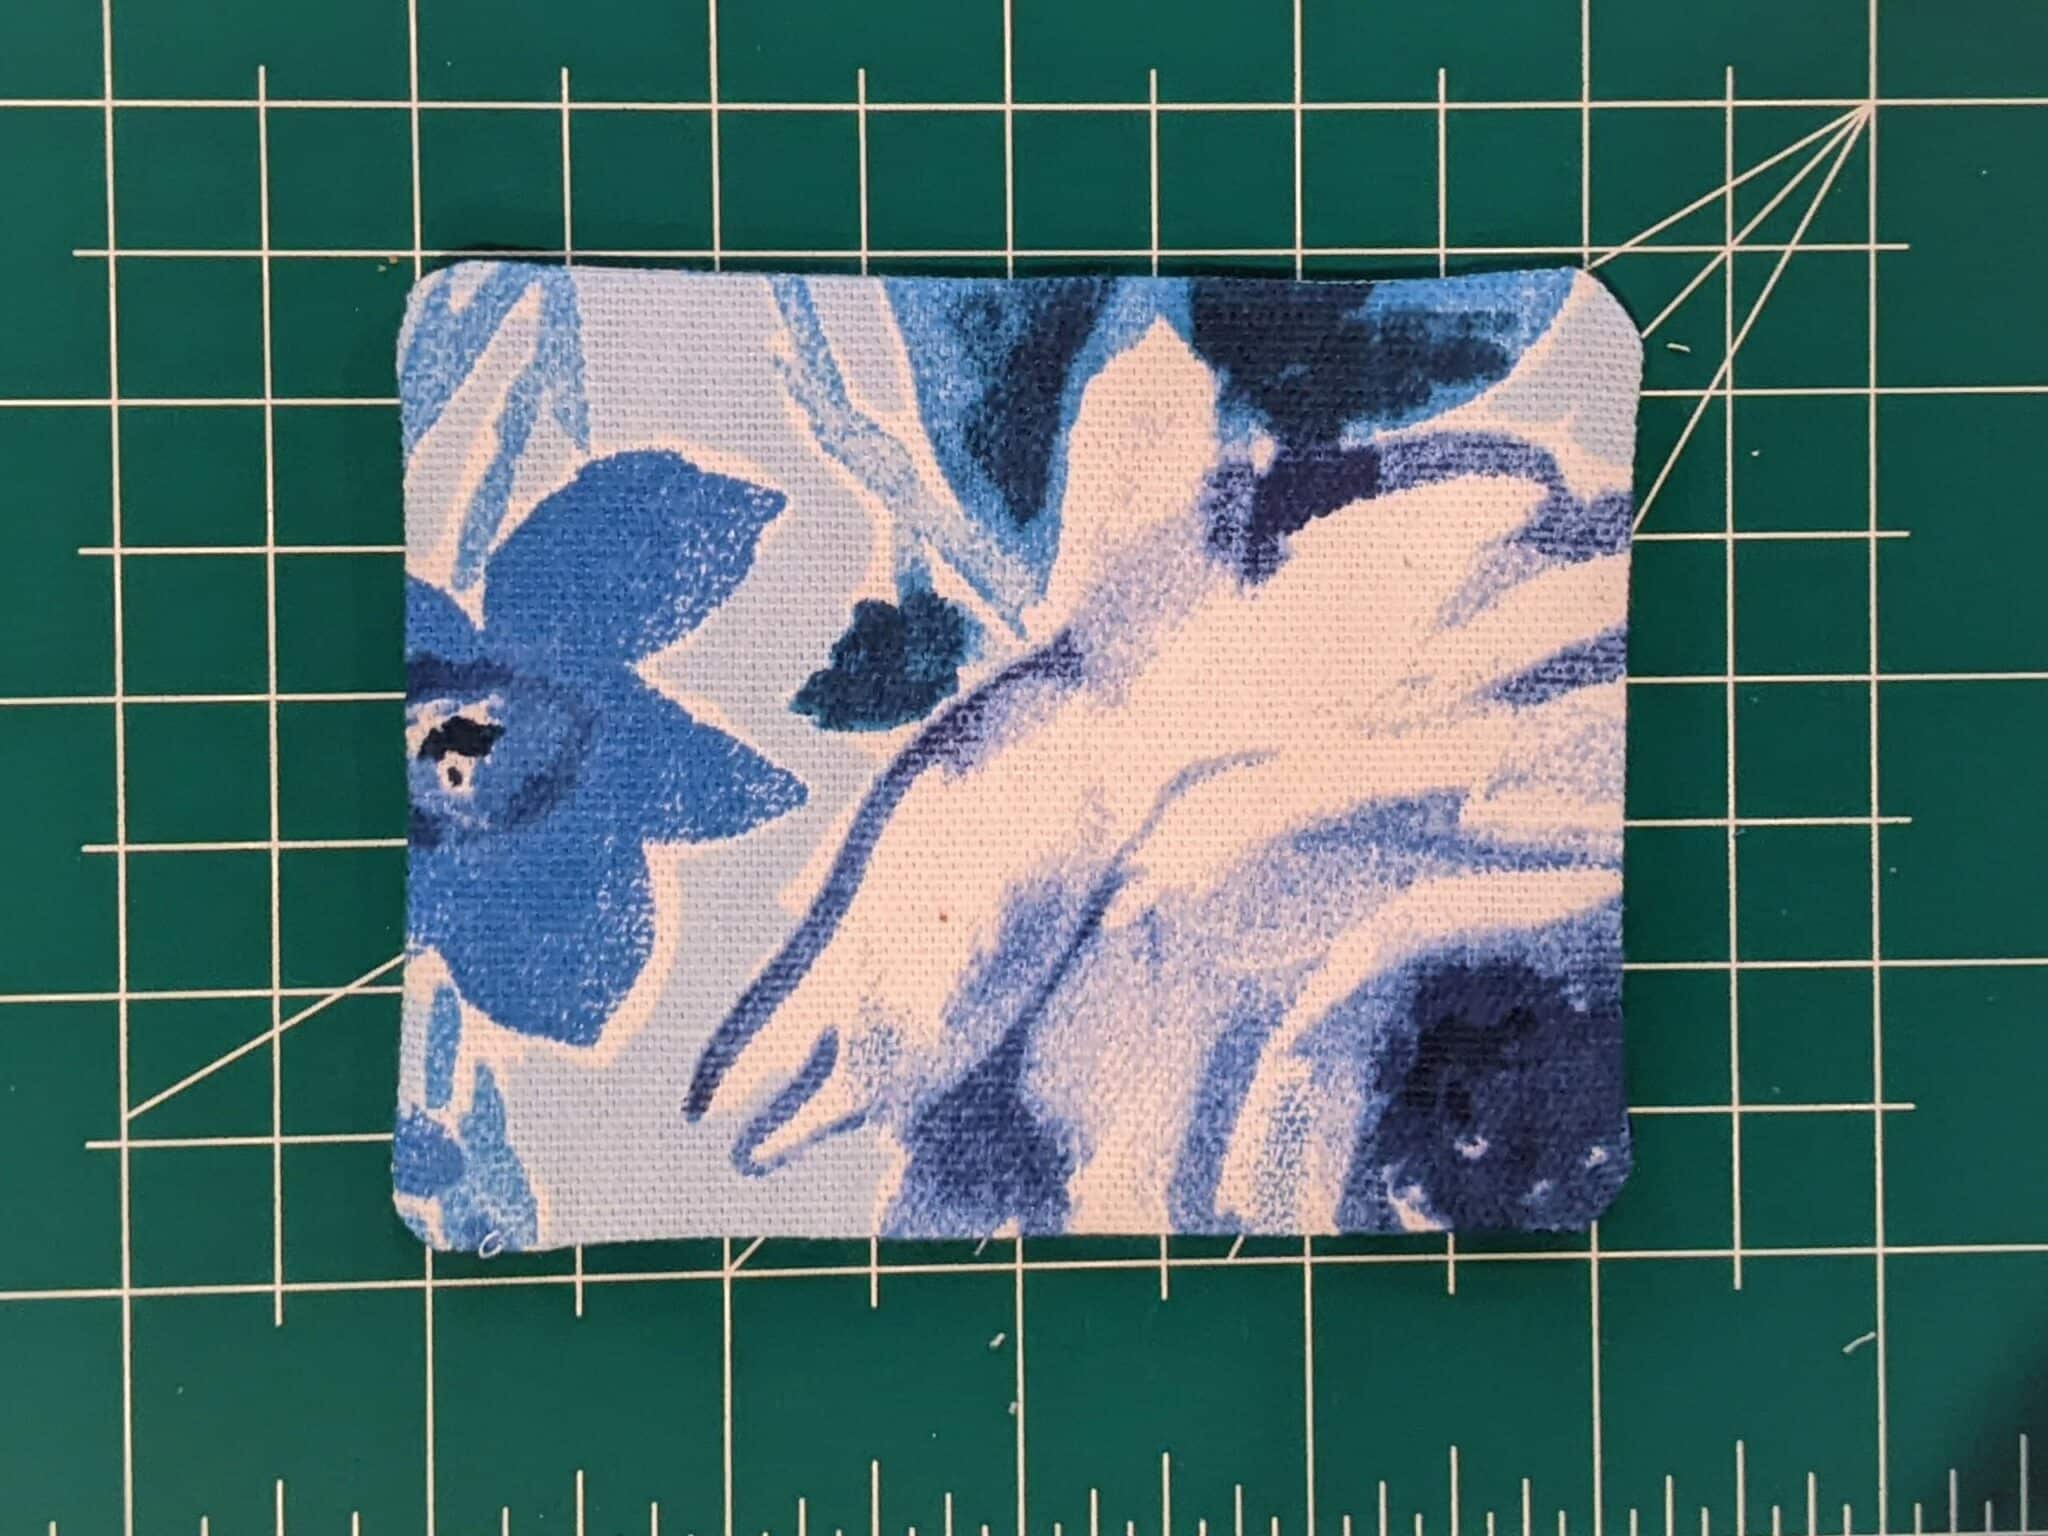
- Turn right side out, fold the extra fabric along the opening to the inside, and press.
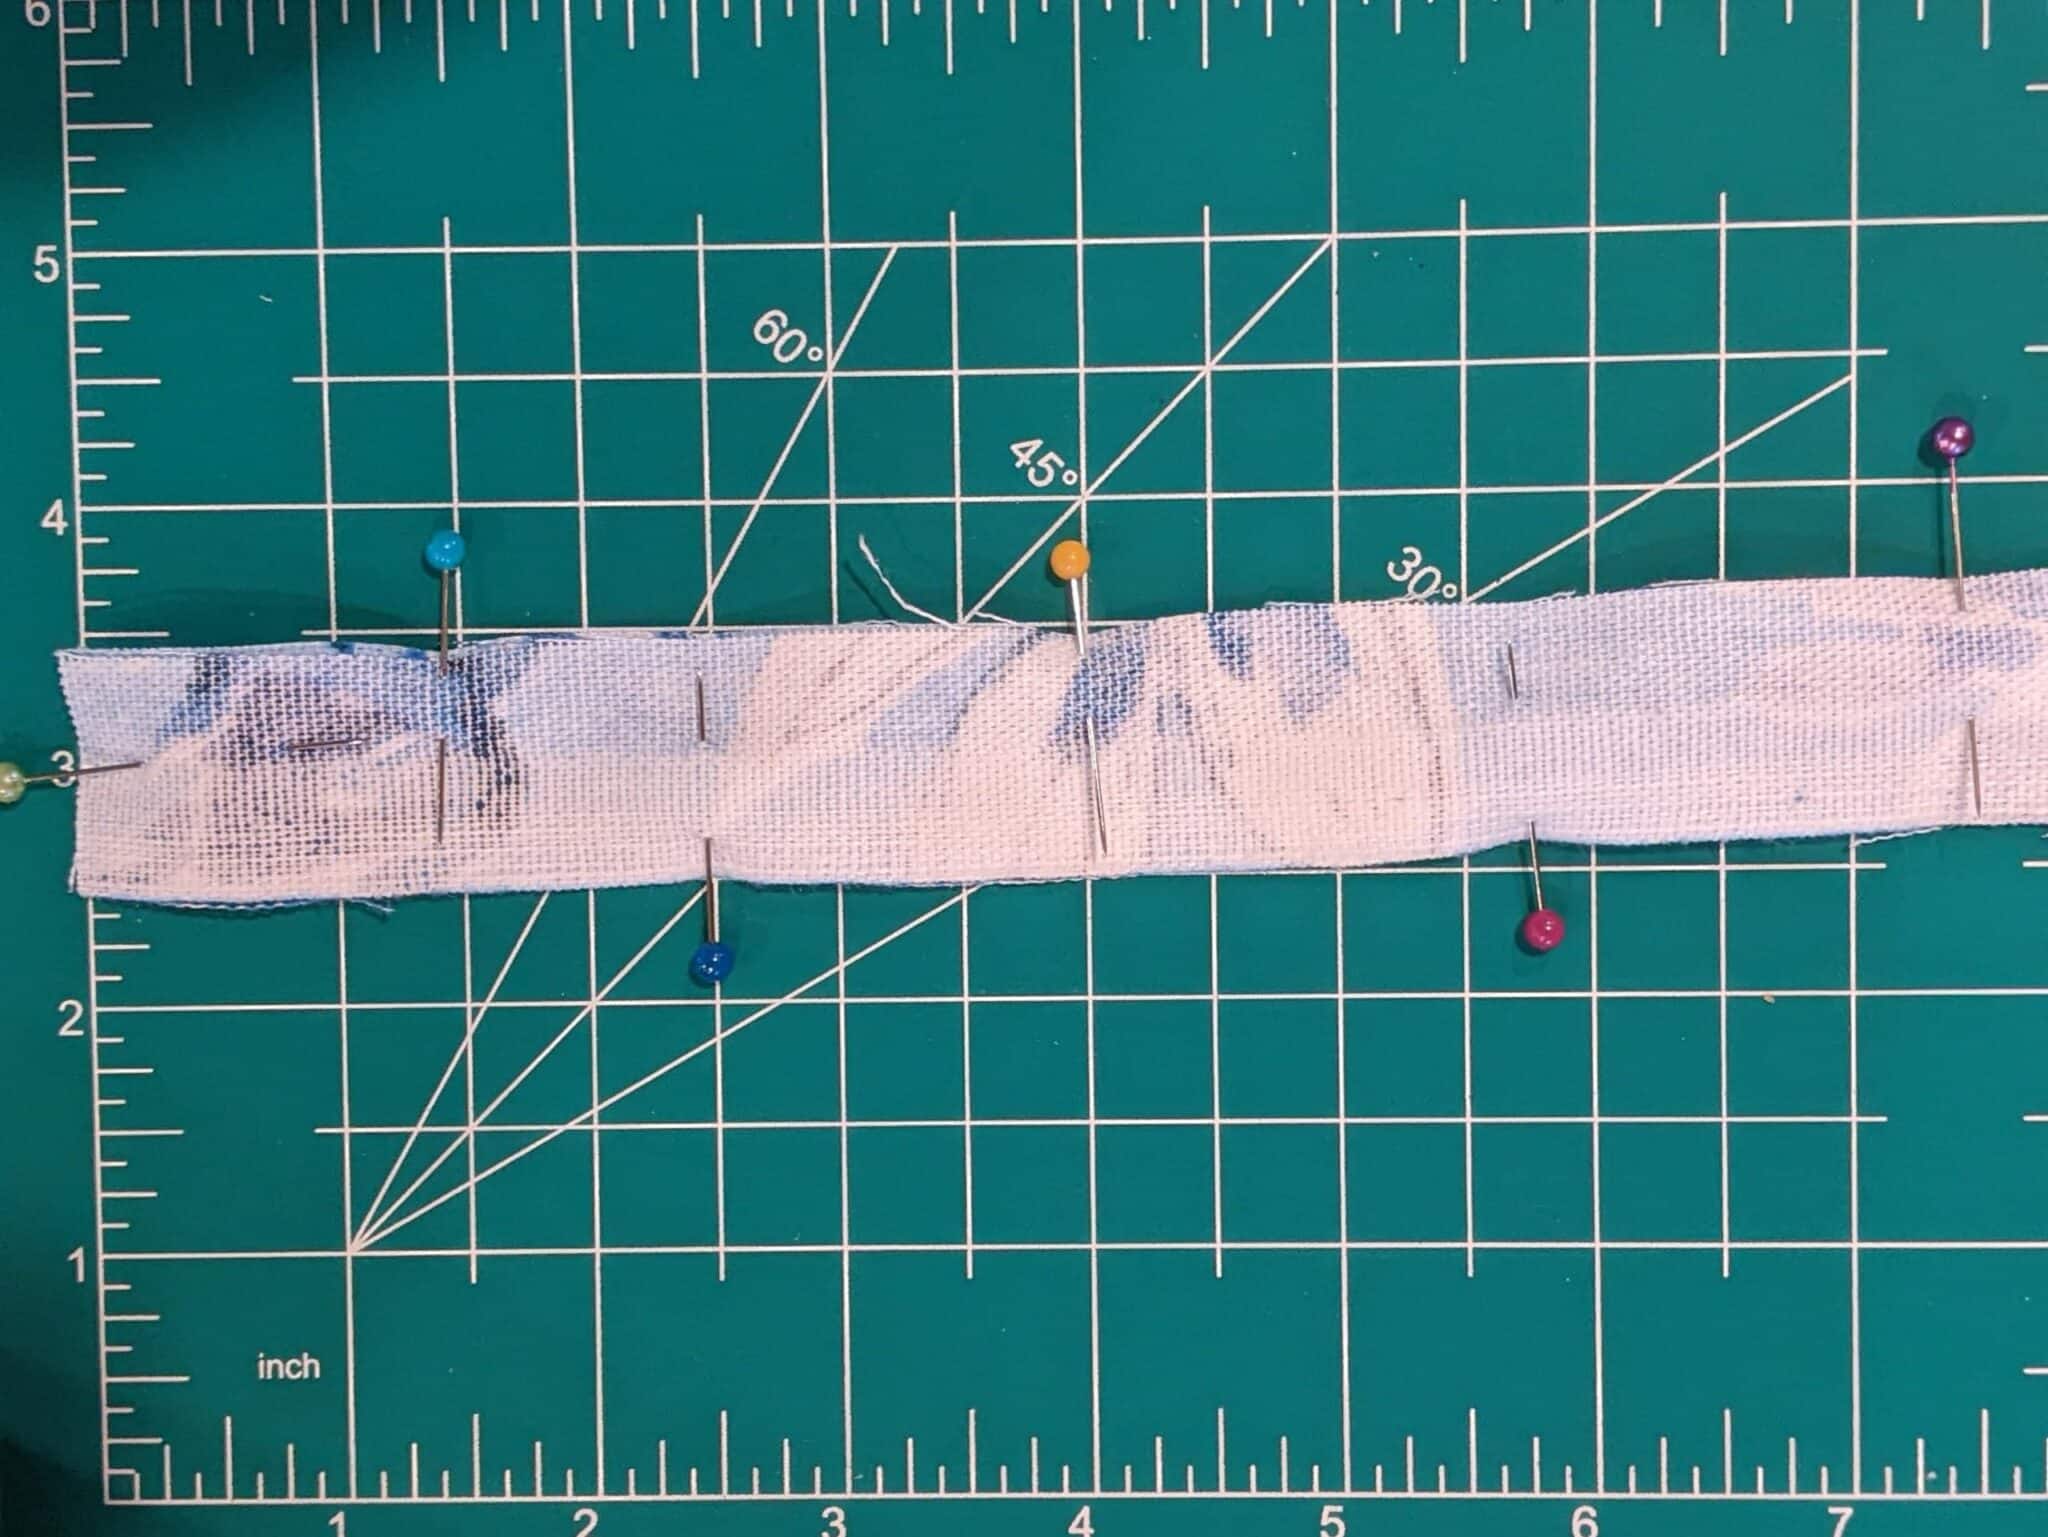
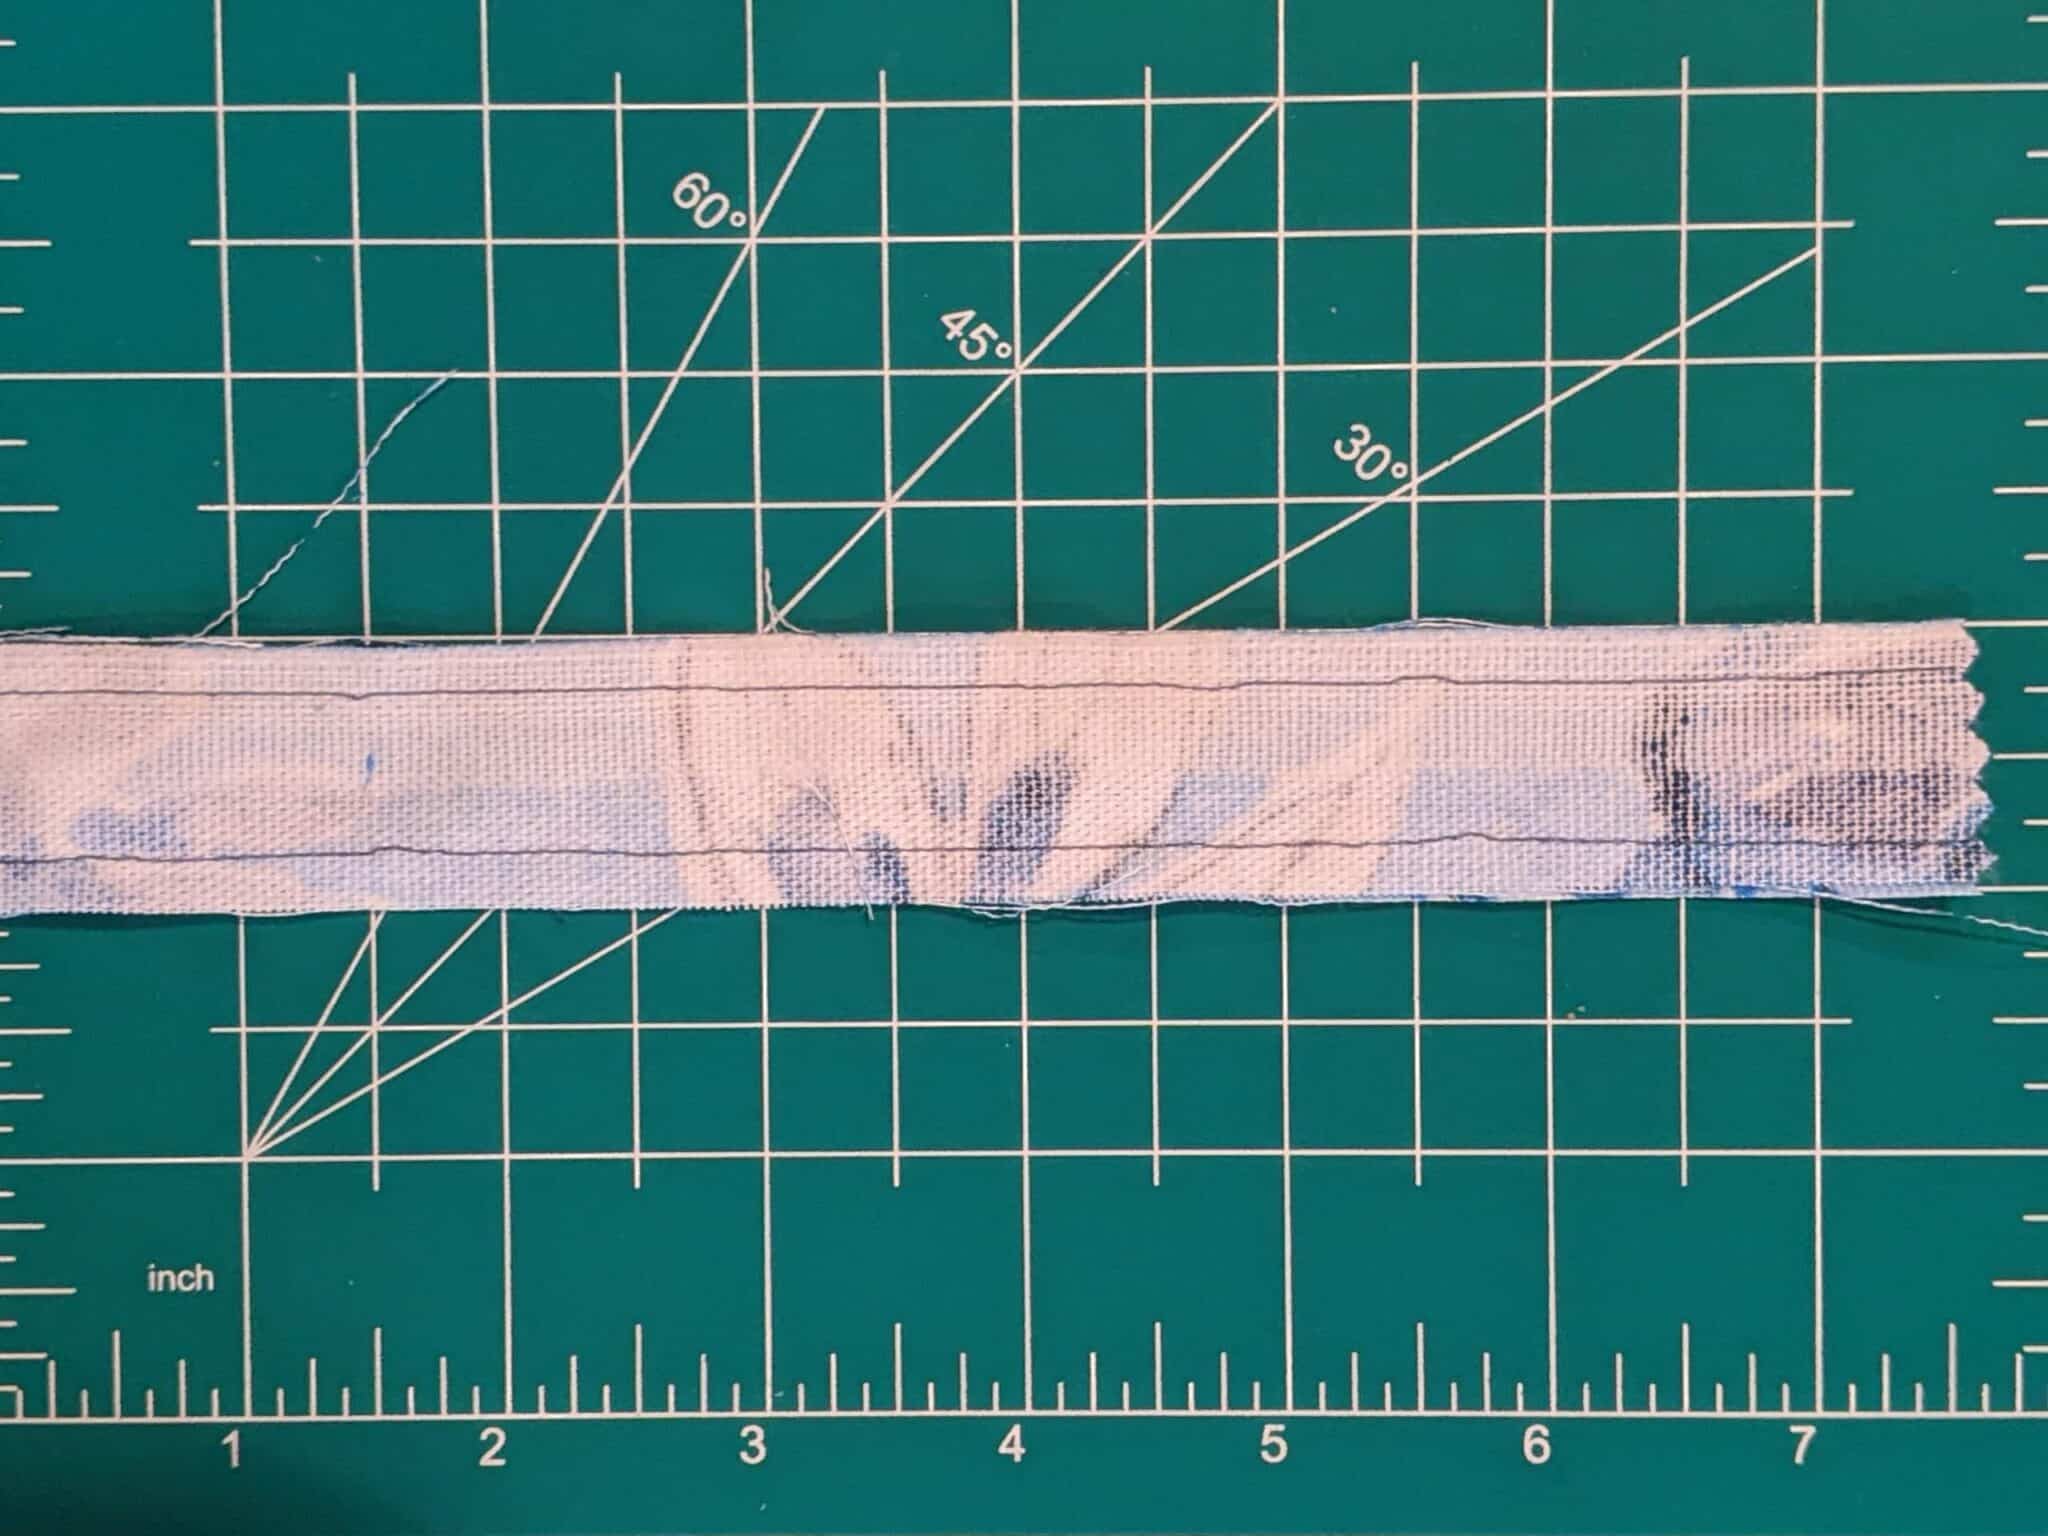
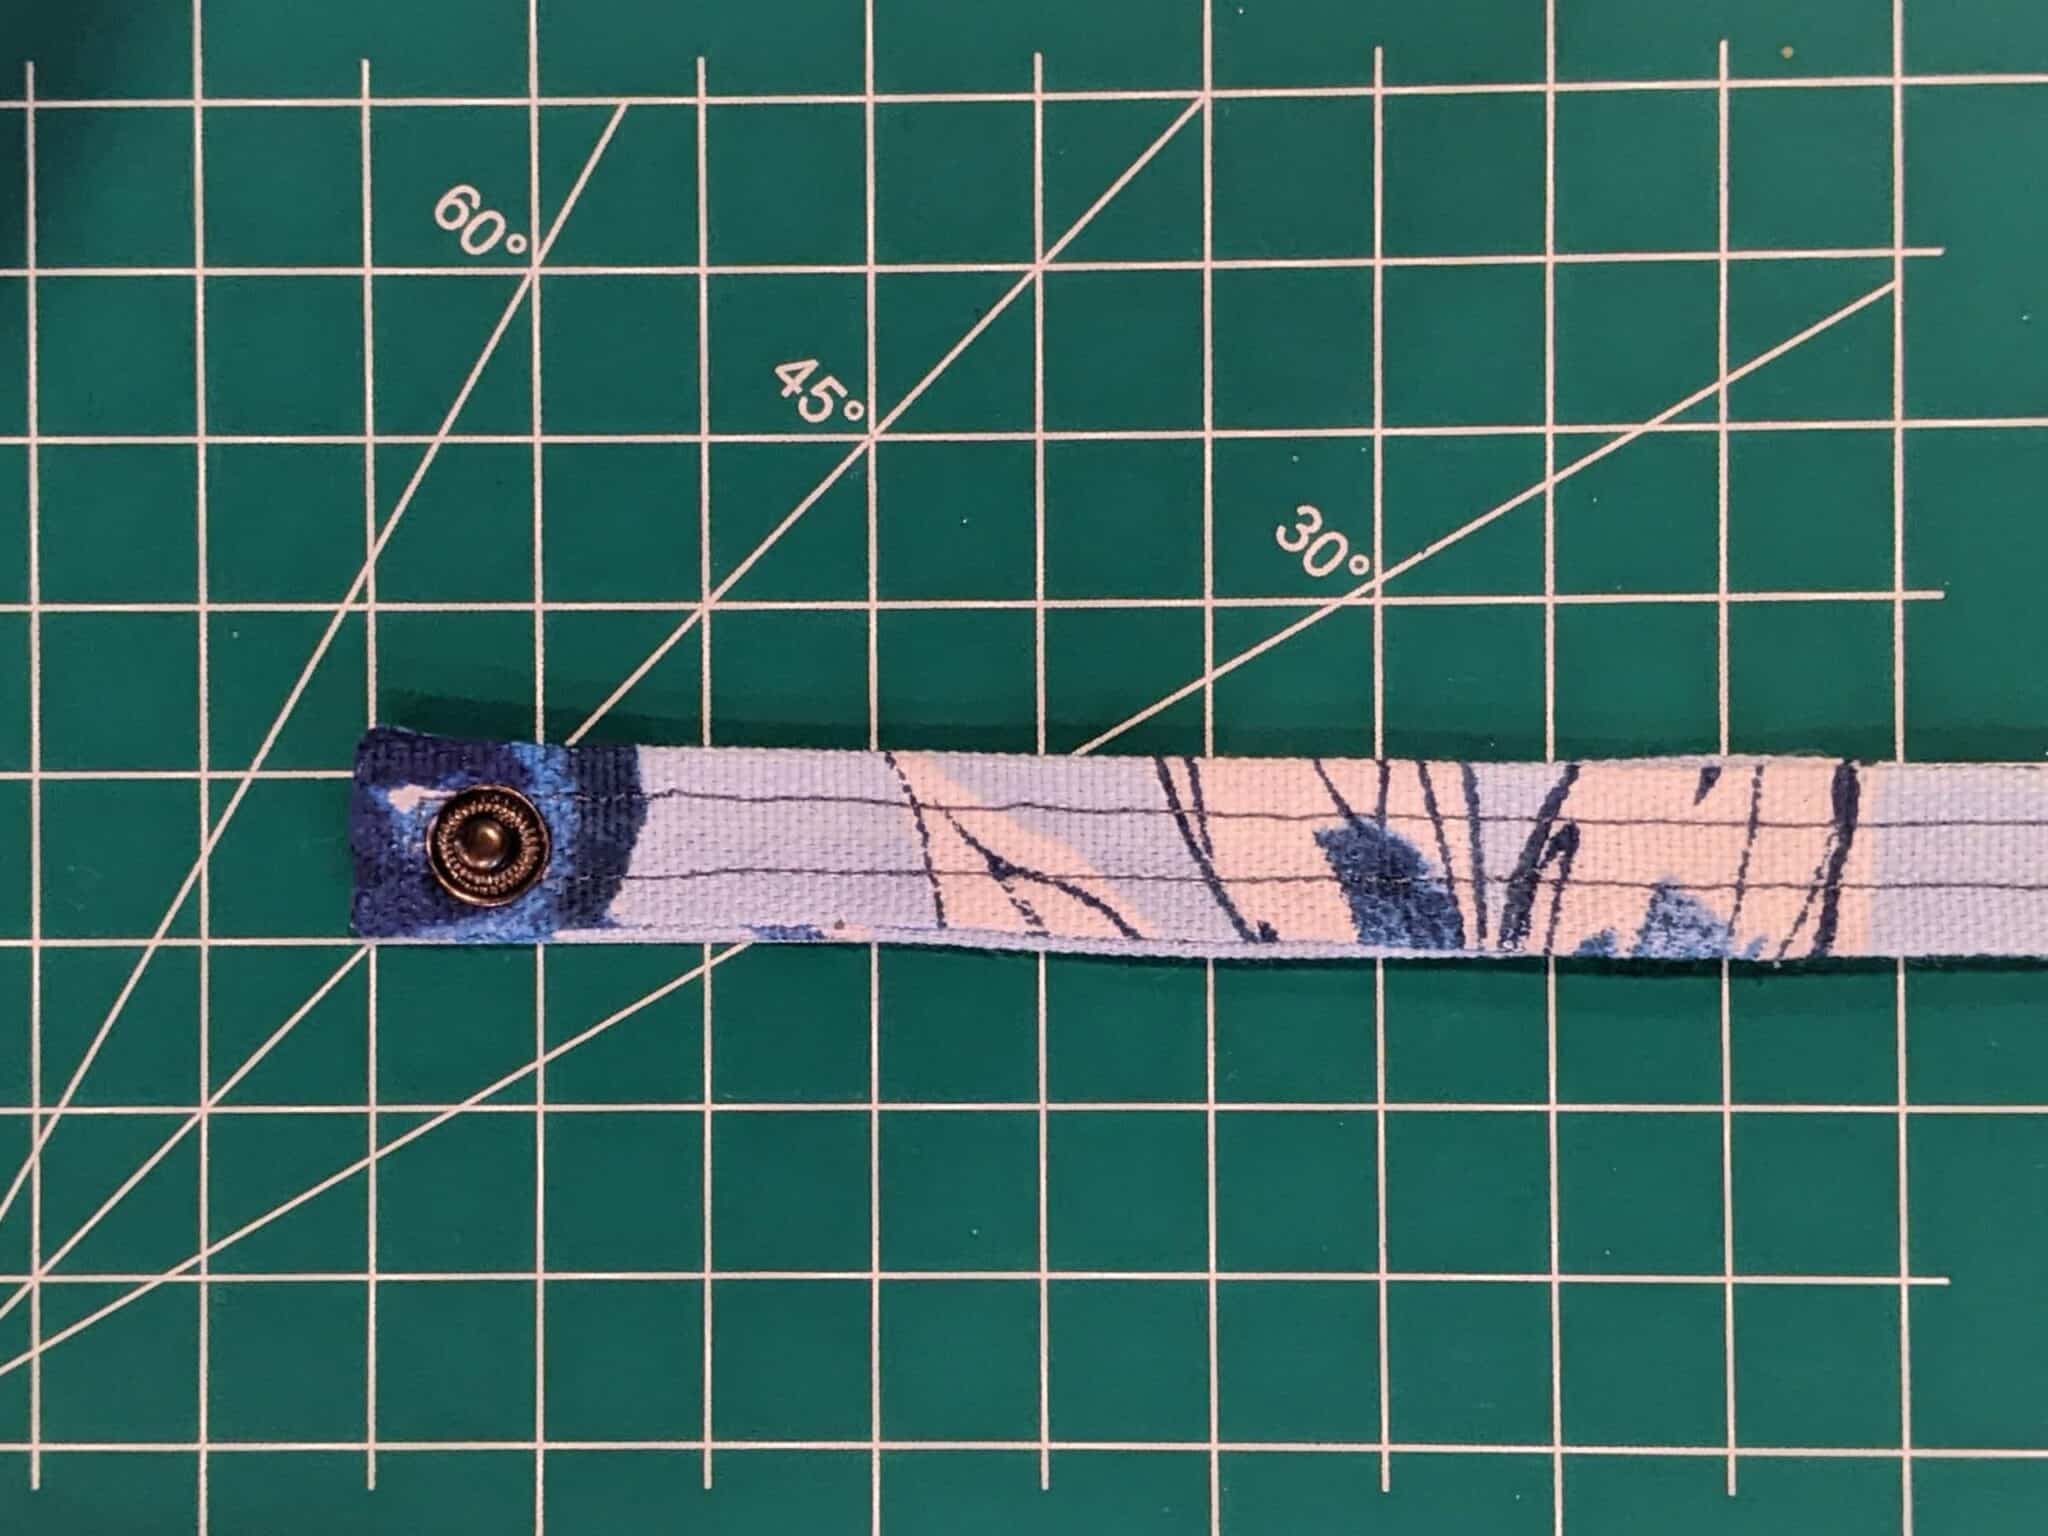
- Take your two loop strips, pin them right sides together and sew down both long sides with a ¼” seam allowance.
- Turn the strip right side out and press.
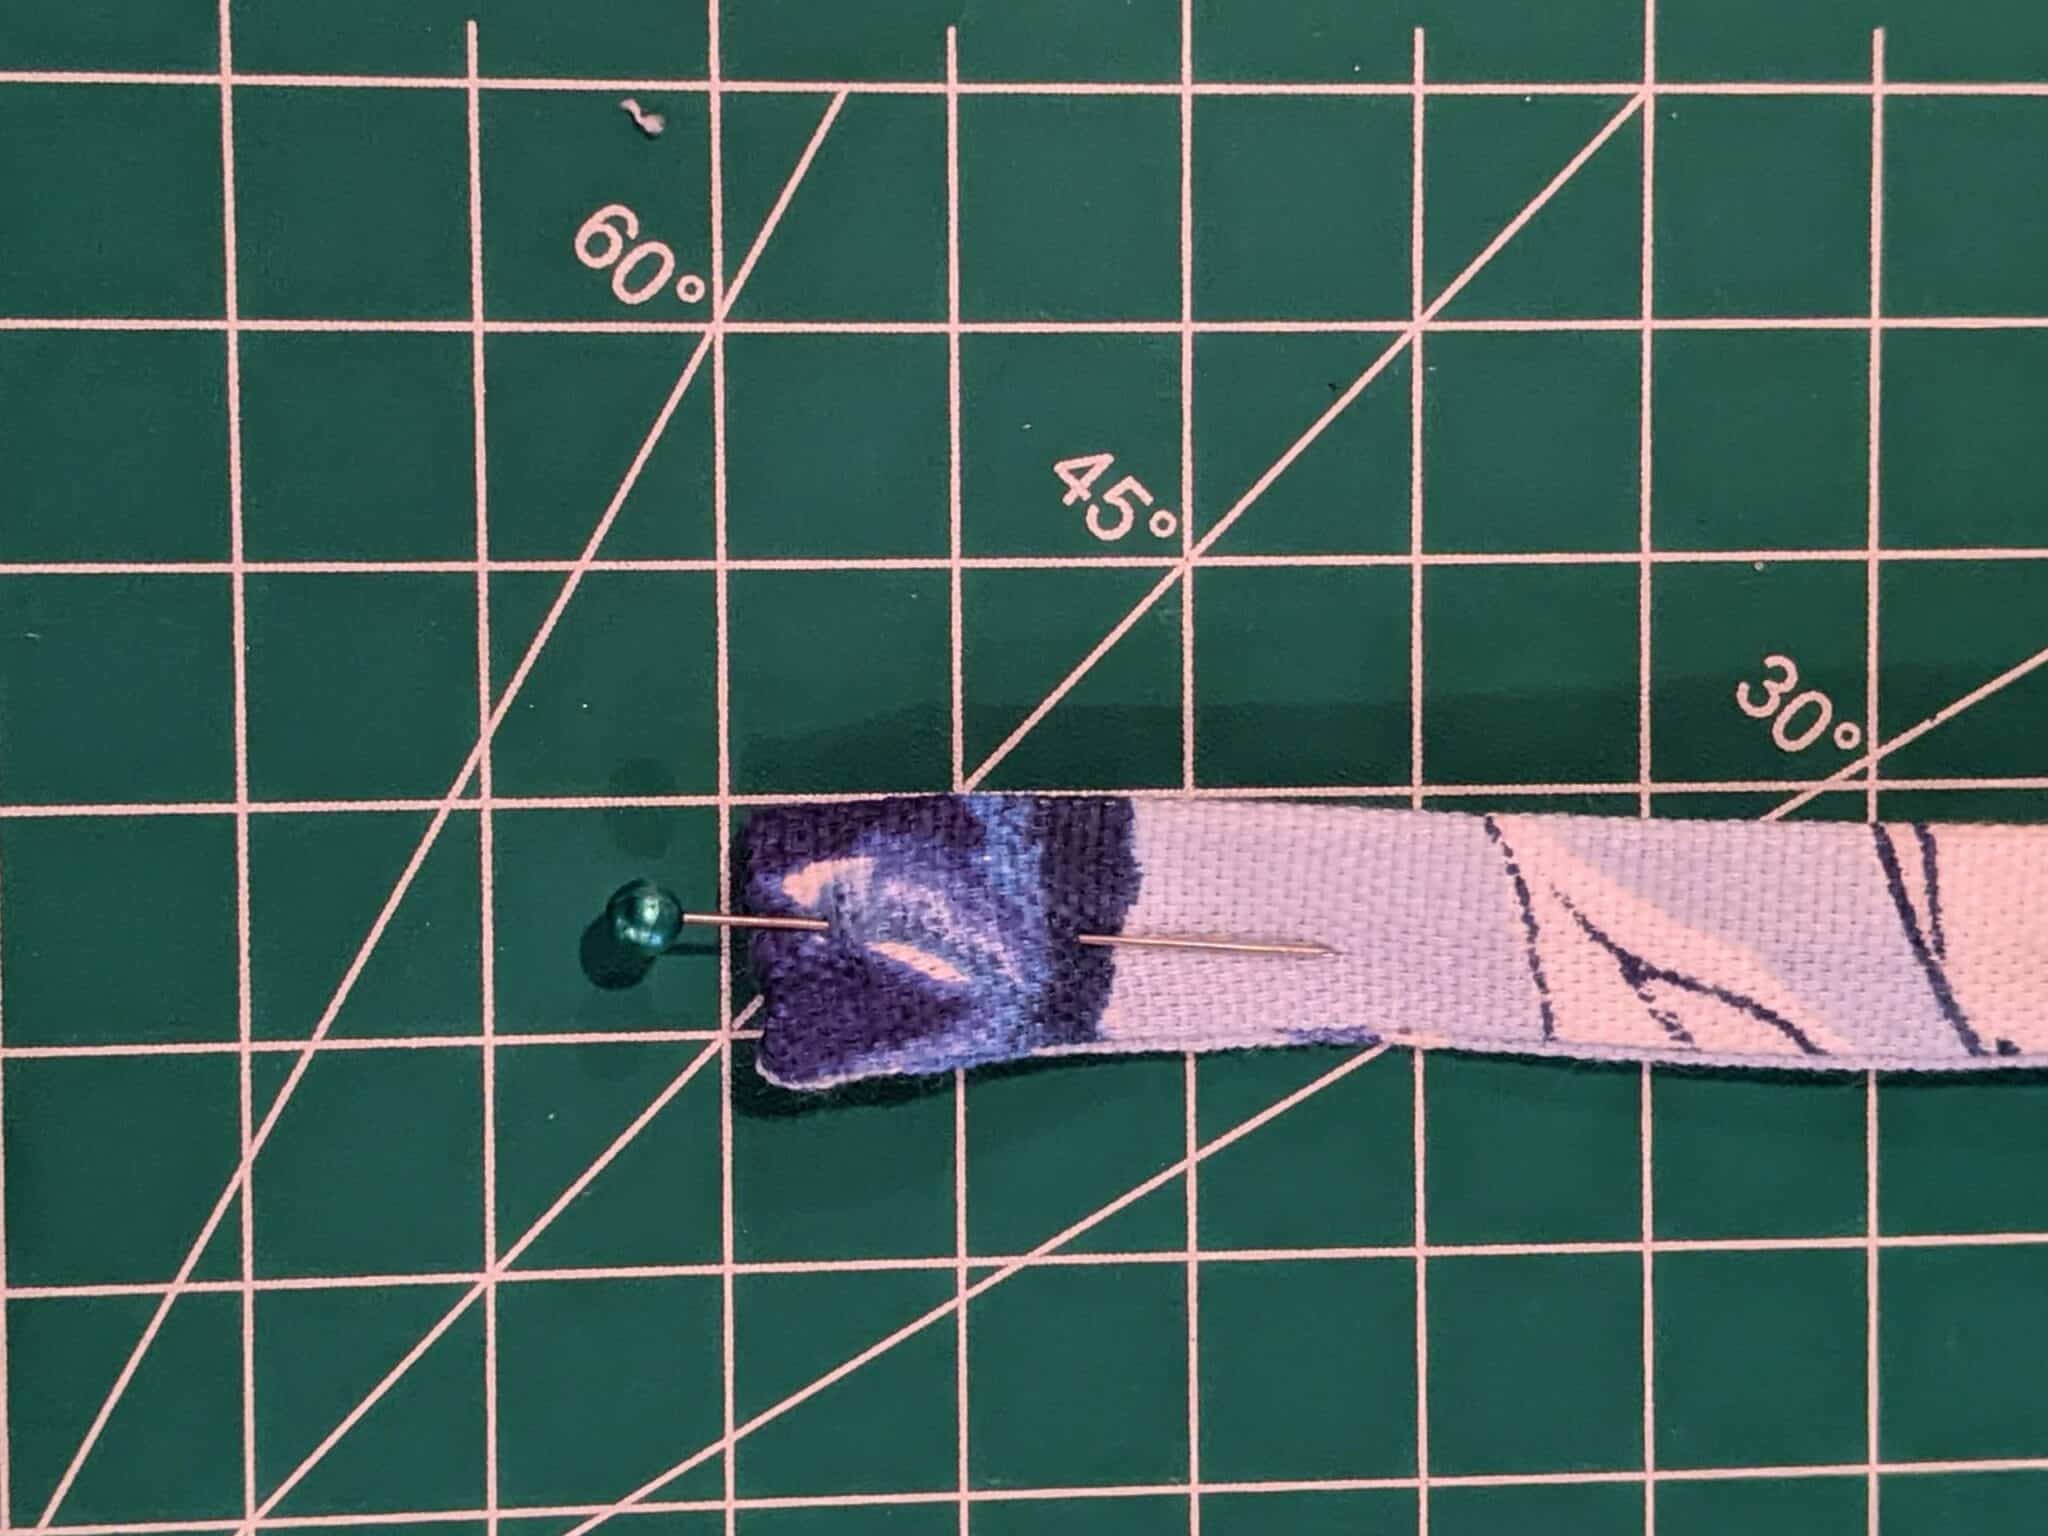
- Fold one short end in and sew it in place.
- Optional: topstitch the strip.
Putting the Pieces Together
- Find the center of the back piece on the open end and hold the loop strip against it.
- Fold the strip into a loop and match it up with the snap.
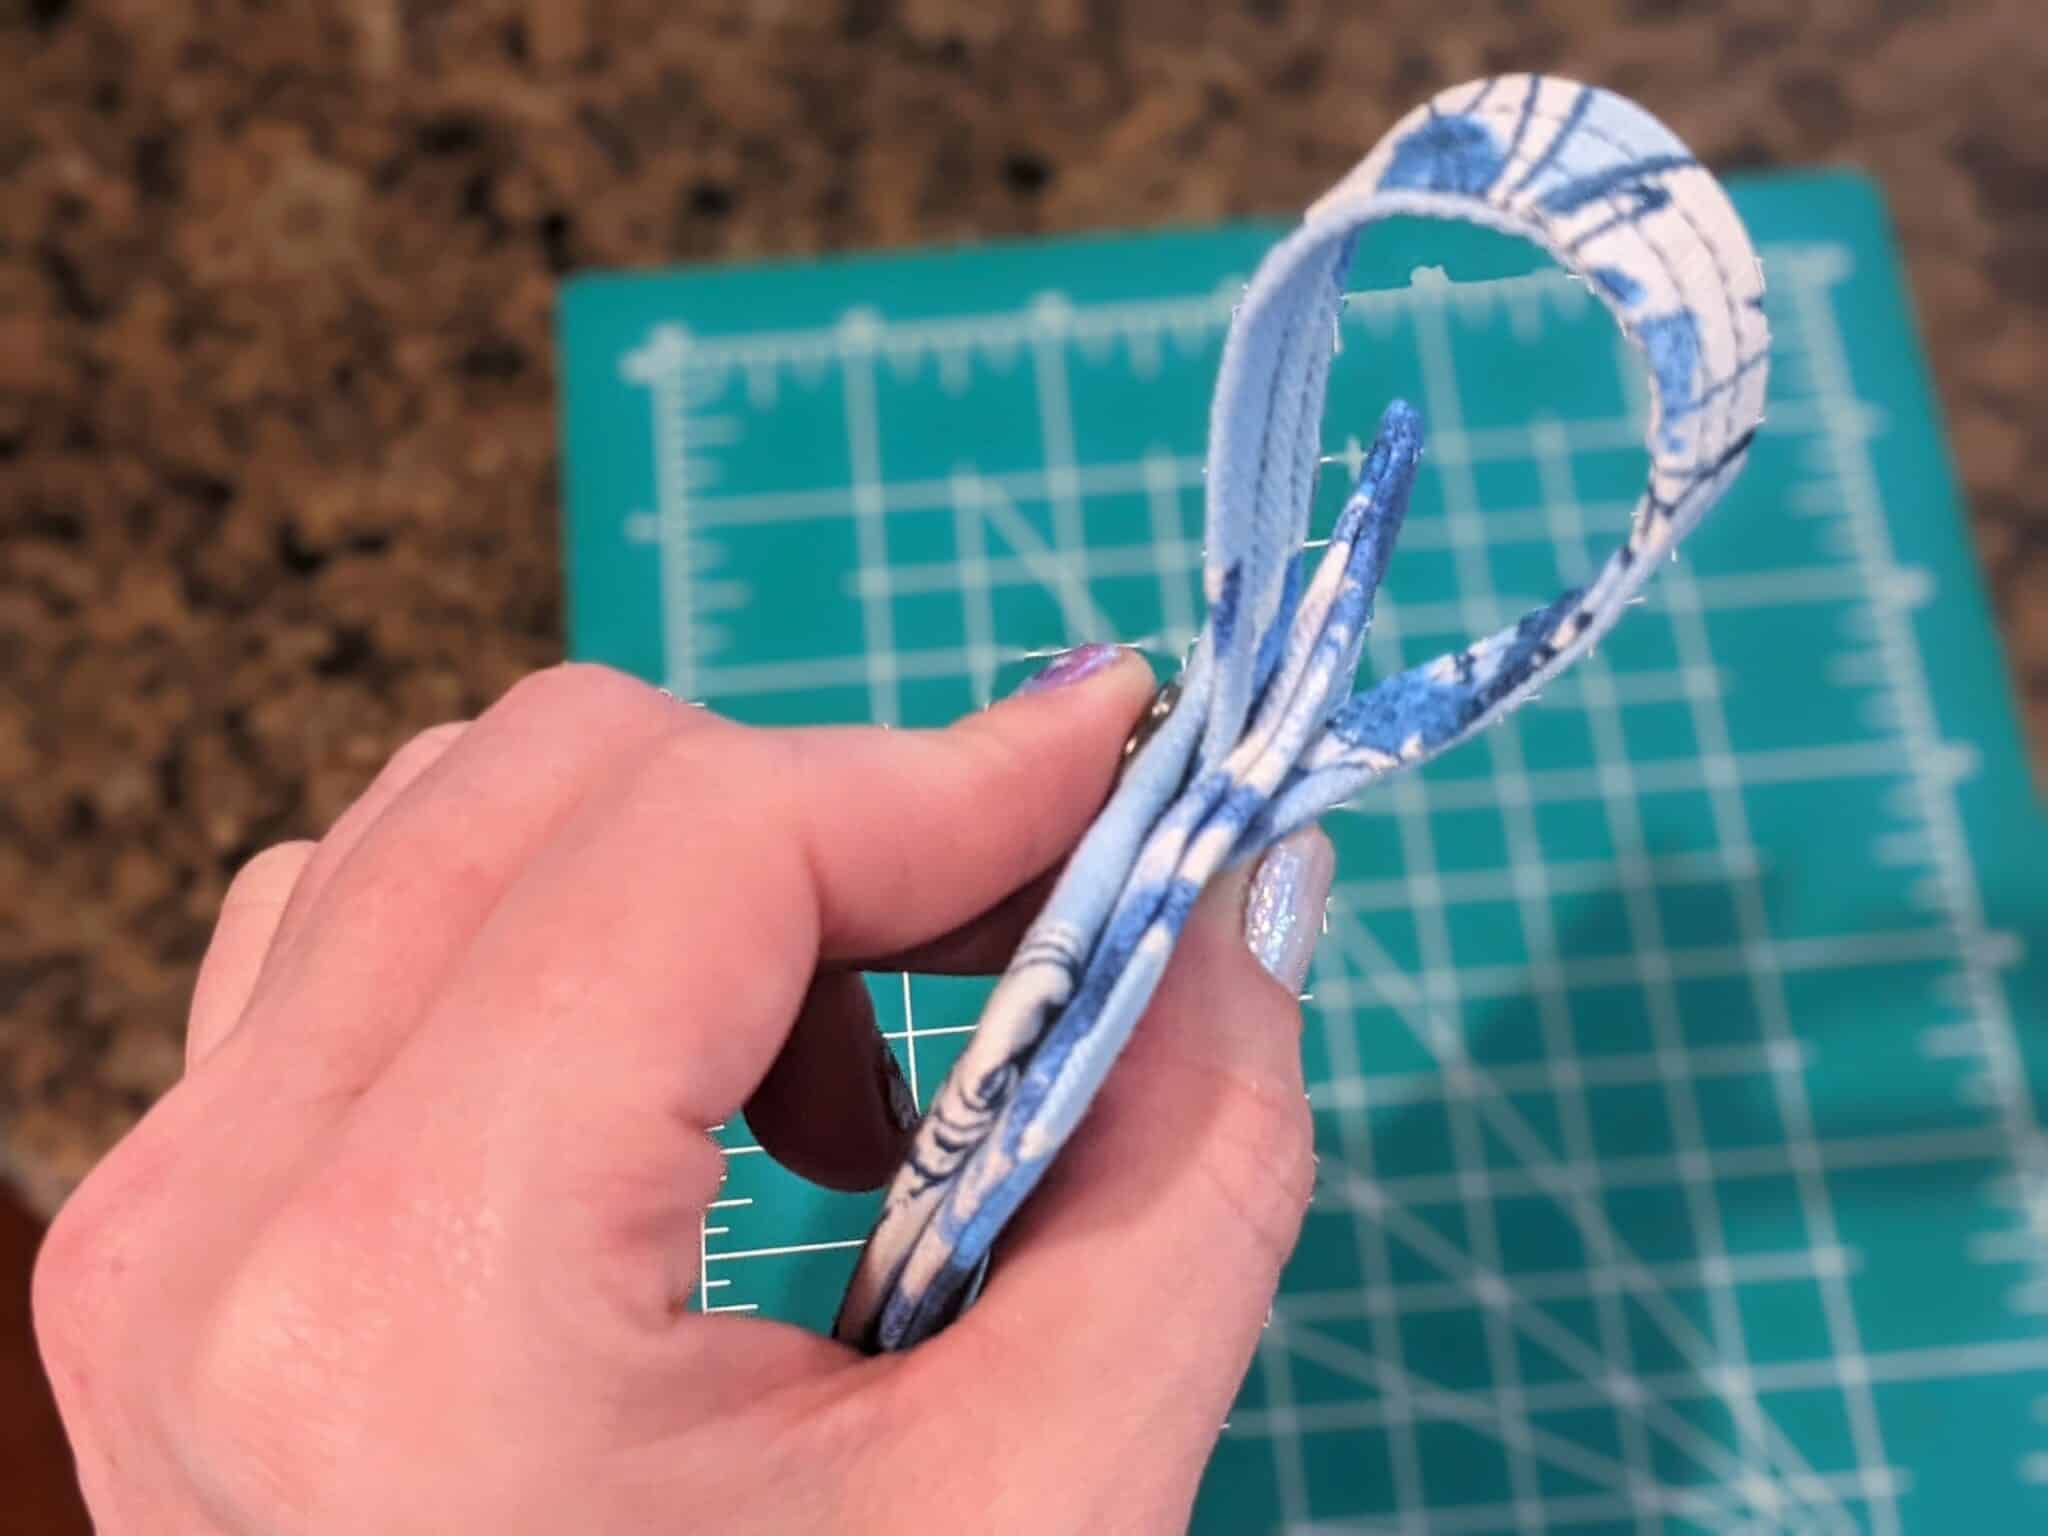
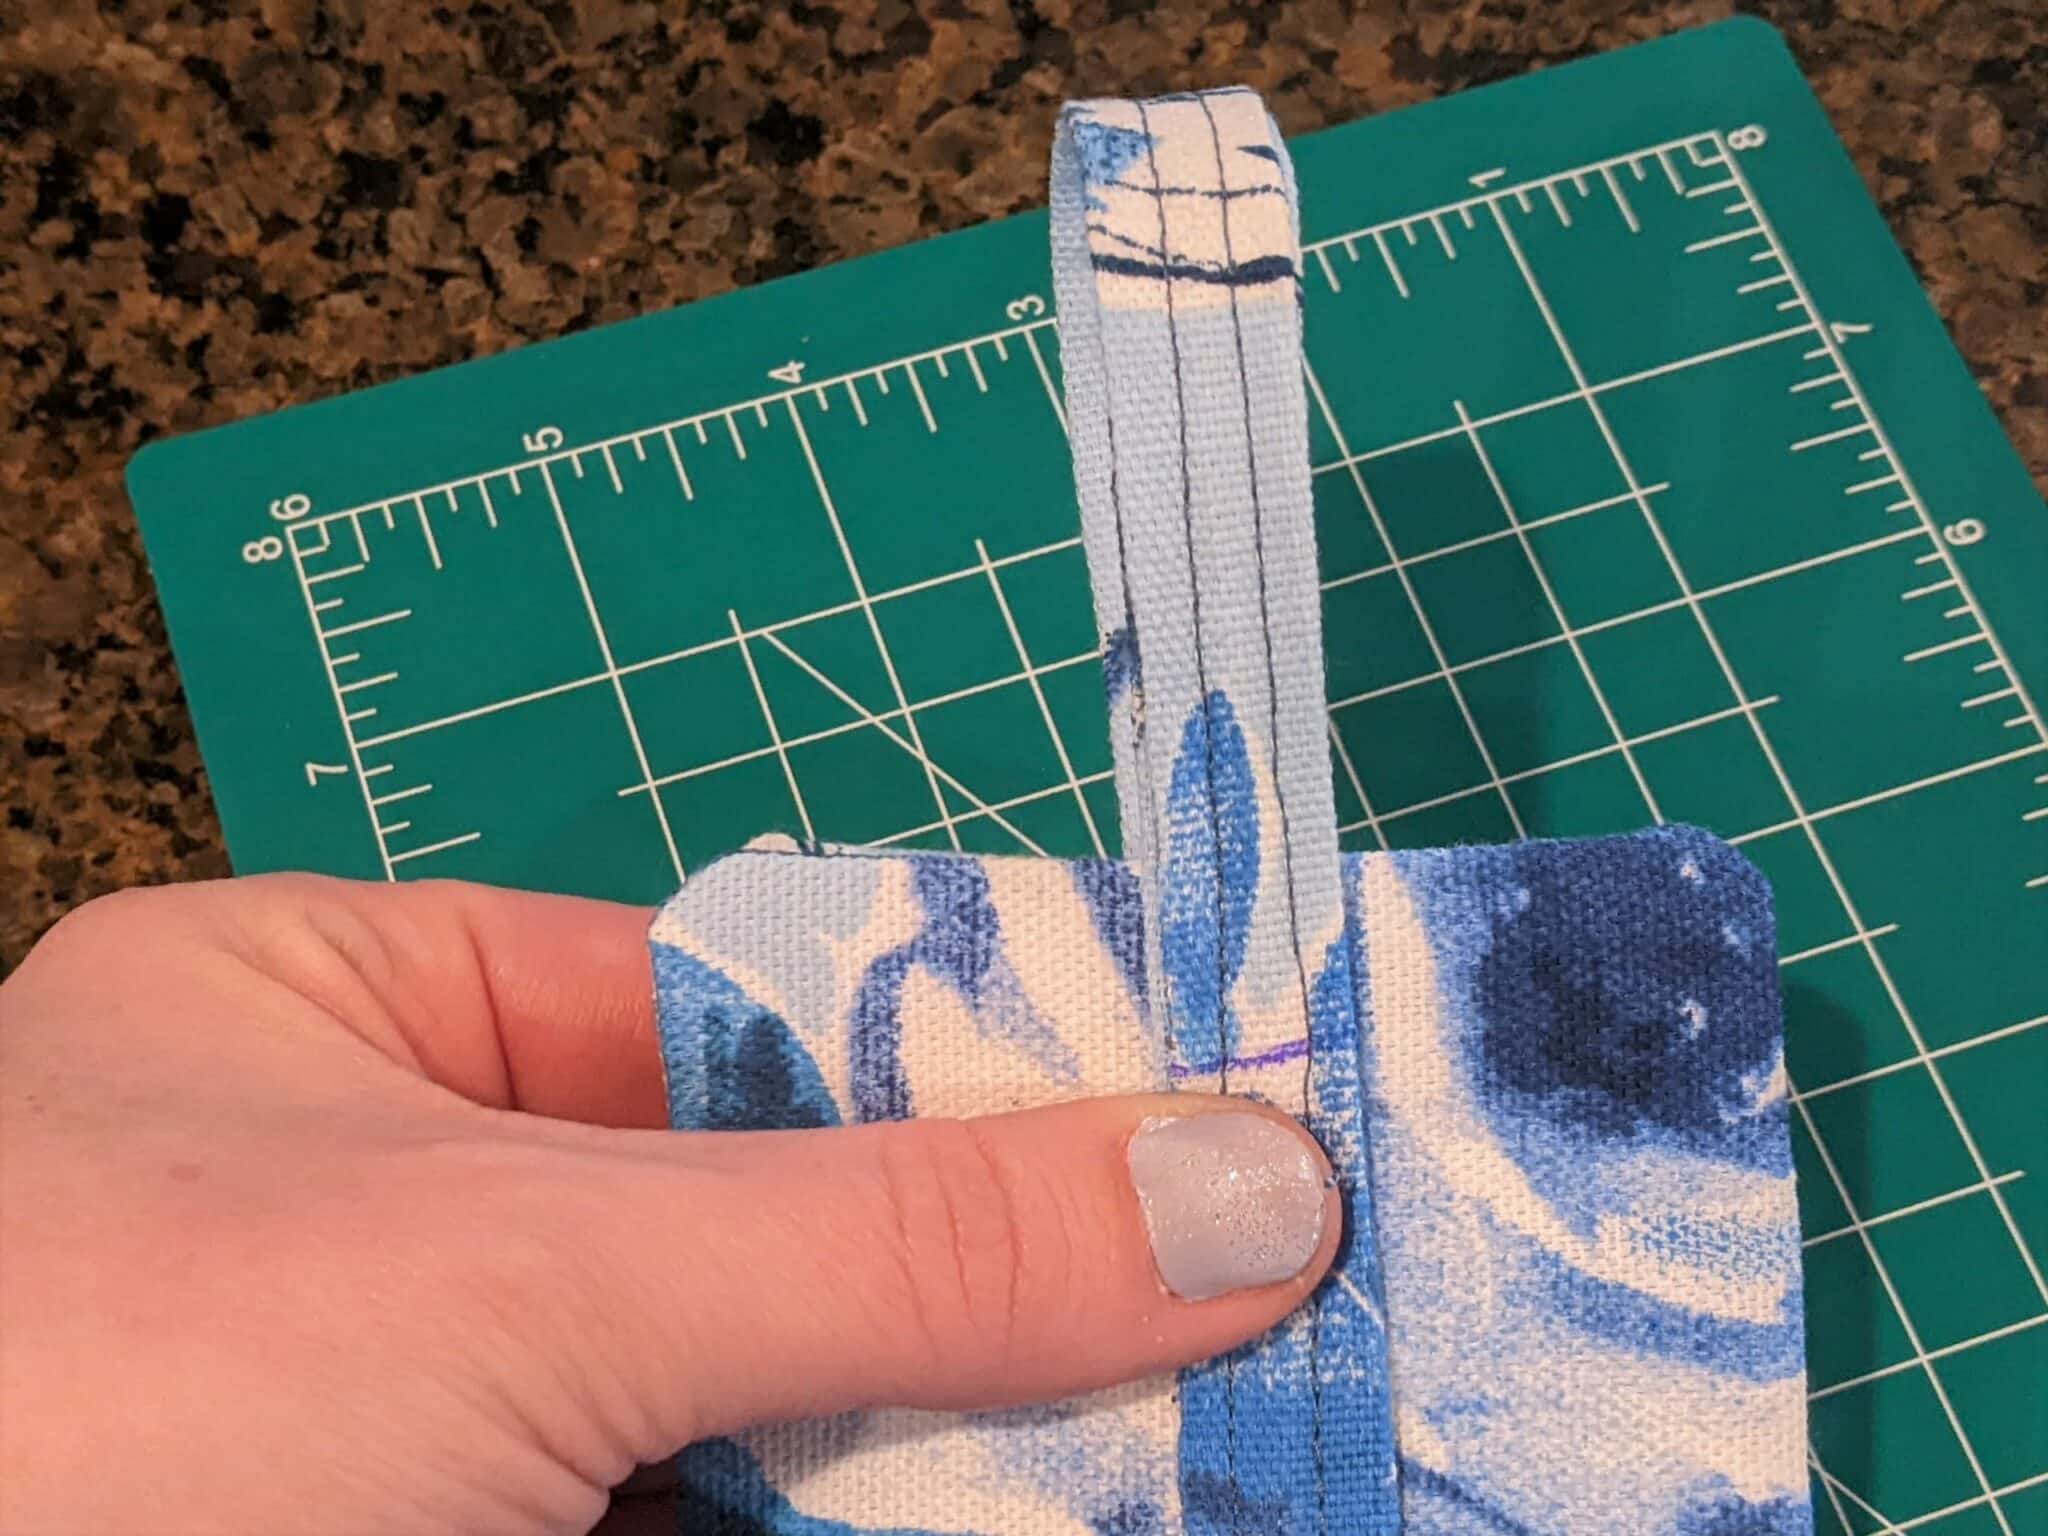
- Decide how long you want the loop to be and mark ½” further down the strip. Cut off excess where you marked.
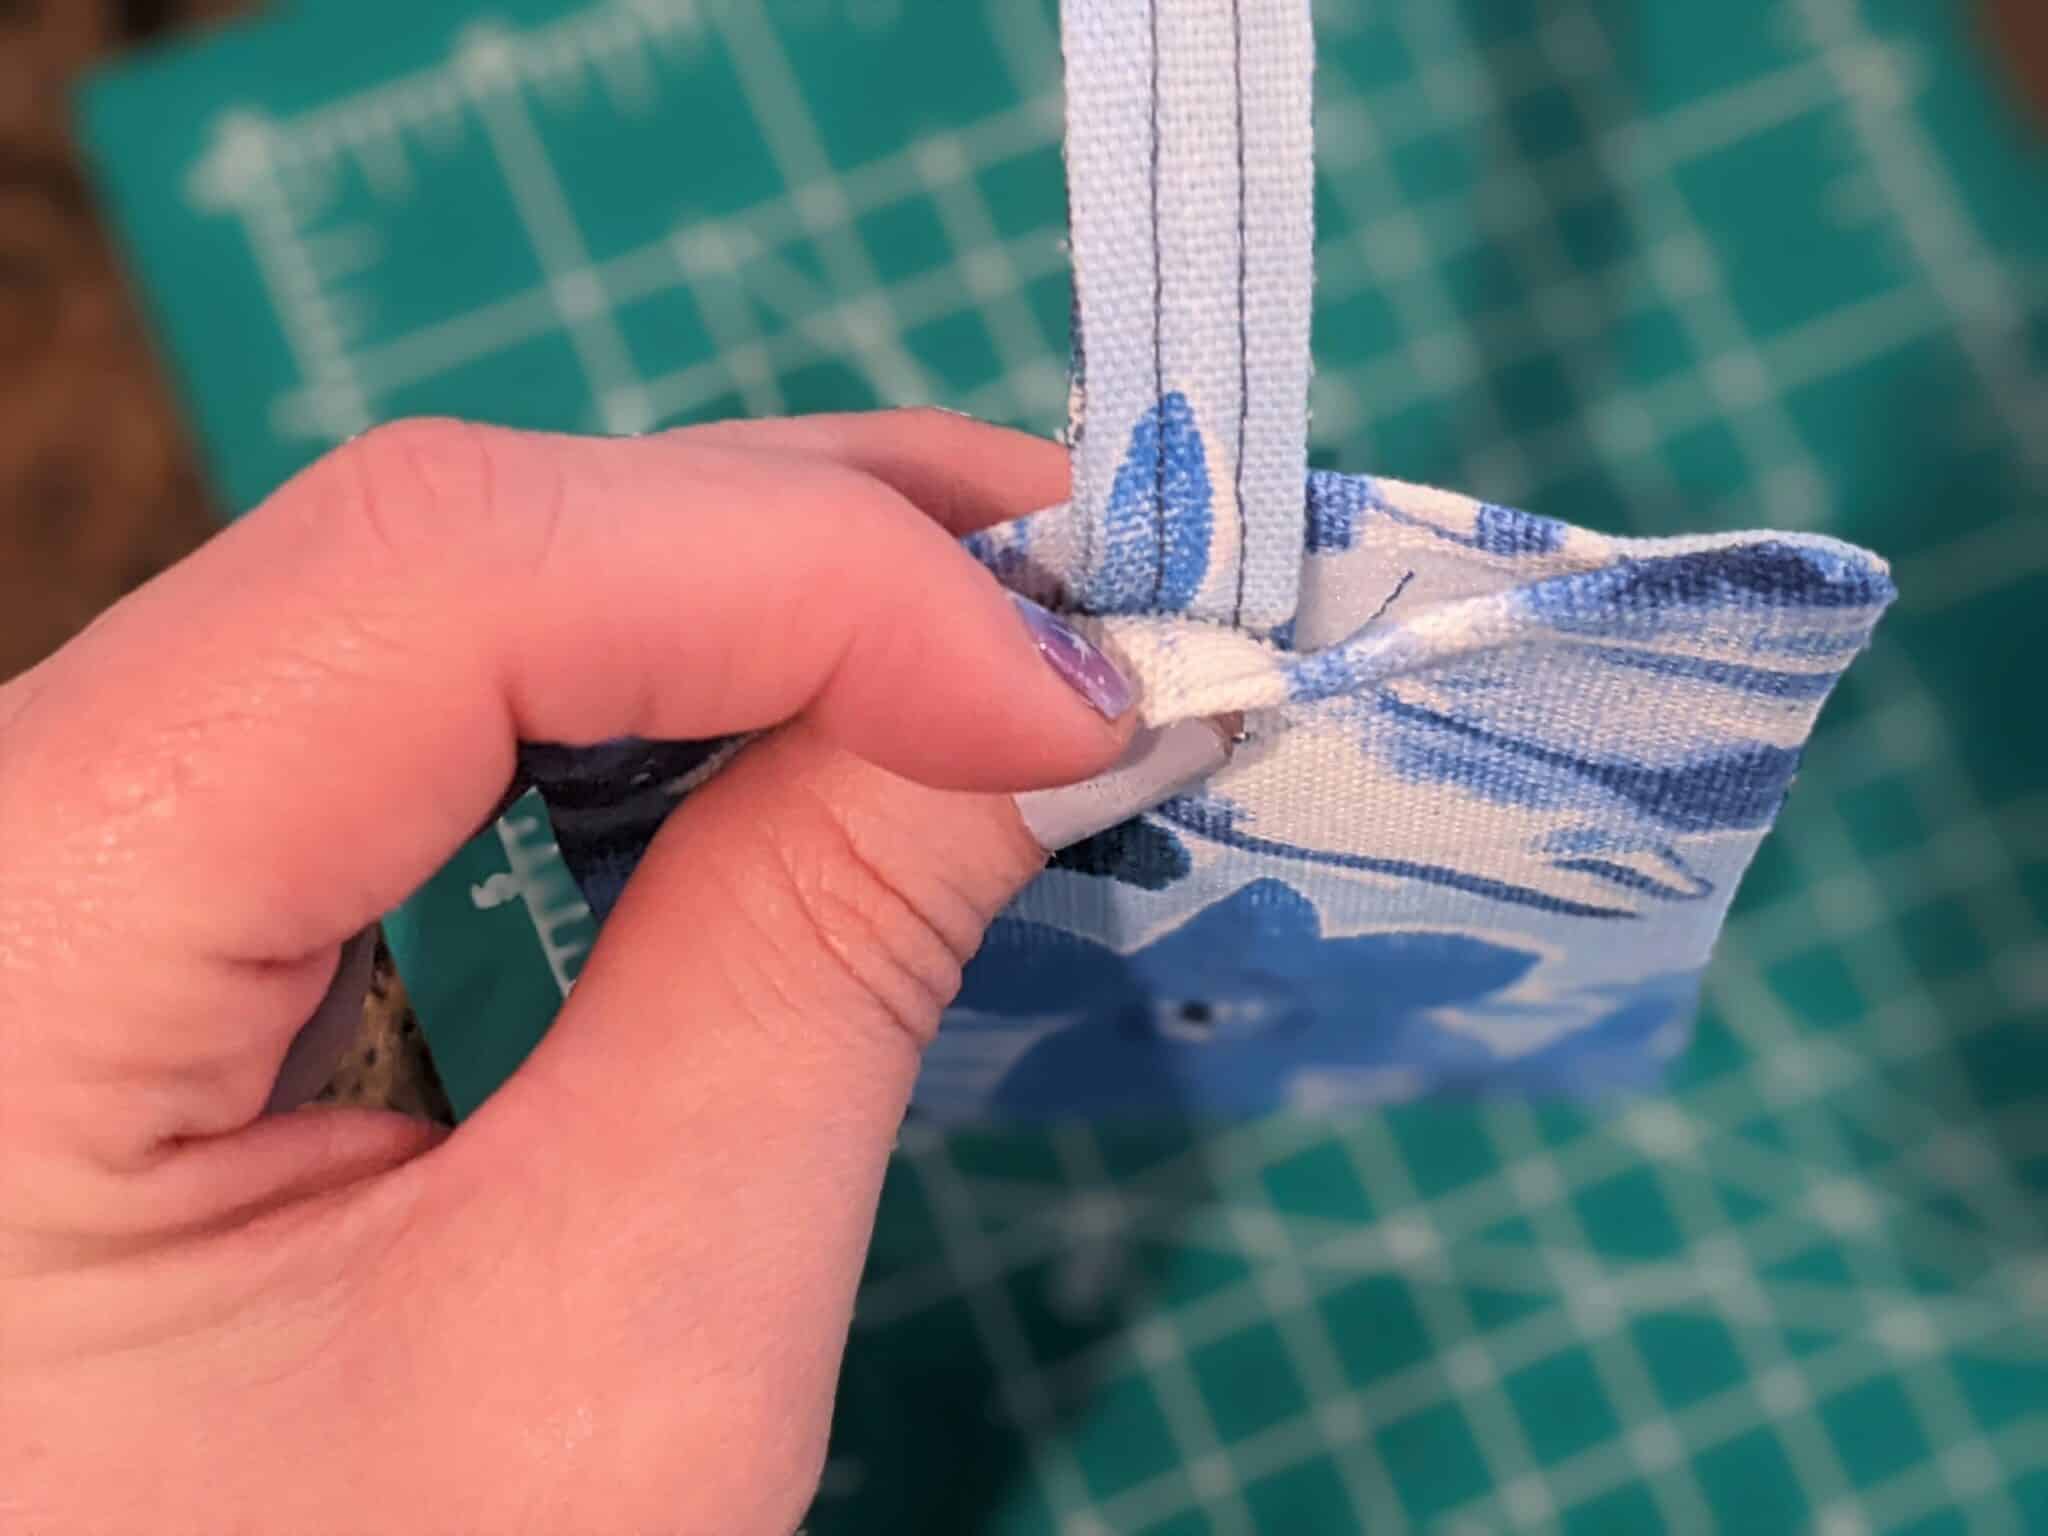
- Slide the raw end of the loop into the opening of the back piece, make sure it is centered and pin it in place.
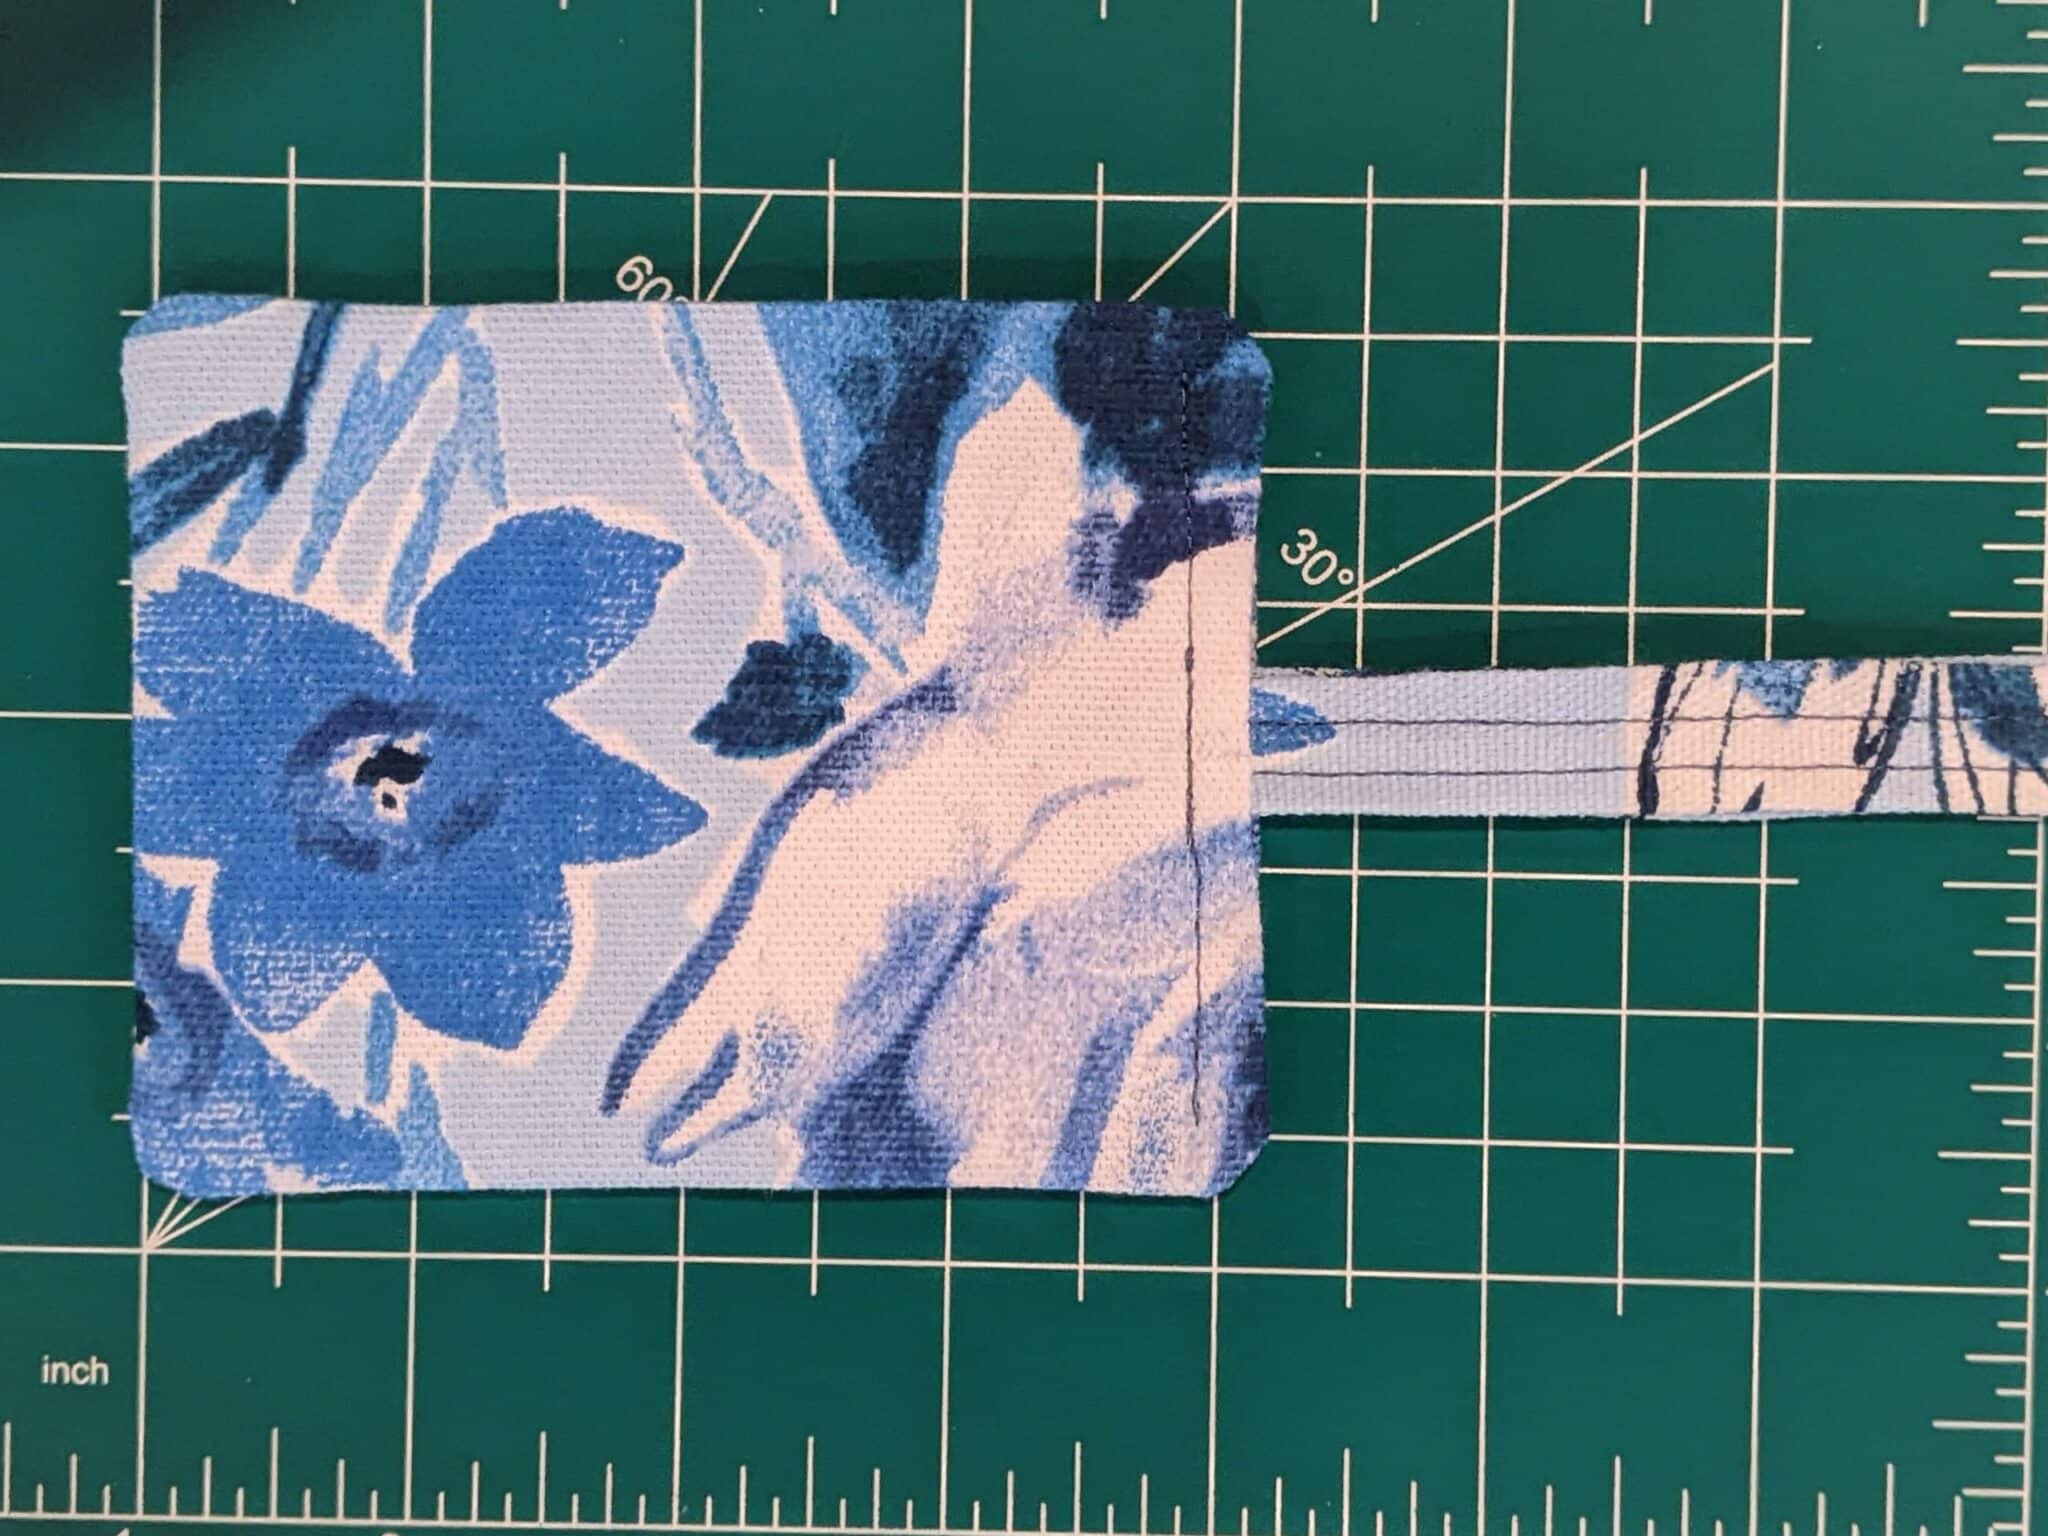
- Sew along the open end with a ¼” seam allowance sewing back and forth over the loop end several times.

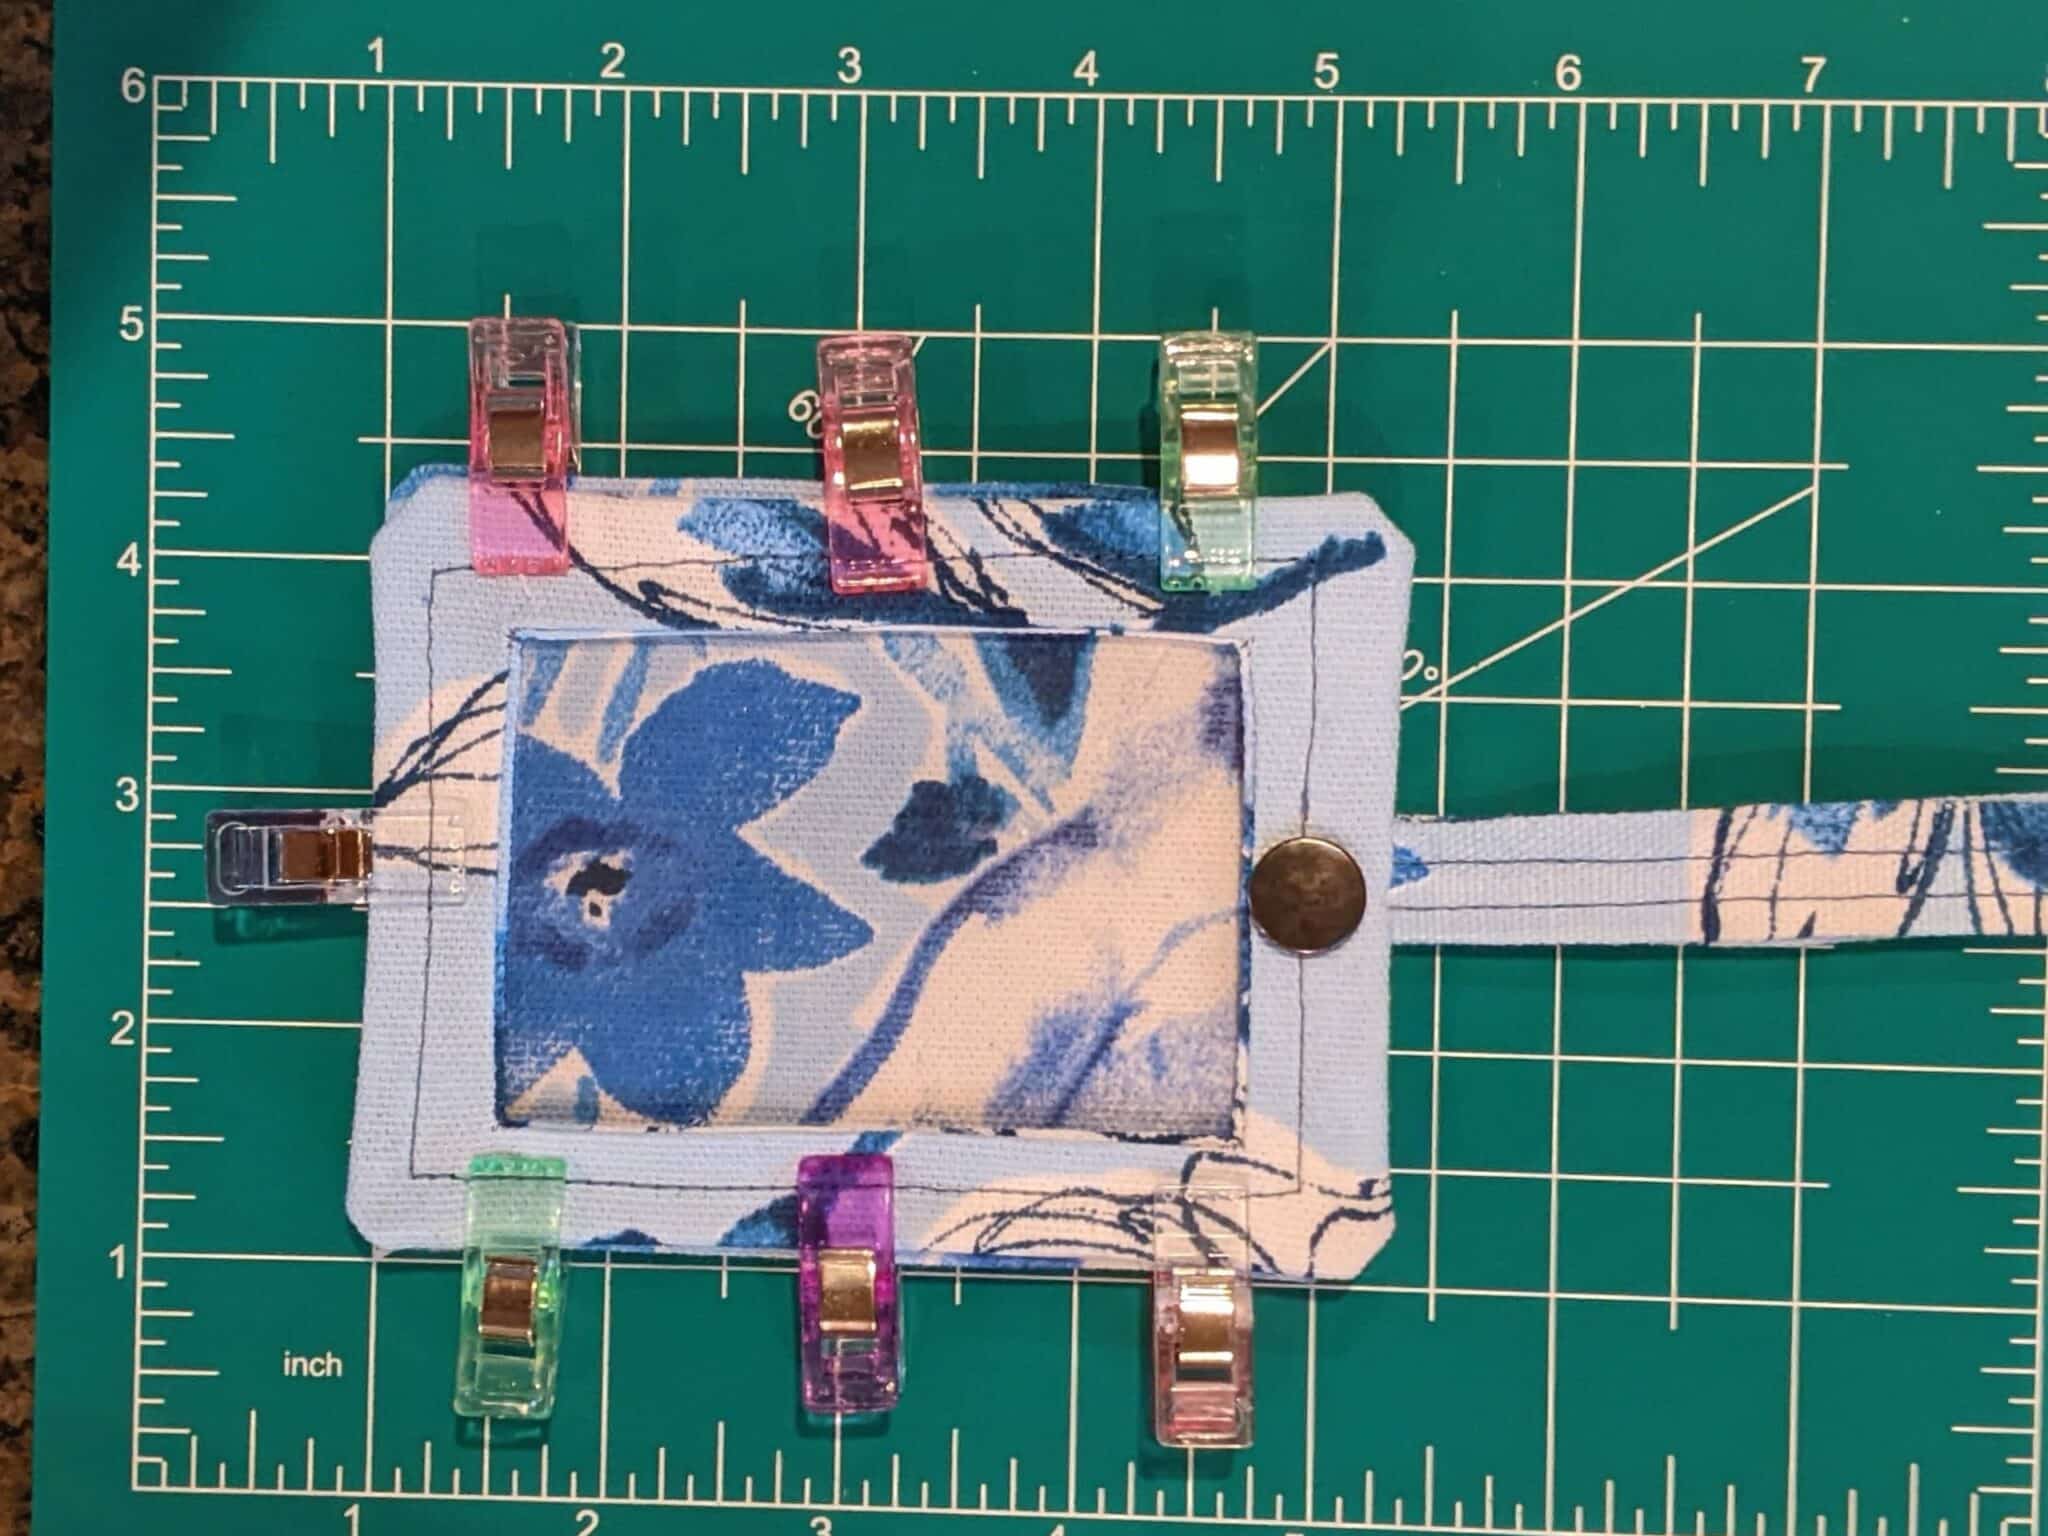
- Stack the front piece on top of the back piece and pin along all the edges except for the loop end.
- Sew the two parts together with a ¼” seam allowance. Try to sew over the previous stitching on the top piece.
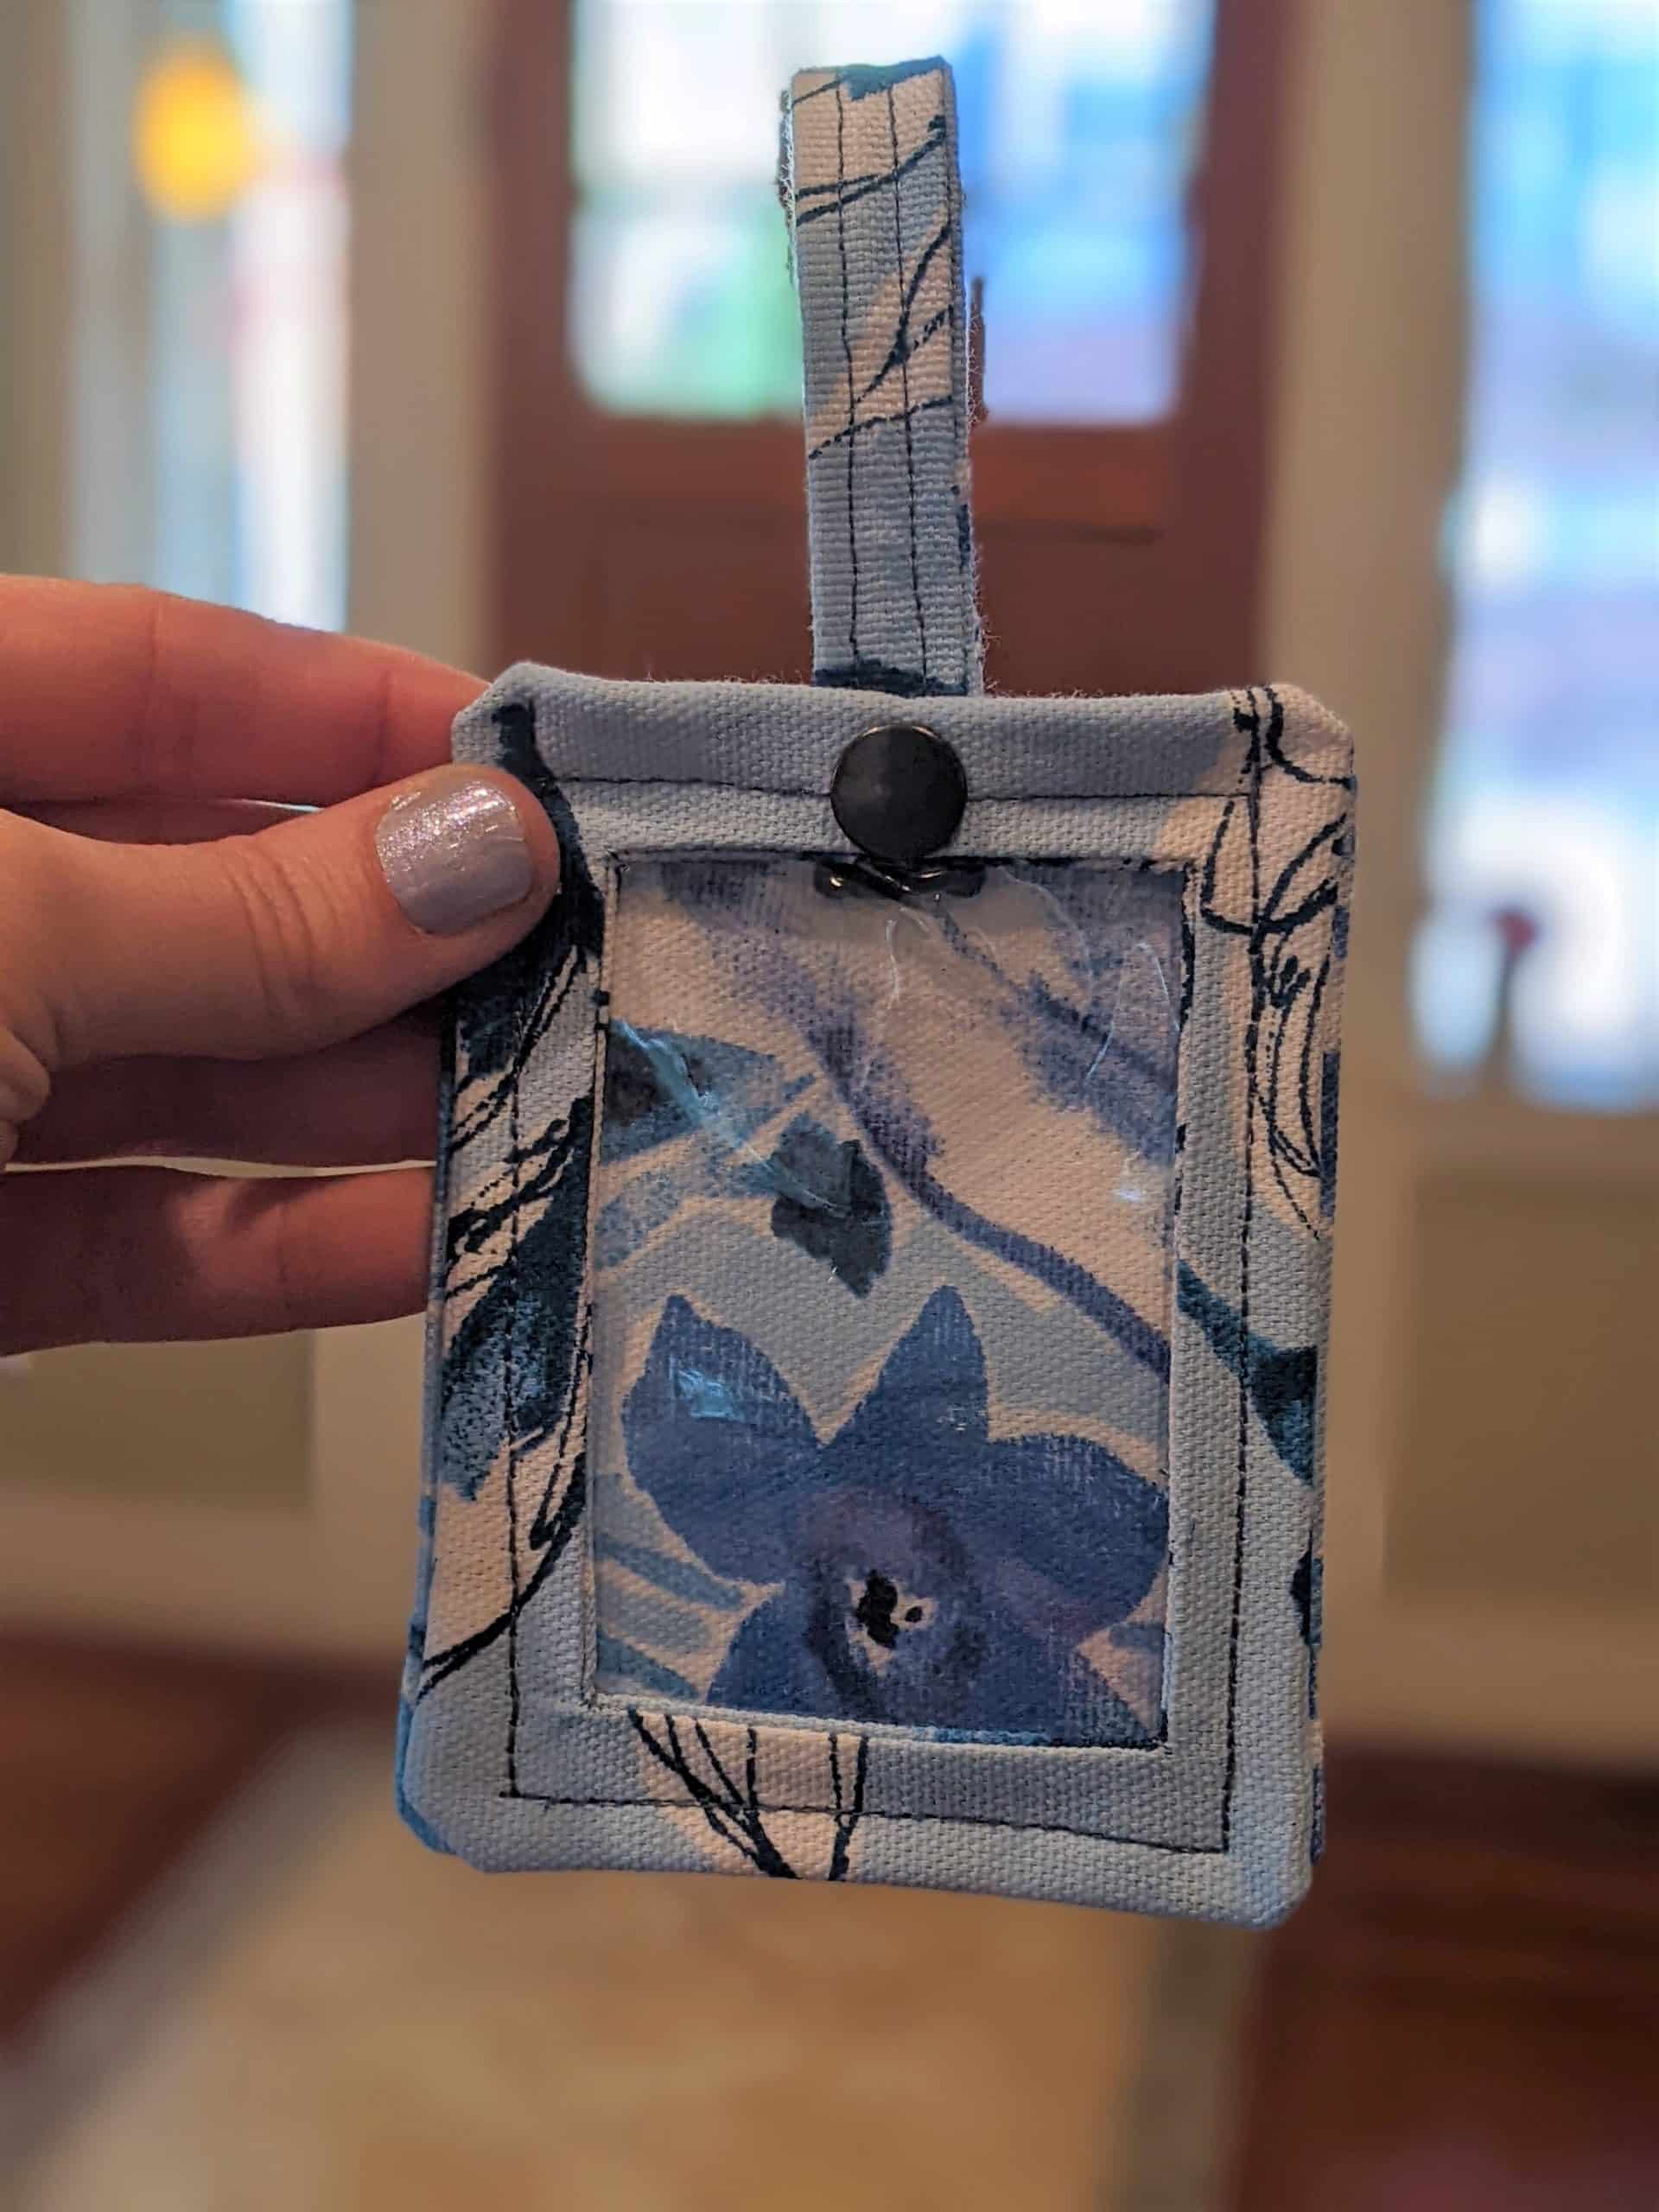
- Fold the loop over to the snap and attach the opposite side of the snap to the end of the loop.
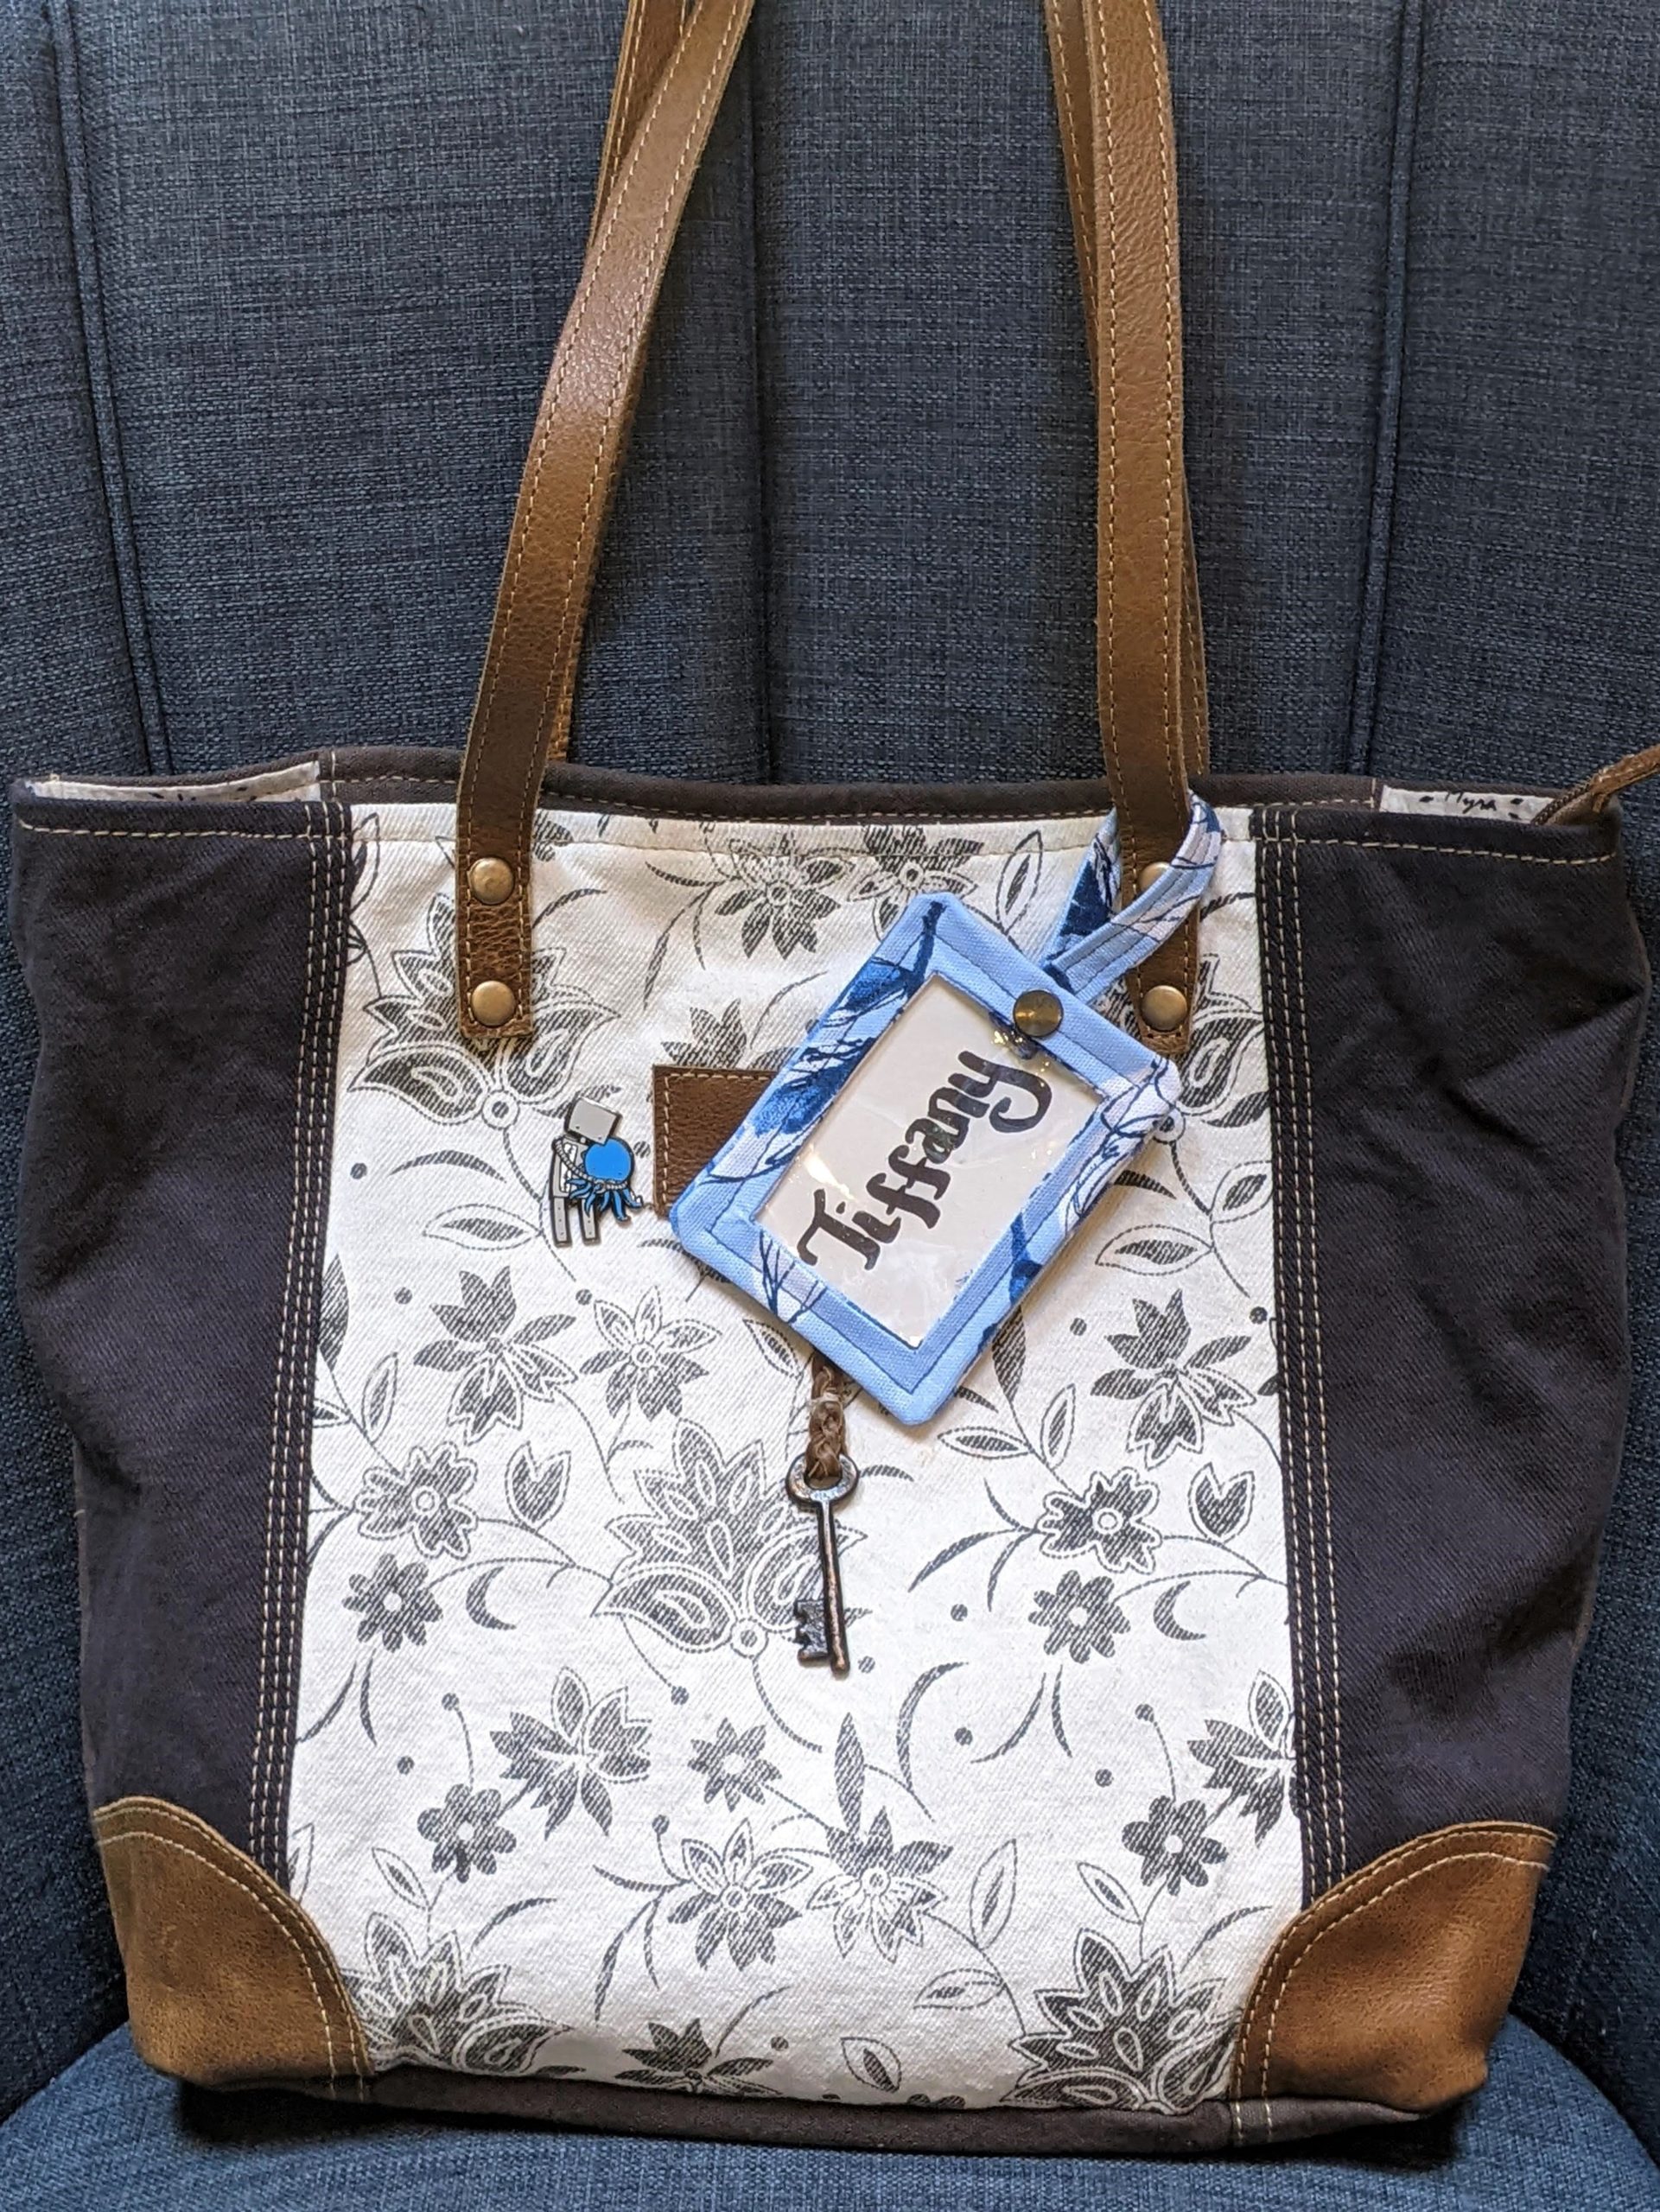
Now you have at least one thing ready for that vacation you’ve been dreaming about!
Want more FUN DIY Freebies? Check out the FREEBIE TUTORIALS and the FREEBIE PATTERNS!
As always, we’re here to help if you need it! Join us HERE and on Facebook, Instagram, Twitter, Youtube, and Pinterest. We’re everywhere you are.
Leave a Reply