
Removable cups
Just joining us? Don’t forget to take a look at the first post in the series on how to sew in bra cups. You can find it here: Let’s Go Swimming! 🙂 Today I am going to show you how to sew your tankini for removable bra cups. I used our Agility tank, the nursing a-line with the T-back. You can upcycle cups from your previous ill-fitting store bought suits or I have found them at Sew Sassy. You will also need nylon spandex or polyester spandex for your main fabric and swimsuit lining. If you feel you need more support than standard swimsuit lining will provide, you can use a more supportive fabric for one layer. Check out our blog on supportive fabrics.
Here are the changes to the pattern pieces you will need to make to turn each of our Agility tank options into a tankini.
A-line Nursing version: calls for 2 Nursing Layers and 2 Bra Backs. You are going to cut 2 Nursing Layers from the lining and 1 from your main fabric and 1 Bra Back from the lining and 1 from the main fabric.
A-line Regular version: calls for 1 Bra Front and 1 Bra Back. Cut 2 Bra Fronts and 1 Bra Back from the lining fabric.
Overlay Nursing Version: calls for 2 Nursing Layers. Cut 2 Nursing Layers from your lining fabric and 1 from your main fabric.
Overlay regular version: calls for 1 Bra Front. Cut 2 Bra Fronts from your lining fabric and 1 from your main fabric.
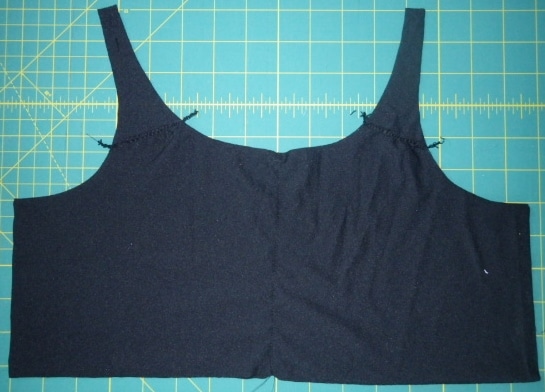
Cut all other pieces as described in the pattern. I have all my pieces laid out with my two nursing layer pieces and bodice back cut from lining on the right of this picture.
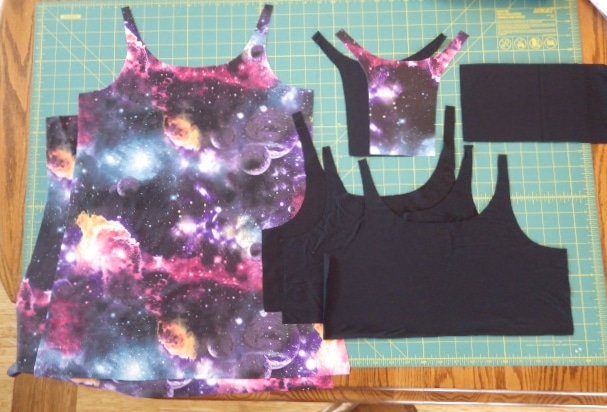
All pieces, linings on right
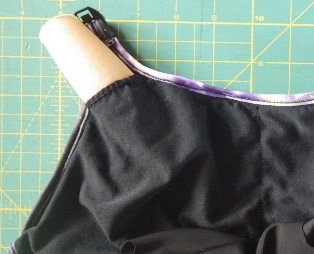
Create your opening for the cup insertion by taking one of your front lining layers (Nursing Layer or Bra Front depending on which version you are making) and fold it in half. Lay out your ruler and decided where you want access. I made my cut two inches across. Remember that binding will be applied, so your opening will be that much smaller. I chose to serge the edge of the access opening I just created. If you do not have a serger you could use an overlock stitch or leave it unfinished since it’s knit and should not fray.
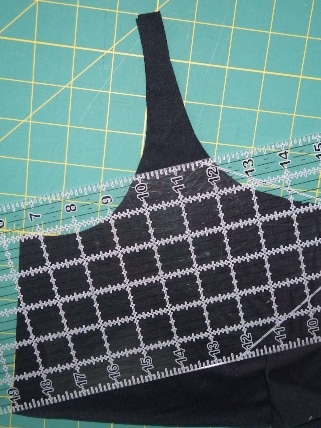
Determine your access point
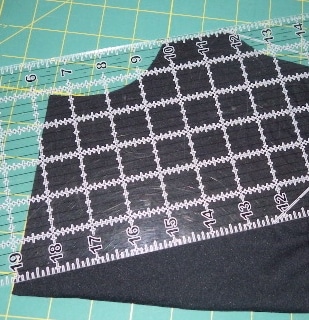
Access Cut
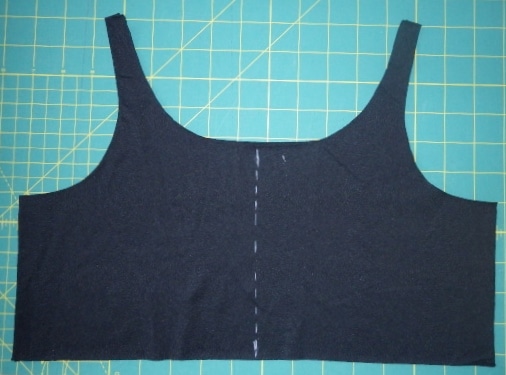
Next, stack your two lining layers and draw a line down the center using a fabric marker. Stitch using a stretch stitch or small zig zag.This will create two smaller pockets areas to help keep your cups from shifting.
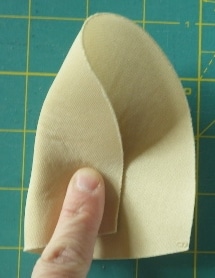
Continue making your tankini according to the tutorial. When it comes time to swim, simply fold up the cup, insert it through the opening you created, and adjust as necessary.
Enjoy your new tankini! If you prefer a tankini with sewn-in bra cups, read our post on those here.

Join us on Facebook in the 5 Out of 4 Patterns group to show off your creations, ask questions, and see upcoming releases.

Leave a Reply