
It’s been awhile since I’ve made myself a Jenny Tunic and I thought I’d make some adjustments to it to be straight along the bottom and add a hem band. I used a light sweater knit and now I’m ready for fall to start so I can wear all the sweaters!
Pattern
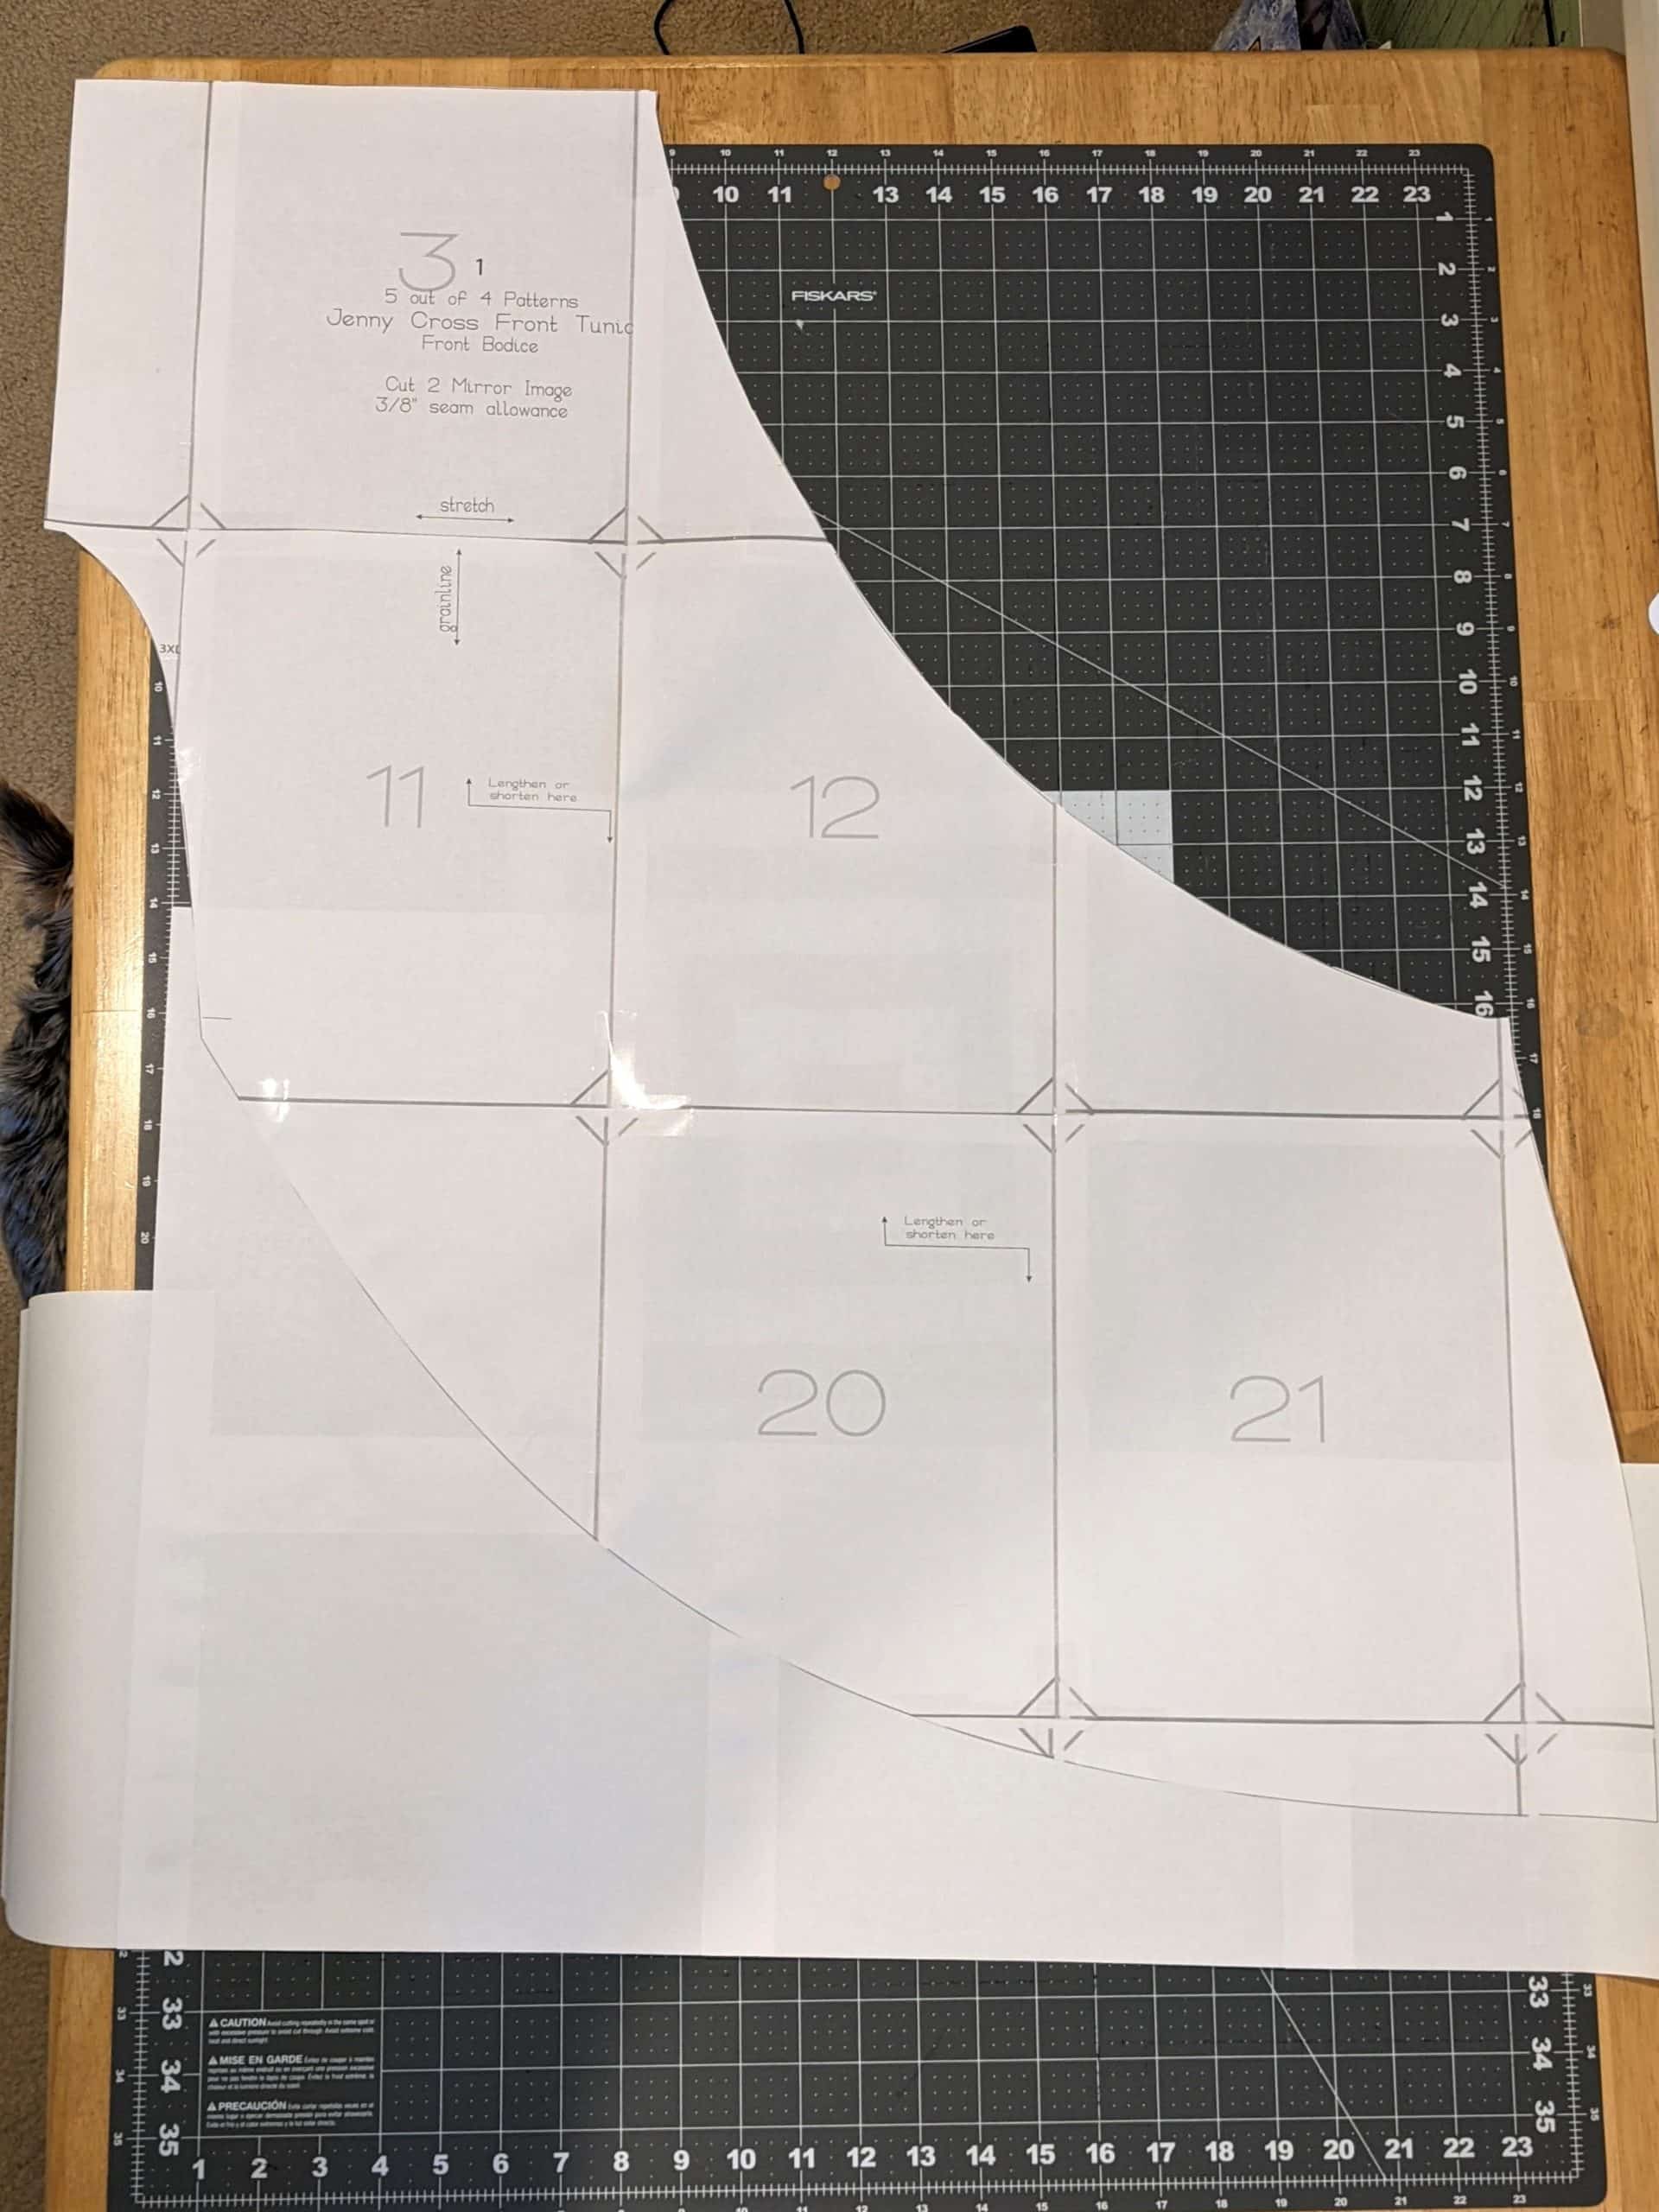
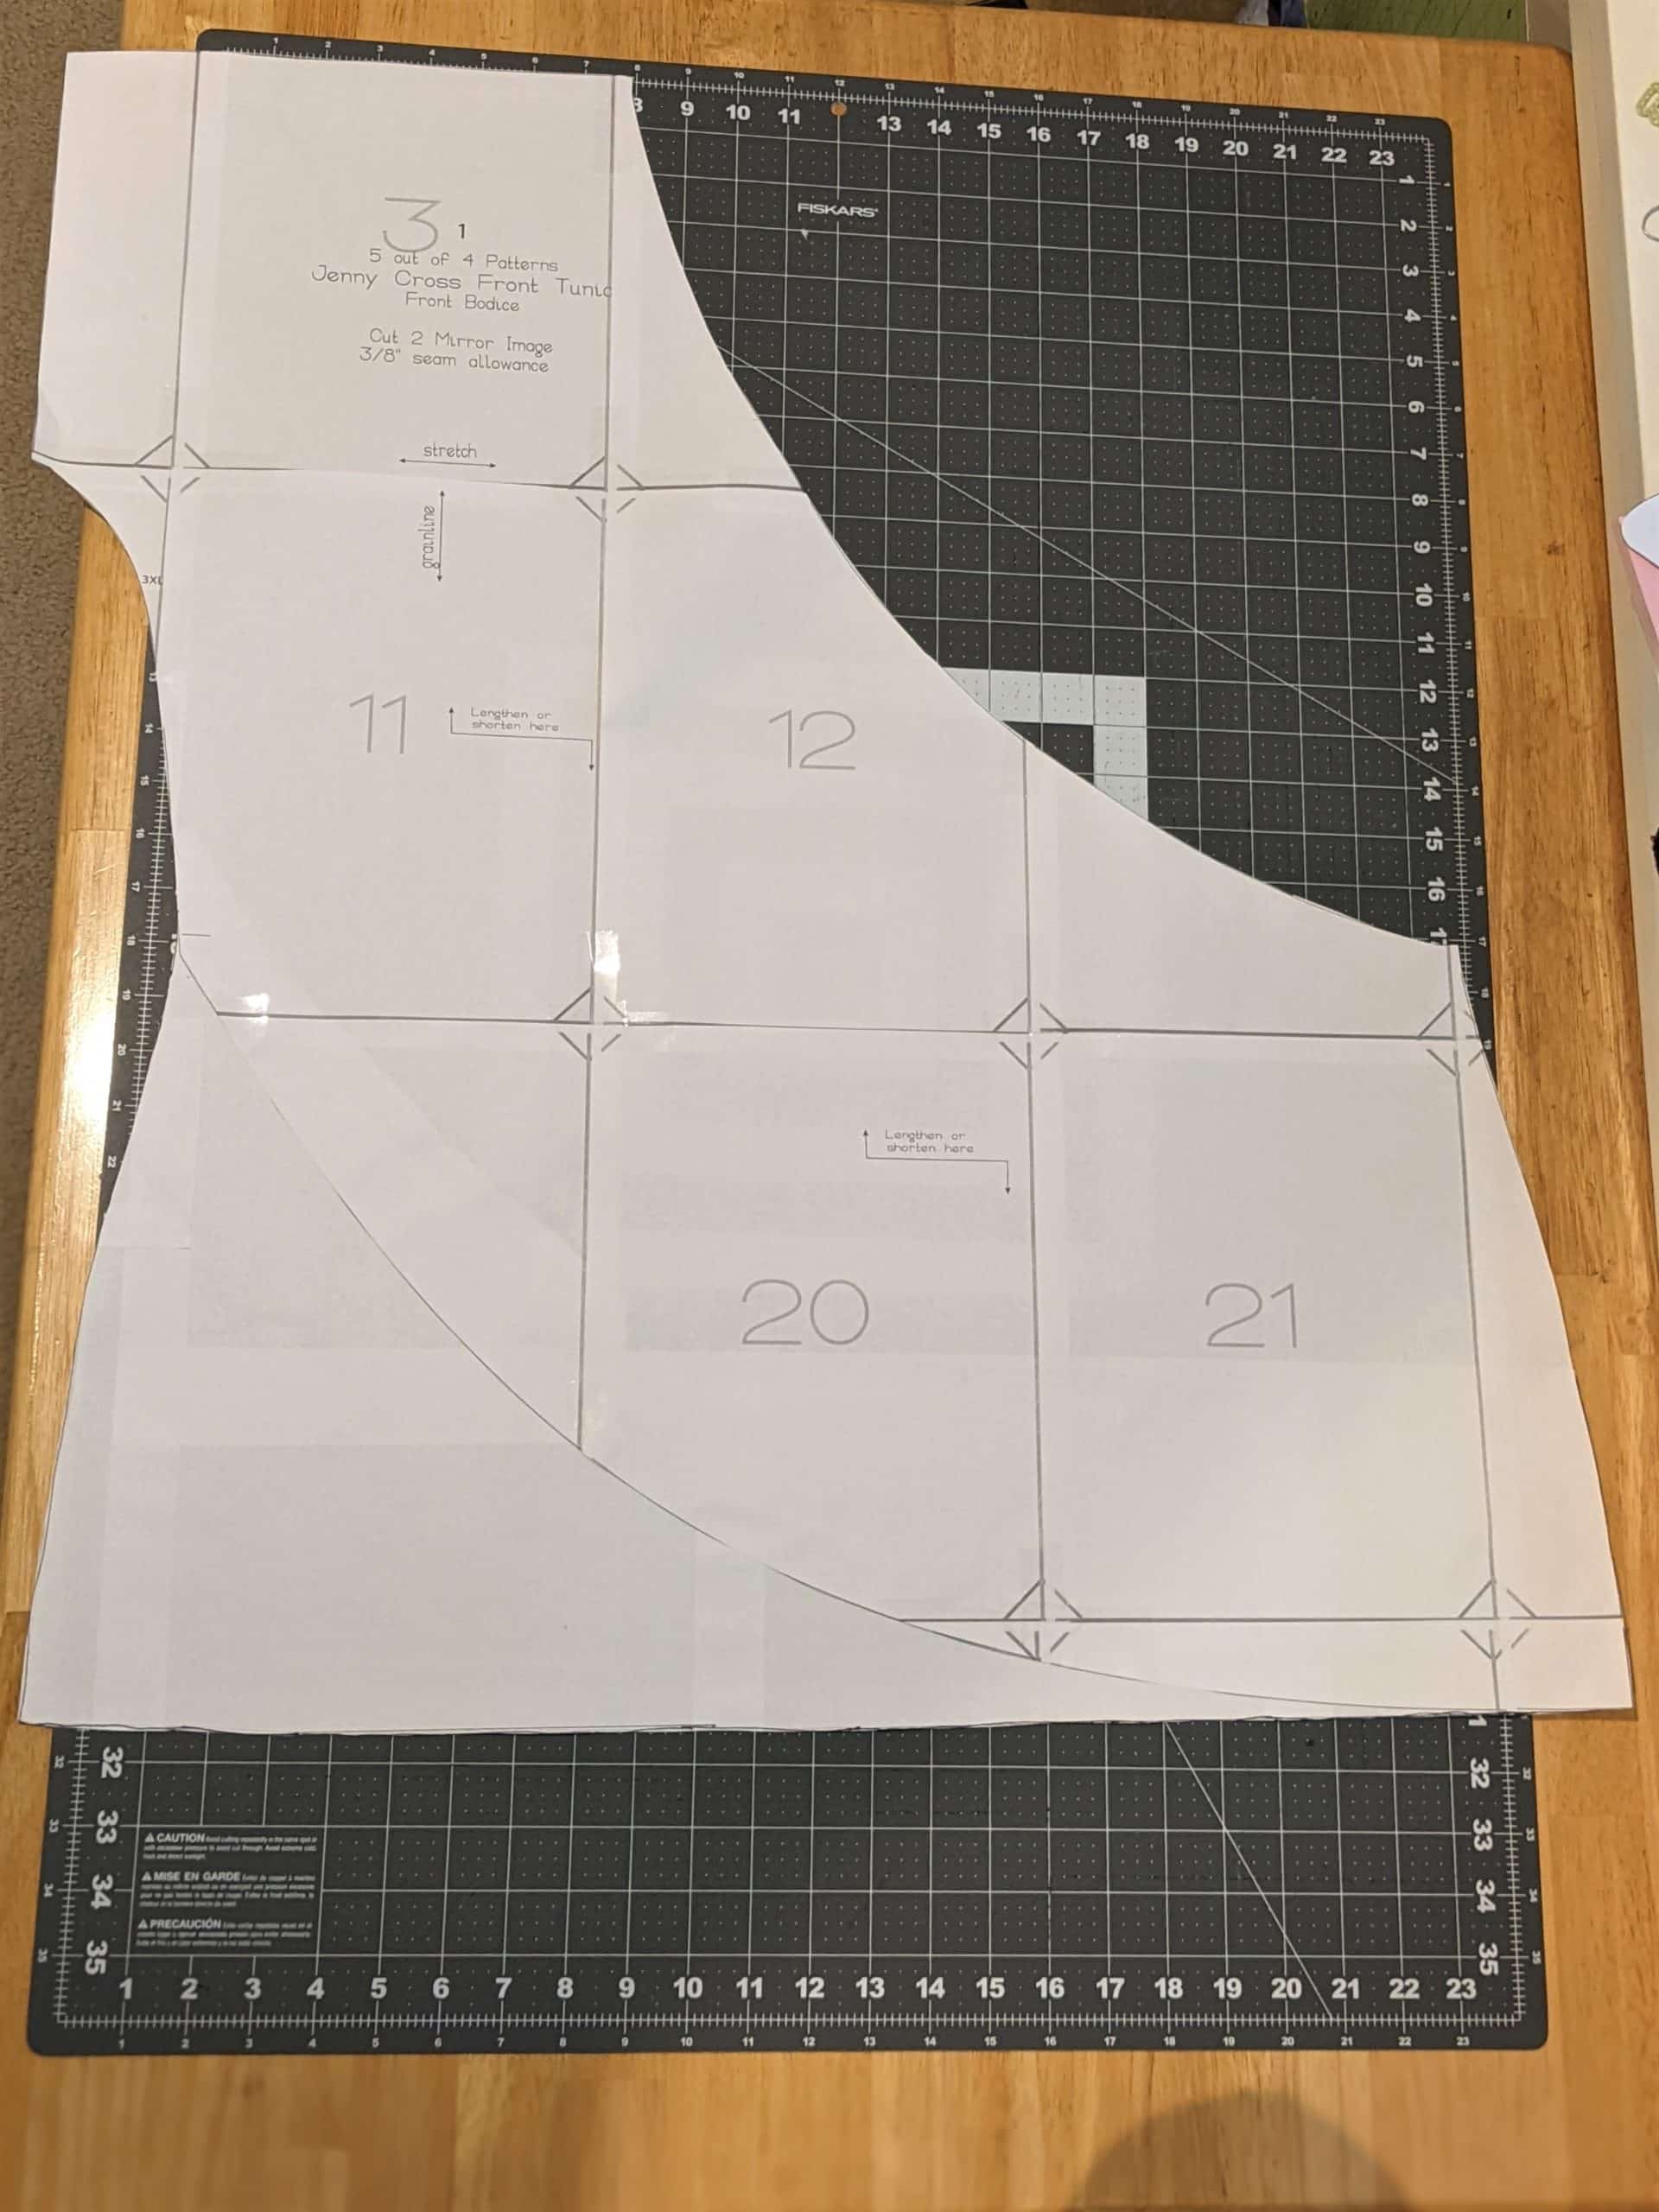
If you don’t already have the Jenny Cross-Front Tunic pattern you can grab yours HERE. Print and assemble your pattern and you are ready to get started.
Front Bodice Adjustments
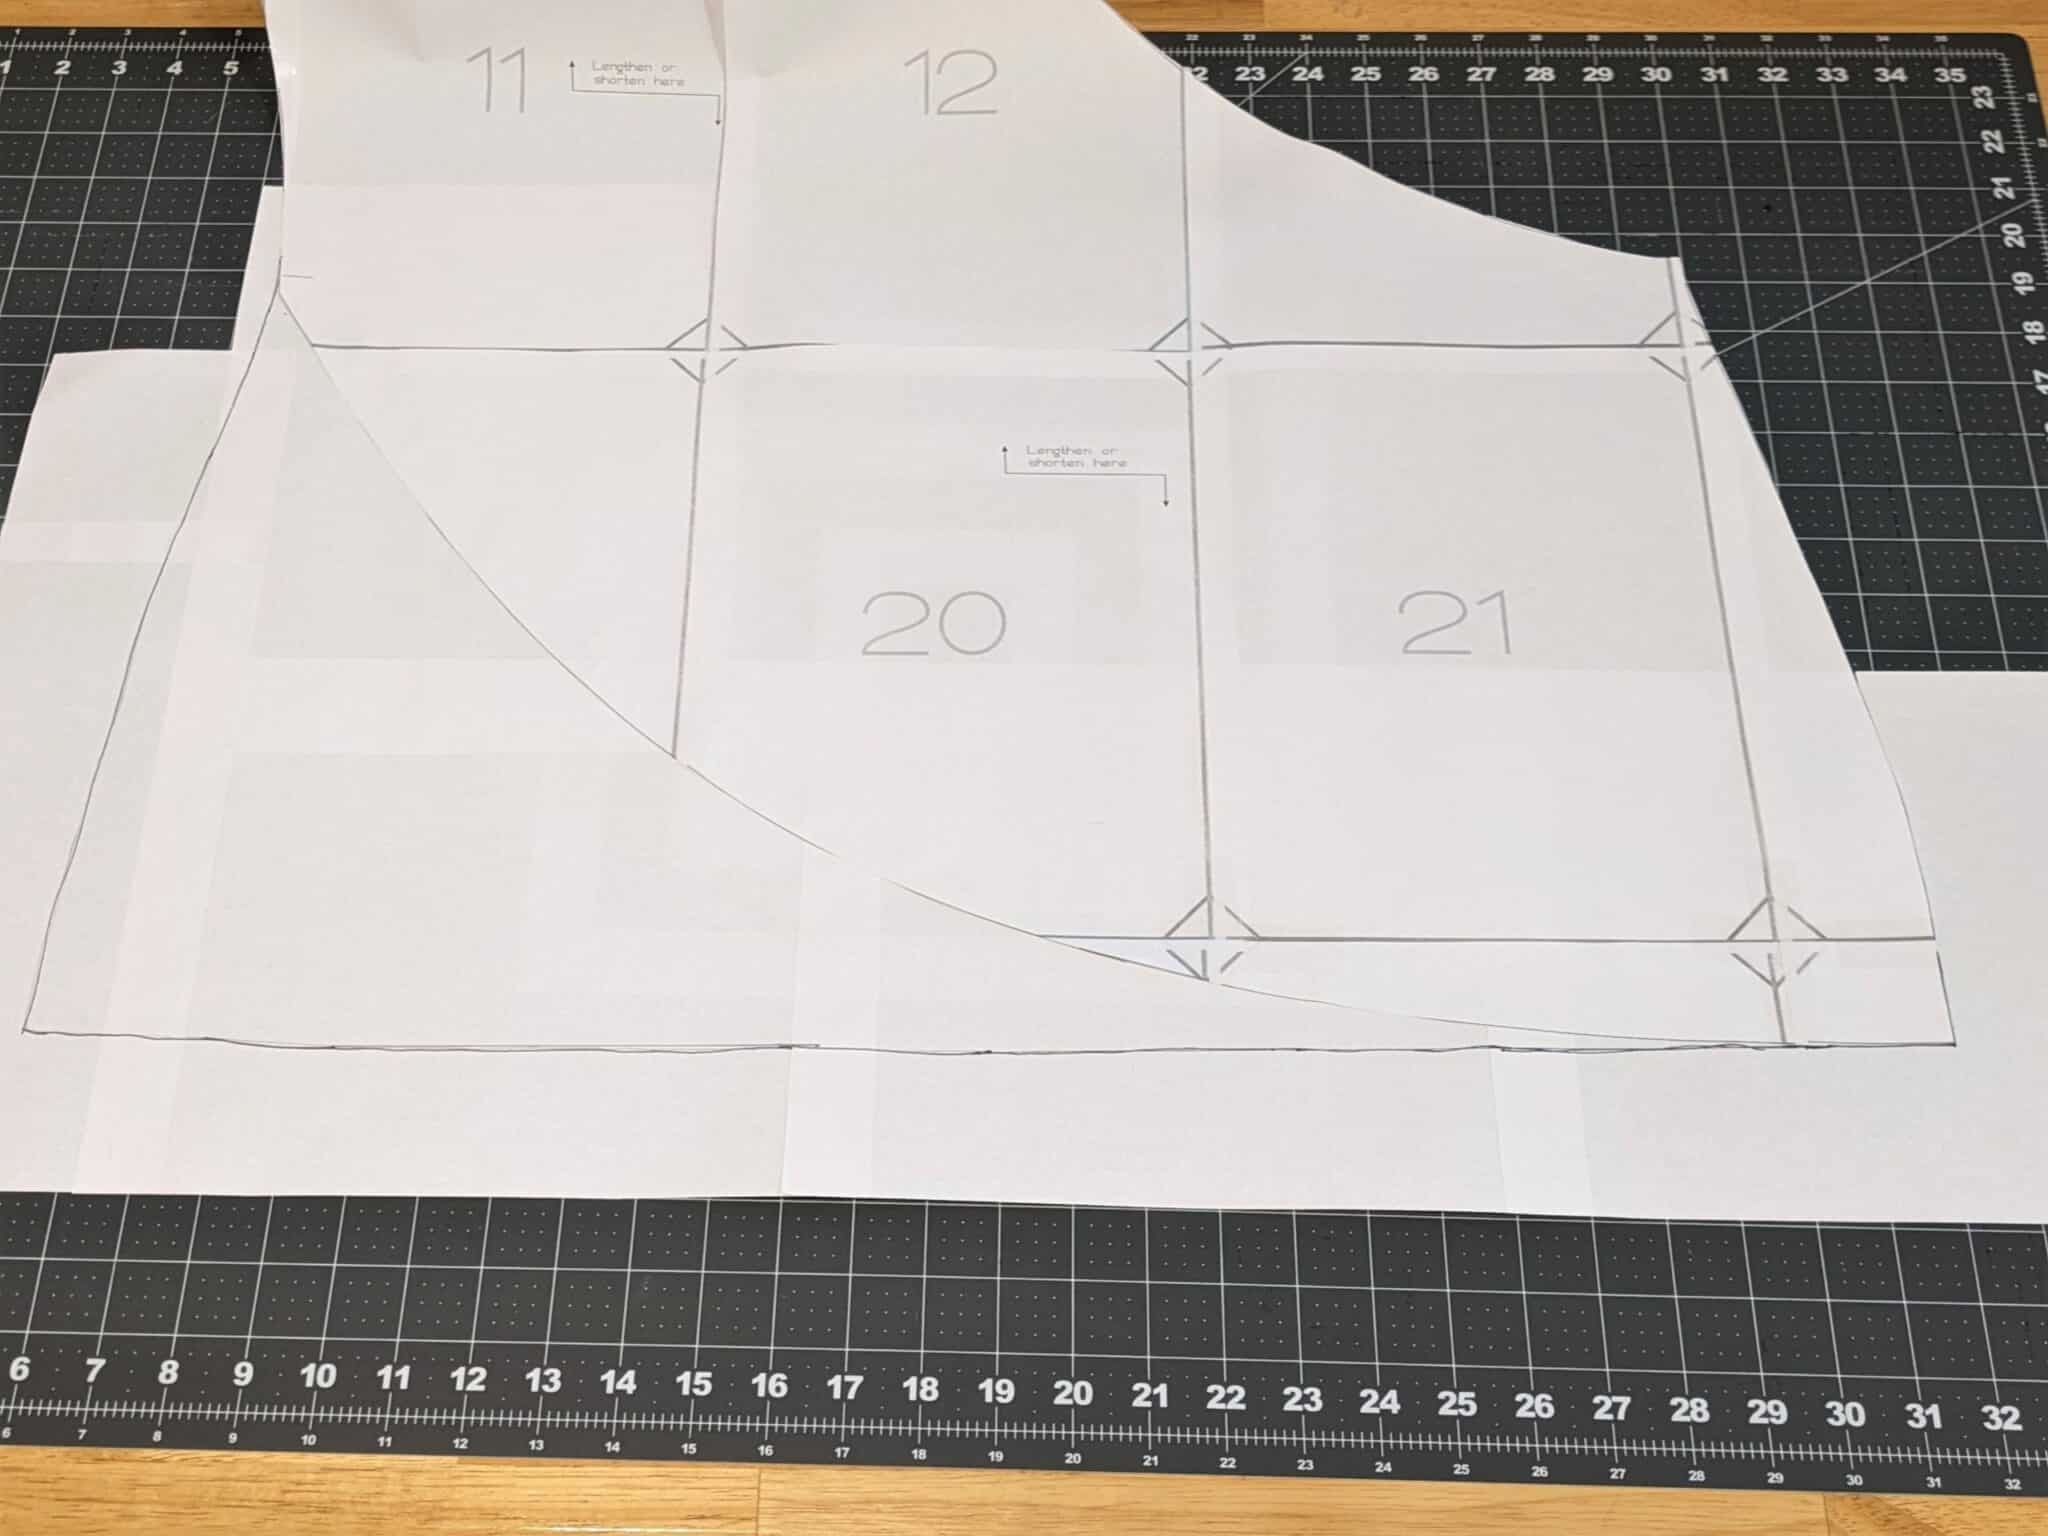
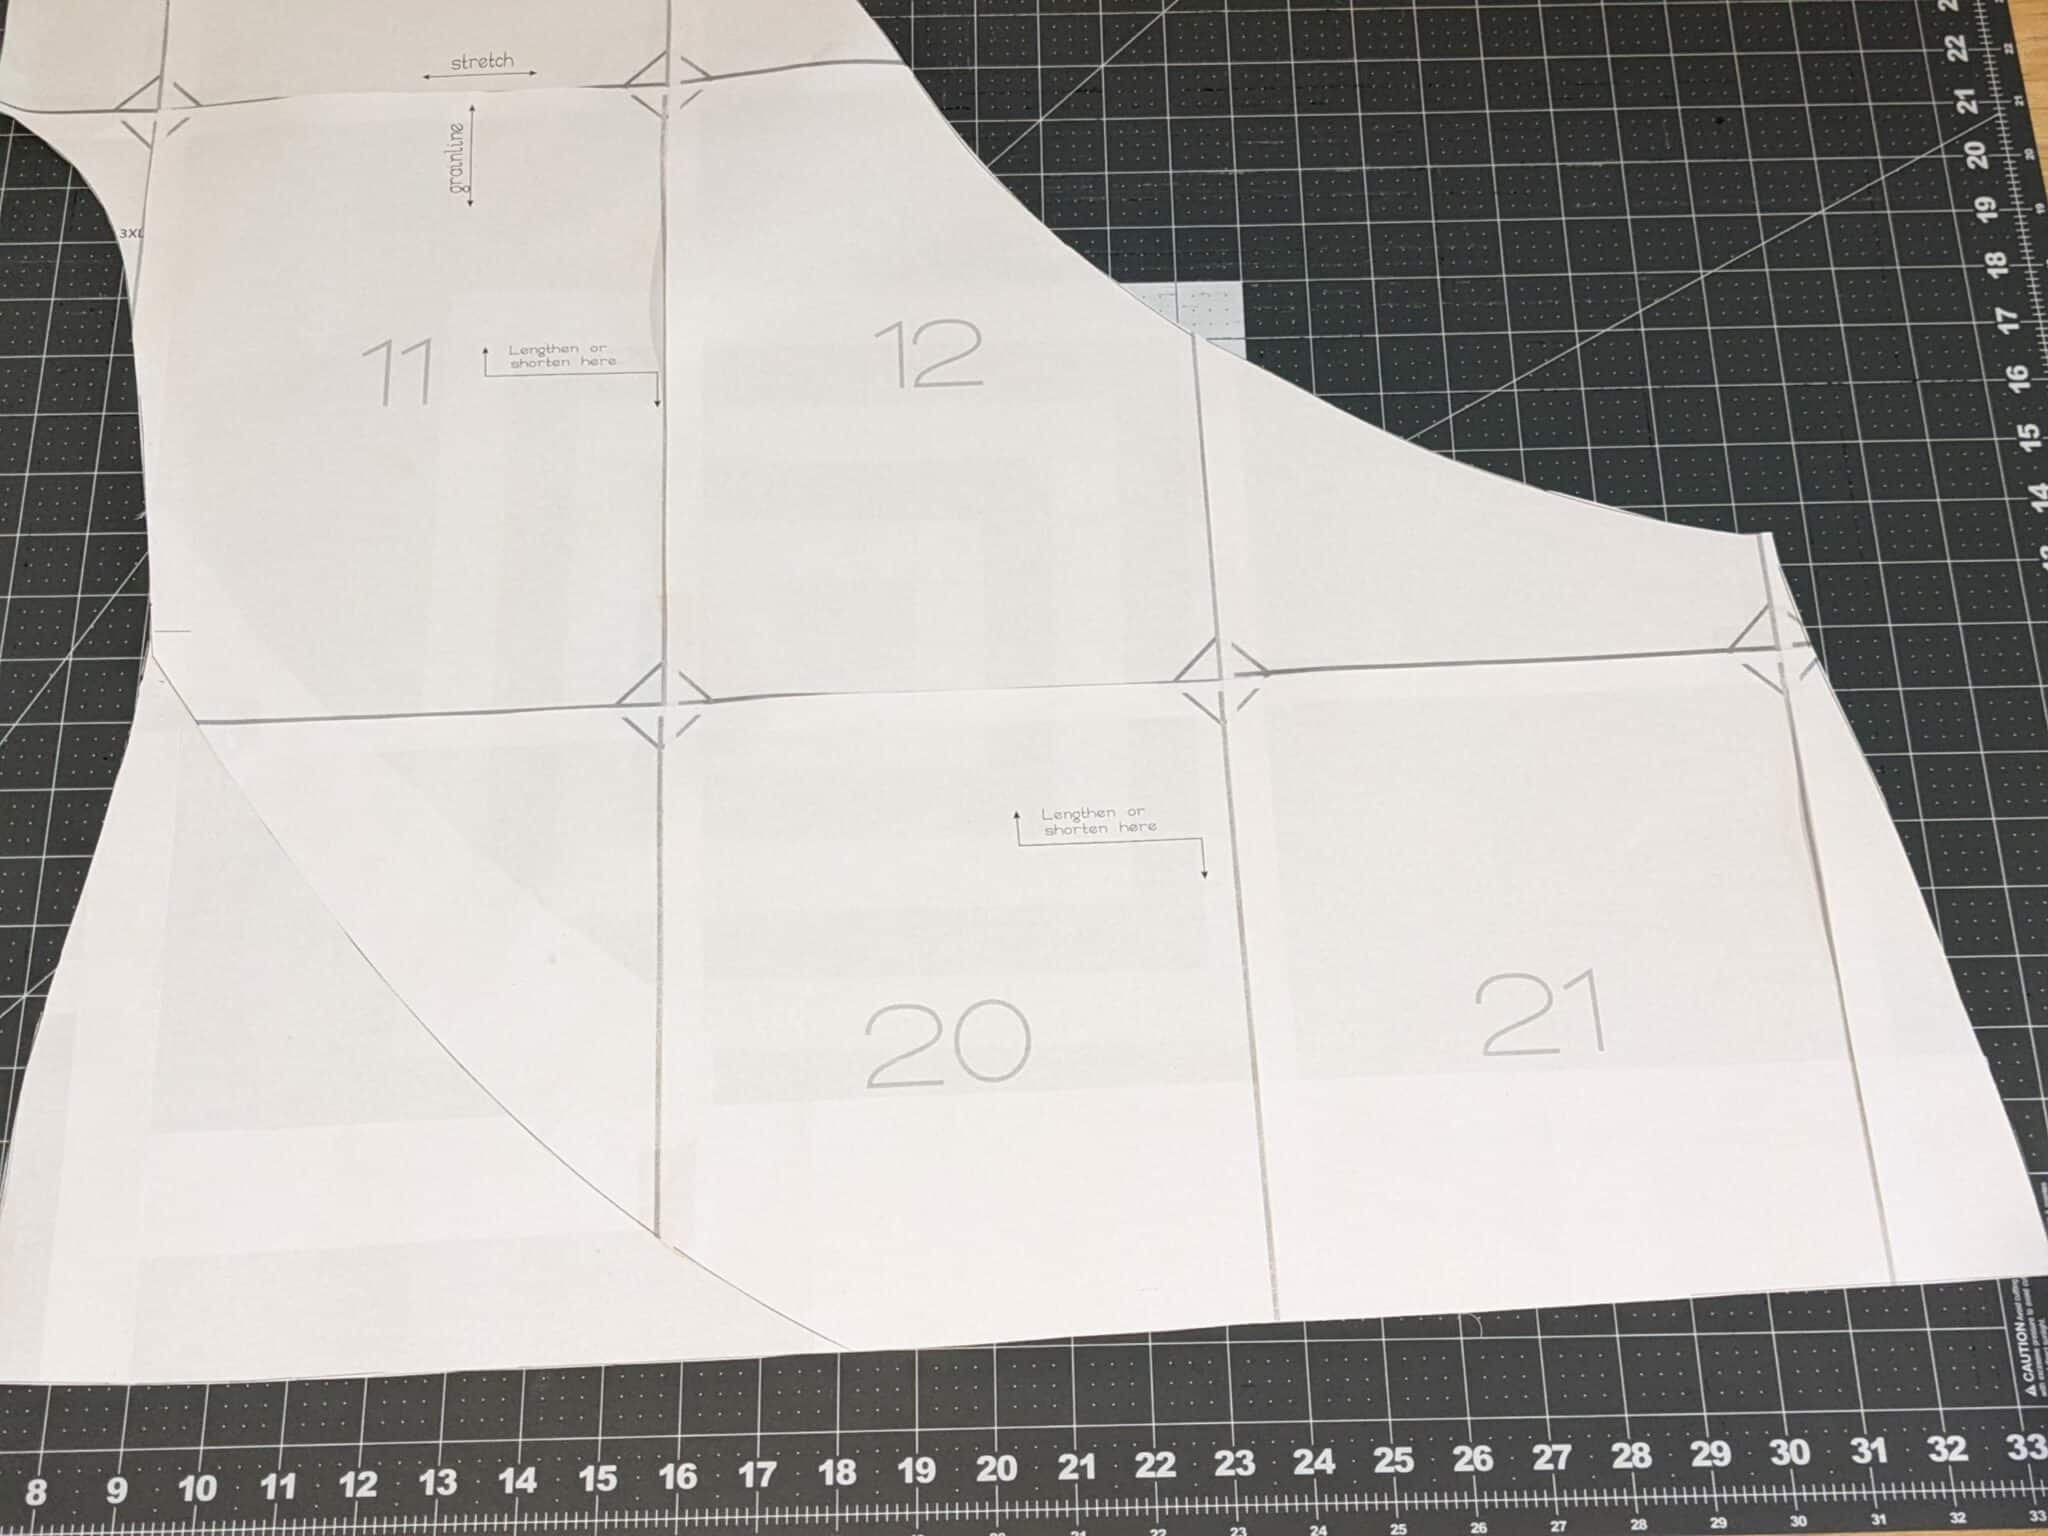
- Lay your front bodice piece out on a flat surface right side up.
- Tape some sheets of paper together or use tracing paper, slide it under the bodice so that it extends below the bottom edge, past each side, and up past where the curve begins. Tape the bodice to the paper.
- Take the back bodice piece, set it right side down on top of the front bodice and line up the shoulders and arms.
- Trace along the outside edge and bottom of the back bodice.
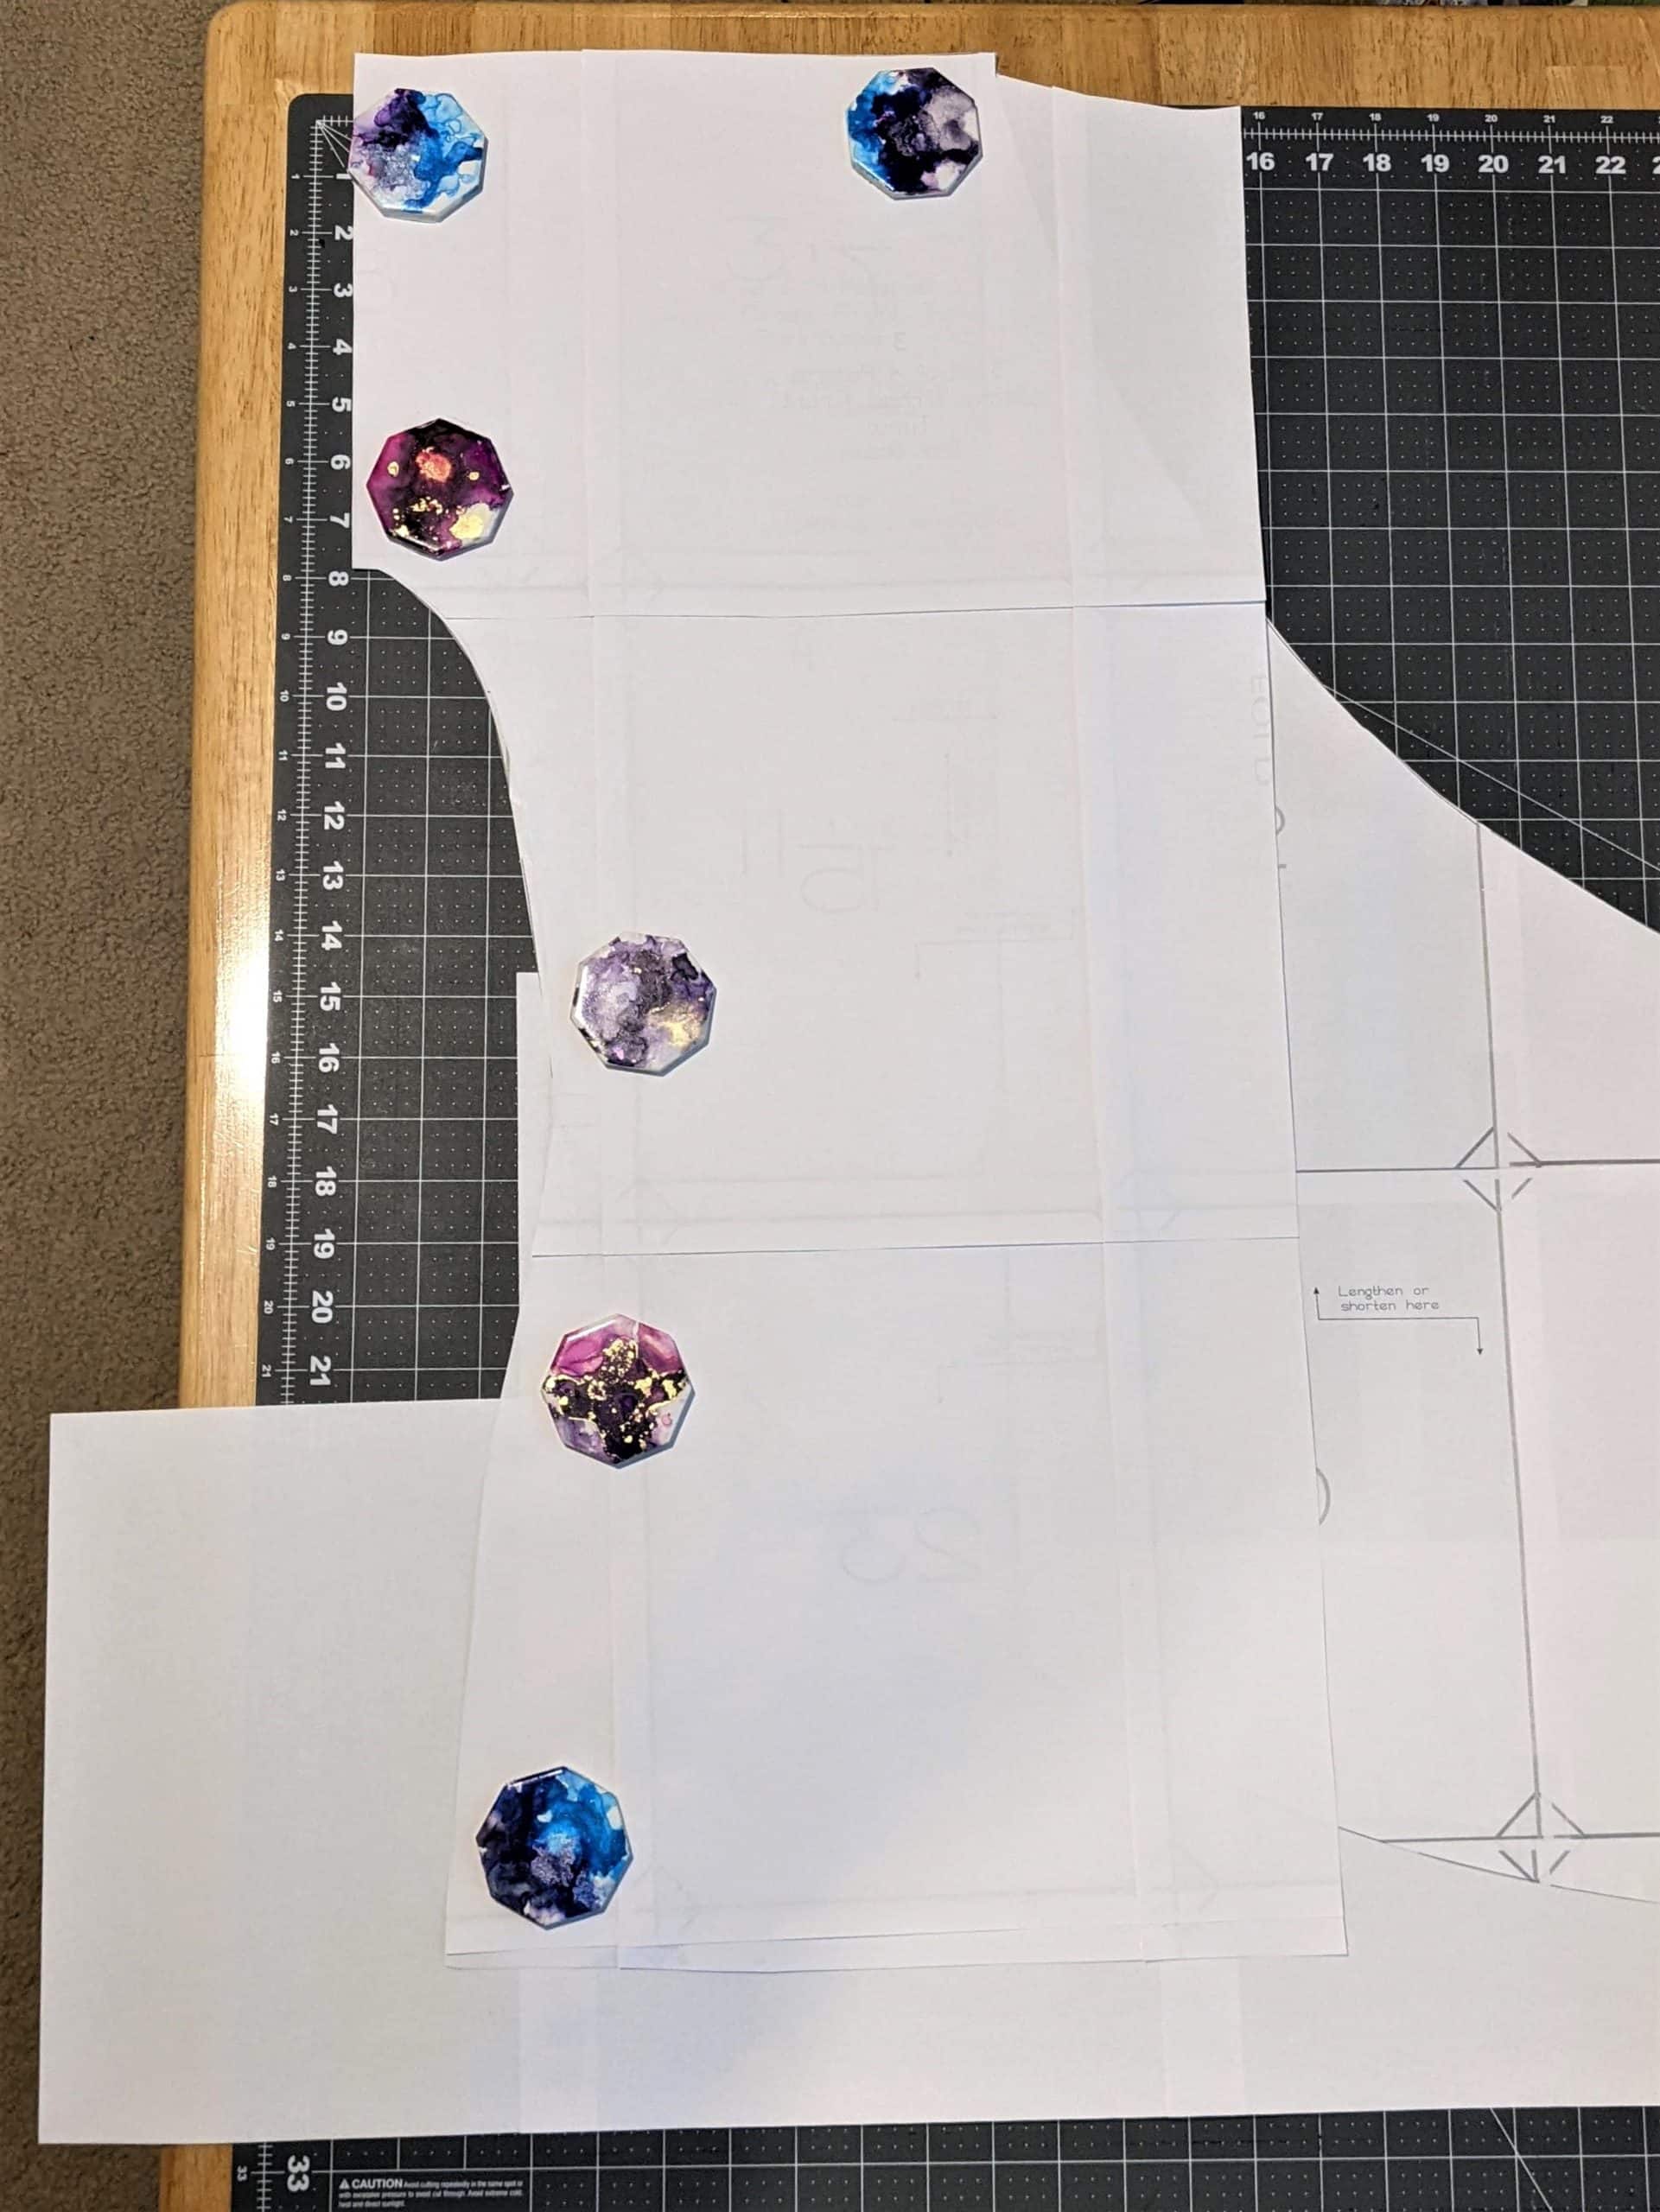
- The back bodice is cut on the fold so it won’t extend to the other side. Take a straight edge and continue the bottom edge all the way across to the outside corner of the curve.
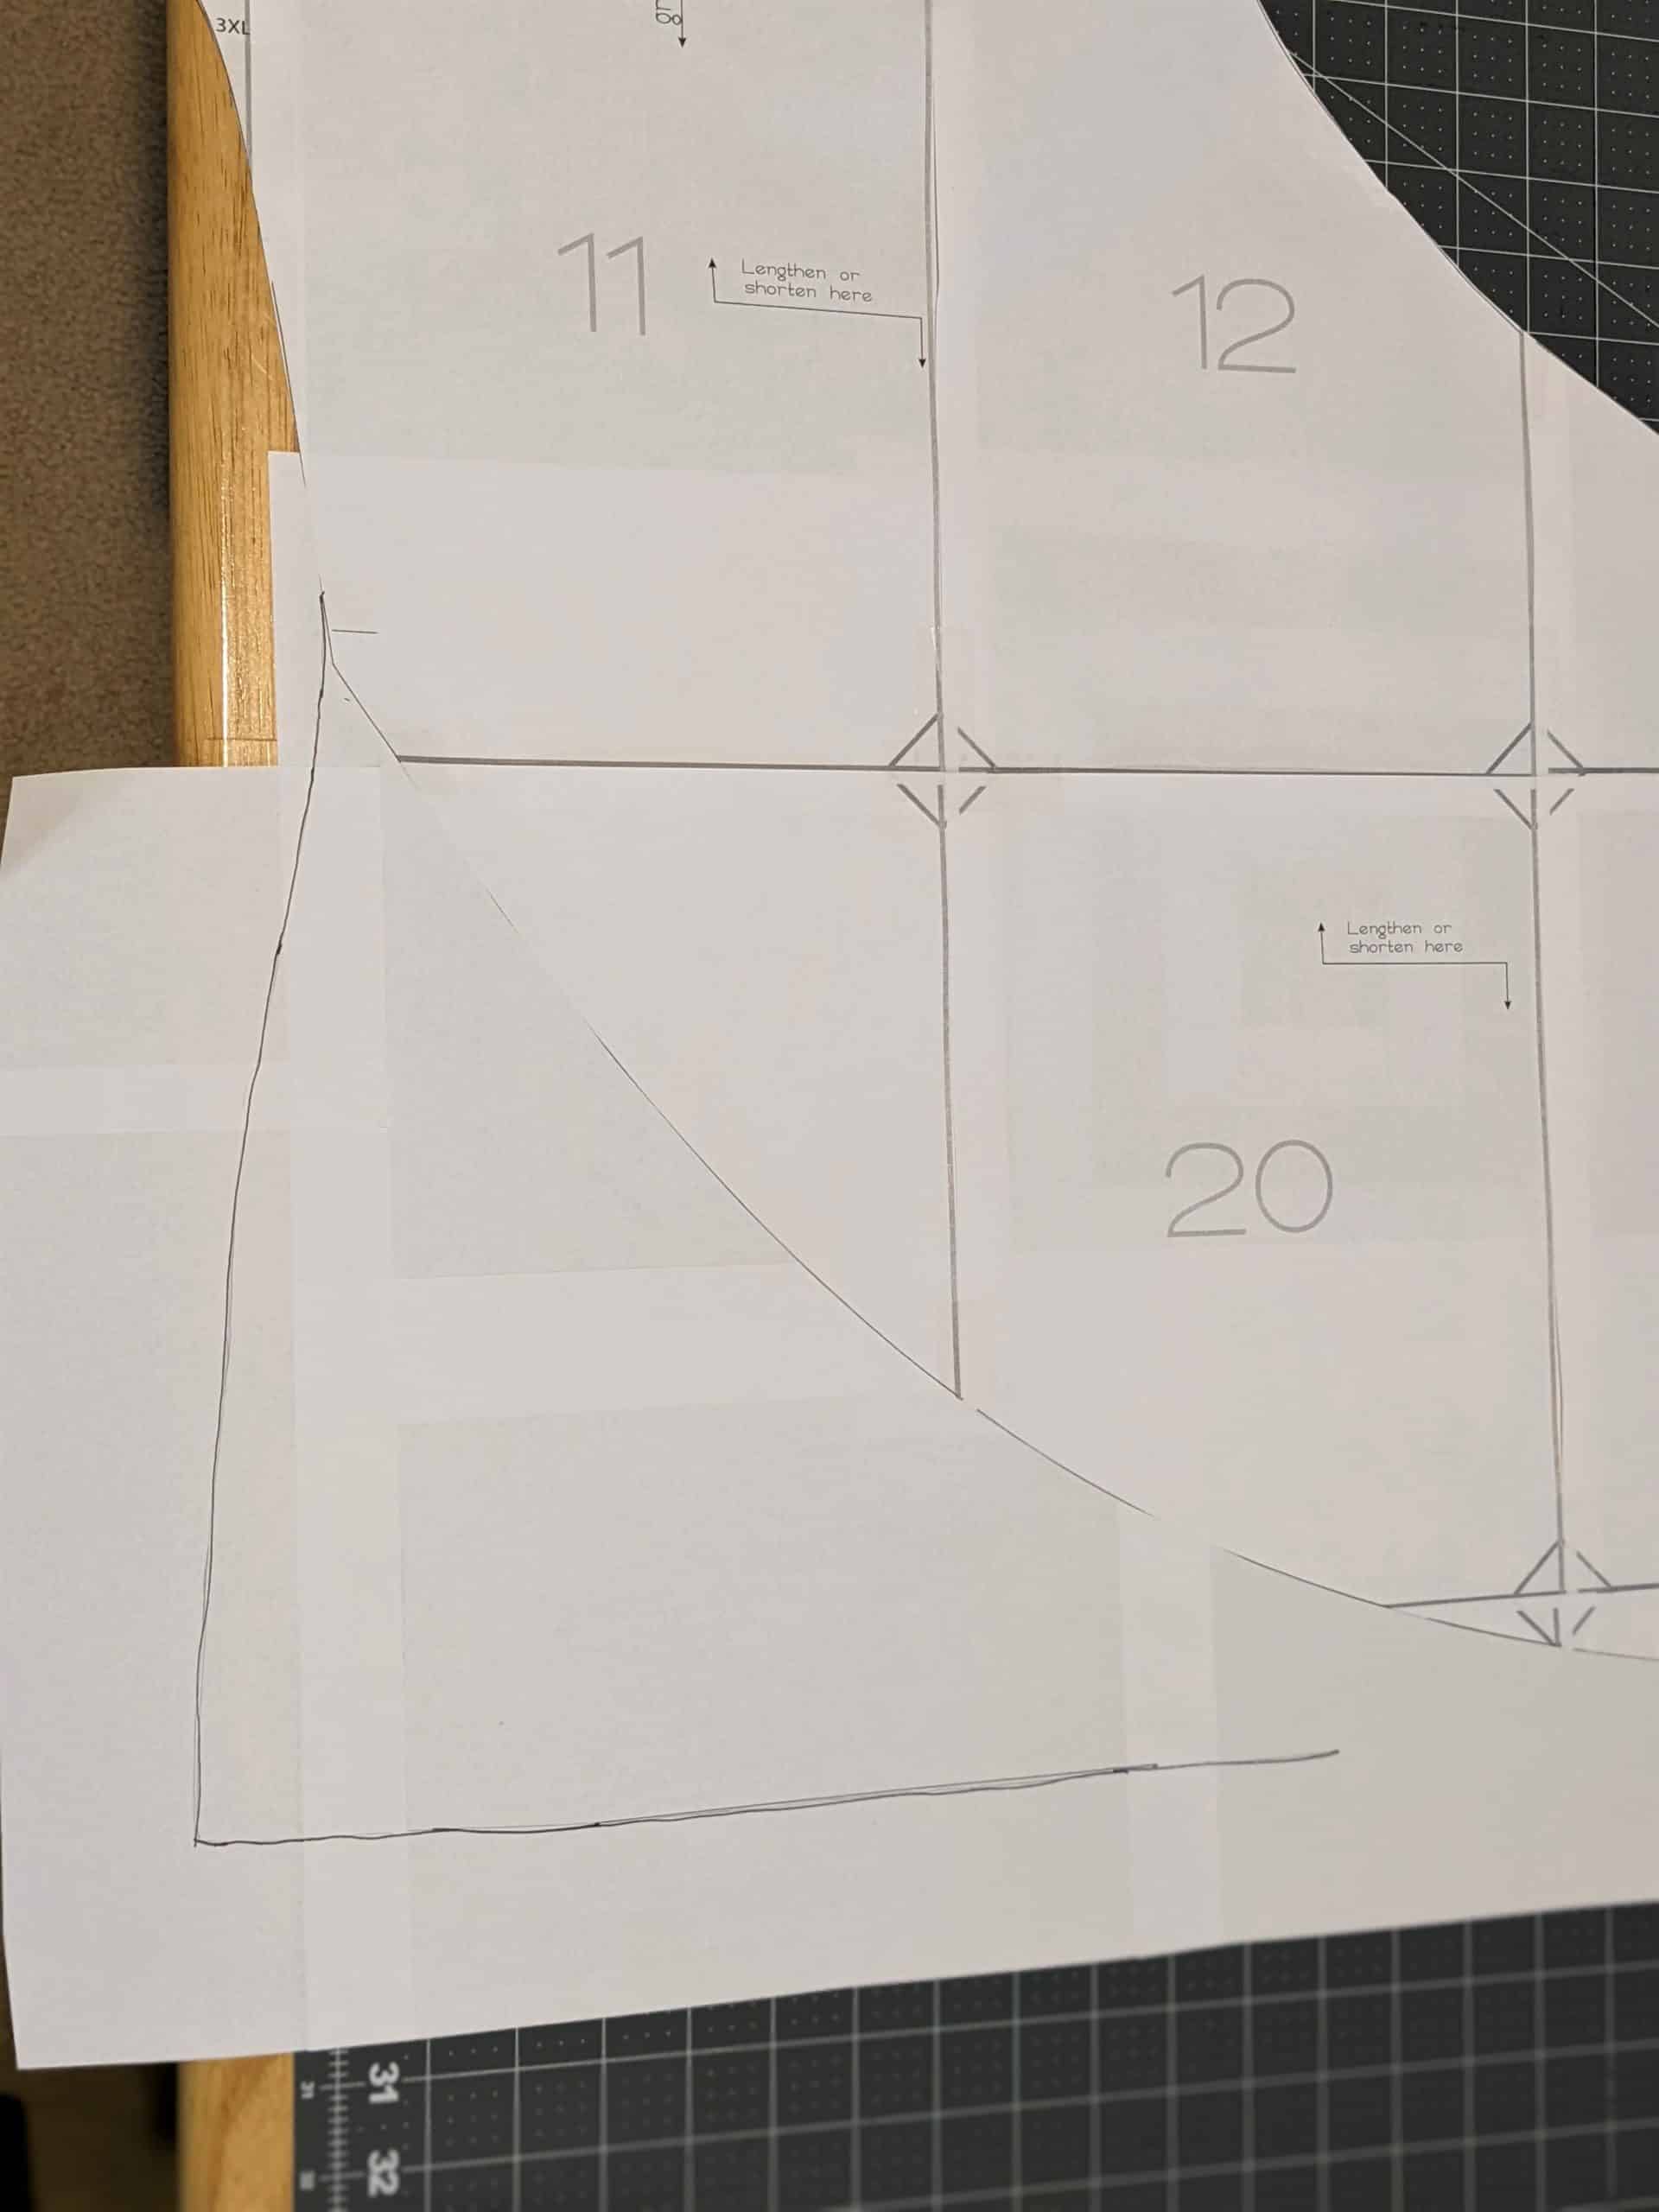
- Cut the front bodice out along your traced edges.
Adjust the Length
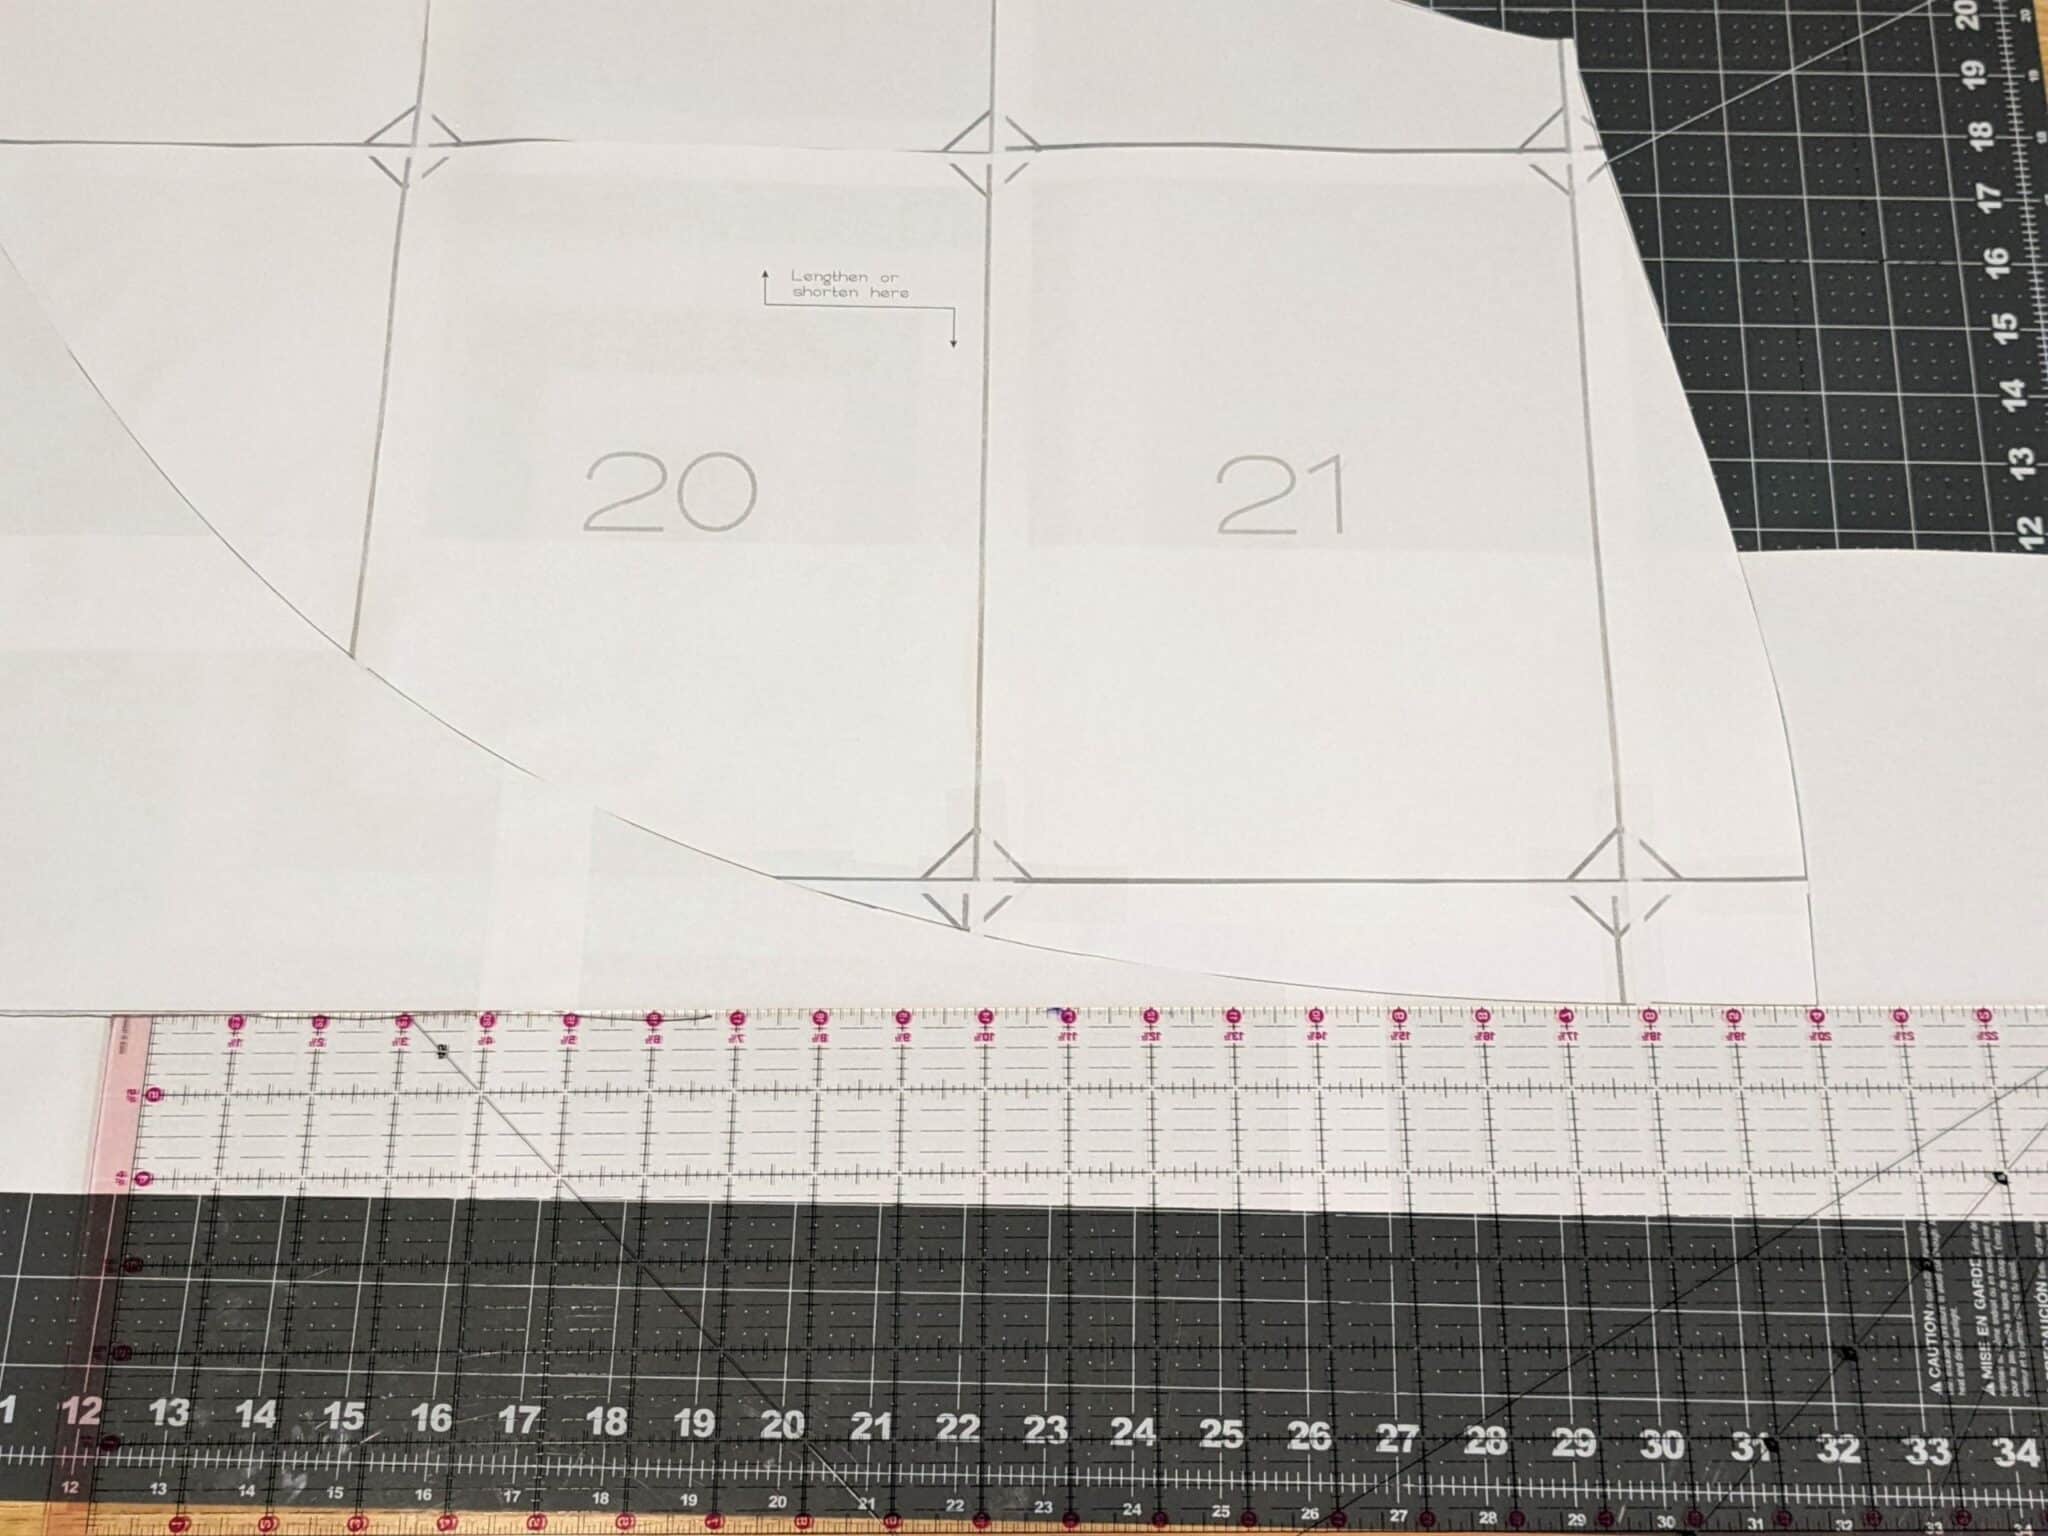
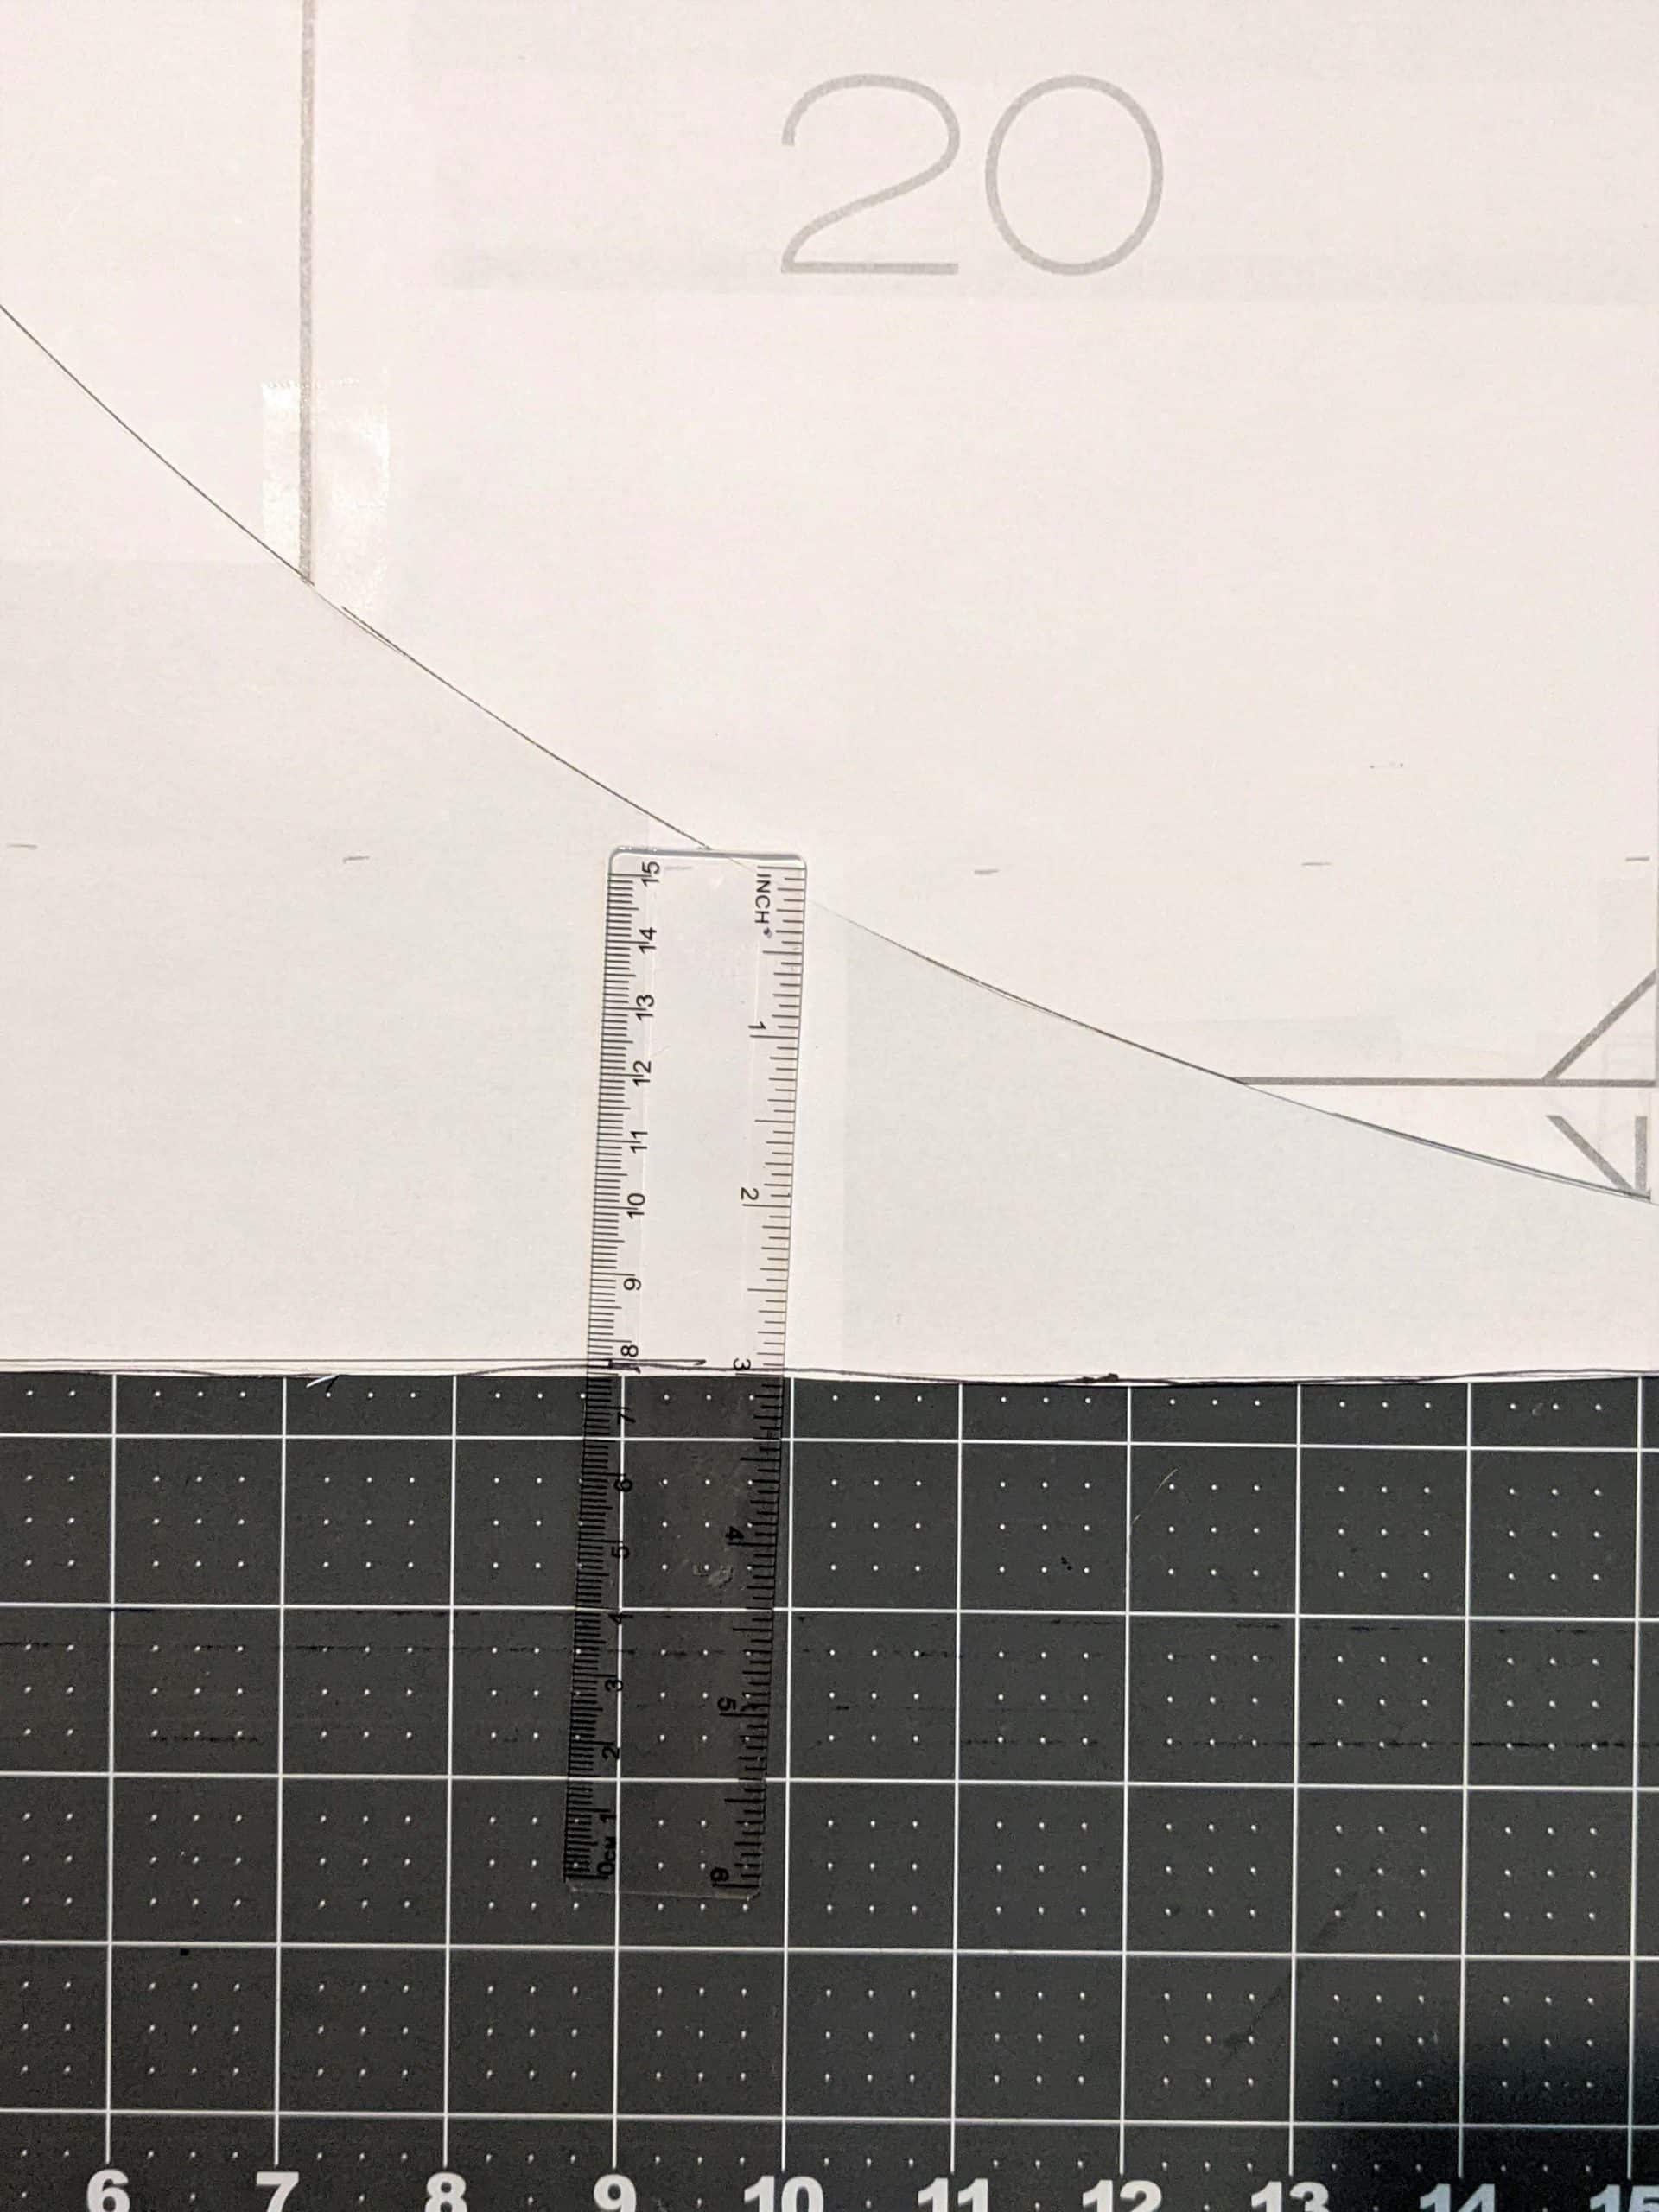
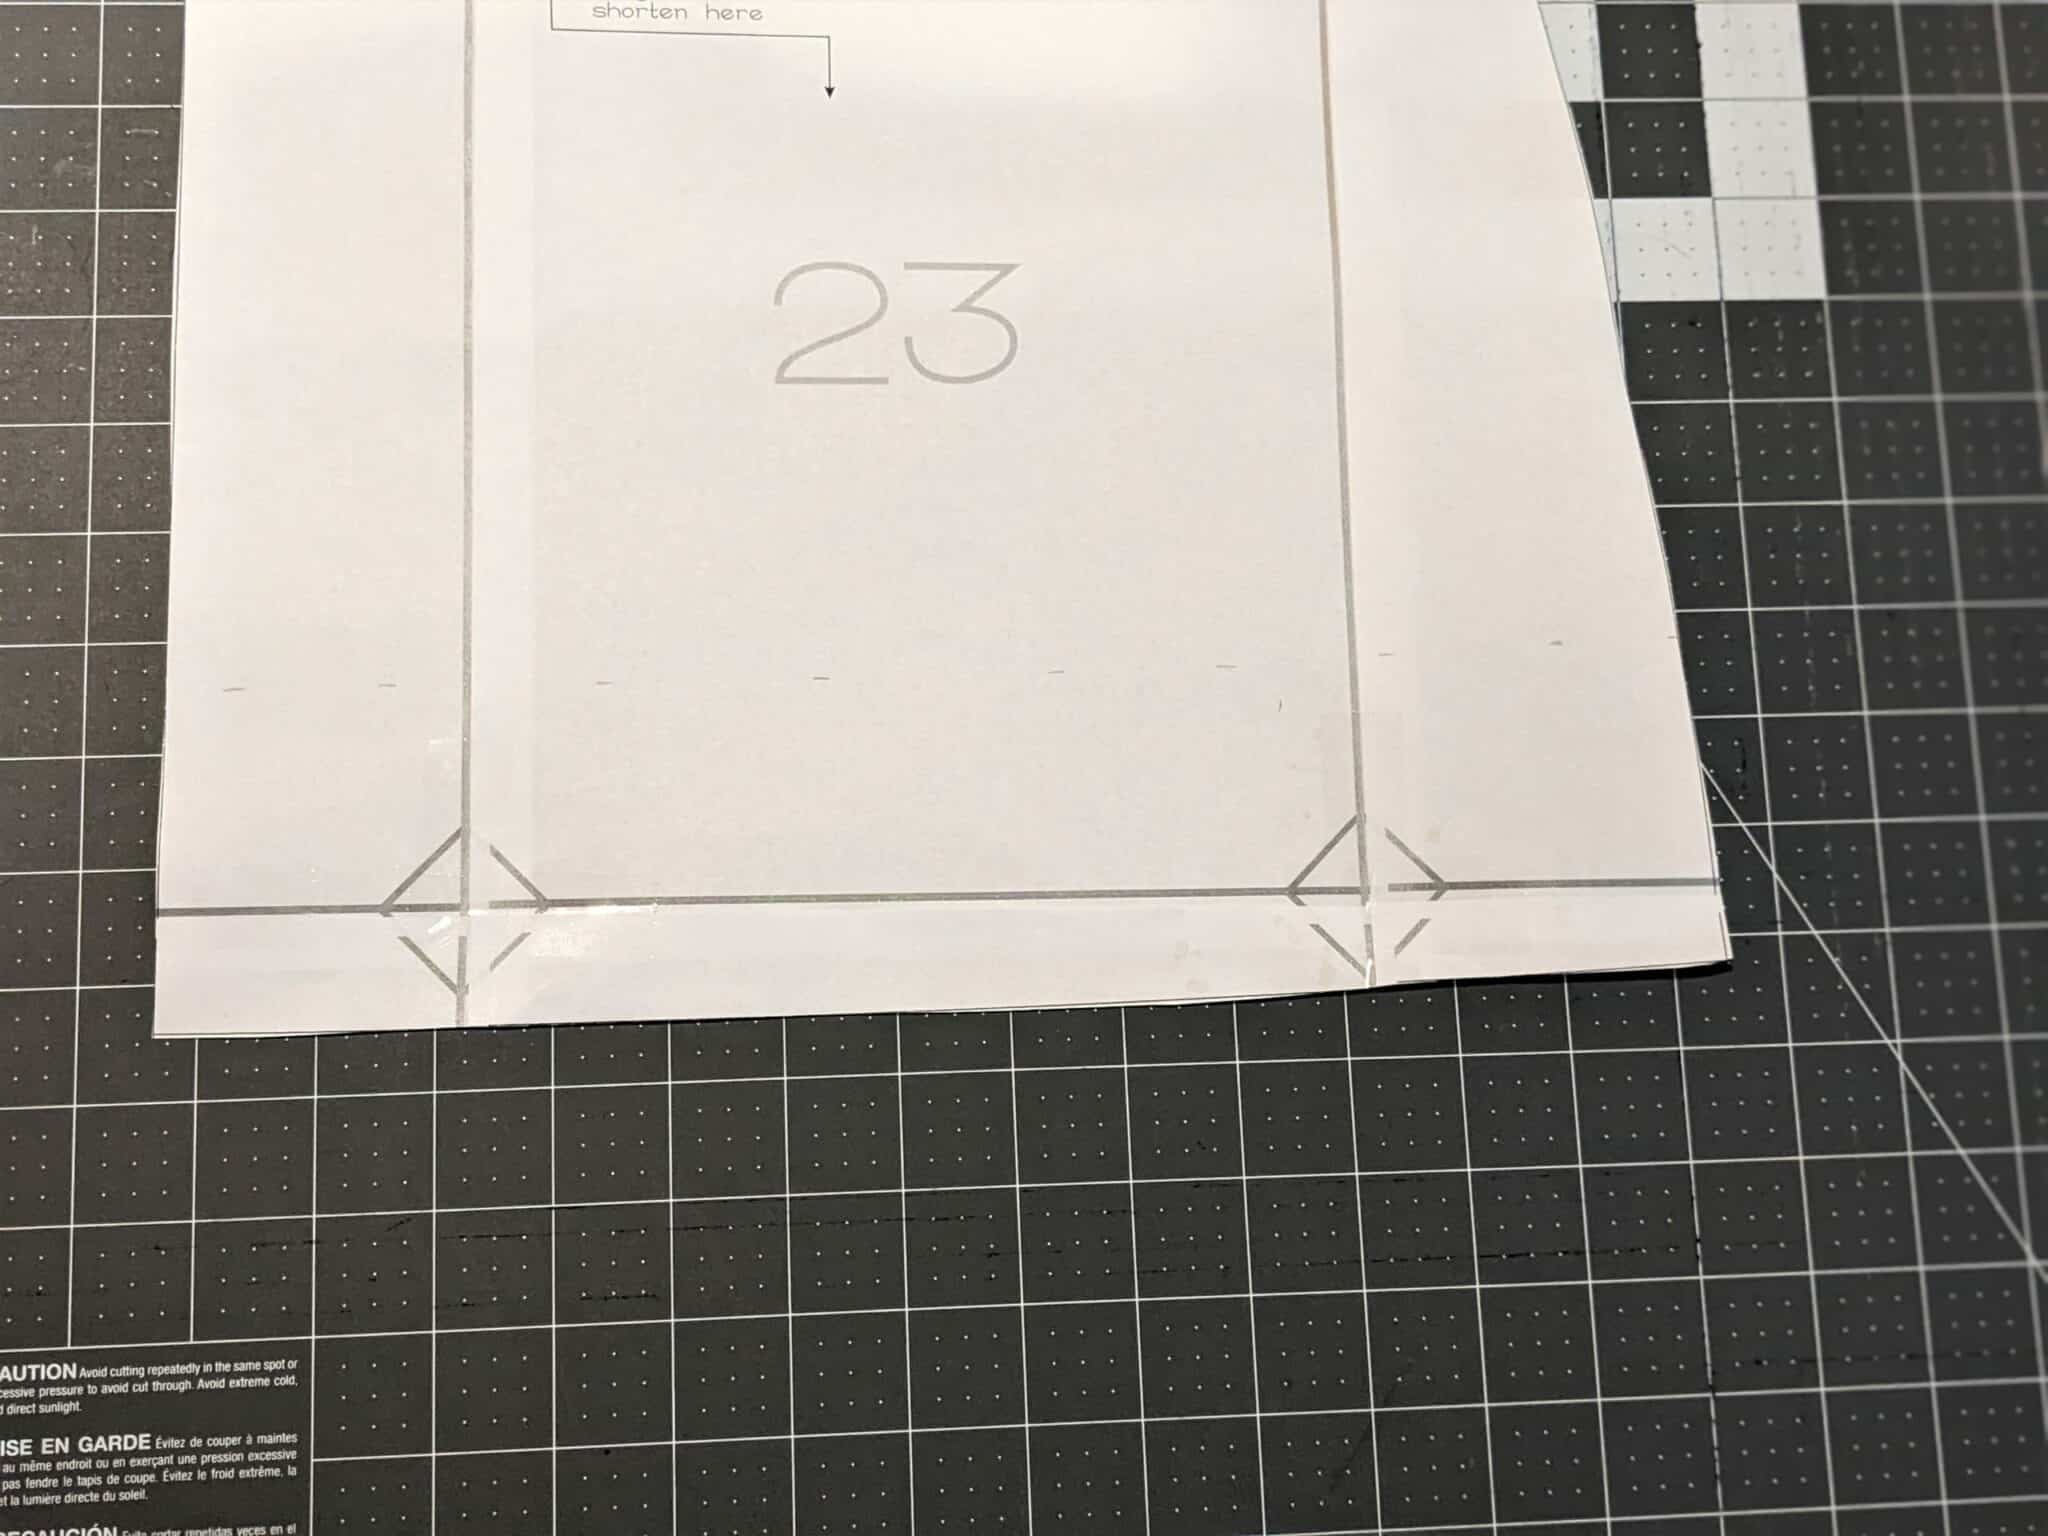
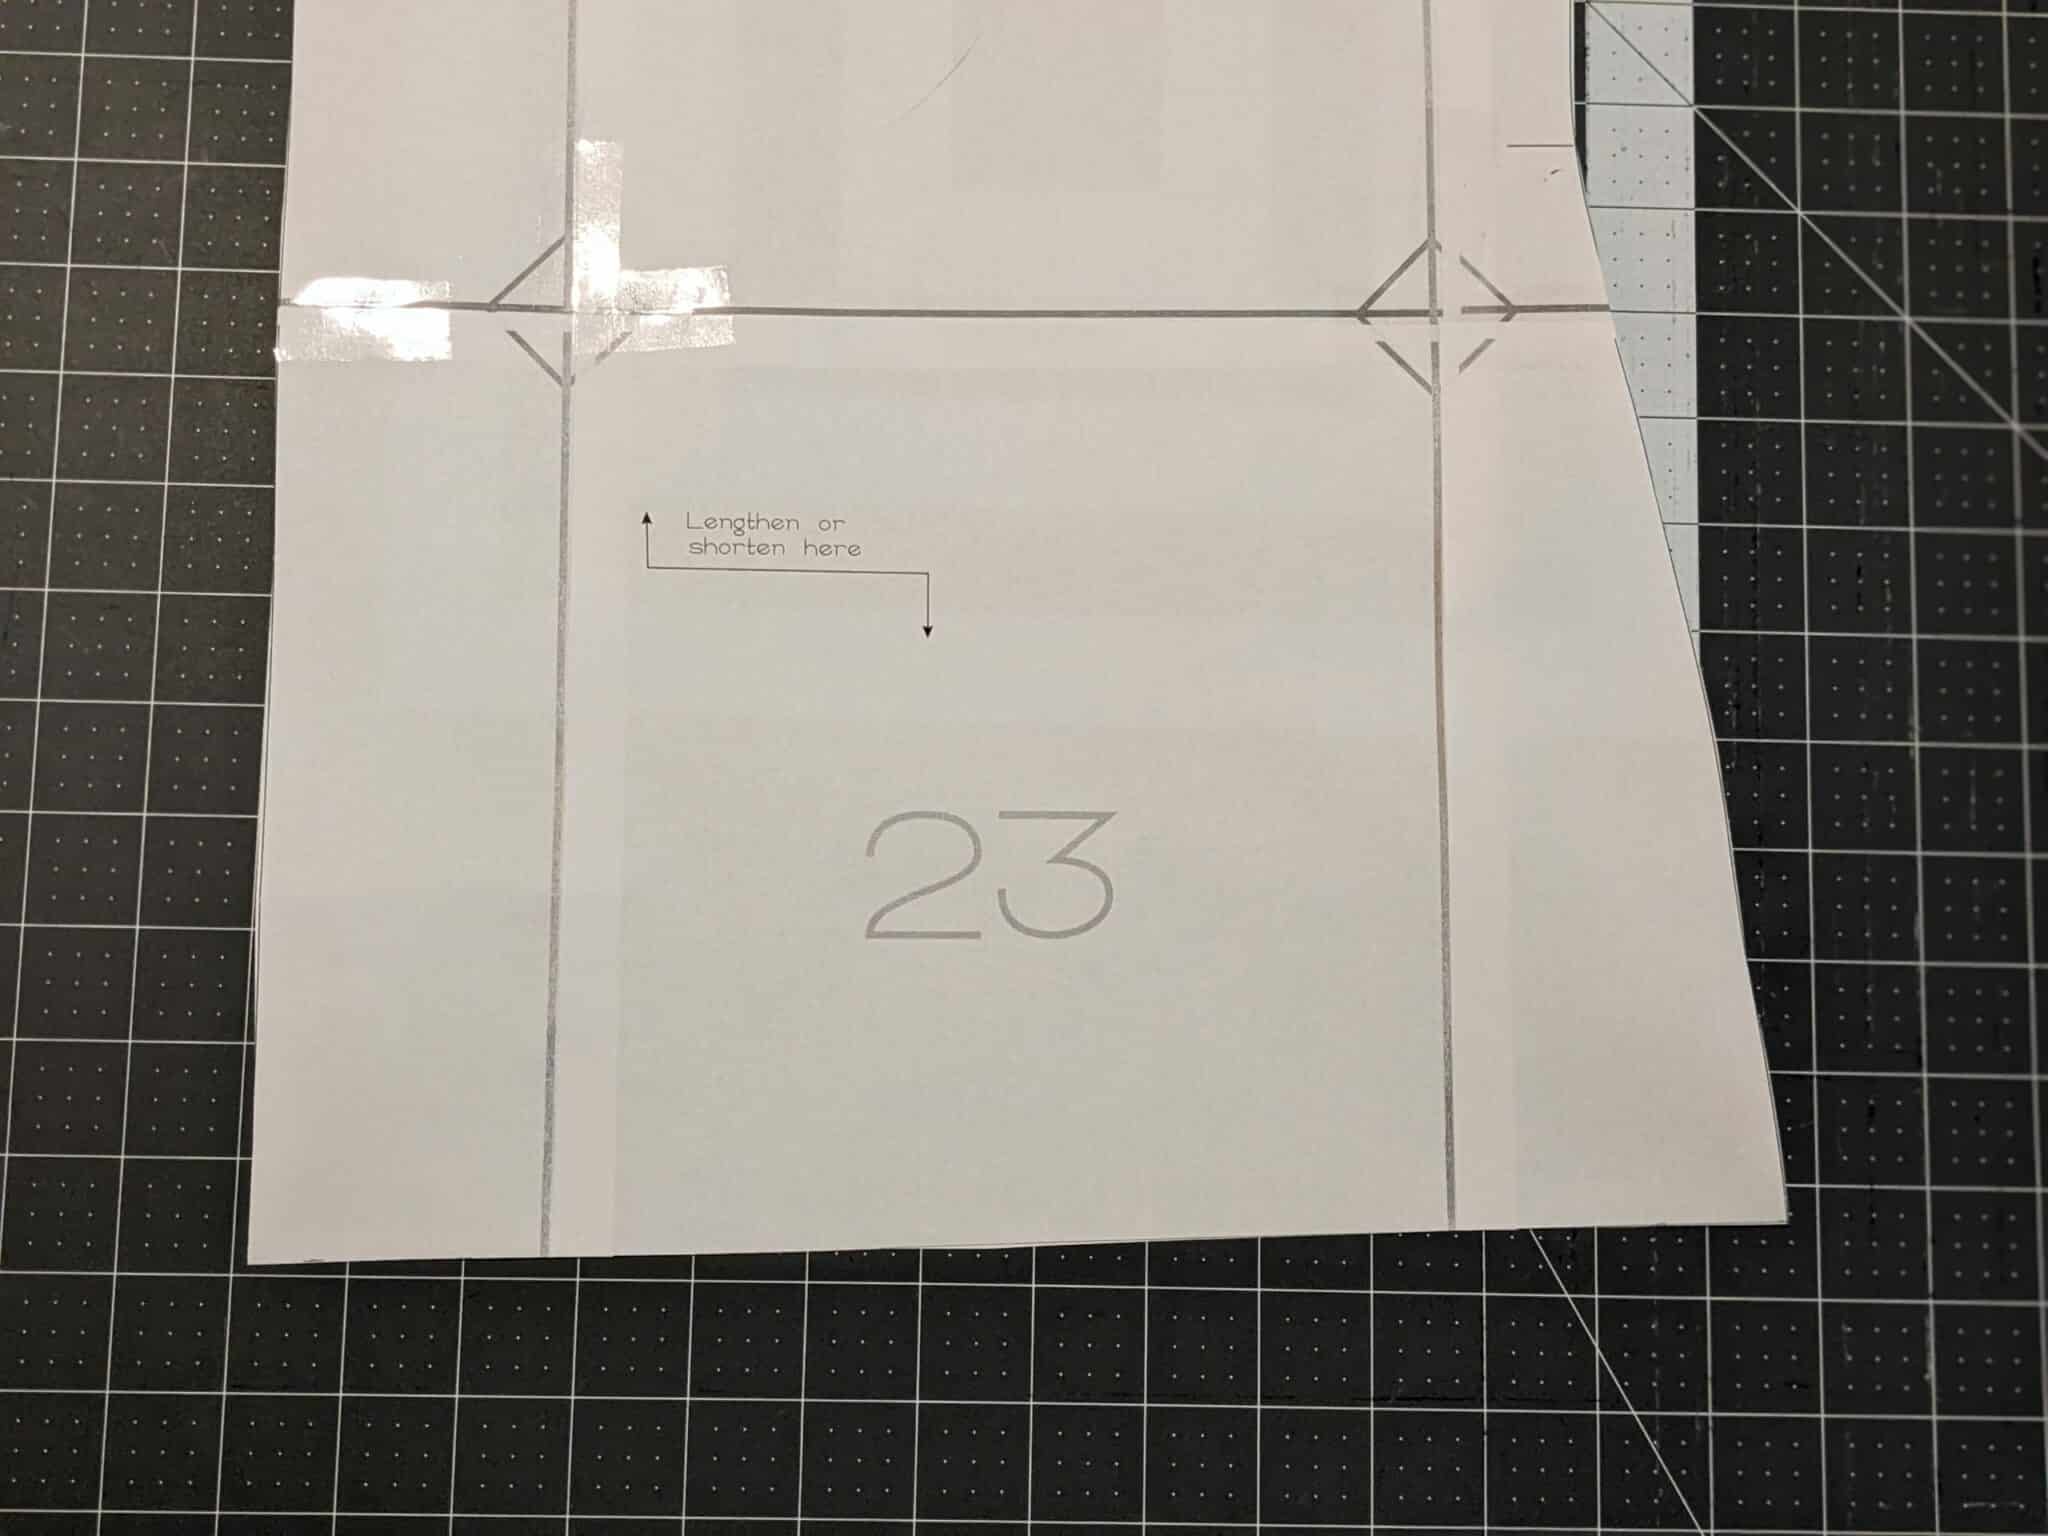
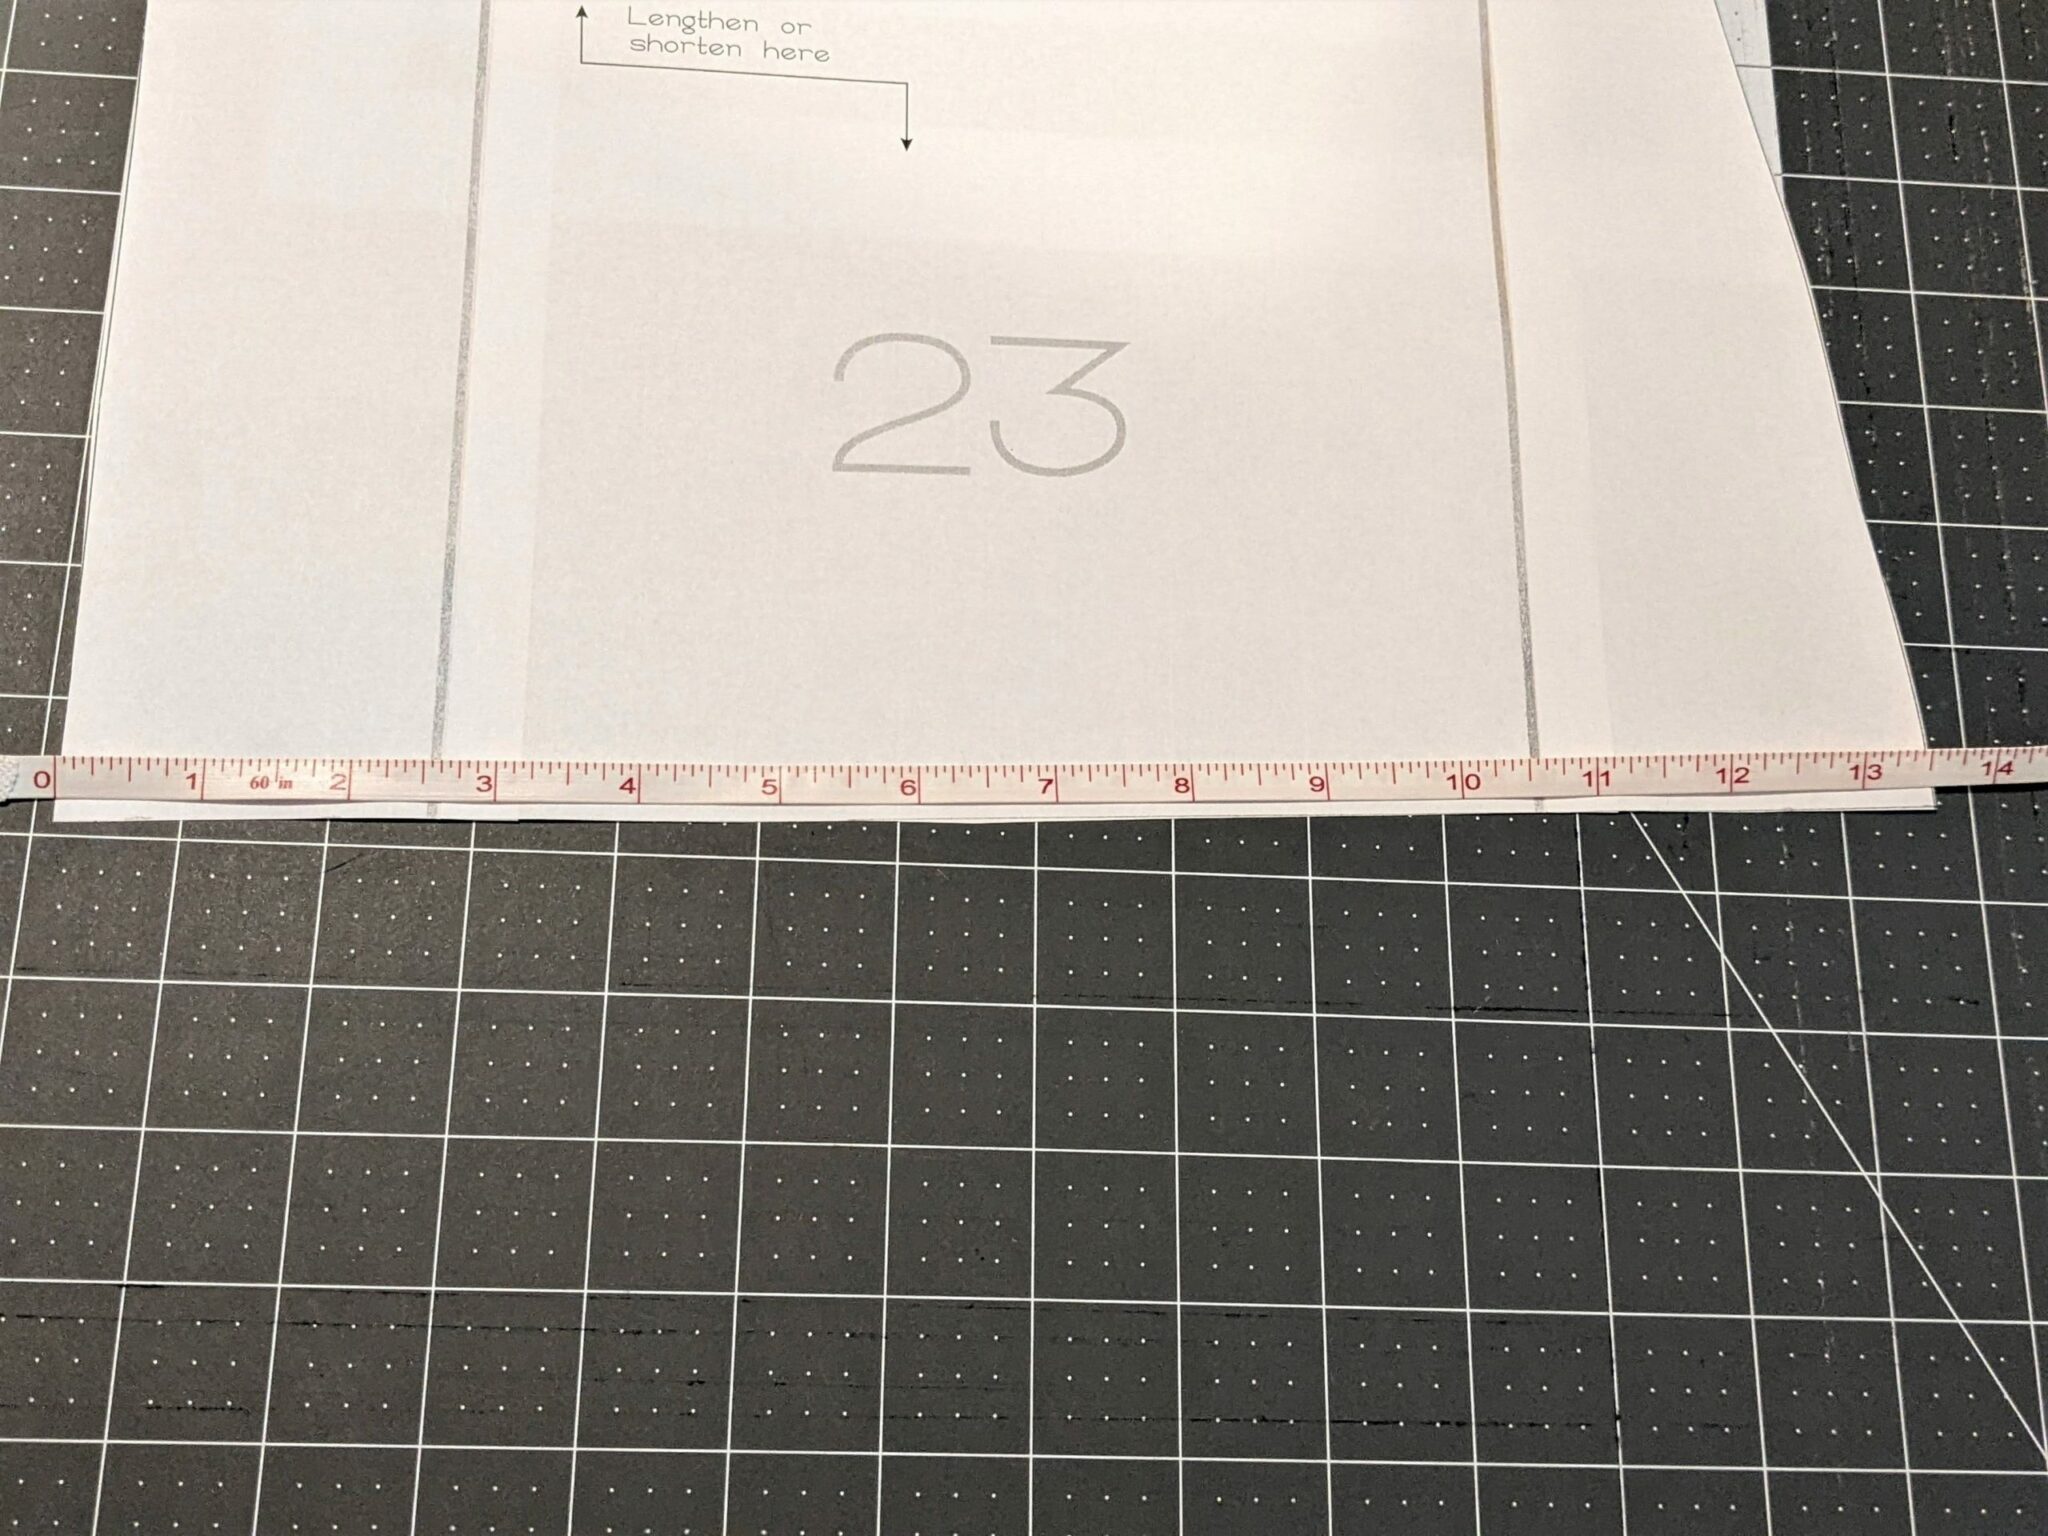
- Since you will be adding a hem band to the bottom of your tunic, you will need to remove that extra length from the bodice or it will be extra long. First, decide how wide you want your hem band to be once finished. (I want mine to be 3″ tall.)
- Measure that length (minus 3/8″ for your seam allowance) up from the bottom edge of your front bodice and draw a line across.
- Cut off the bottom portion of the bodice.
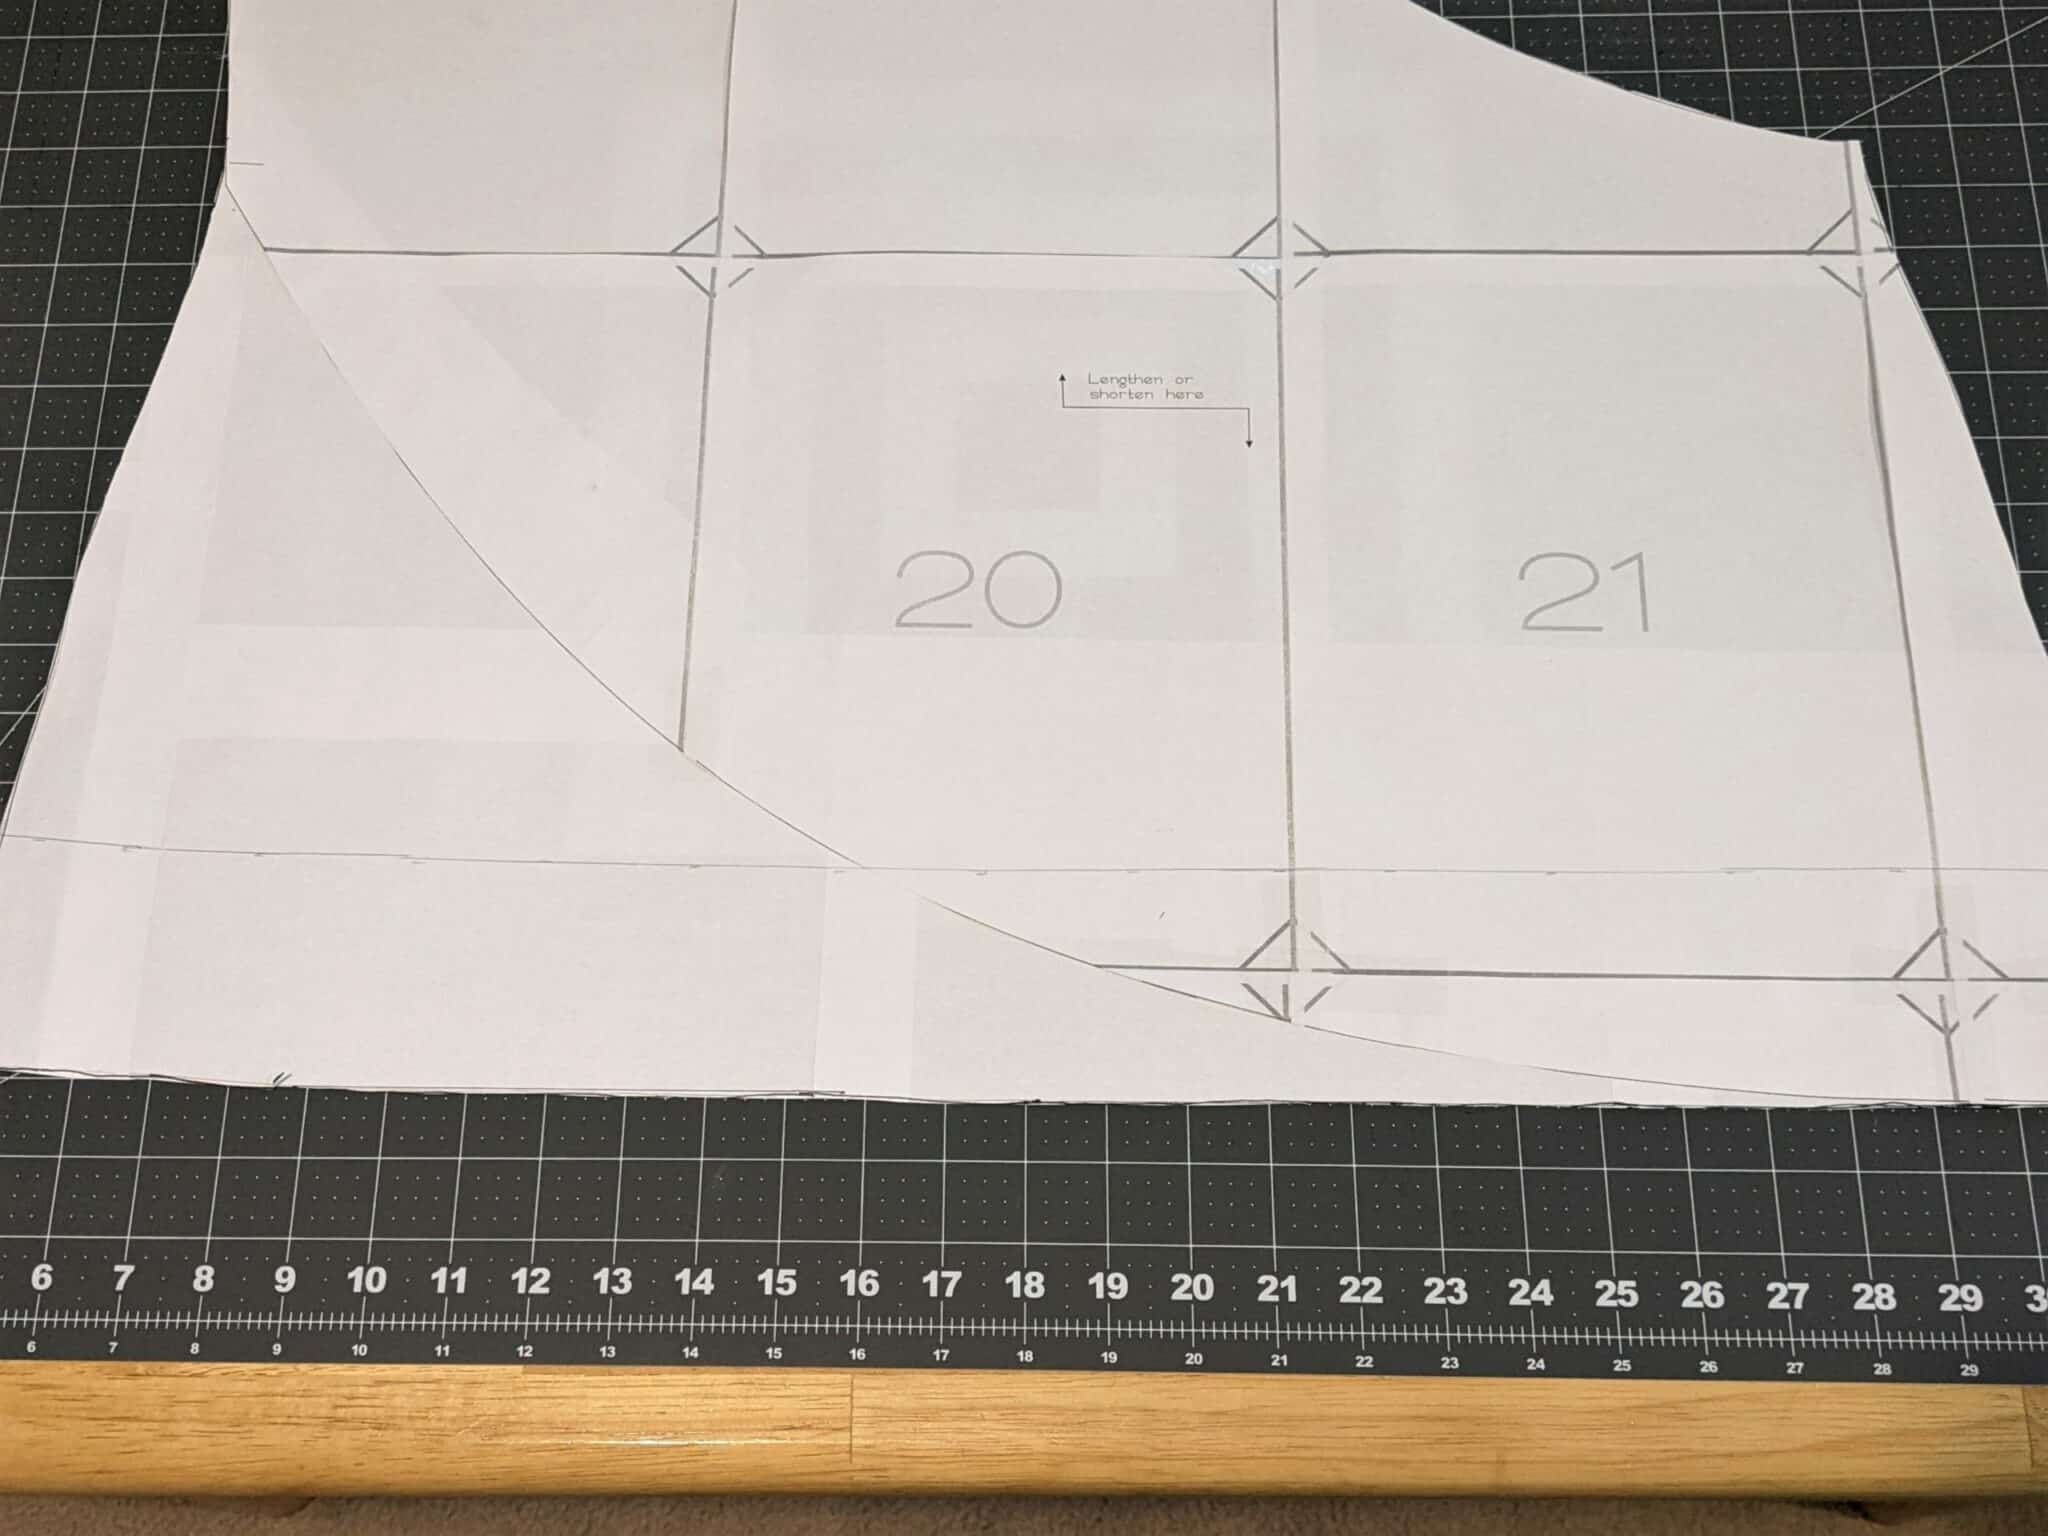
- Repeat the same along the bottom edge of the back bodice.
Band Measurements
- When you go to sew your band on to your shirt you will be folding it in half lengthwise. Because I want mine to be 3″ when finished I will multiply that by two and add 3/8″ to each edge for the seam allowance so my band will be cut 6.75″ tall.
- For the circumference of your band, you will want it to be 90% of the shirt measurement.
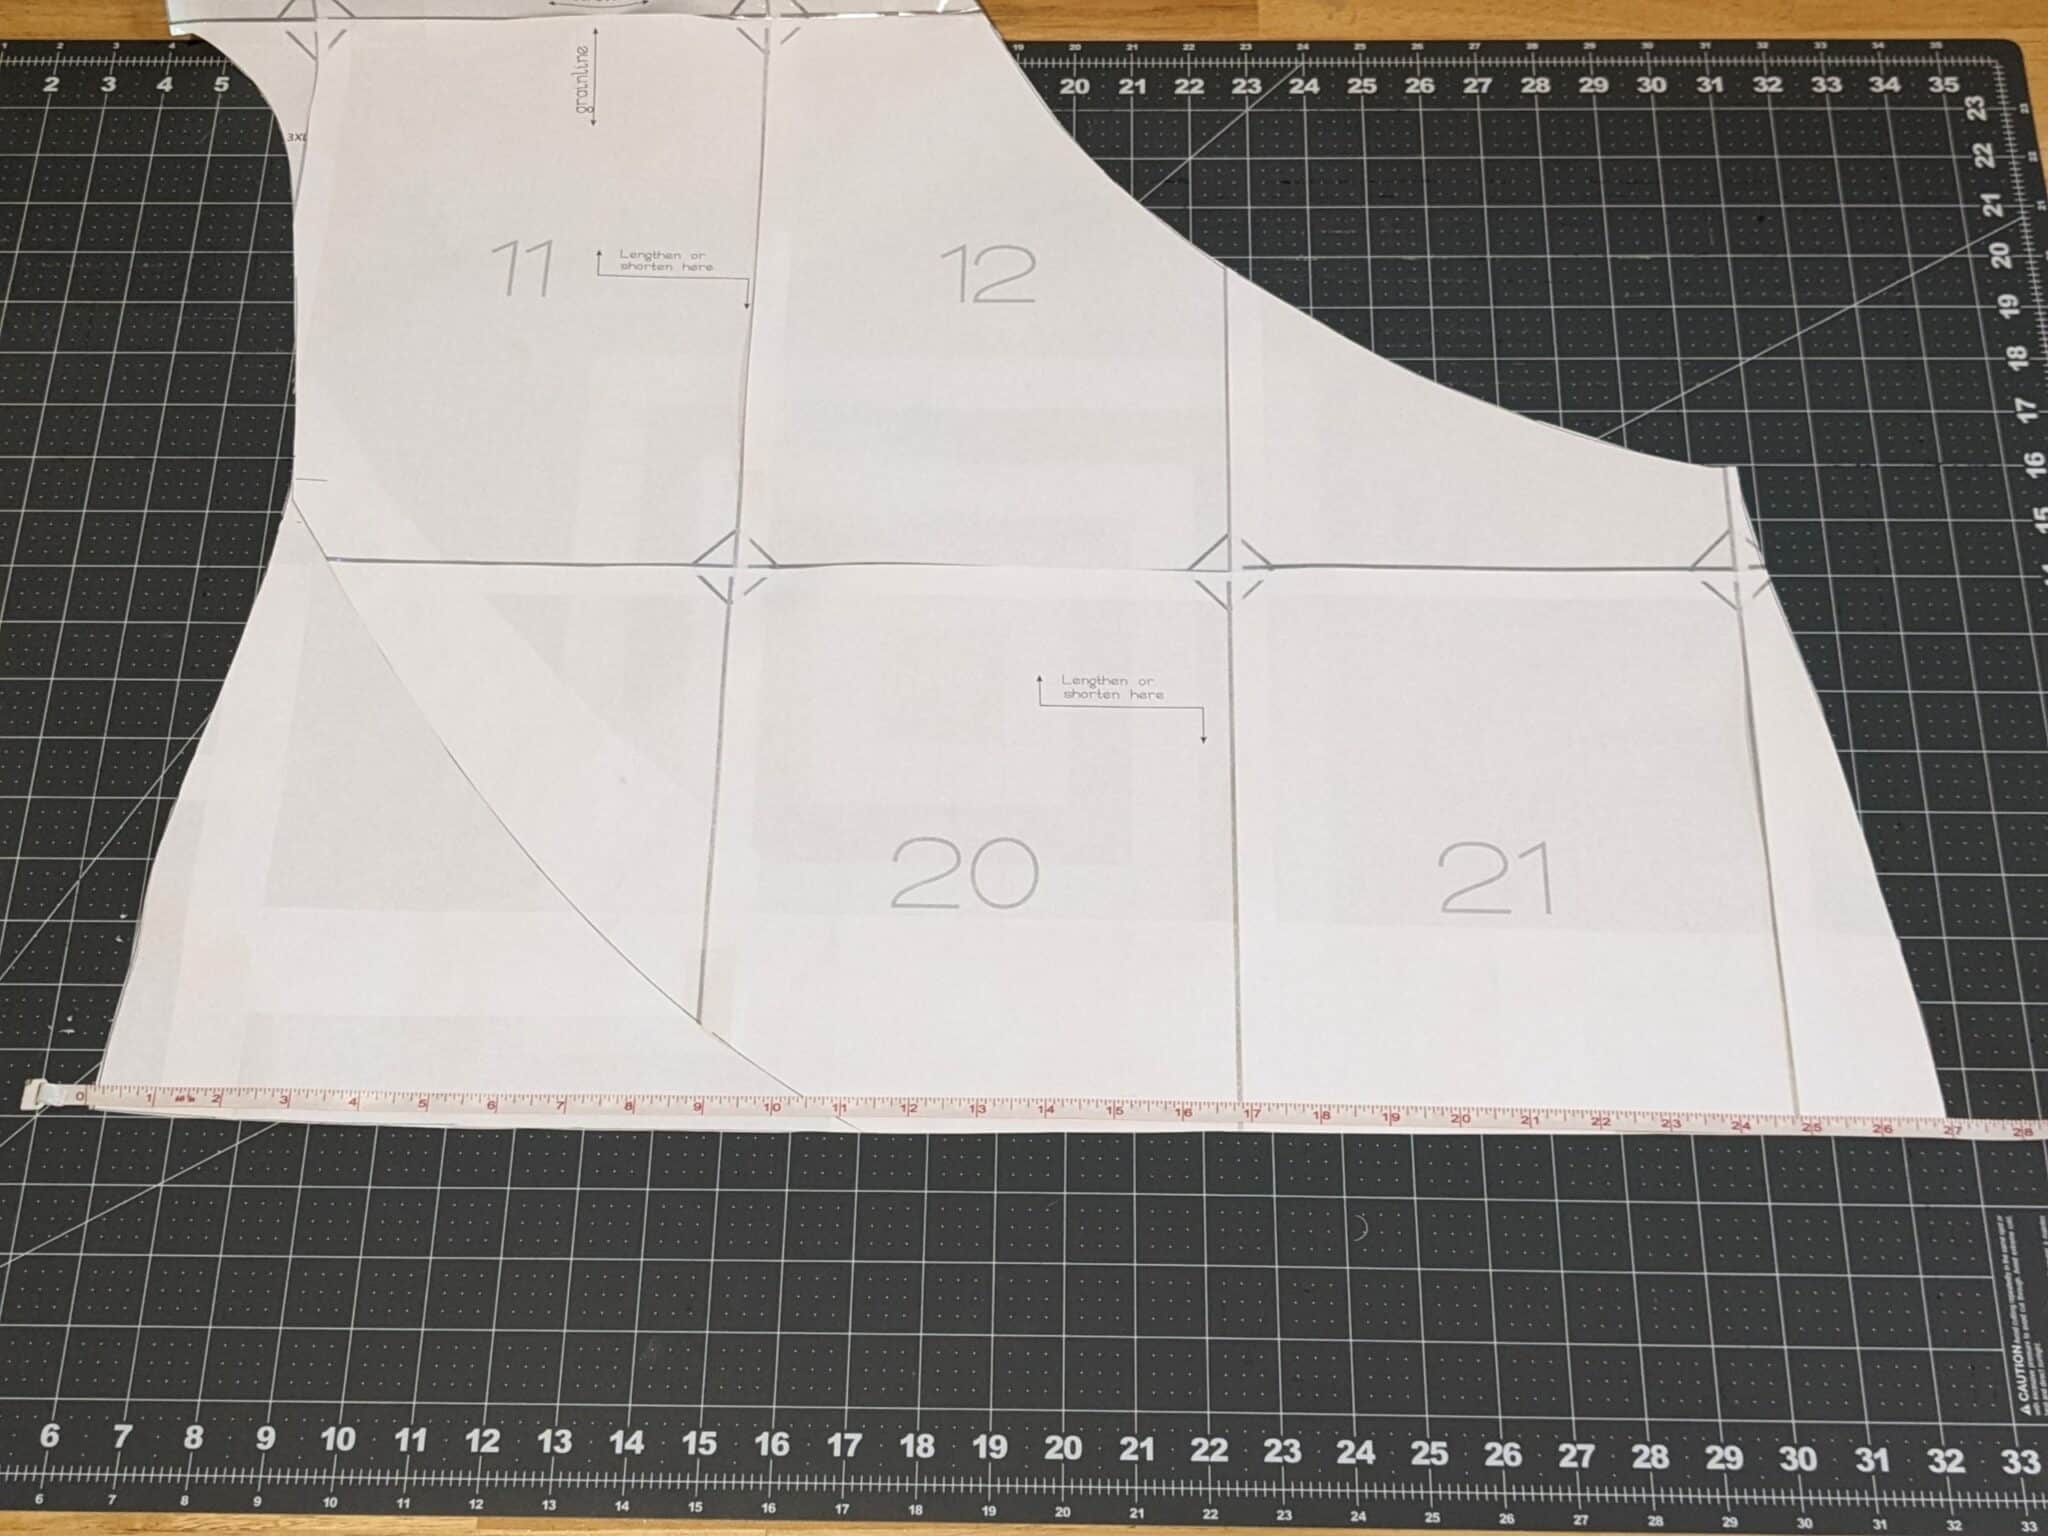
- Measure along the bottom edge of the back bodice and multiply by two since it is cut on the fold. (Mine: 13.5″ x 2=27″)
- Take that number and multiply it by 90% to find the length for the back portion of the band. (Mine: 27″ x .9=24.3″)
- You will do the same for the front bodice, but it is not cut on the fold so you will just take the bottom edge measurement and multiply that by 90%. (Mine: 27″ x .9=24.3″)
- Both my back and front hem band pieces will be 6.75″ x 24.3″
Cut
- Use your adjusted front bodice piece and cut out 2 mirrored images.
- 1 back bodice on the fold
- 2 hem band pieces to your calculated measurements – 1 front and 1 back
- 1 neckband
- Any sleeve options you may have chosen
Let’s Put it all Together!
- Looking at the tutorial, you will skip the first two steps for hemming your bodice pieces.
- Follow the tutorial to sew your shoulder seams and attach the neckband to the bodice.
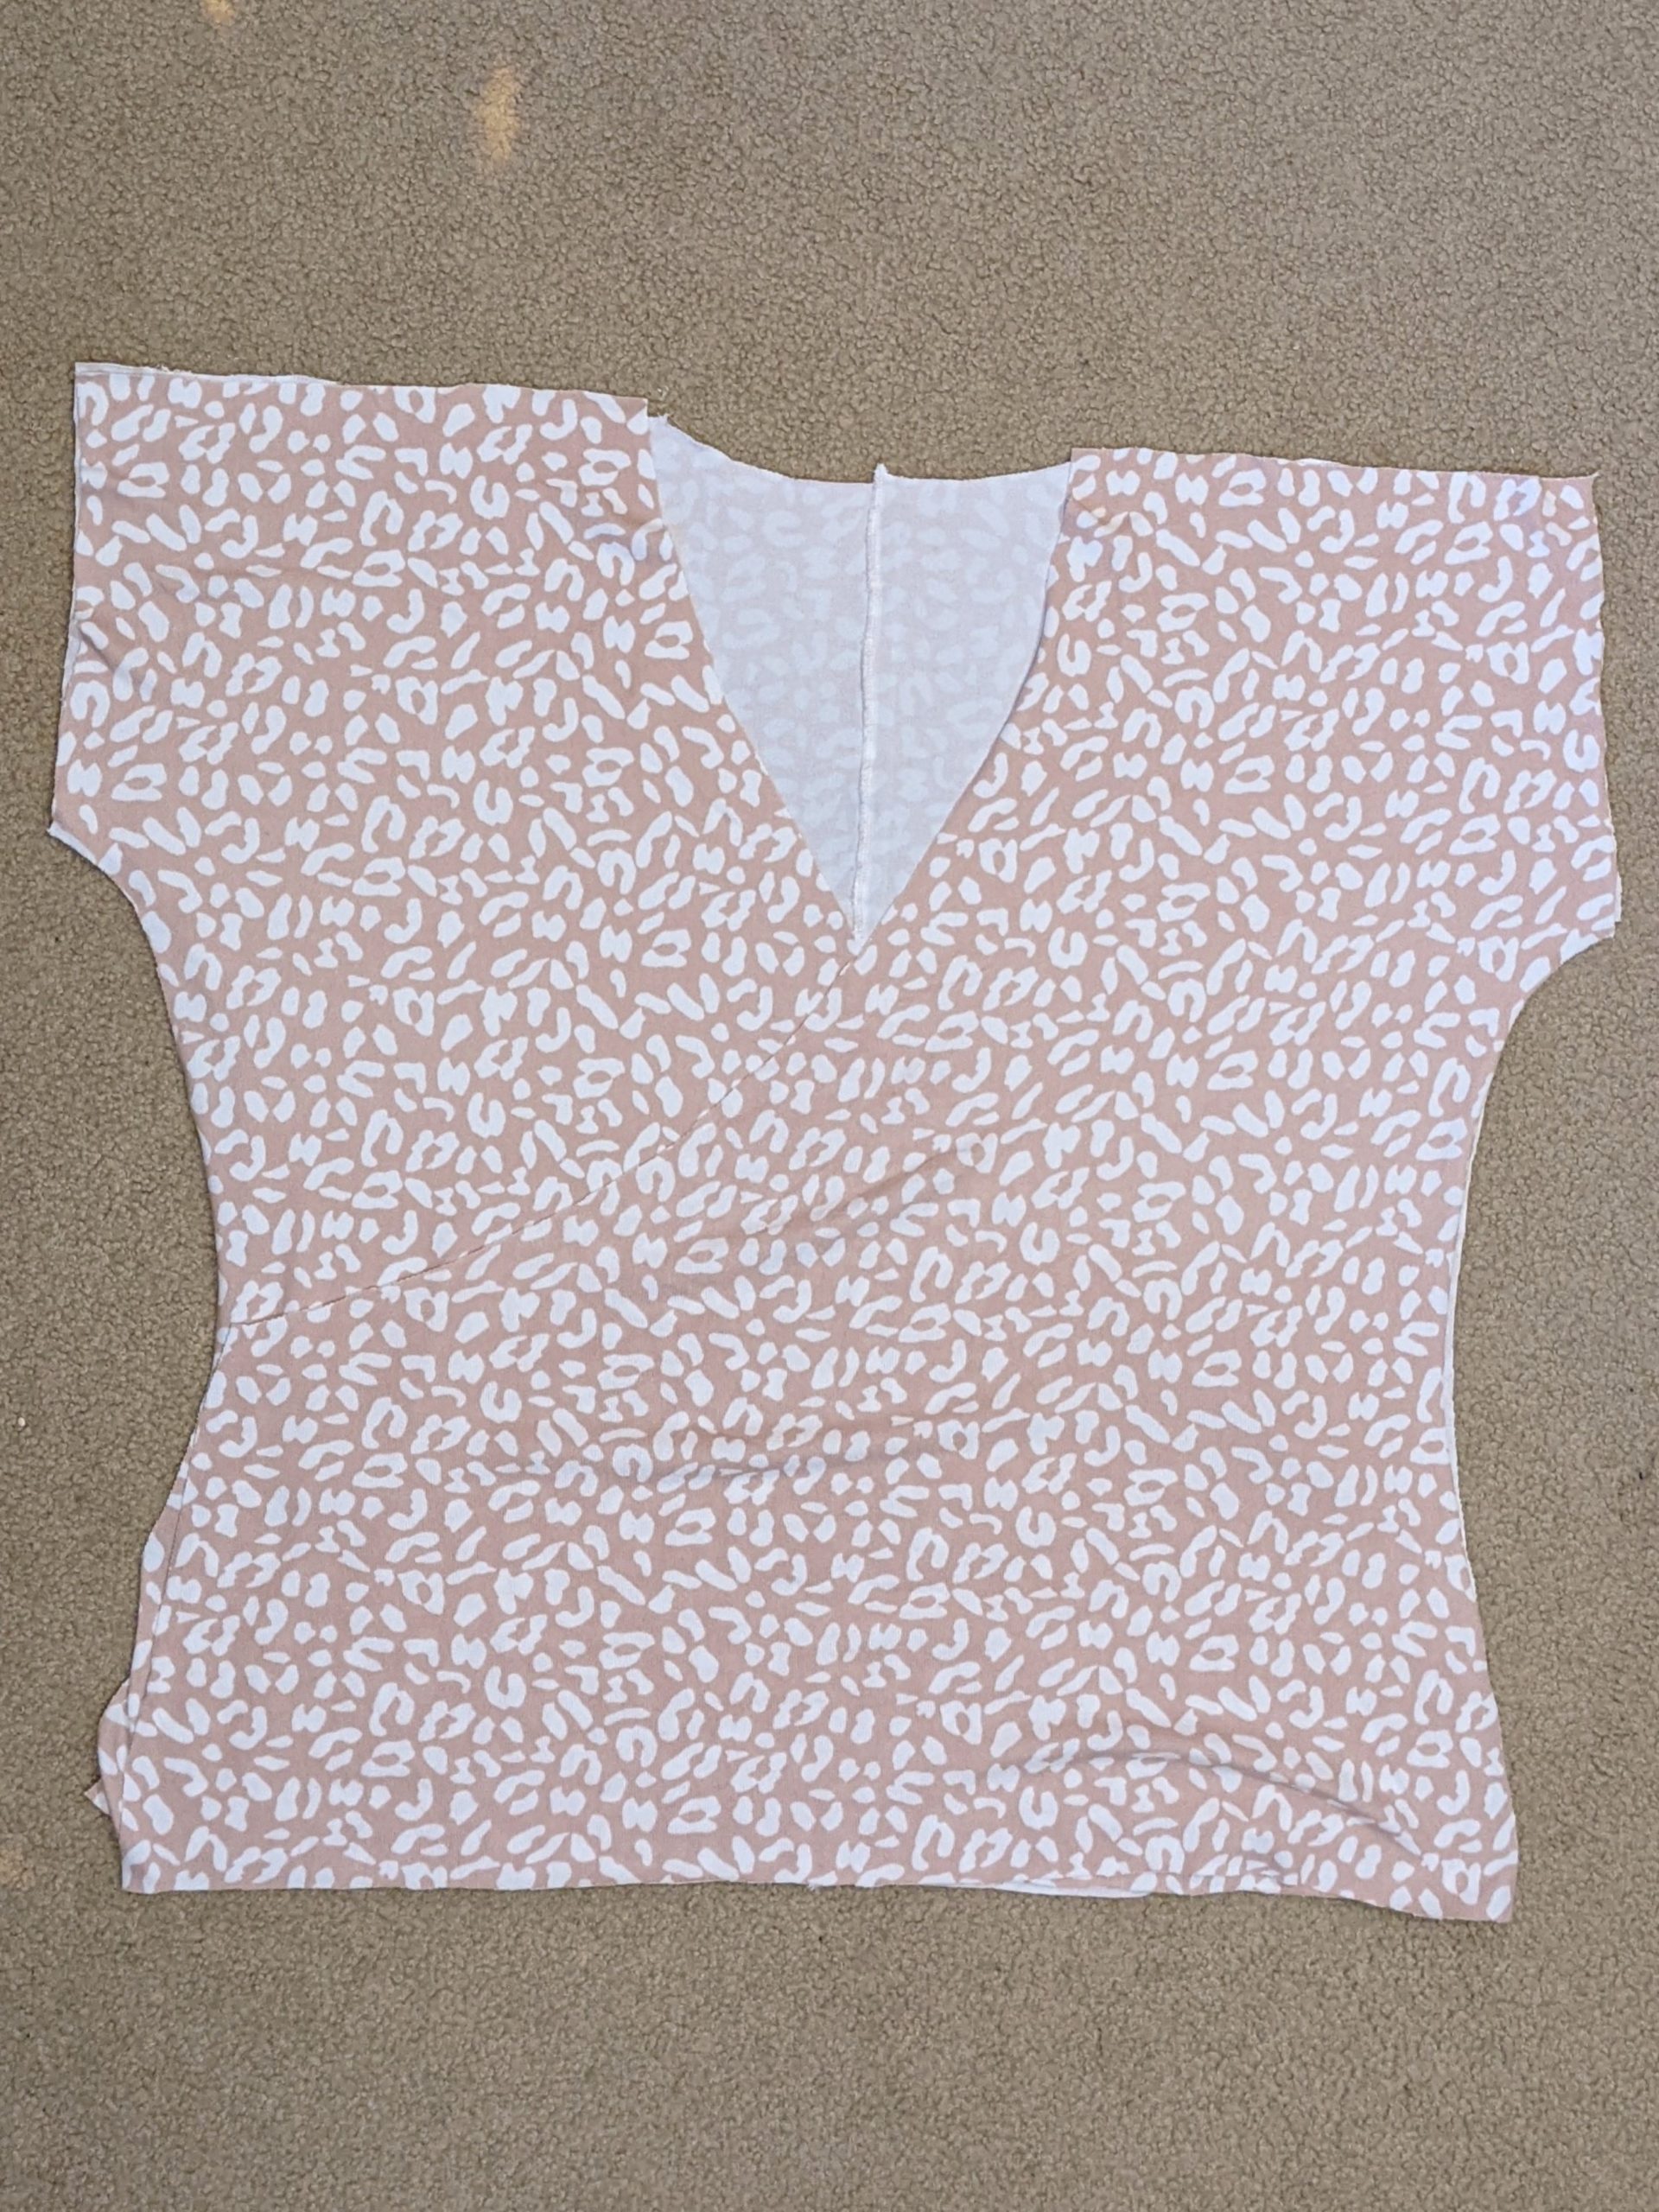
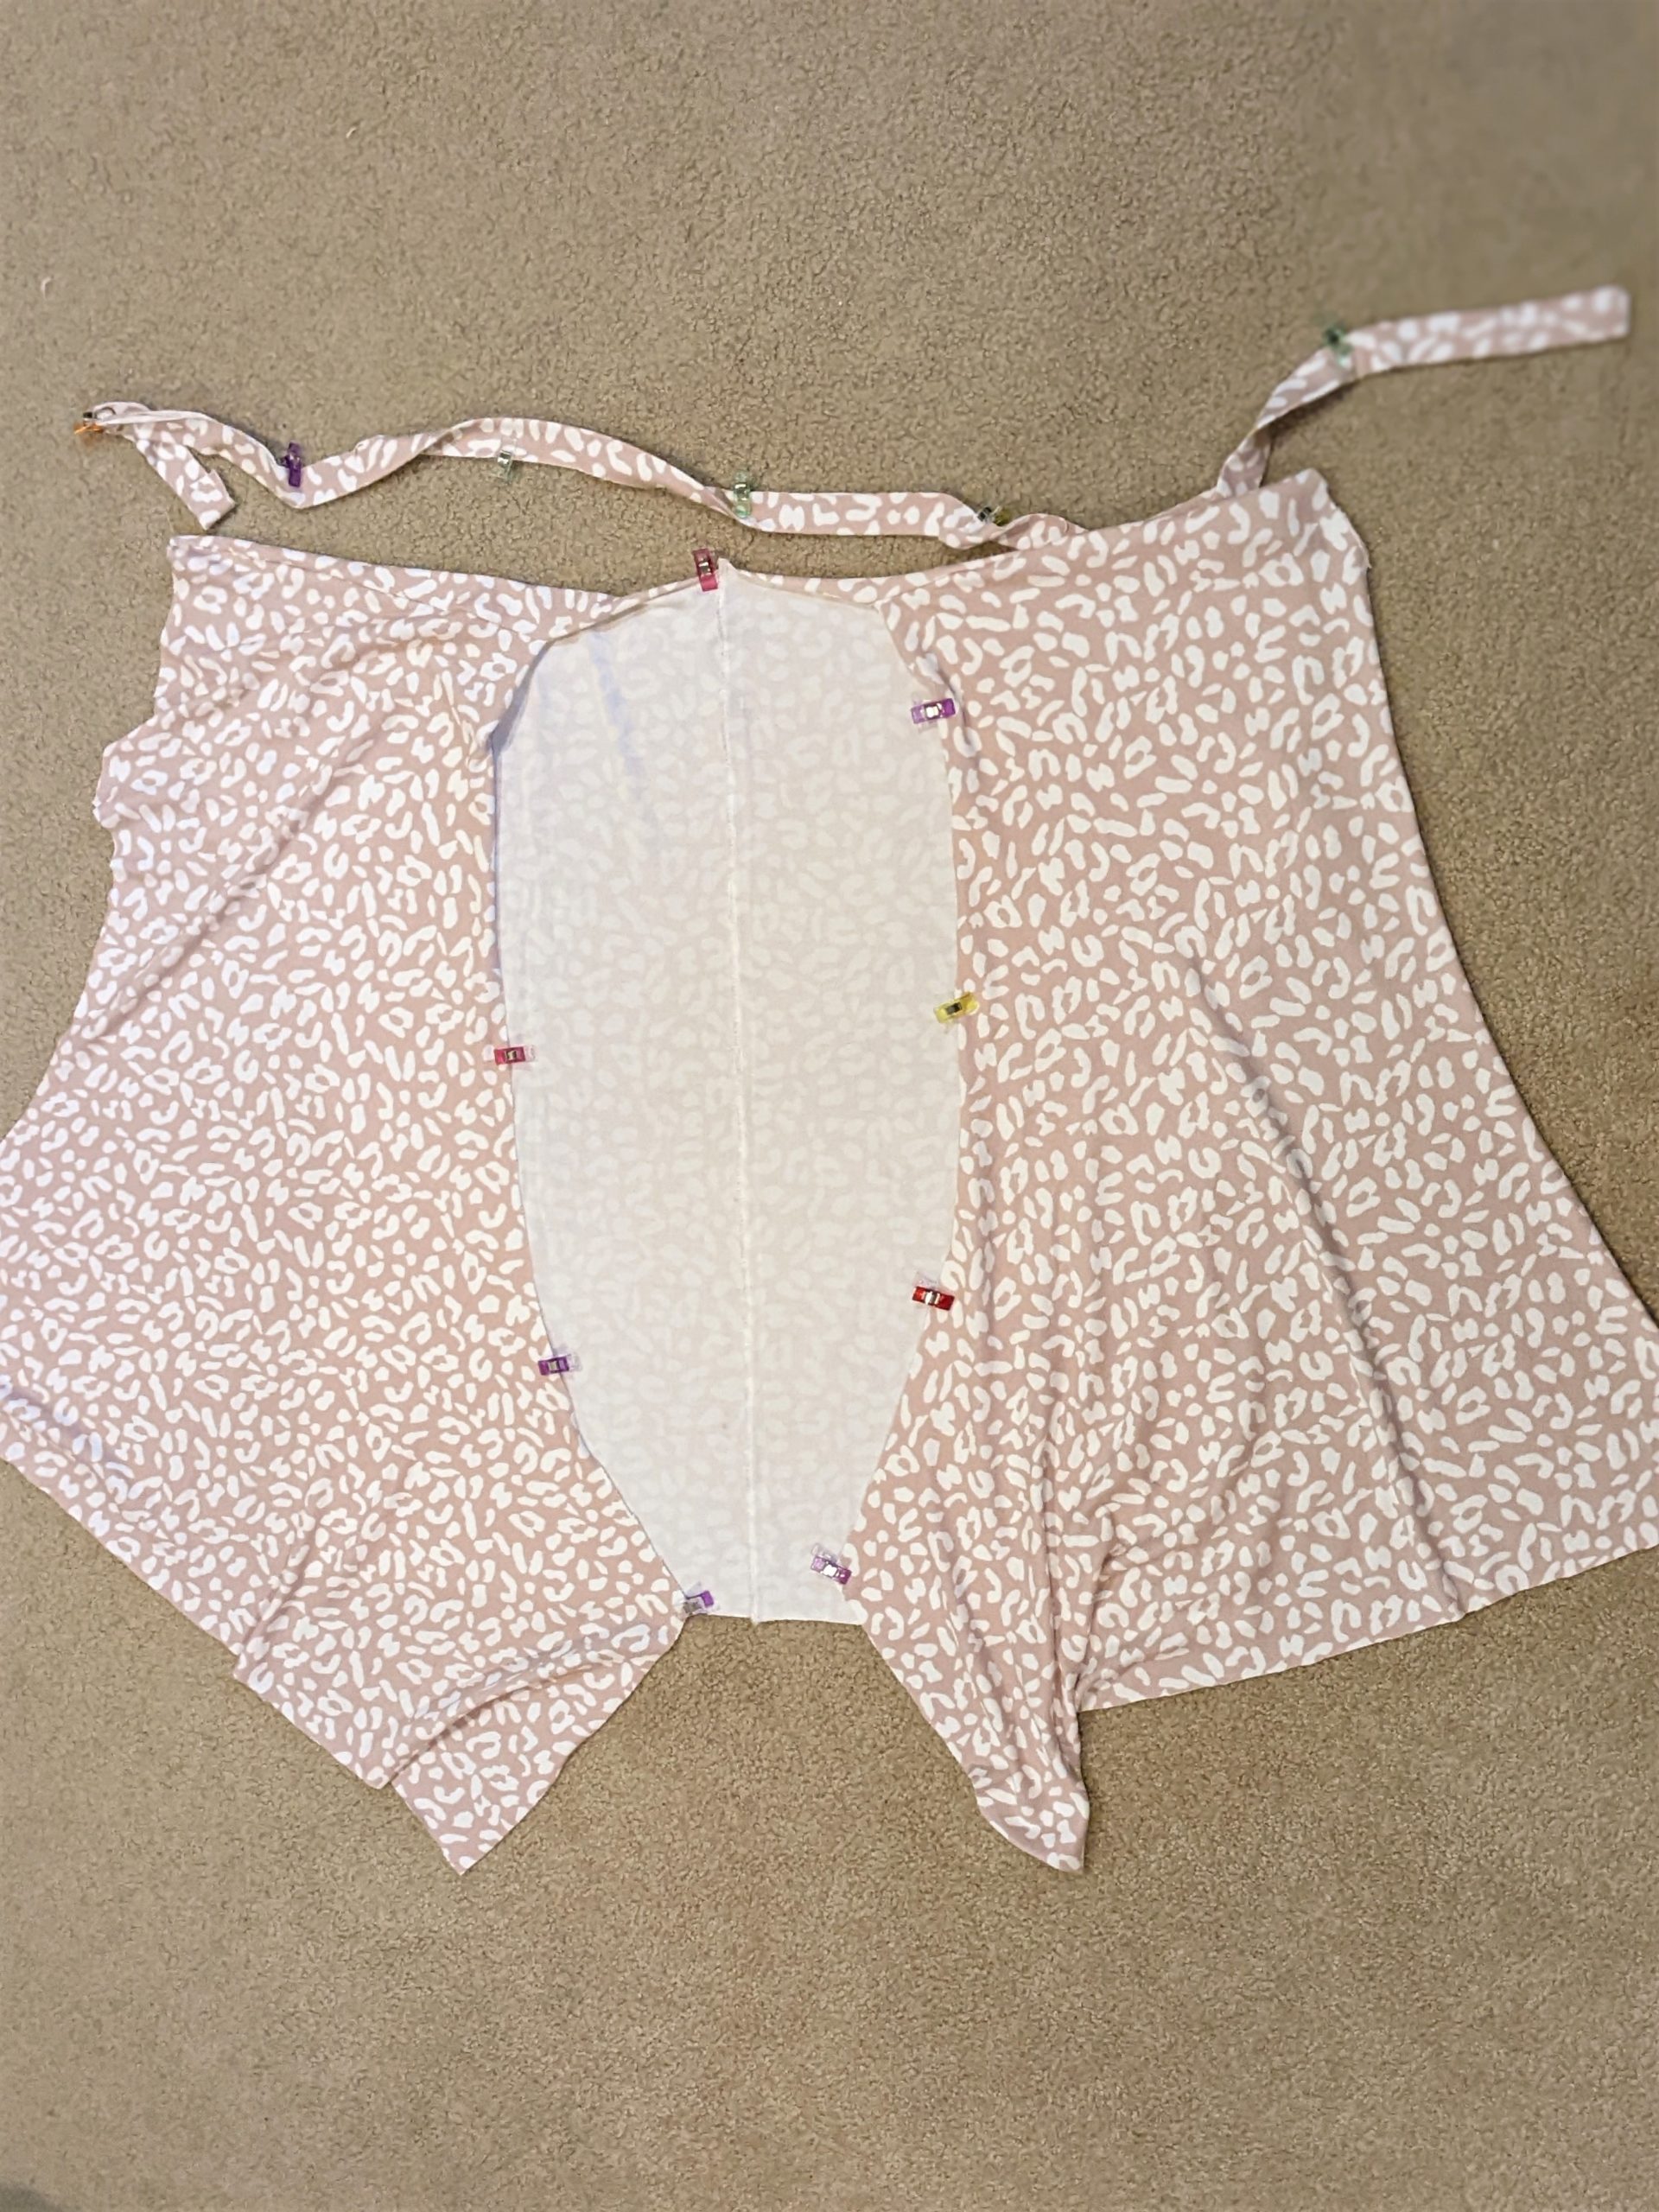
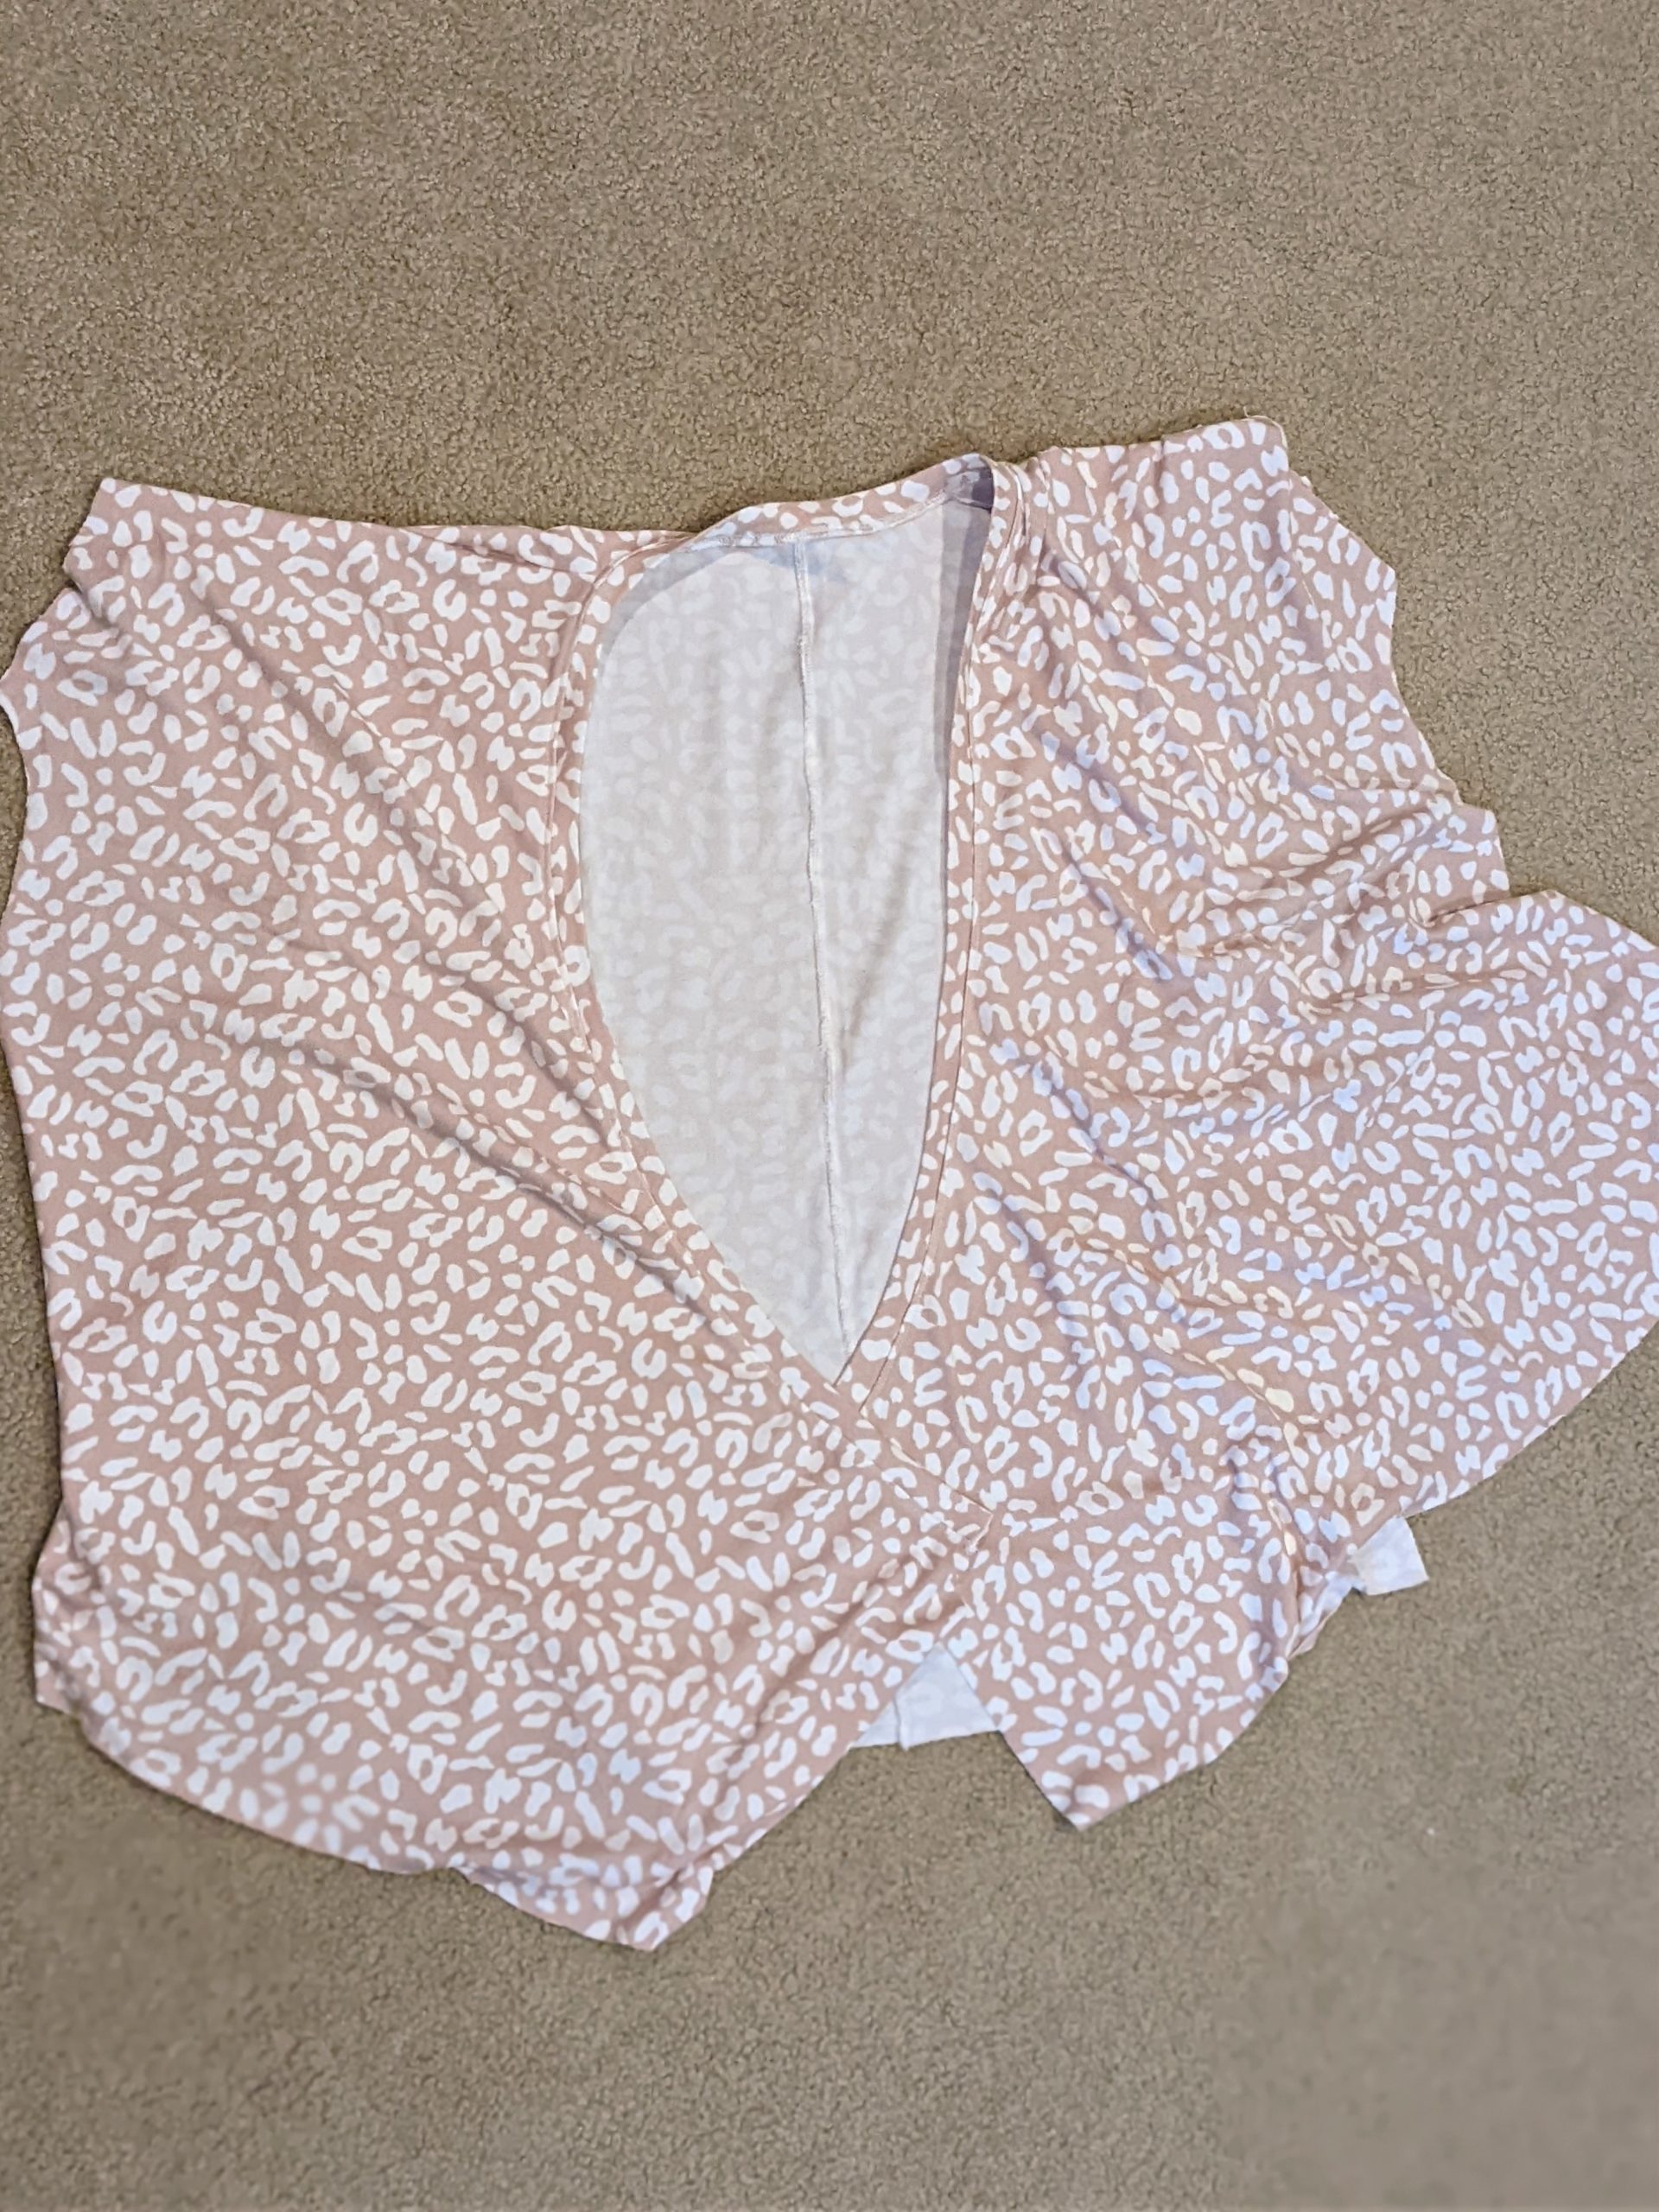
- Starting with one side of the front bodice, fold it down at the shoulder seam ontop of the back bodice right sides together.
- Line up the one full side from the arm down to the bottom edge, and line up the shorter side from the bottom edge up and pin them in place.
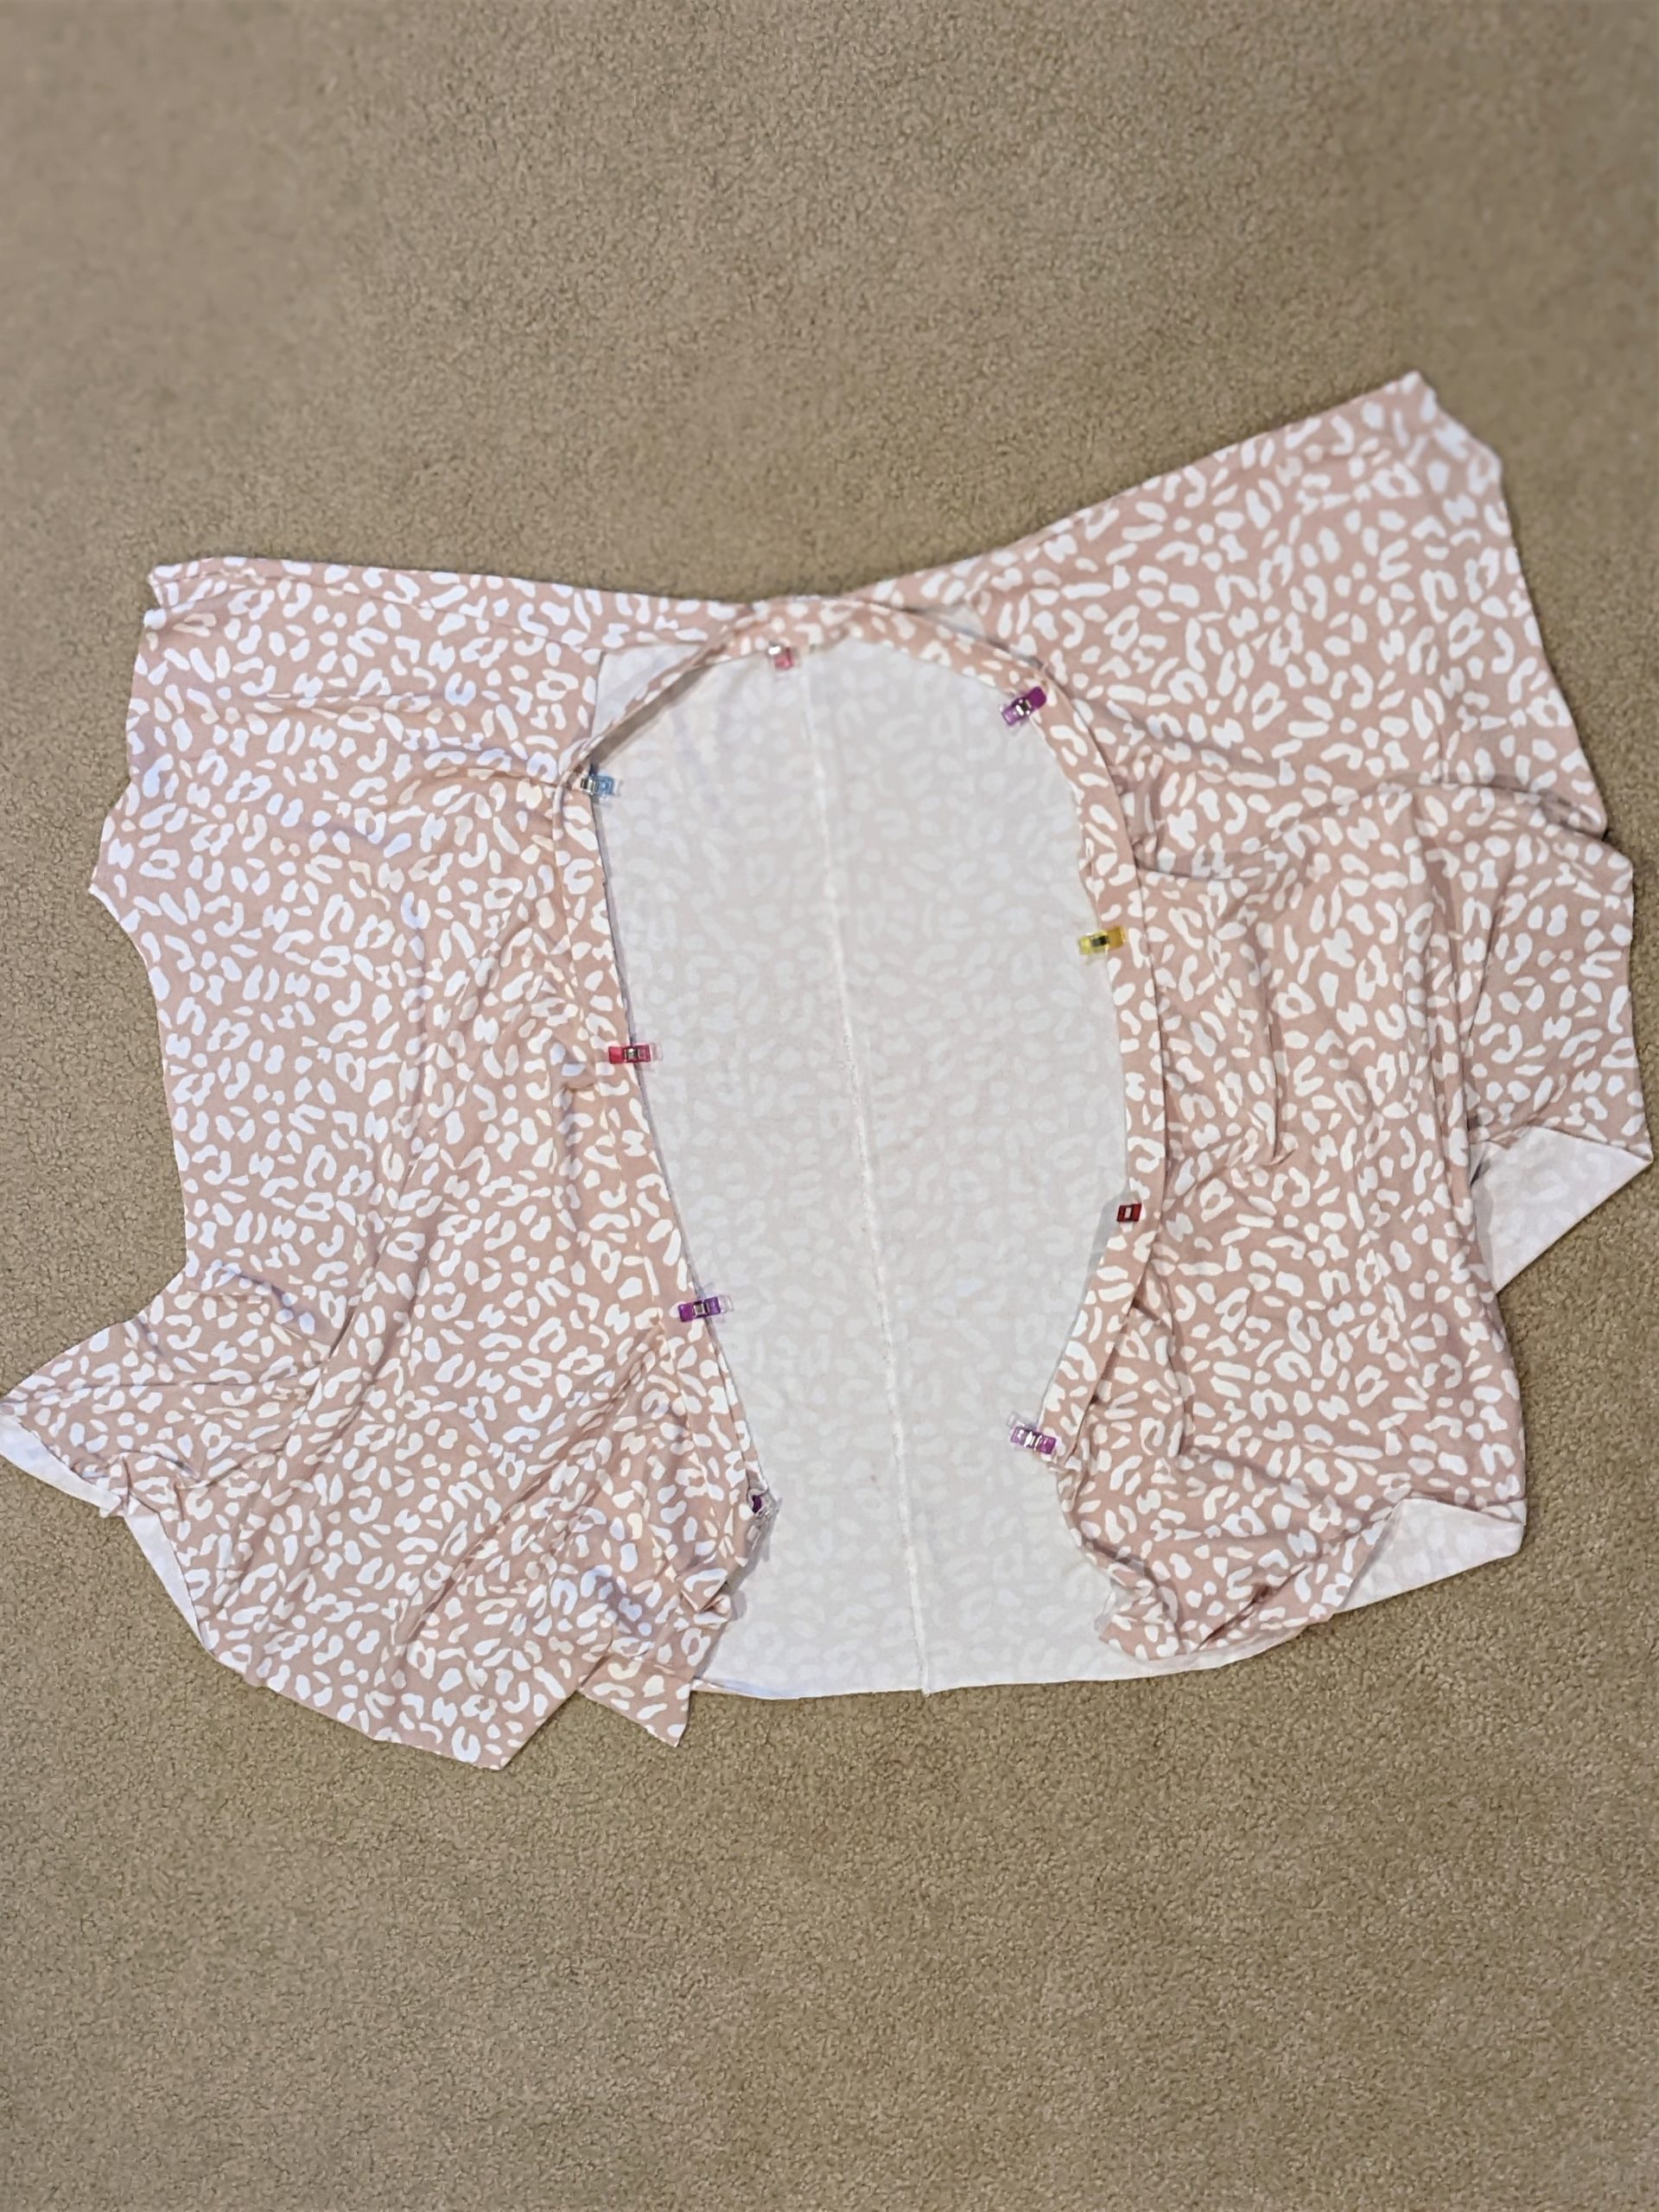
- Take the other side of the front bodice and fold it down at the shoulder seam on top of the first front bodice so that they overlap.
- Line up the longer side from arm to bottom edge and the shorter side from bottom edge up and pin them in place.
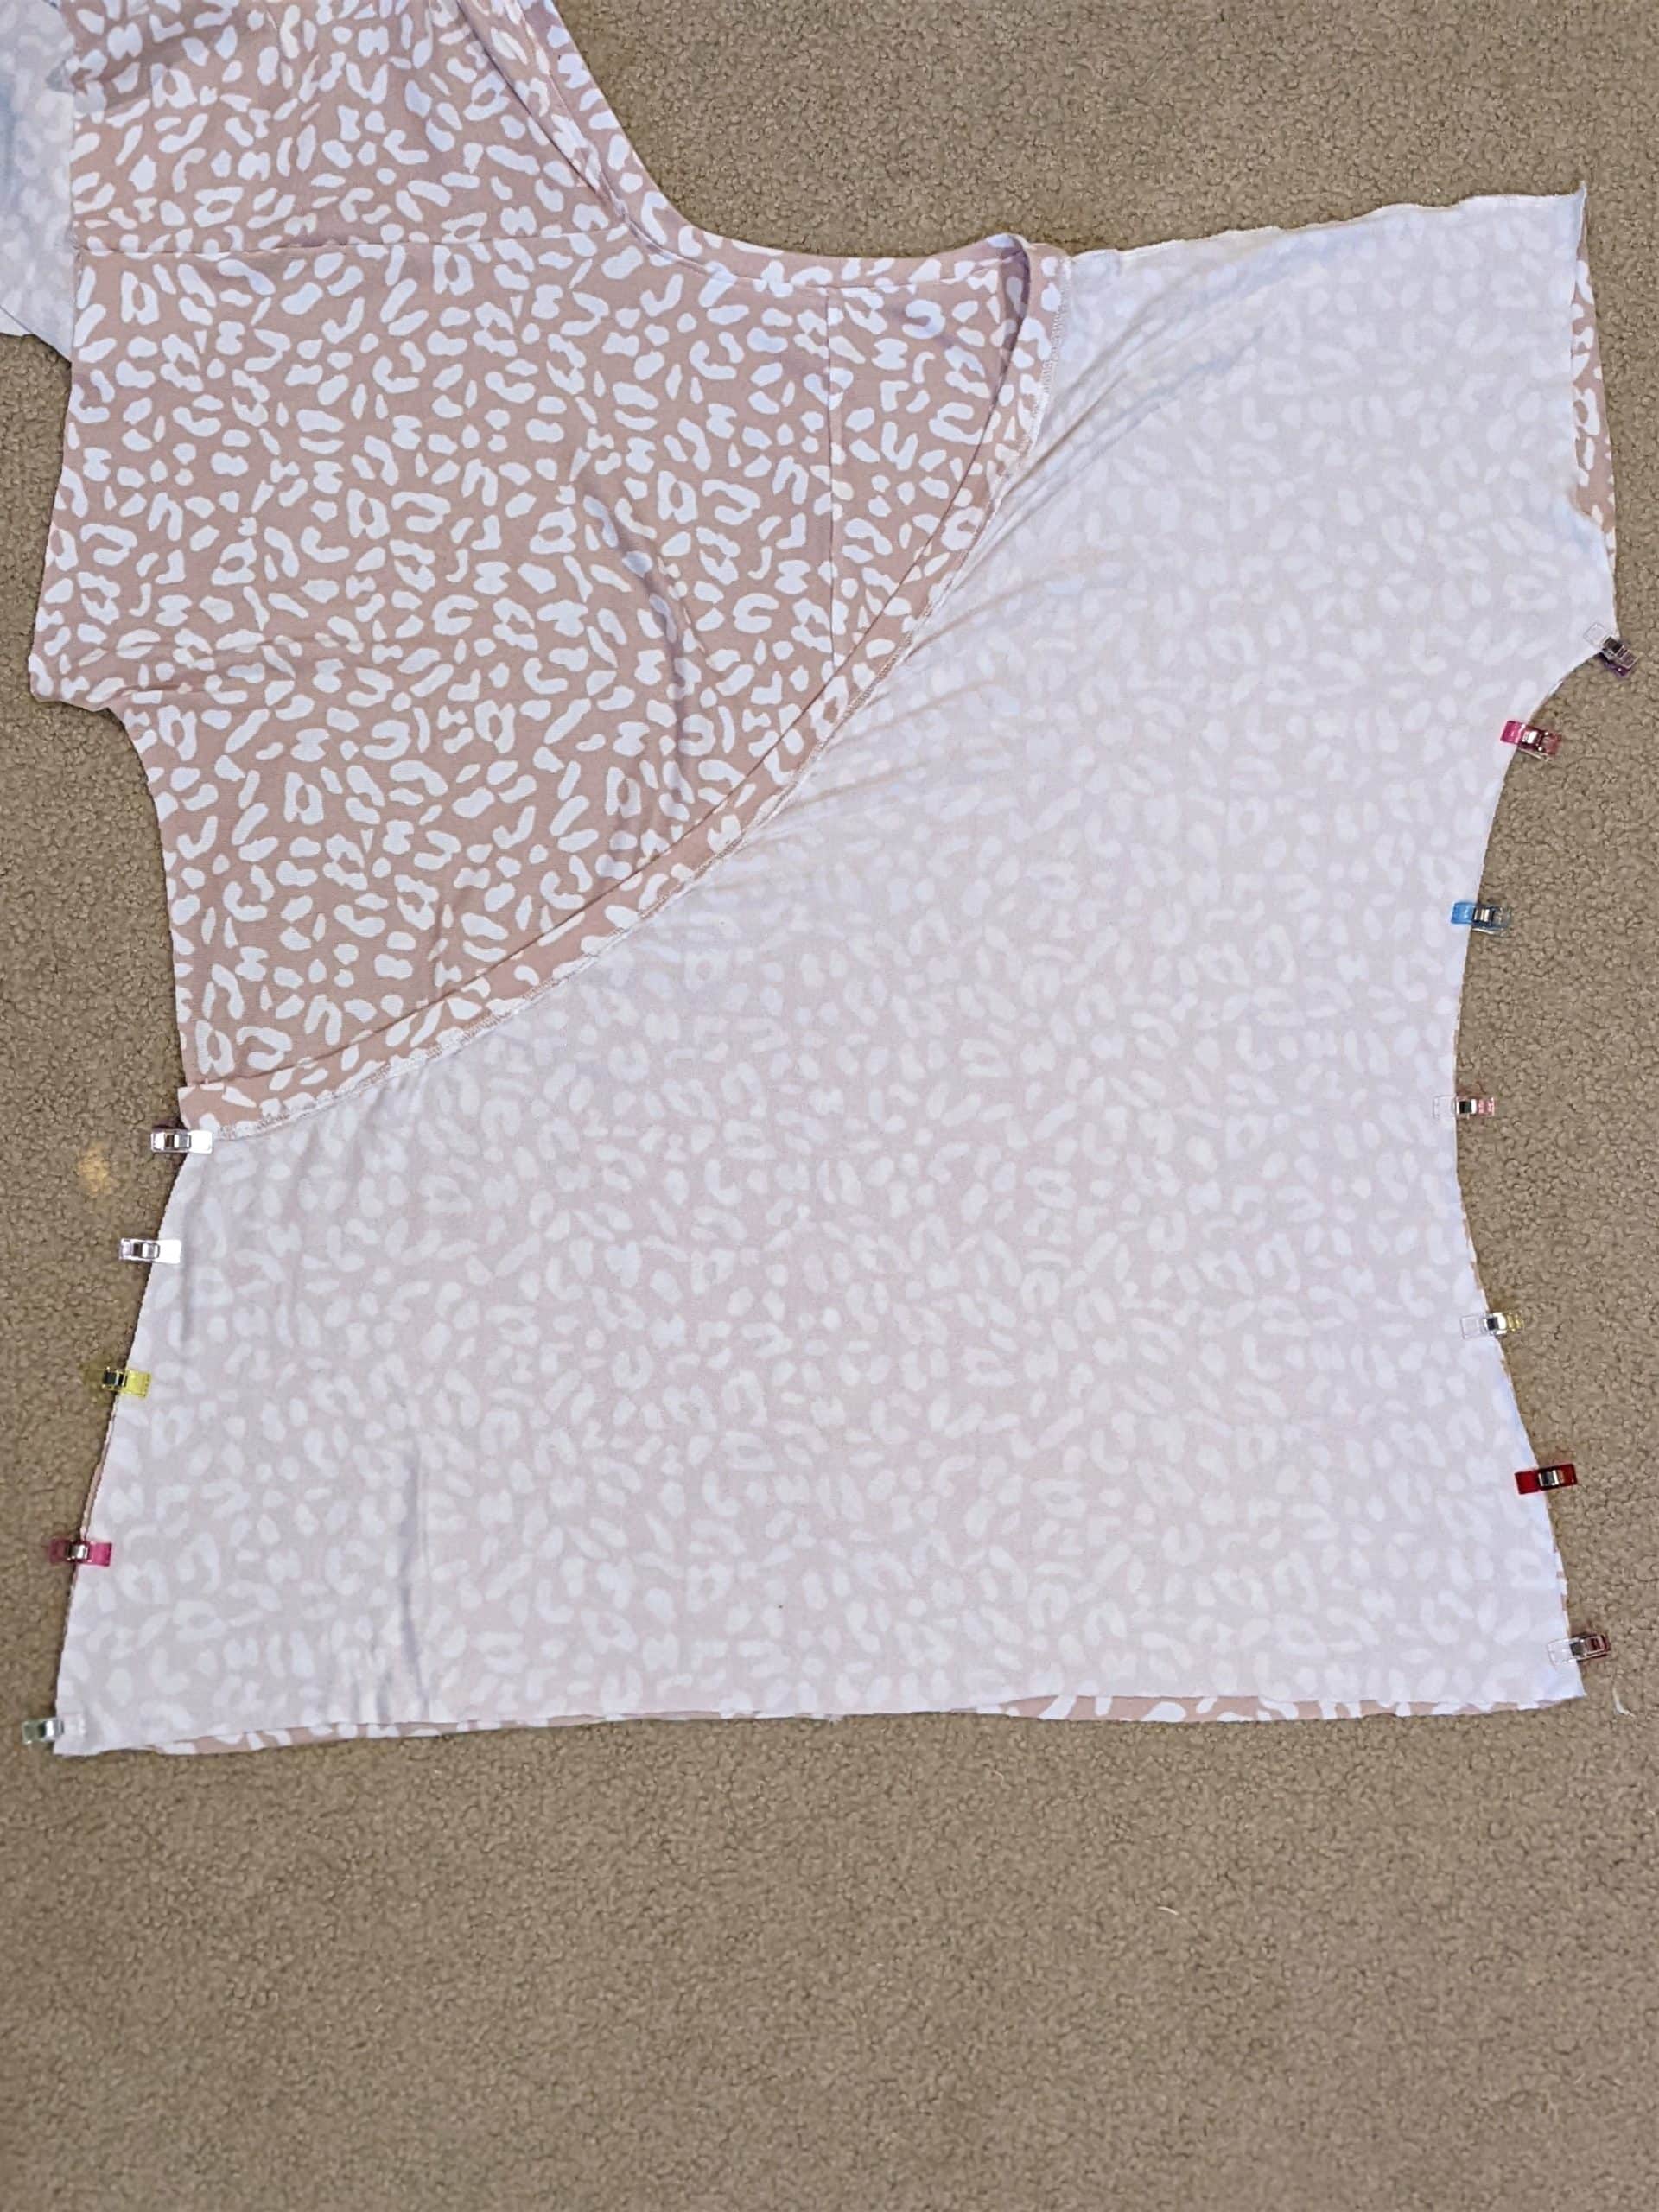
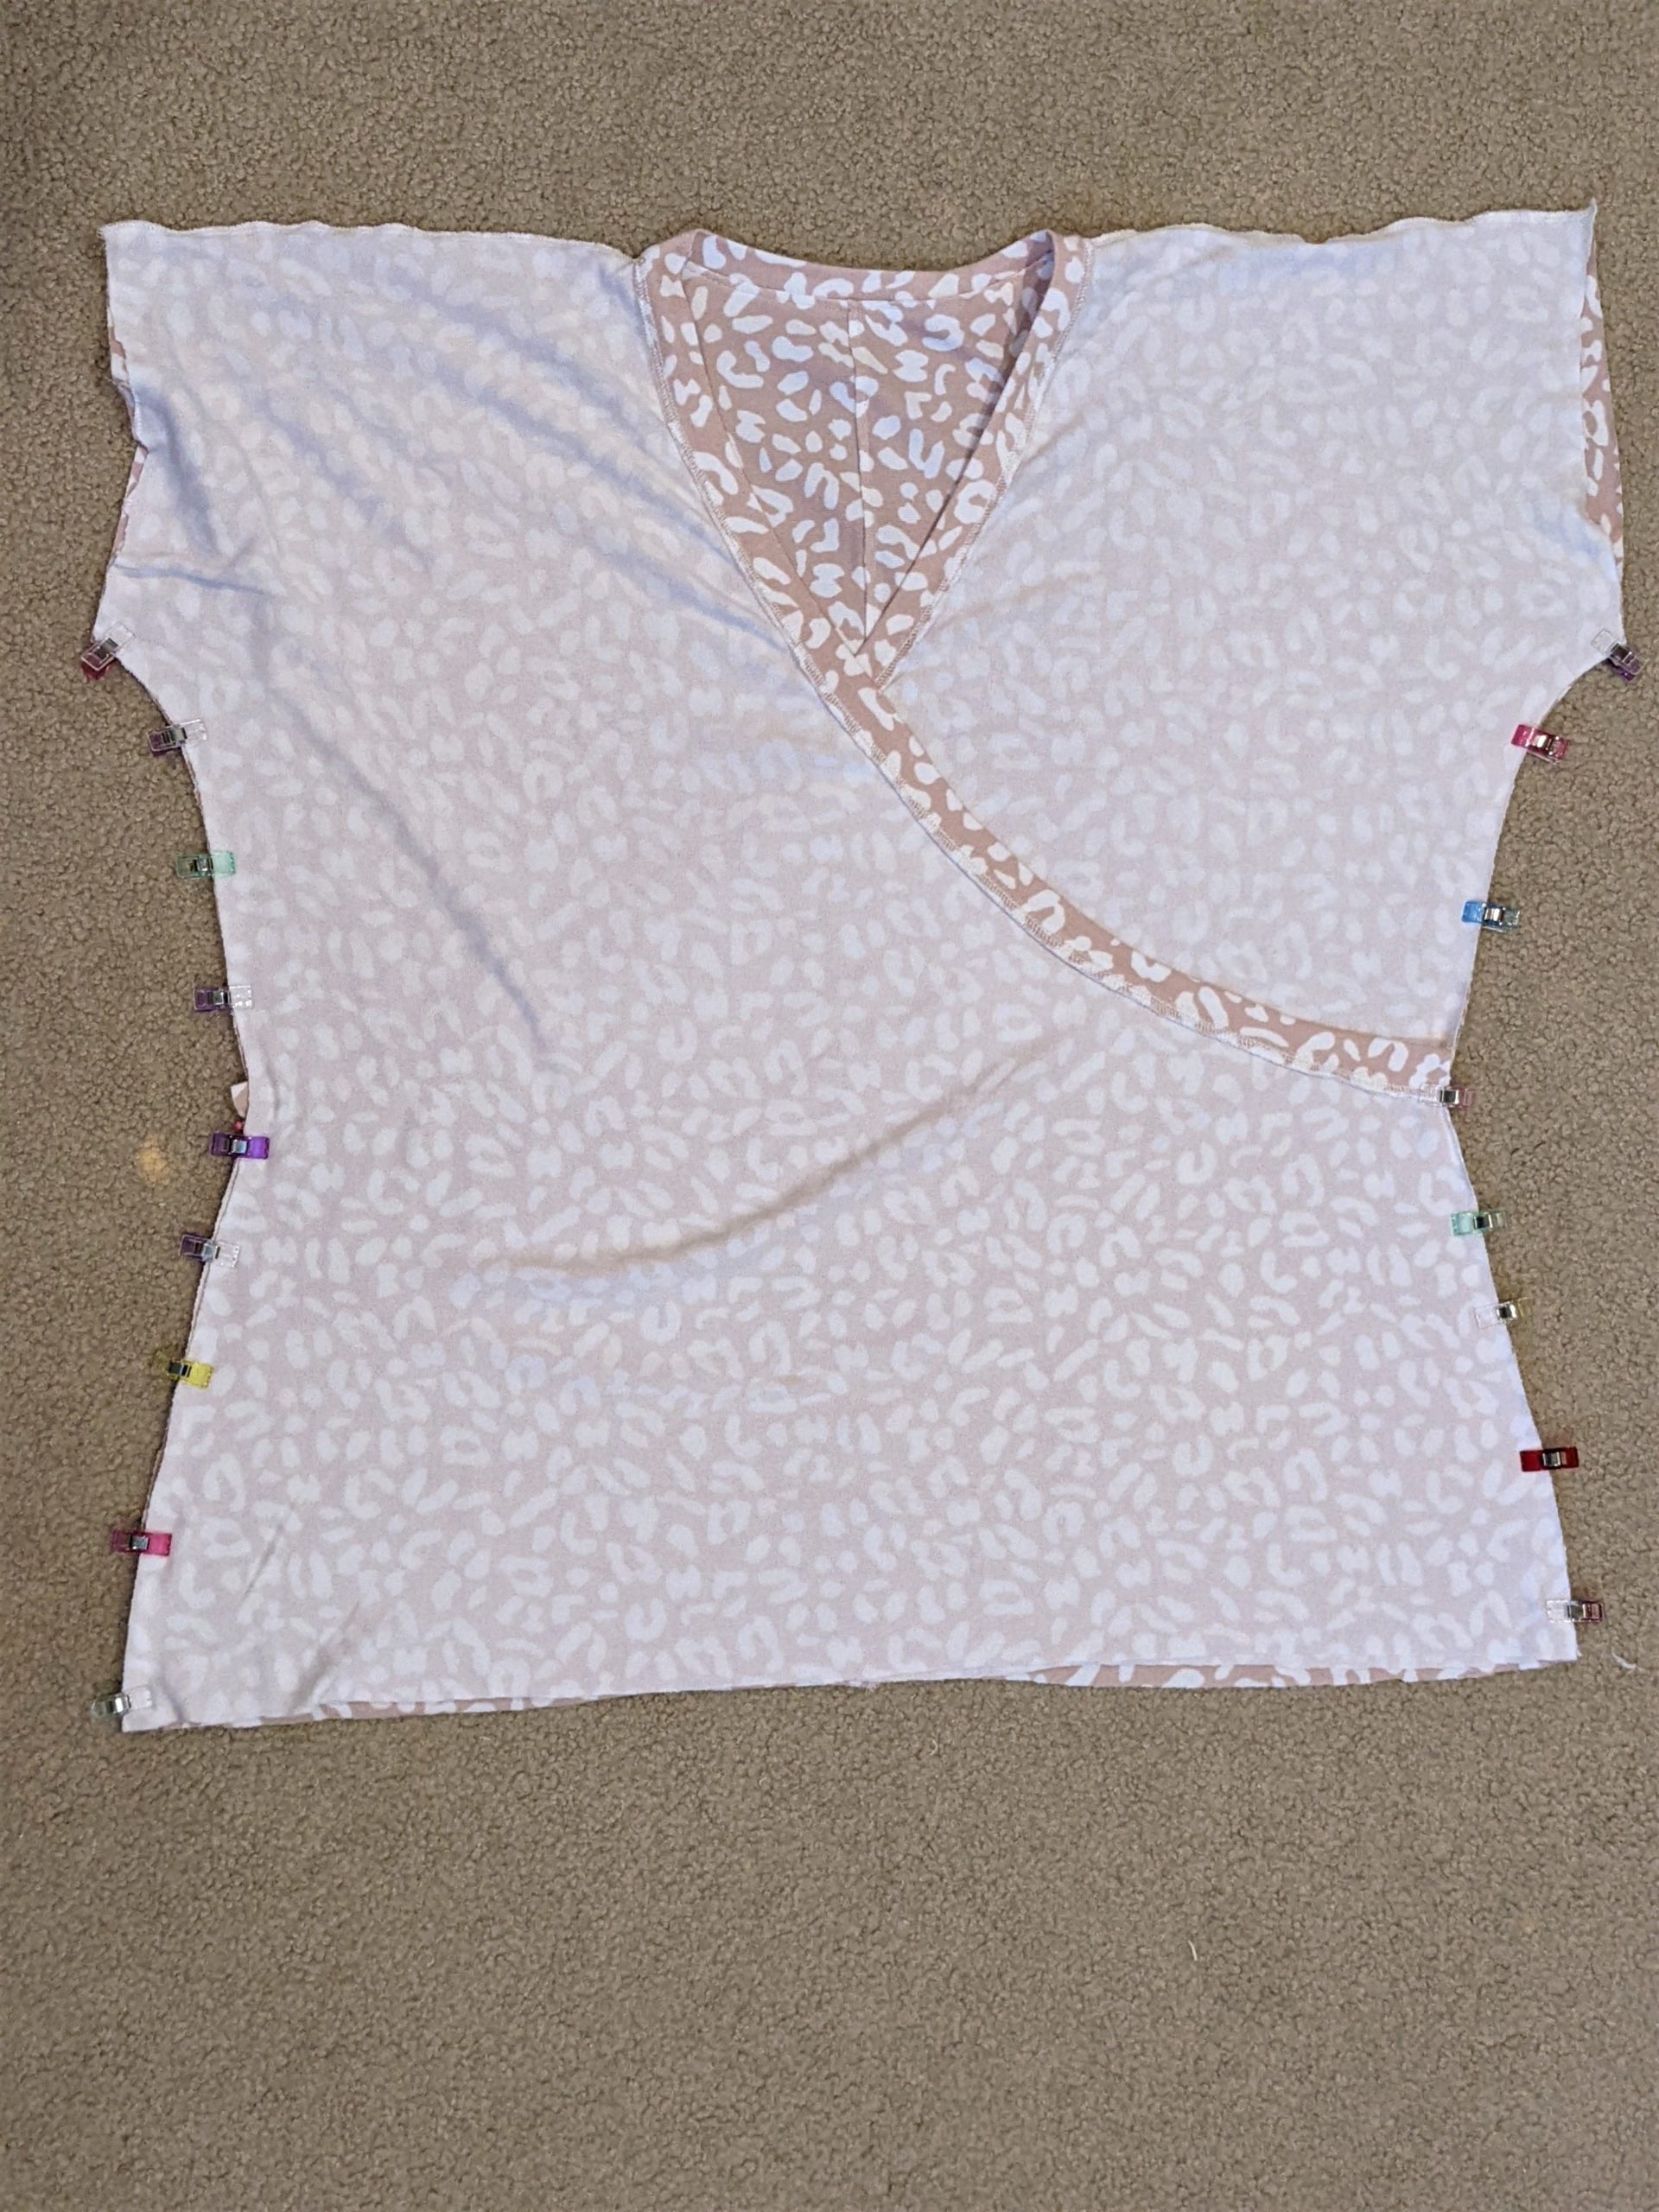
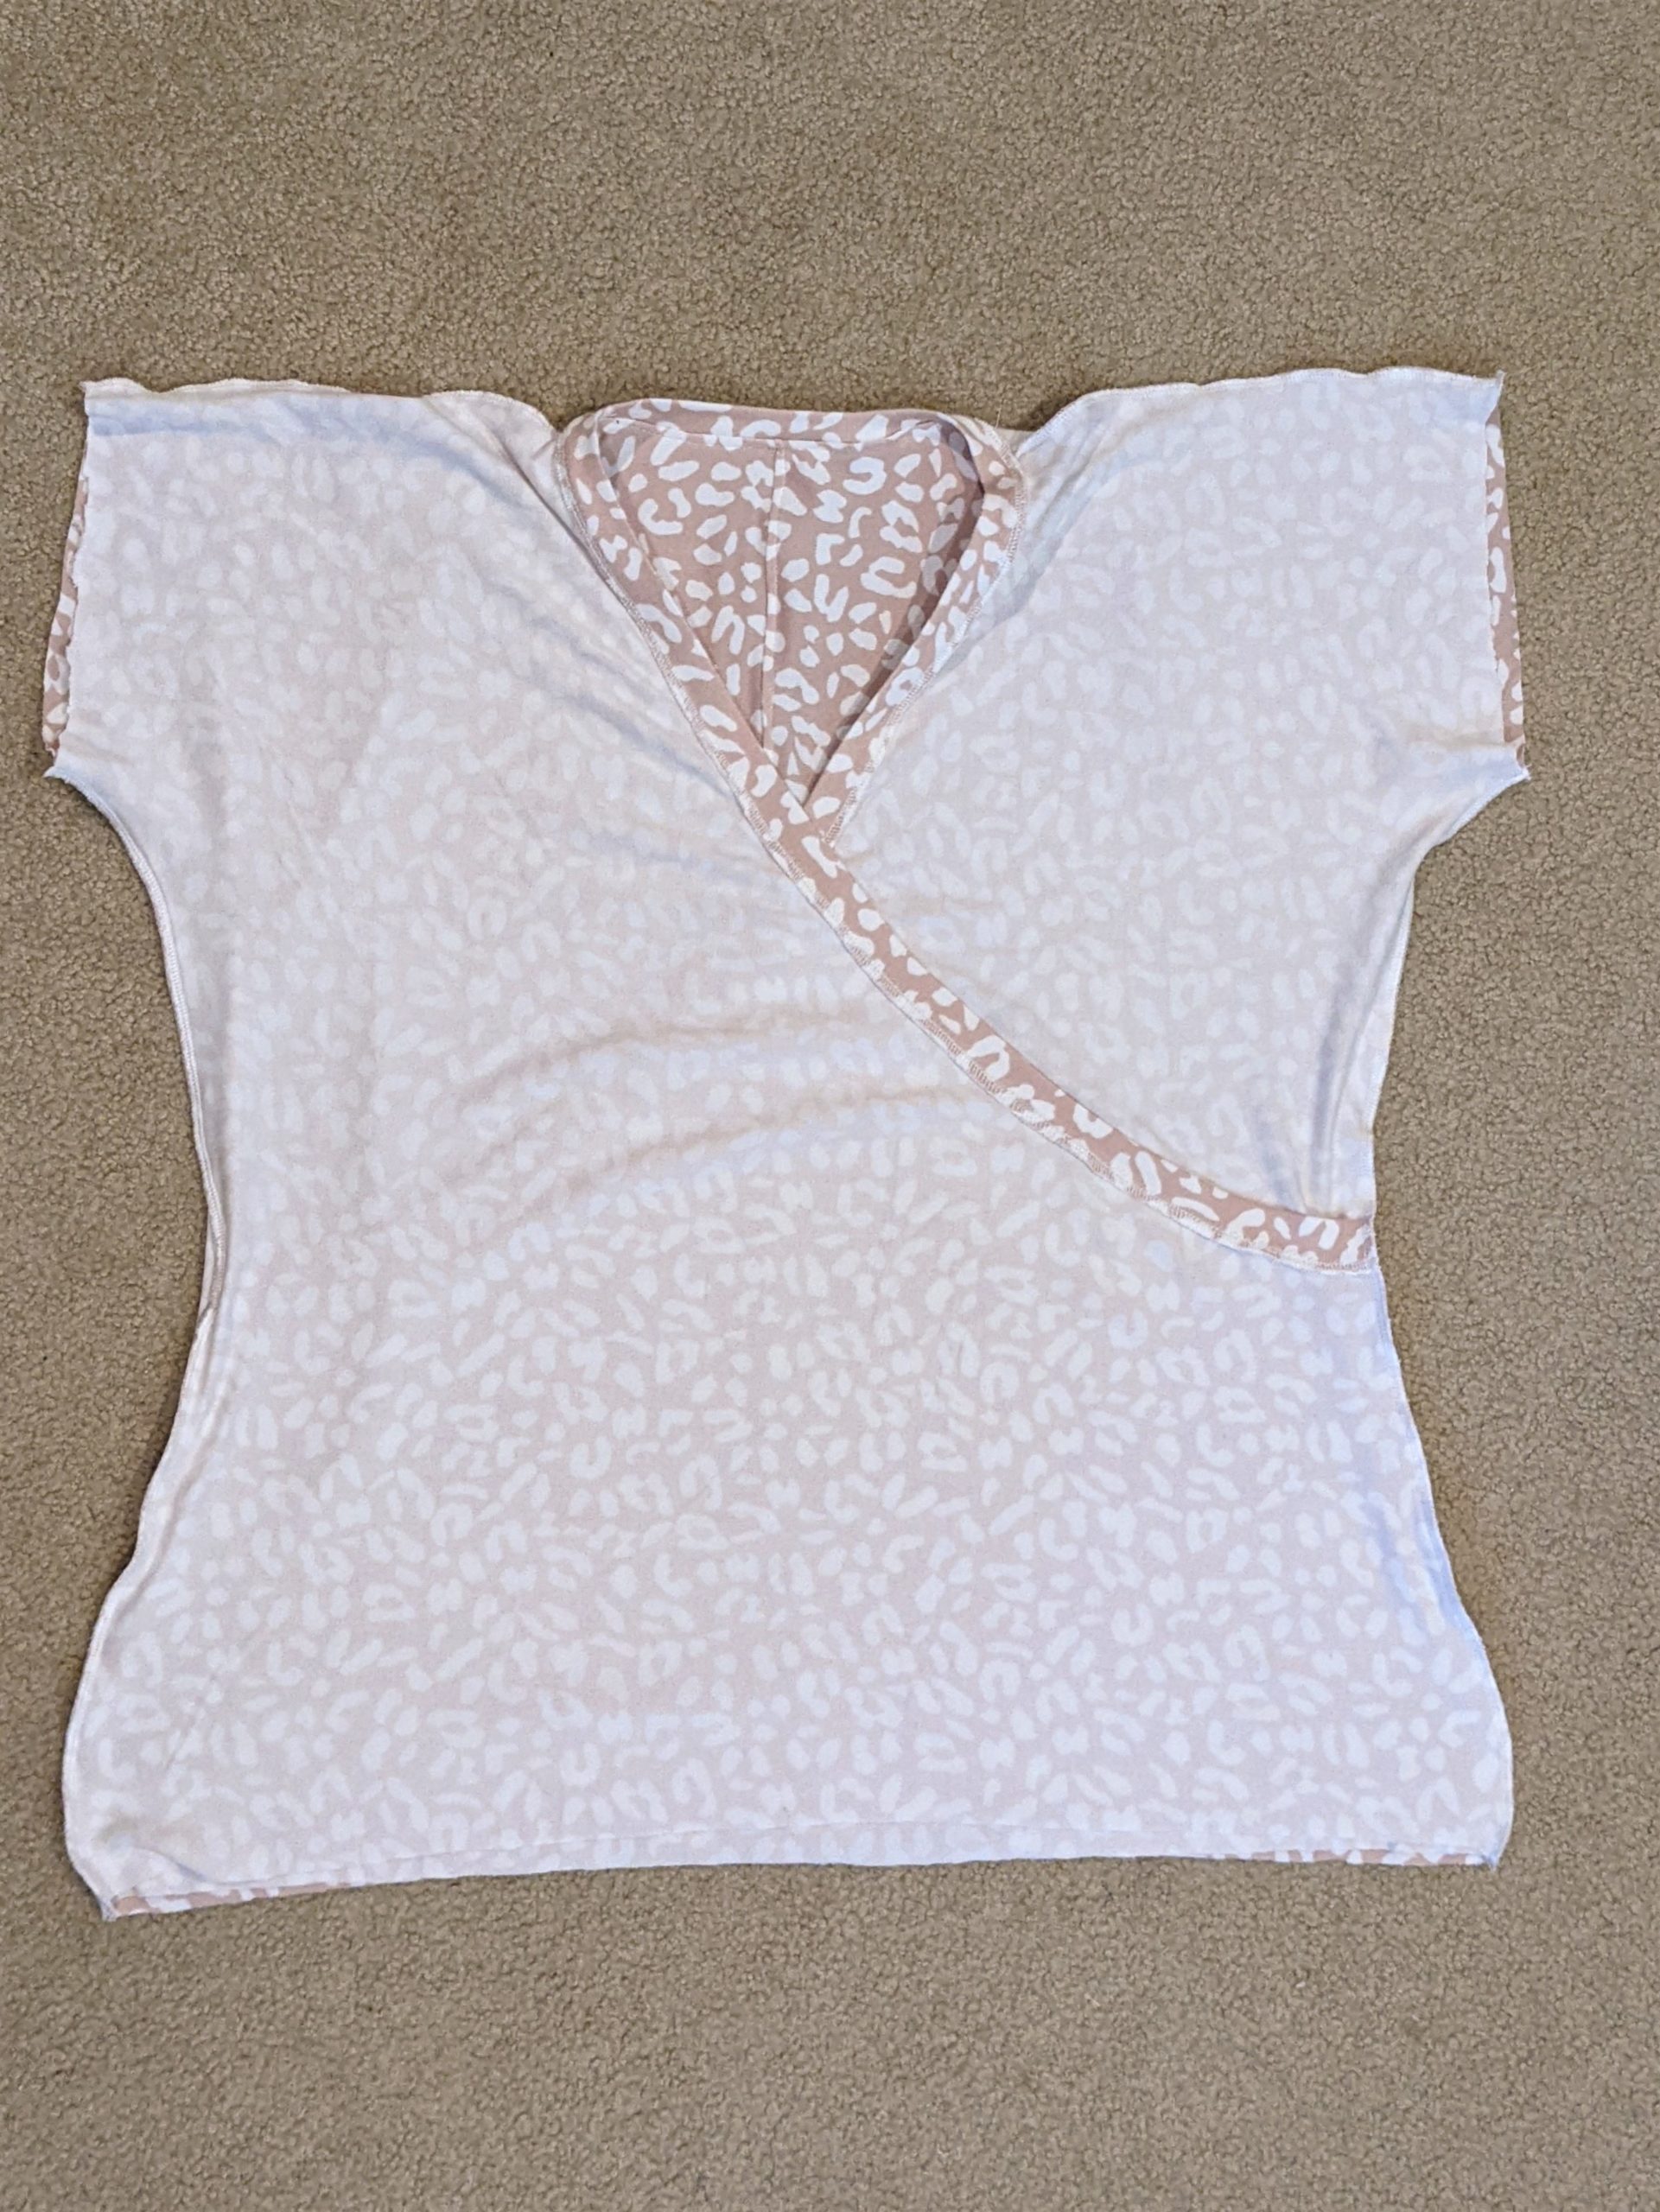
- Sew along both sides of the bodice from arm to hem making sure all layers are being sewn and turn the shirt right side out.
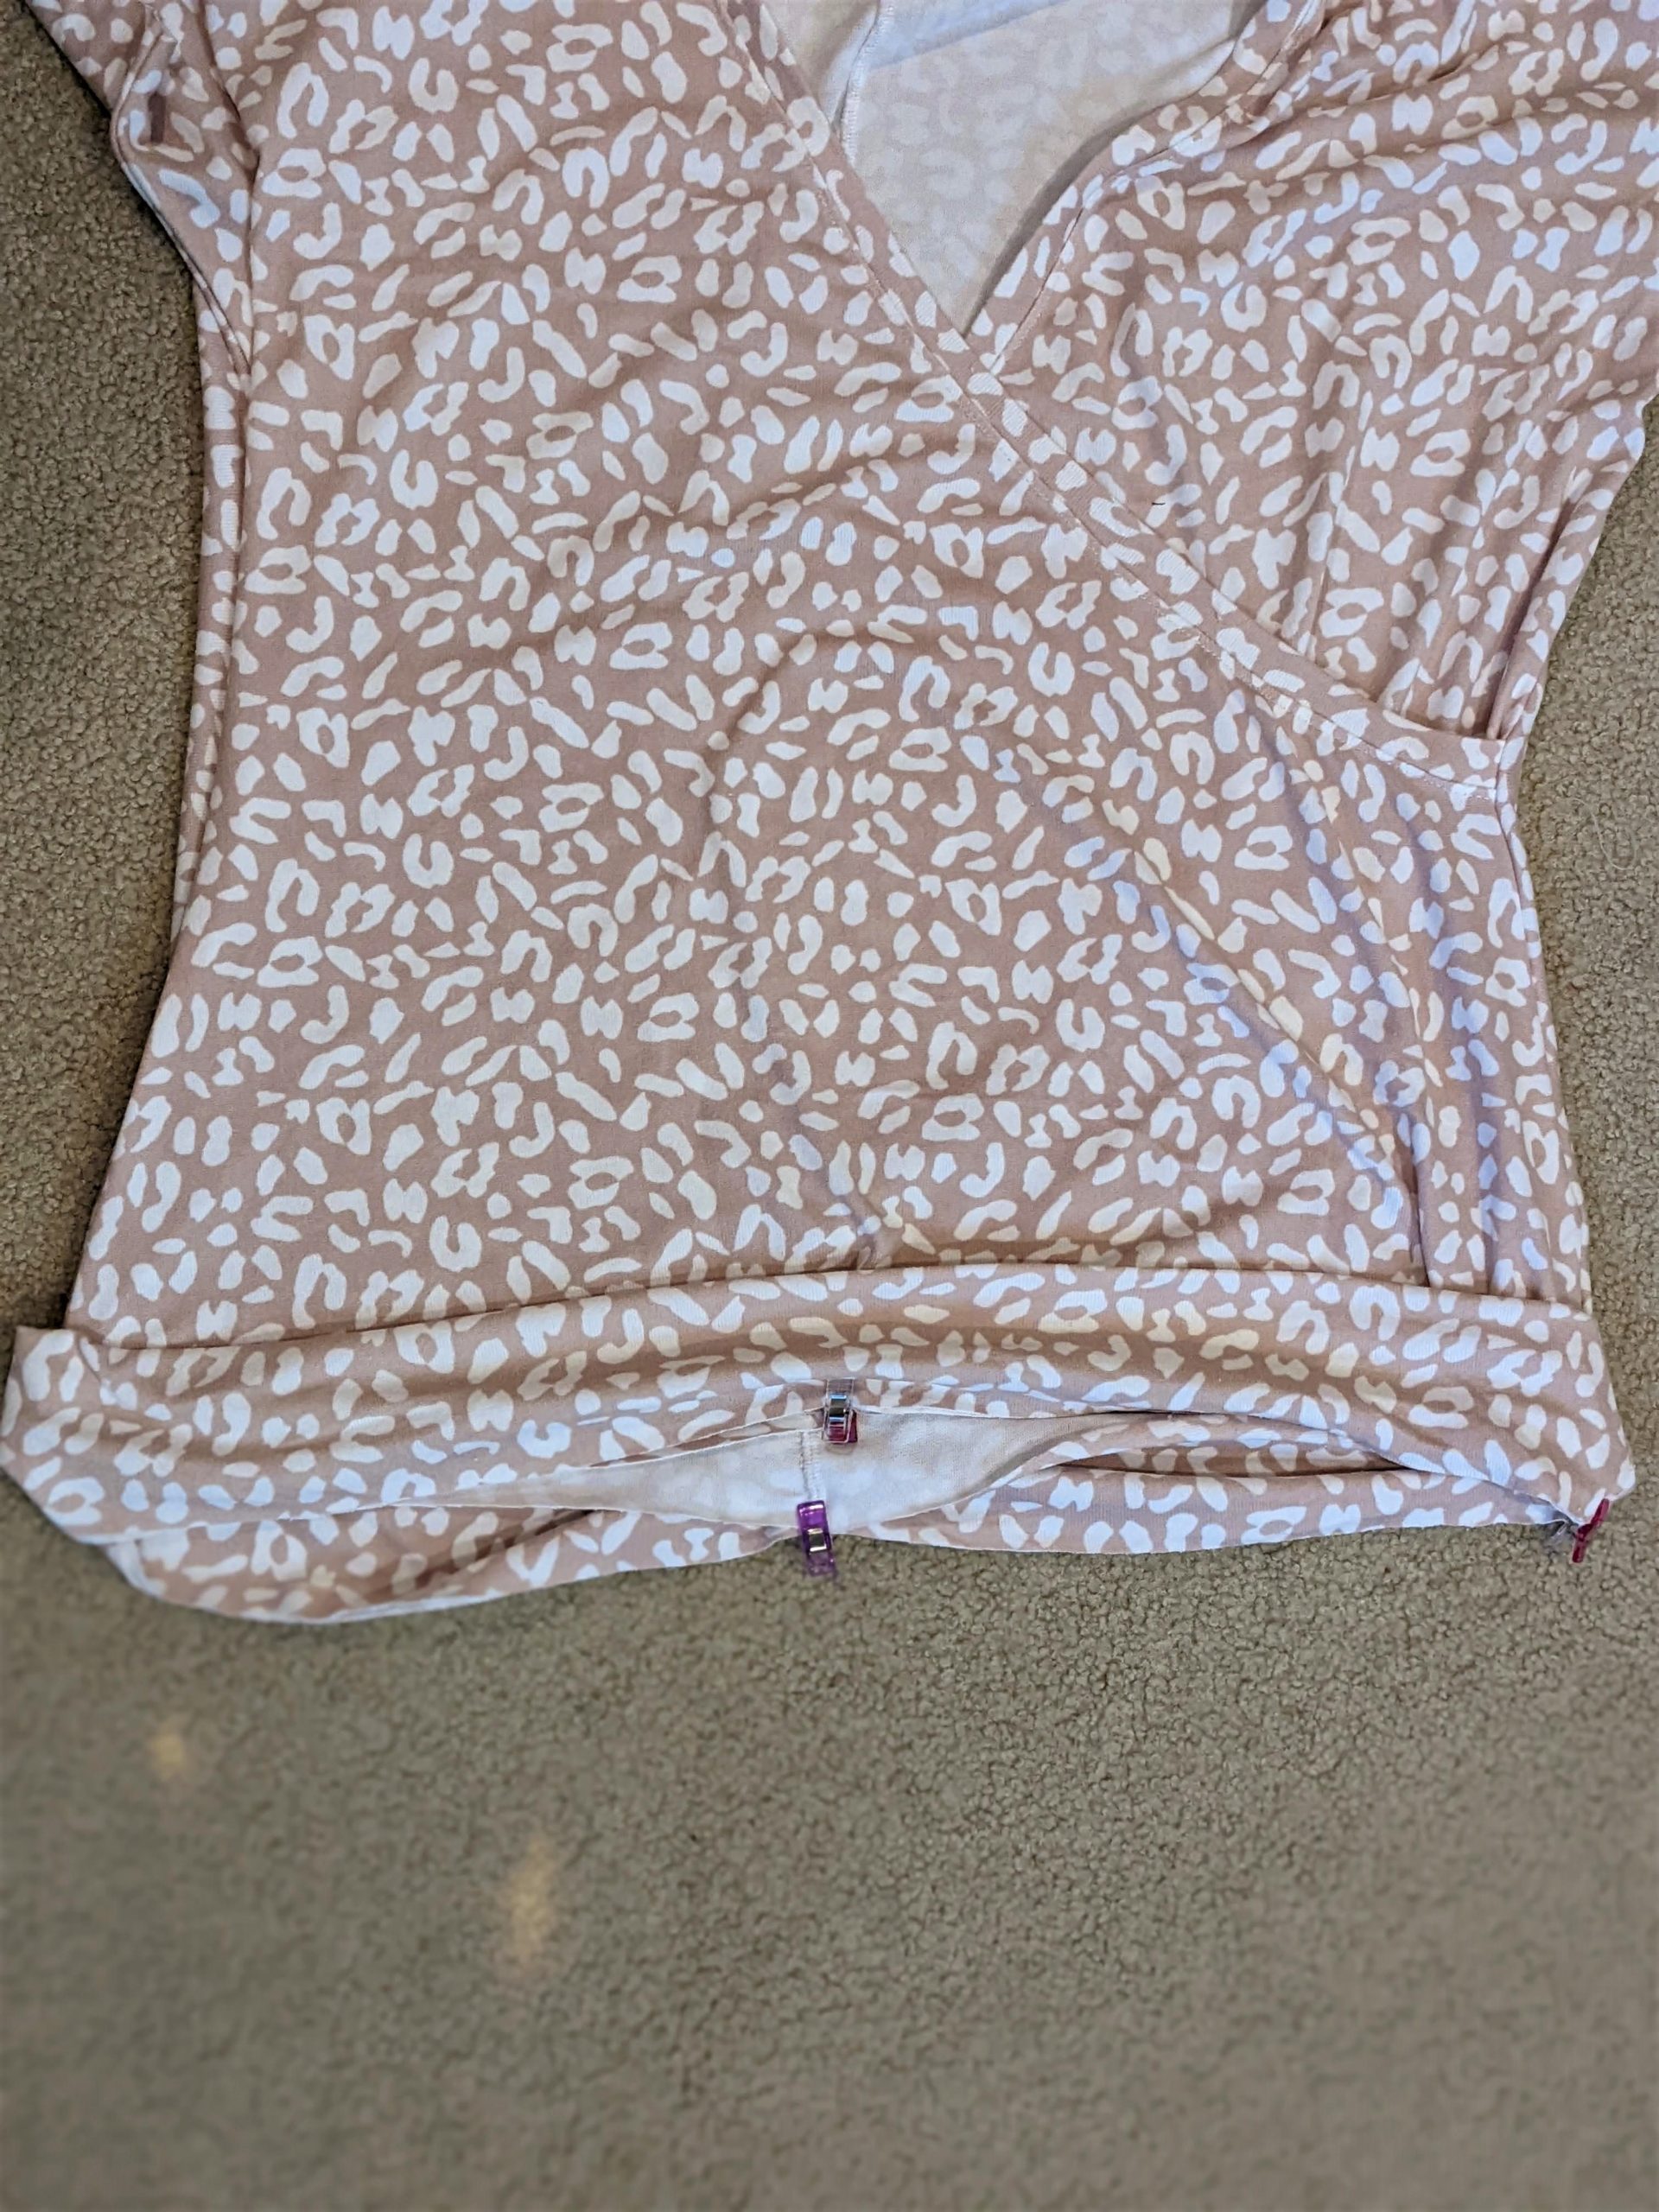
- Take your two hem band pieces, lay them right sides together and sew along the two short ends.
- Fold the band in half lengthwise then pin at the quarter points of the raw ede.
- Find and mark the quarter points of your bodice.
- Slide the band over the bottom of the shirt, then match up the side seams and front and back center points of the band with the bodice.
- Sew along the band stretching only the band as you go.
- Finish the sleeves however you’d like per the tutorial.

Awesome! You’re Ready to Rock!

Want more FUN DIY Freebies? Check out the FREEBIE TUTORIALS and the FREEBIE PATTERNS!
As always, we’re here to help if you need it! Join us HERE and on Facebook, Instagram, Twitter, Youtube, and Pinterest. We’re everywhere you are.
Leave a Reply