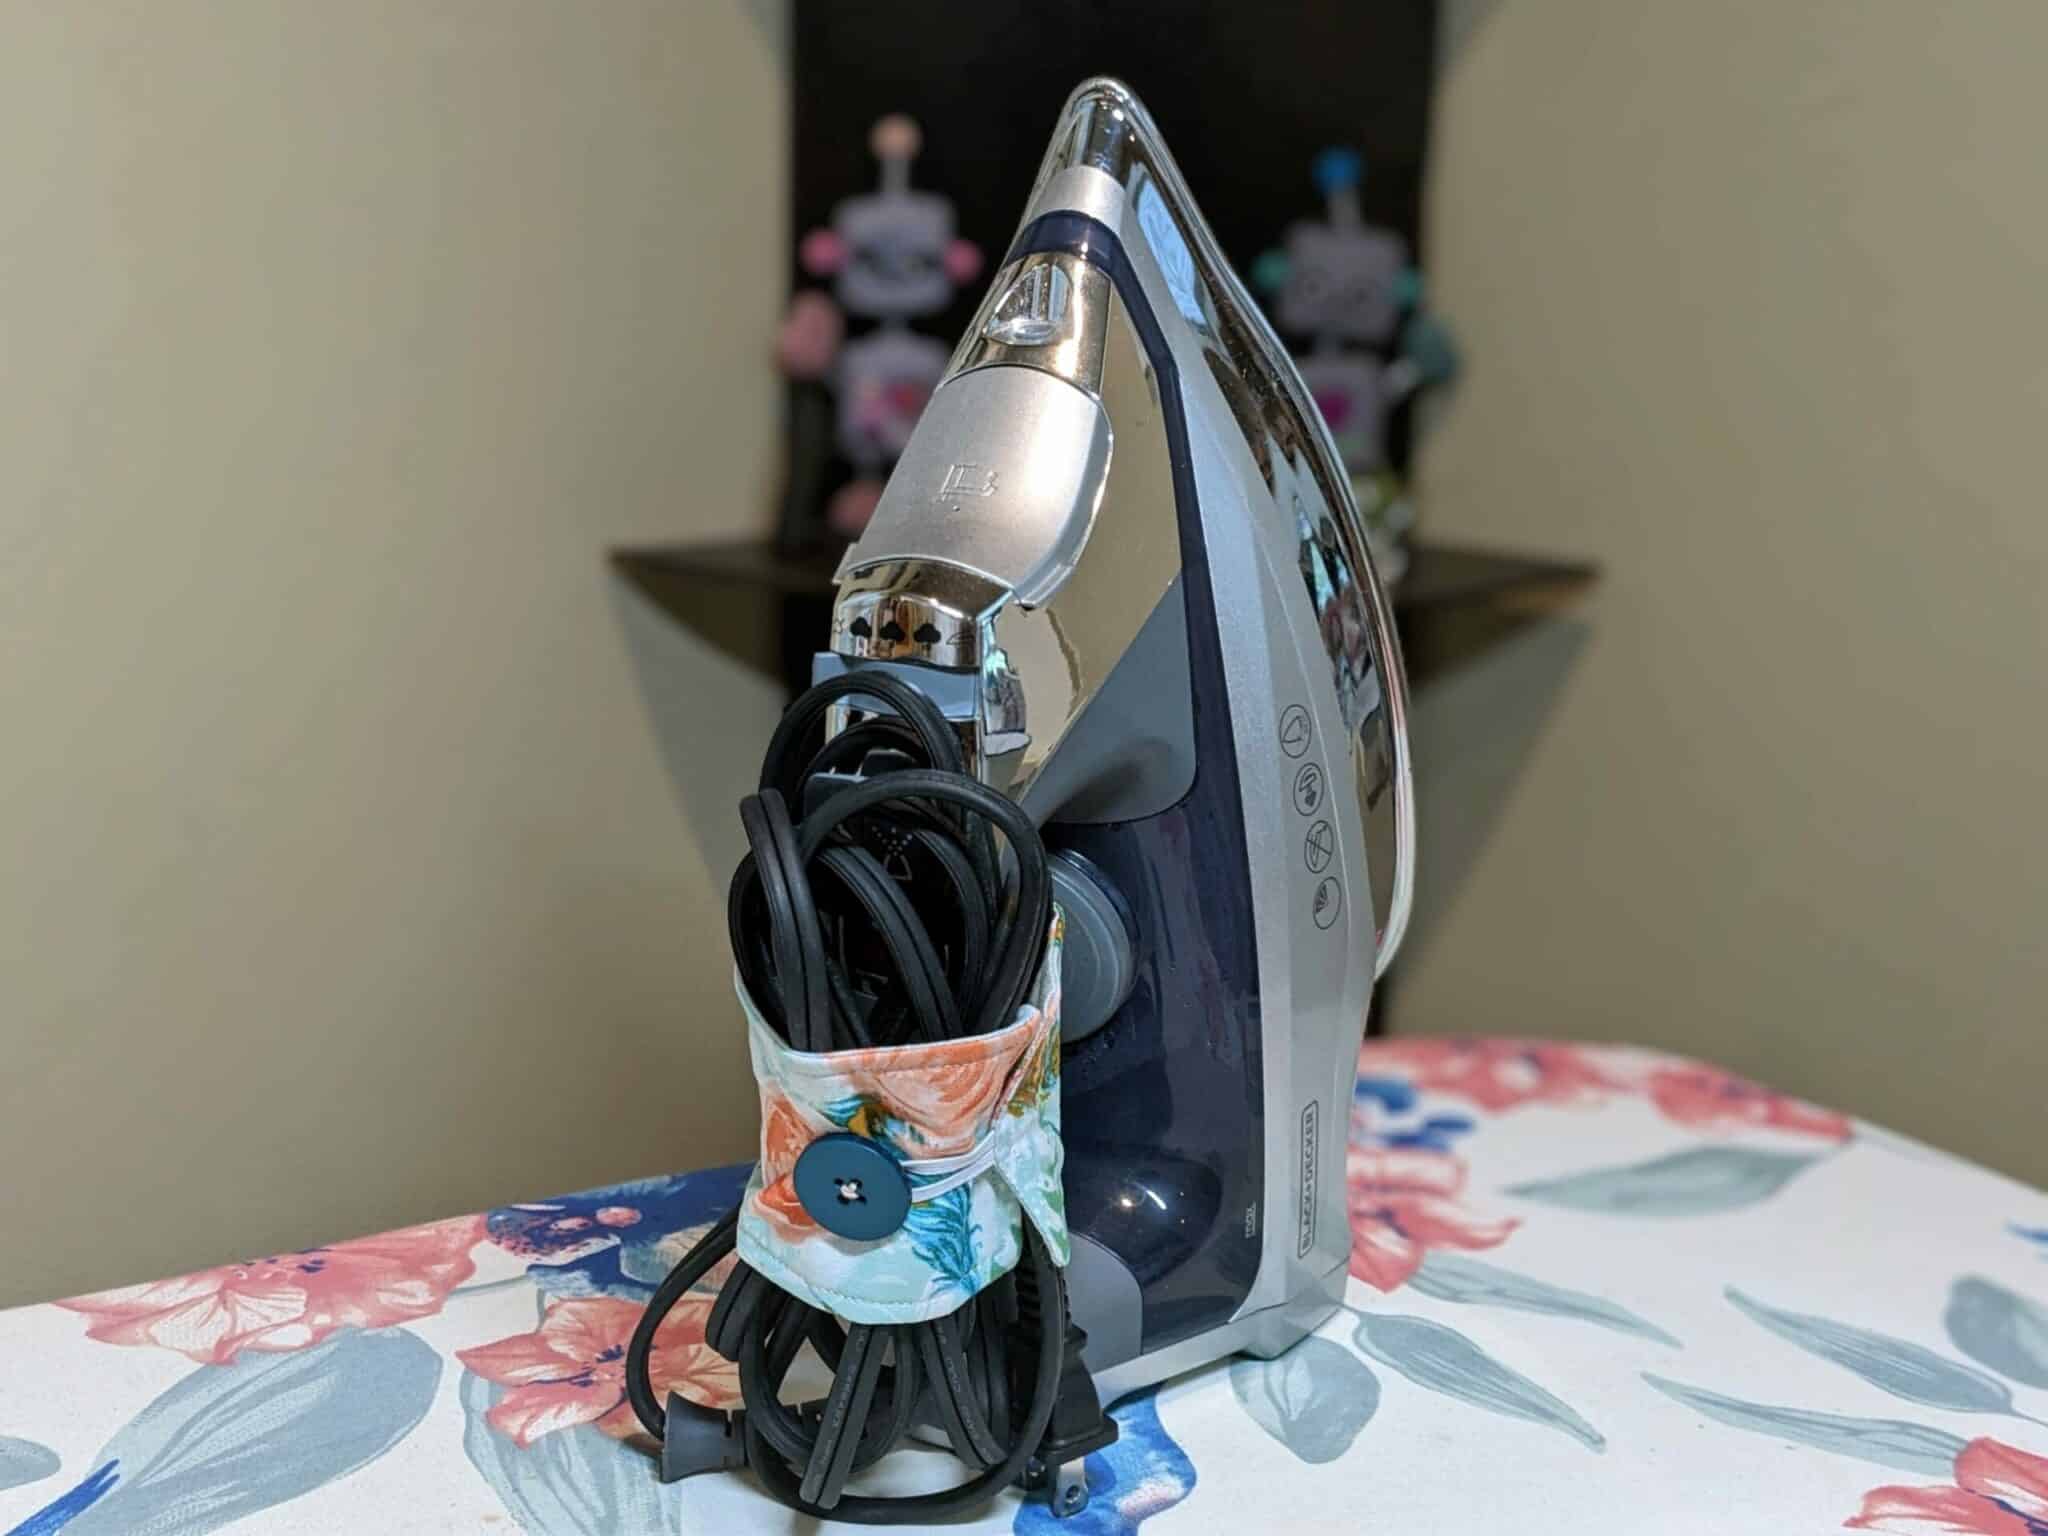
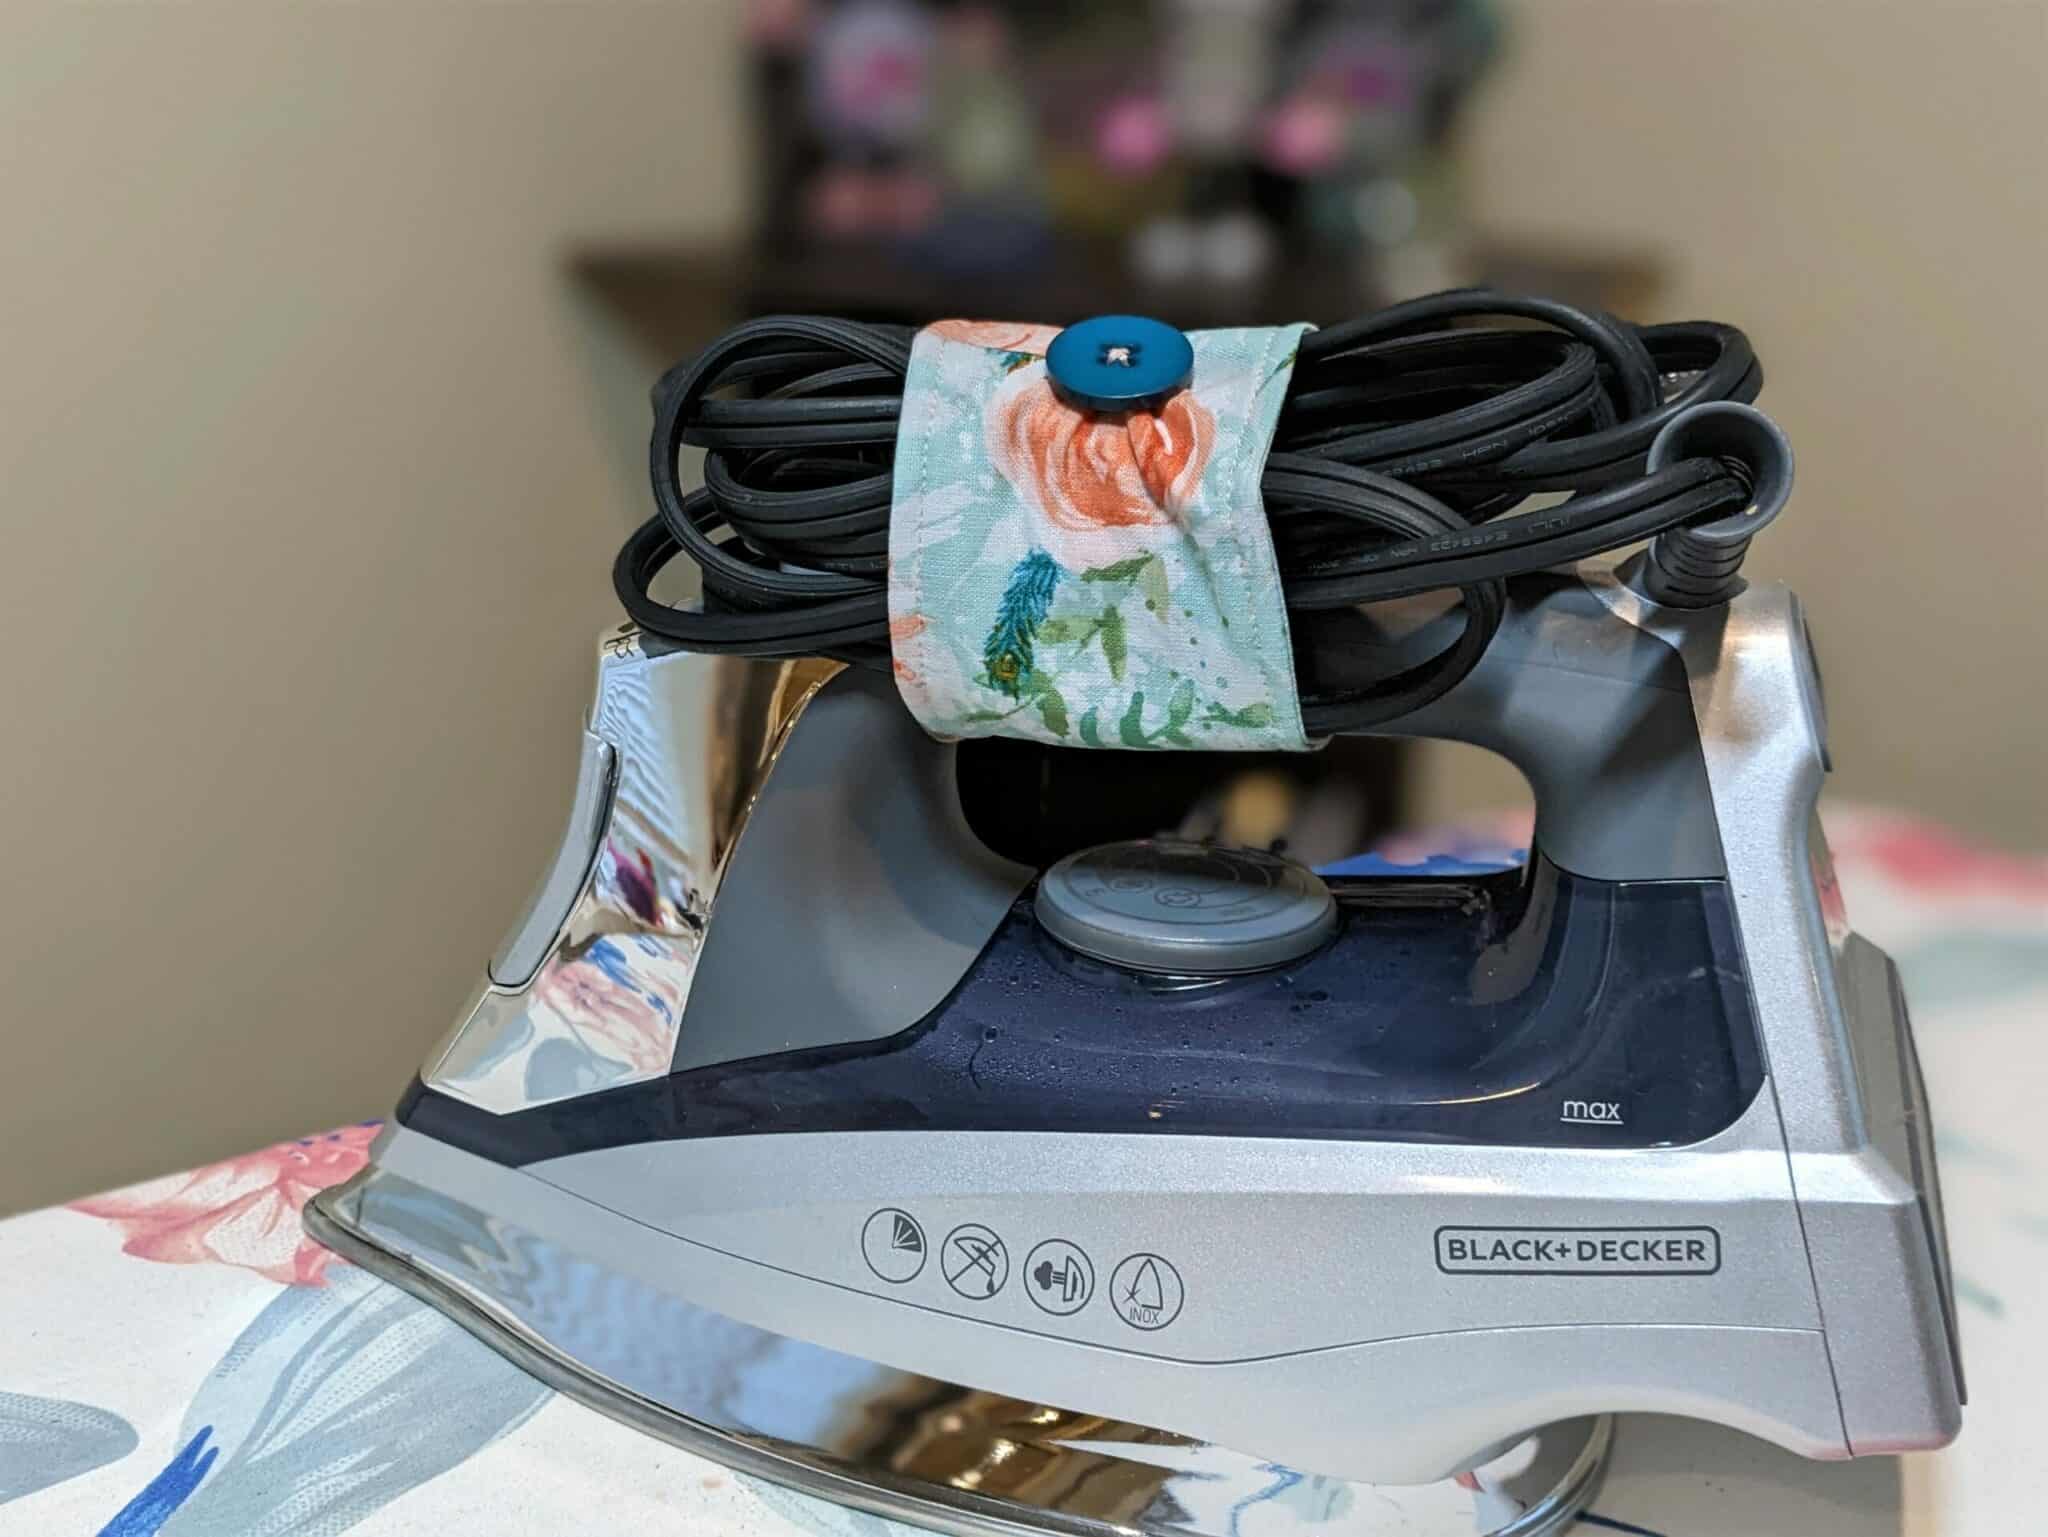
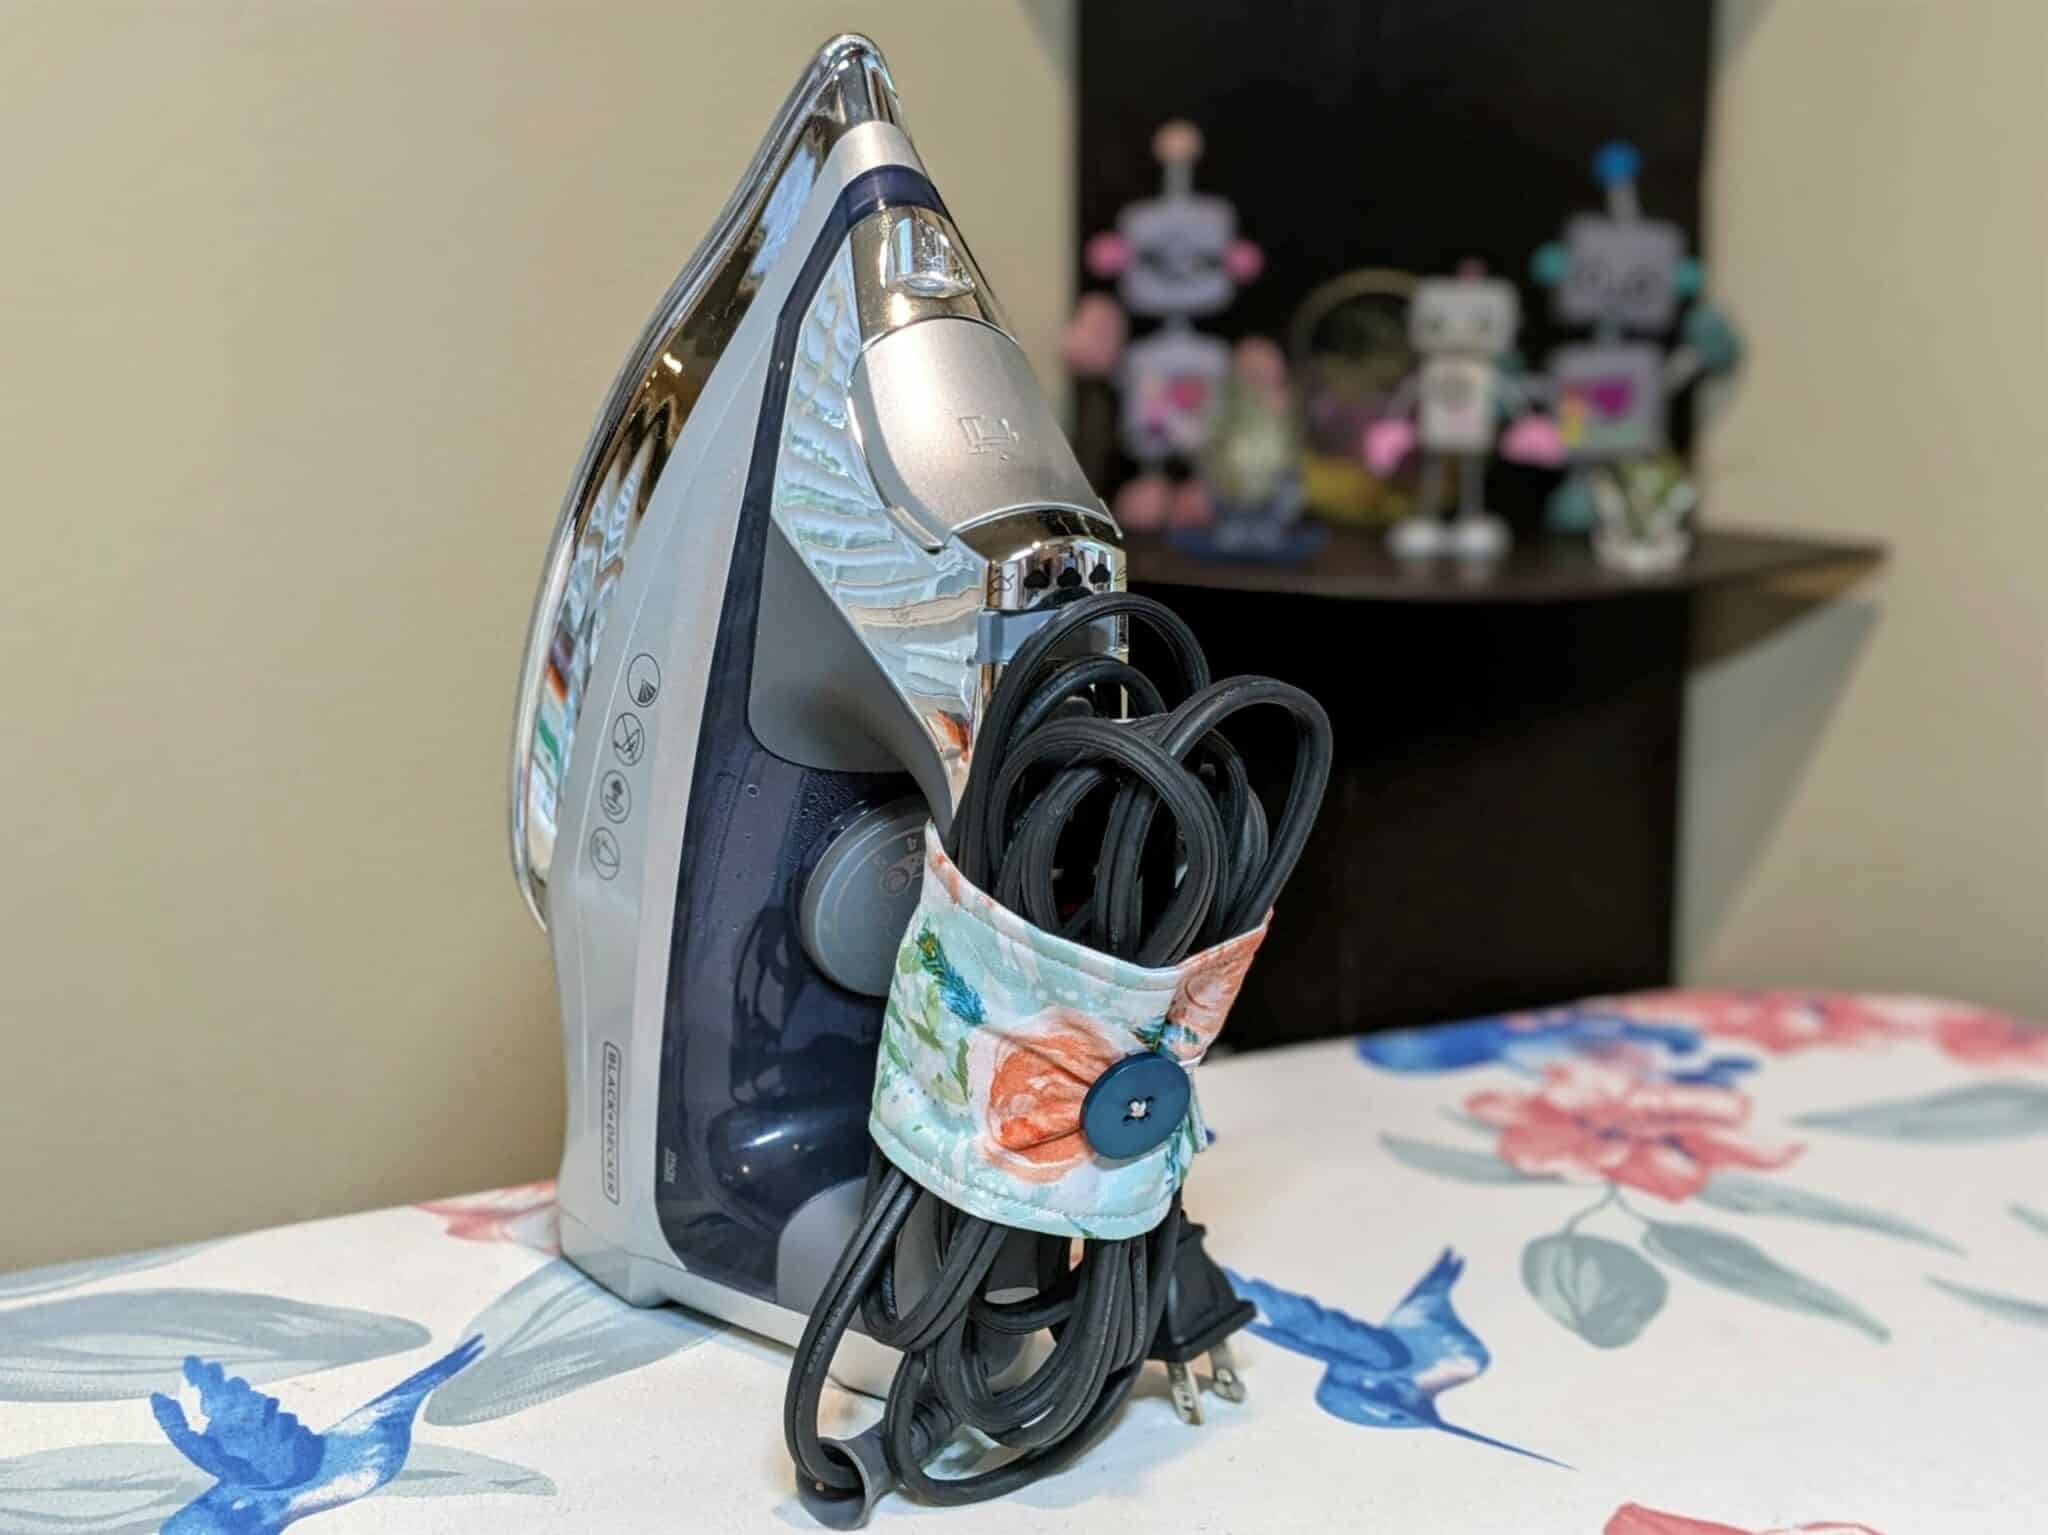
If your iron cord is always hanging around and getting in the way, this is a quick and easy solution to store it nicely and keep it from getting tangled up. You can also adjust the size to fit any other cords that you need to organize.
Supplies
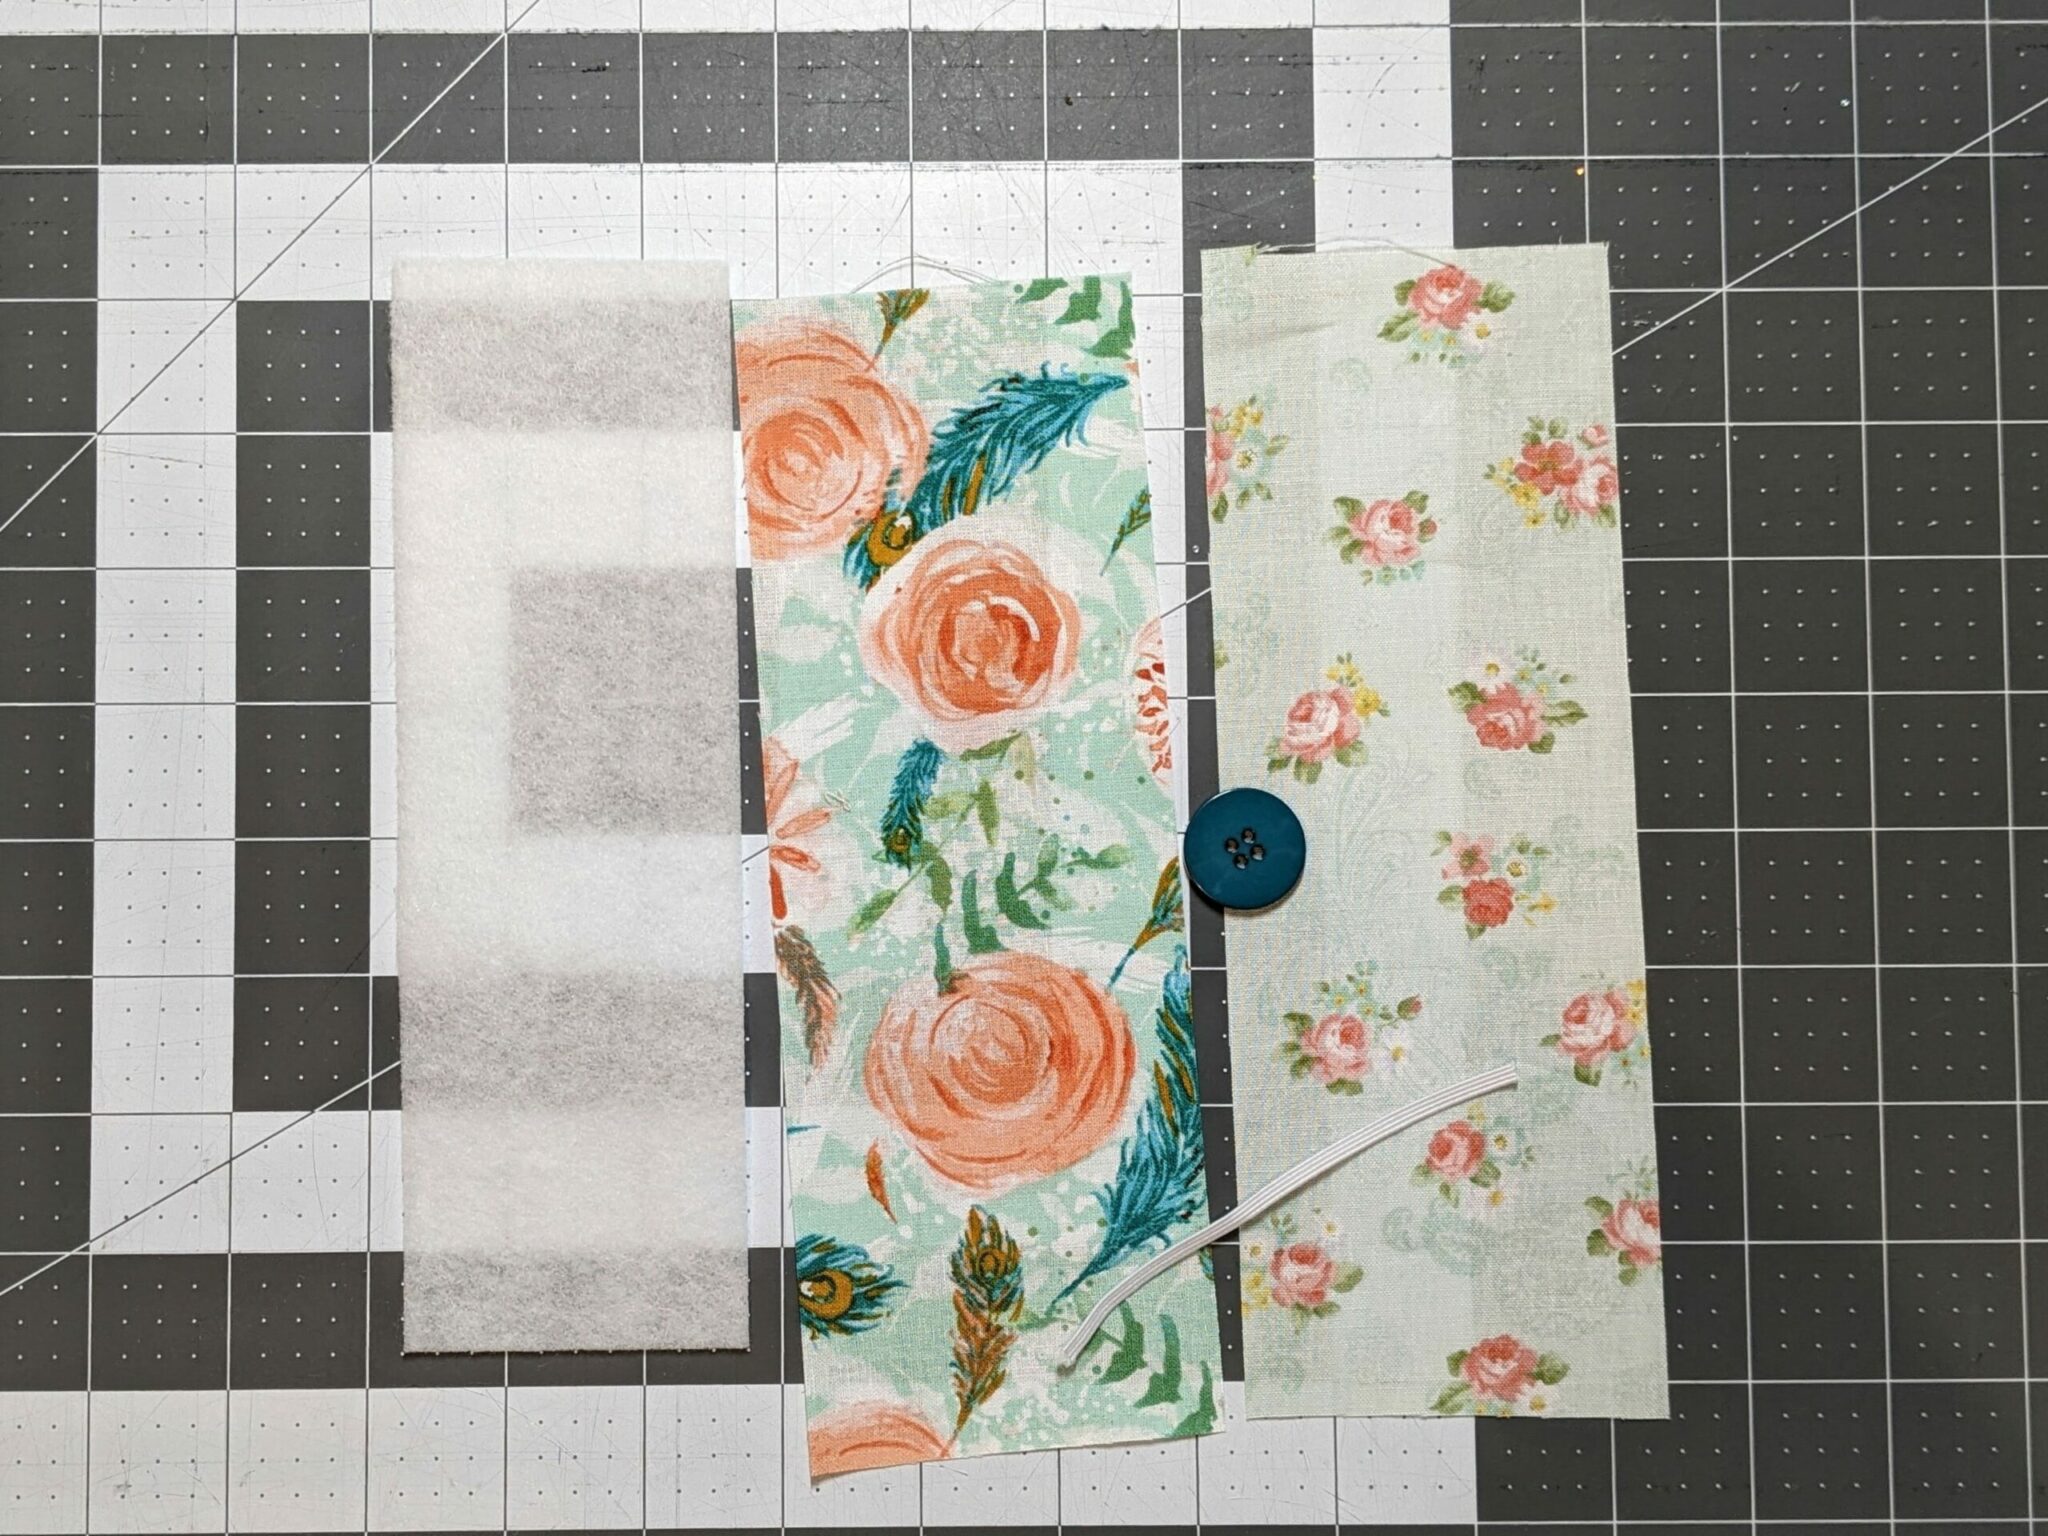
- Two coordinating woven fabrics
- Fusible heavy interfacing of fleece interfacing
- Small piece of 1/8″- 1/4″ elastic or a hair elastic
- Coordinating button
- Sewing machine and basic sewing supplies
Cut All of Your Pieces
- Both woven fabrics: 8.5″ X 3″ (2 pieces total)
- Interfacing: cut one 8″ X 2.5″
- Elastic: 3.5″ long
Let’s Get Sewing!
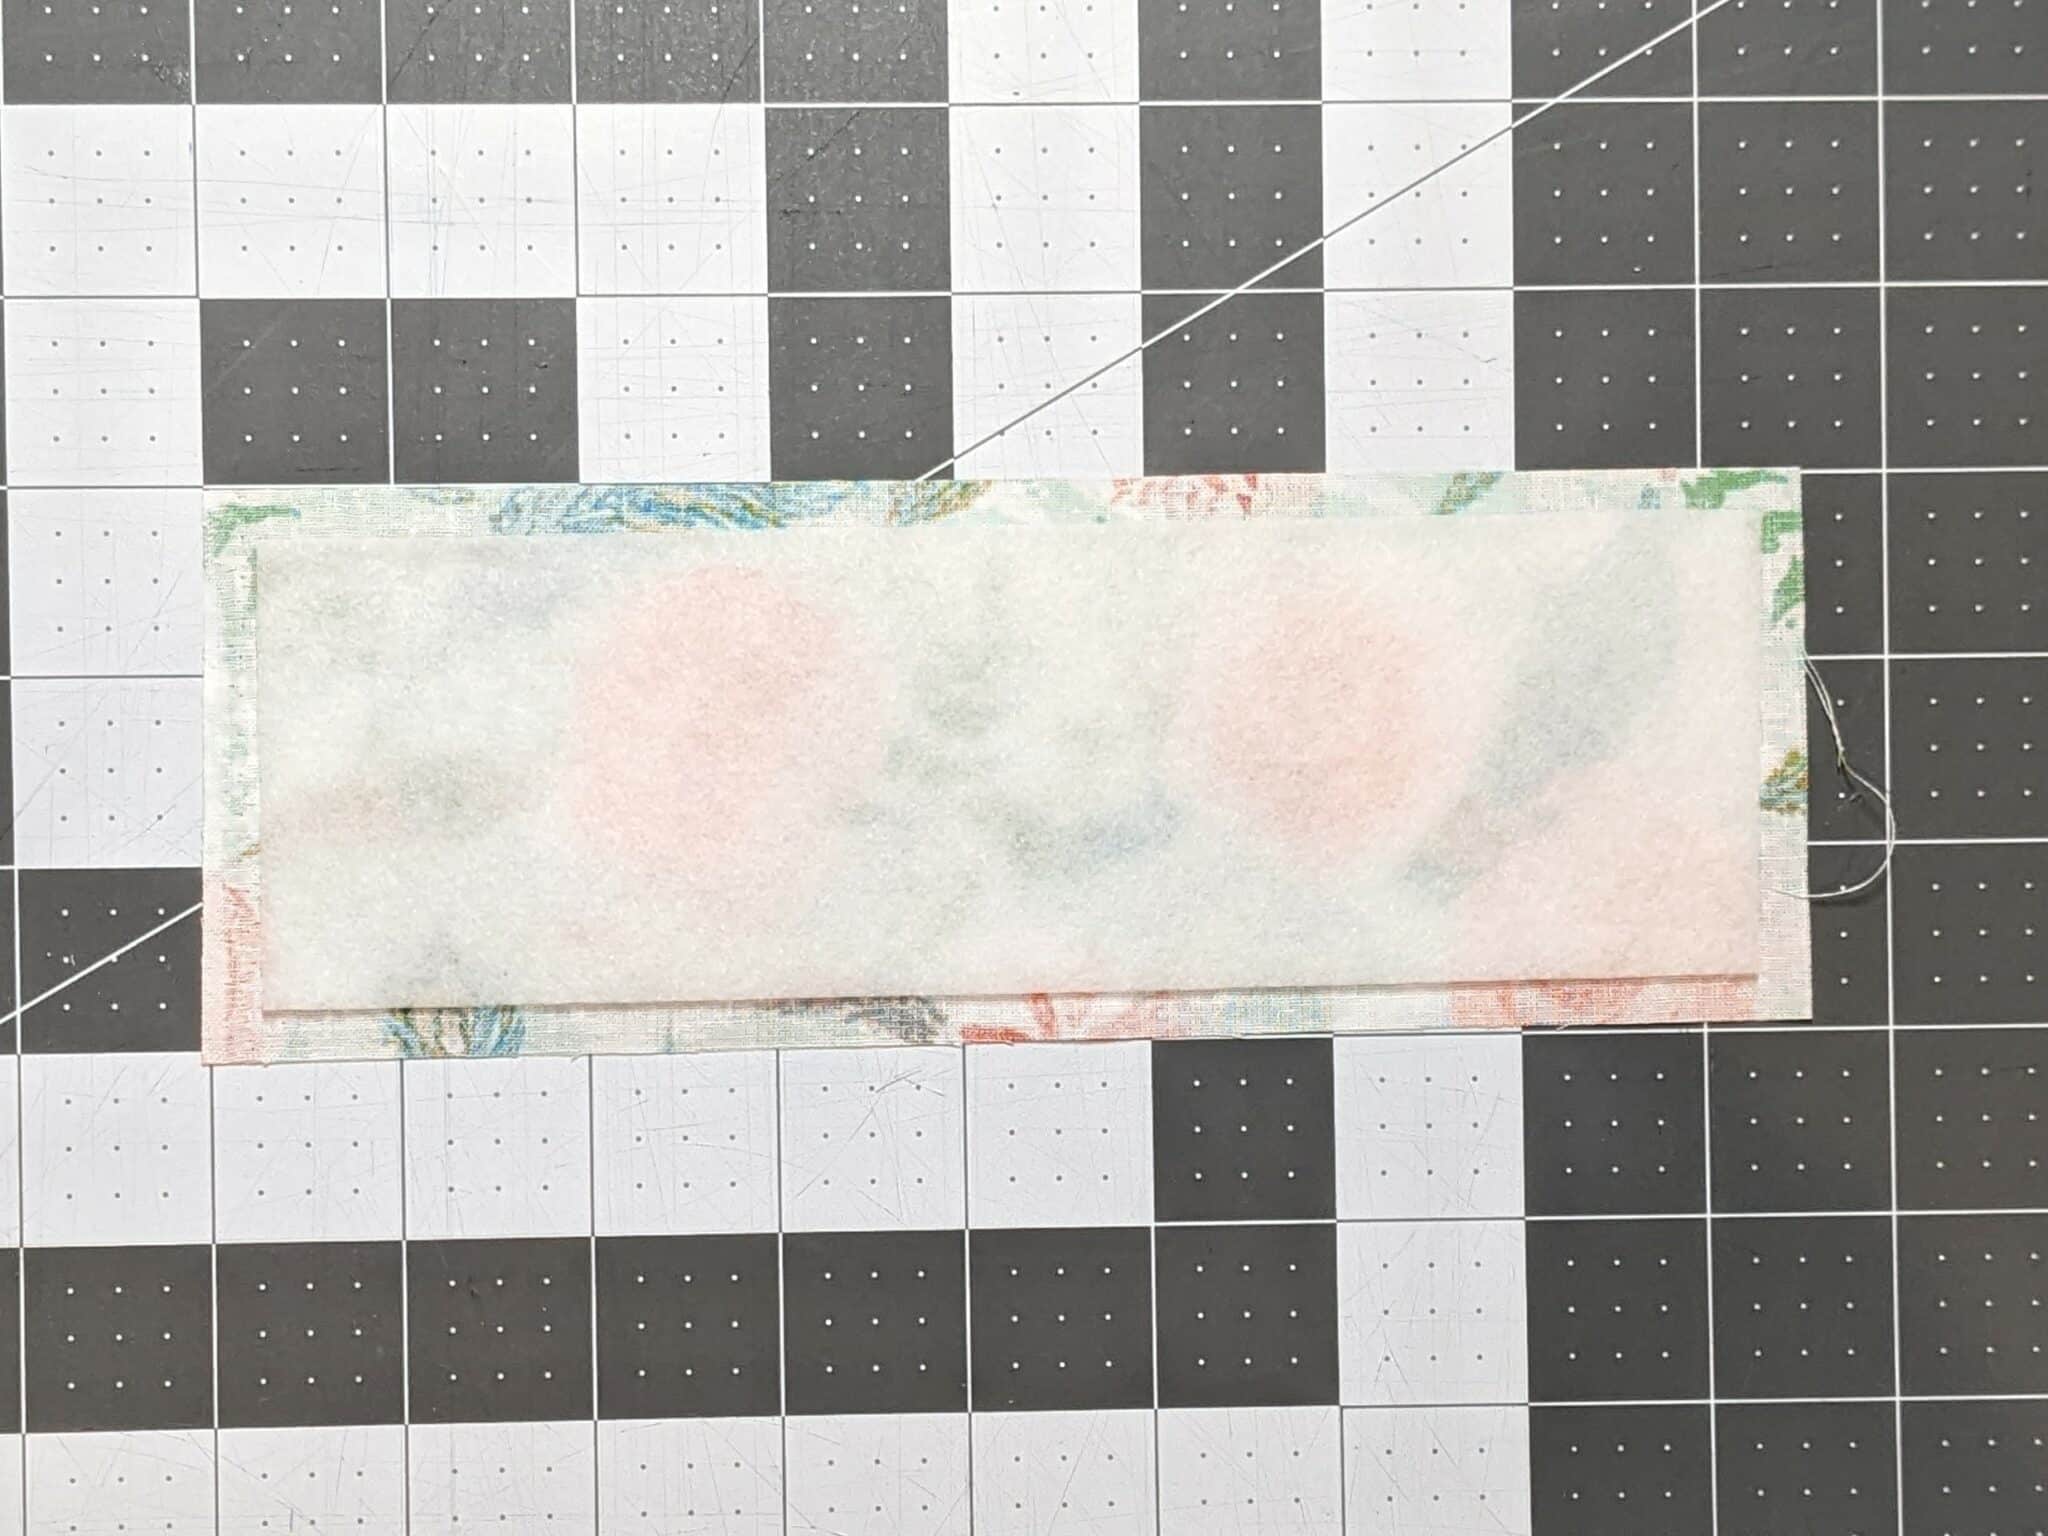
- Iron the interfacing onto the wrong side of the main (outer) fabric.
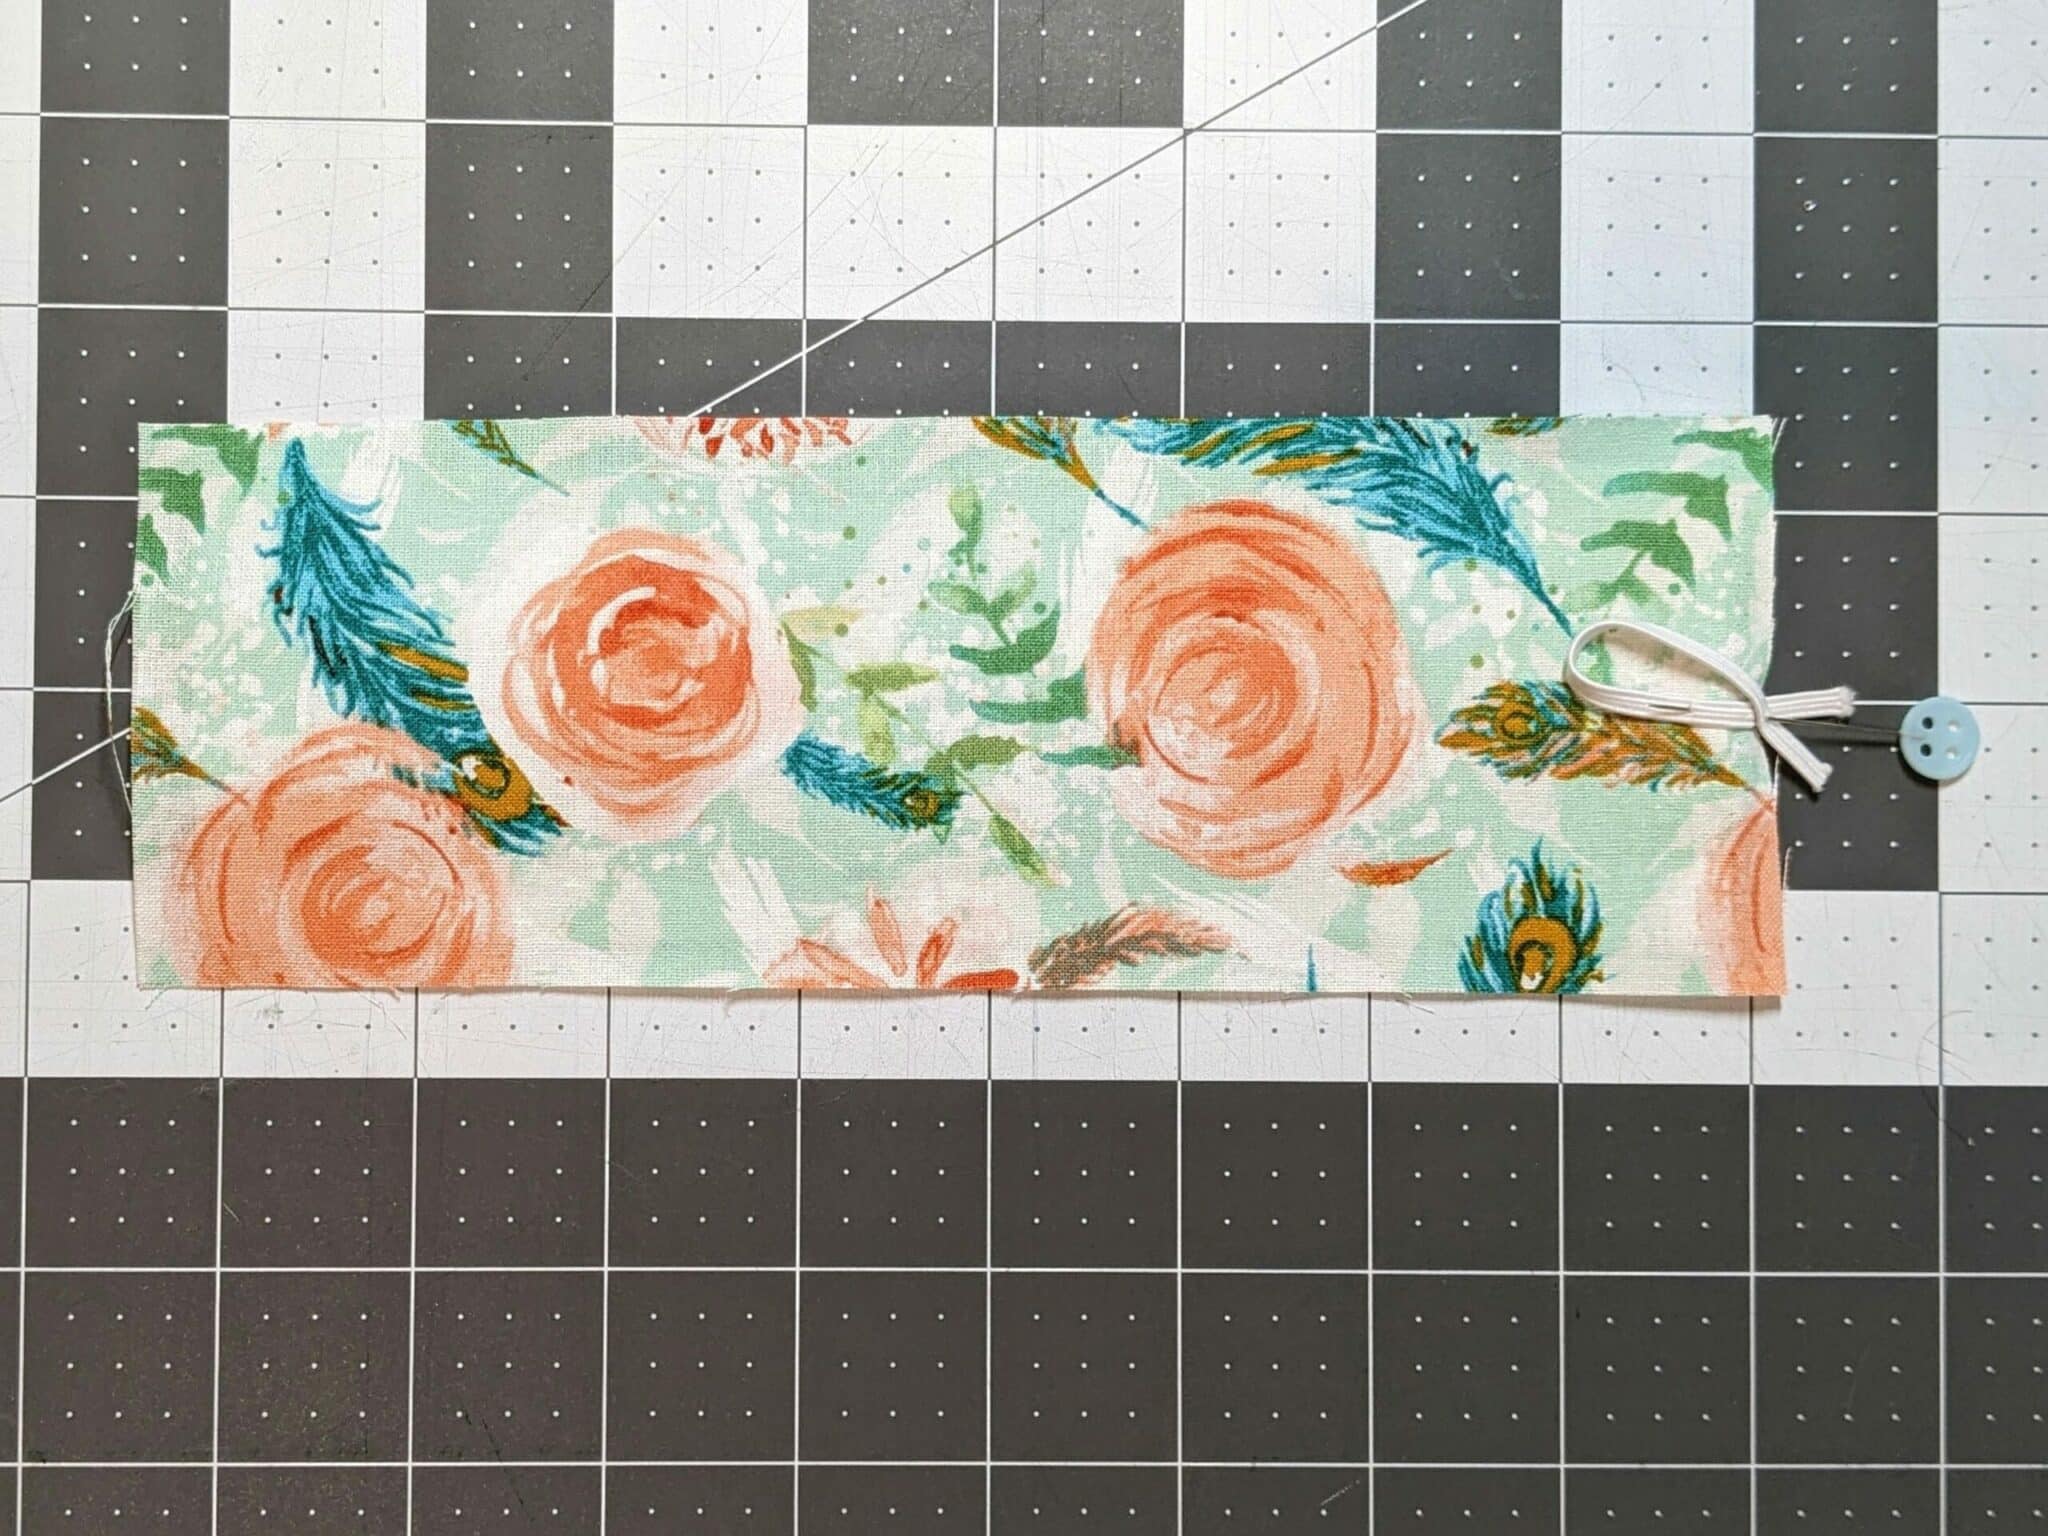
- Flip the same piece over so it is right side up.
- Fold the elastic in half and overlap the ends.
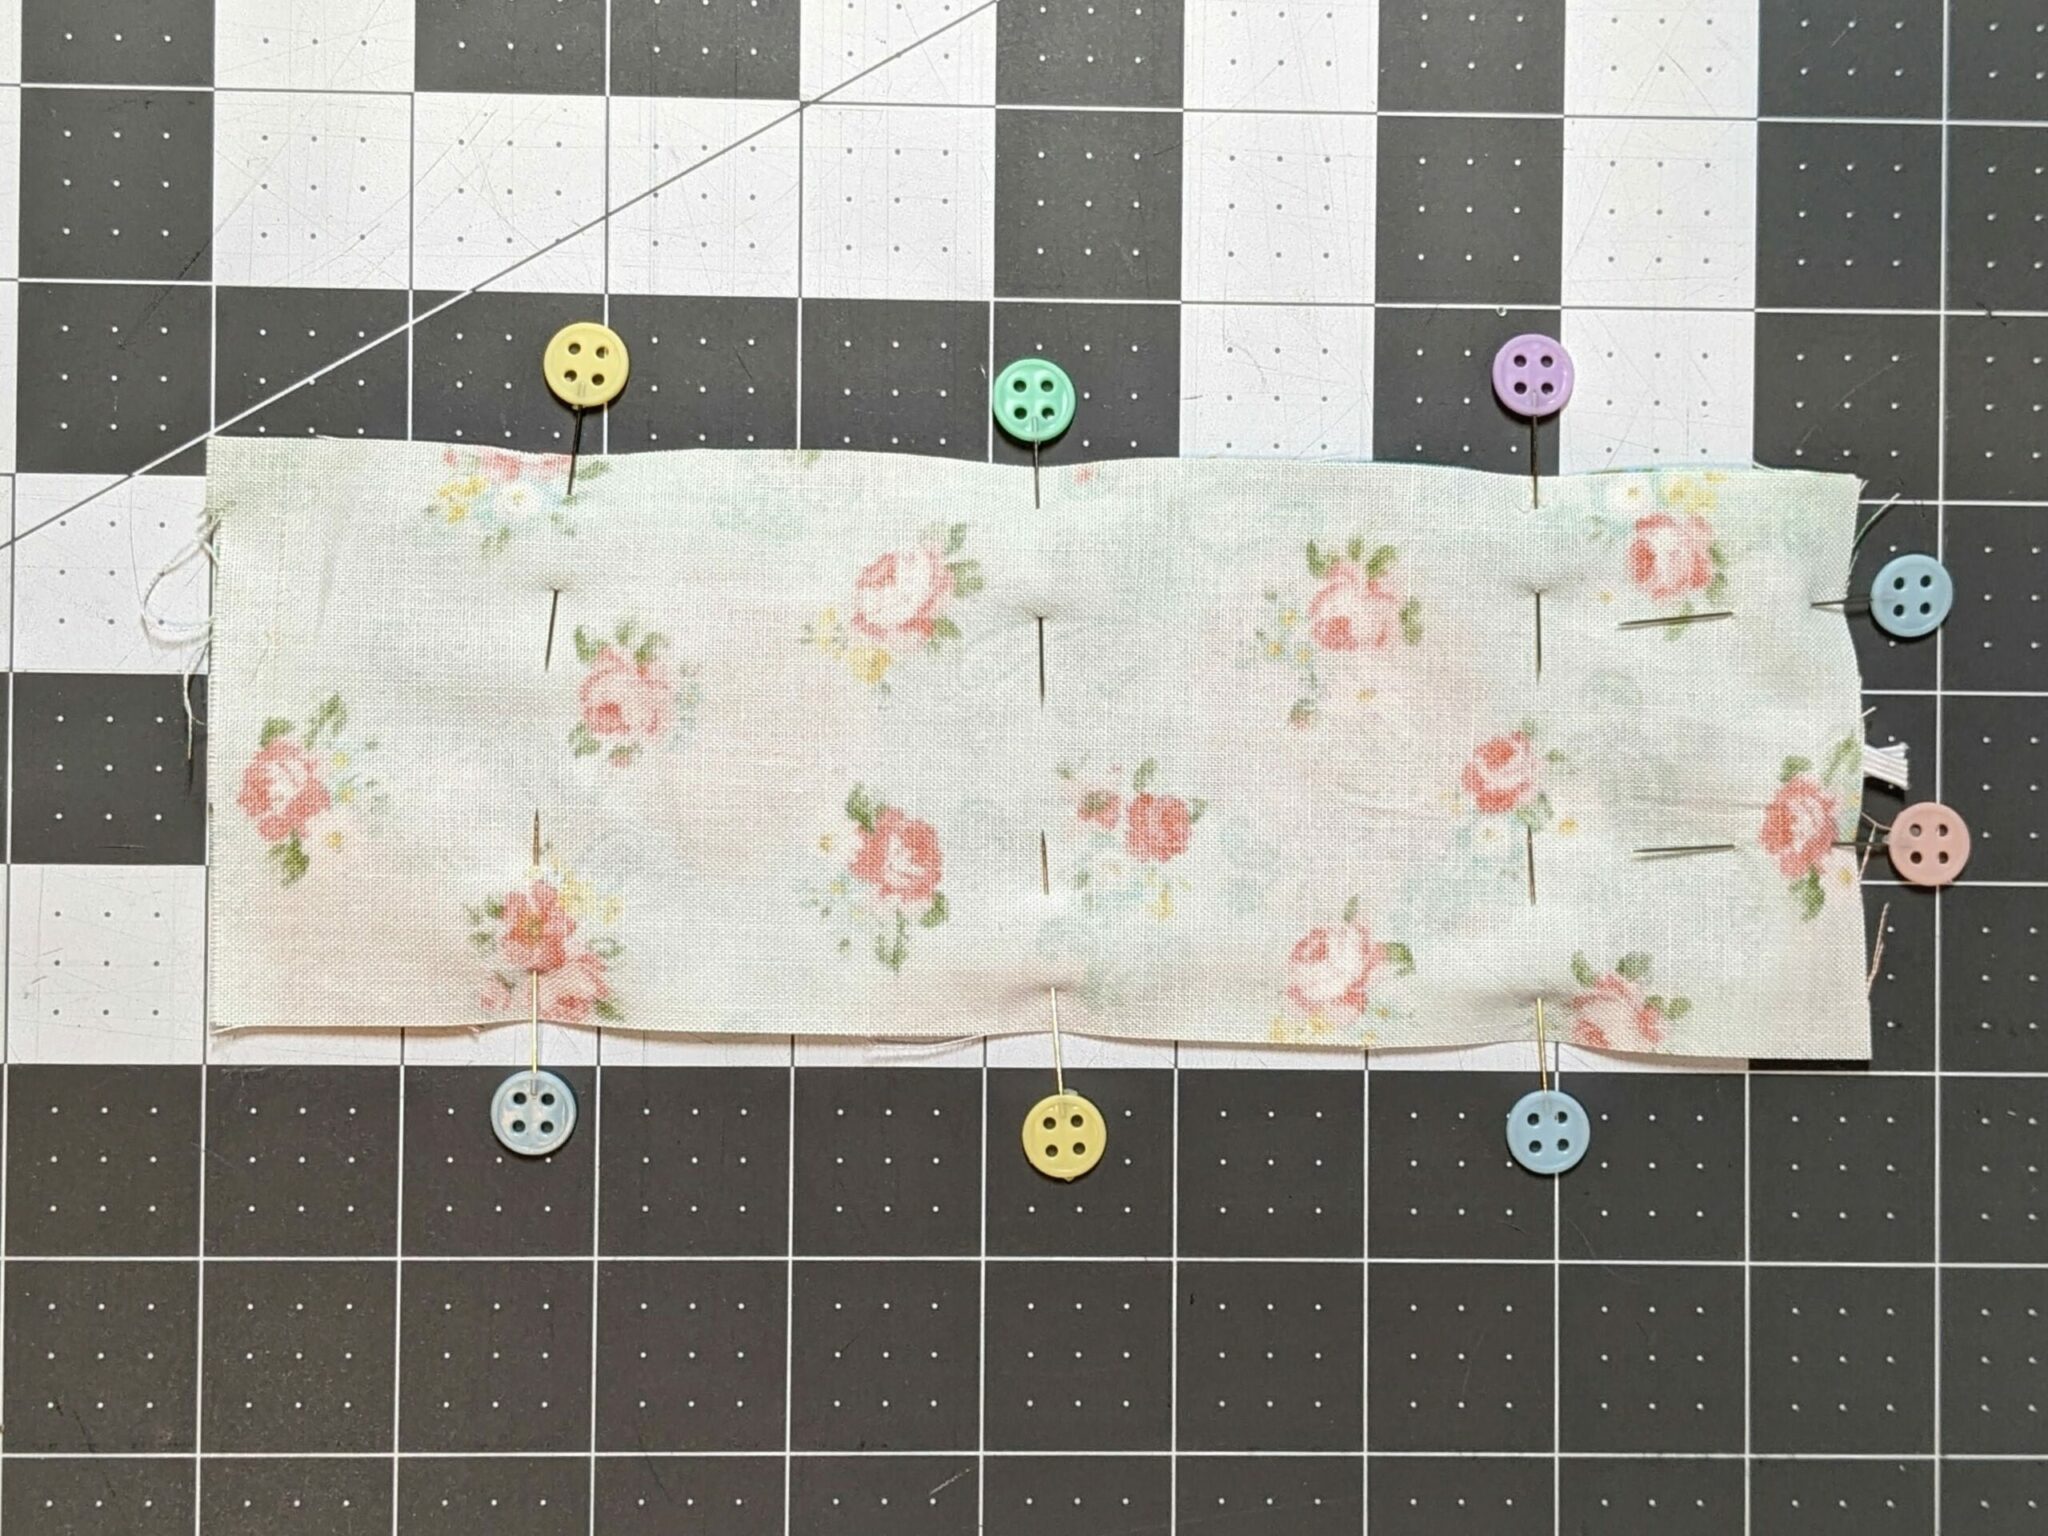
- Pin the elastic at the center of one short end with the raw ends extending 1/2″ past the fabric.
- Sew back and forth over the elastic several times to secure it in place.
- Place the other piece of fabric on top with the right sides together.
- Pin along both long sides and the end with the elastic.
- Sew around the pinned sides with a 1/4″ seam allowance.
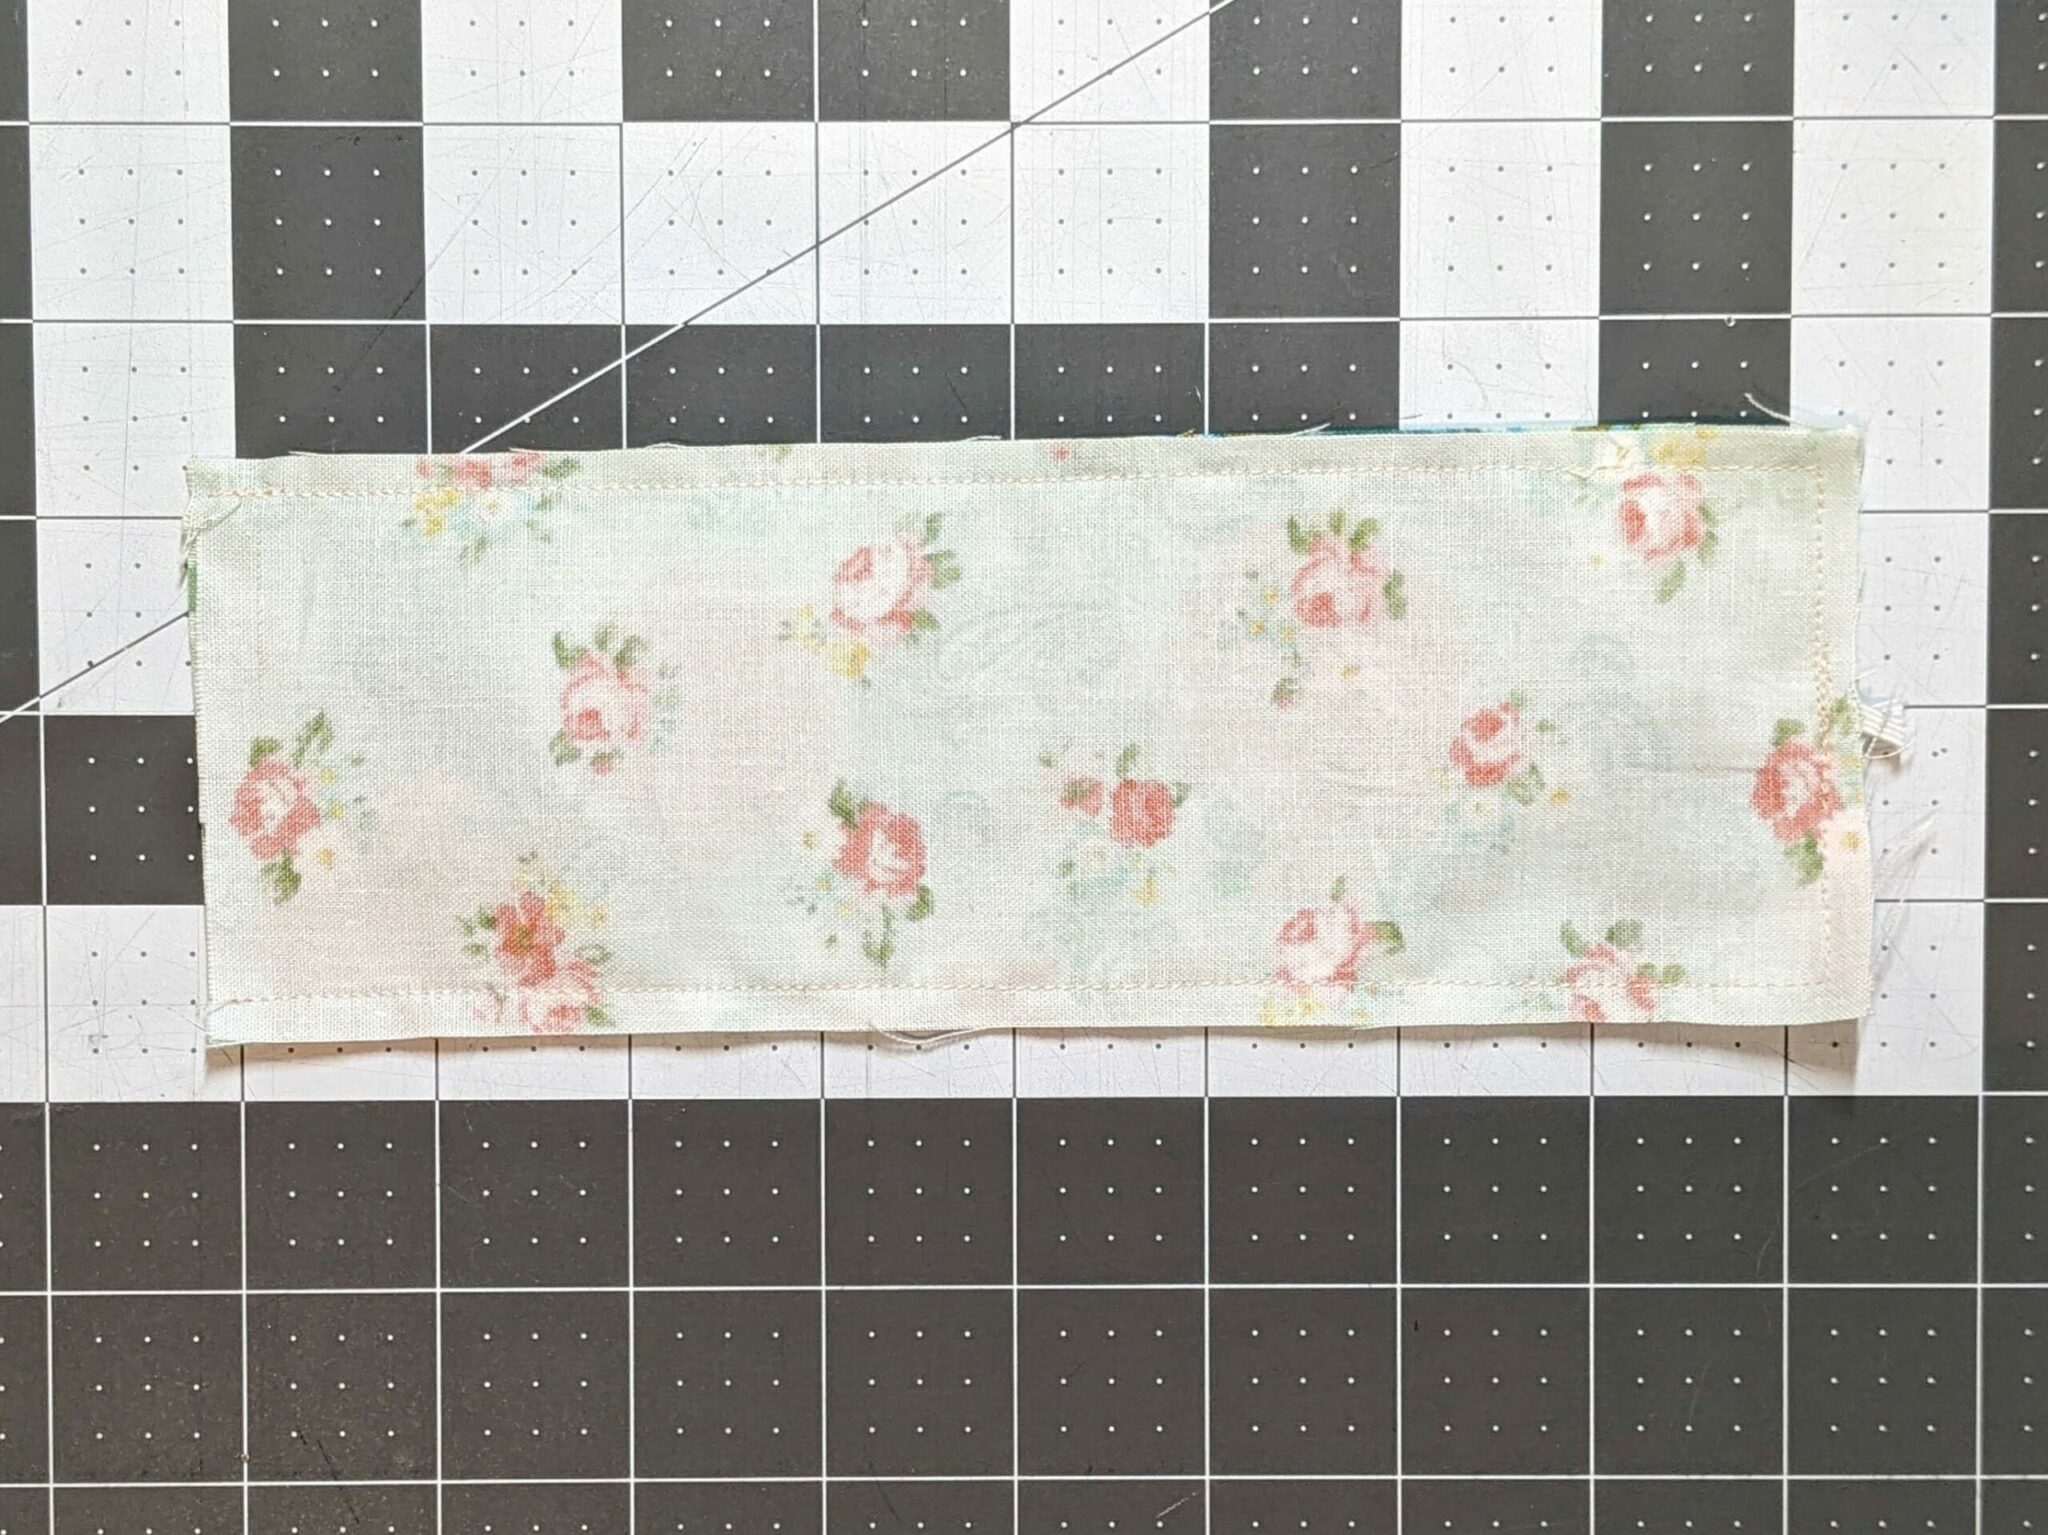
- Turn it right side out by pulling it through the open end.
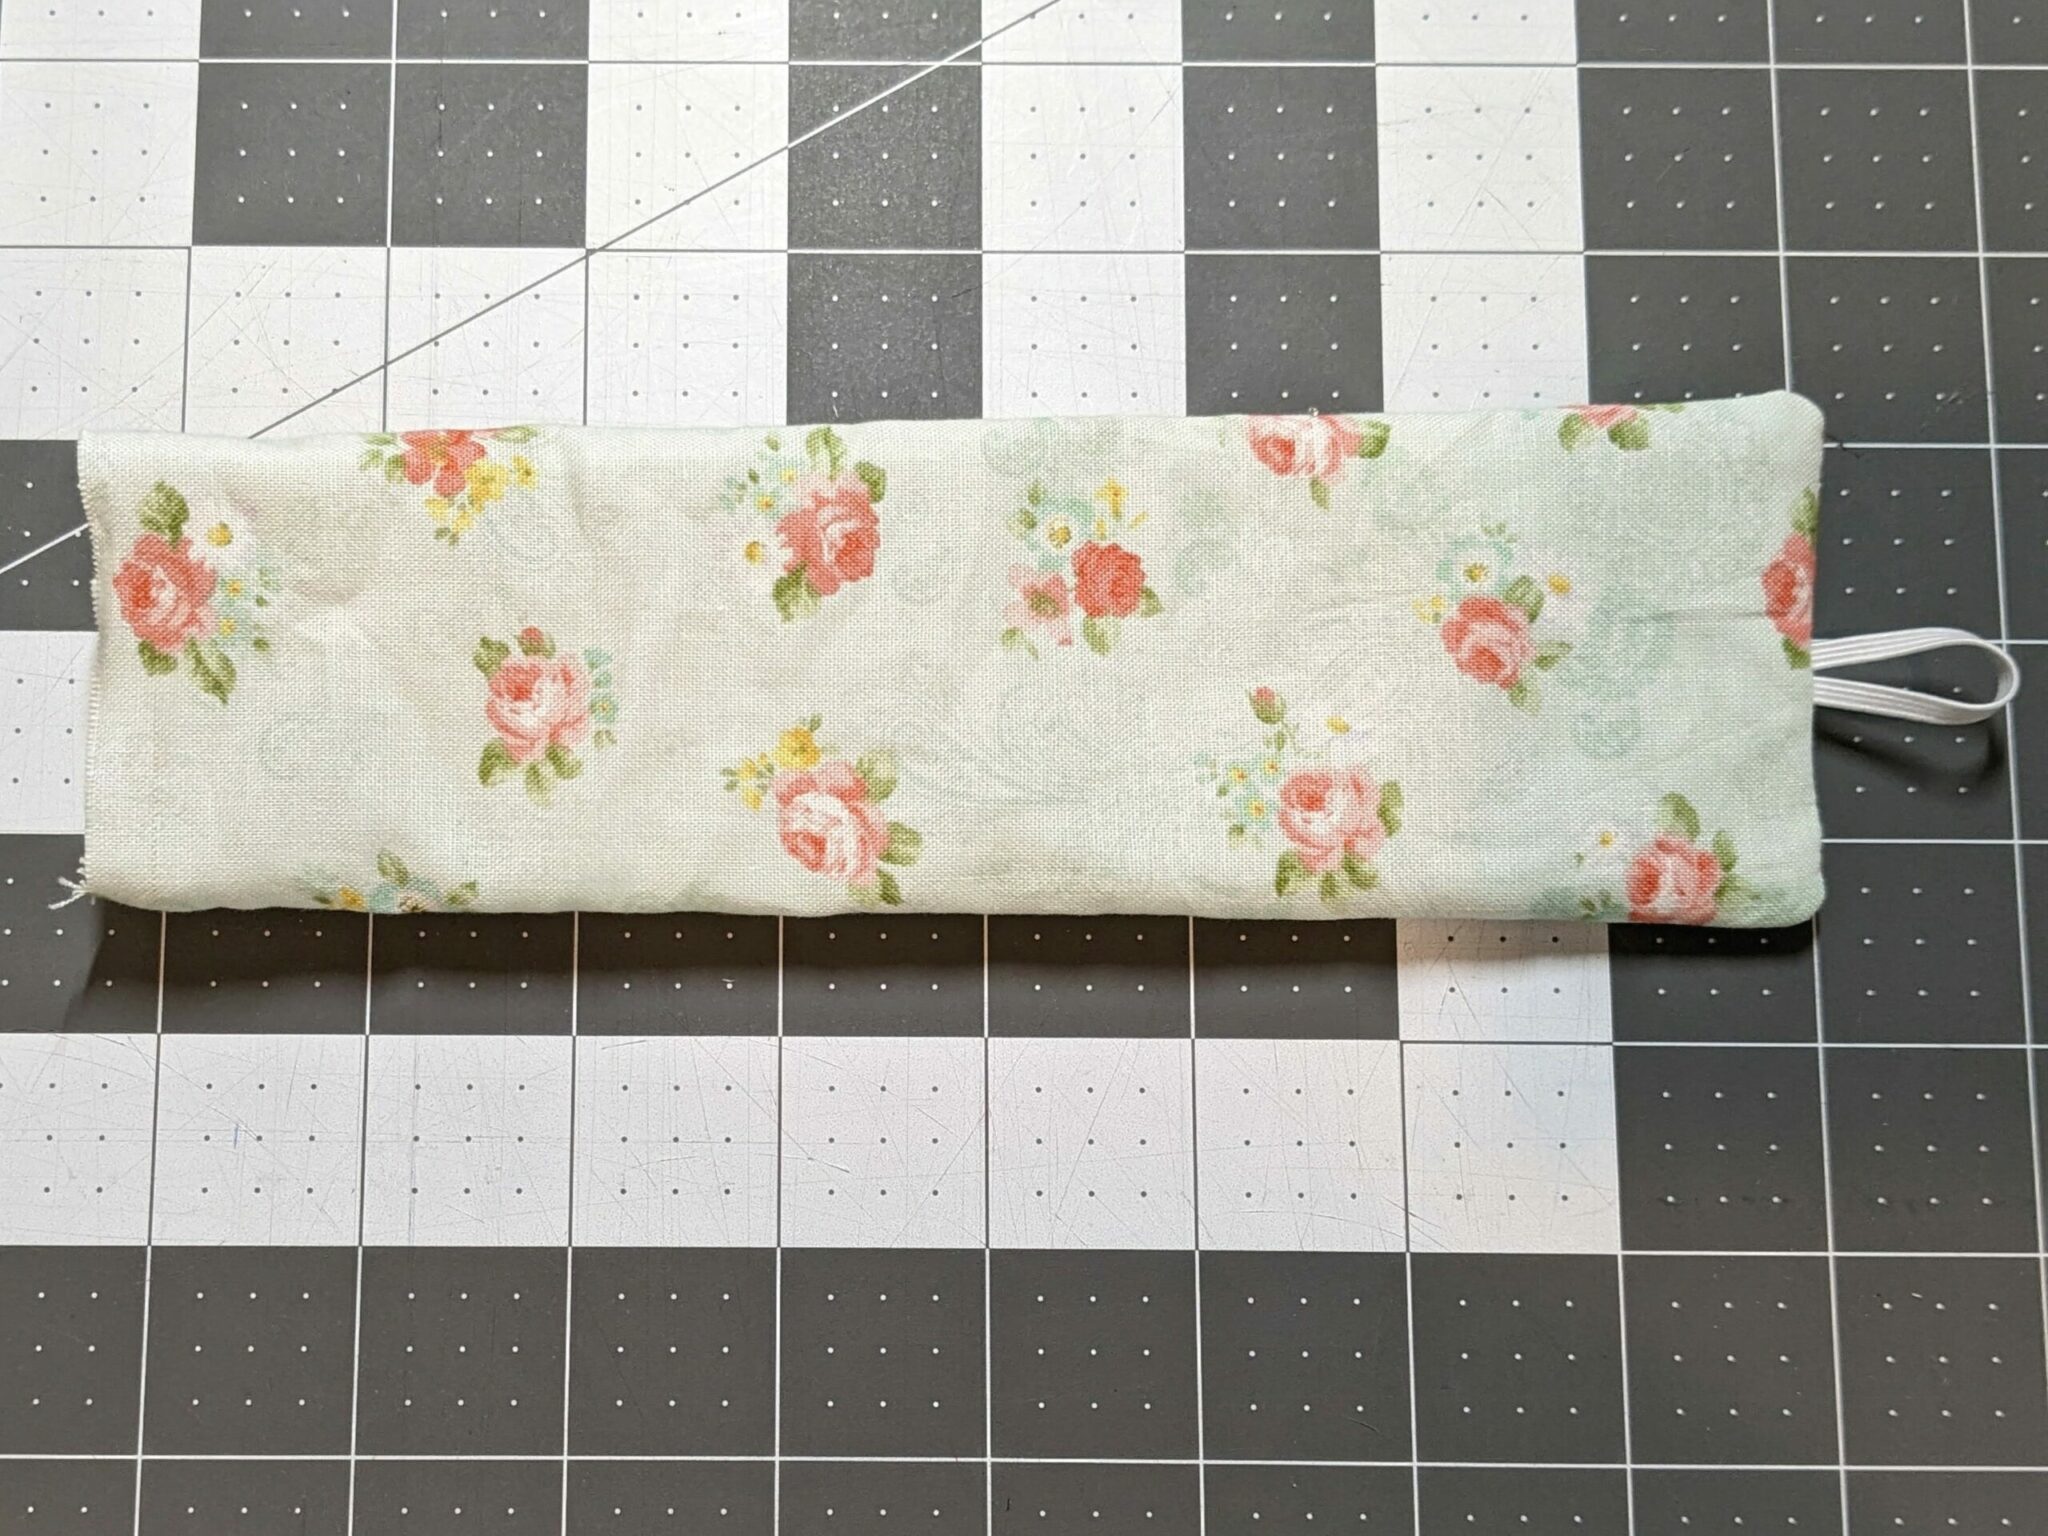
- Fold the fabric of the open end in and pin it together.
- Topstitch around the perimeter with a 1/4″ seam allowance closing the open end.

- Measure 2″ in from the end opposite the elastic, center your button, and sew it on.
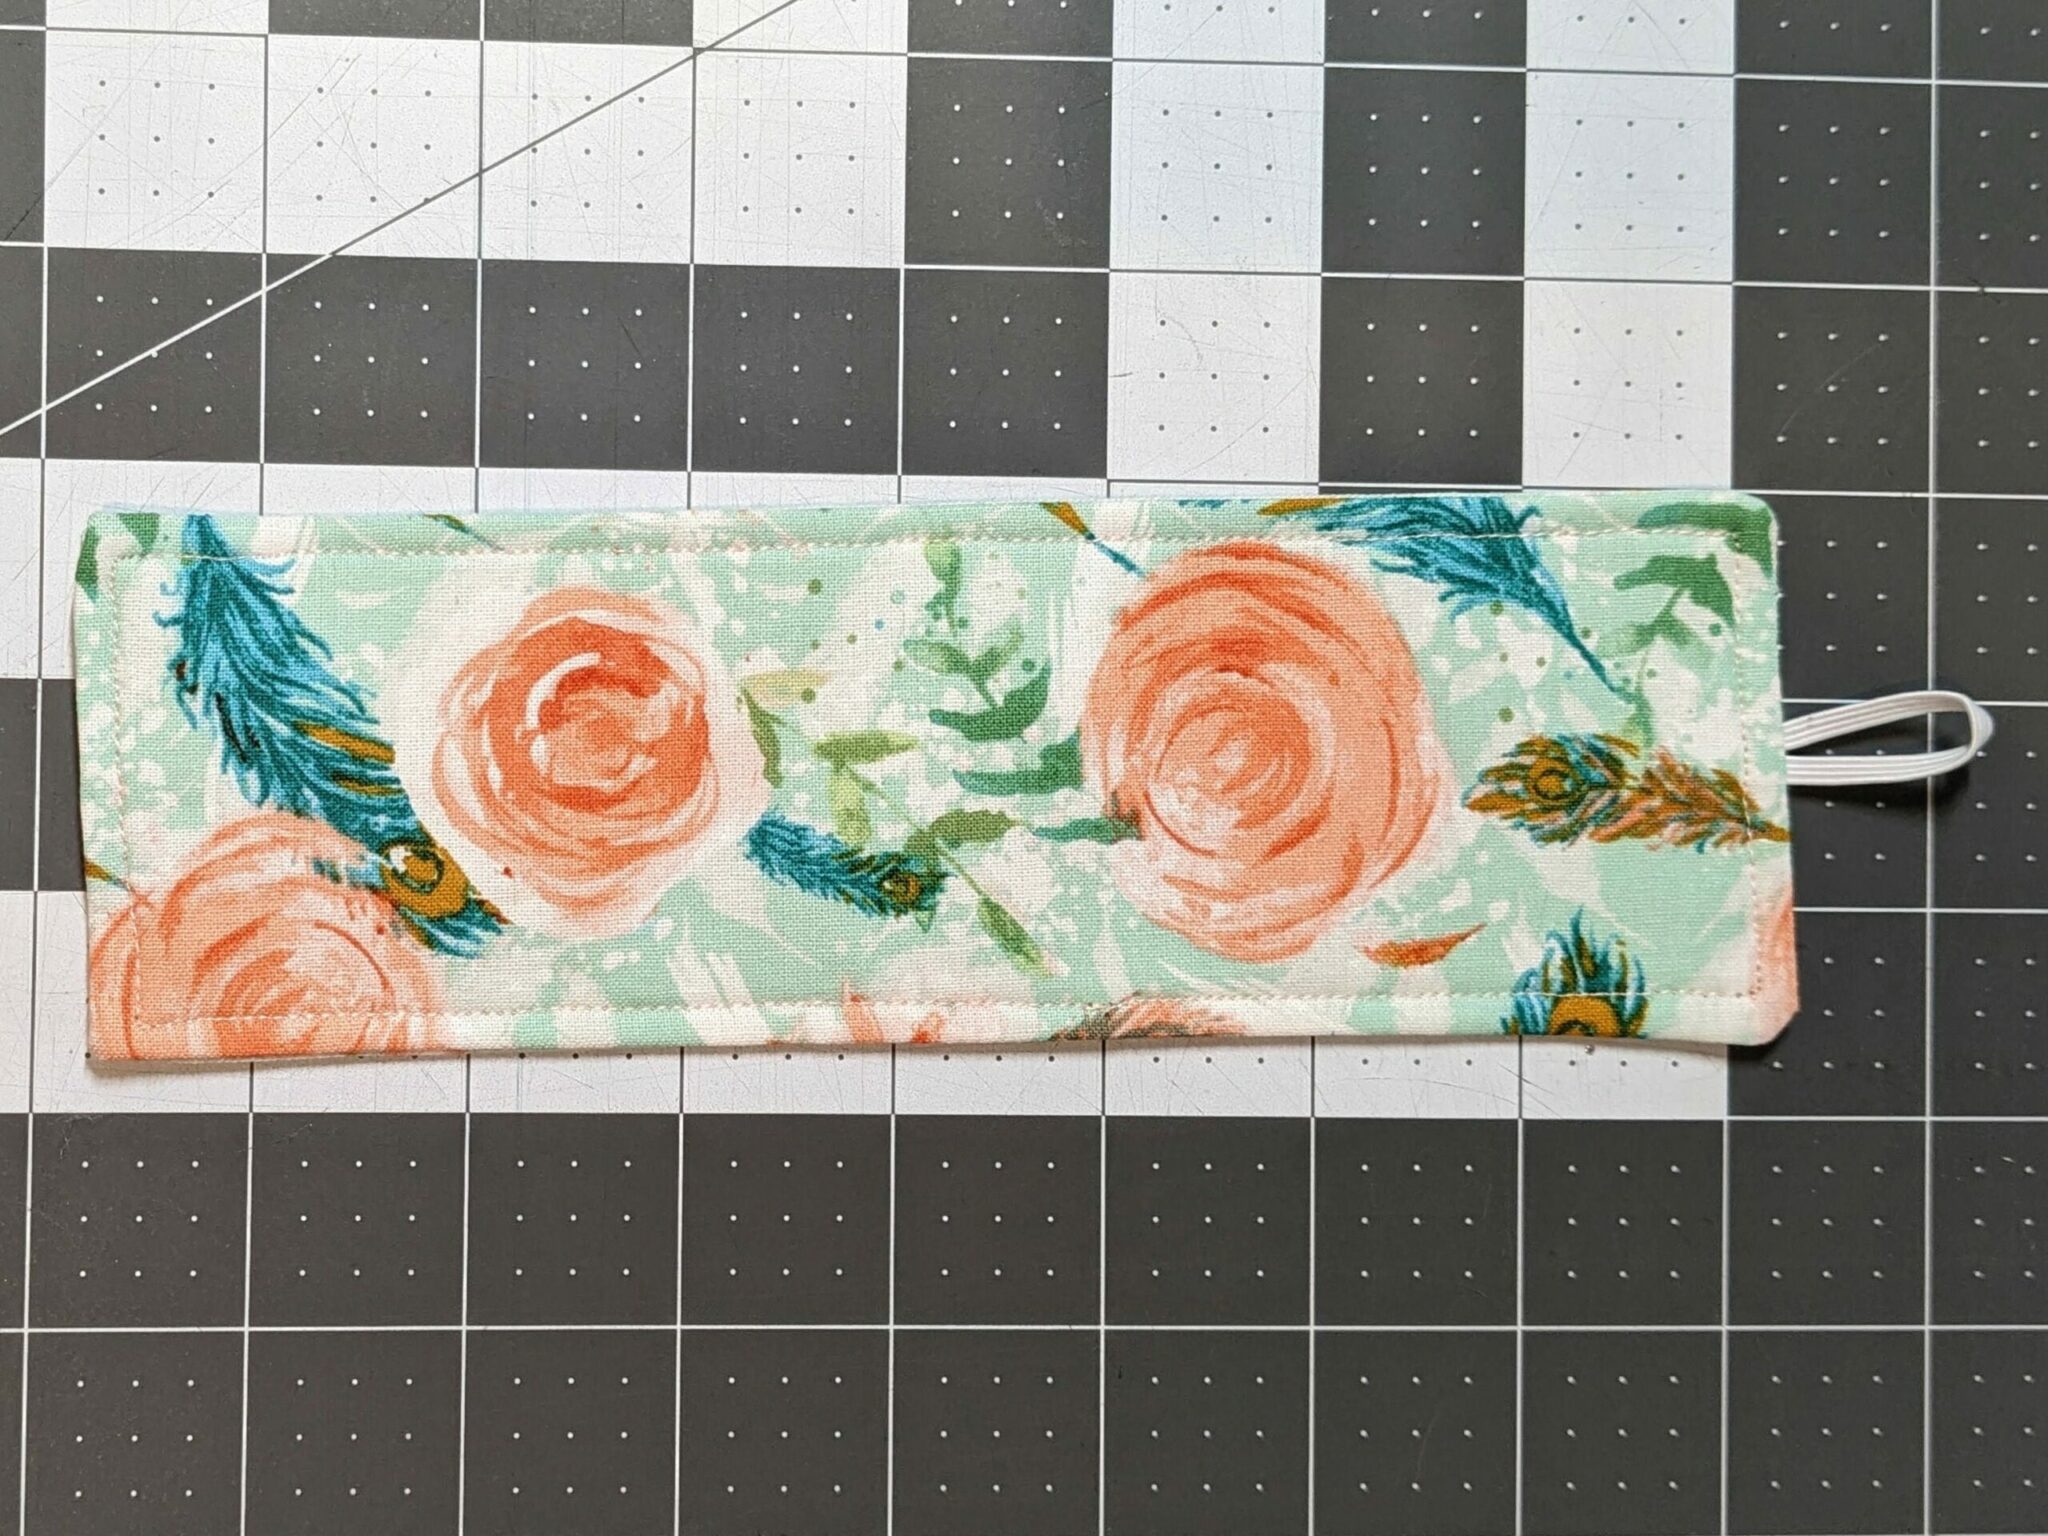
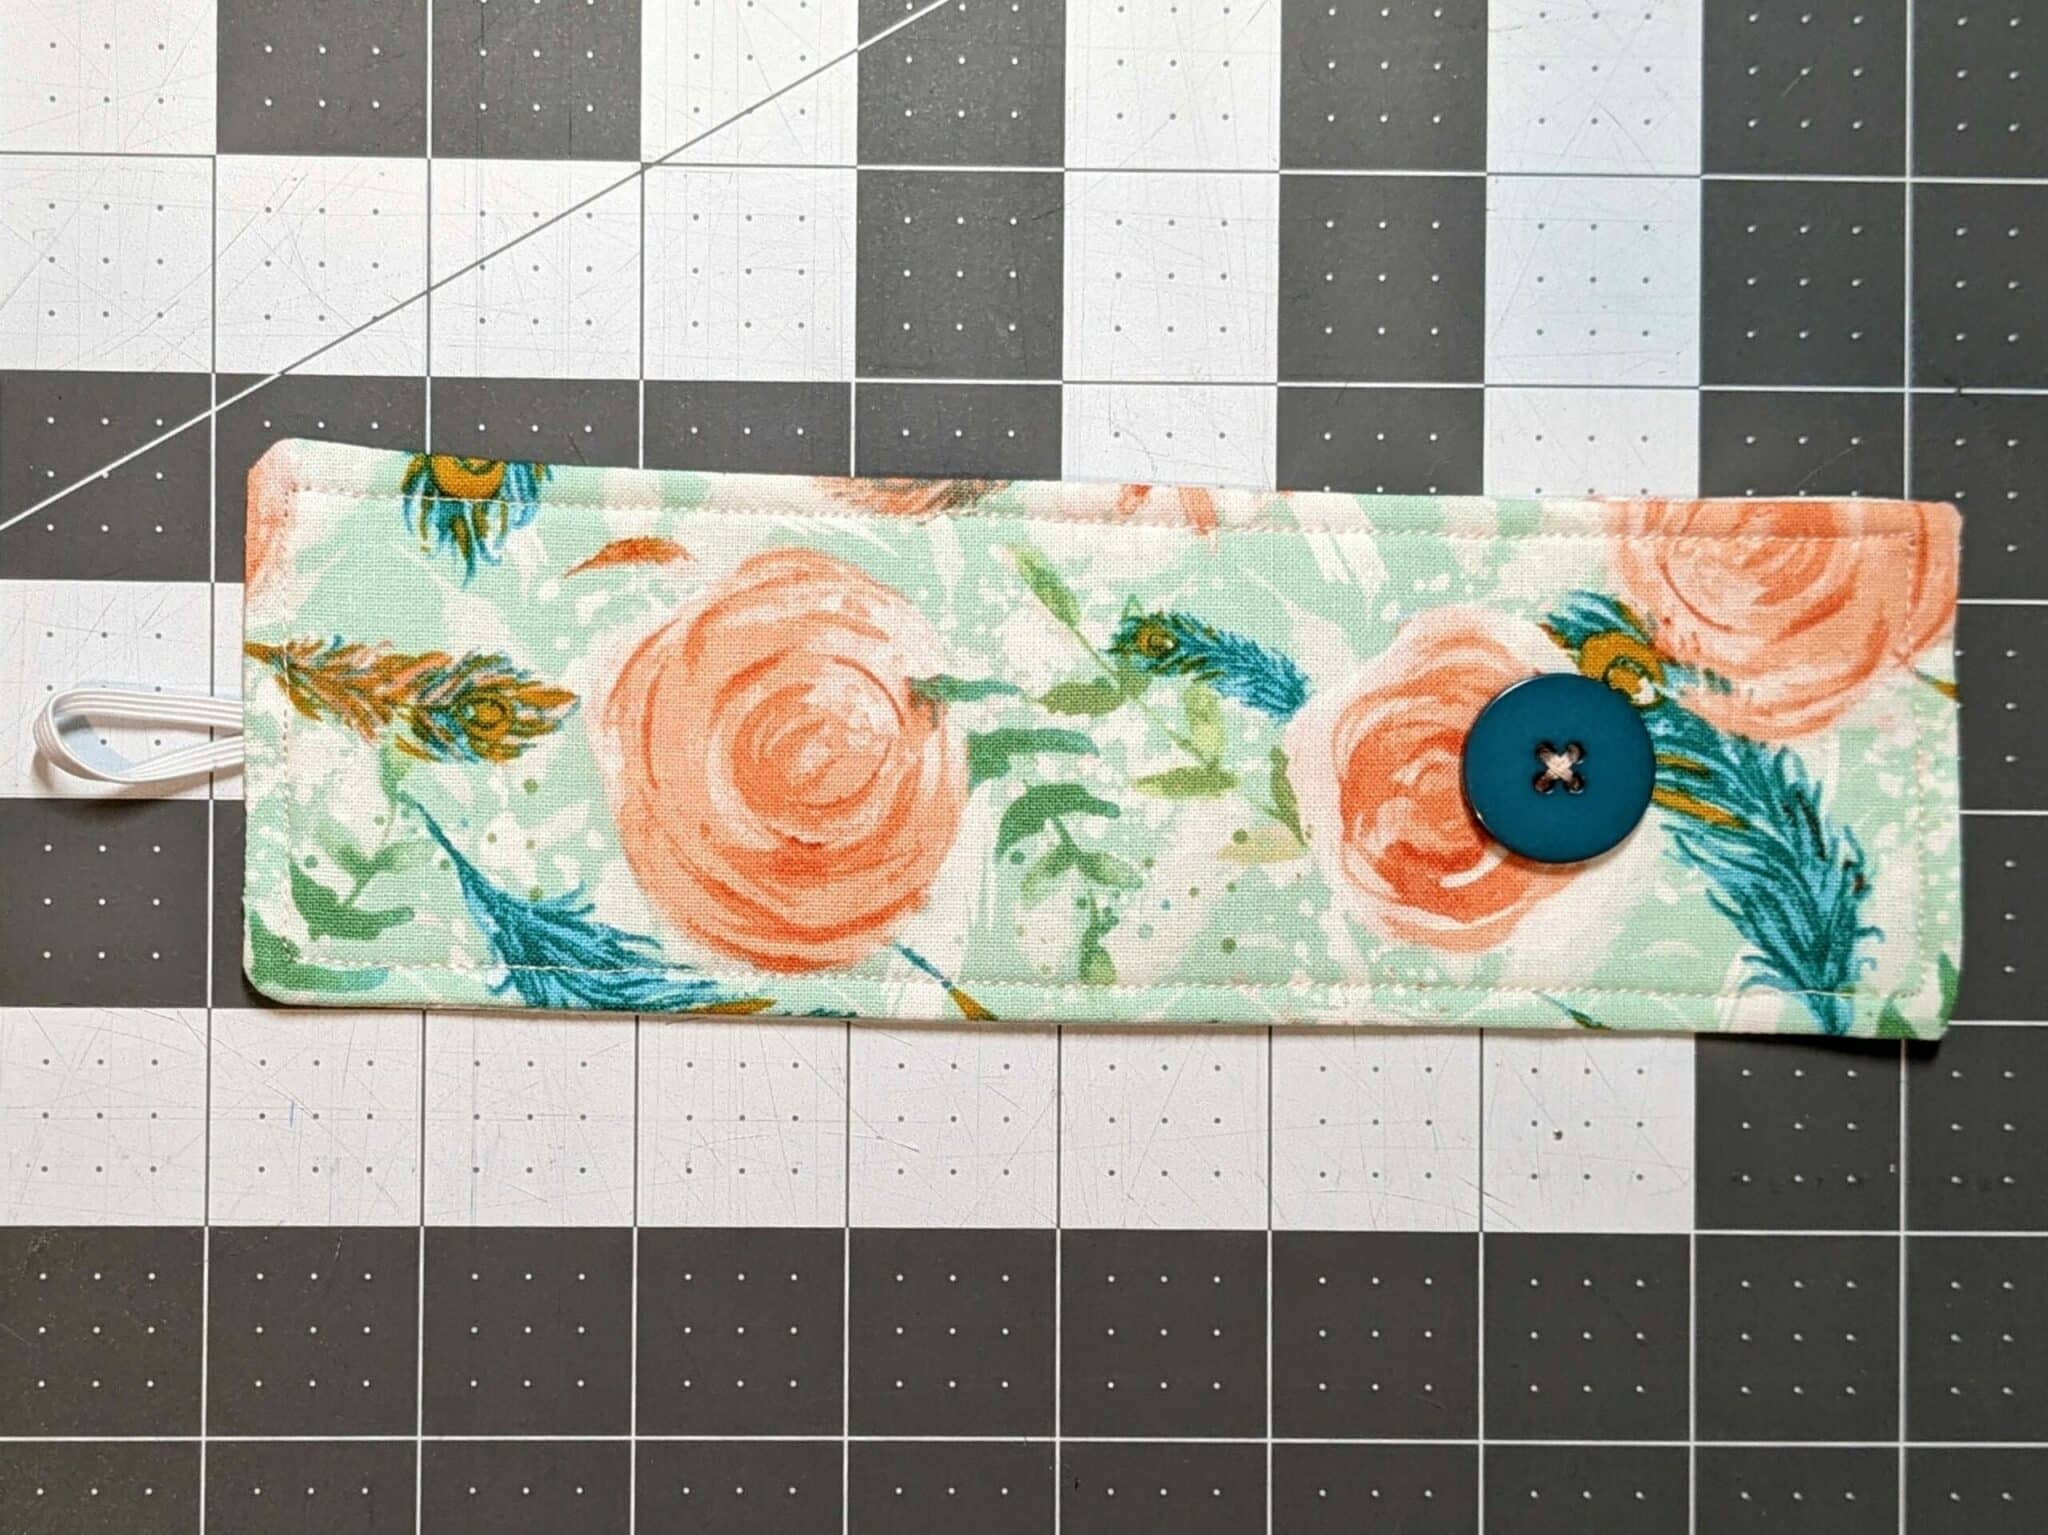
Wrap it around those cords and you’re ready to go!
Want more FUN DIY Freebies? Check out the FREEBIE TUTORIALS and the FREEBIE PATTERNS!
As always, we’re here to help if you need it! Join us HERE and on Facebook, Instagram, Twitter, Youtube, and Pinterest. We’re everywhere you are.
What a great idea! Why didn’t I think of this. 😂 I hate how our community fixery sewing machine cords are often either wrapped up tightly which damages them or left in a mess dangling everywhere. I will totally be taking this idea and making something for them. I might even make one for the iron. Thanks for the tutorial.
Thank you so much for the lovely and practical tutorials. I plan to use many of them. Love the robots.