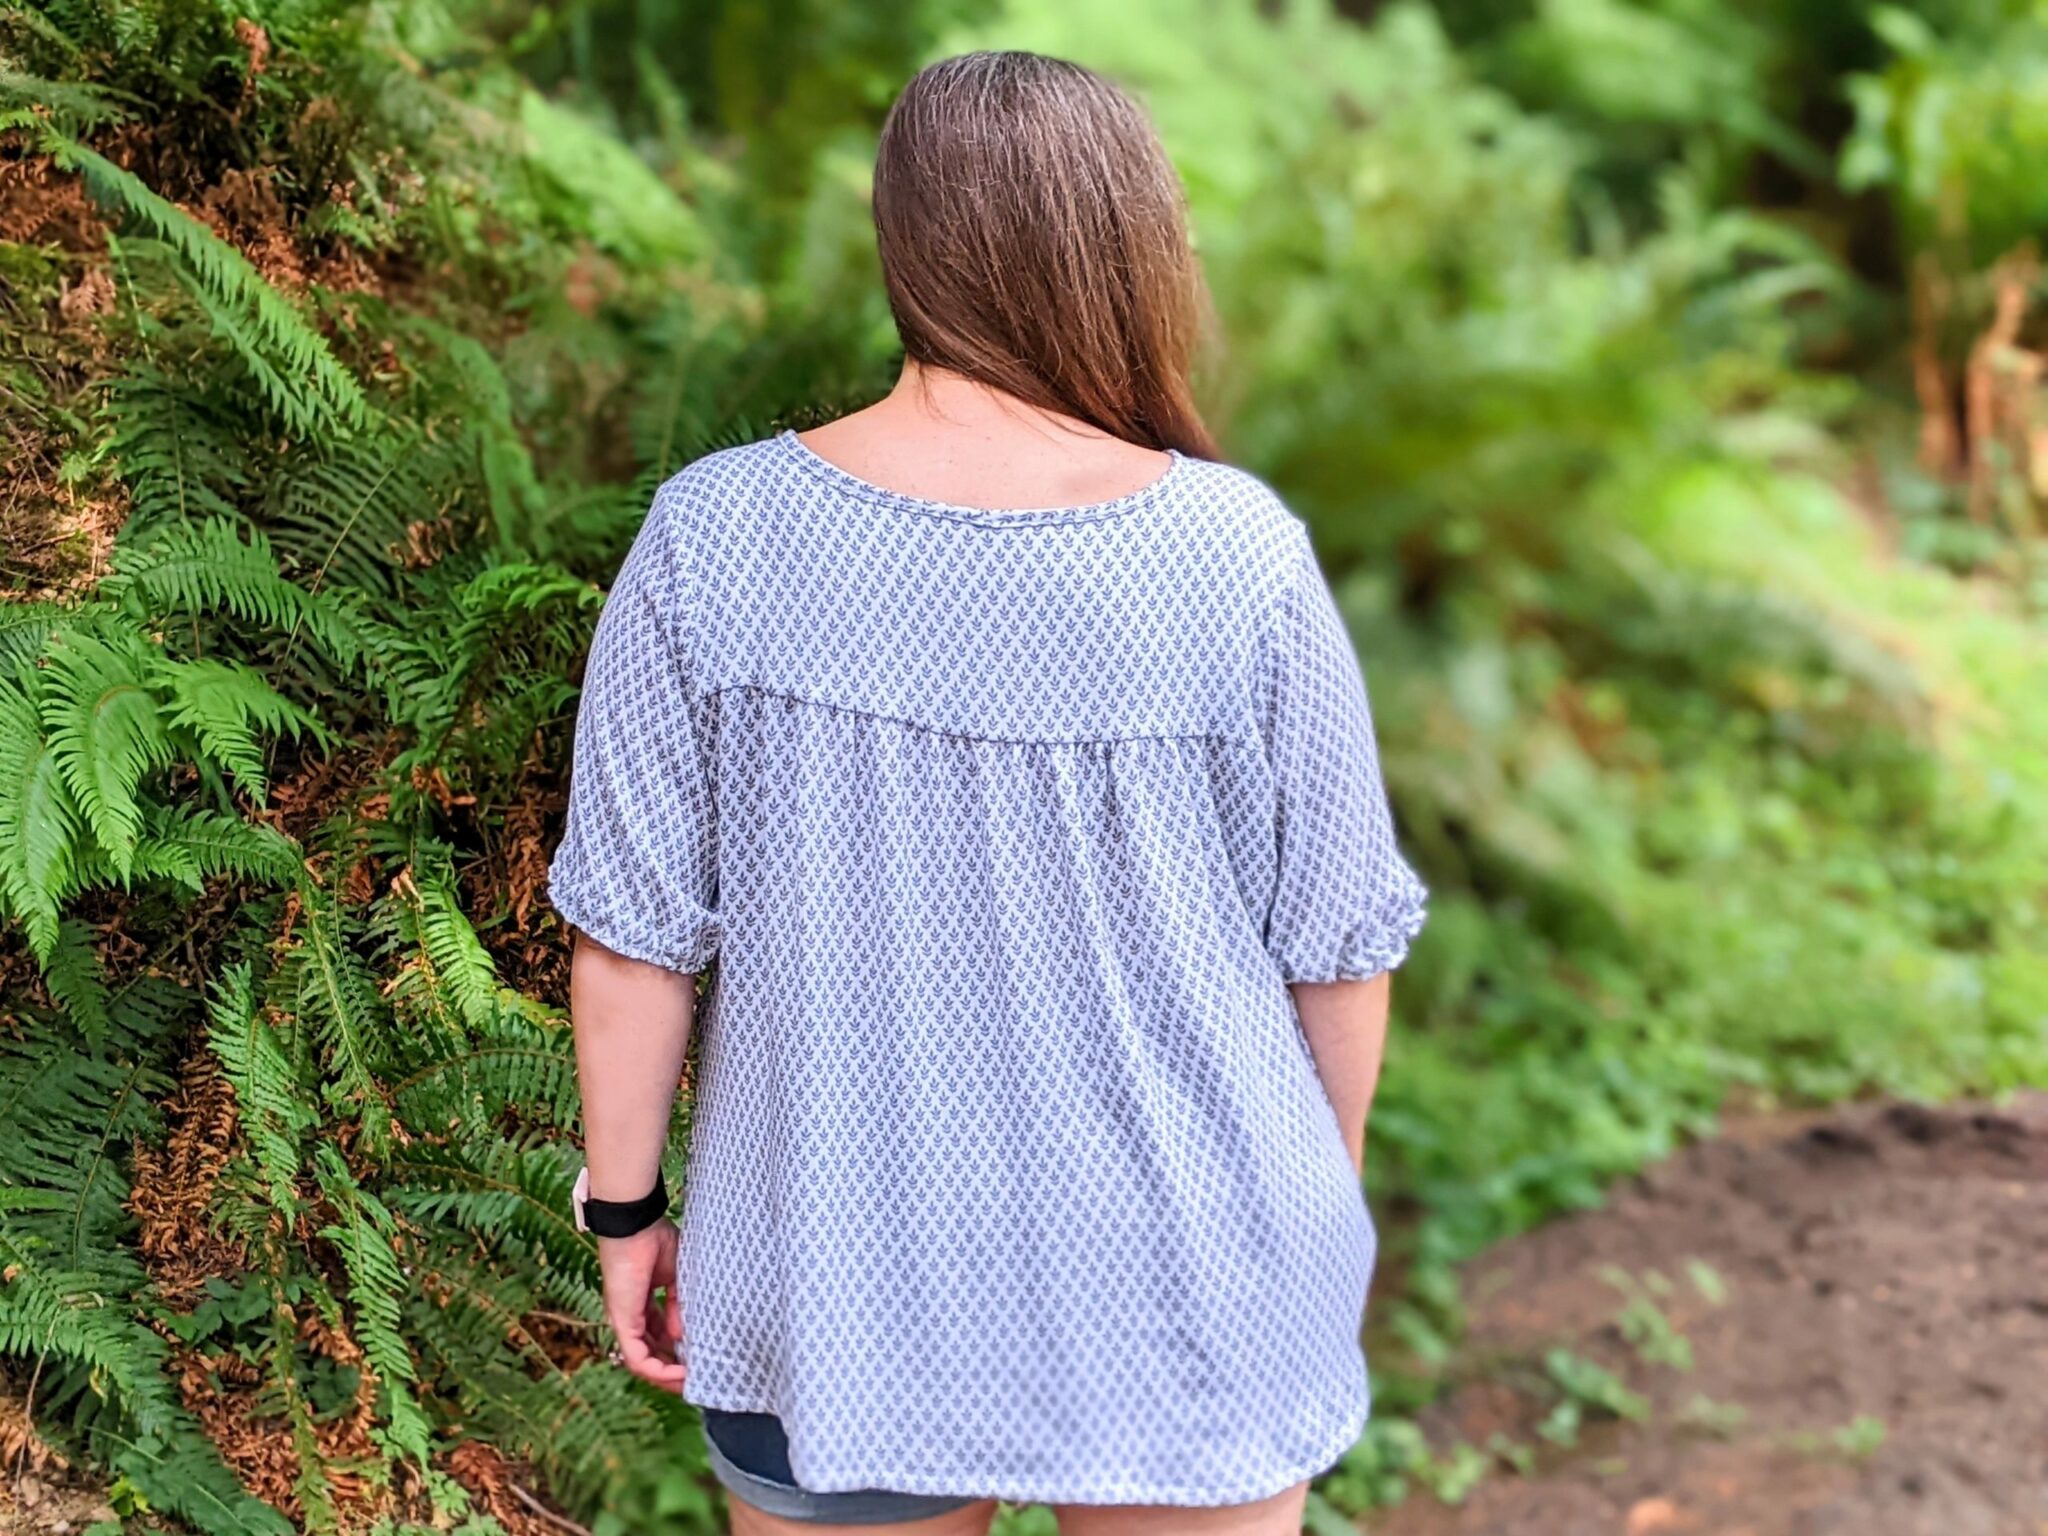
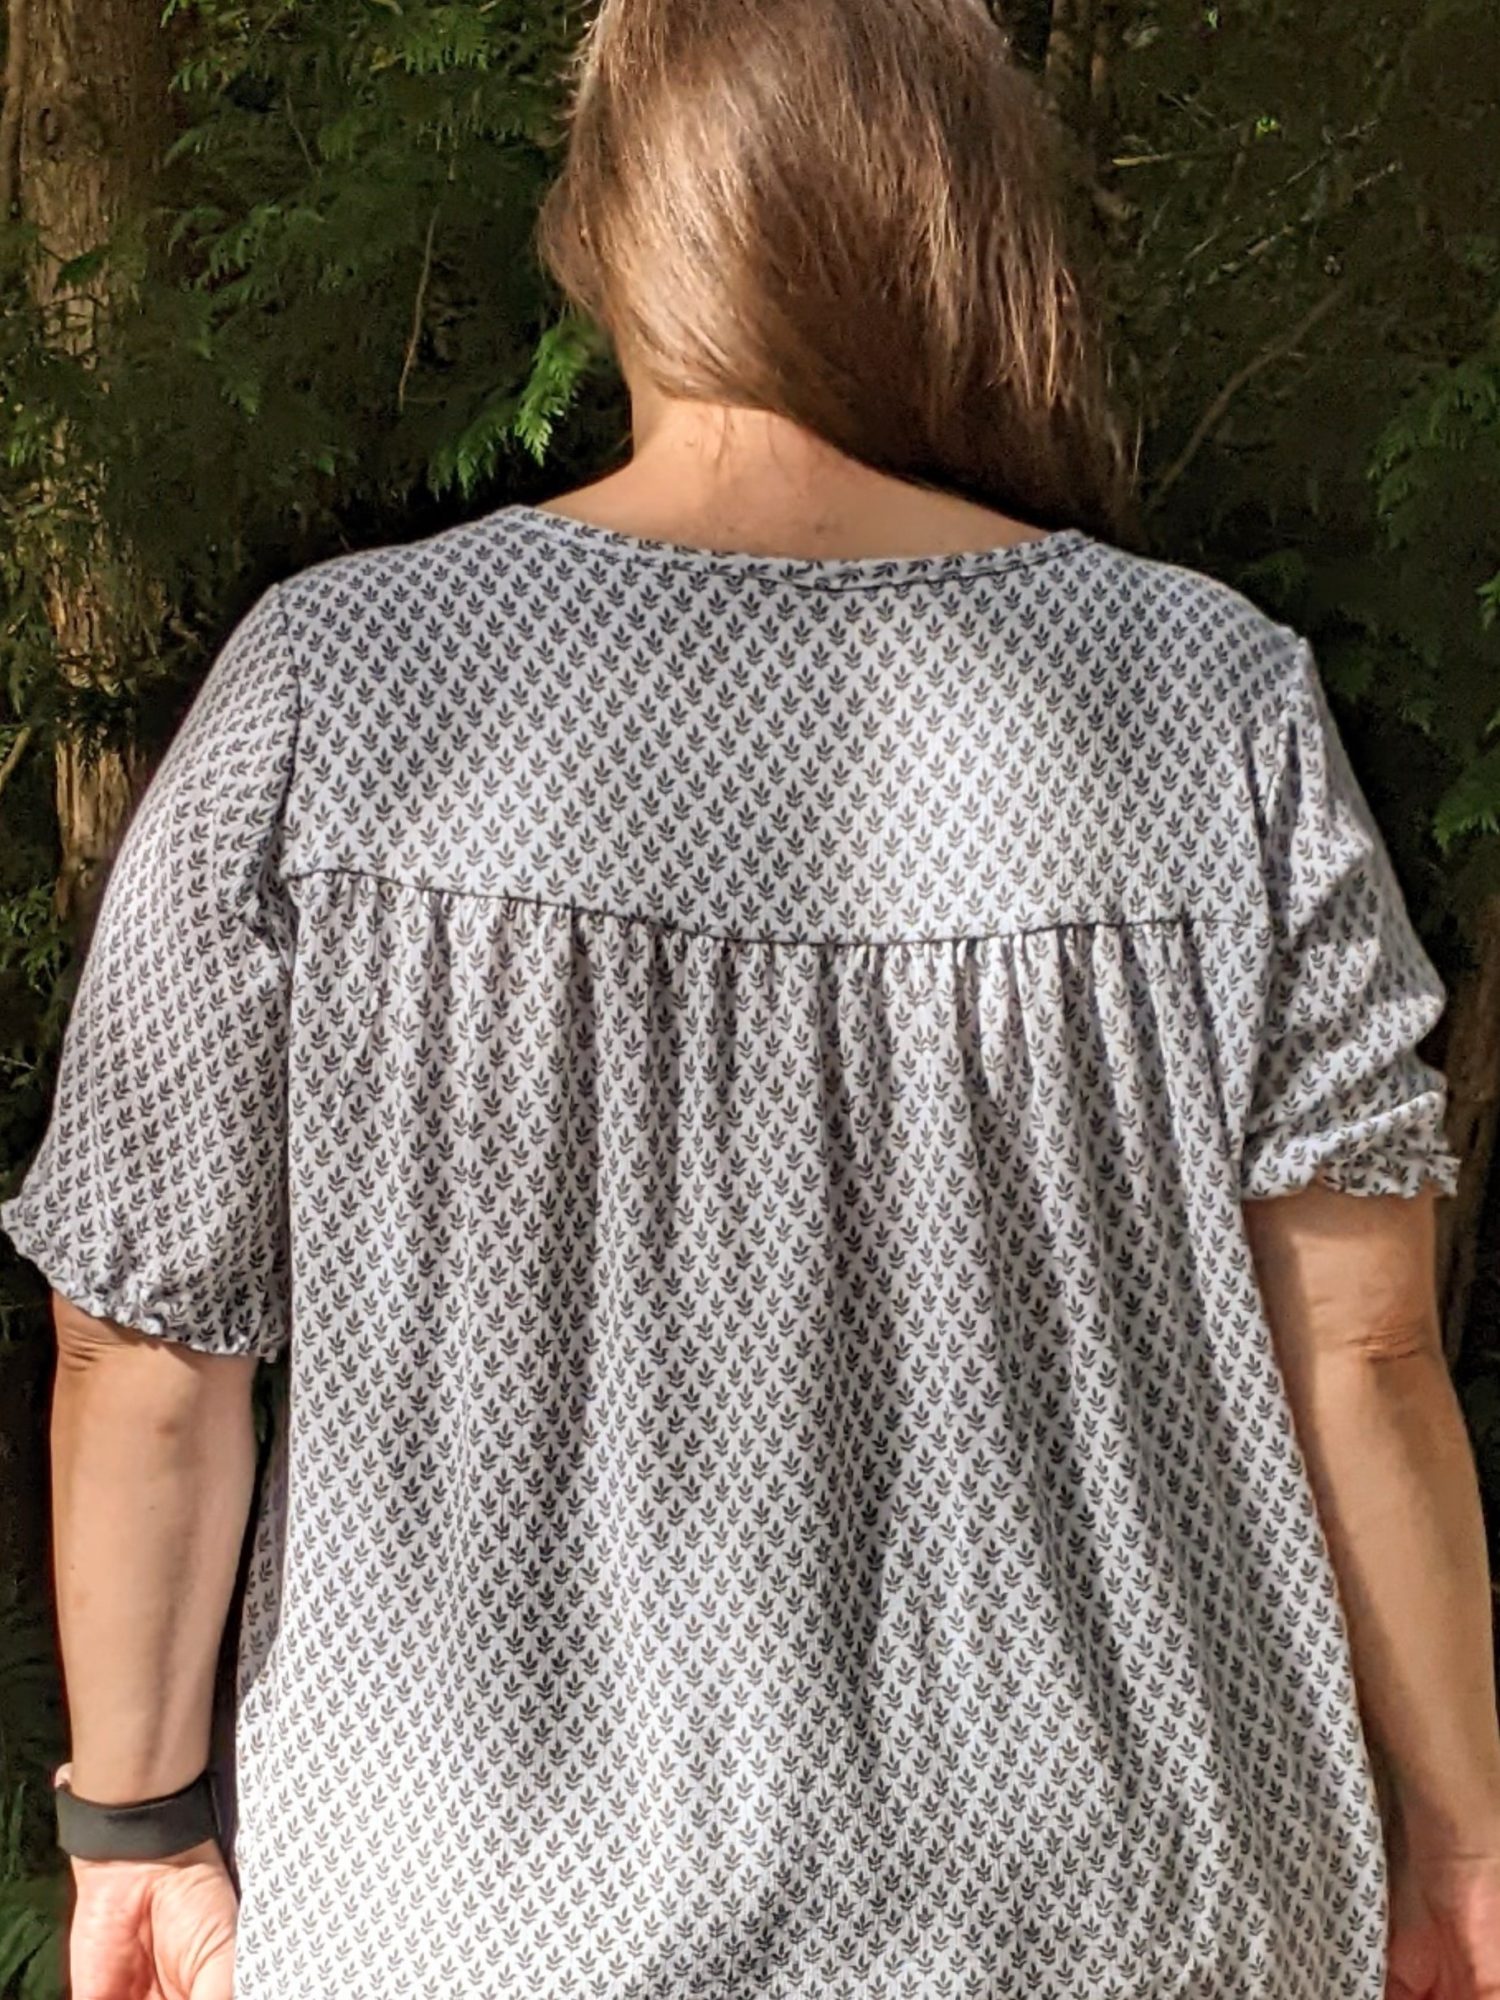
The Savannah Blouse and Dress is a beautiful pattern made for woven fabrics that has the option of a back pleat. I made some adjustments to make a gathered back instead of the pleat and it turned out beautifully.
Pattern
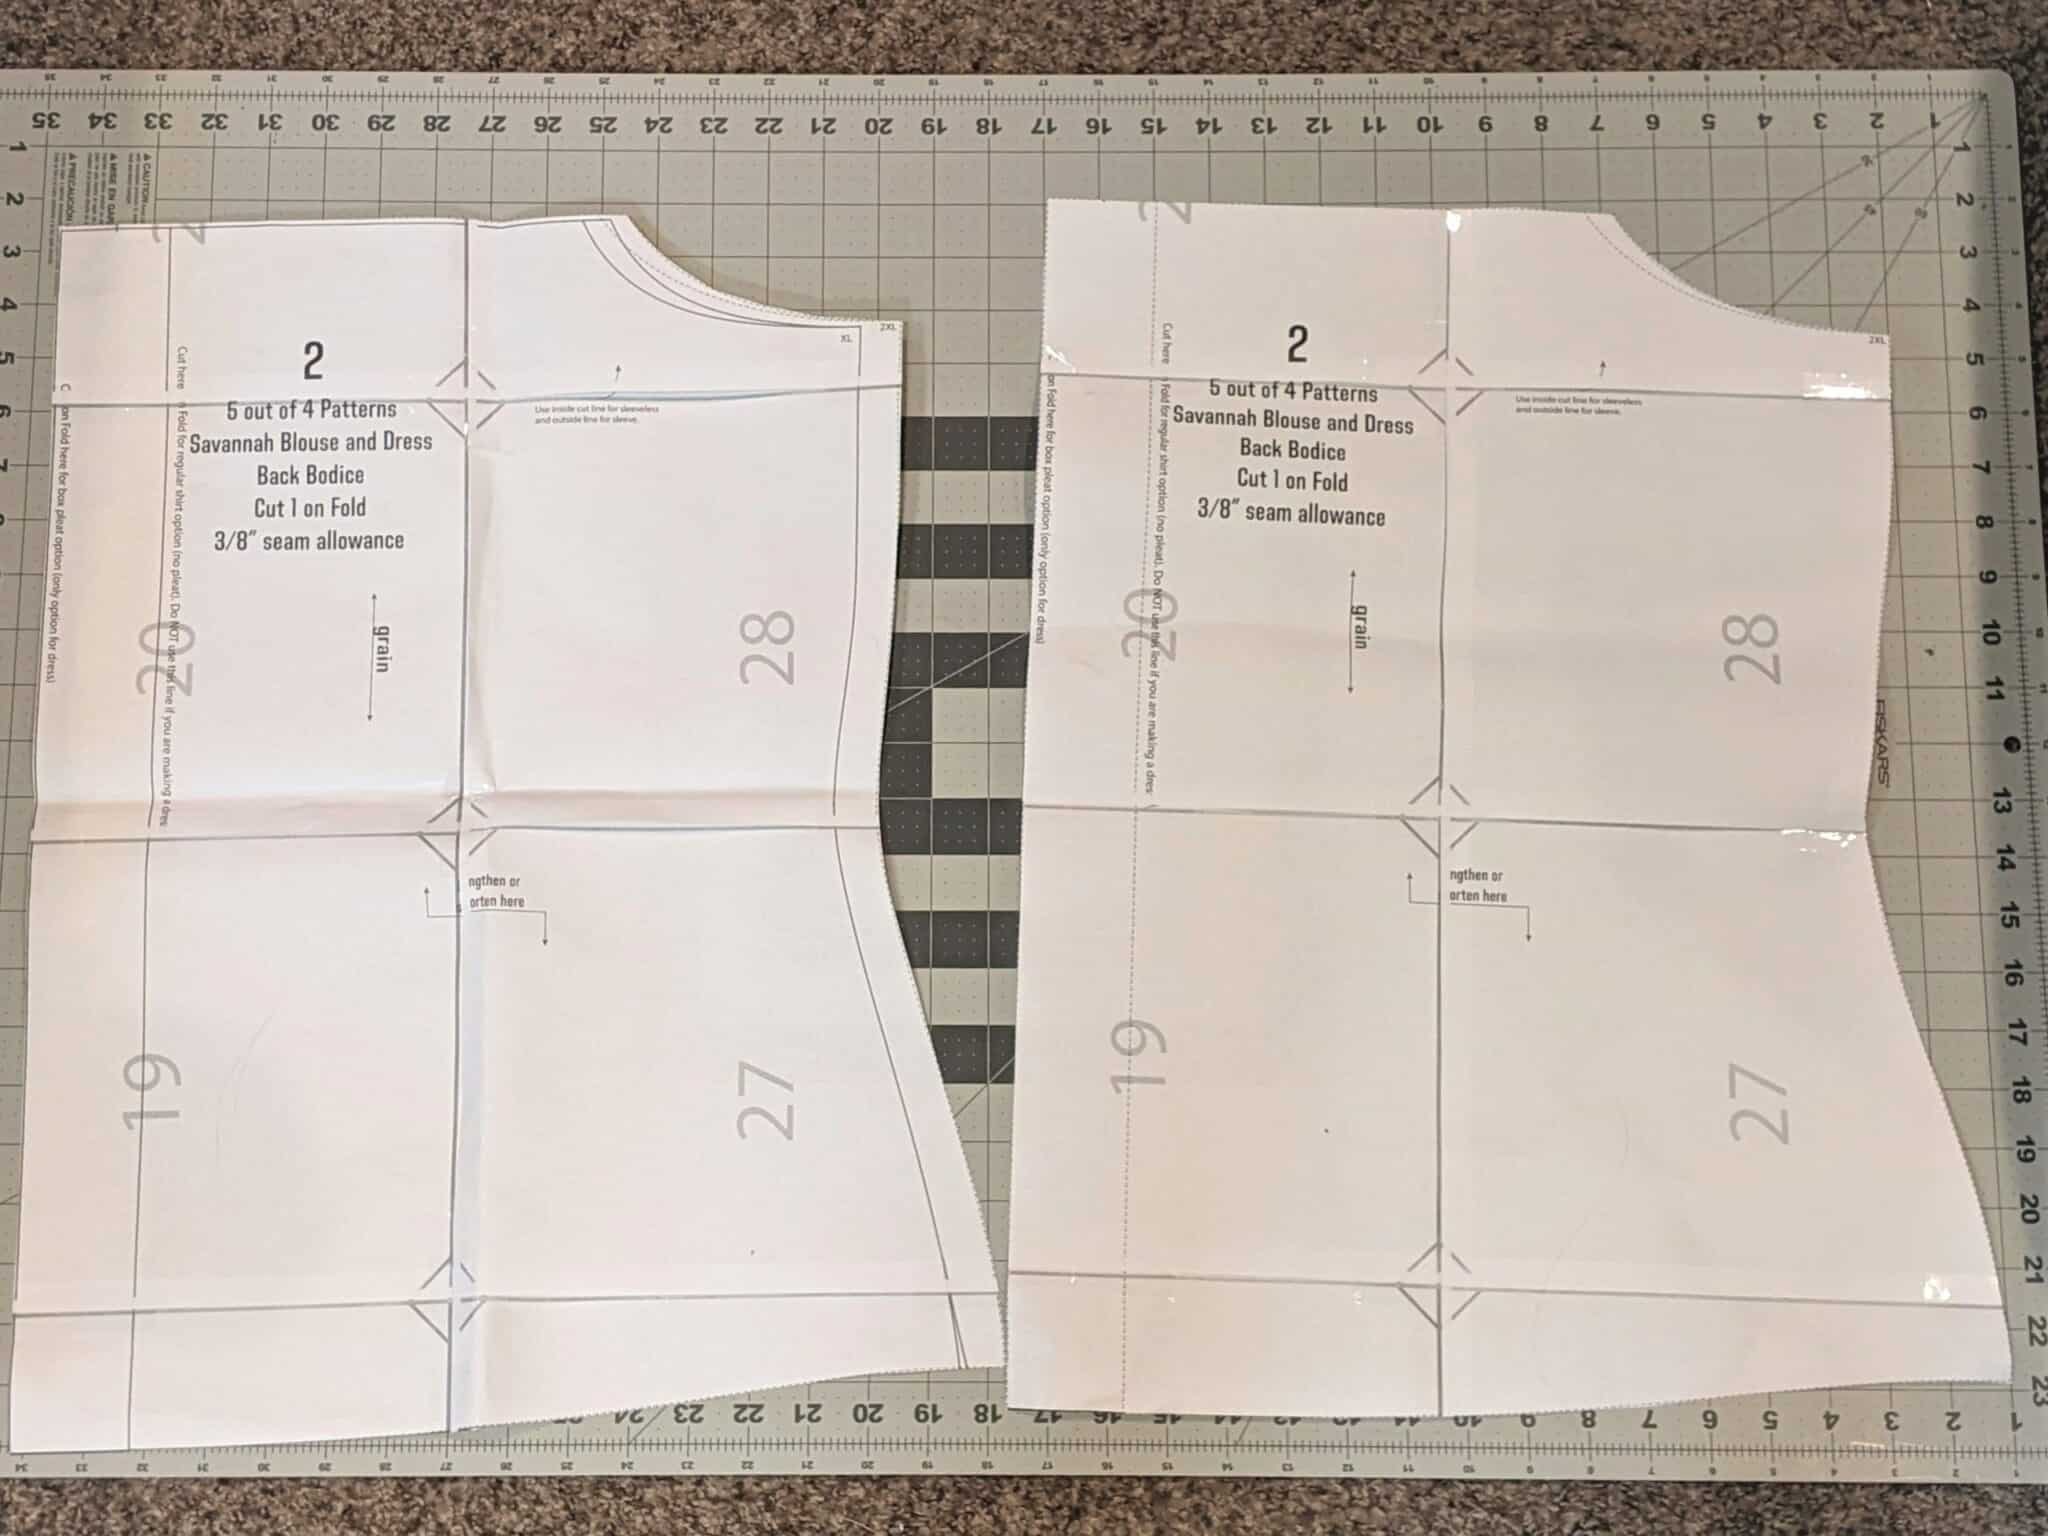
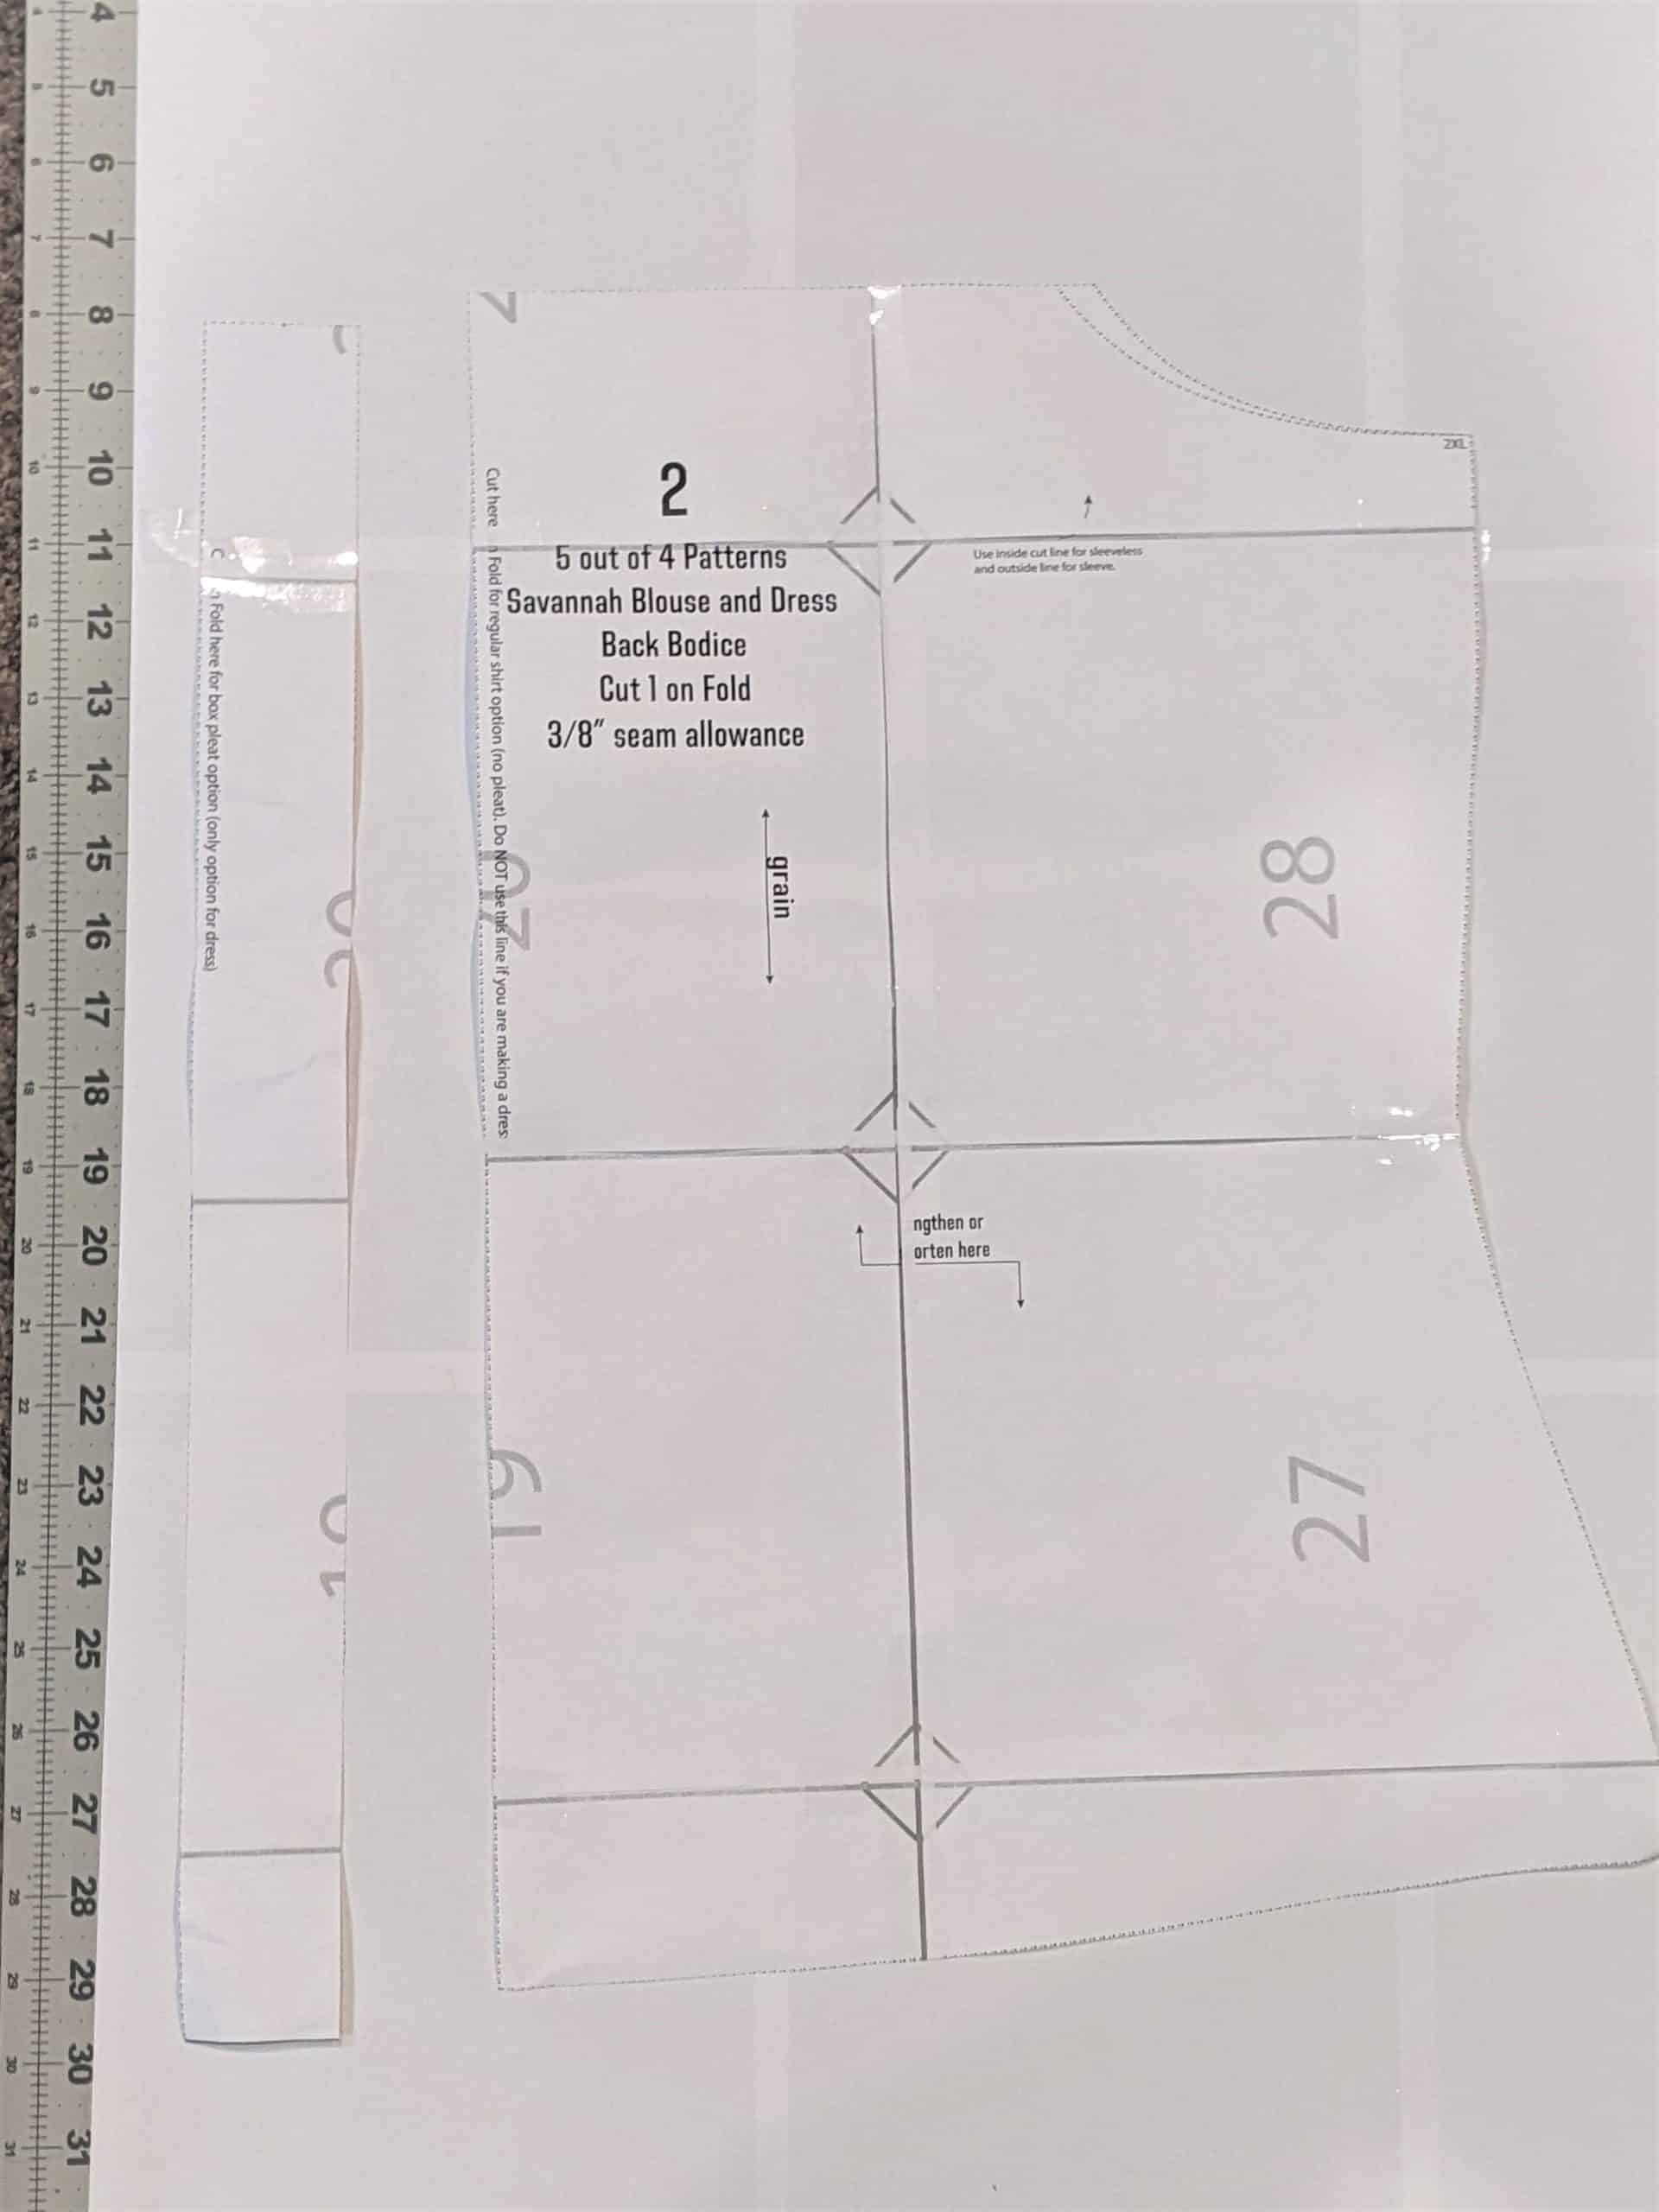
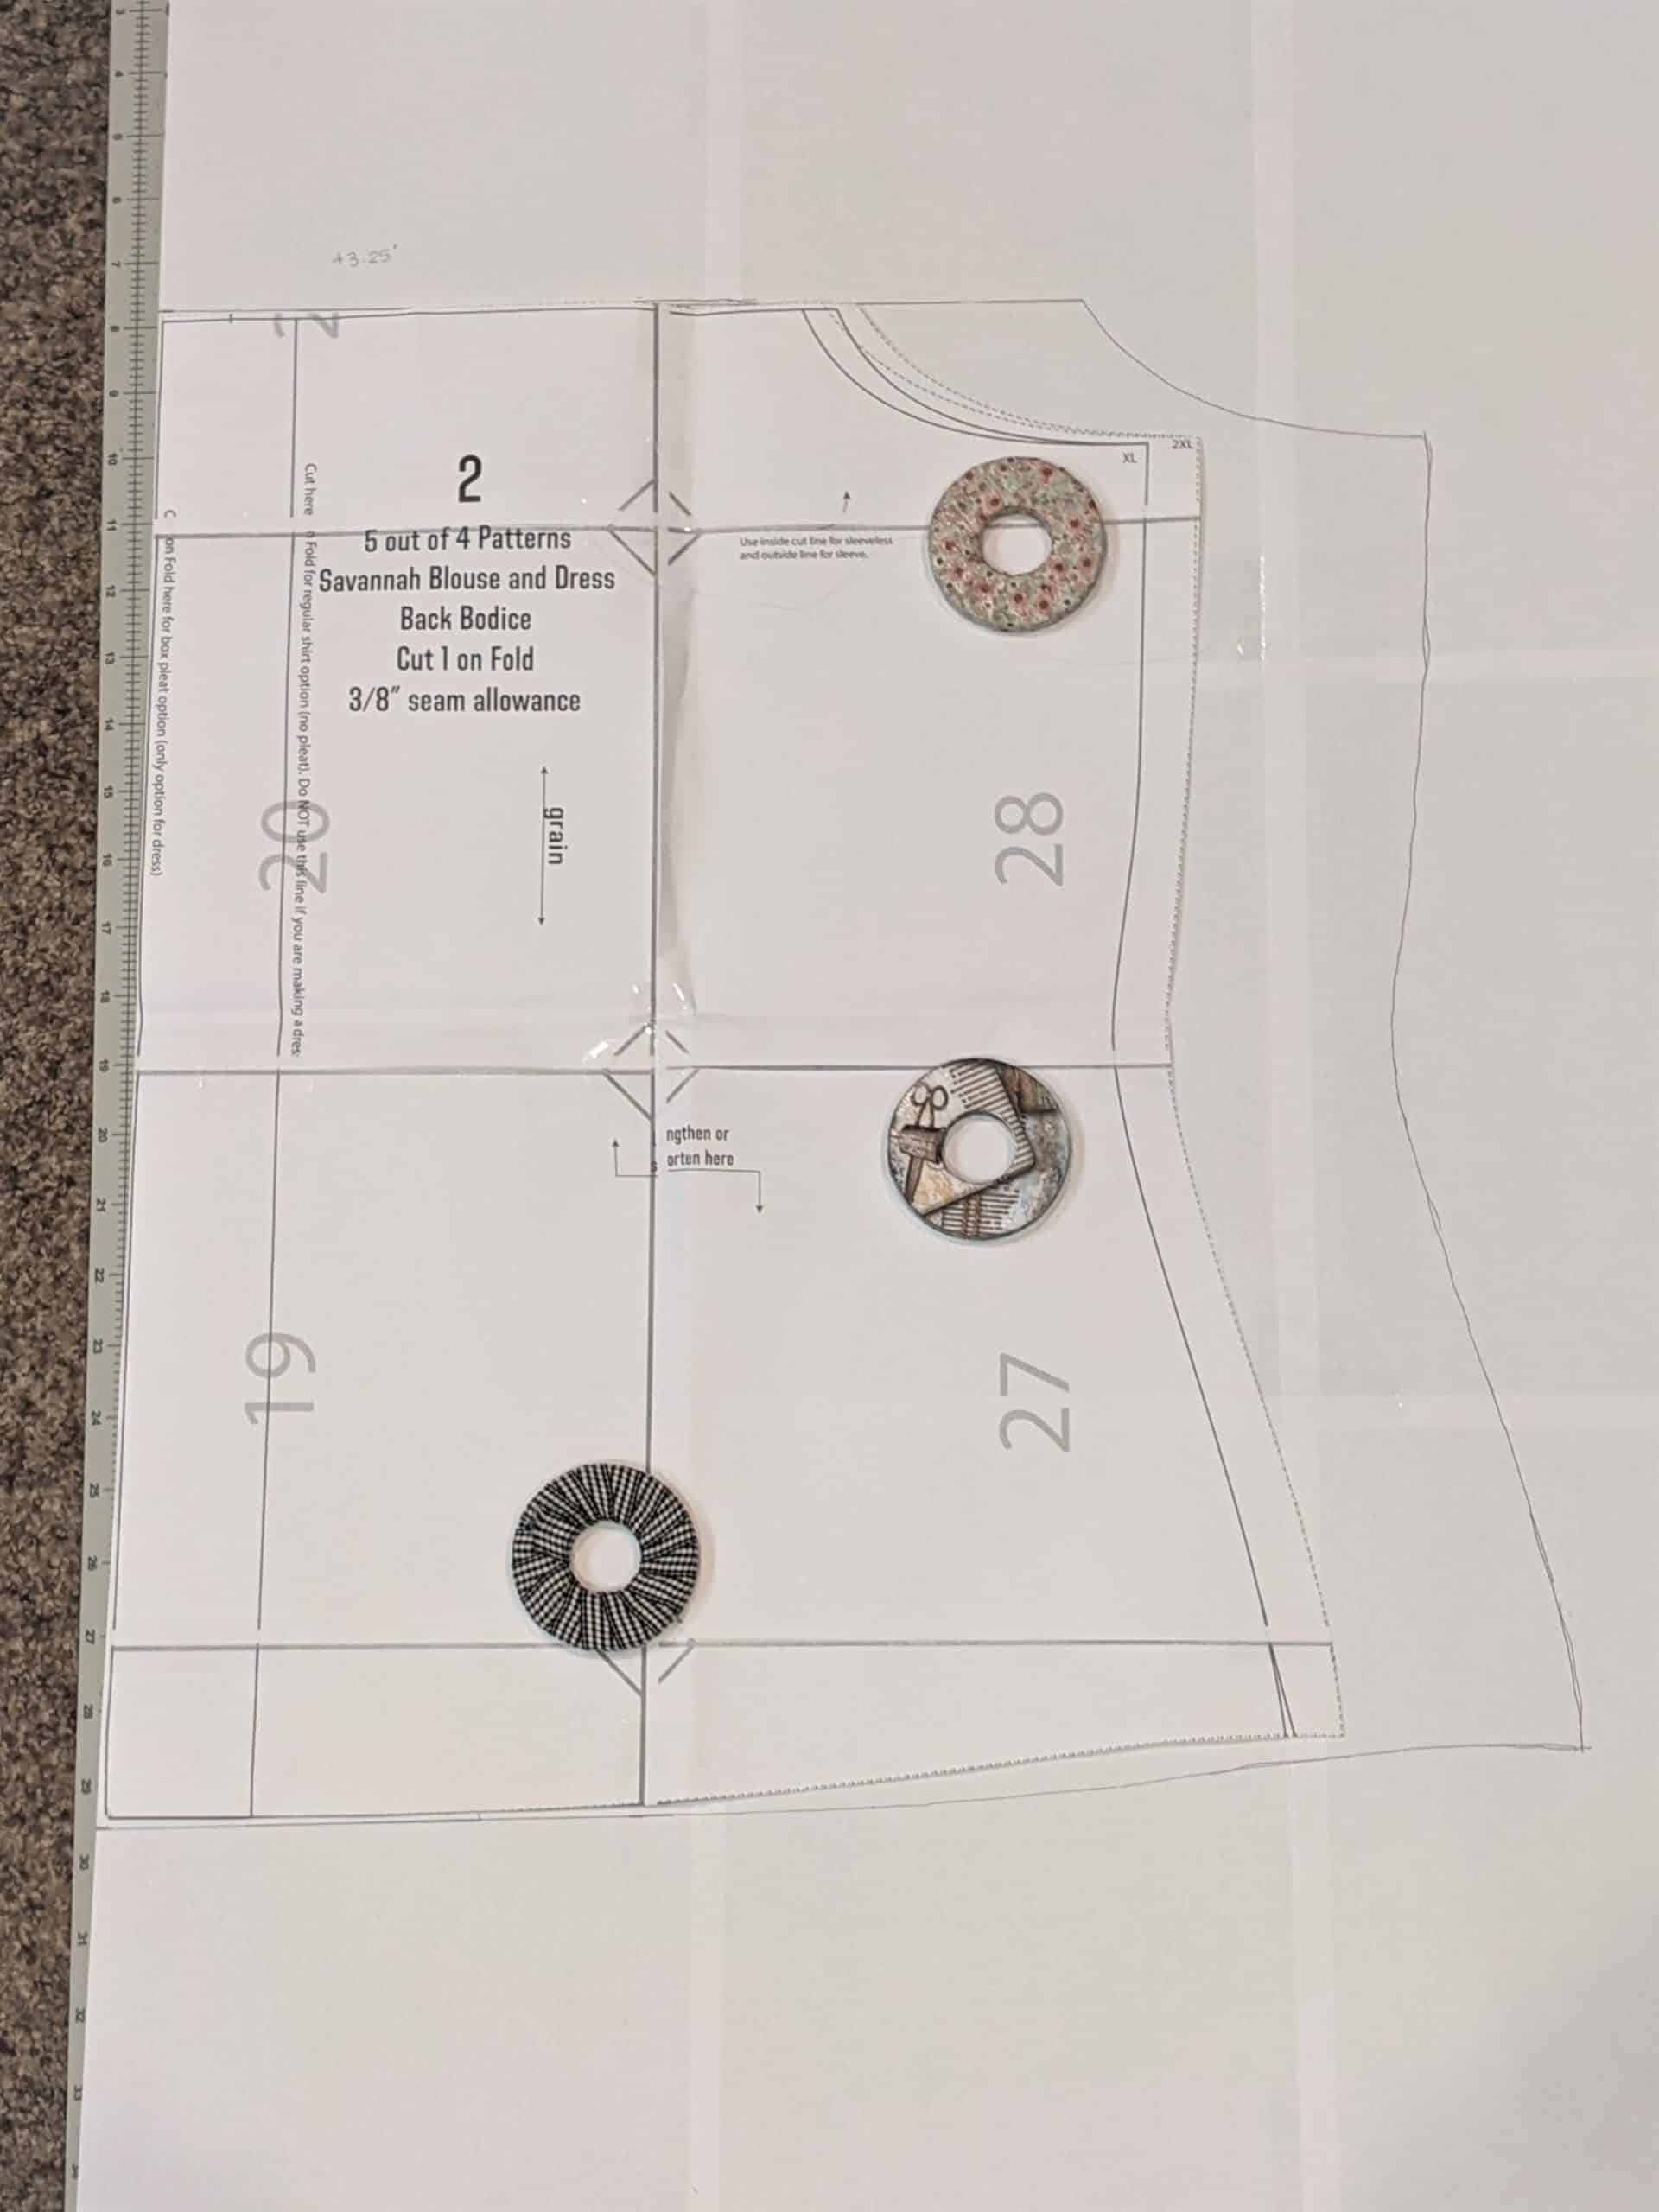
- Print and assemble the Savannah pattern with all of your chosen options.
- Make sure to keep the section of the back bodice for adding the pleat.
- It will be helpful to have two back bodice pieces for the back bodice adjustments.
Calculate Your Adjustments
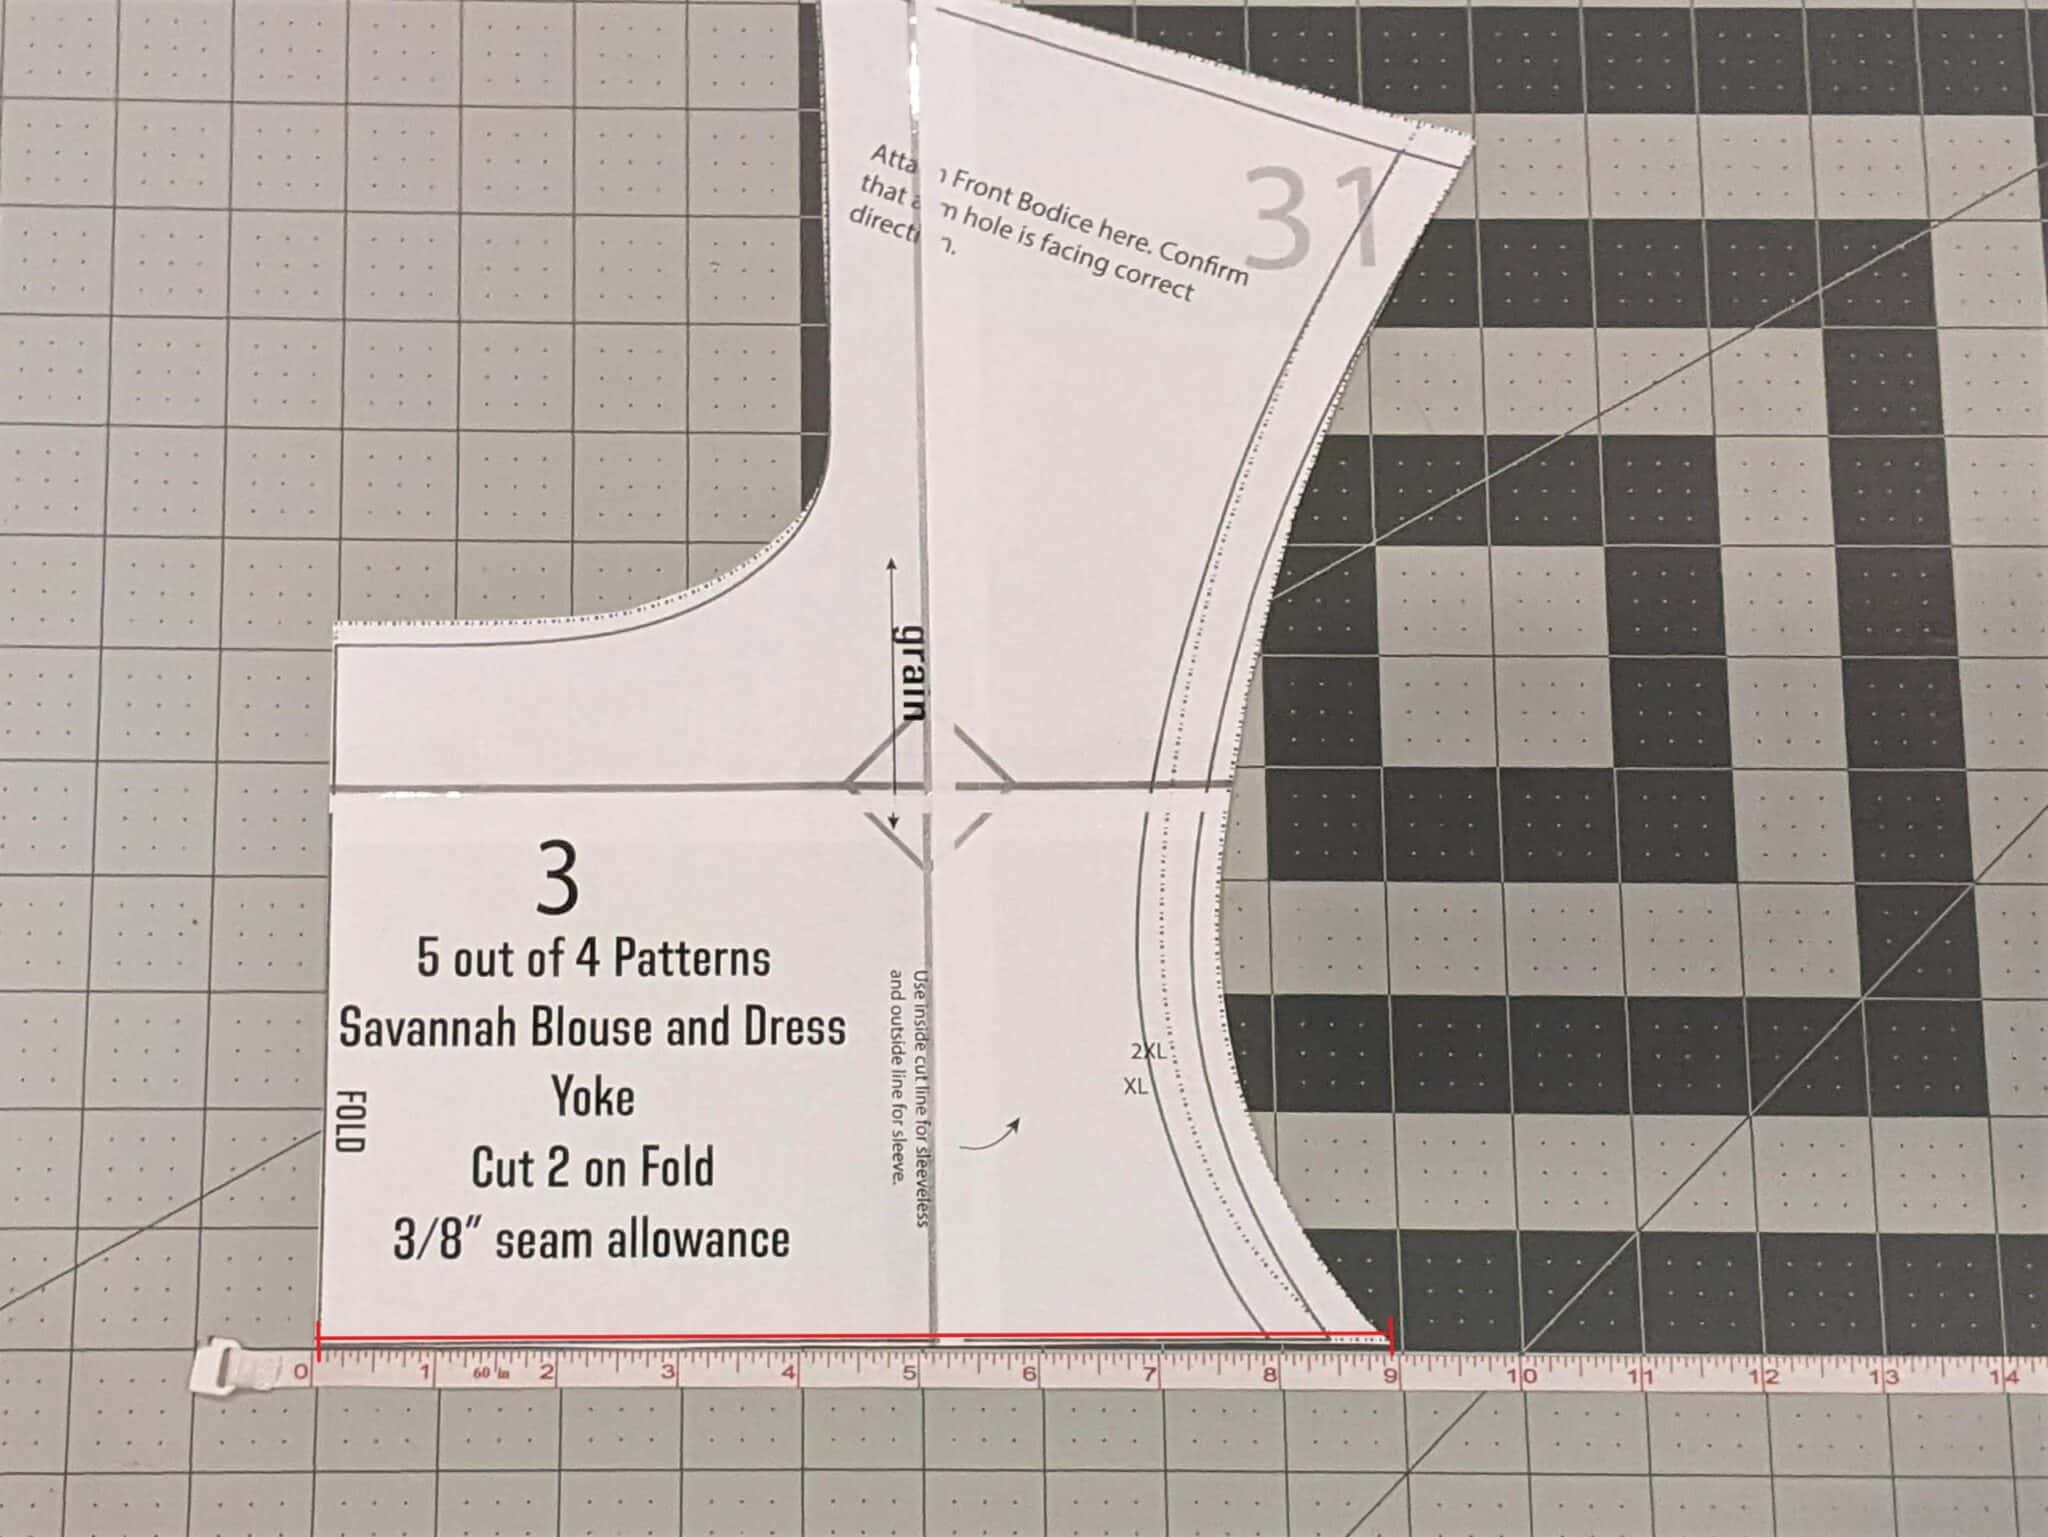
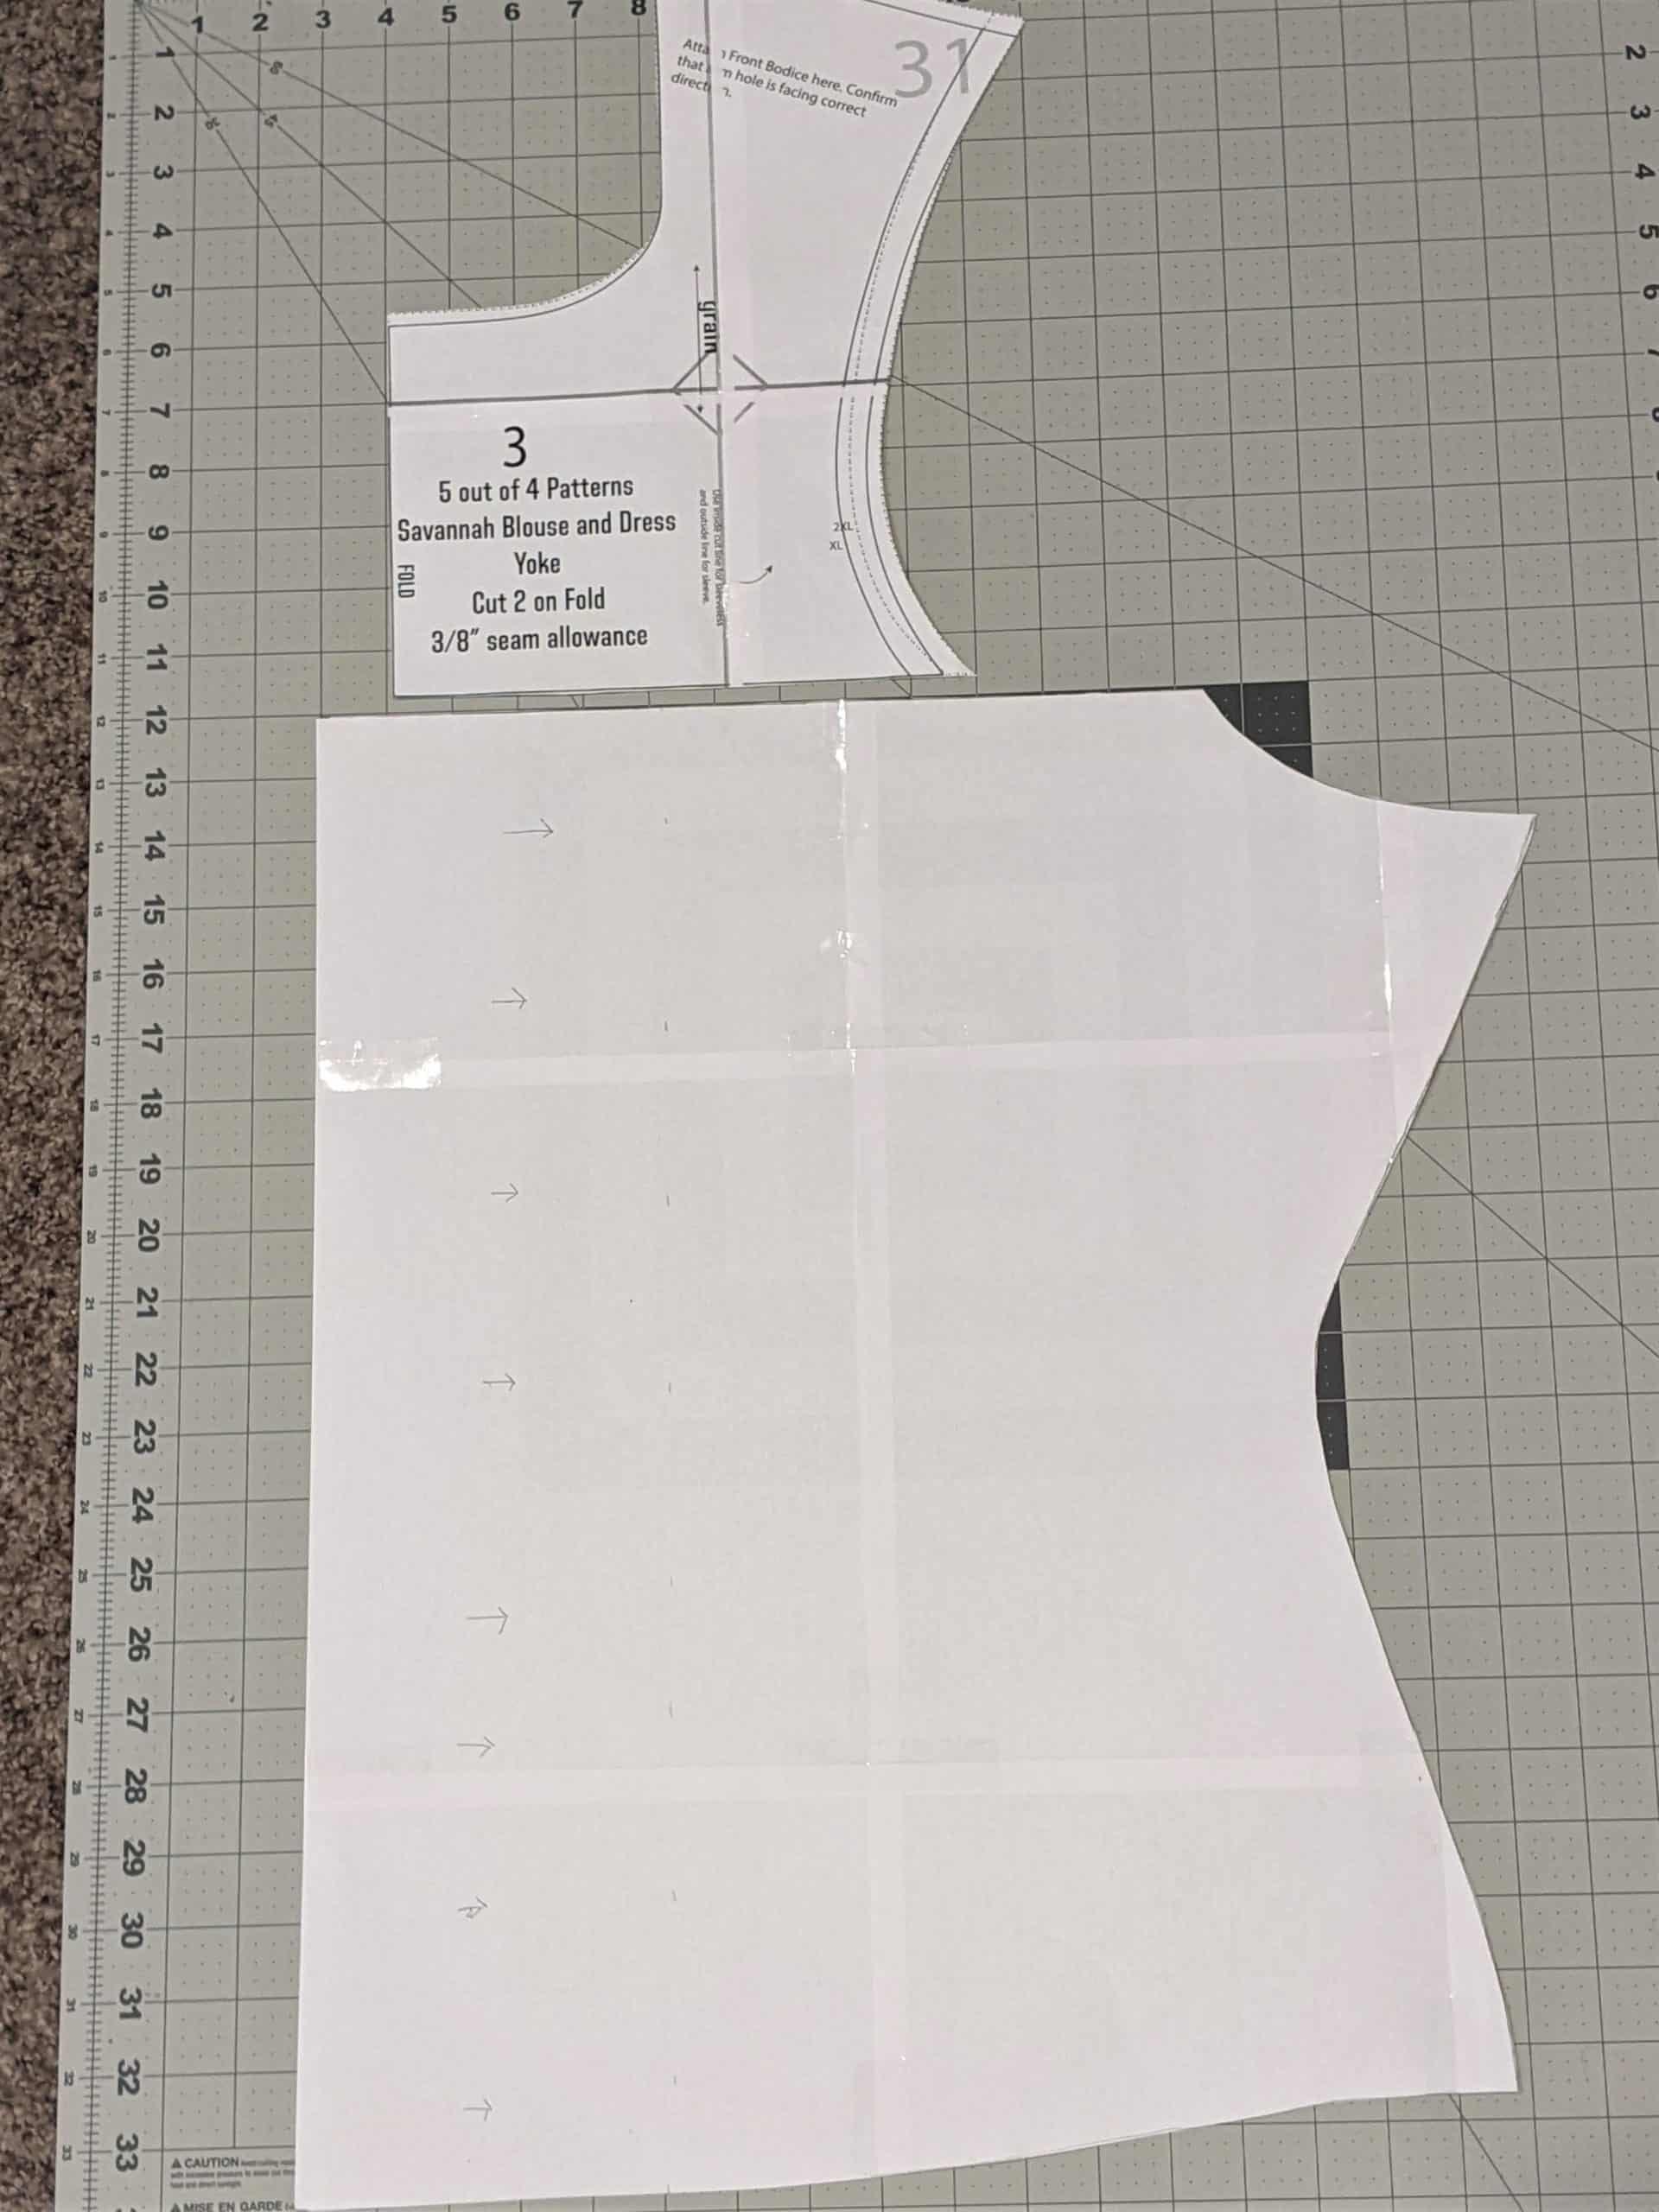
- Measure the bottom edge of the back yoke piece where it will attach to the back bodice. (Mine is 9″)
- Multiply that measurement by 1.5 to find the measurement that you will need to make the top edge of your back bodice. (Mine: 9″x1.5=13.5″)
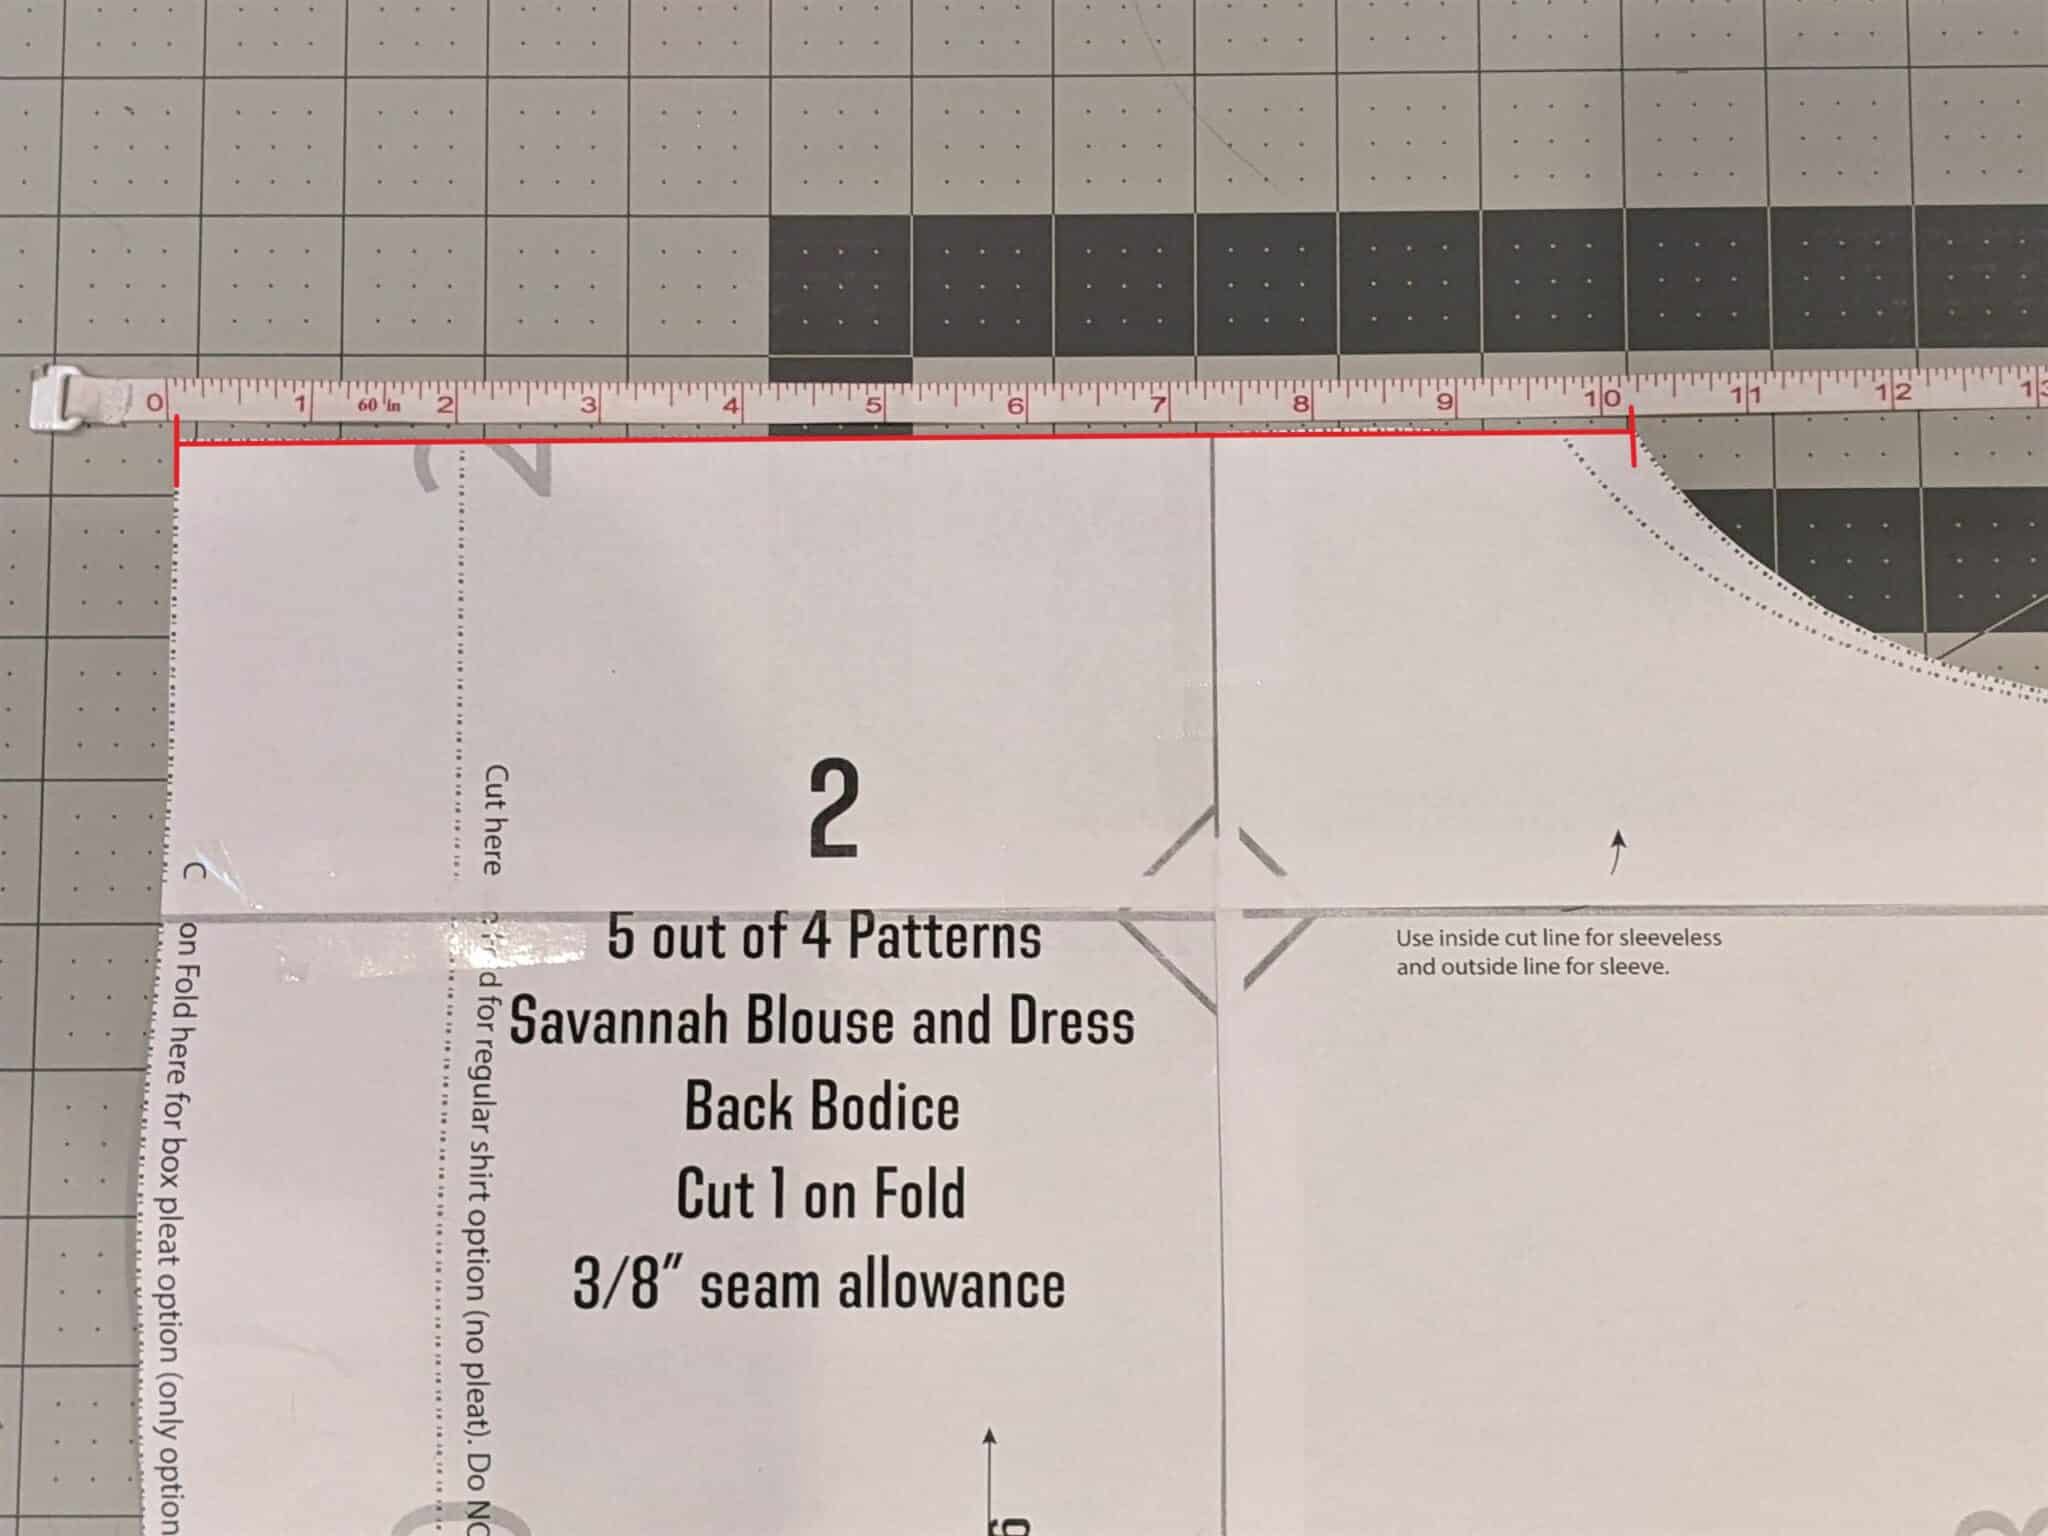
- Measure the current top edge of the back bodice with the pleat strip still attached. (Mine is 10.25″)
- Subtract that measurement from the previous equation for the entire width to find how much extra you will need to add to the back bodice. (Mine: 13.5″-10.25″=3.25″) I will be adding 3.25″ more to my back bodice piece.
Making Your New Back Bodice Piece
- Cut along the line for the pleat to separate the two sections of the back bodice.
- Use tracing paper, or whatever you have that is large enough to fit the whole back bodice with extra room to enlarge it.
- Tape the pleat strip along one edge of the tracing paper.
- Measure from the cut edge of the pleat strip your previously calculated additional width all the way down the strip.
- Use a straight edge and draw a line to use as a guide for placement of the other edge of the bodice pattern piece.
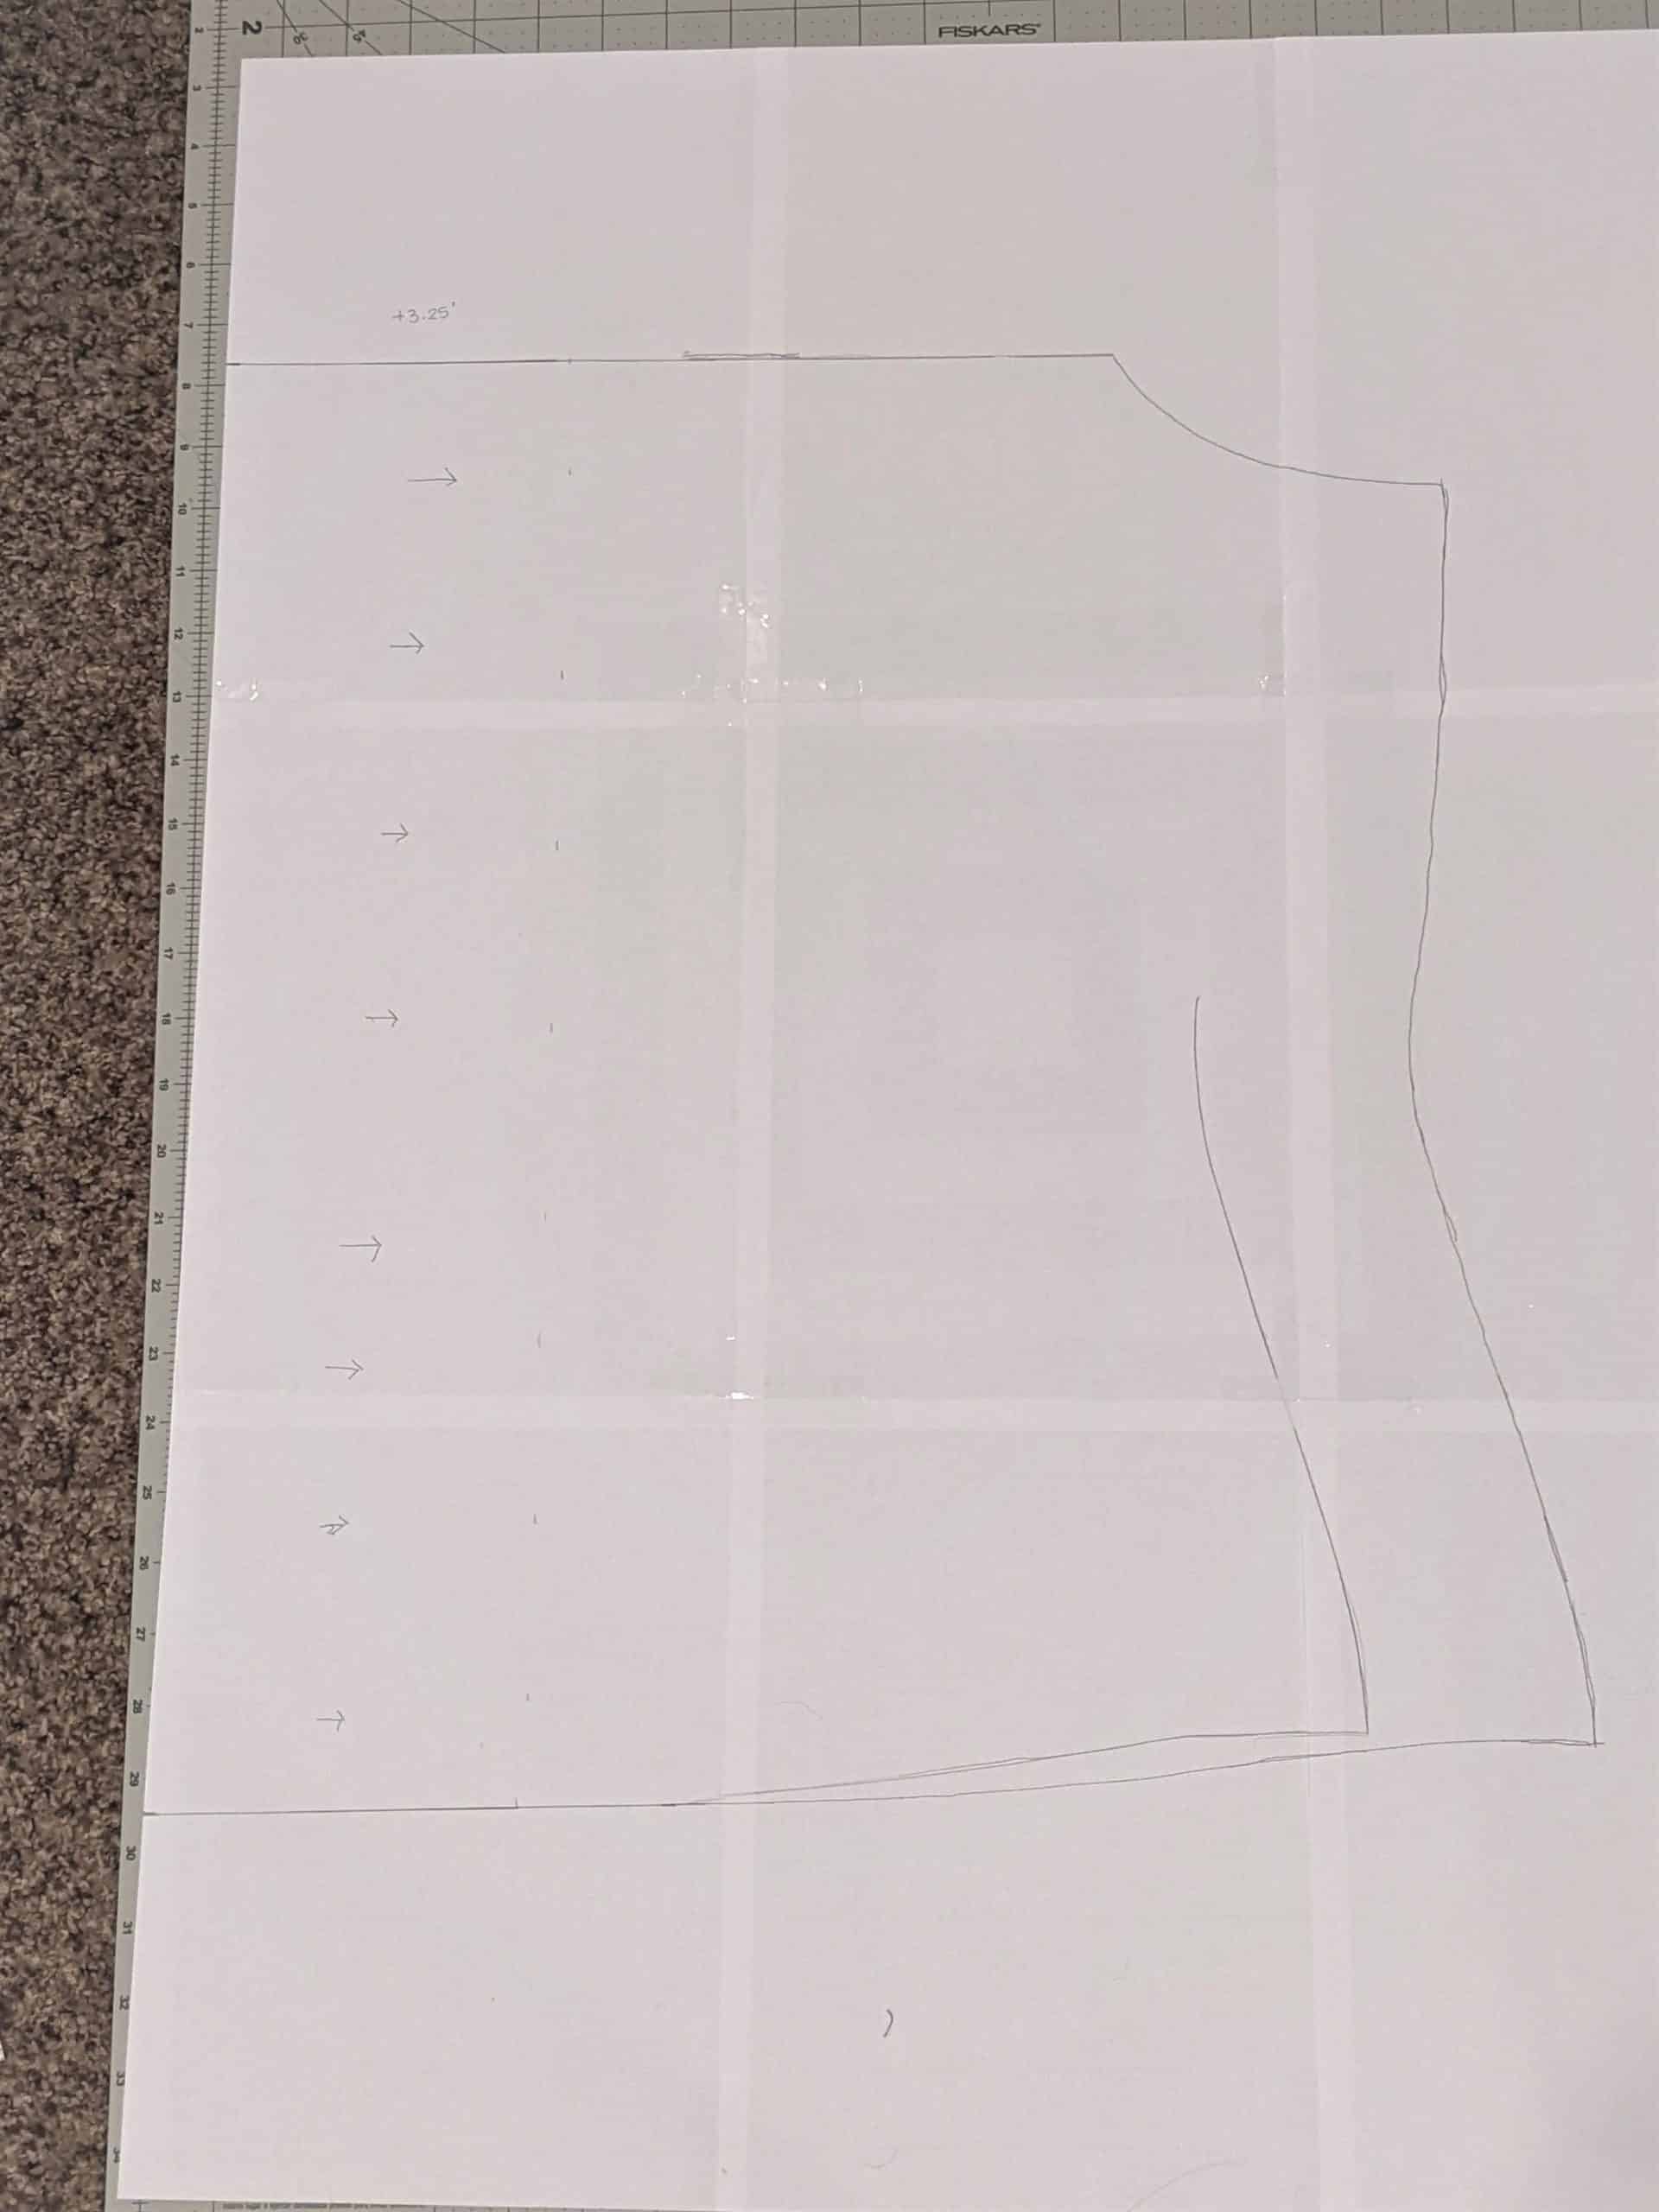
- Tape the cut edge of the larger armscye side of the back bodice piece along your line.
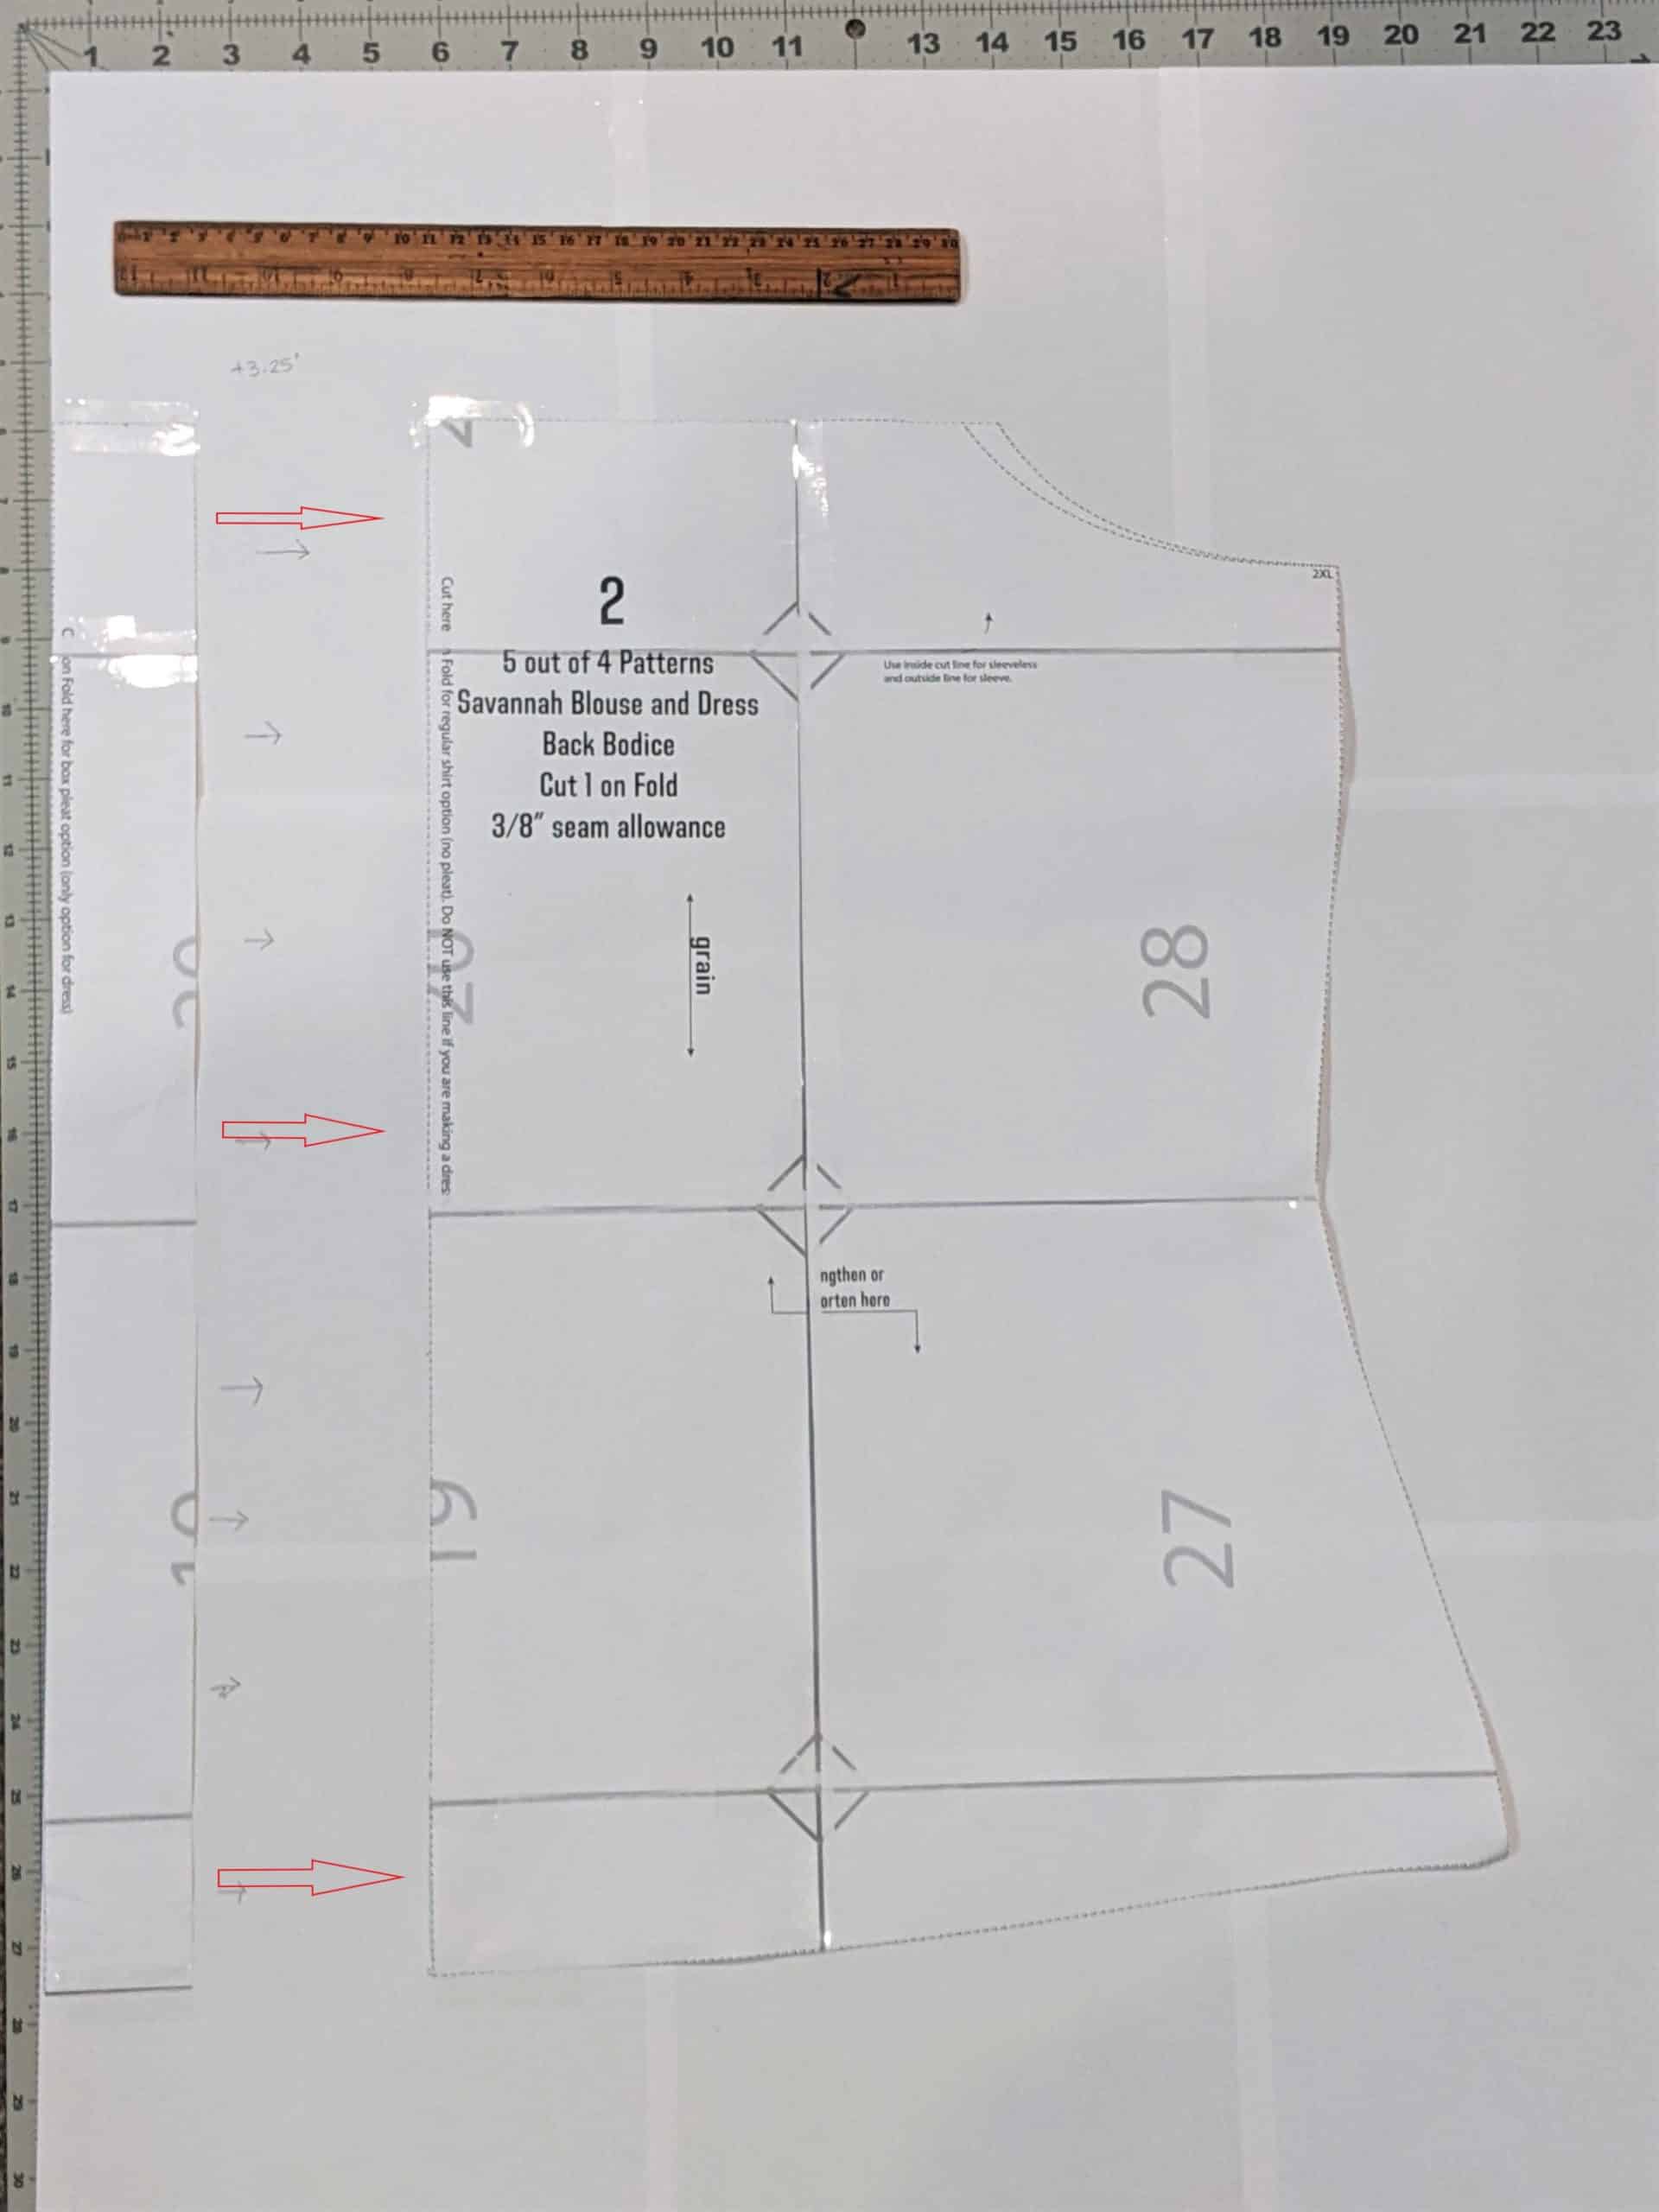
- Trace around your new widened pattern, then remove your taped-on pieces.
Final Adjustments
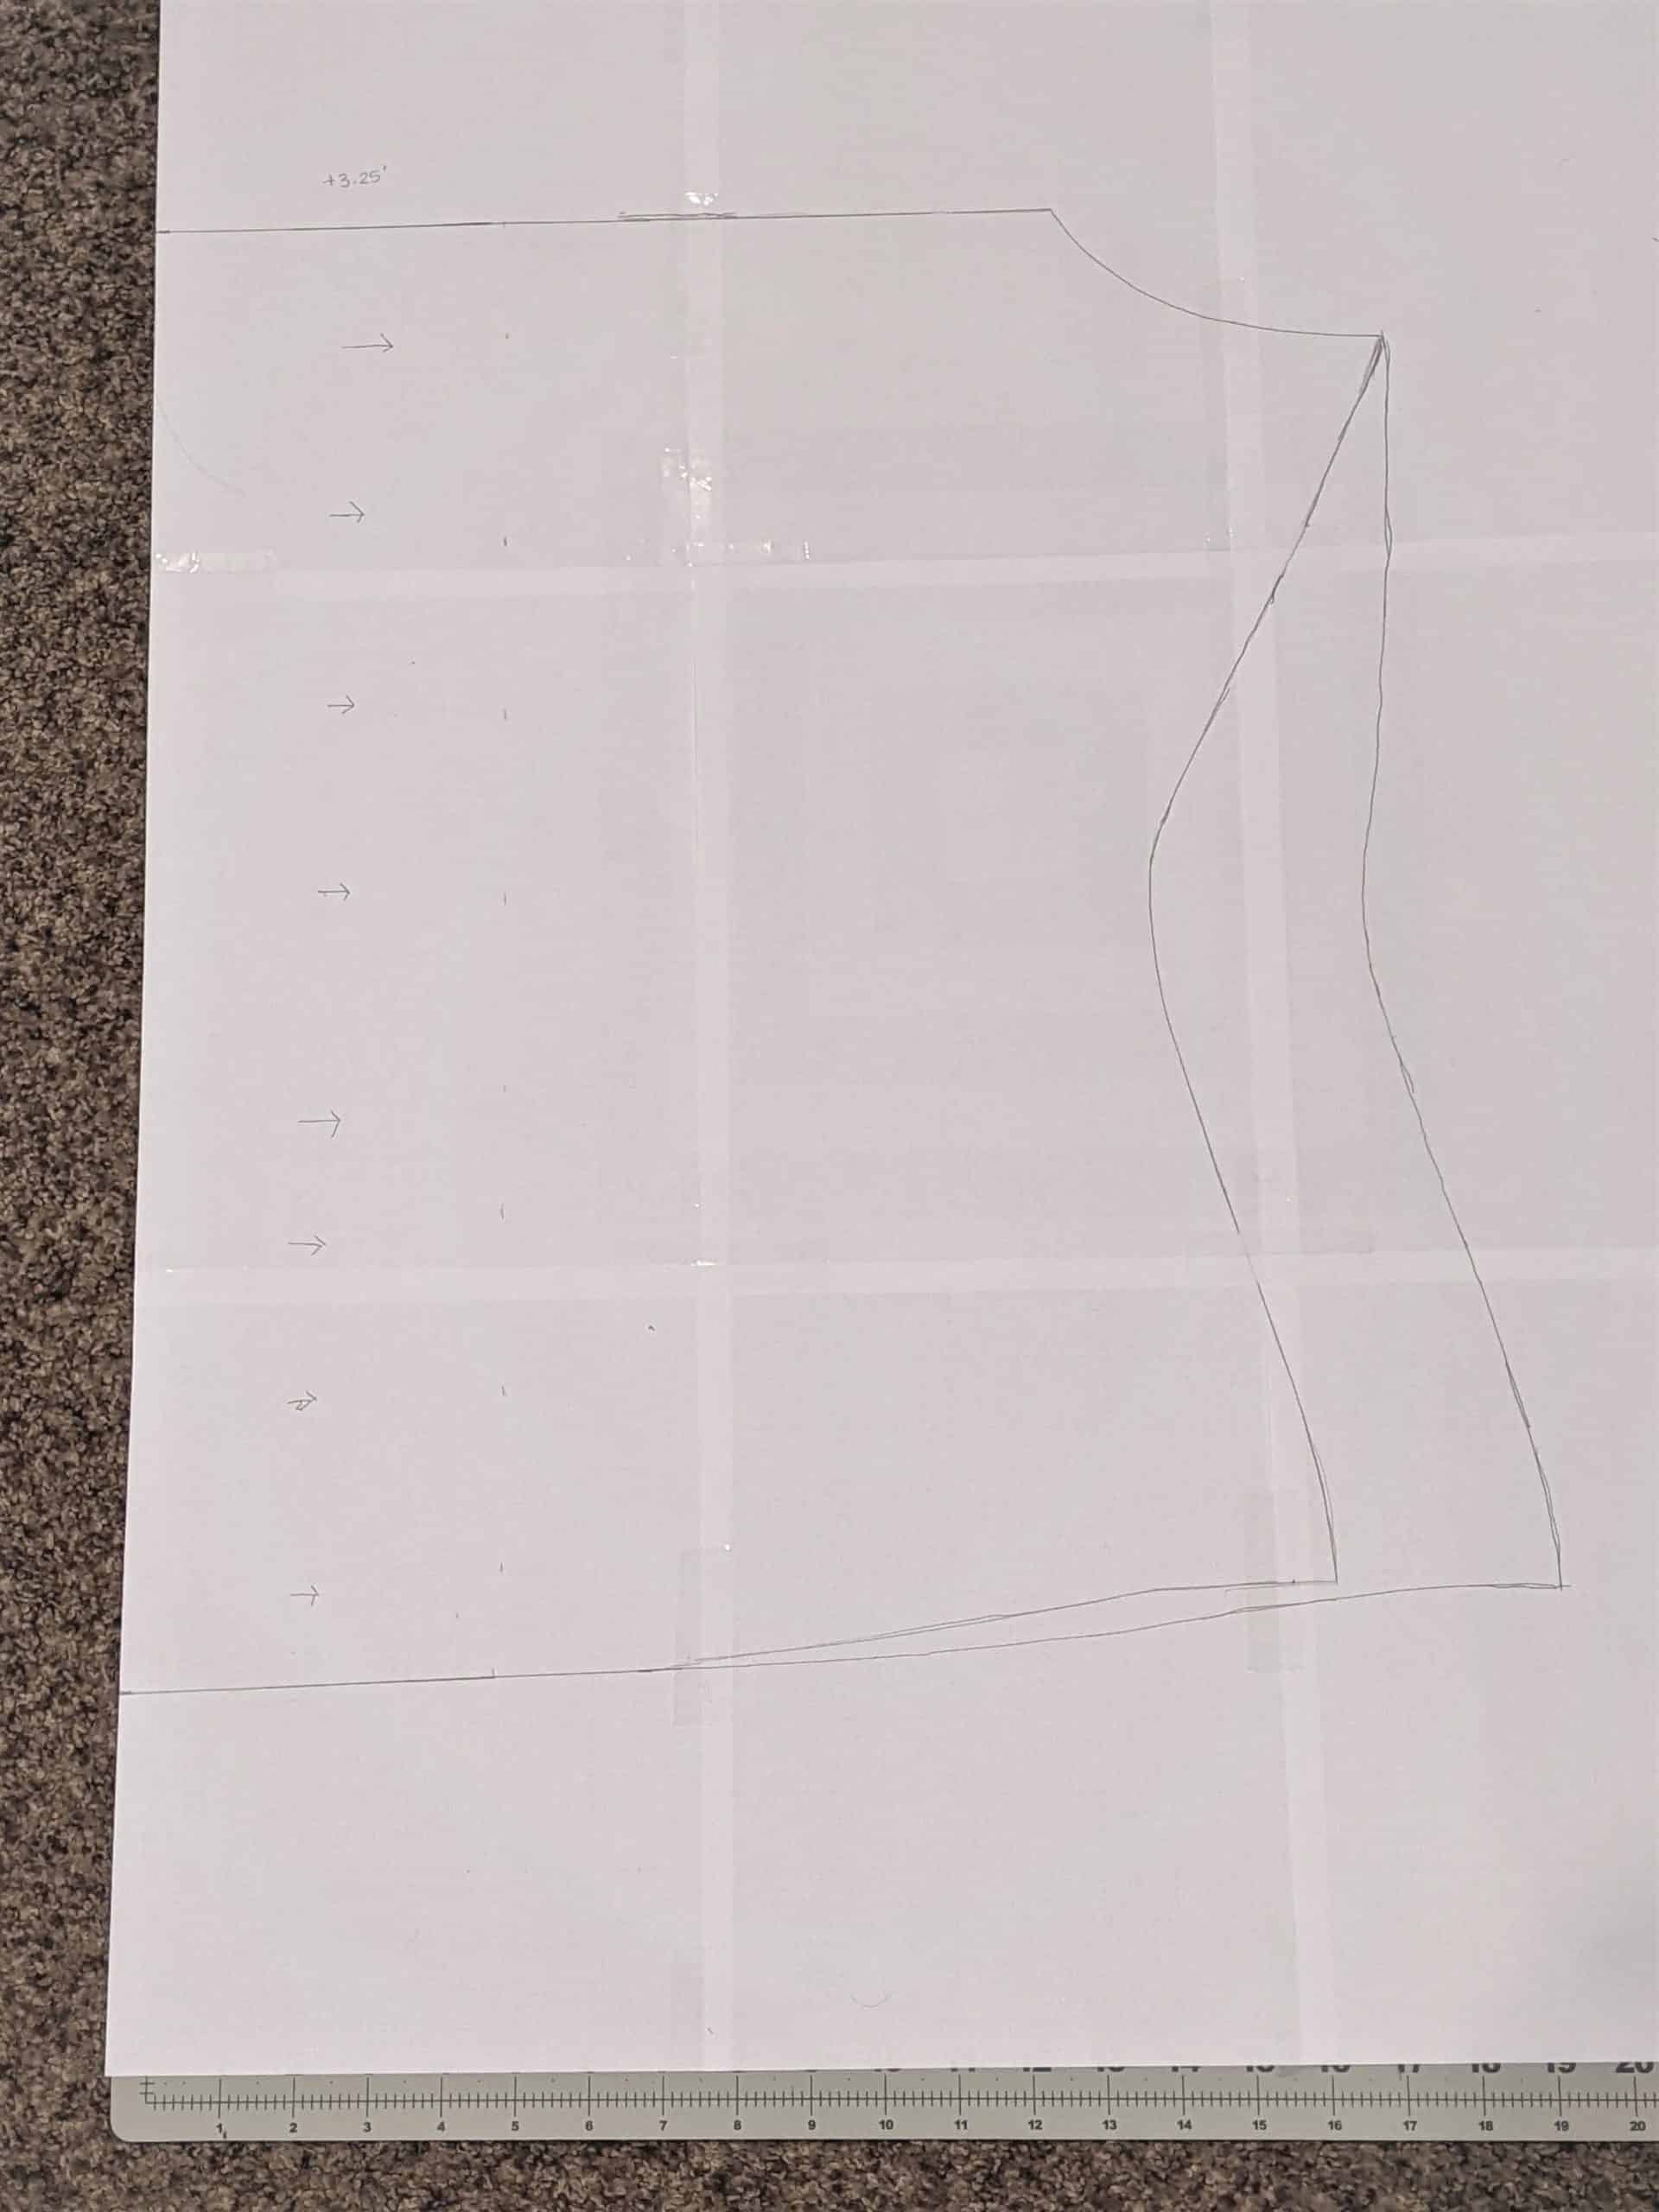
Since you are only gathering the top edge of the back bodice you don’t need the bottom of the bodice to be widened as well so we need to bring that back in.
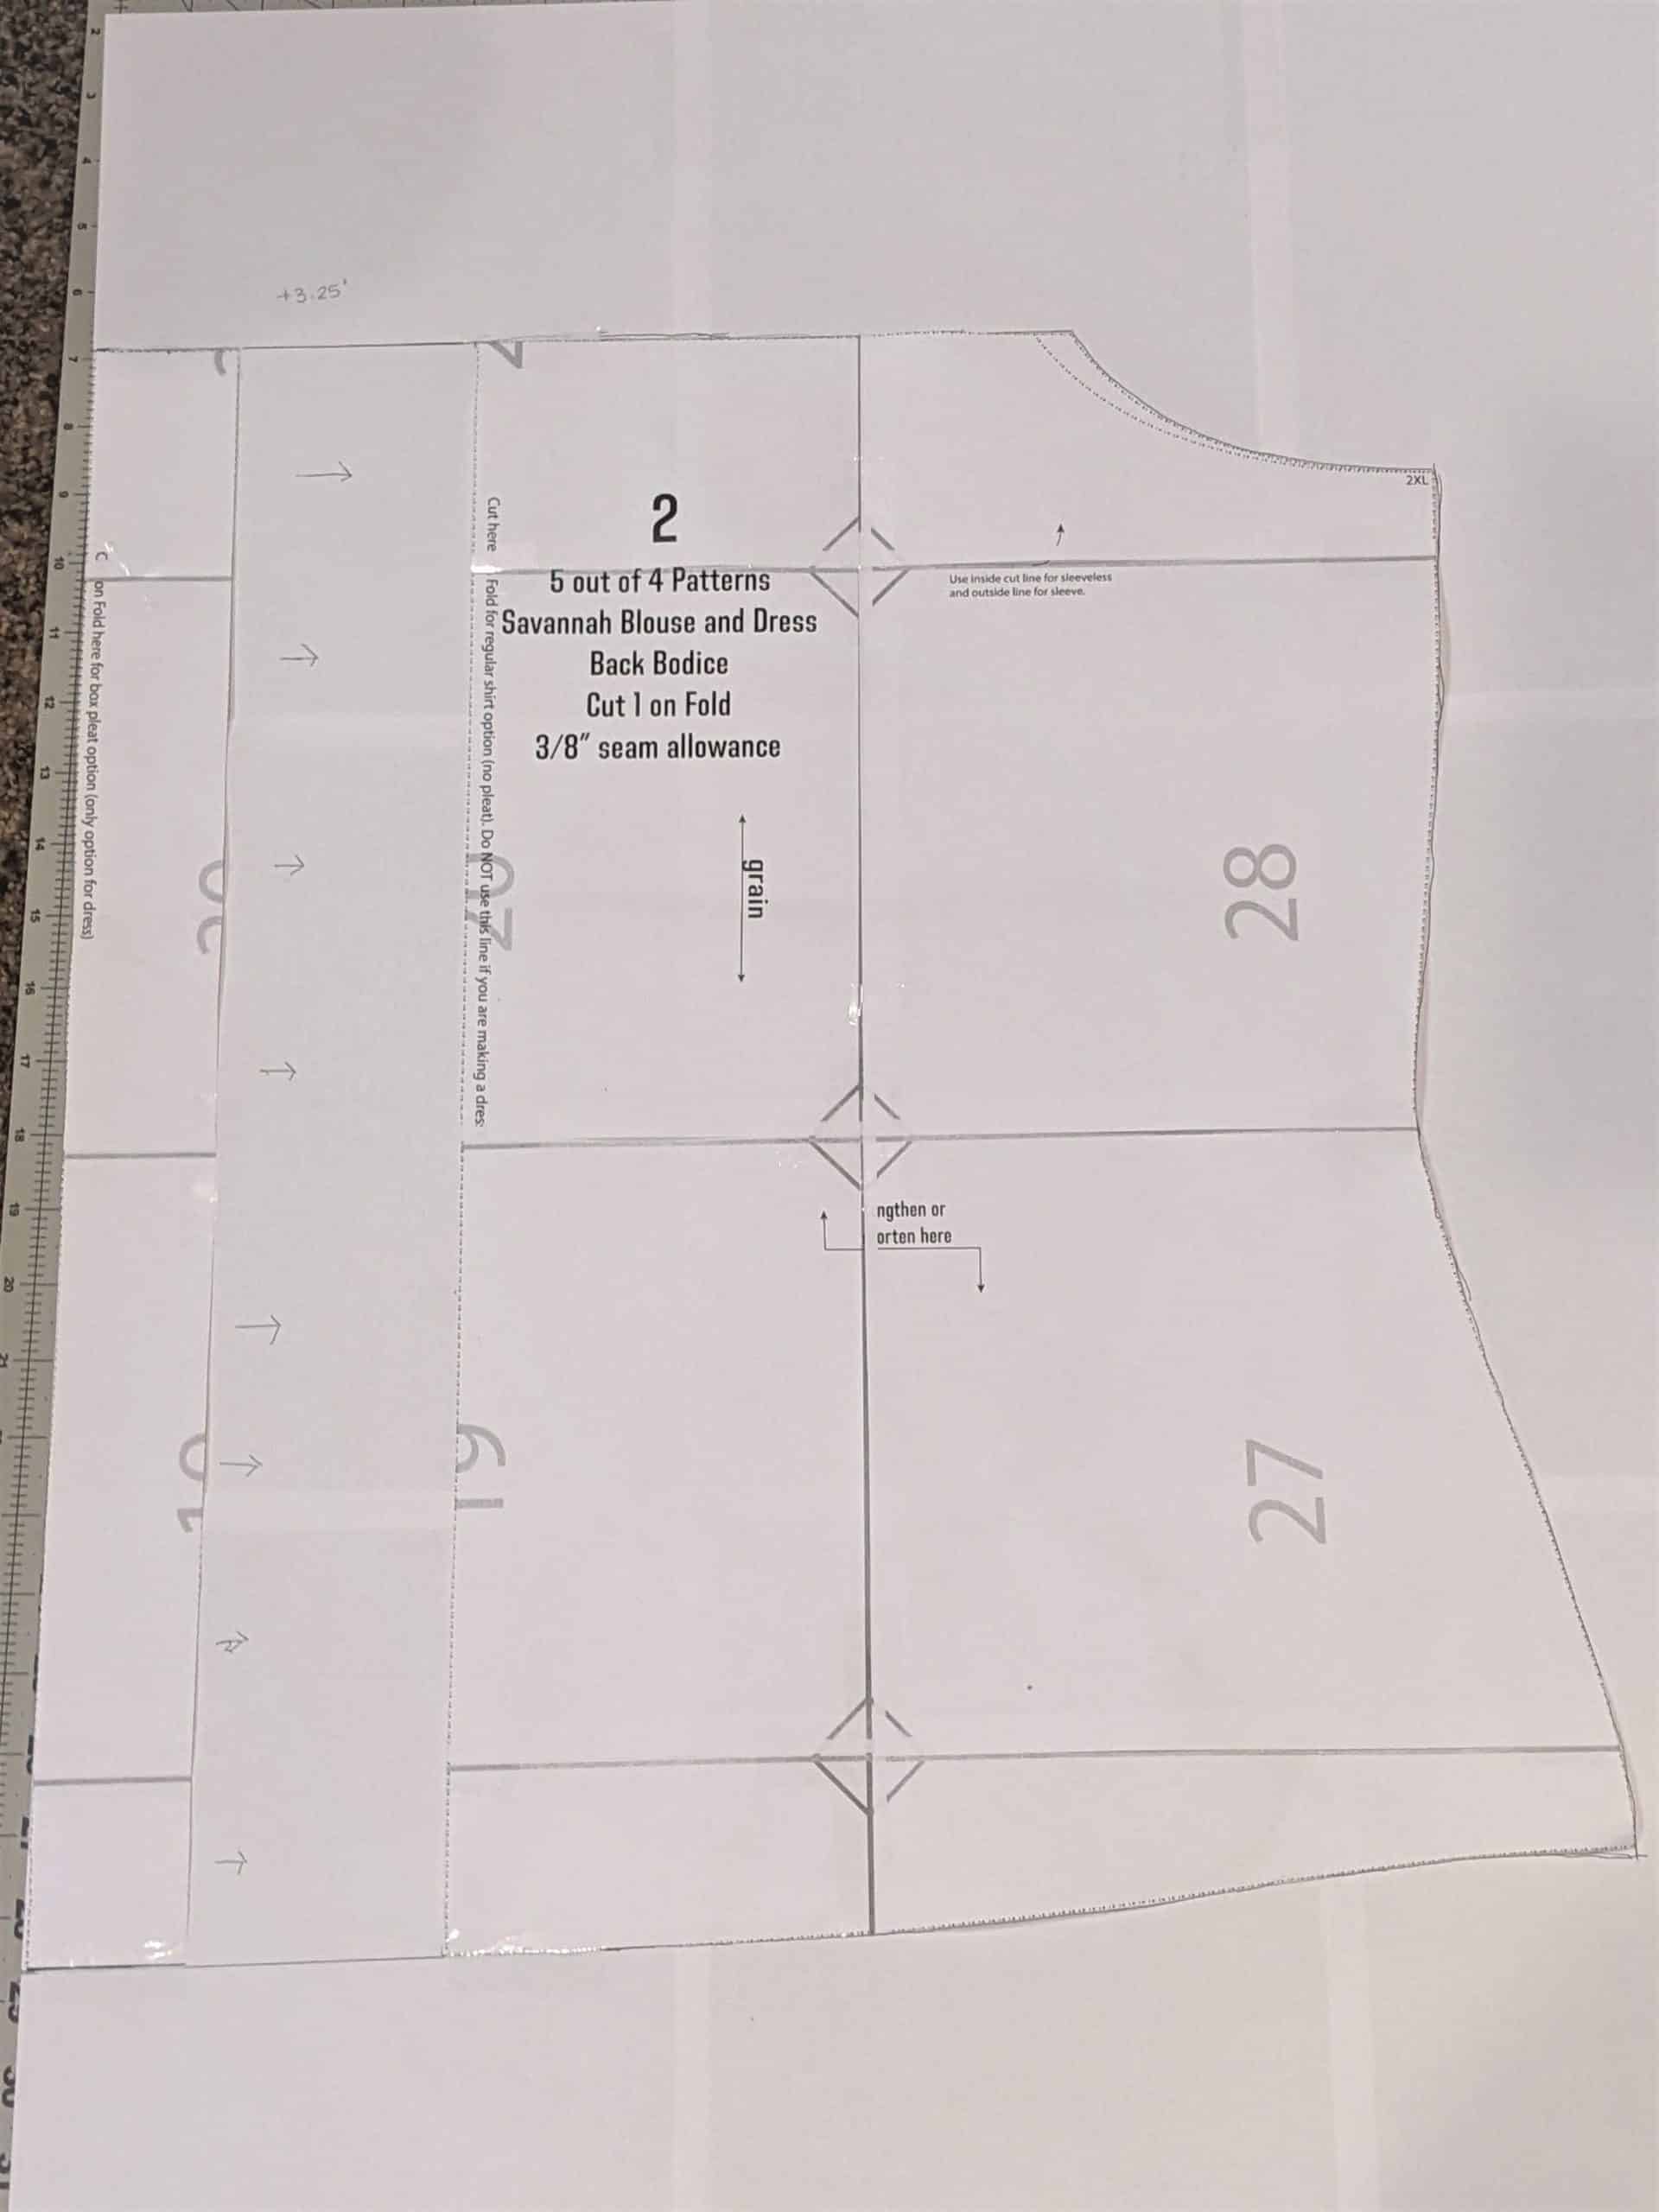
- Take your other back bodice piece that is still fully intact and set it on top of the traced pattern lining up their fold edges.
- Trace along the hemline, hip, and waist of the original pattern piece onto the new piece.
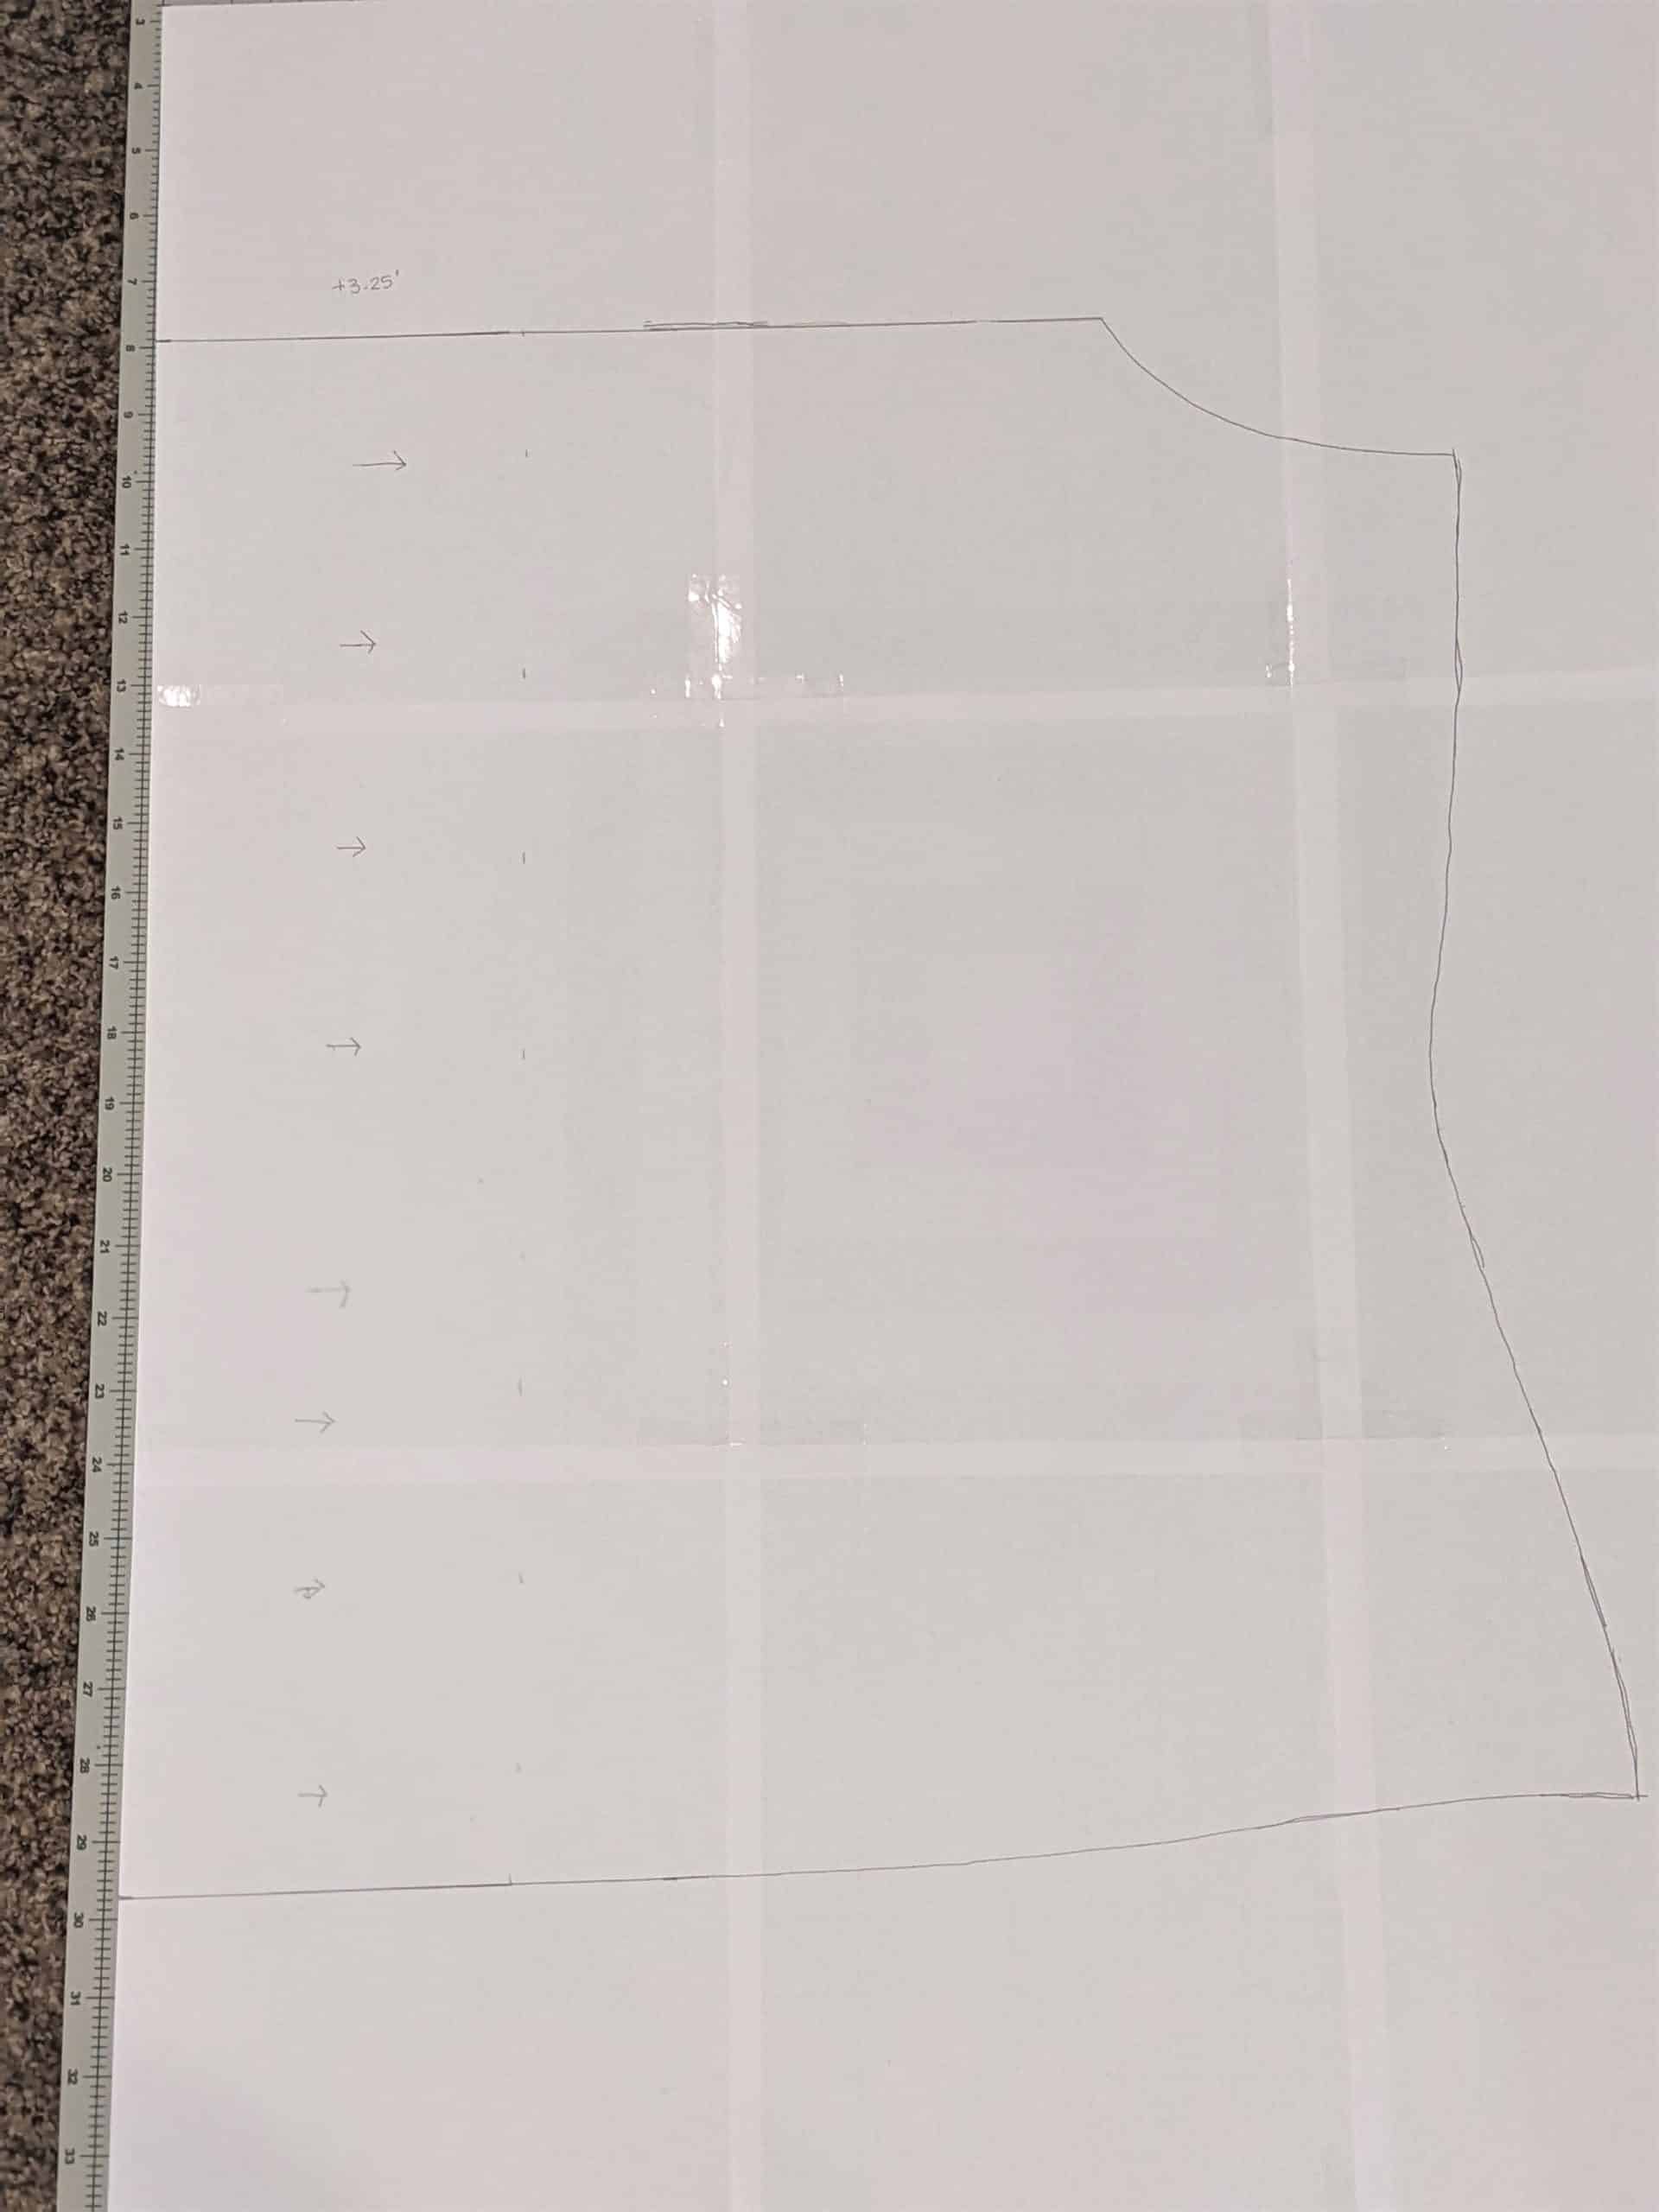
- Draw a gradual line from the waist of the original piece up to the corner of the armscye of the traced pattern to grade the two parts together.
- Cut out the adjusted back bodice pattern.
With such a large grading curve, the side seams of the front and back won’t quite line up, but we will take care of that later. If you are making a sleeveless top, you should wait to cut the biding pieces until you can measure the openings to see if you need to adjust their width.
Cut and Sew
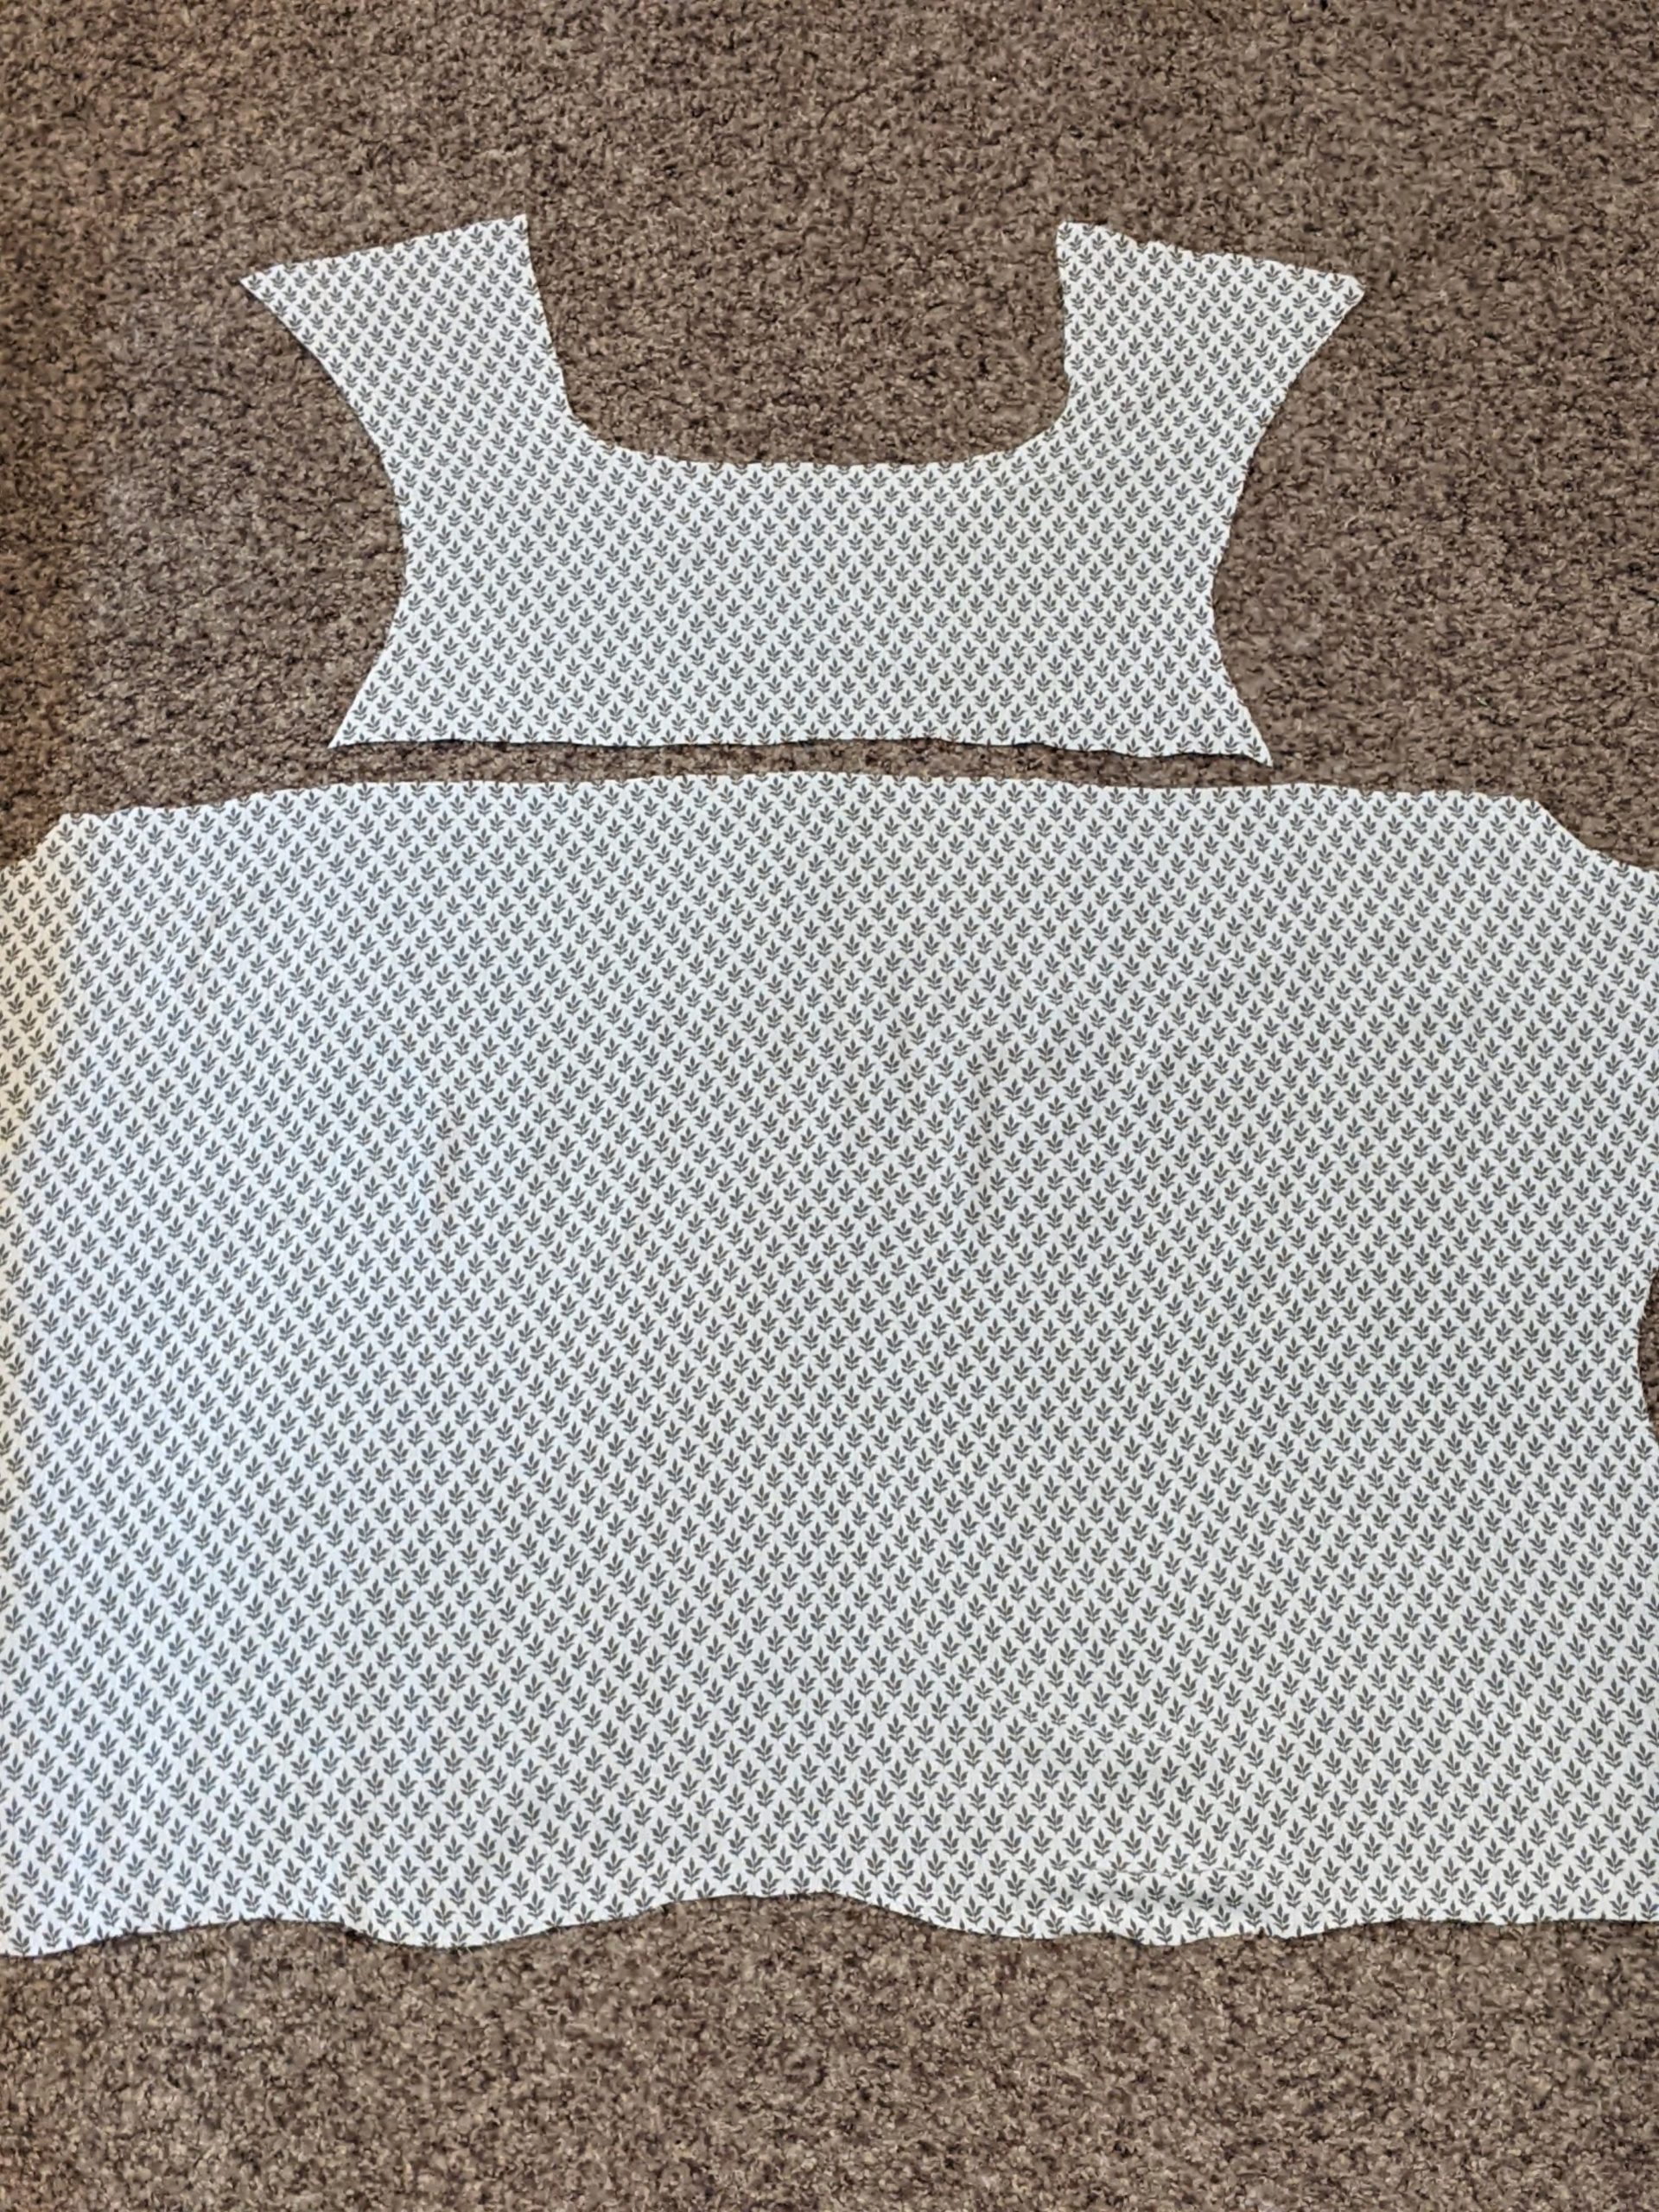
- Use your new adjusted back bodice piece along with all of your other chosen options to cut out all of your fabric pieces.
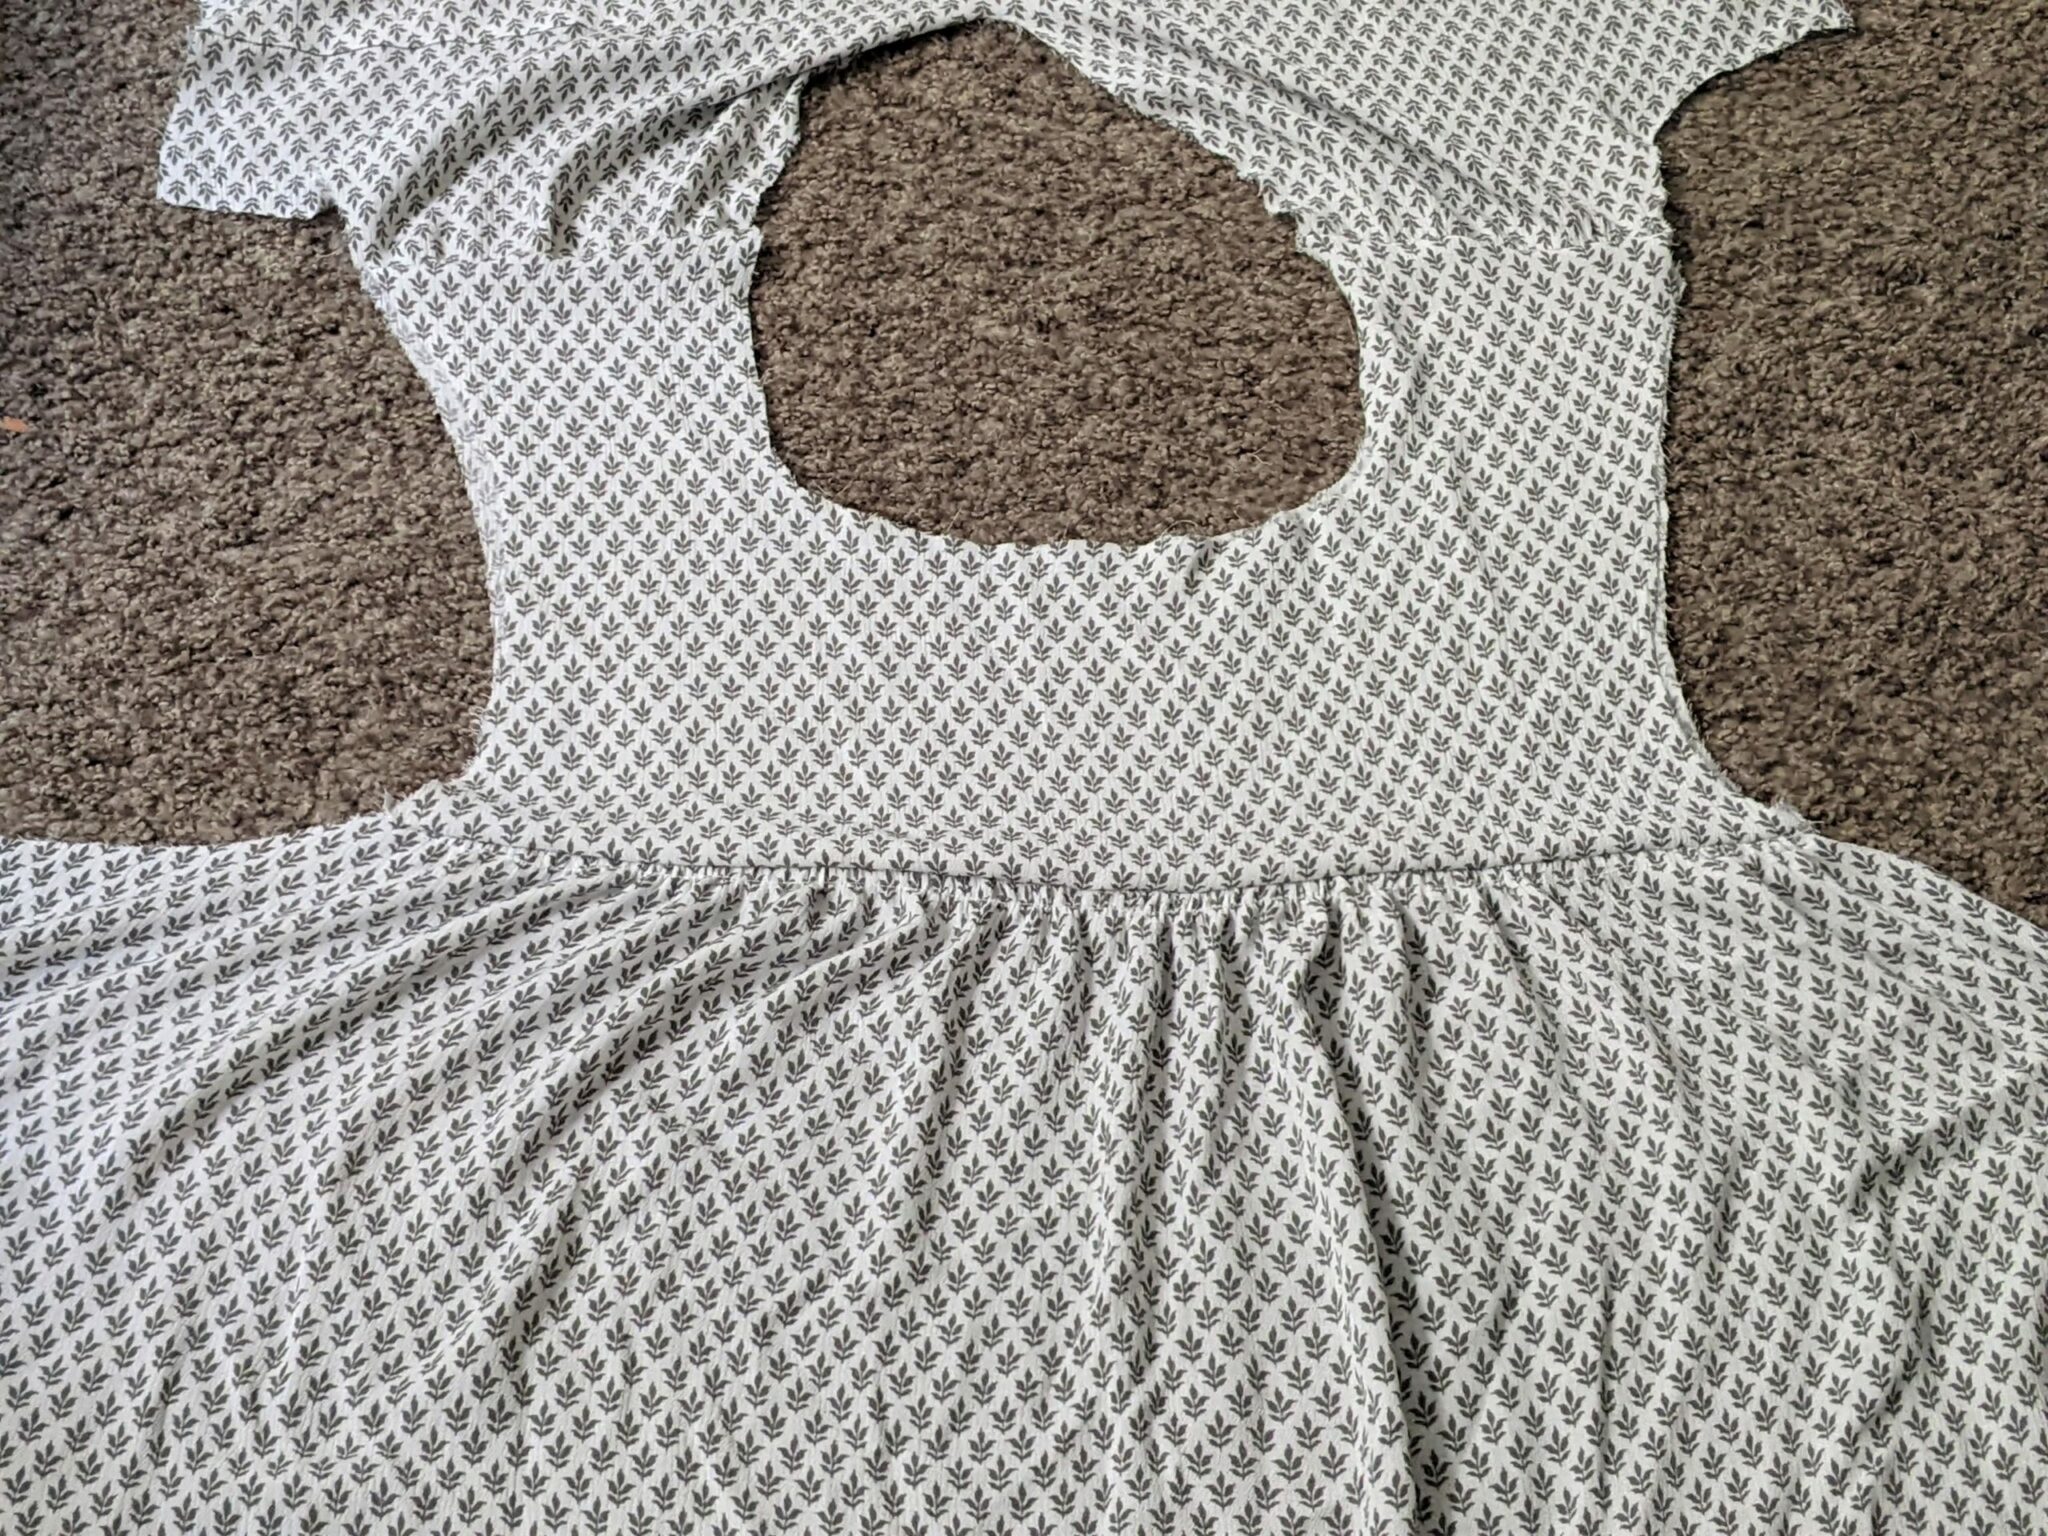
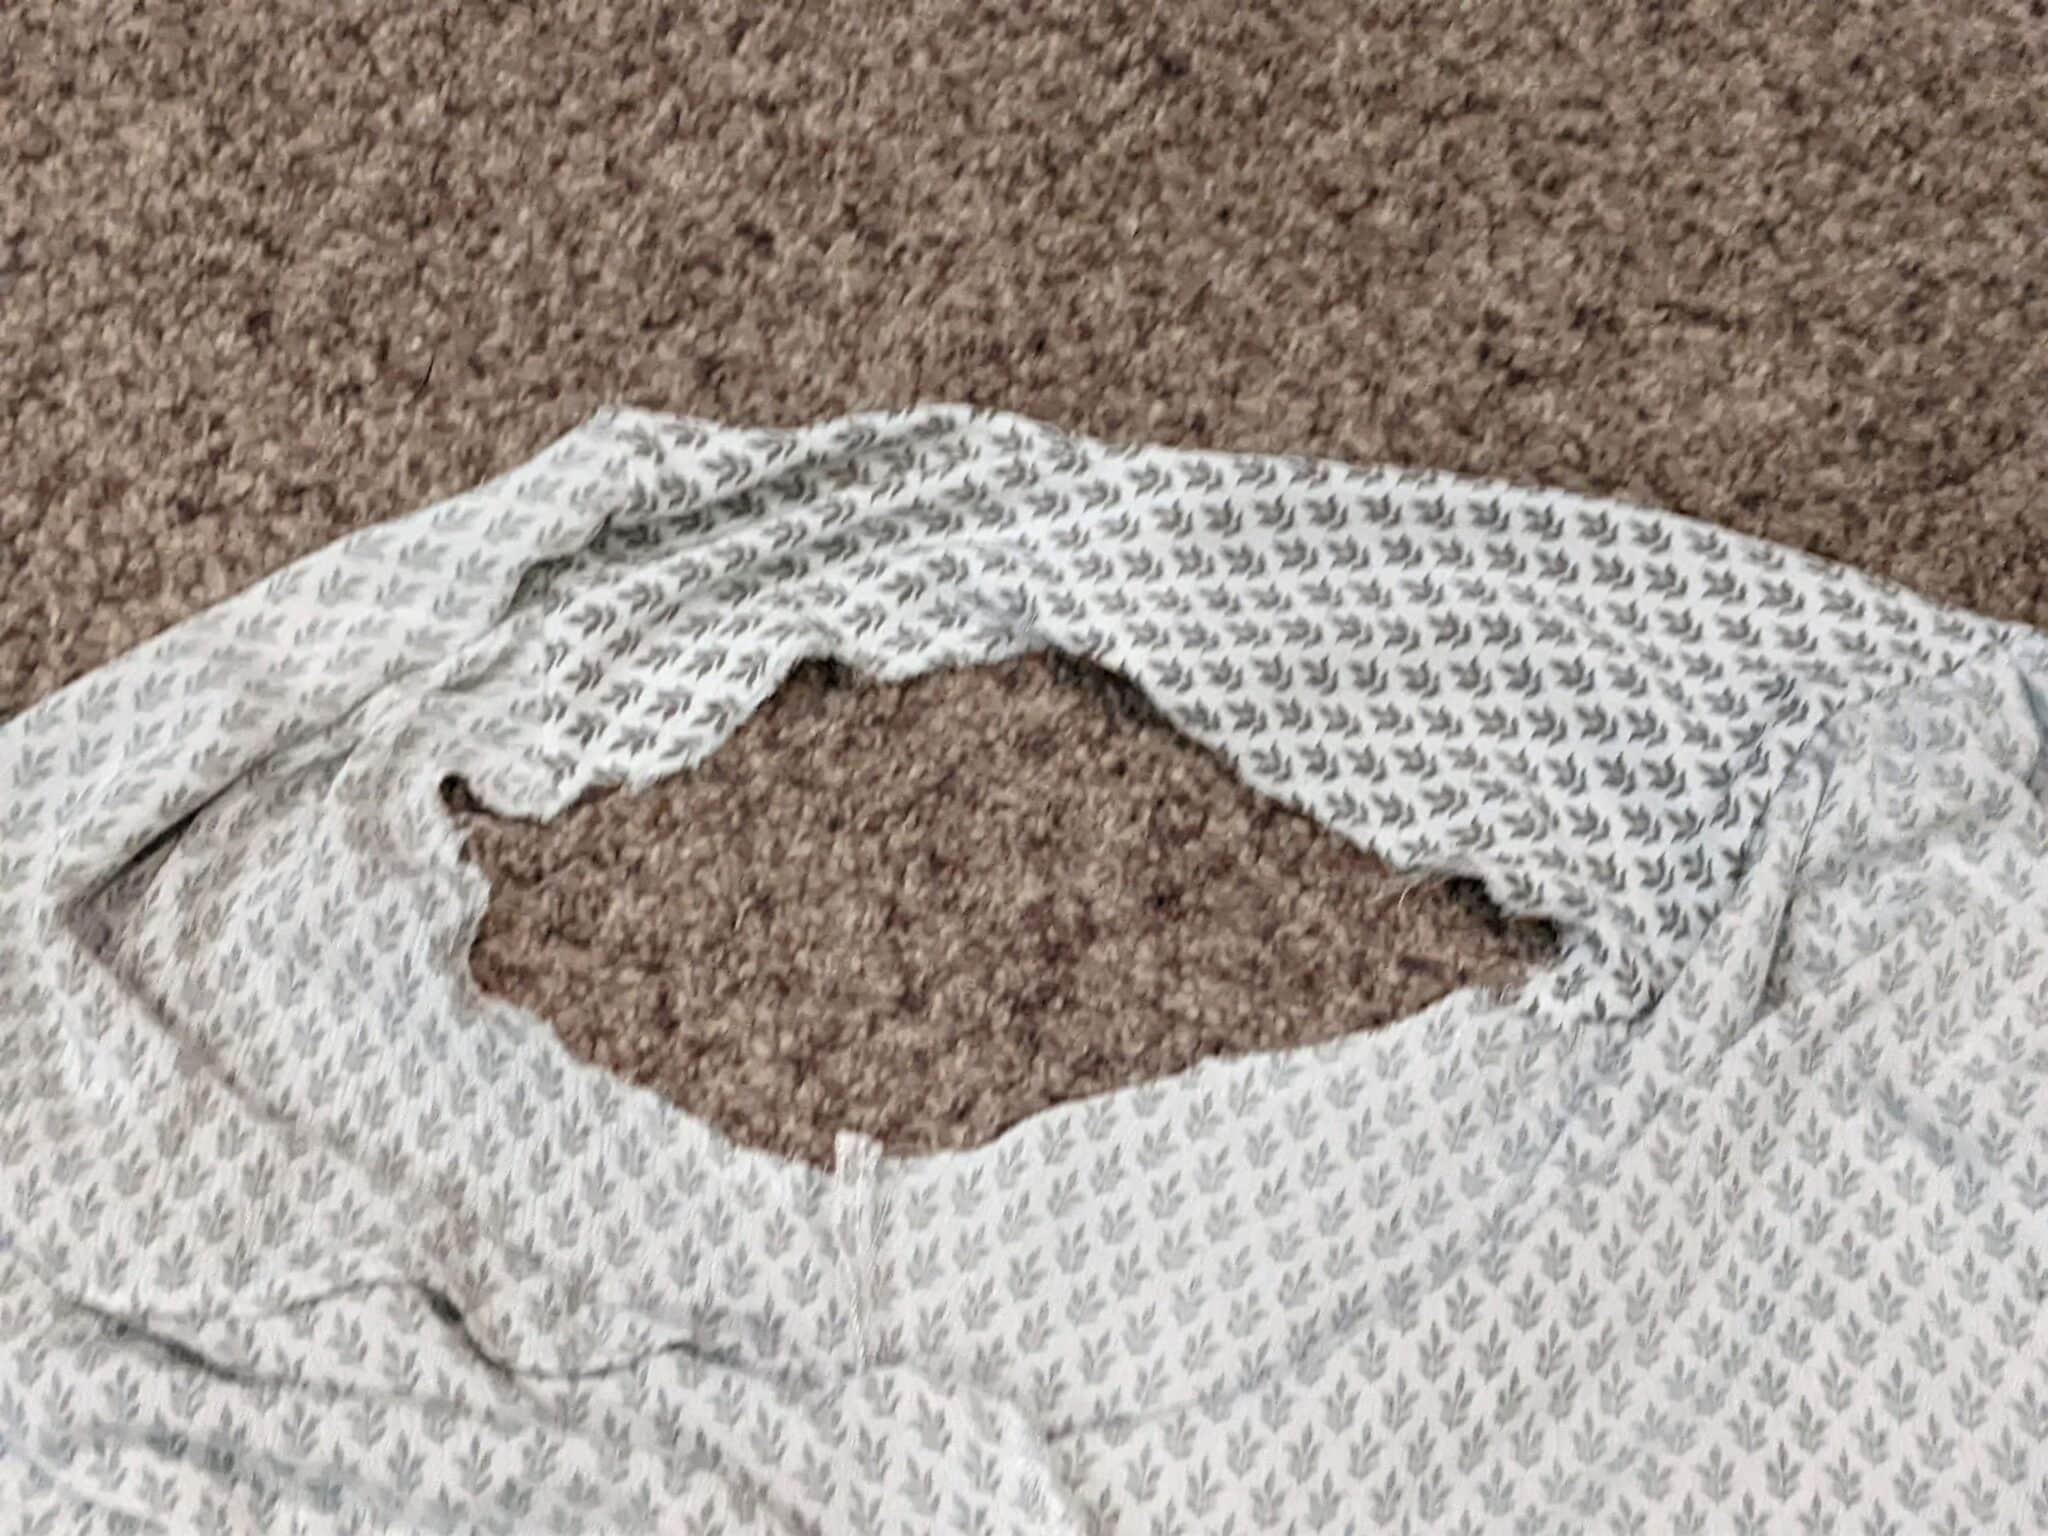
- Your back bodice should look much wider than the back yoke.
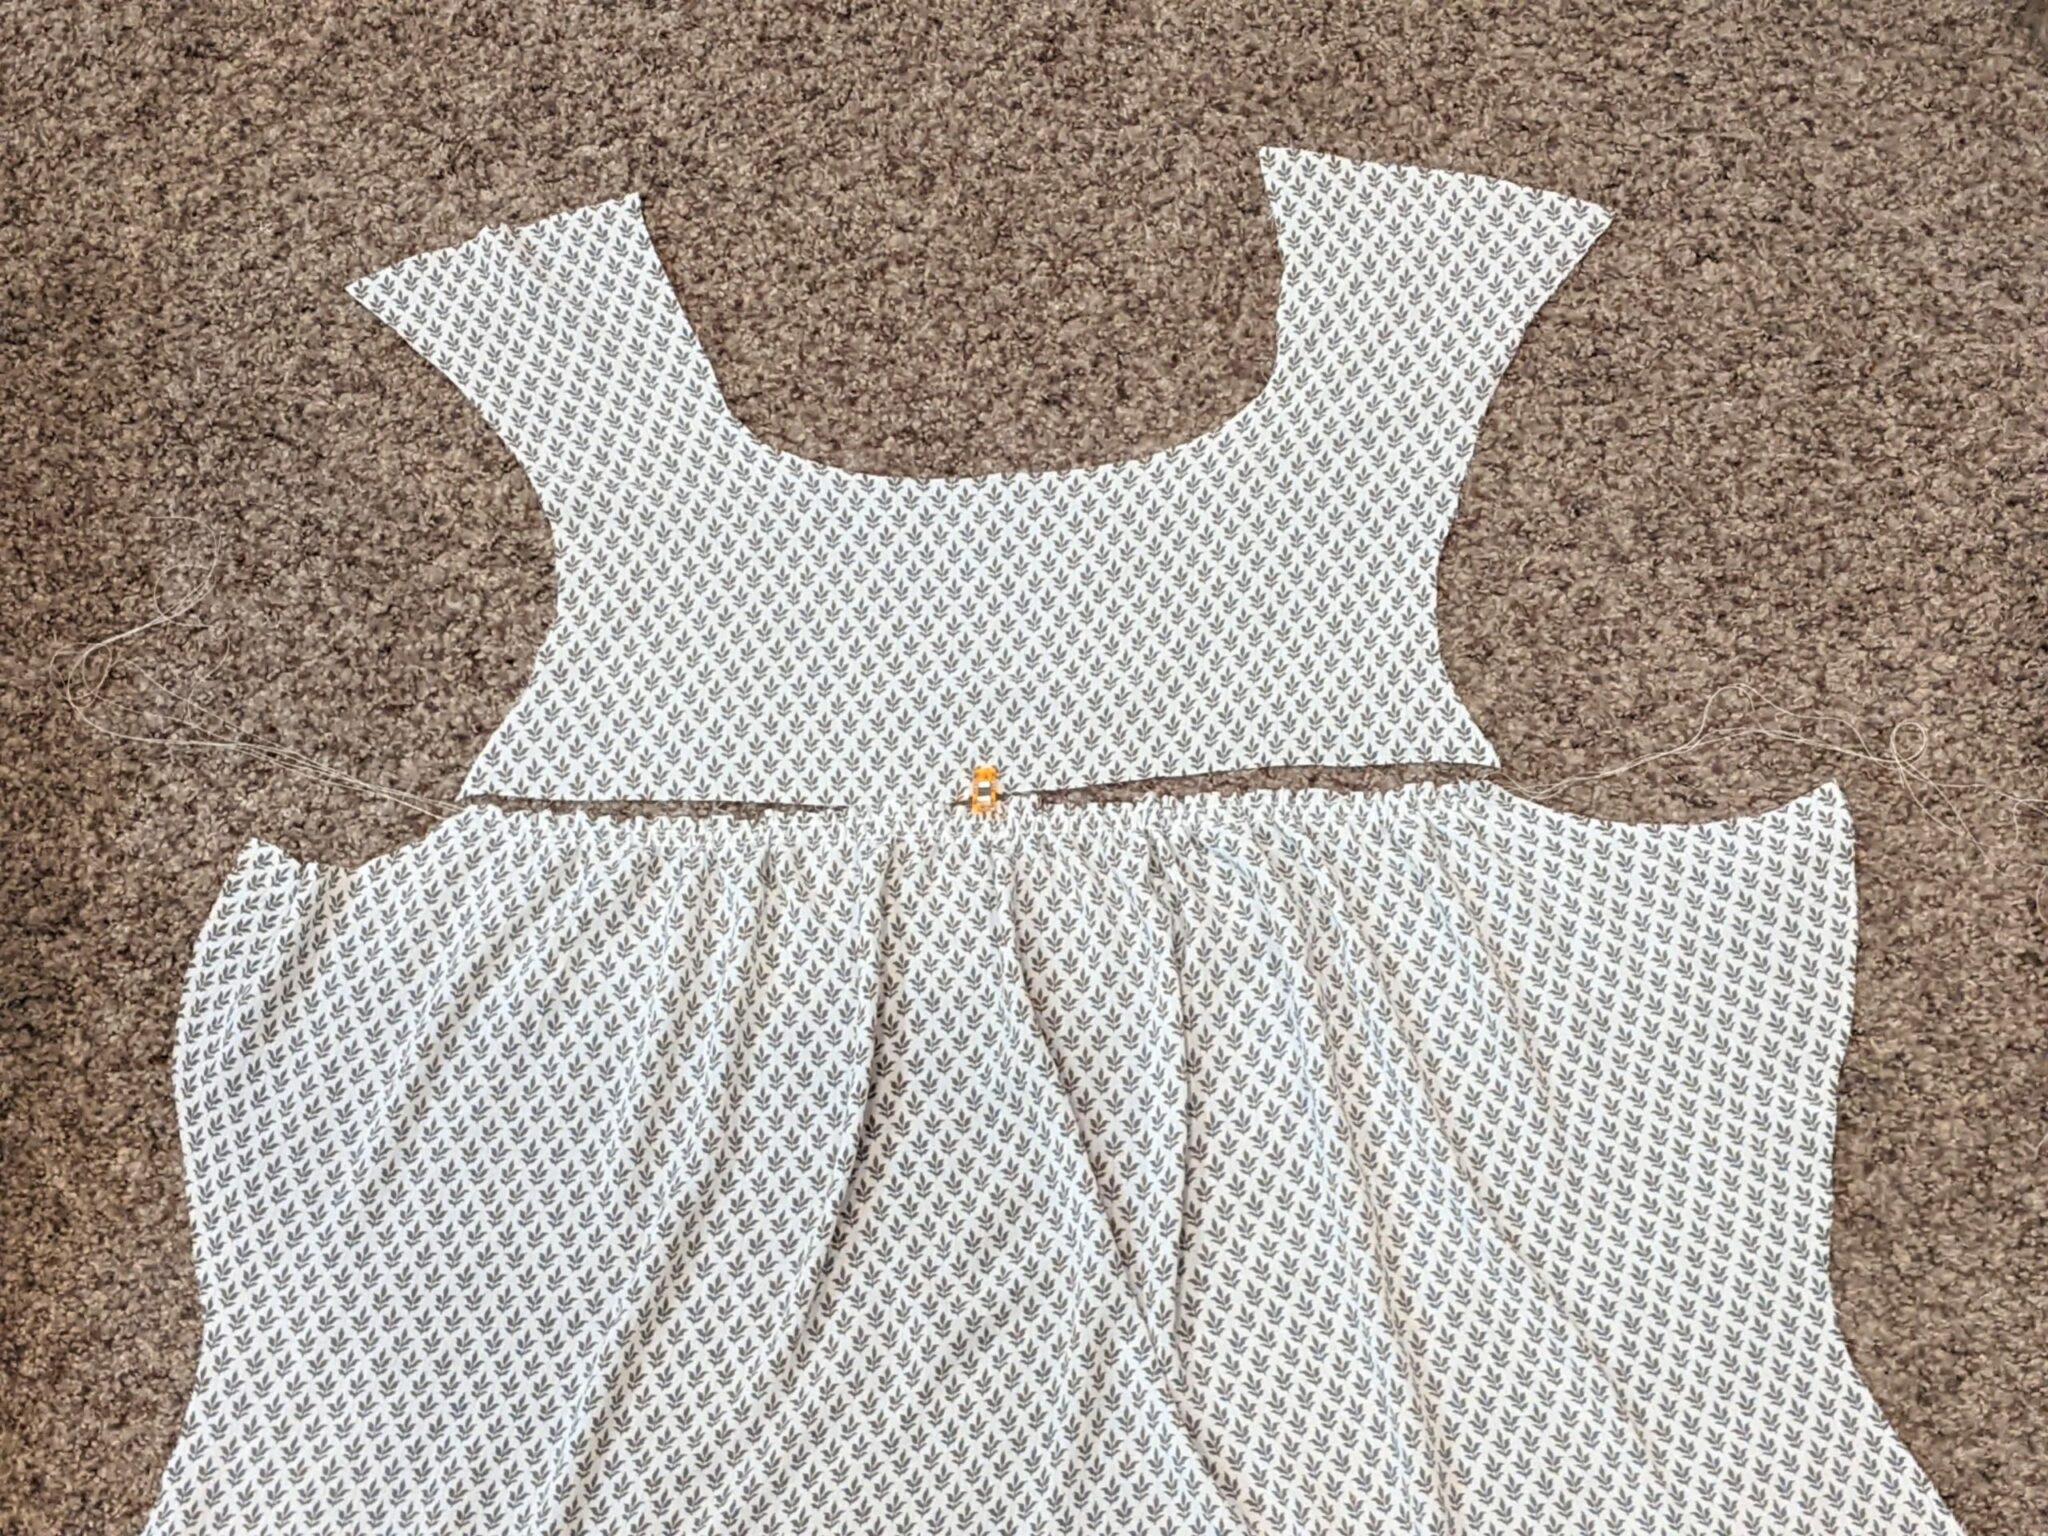
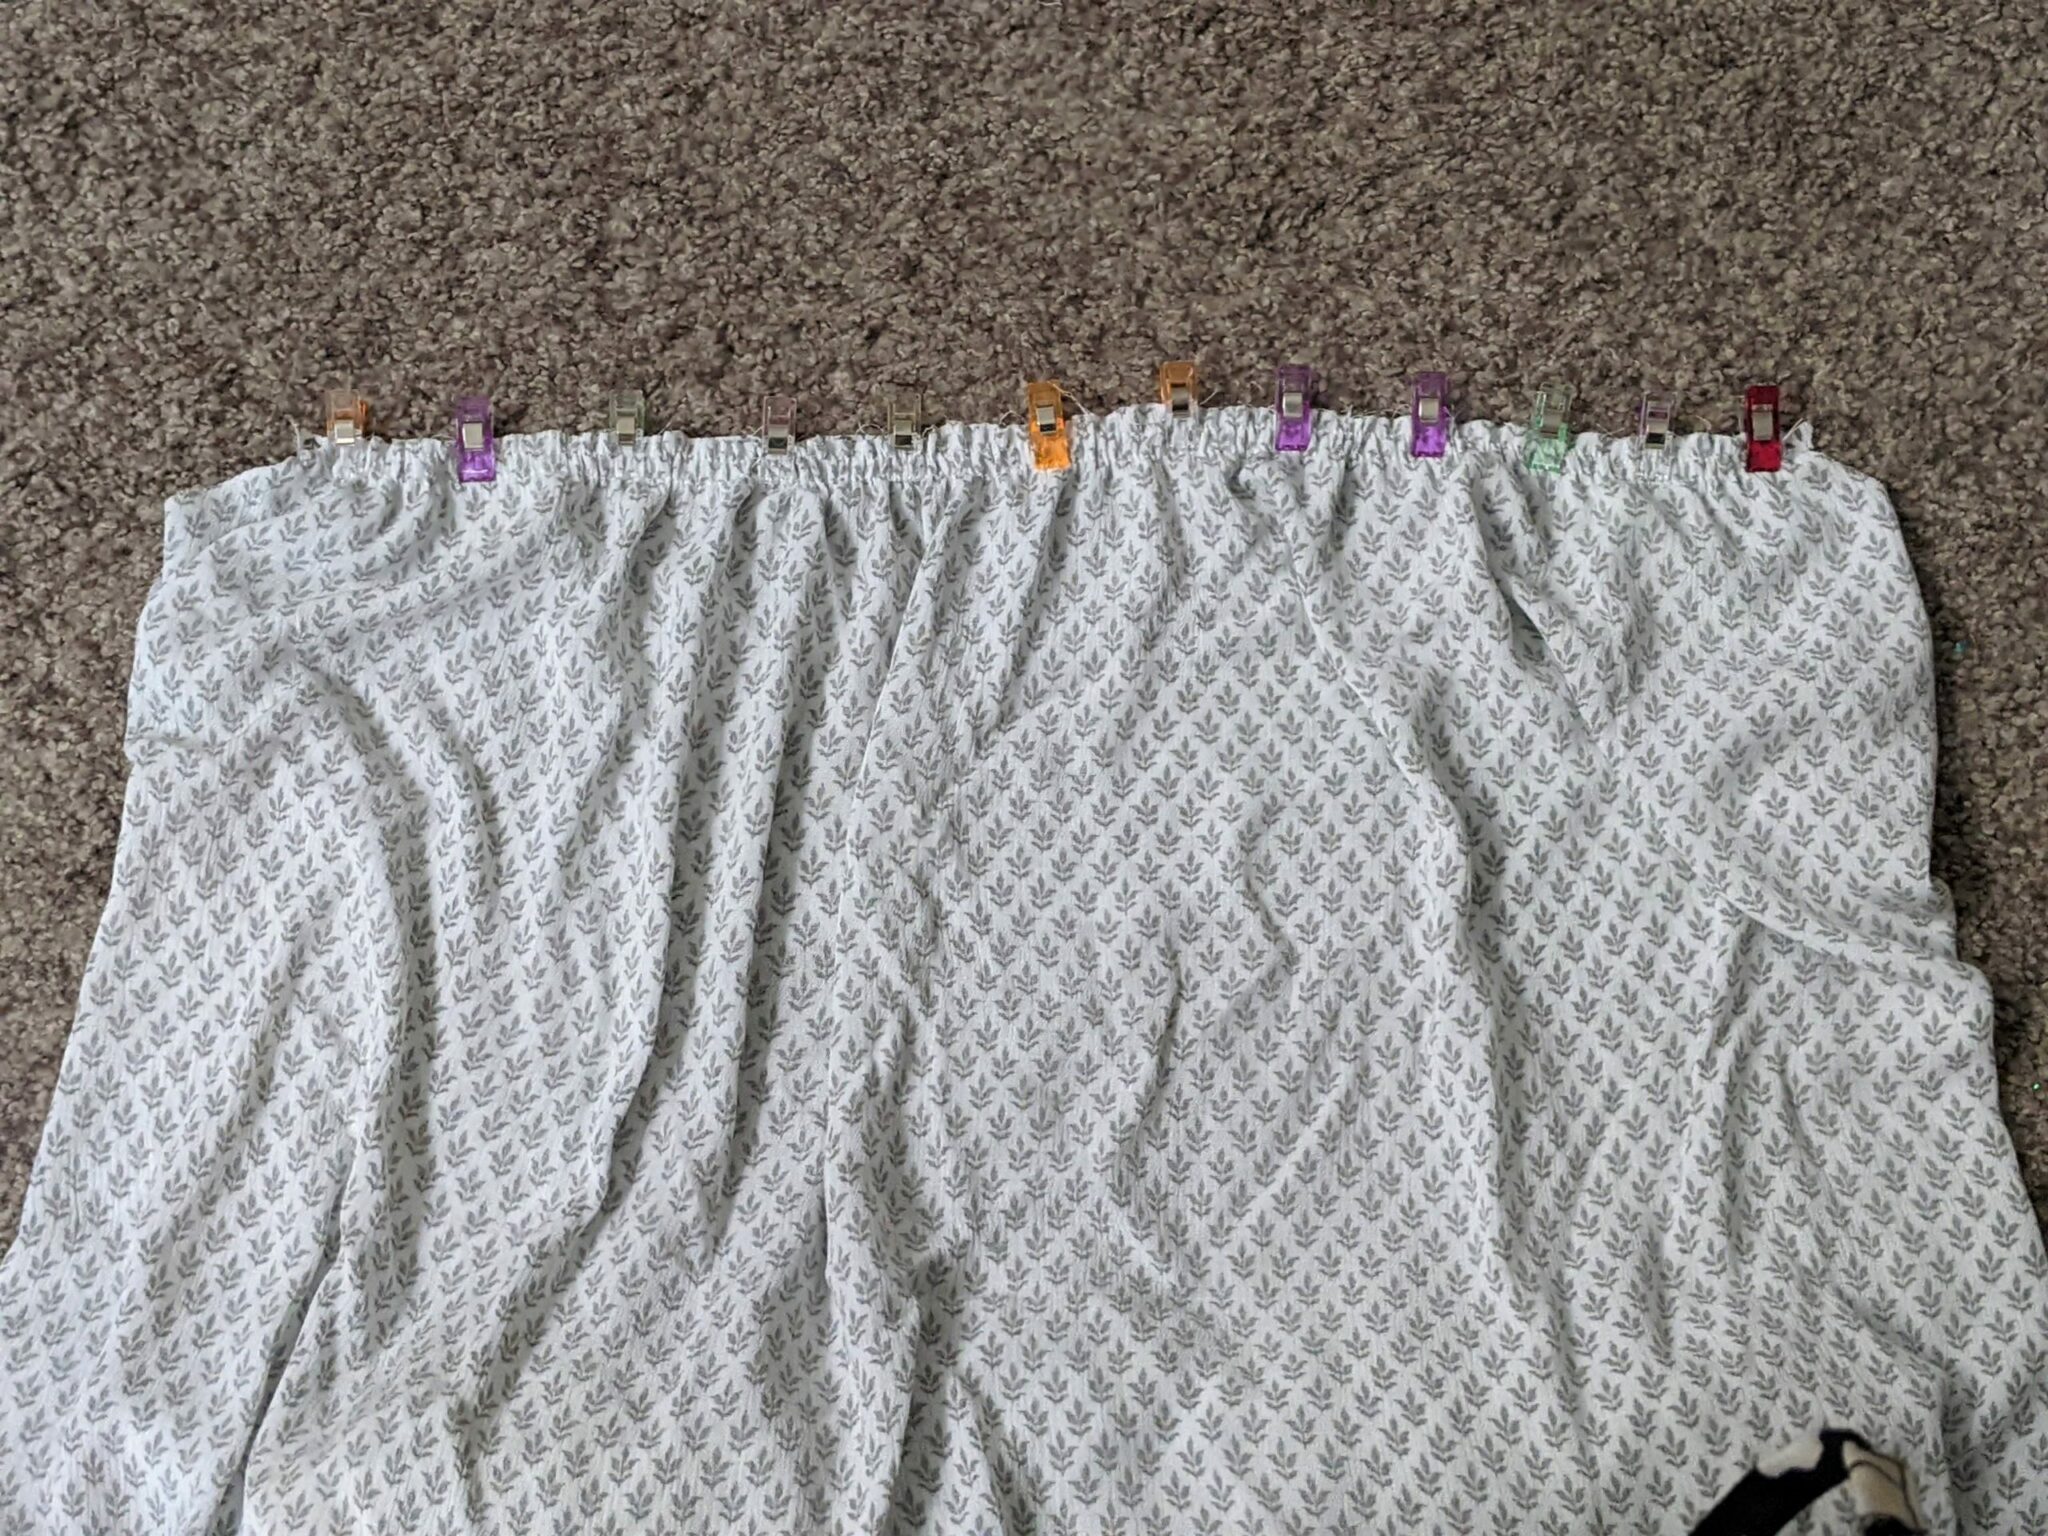
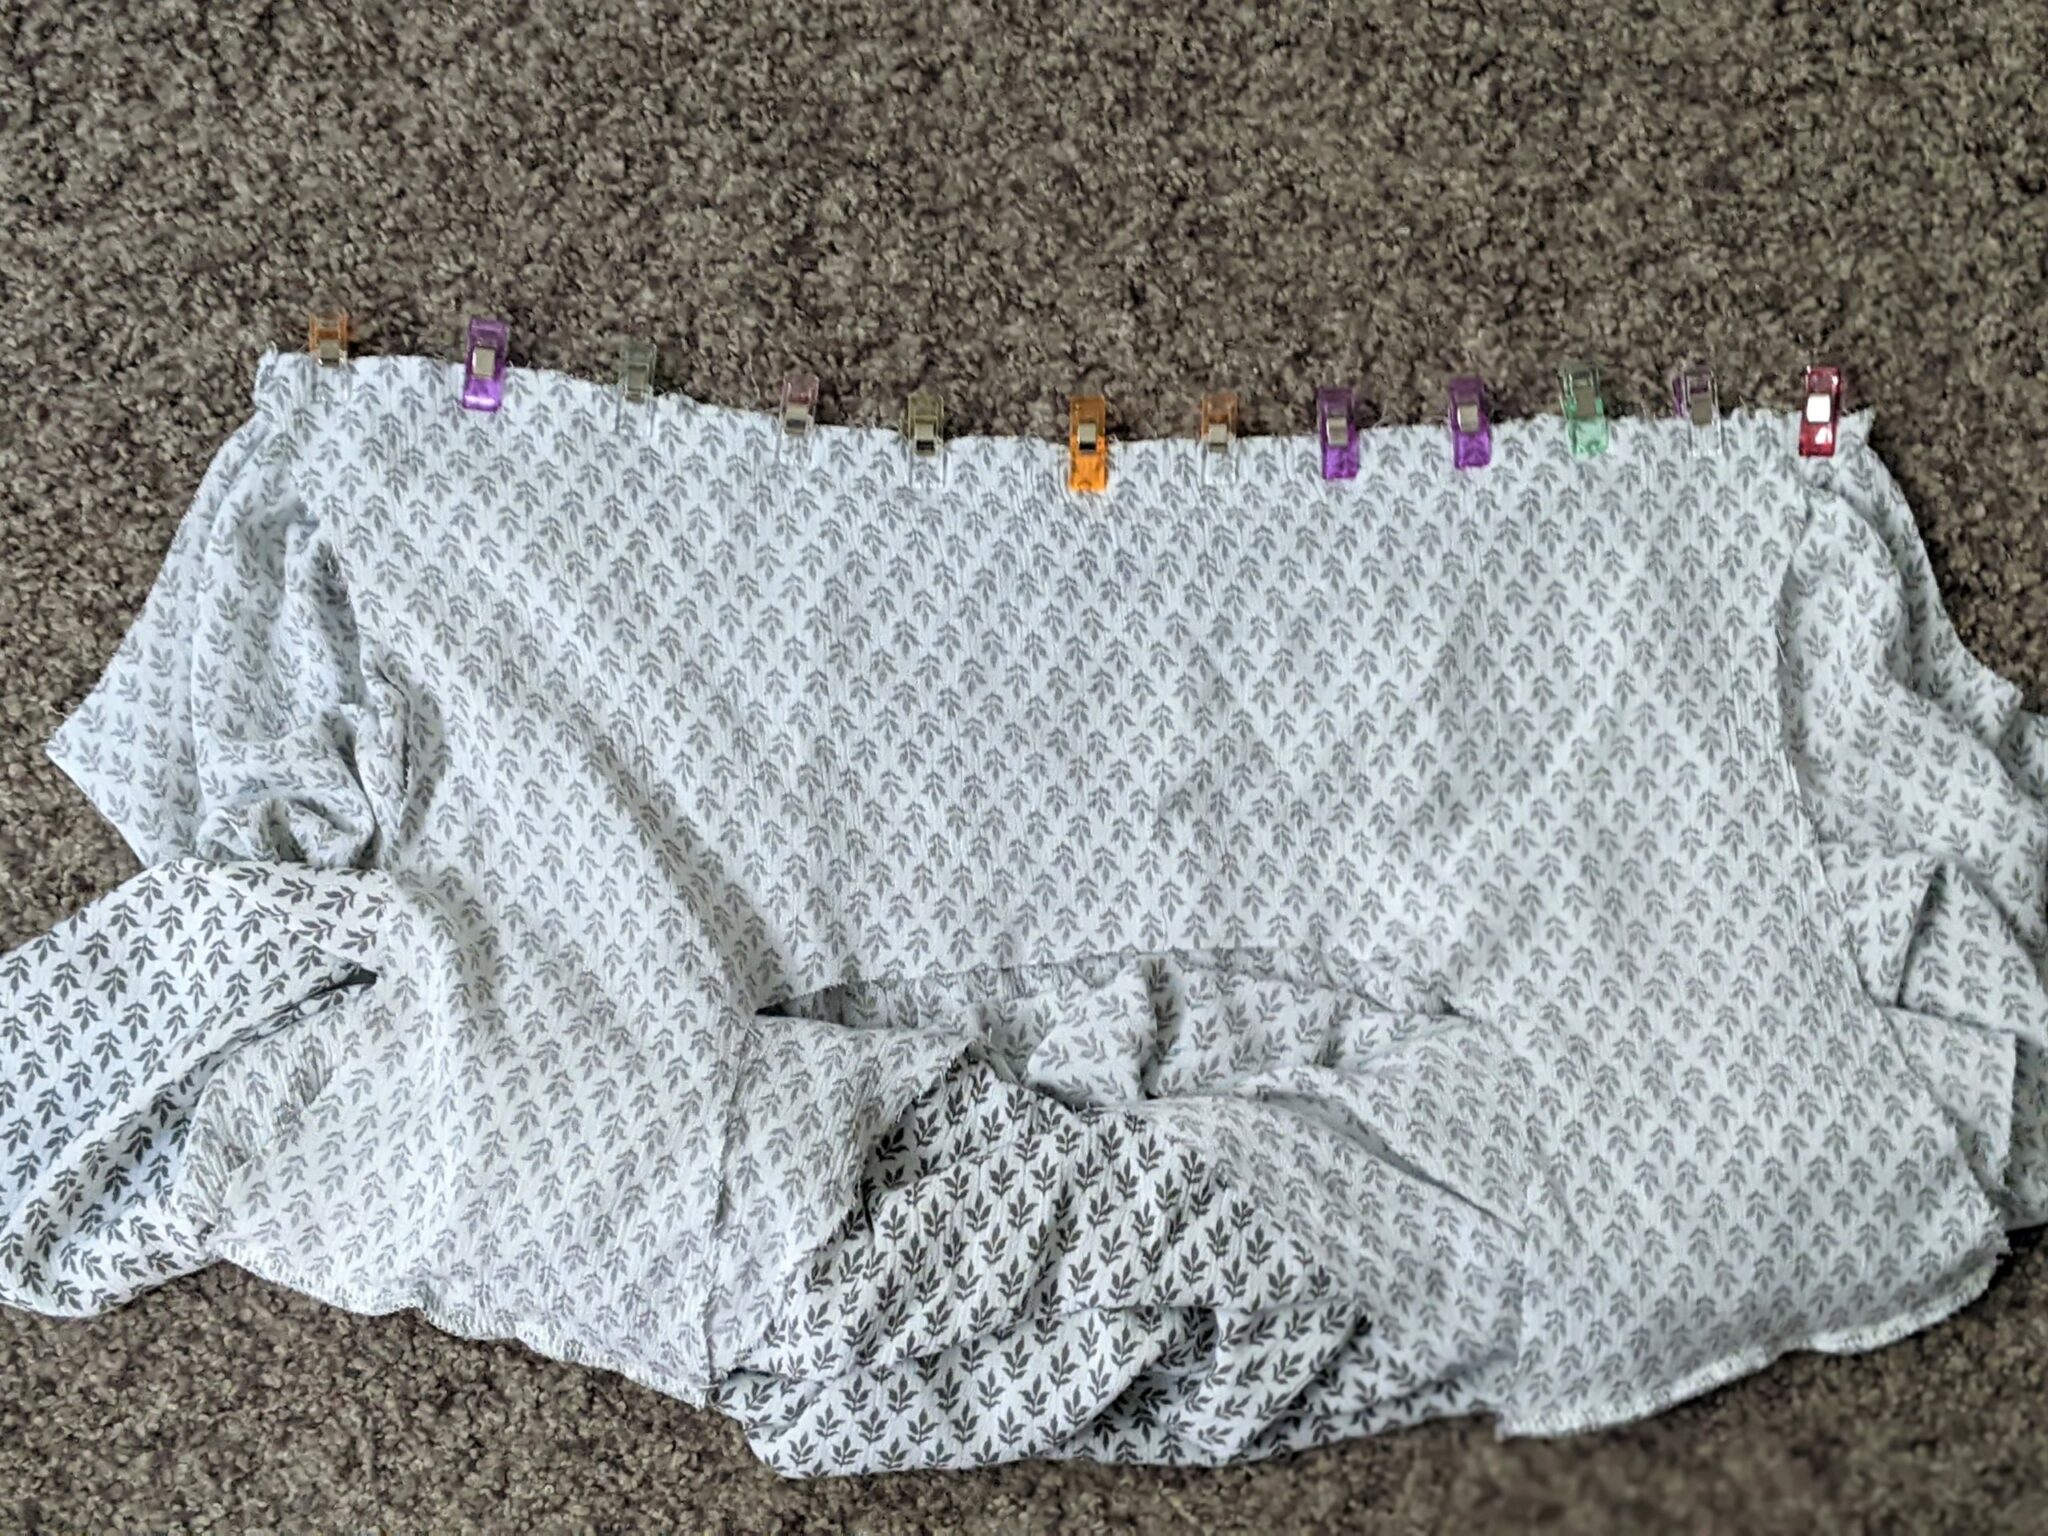
- Run two gathering stitches along the top edge of the back bodice.
- Pull the bobbin threads until the top edge of the back bodice is the same width as the bottom edge of the yoke pieces.
- Tie off the threads to secure the gathers.
- Follow the tutorial to sew the shoulder seams.
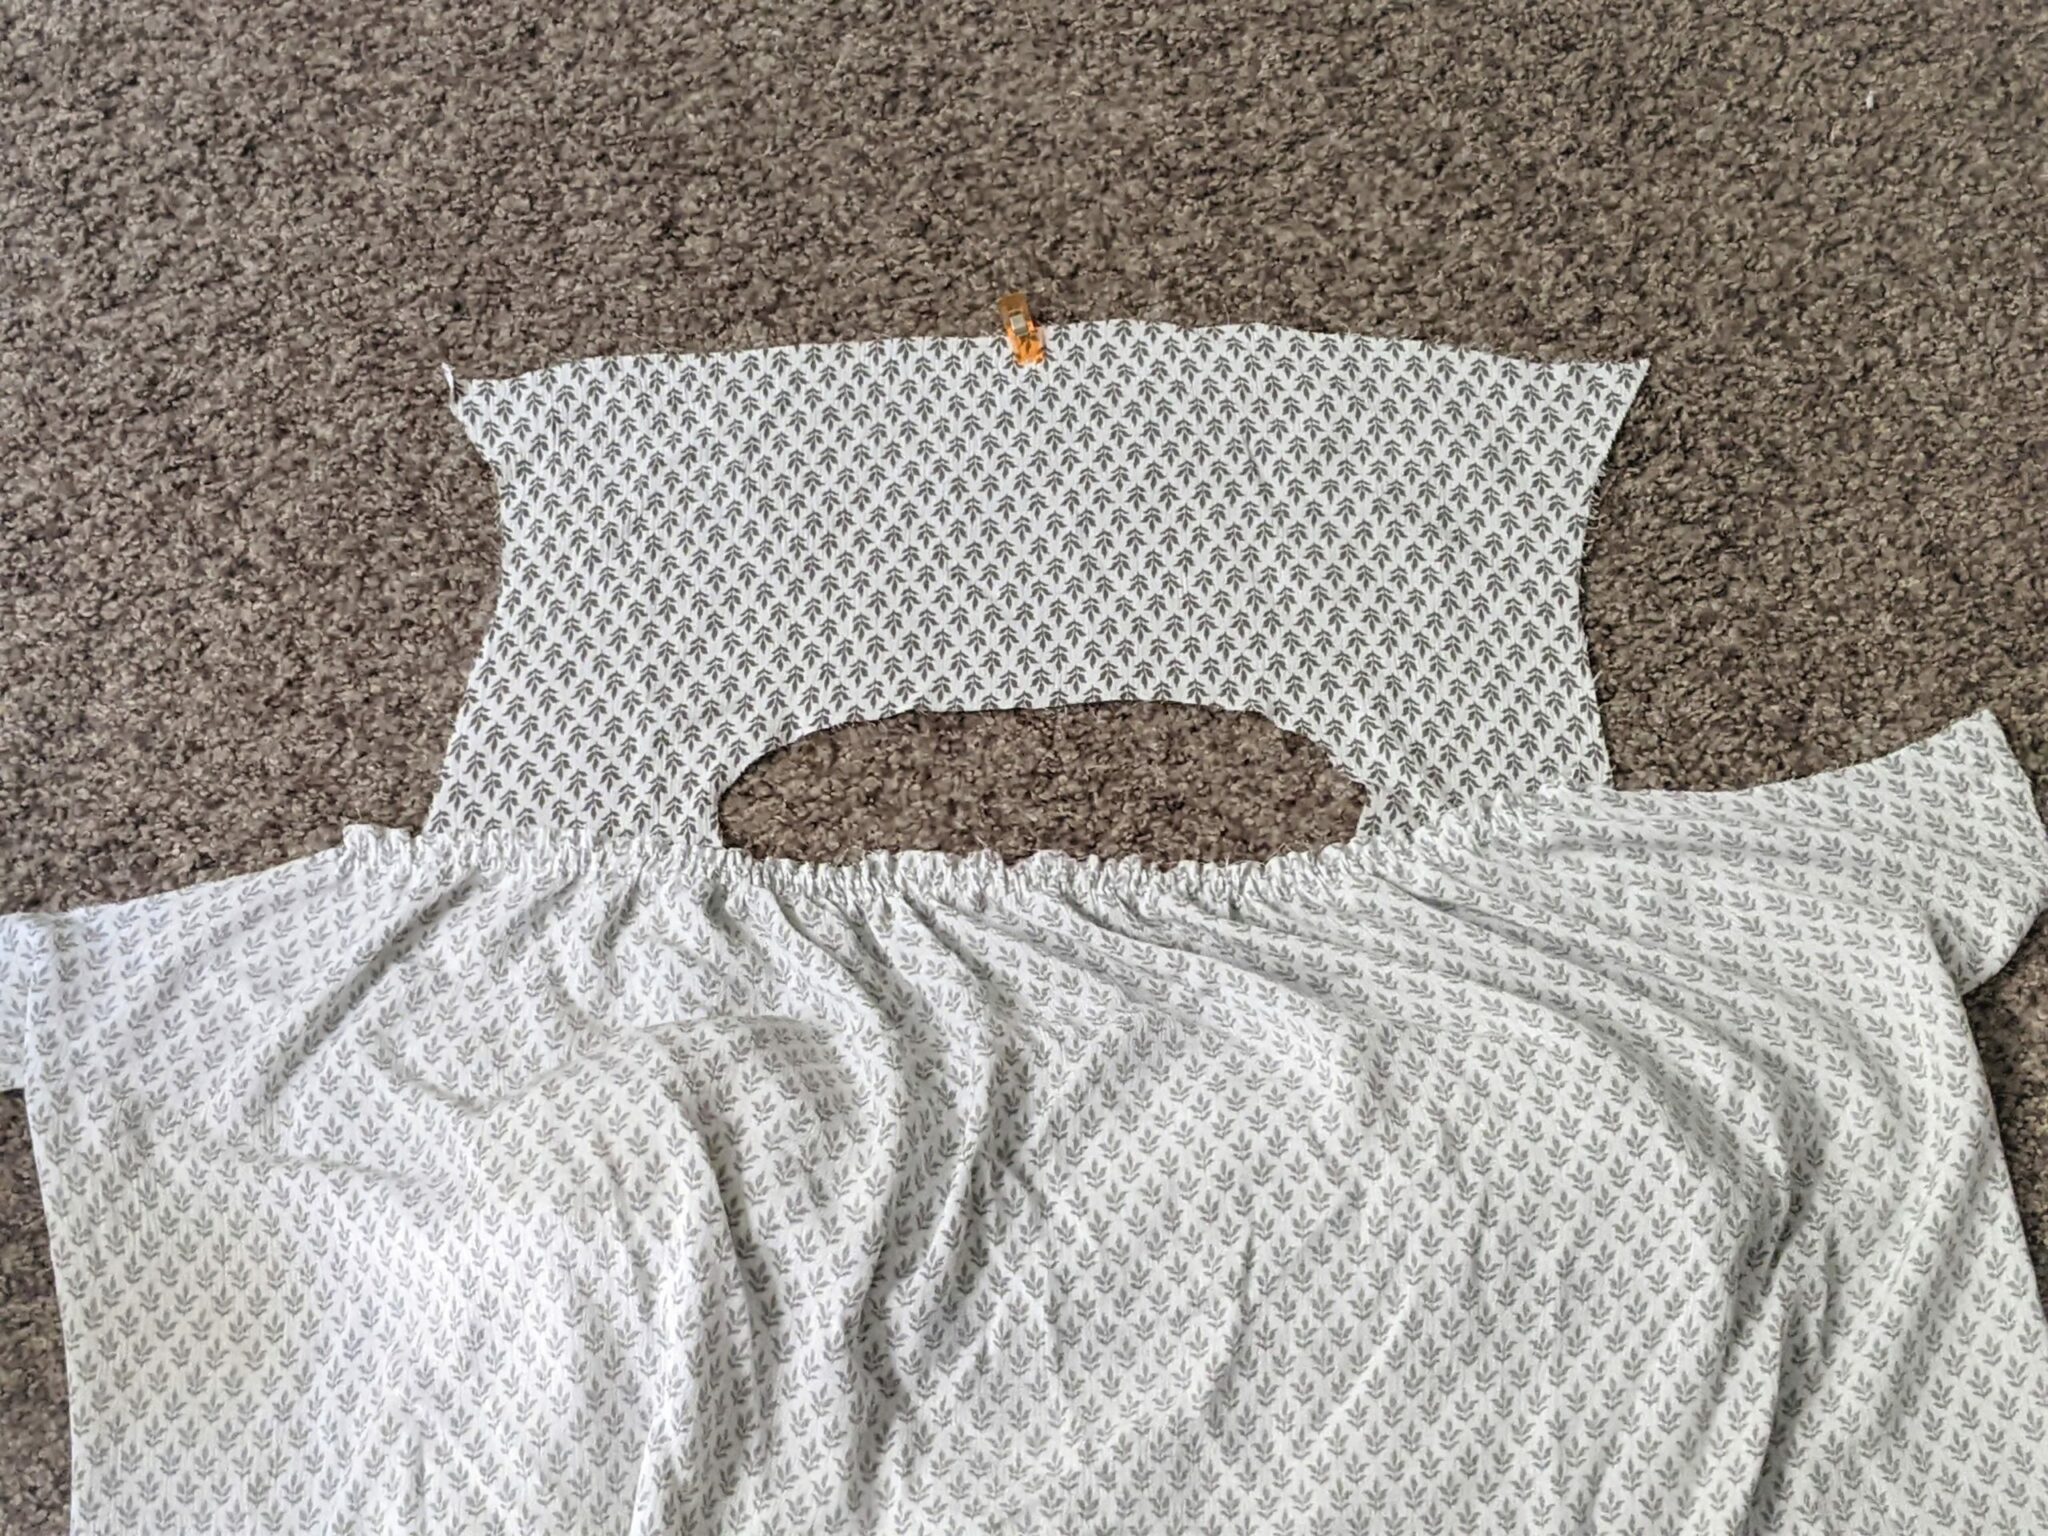
- Just as in the tutorial, lay one yoke piece right side up then the back bodice right side down on top of it lining up the gathered edge of the bodice with the bottom edge of the yoke and pin in place.
- Continue along with the tutorial to attach both sides of the yoke to the back bodice.
- Continue to follow the steps outlined in the tutorial until you come to sewing the side seams.
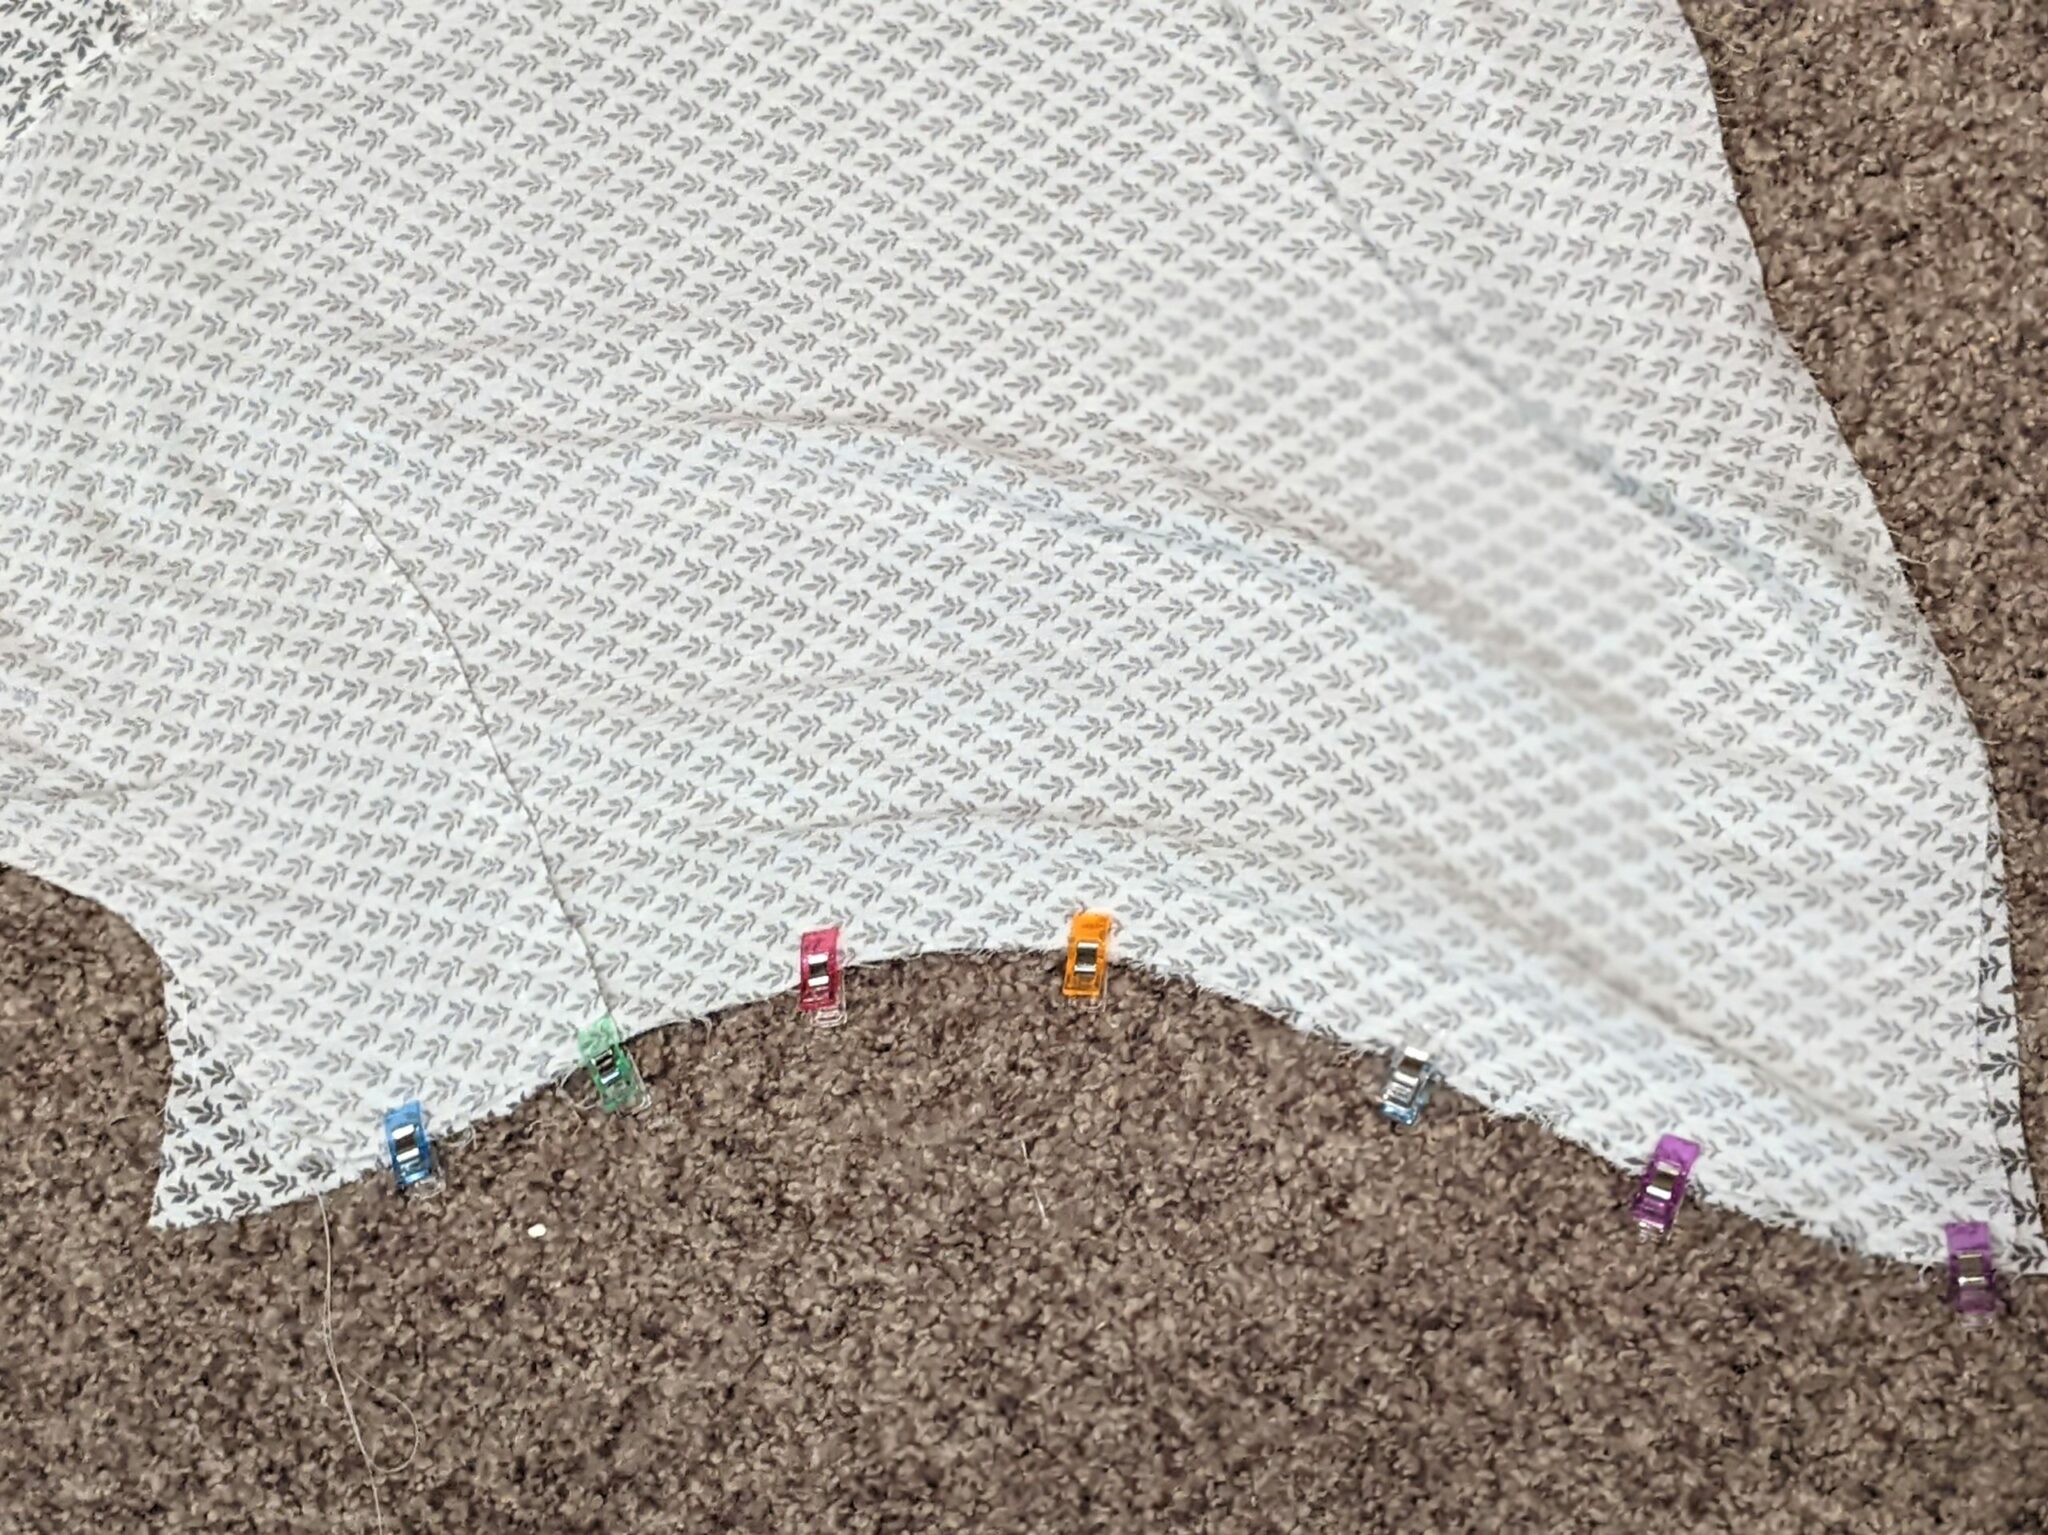
- When you get to the side seams of the front and back bodices, line up the waist curves first and pin them together.
- Work your way down the sides in both directions pinning as you go. The bottom edges should mostly line up, and the top point of the armscye will be sticking out.
- Sew your side seams.
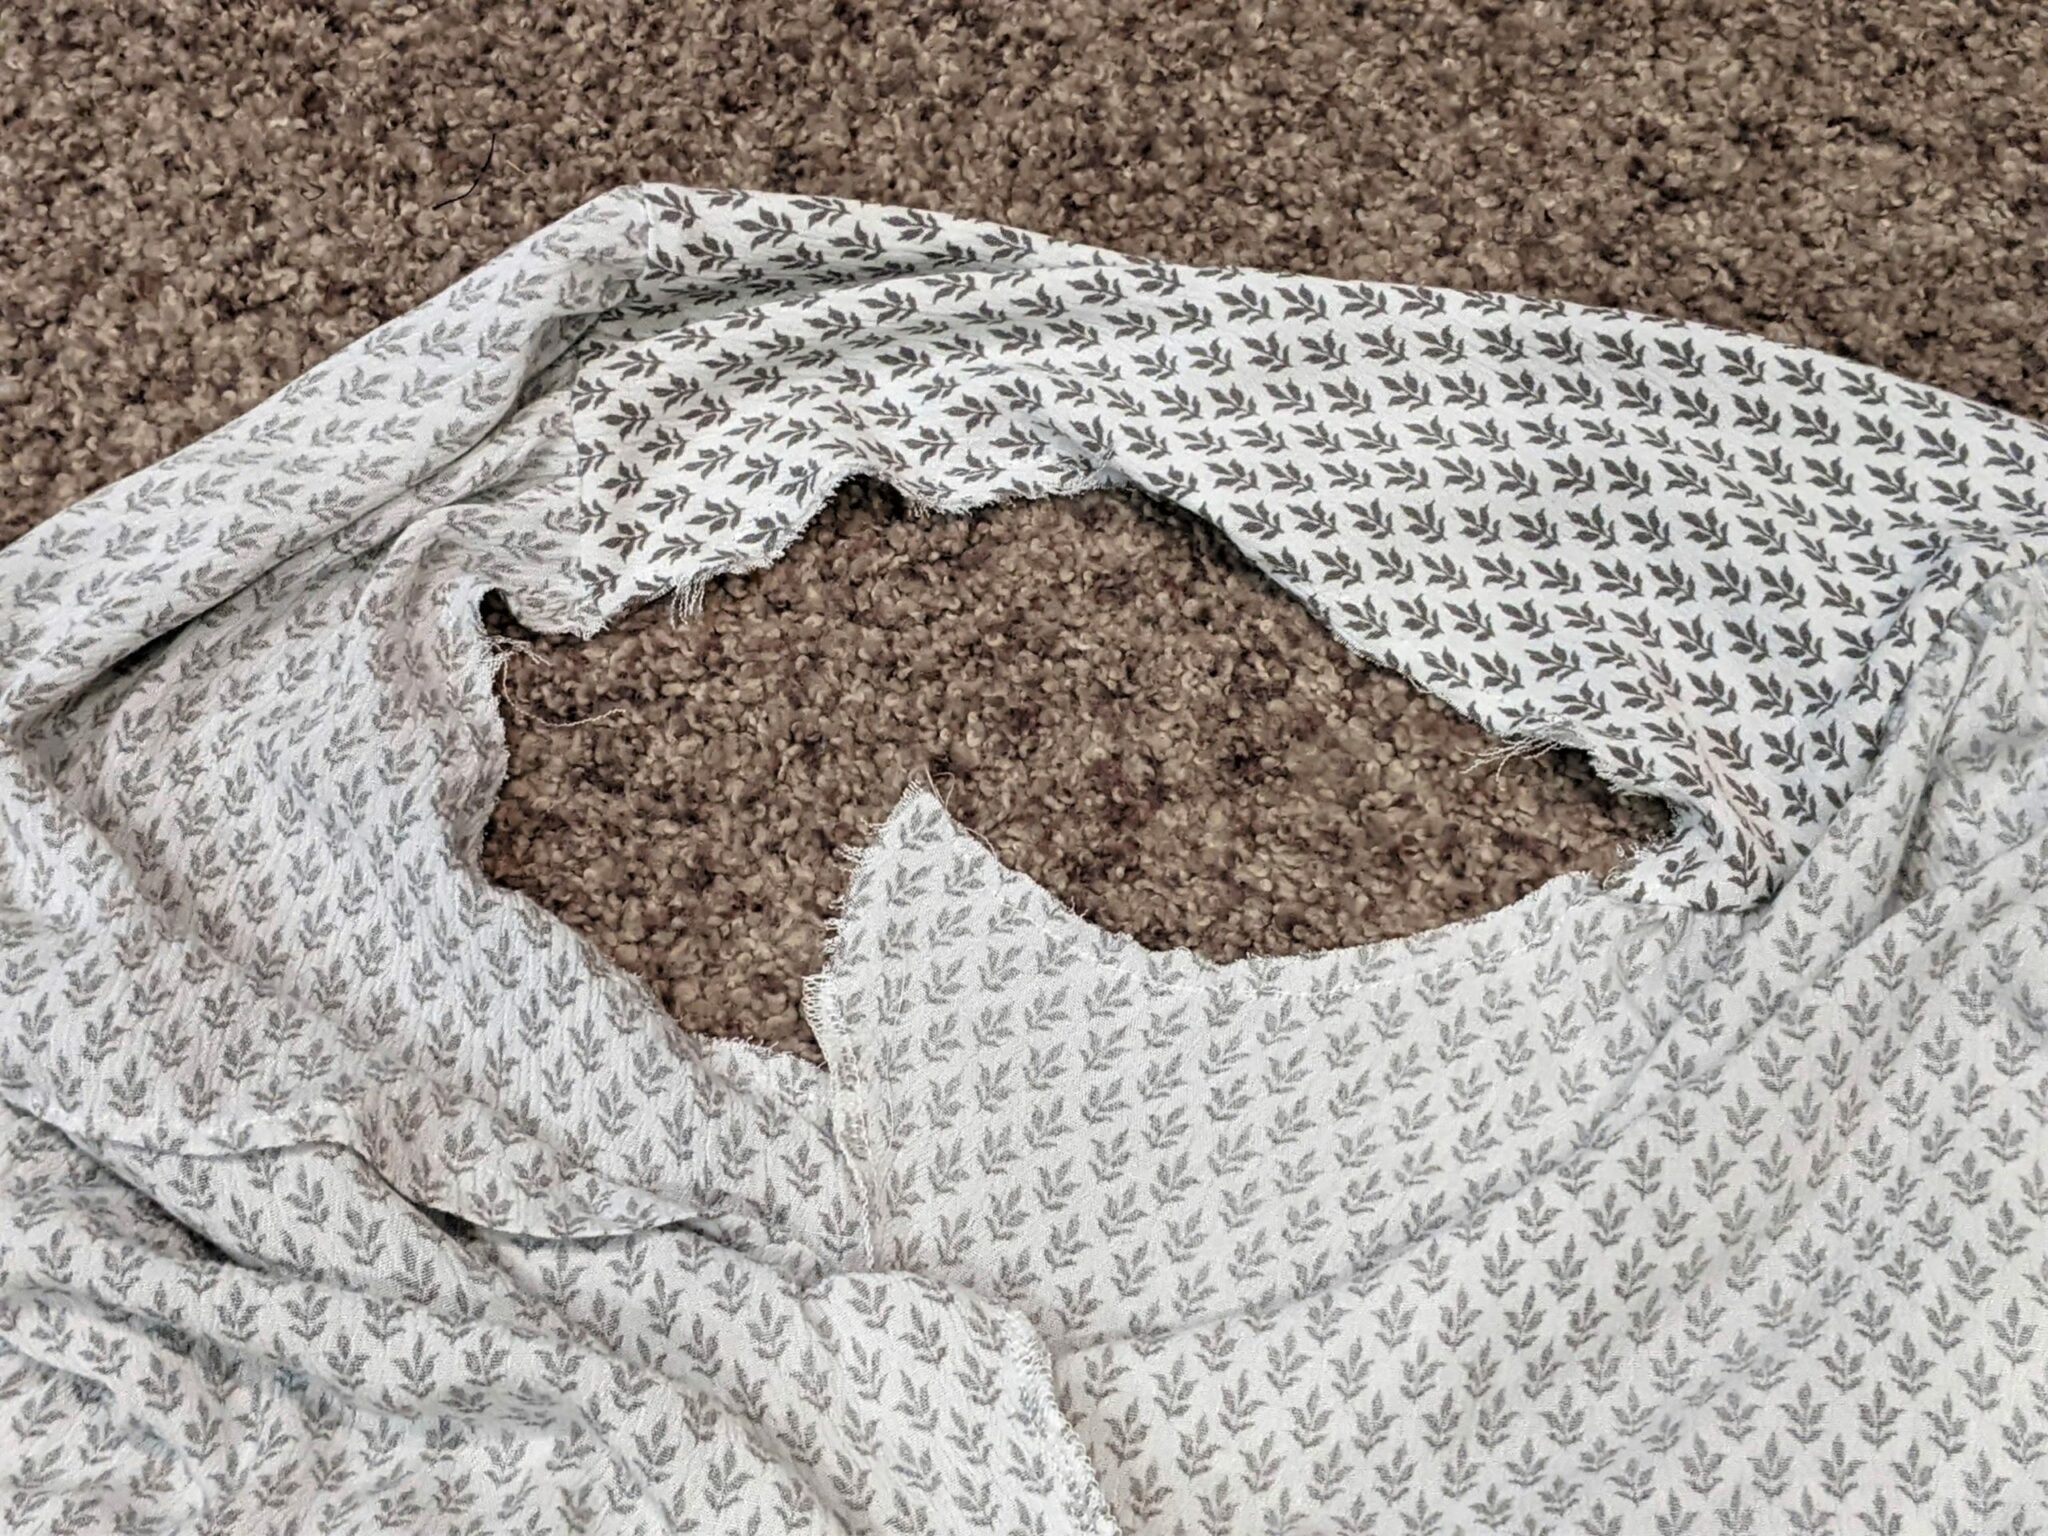
- Open your bodice at the armscye openings and trim off the excess point of the fabric making it a smooth curve.
- If you are making a sleeveless top, measure around the opening to see if you need to adjust the binding at all. (My sleeves still fit perfectly, so there may not be any adjustment needed.)
- Finish all other options by following the tutorial.
So Beautiful and Flowy!

Want more FUN DIY Freebies? Check out the FREEBIE TUTORIALS and the FREEBIE PATTERNS!
As always, we’re here to help if you need it! Join us HERE and on Facebook, Instagram, Twitter, Youtube, and Pinterest. We’re everywhere you are.
Leave a Reply