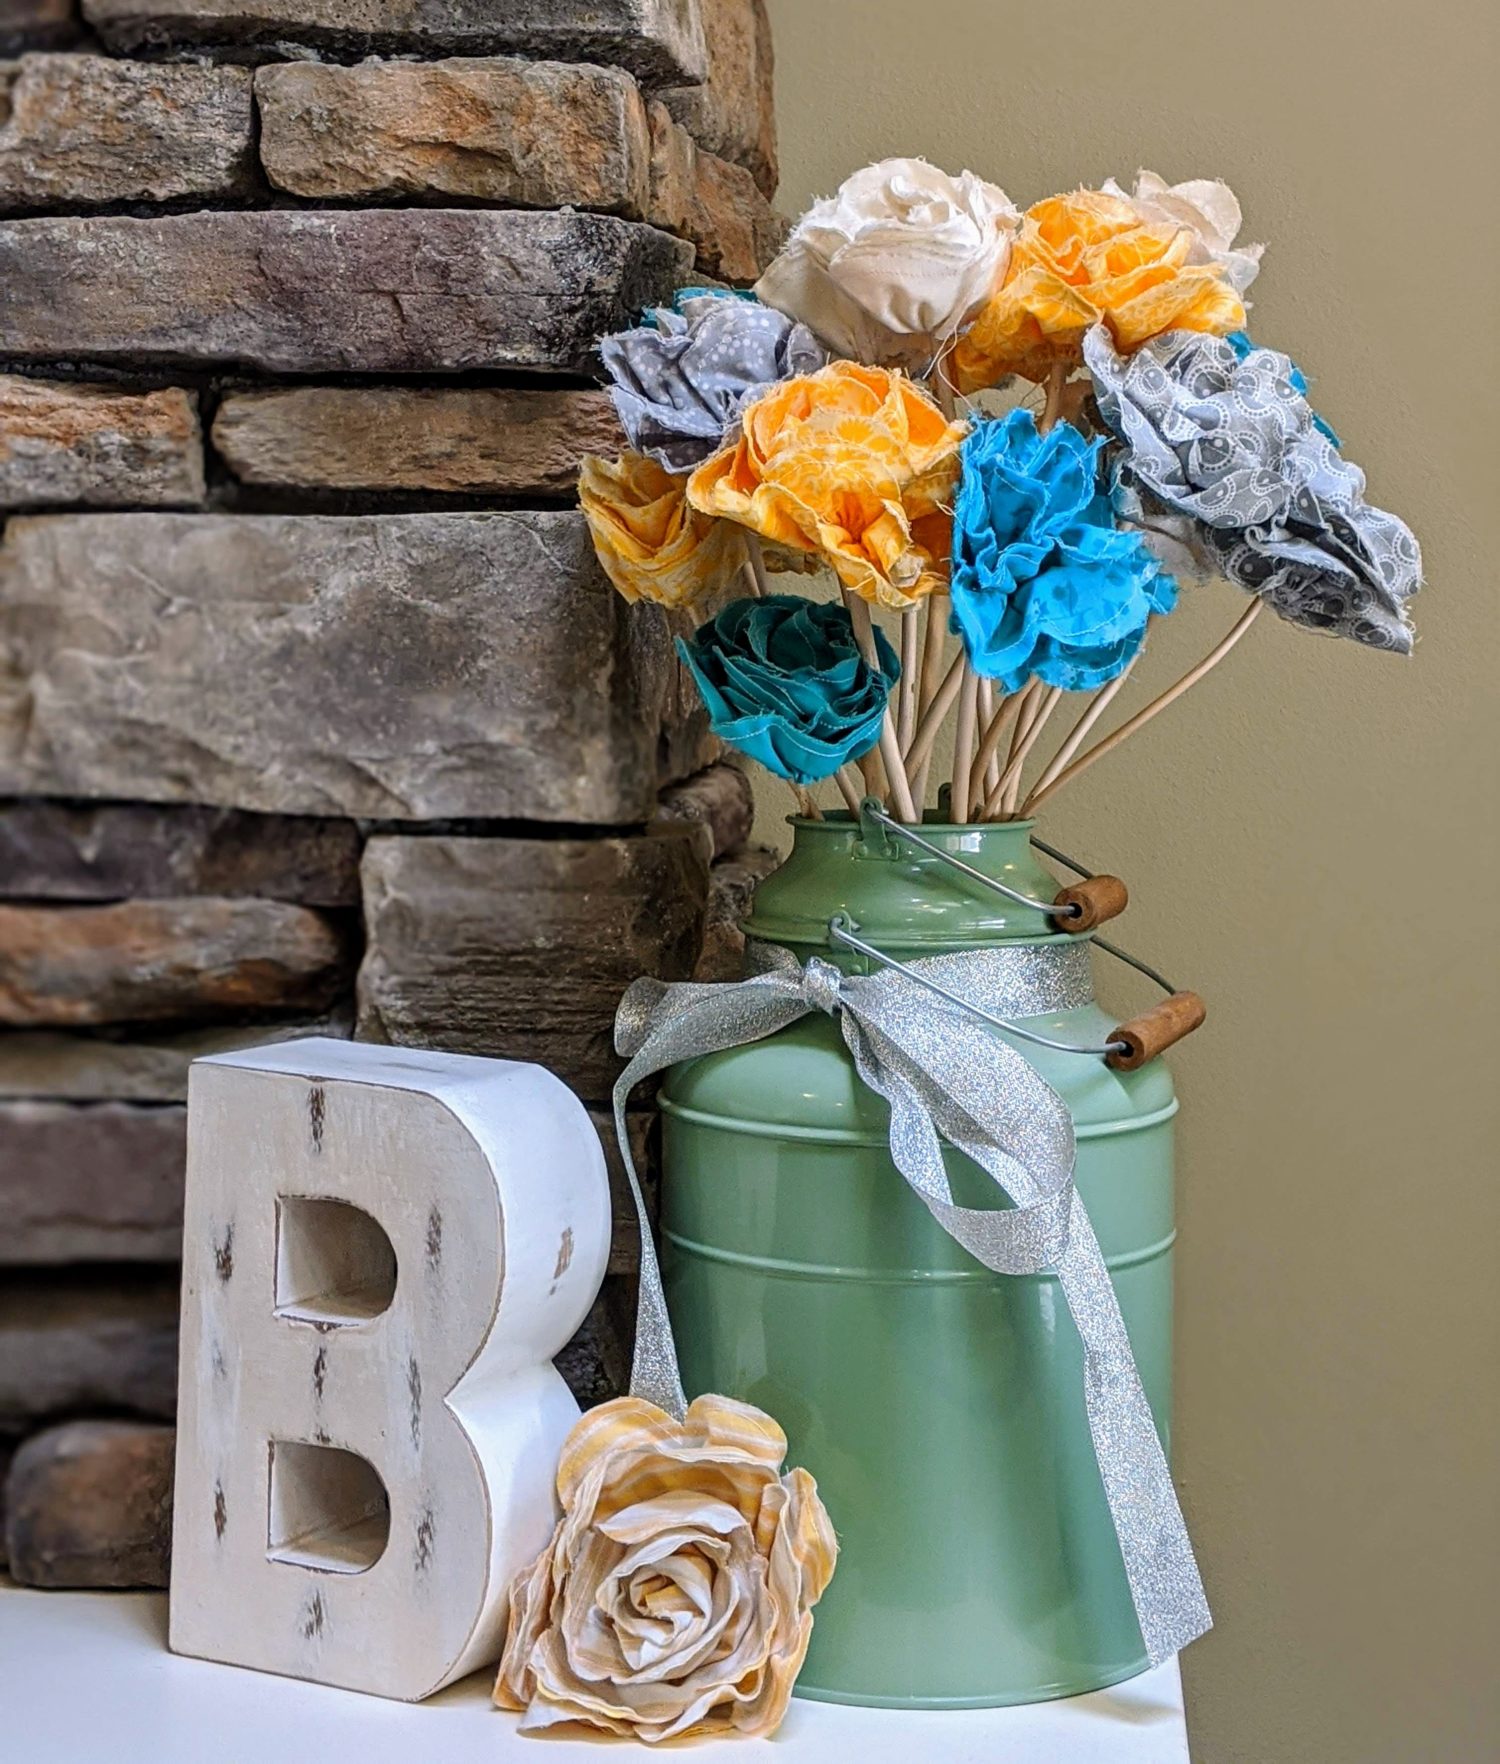
I absolutely love having a bouquet of fresh flowers in my house. Unfortunately, I have a cat who likes to eat those flowers, knock over the vase and then get sick on the carpet after. It’s been awhile since I’ve been able to have real flowers. I decided to try to make a fabric flower, and I fell in love. I have made them for so many different occasions, holidays and decor. You’ll love them as much as I do and find even more uses for them!
Supplies you will need:
- Paper
- Ruler/measuring tape
- Pencil
- Scissors
- Tape or glue
- Woven fabric (fat quarters work for this)
- Sewing machine
- Hot glue gun
- Sticks, dowels, fake flower stems, push pins etc (anything you want to use a a flower stem)
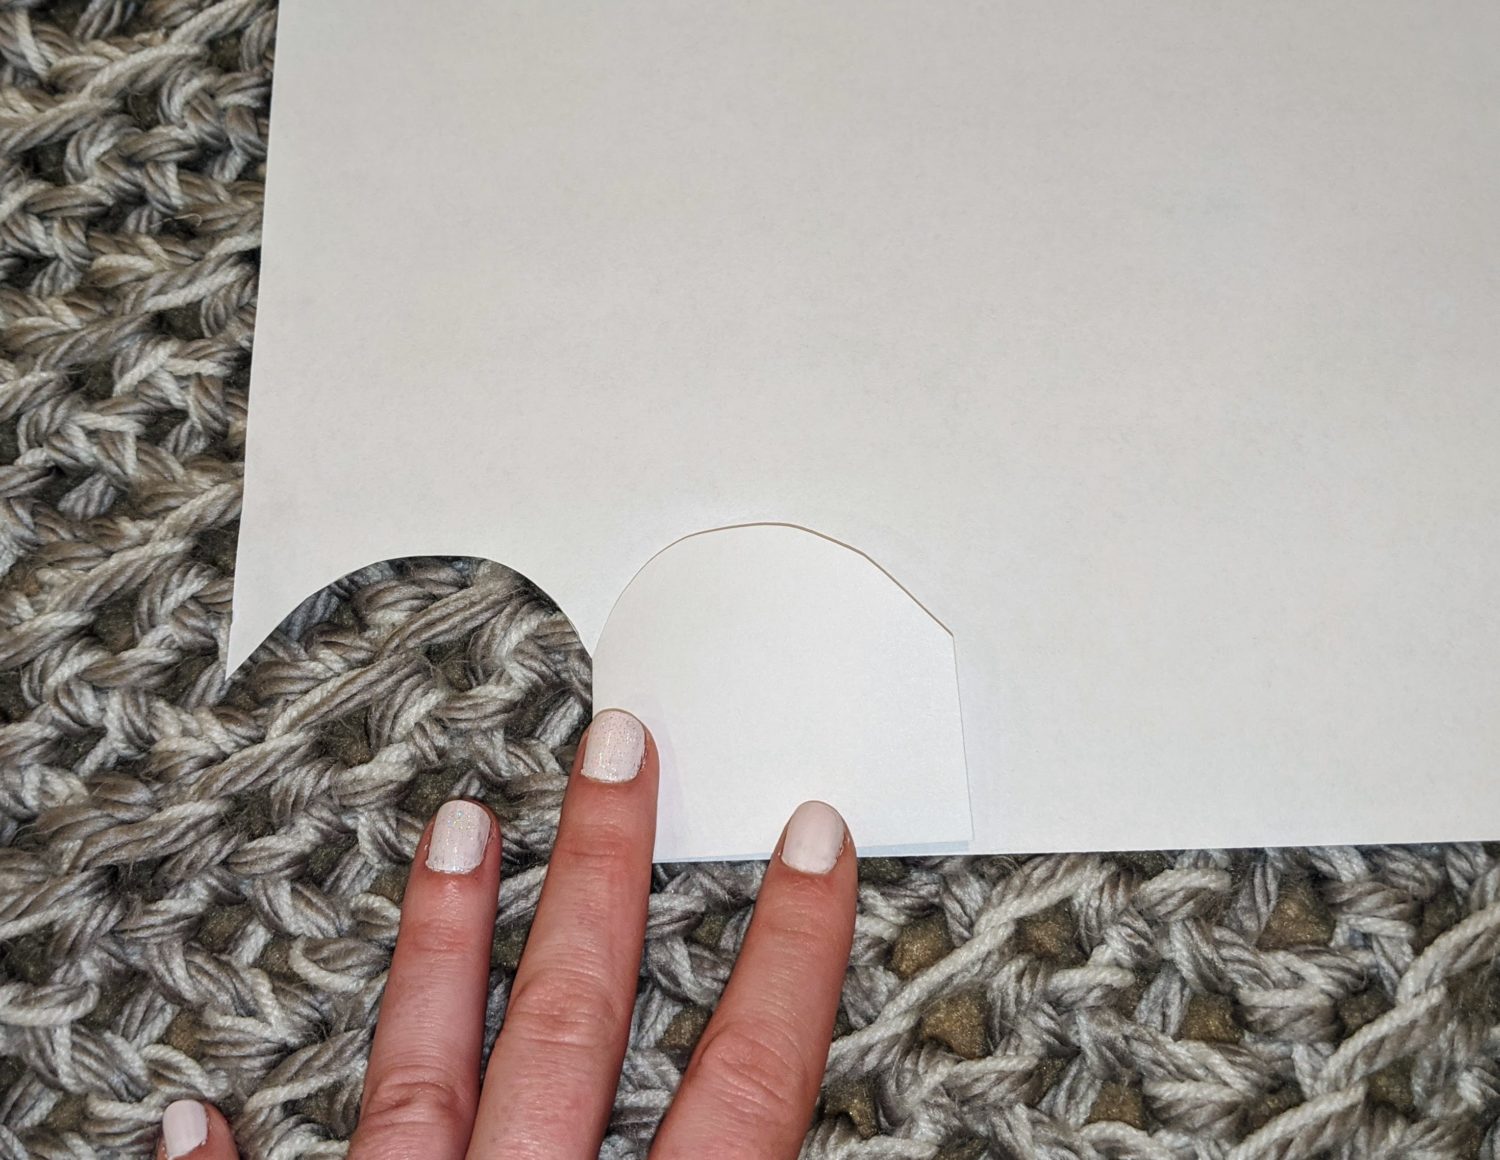
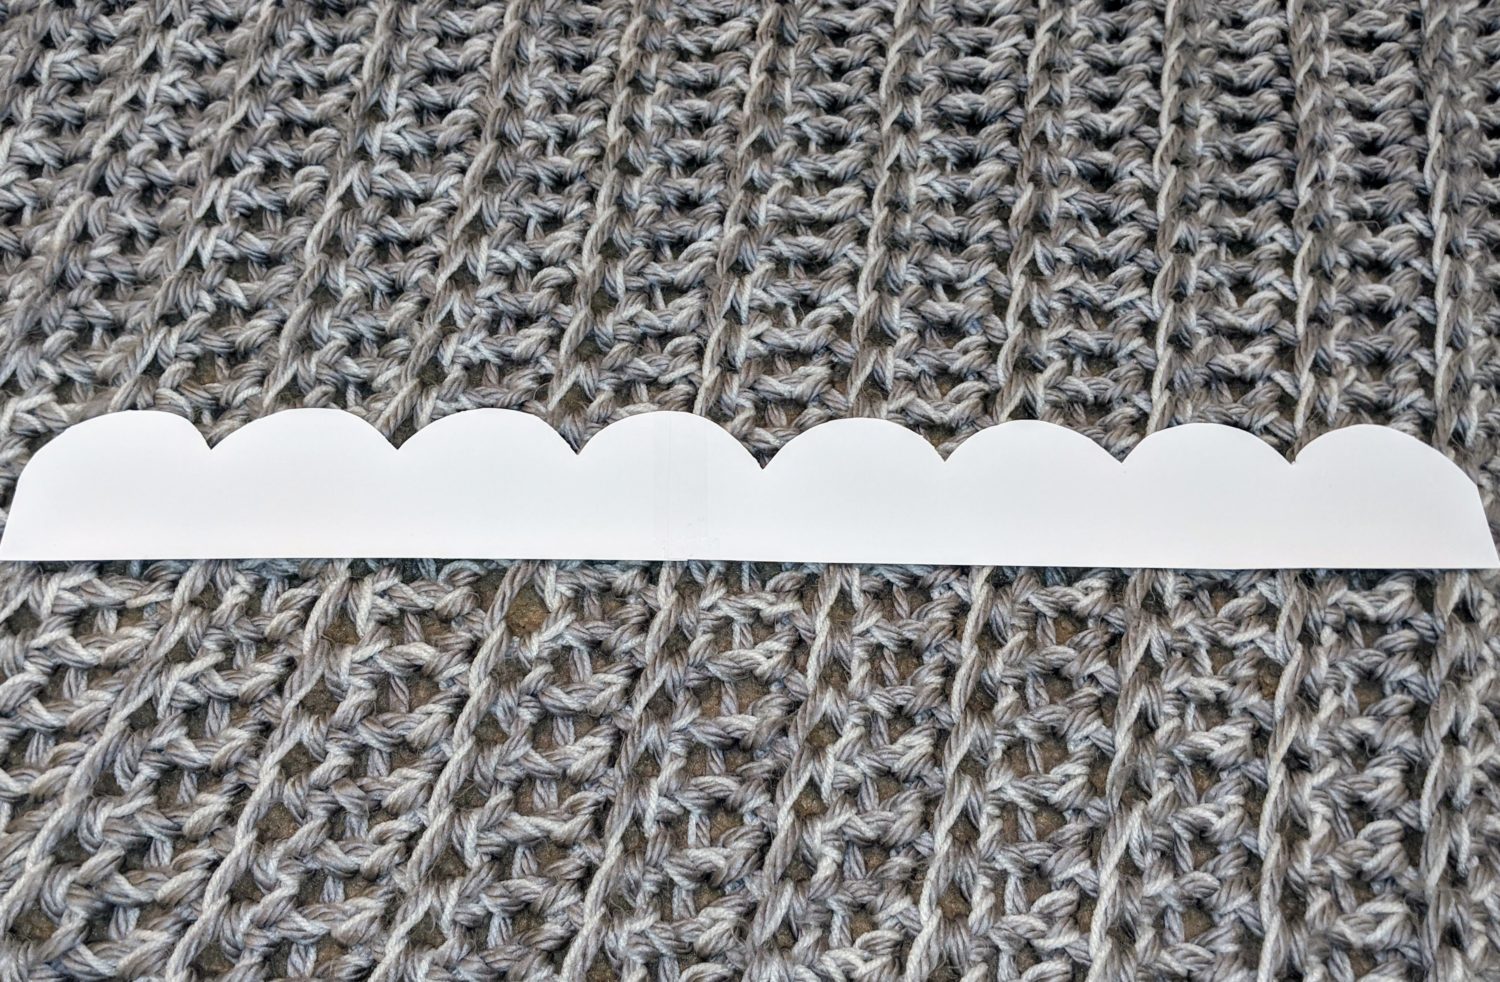
You will need to start by making a template for cutting out your fabric. The one I made is about 19” long, and each bump is about 2” high and 2” wide. This does not have to be precise. You can make yours longer, shorter, taller, wider, whatever makes your heart happy. Flowers come in all shapes and sizes, and so can these. To make the template, I made the first bump the size I wanted them all to be.
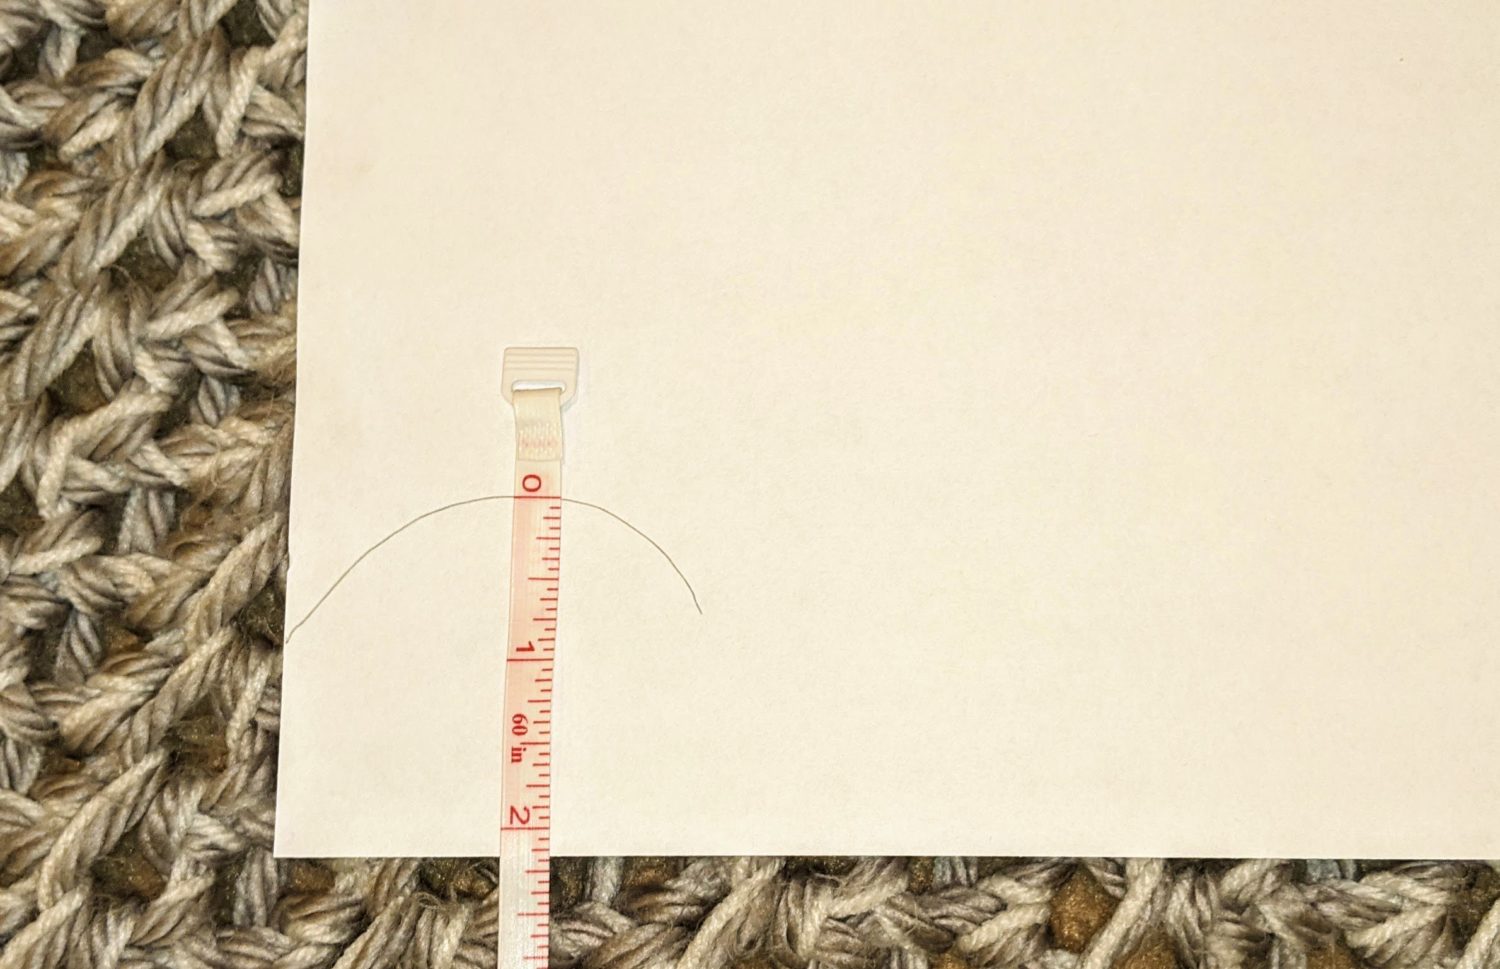
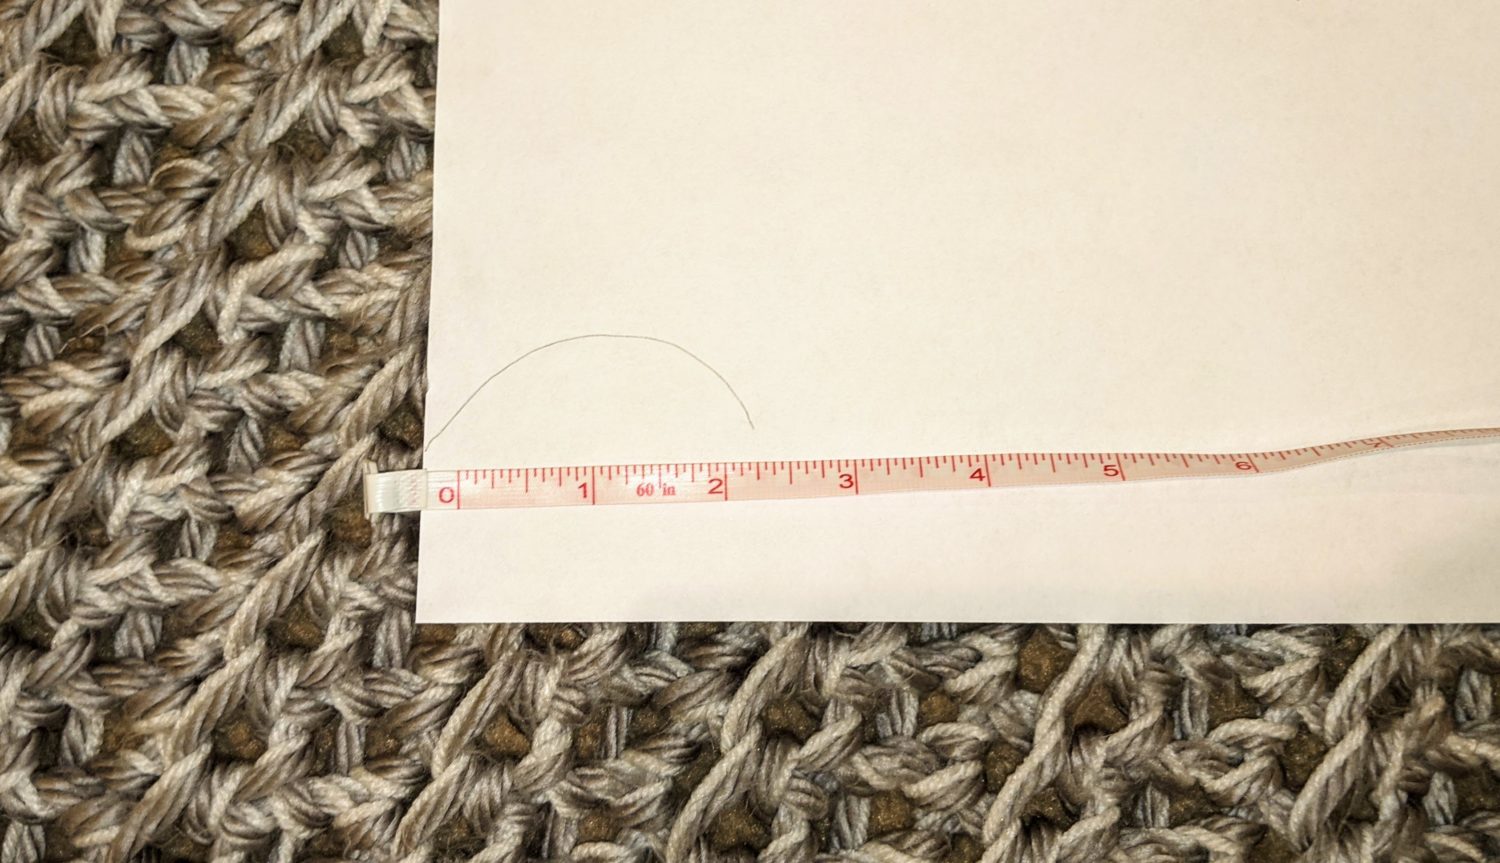
I cut around that one to where the next bump connects, then folded it over to use it to trace the second bump. Cut that one to the connecting point and repeat again making 4 bumps. You do not have to do all 4, or you can do more. You will just be using this to trace on your longer piece when we get to that.
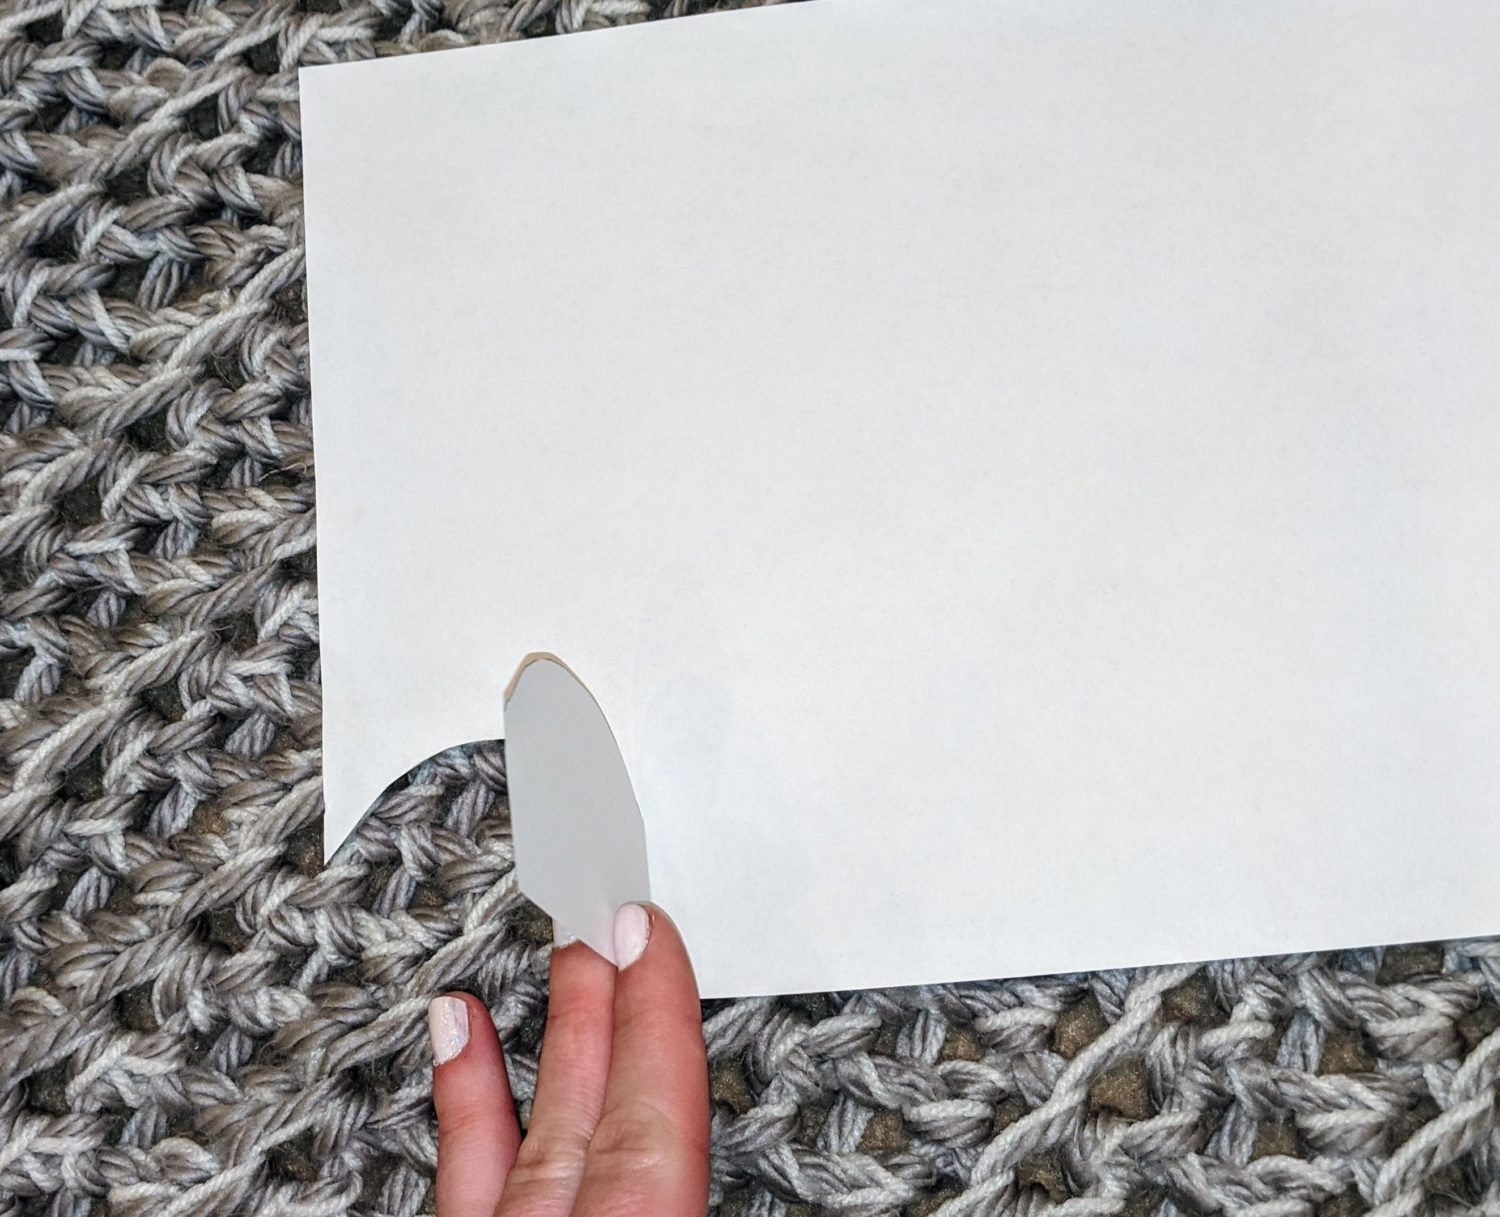
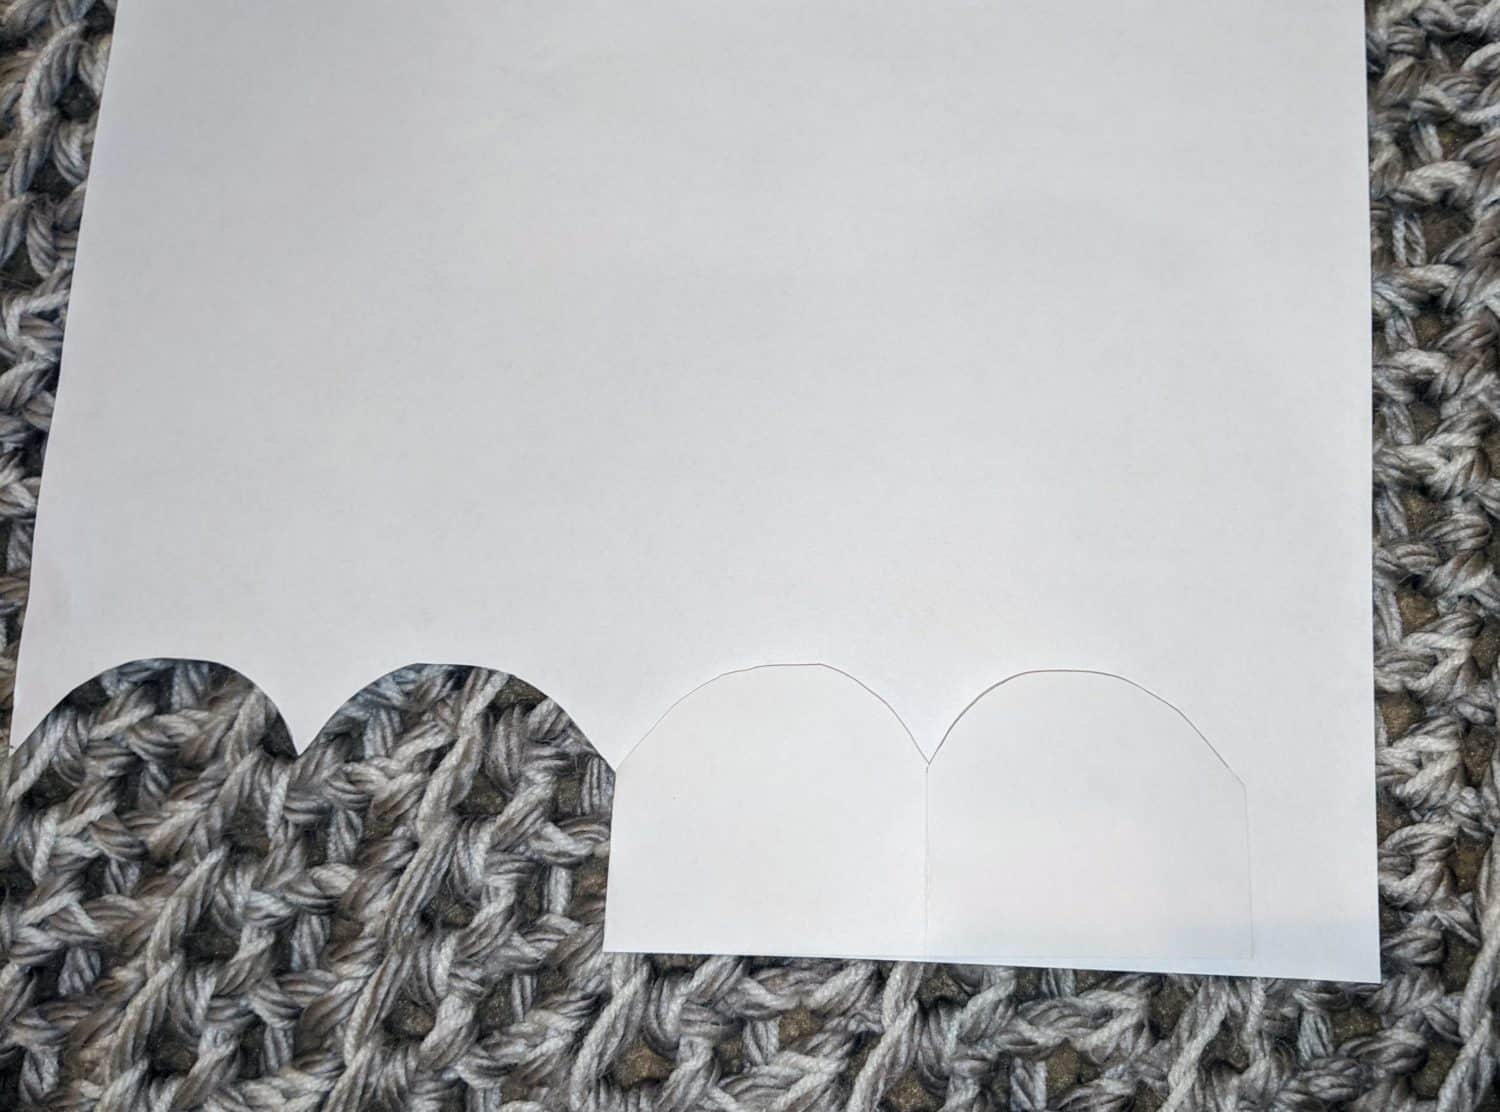
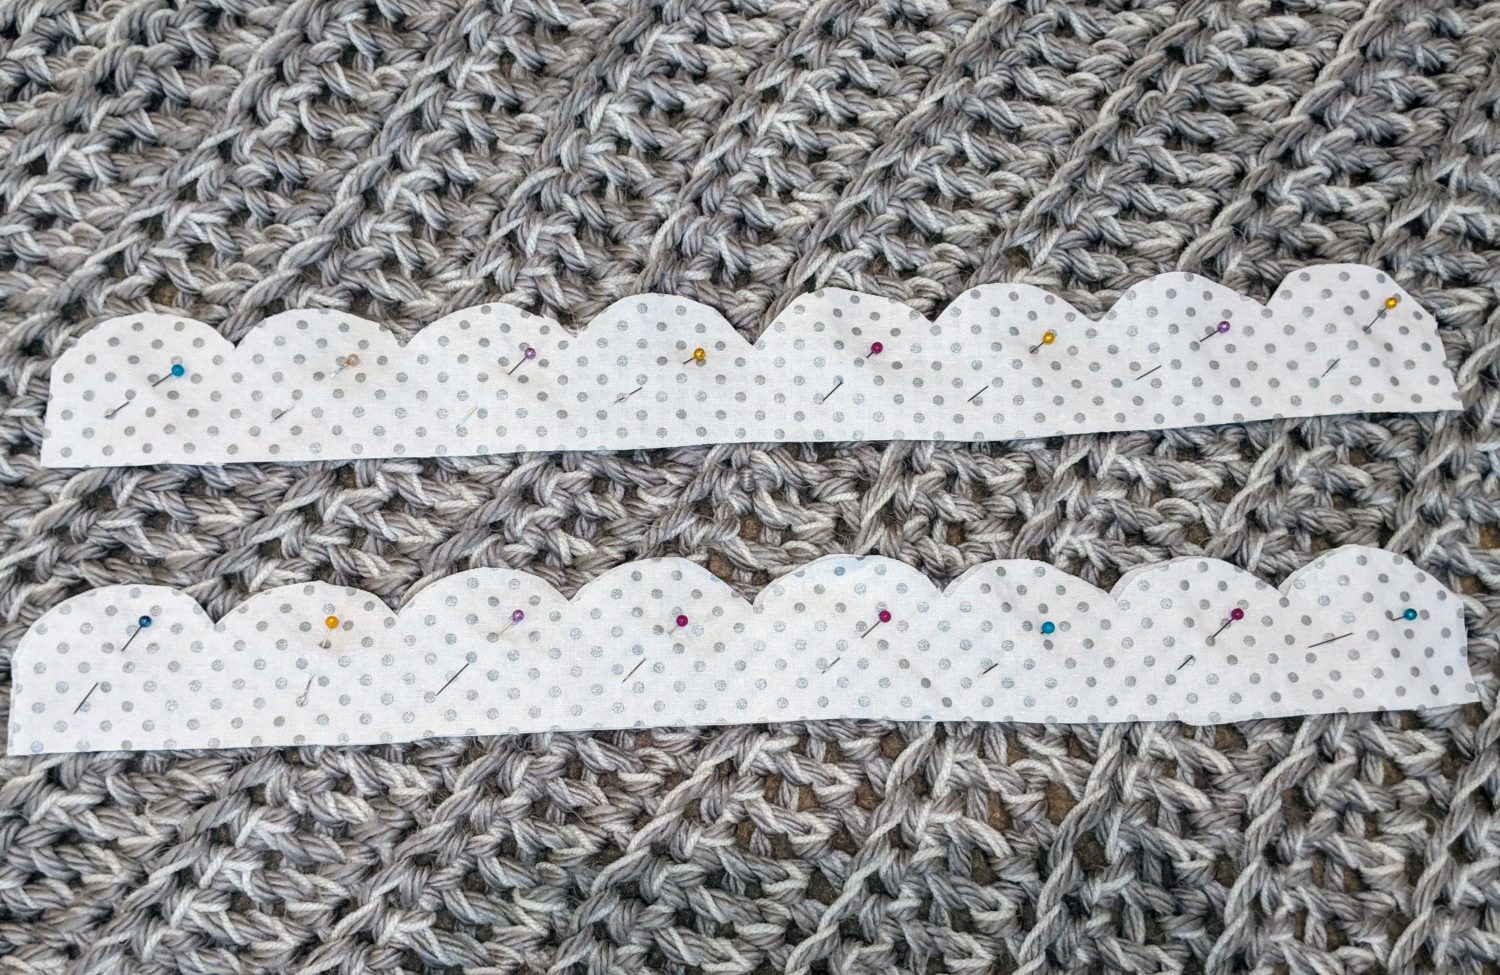
For the next part, I used cardstock, but any paper is fine here.
I cut two strips of the cardstock 2 ½” wide down the length of my paper and taped the short ends together to make one long strip. Measure approximately 18” for the length and make a mark so you know around where to stop tracing.
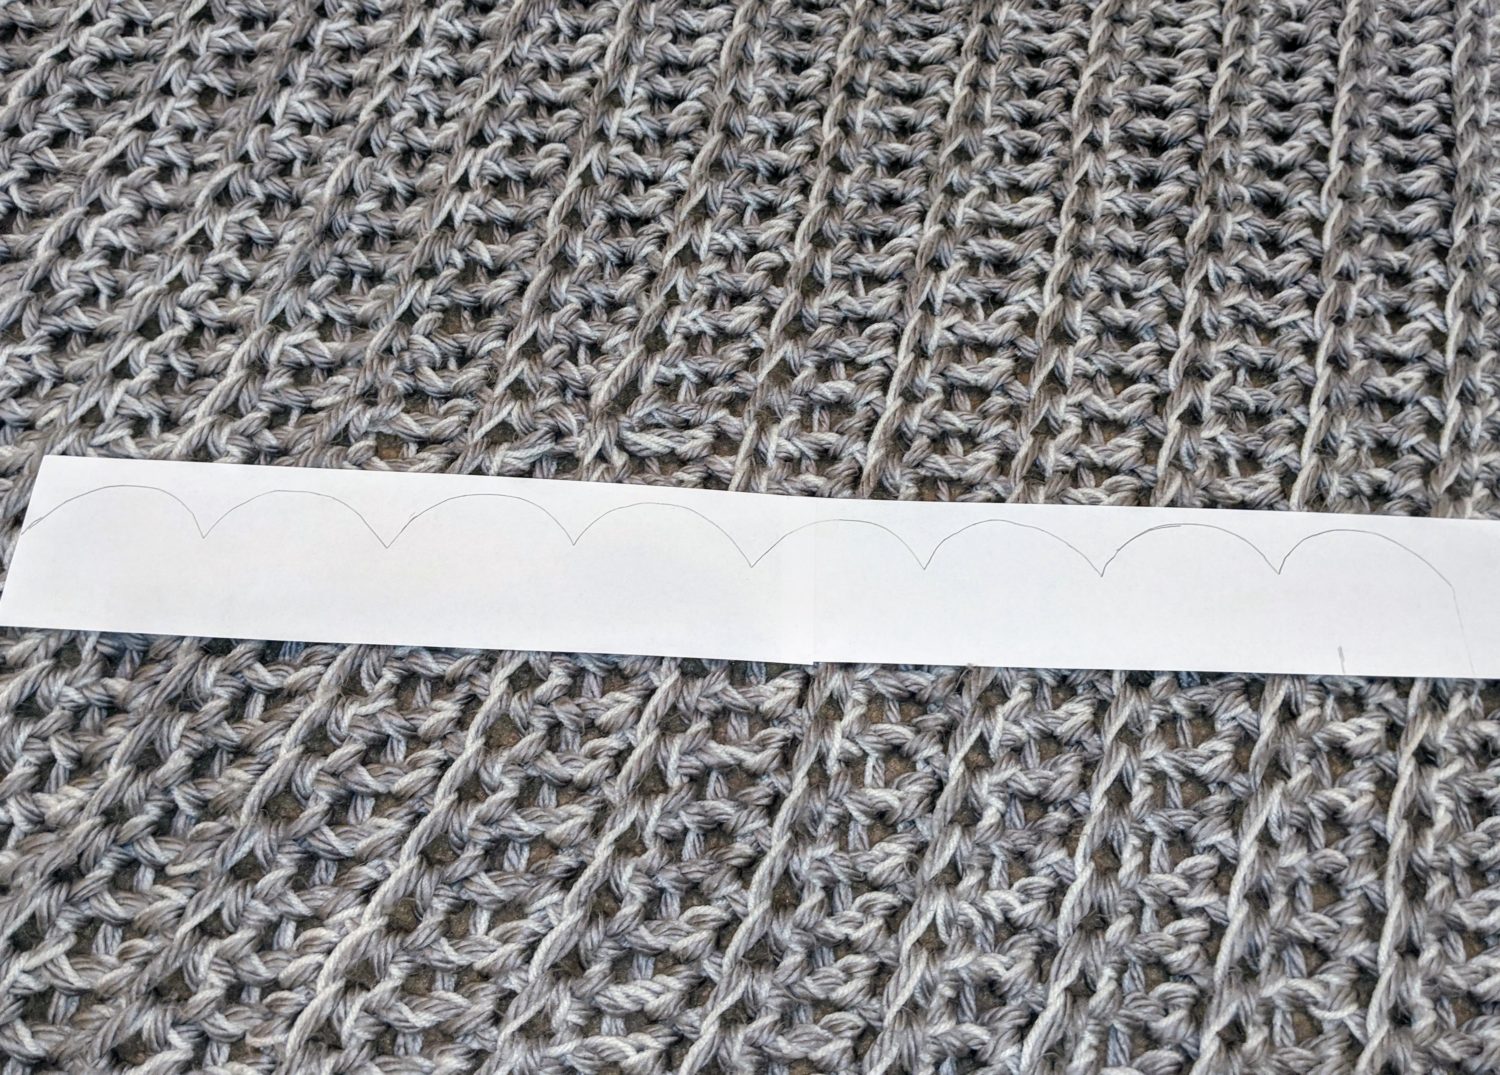
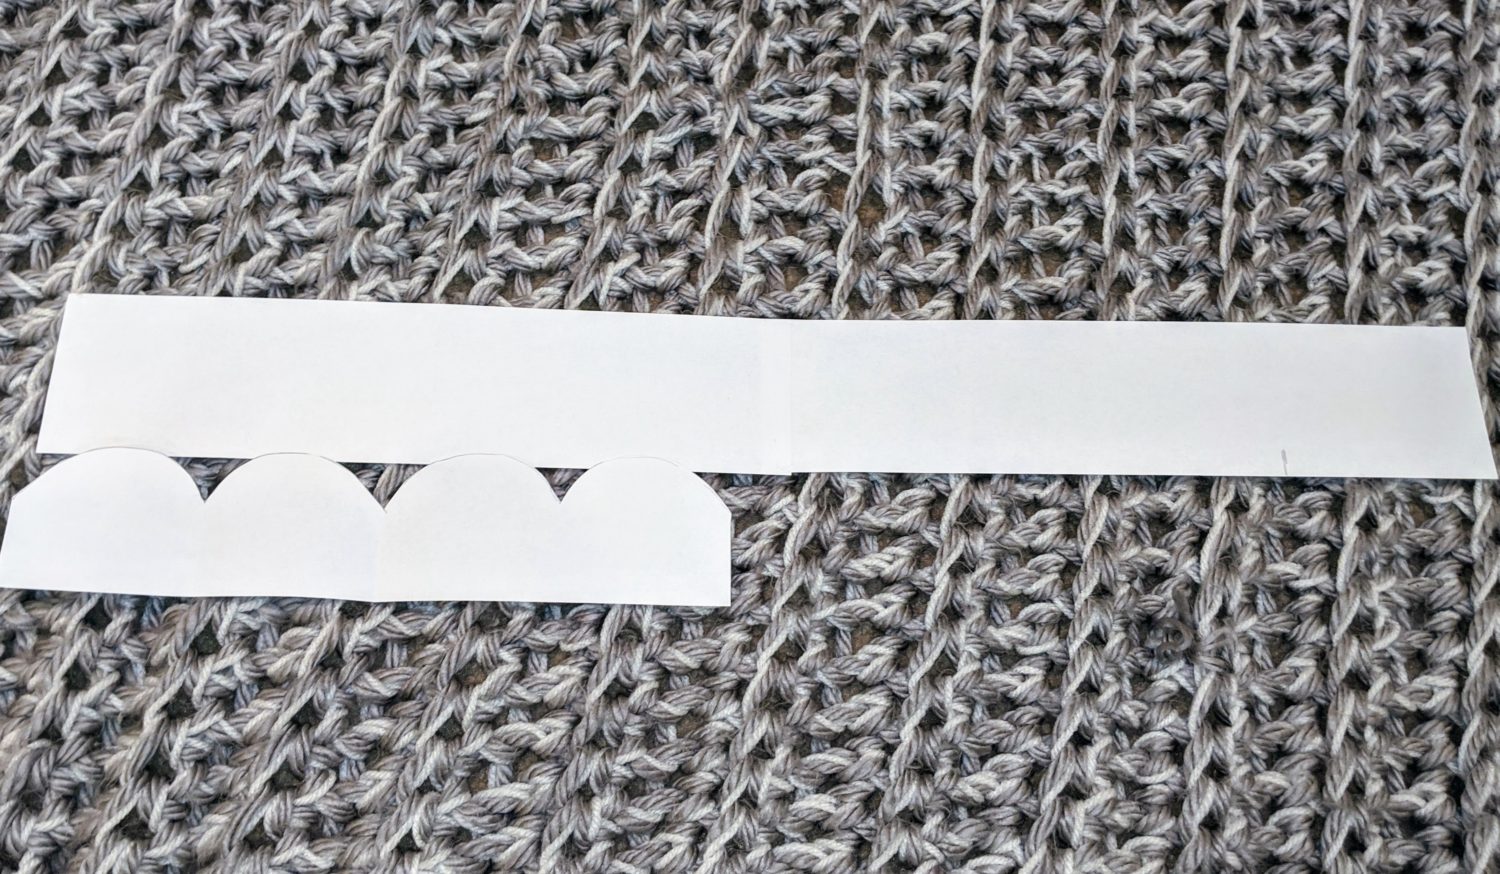
Now, grab your stencil you made and lay it on your long strip. Trace it and move it down until you get to where you marked. Mine ended up about an inch past my mark to be able to complete that bump. Cut out your long strip of bumps and you have your pattern piece for your fabric.
Get your fabric out and ready to cut.
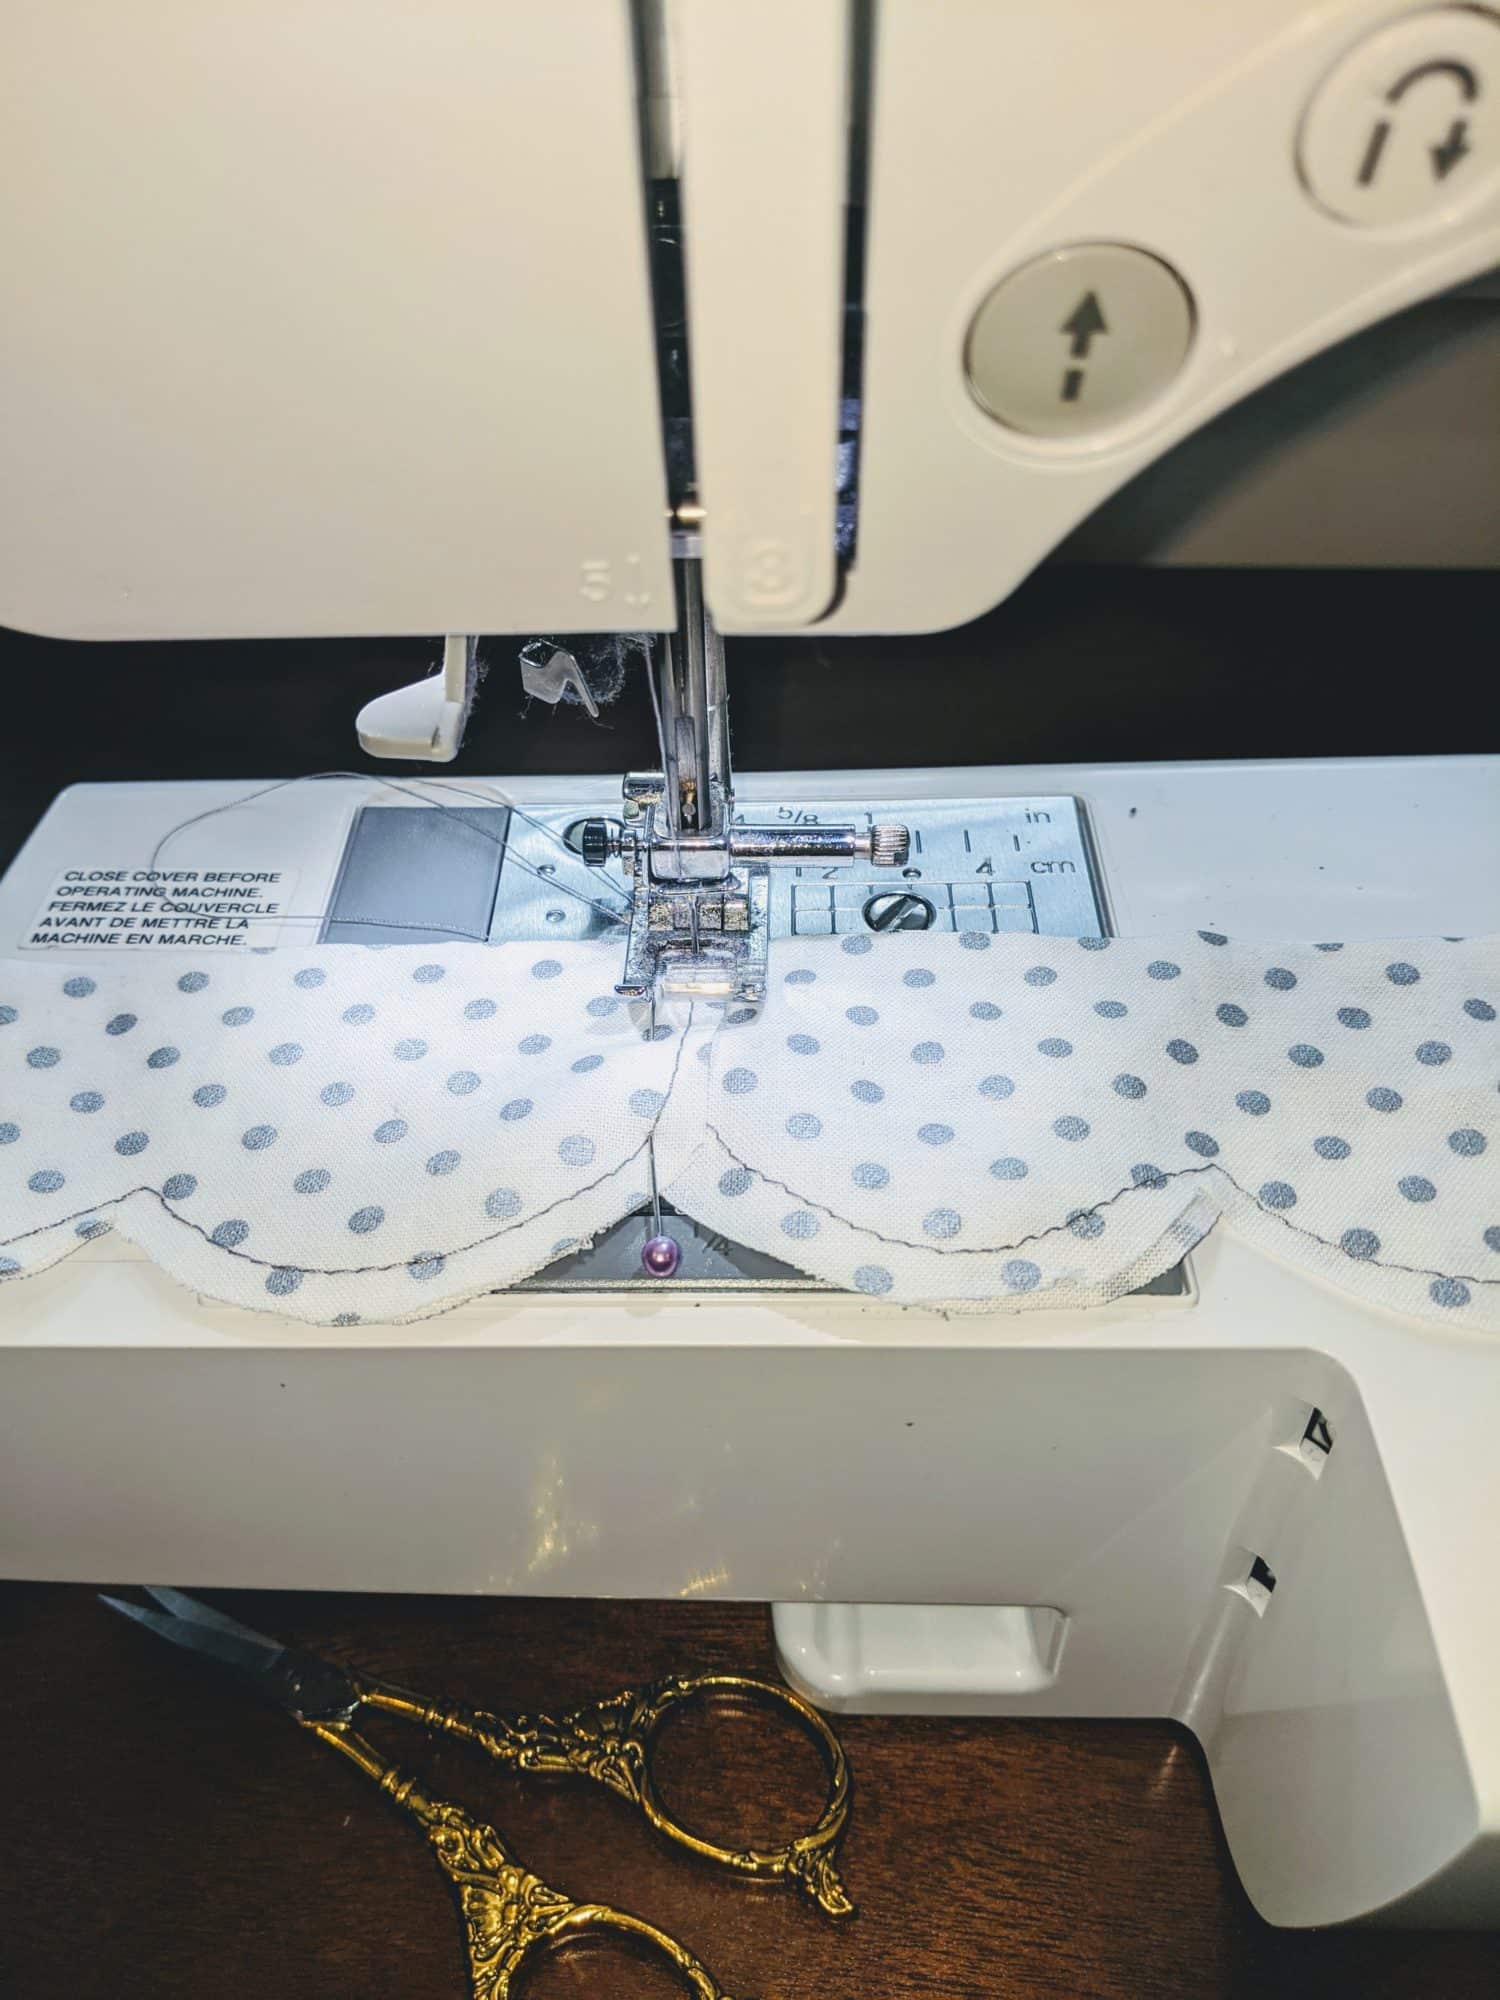
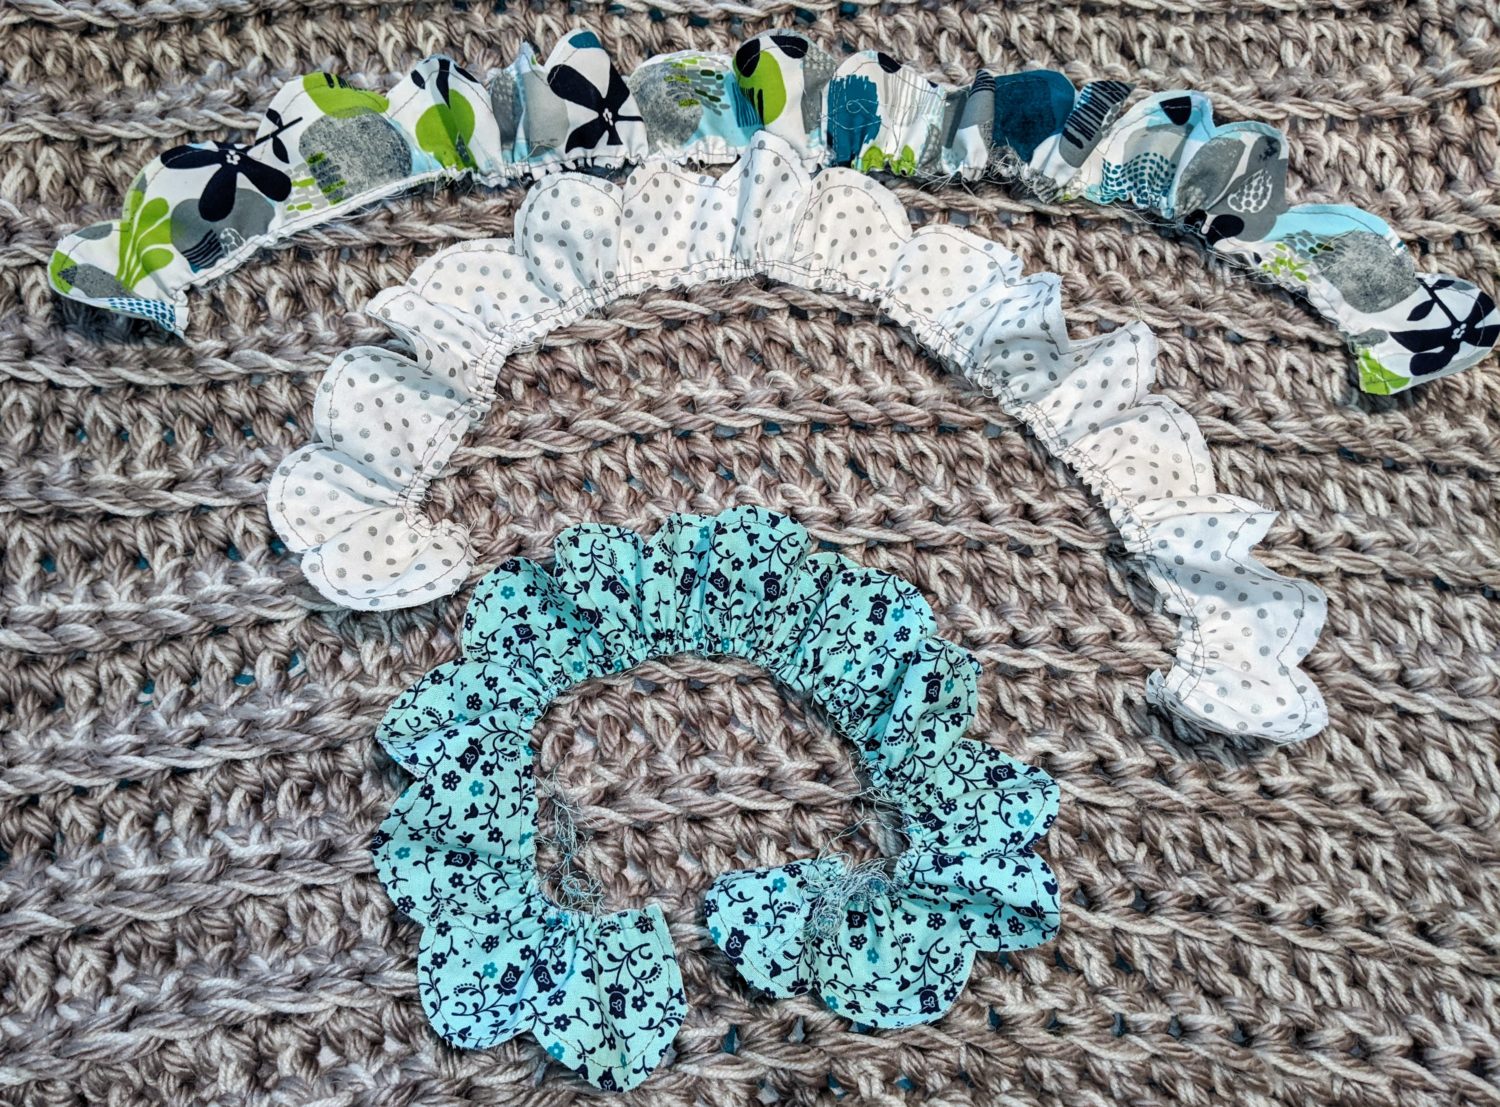
You will need to cut a total of 4 pieces for each flower. (If your fabric isn’t long enough, it is completely fine to do smaller sections and sew them together.) Take two of your pieces and pin them wrong sides together. Using a straight stitch, sew all along the top edge (the side with the bumps). Repeat the same steps with the other two pieces. Once the top edges are both sewn, overlap 2 of the short ends slightly and sew them together with a straight stitch making one long piece.
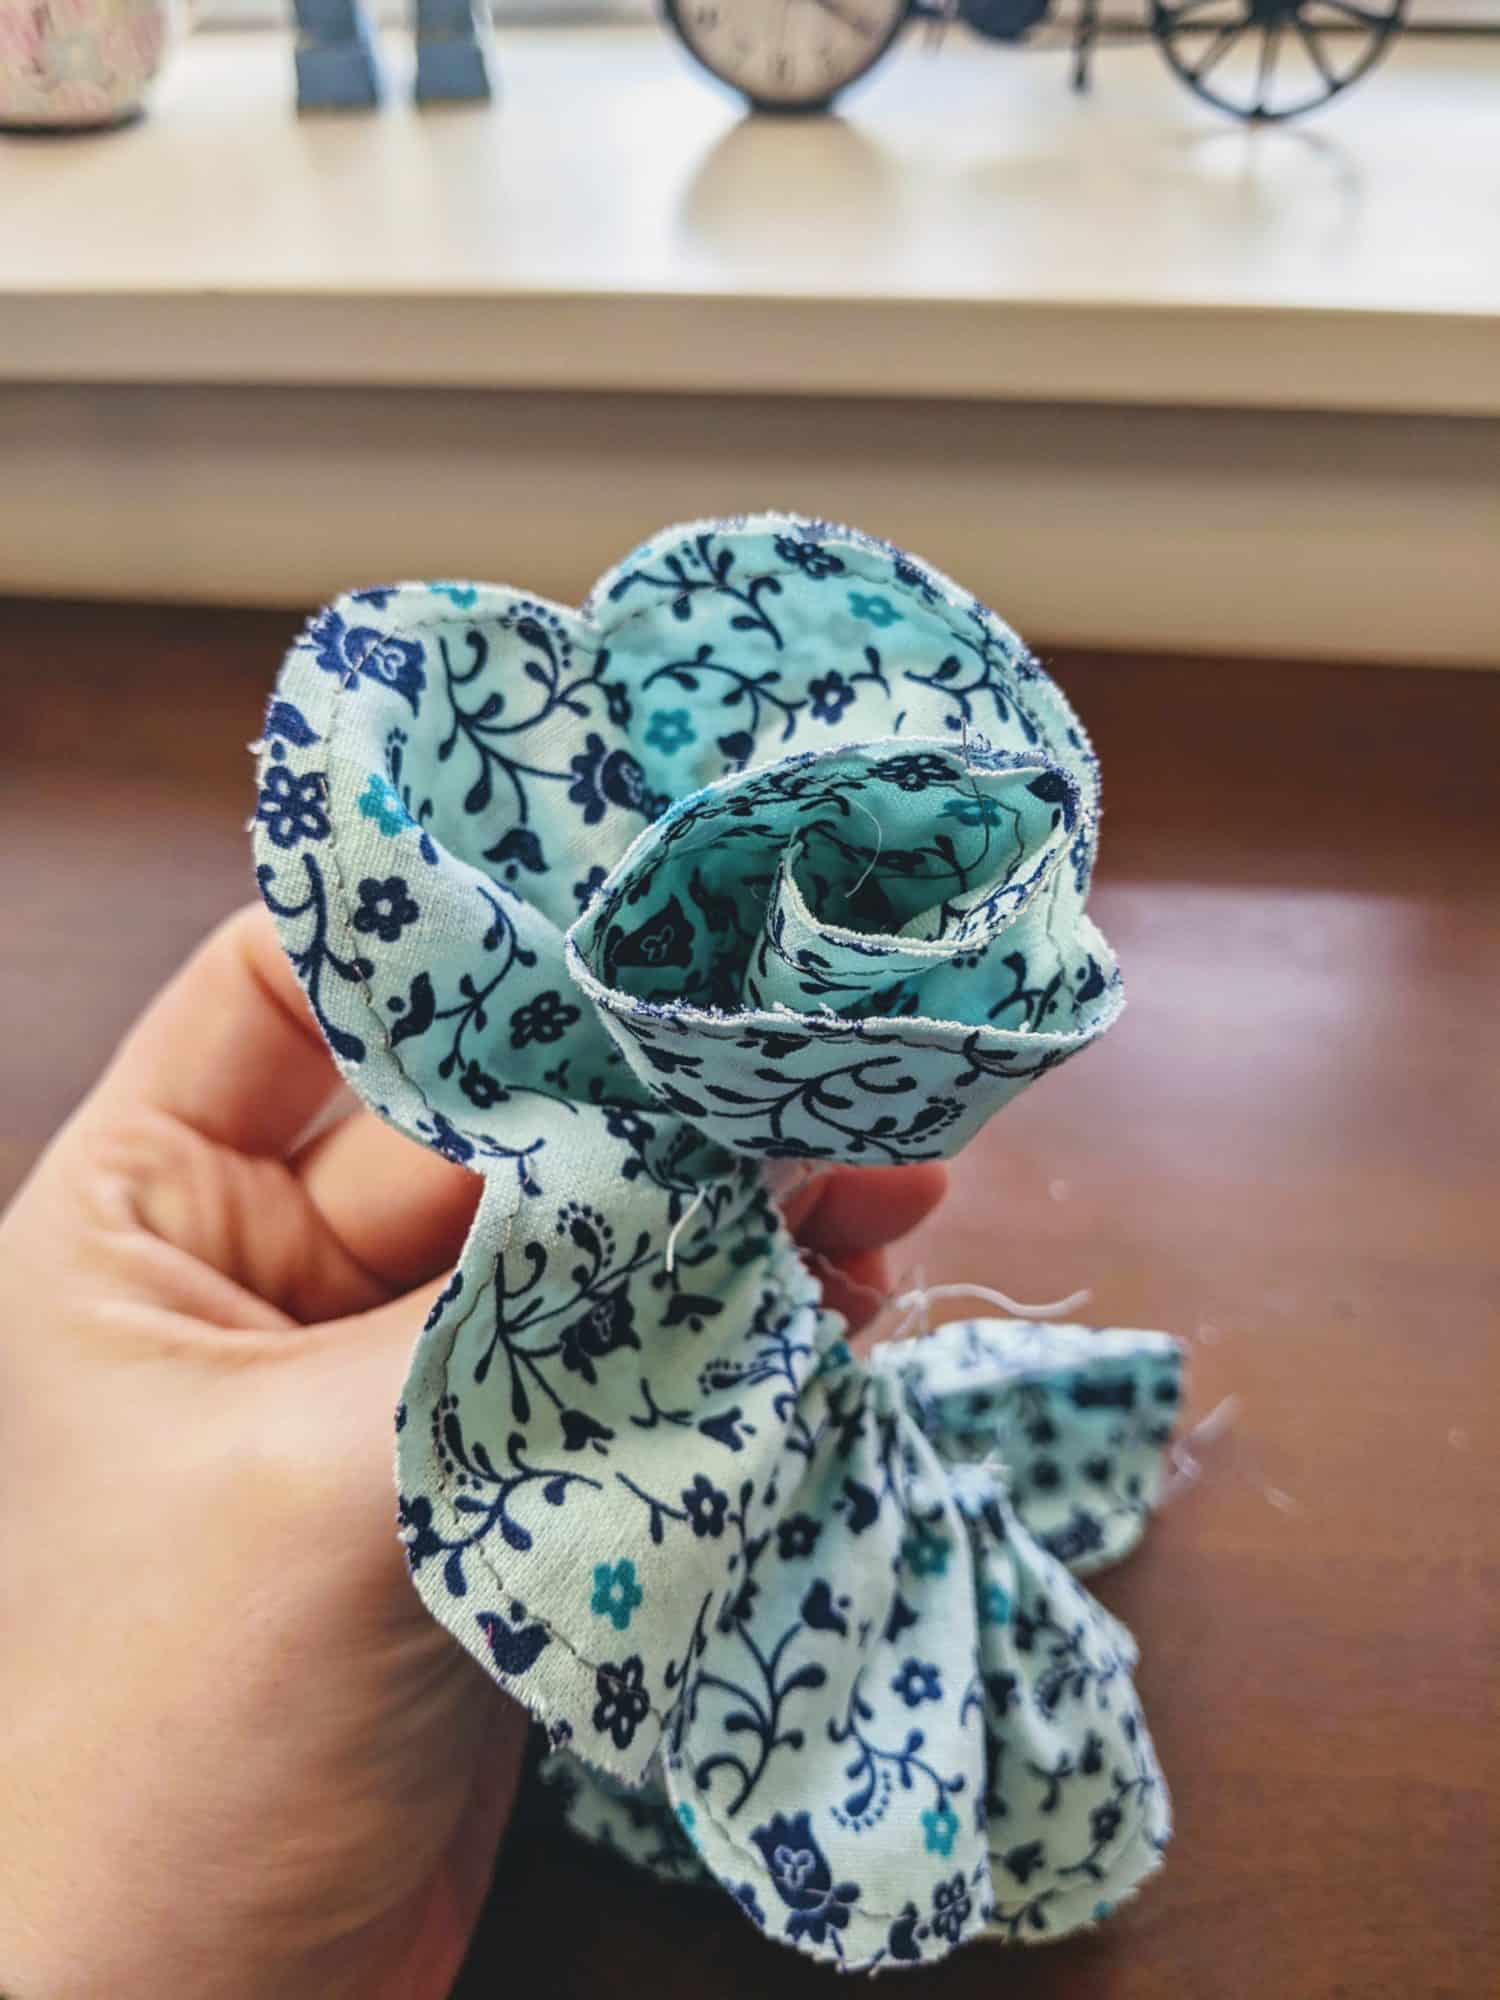
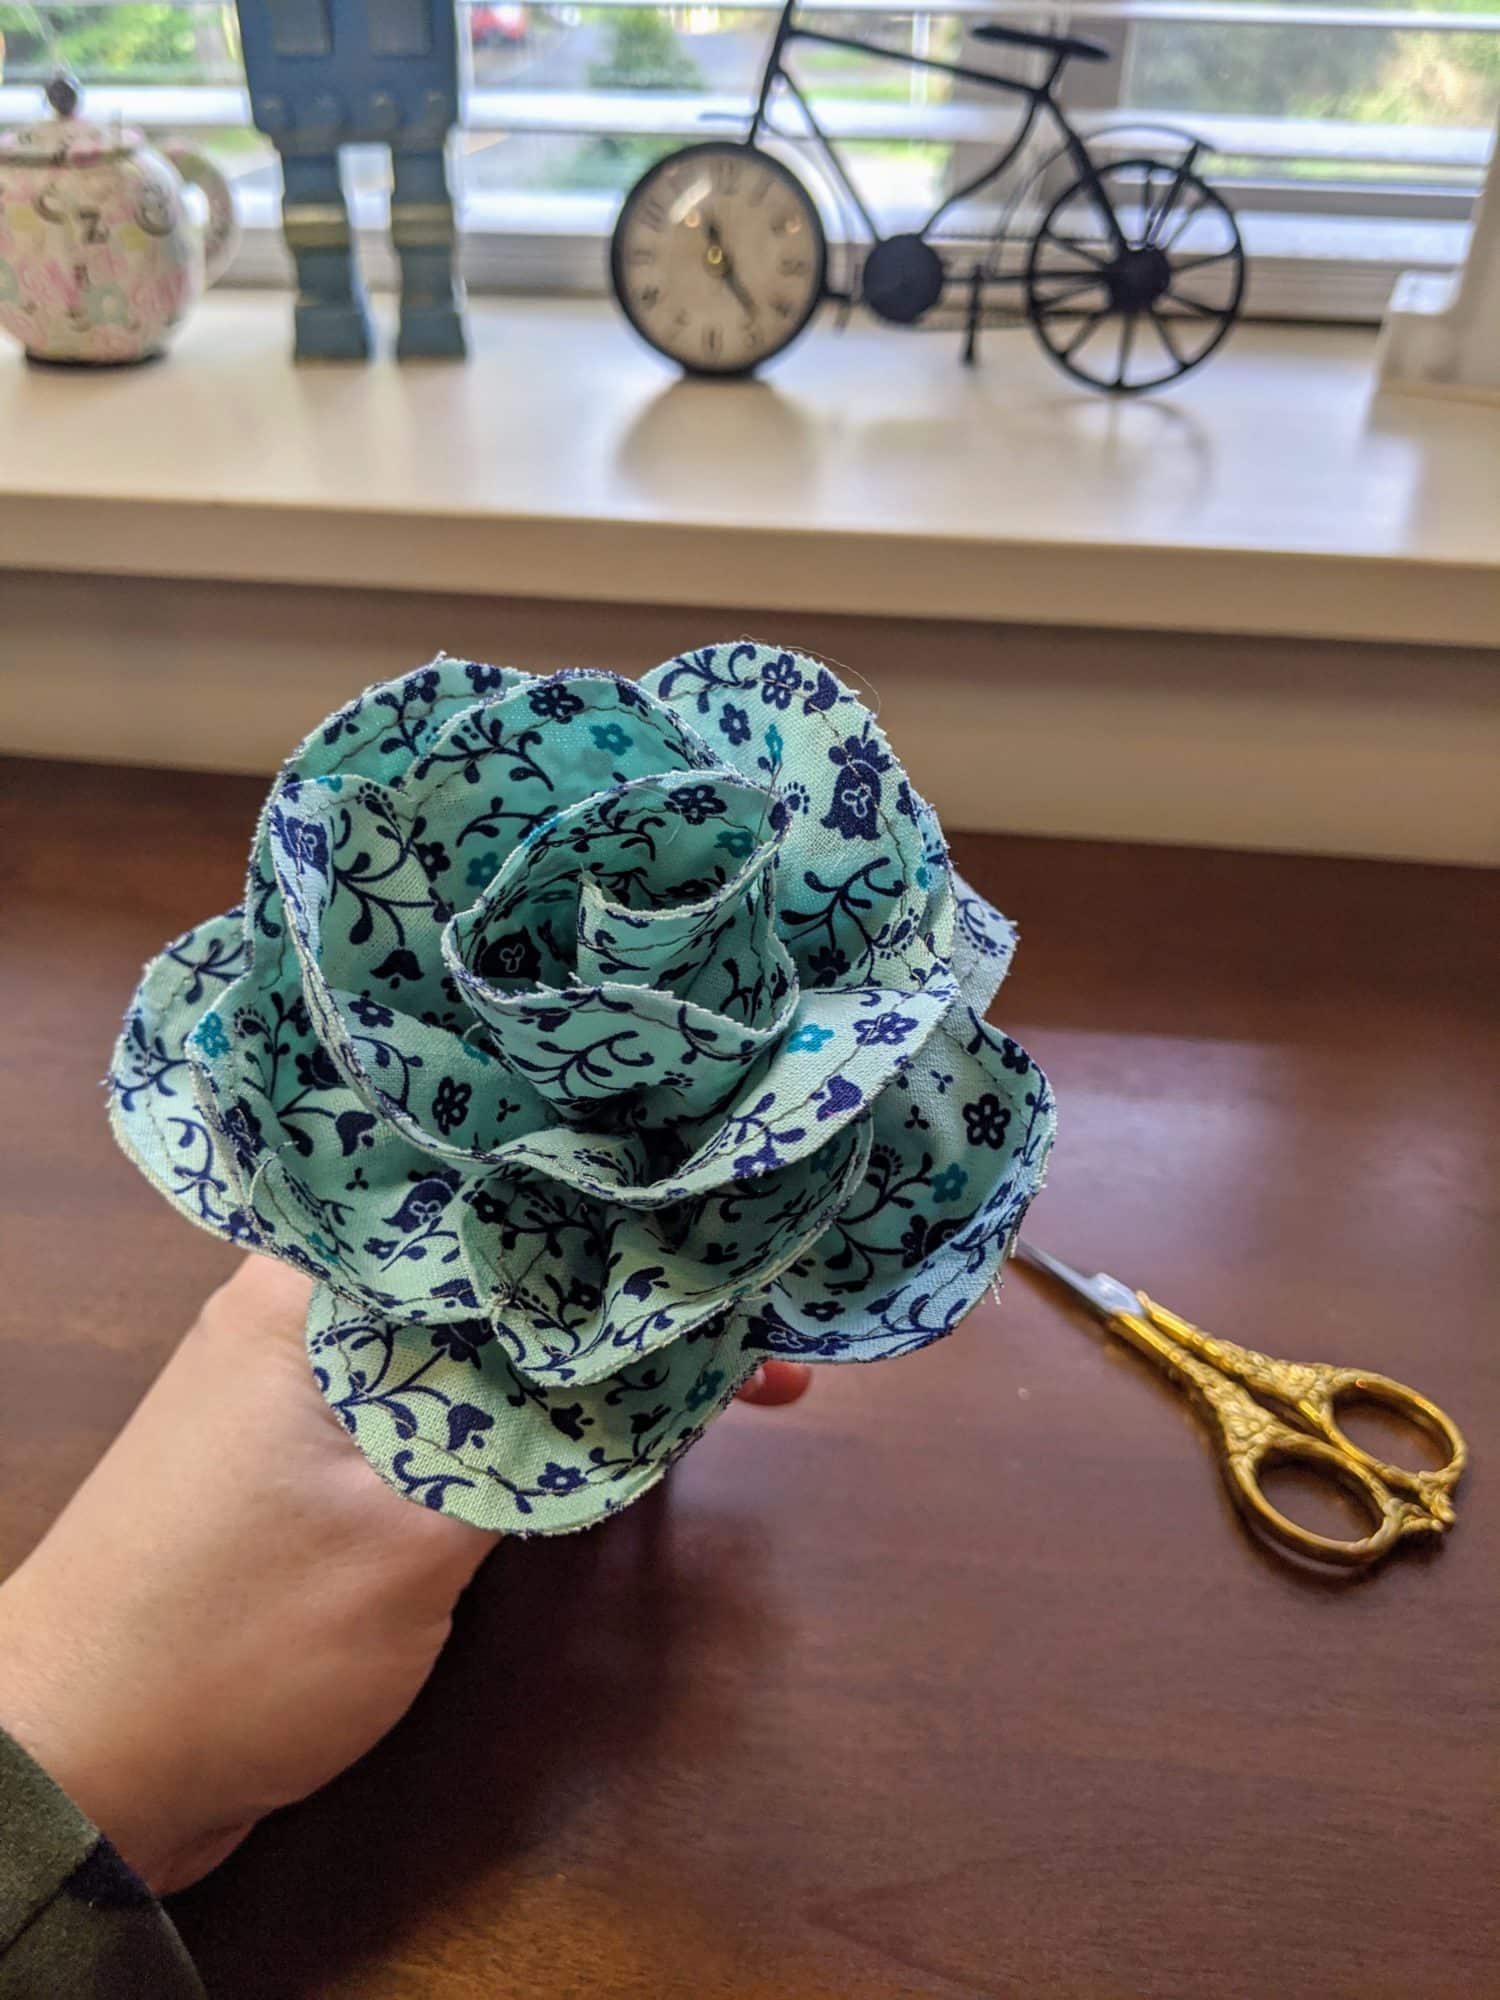
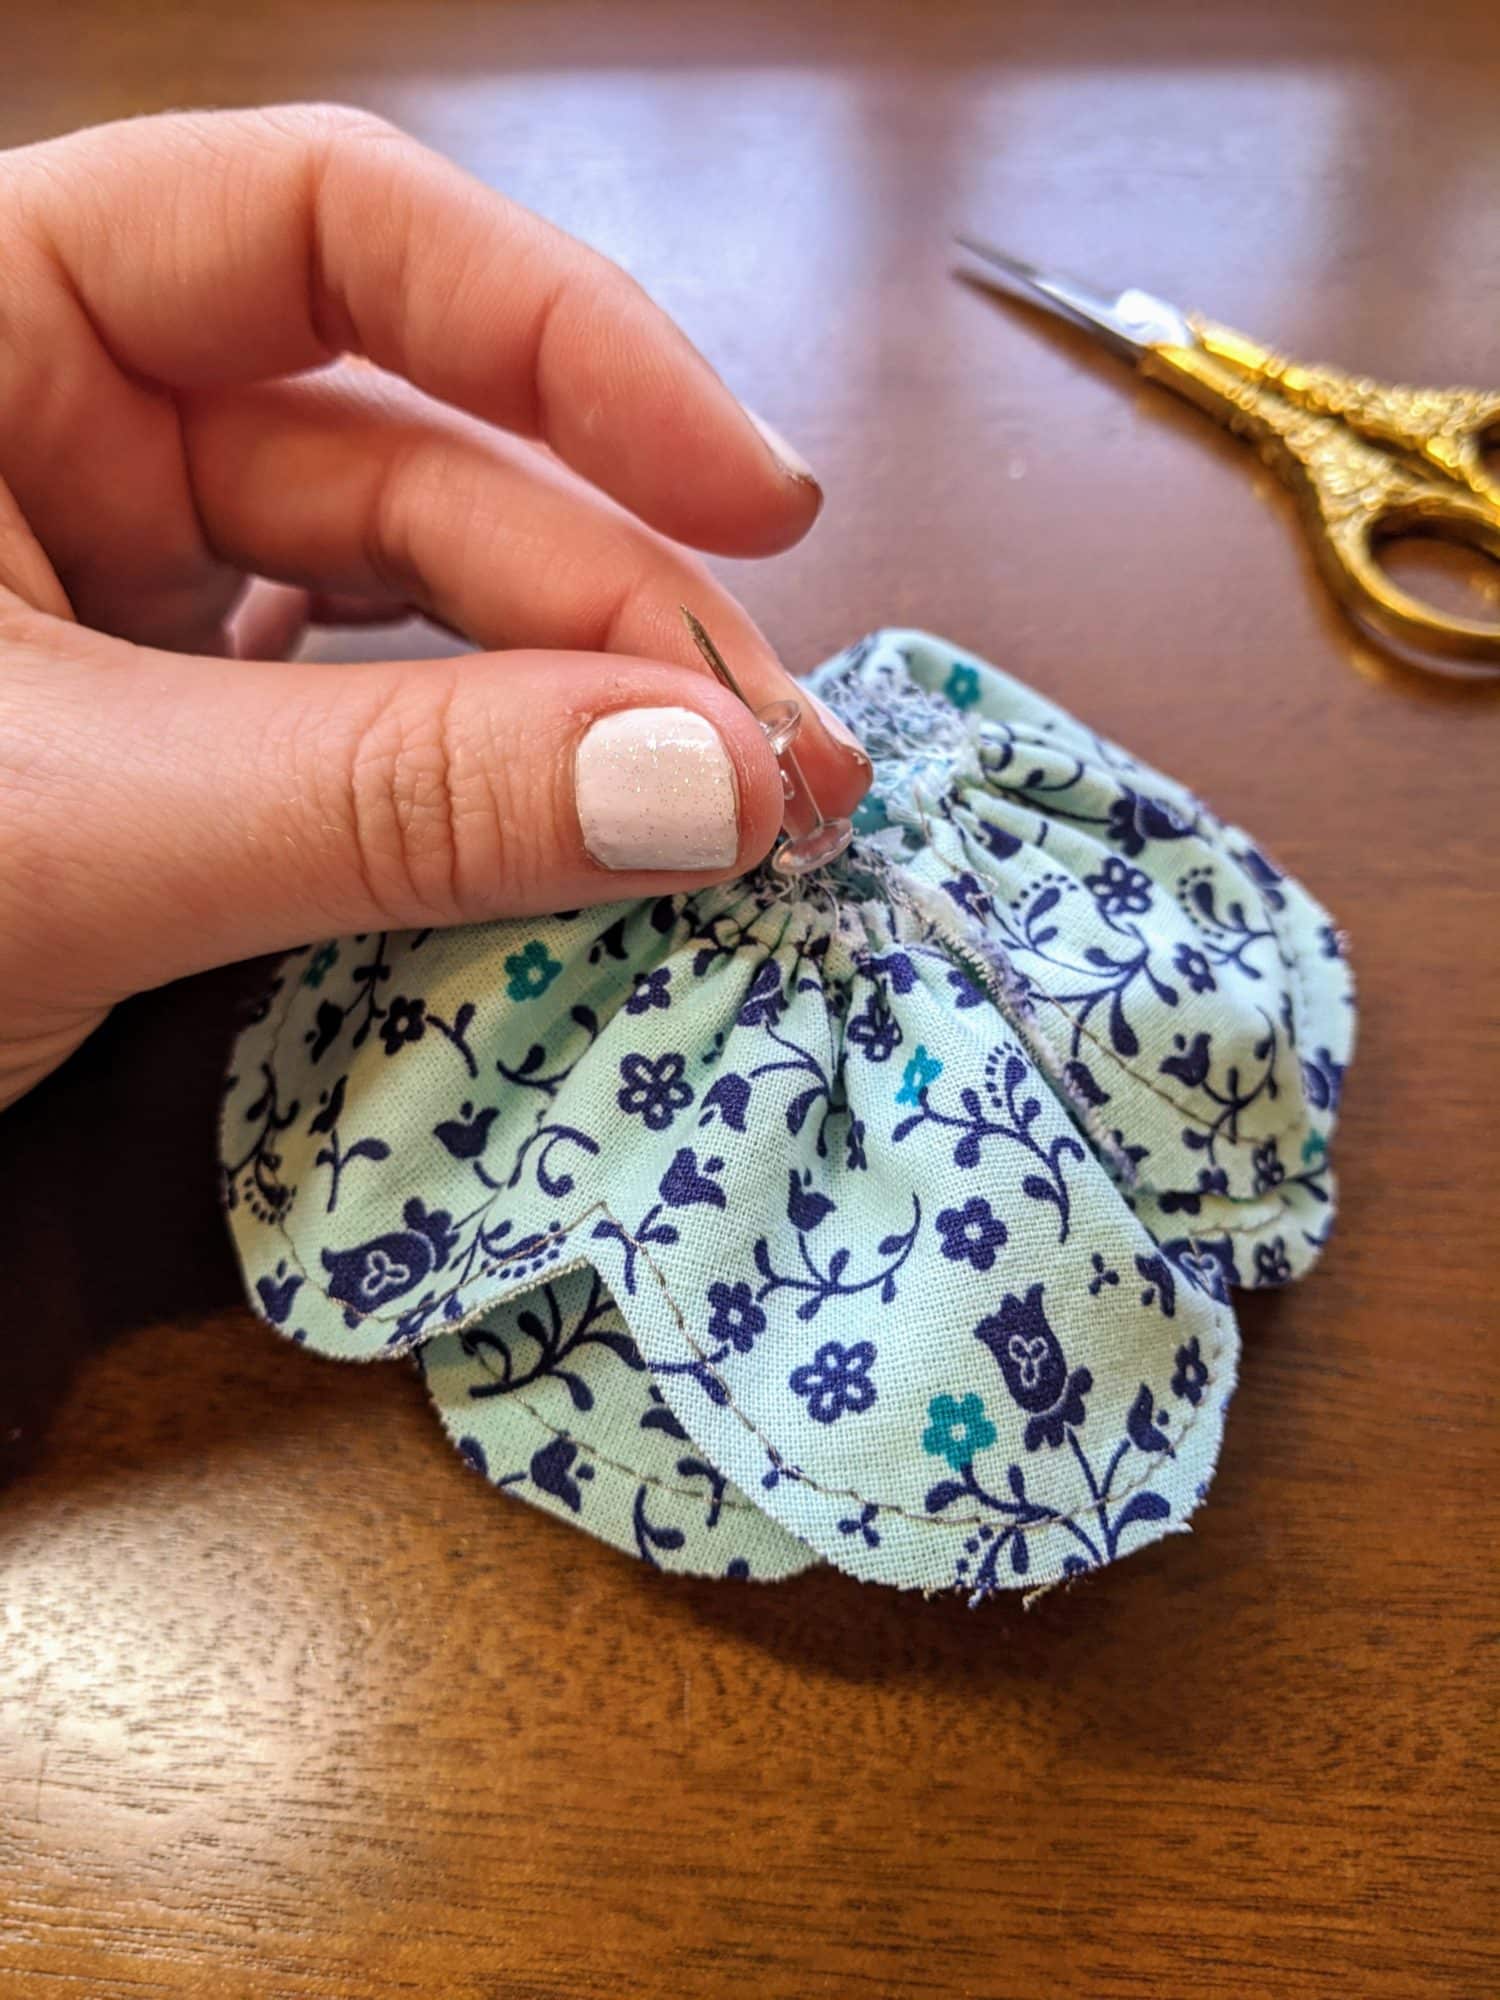
Run a gathering stitch all the way along the straight edge. I used a straight stitch set at the longest length and loosest tension. You can do 2 rows of gathering if you want to, completely personal preference.
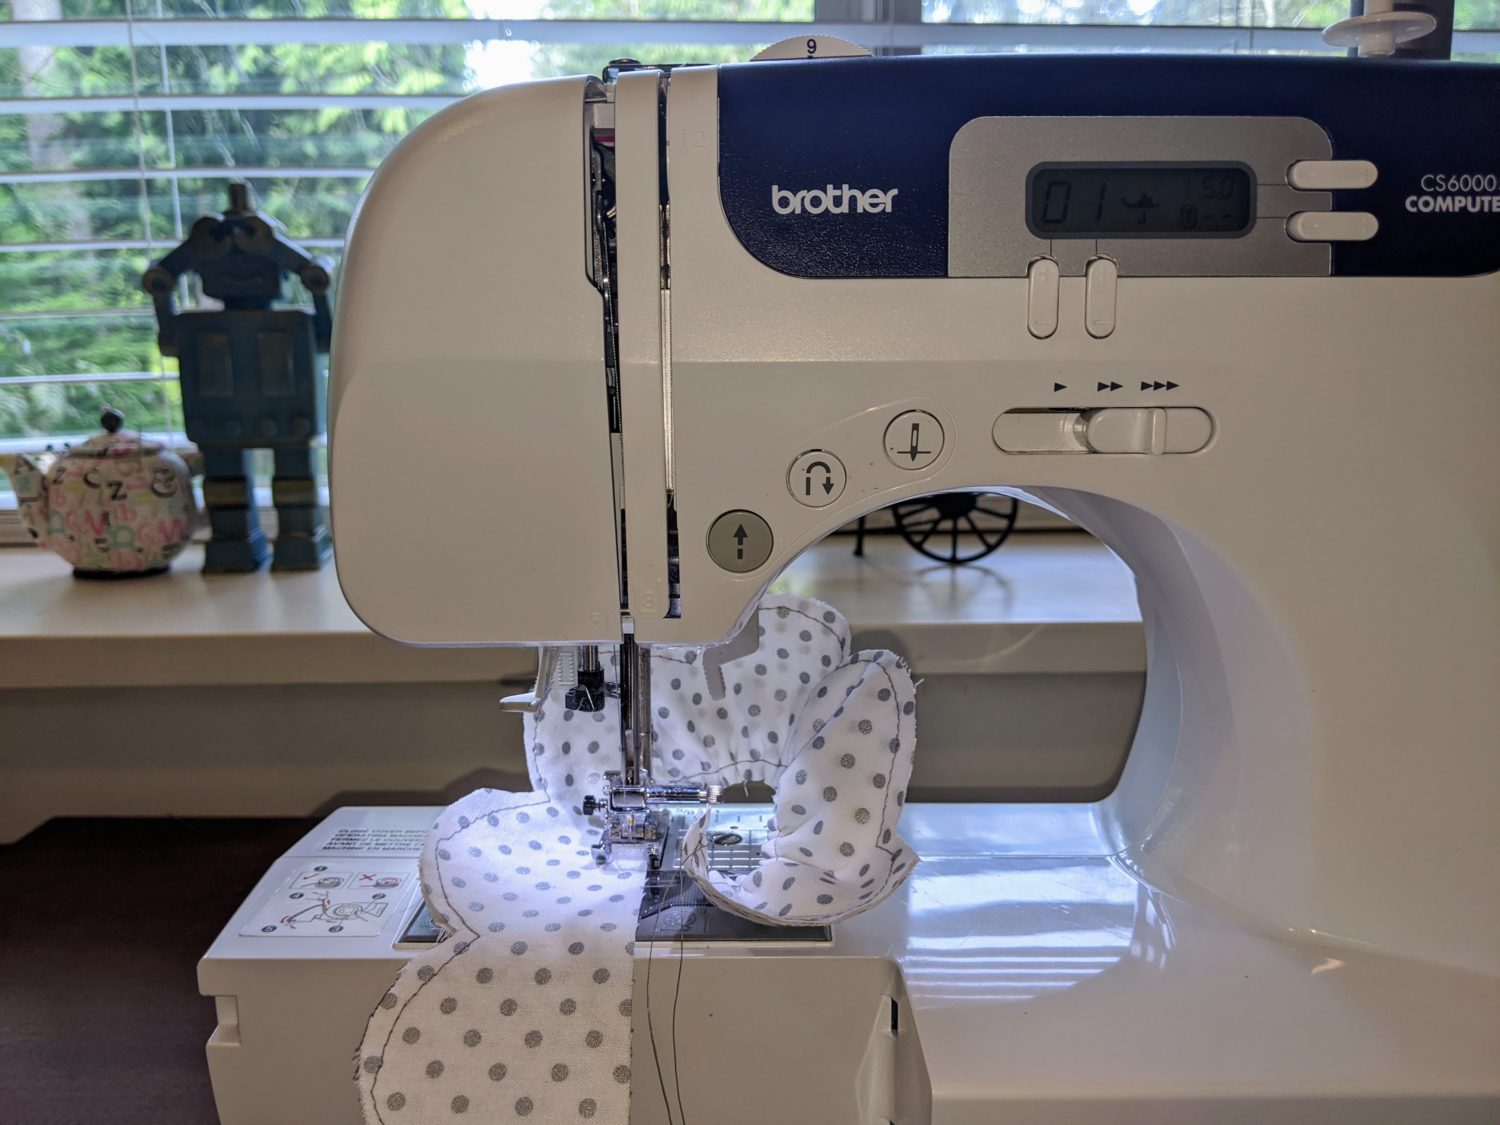
With these settings, it will be gathered enough, but I prefer to make the gathers tigher by gently pulling the bobbin thread and sliding the fabric down. The more gathered it is, the more separated the petals will be when finished. Tie both ends to keep the gathers from coming out.
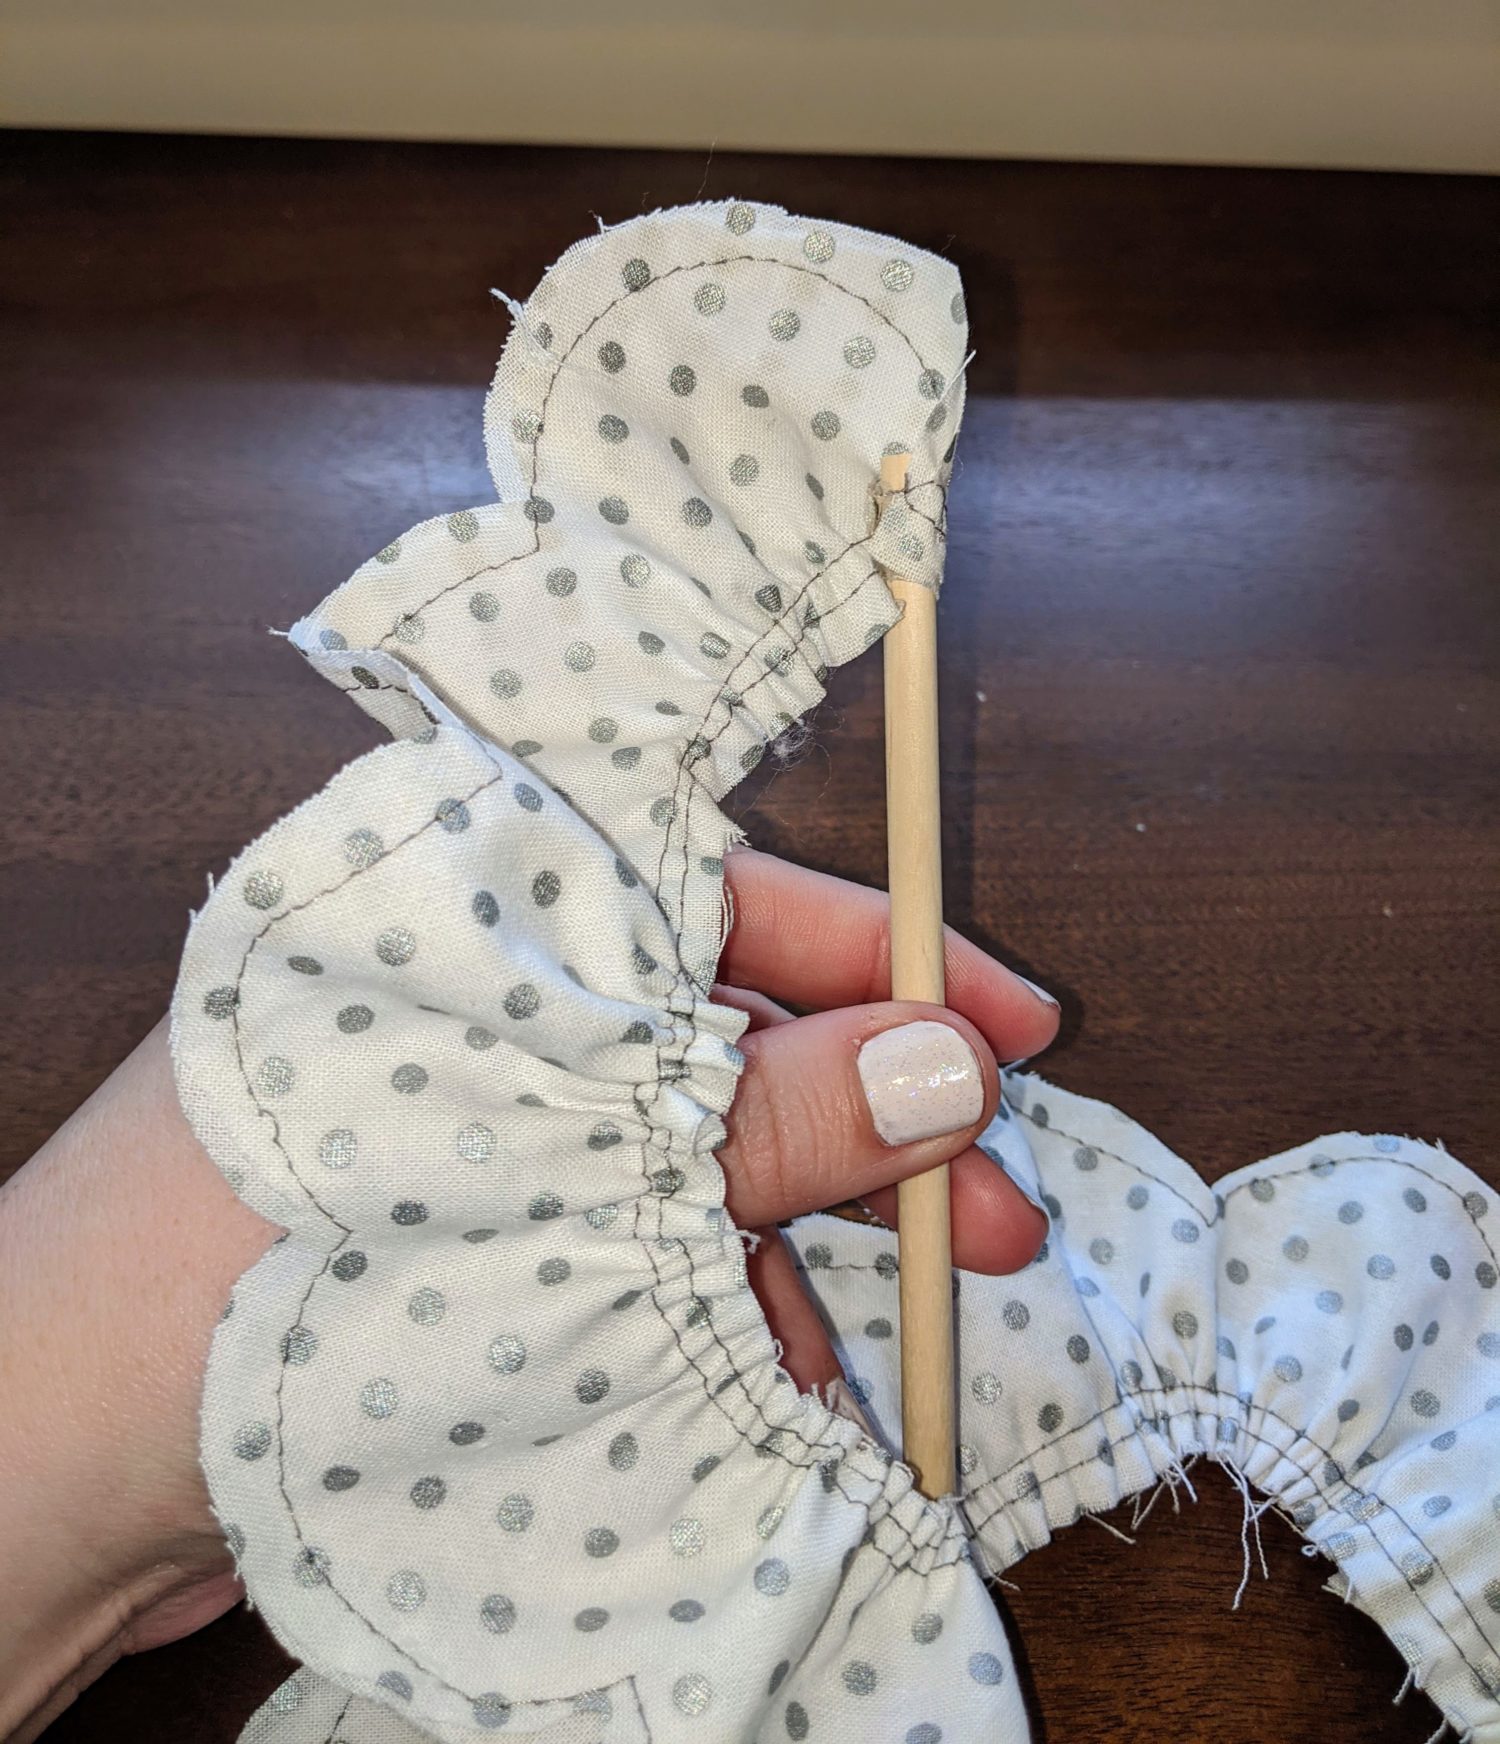
Heat up your hot glue gun, and gather your sticks (or whatever you want to use as a stem).
I am using dowels that I got in the craft section at the dollar store. Starting at the top of your stick, put a line of hot glue around the dowel and attach one end of your fabric. Continue to wrap the fabric around, putting hot glue along the previous row of fabric as you go.


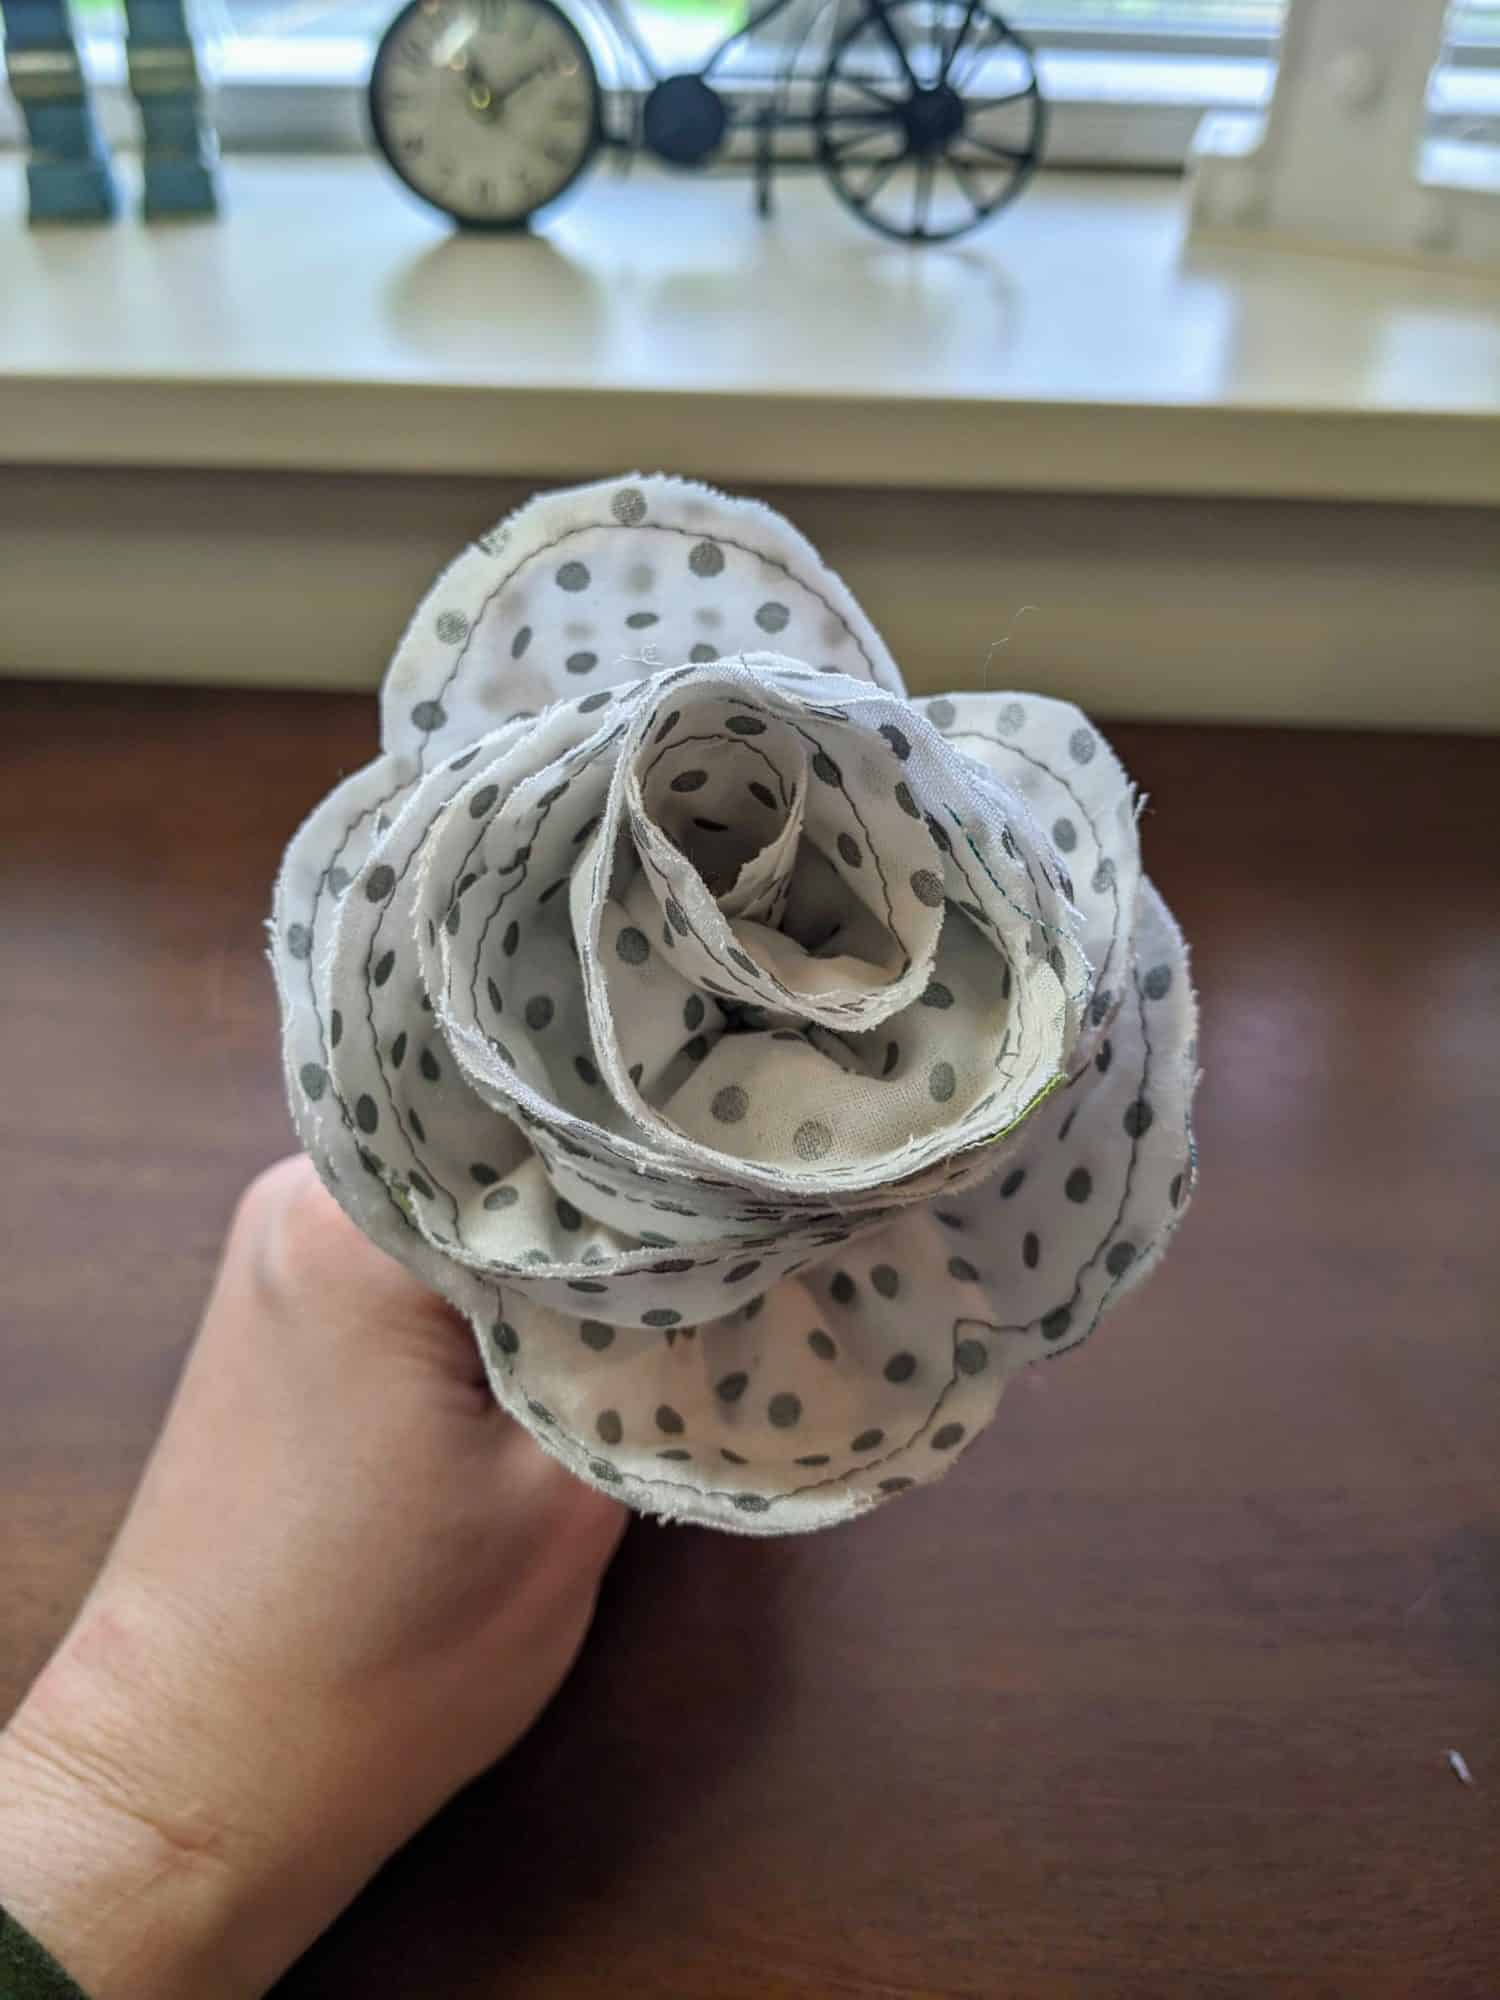
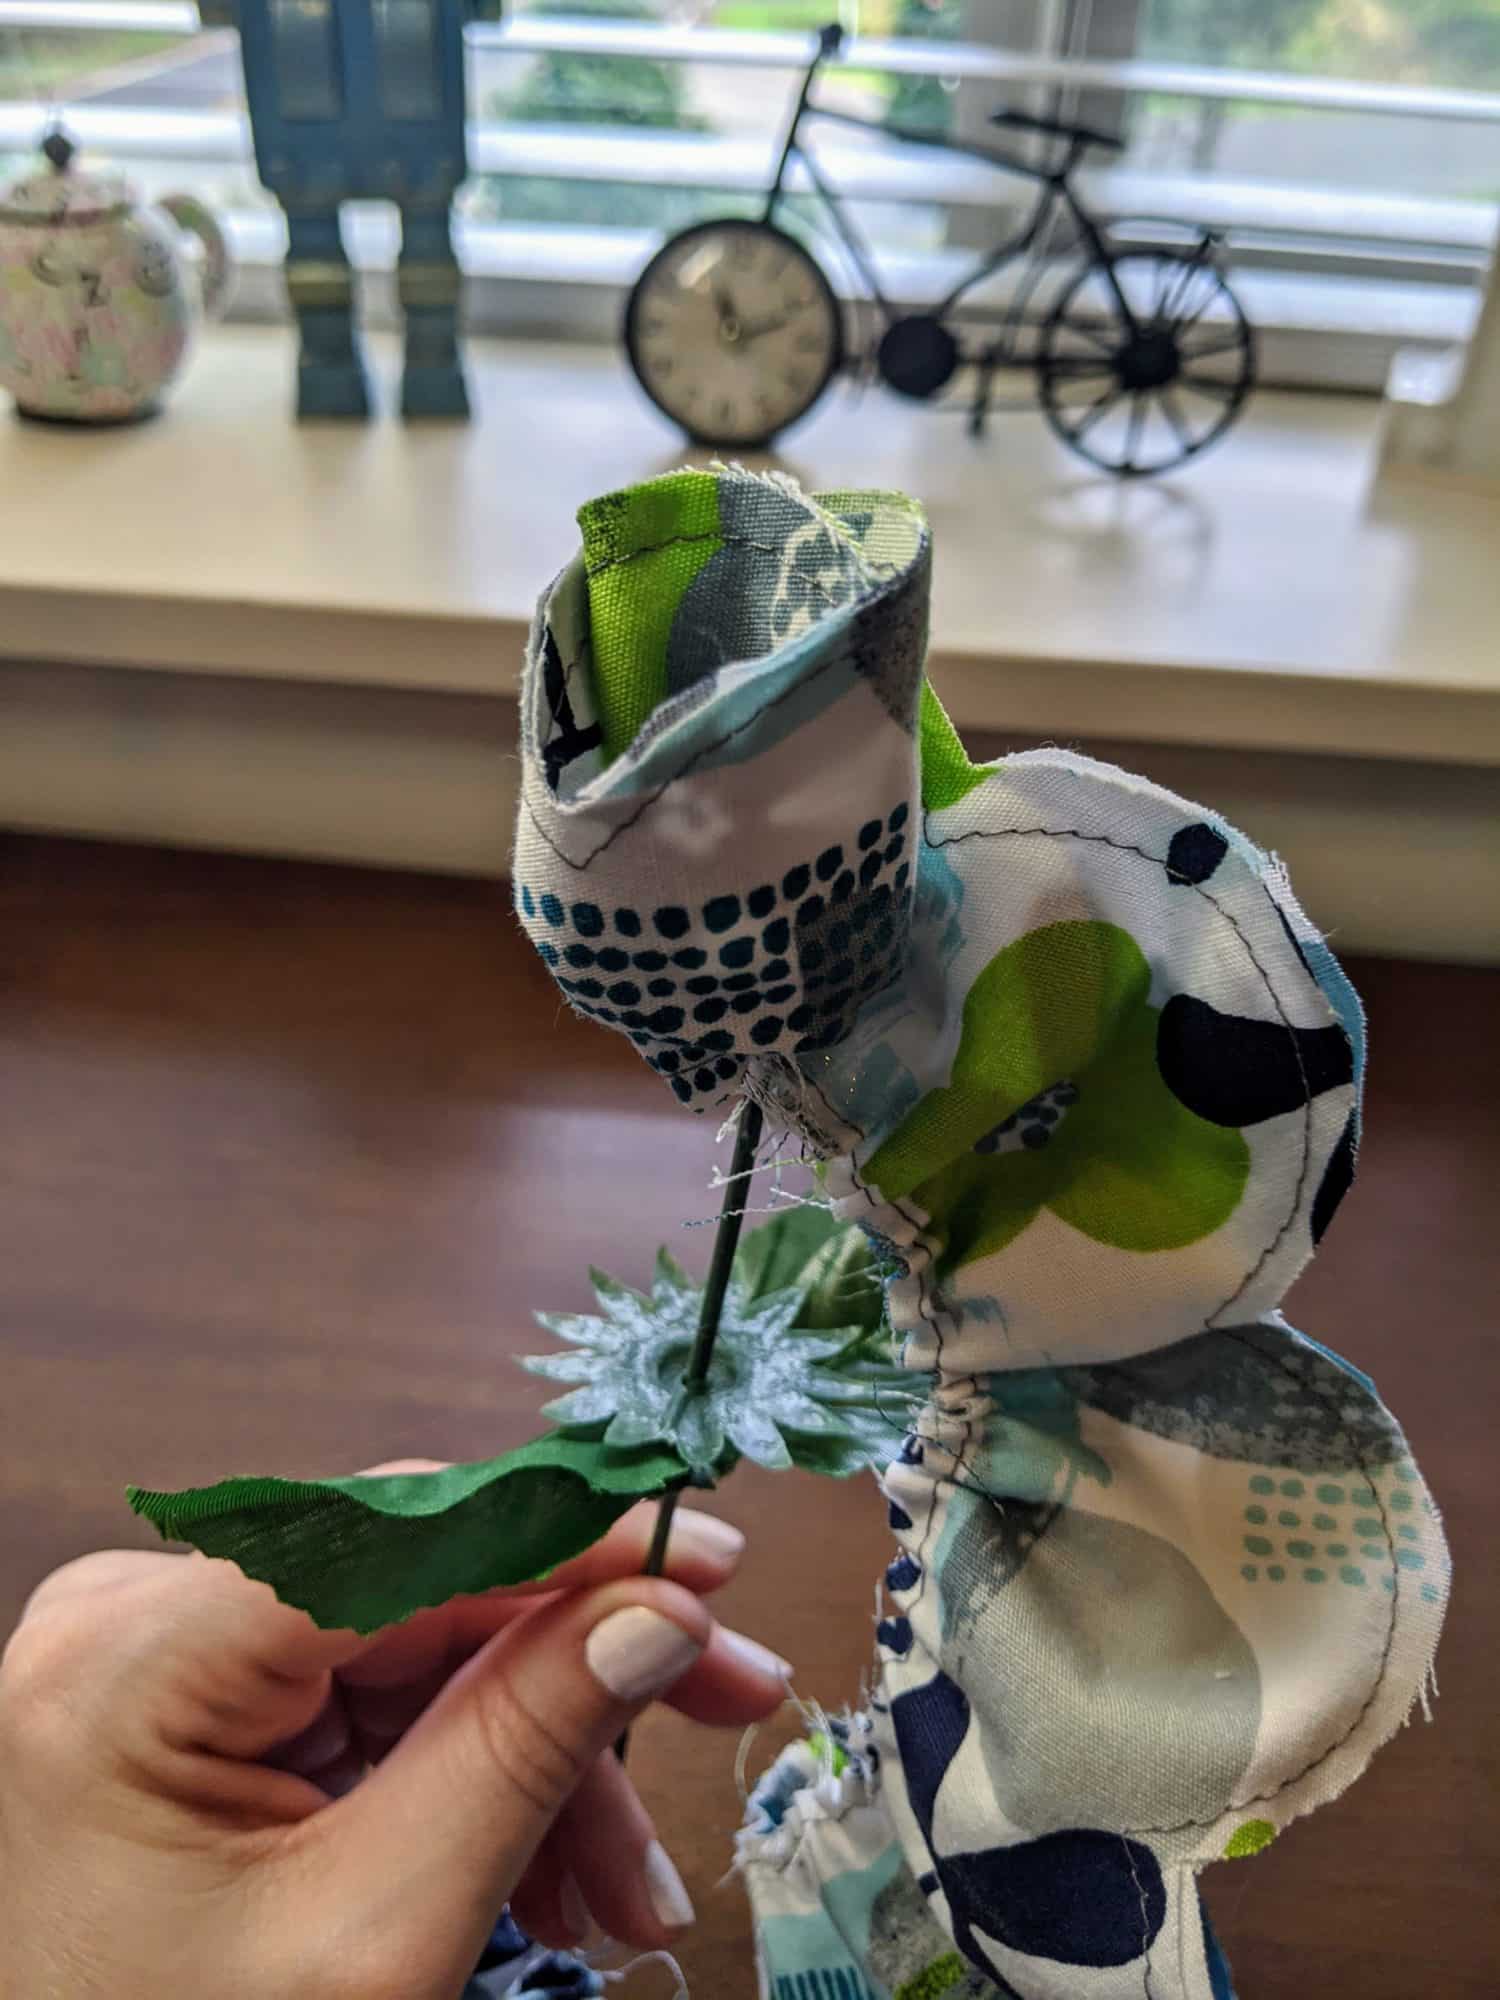
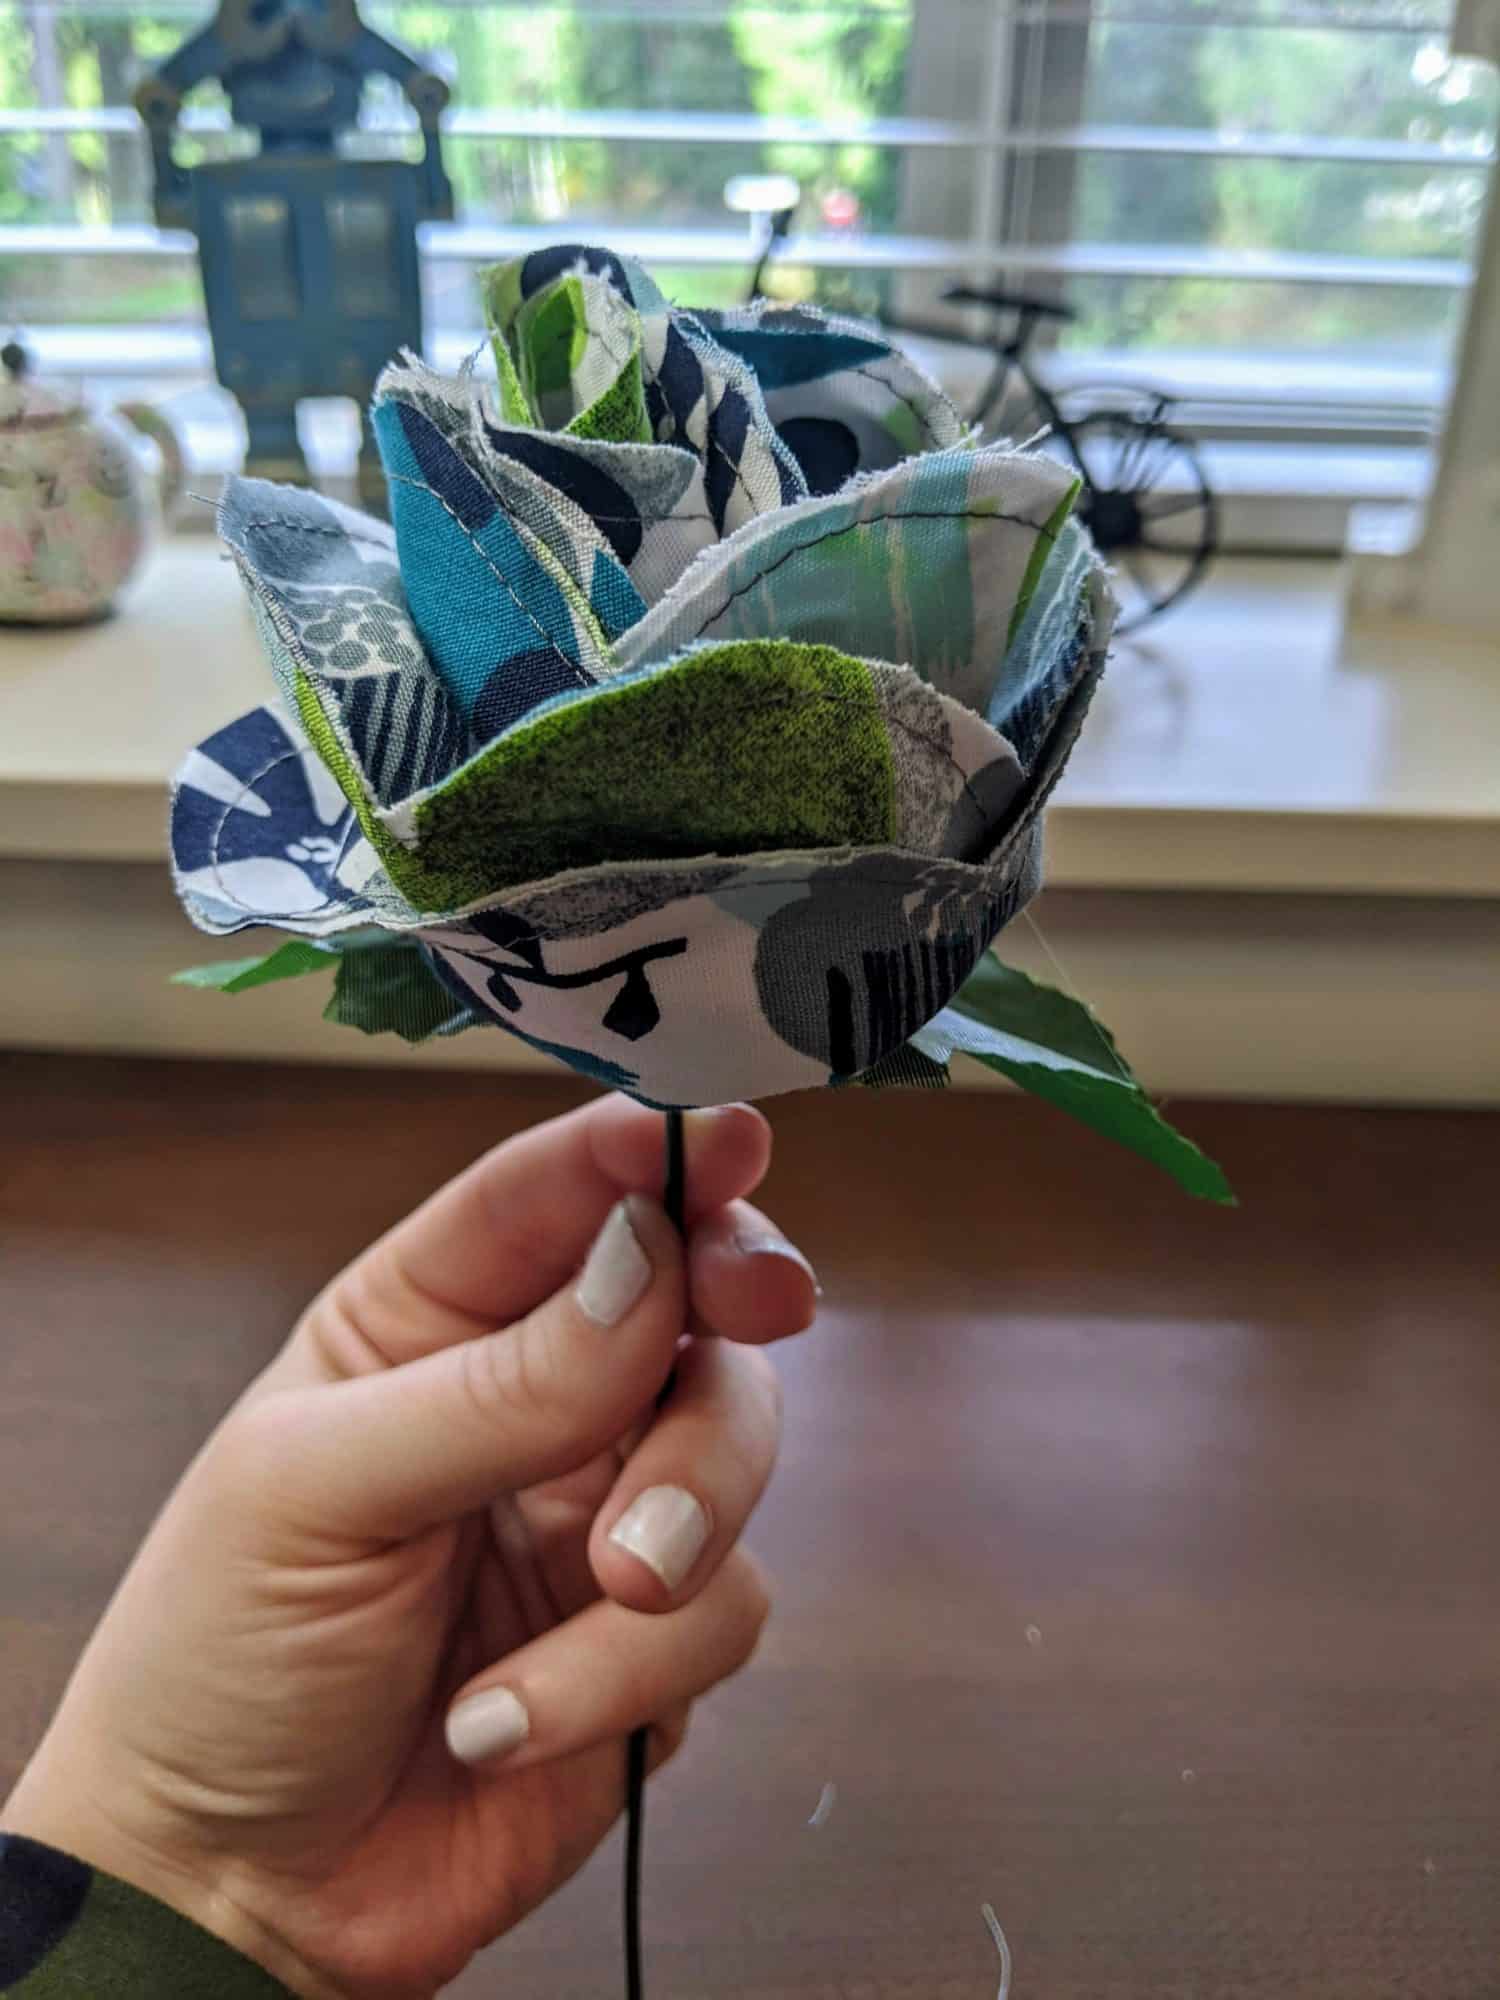
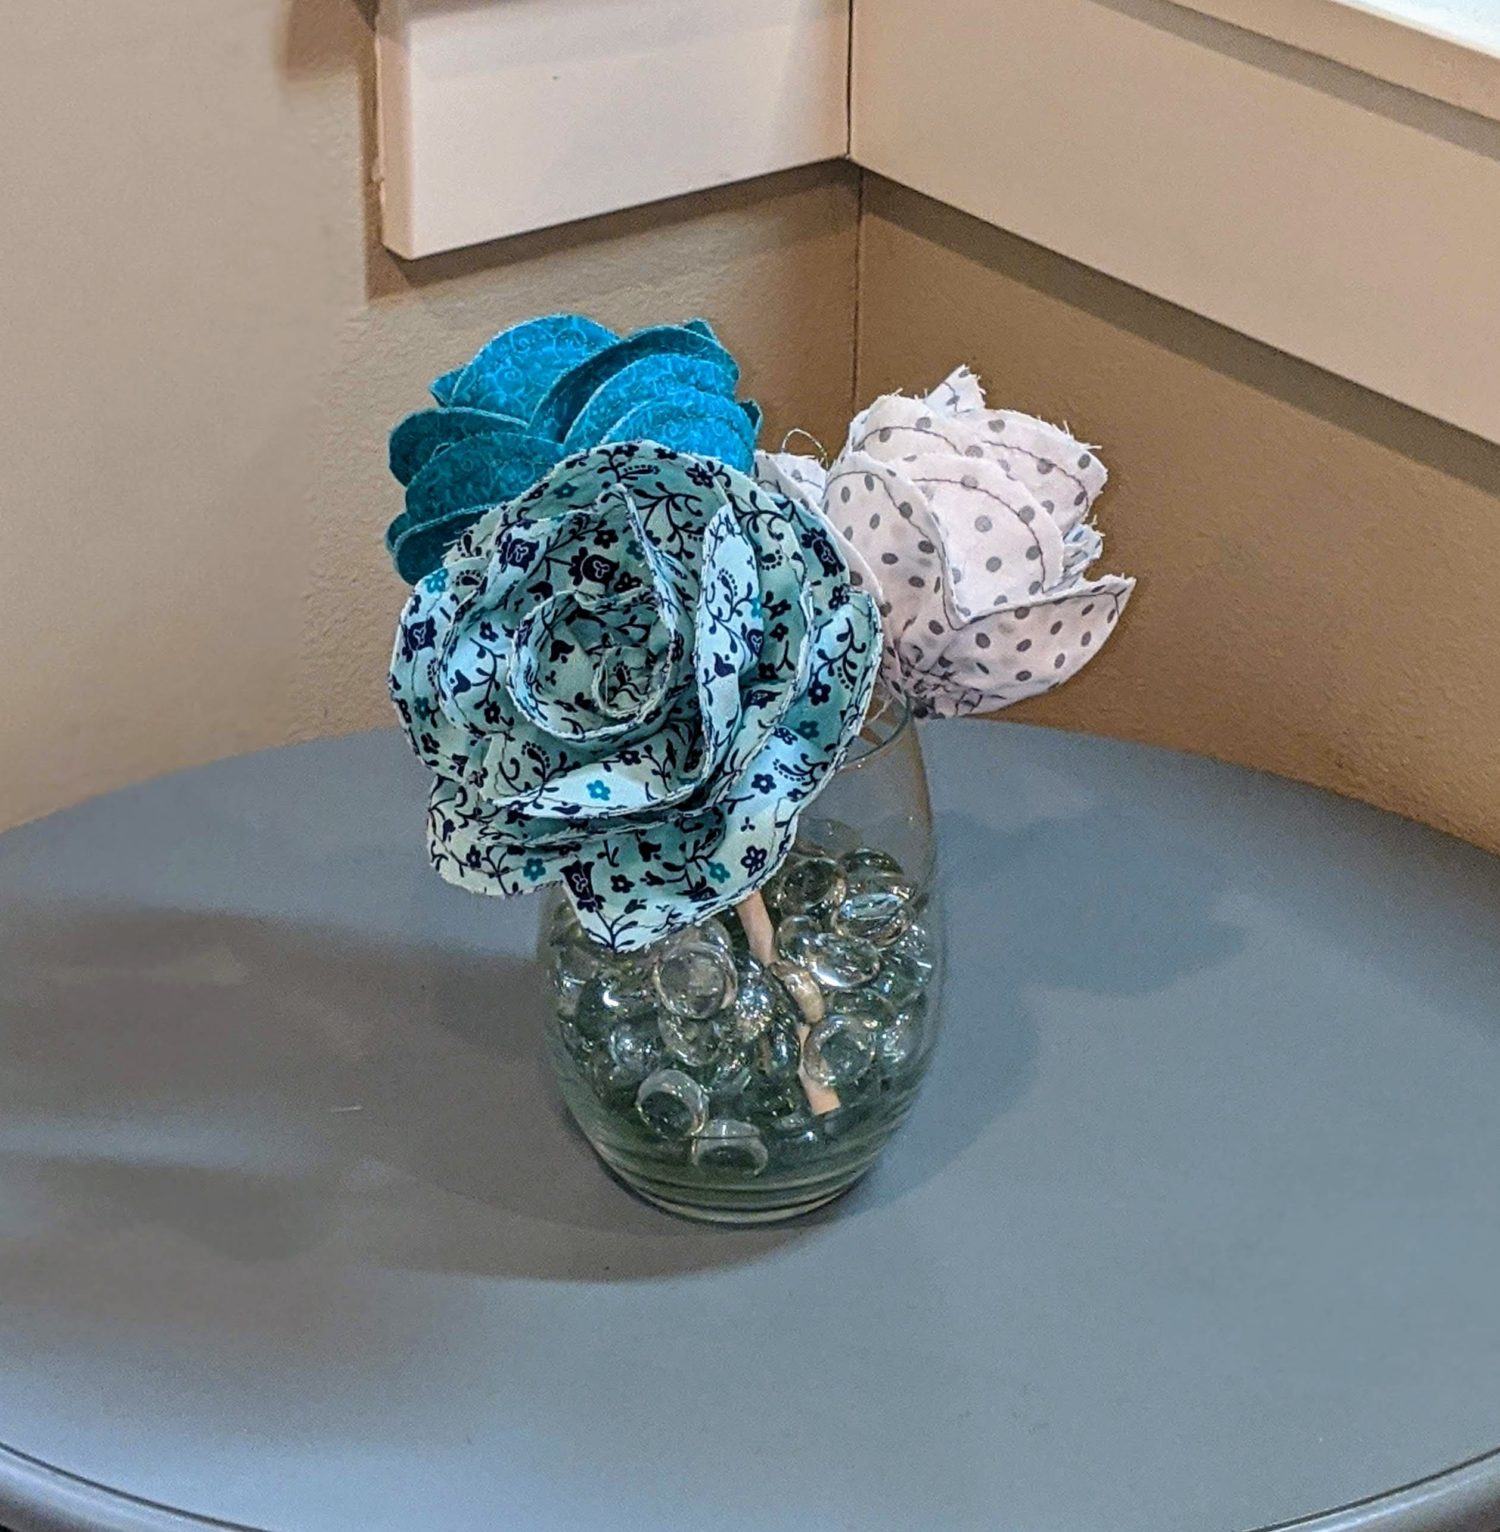
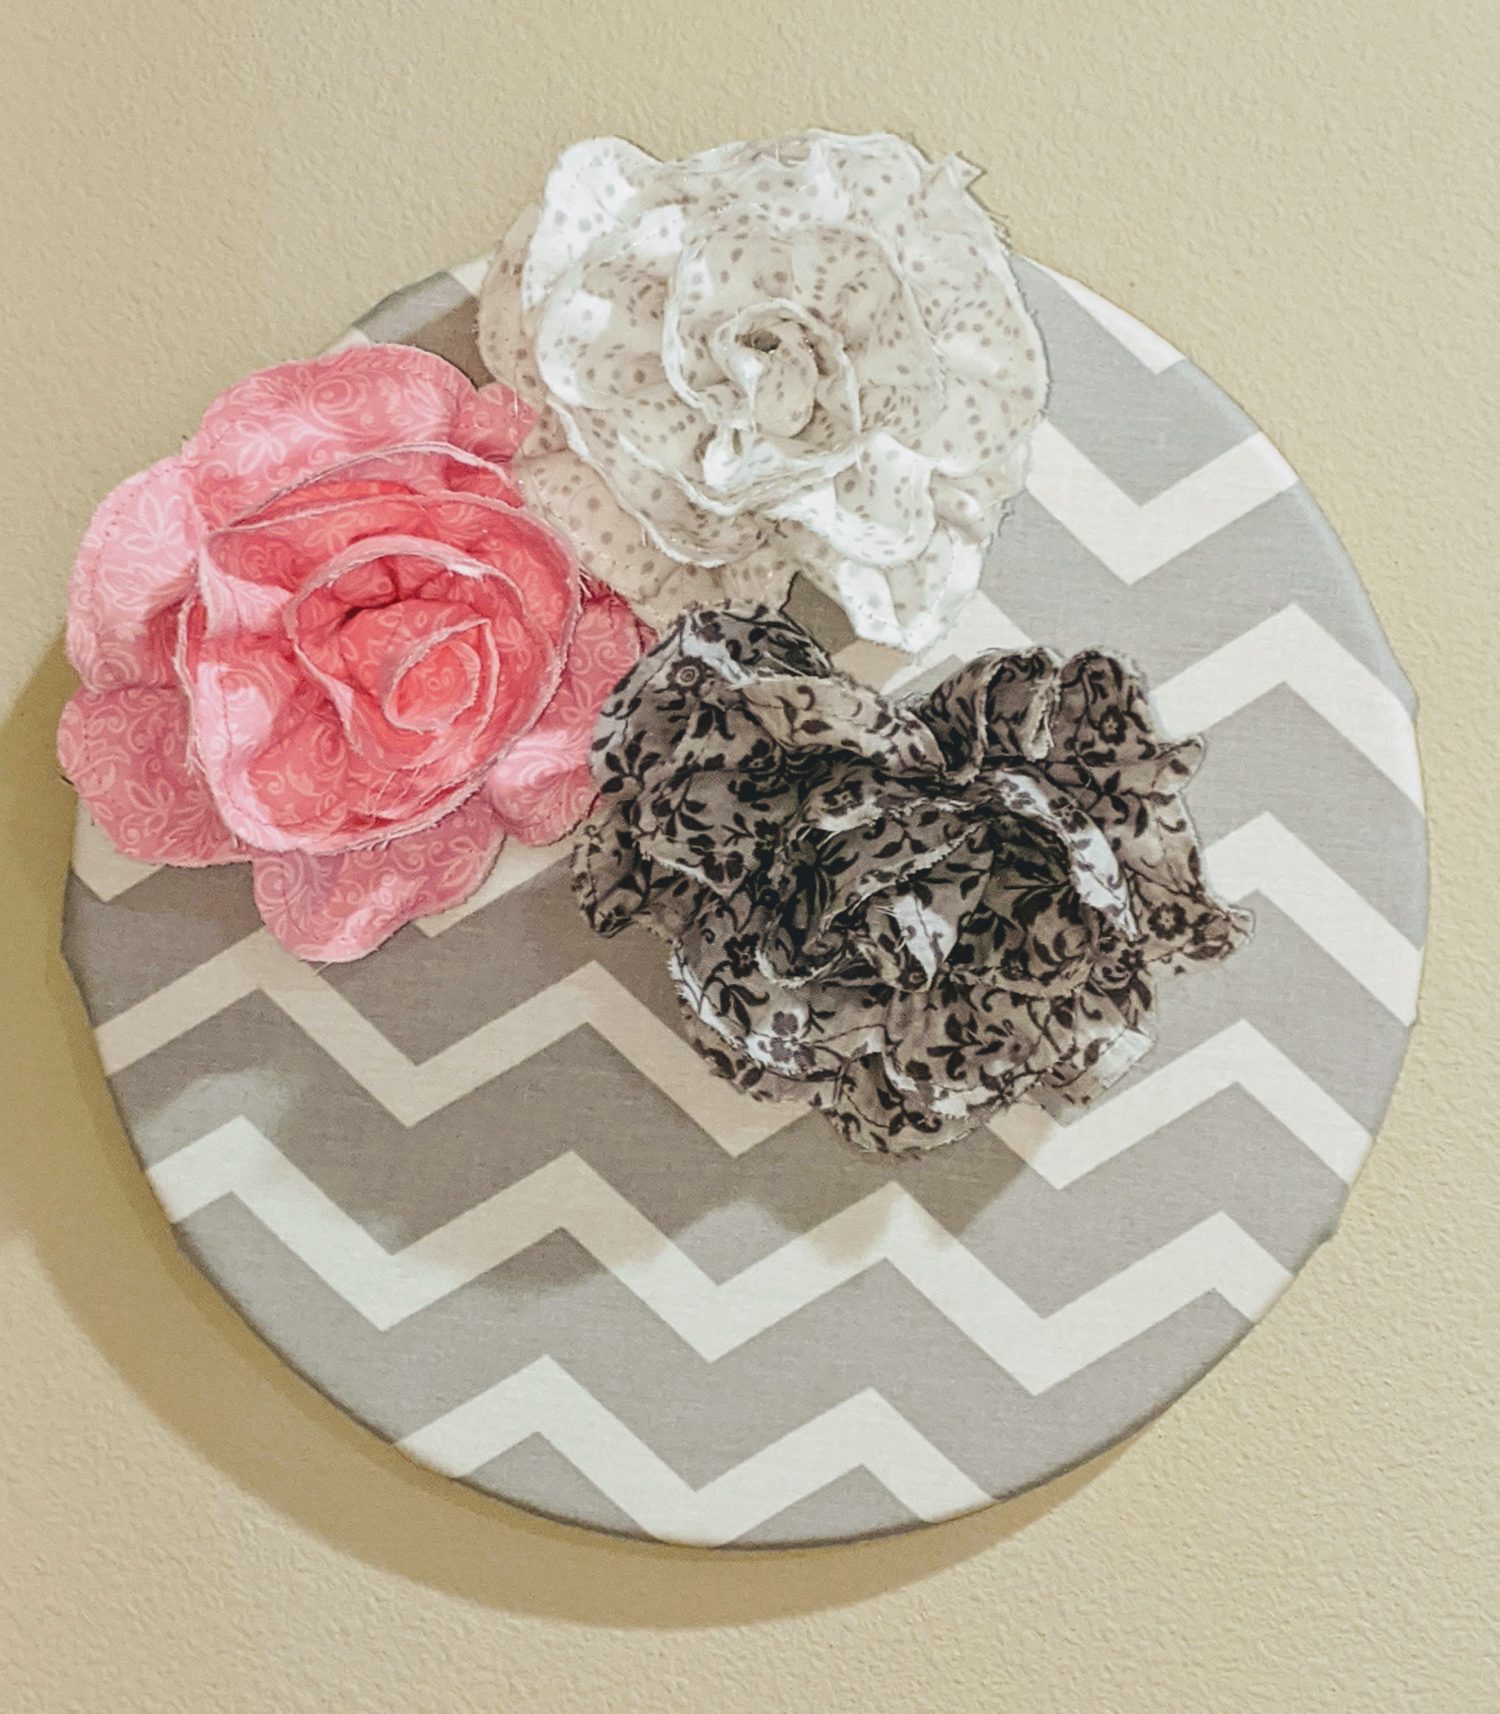
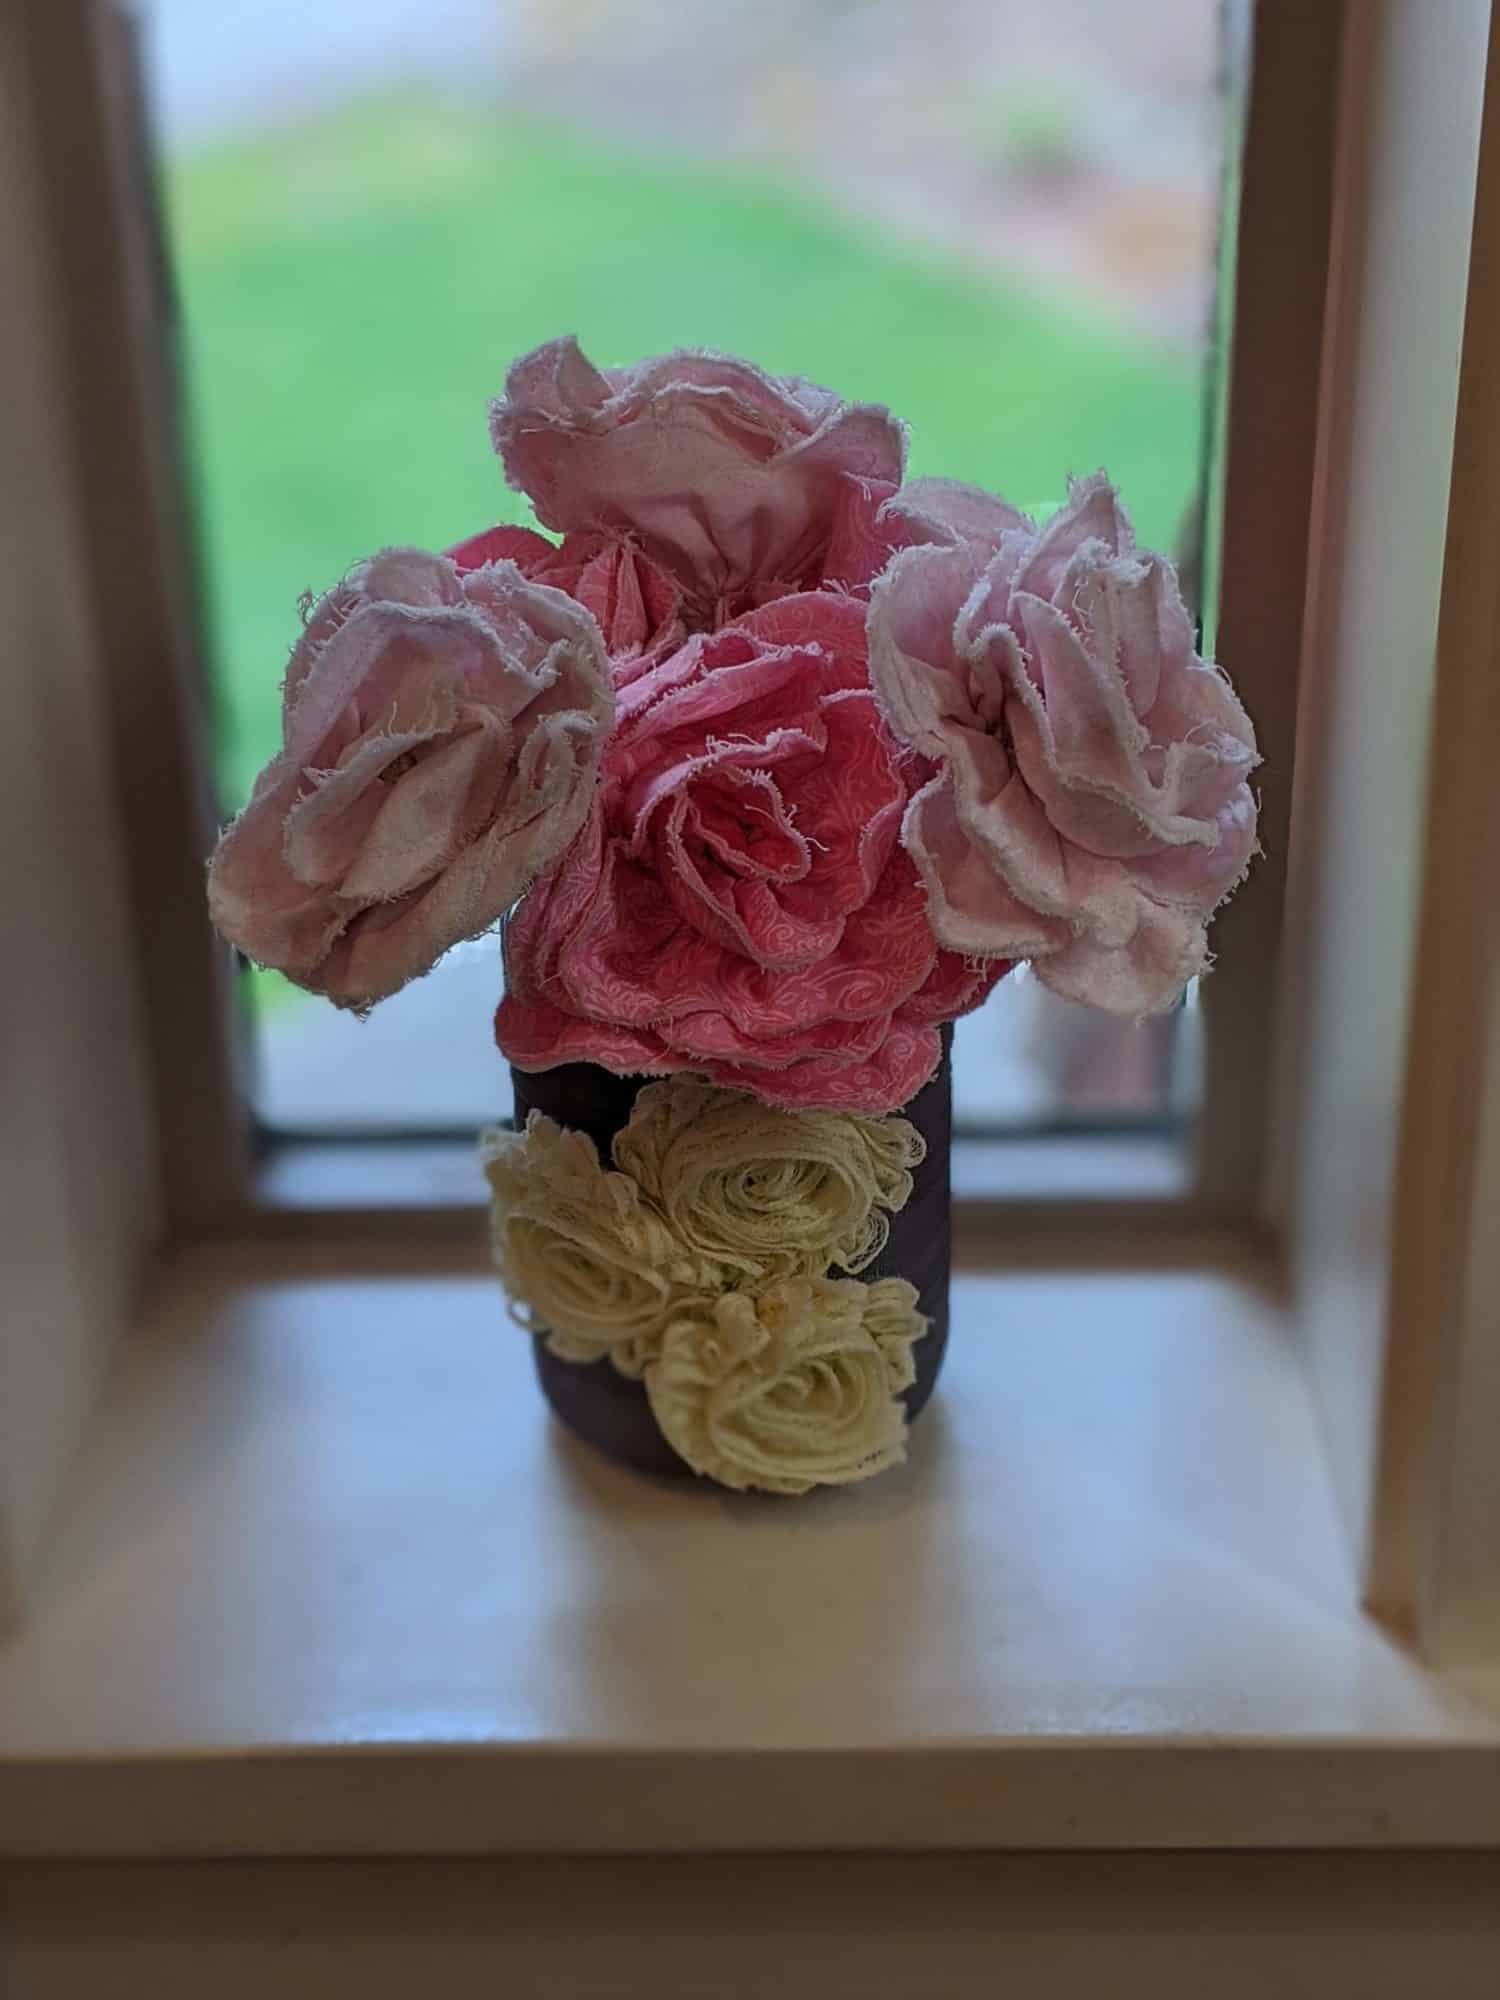
Now you have a beautiful flower!
You can use pretty much anything as a vase. I have used actual vases for ones with longer stems, stemless wine glasses with glass stones (both from the dollar store), and even wrapped an old peanut butter jar with ribbon. Get creative and make some beautiful flowers!
As always, we’re here to help if you need it! Join us HERE and on Facebook, Instagram, Twitter, Youtube, and Pinterest. We’re everywhere you are.
Find even more awesome freebies HERE.
Leave a Reply