My neighbor is having her first girl and I wanted to make her a few baby gifts, so I browsed through my stash to see what I could come up with. I love making tag blankets as gifts, they’re quick, easy, and you can personalize them to match any nursery theme or color scheme.
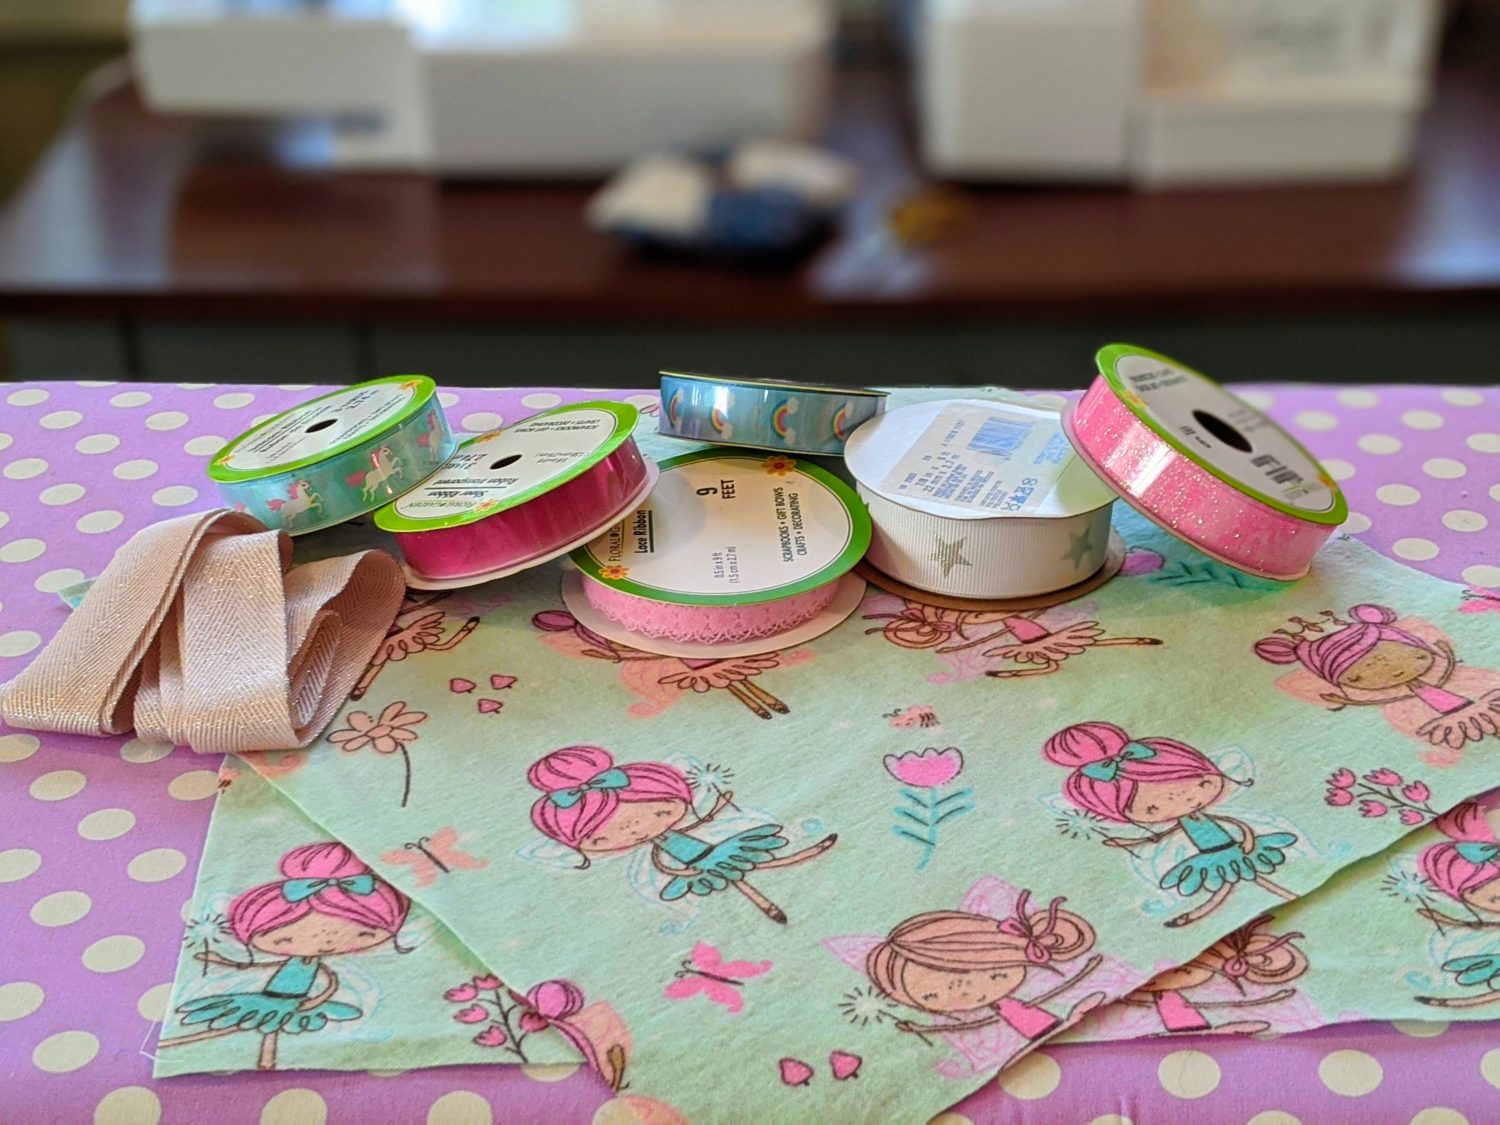
Materials needed:
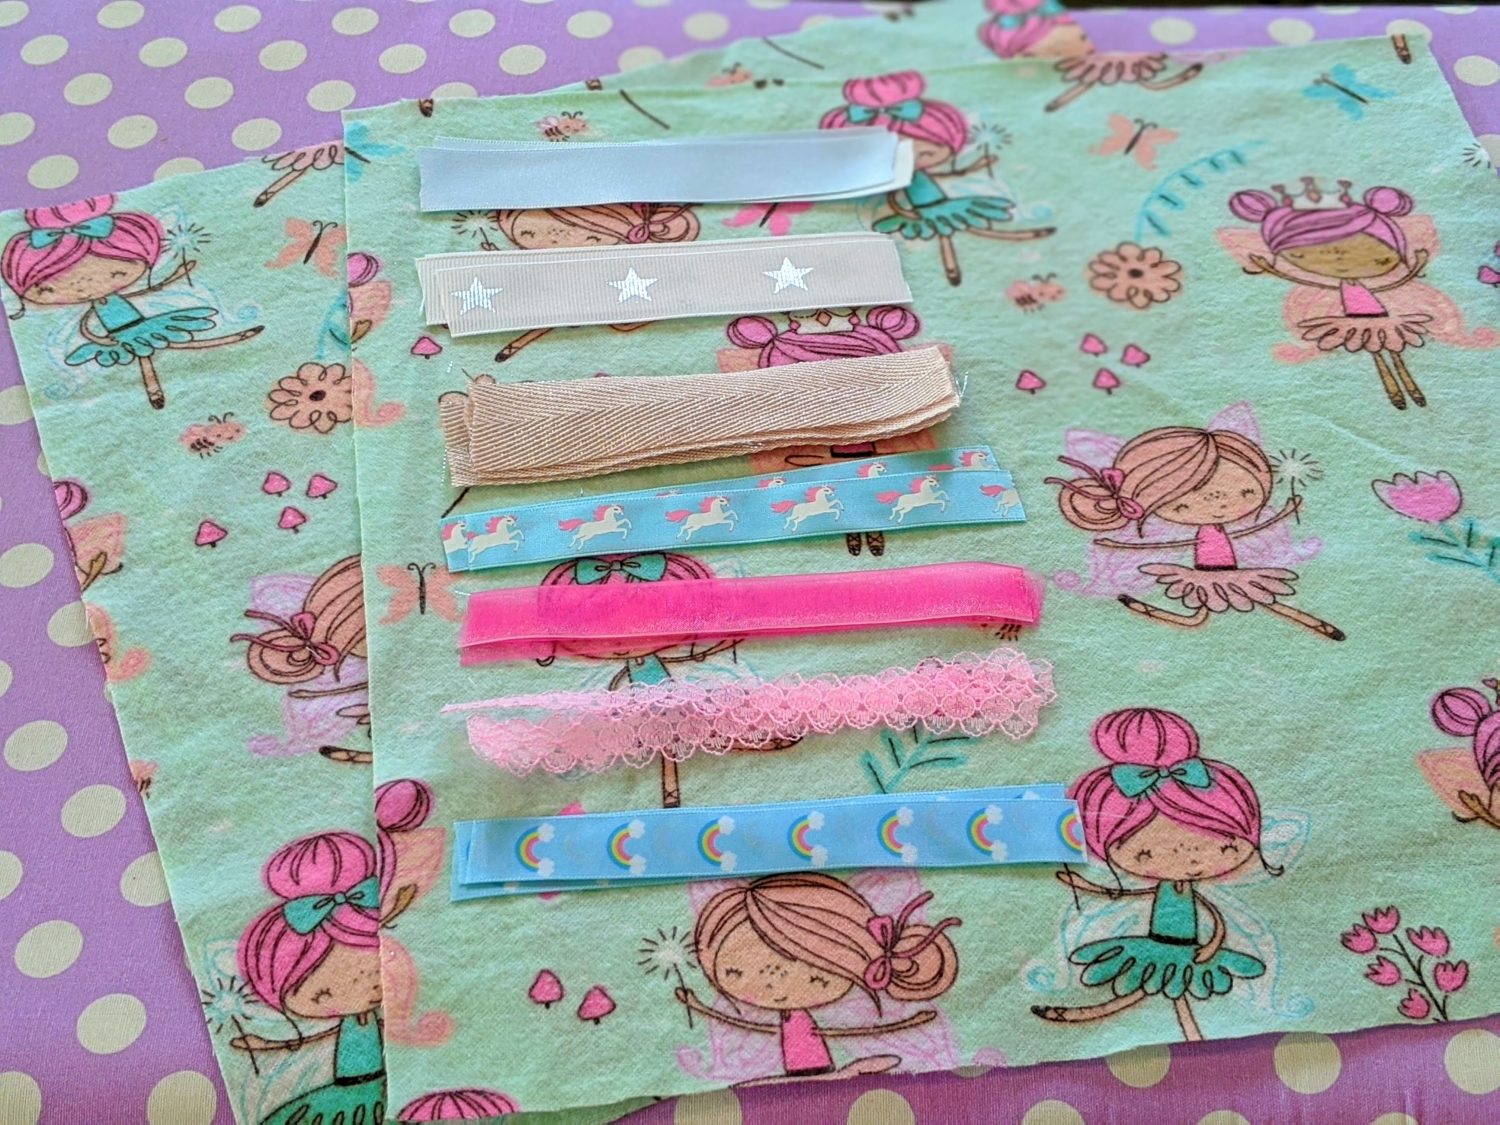
- The fabric of your choice (fleece, flannel, Minky, etc) cut into two 12″X12″ squares
- Ribbon in assorted sizes, colors, and textures cut into approximately 5″ strips
- Sewing machine and coordinating thread
Put it together
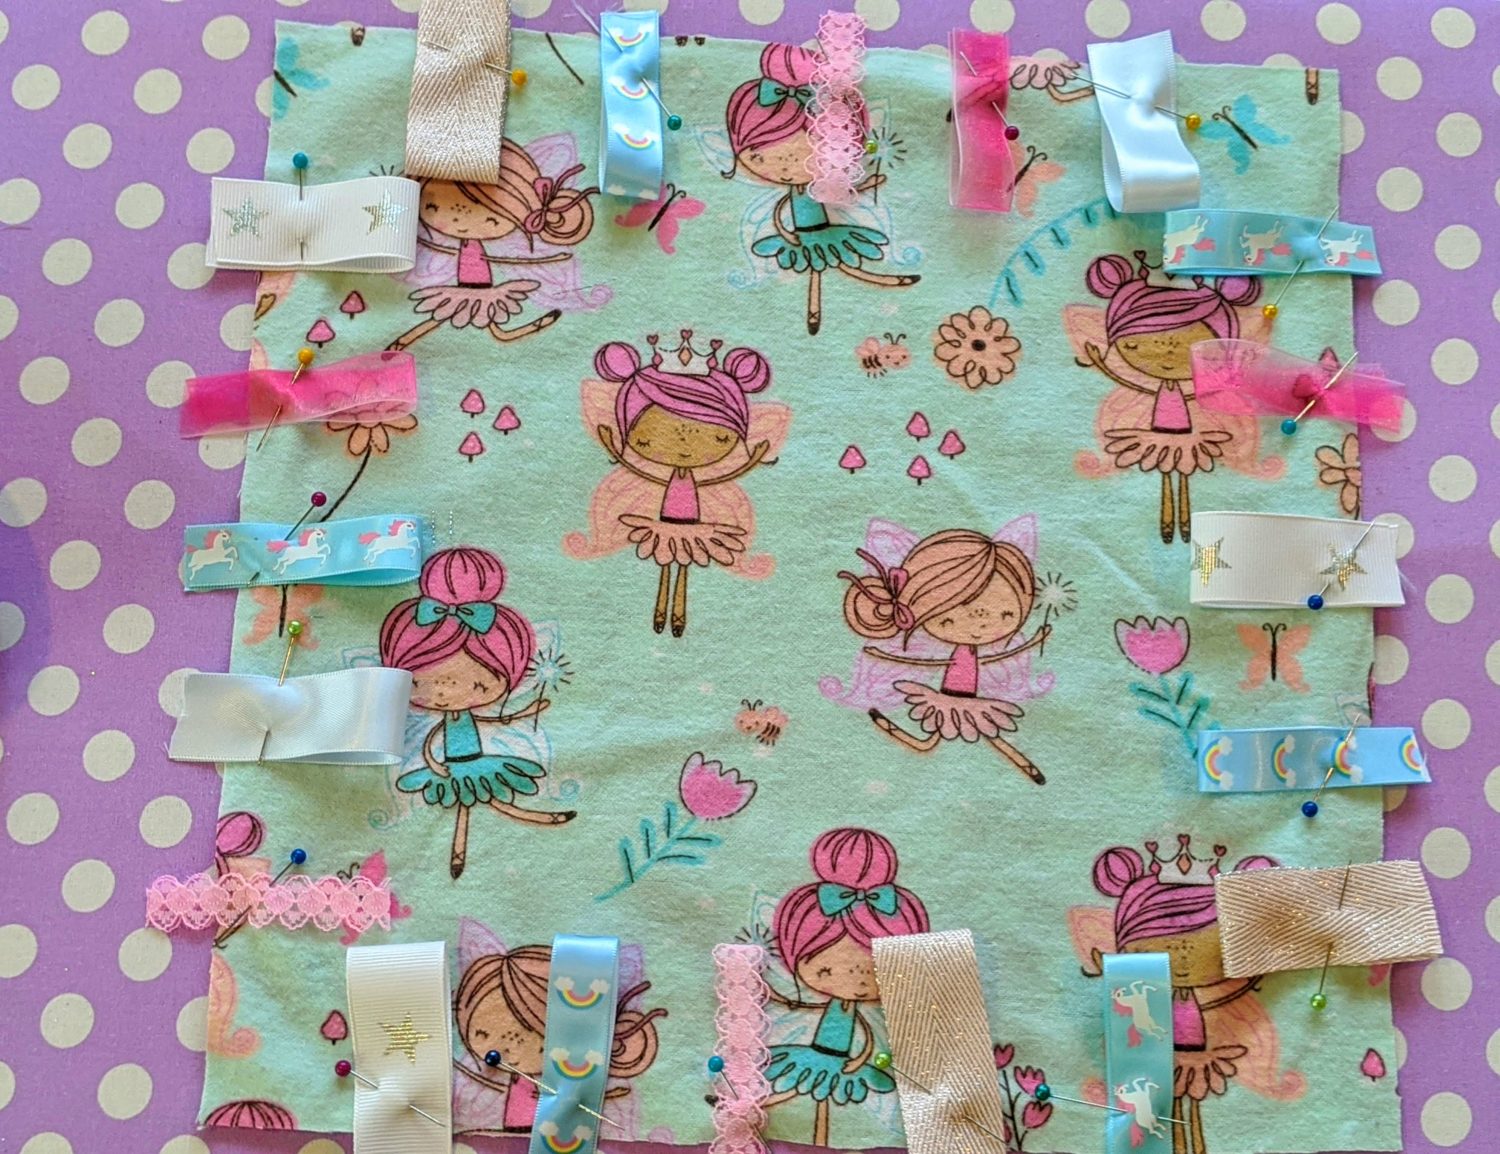
- Start by laying out one of your squares face up.
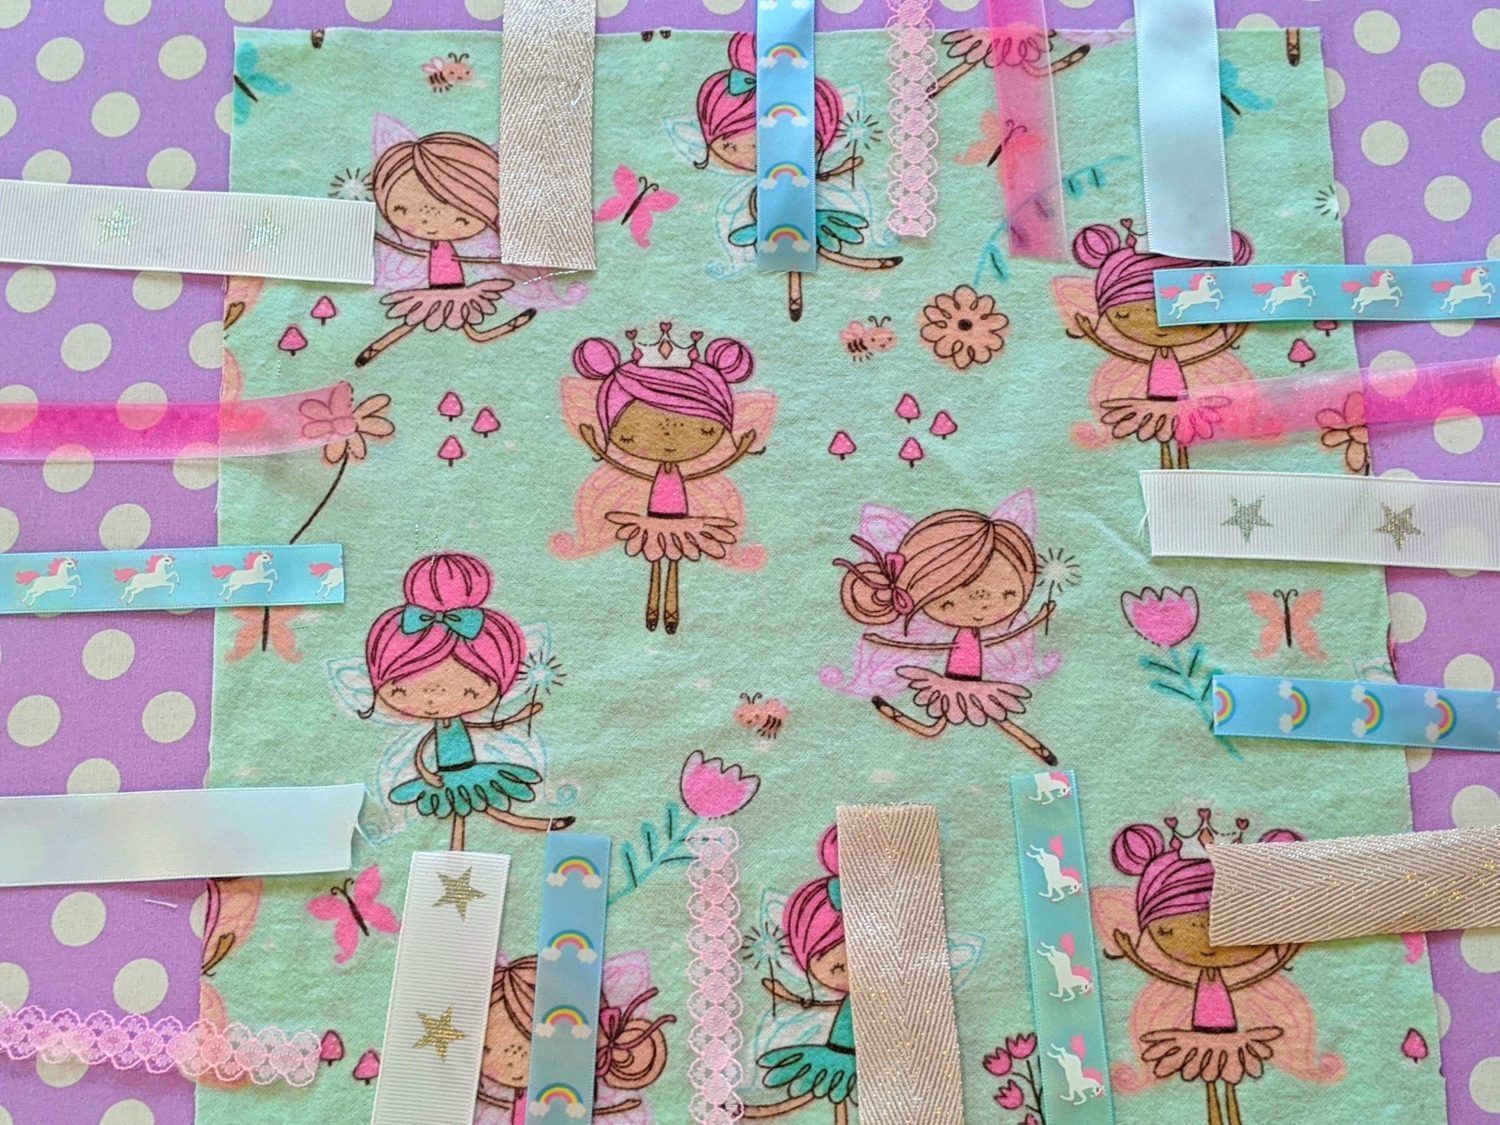
- Lay your ribbon strips out to decide what order you want them to be in.
- Fold each piece of ribbon in half and pin them to the square facing in towards the center of the square. You can baste the ribbon on here if you’d like.
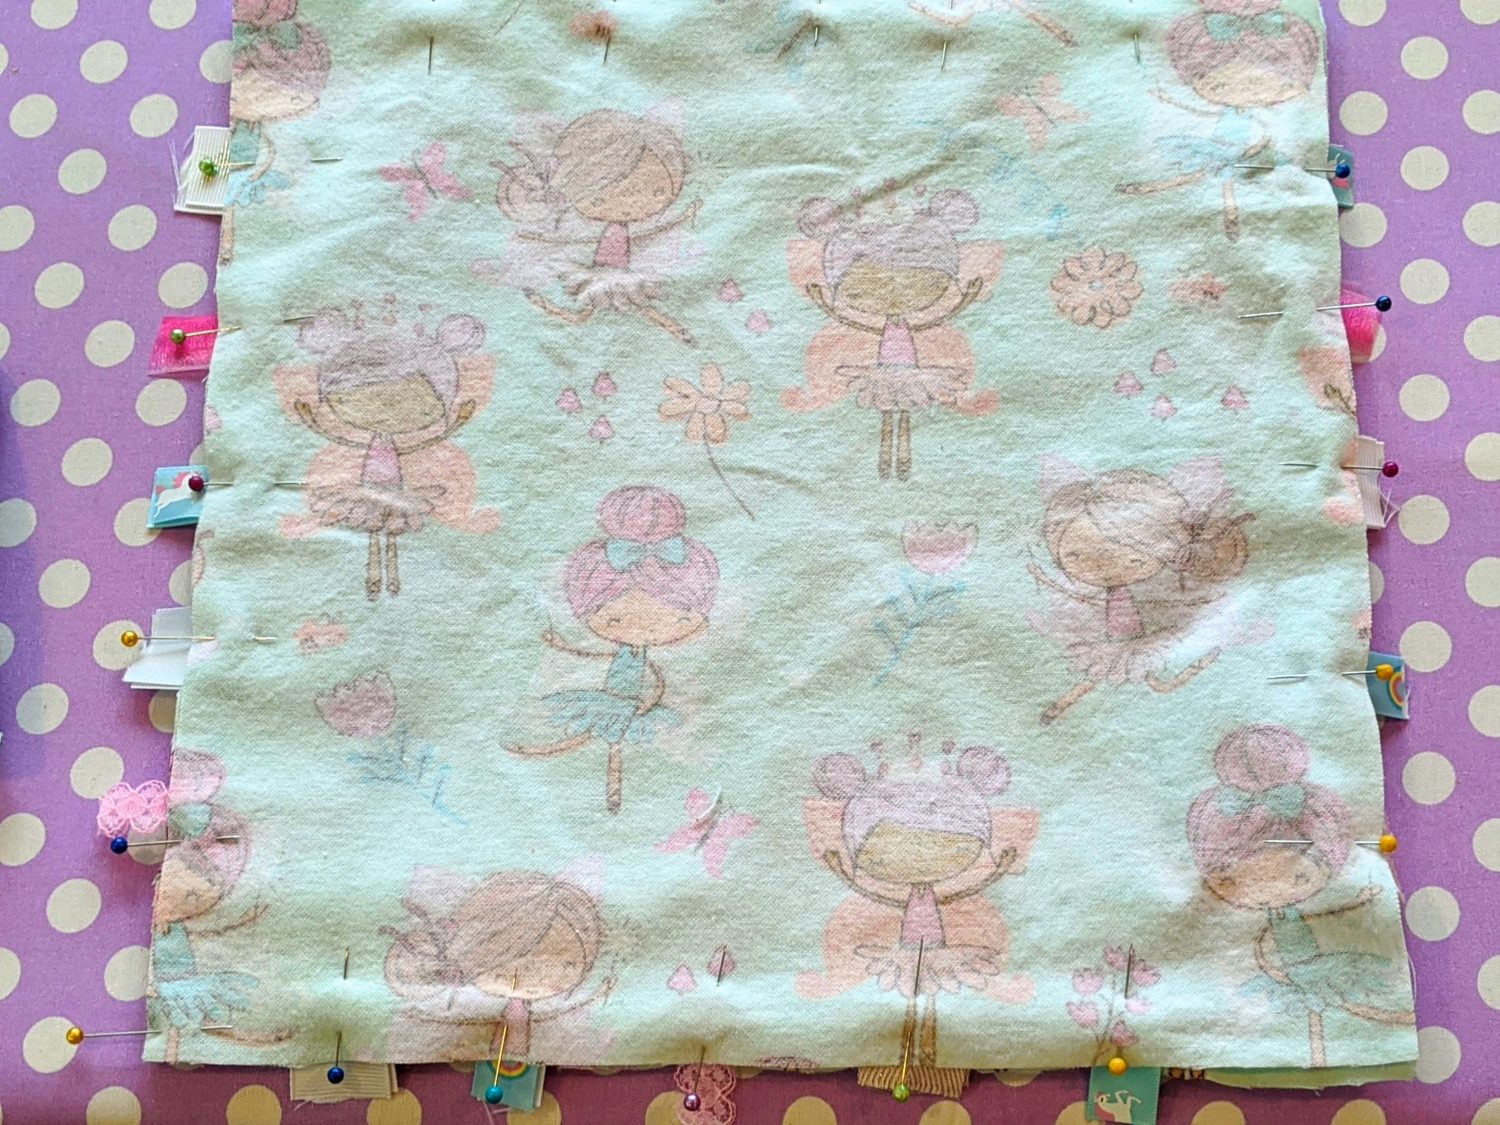
- Lay the other square of fabric on top with right sides facing together and the ribbon sandwiched between them.
- Pin and sew all the way around the outside edge with about a 3/8″ seam allowance. Be sure to leave an opening to be able to turn it right side out.
- Trim the corners so they will be crisp when finished.
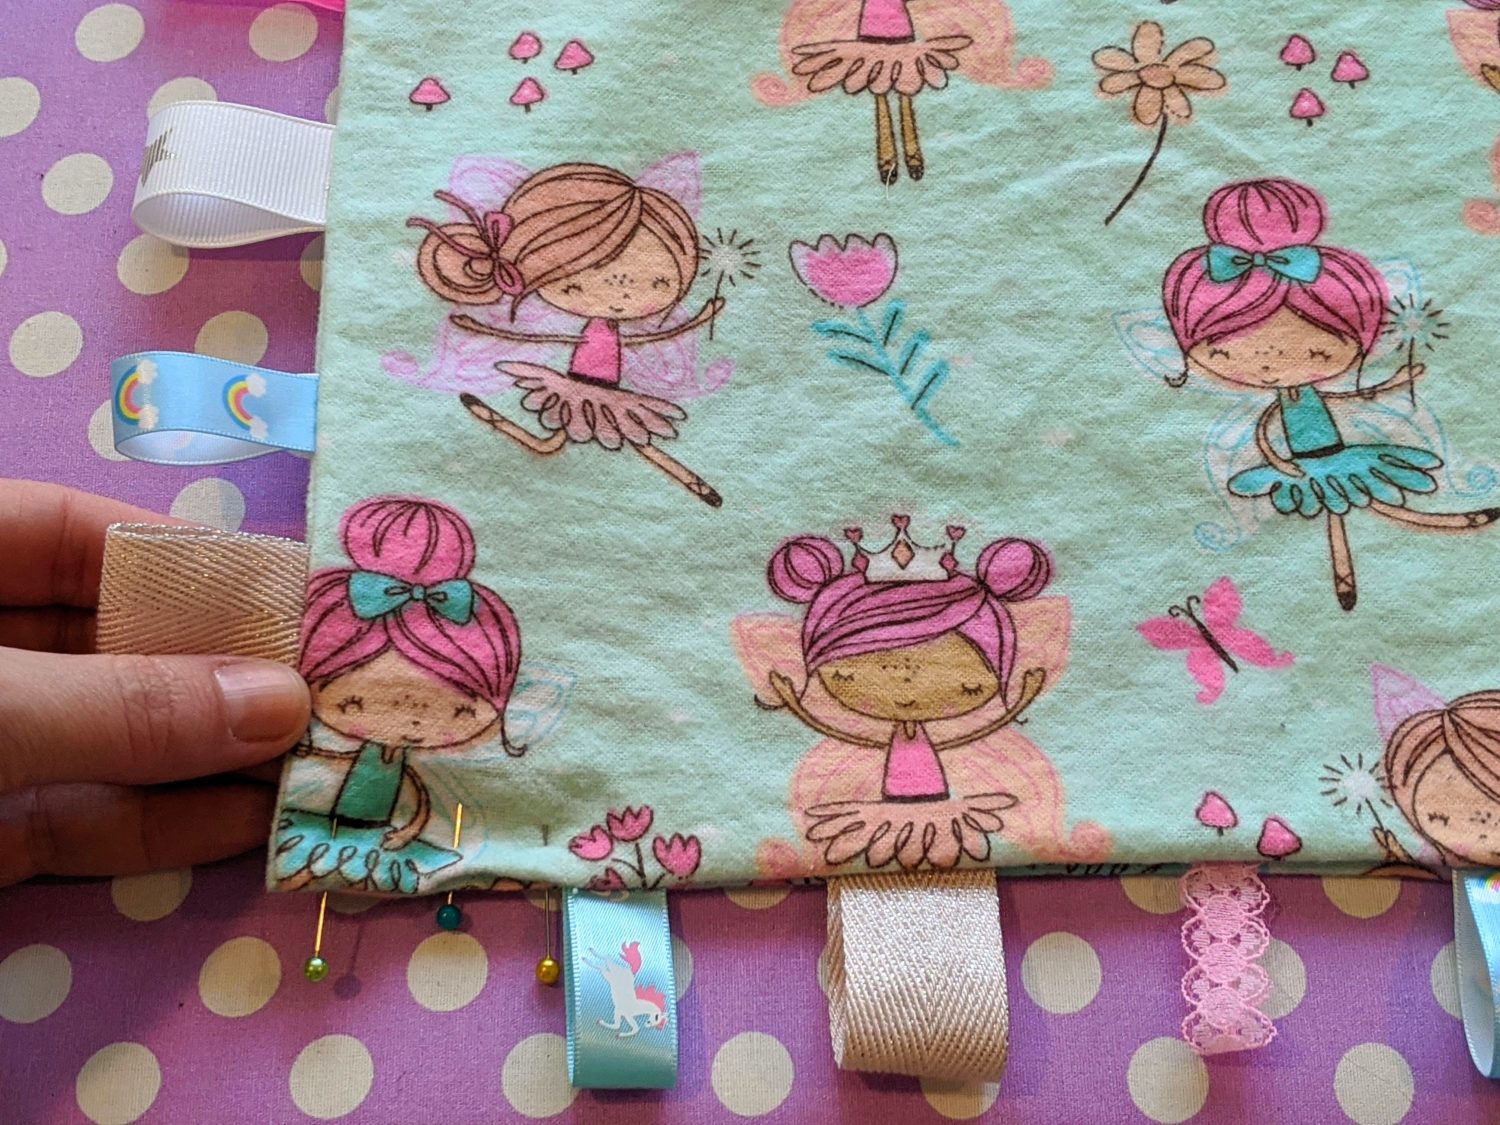
- Turn right side out and iron.
- Fold in the opening where you turned it and pin it in place.
- Topstitch all the way around the outside edge with a 1/4″ seam allowance.
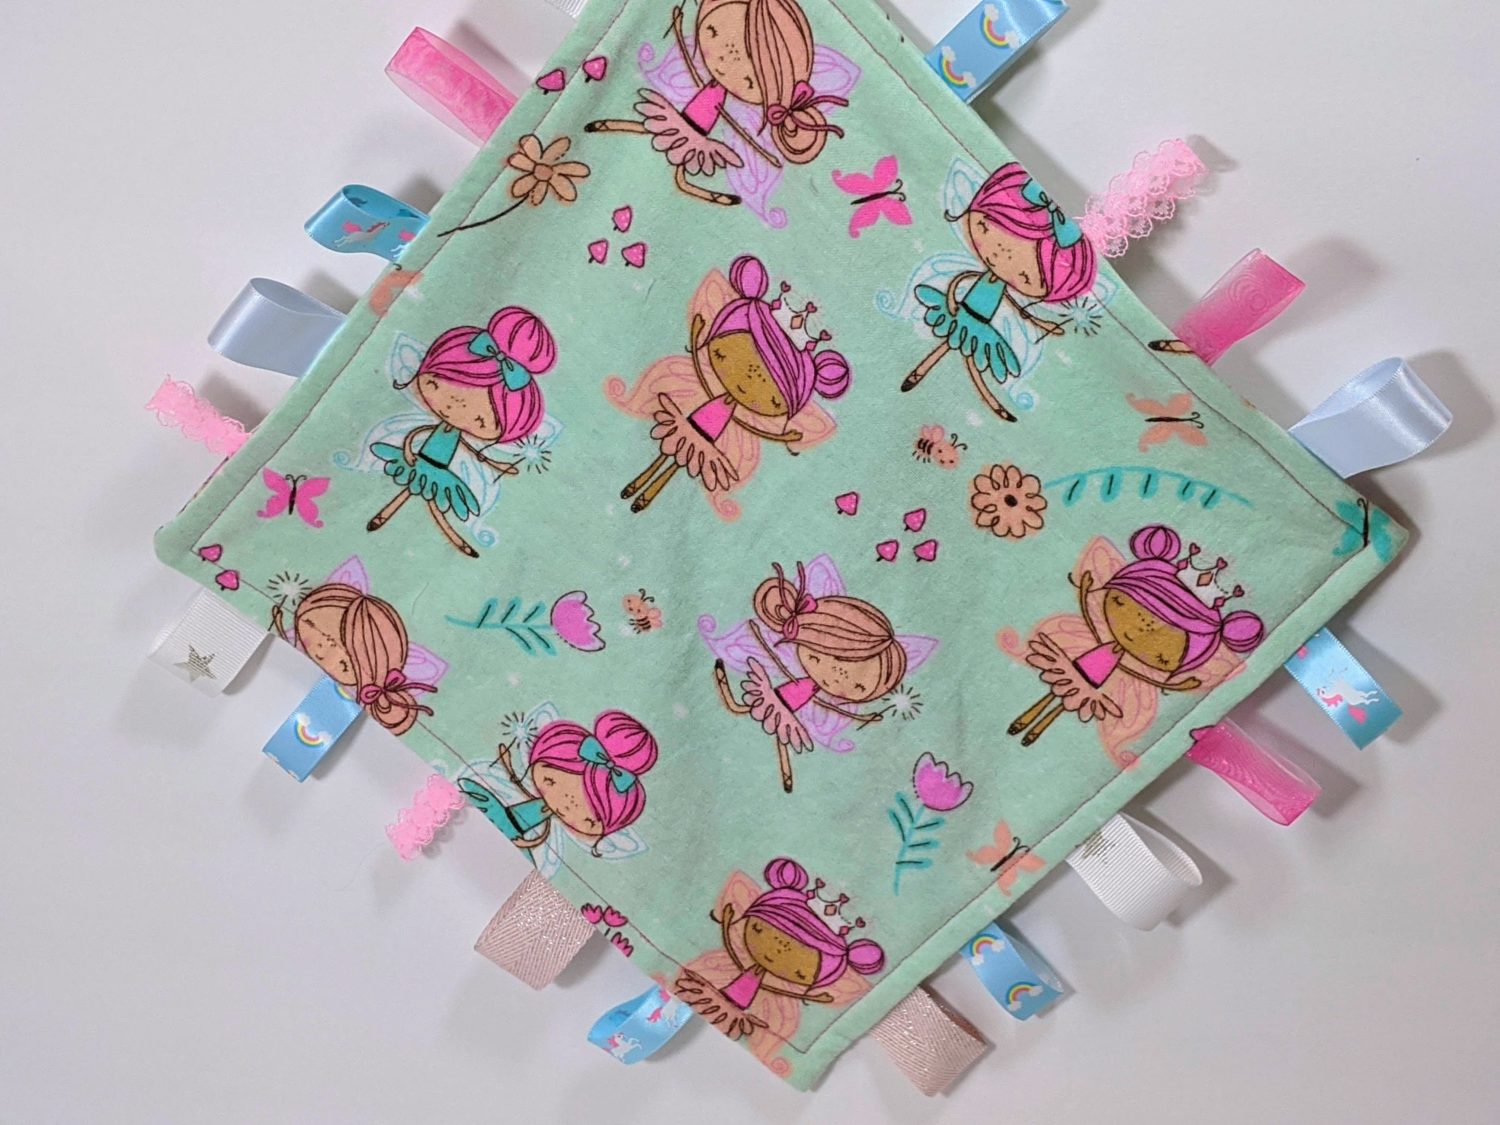
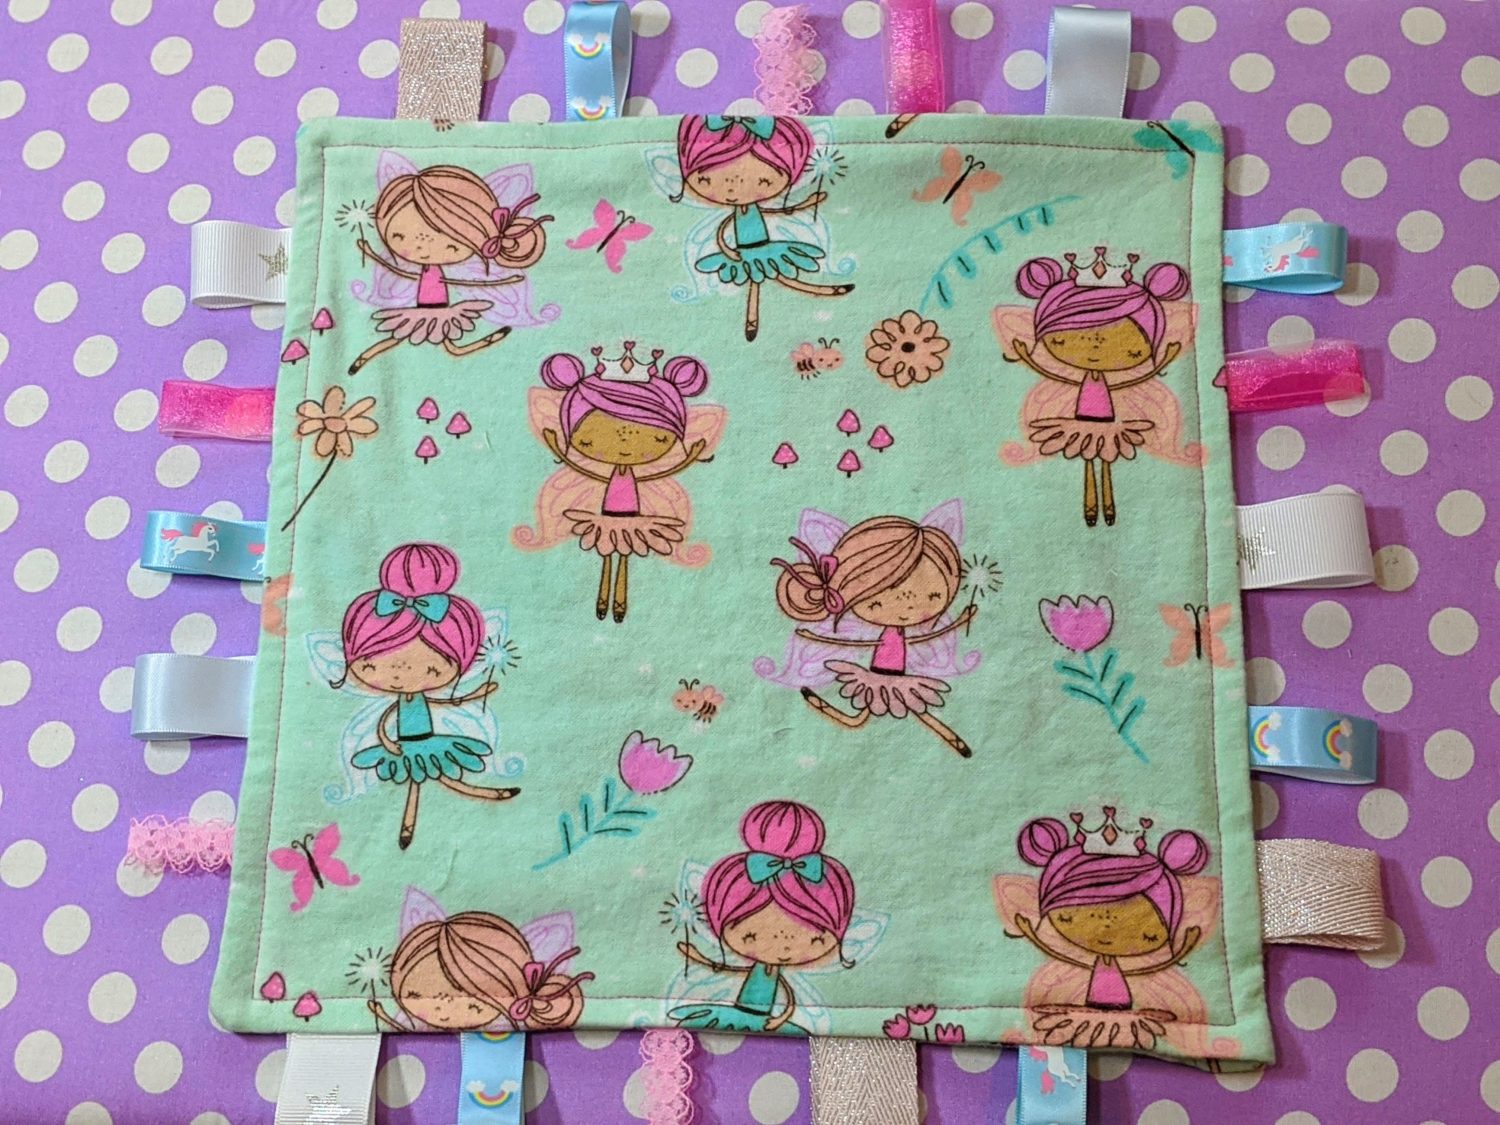
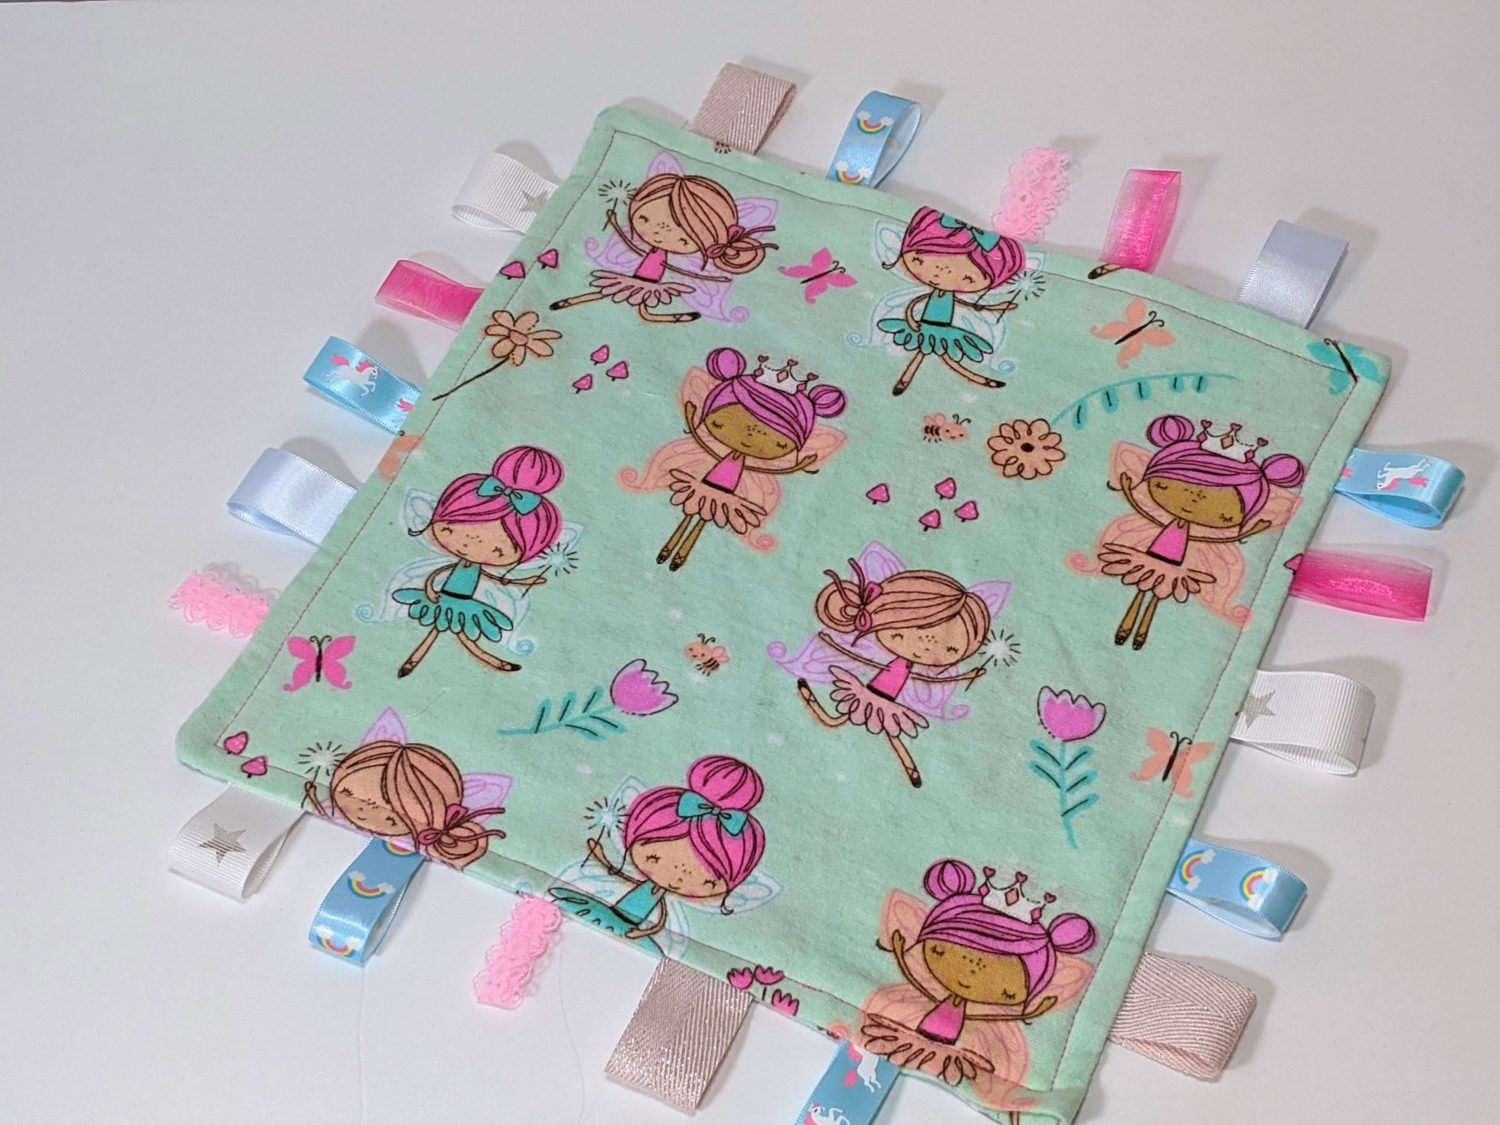
Tada!
That’s it! You’re done! You’ve made one cute little taggie blanket! Super fun and easy!
As always, we’re here to help if you need it! Join us HERE and on Facebook, Instagram, Twitter, Youtube, and Pinterest. Be sure to check all our fun extras on the blog. We’re everywhere you are.
Leave a Reply