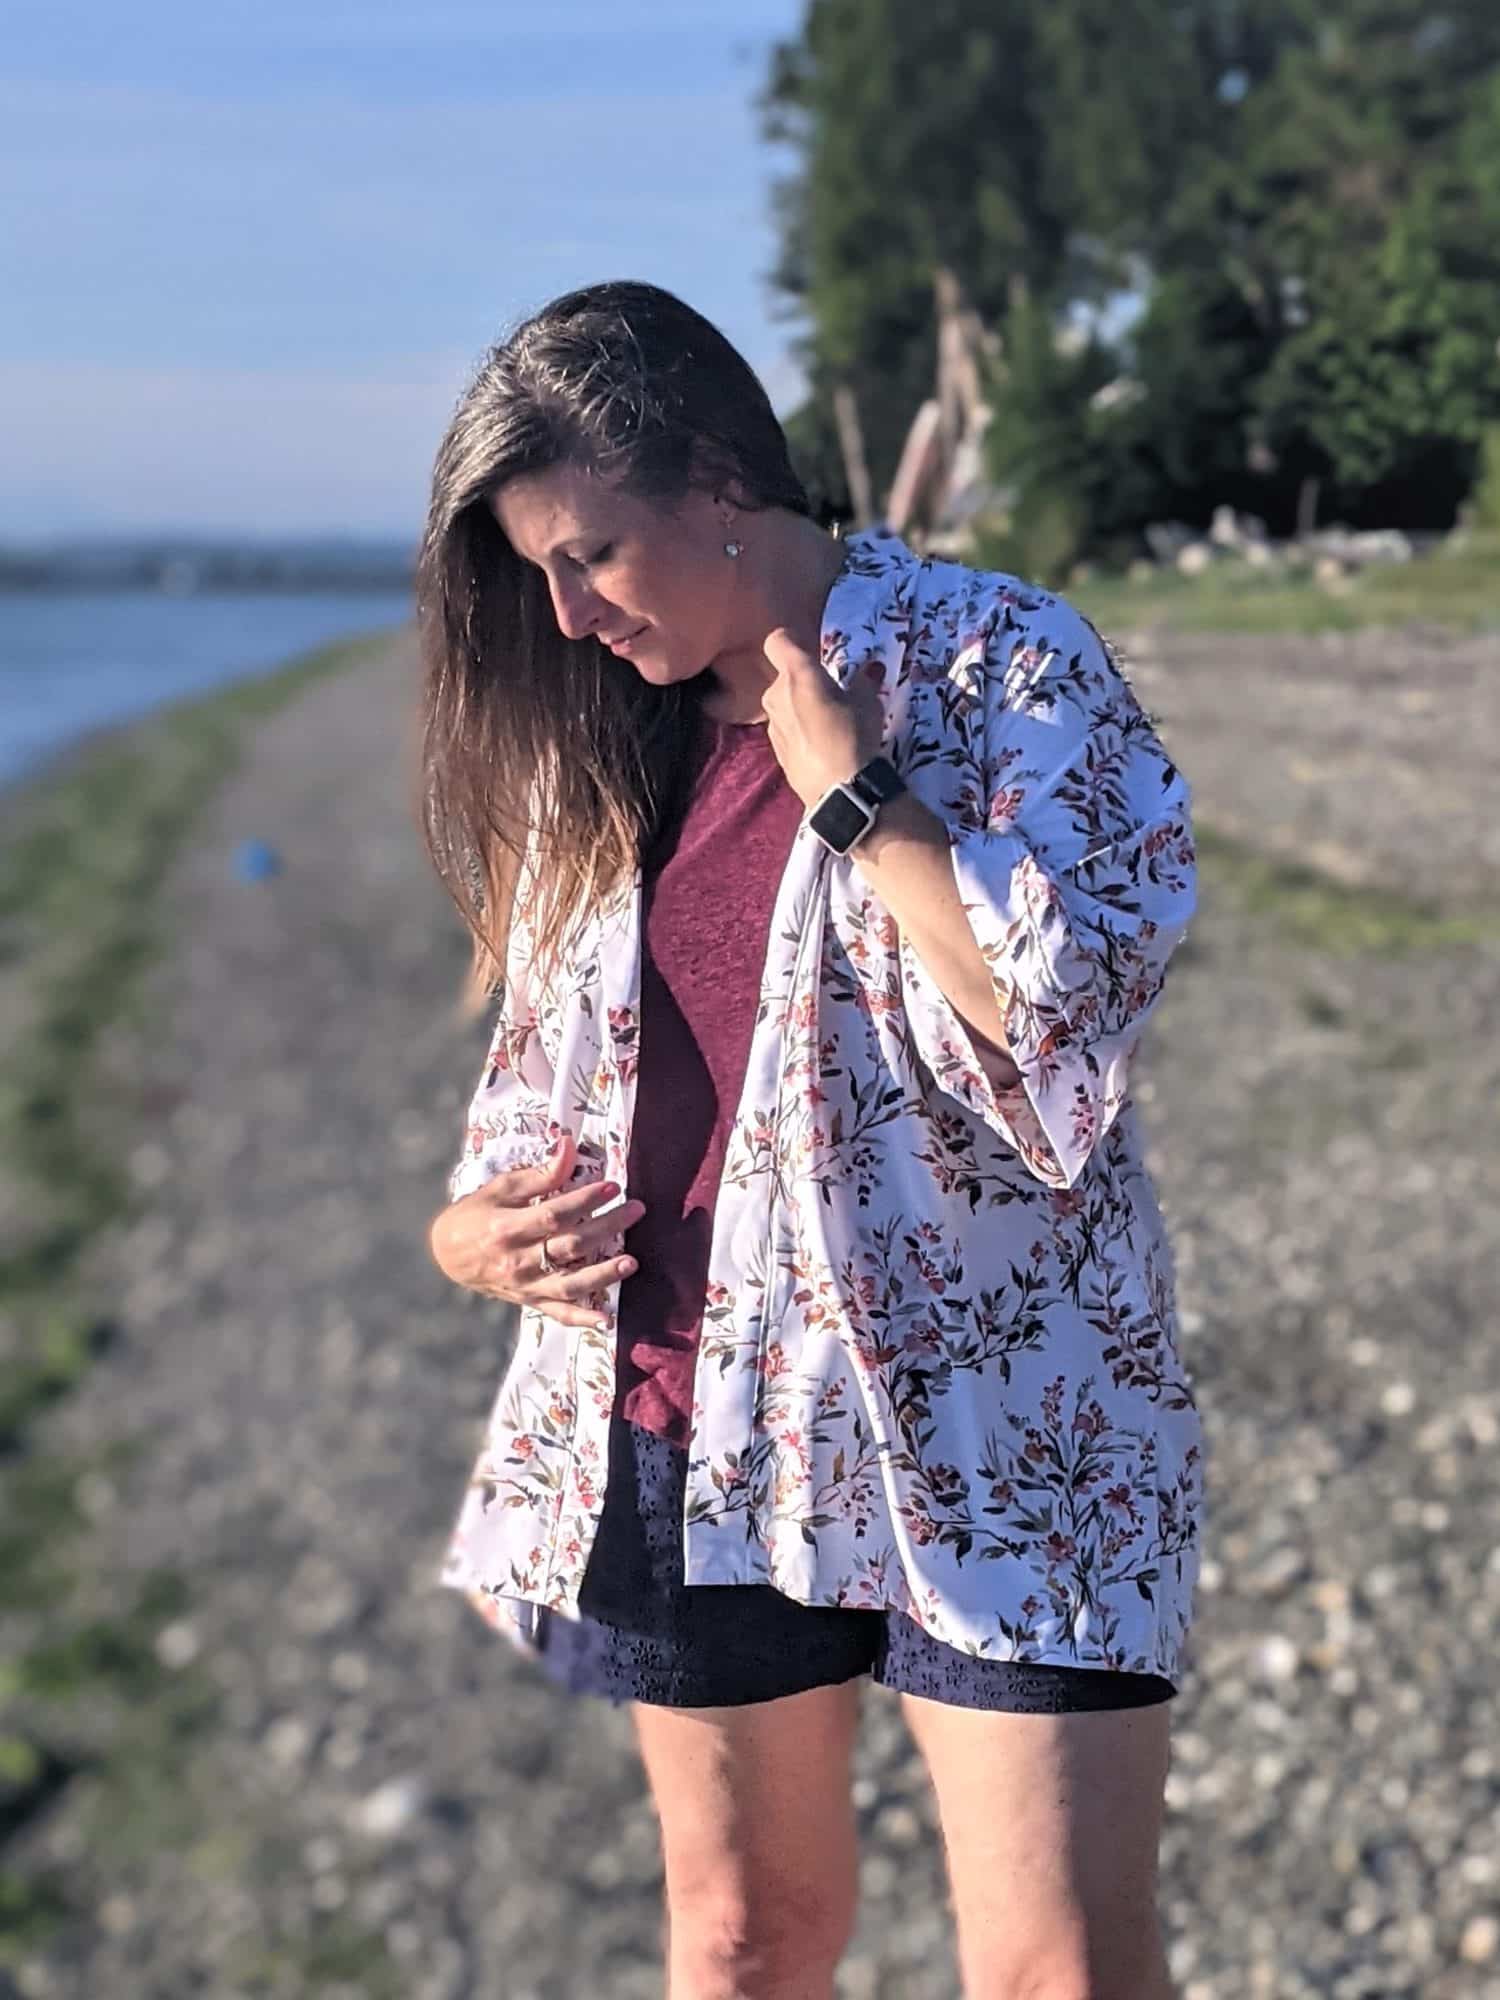
I’ve been needing a lightweight beach cover-up, so I got some light and flowy fabric and went to work figuring out how to make one. To be honest, I’ve also been using this over my short sleeve pajama tops when it gets a little chilly at night, so it’s a multi-functional cover-up now.
Materials
- Light and flowy woven fabric. Approximately 2 yards, but you should find your measurements first to determine how much you will need.
- Sewing machine (optional: serger) and basic sewing supplies
- Optional: pinking shears
Measurements
Since this is a flowy cover-up, you don’t need to be super precise with your measurements. You can round up to the closest number and you don’t have to add any extra in for seam allowance. (Unless you really want to.)
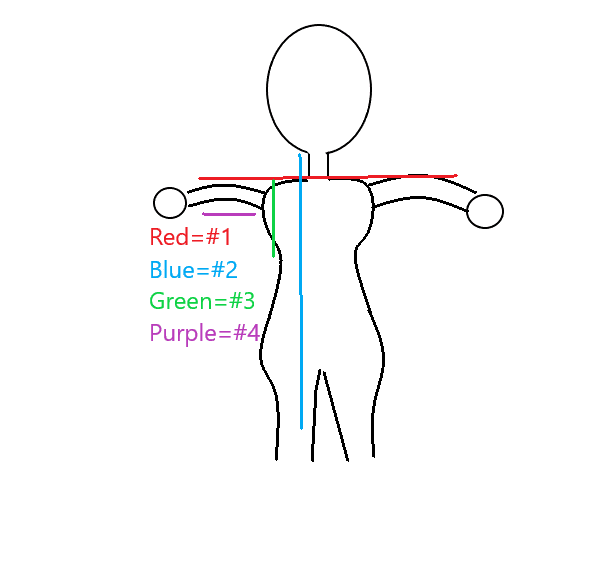
- Put your arms straight out to the side paralell to the groud and measure from your mid-forearm, across your back and shoulders to your other mid-forearm. (Measurement #1 shown in red)
- Measure from the nape of your neck down to mid thigh. (Measurement #2 shown in blue)
- Measure from the top of your shoulder down to the bottom of your ribcage. (Measurement #3 shown in green)
- Hold one arm straight out to the side and measure from your armpit out to your mid-forearm. Subtract 3″ from this for it to be flowy under your arm and not tight up in your armpit.(Measurement #4 shown in purple)
Cutting
*Tip: If you are not using a serger or overcast stitching, you can cut your fabric with pinking shears to keep the edges from fraying.
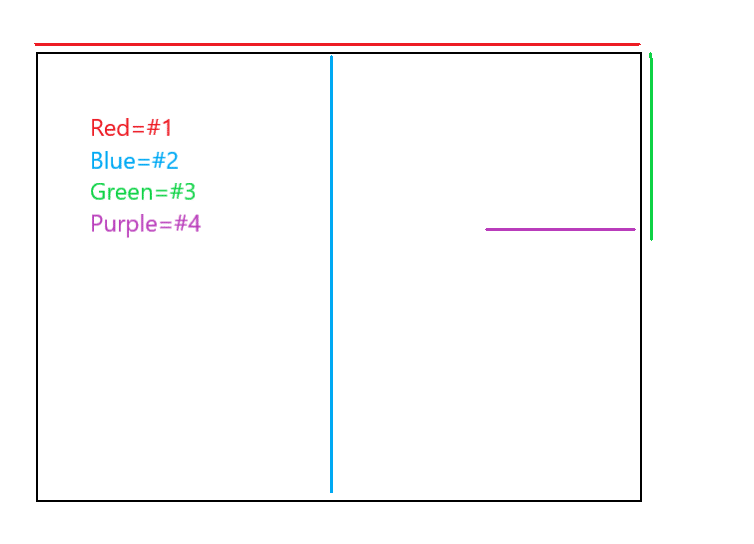
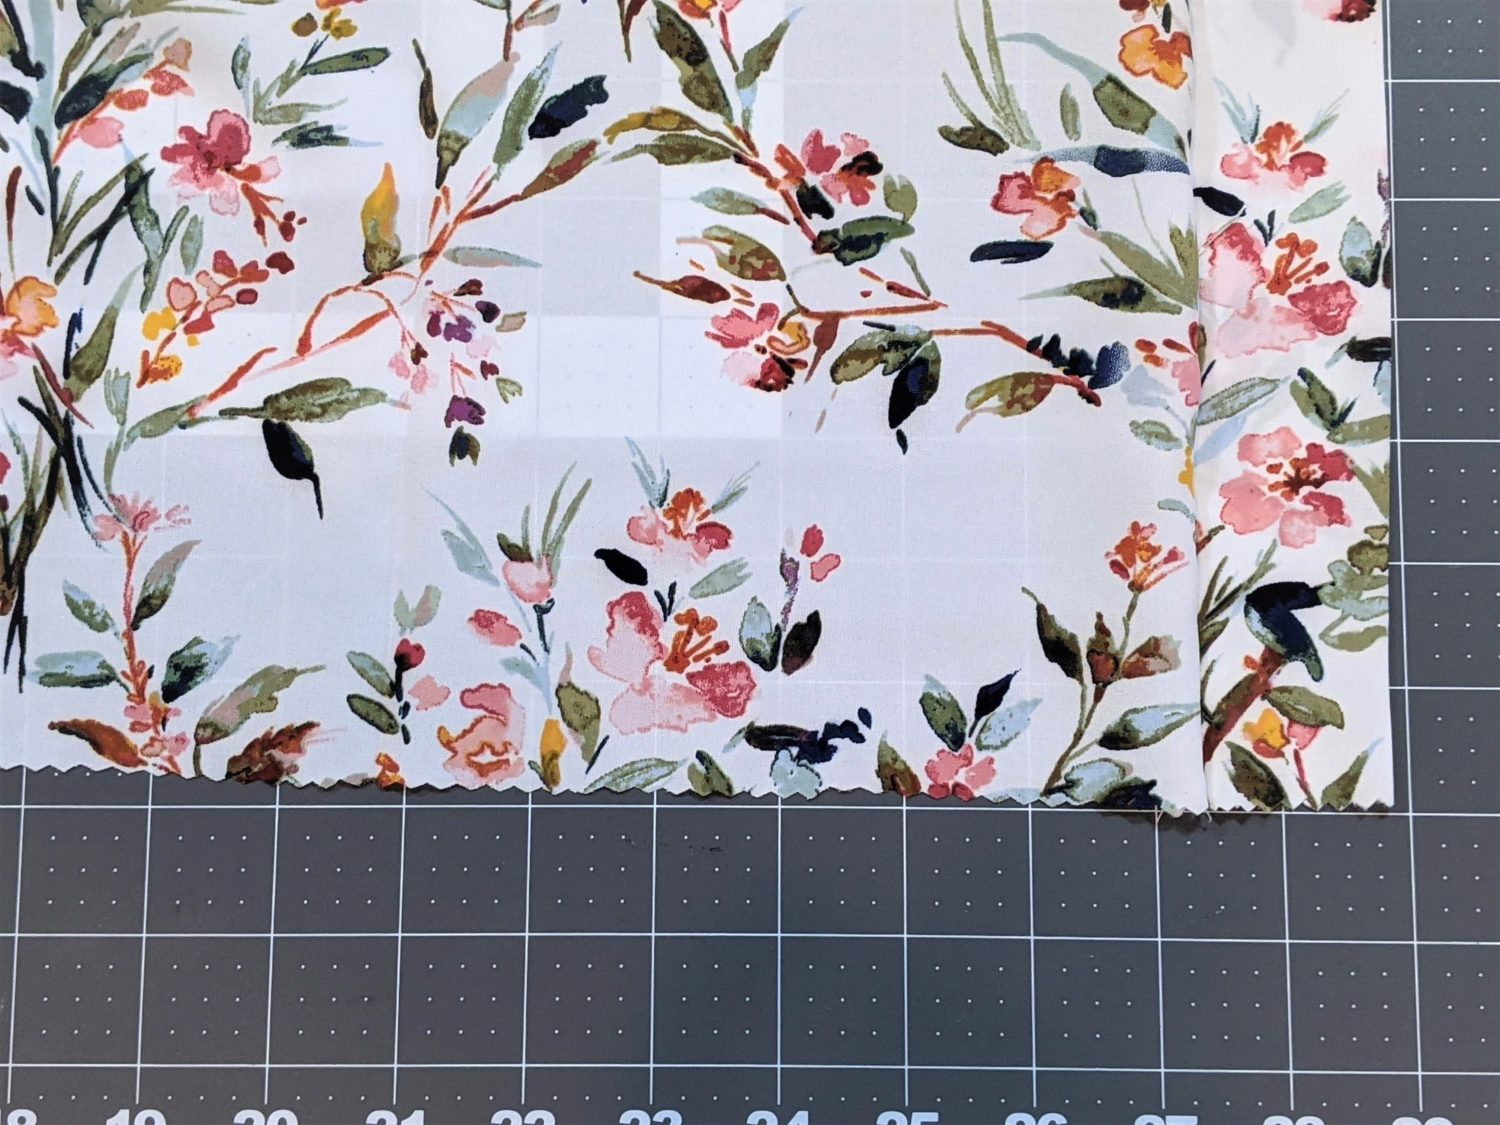
- Cut 2 rectangles to your determined #1 X #2 measurements. (Mine is 44″ X 32″)
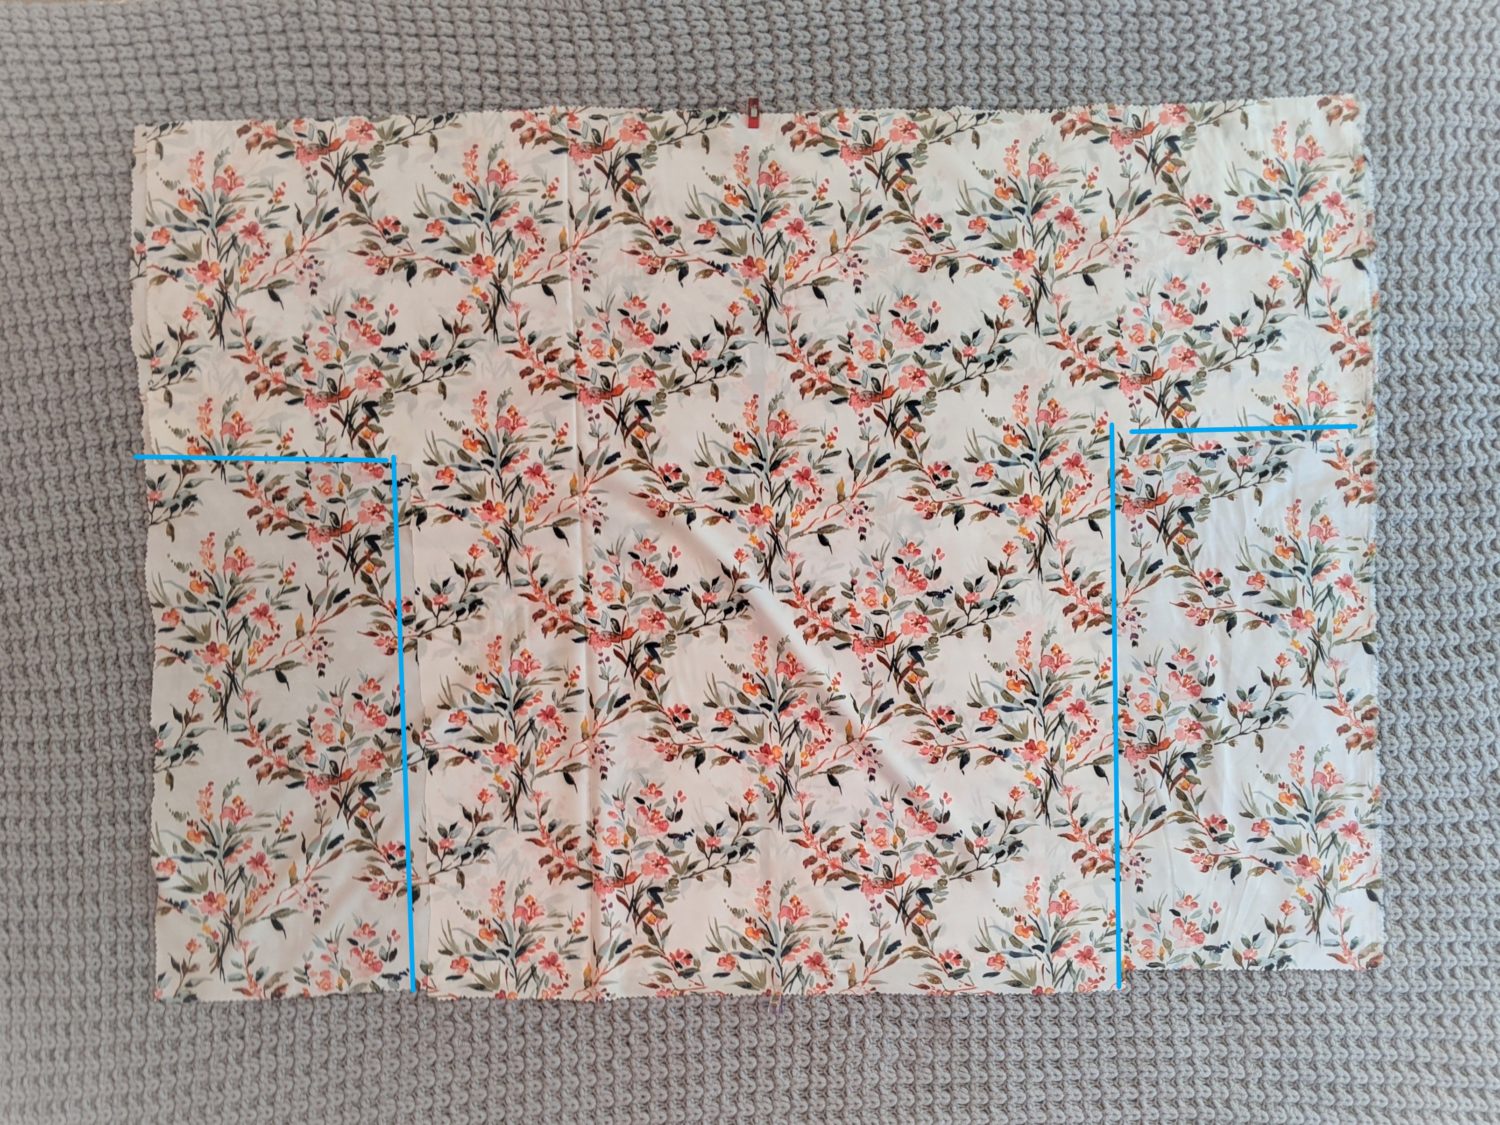
- Back Piece:
- Fold the rectangle in half vertically and place a pin or clip to mark the center at the top.
- With the fabric still folded, take measurement #3 from the top edge down. (See 1A and 1B)
- At the bottom of #3, measure in from edge measurement #4. (See 1A and 1B)
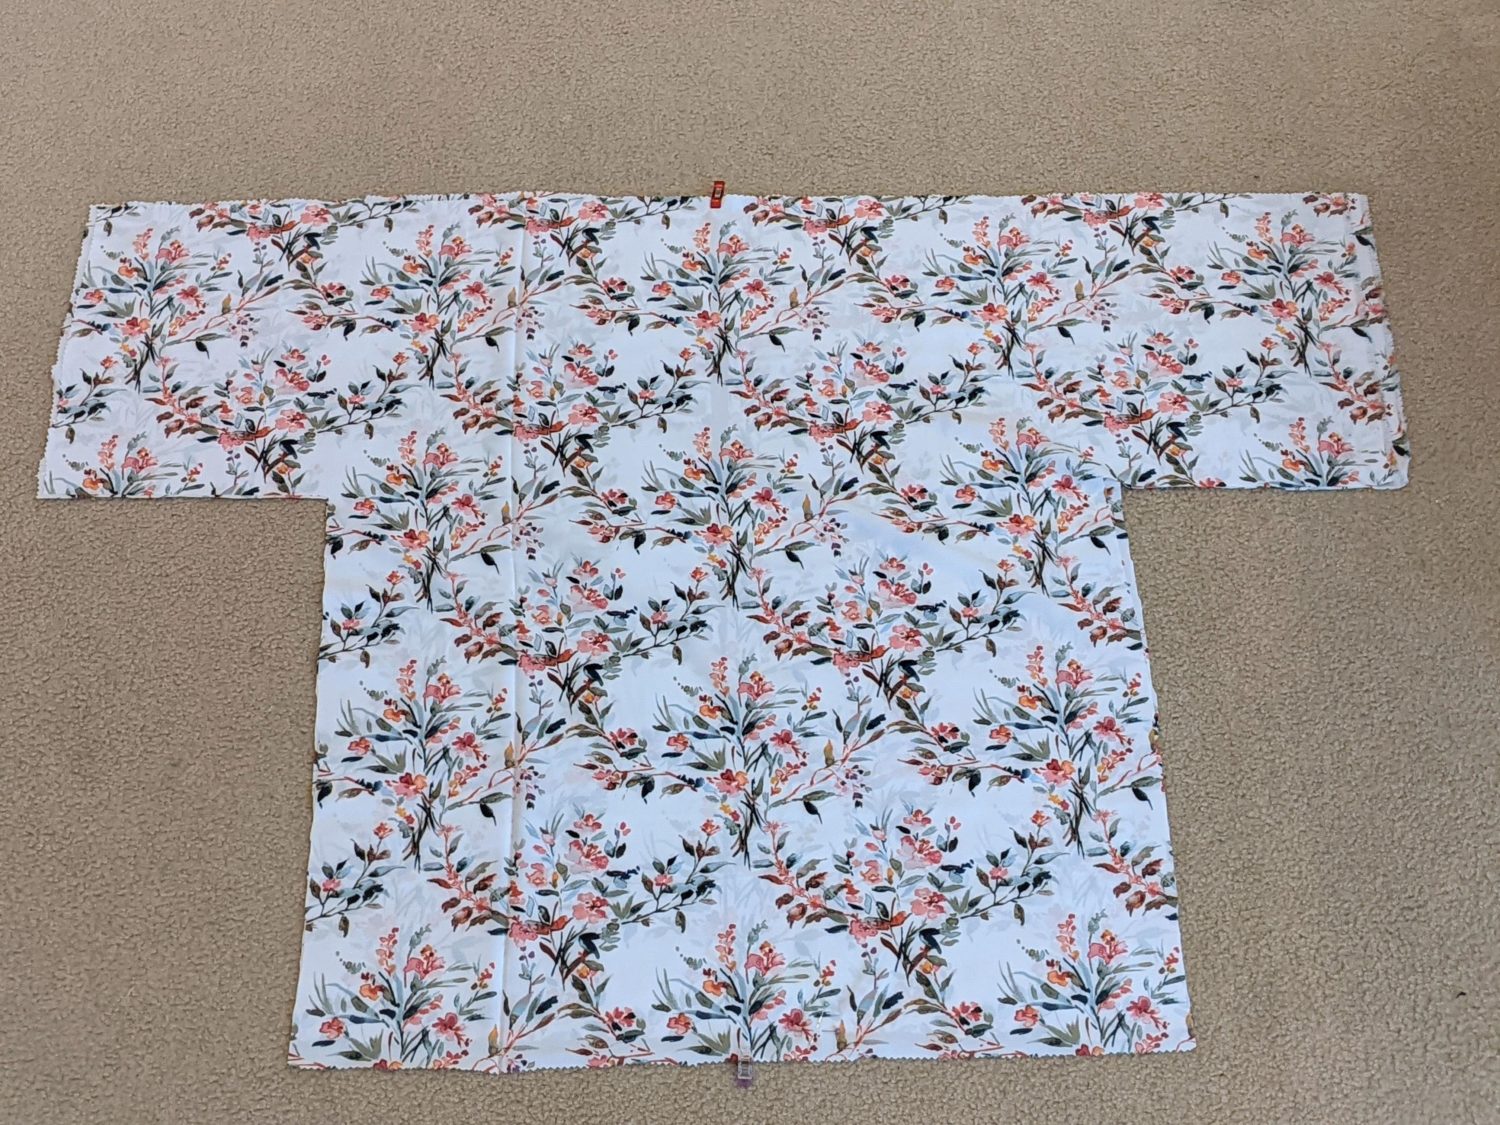
- Cut off the lower section in an “L” shape. (See 1C)
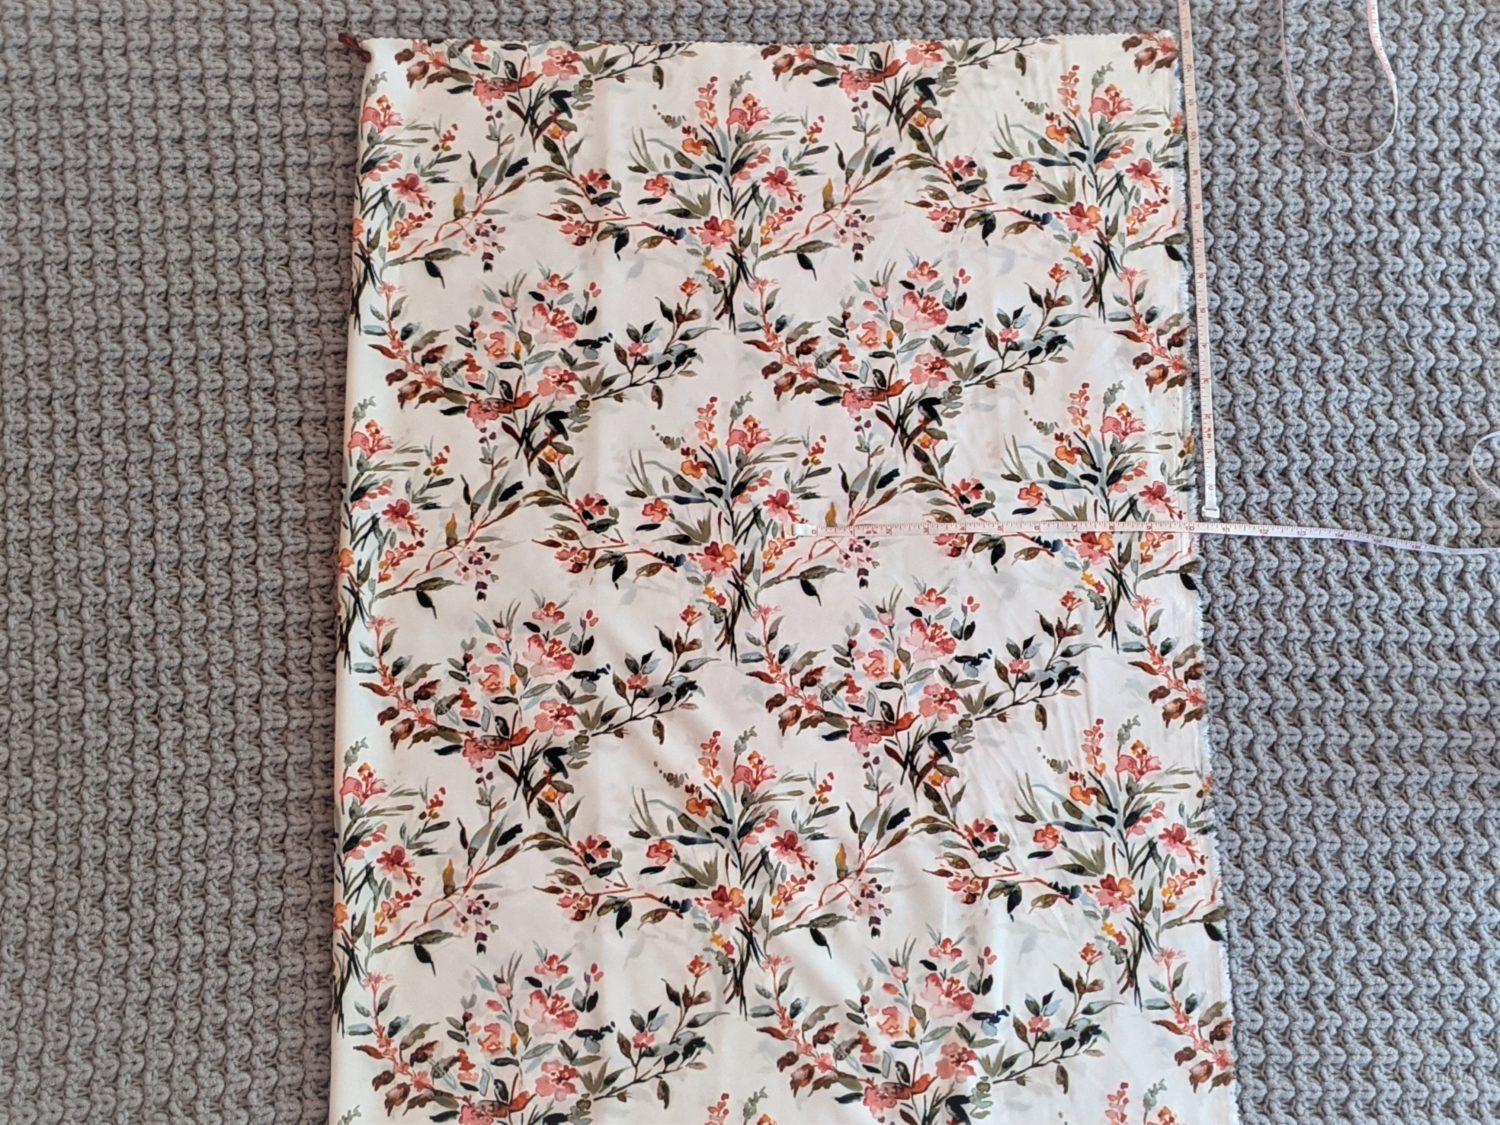
1A 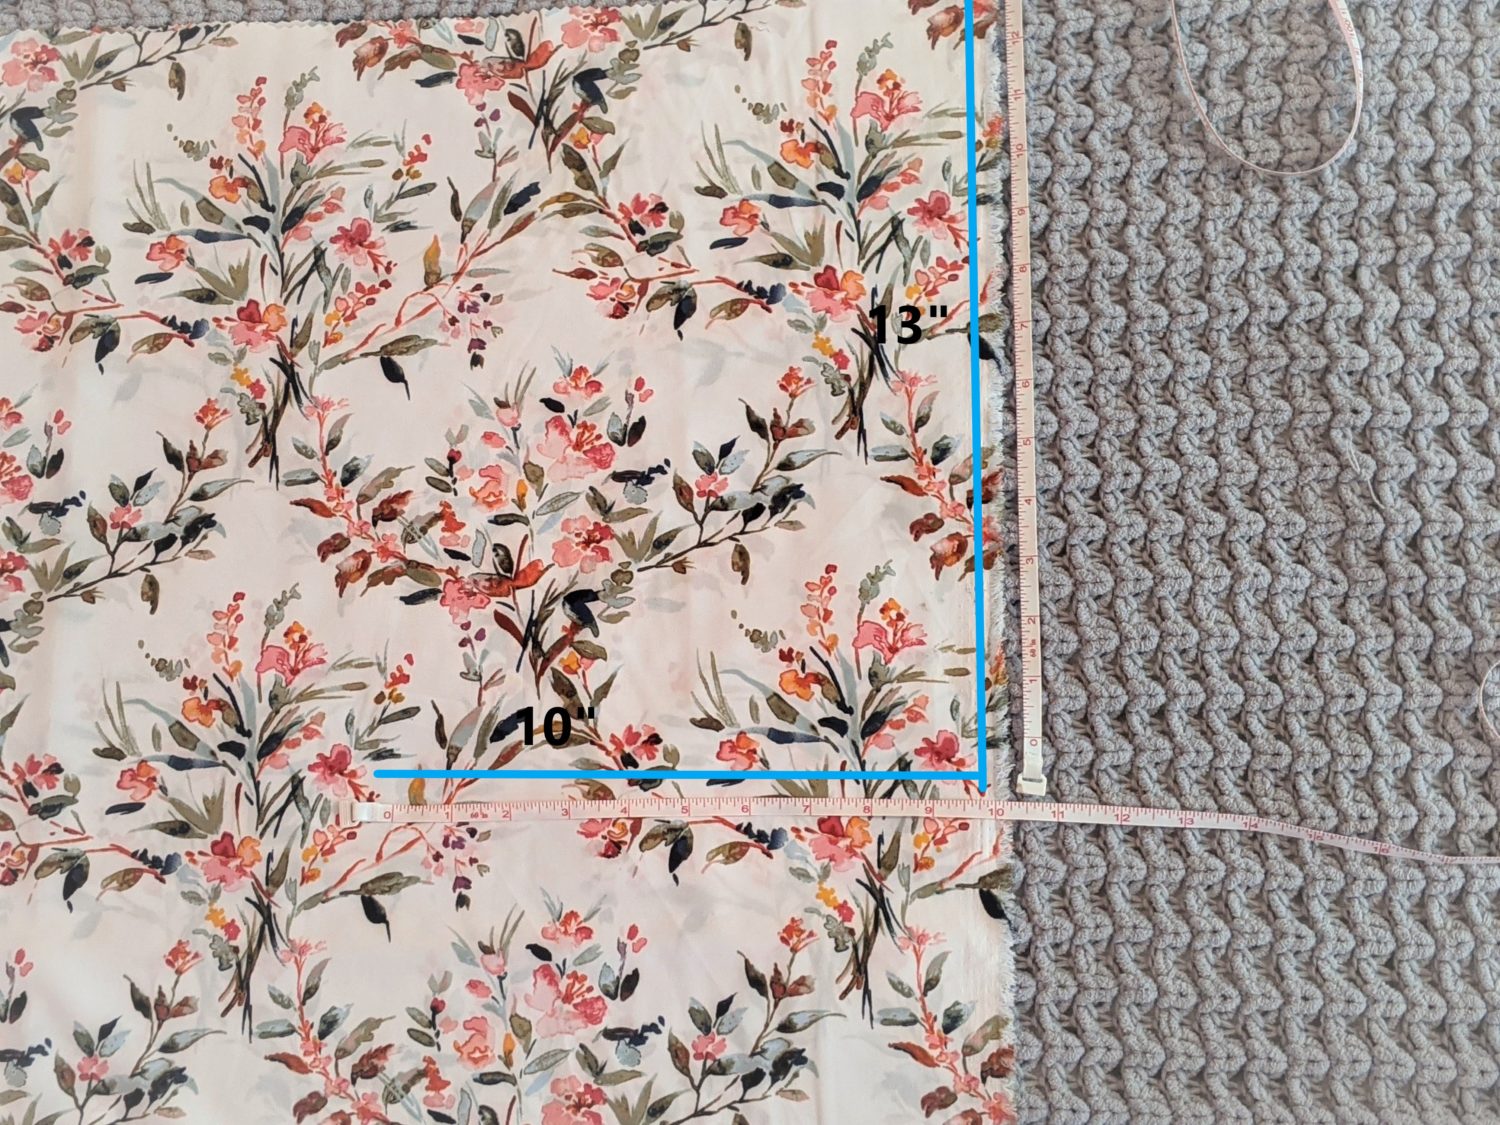
1B
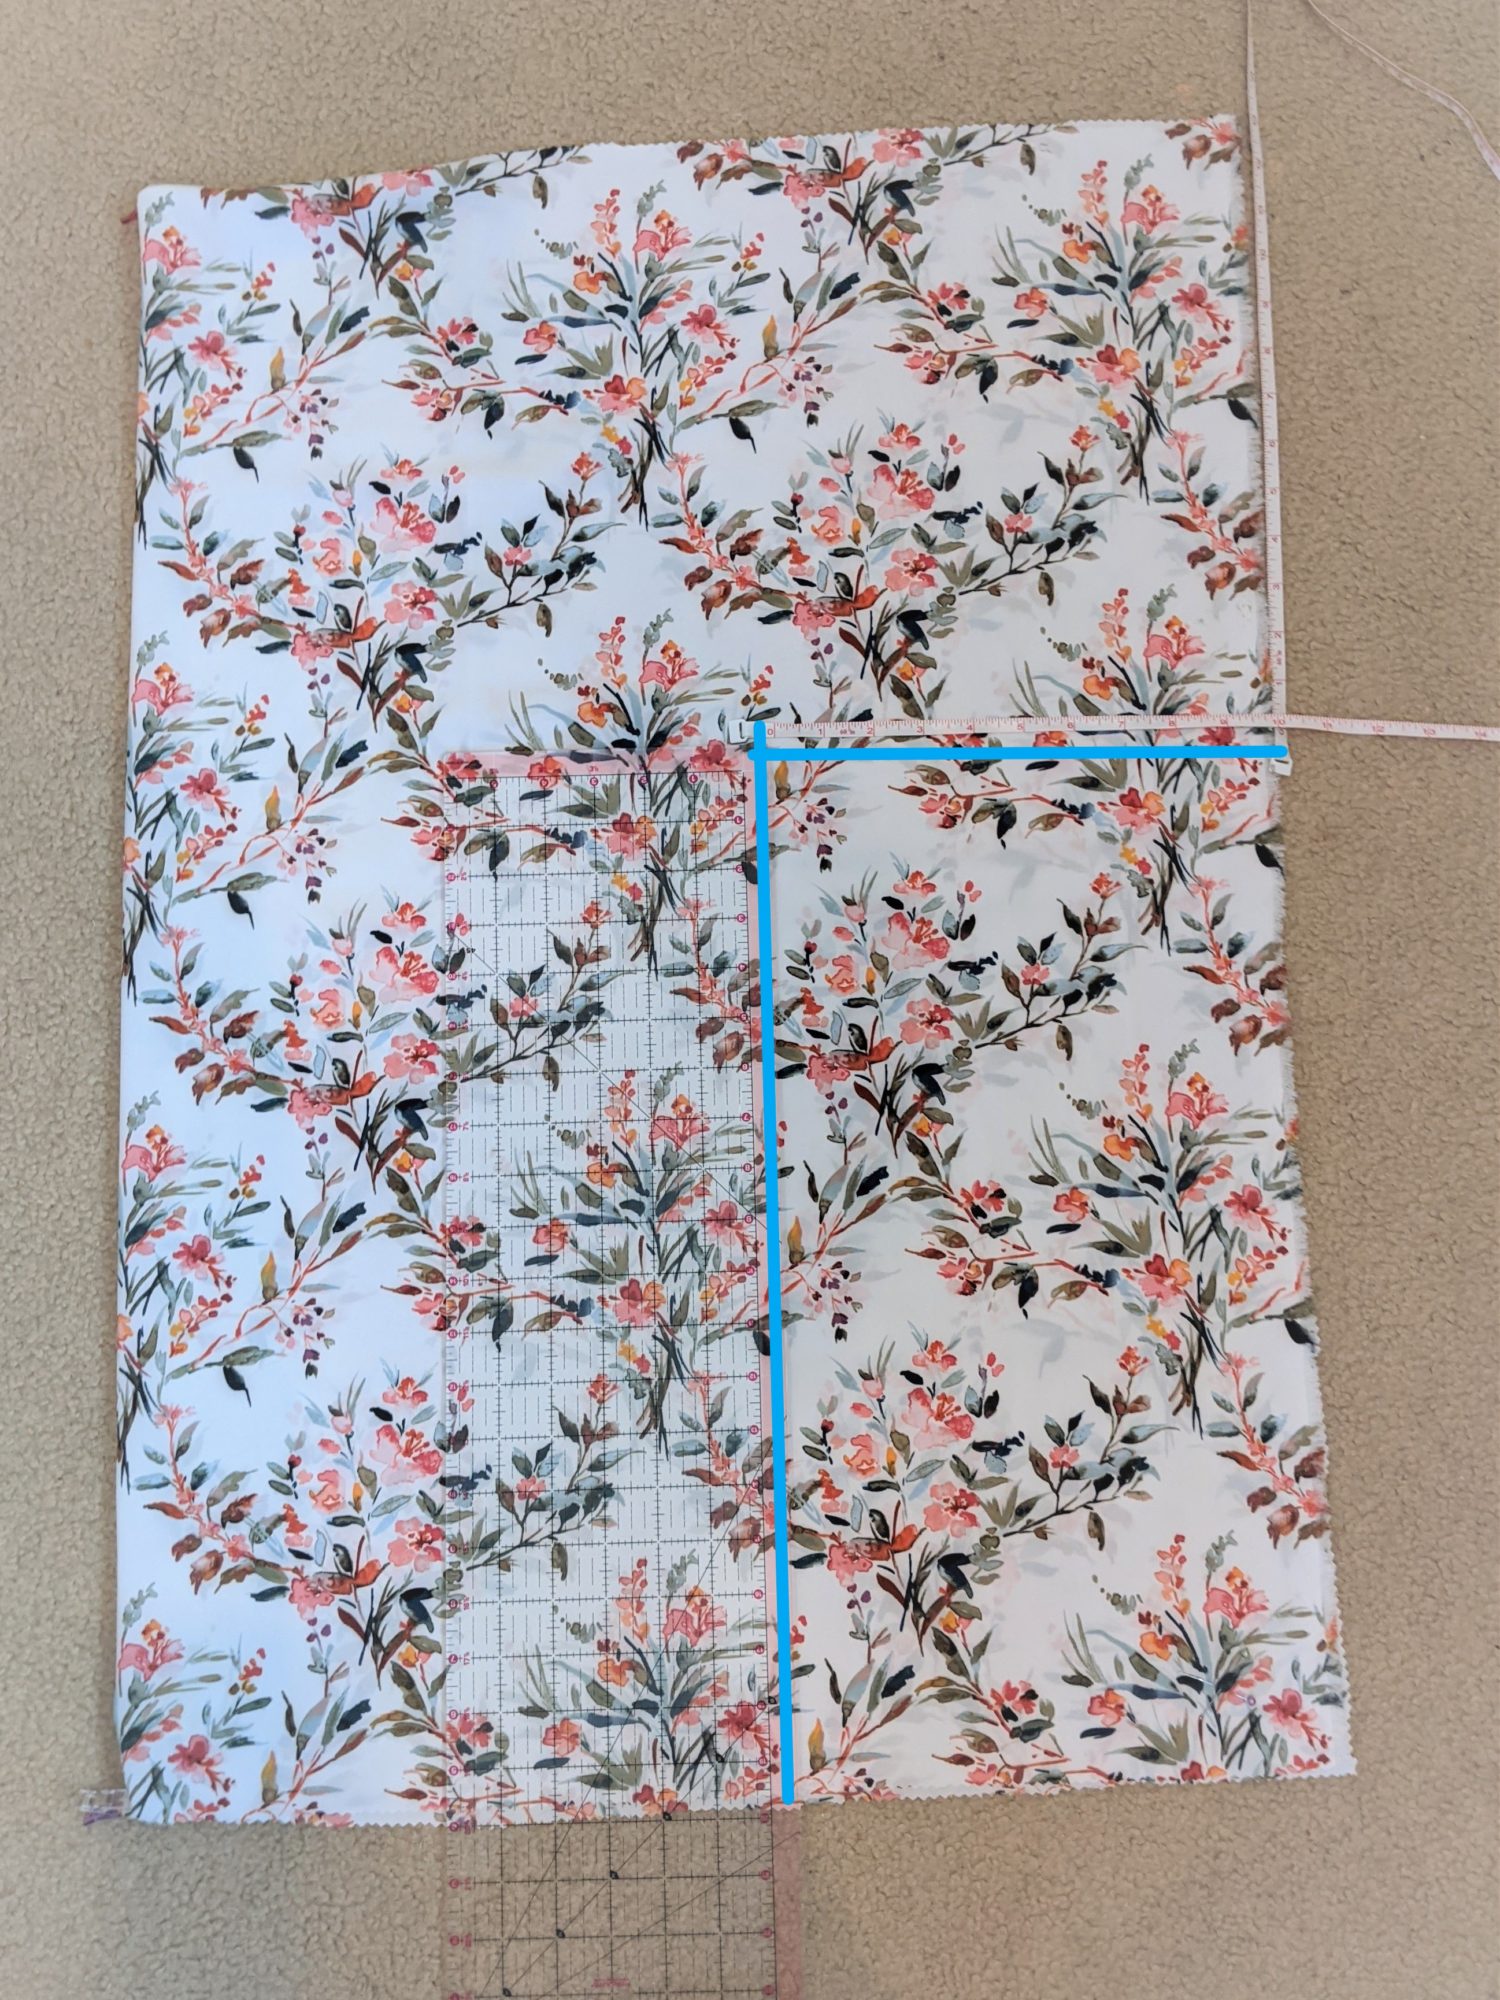
1C 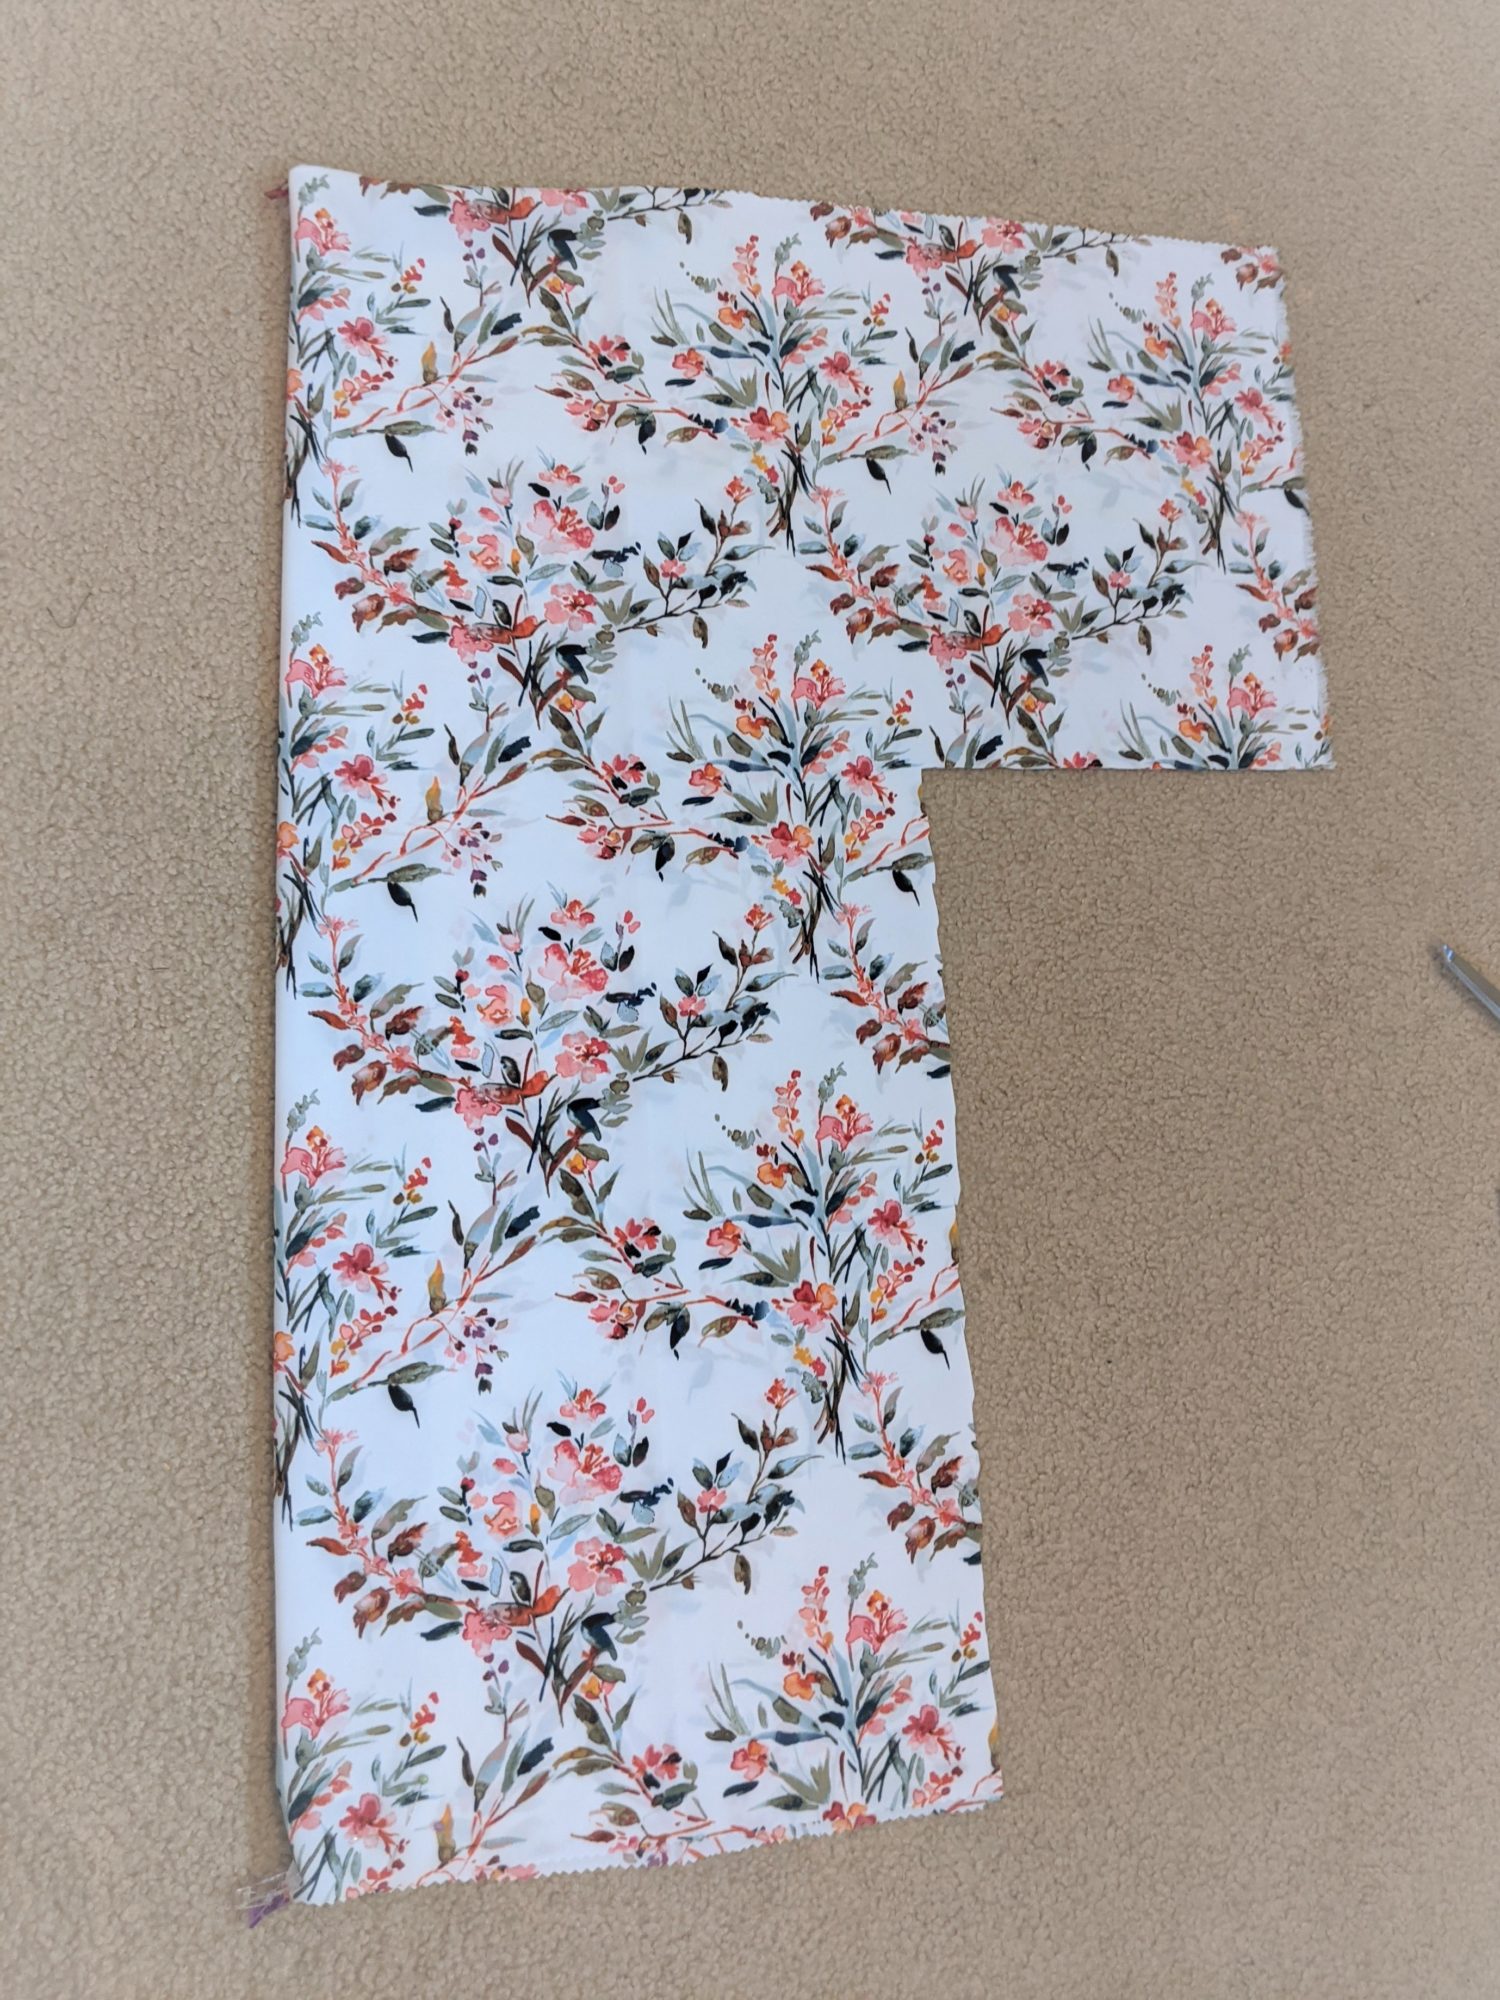
- Front:
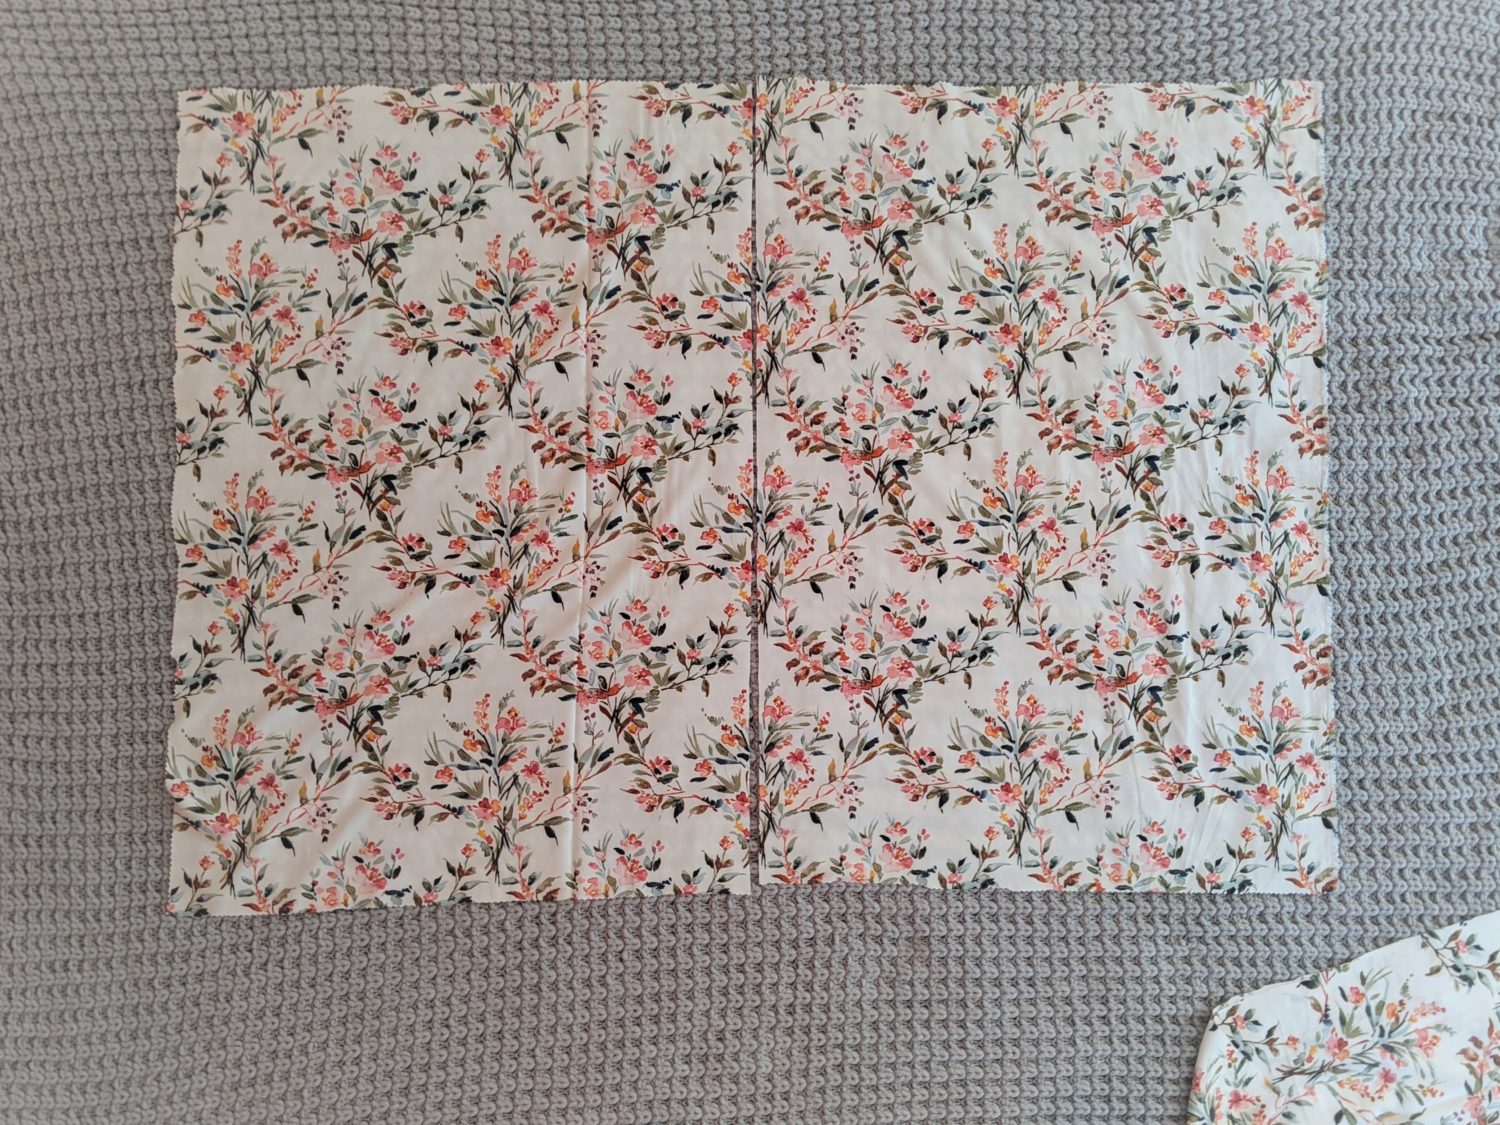
- Fold your other rectangle in half vertically and cut it down the center. Lay them out side by side.
- Set the back piece ontop of the front pieces lining up all sides.
- Follow along the back cut lines to cut the front pieces to match.
Sewing
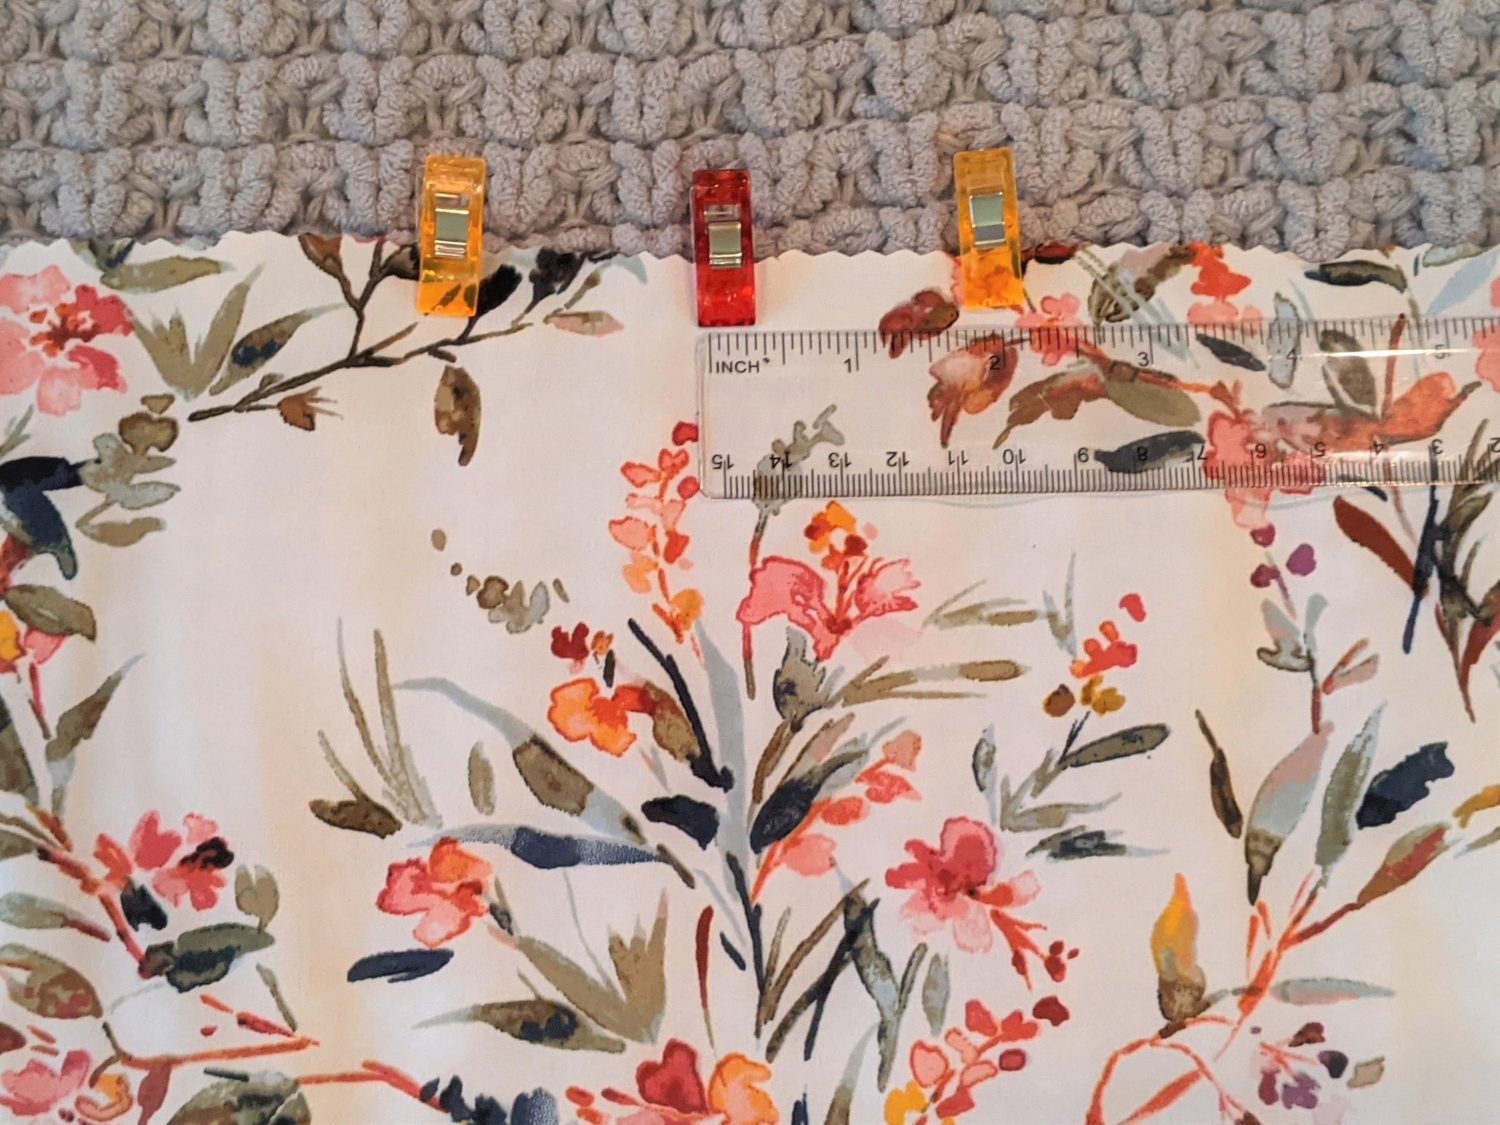
- On the back piece, you should have a pin or clip marking the center.
- Measure over from the center 2″ on either side and mark your fabric.
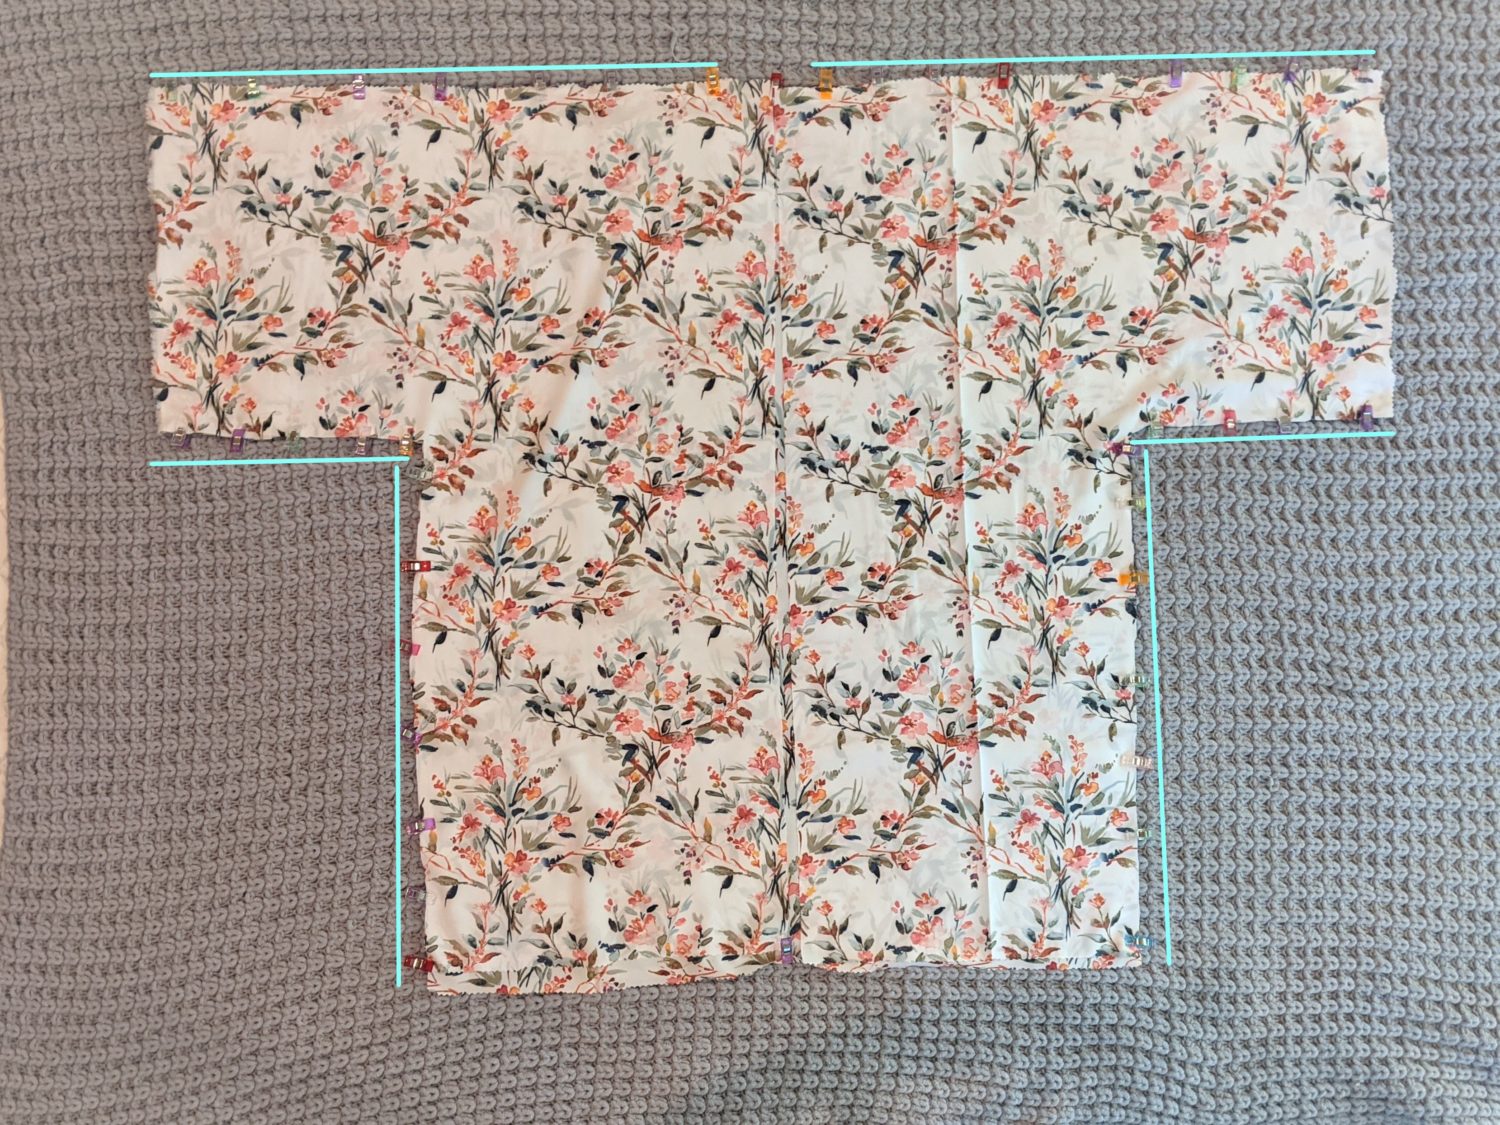
- Take each front panel and place them right sides together ontop of the back piece lining up all edges.
- Pin along the top edge up to the 2″ markings from the center.
- Pin along the underarms and sideseams.
- Sew along all pinned edges using a serger, overcast stitch, or straight stitch and a 3/8″ seam allowance.
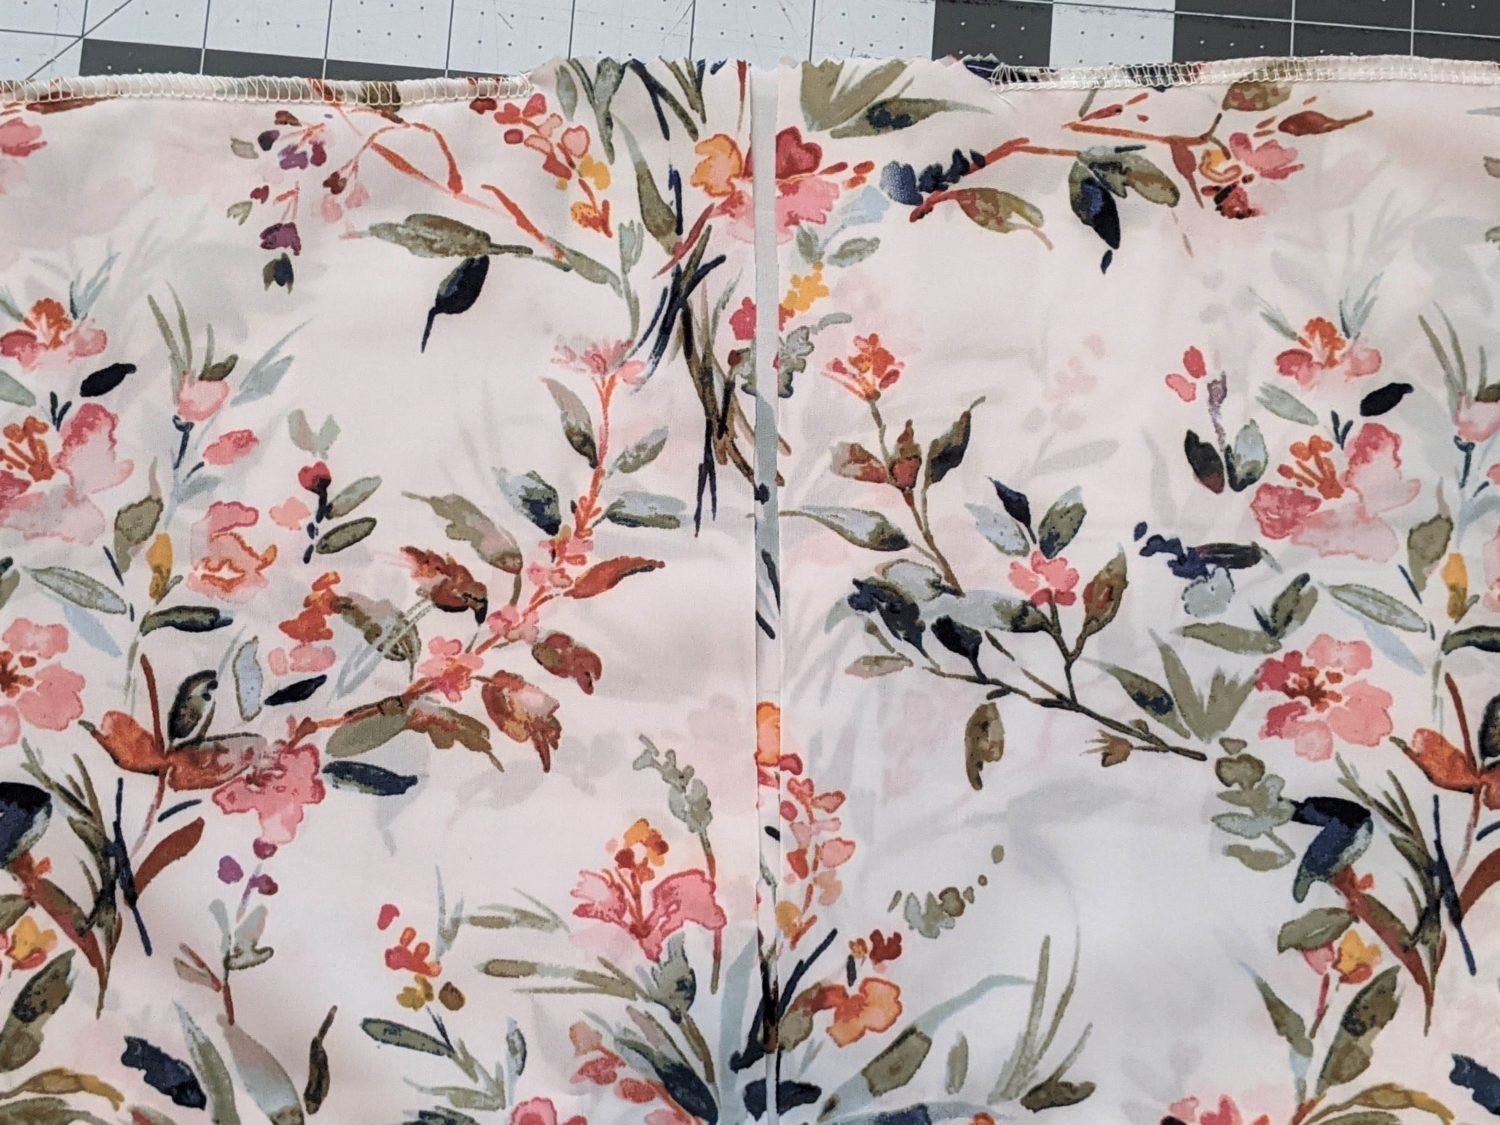
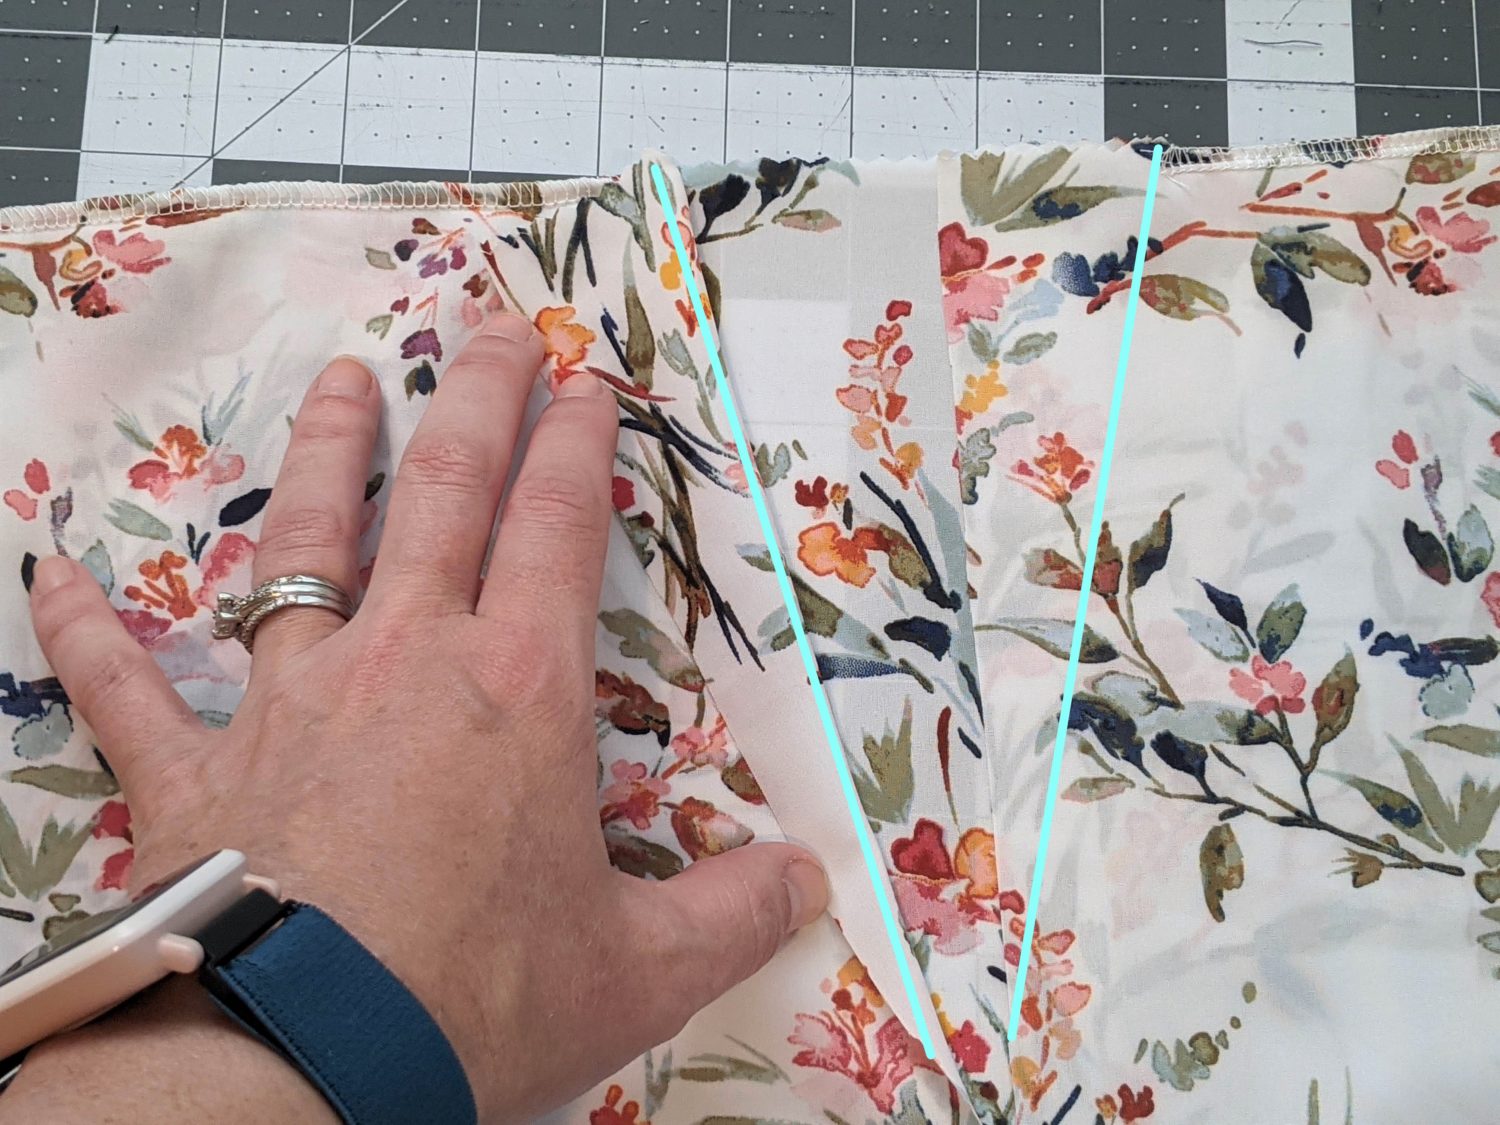
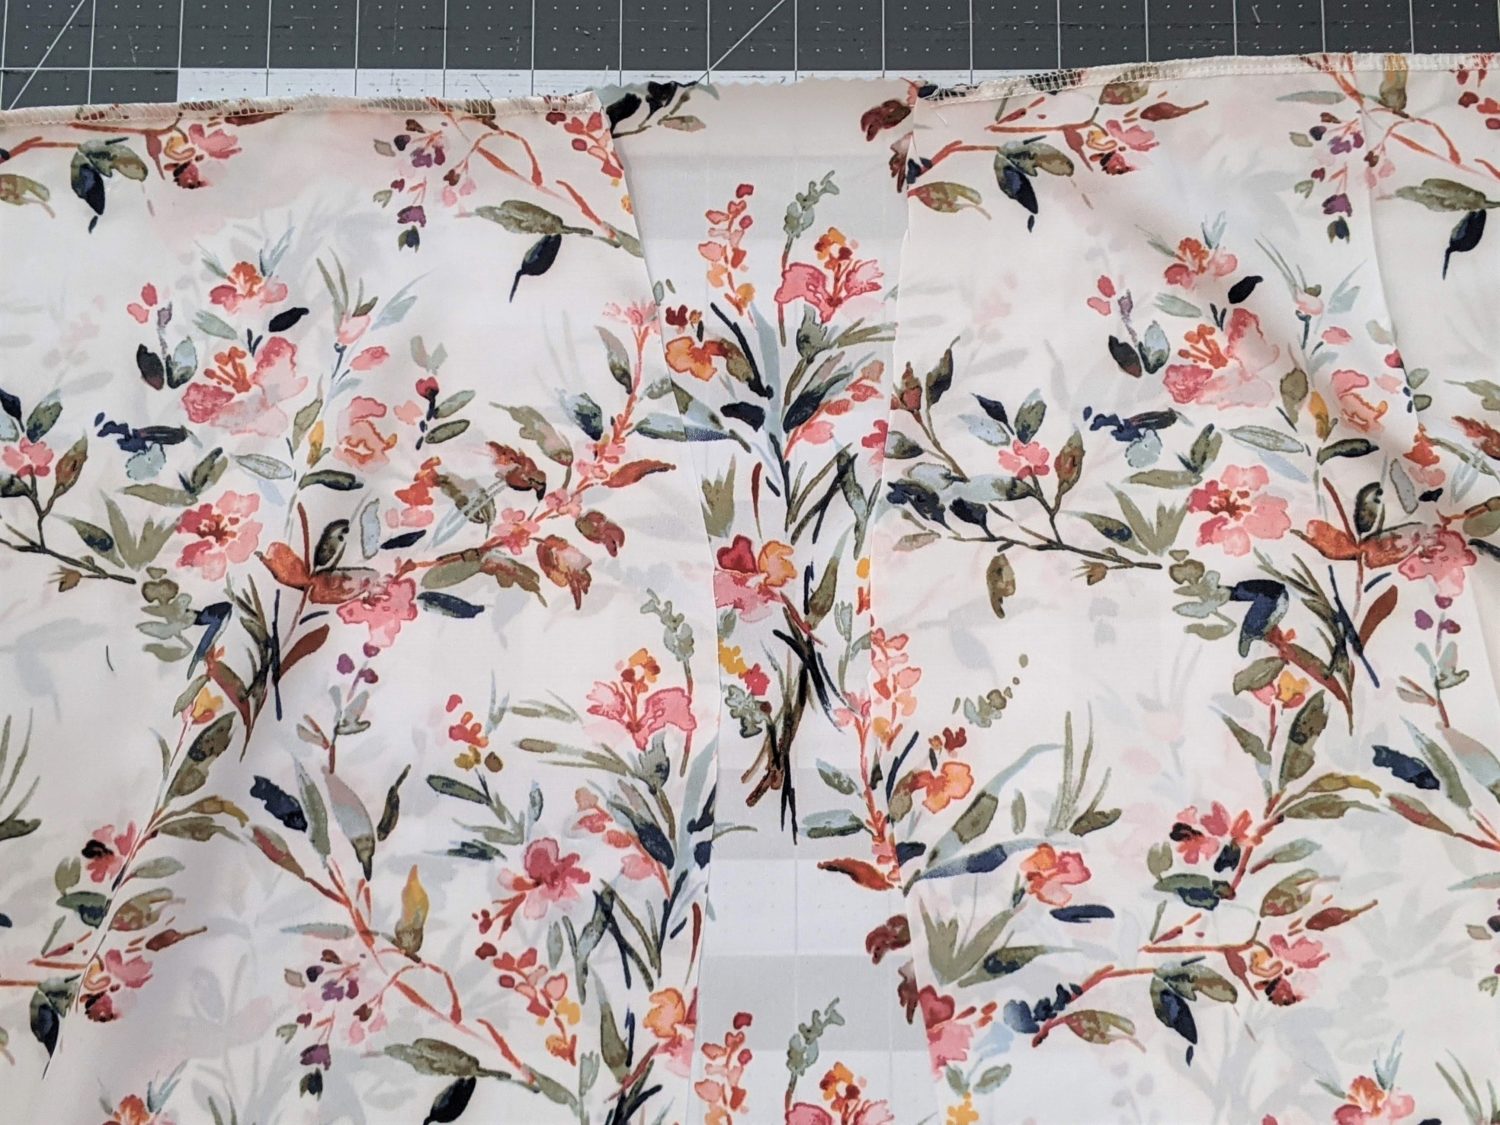
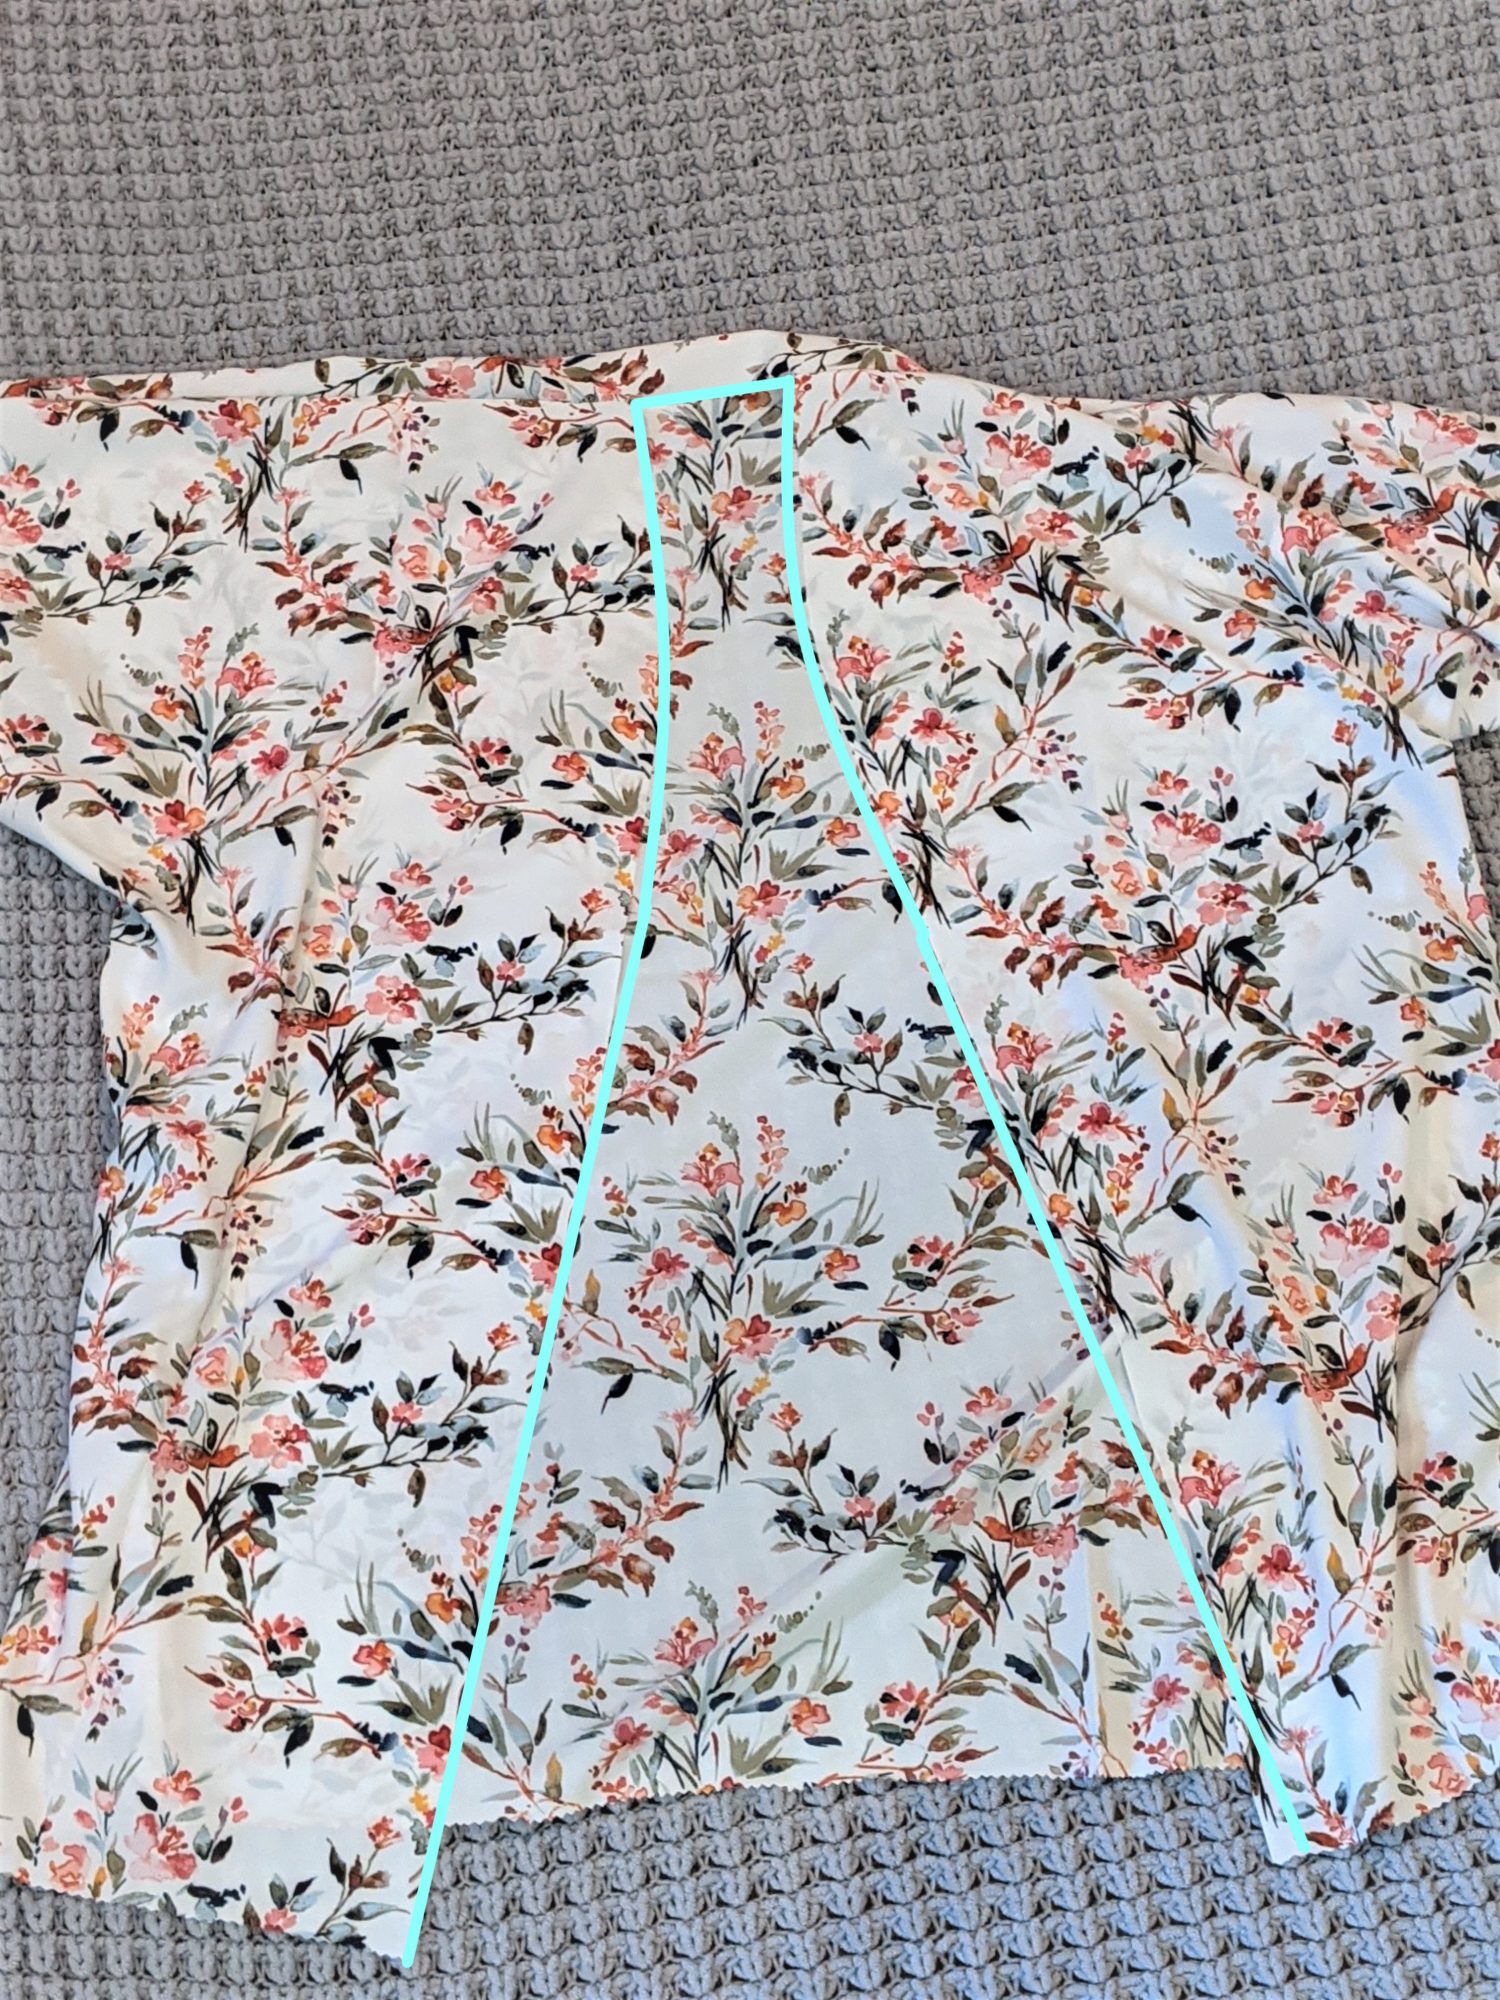
- At the unsewn section along the top edge, fold the edge of the front panel back creating a triangle and cut if off.
- Use the cut off piece as a guide on the opposite front panel and cut off the same section.
Optional Bands and Finishings
You now have a lovely kimono-style cover-up. You can be done here by finishing all raw edges with pinking shears, an overcast stitch, or a serger. In this example, I added bands to the front opening and sleeves. Continue on to create bands for your cover-up.
Bands
Front Opening:
- Measure around the entire front opening and neckline of your kimono. (Mine is 70″ then I added 2″ extra to give myself some wiggle room.)
- Cut a strip that is the length you just measured by 4″ wide. If your fabric is not long enough or has a directional print, measure half of your length plus your seam allowance and cut two pieces.
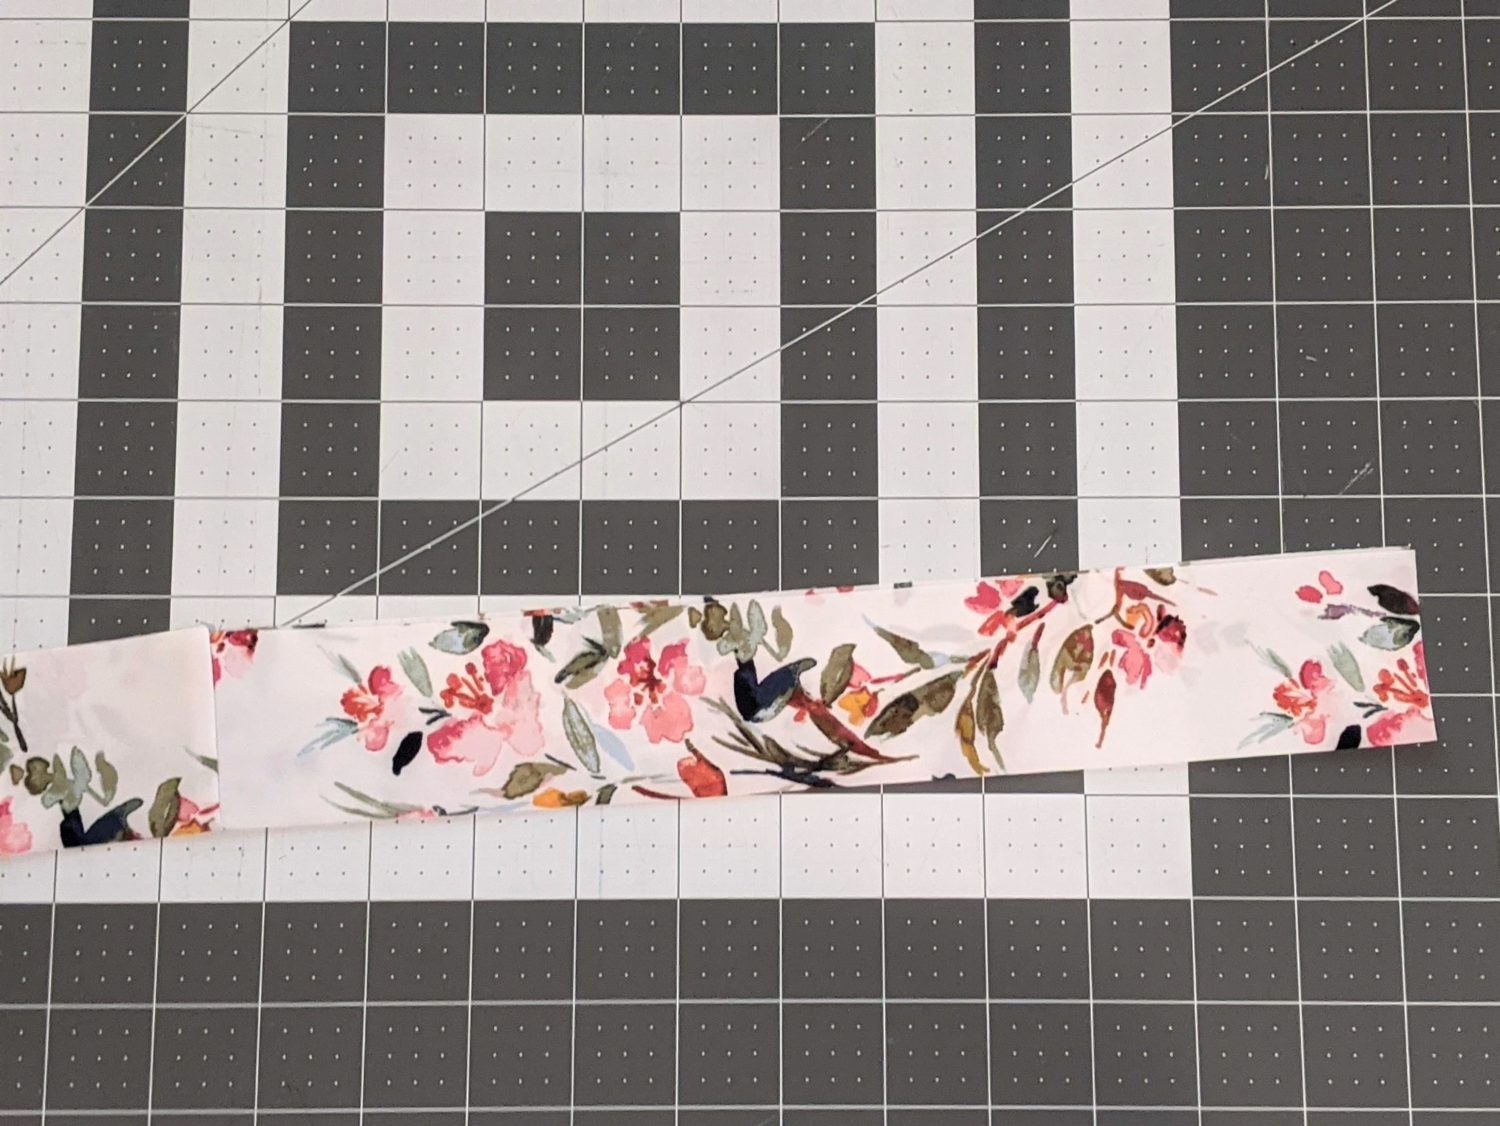
- Sew the short ends of the pieces together if using more than just one long strip.
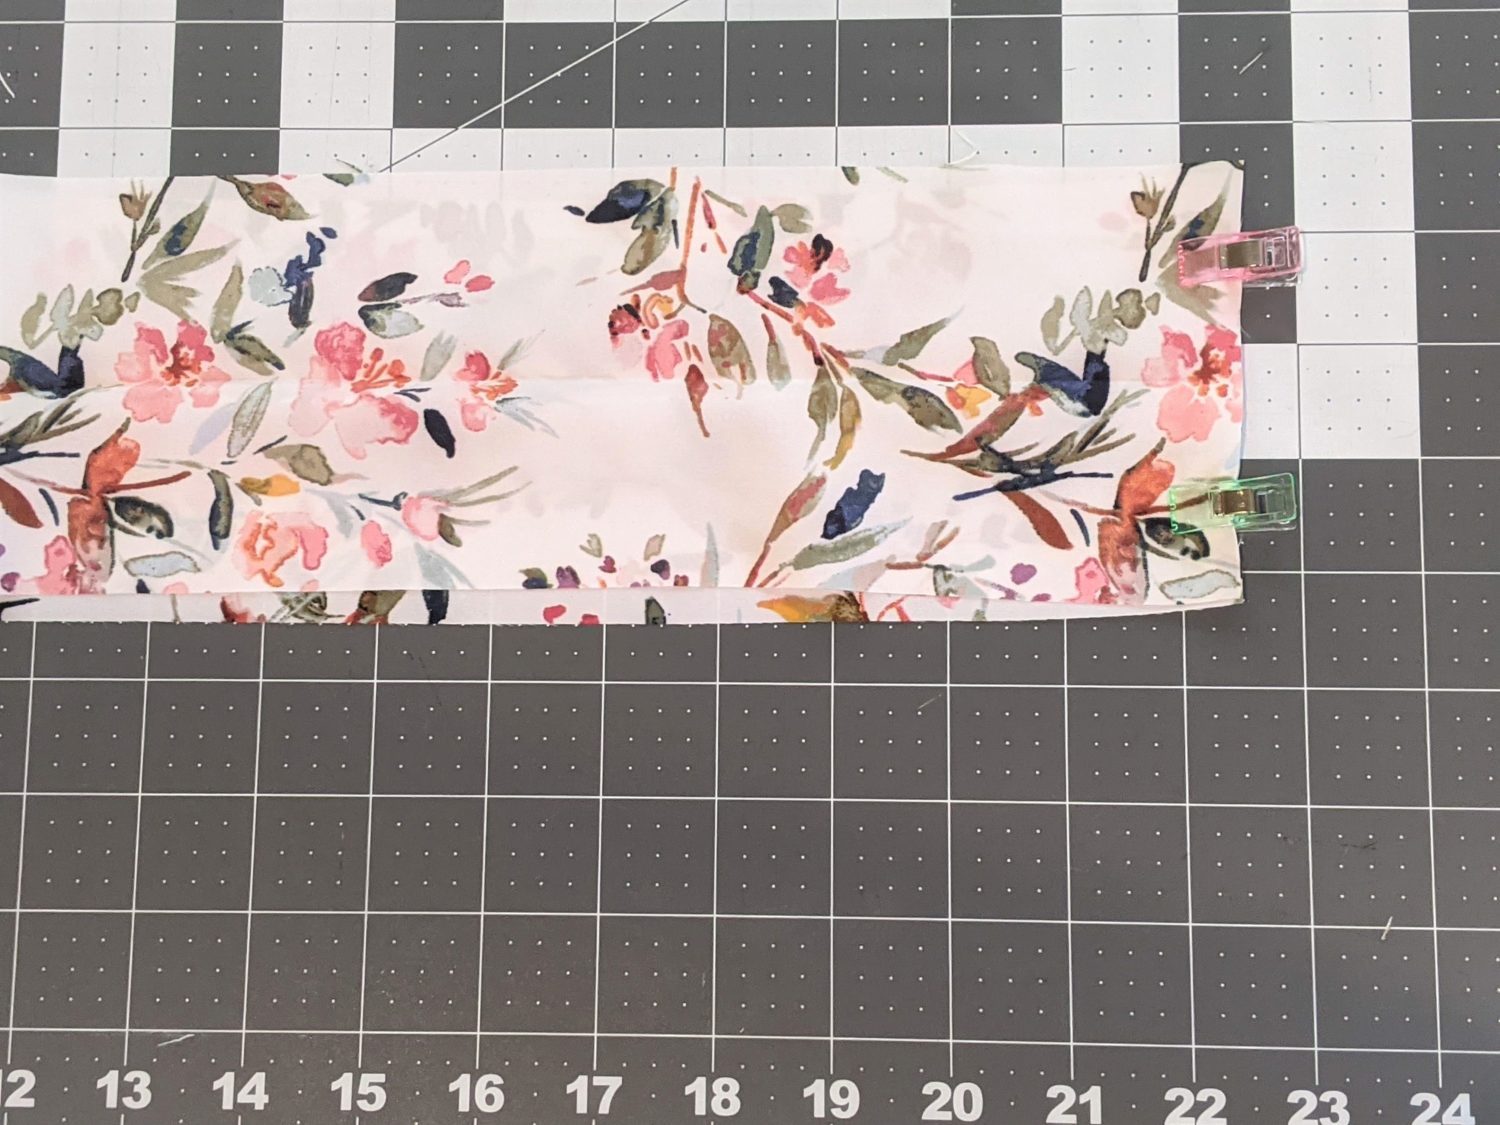
- Fold the entire strip in half lengthwise and press (test your iron settings on a scrap piece of fabric as some lighter, flowy fabrics can be very delicate with heat.)
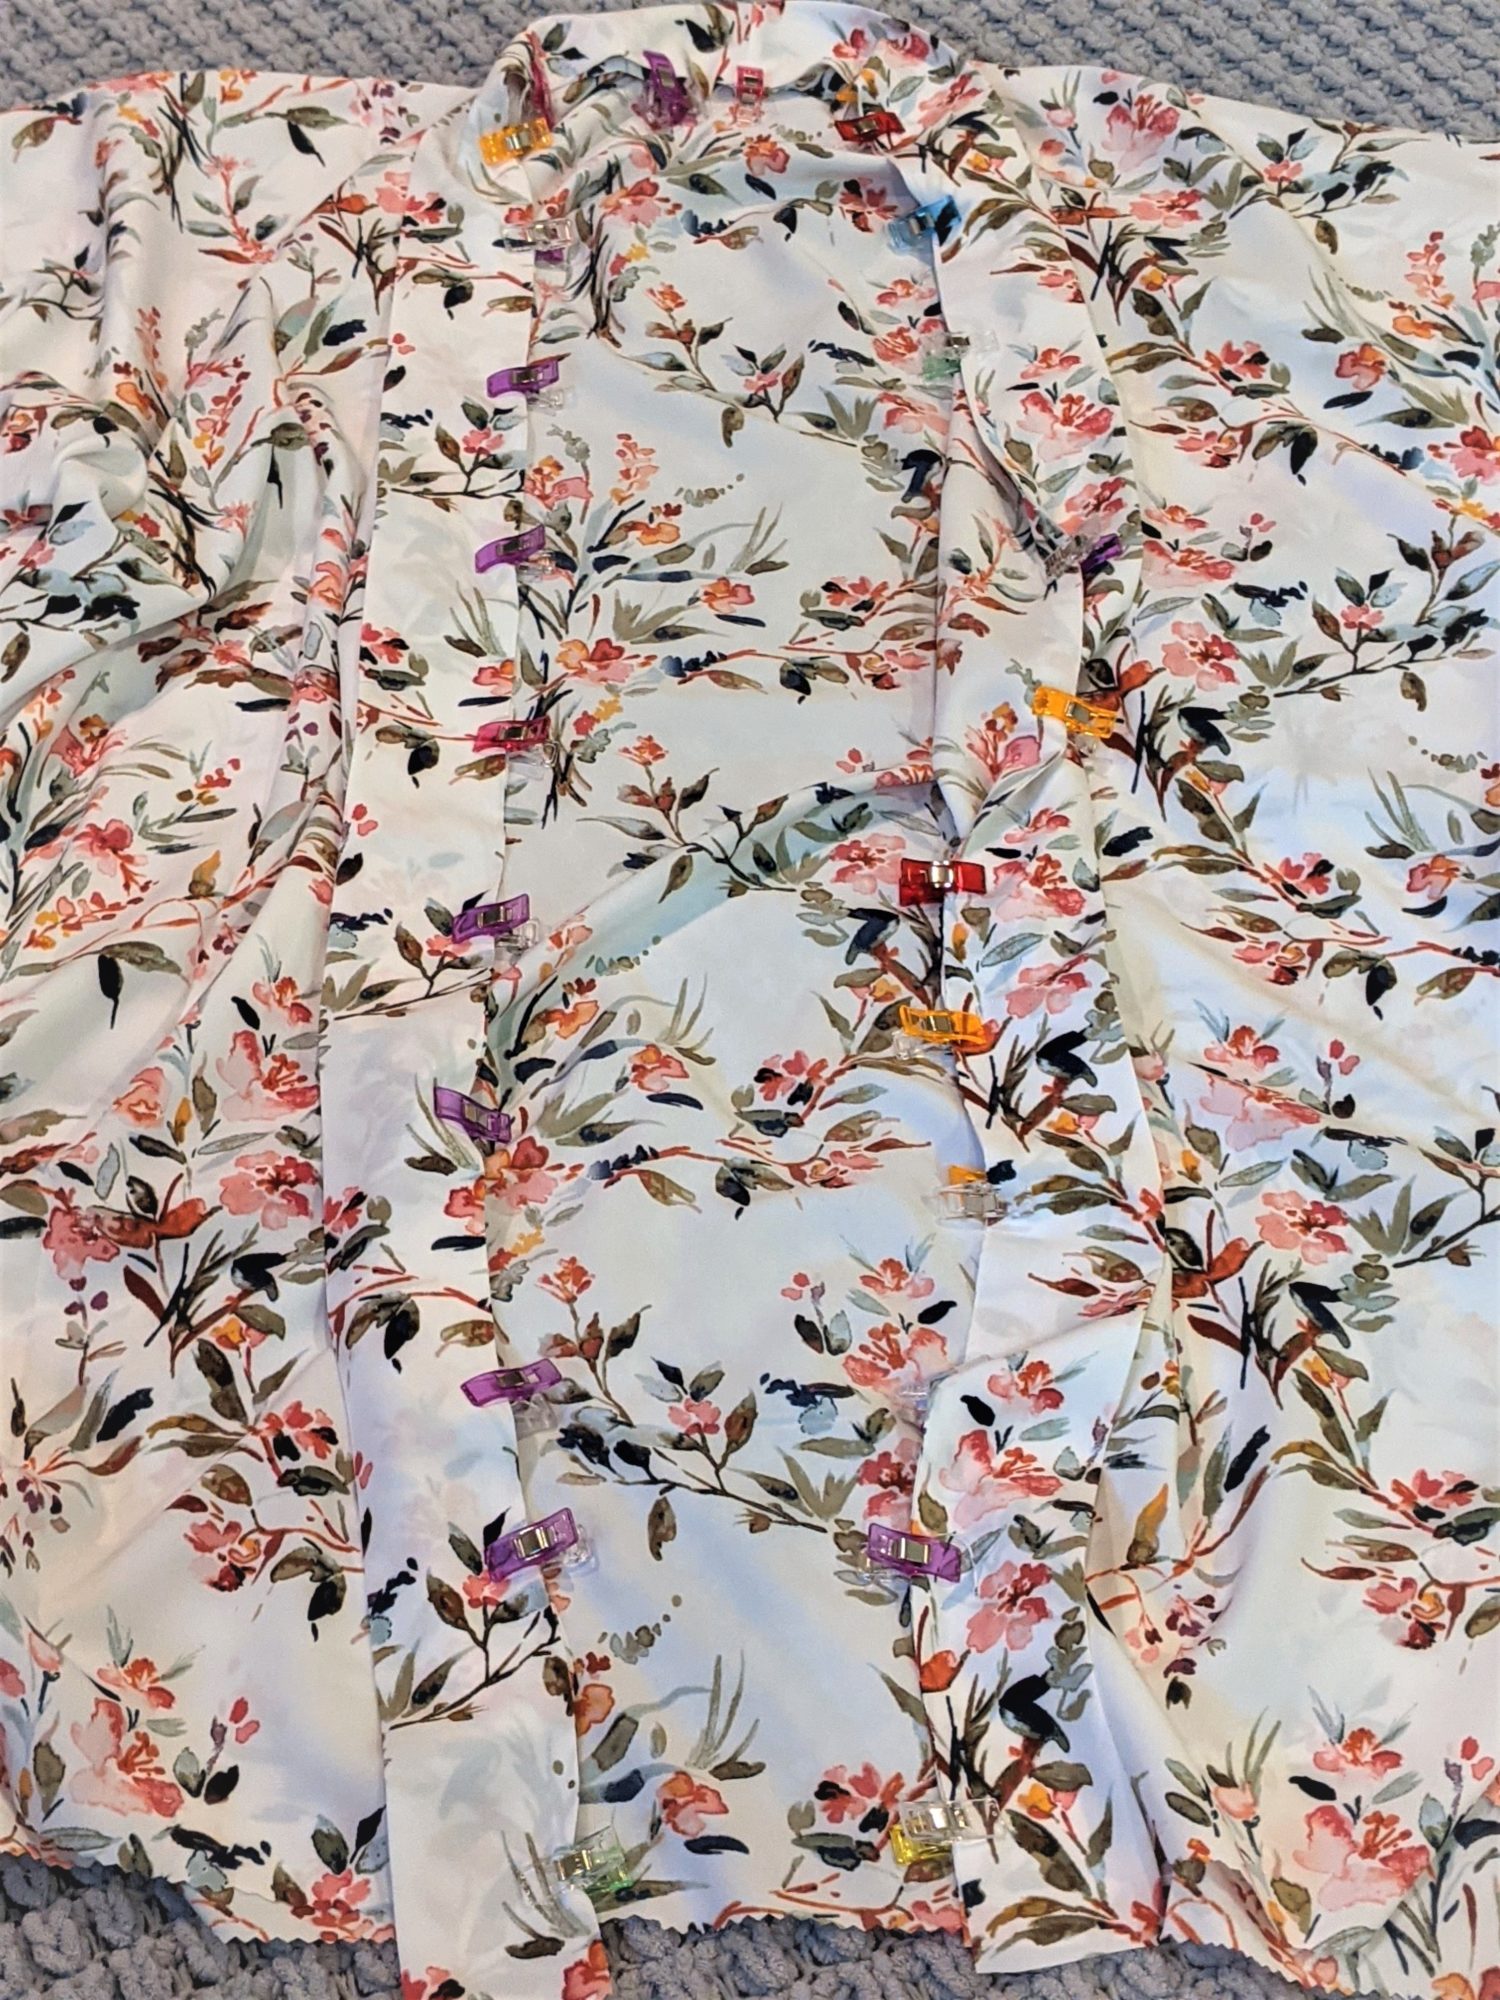
- Start at one bottom edge of the front opening and pin/clip the band to the edge with raw edges together.
- Continue pinning the band all along the front opening, across the neckline, and back down the other front edge until you reach the bottom.
- Use an overcast stitch, straight stitch or serger and and a 3/8″ seam allowance to sew the band.
- Cut off any excess band fabric.
- Optional: Press your seam allowance away from the band and topstitch.
Sleeves:
- Measure all the way around your sleeve opening, then add your seam allowance to find the length of your sleeve bands. The width will be 4″ (the same as the front opening band.)
- Cut two bands to these measurements.
- Fold in half lengthwise and press.
- Sew short ends together to make a loop.
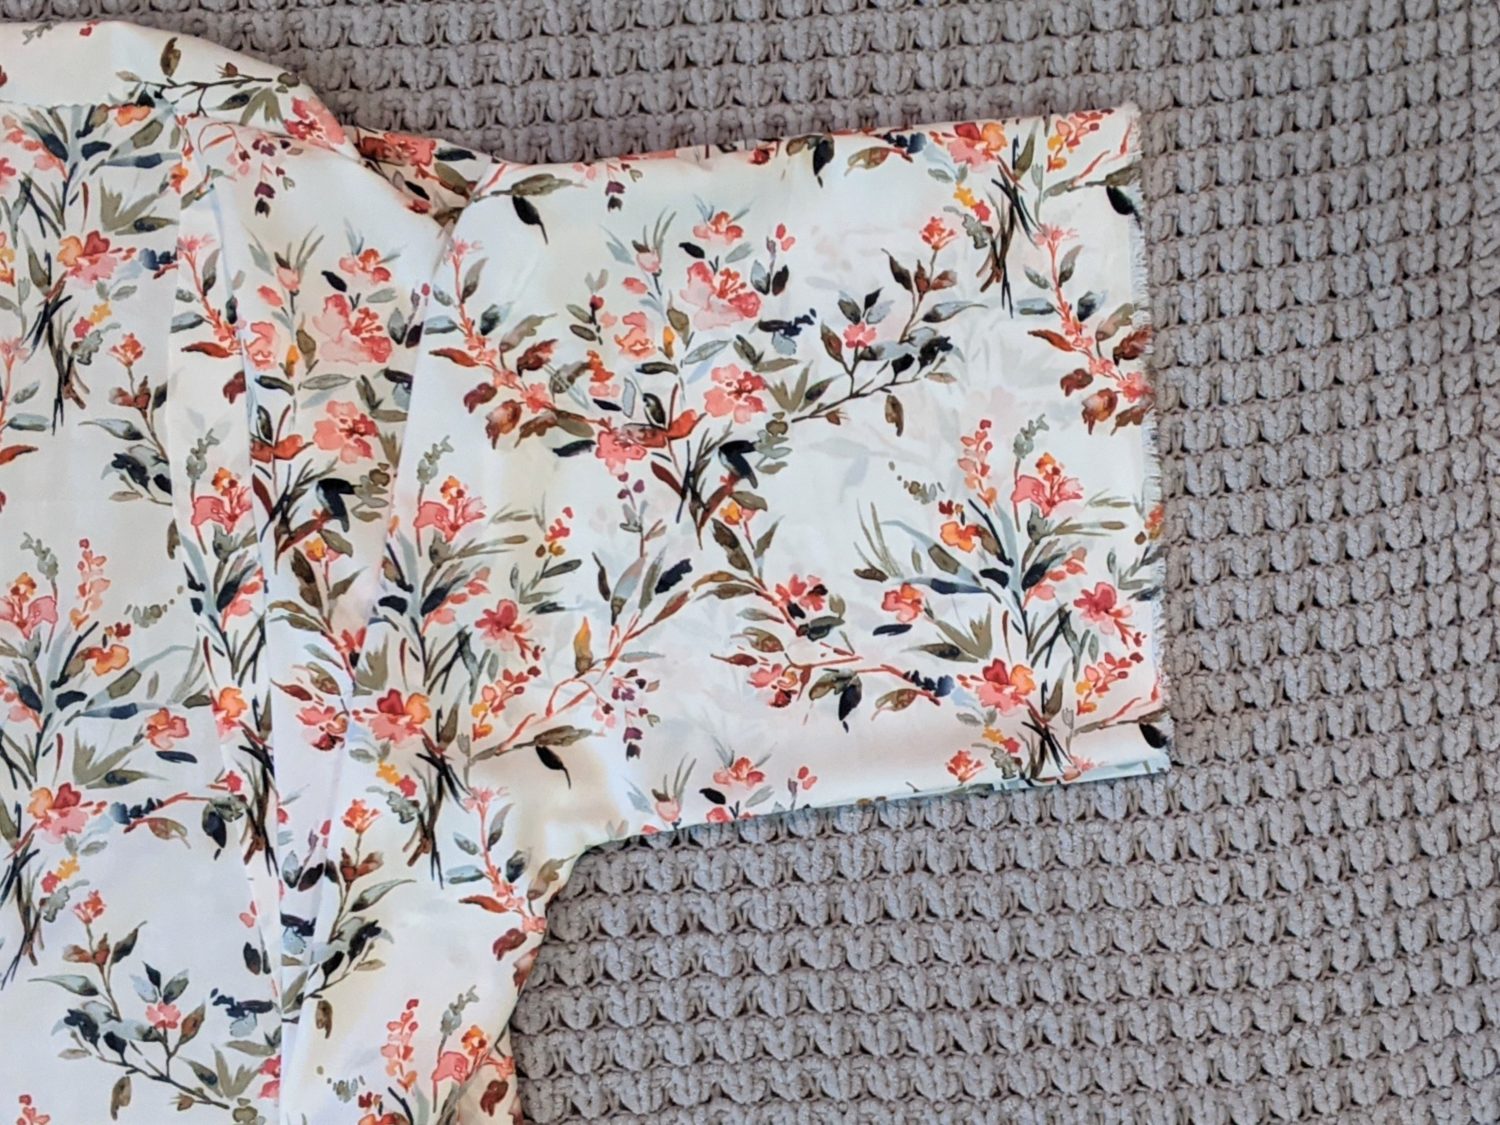
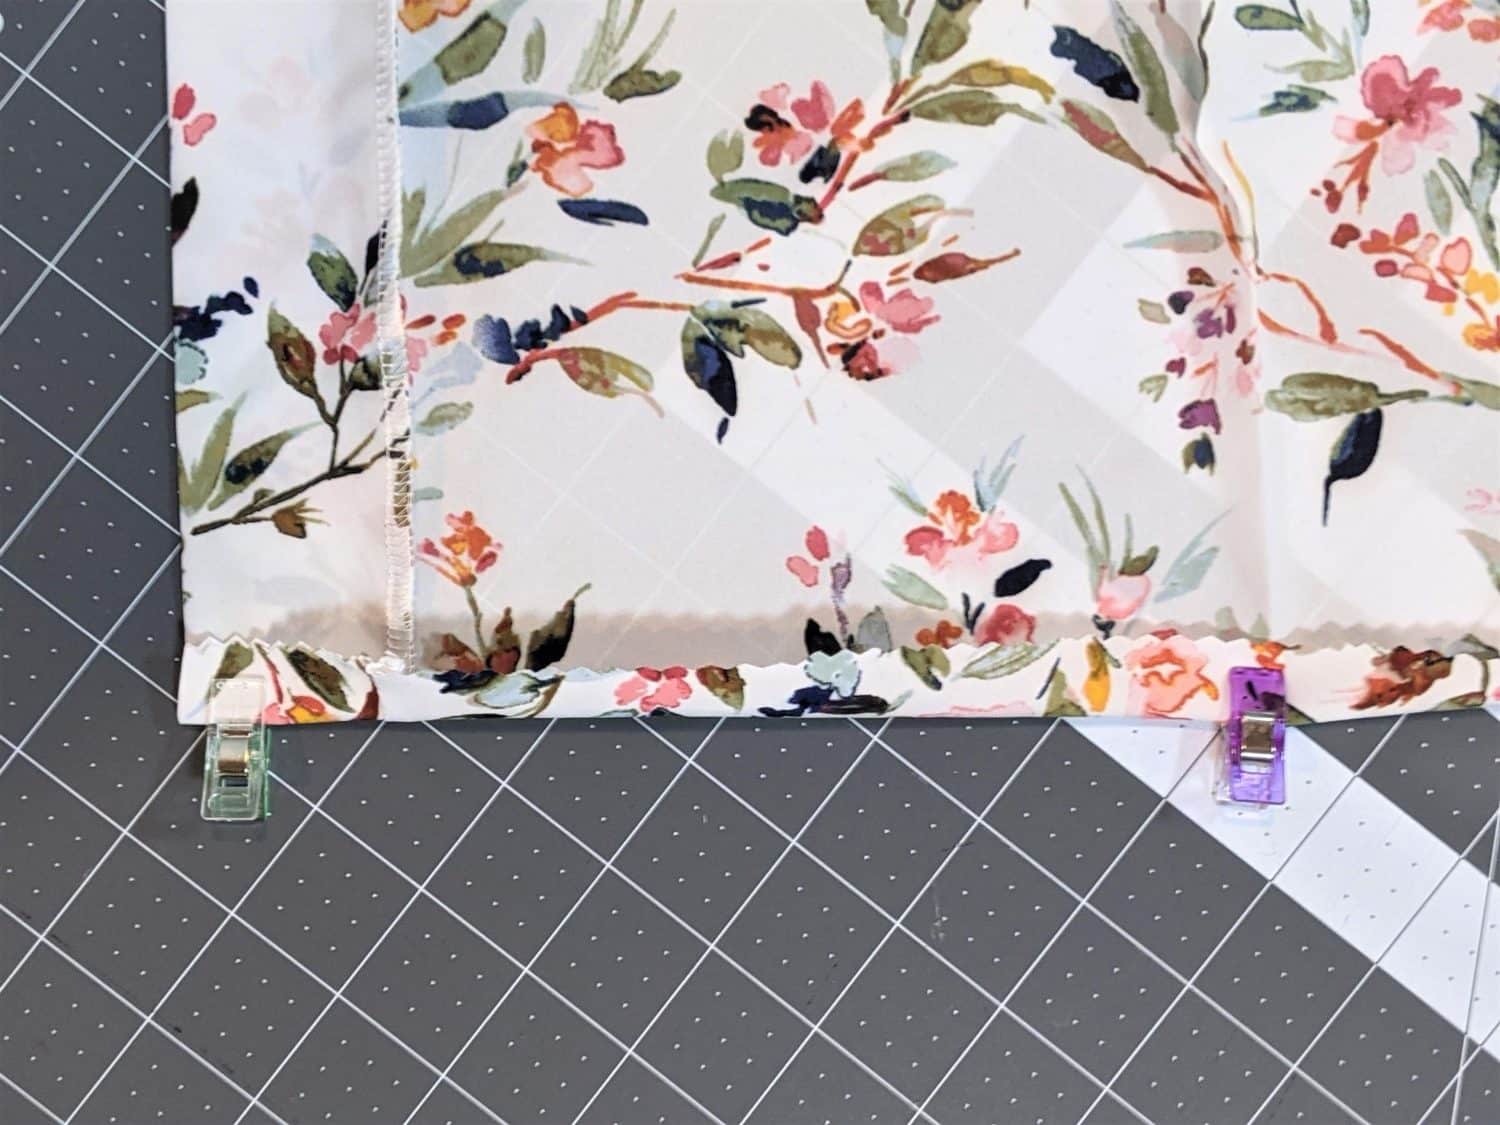
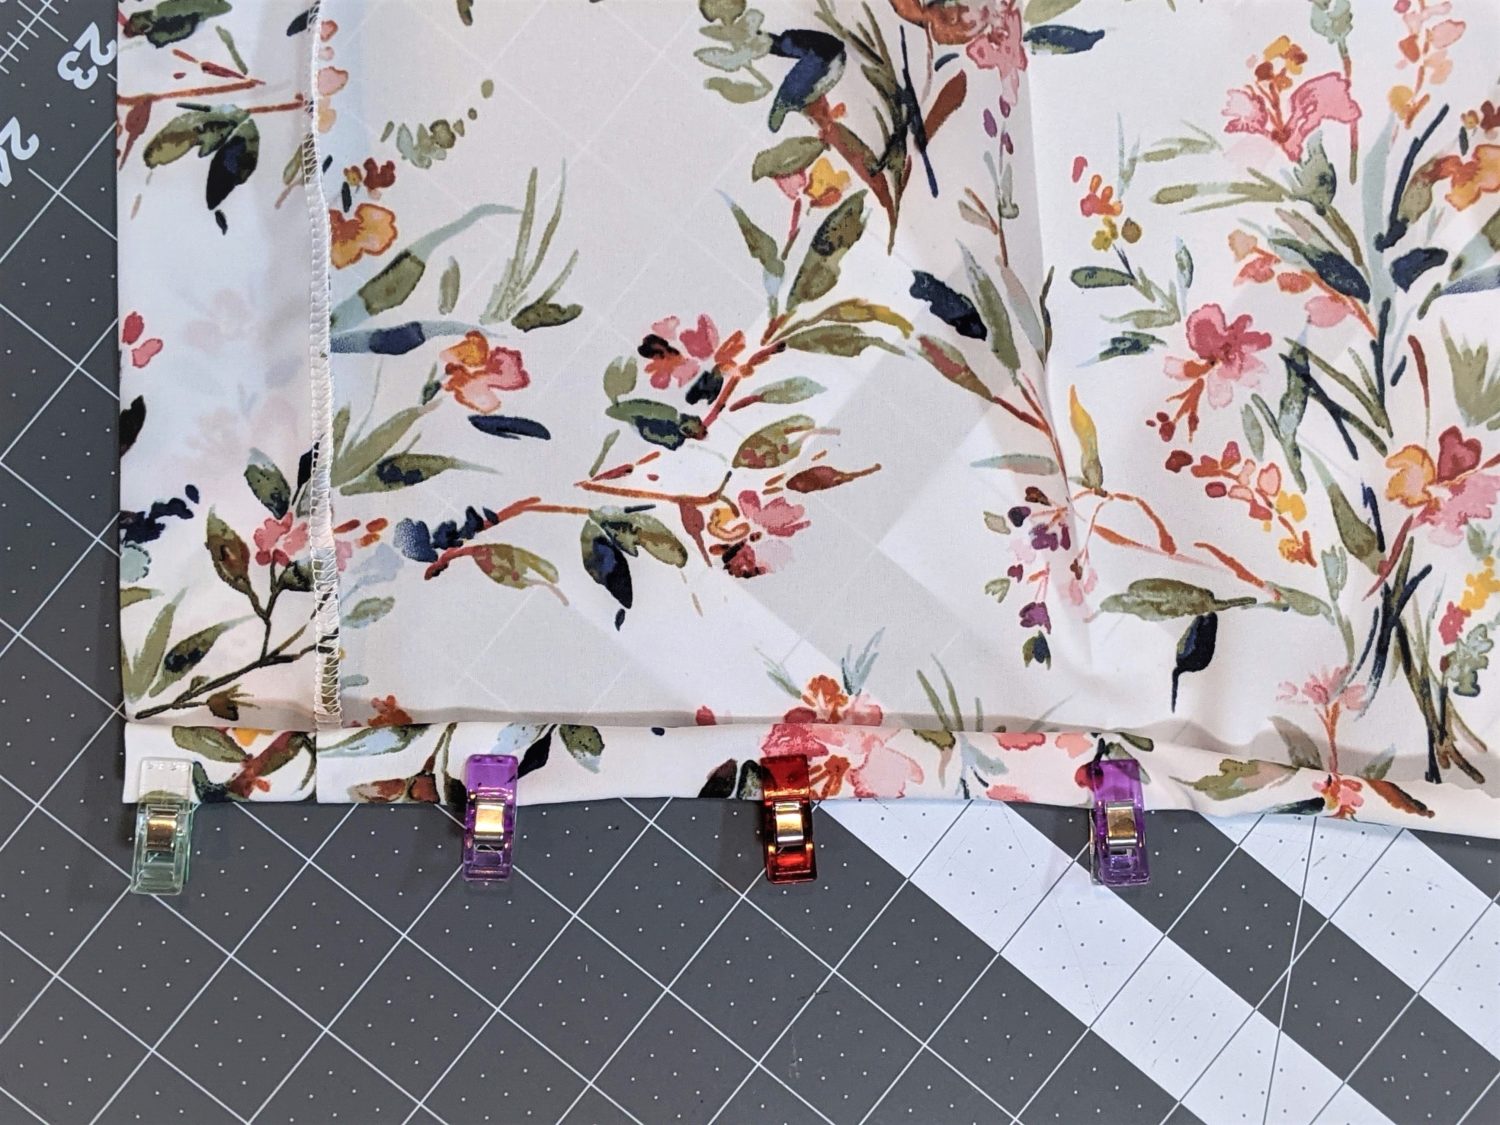
- Slide the loop over the outside of the sleeve matching up the raw edges and pin in place.
- Sew in place using and overcast stitch, straight stitch, or serger and a 3/8″ seam allowance.
- Optional: press seam allowance away from the band and topstitch.
- Repeat on the other sleeve.
Bottom Edge
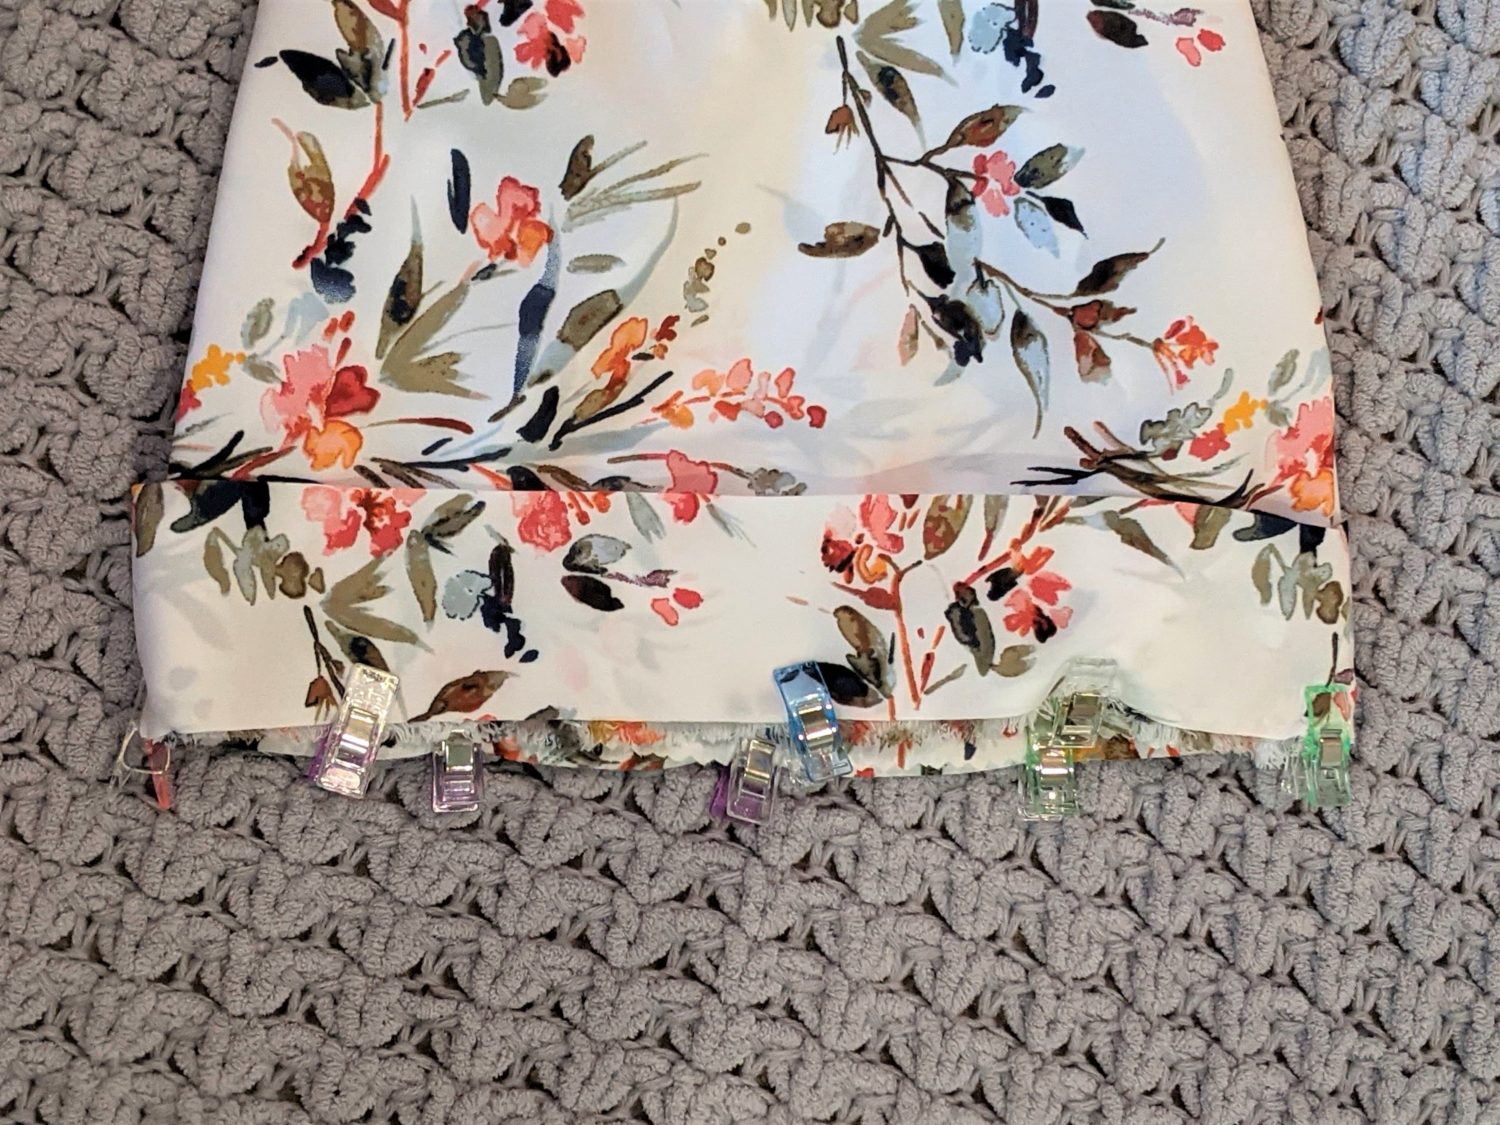
- Fold the bottom edge up 1/2″ and press, then fold up 1/2″ again and pin. (If the bottom edge was cut with pinking shears, it is not neccessary to fold the edge the second time.)
- Topstitch 3/8″ in from the edge using a straight stitch.
You are ready to look fabulous at the beach. Or in your PJ’s.
Want more FUN DIY Freebies? Check out the FREEBIE TUTORIALS and the FREEBIE PATTERNS!
As always, we’re here to help if you need it! Join us HERE and on Facebook, Instagram, Twitter, Youtube, and Pinterest. We’re everywhere you are.



Leave a Reply