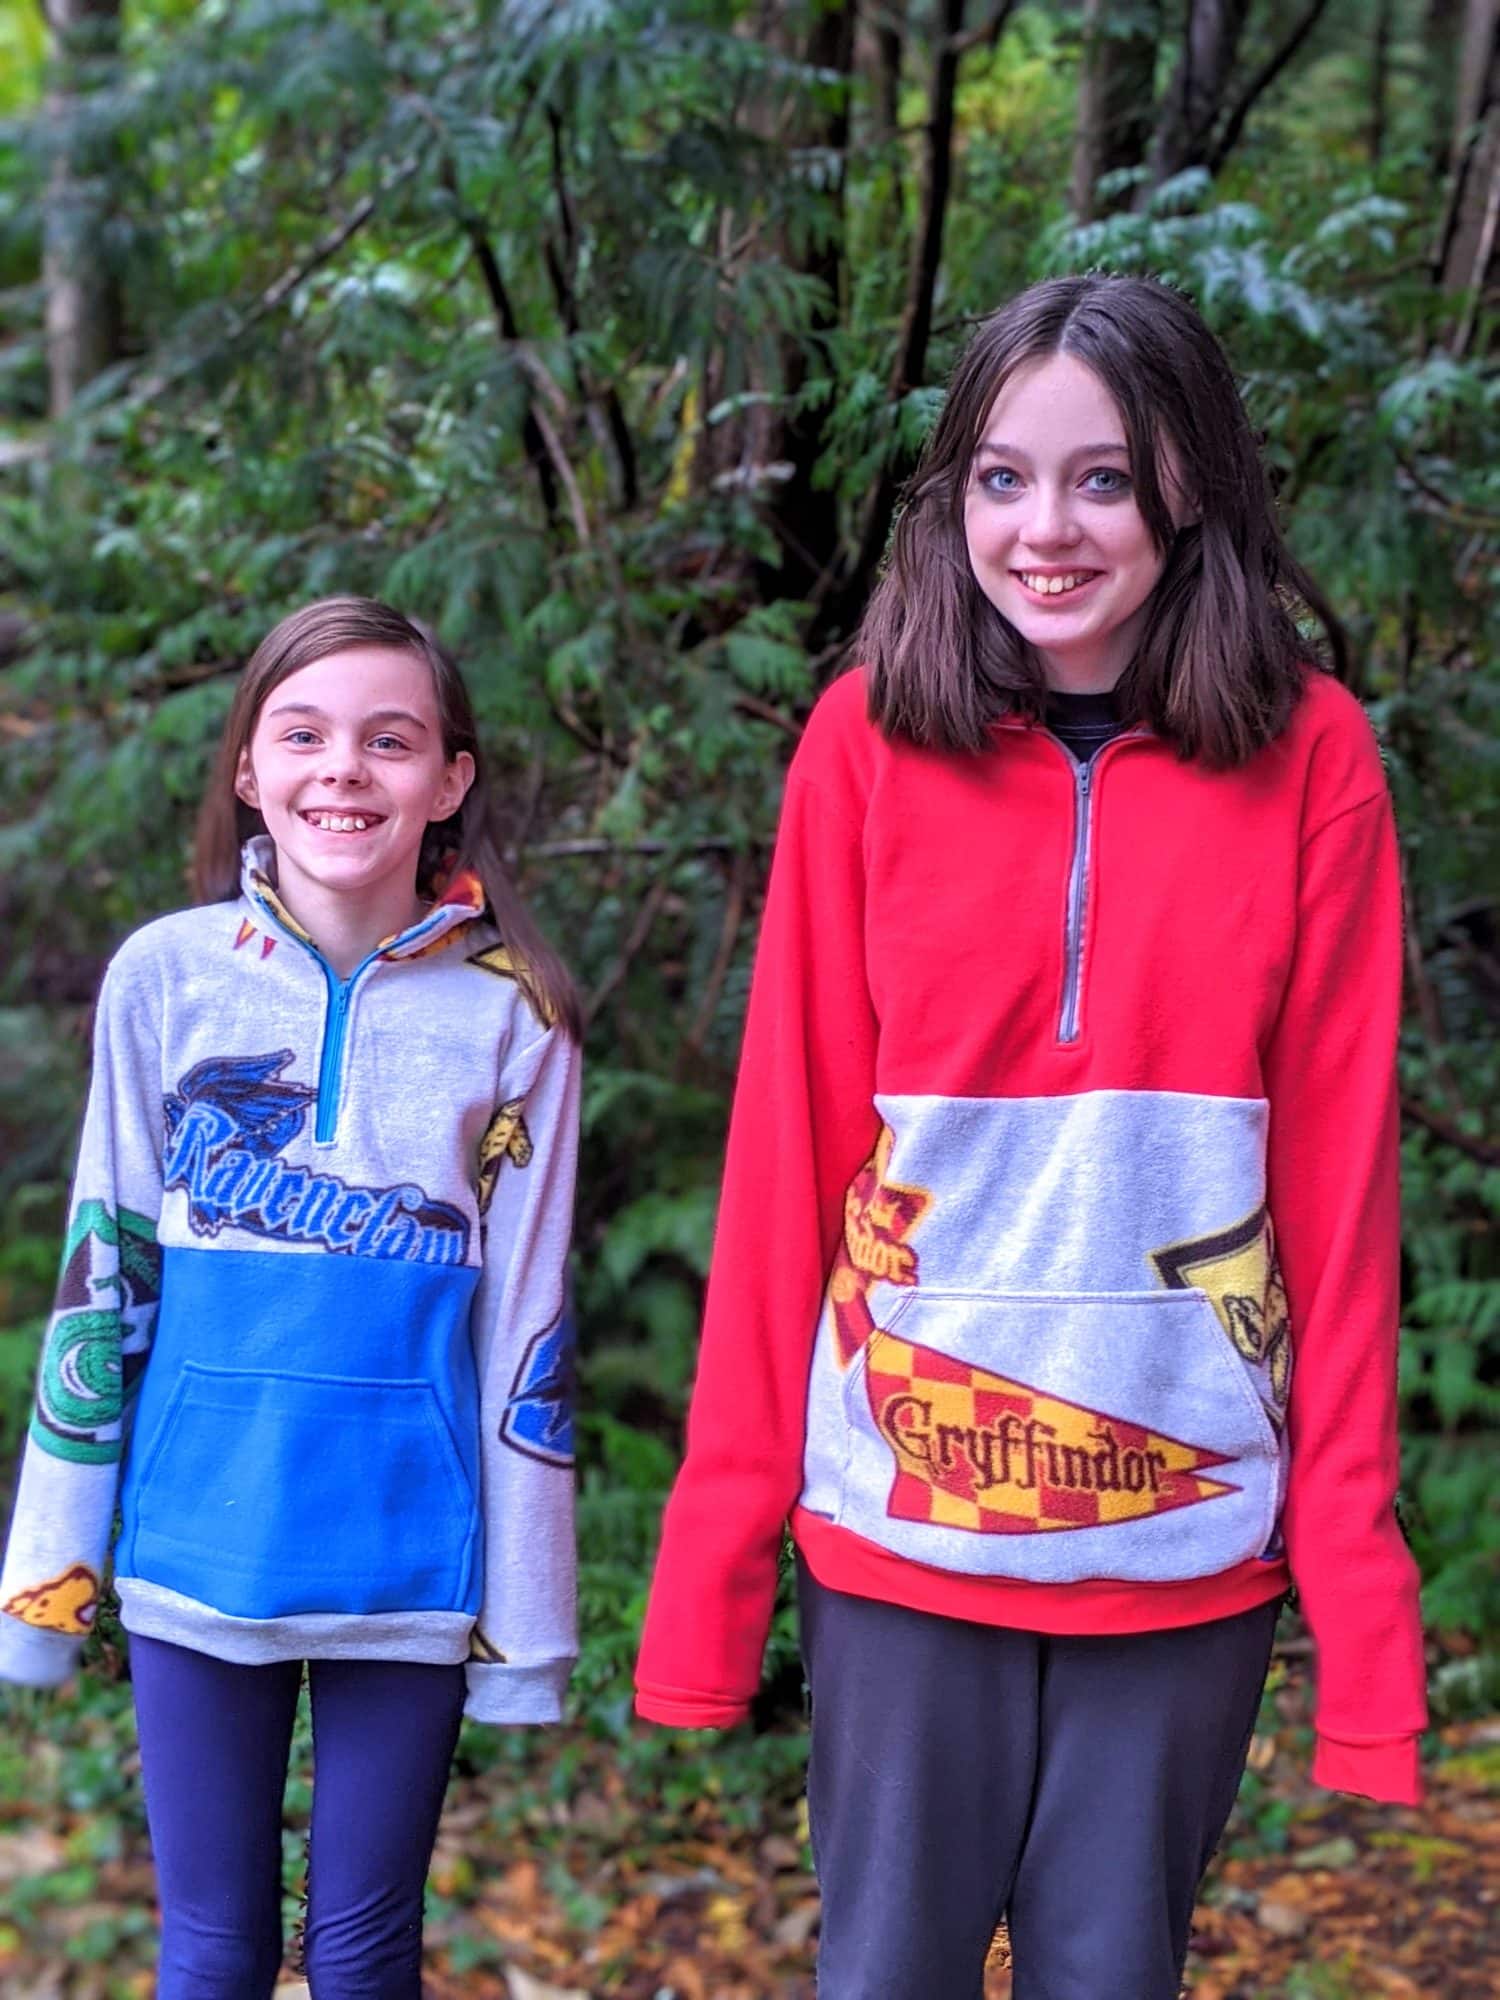
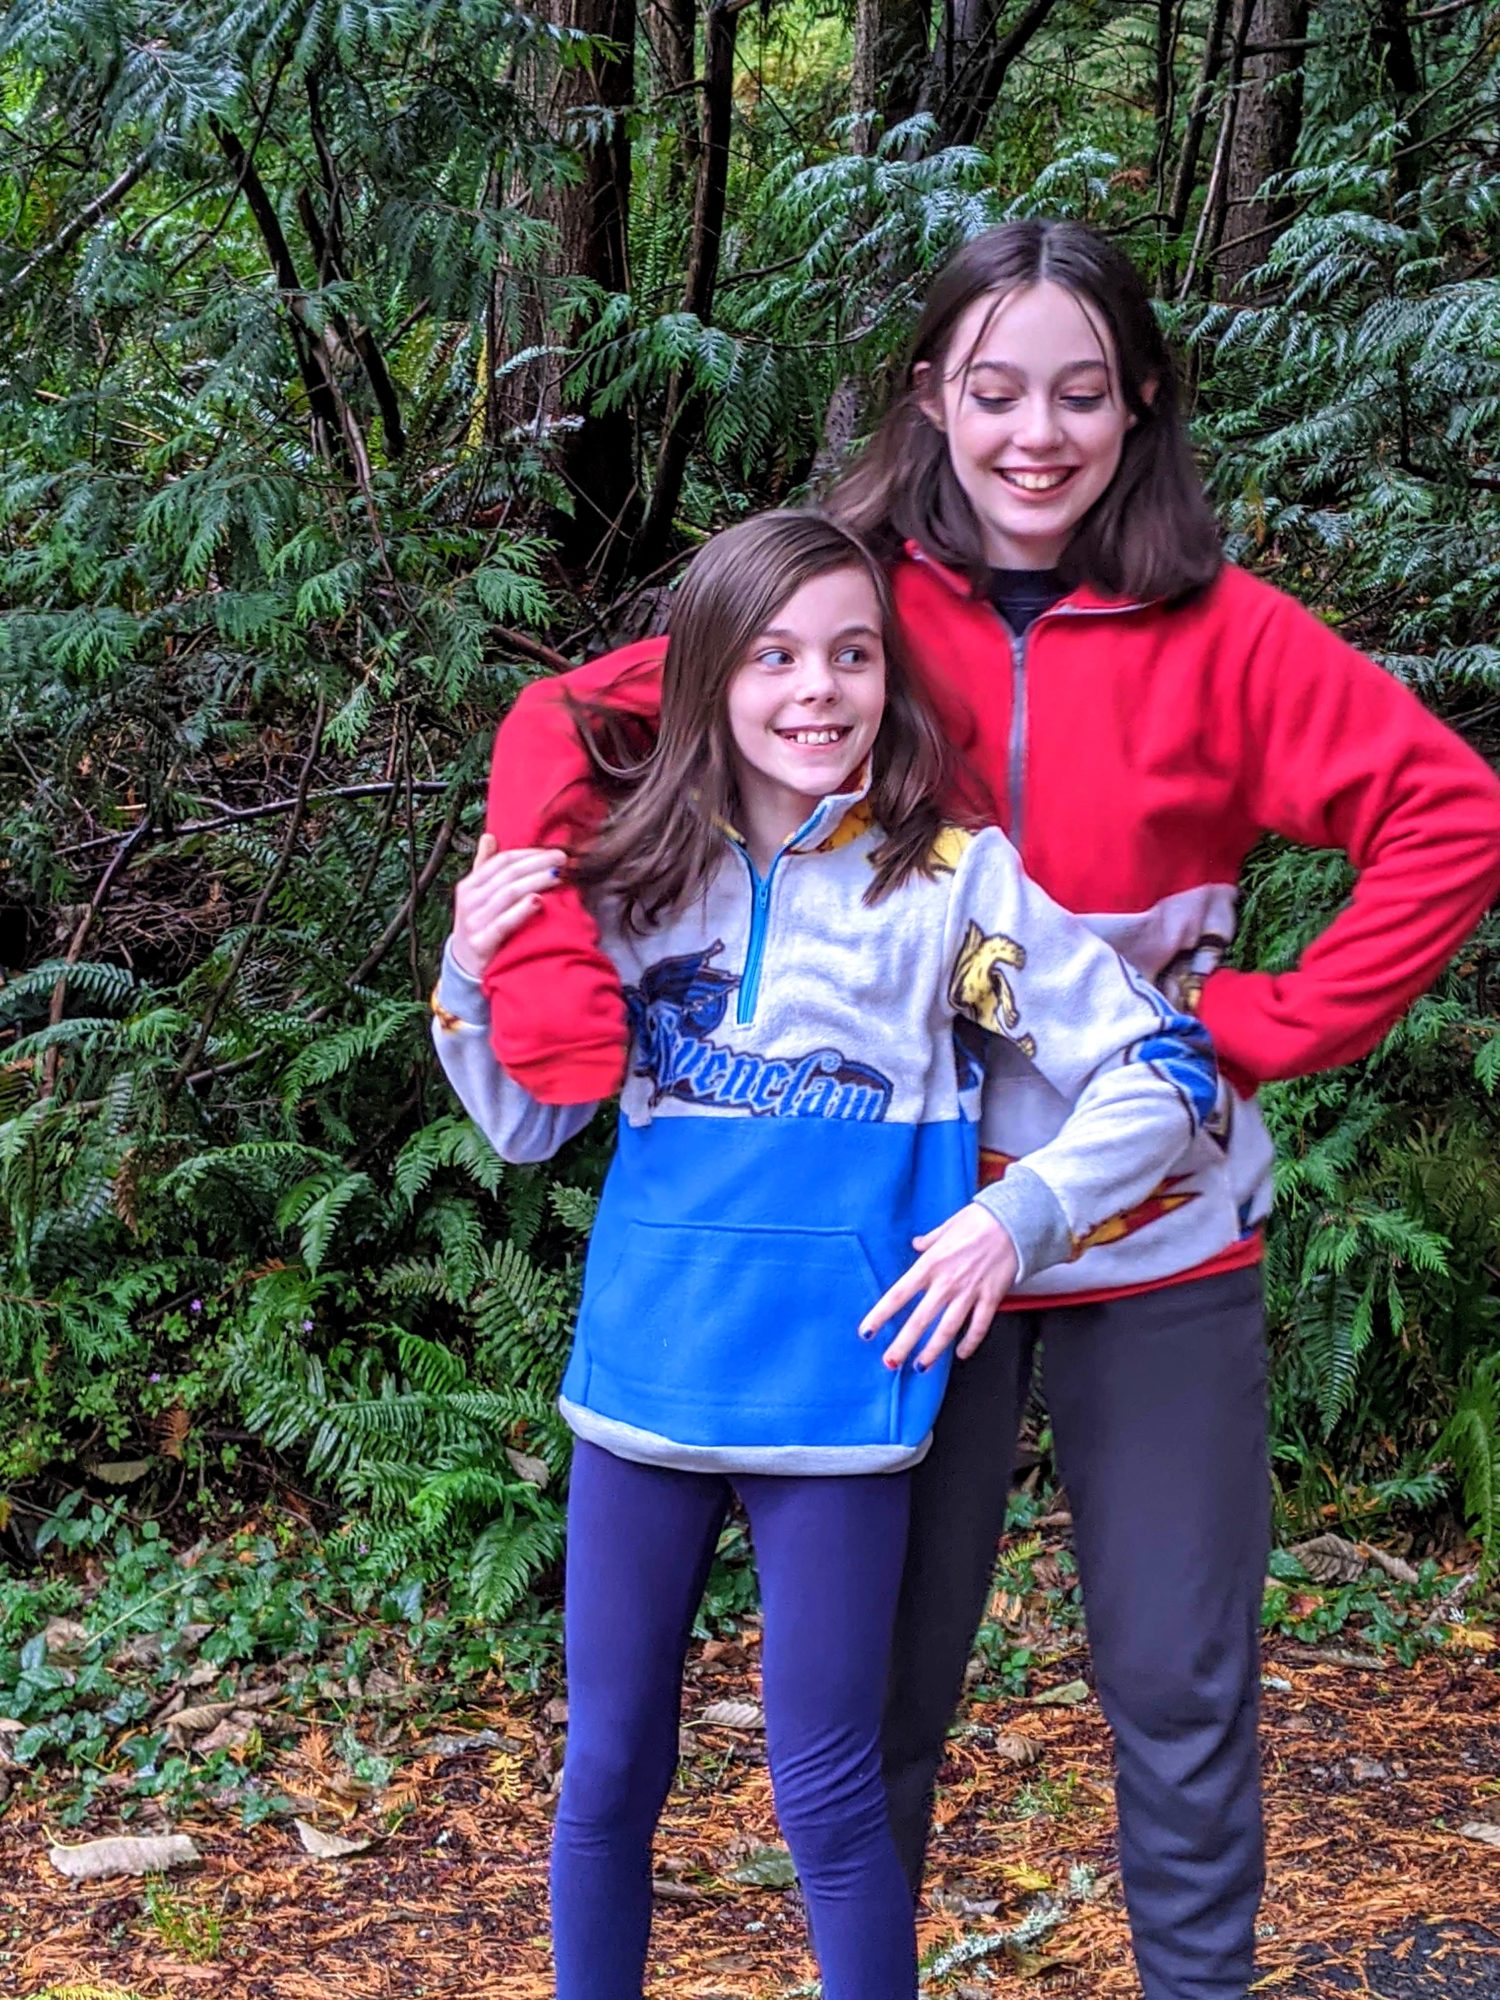
I had this vision of a color-blocked fleece pullover and I was so excited to recreate it! Then my two oldest girls saw my idea and saw some Harry Potter fleece. Mine will come soon, but at least they are excited about theirs! I did this on the Kid’s K2 Fleece Pullover and the Women’s Ascent Fleece Pullover. The same thing applies to the Men’s Sierra Fleece Pullover, so make them for the whole family! I love a good cozy fleece in the fall!
You will need one (or all) of our fleece pullover patterns:
- Women’s Ascent Fleece Pullover
- Kid’s K2 Fleece Pullover
- Men’s Sierra Fleece Pullover
- Family Fleece Pullover Bundle
Print and assemble your pattern as the non-color-blocked option then you’ll be ready to get going!
Alter your pullover pattern:
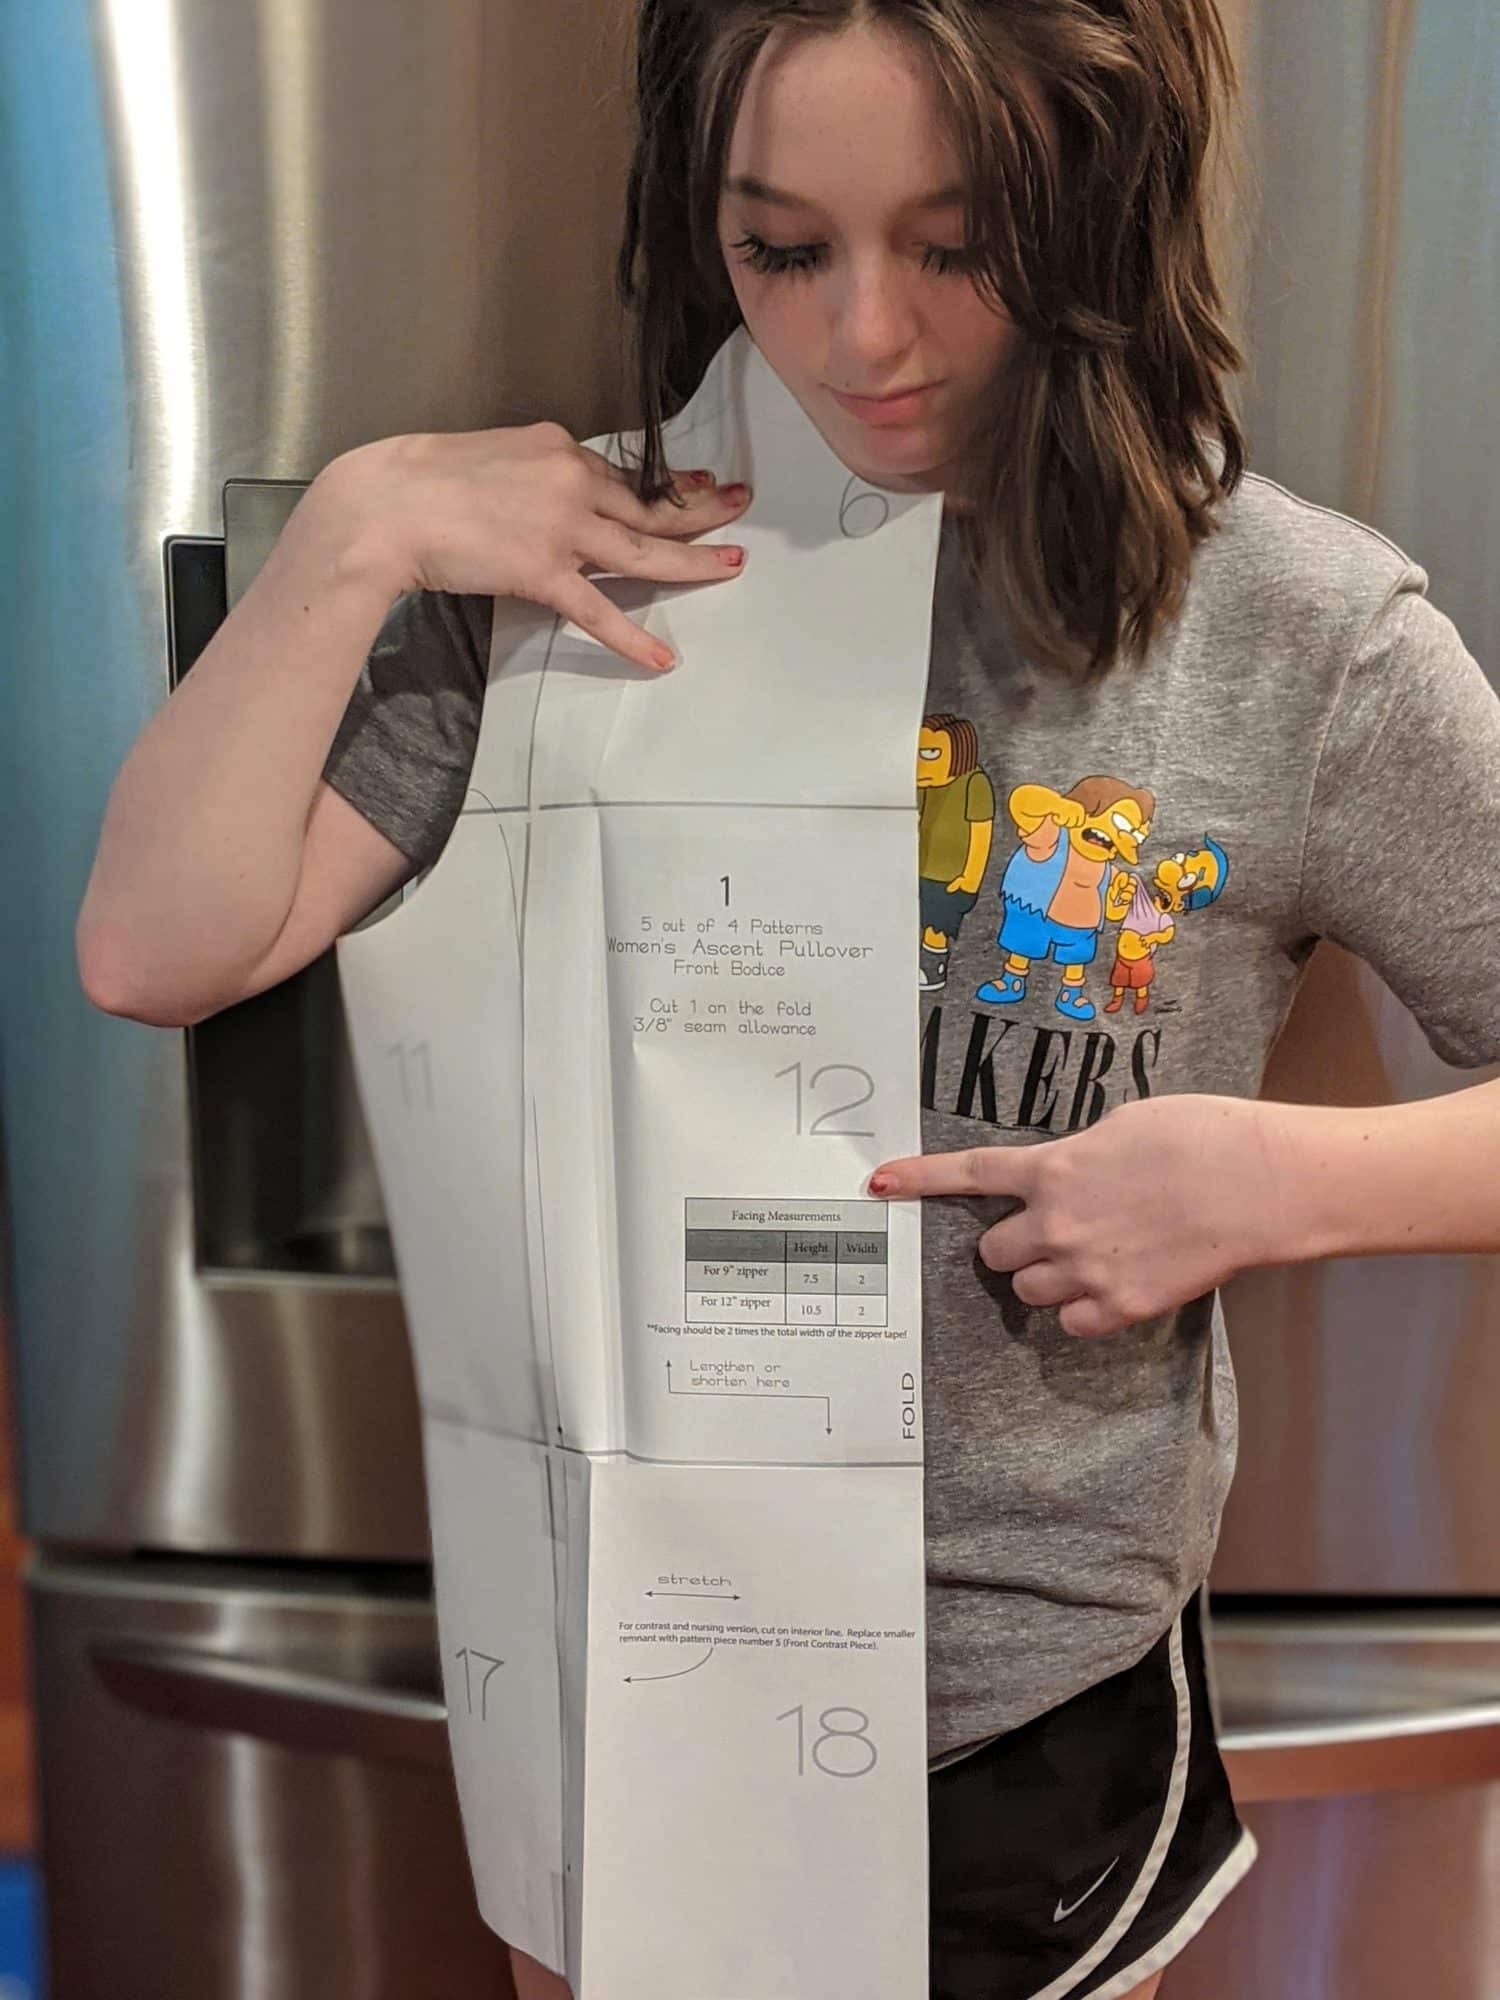
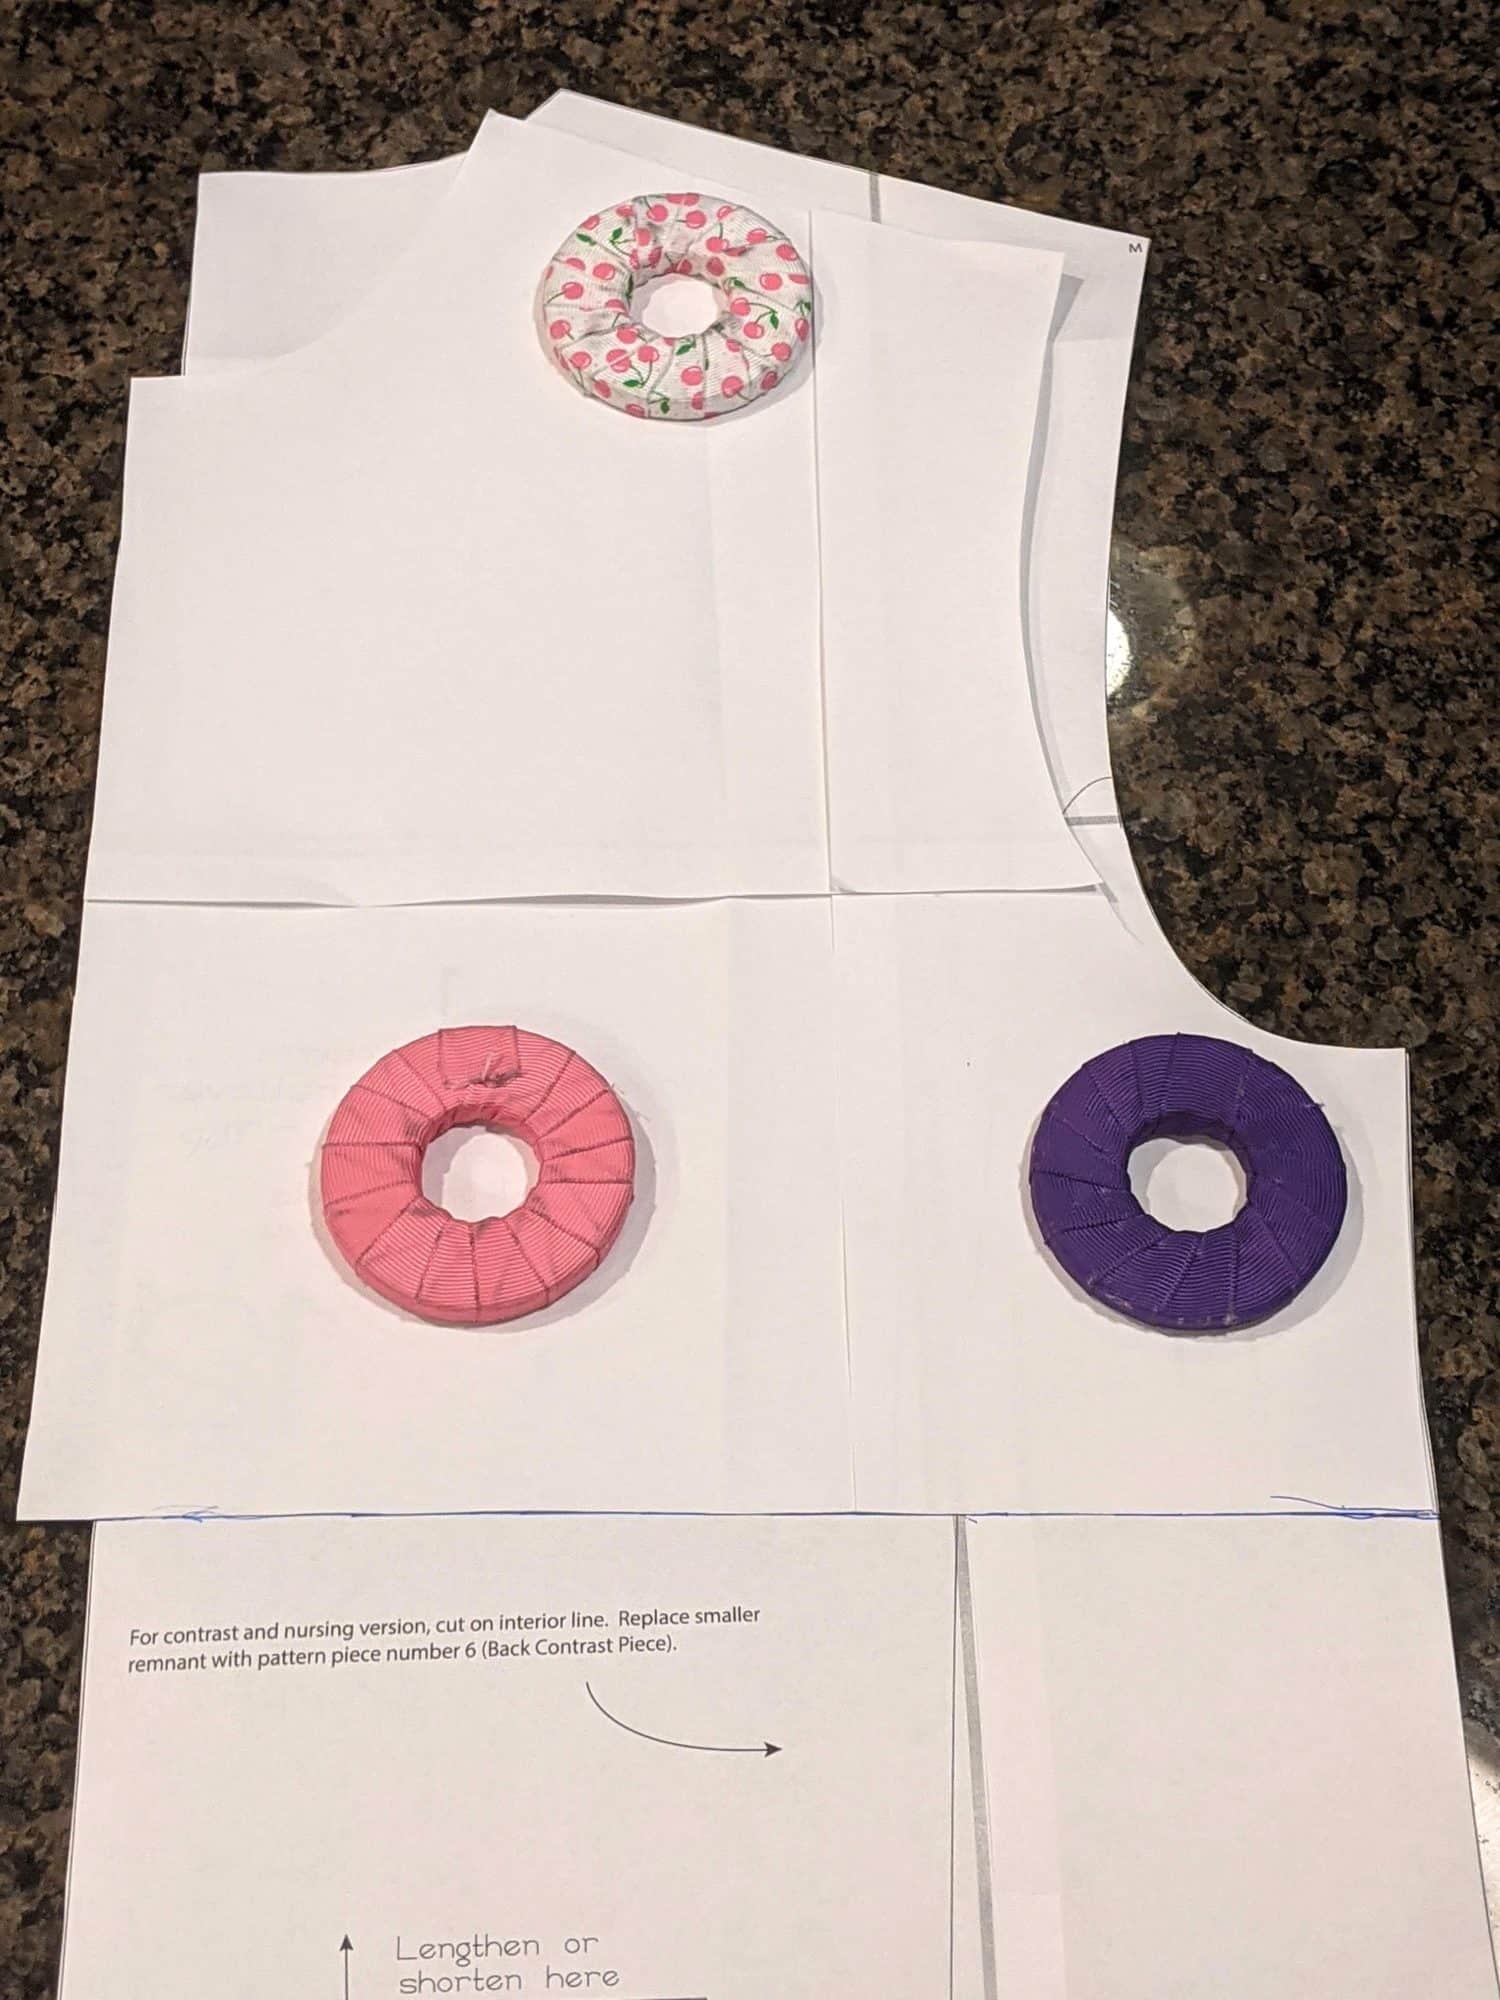
You can create the top and bottom color-blocking at any height you’d like. I let both of my girls hold up fleece pullover front bodice and point to where they wanted the separation to be and drew a line there.
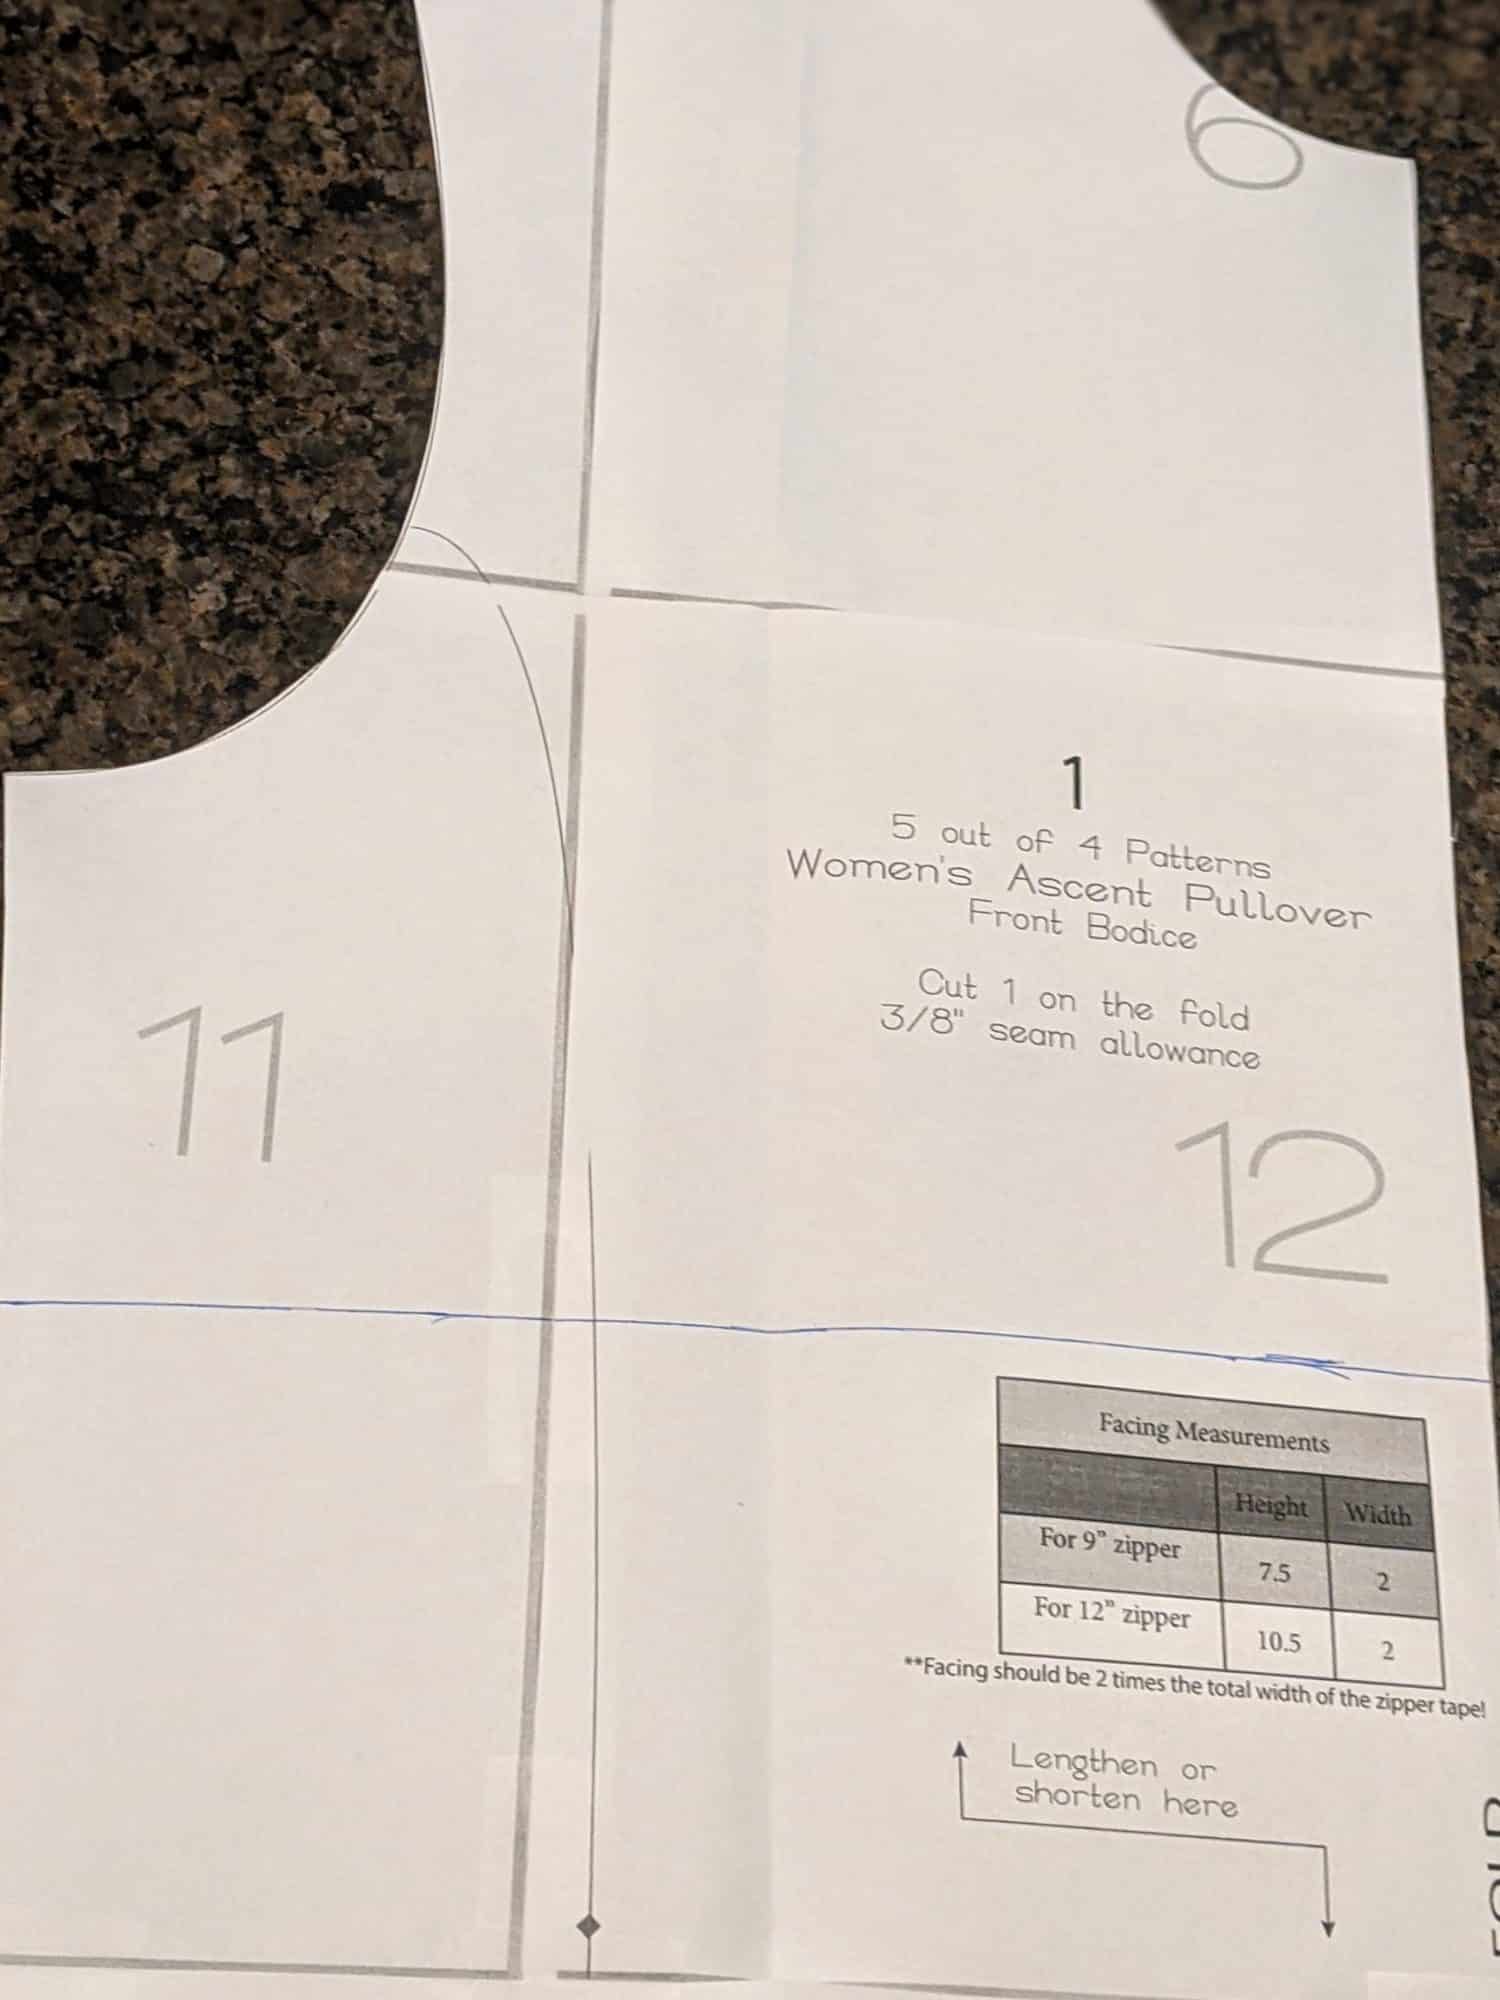
- Extend the line you drew all the way across the bodice. Make a note on the pieces of the top front, and bottom front so they don’t get mixed up, and note to add a seam allowance and where the fold is for when you cut out your fabric.
- Cut the top and bottom apart
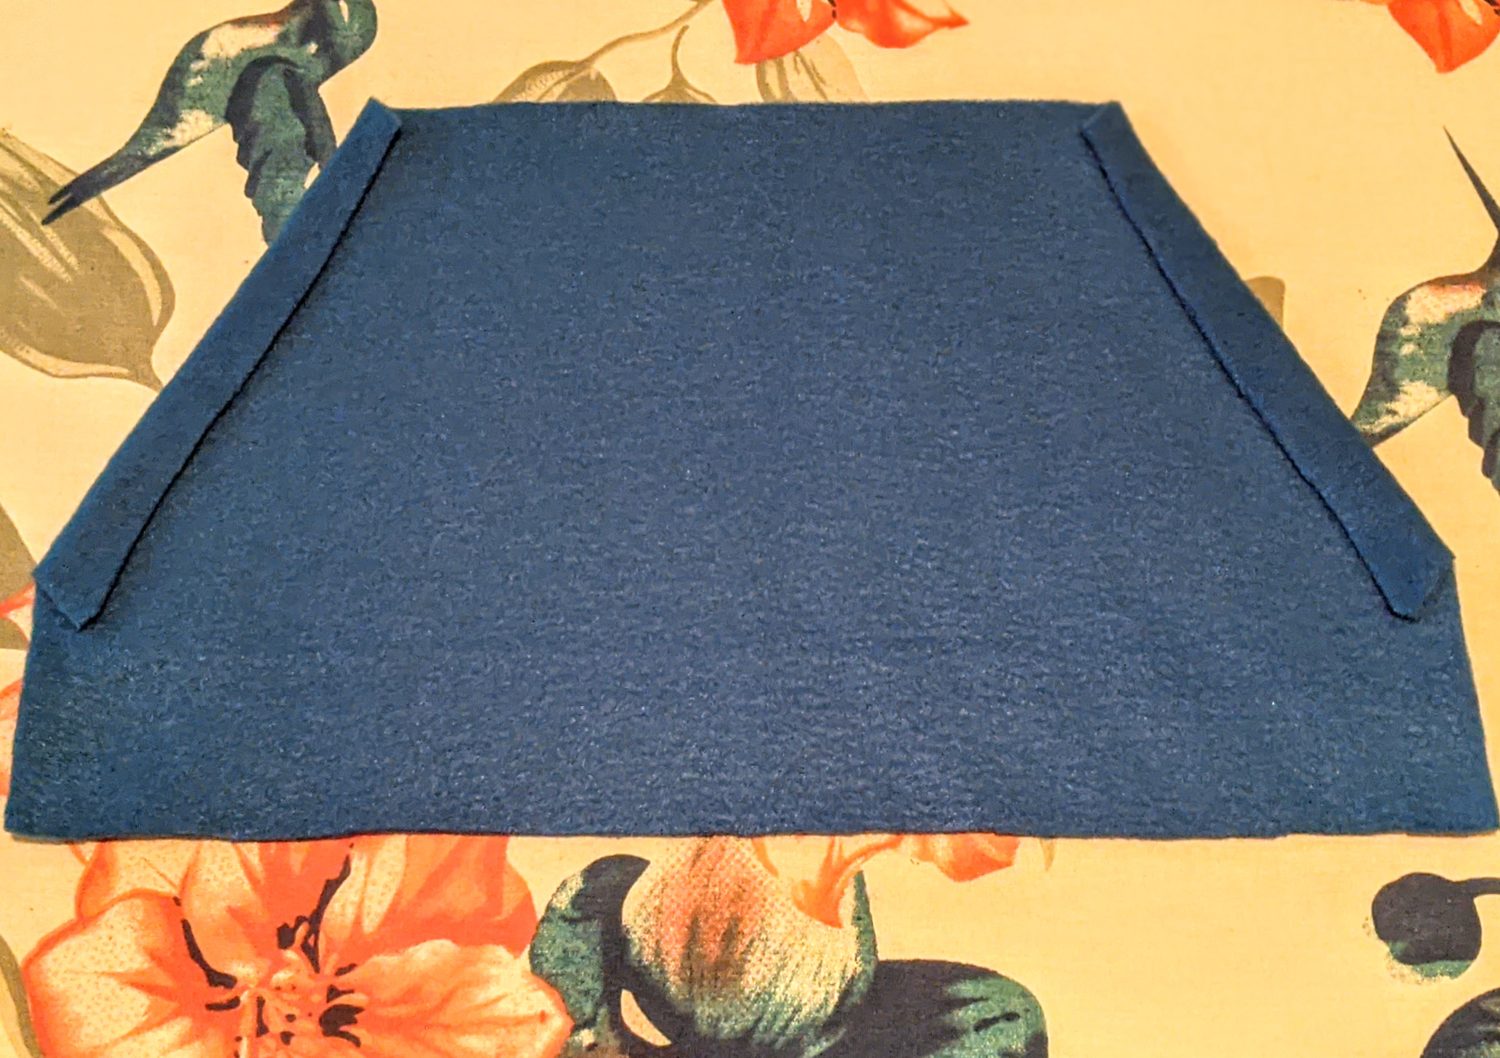
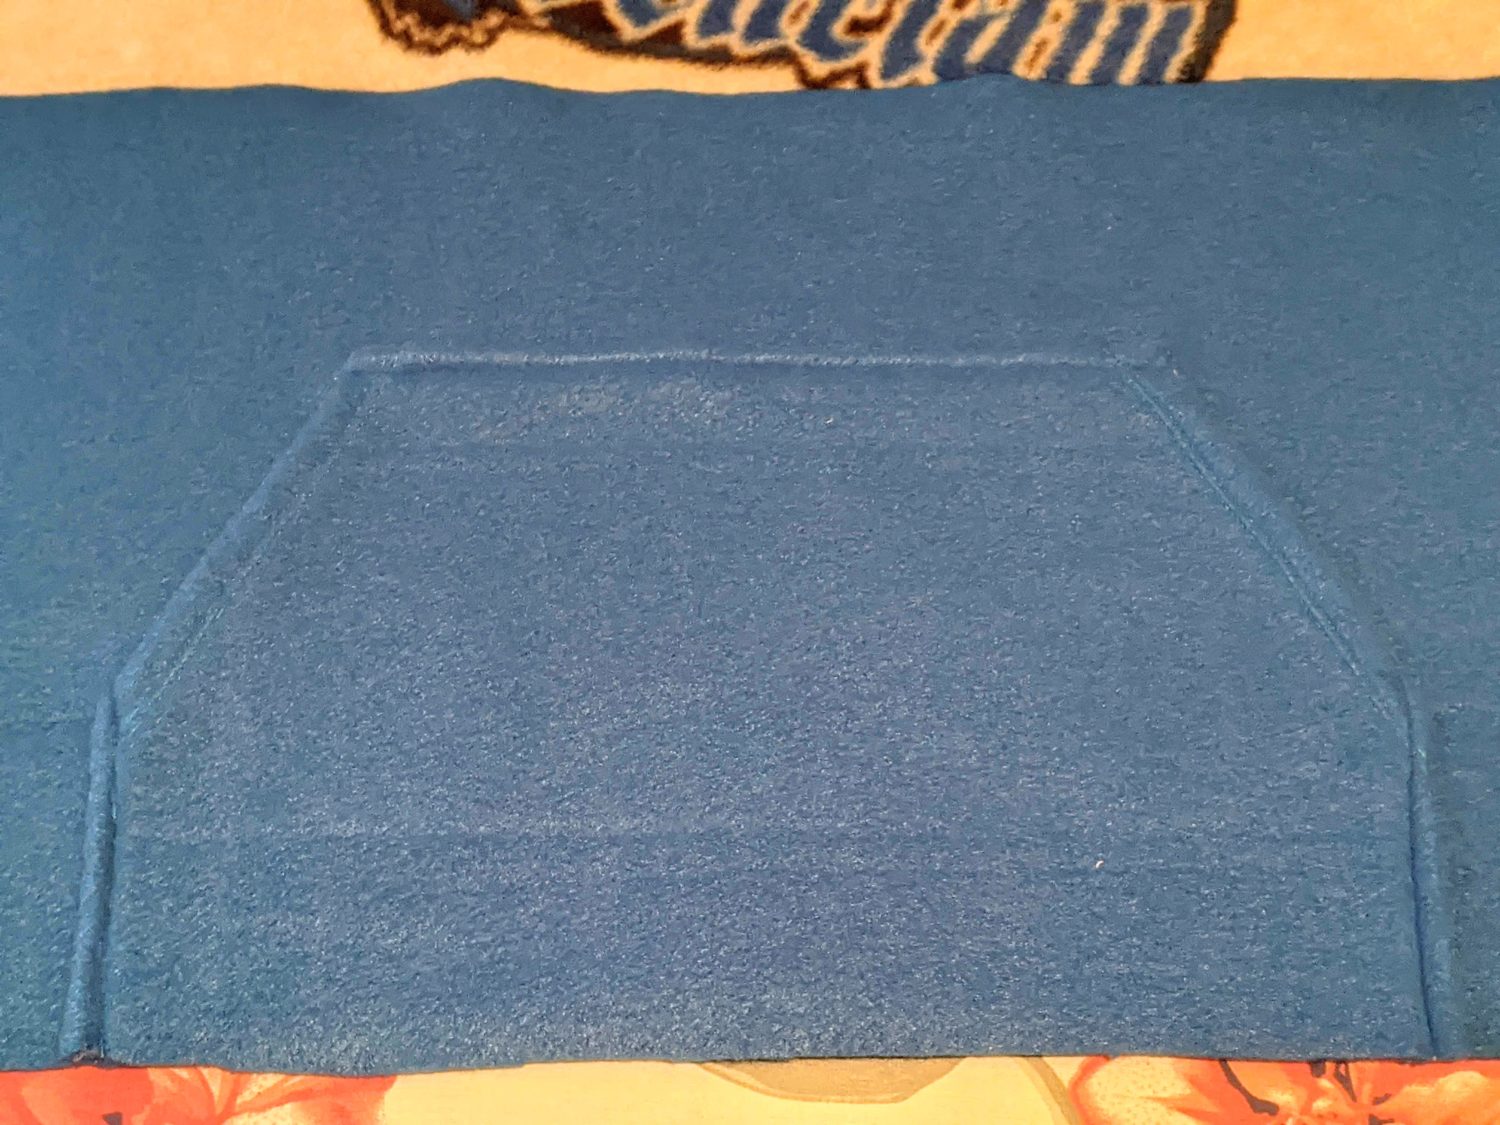
Front bodice 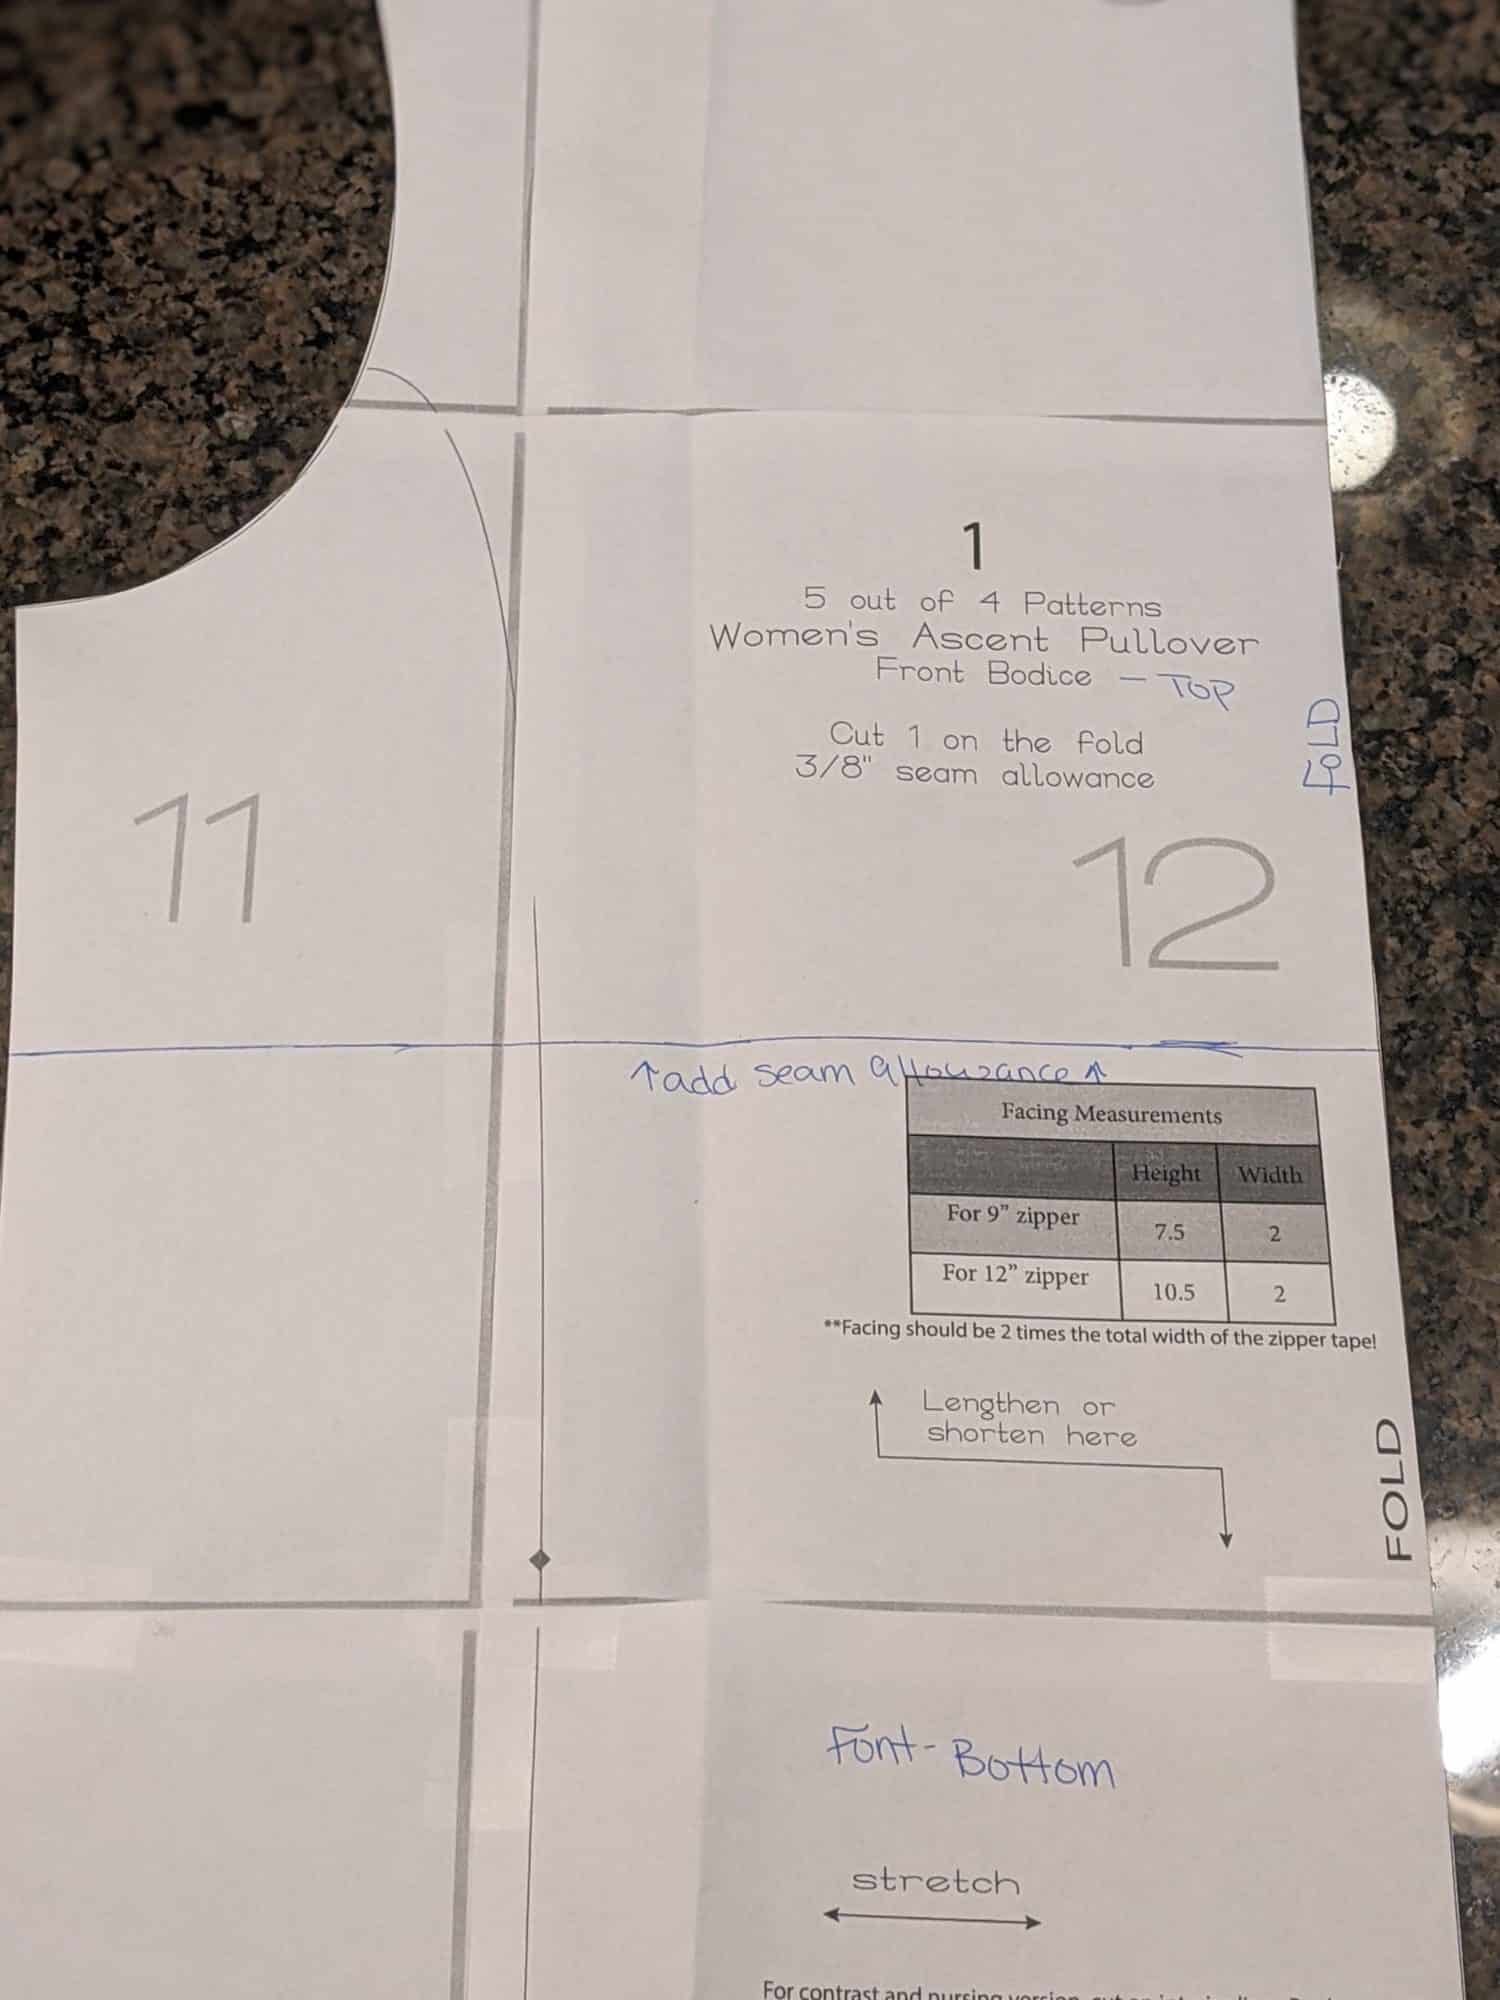
Front bodice
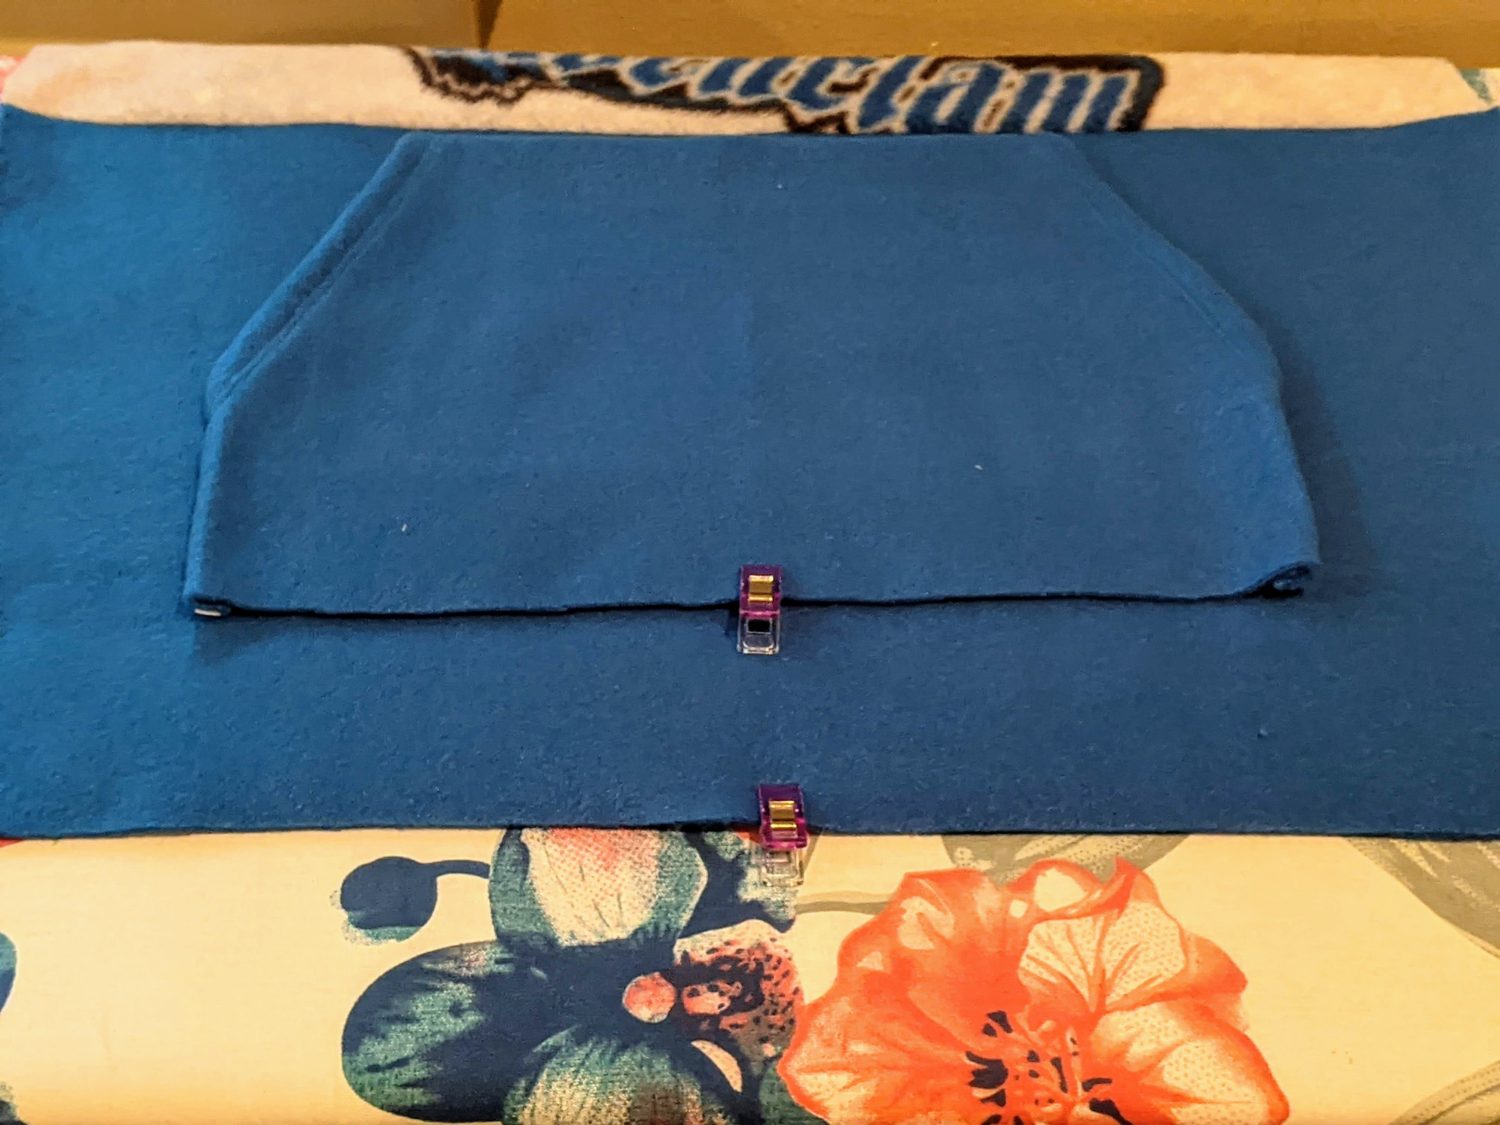
- Moving onto the fleece pullover back bodice, set the top portion of the front bodice on top of the back bodice and line up the armscyes. Trace along the bottom of the front pattern piece to transfer that to the back.
- Make a note again of the top back, bottom back, seam allowance, and the fold and cut pieces apart.
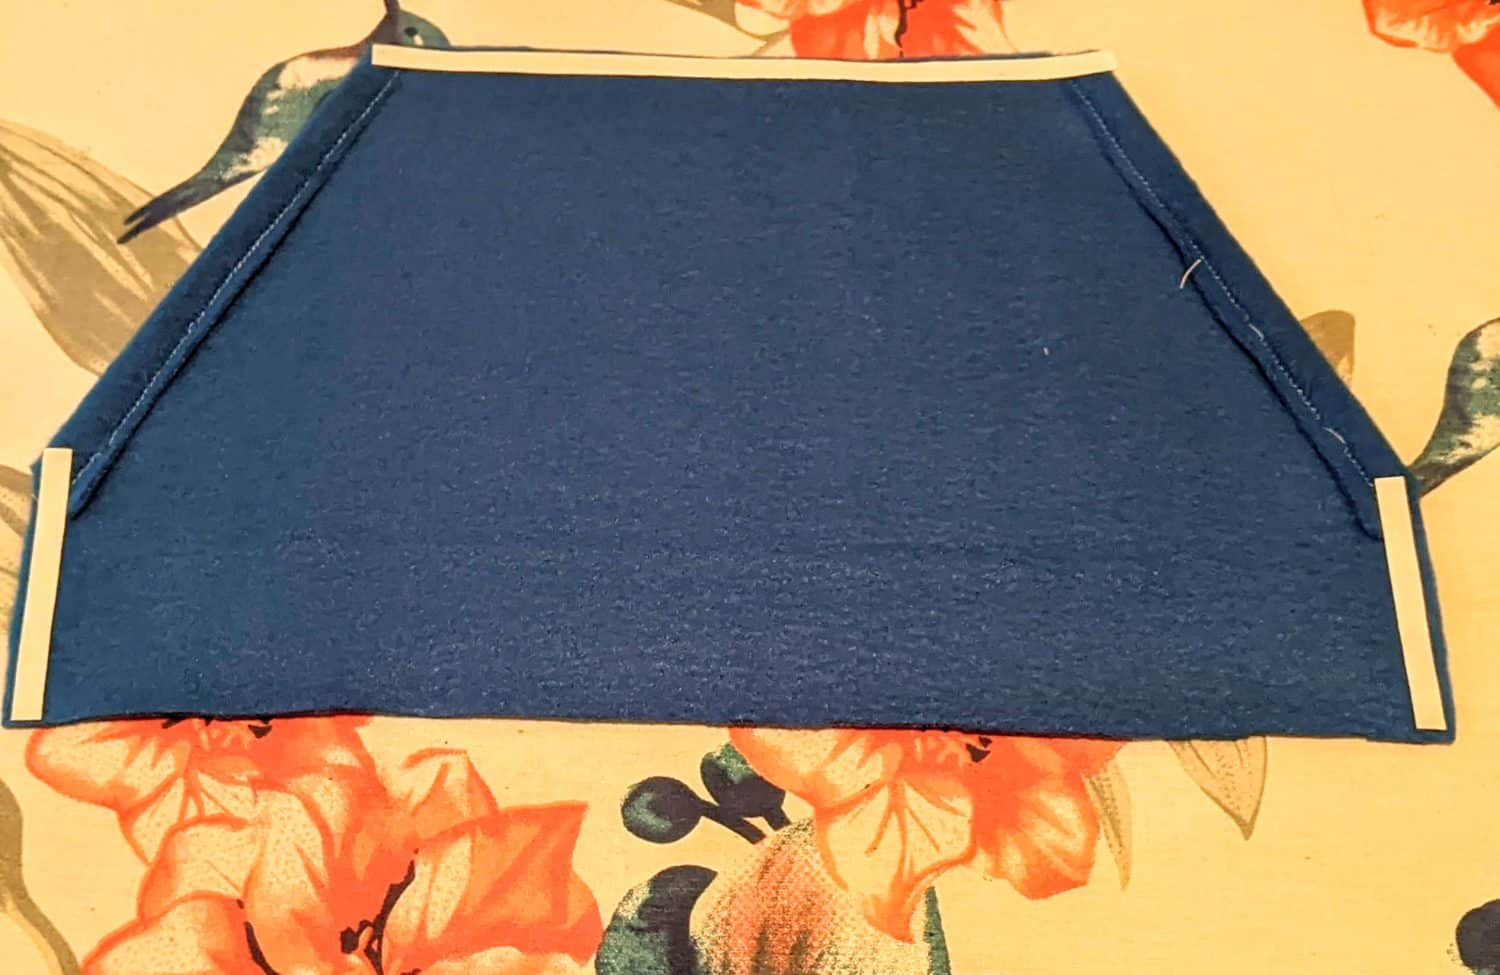
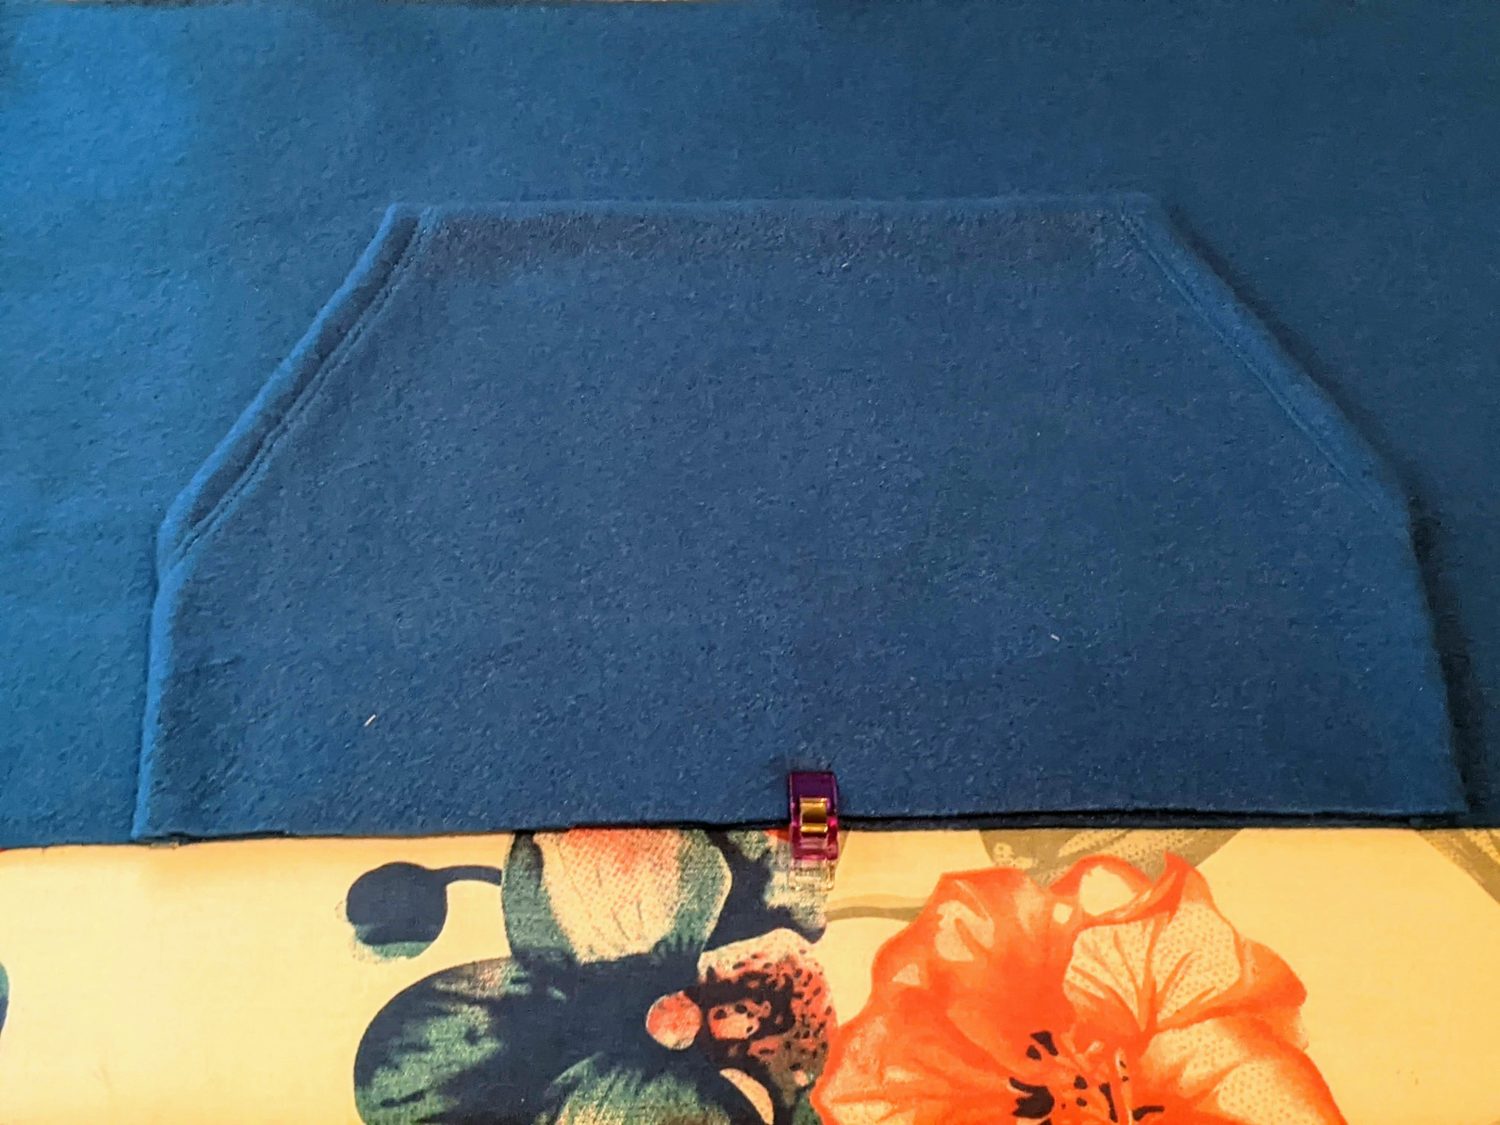
Transfer markings to the back bodice 
Back bodice
Optional kangaroo pocket
You can use a pocket from any pattern of the same size you’d like. I used the ones from the Kid’s Jo Sweatshirt and the Women’s Josephine Sweatshirt patterns.
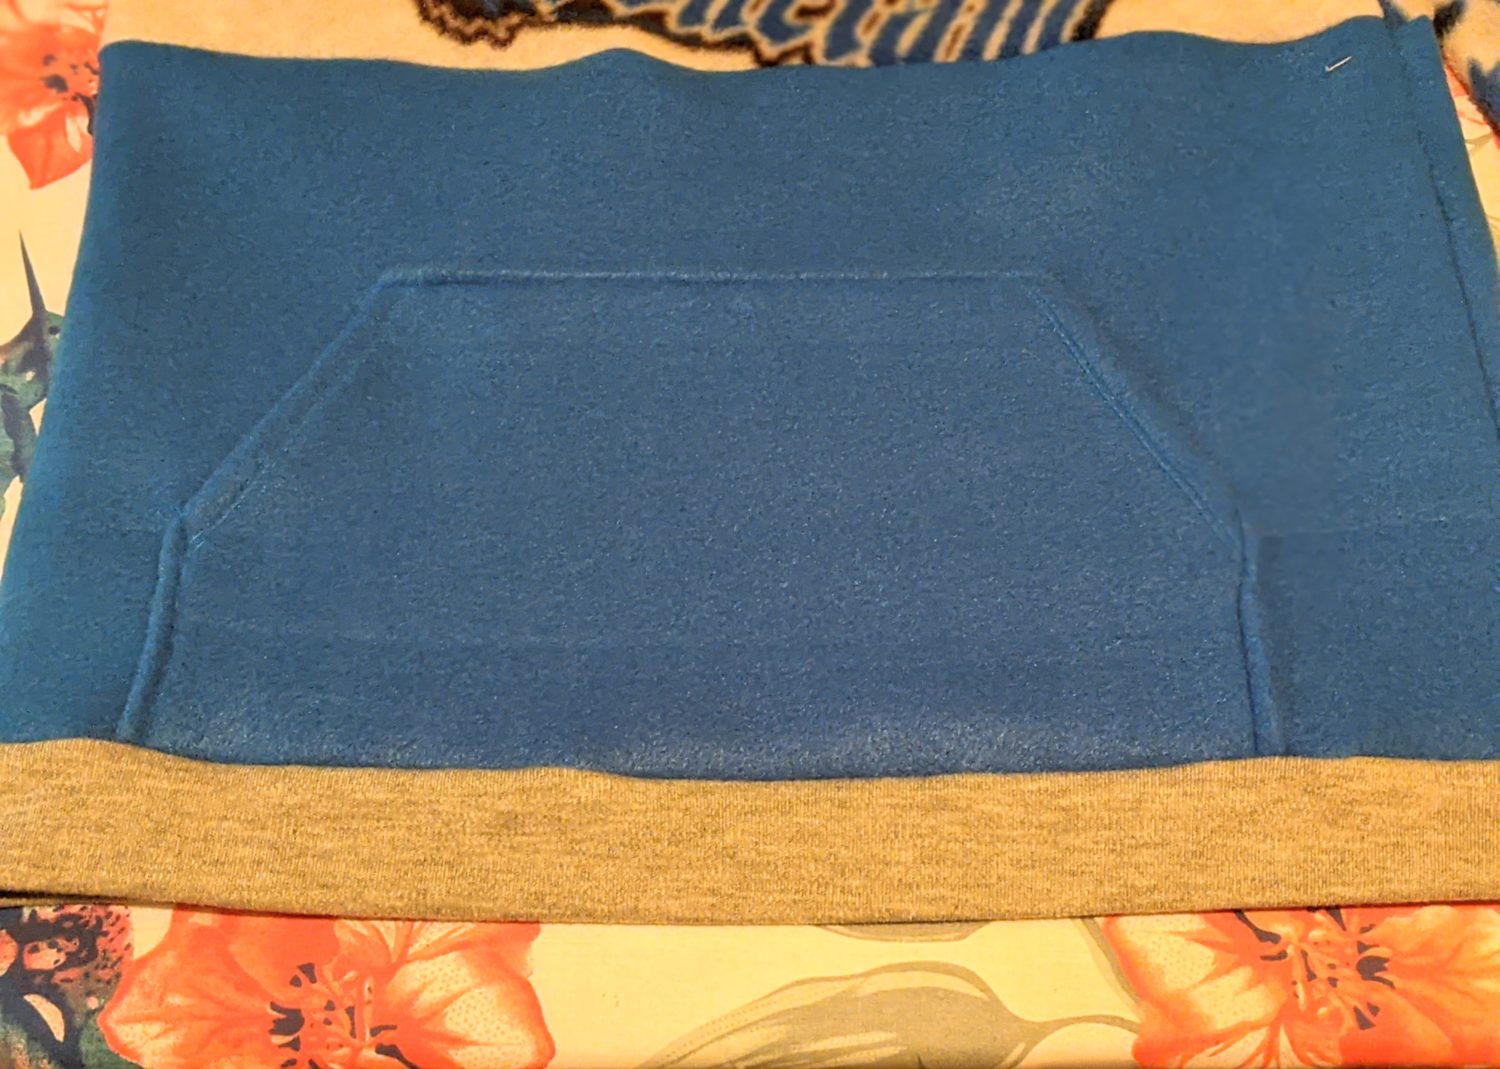
If you are adding on the kangaroo pocket, it will make it easier to add a hem band instead of folding up the hem. To do this, measure the total width of the back and front bodice hem line and multiply that by 90%. This will be the length of the band and I cut the width at 4”
Construction
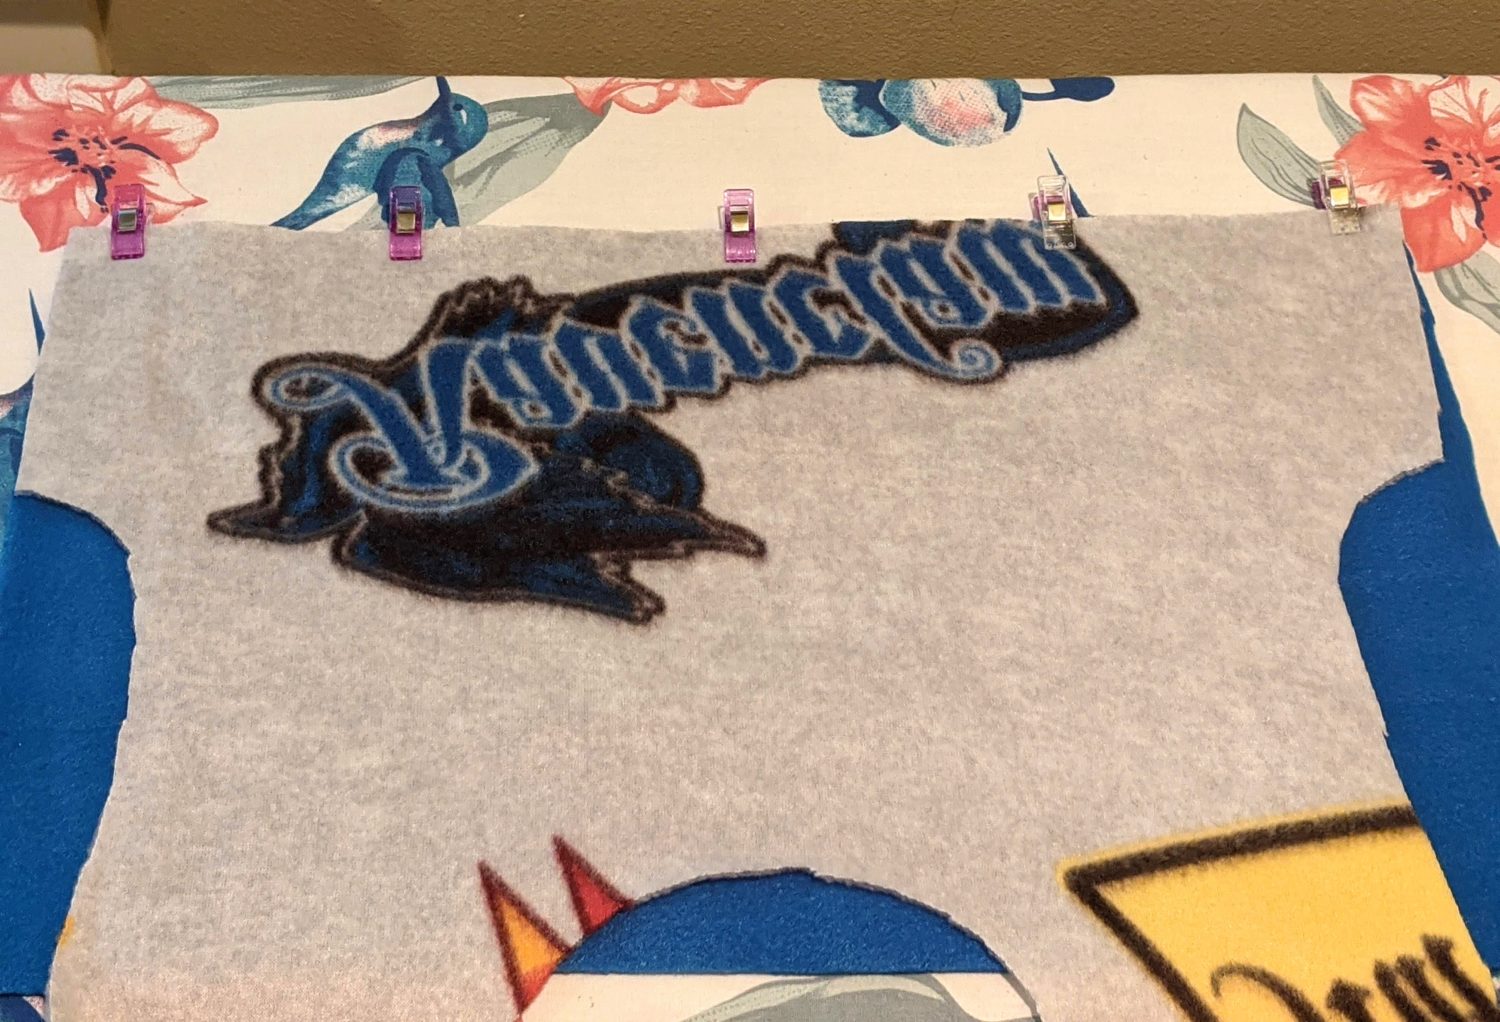
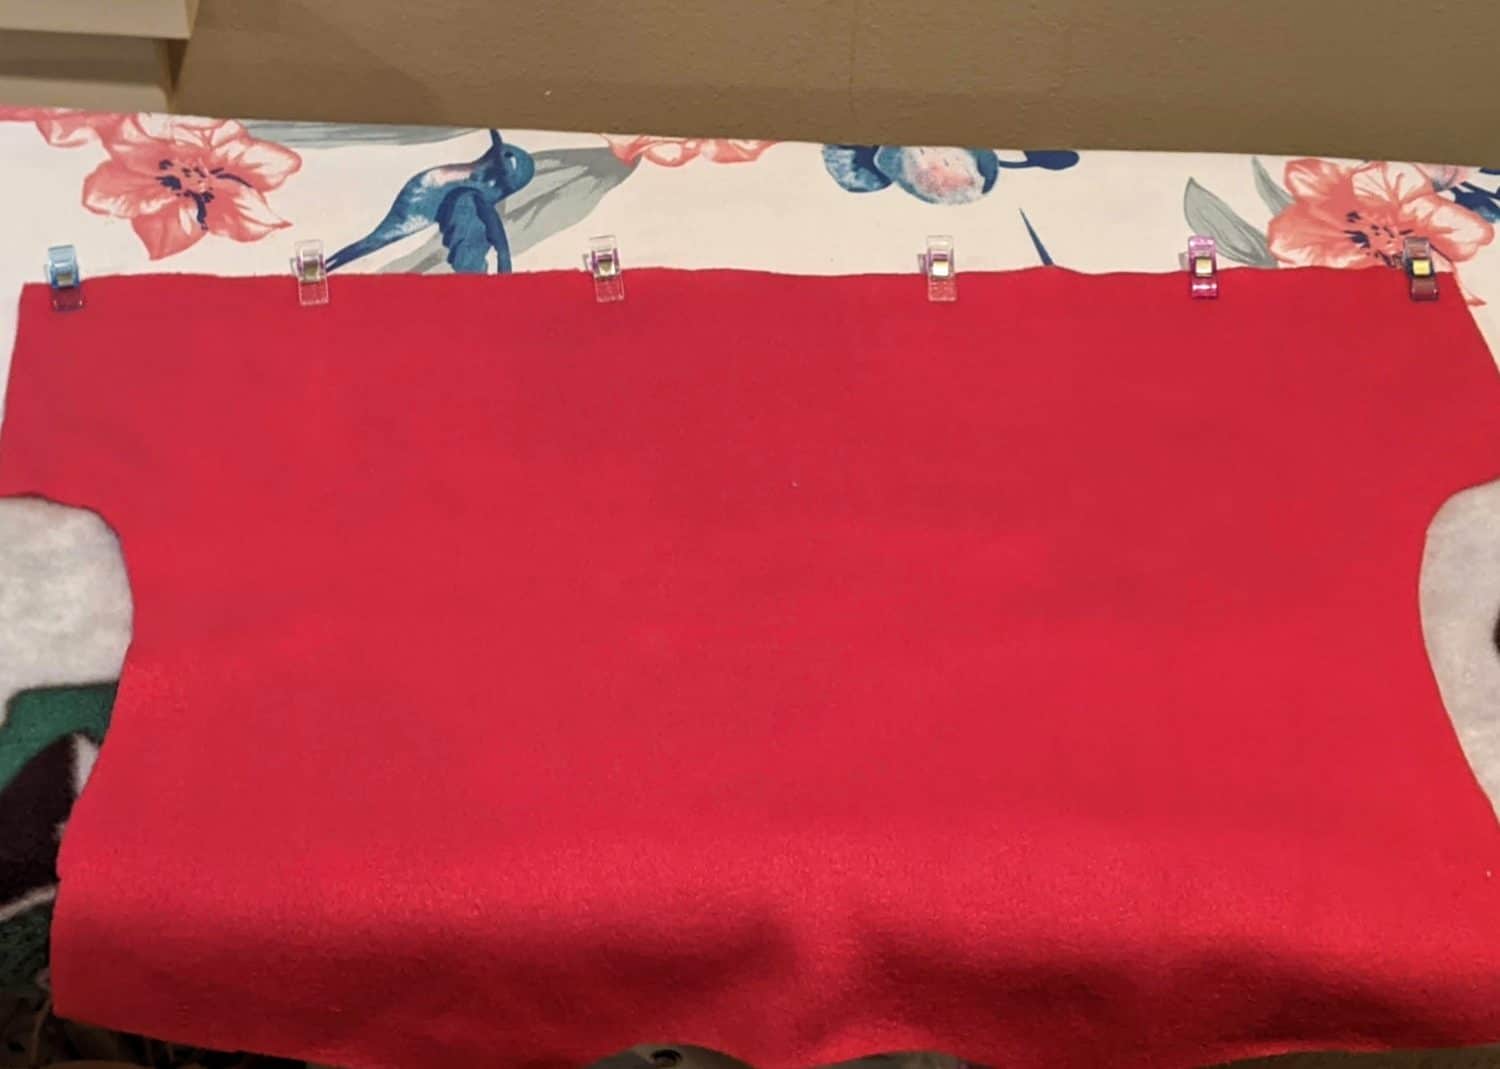
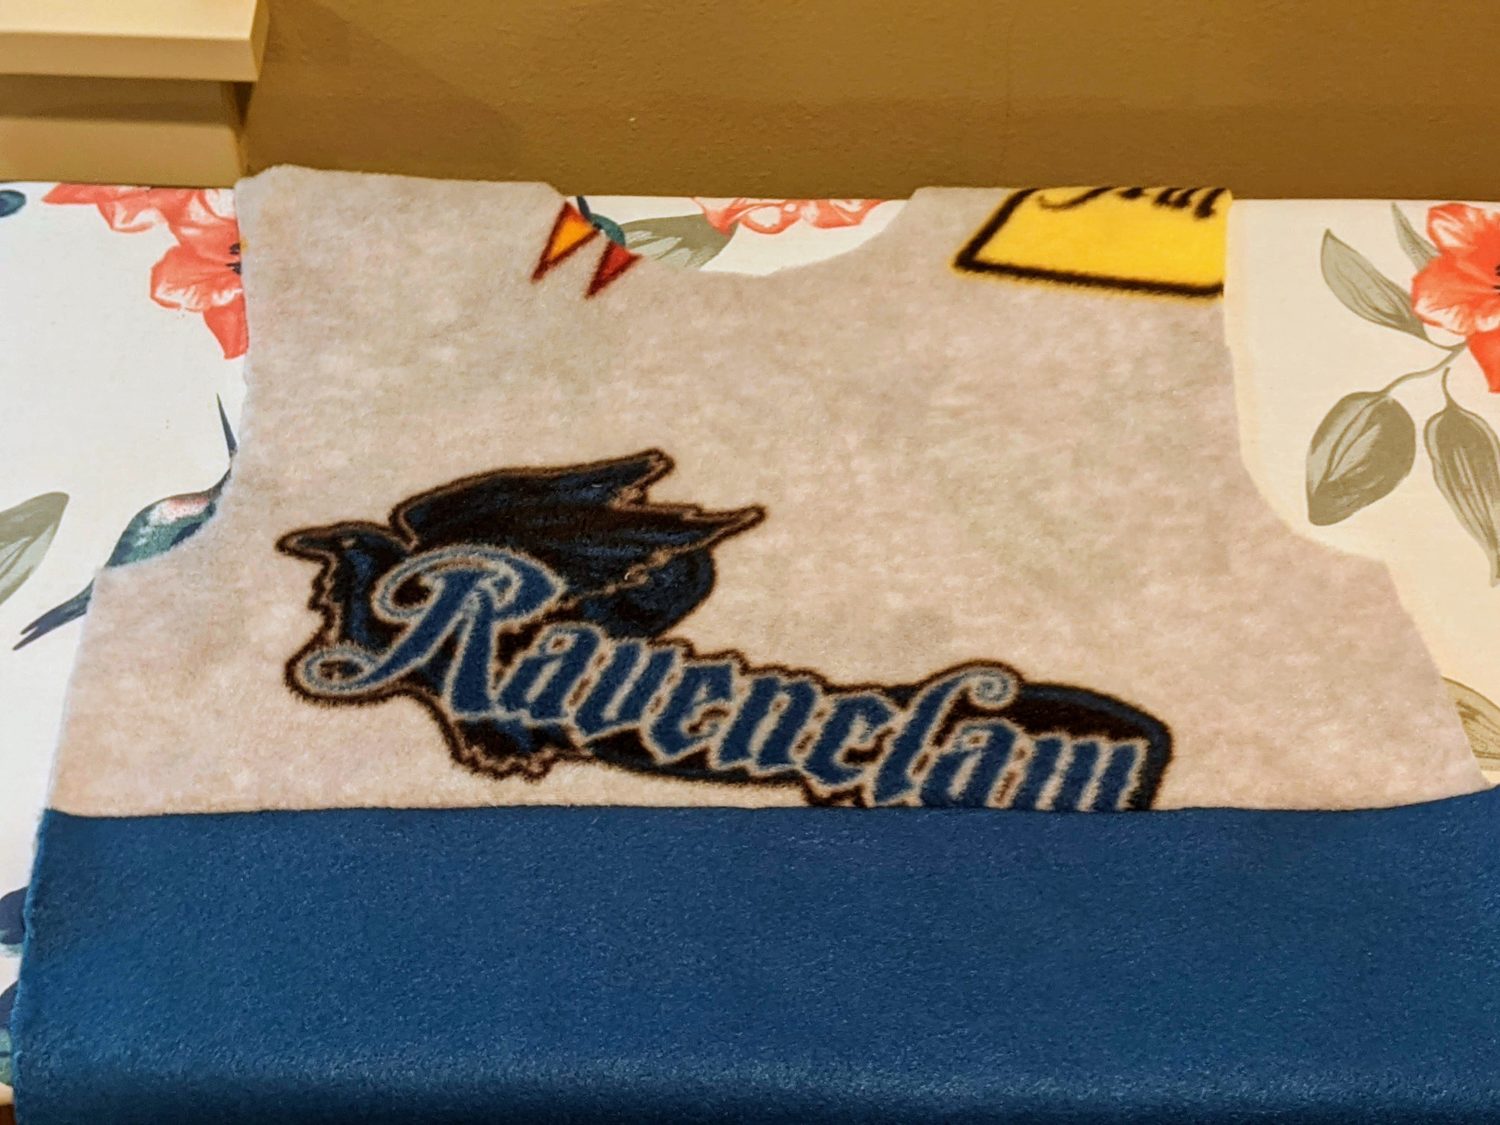
- Cut out all of your pieces from your separate fleece fabrics for your color-blocking and your optional kangaroo pocket
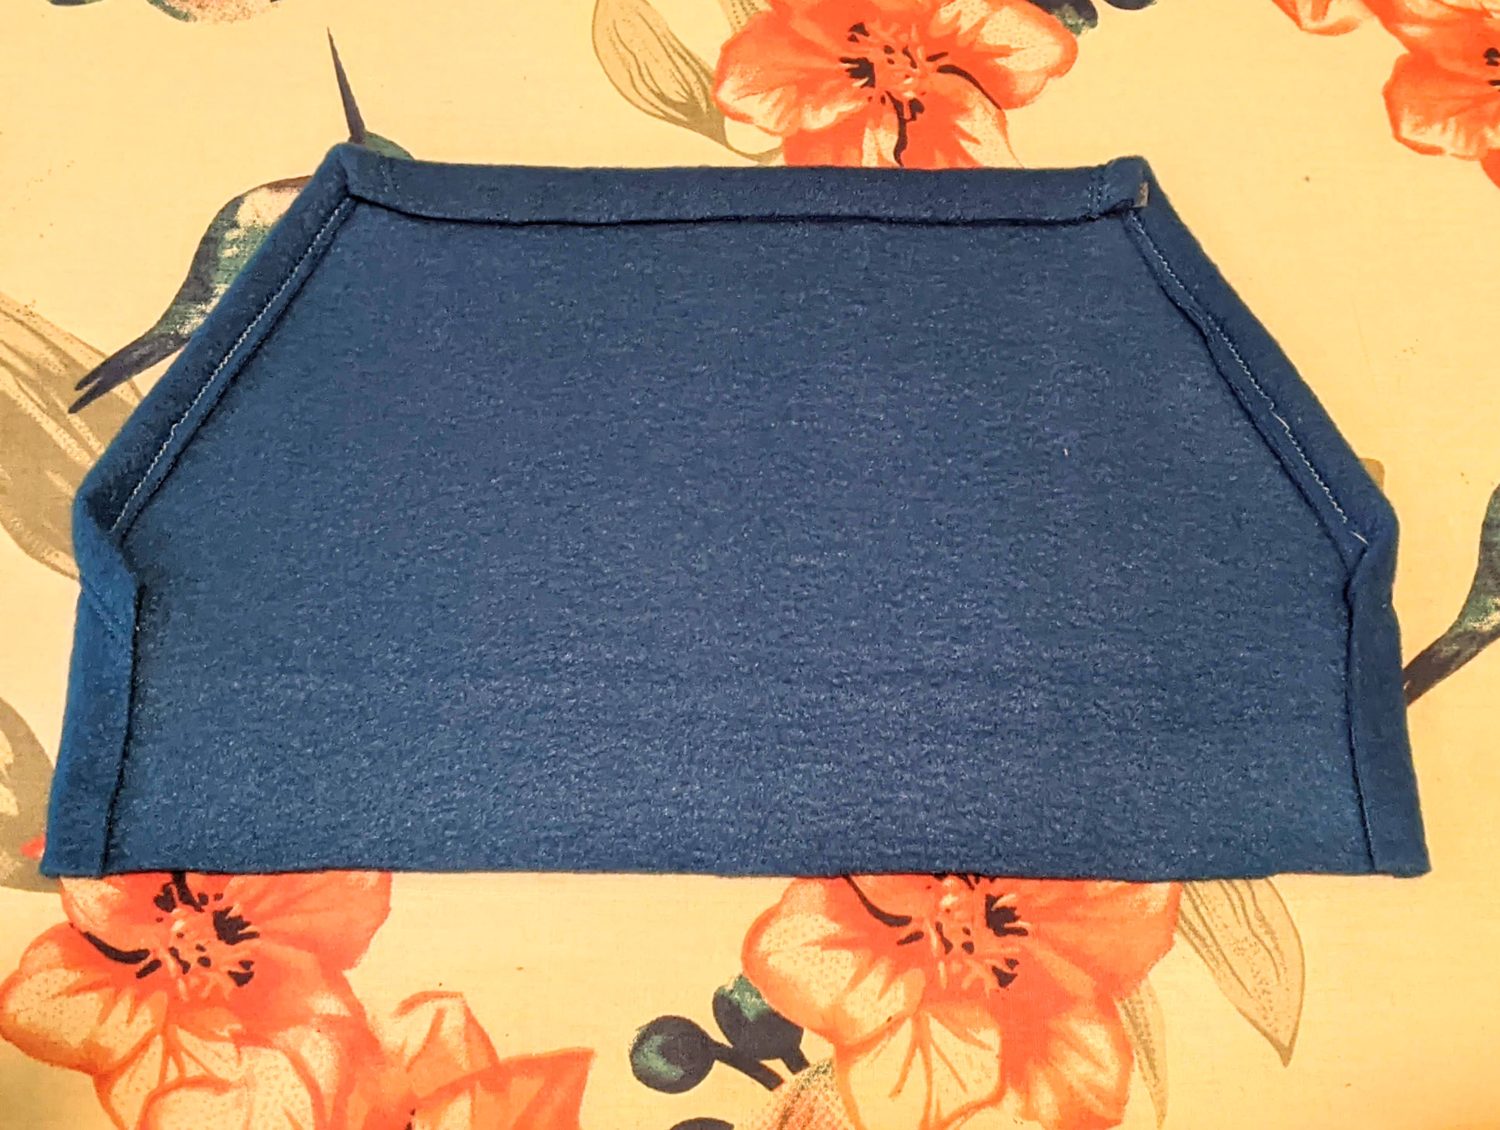
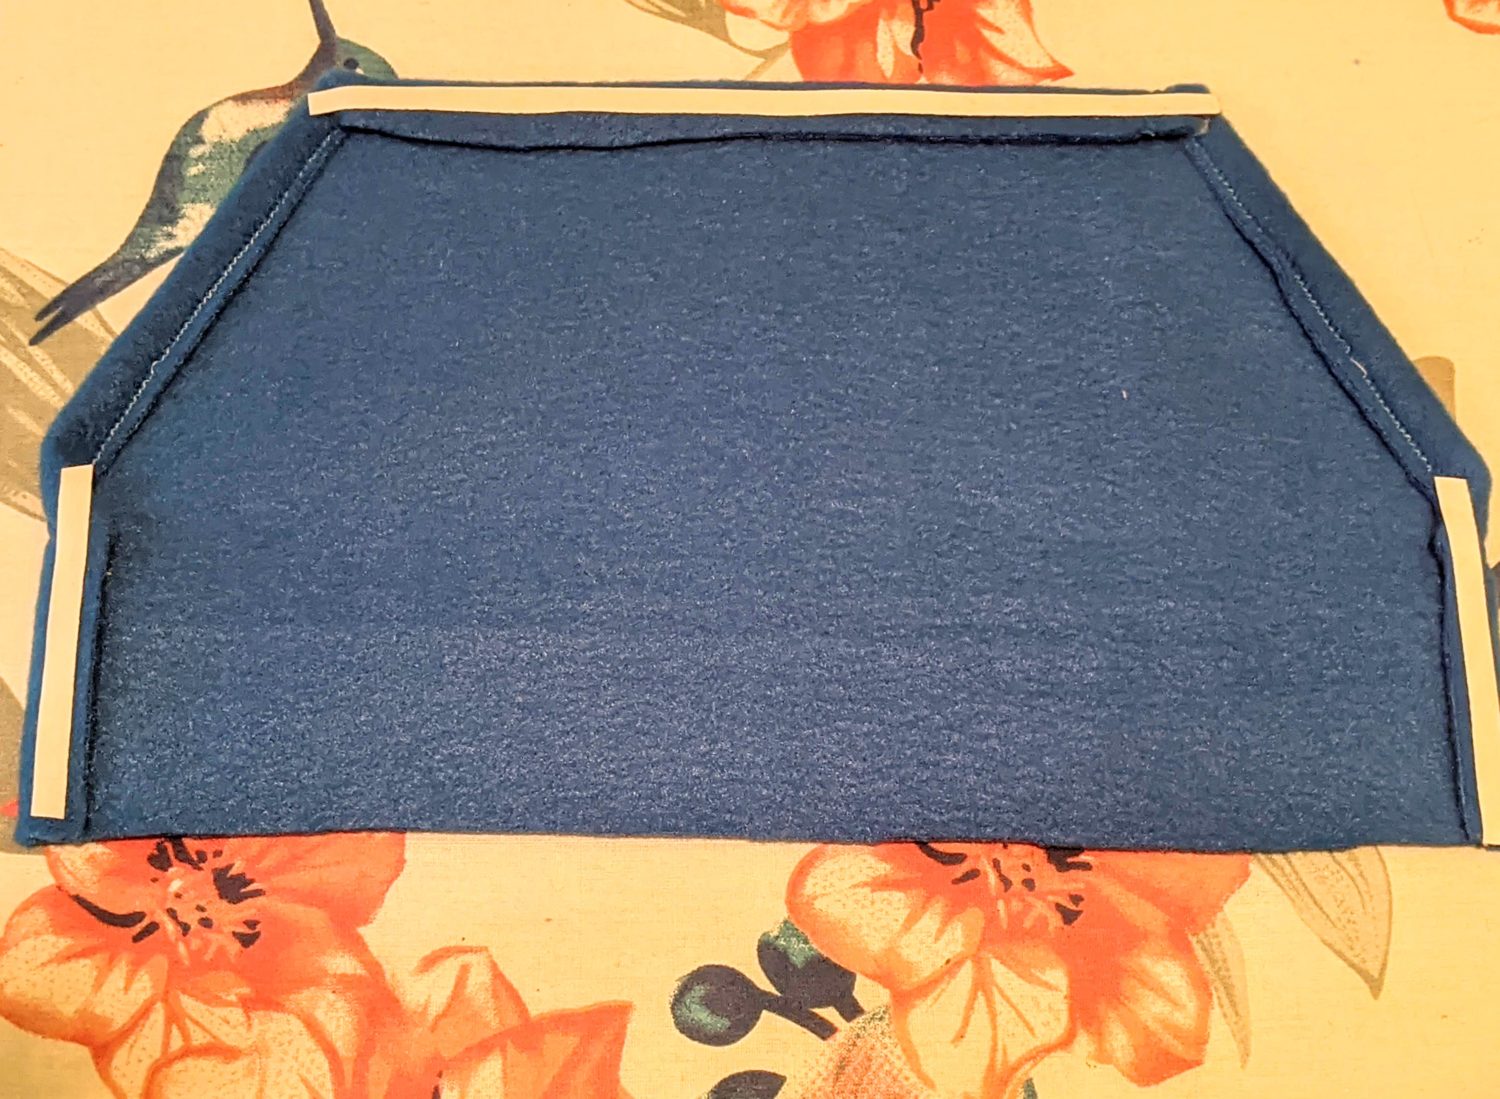
- Lay your two front bodices pieces on top of each other with the right sides together and line up the raw edges where you made the color blocking. Sew together with a stretch stitch or serger. Press seam allowance and topstitch if desired. You now have your full front bodice piece.
- Repeat with the back bodice
Attaching the kangaroo pocket
- Fold both of the angled sides of the pocket to the back with the wrong sides together and topstitch in place
- Using wondertape, fold in the top and short sides towards the back
- Stick wondertape on the back of the top and short sides again to hold it onto the bodice
- Find the center of the bottom of the front bodice and the center of the bottom of the pocket
- Line up the two center marks and stick the pocket in place with the wondertape
- Topstitch along the top and two short sides to attach to the bodice
From this point on, you can turn to the tutorial for your pattern and continue your garment construction.
- For the hem band, fold it in half so the two short ends meet with right sides together and sew with a stretch stitch or serger
- Fold you large loop in half hot dog way with the wrong sides together
- Quarter and mark both your the hem line of your top and the hem band
- Line up quarter marks and pin in place
- Sew with a stretch stitch or serger to attach the band to the top
Fabulous!
Go throw on that fleece and get cozy! Hopefully, I’ll get around to making mine now that my girls have theirs!
As always, we’re here to help if you need it! Join us HERE and on Facebook, Instagram, Twitter, Youtube, and Pinterest. We’re everywhere you are.
Leave a Reply