Anytime I make something out of fleece I always have leftovers. Somehow we managed to lose all of our hats and gloves since last winter so I wanted to make some quick mittens with all of that leftover fleece.
Materials
- Fleece
- Knit fabric for cuffs
- Sewing machine and basic sewing supplies
- Paper and pencil
- Optional: ribbon, bows, buttons, etc.
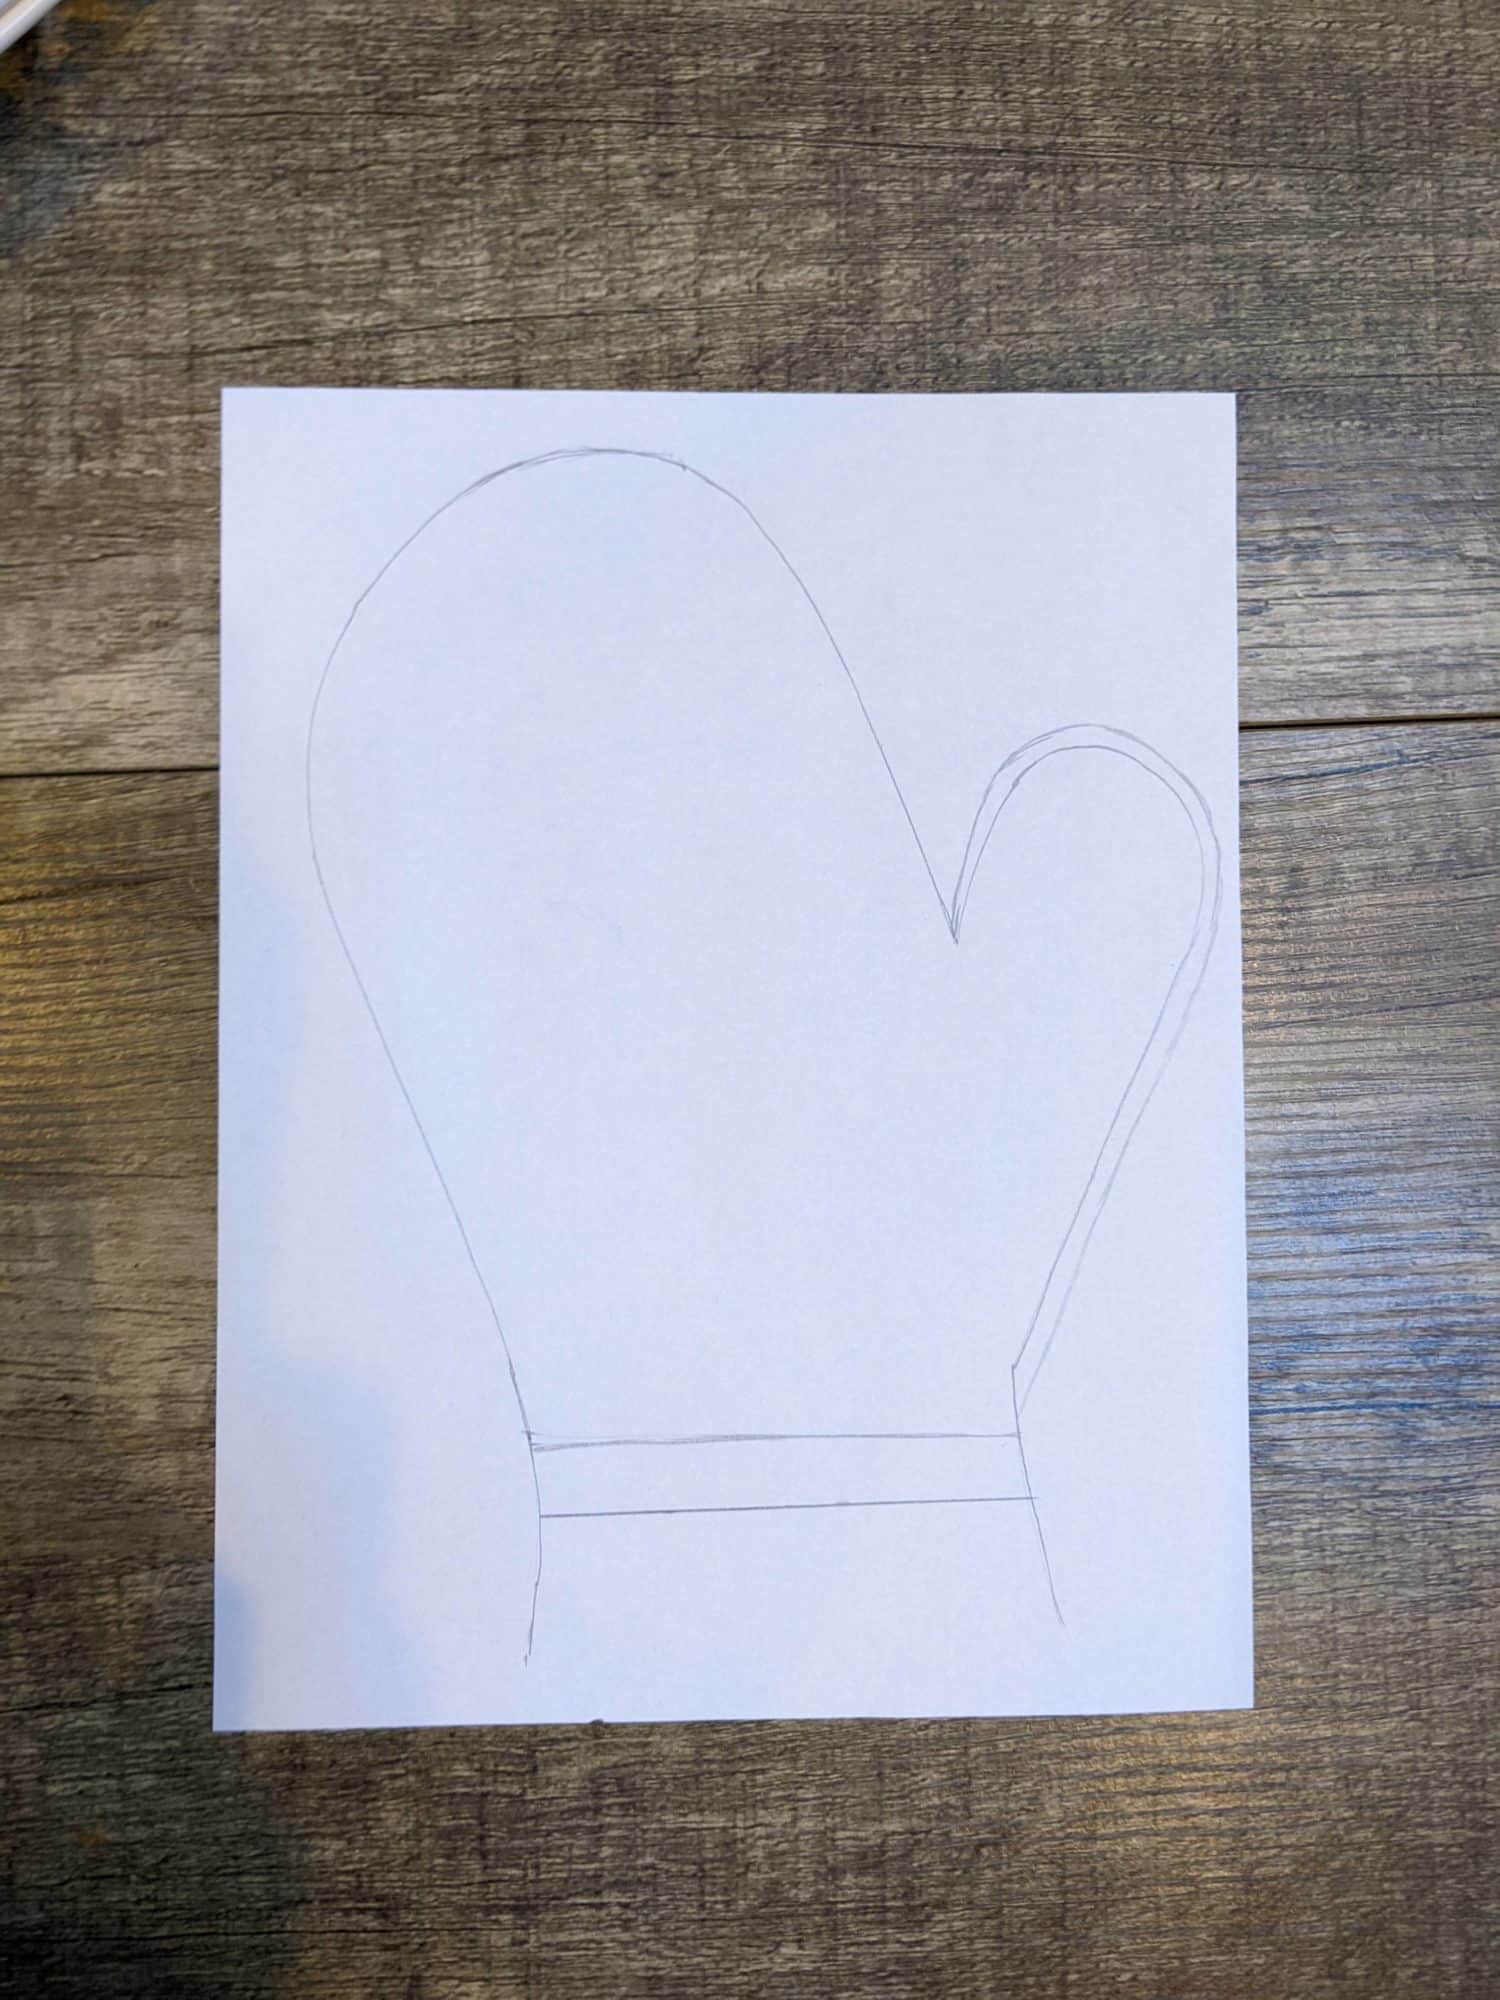
Making a Template
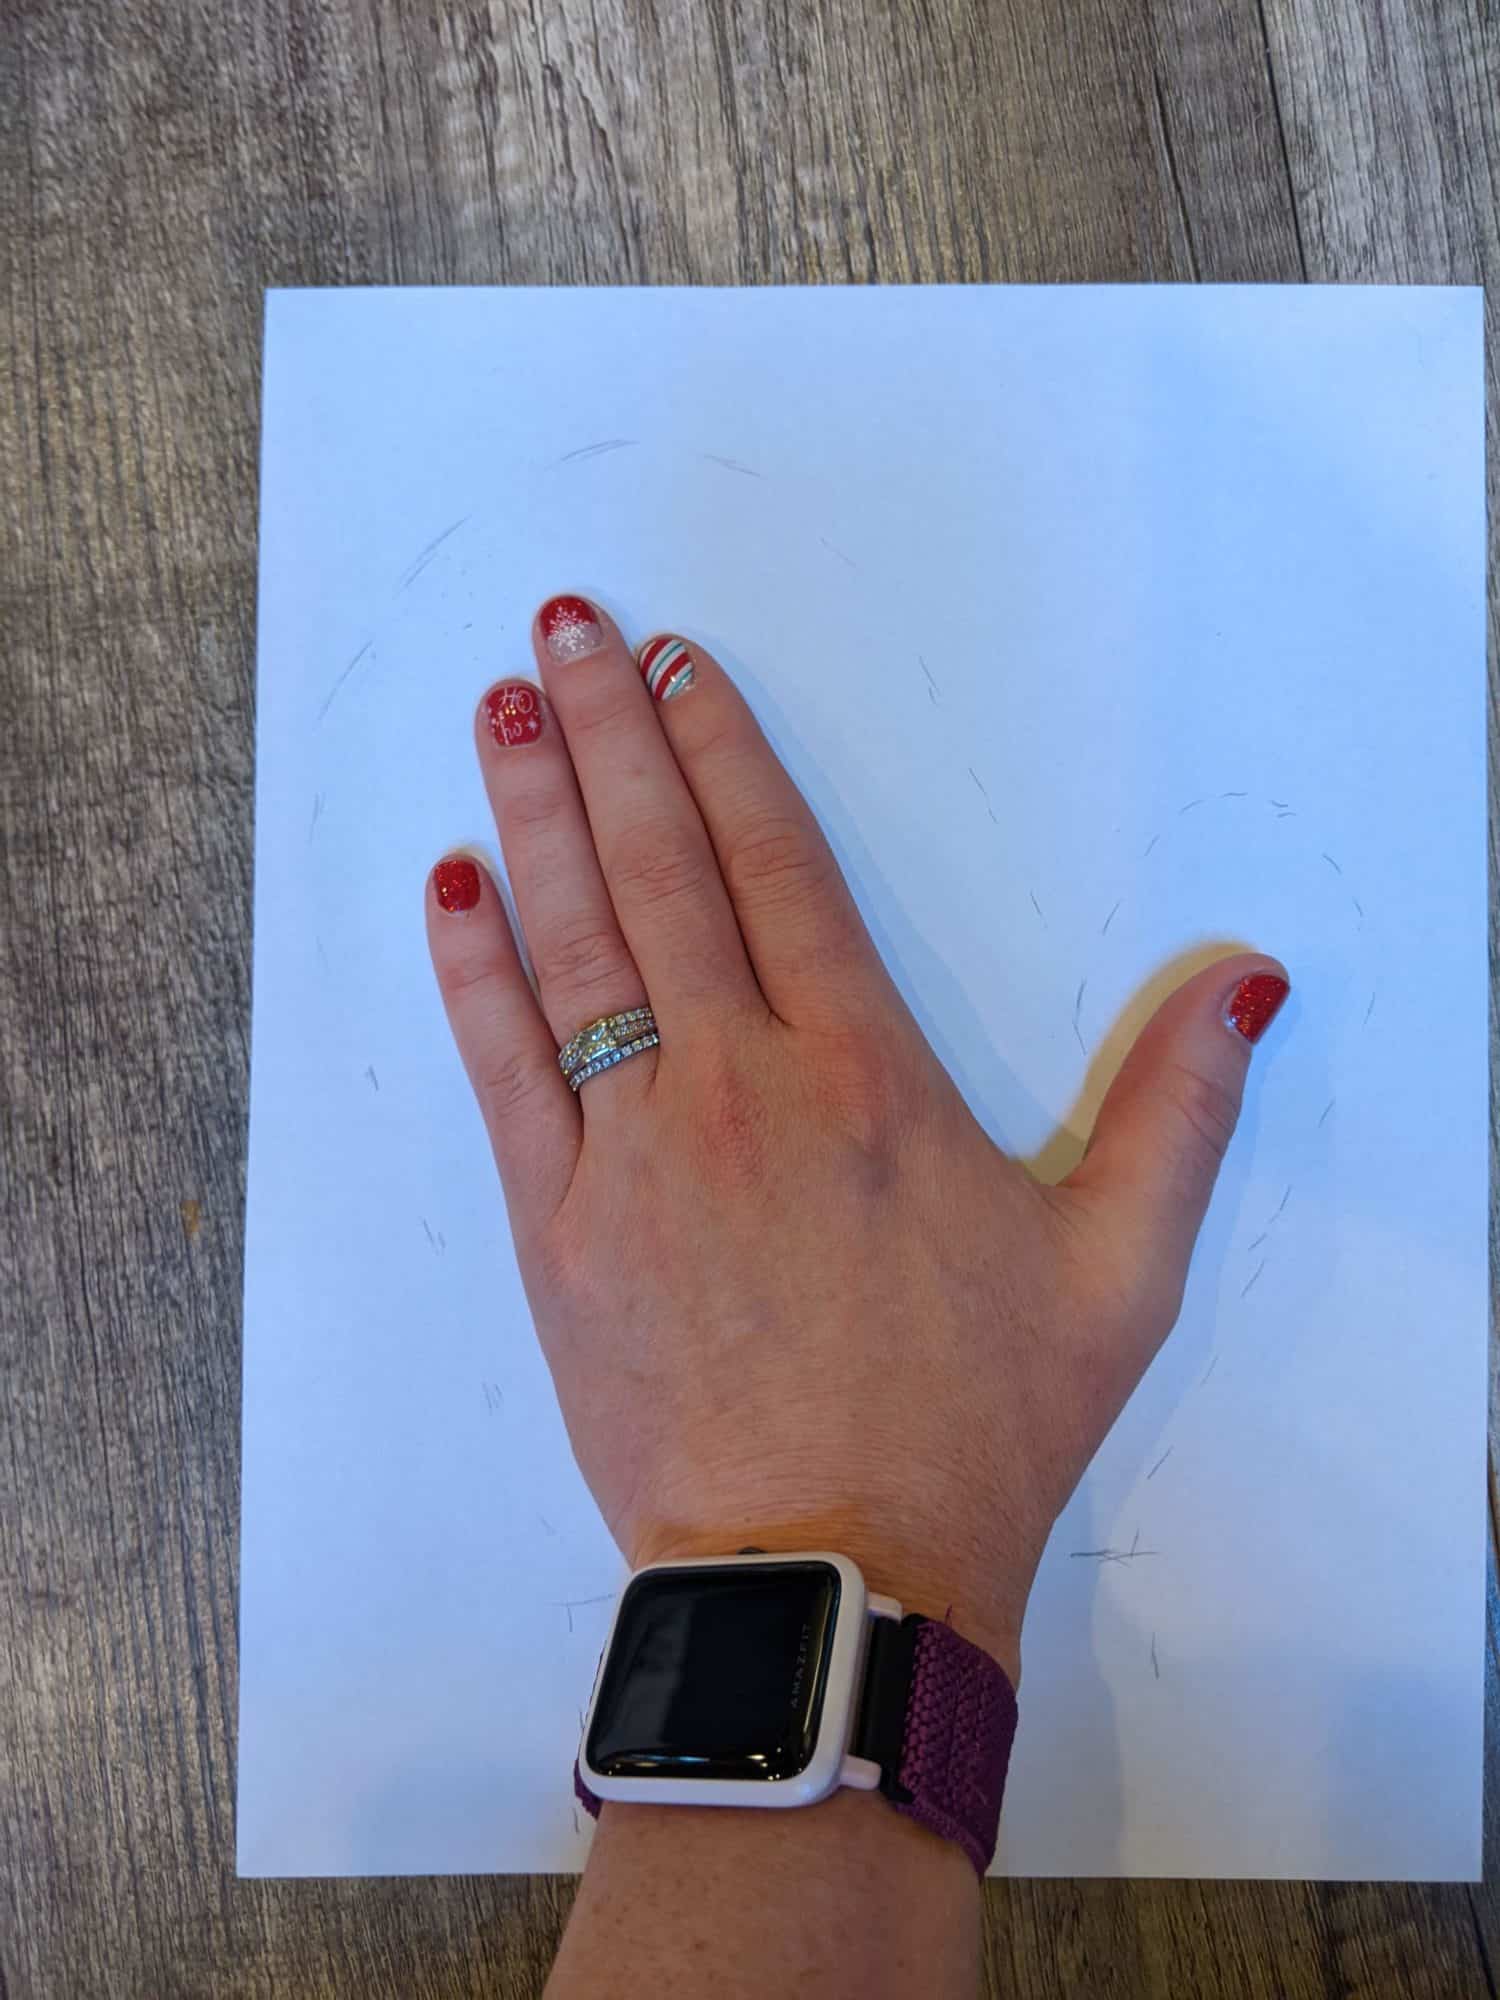
- Lay your hand flat on a piece of paper.
- Leave your fingers relaxed.
- Don’t spread them out or keep them squeezed together.
- Tilt your hand outward away from your thumb at an angle while keeping your wrist mostly straight.
- Spread your thumb out where you can comfortably keep it without straining.
- Trace around the perimeter of your hand in a mitten shape 1” away from your hand.
- Mark the paper just below your wrist bone.

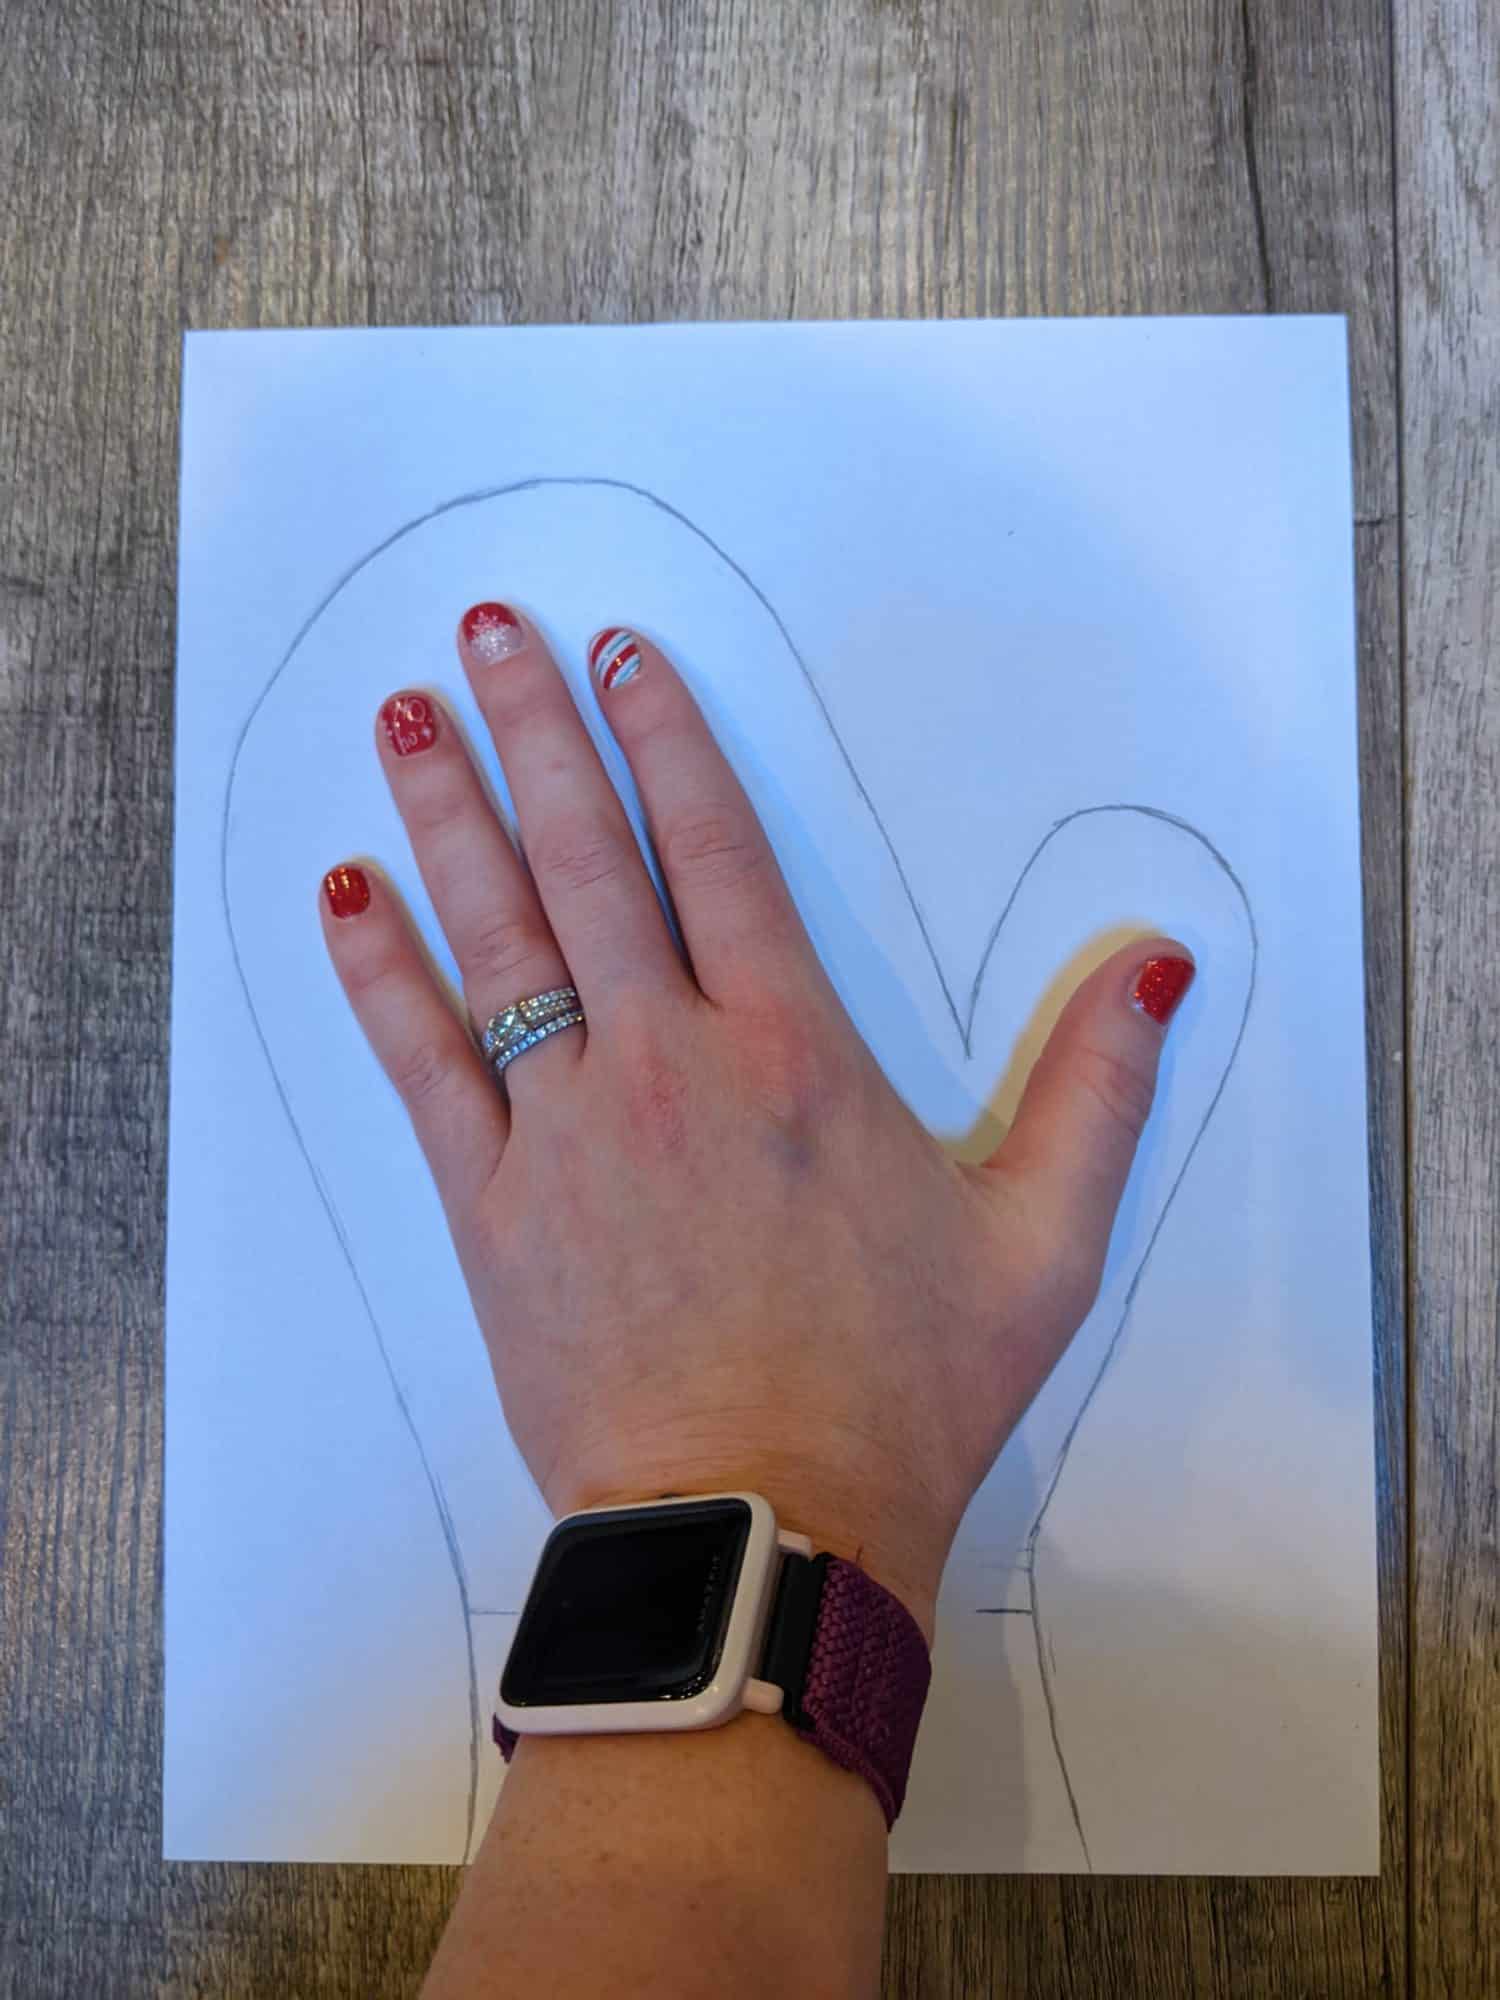
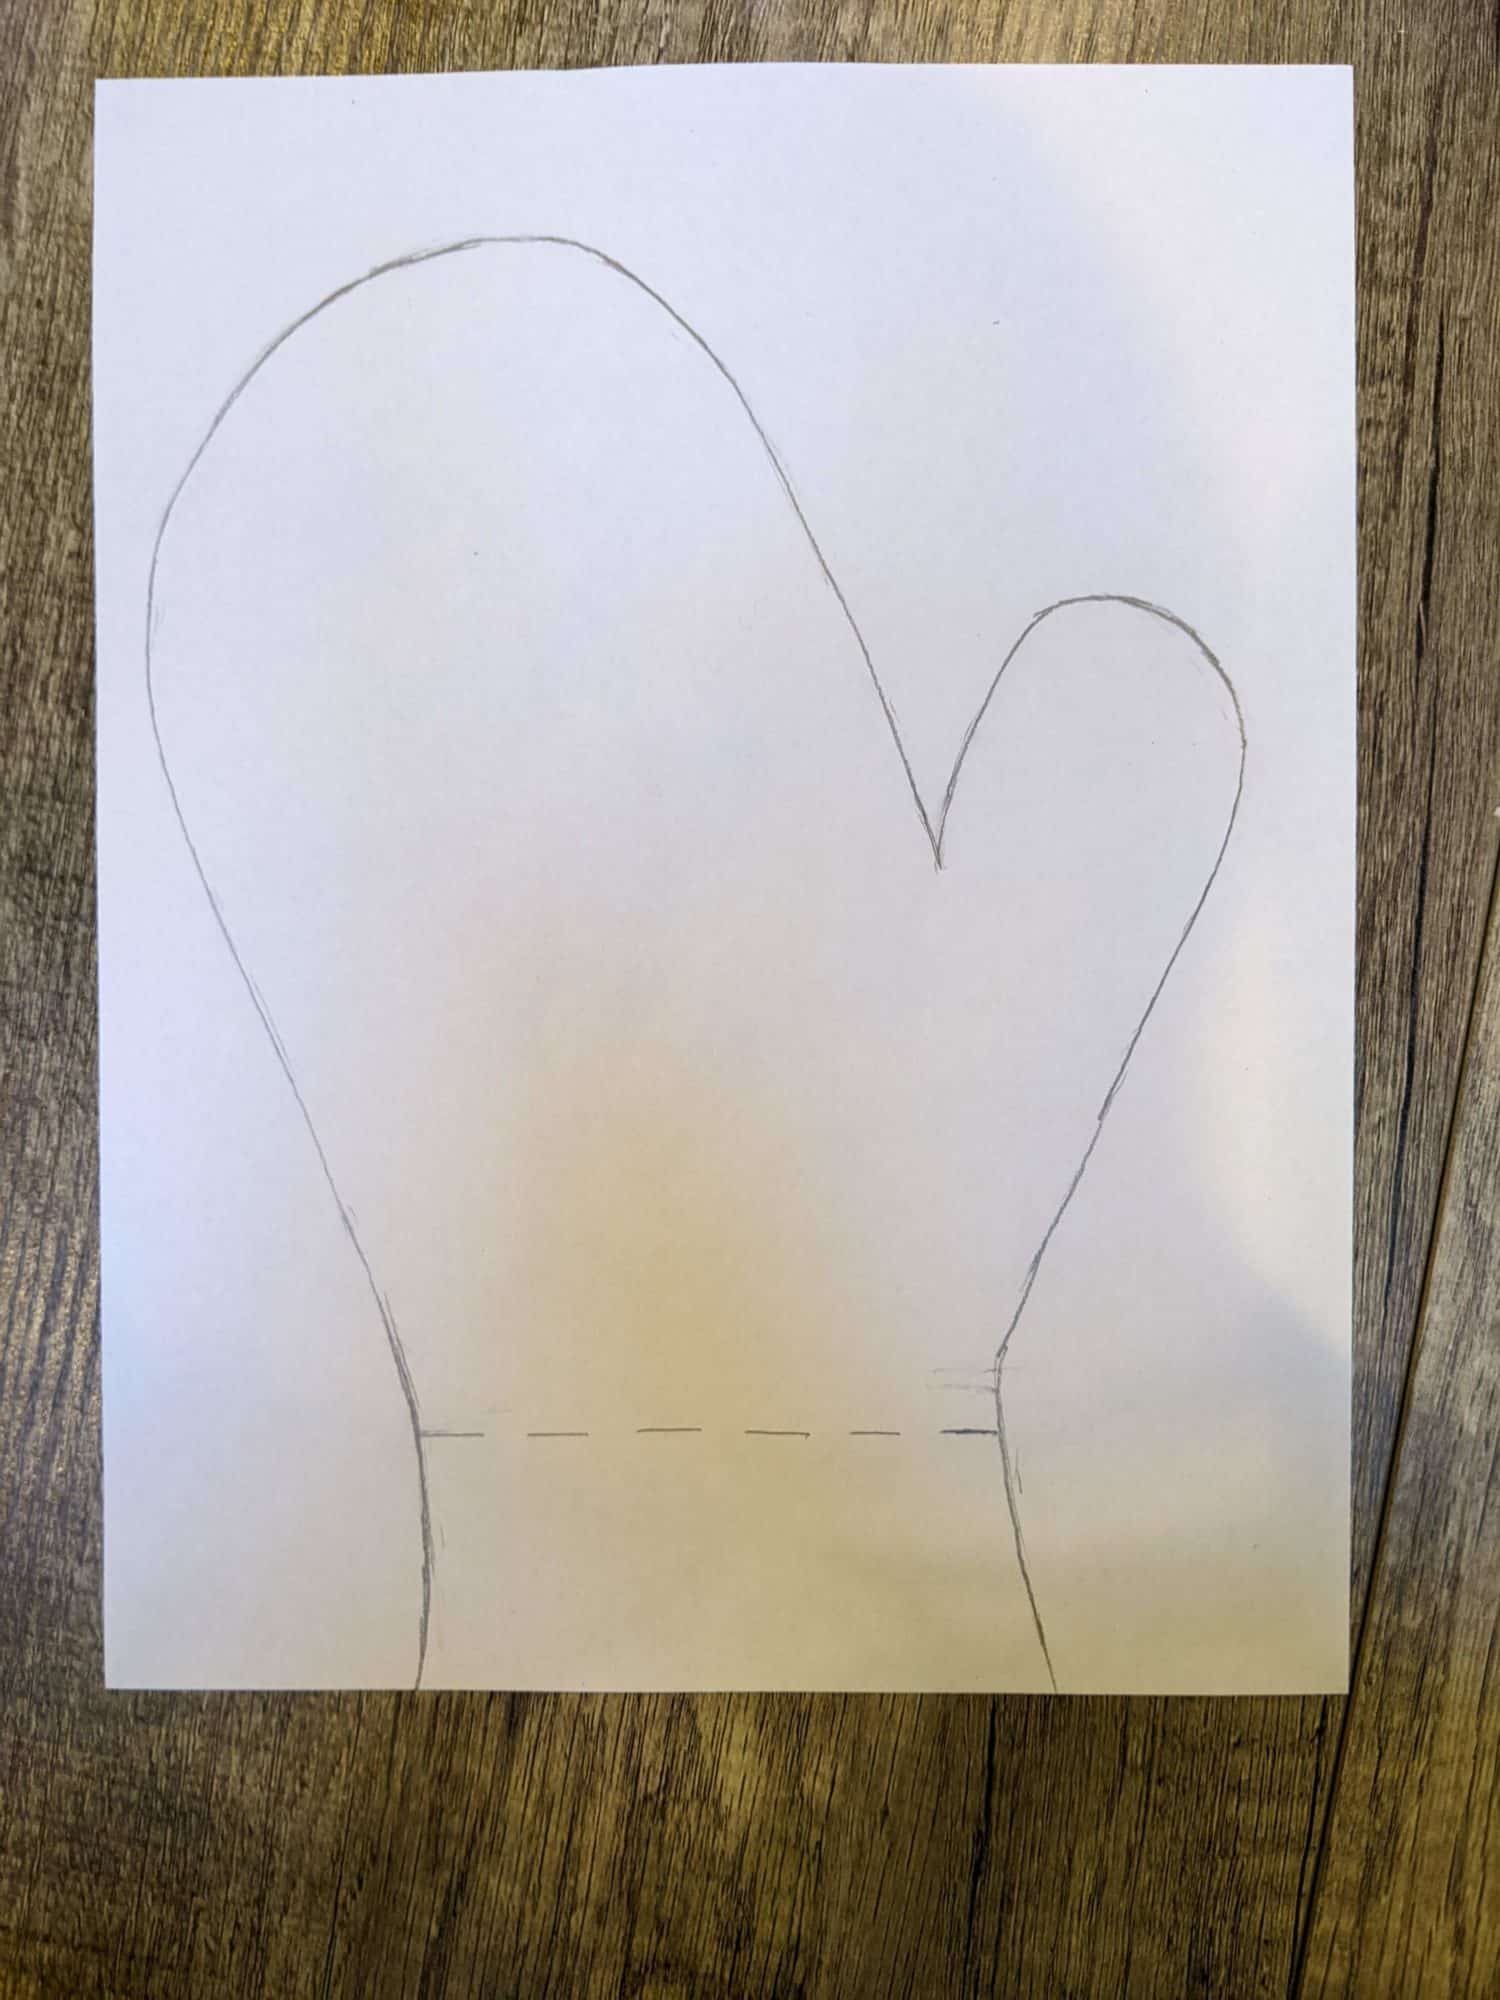
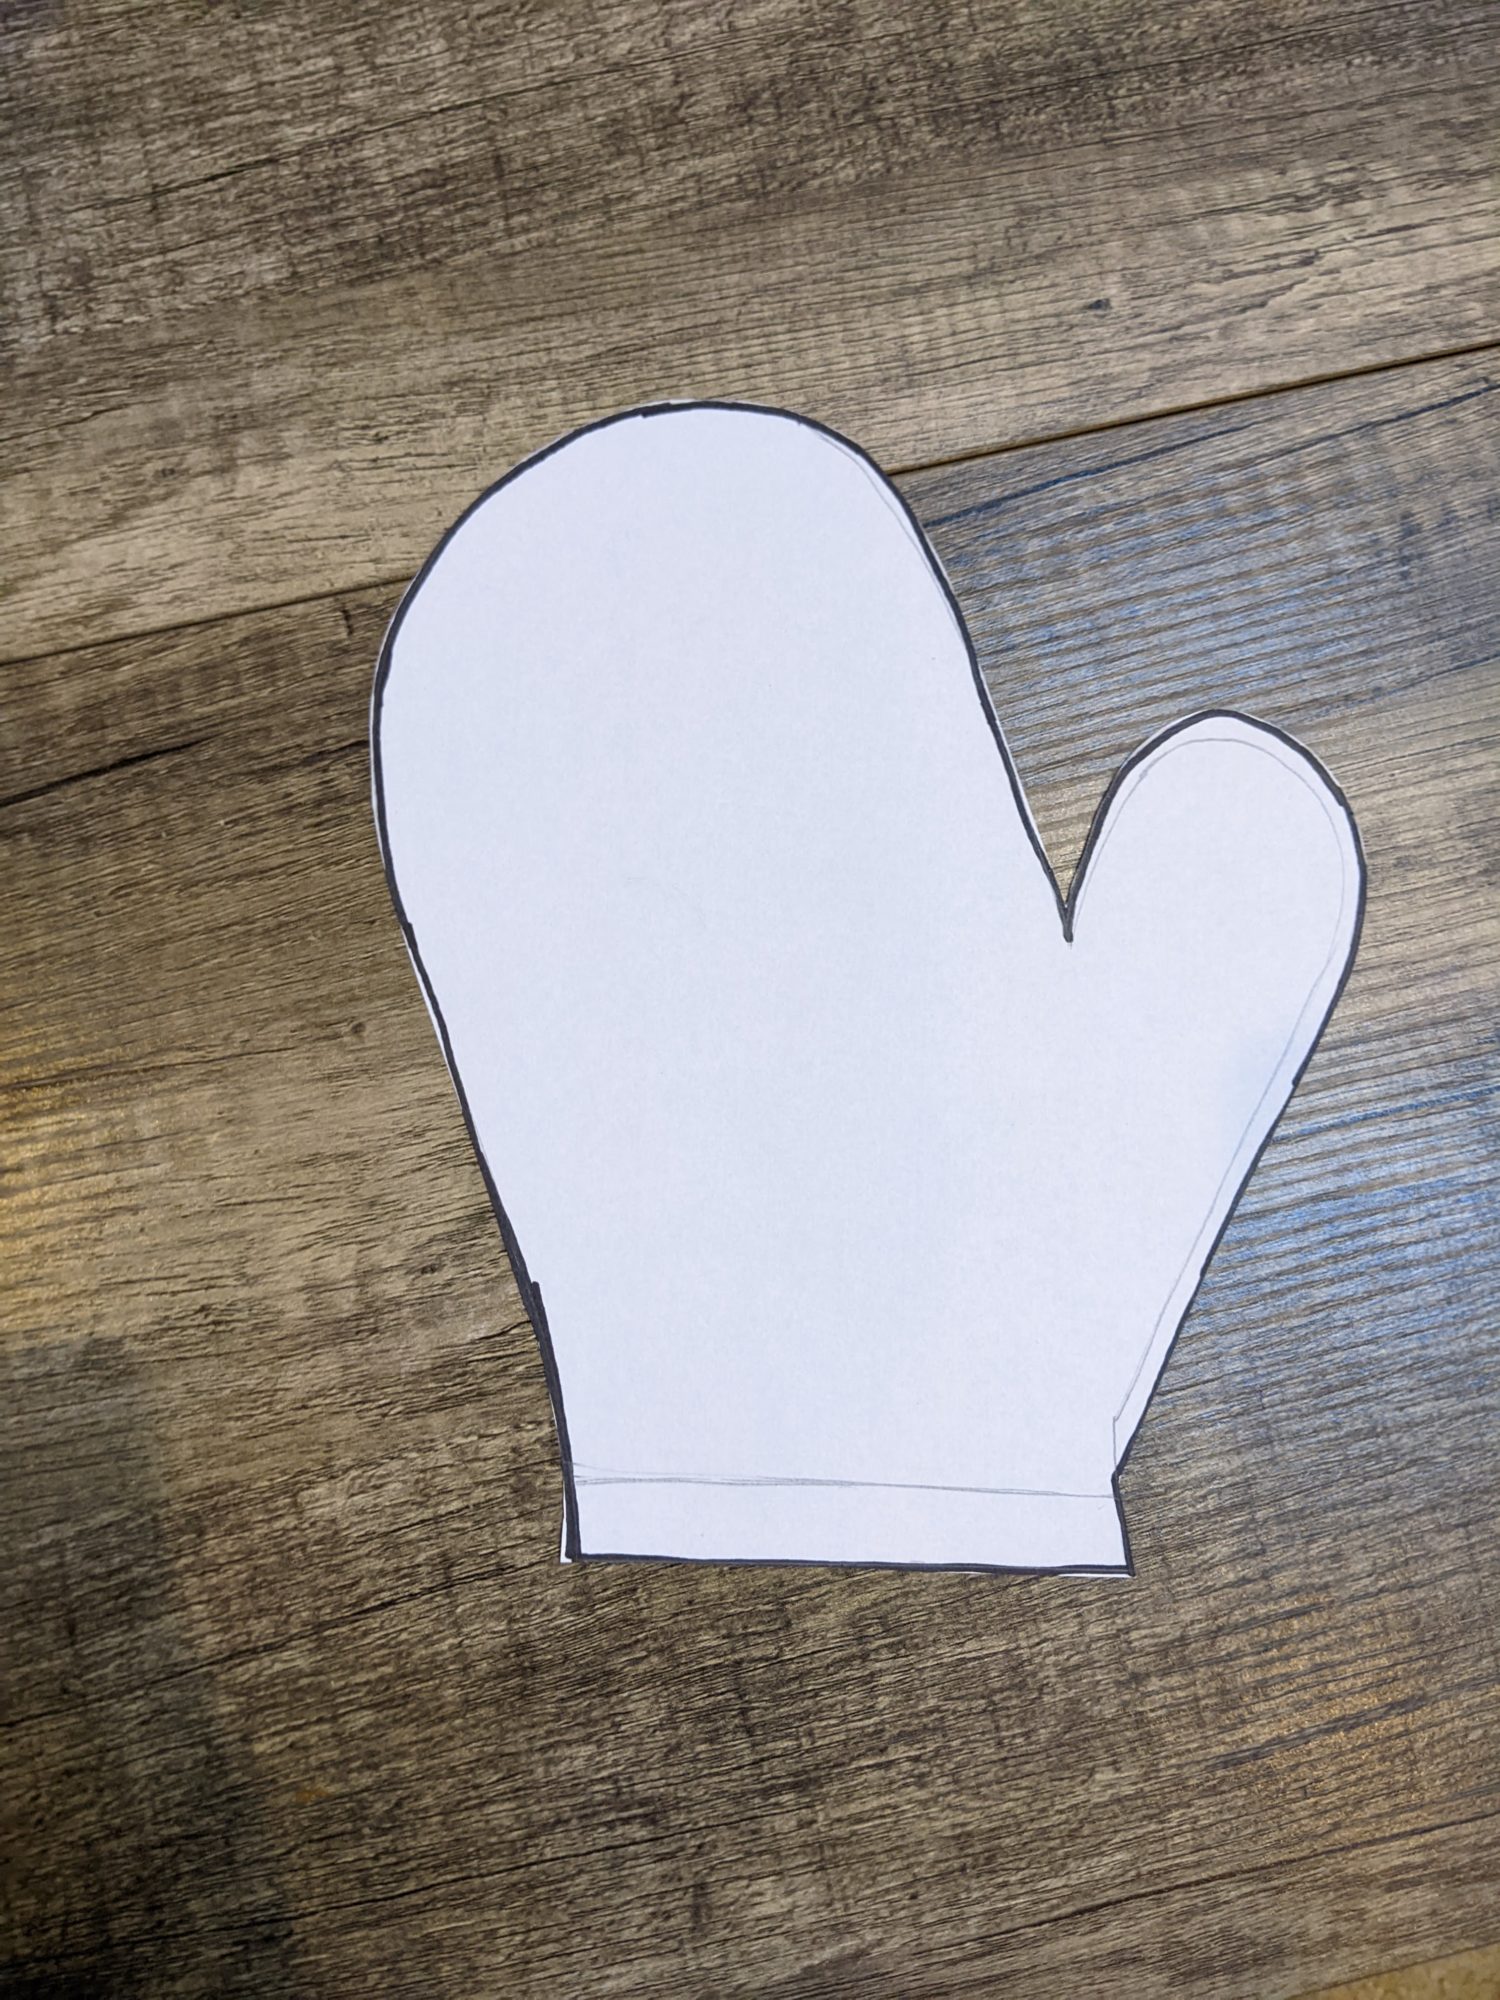
- Pick up your hand and make any adjustments needed to make it a smooth pattern piece.
- On the thumb, add another ¼” and retrace that area.
- Draw a line ½” below your marked wrist point.
- Cut out the pattern piece.
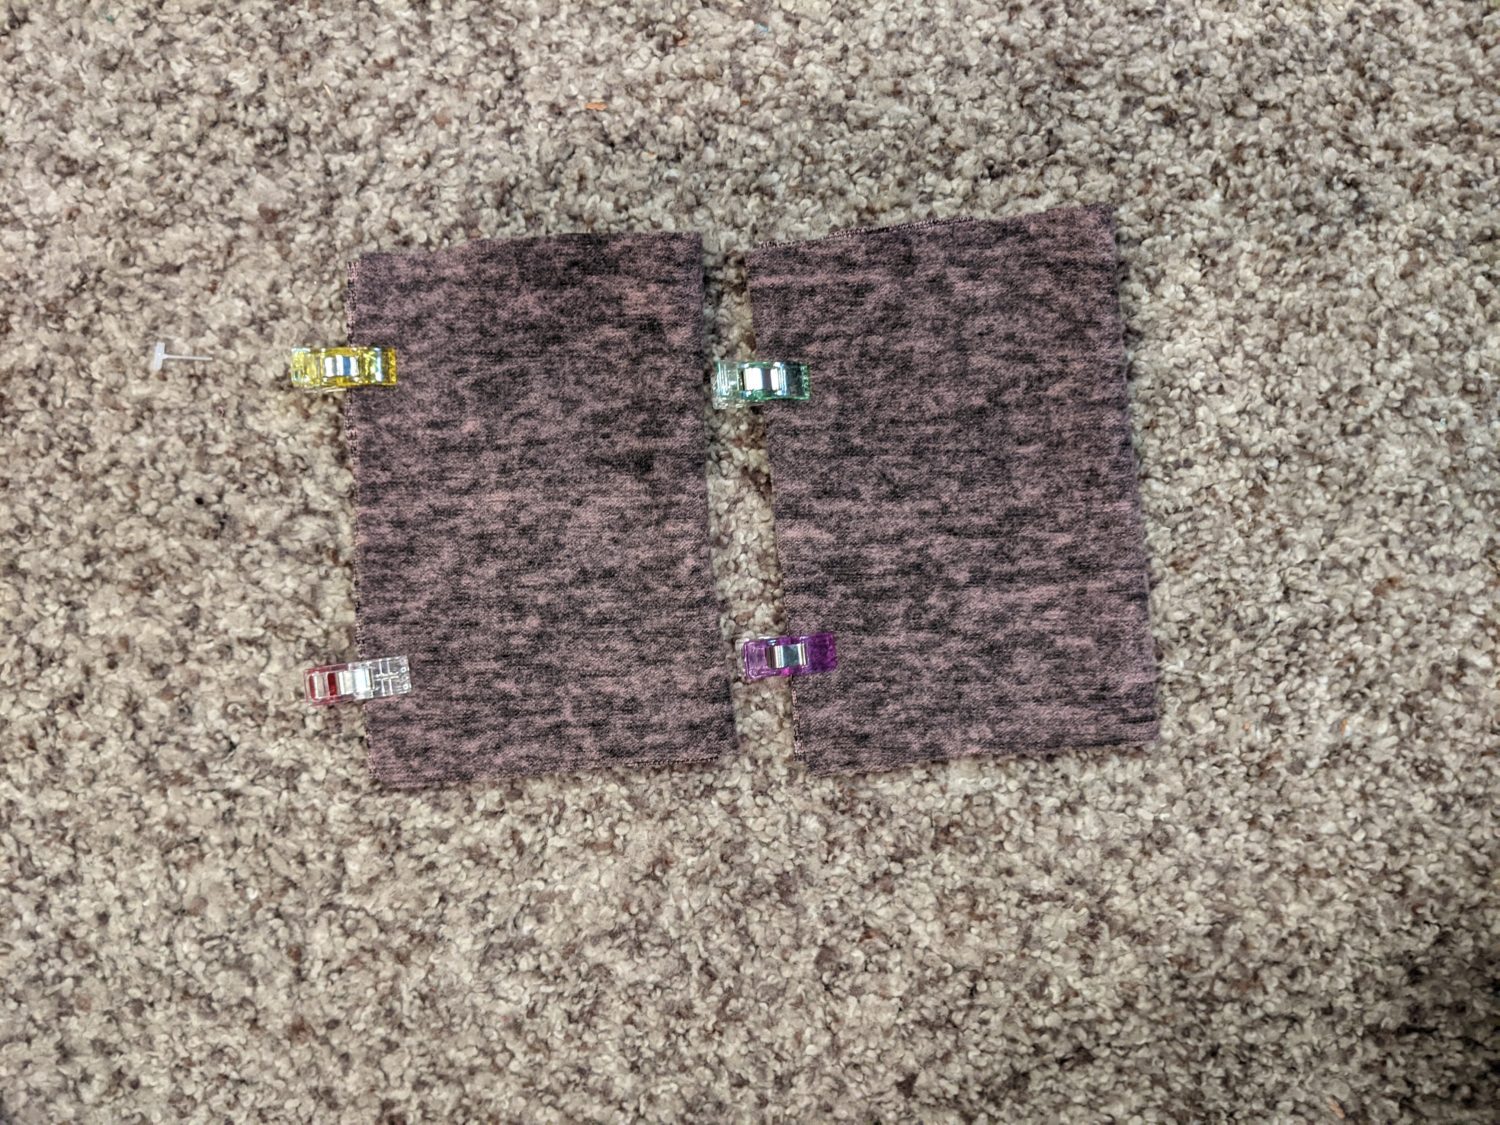
Cuff
- Measure the bottom (wrist edge) of the mitten pieces and add them together.
- Multiply that number by 90% to find the width of the cuff.
- You can decide how tall you’d like the cuff to be. I wanted mine to be 2” when finished, so I made it 2 ⅜” tall to account for the seam allowance.
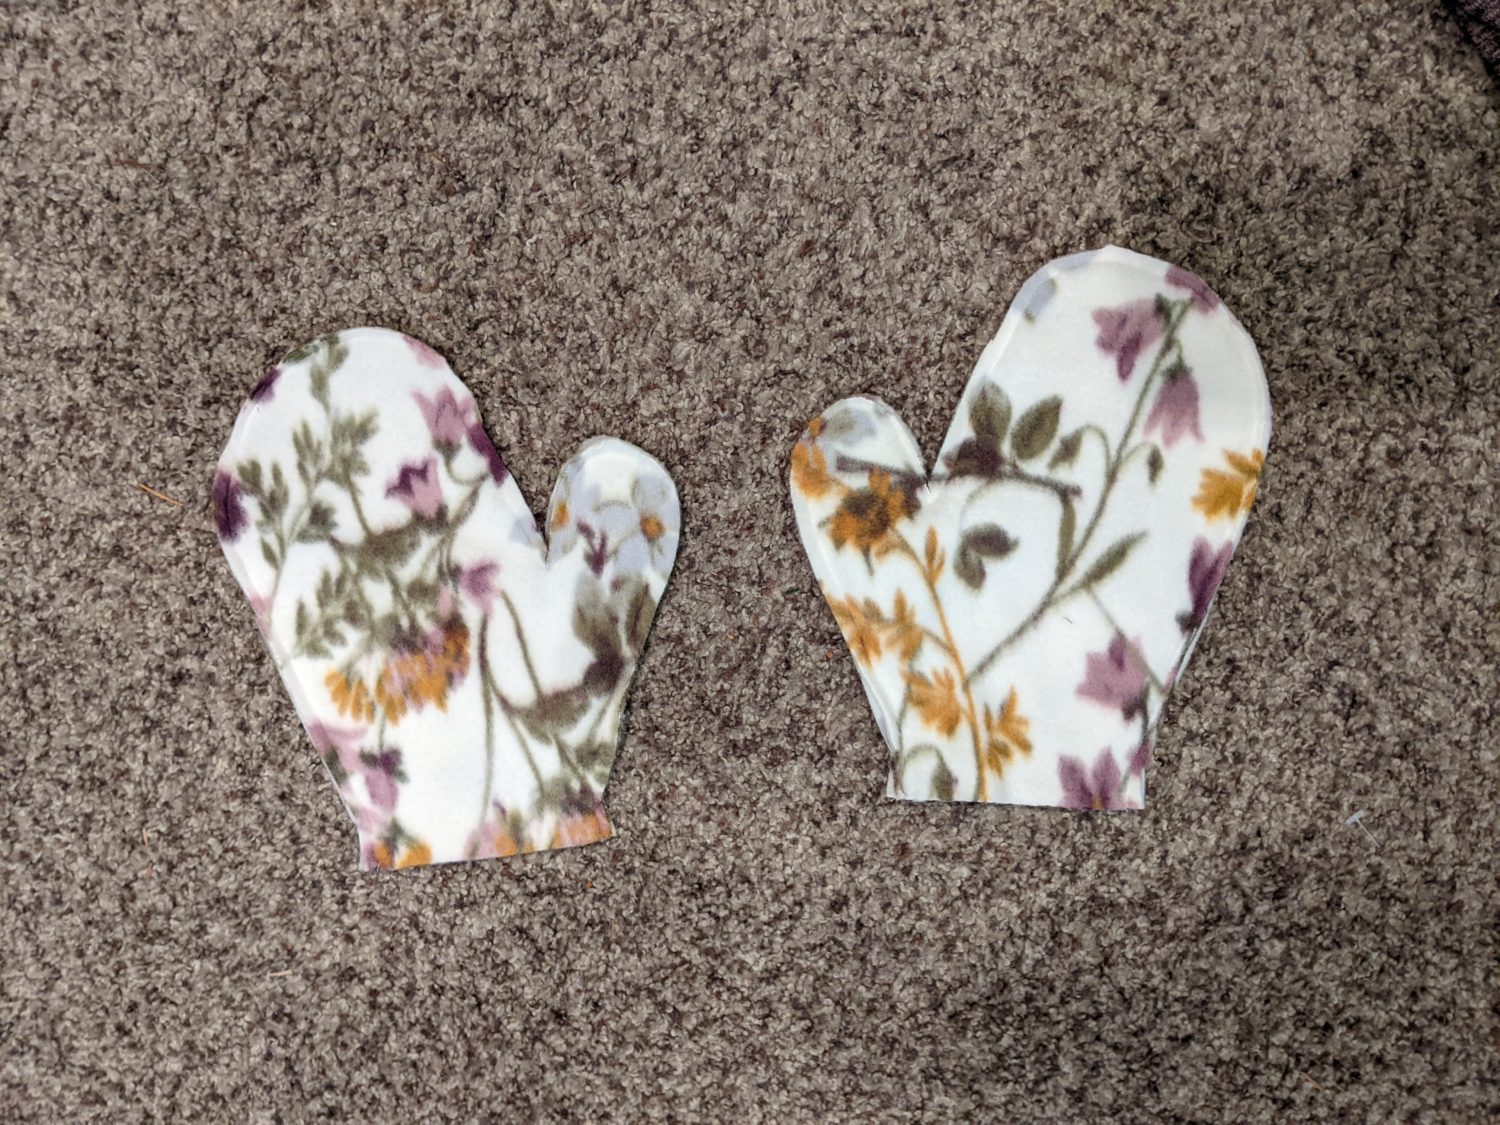
Cutting the Fabric
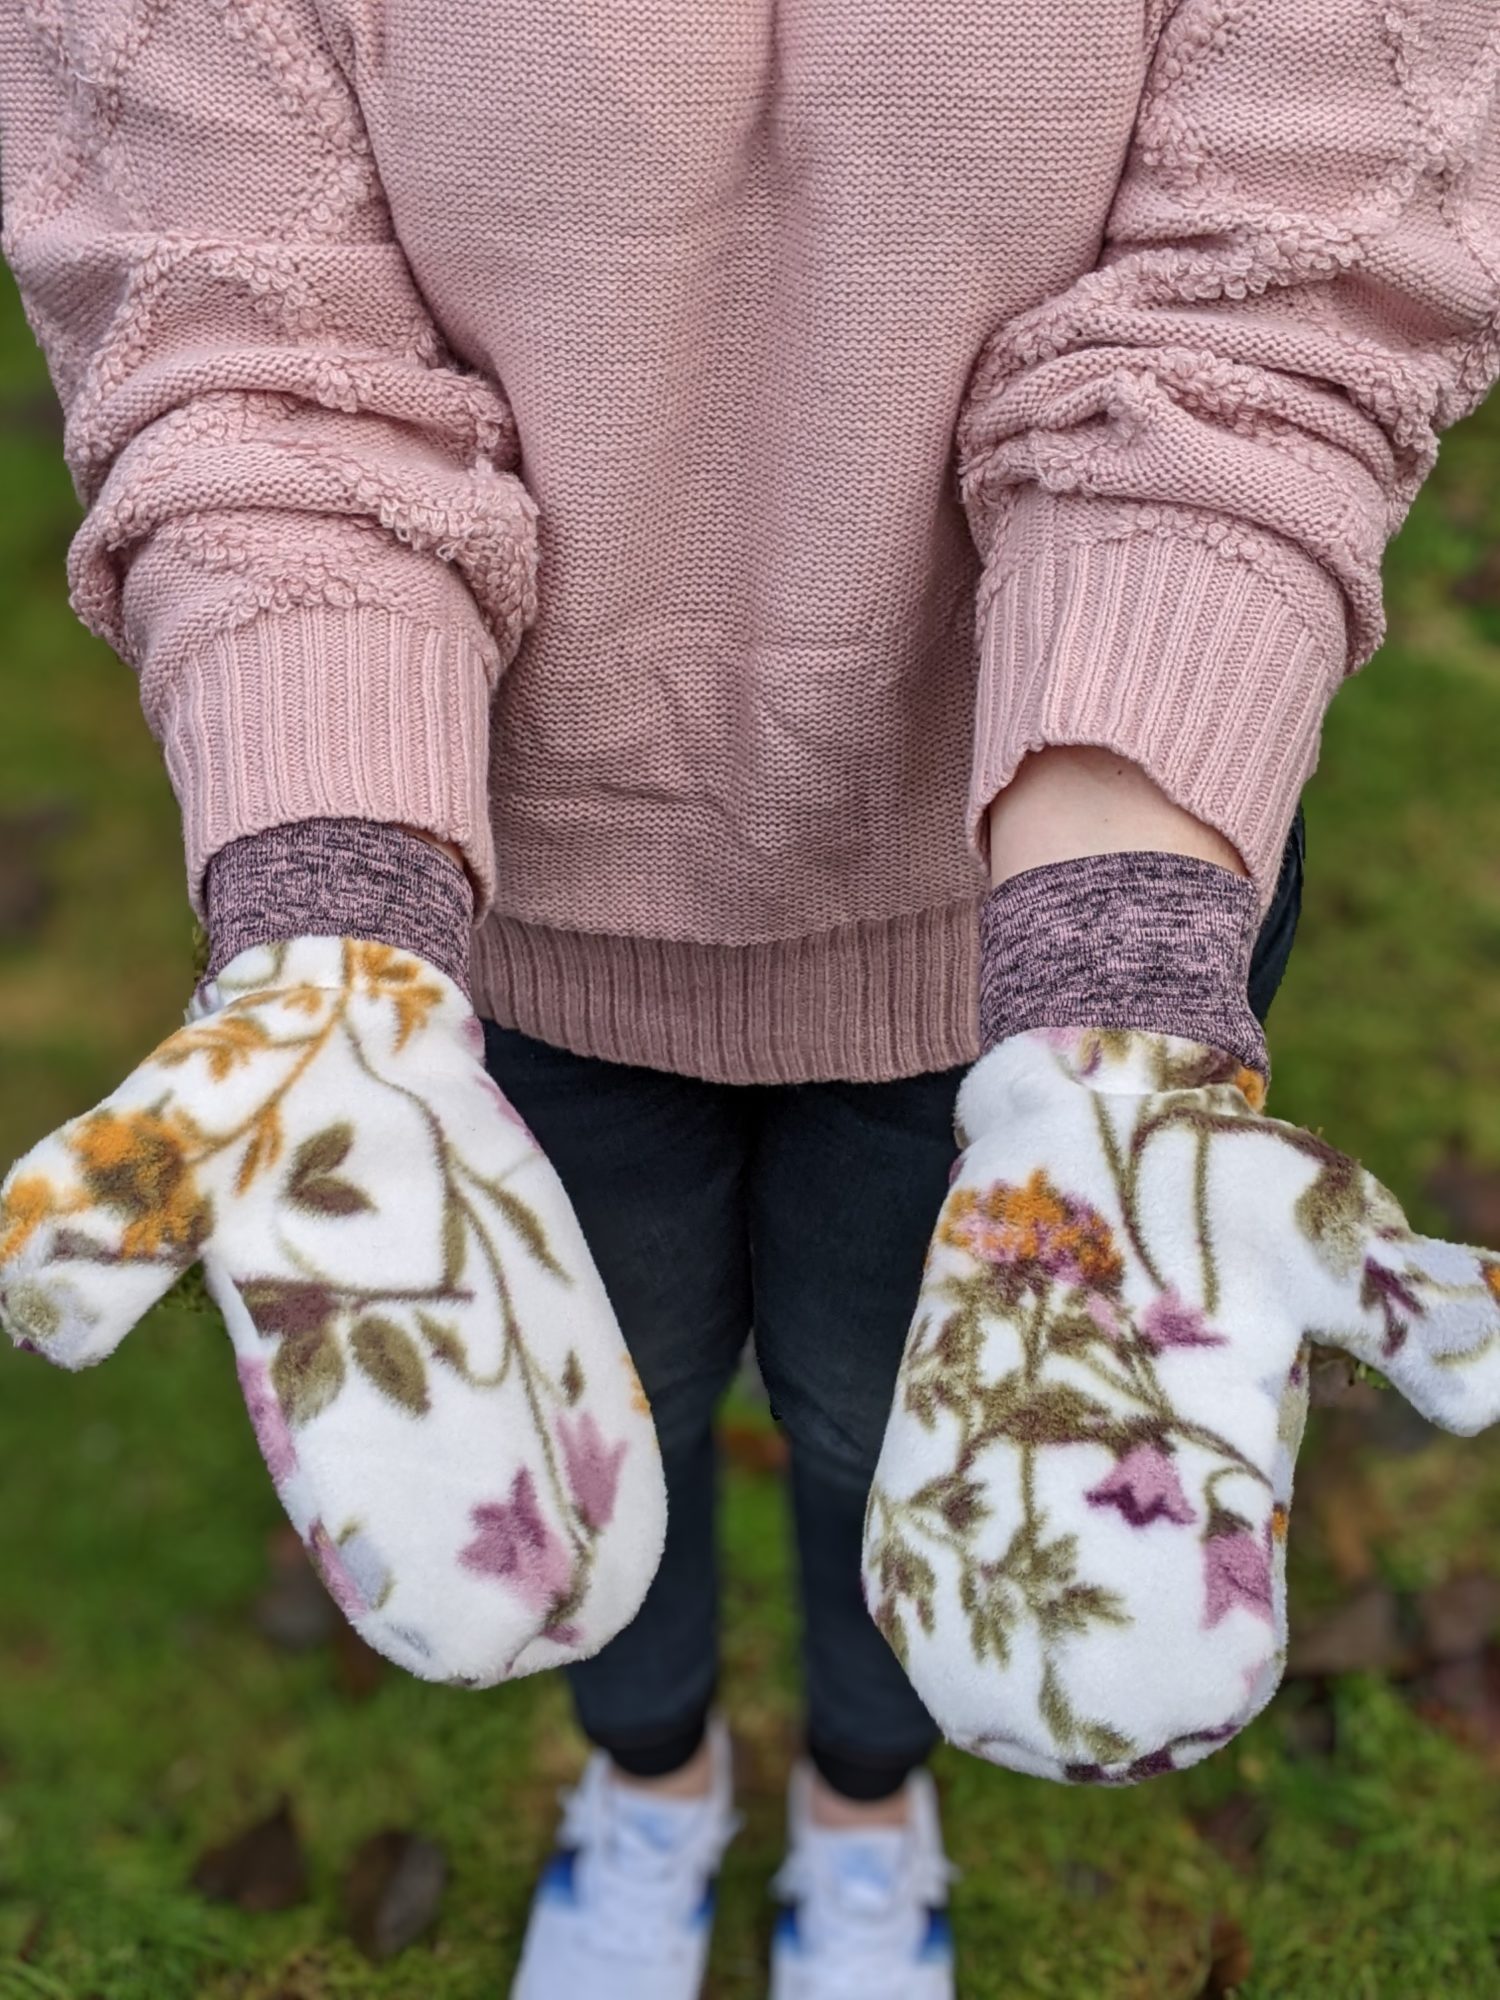
- Cut 2 mirrored sets of mittens from your fleece
- Cut 2 cuffs from the knit fabric
Sewing
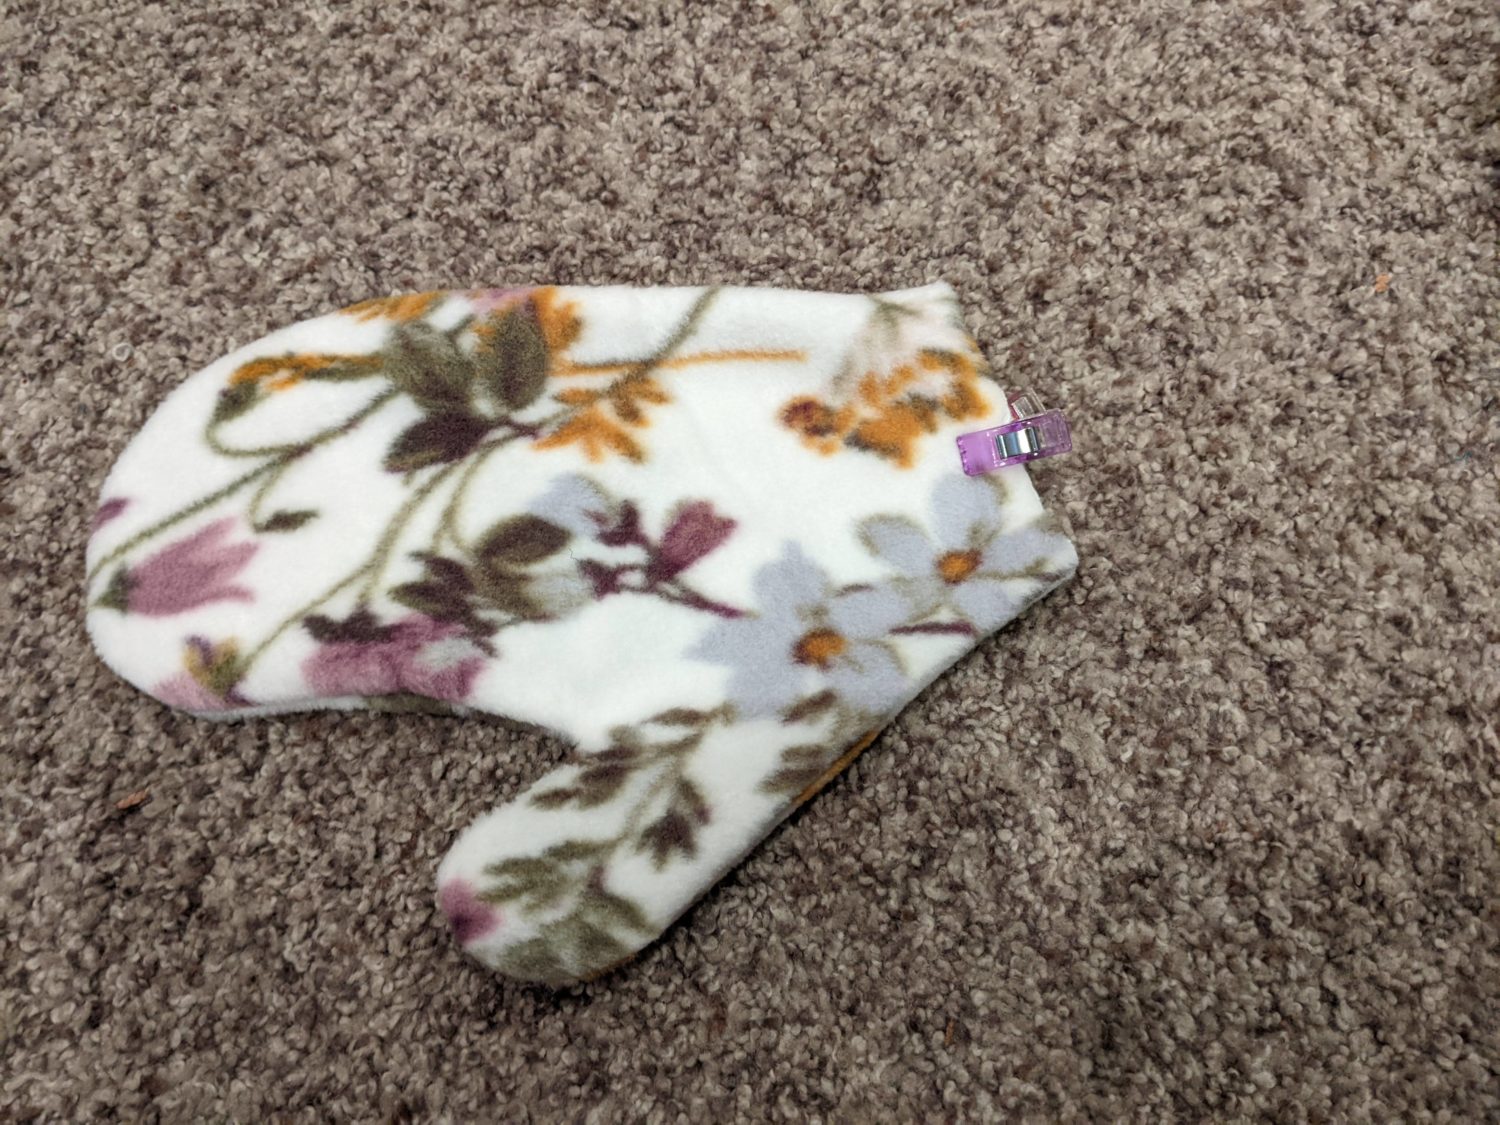
- Place your two mirrored mitten pieces right sides together and pin.
- Sew along the edge with a ¼” seam allowance.
- At the “V” of the thumb, keep the needle down, lift the presser foot, pivot the fabric, replace the presser foot and continue sewing. (Leave the wrist end open)
- Snip the fabric at the “V” without cutting any stitches.
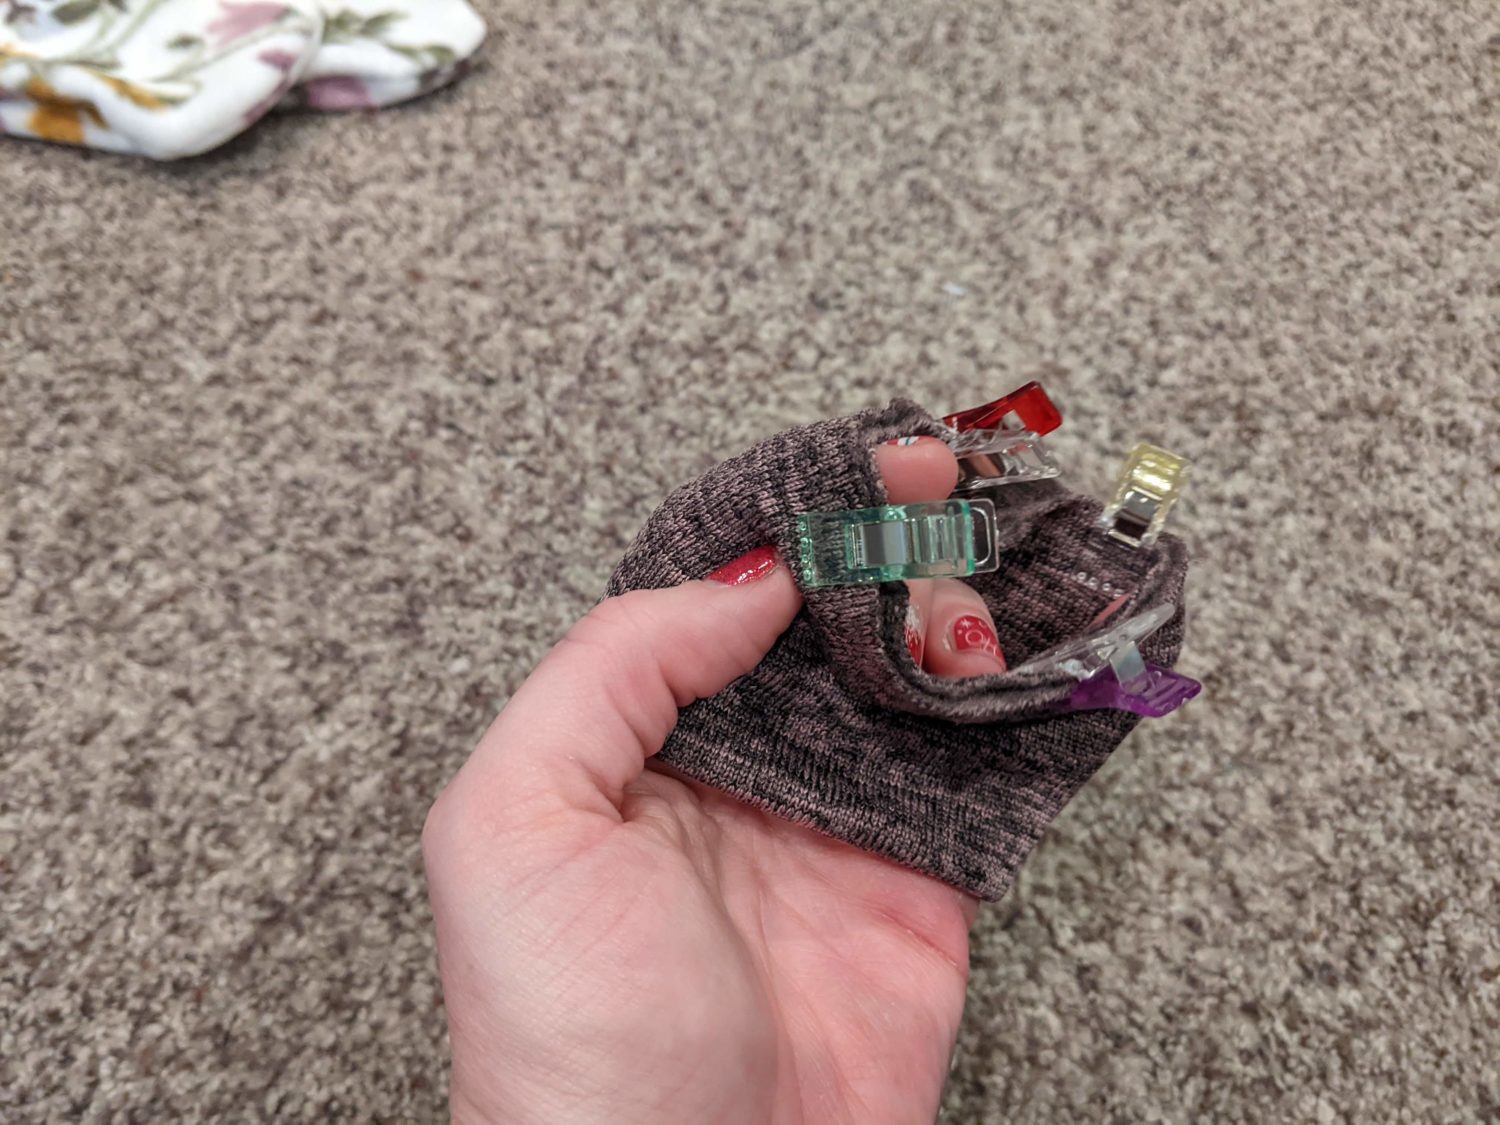
- Fold the cuff in half widthwise right sides together and pin the long edges together.
- Sew the edge with a stretch stitch or serger.
- Turn the mittens right sides out.
- Fold the cuff over with wrong sides together to form the cuff loop.
- Quarter and pin the raw edge of the cuff and the mitten.
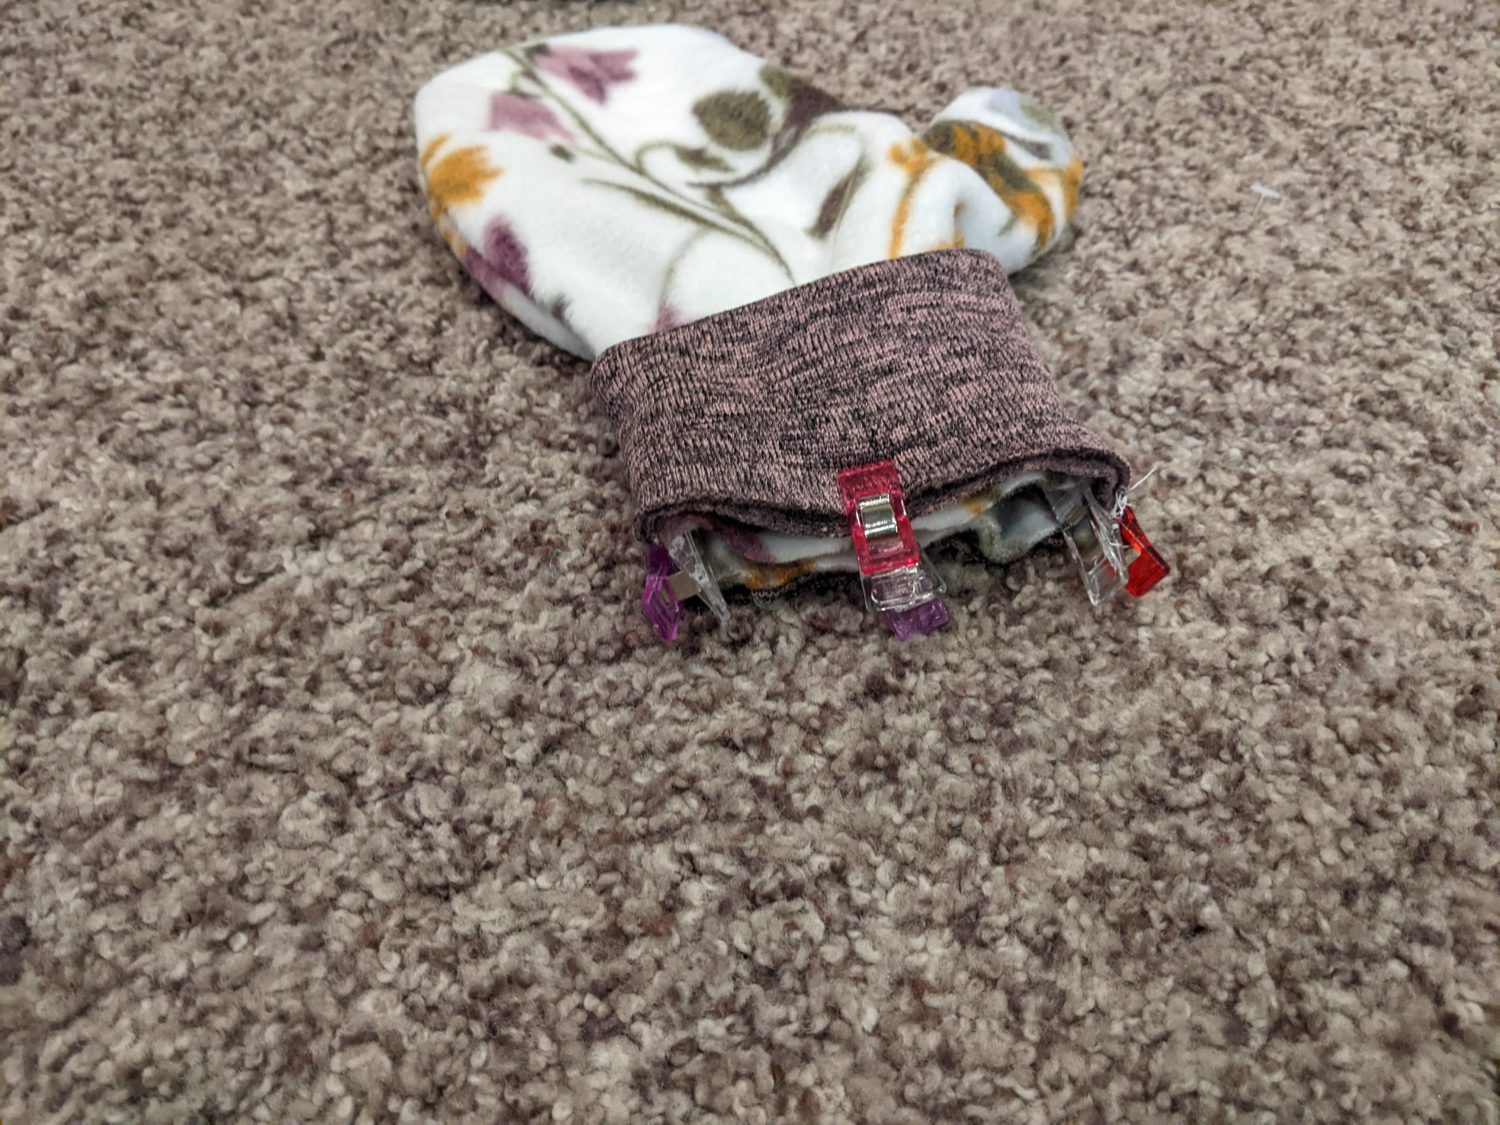
- Slide the cuff over the mitten lining up the quarter points and pin.
- Sew the cuff to the mitten with a stretch stitch or serger and a ⅜” seam allowance
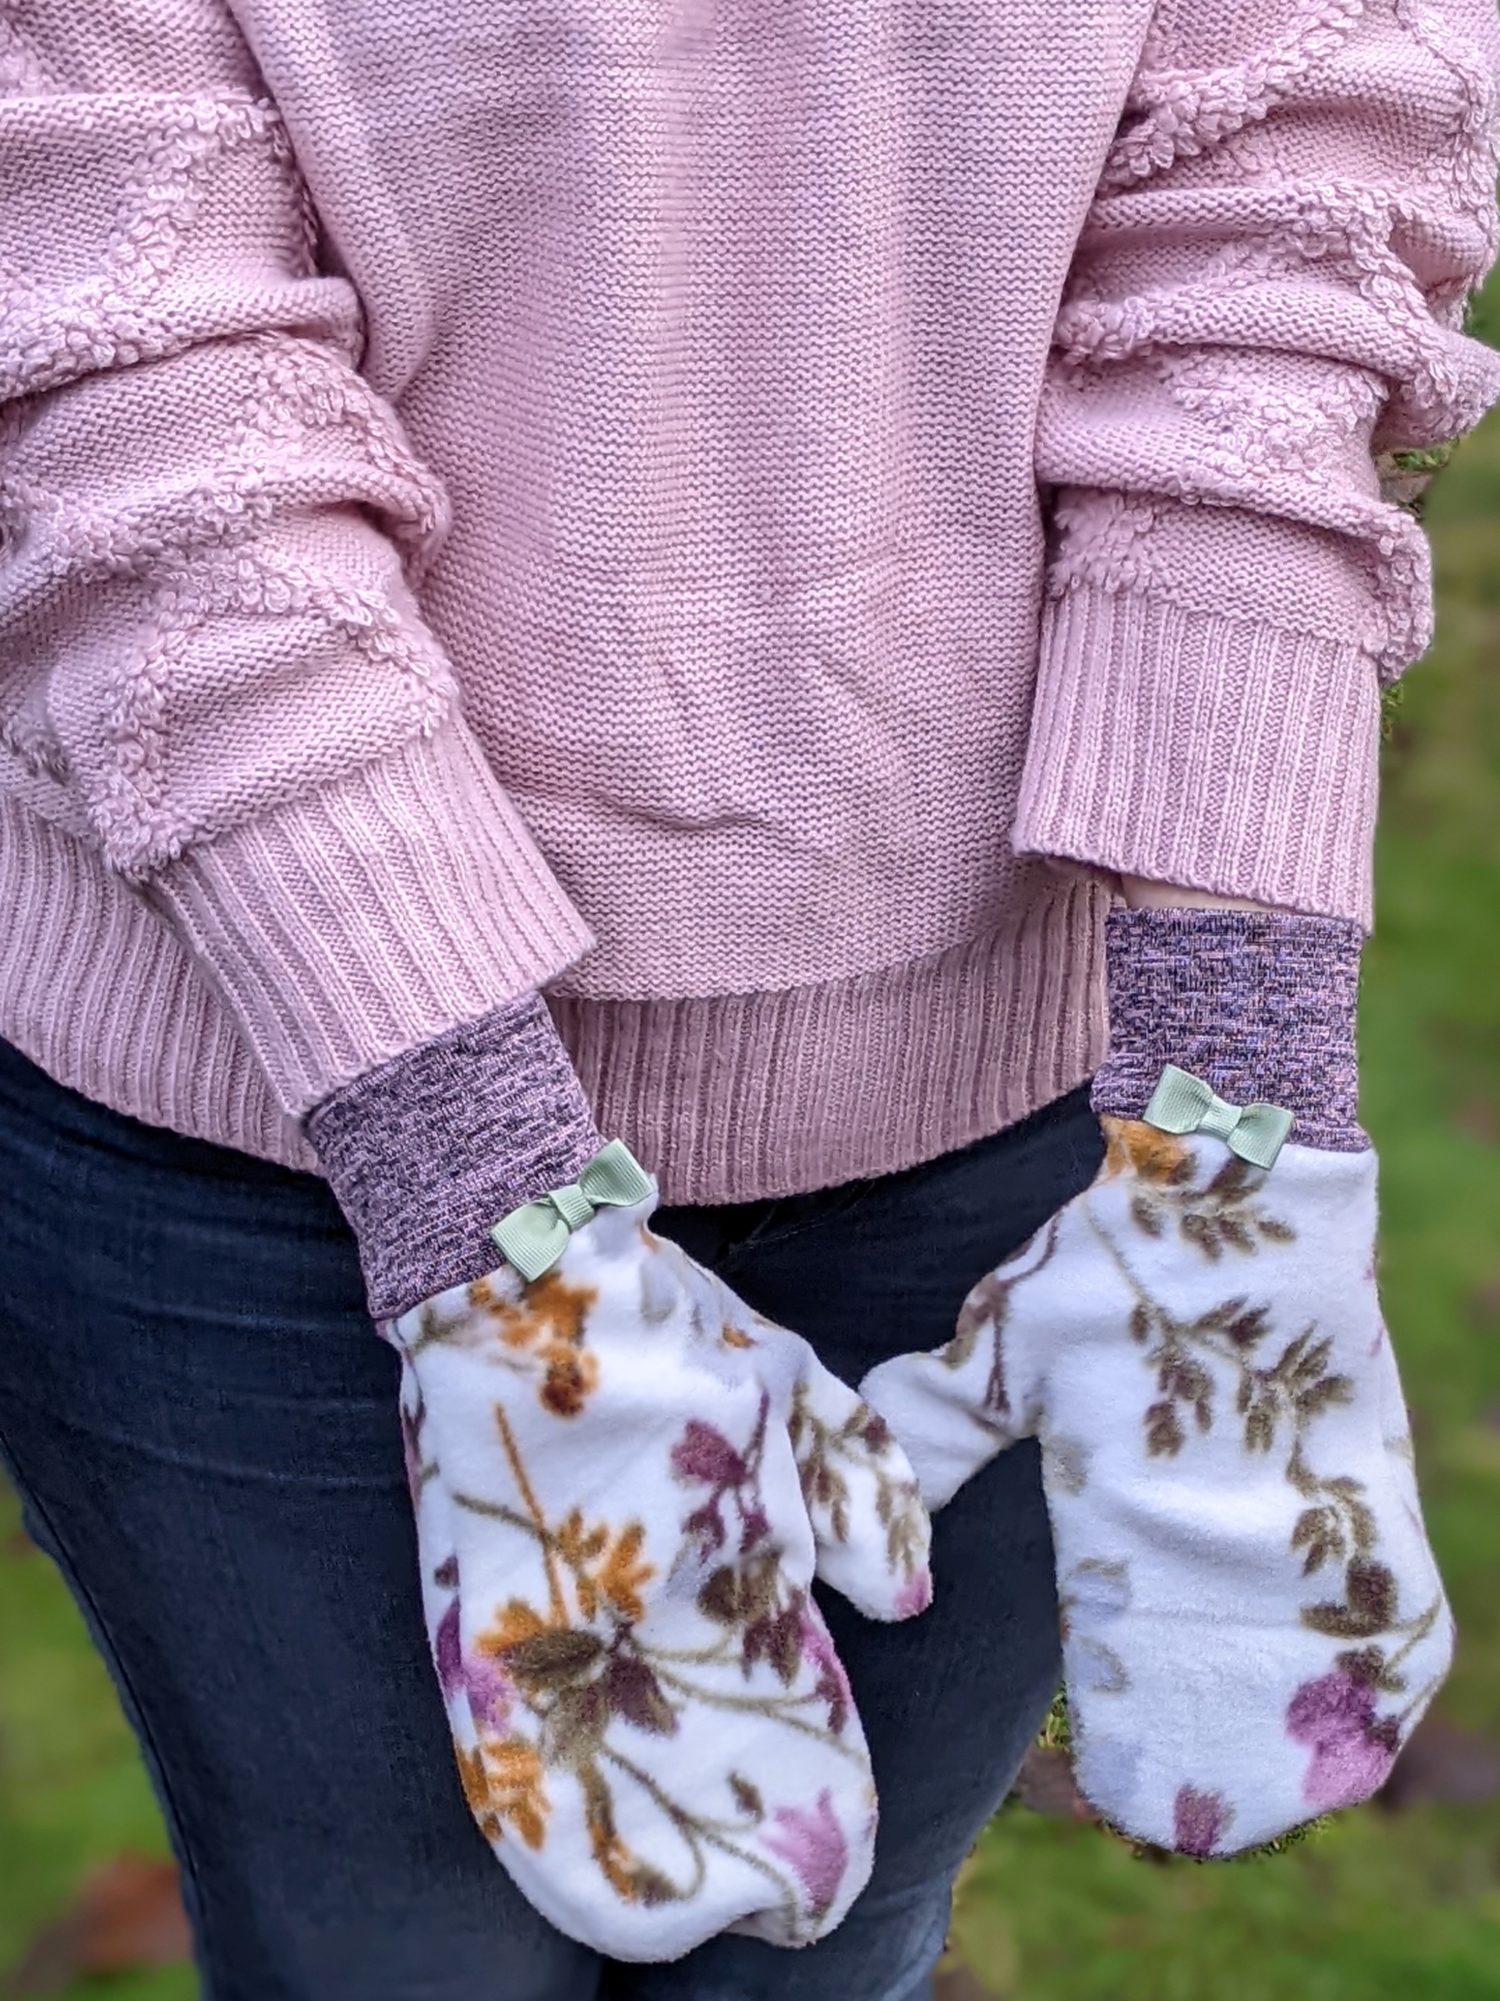
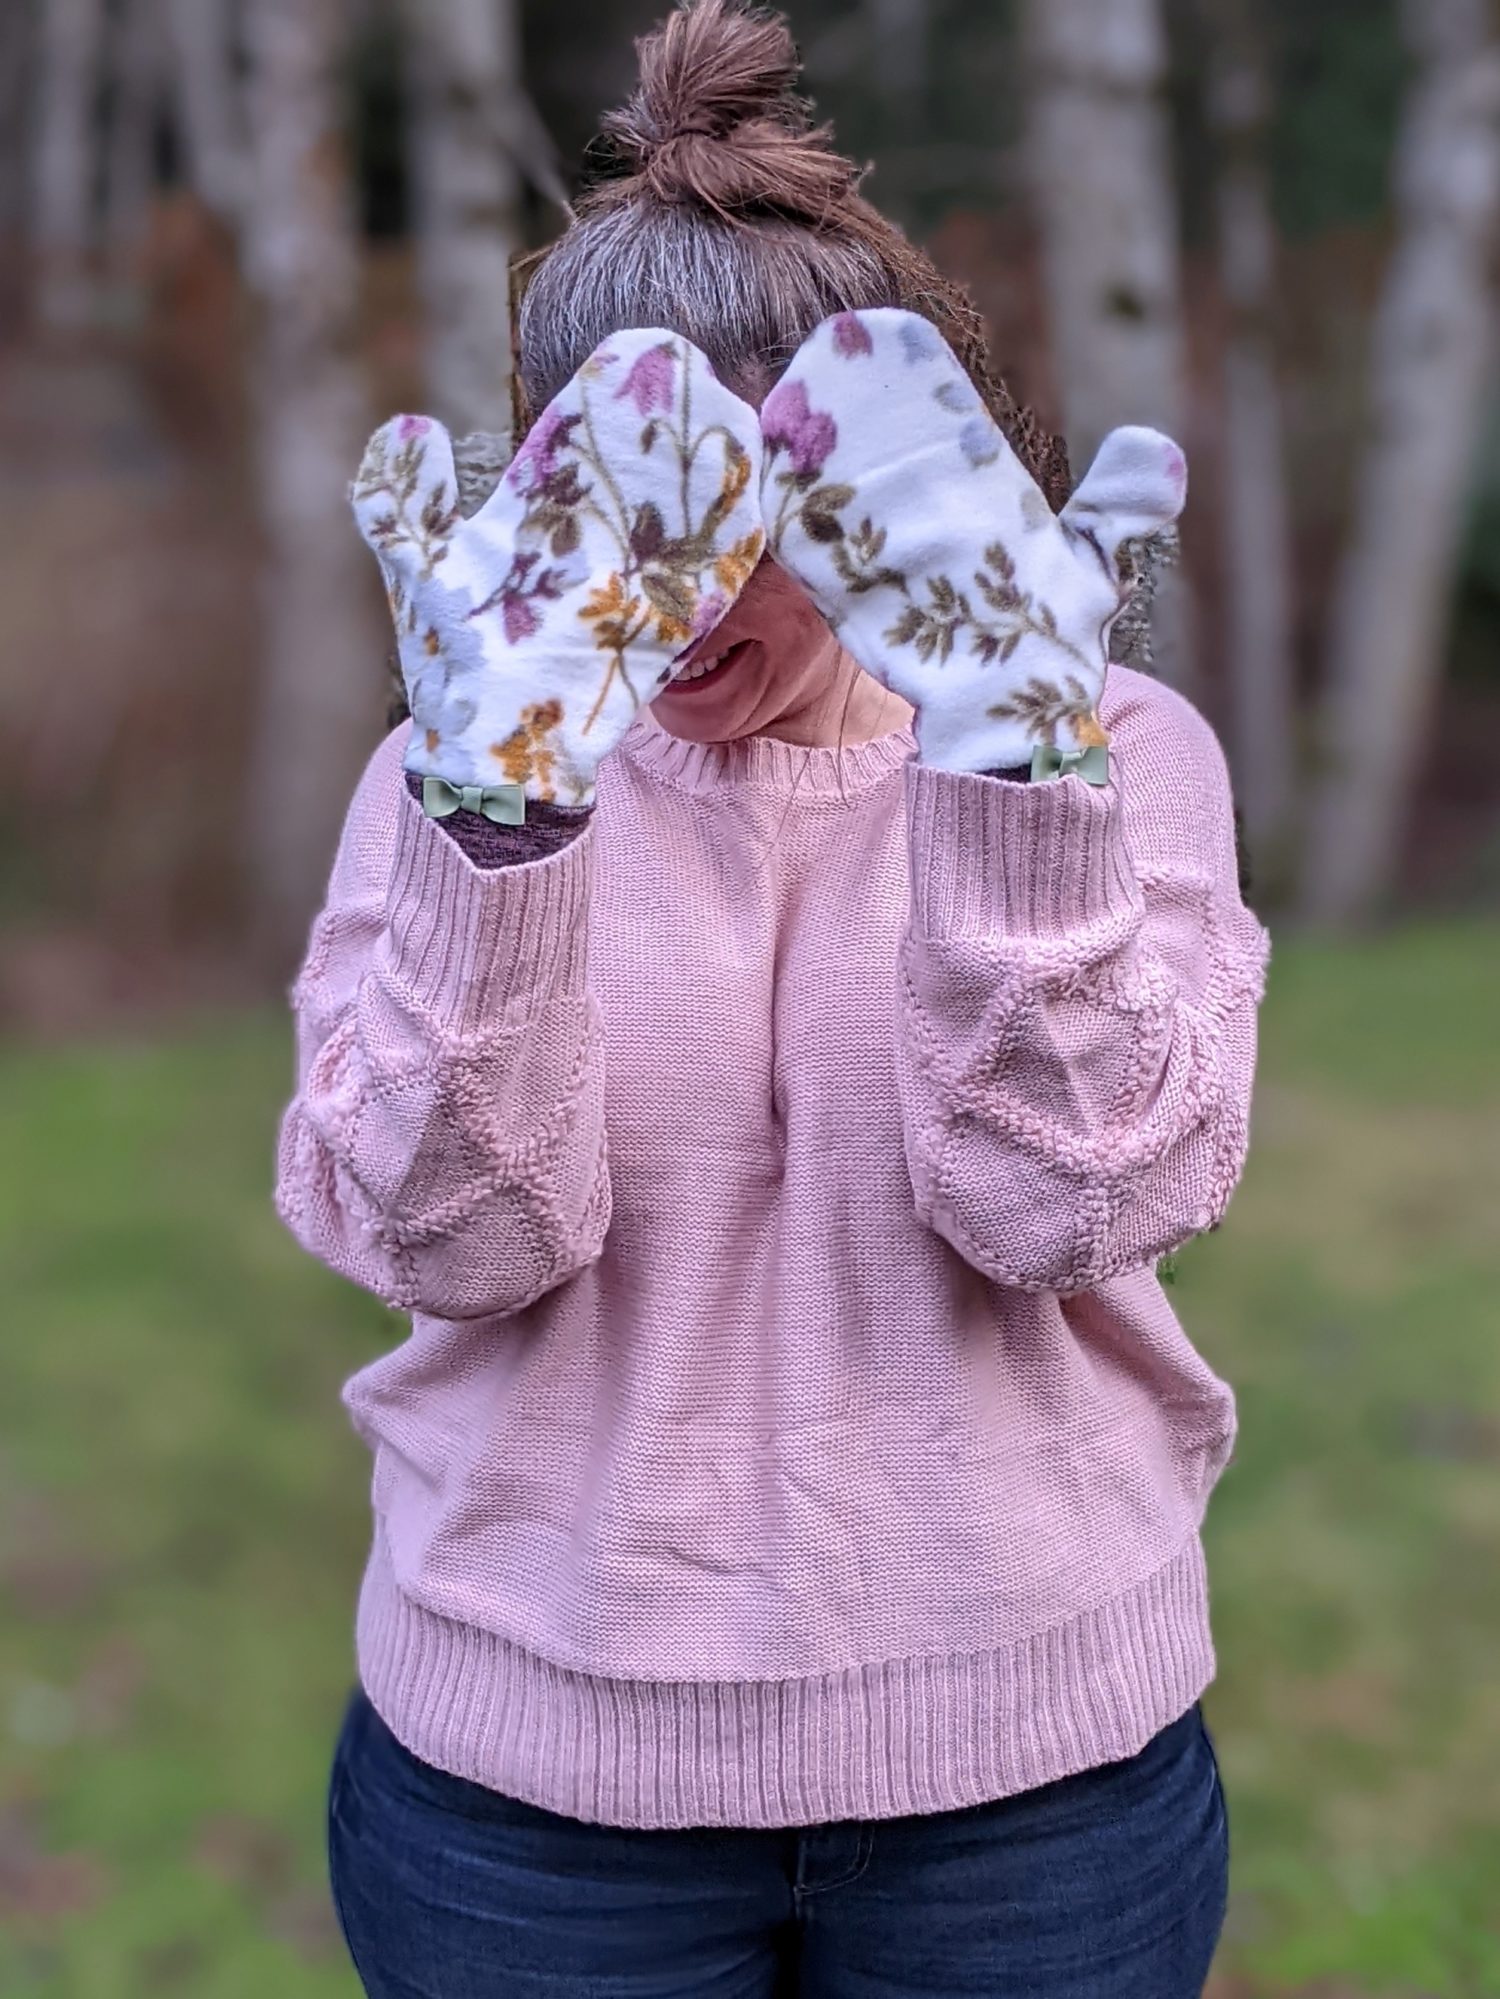
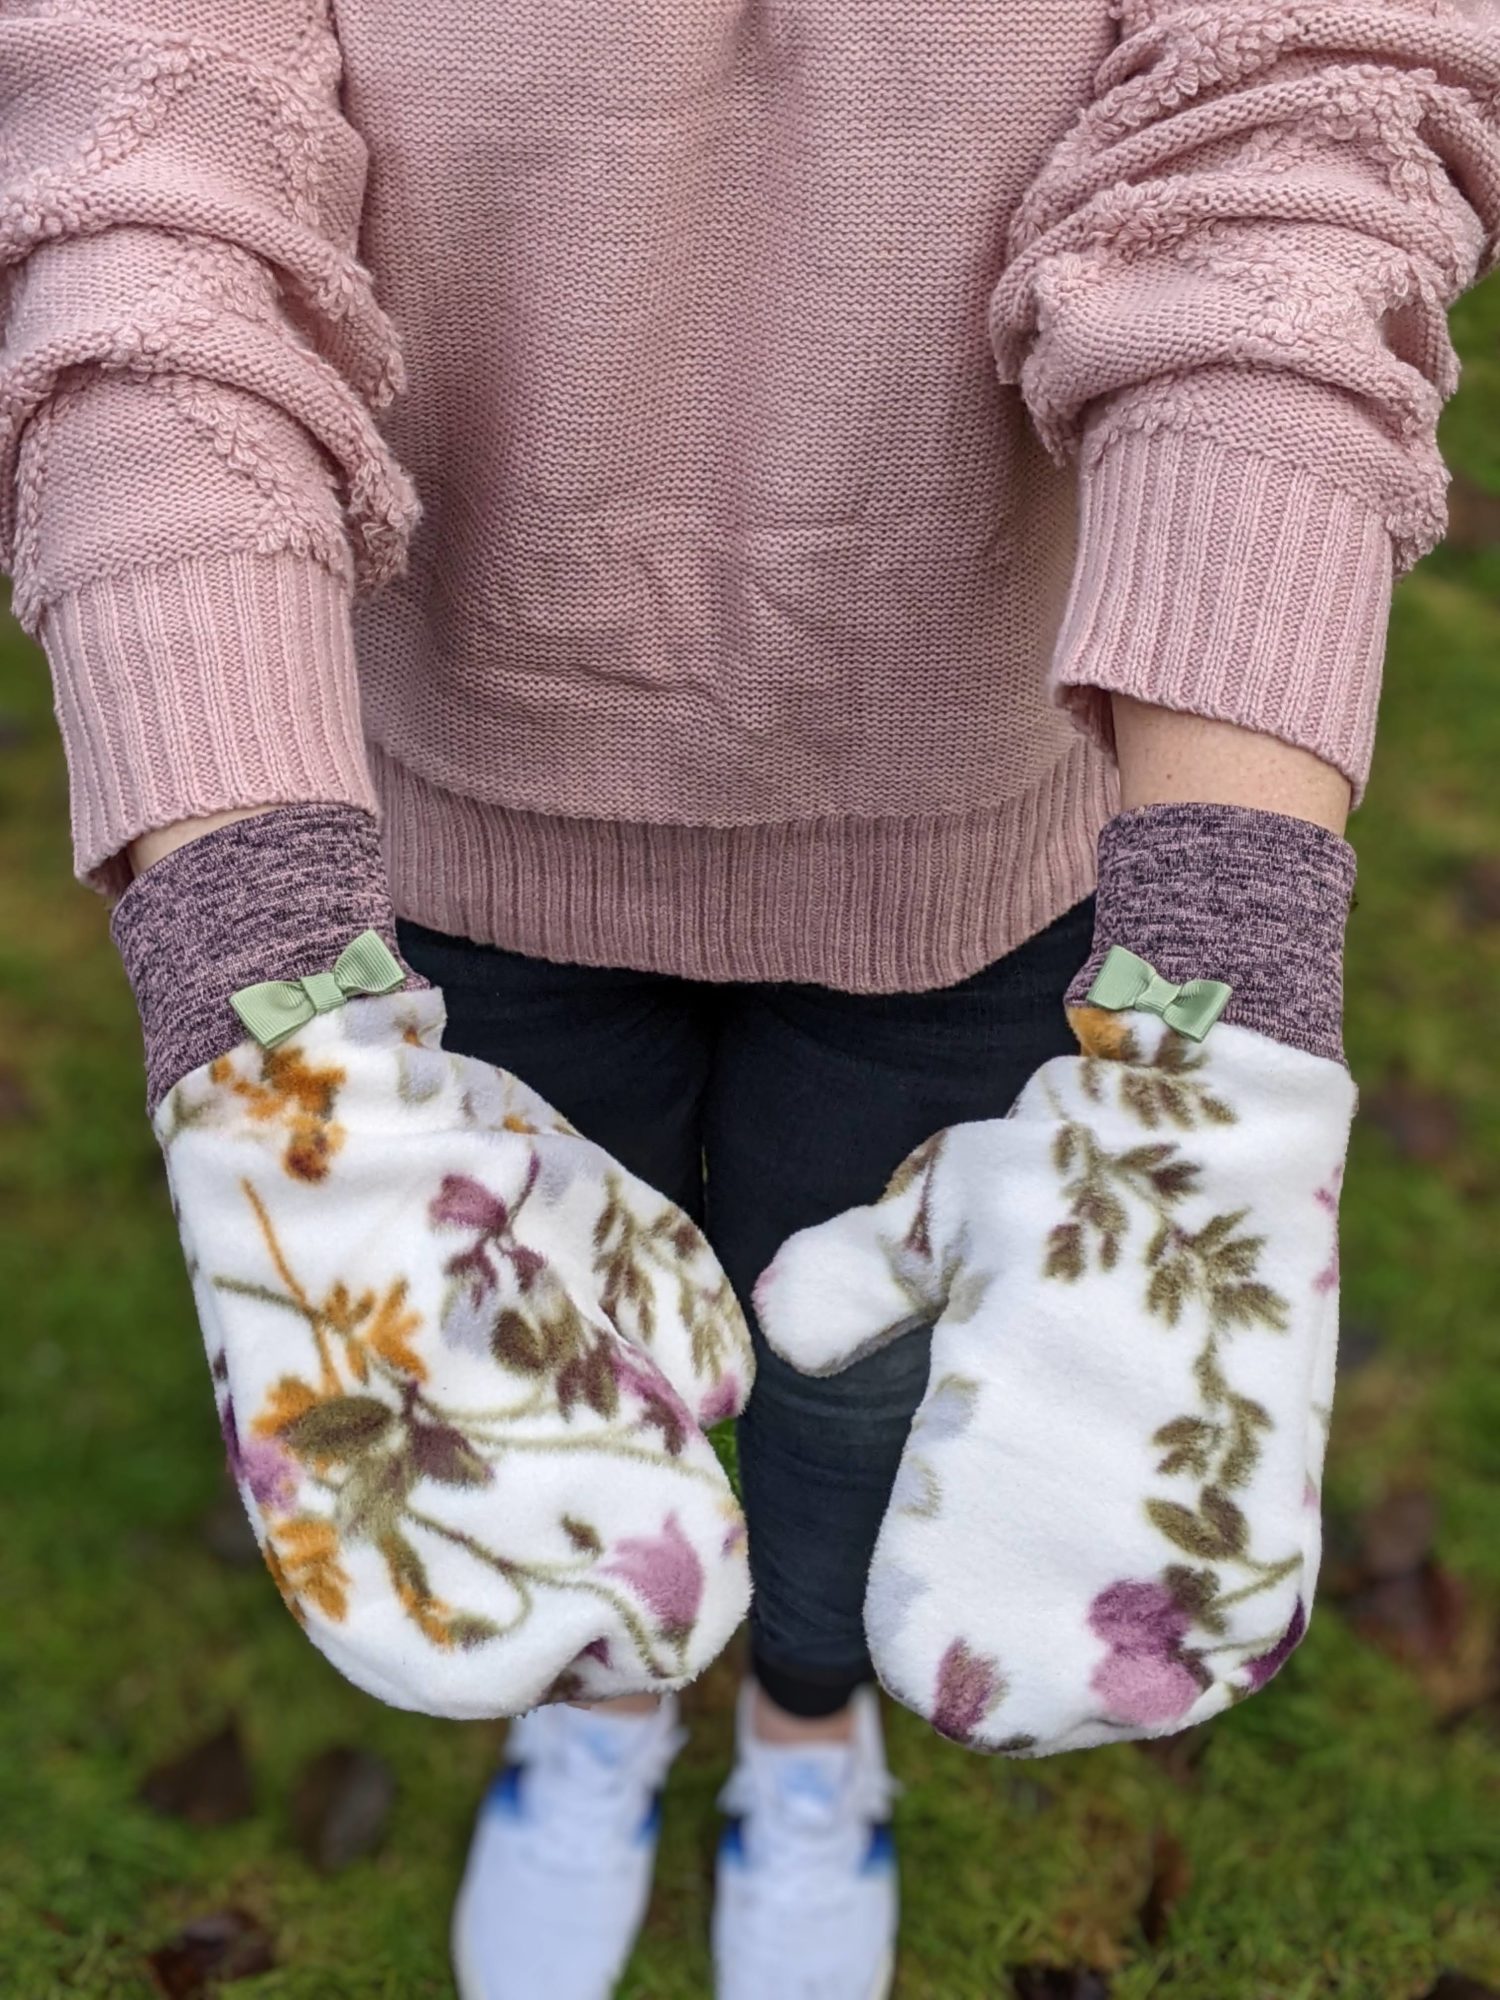
- Optional: Sew a bow, buttons, etc. to mark the back of the wrist.
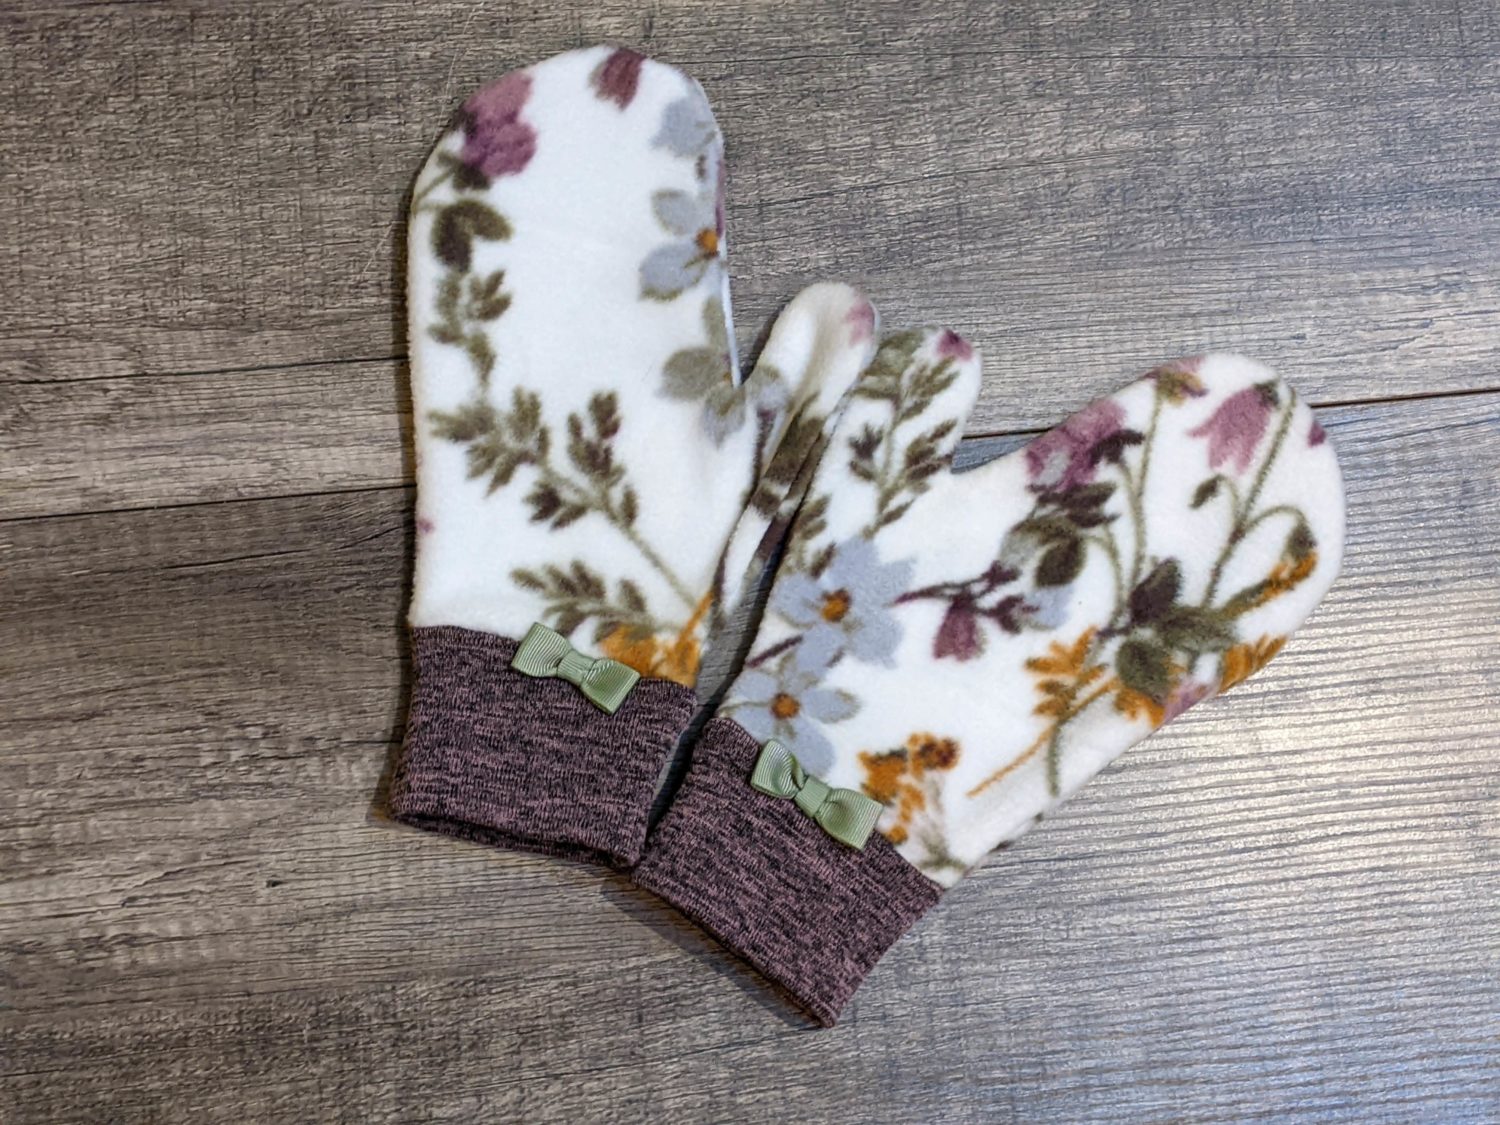
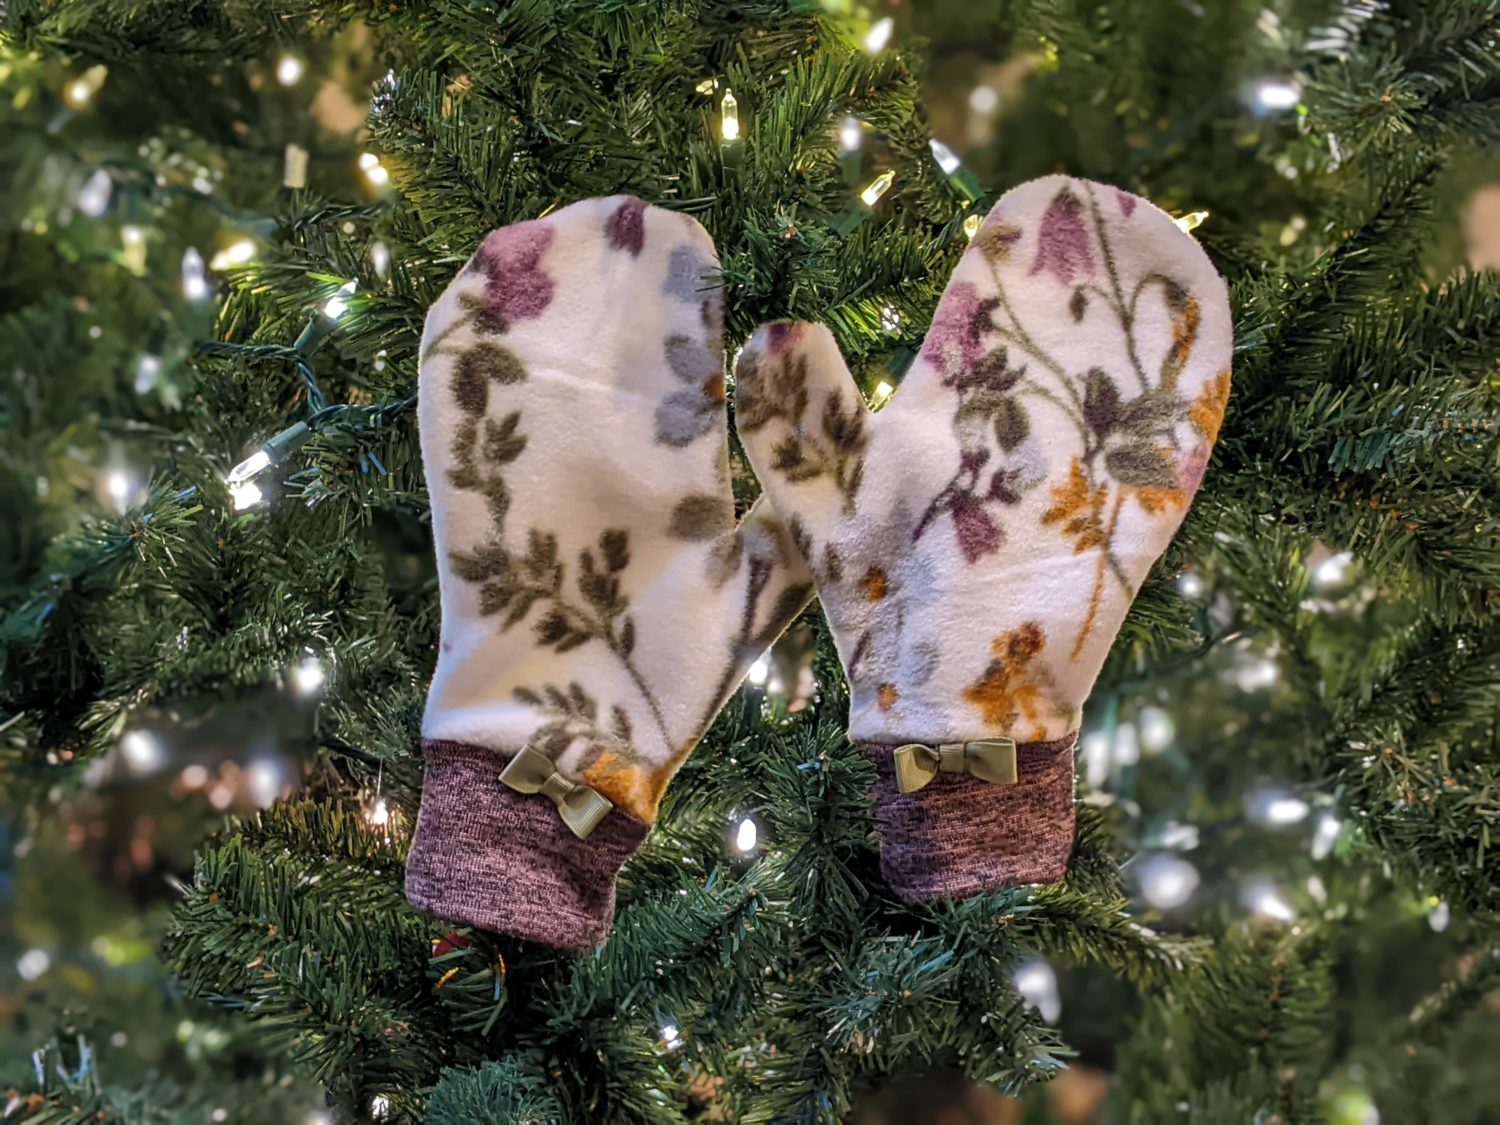
So cute and cozy!
Want more FUN DIY Freebies? Check out the FREEBIE TUTORIALS and the FREEBIE PATTERNS!
As always, we’re here to help if you need it! Join us HERE and on Facebook, Instagram, Twitter, Youtube, and Pinterest. We’re everywhere you are.
merci pour vos bonnes idées et vos conseils…..