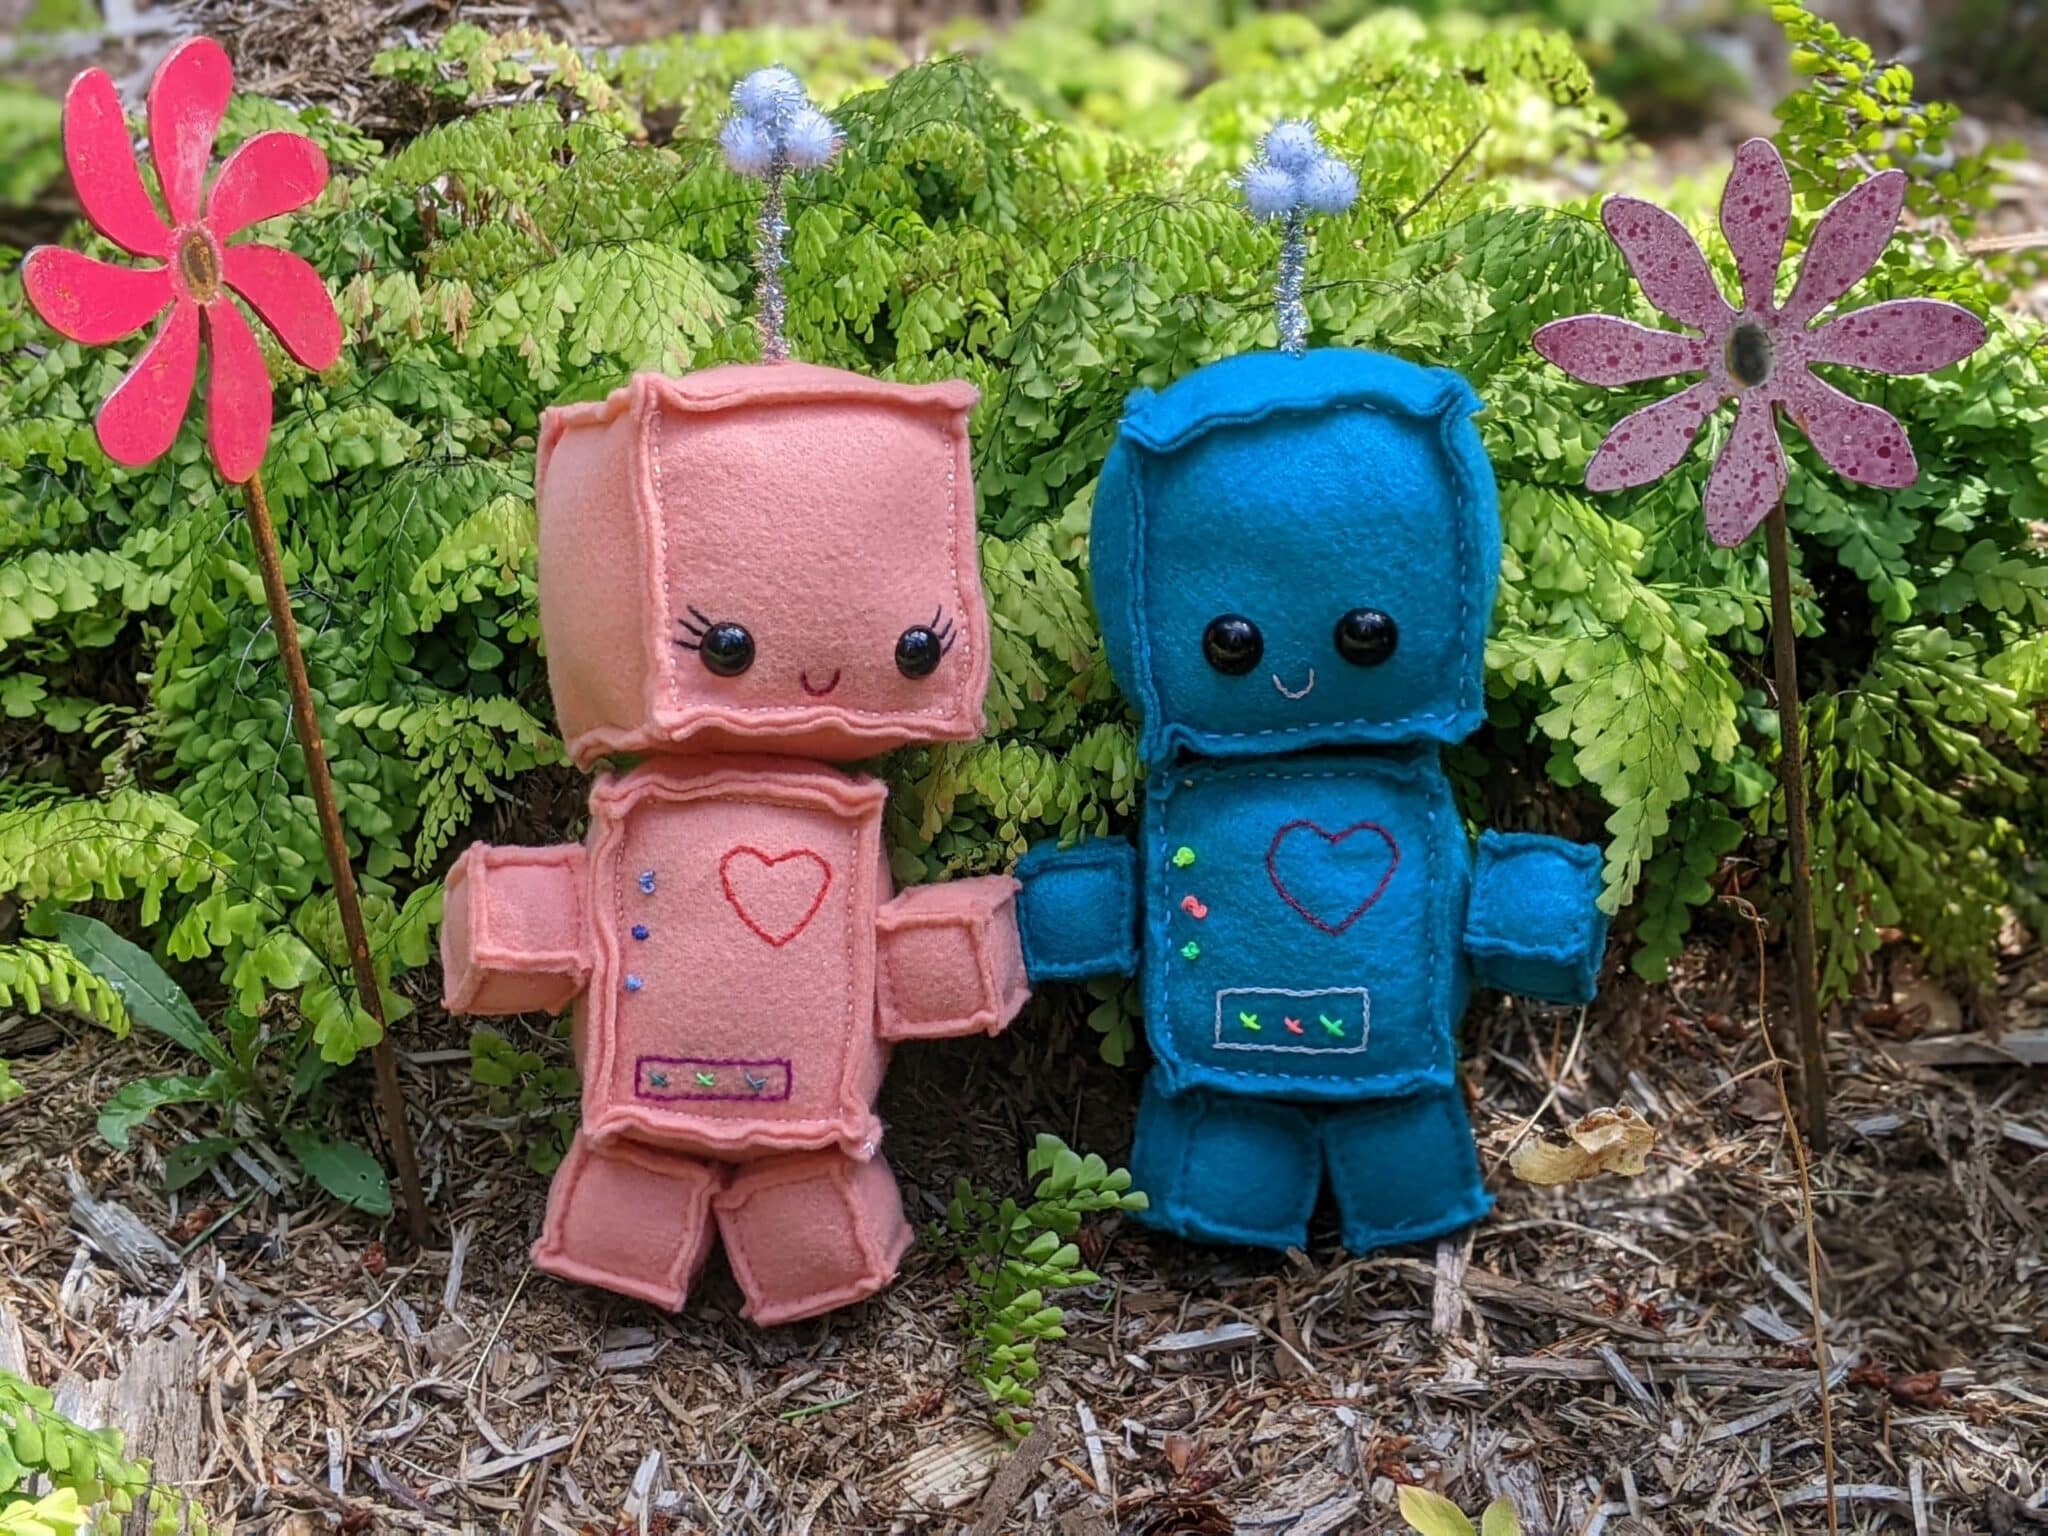
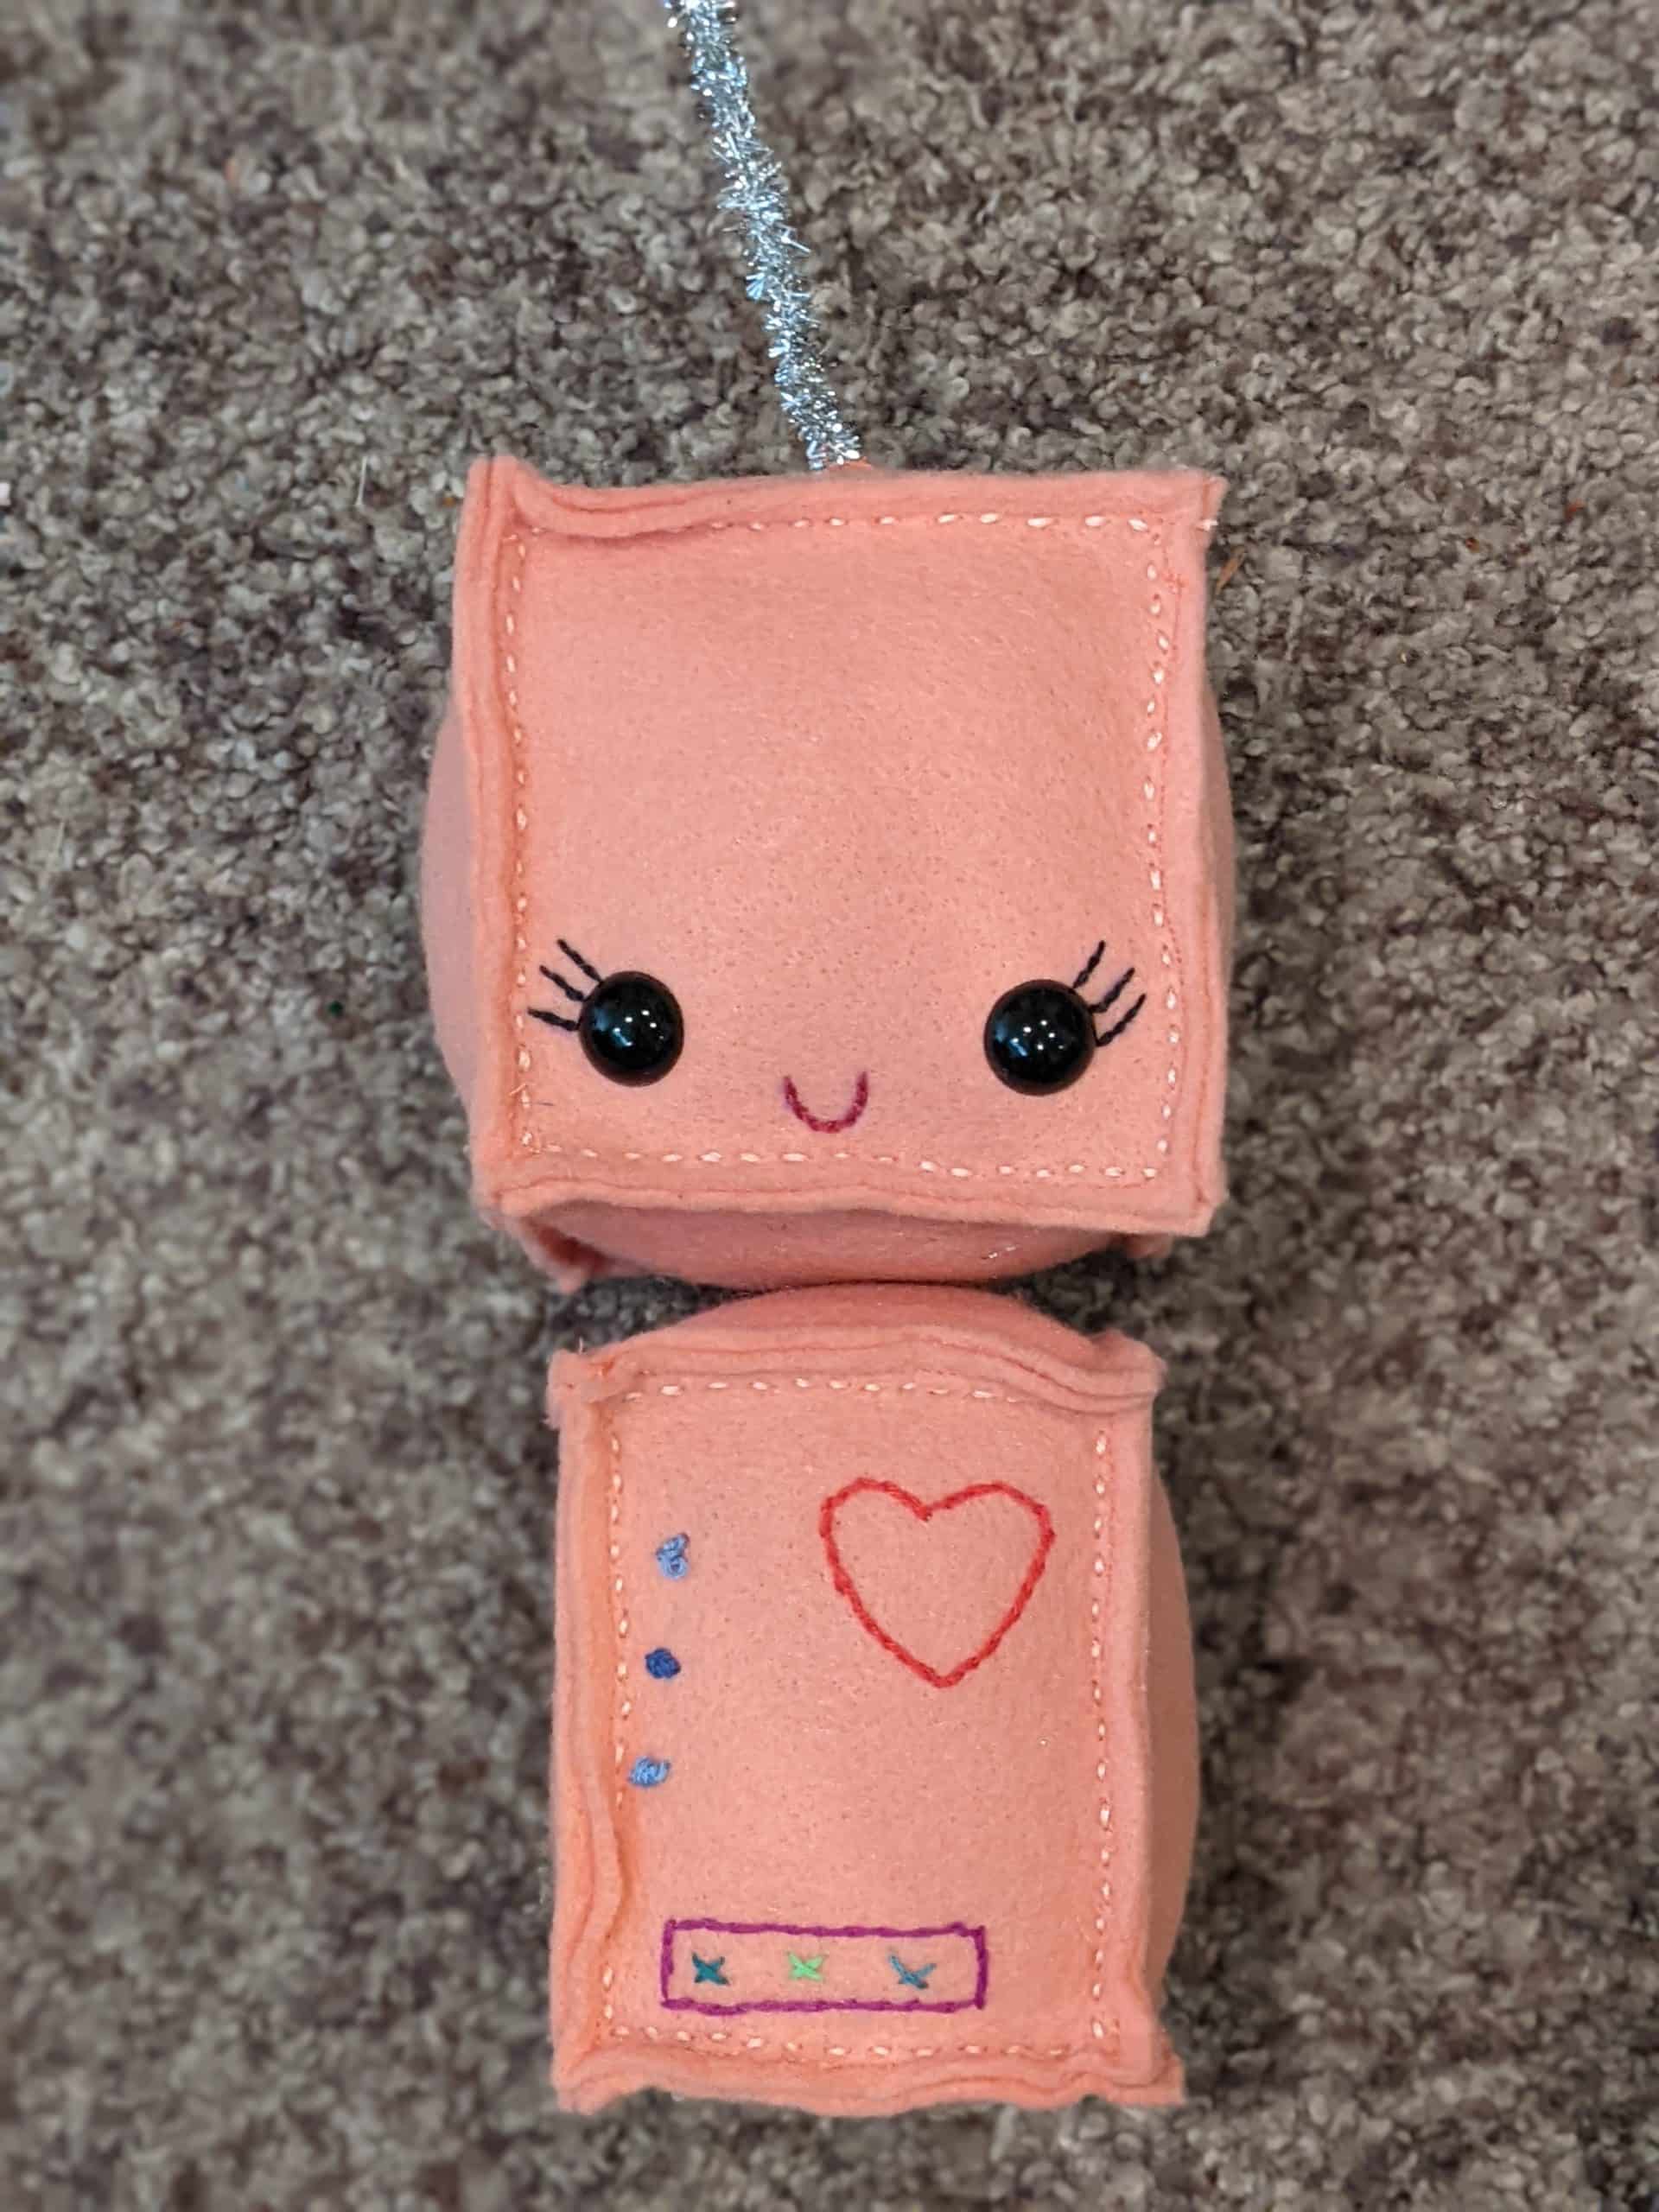
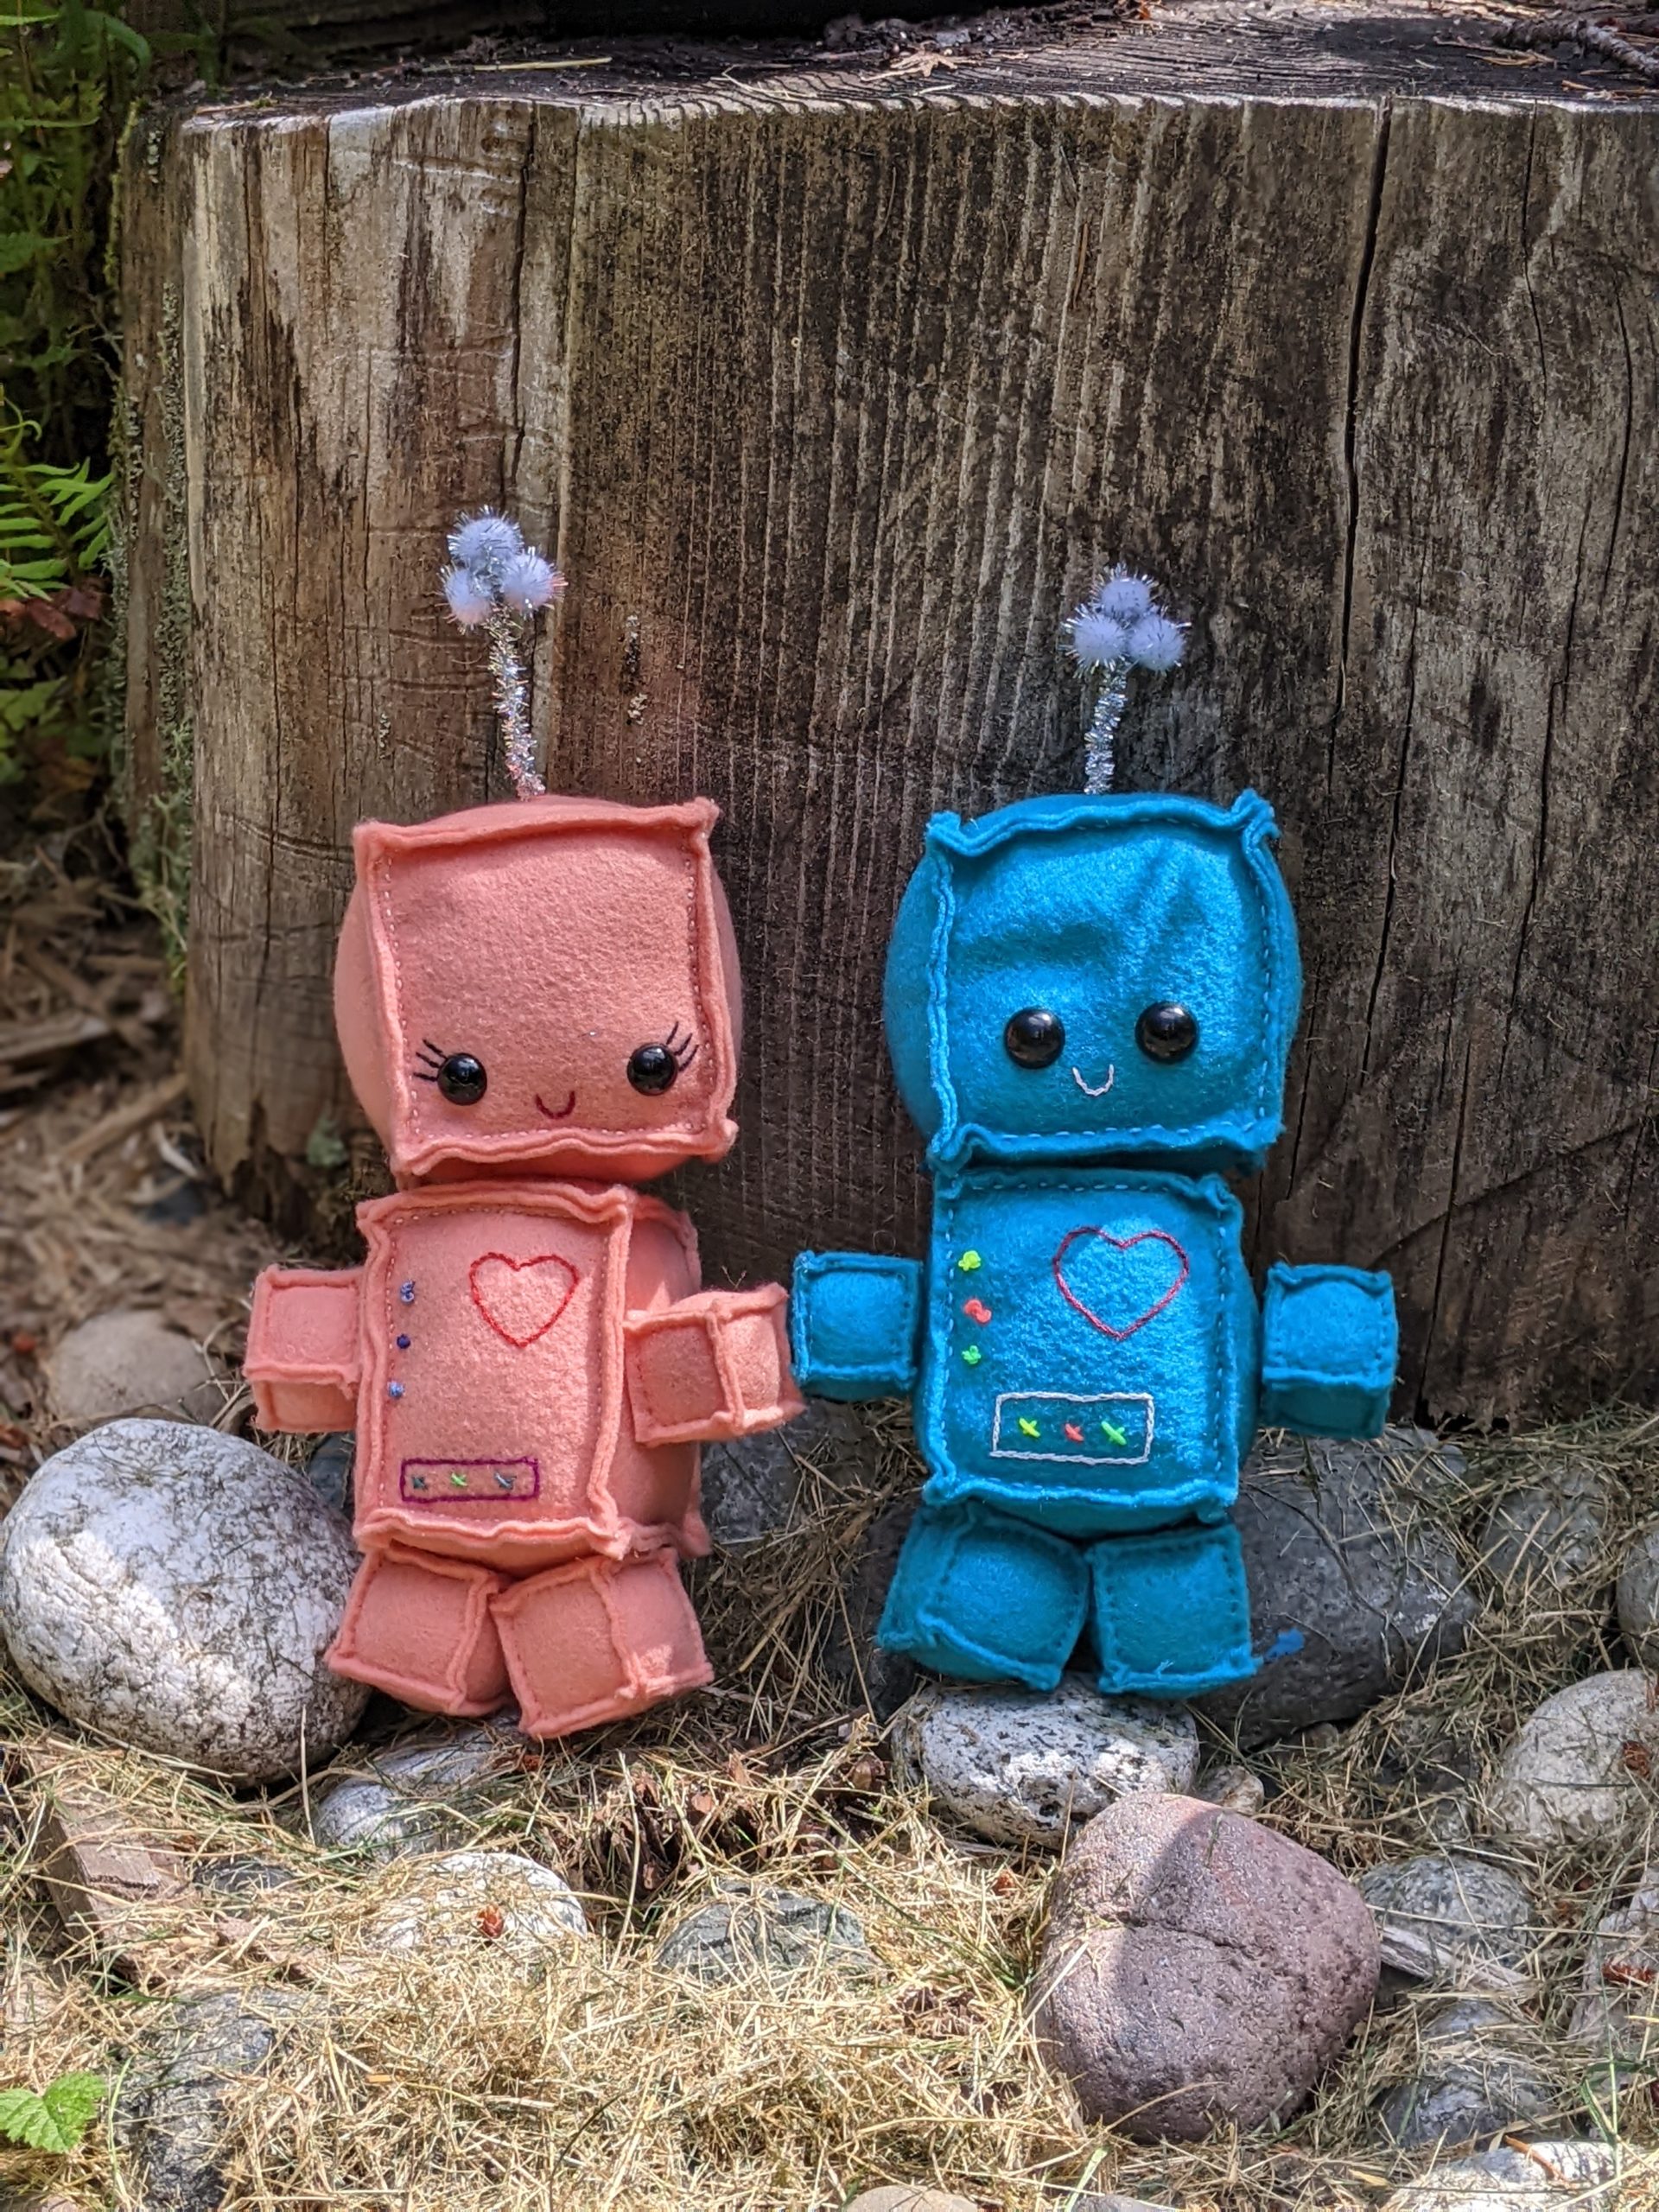
It is entirely possible that I am the only one with an obsession with cute little robots. But, in the off chance that I’m not, I decided to share how to make these adorable little plush friends. As soon as I finished them, all three of my girls asked me to make some for them too so I guess I’ll be working on a little robot army this summer!
Supplies:
- Felt
- Scissors/rotary cutter and mat
- Fiber-fil stuffing
- Needle and thread
- Optional: sewing machine
- Optional: embroidery floss and needle
- Decorative accessories and accents:
- Buttons
- Pipe cleaner
- Pom poms
- Safety eyes
- Embroidery floss and needle
- Fabric Paint
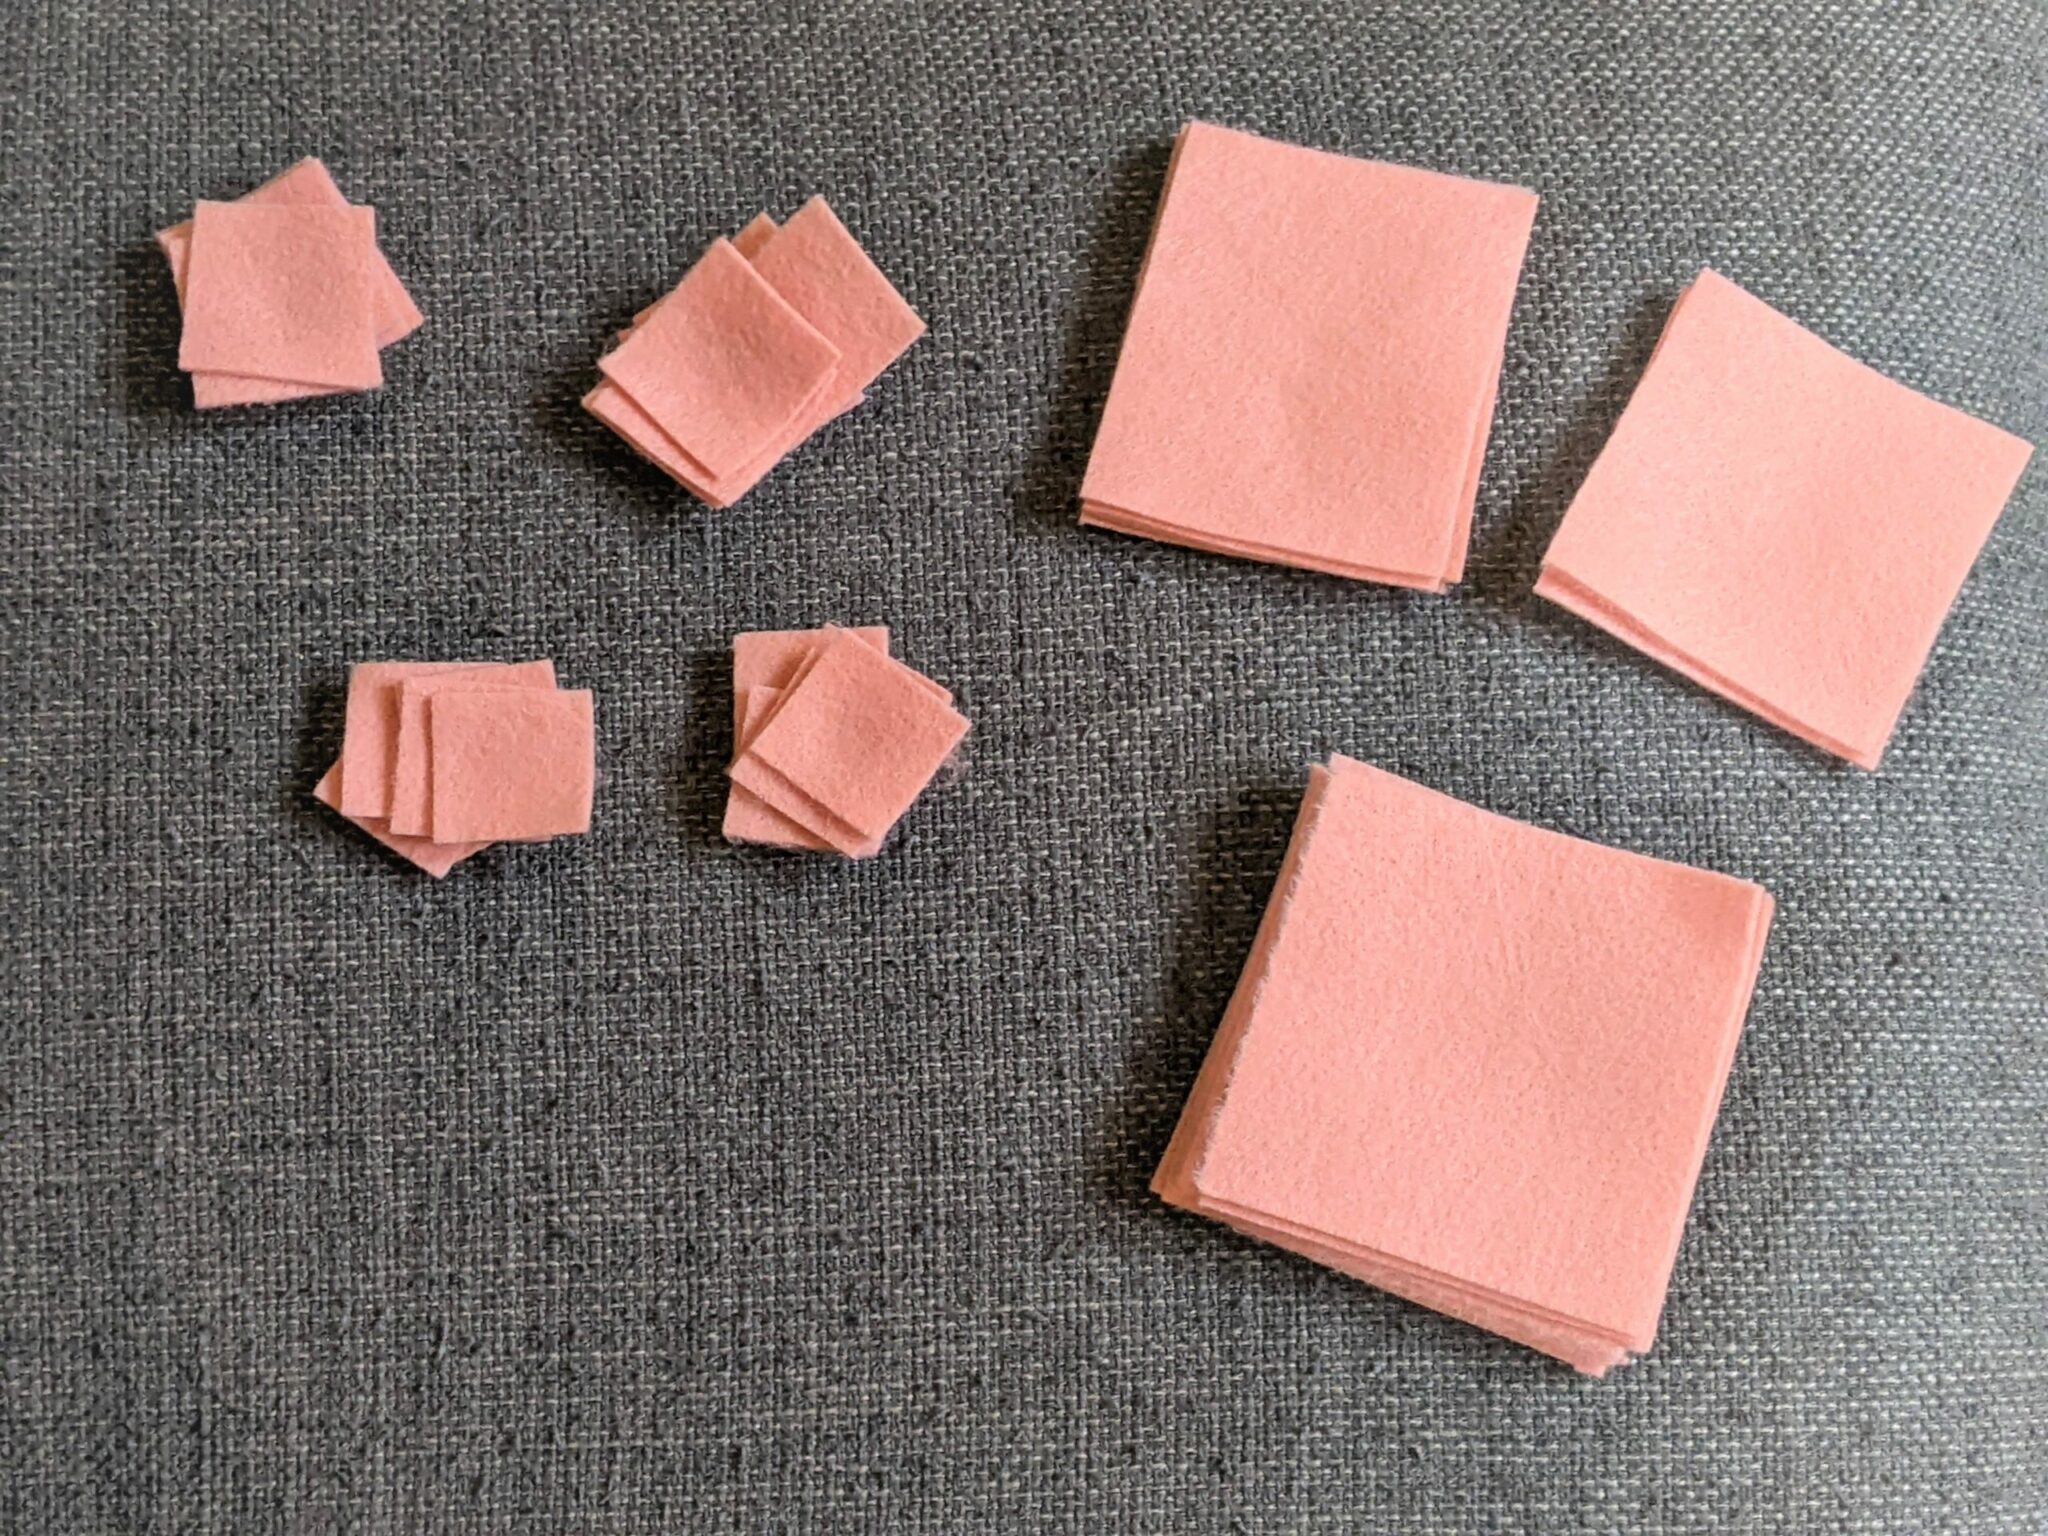
Cut All Robot Pieces
The measurements listed are what I used to make both of these for a finished robot that is approximately 9.5″ tall not including the antenna. My girls want me to make them small ones, so I will just divide all of my measurements in half. This is just a starting place for you to make any size that you like.
- Head: 3.5″x3.5″ Cut 6
- Body (vertical sides): 3″x3.5″ Cut 4
- Body (top and bottom): 3″x3″ Cut 2
- Hands: 1.25″x1.25″ Cut 12
- Feet: 1.5″x1.5″ Cut 12
Start With the Details
Before assembling your robot you will need to add all of your decorations, accessories, and details. I will show what I chose to add as an example.
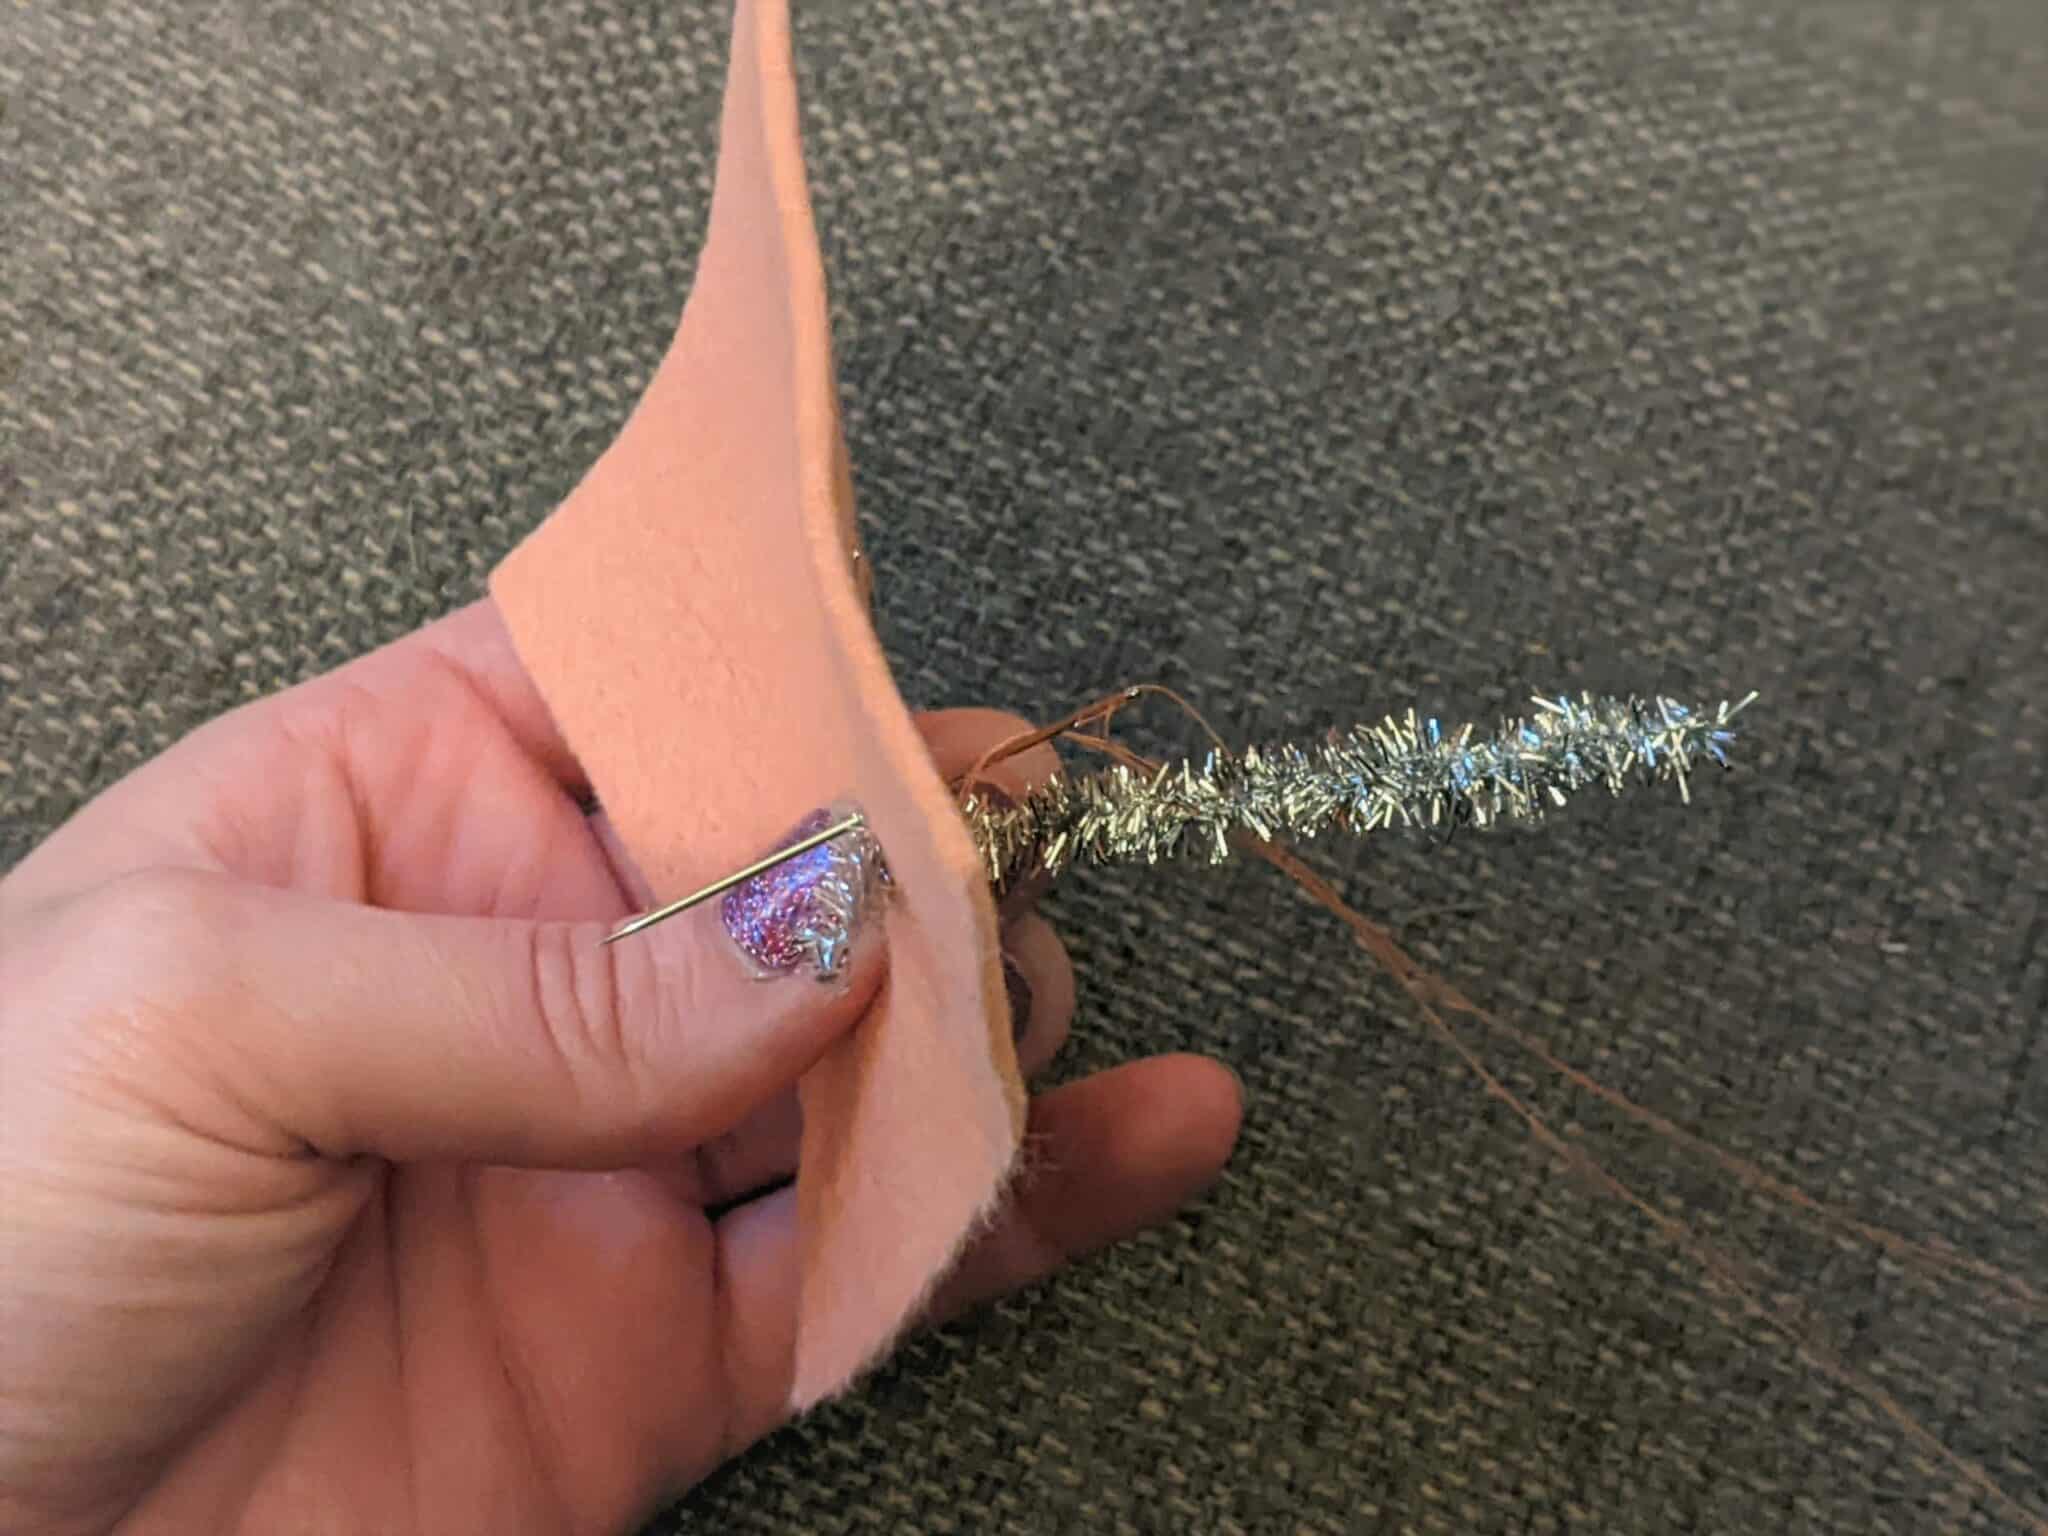
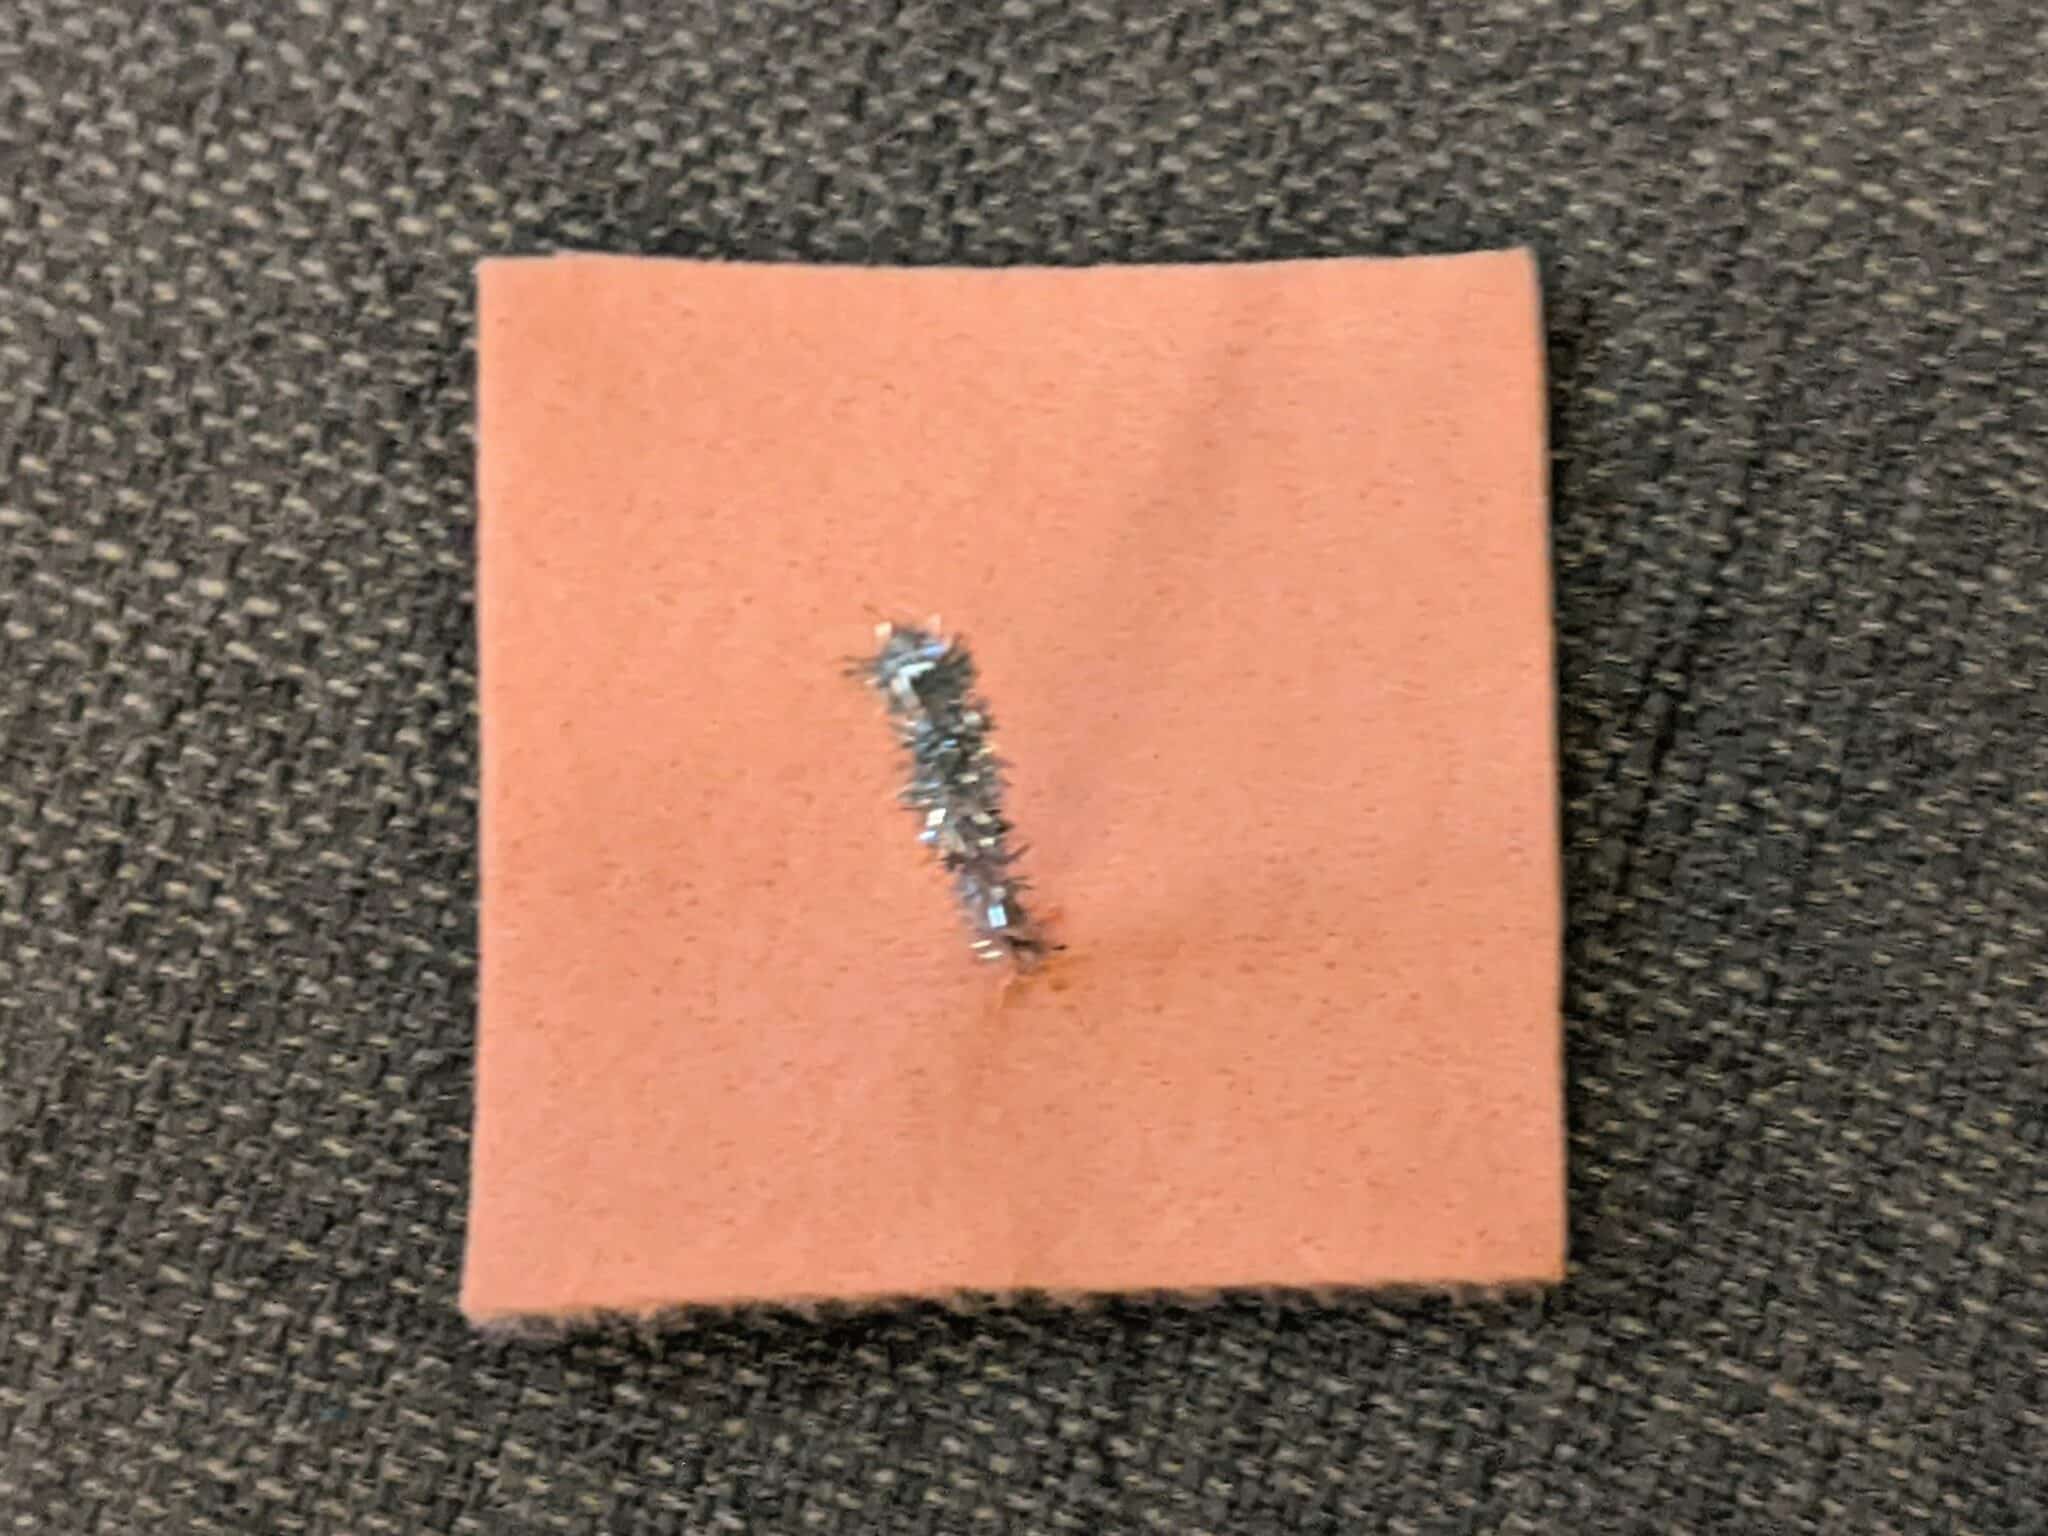
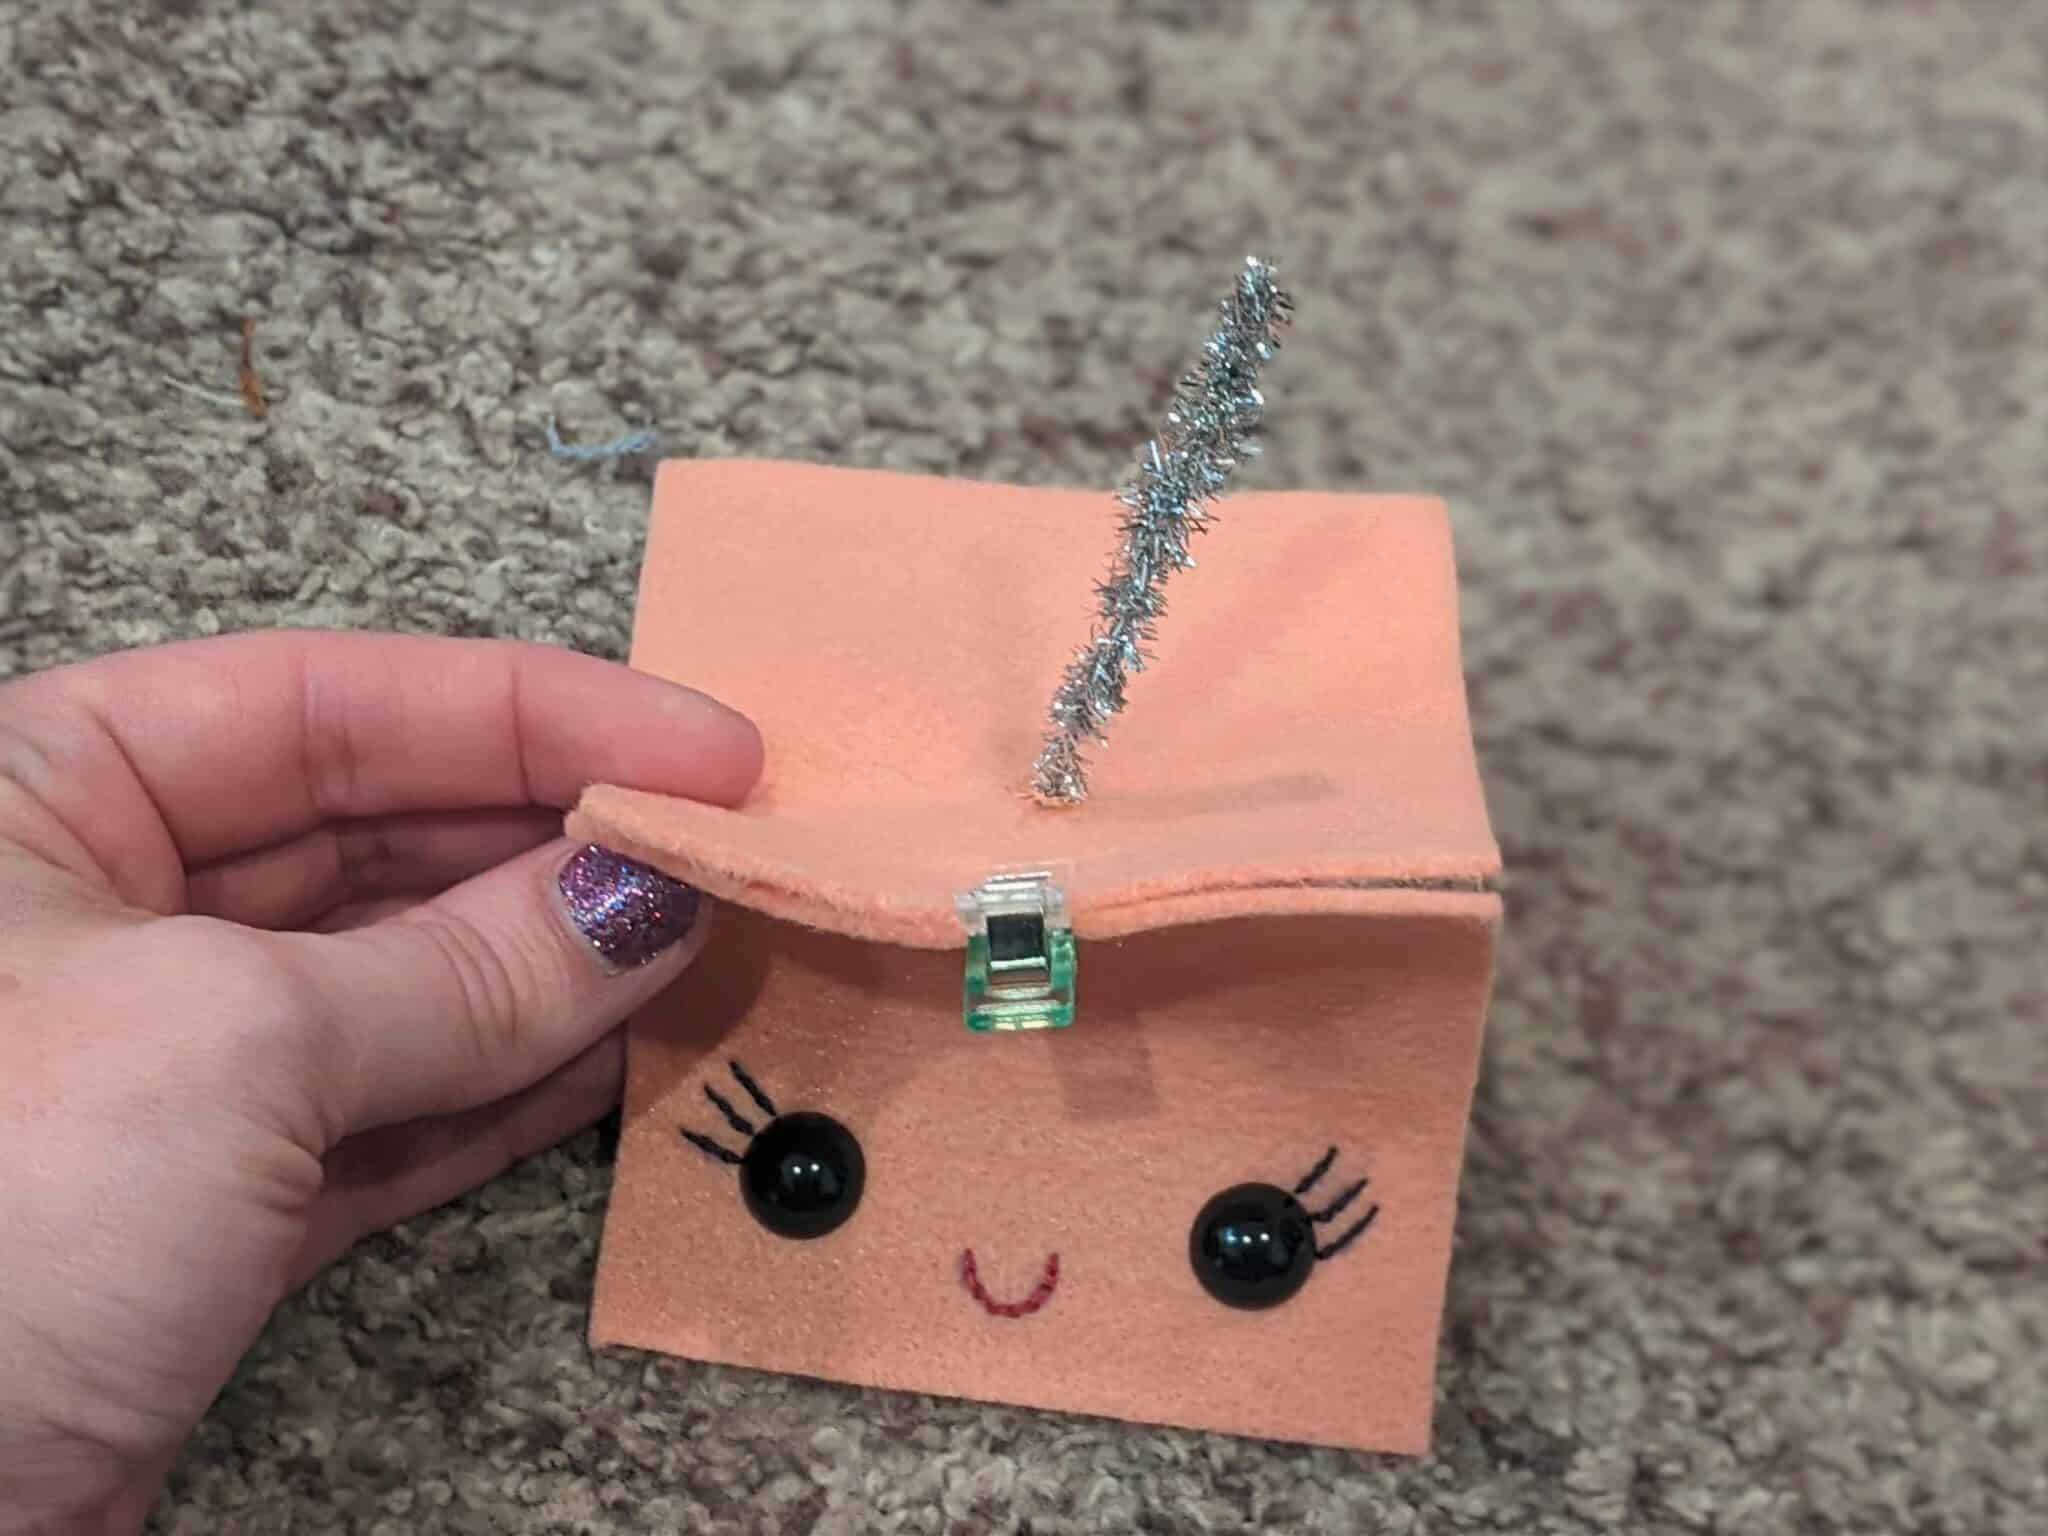
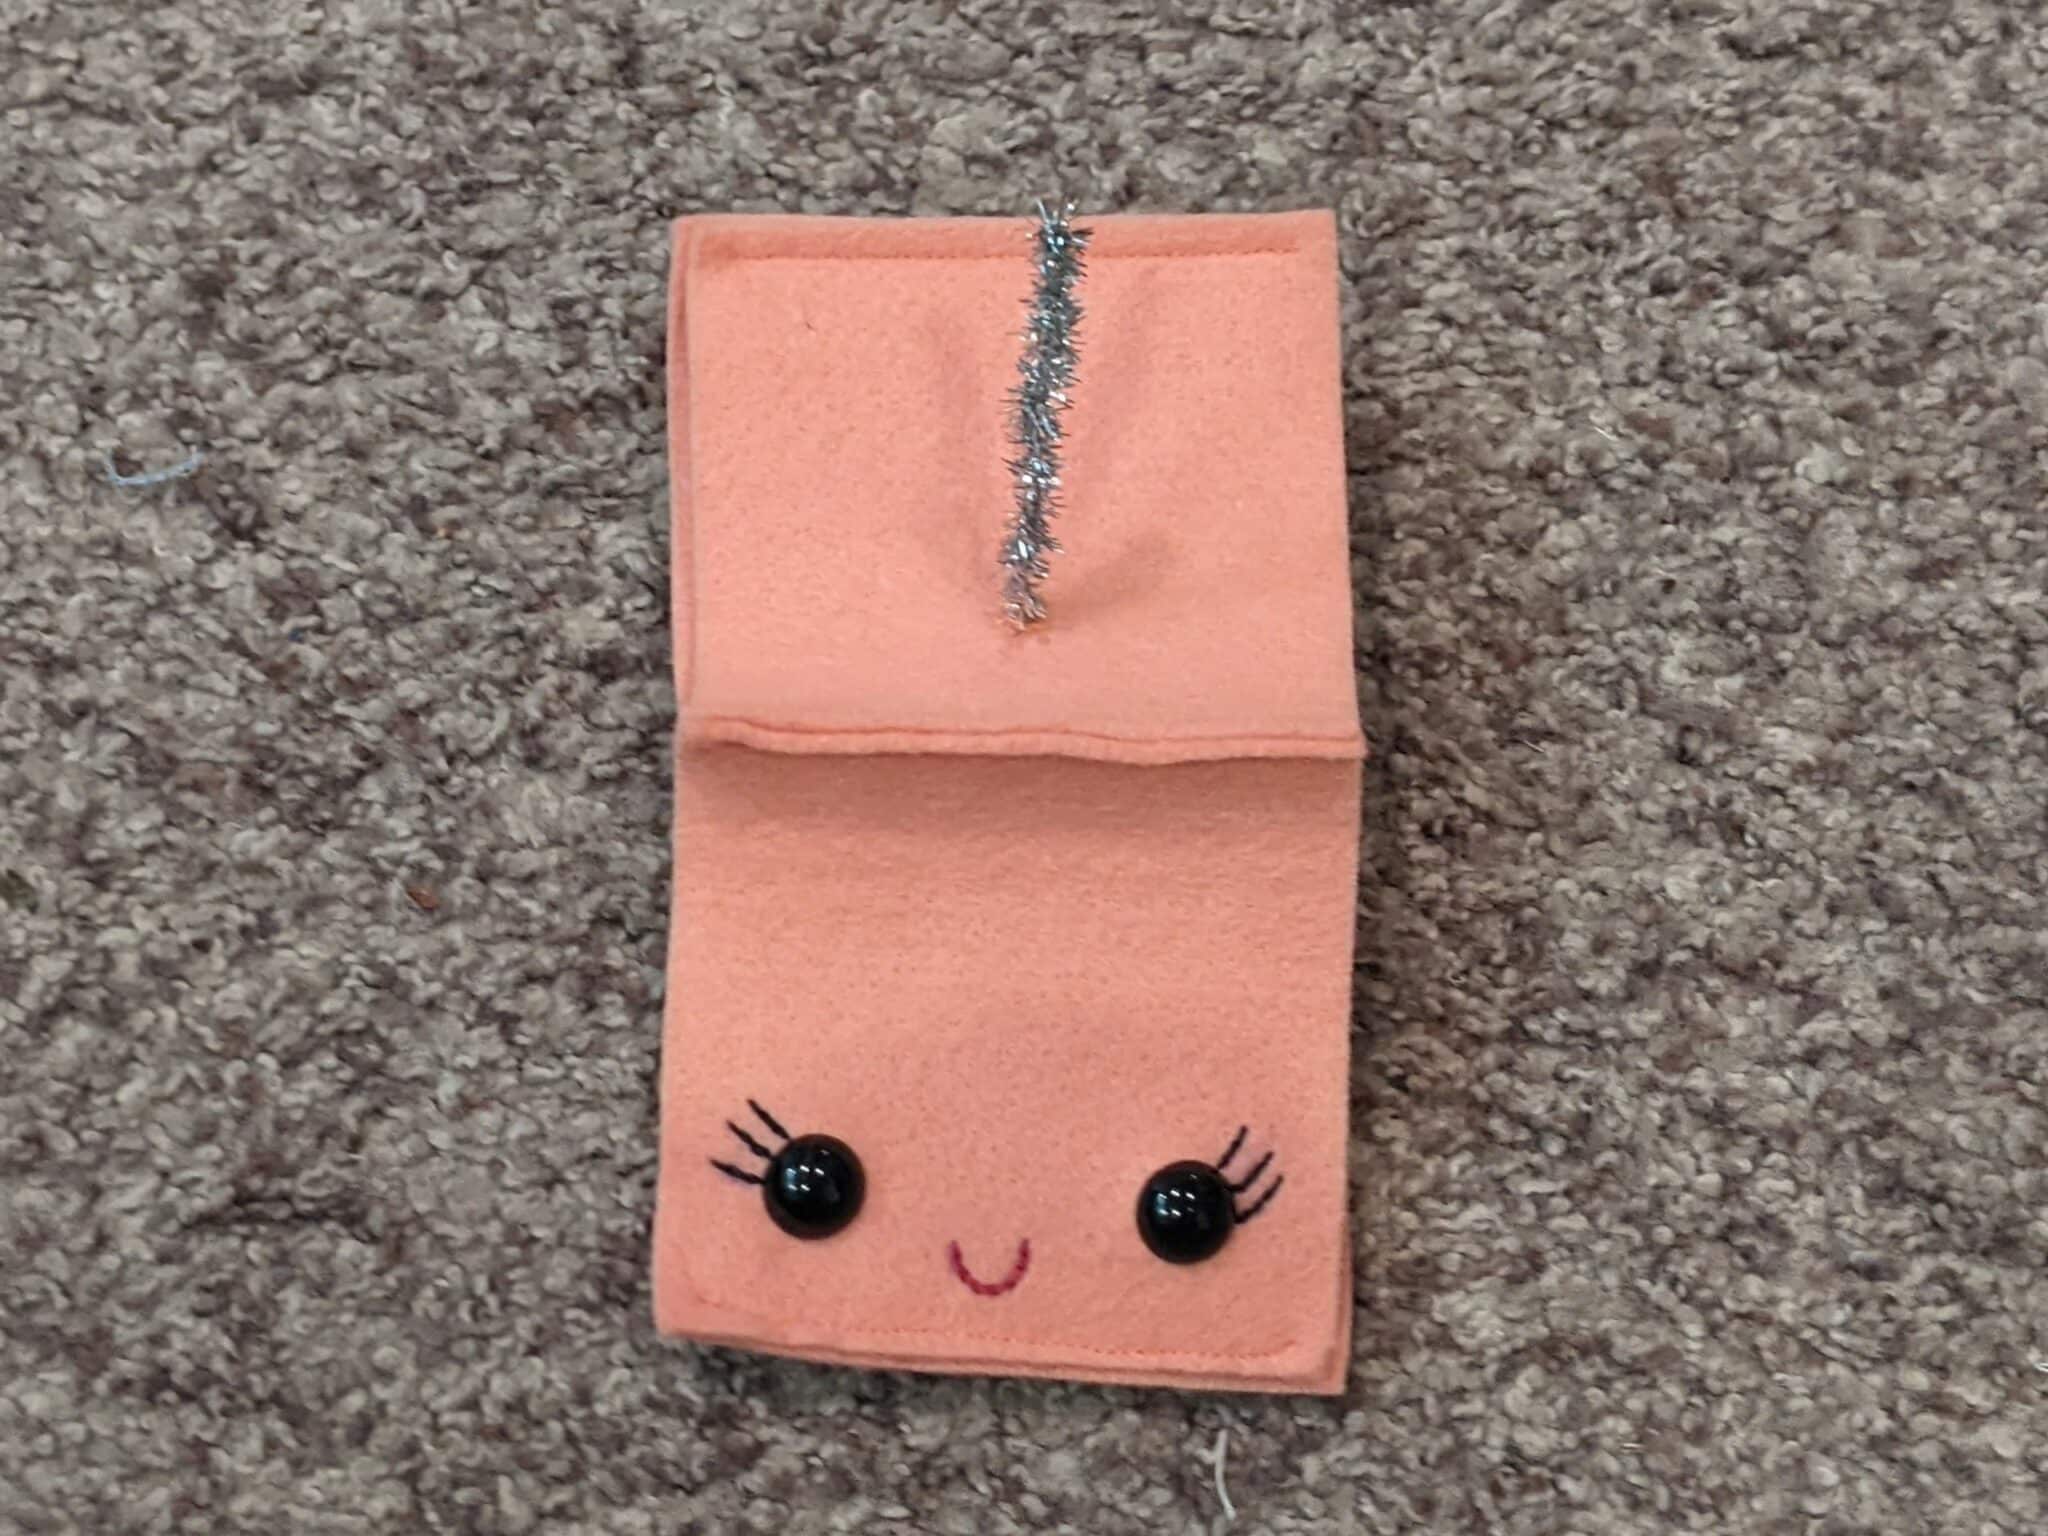
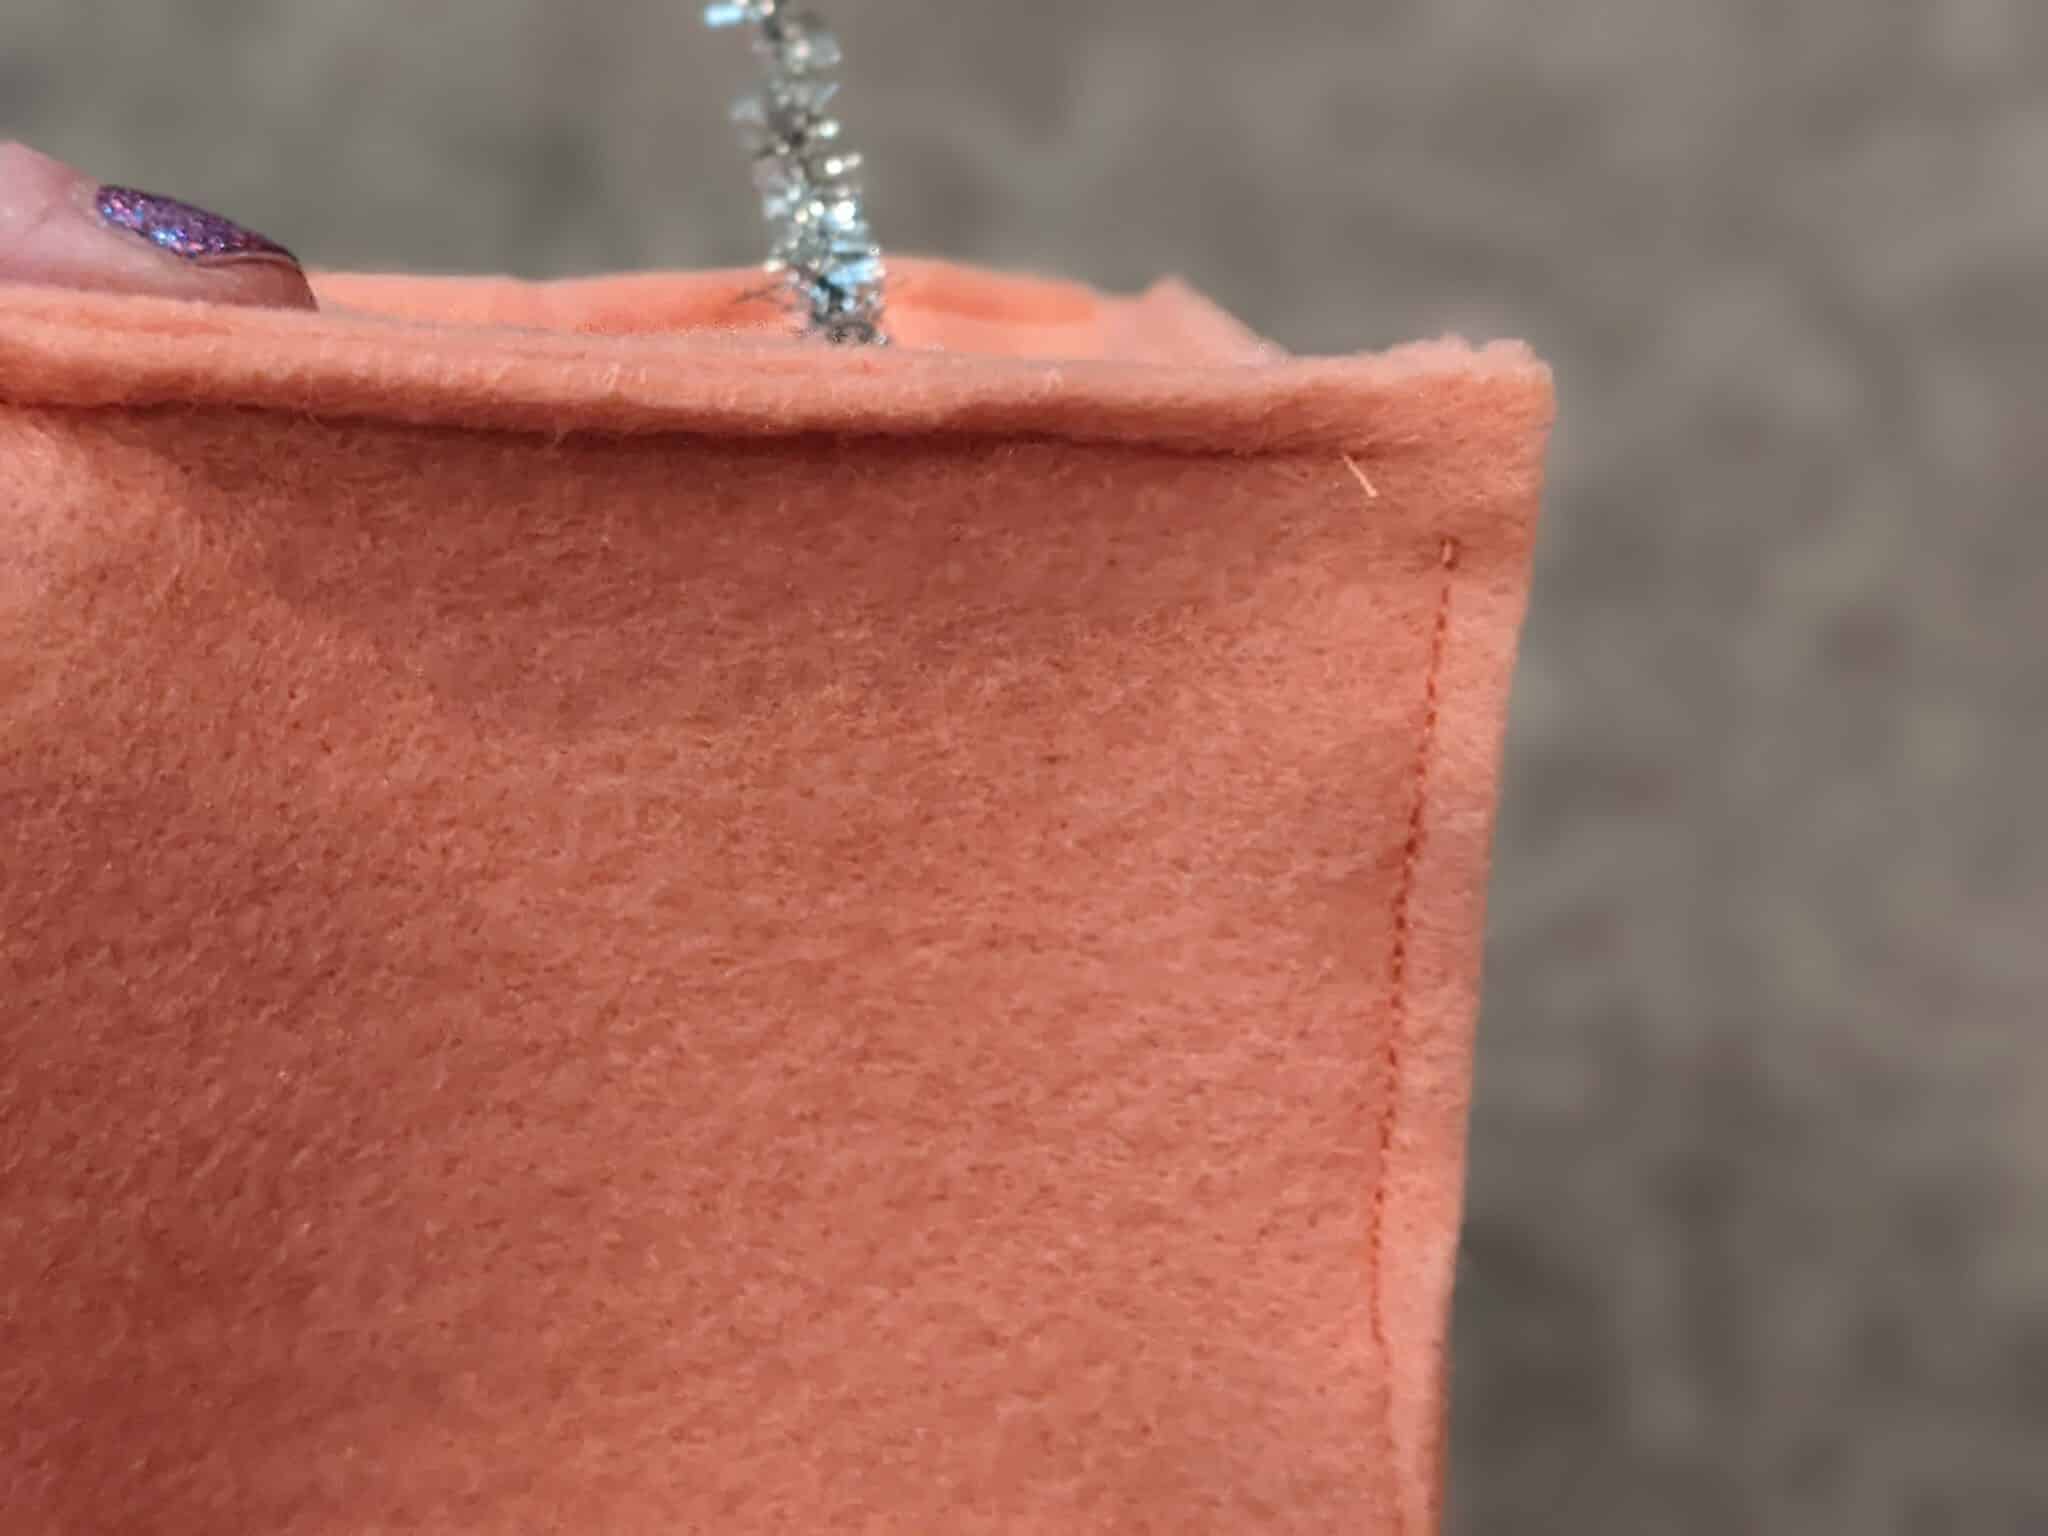
Top of Head:
- Mark the spot for an antenna and cut a small hole.
- Fold a piece of pipe cleaner in half and twist it together leaving the ends untwisted.
- Thread the antenna through the hole and push the ends of the pipe cleaner flat against the underside of the panel.

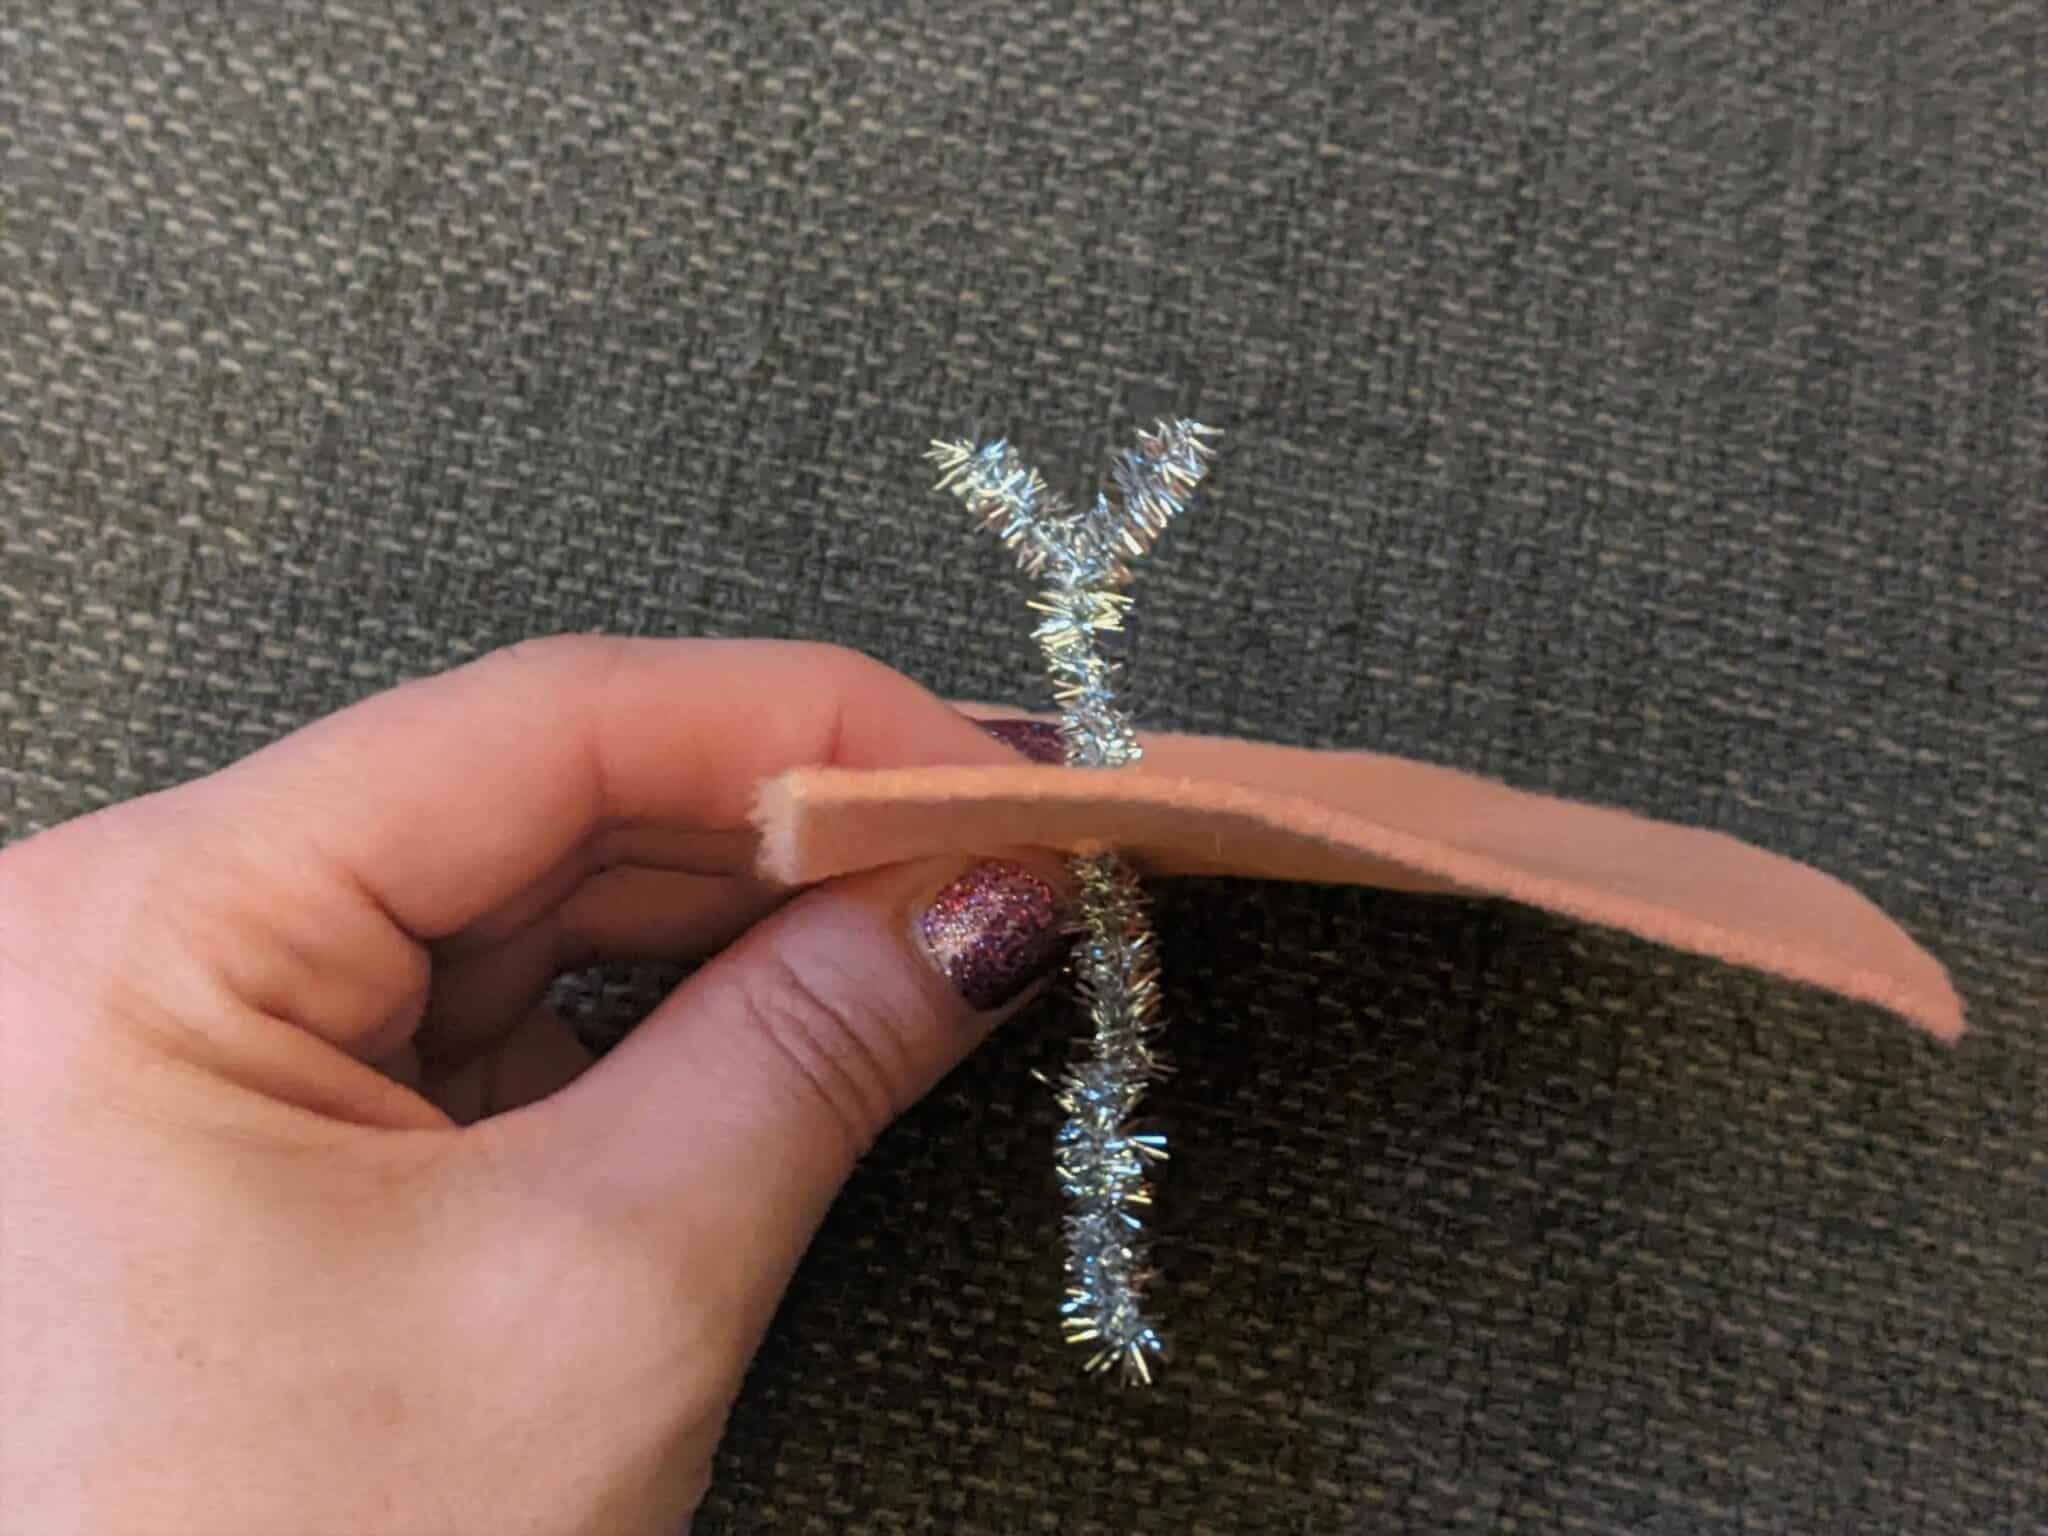
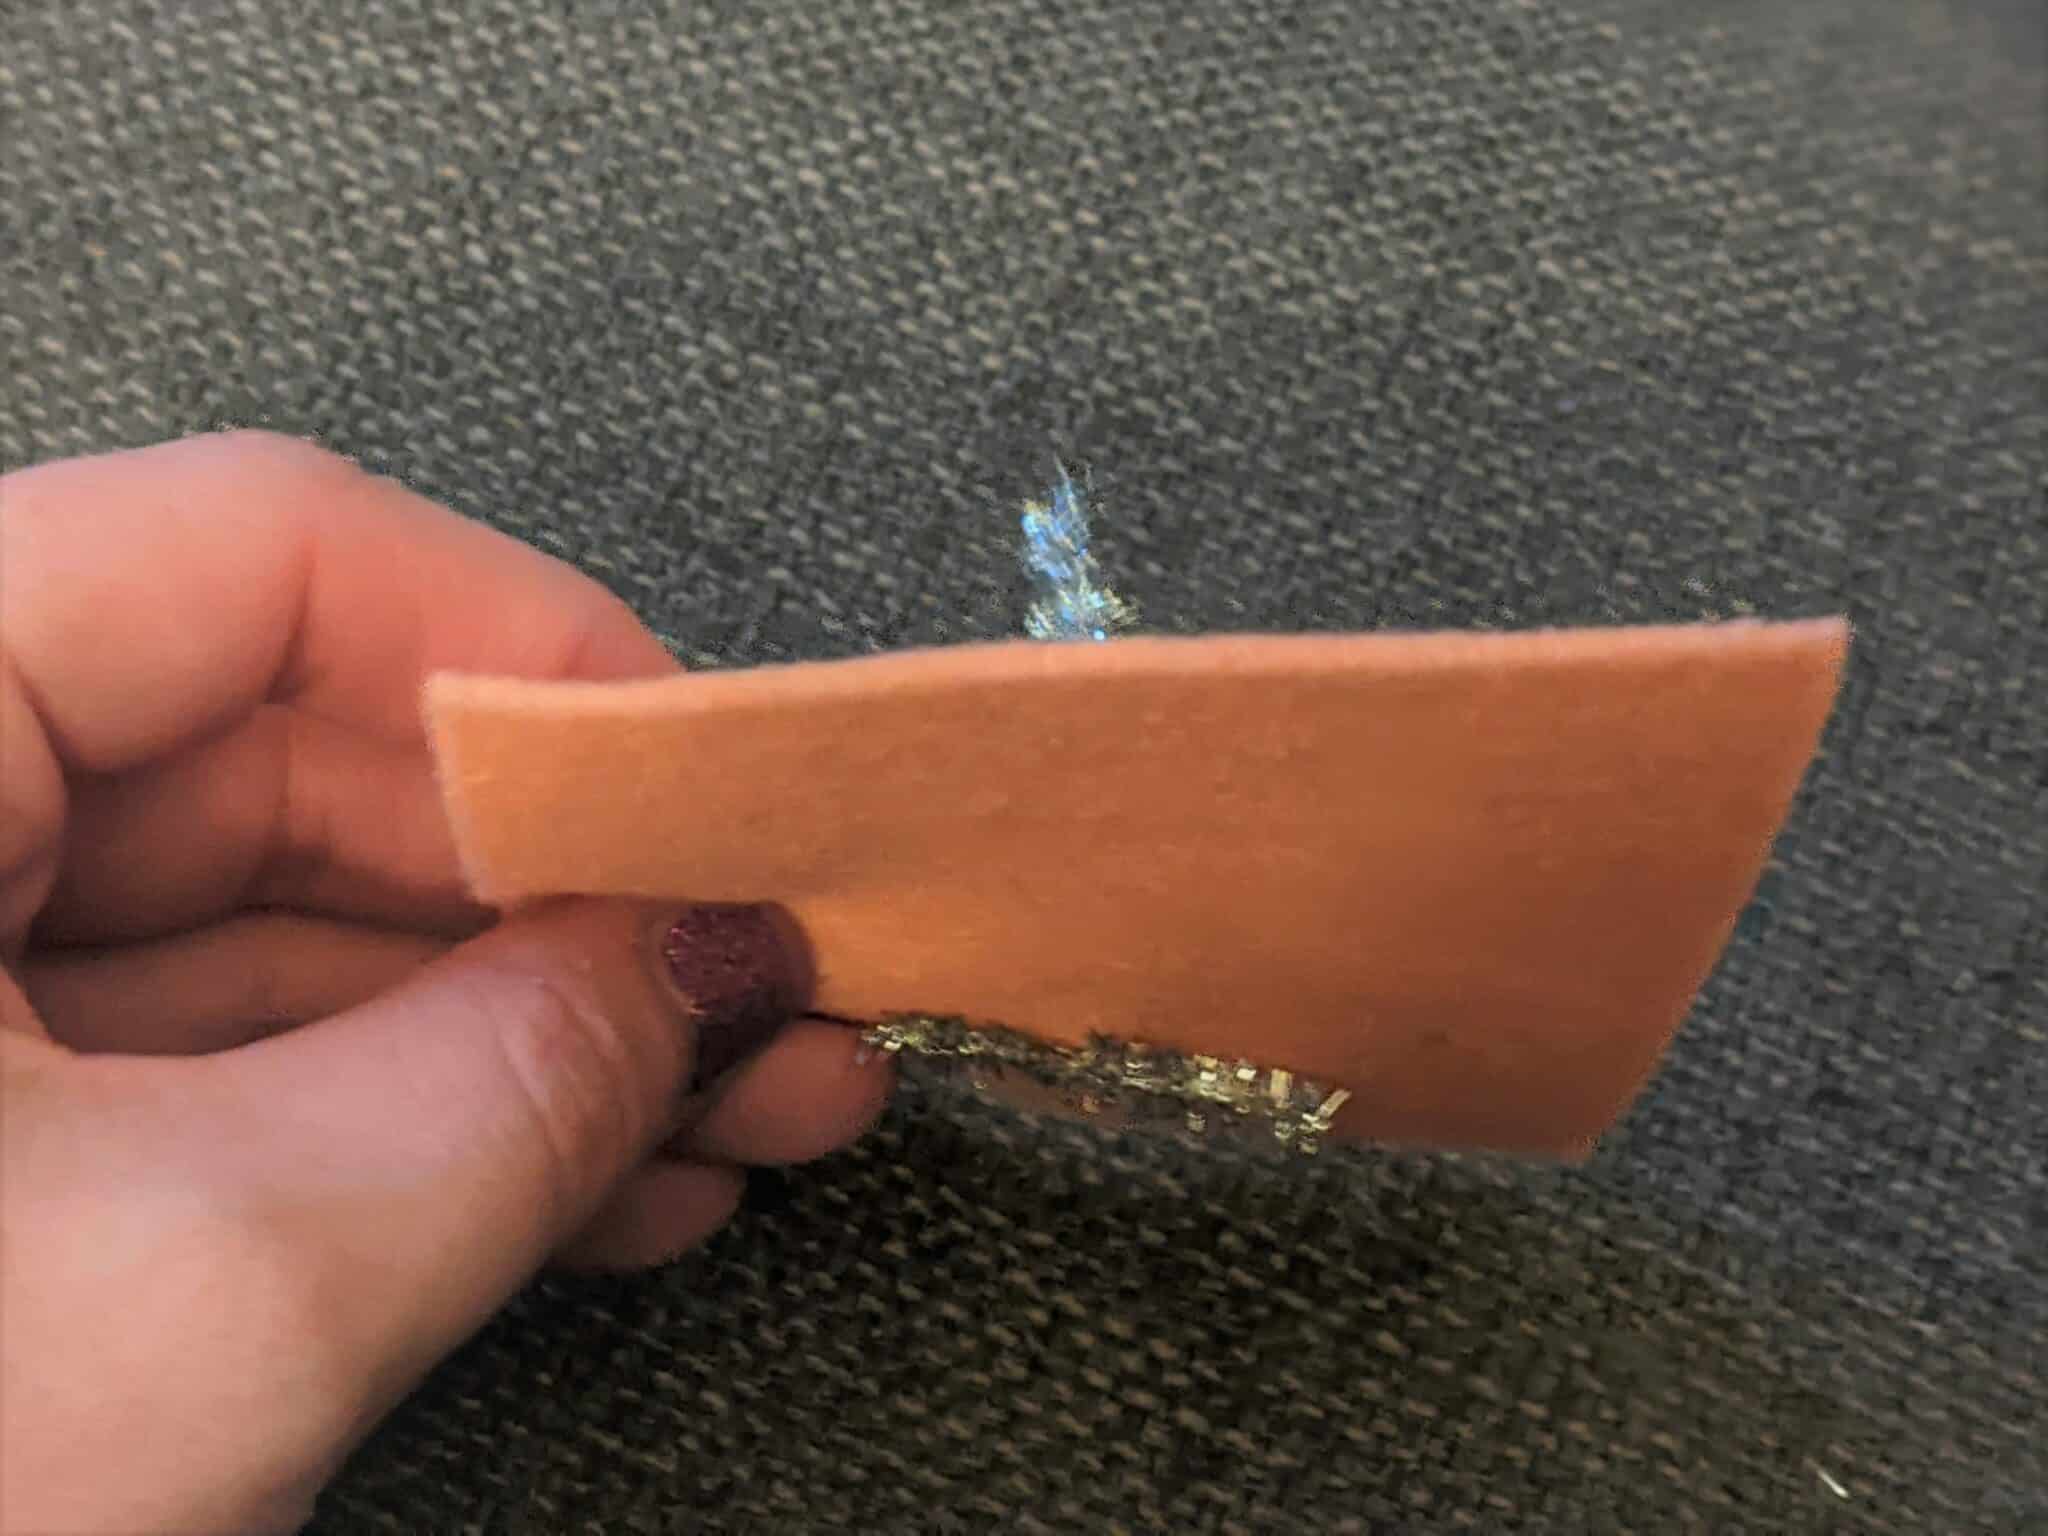
- Use a needle and matching thread to sew the flattened pipe cleaner to the top. (Sew close to the antenna to hide your stitching.)
- Hot glue pom-poms to the top of the pipe cleaner antenna. (I forgot to do this until the very end.)
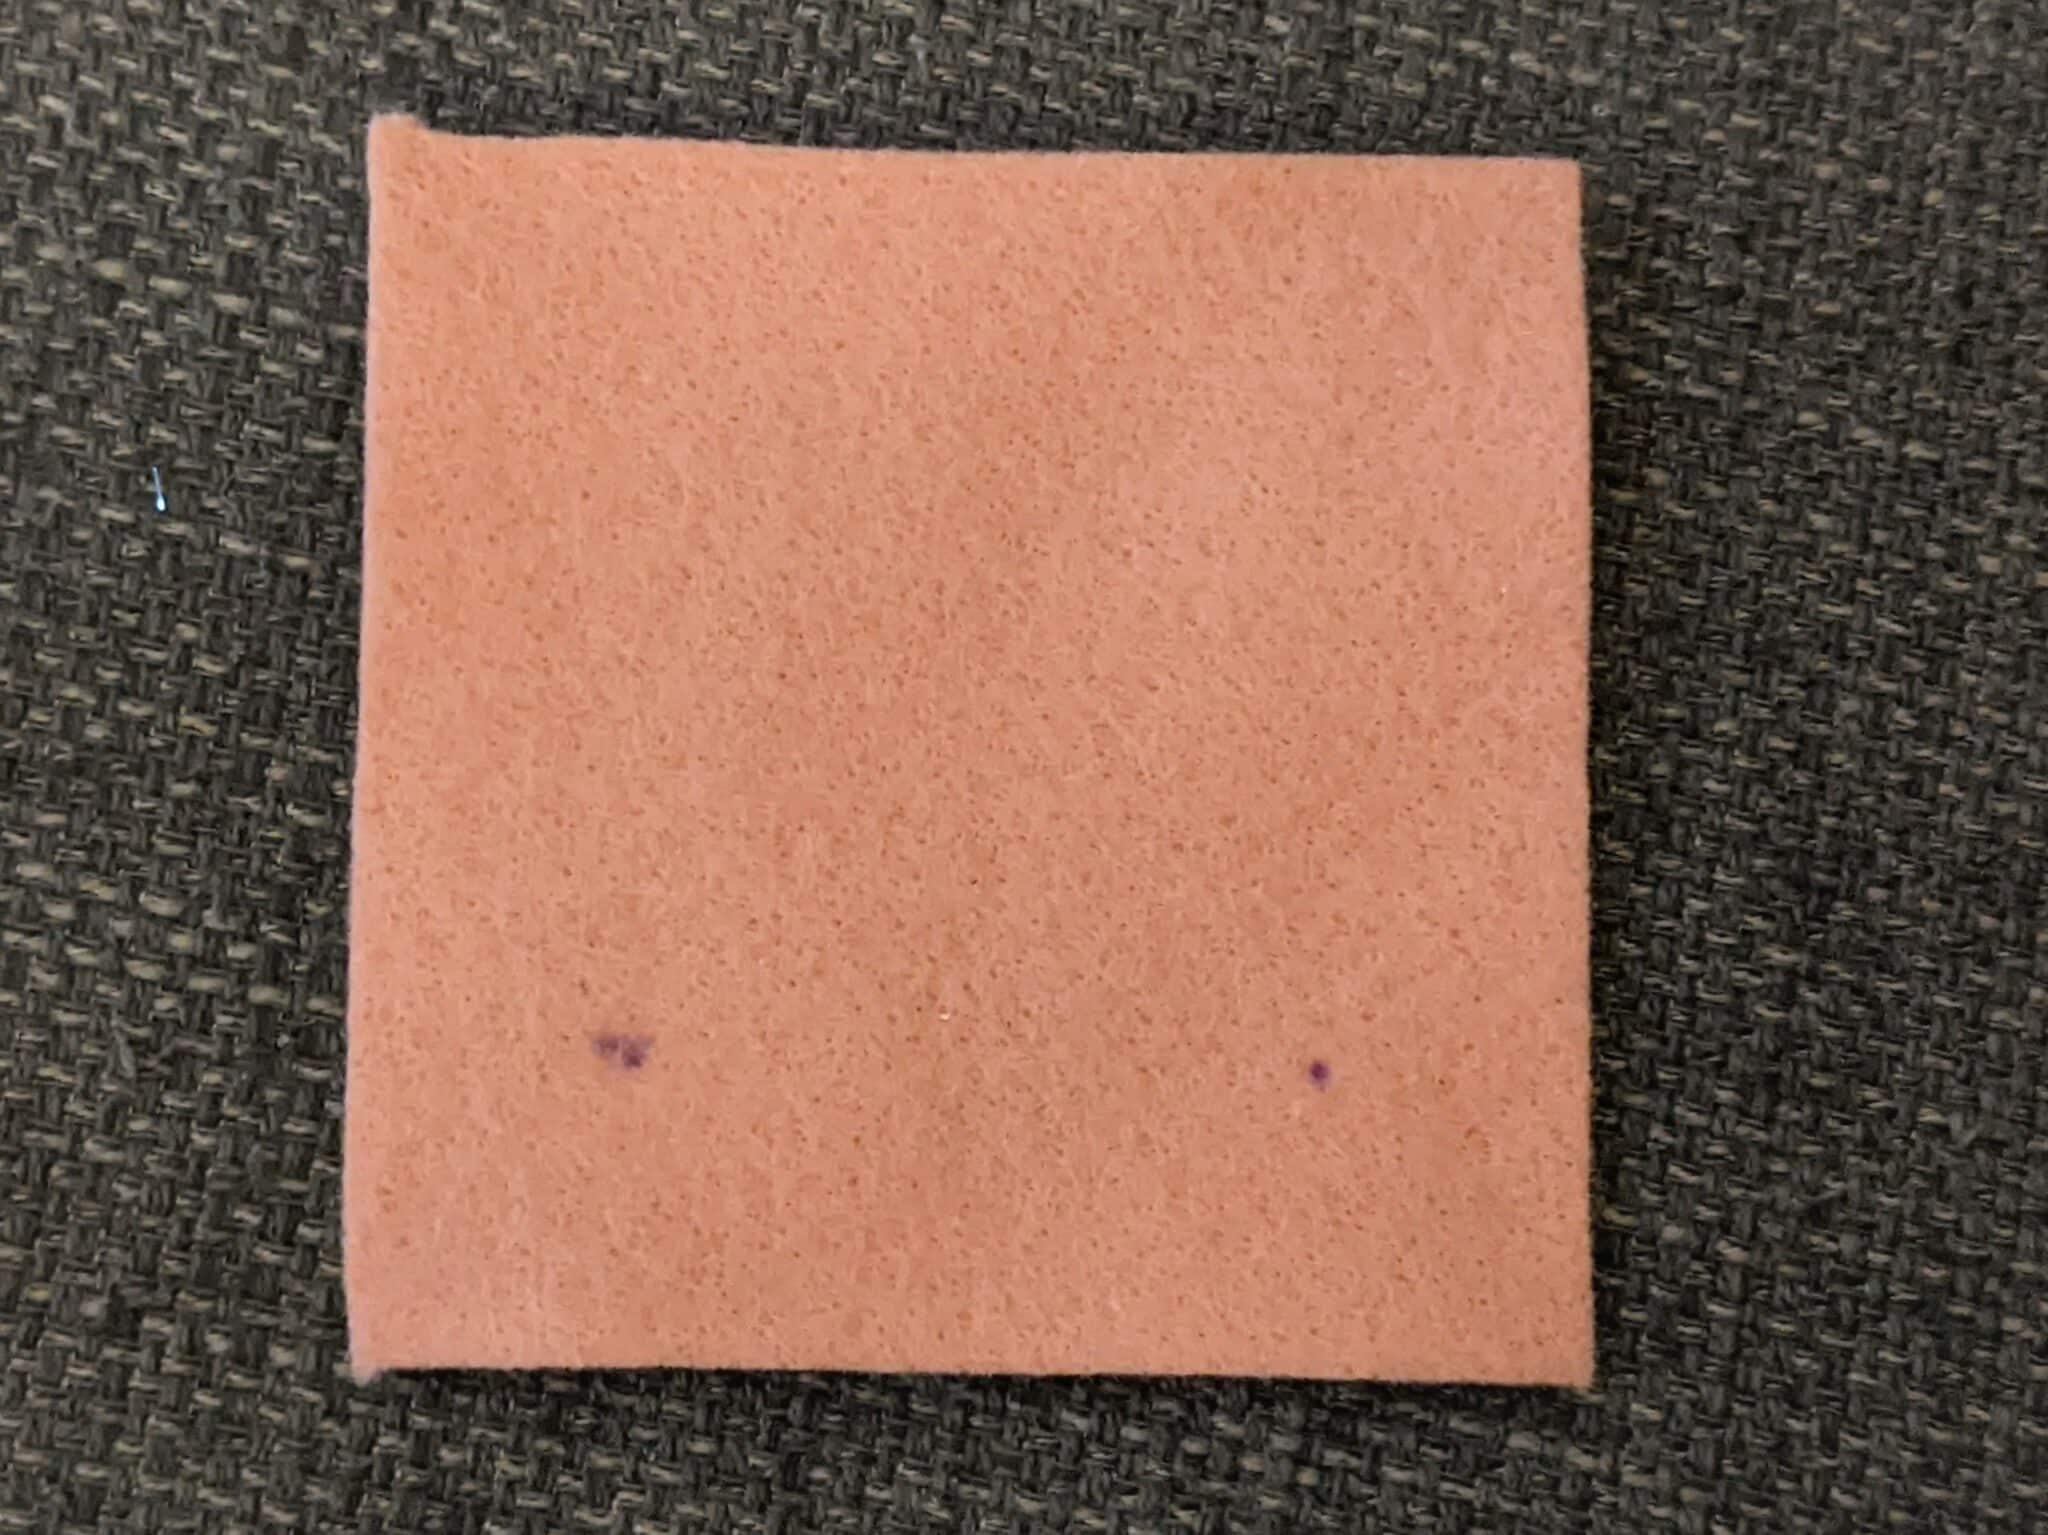
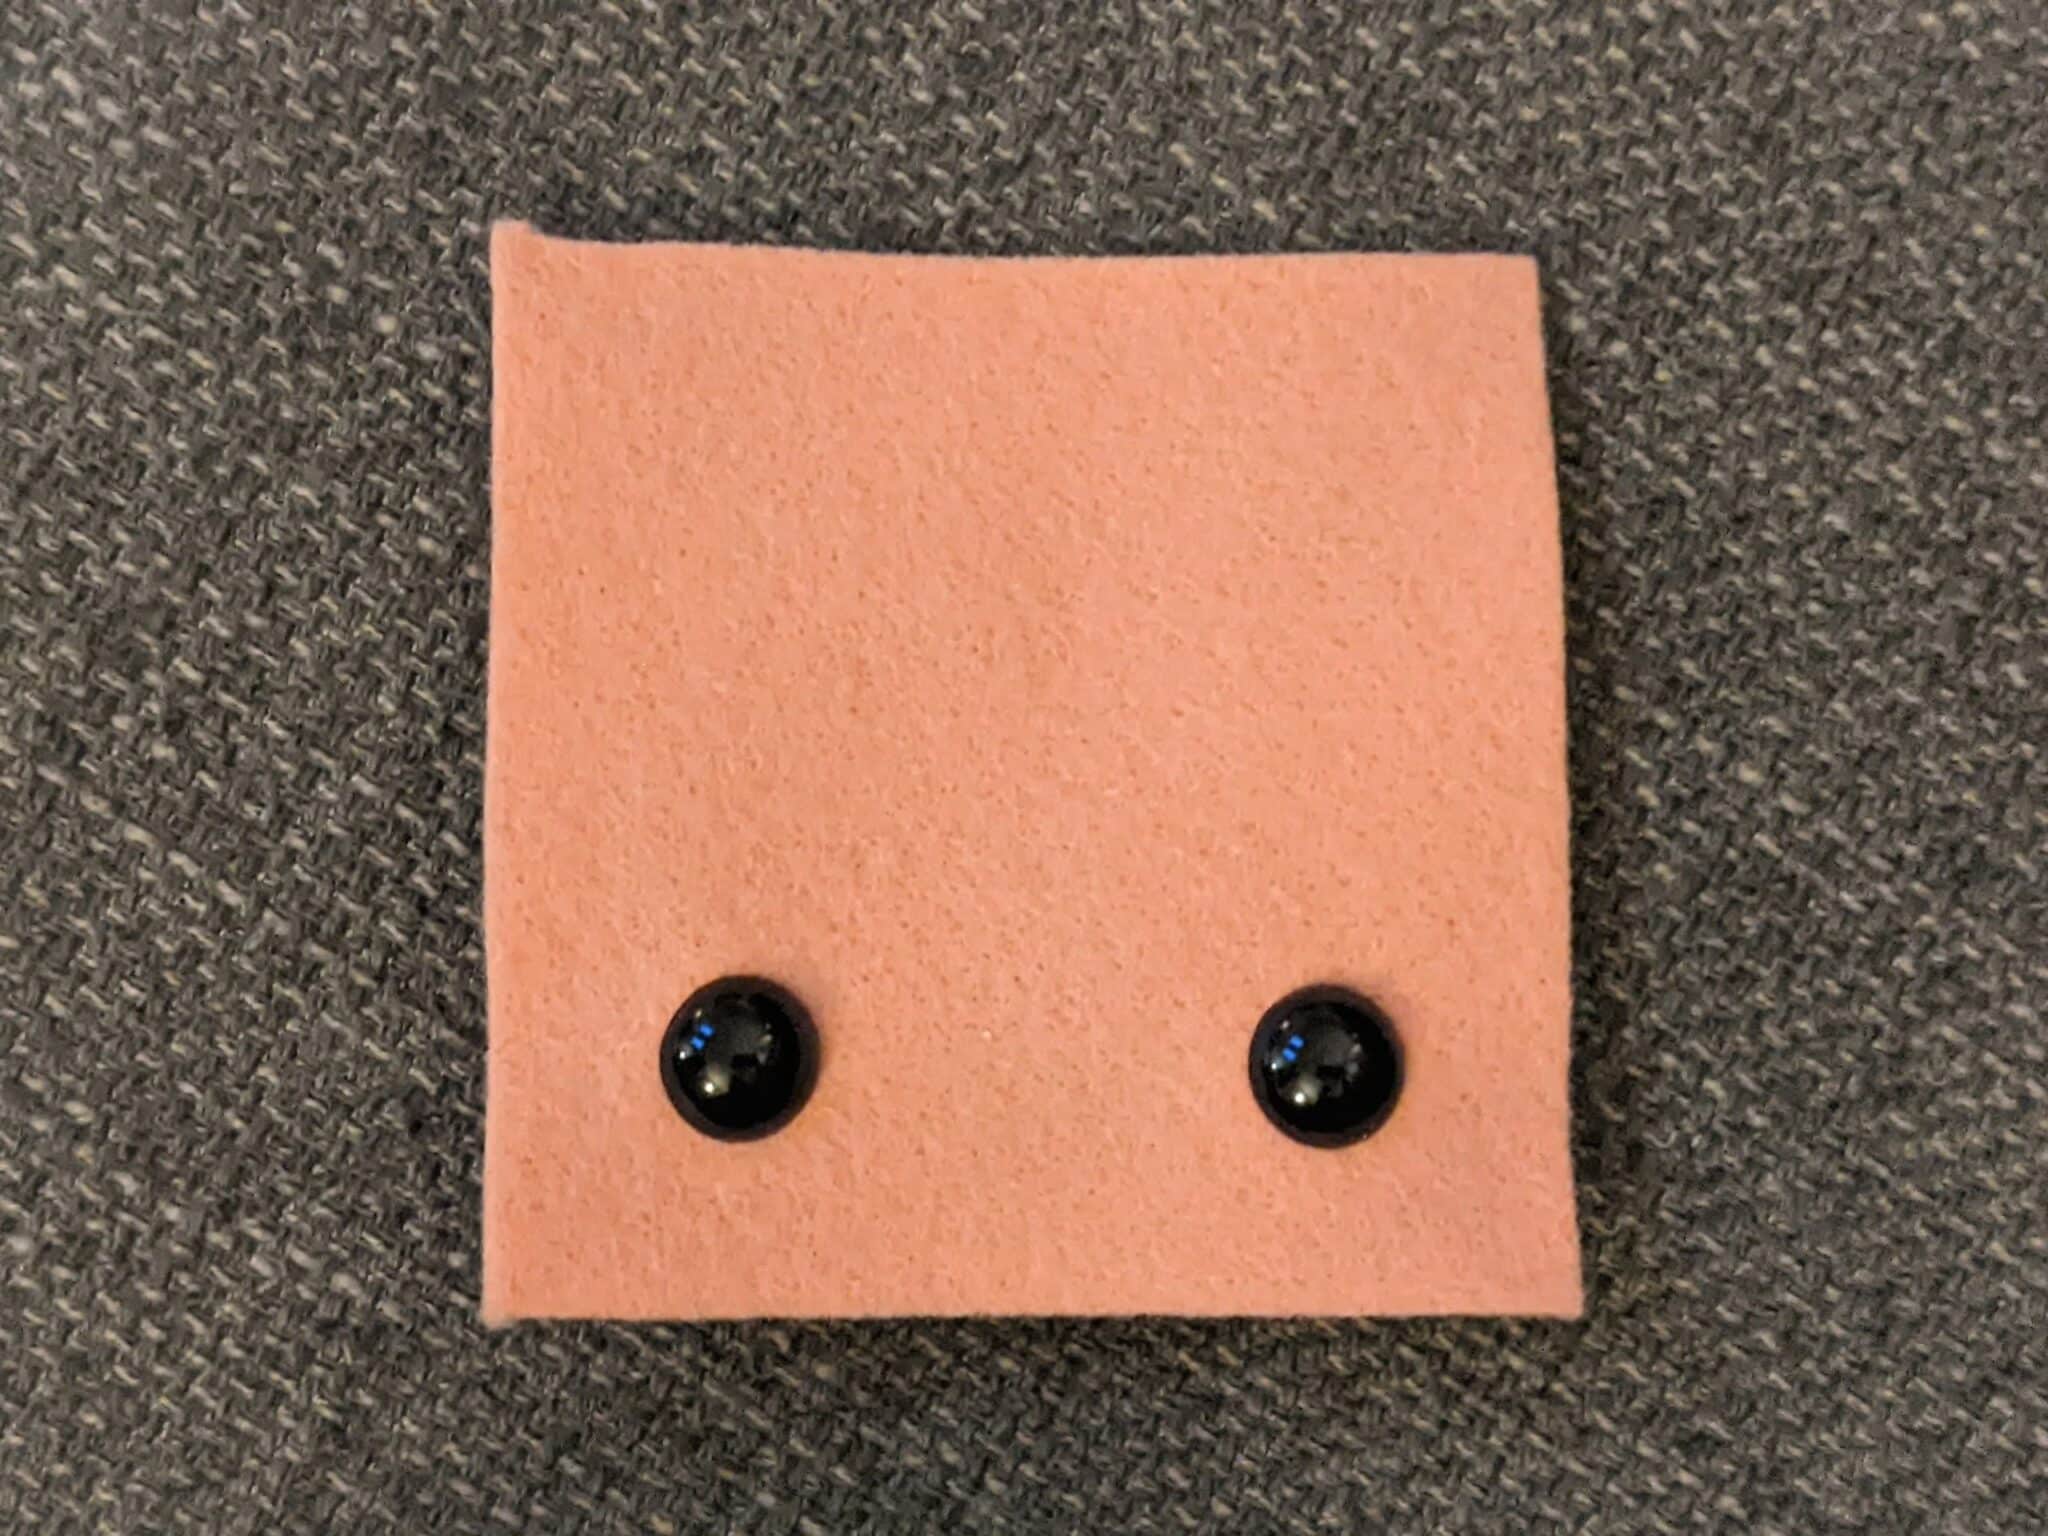
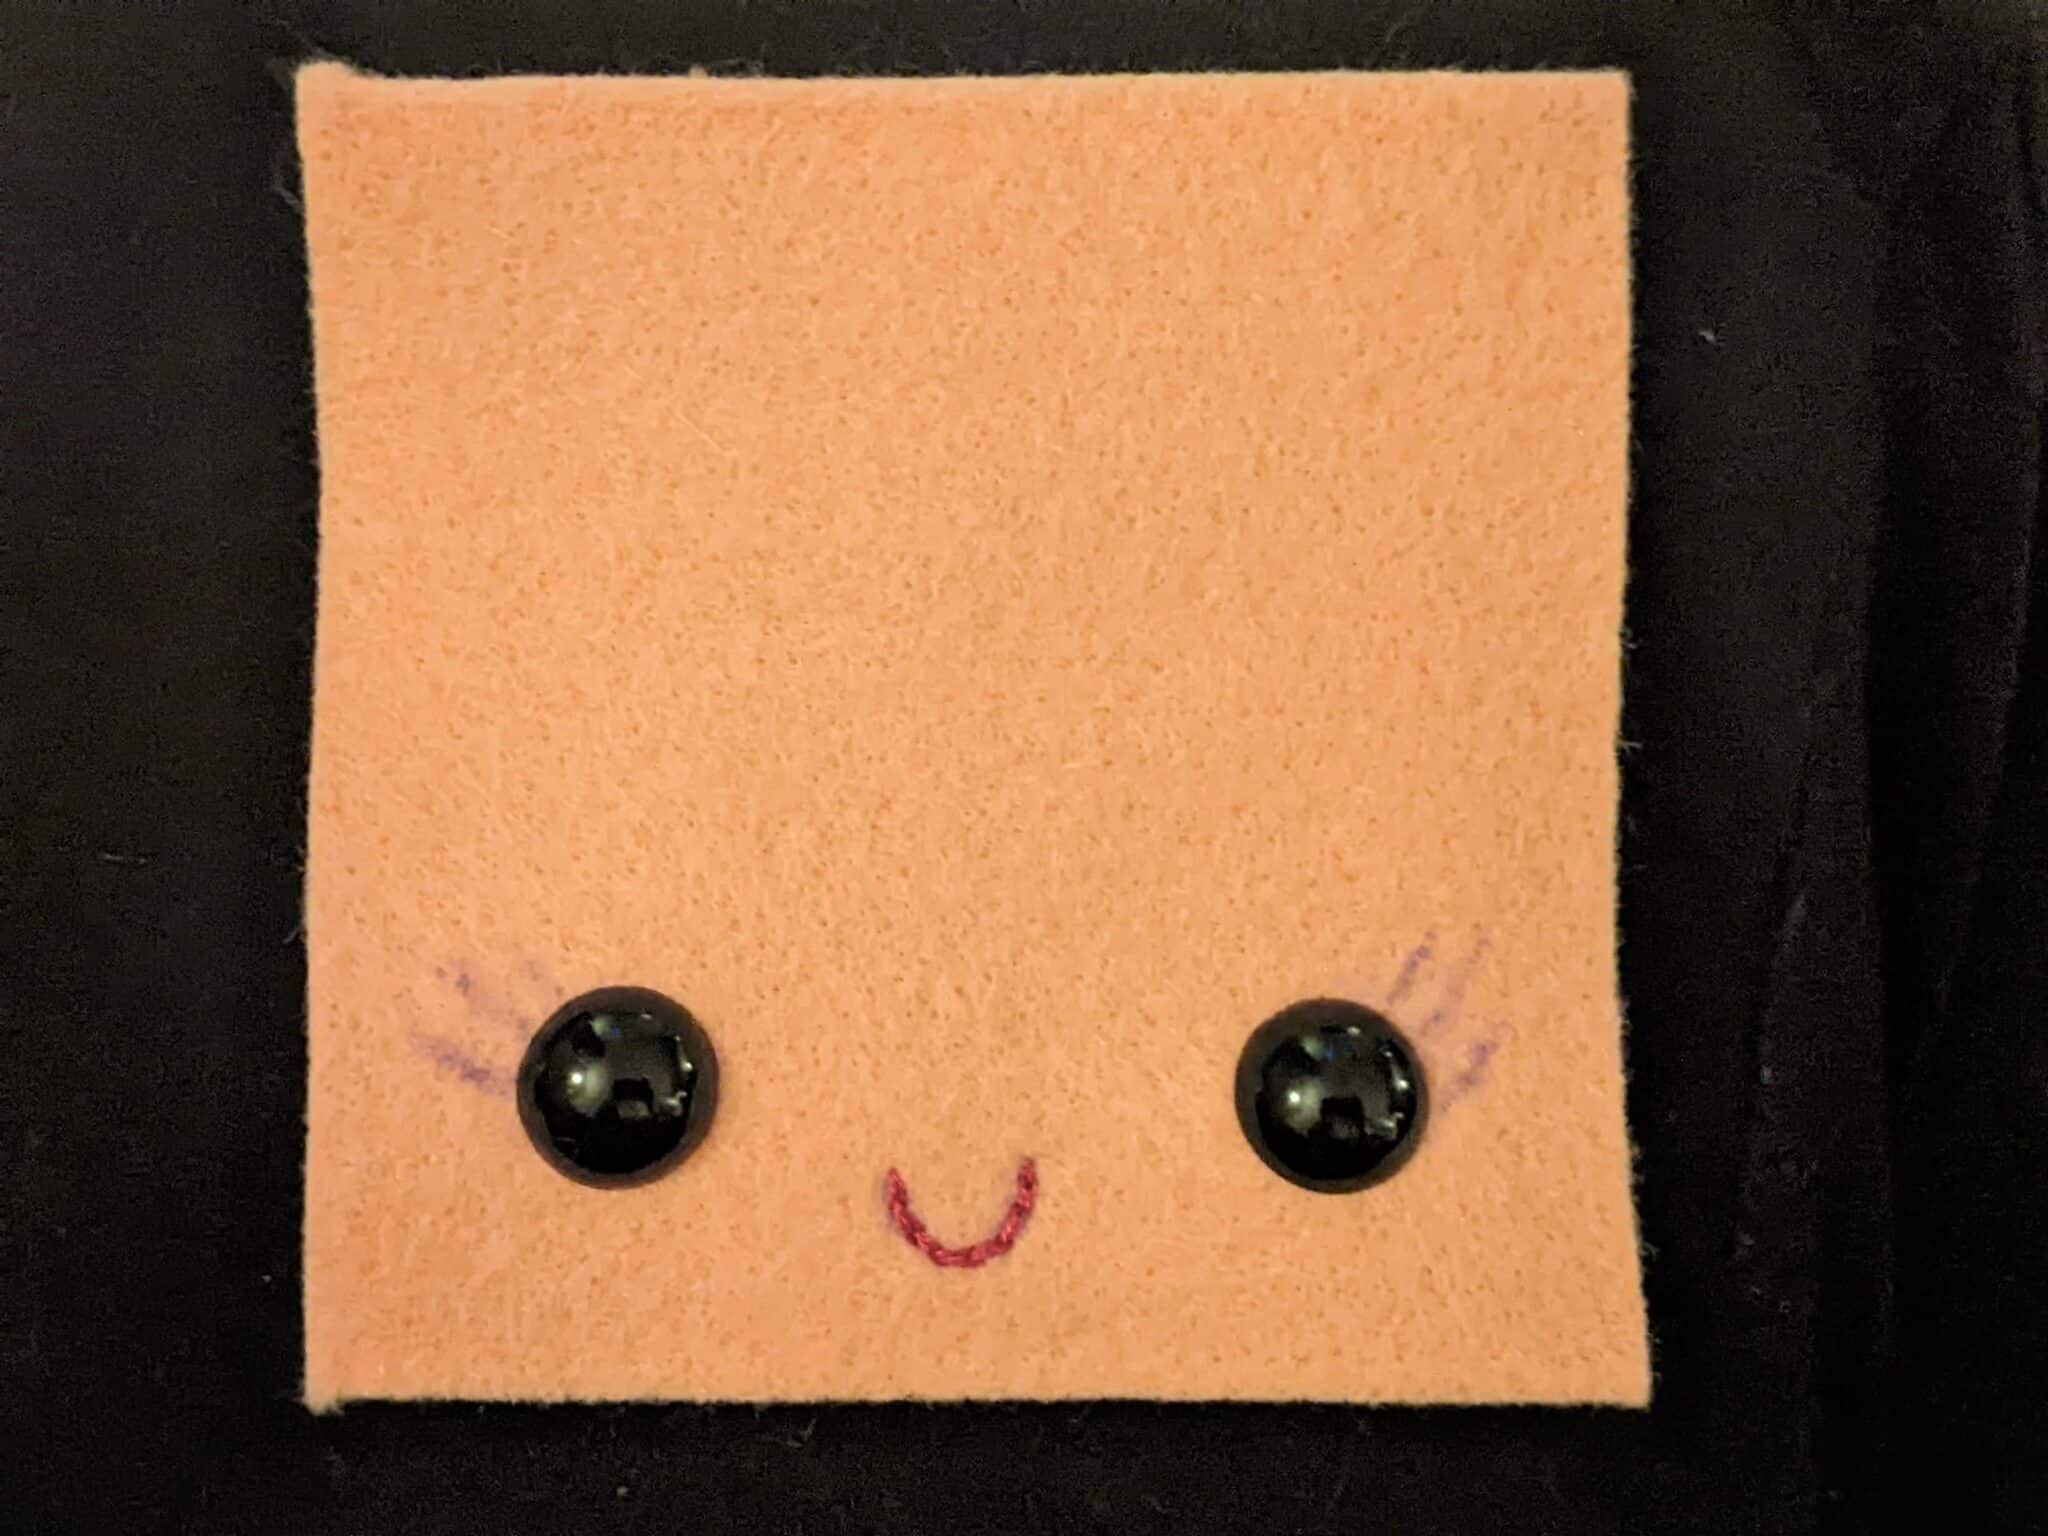
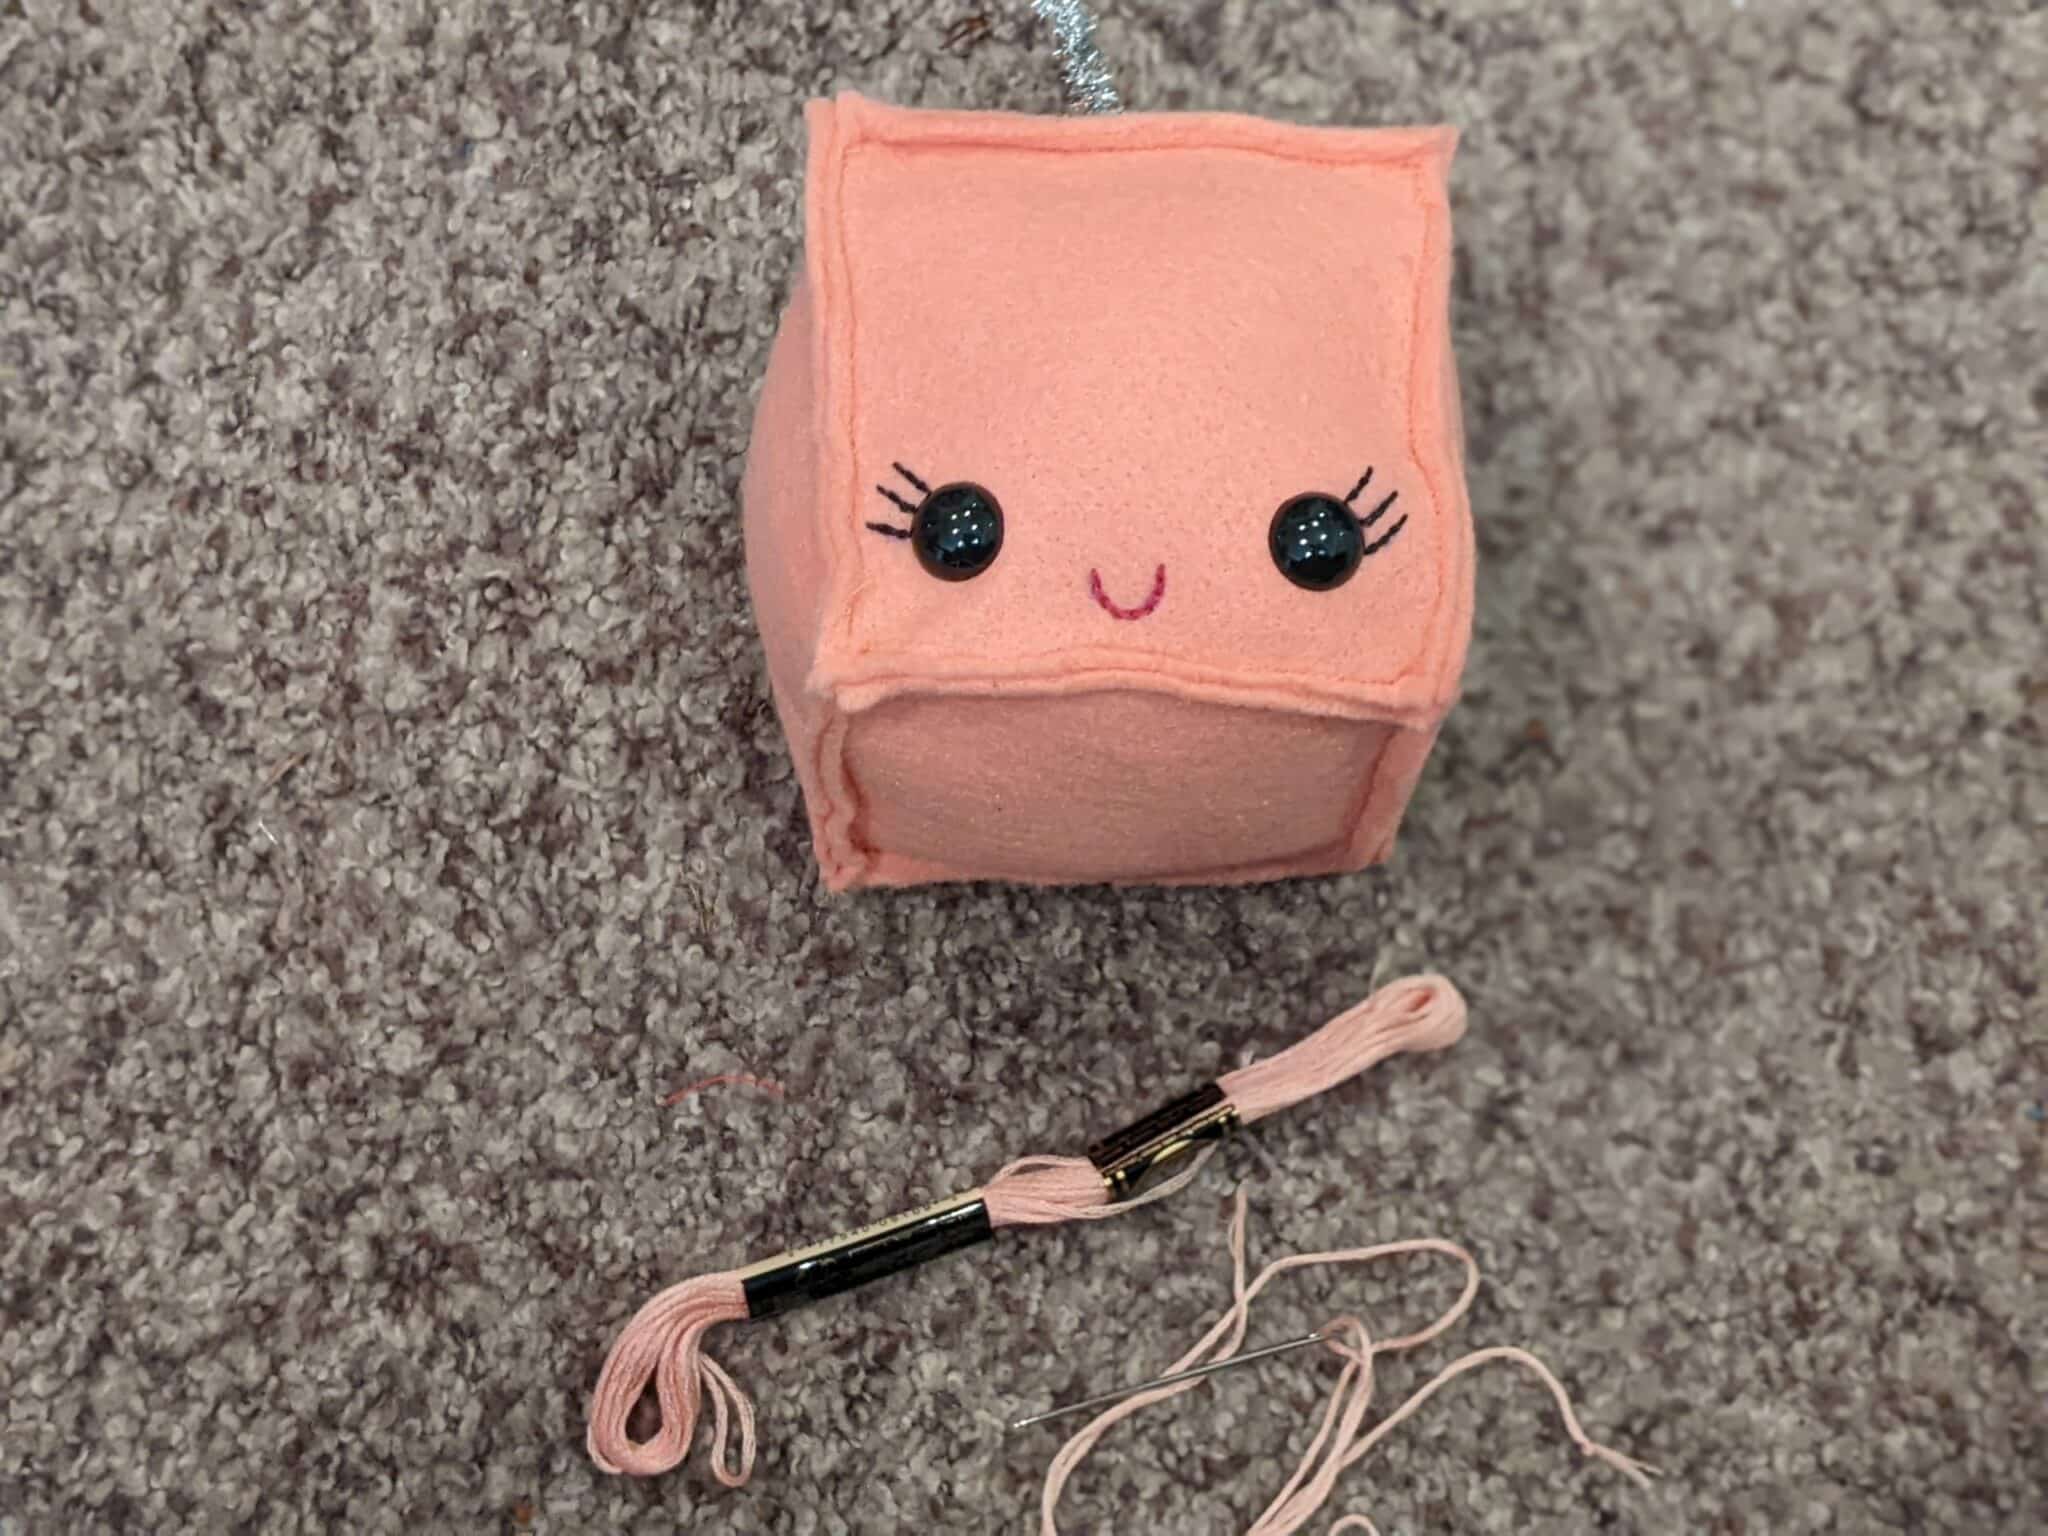
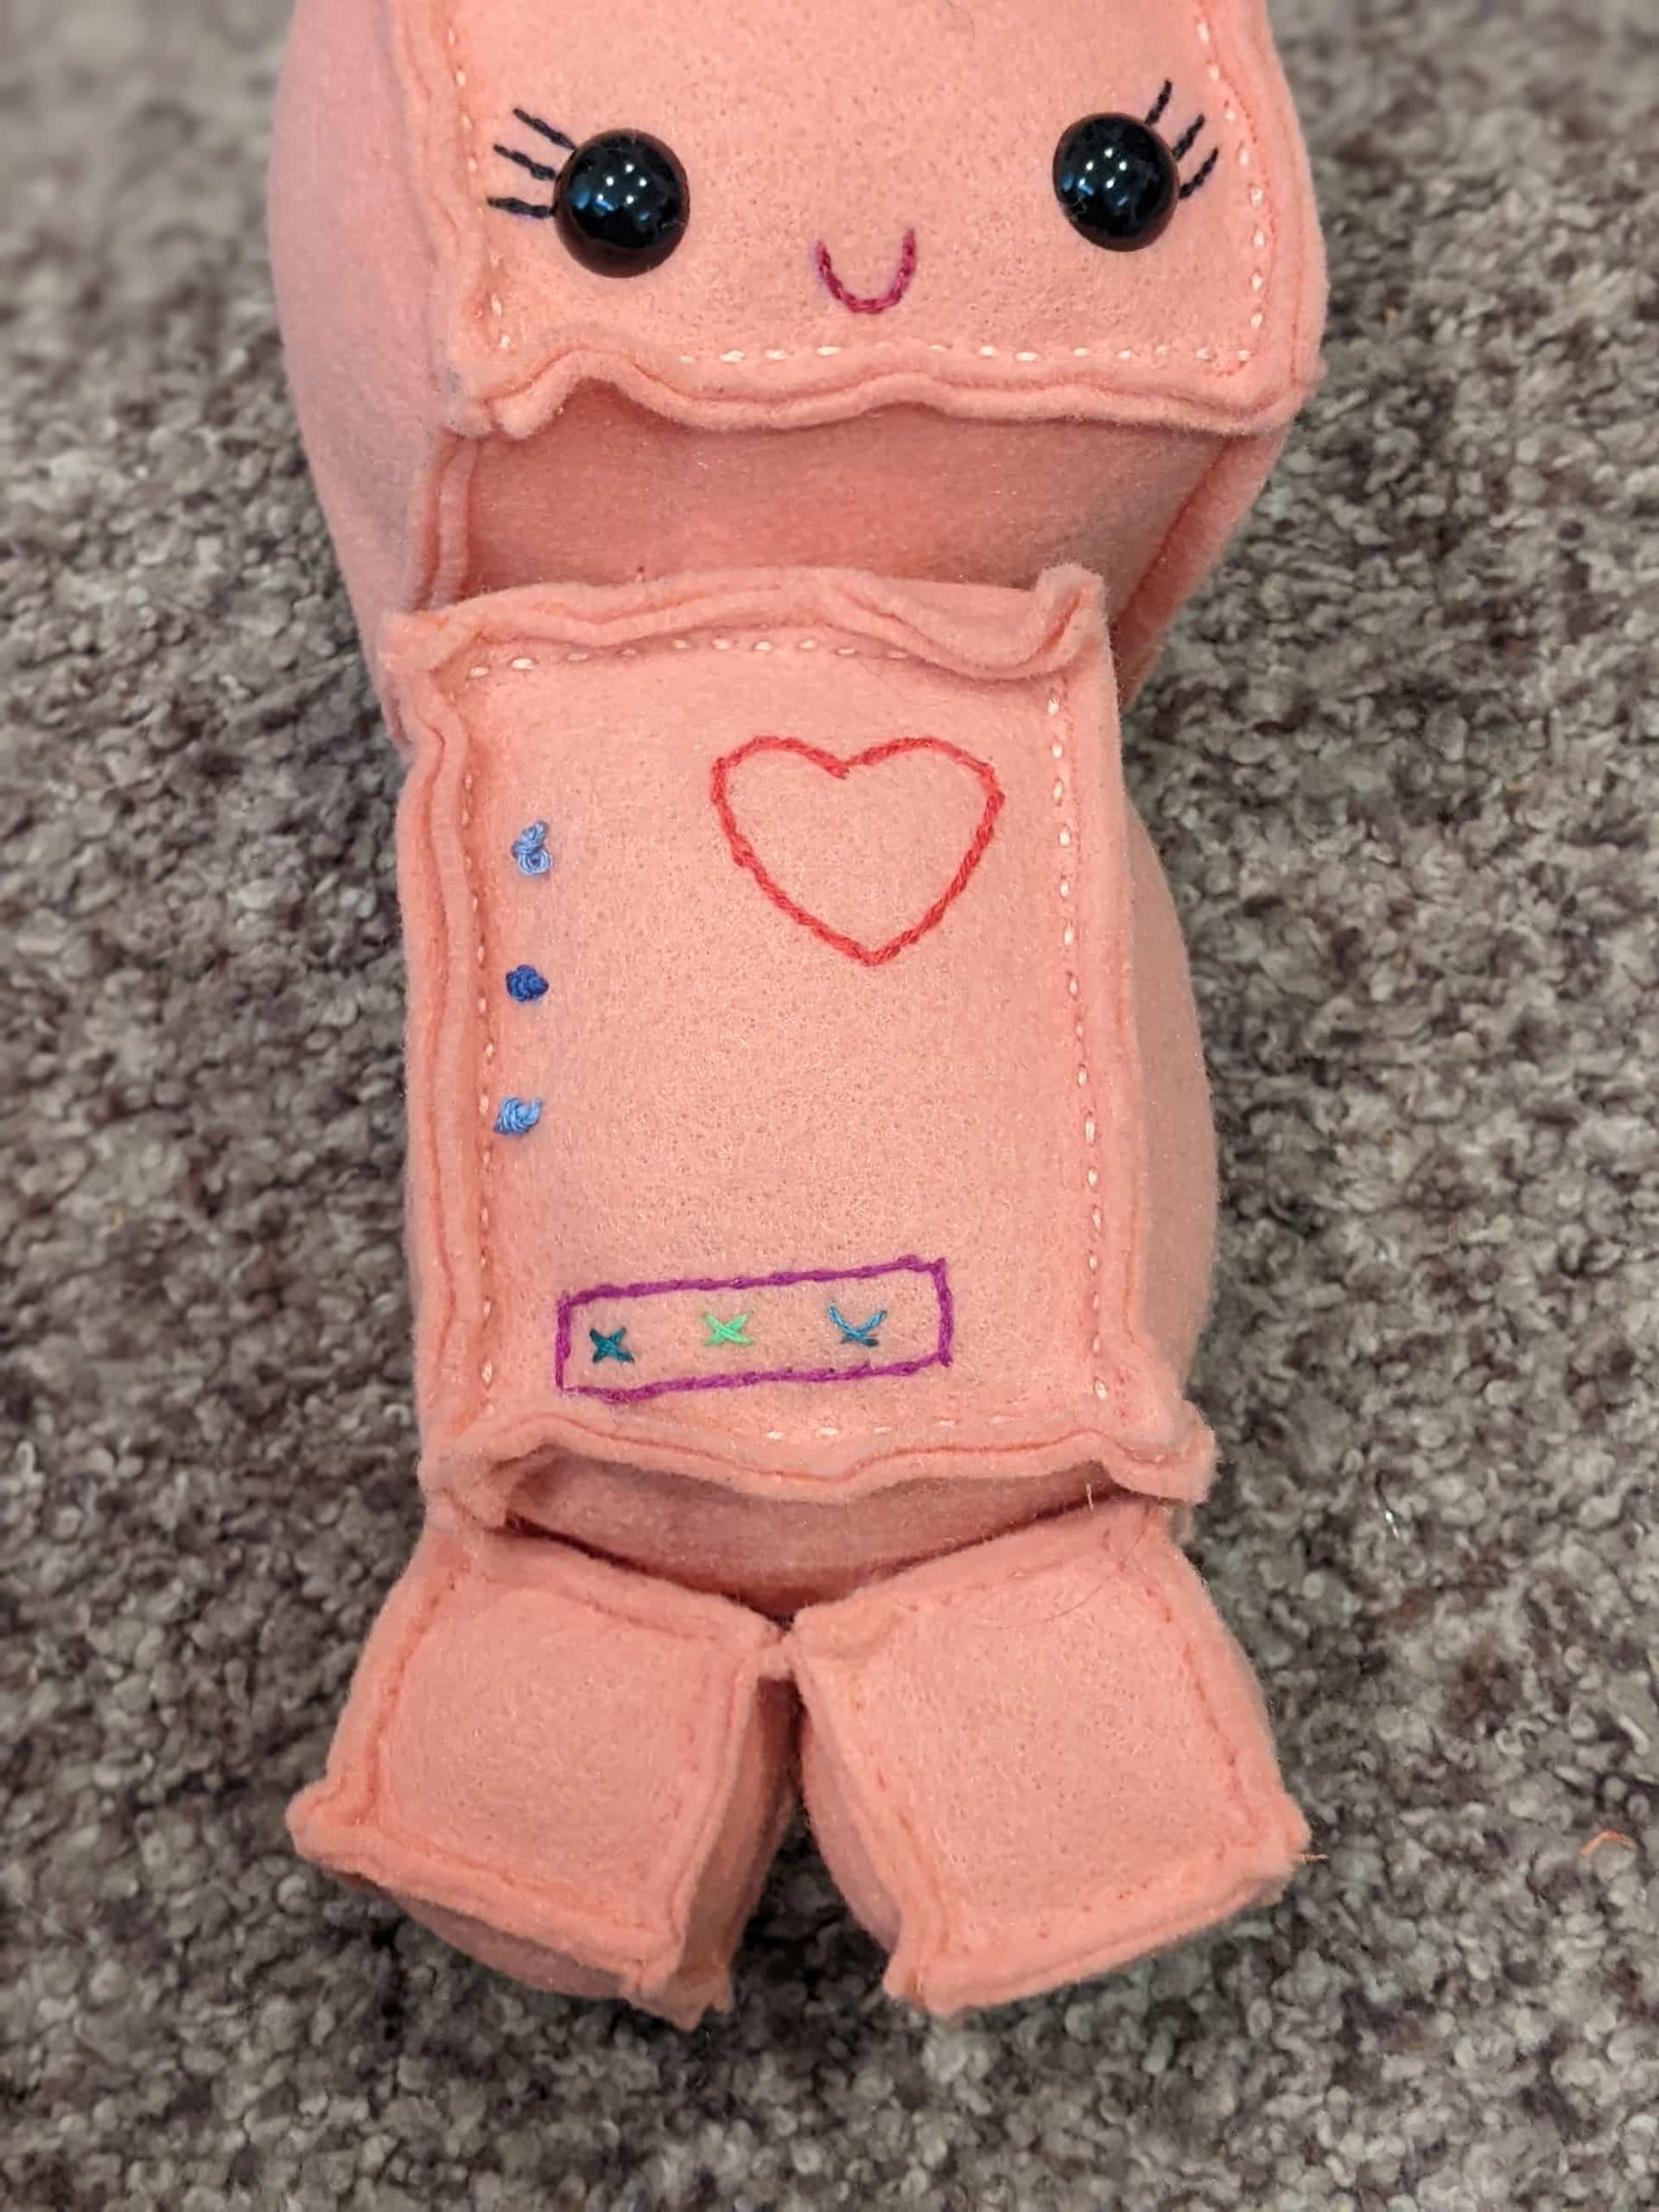
Face:
- Mark the placement for your safety eyes.
- Cut a small hole for each eye.
- Push the safety eyes through and thread the plastic washer onto the back to secure them.
- Draw on any facial features you want to add.
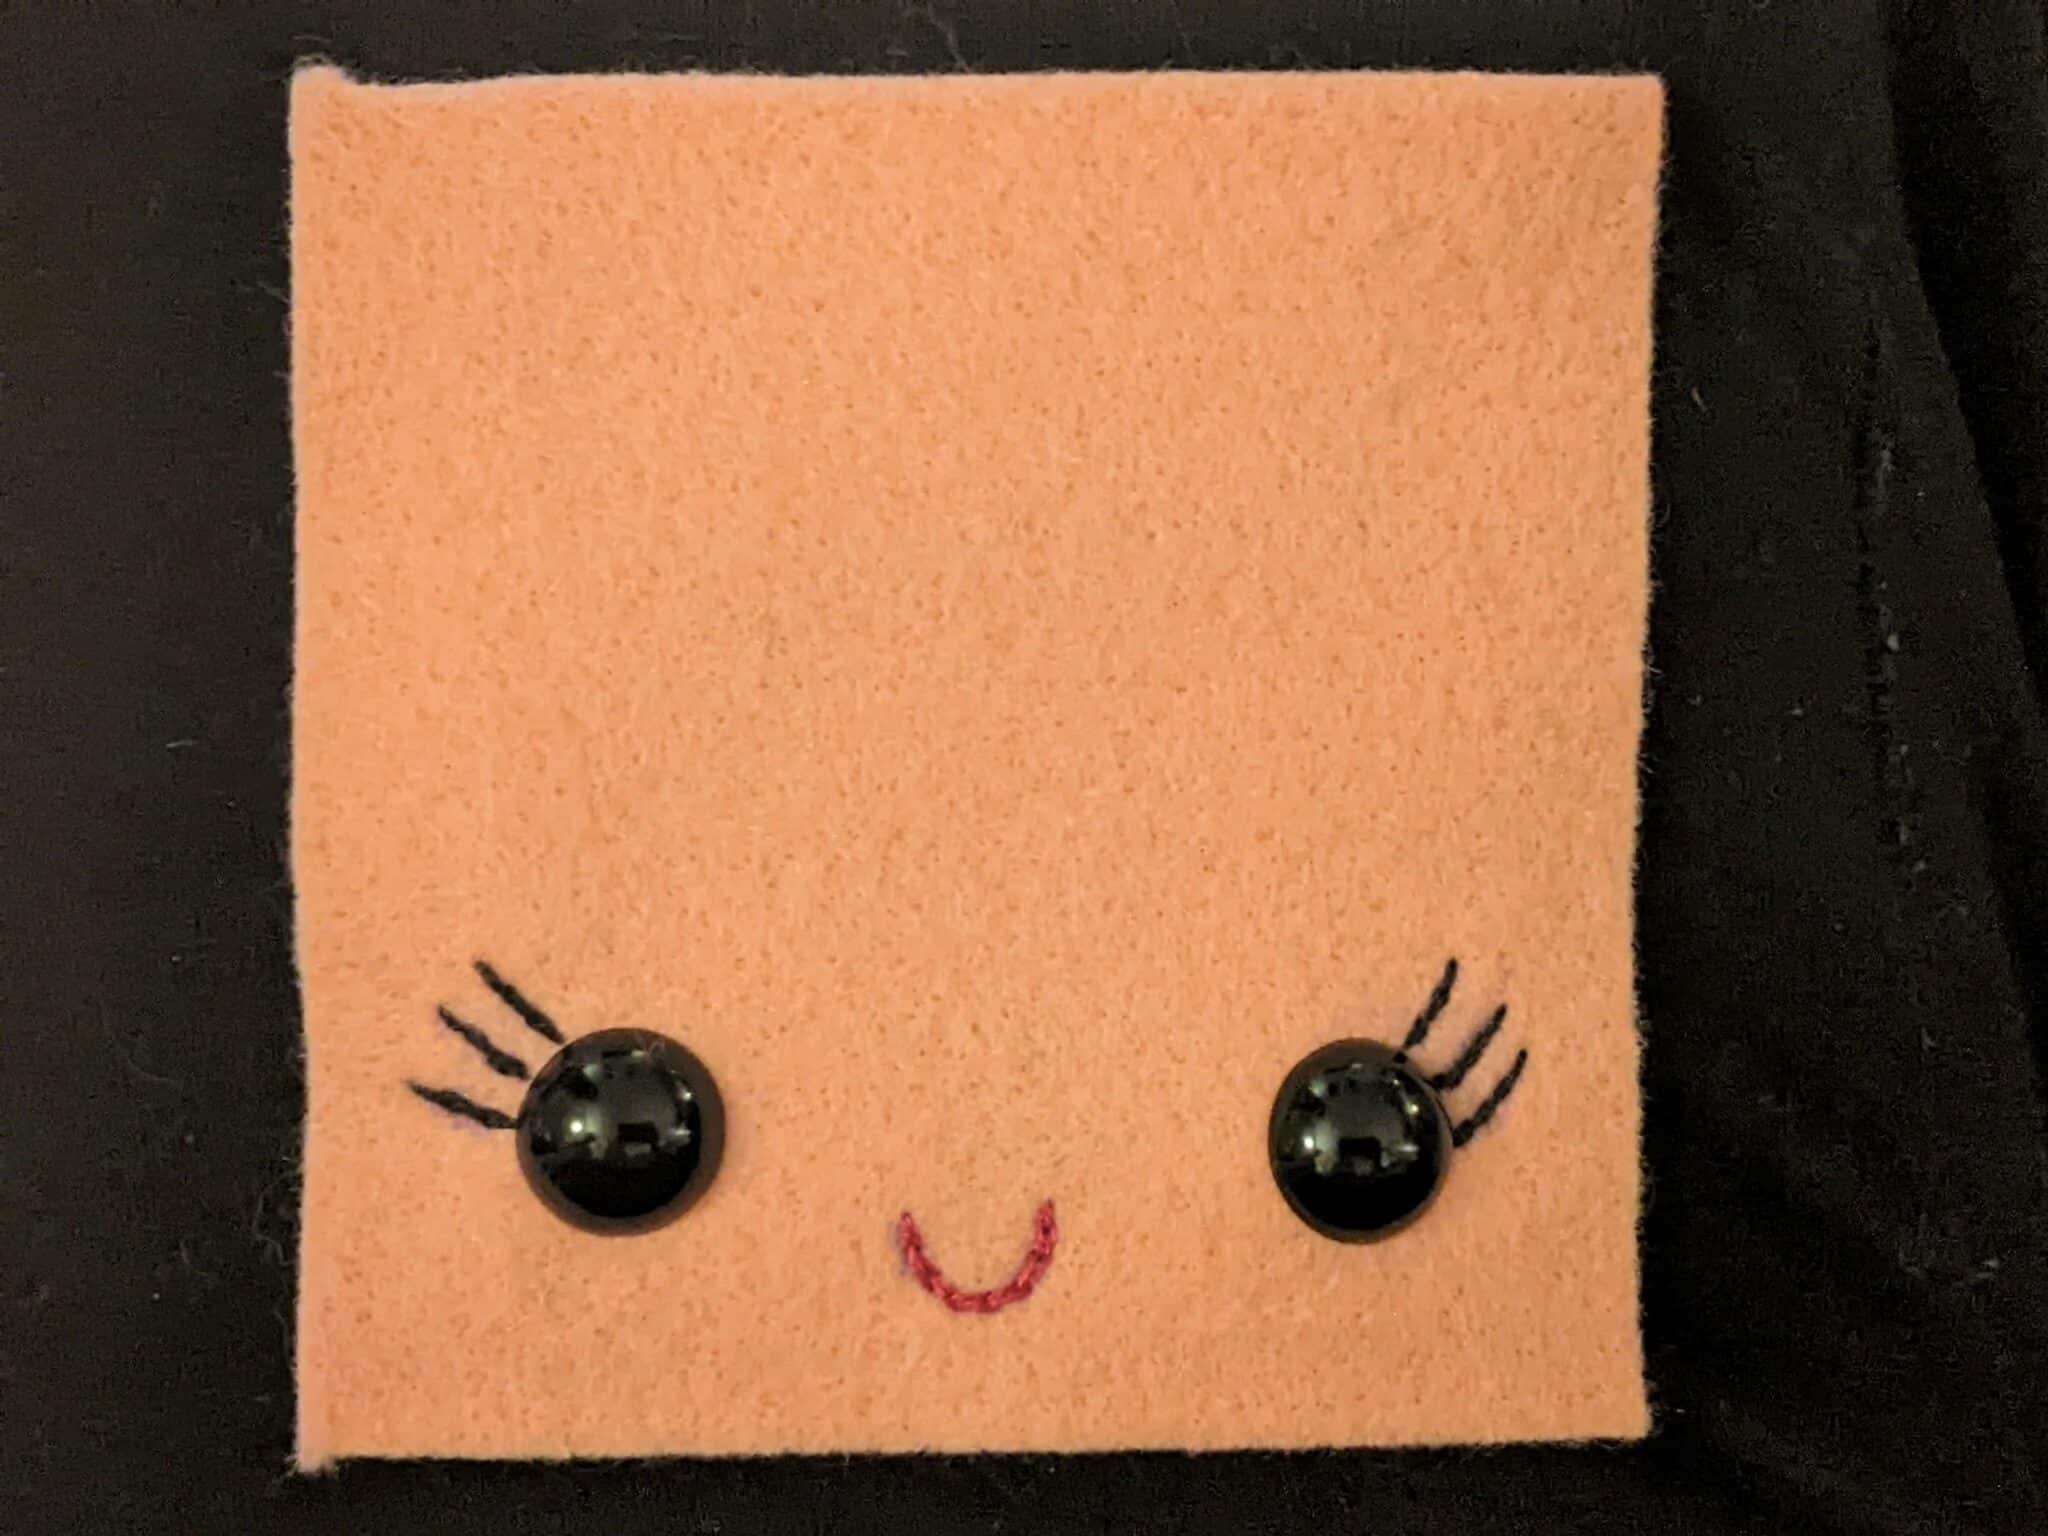
- Use embroidery floss and needle and any type of embroidery stitch you’d like to stitch your facial features on. (YouTube is a great place to search for different embroidery stitches if you aren’t sure what to use.)
- You can use fabric paint or buttons for any features as well.
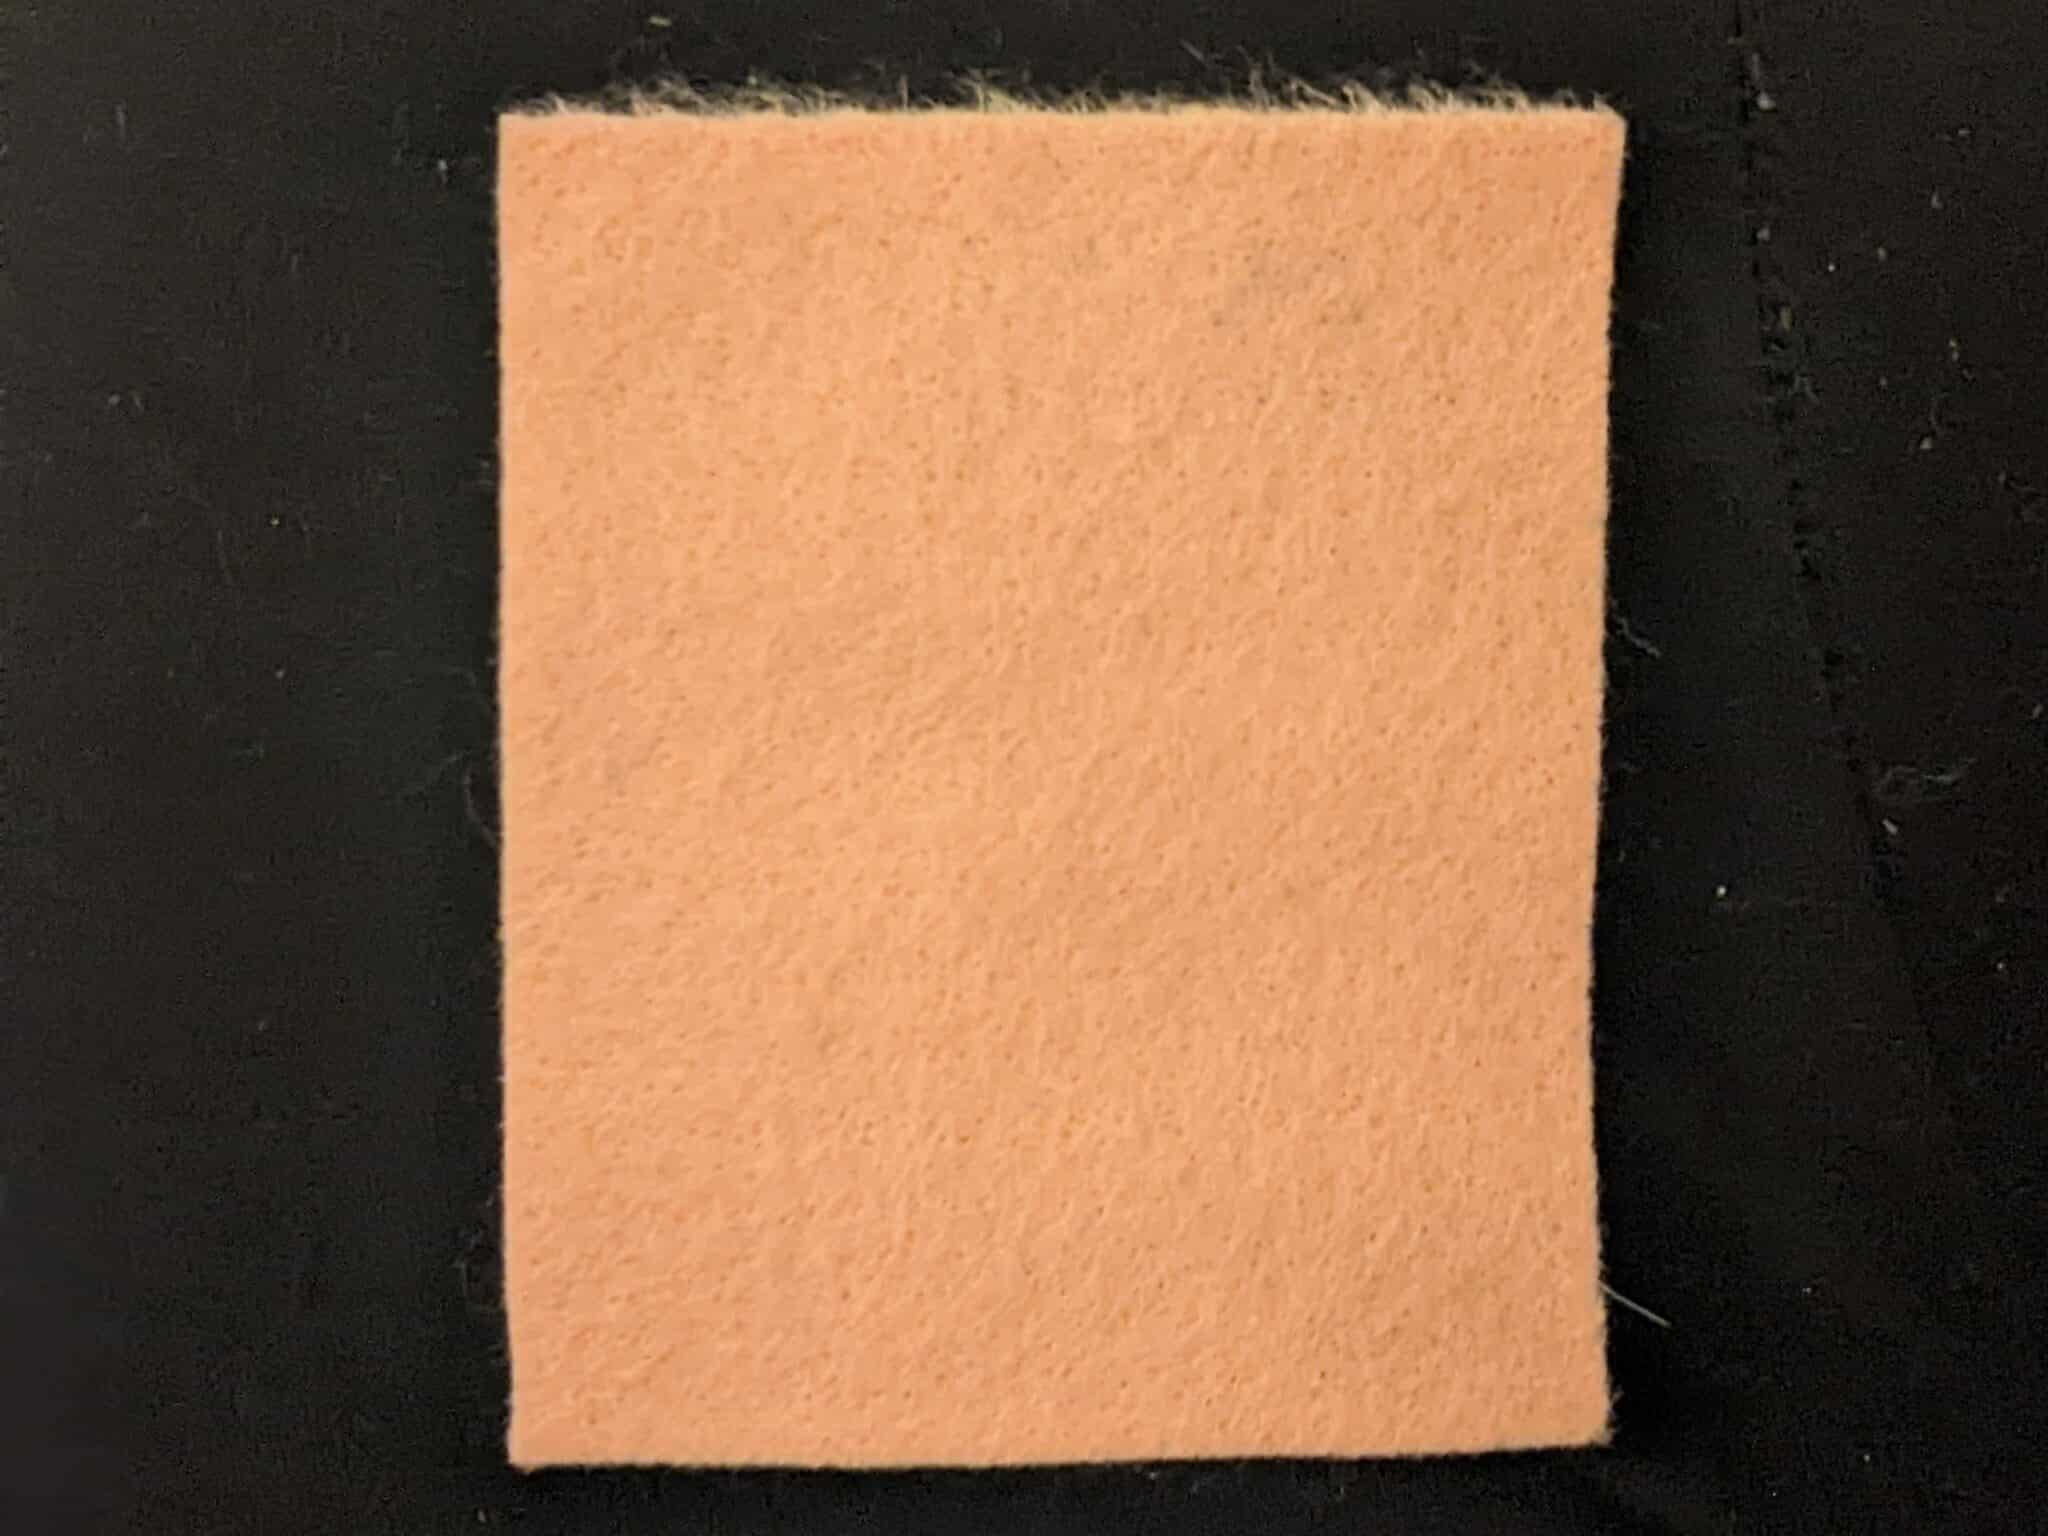
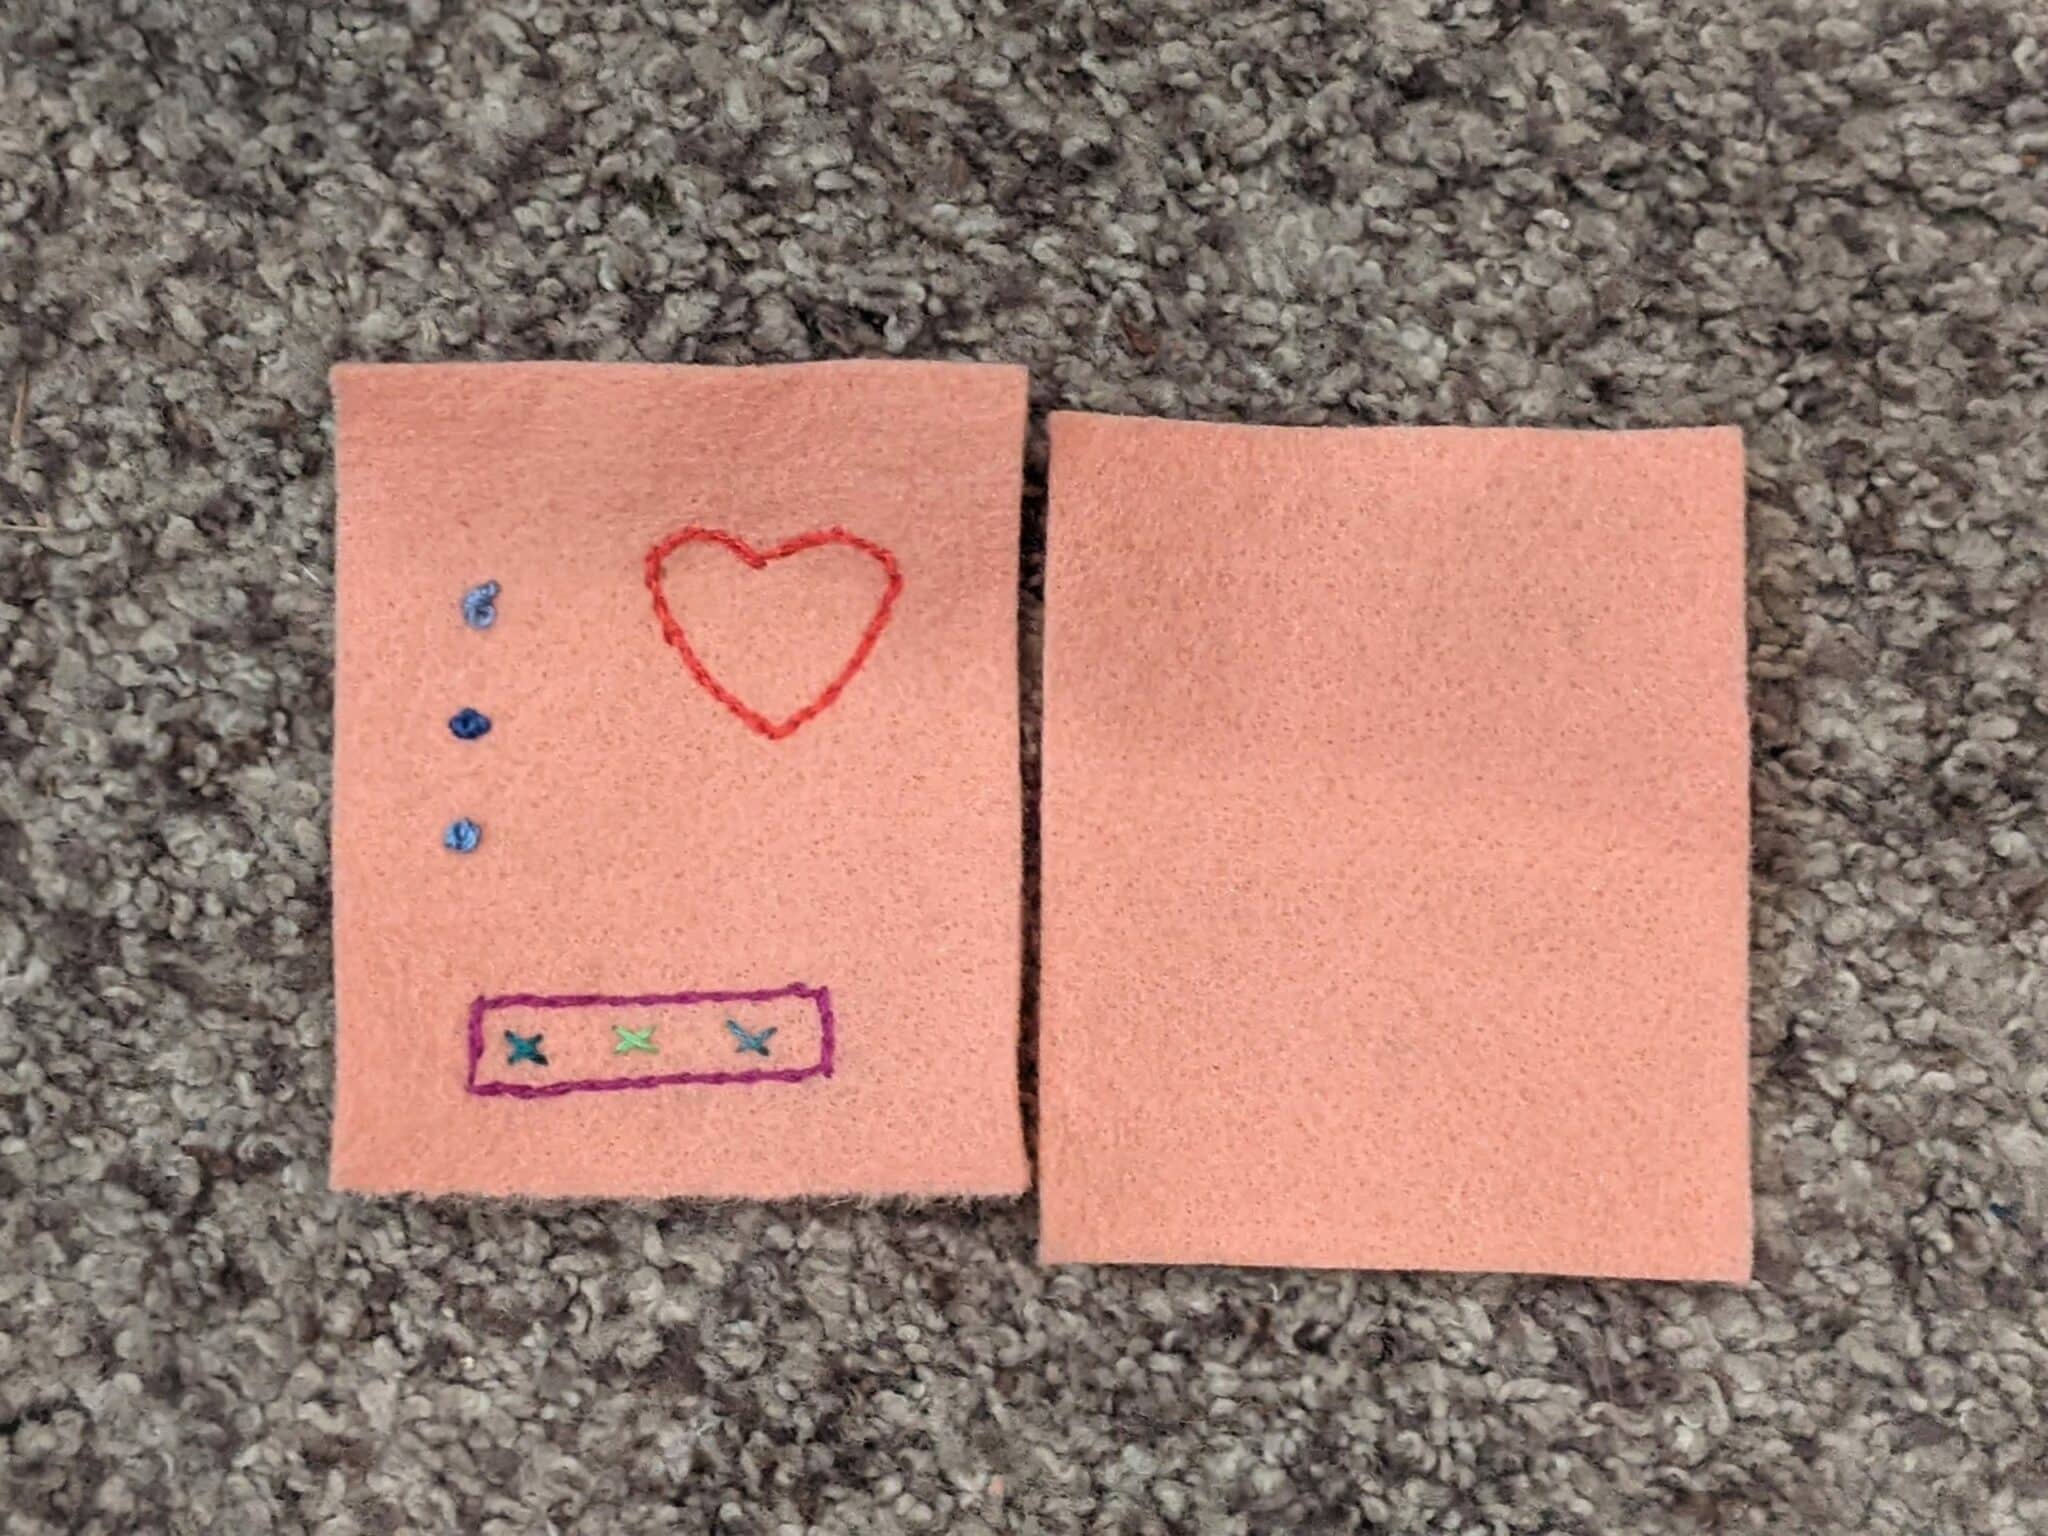
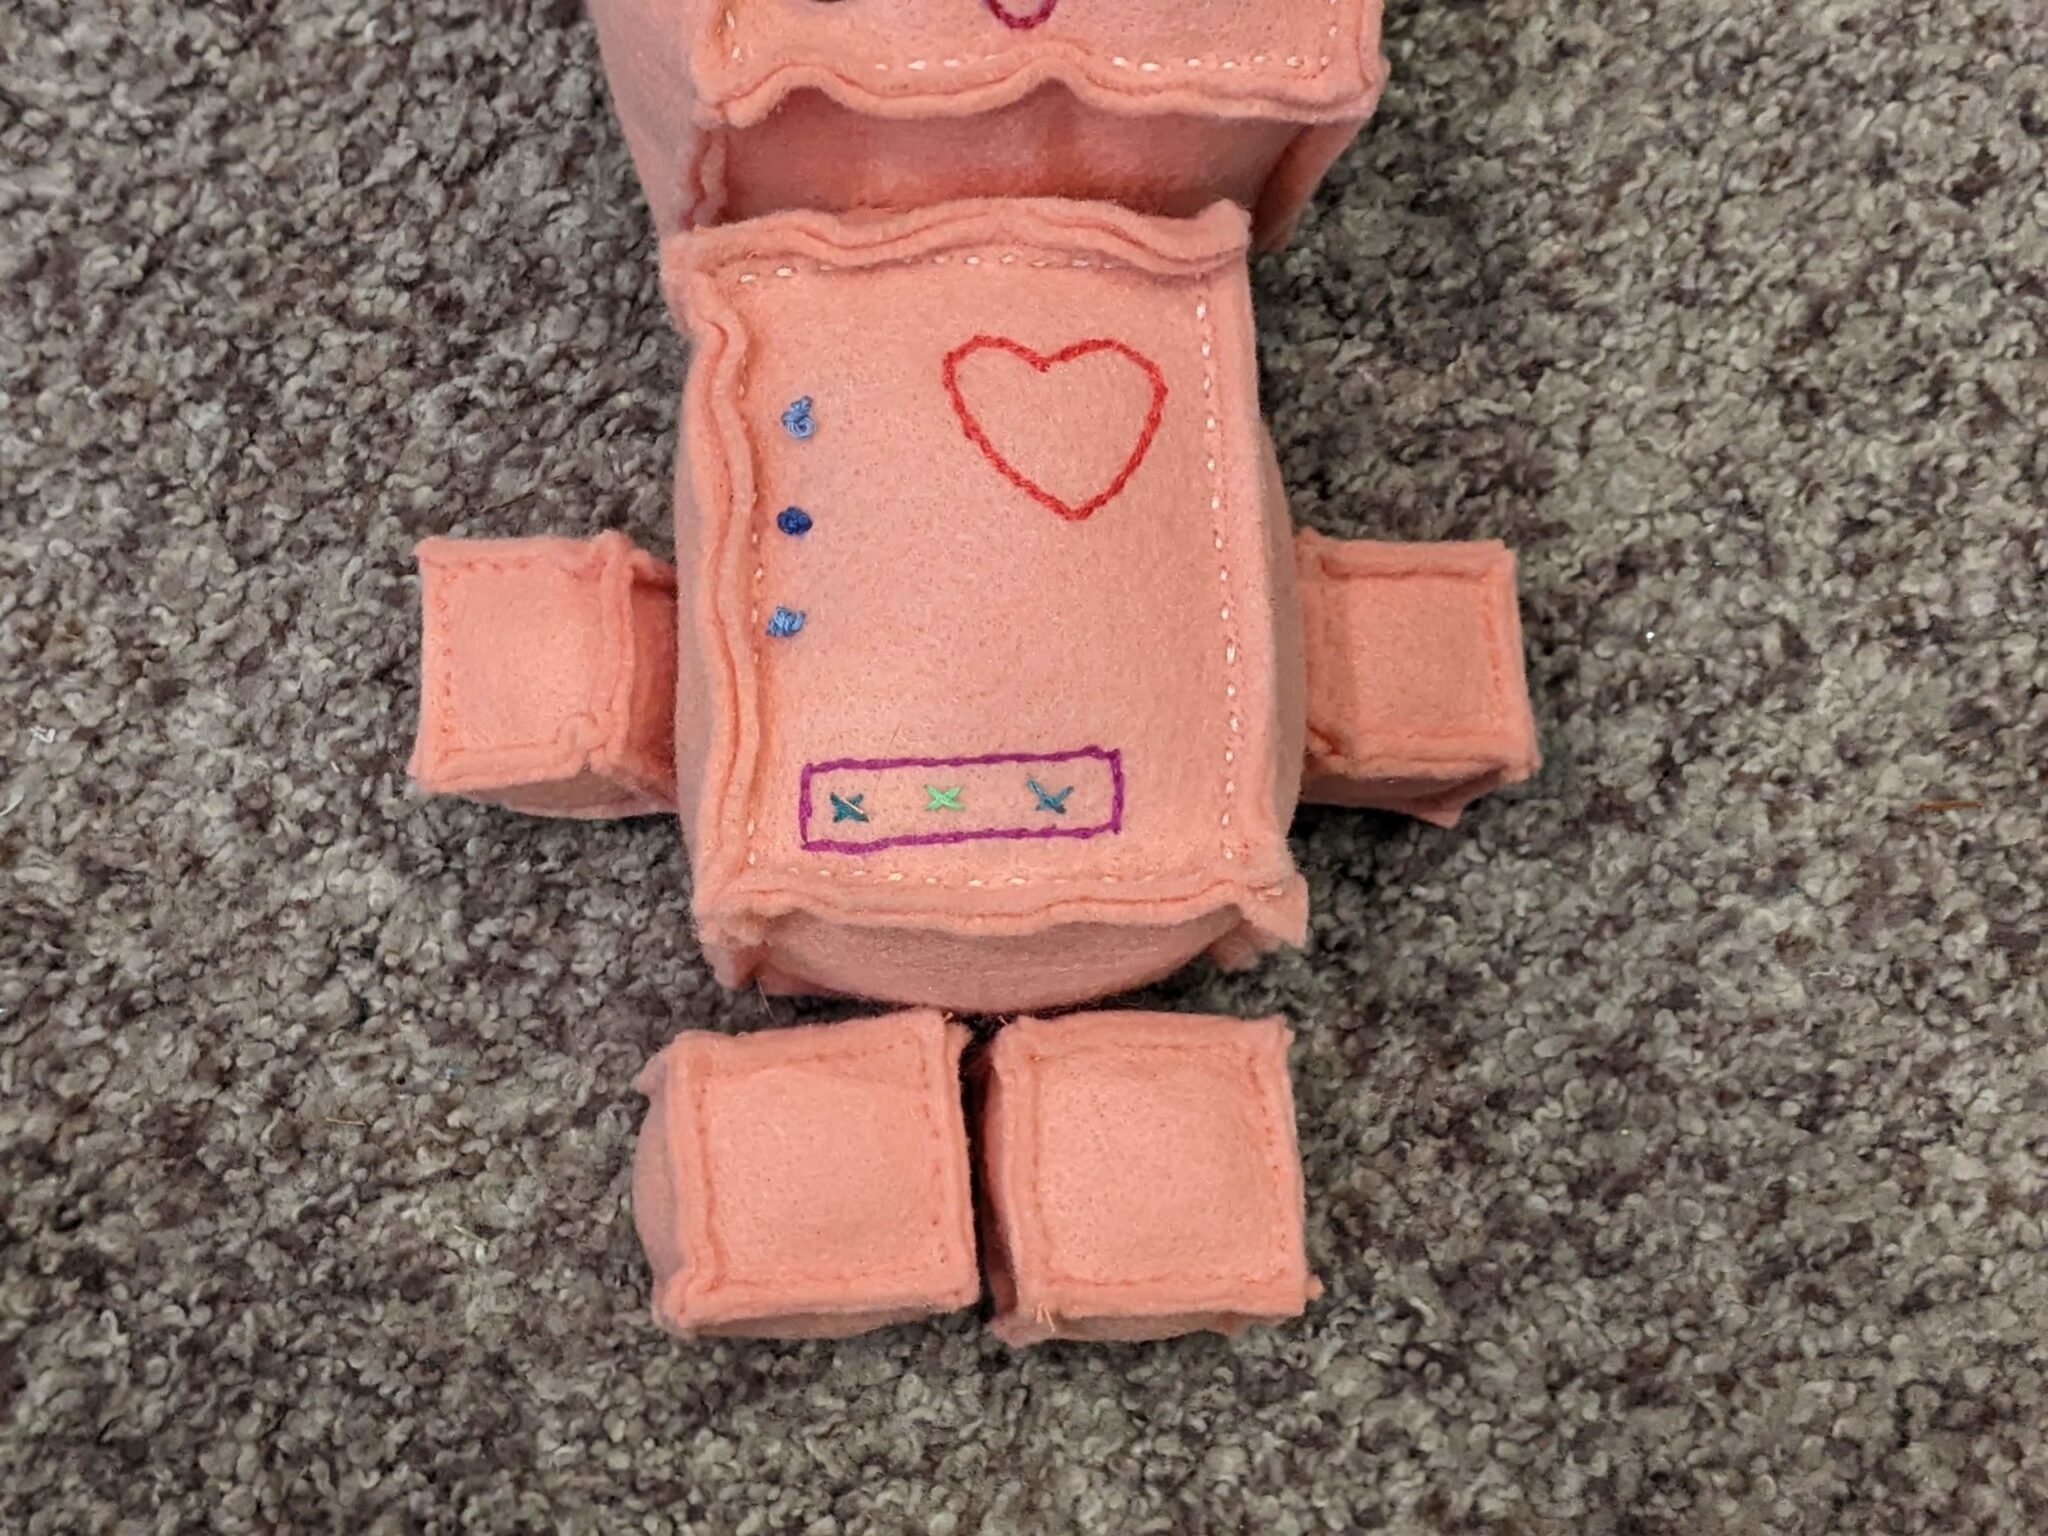
Body
- Using one of the vertical panels for the front of the robot body, draw on the details you want to add. (Or just get crazy and freehand it as you go.)
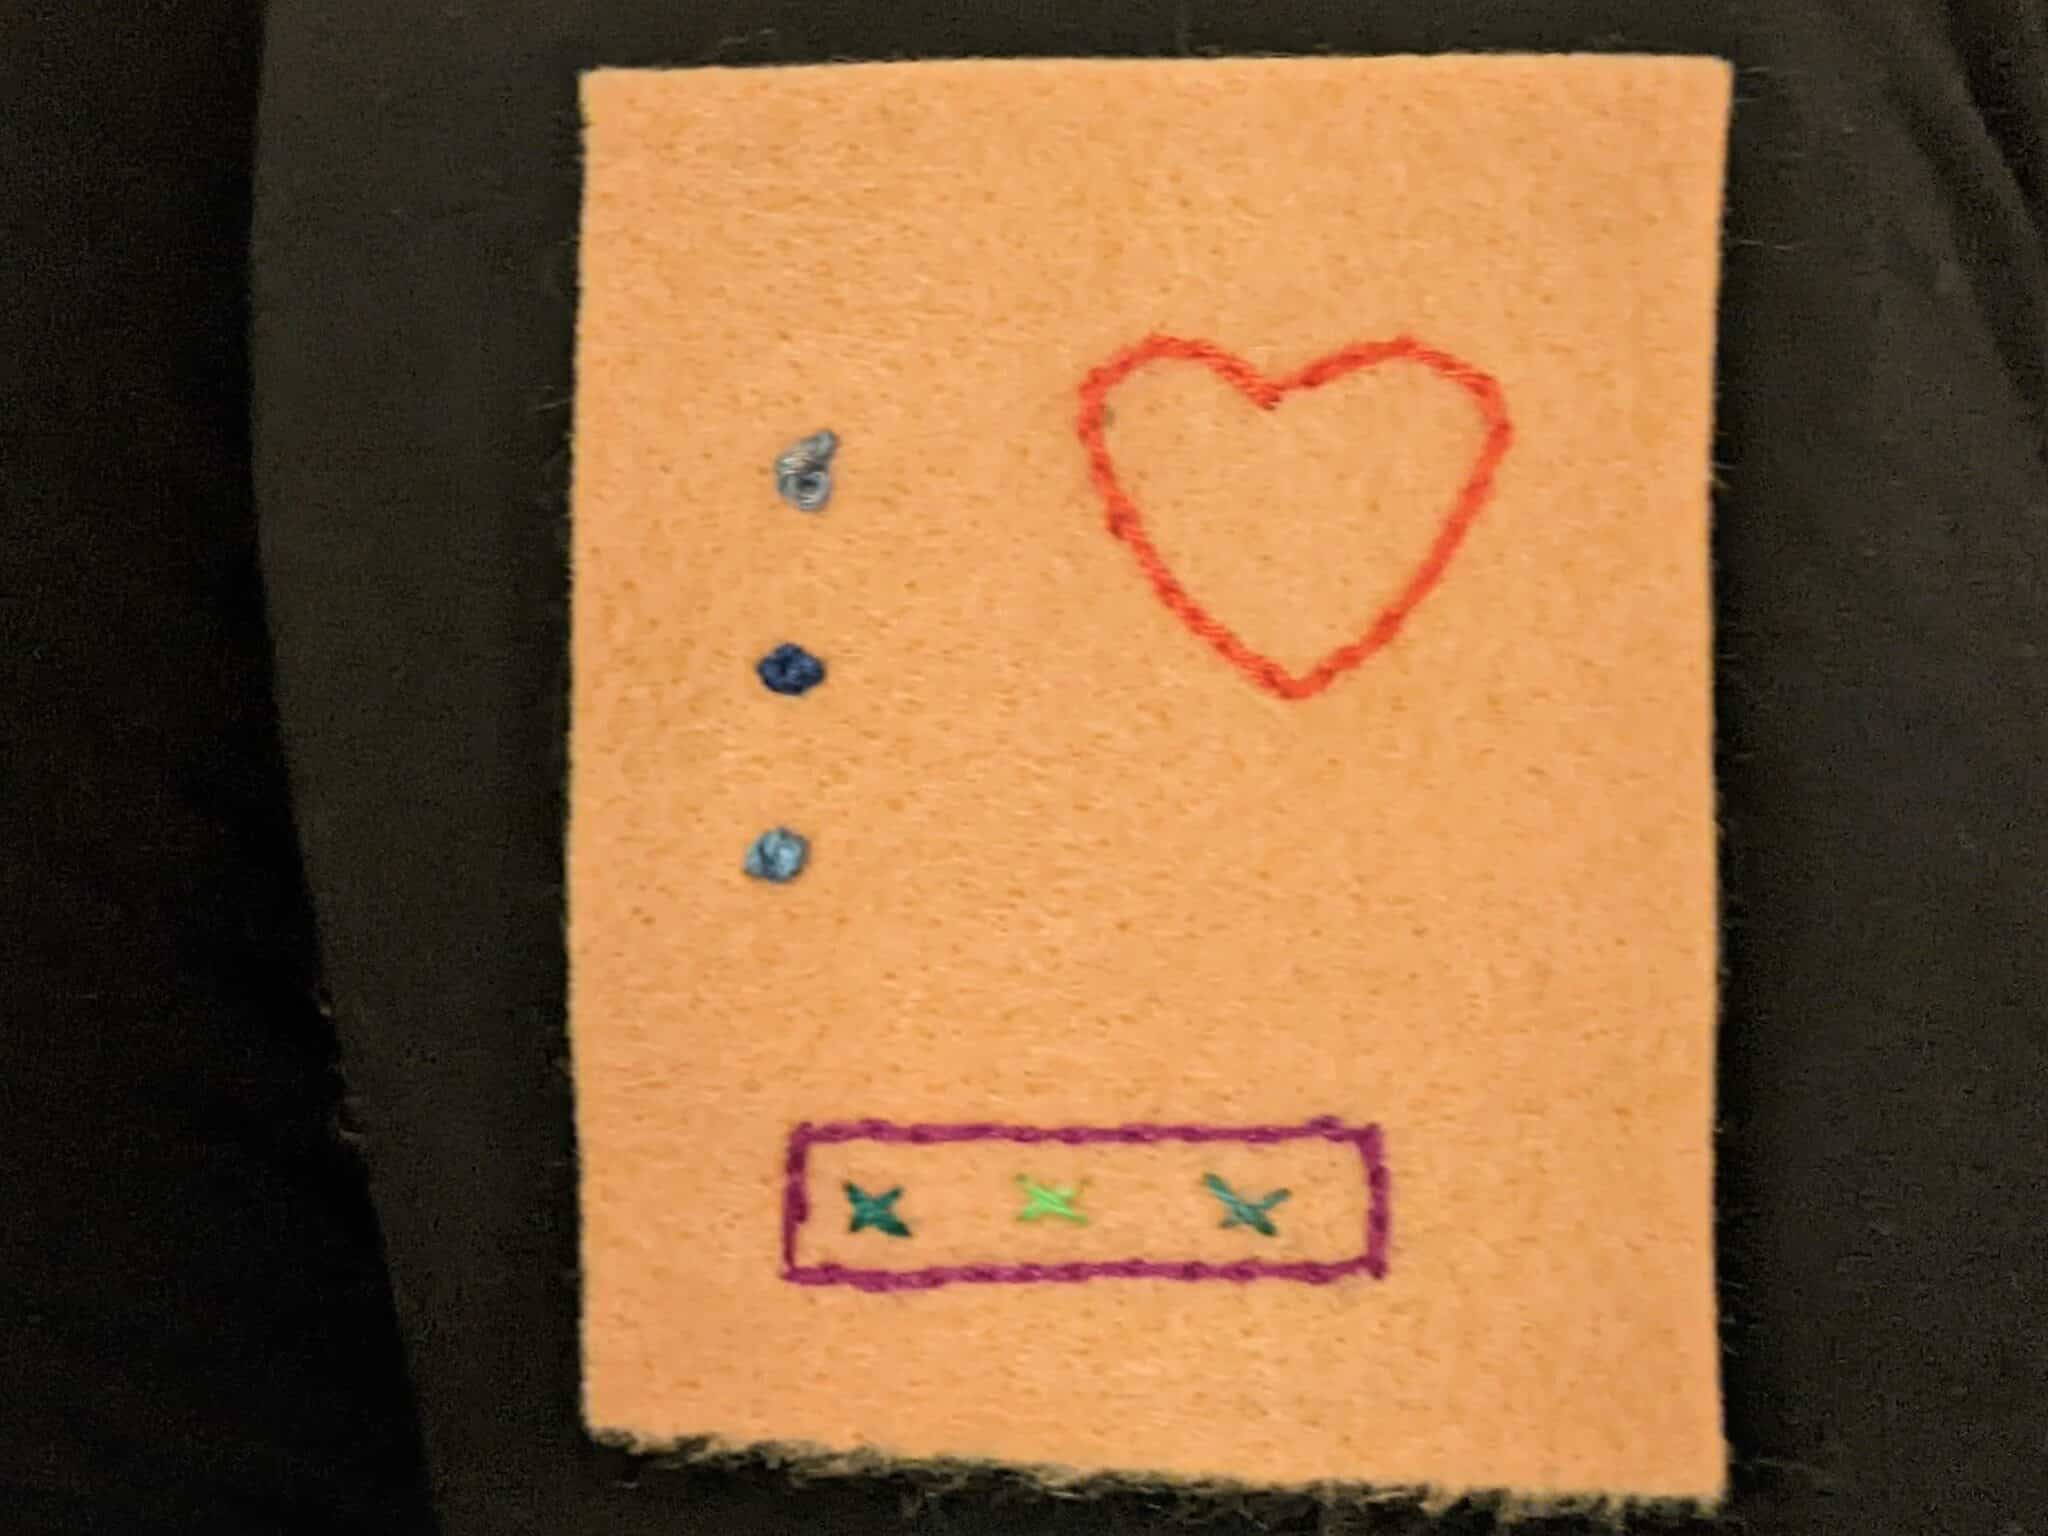
- Use embroidery floss and needle as you did on the face to stitch on your body details.
- Again, you can also use buttons, fabric paint, or anything you’d like for its body details.
Making Your Robot Parts
All robot pieces are sewn wrong sides together with a 1/4″ seam allowance. (This includes stopping 1/4″ away from each corner as well.) You can use a sewing machine or needle and thread. For smaller pieces like the ends of the hands and feet, you might find it easier to use a needle and thread.
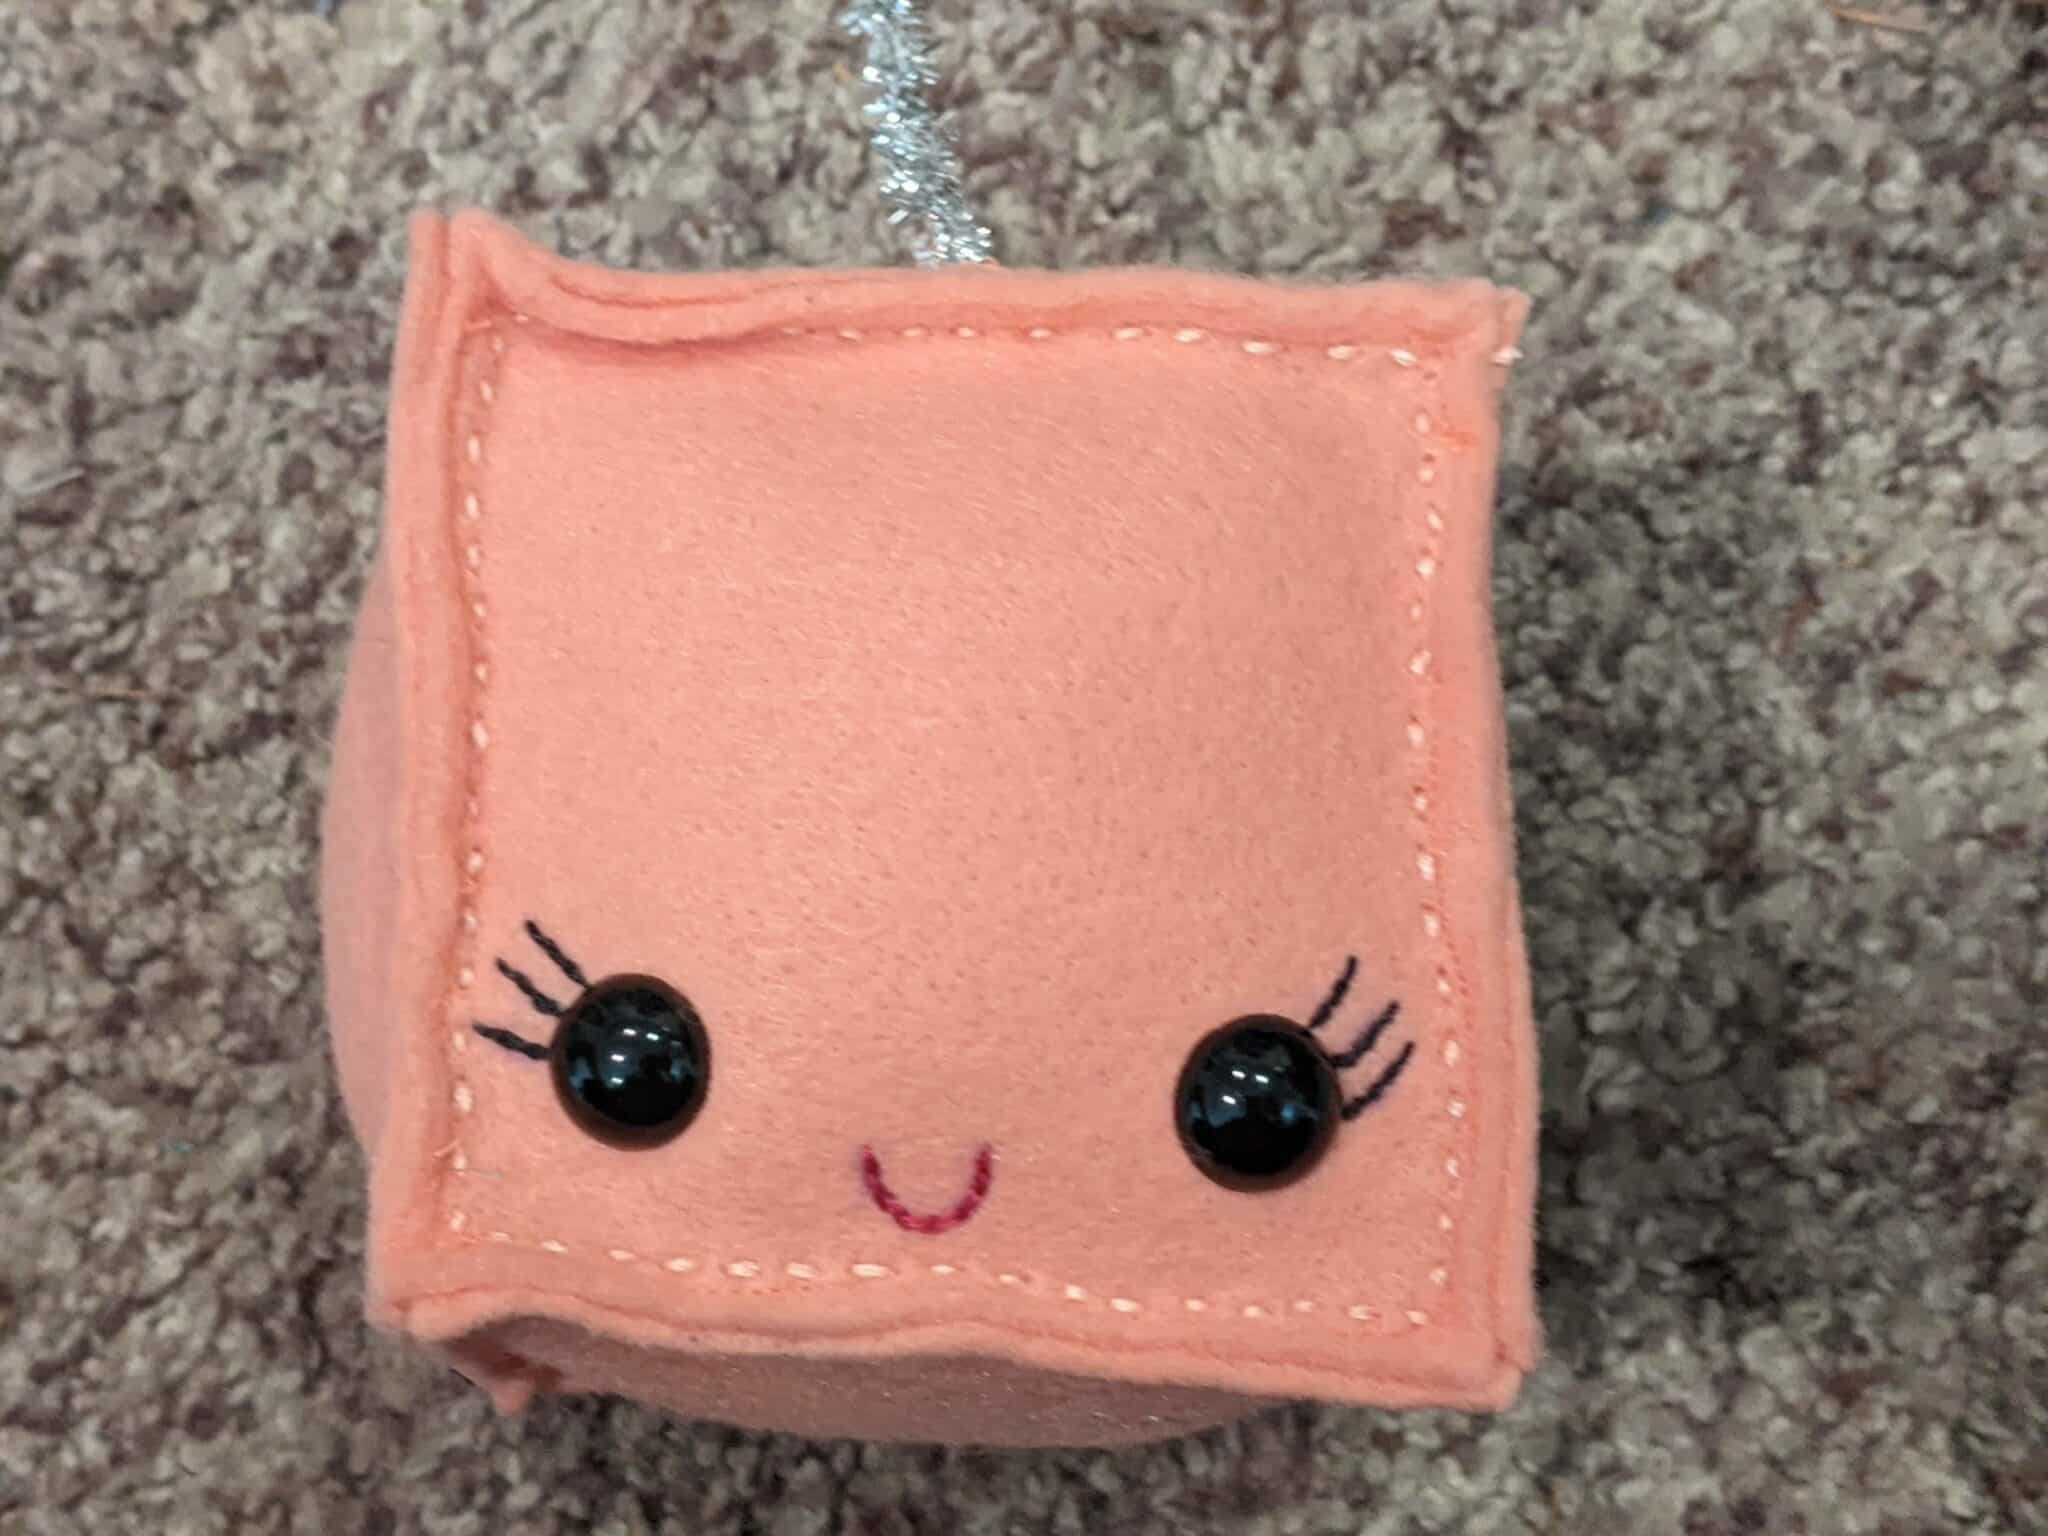
Head:
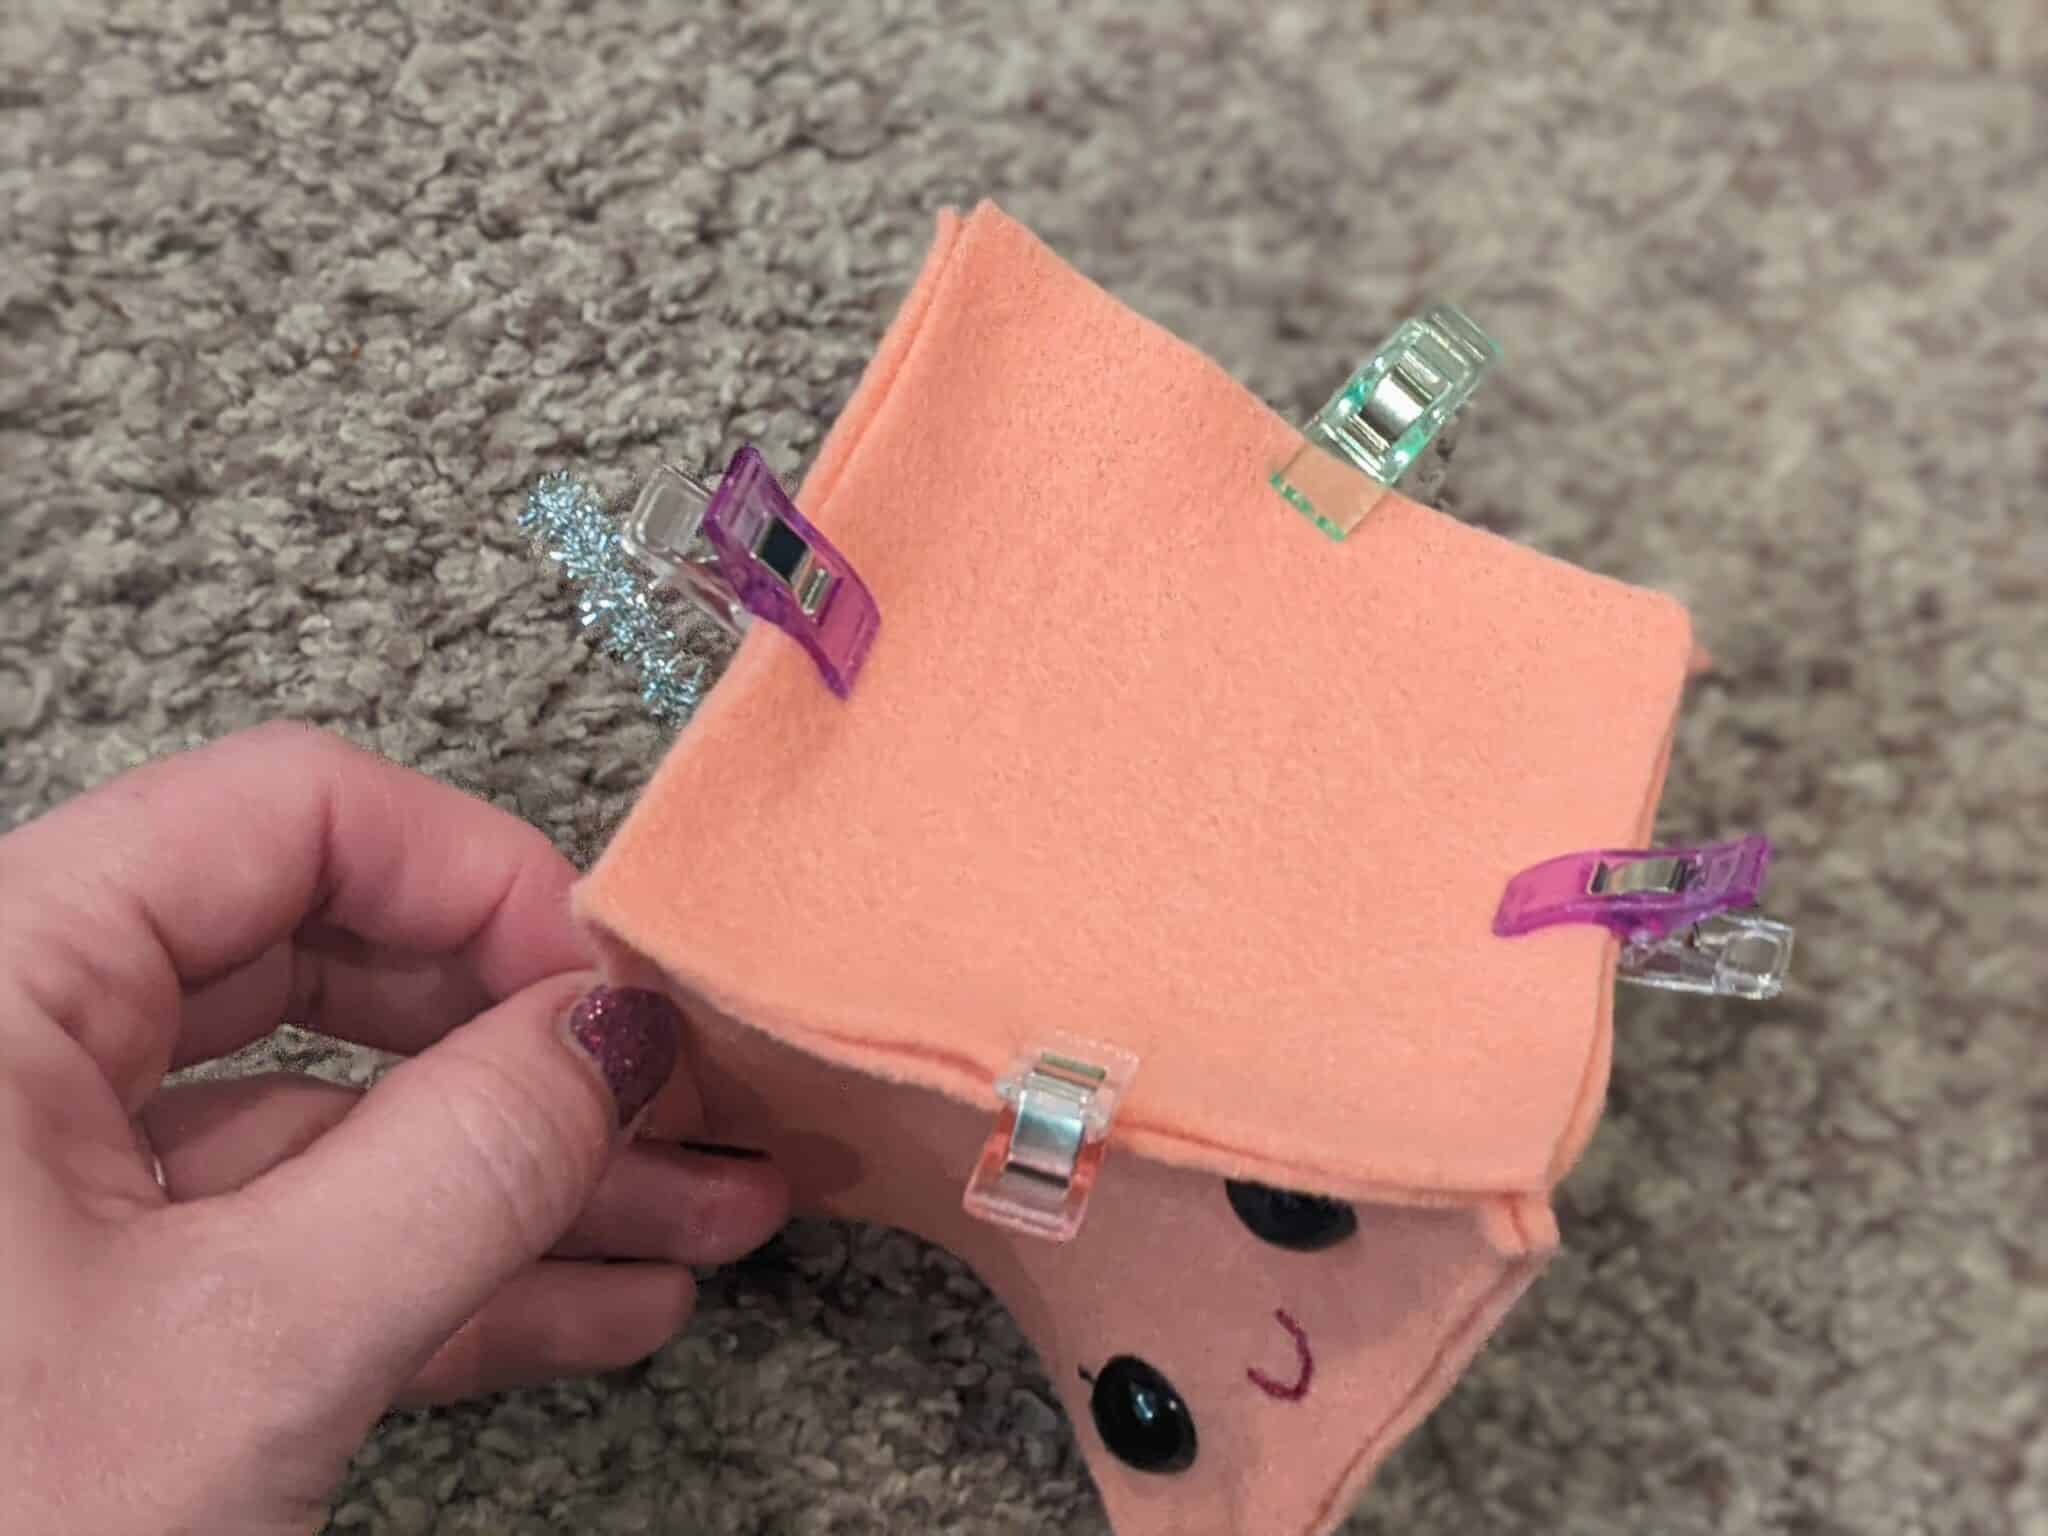
- Take your face and top of the head piece, then pin and sew them together.
- Repeat pinning and sewing the next two pieces to the previous piece until your robot head has 4 sides.
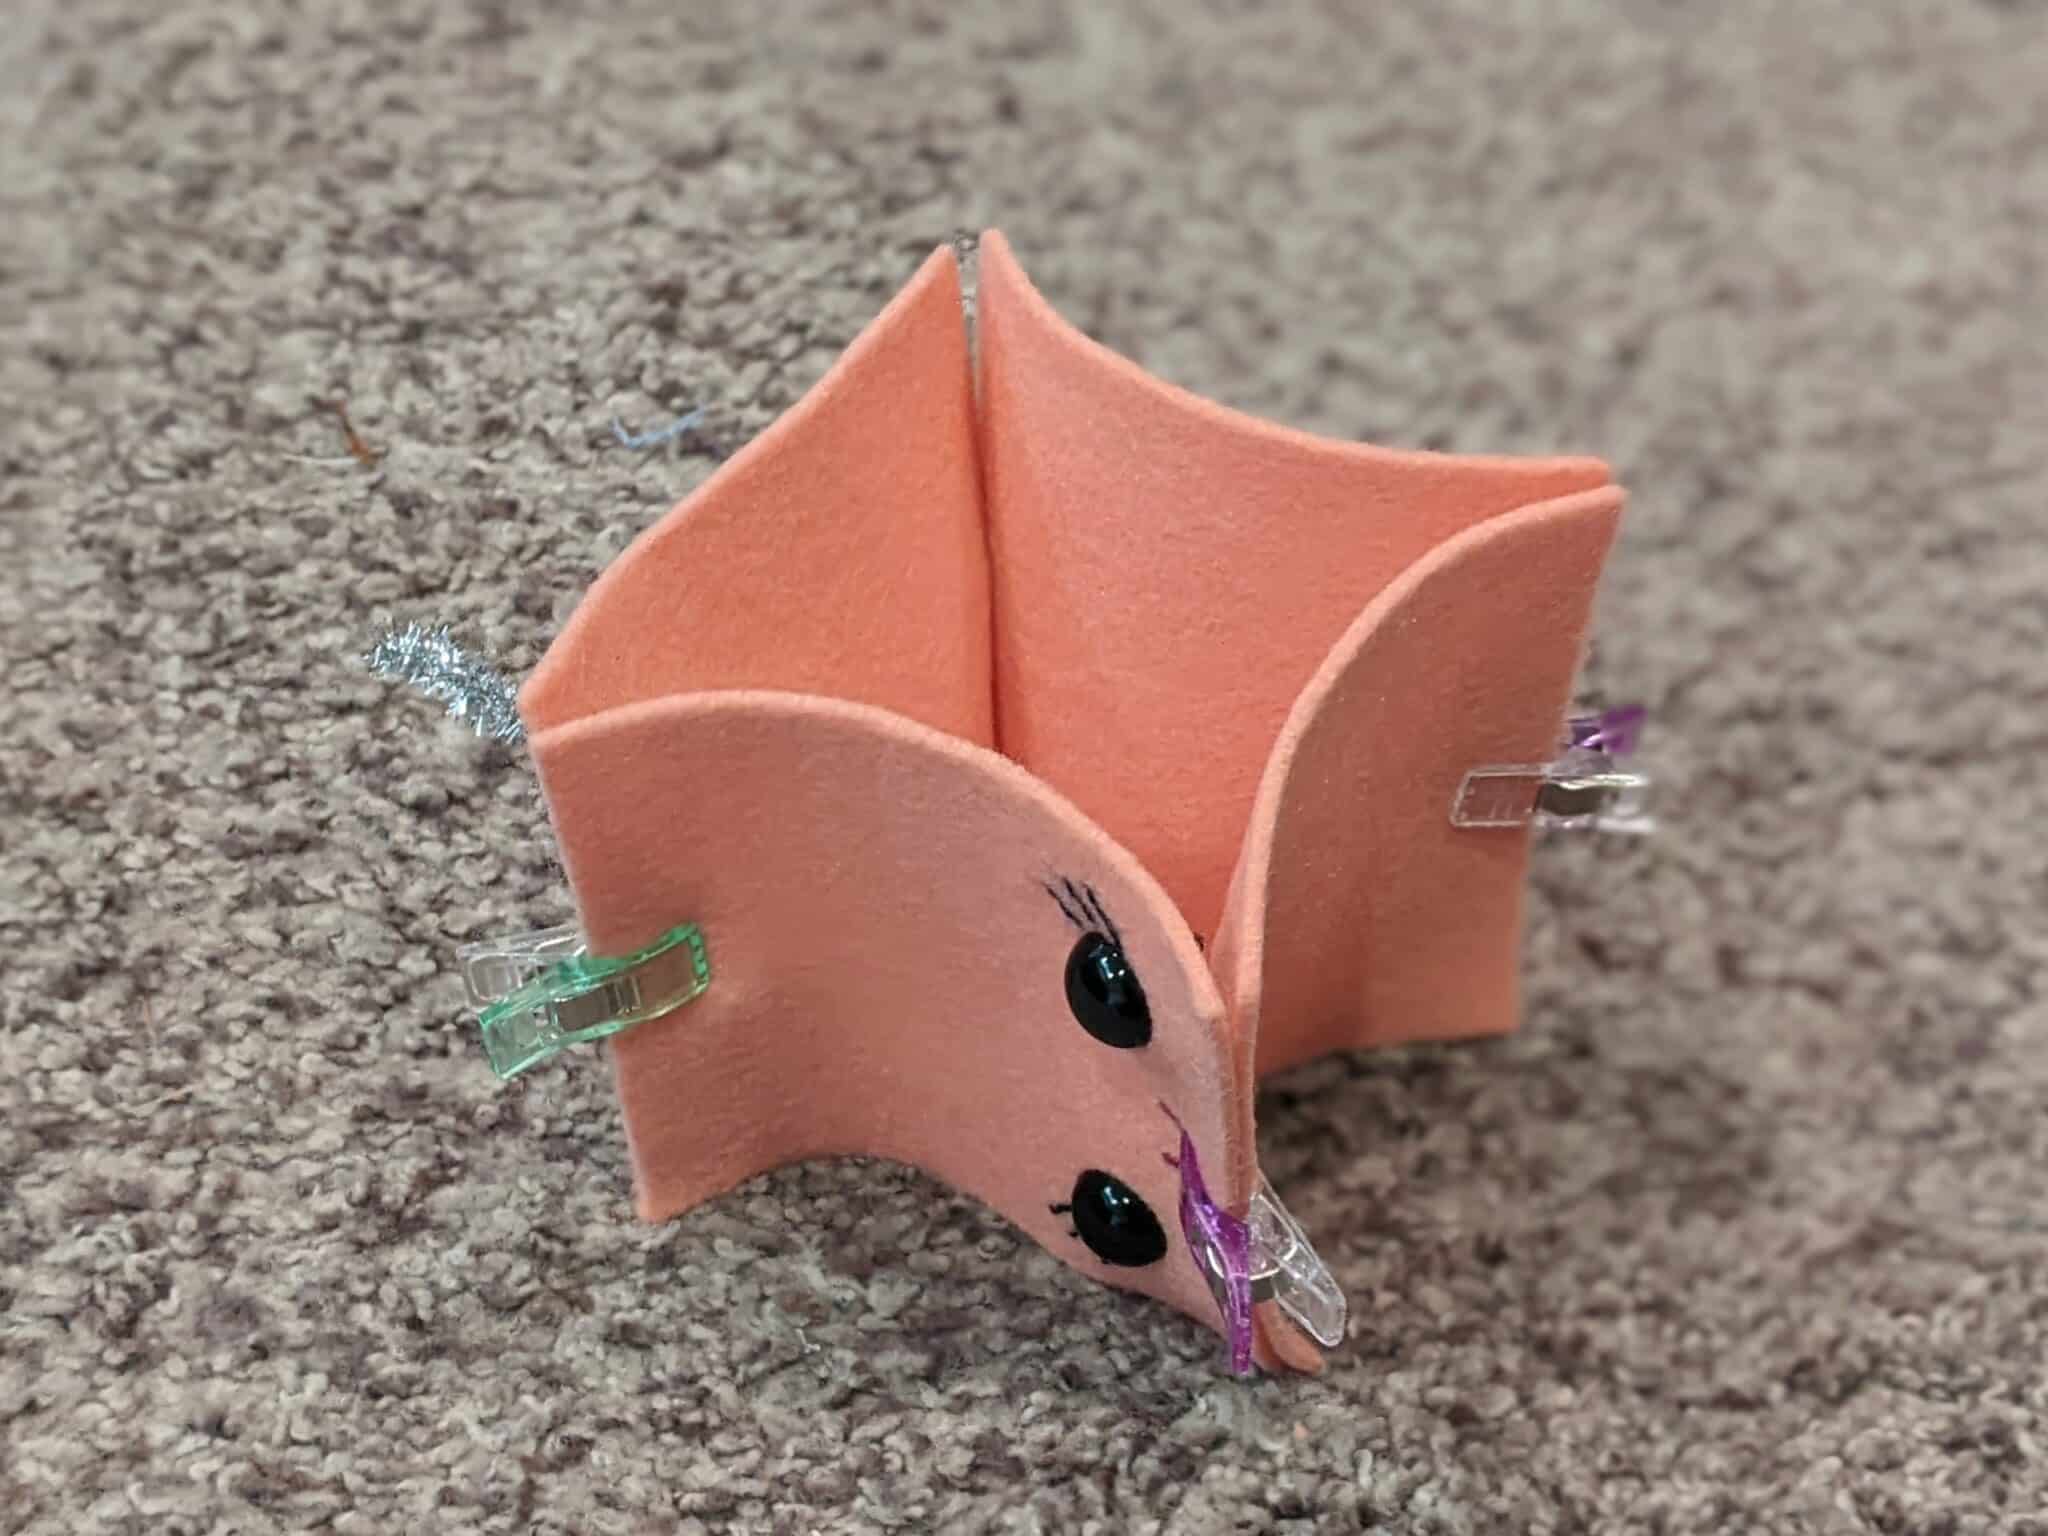
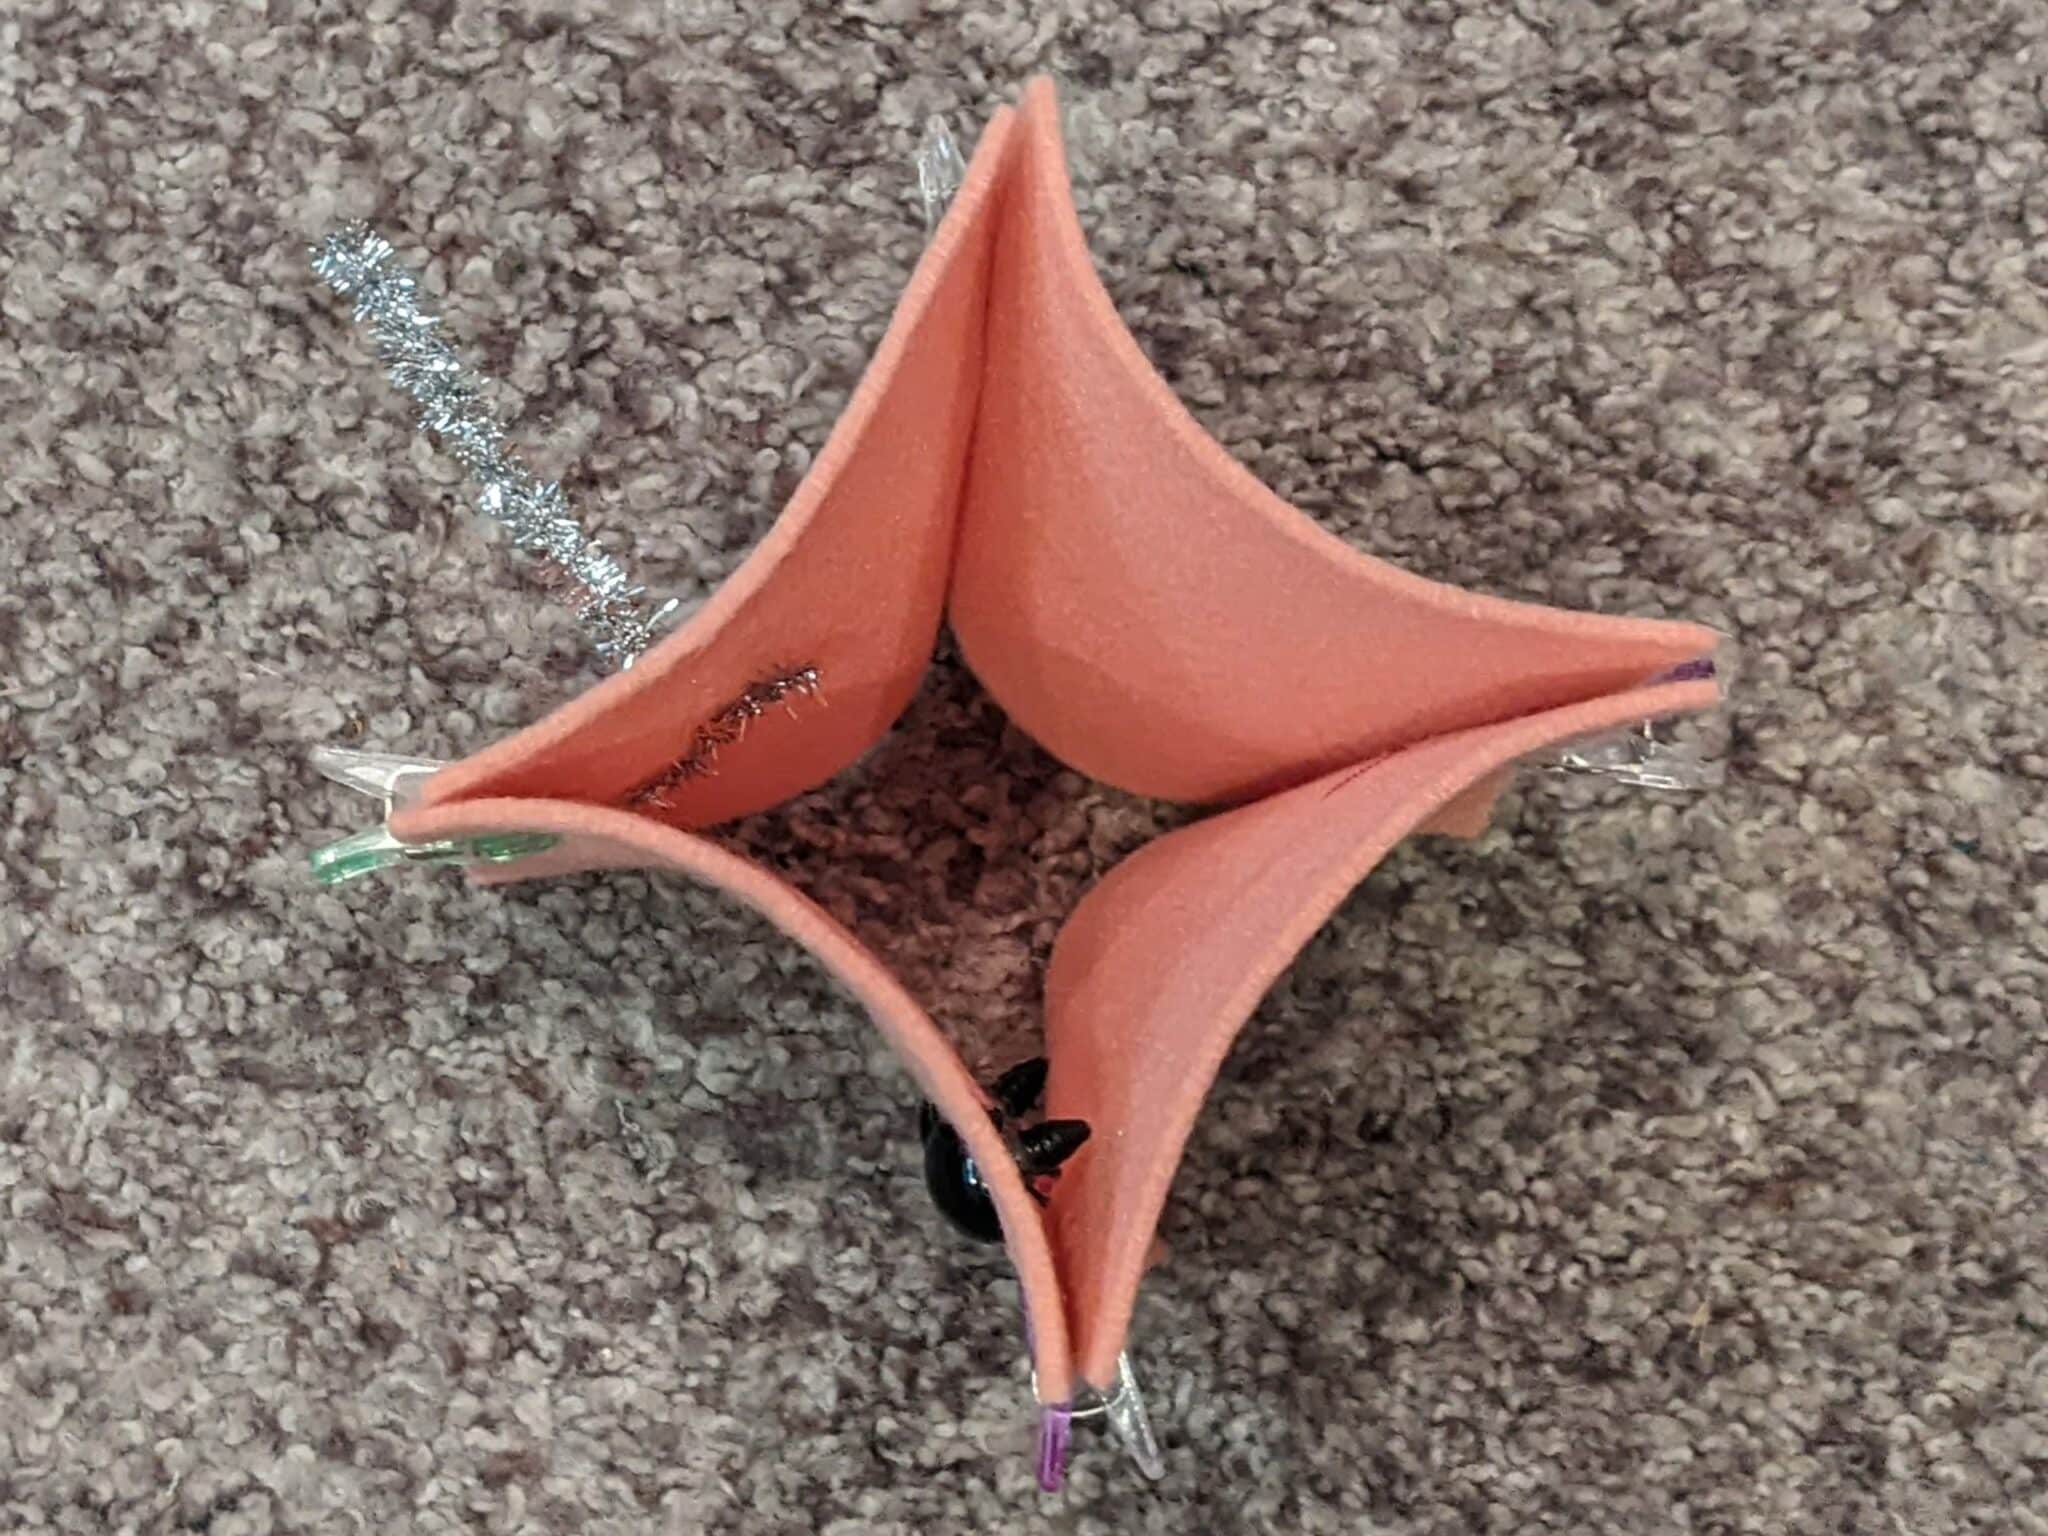
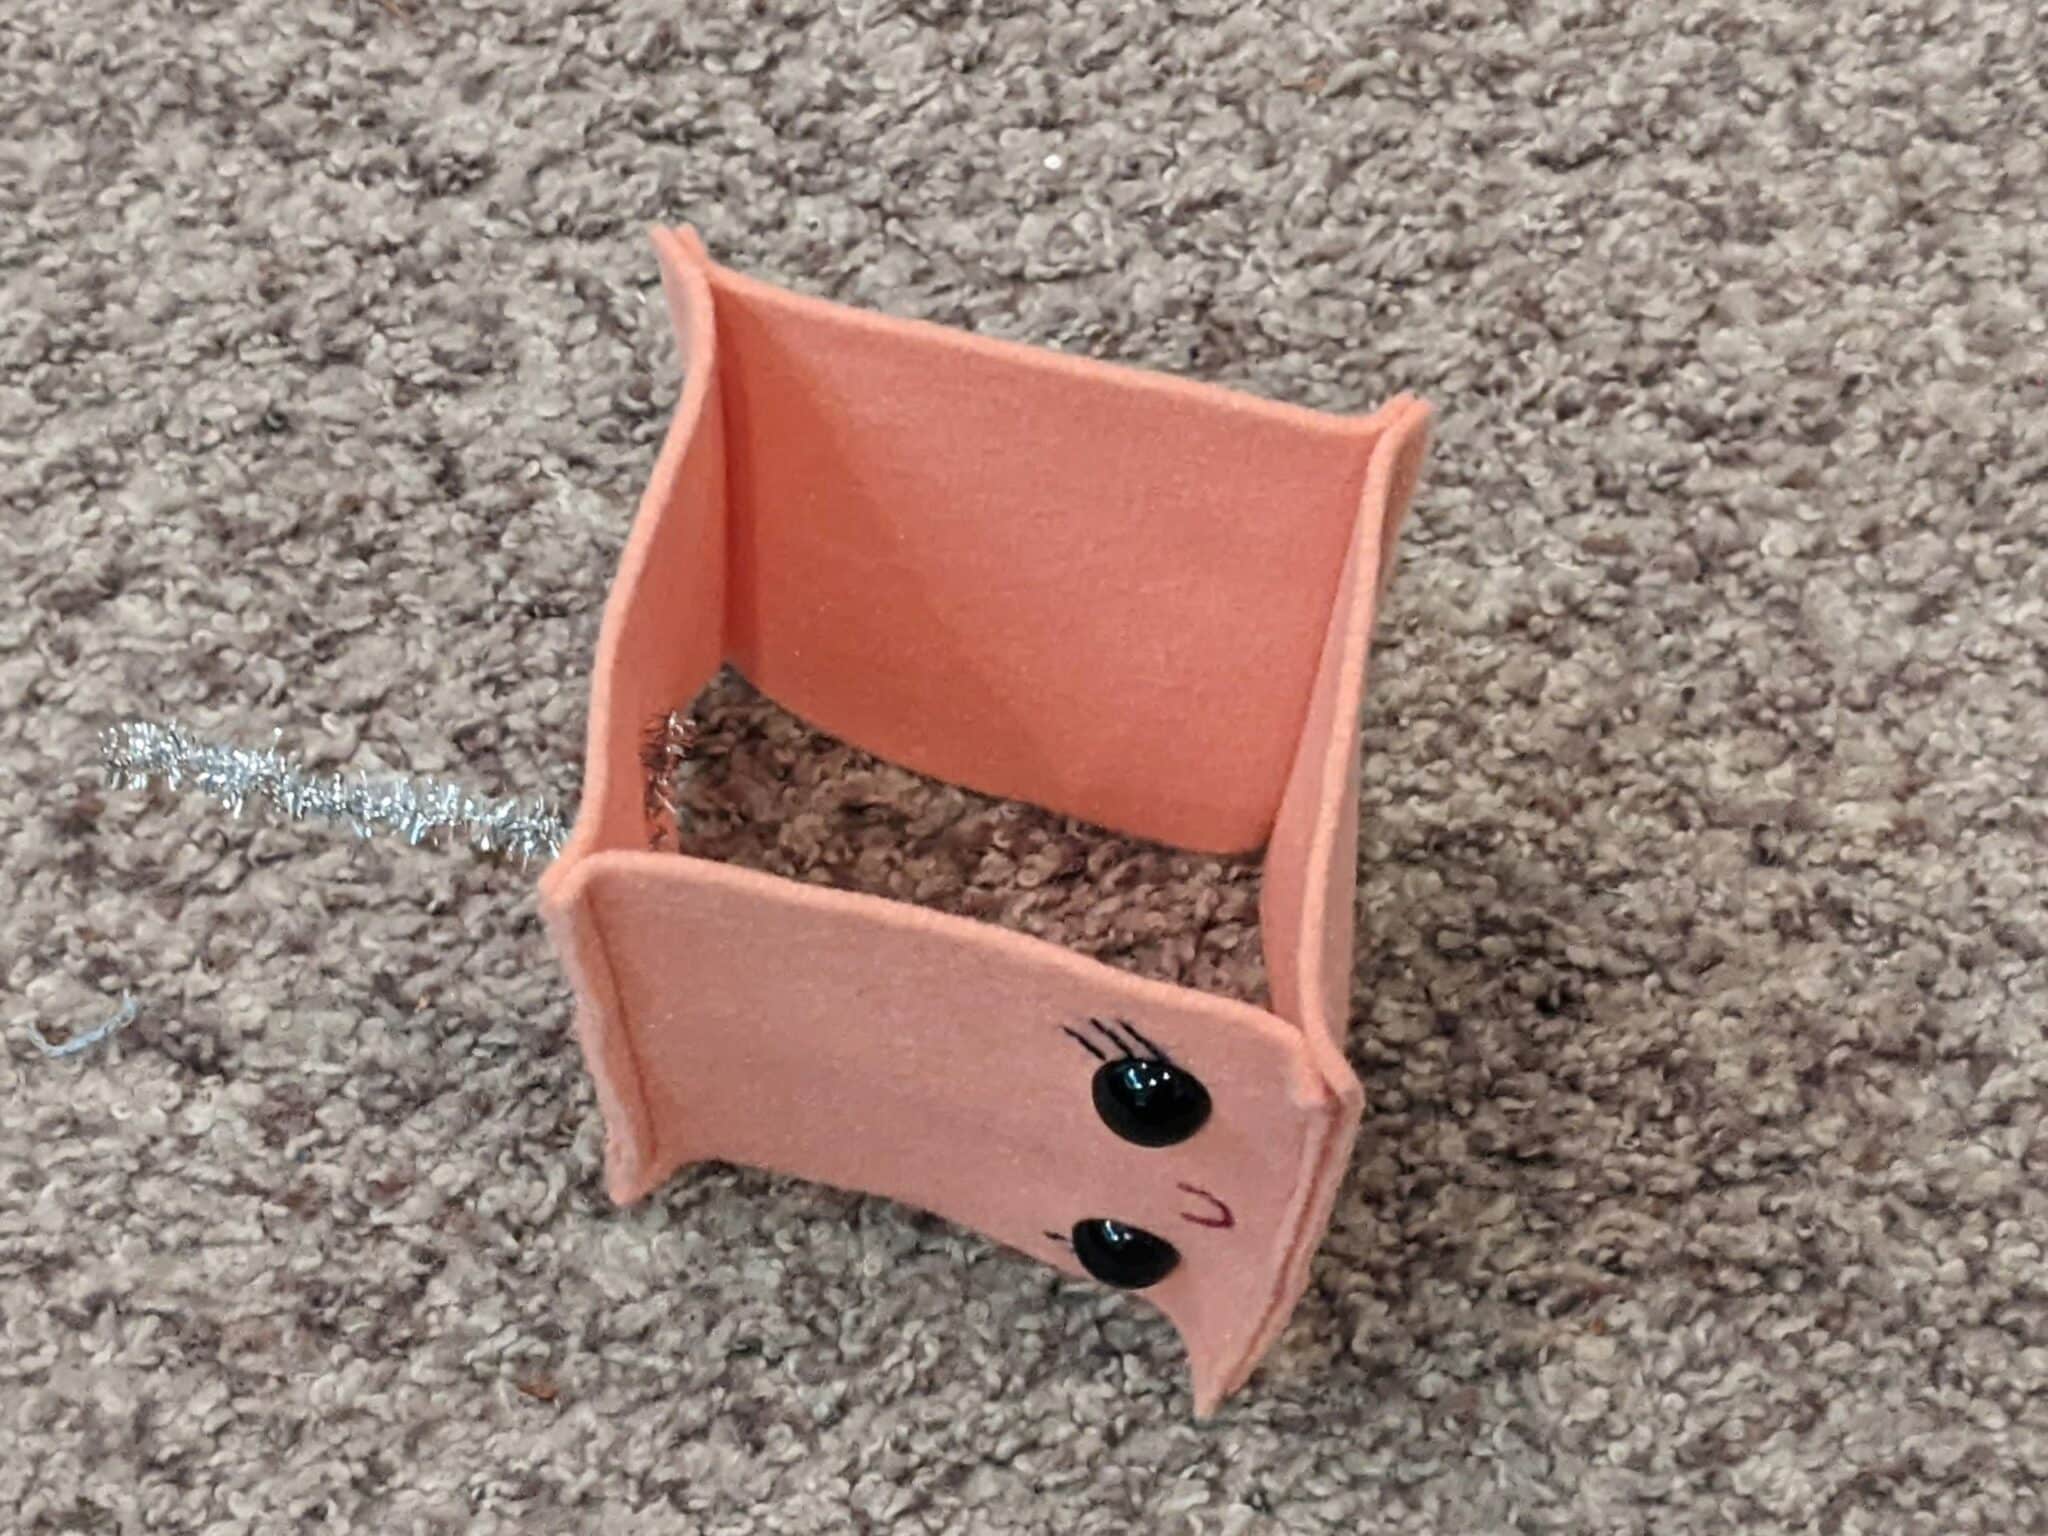
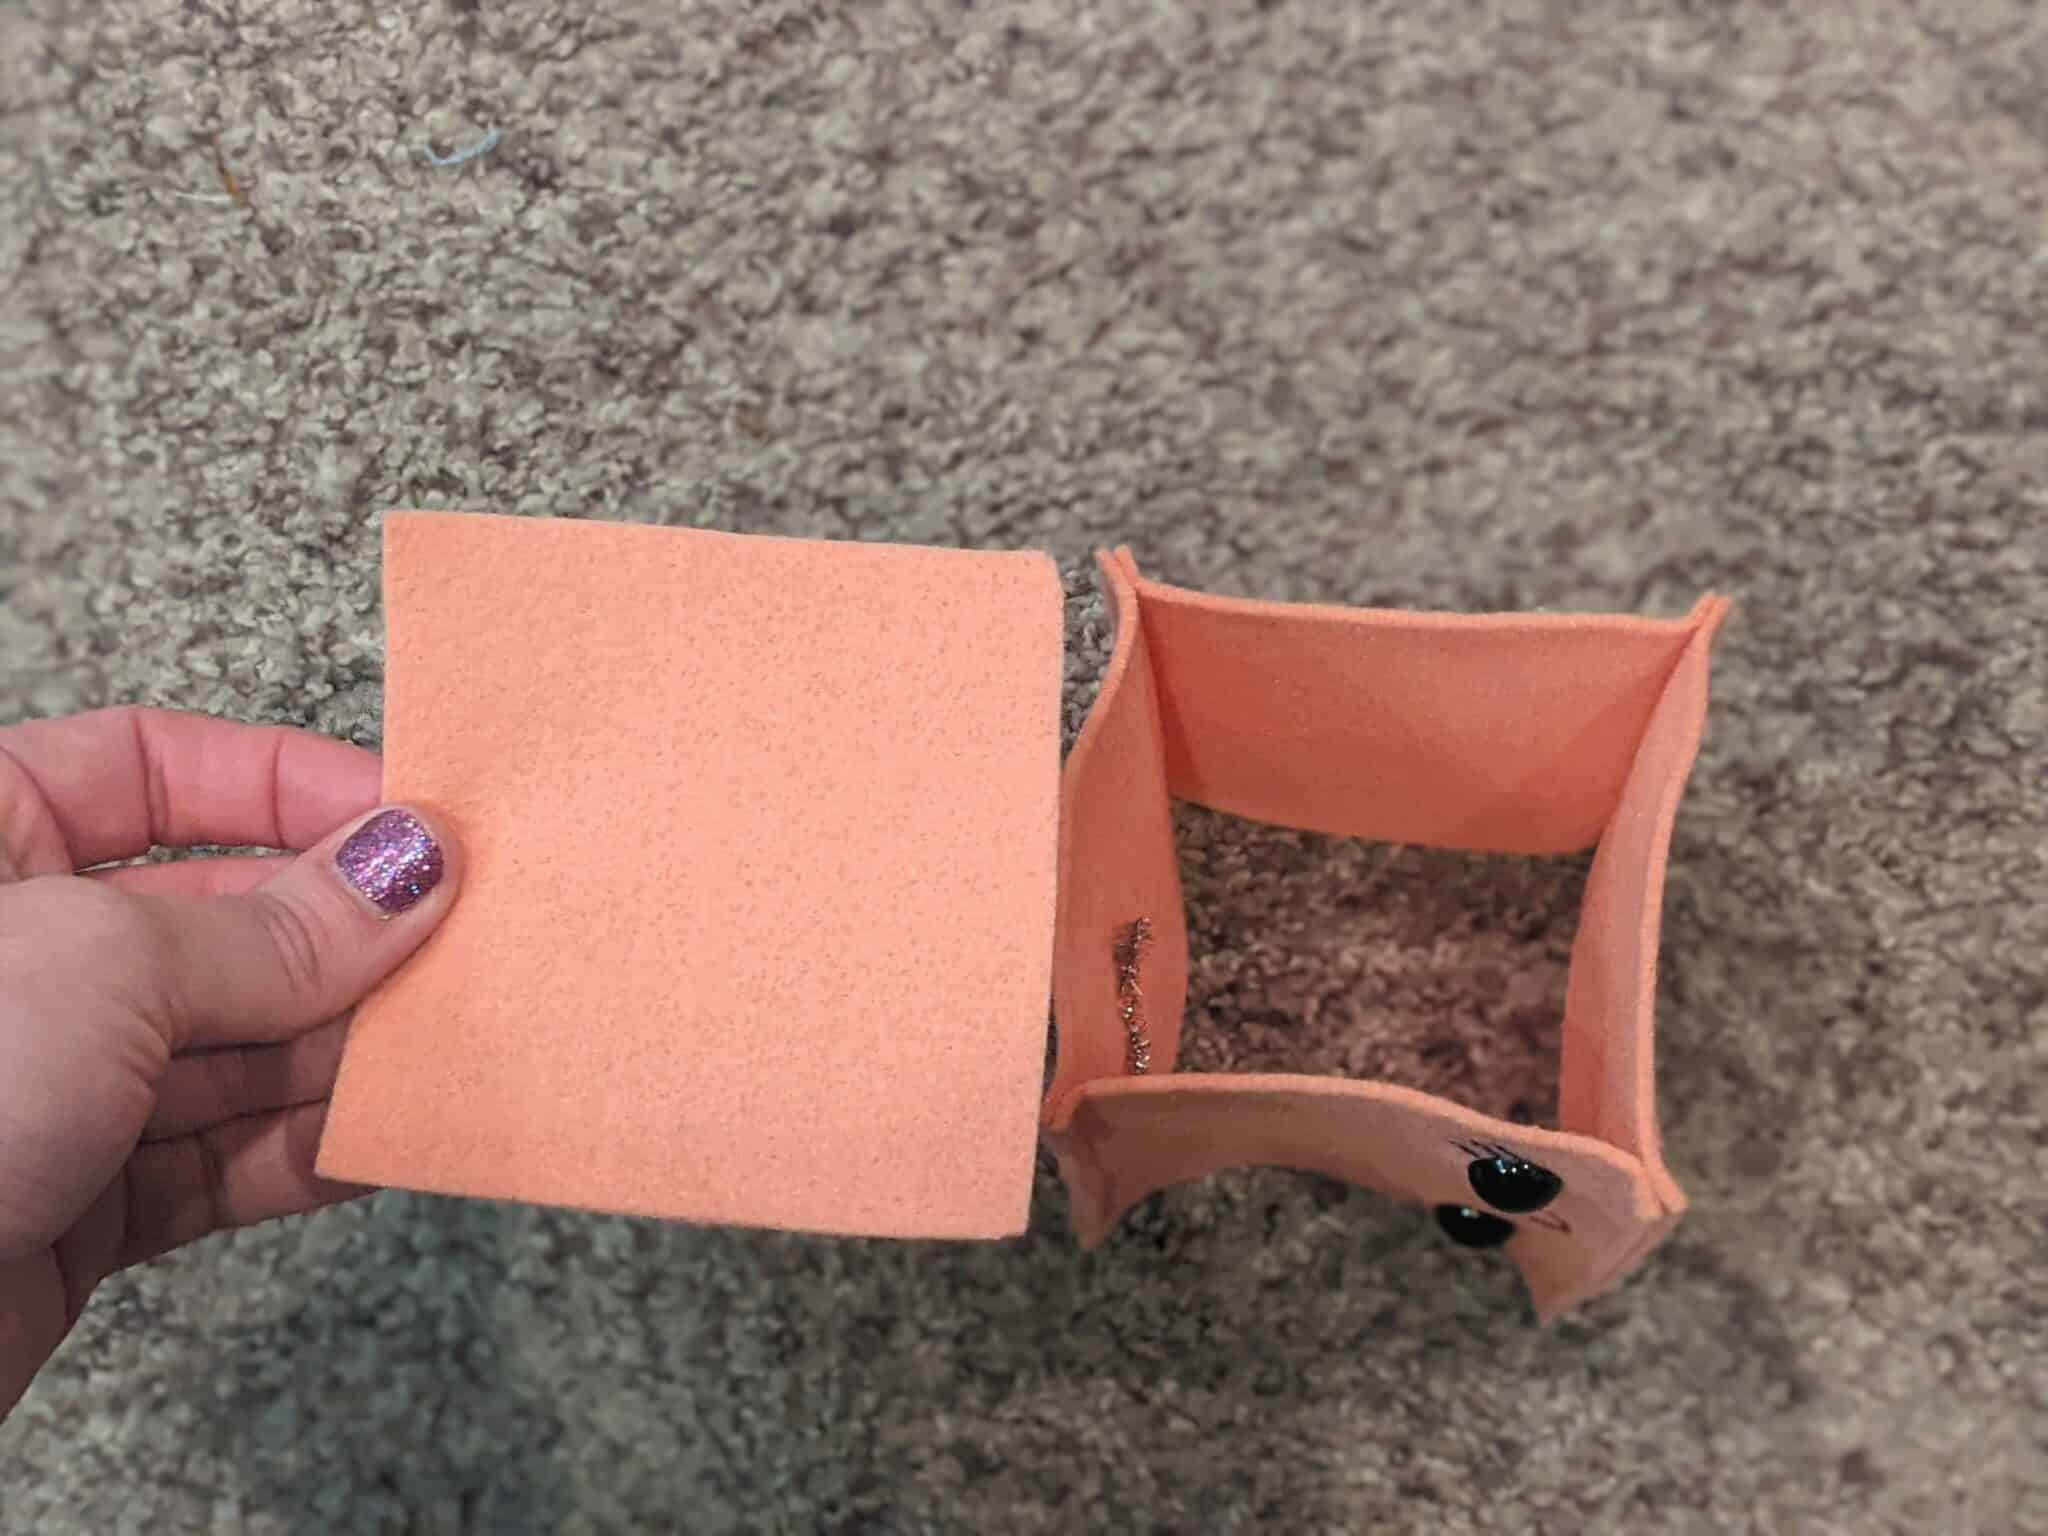
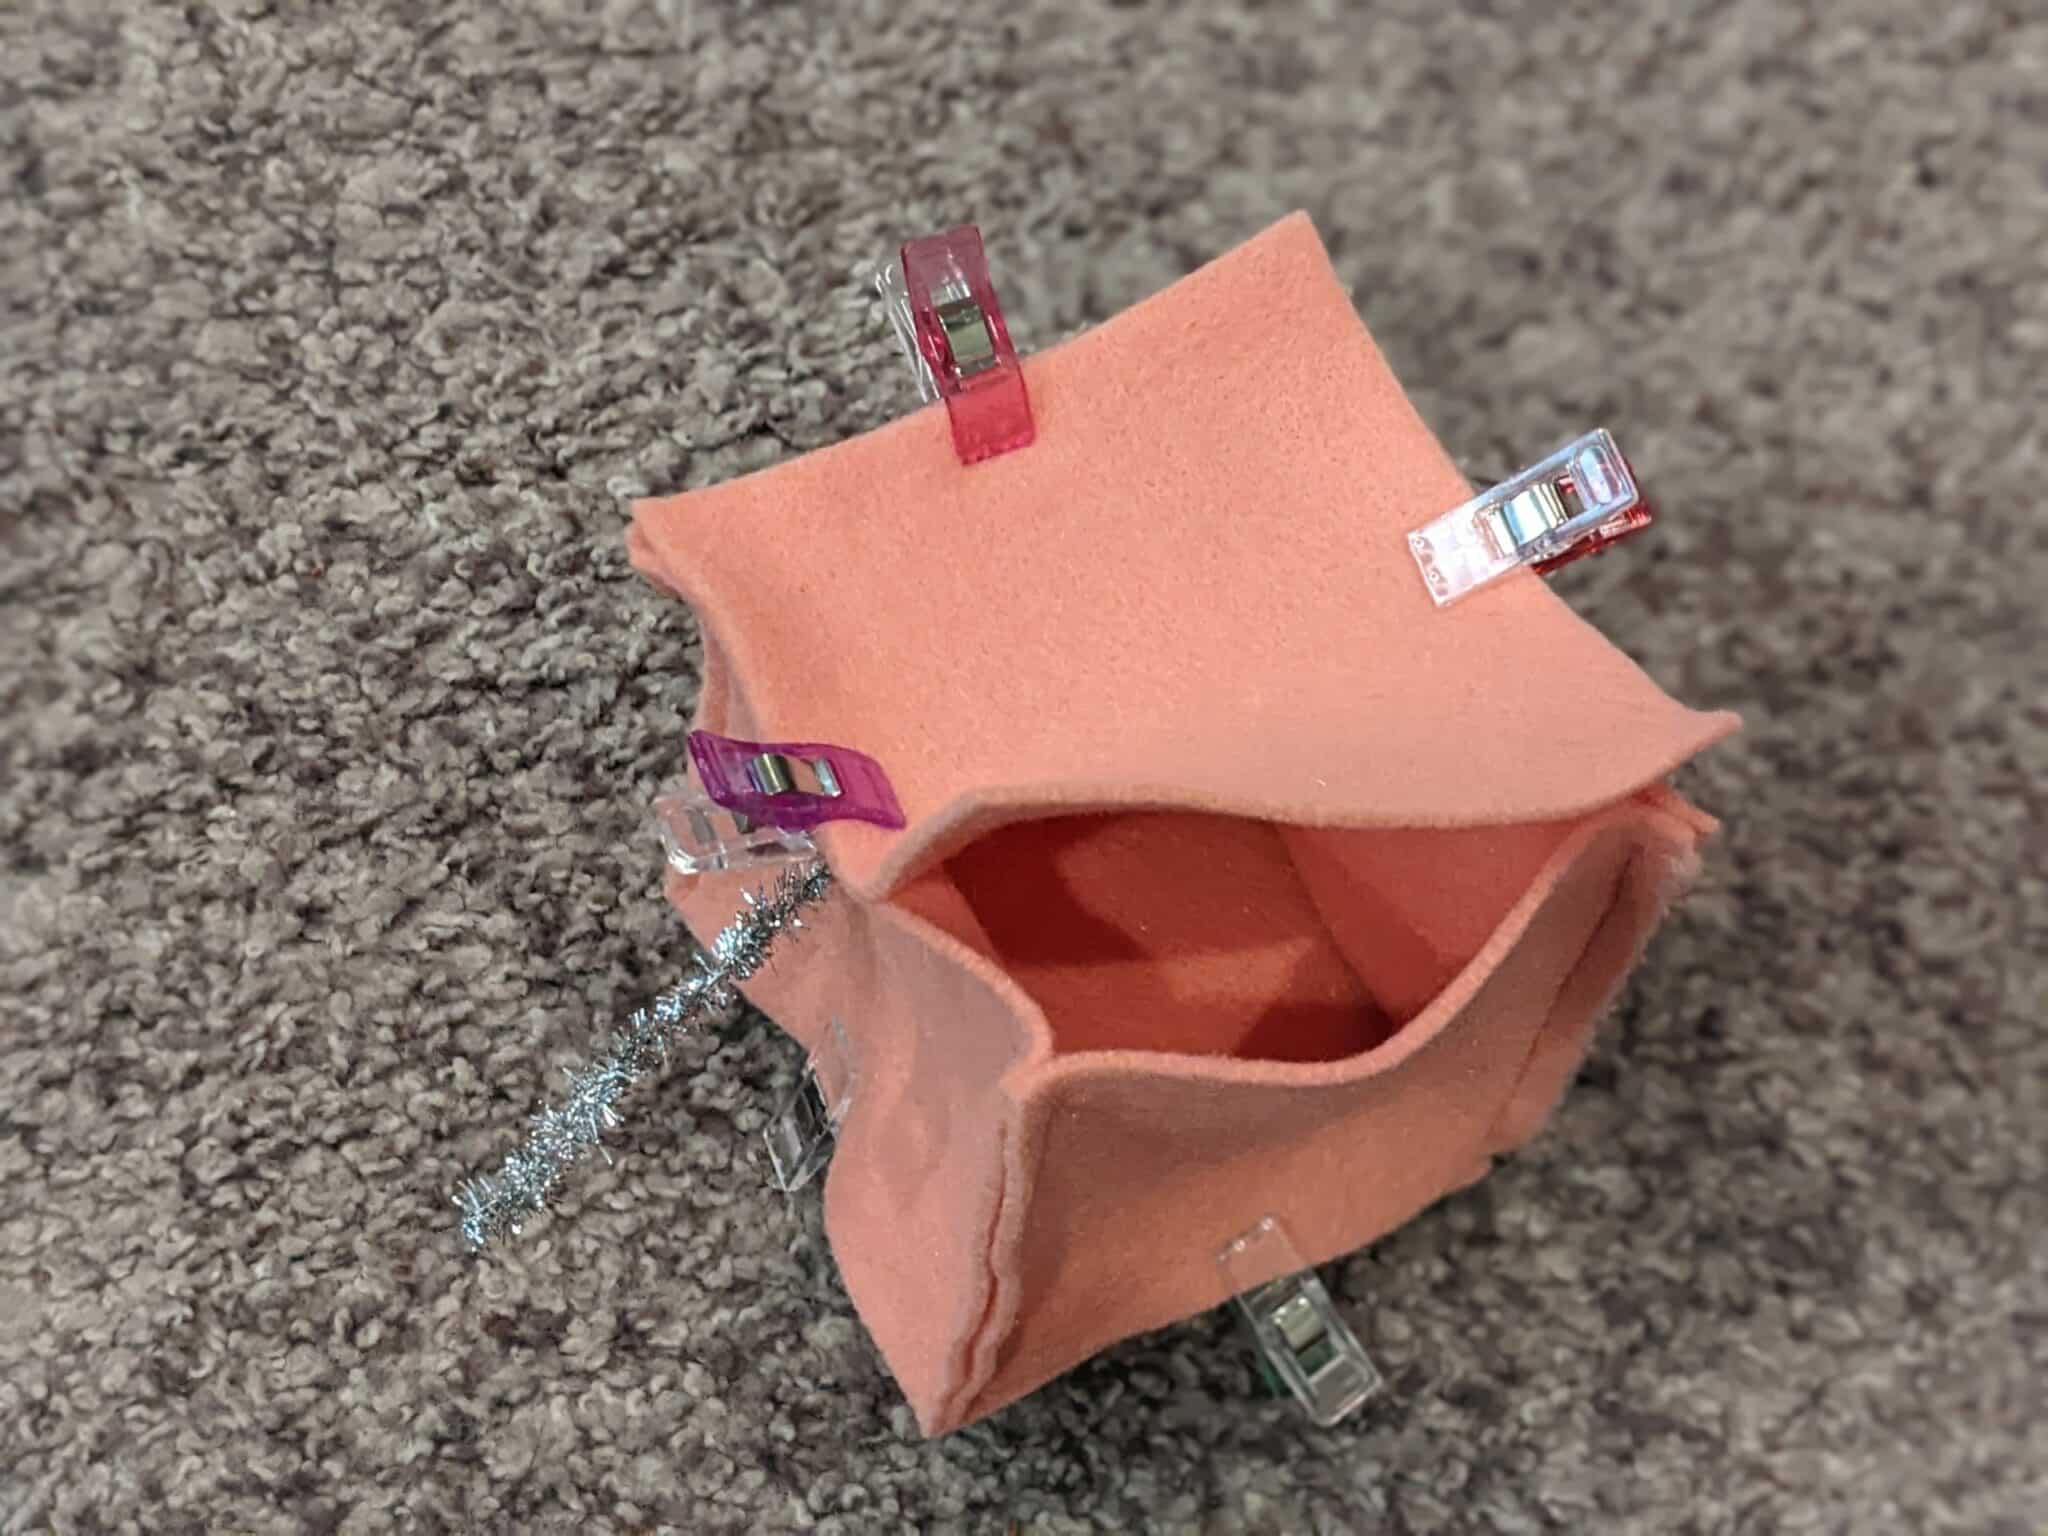
- Take another felt piece for the head and line up all of its sides with the edges of one open side of the head.
- Sew around each side getting as close to 1/4″ away from the edge as you can if using a machine.
- Repeat the same on the opposite side of the head leaving one edge open for stuffing.
- If there is space between your stitching at the corners, use a needle and thread to stitch them closed.
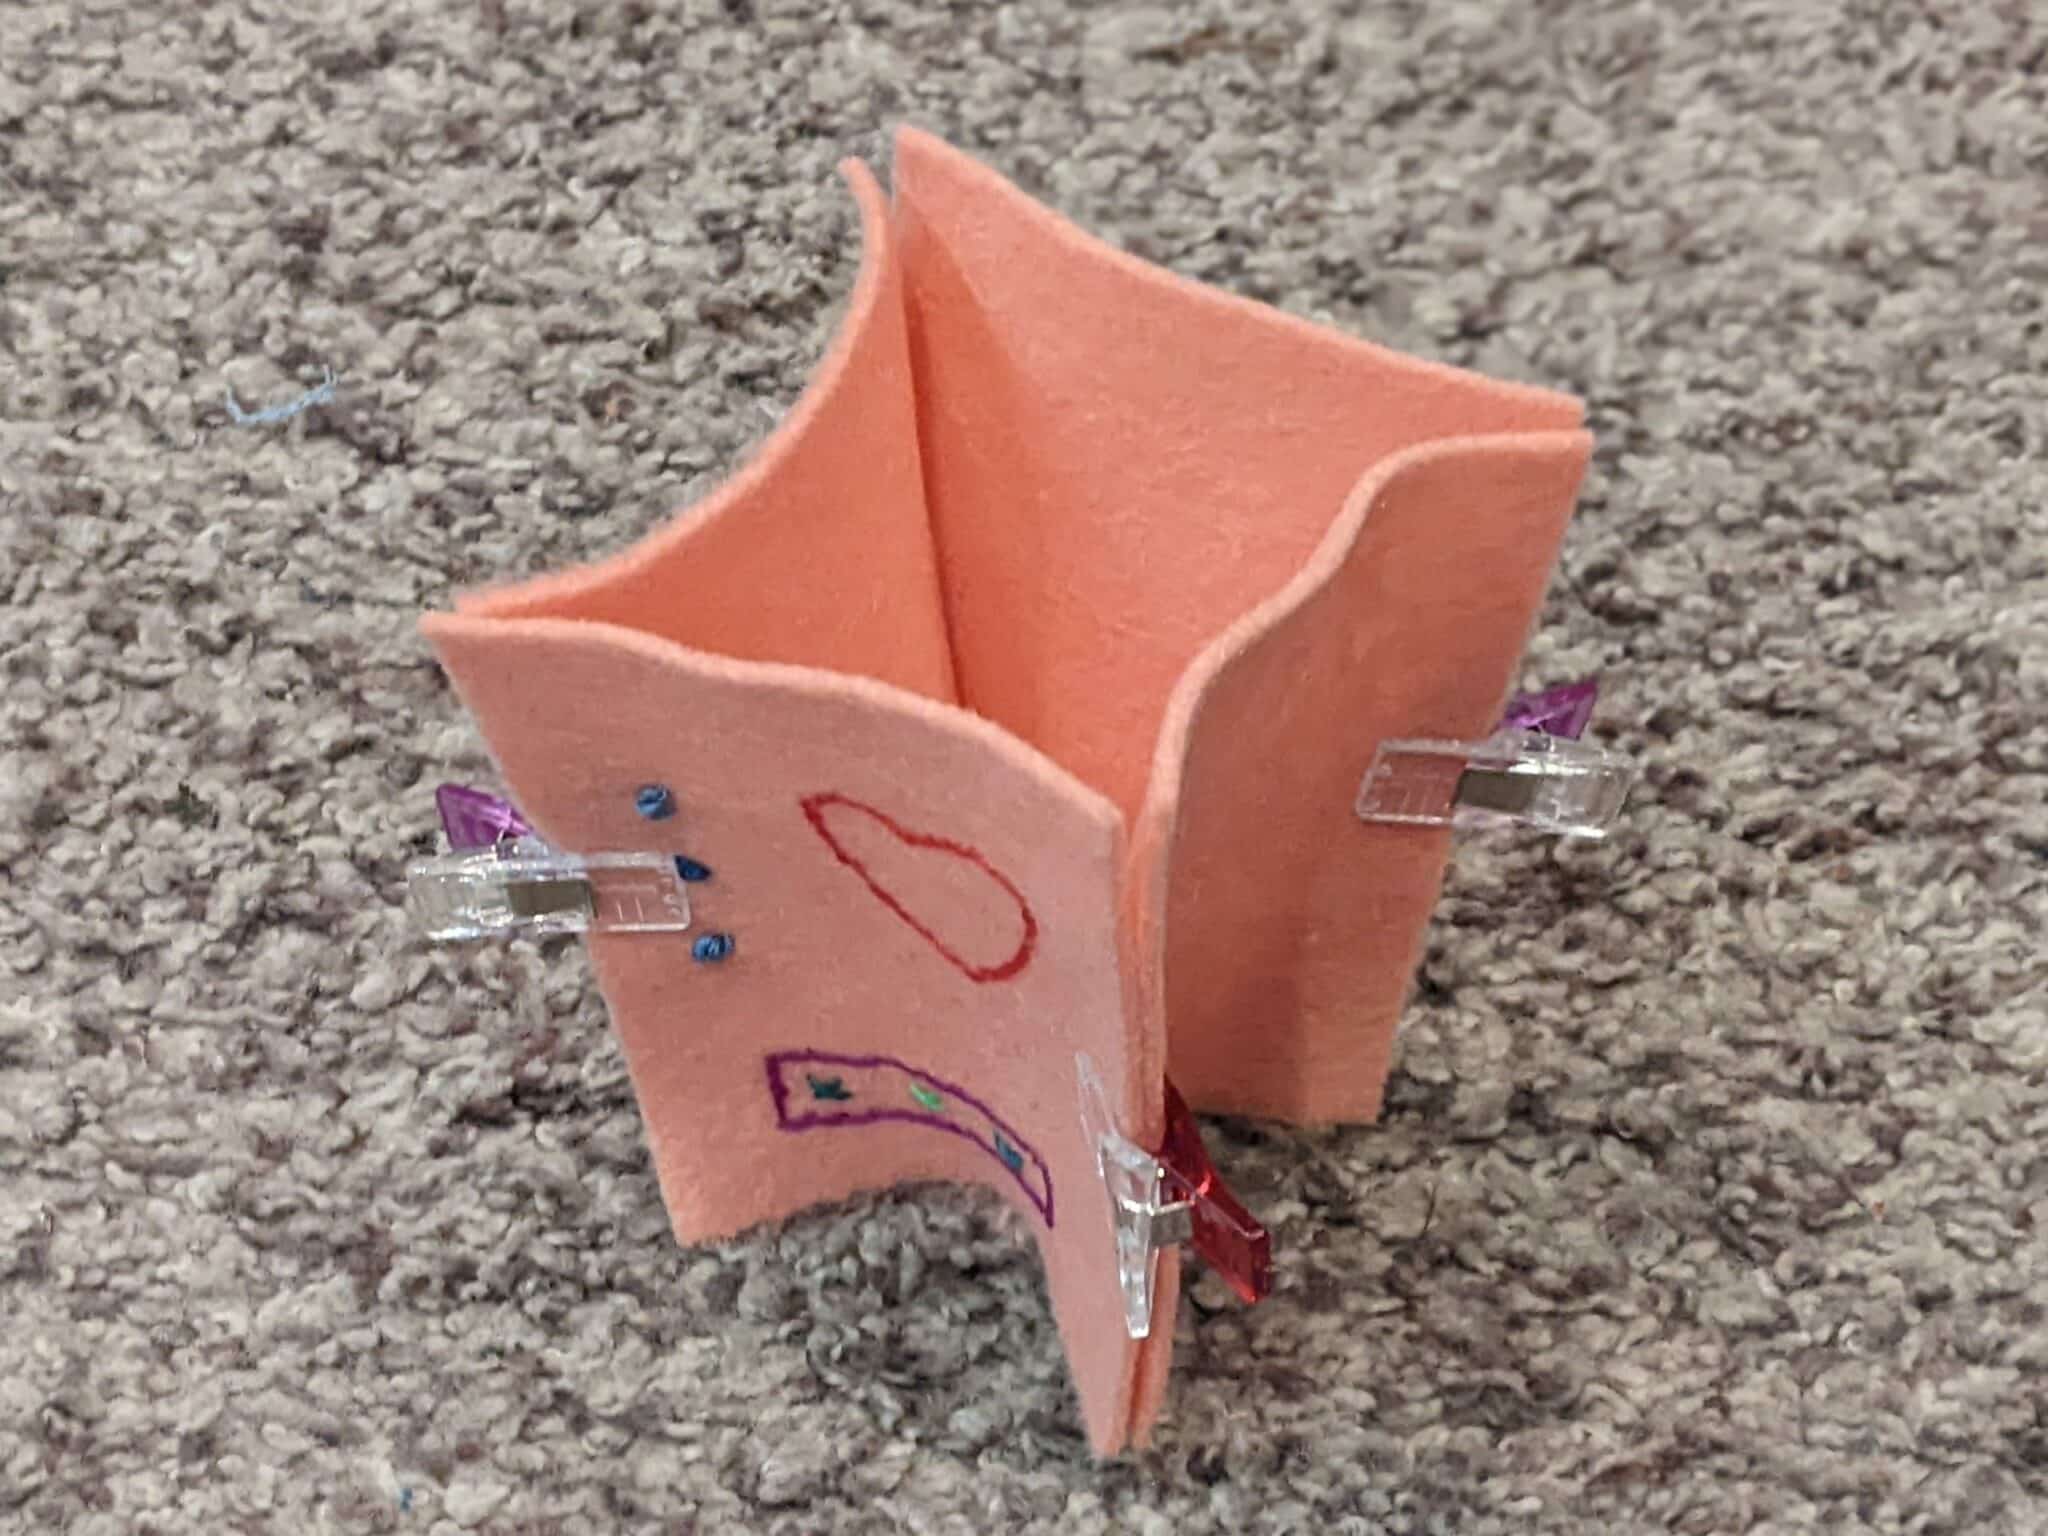
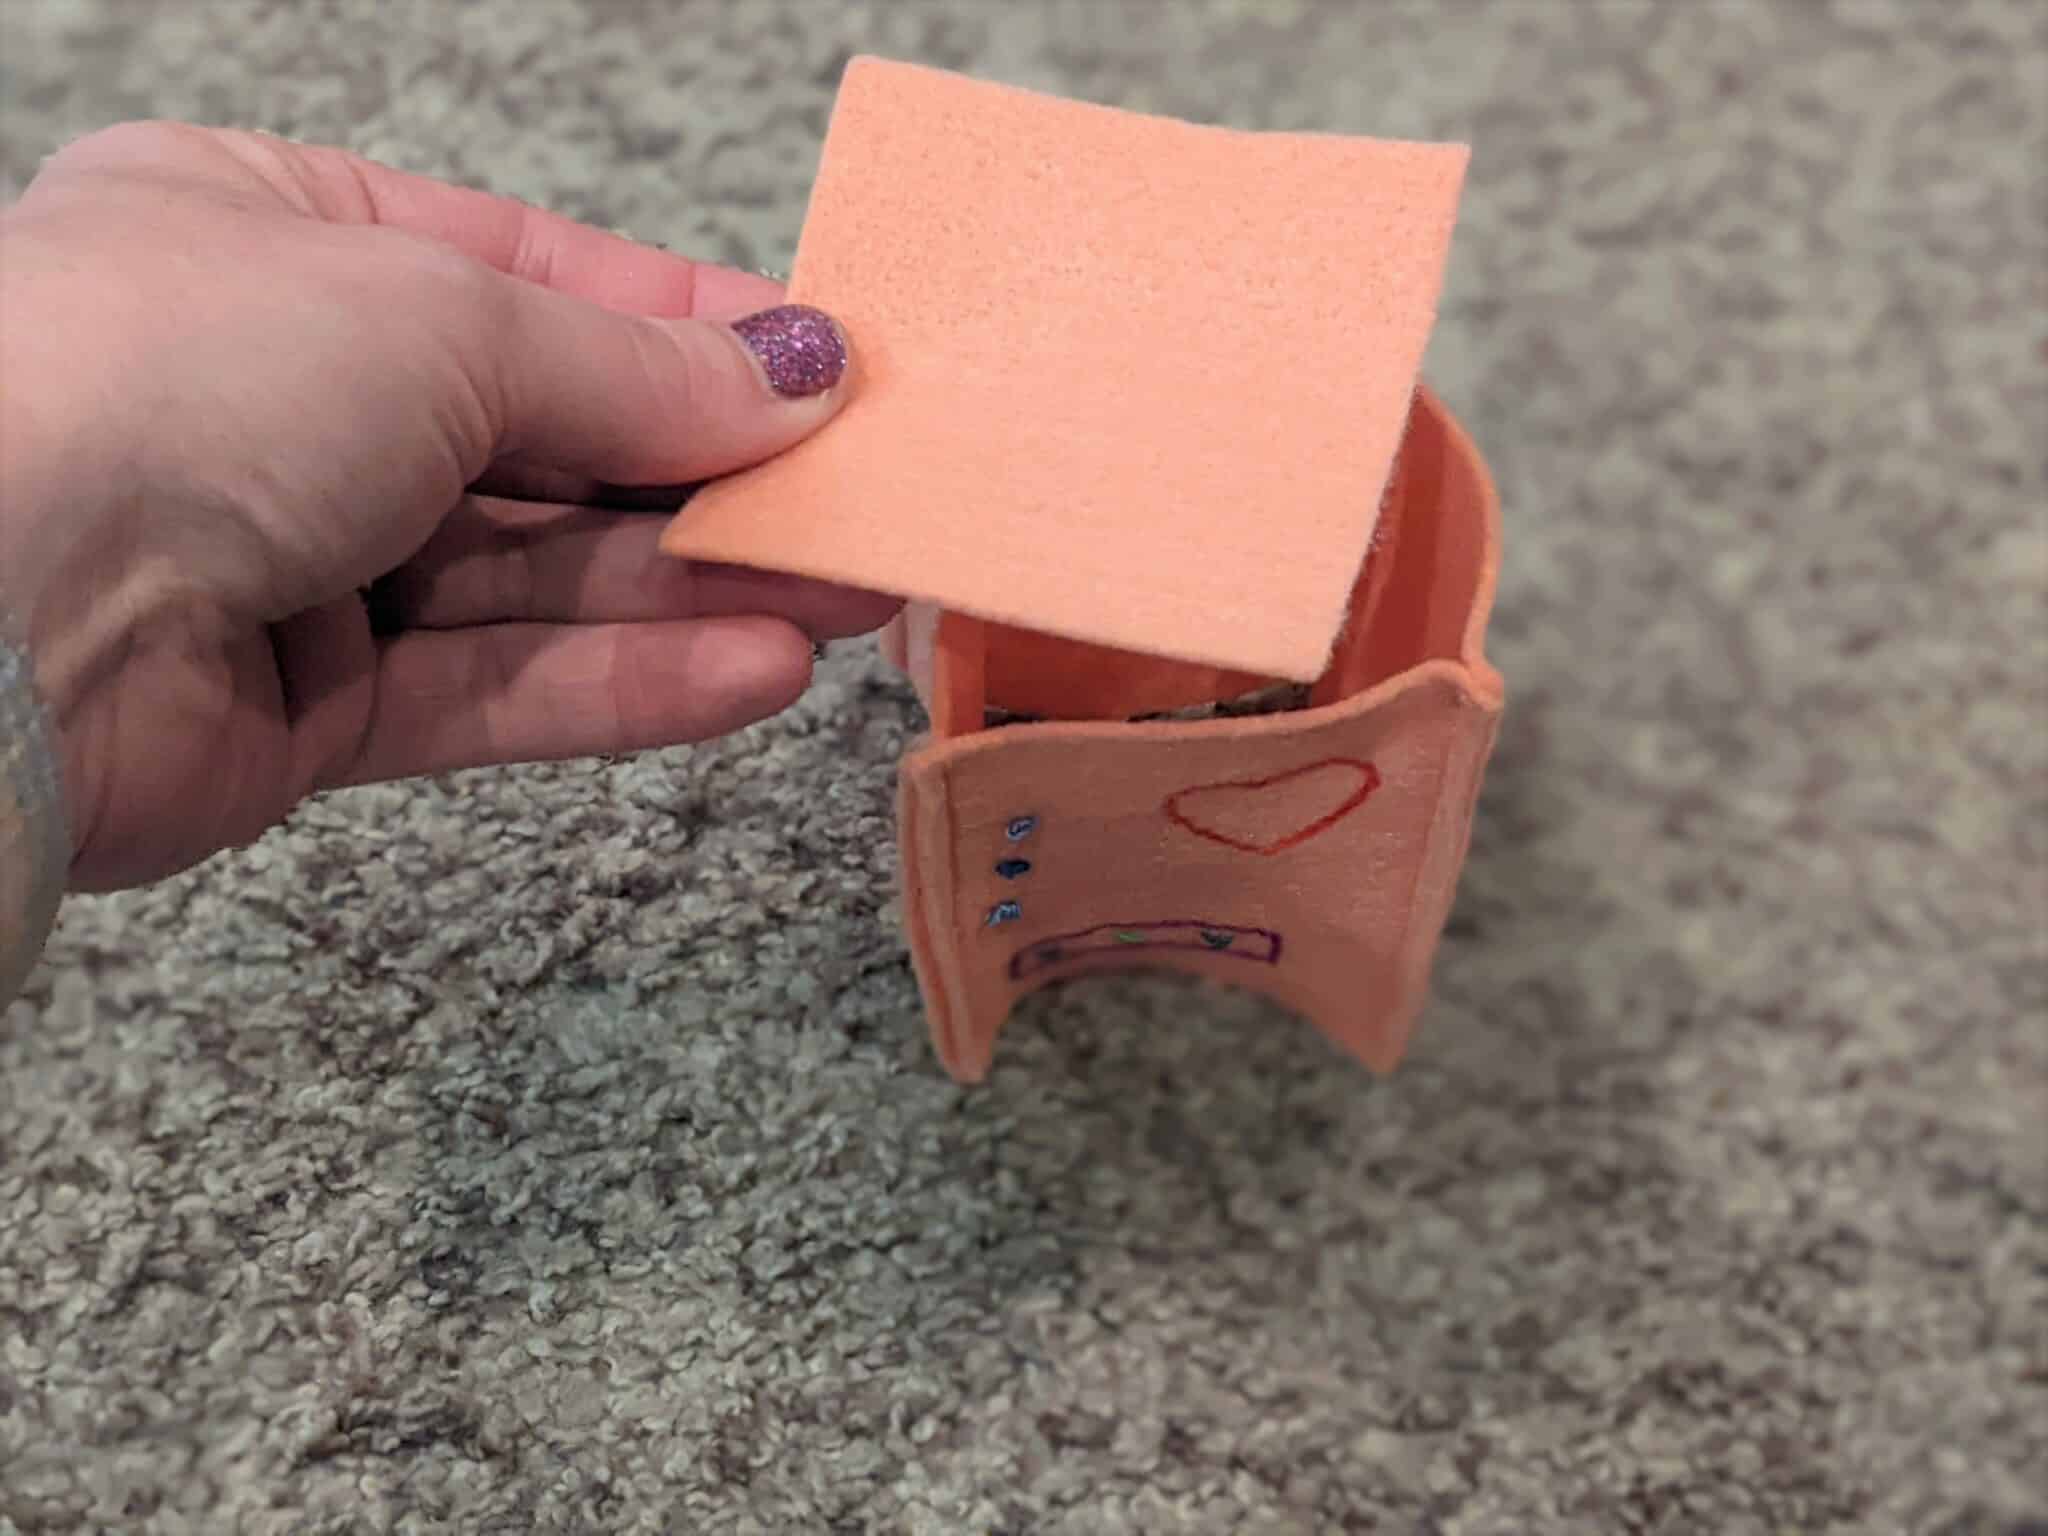
Body:
- Repeat the same steps to attach all of the sides of the body together. Make sure to separate the two smaller square pieces for the top and bottom as you connect the sides together.
- Leave one edge of the bottom open for stuffing.
Hands and Feet:
You will sew the hands and feet together the same way as the head. (I forgot to take pictures of this part.) Again, you can use a sewing machine or needle and thread here. It was easier for me to just use a needle and thread to attach the last two sides. Remember to leave an edge open for stuffing.
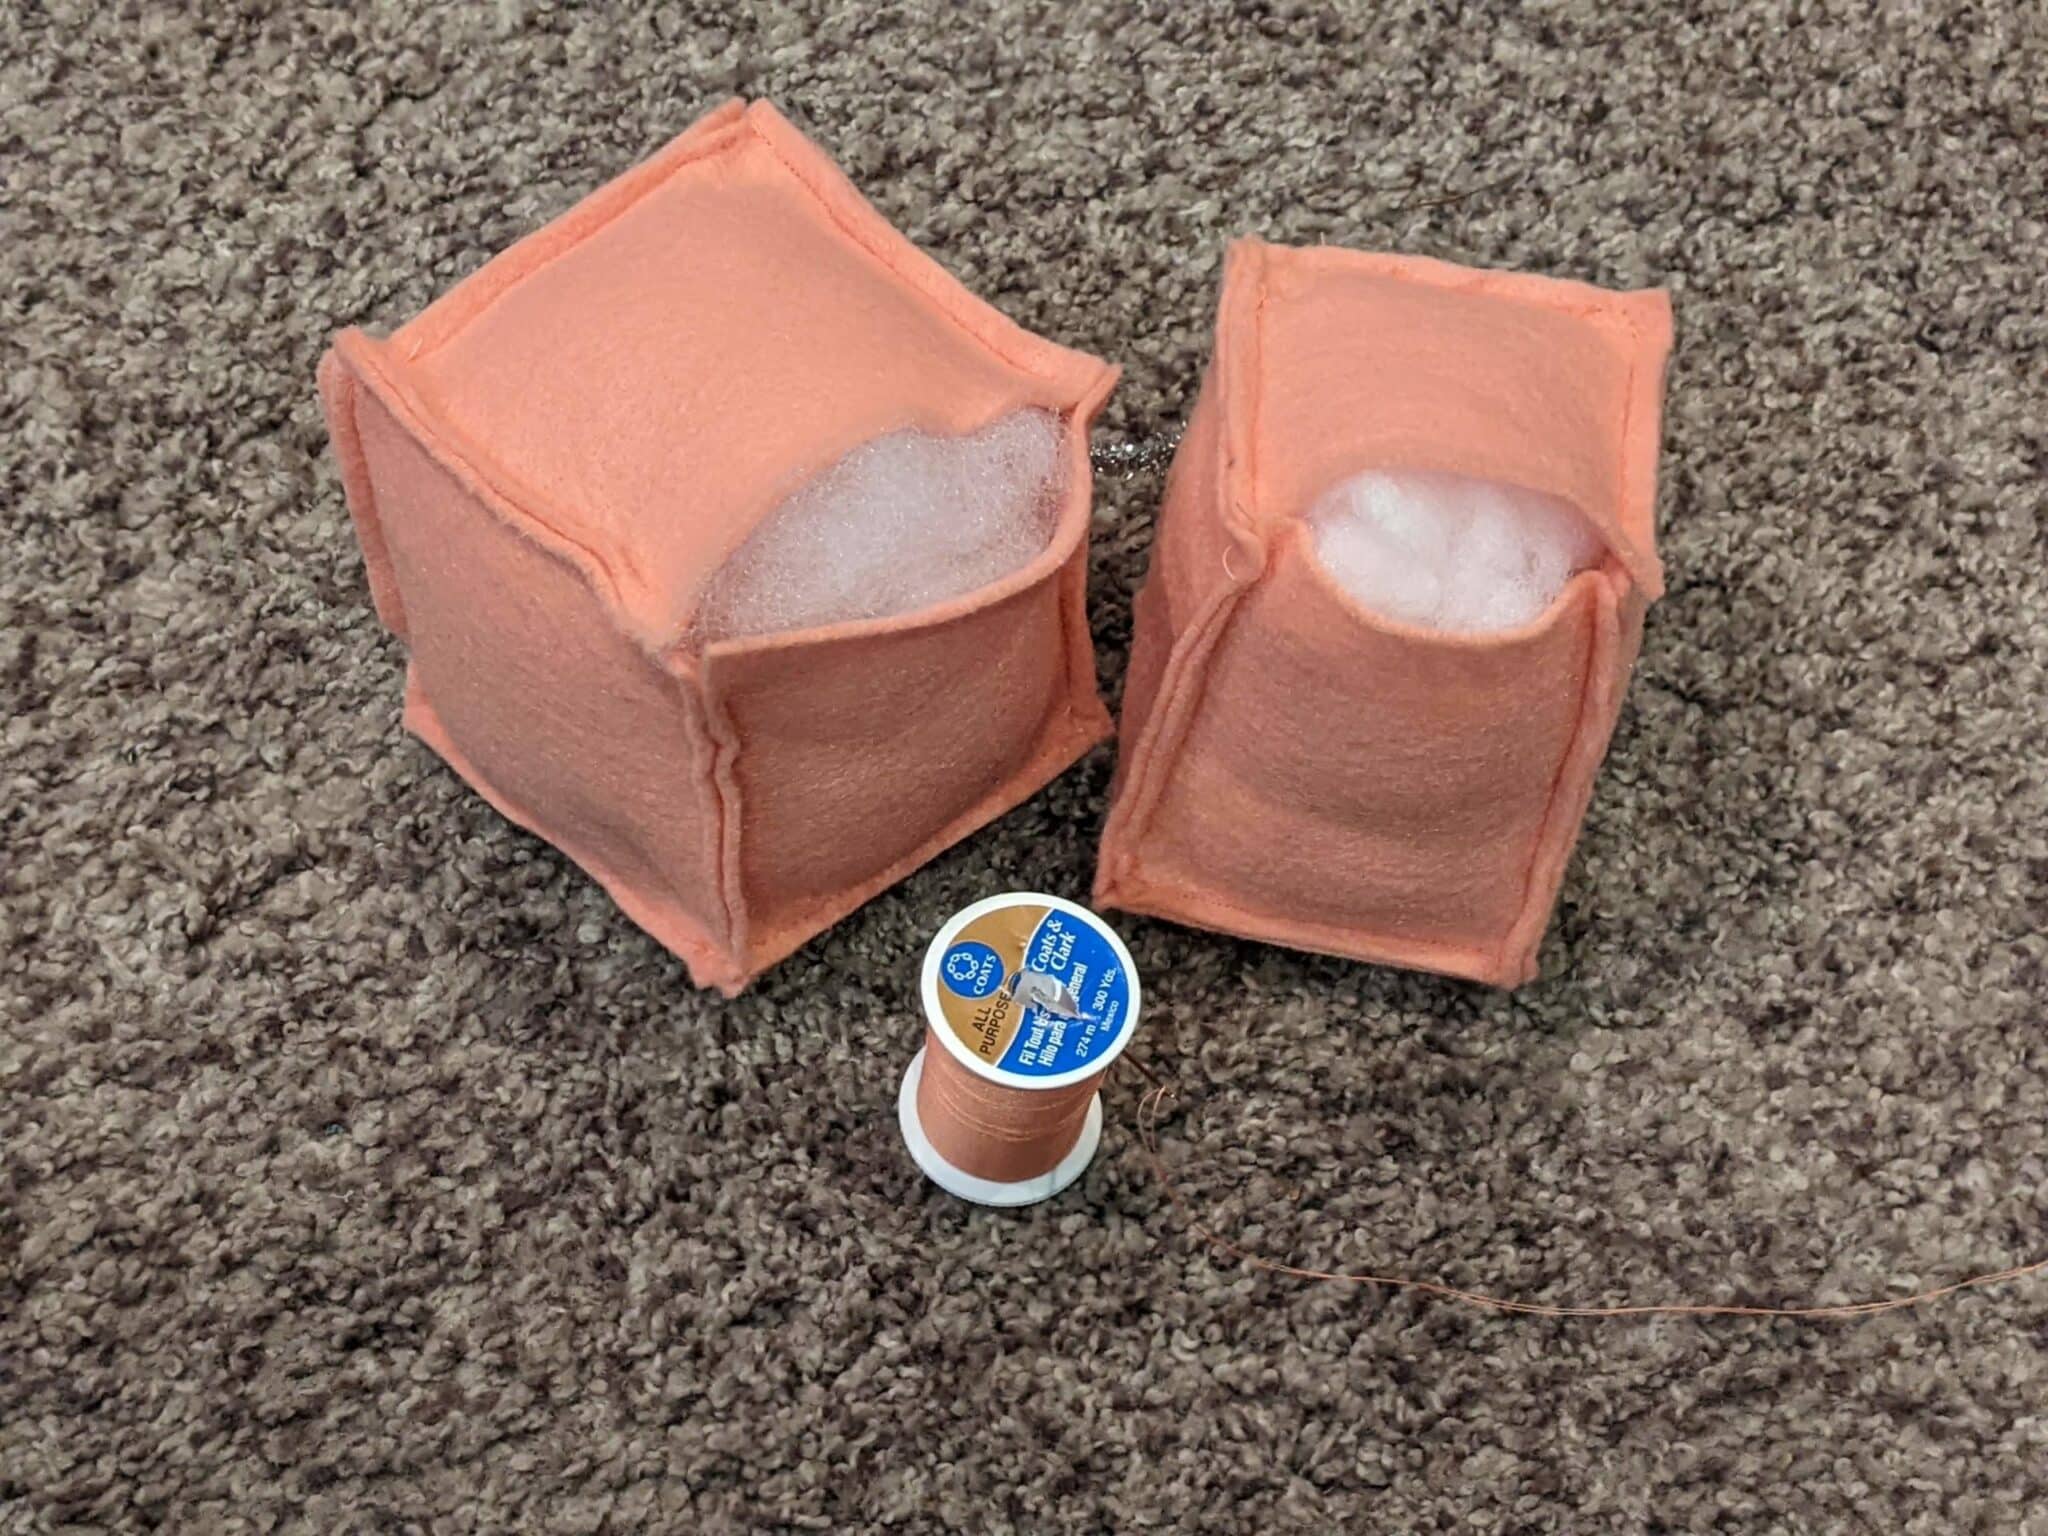
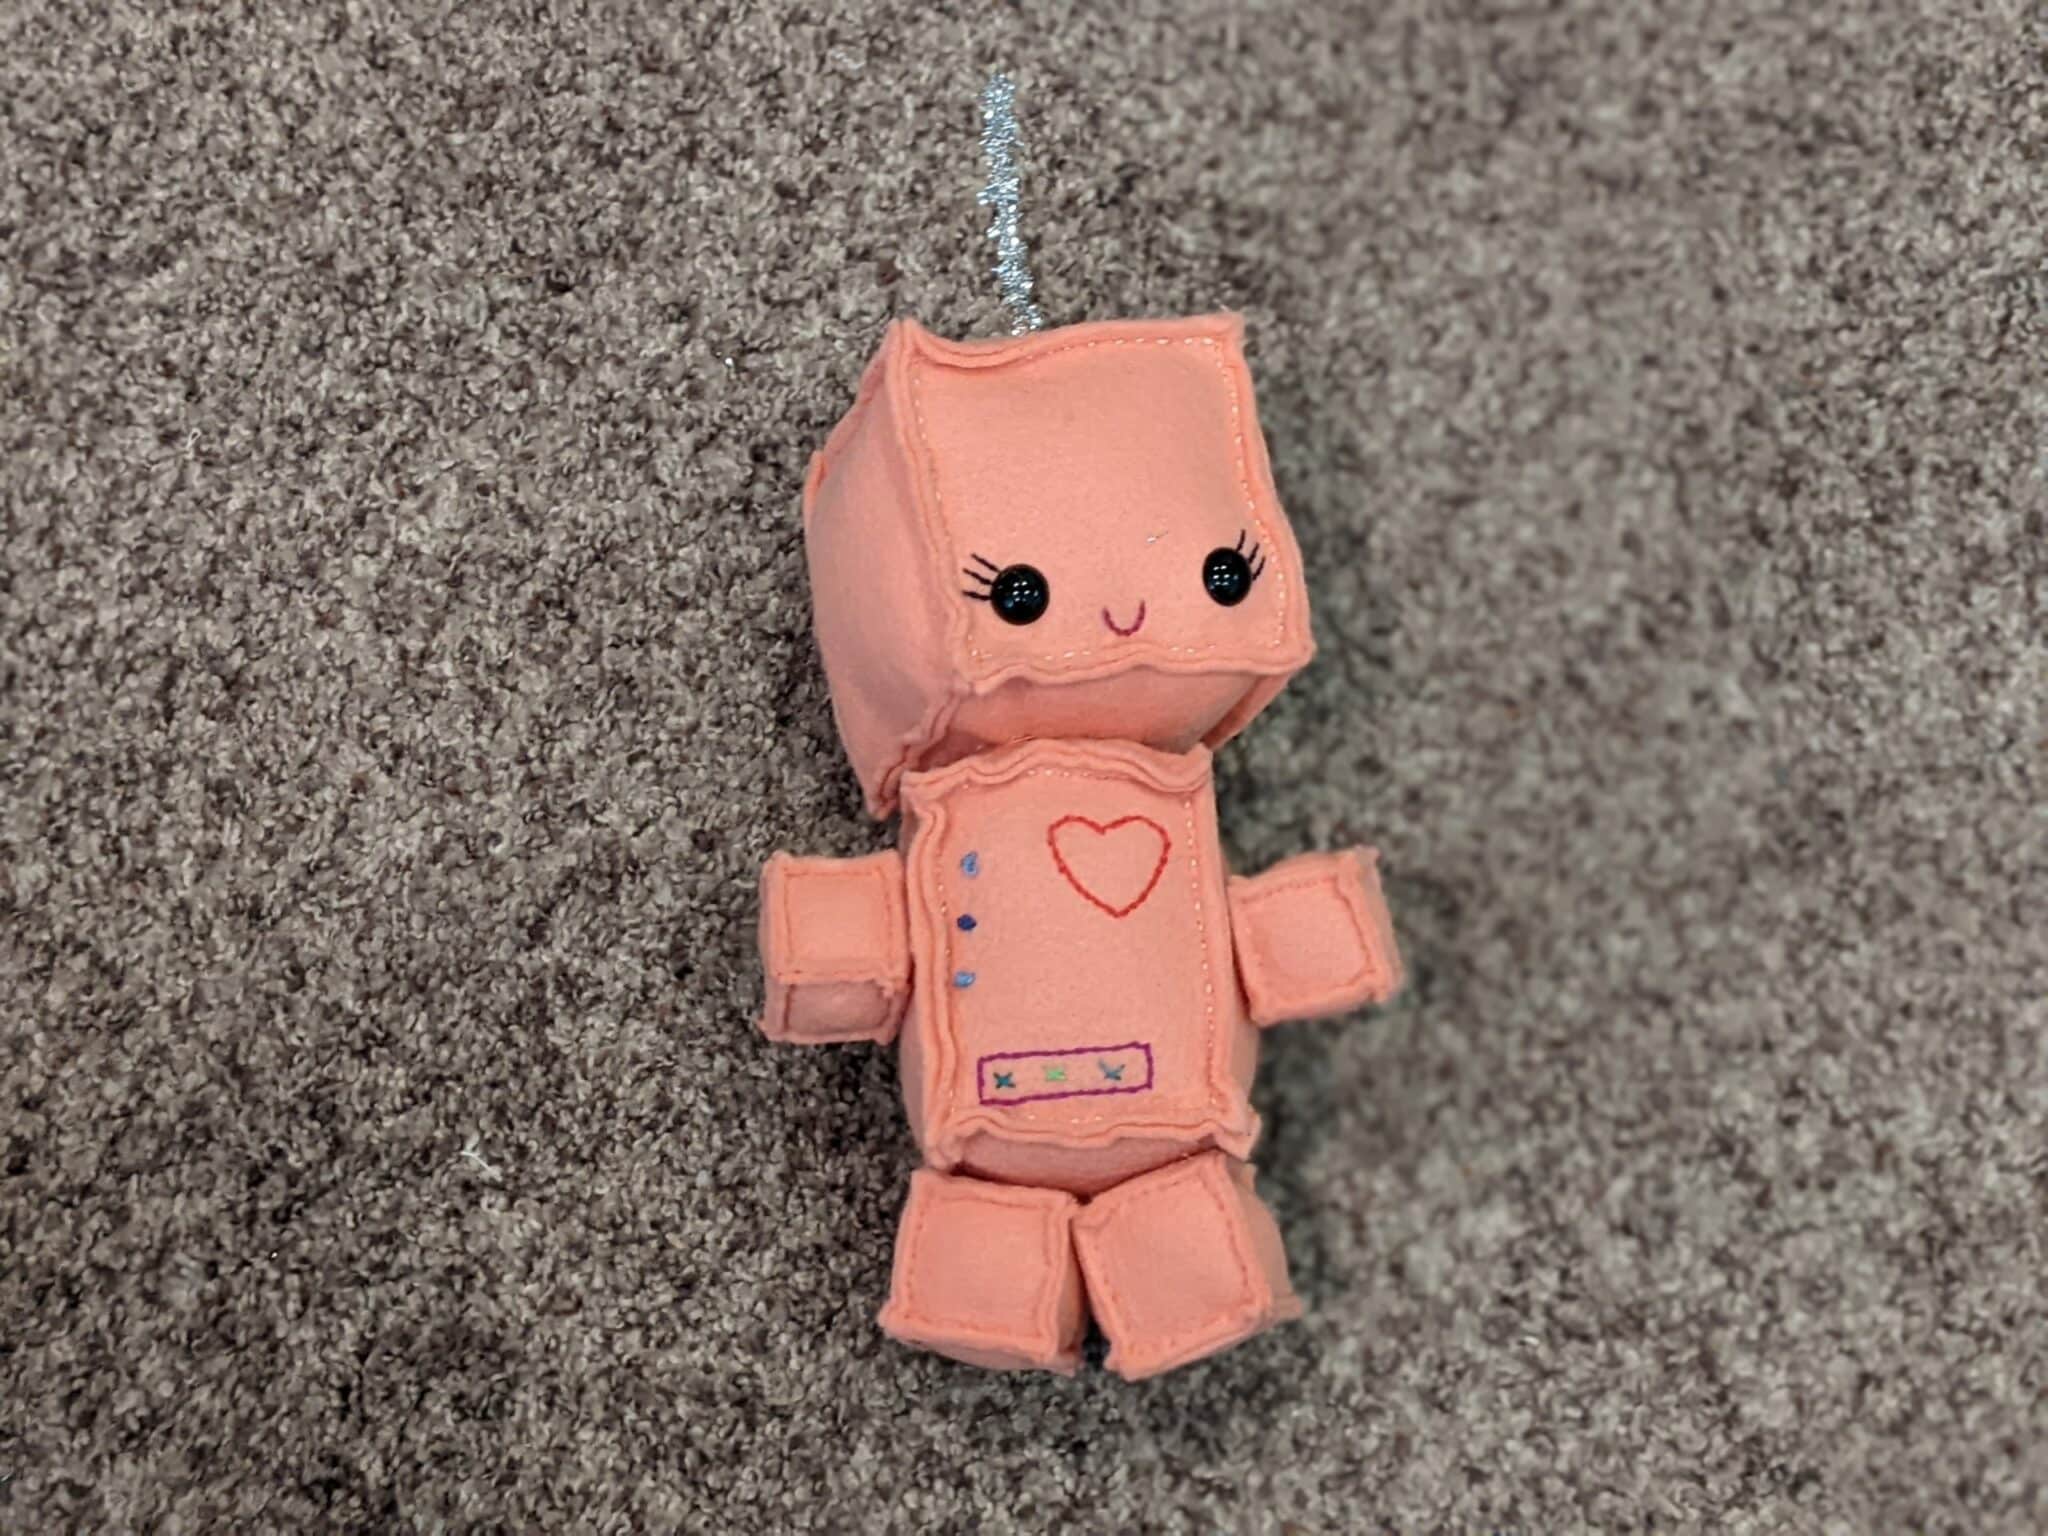
Stuff and Assemble Your Robot
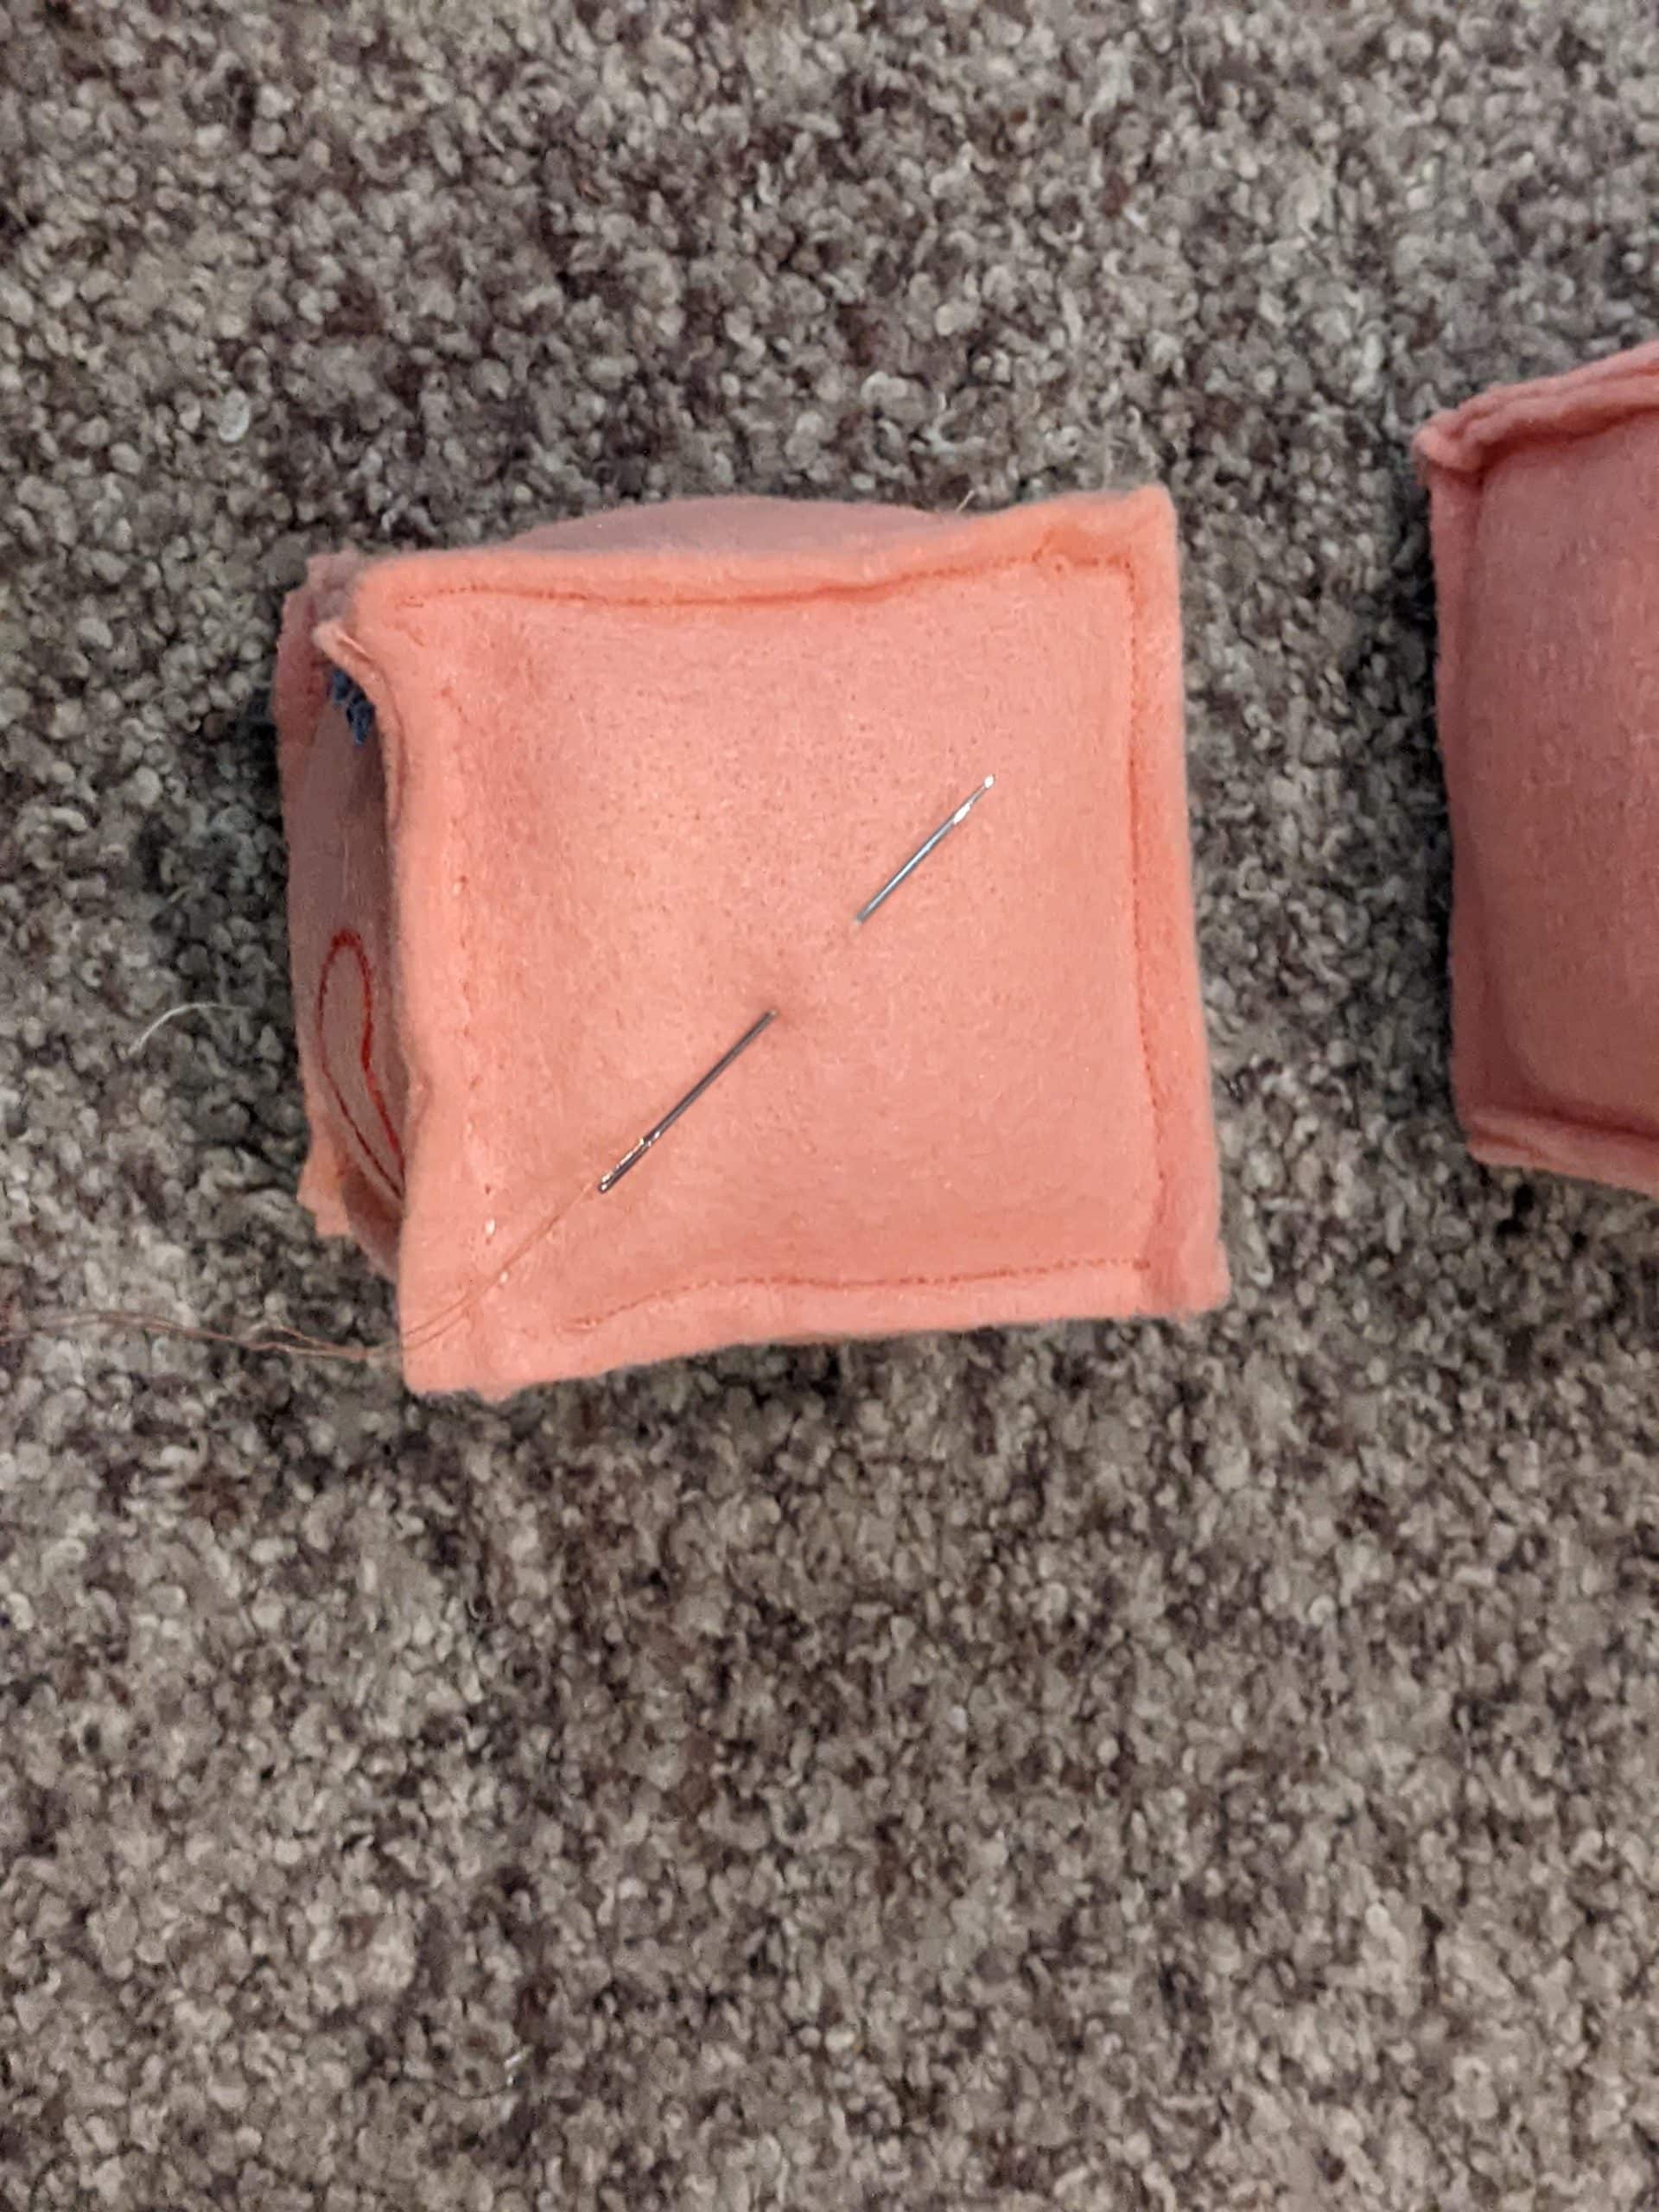
- Stuff each body piece with Fiber-fil stuffing.
- Use a needle and thread to sew the remaining edge of each piece closed.
- Optional: Add stitching around the edges with embroidery floss for extra detail.
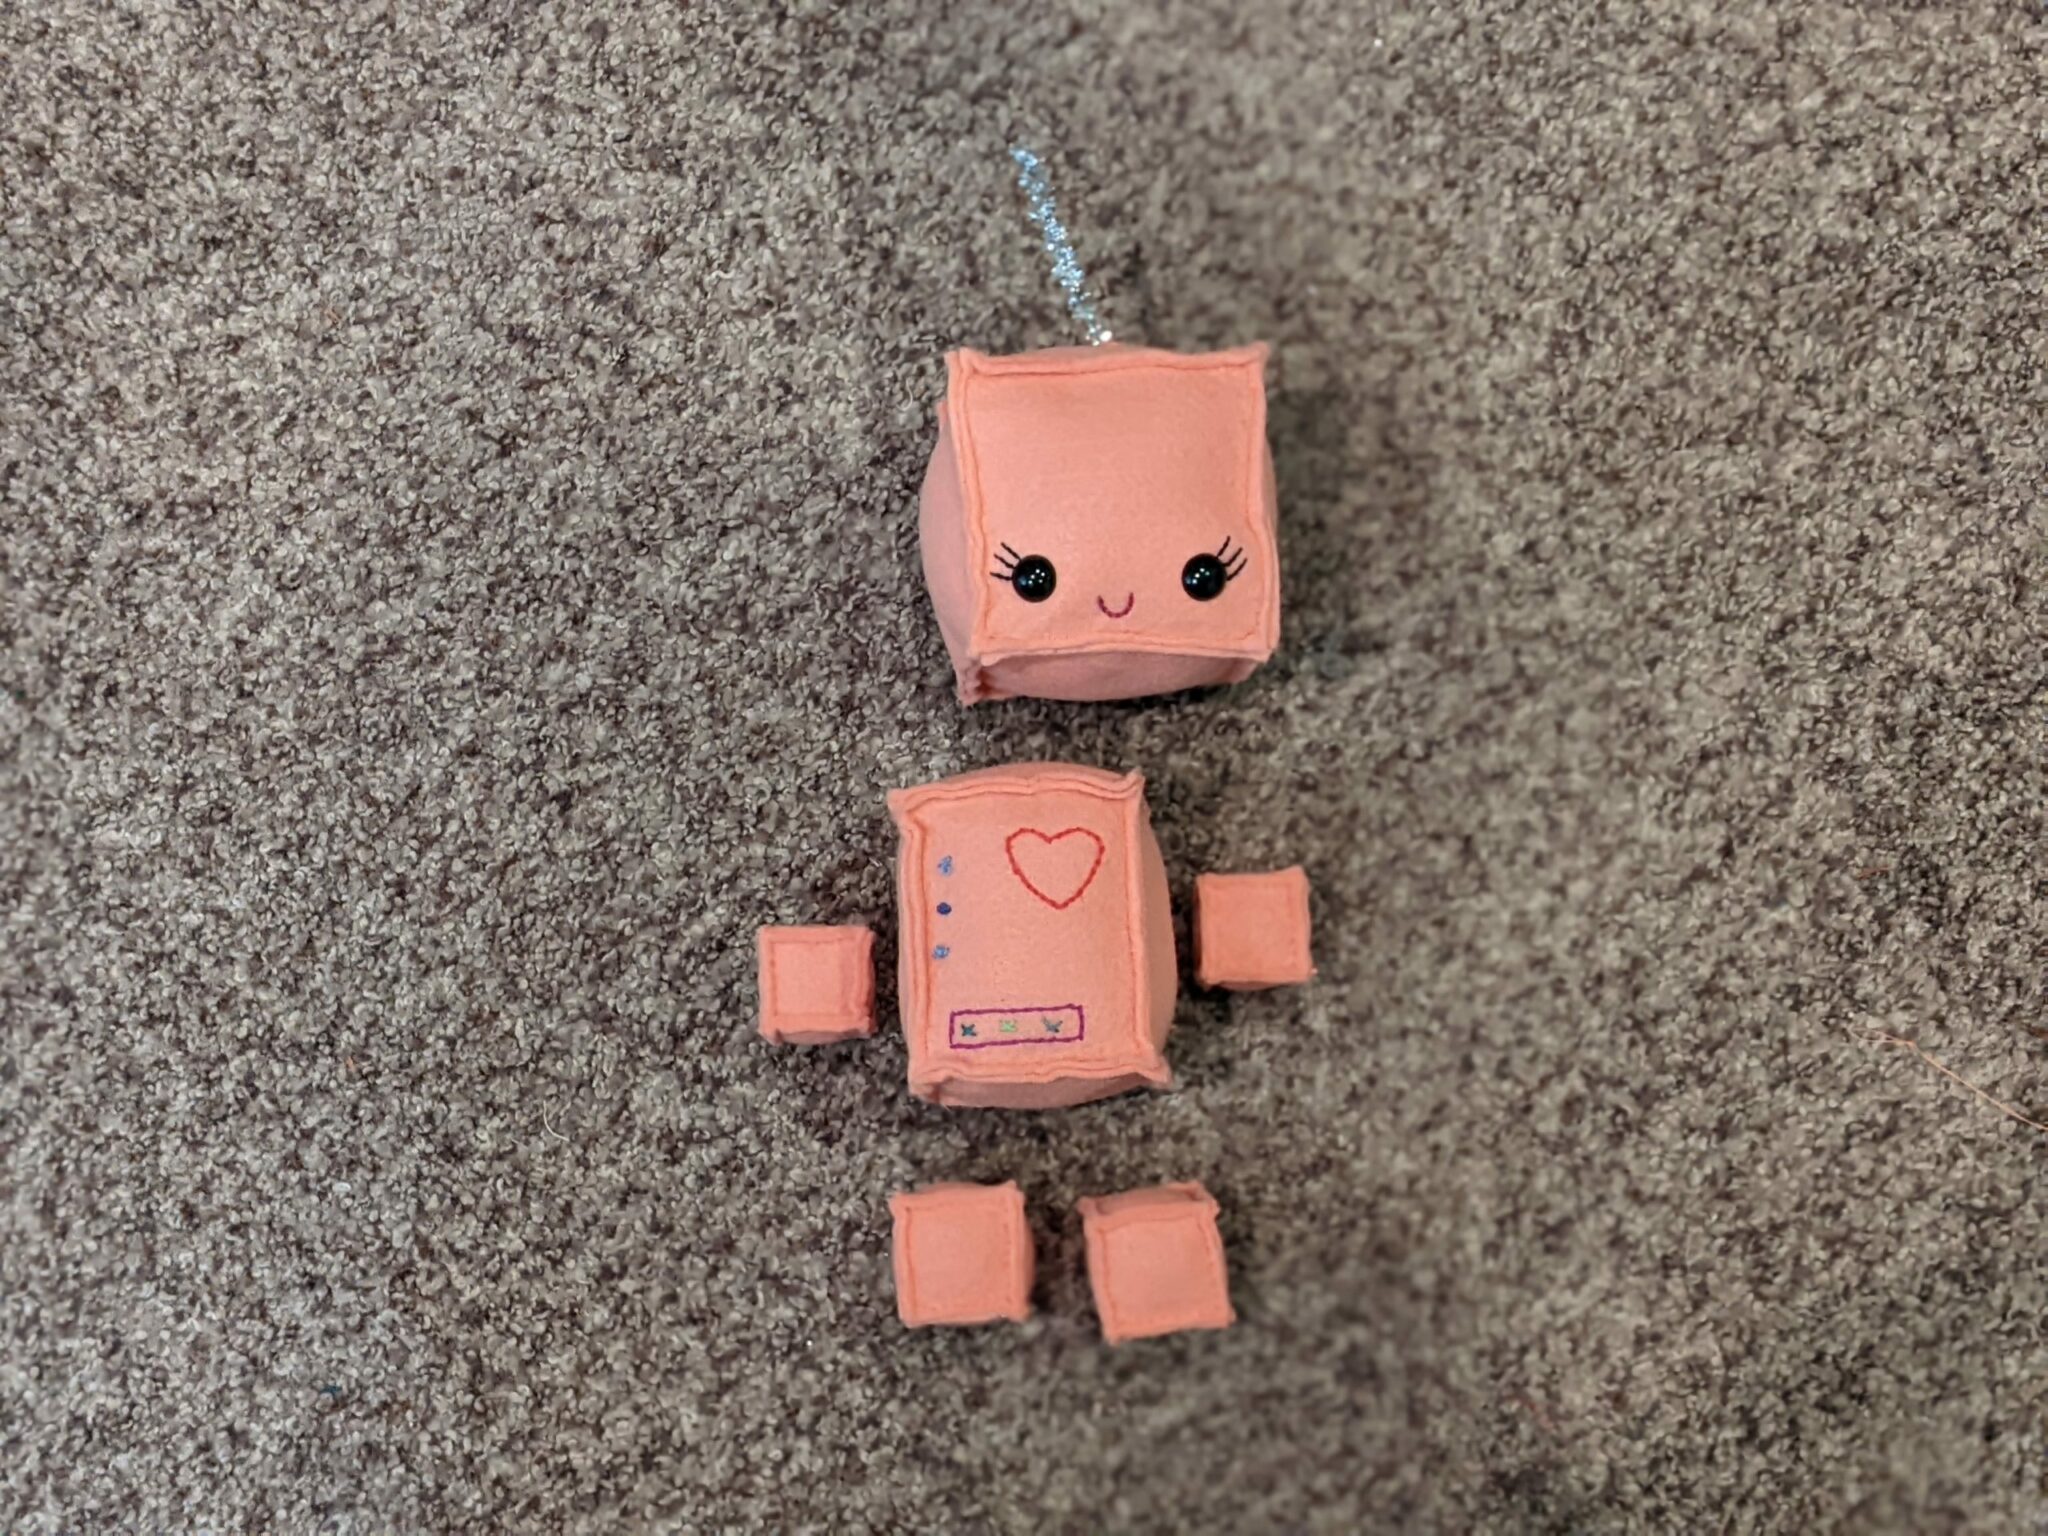
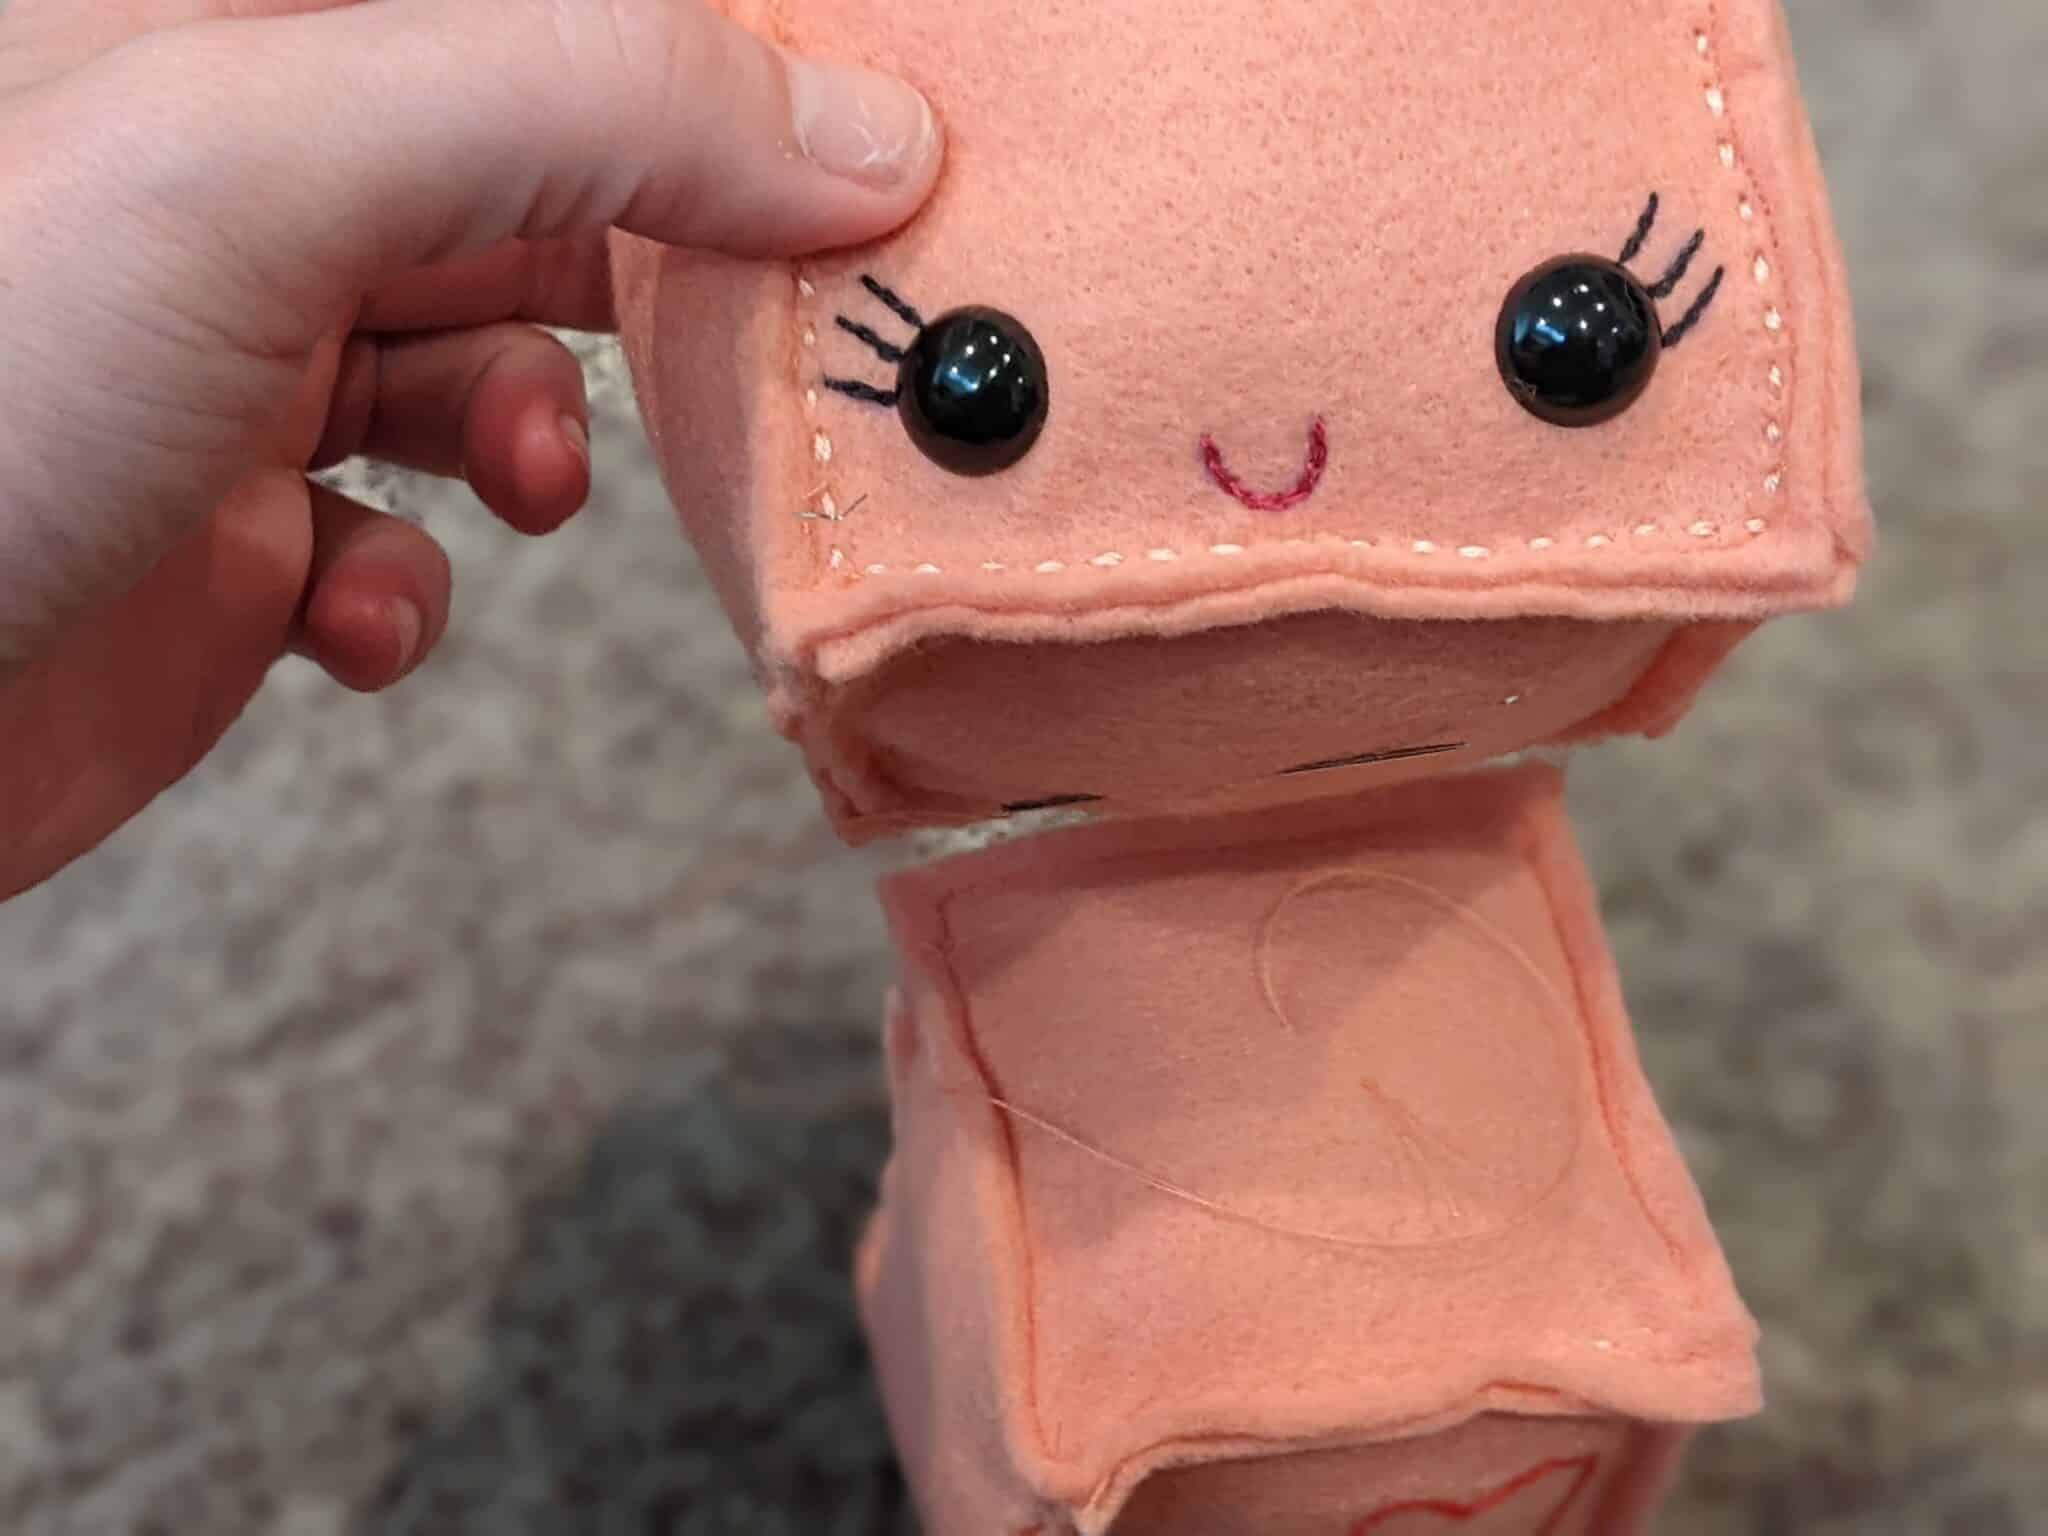
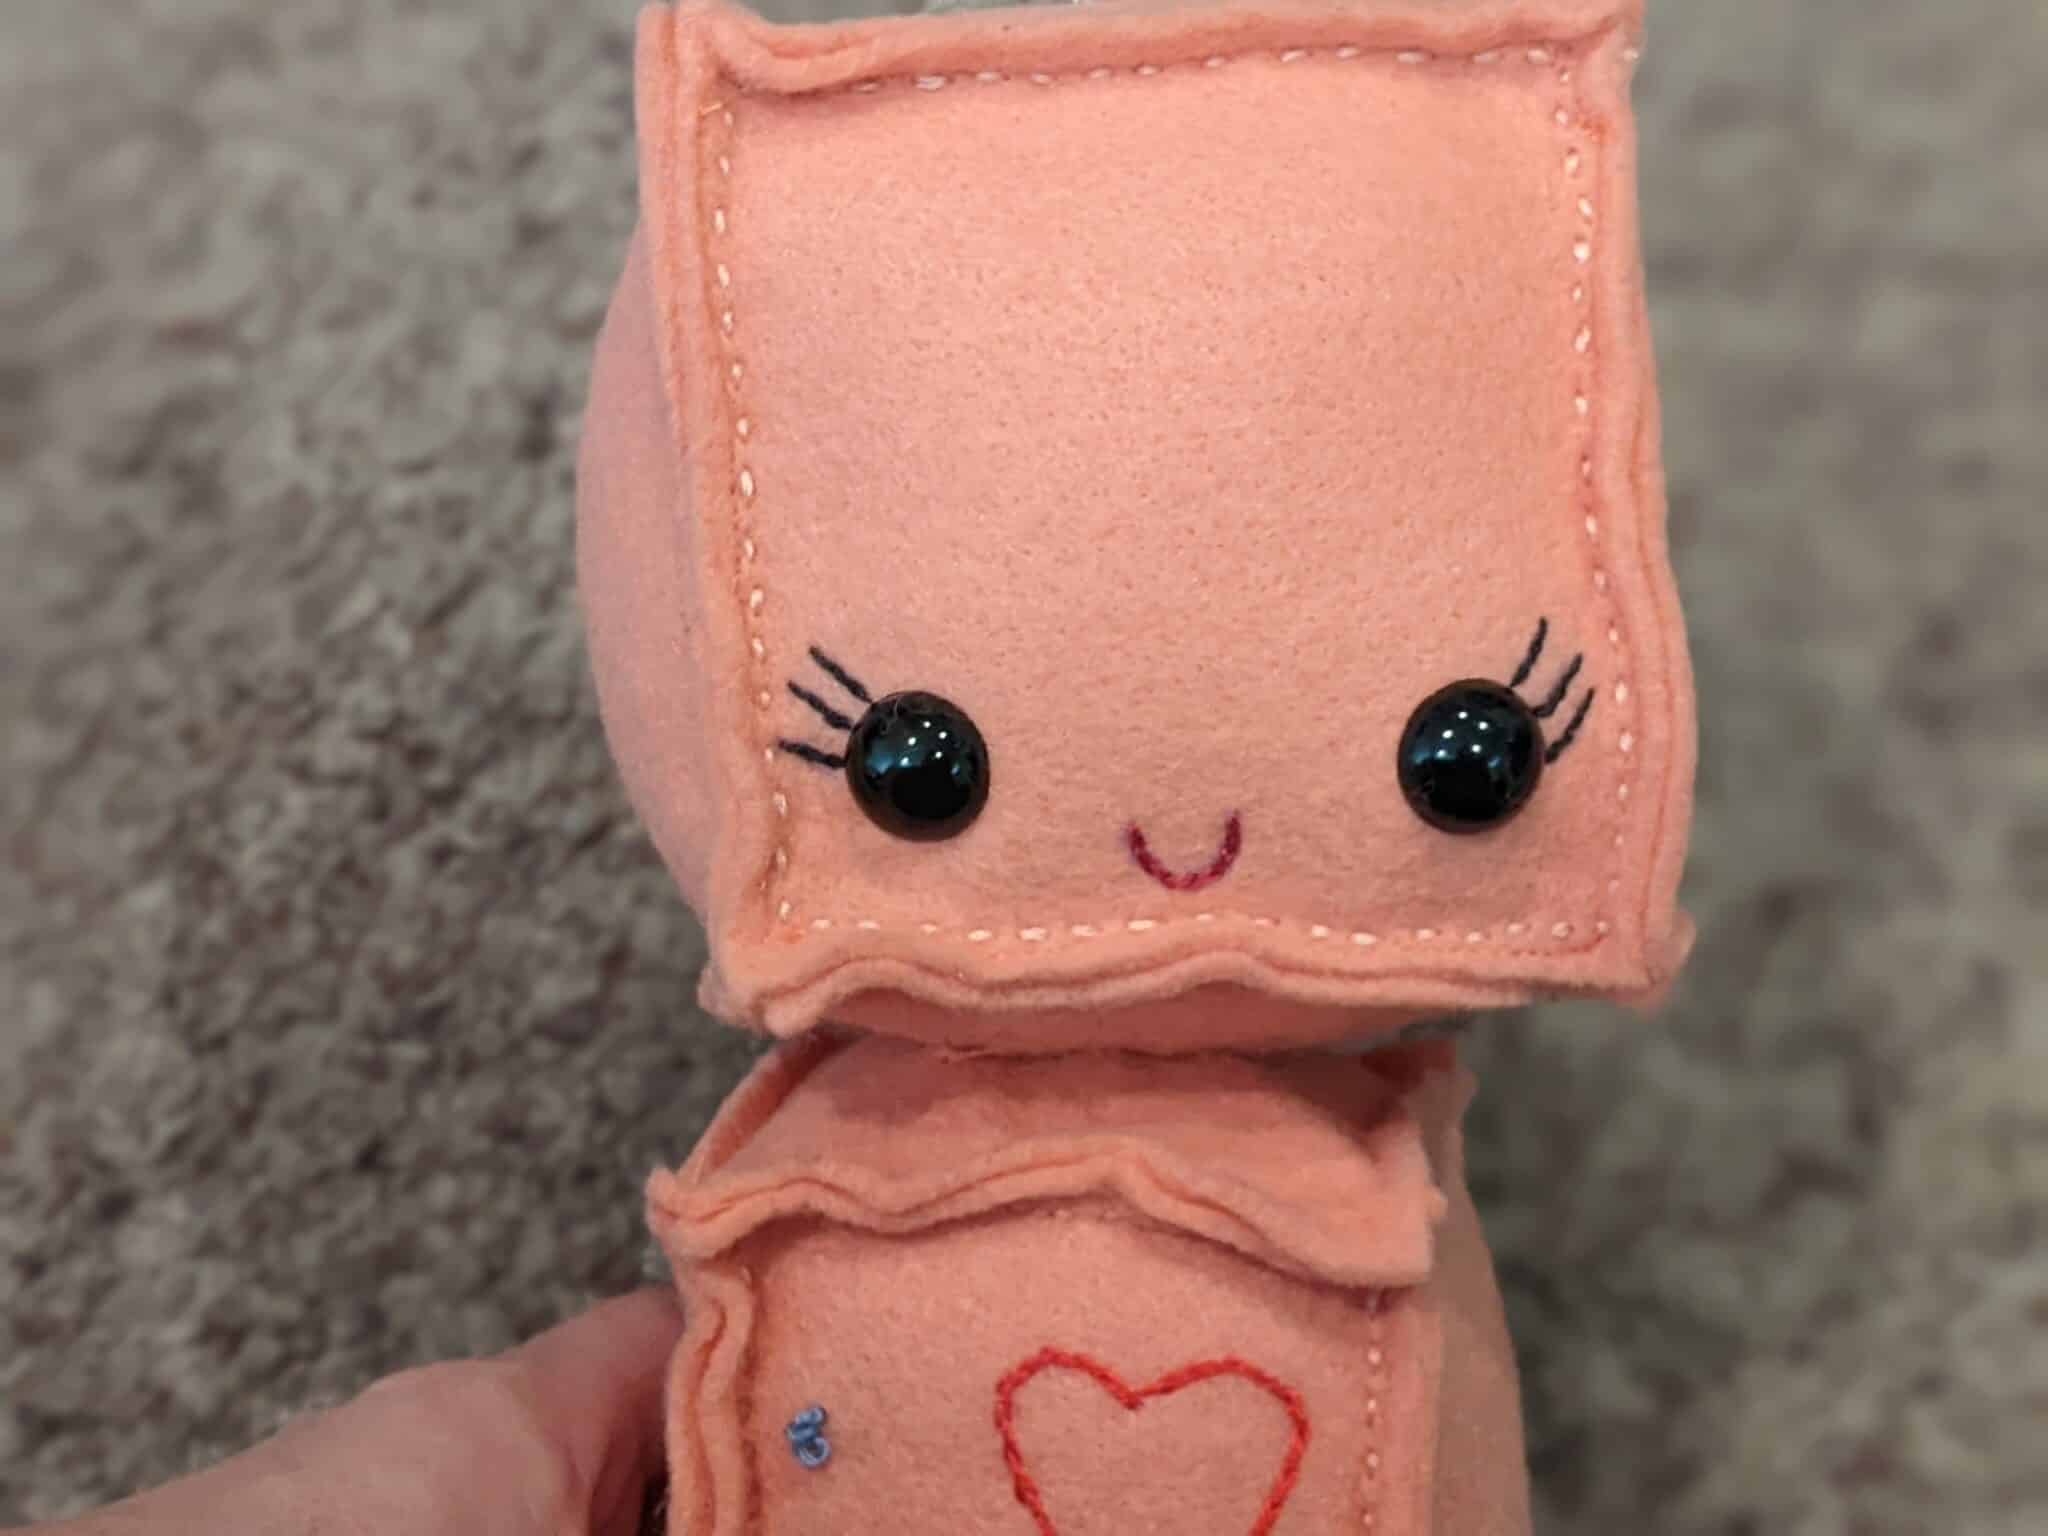
- Stack the head on top of the body. (Make sure they are facing the same direction.)
- Use your needle and matching thread to stitch through the top side of the body and the bottom side of the head.
- Weave the needle and thread in and out through both parts several times until your feel like they are securely held together then tie off the thread.
- Arrange the hands and feet on the bottom and sides of the body.
- Using the same method of sewing that you used to attach the head, sew each hand and foot to the robot body.
Now go make a whole robot army because they are so stinking cute!
Want more FUN DIY Freebies? Check out the FREEBIE TUTORIALS and the FREEBIE PATTERNS!
As always, we’re here to help if you need it! Join us HERE and on Facebook, Instagram, Twitter, Youtube, and Pinterest. We’re everywhere you are.
Leave a Reply