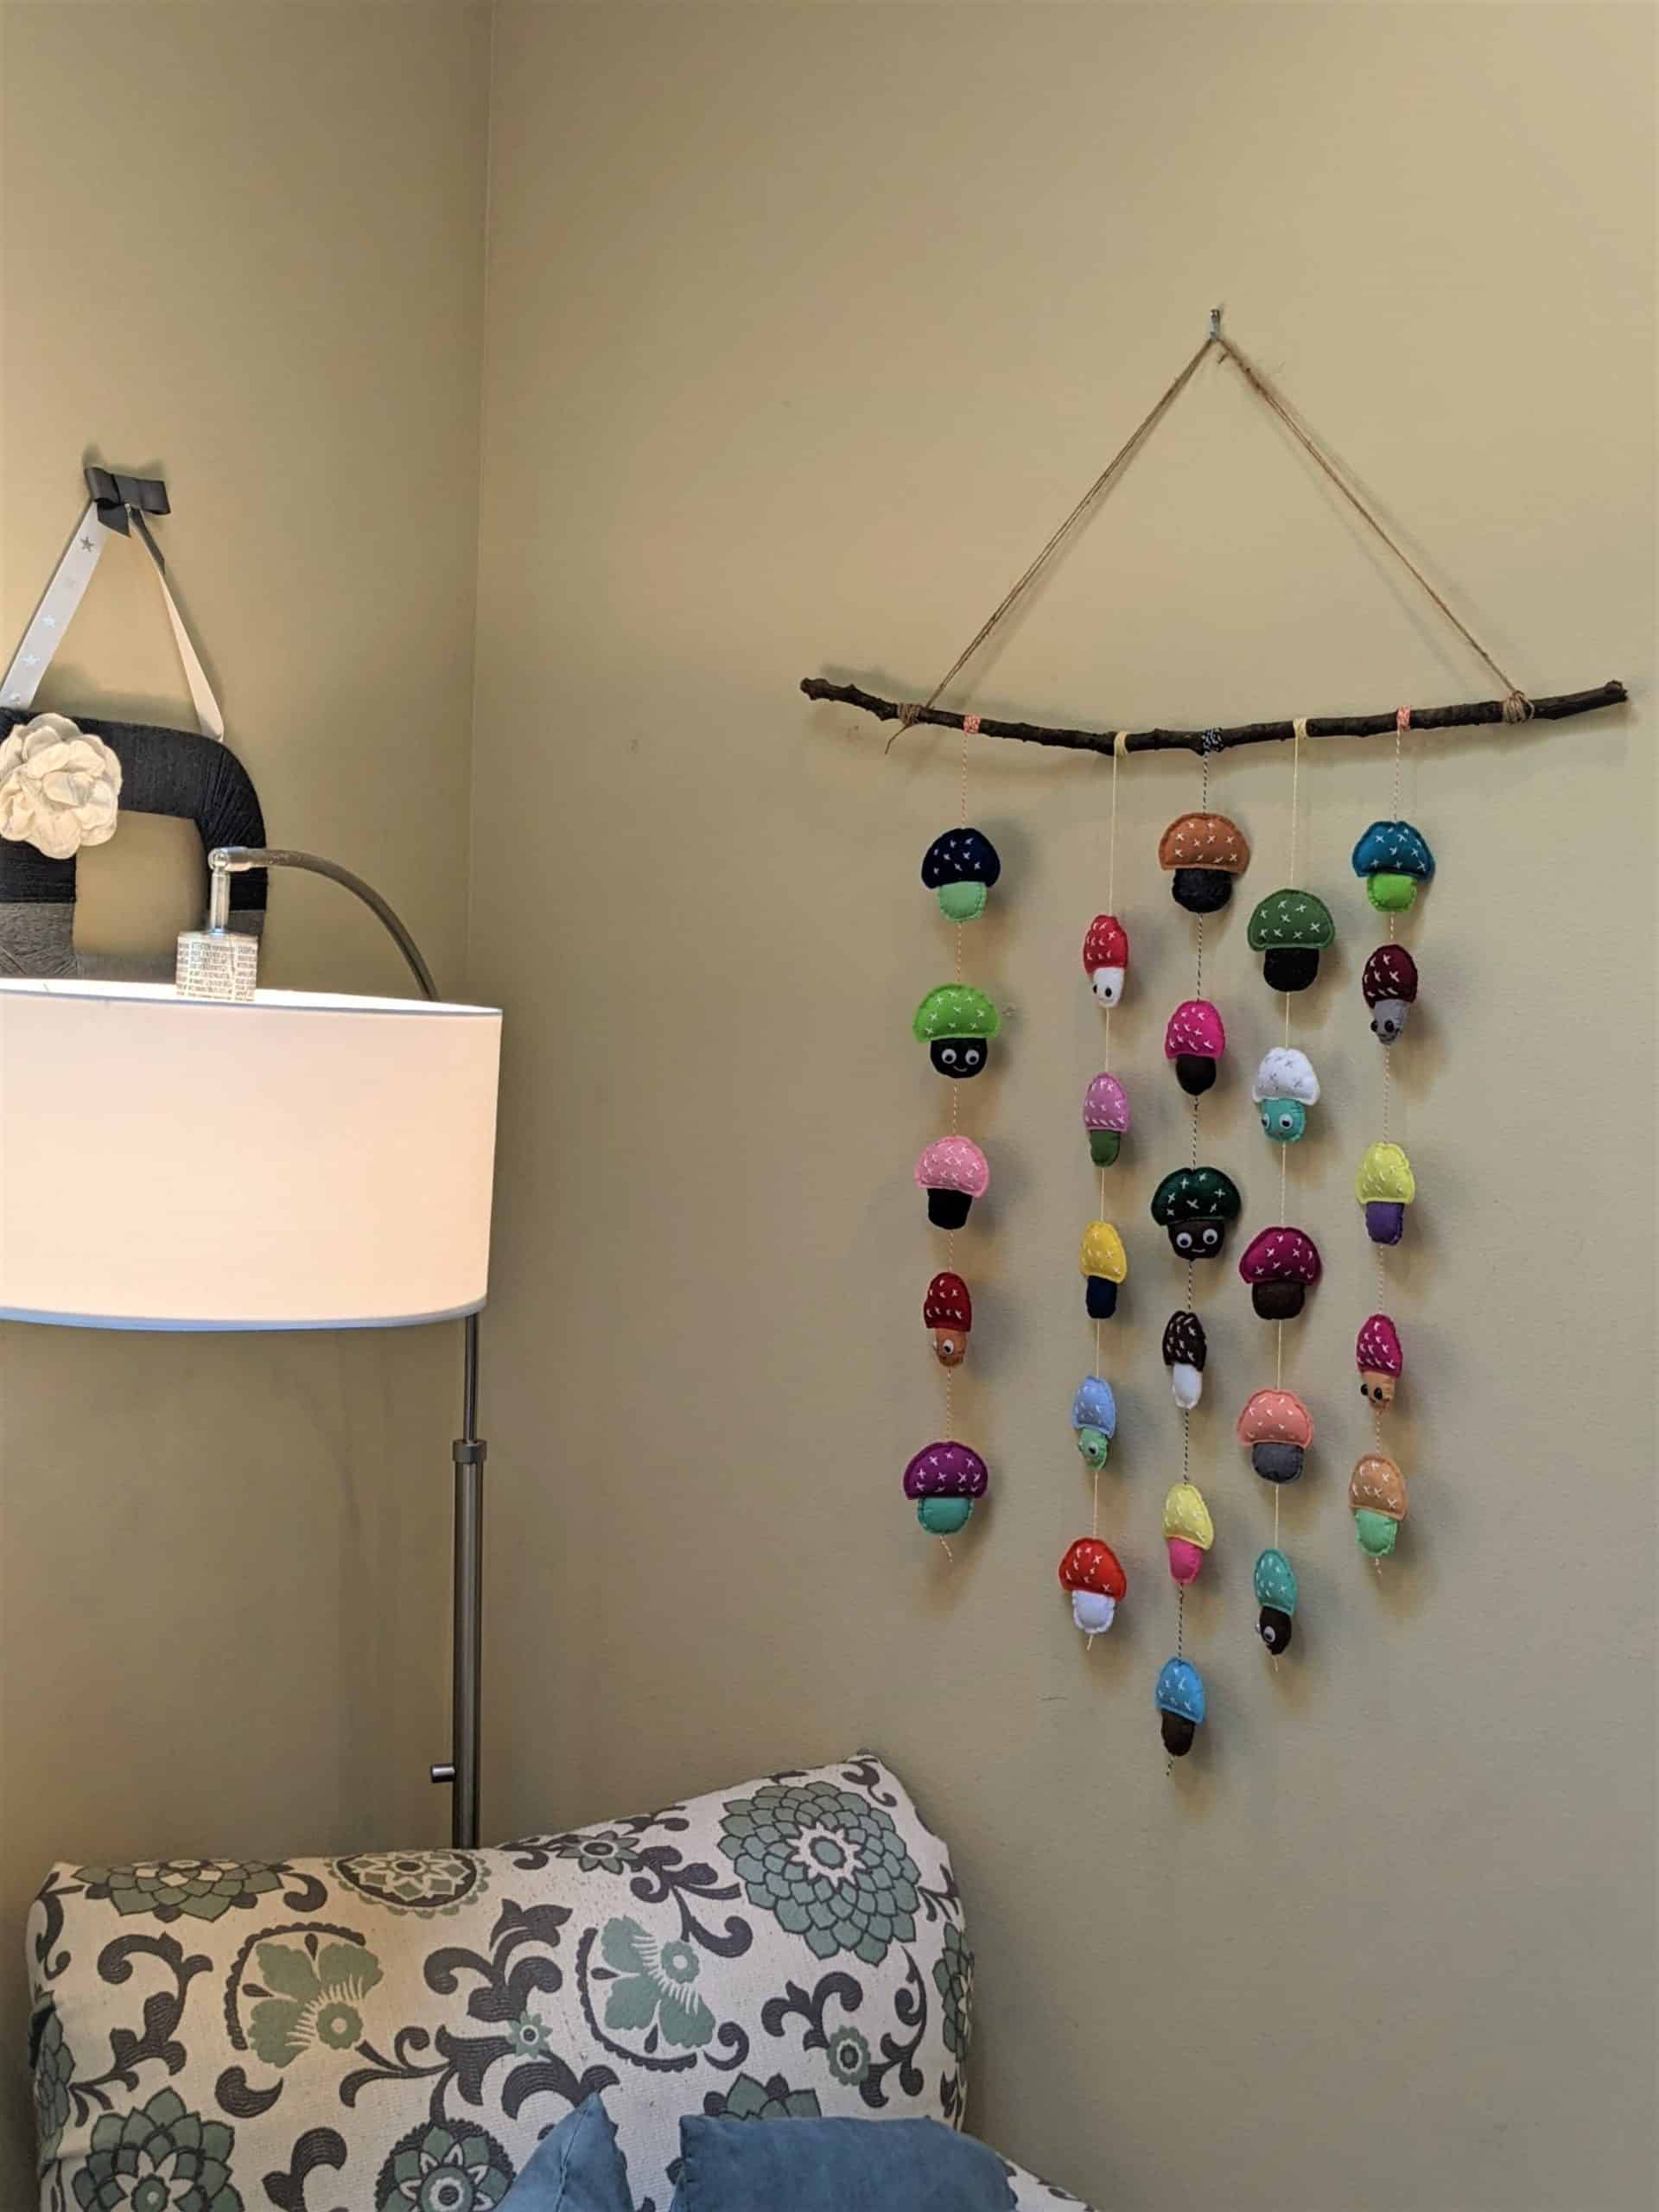
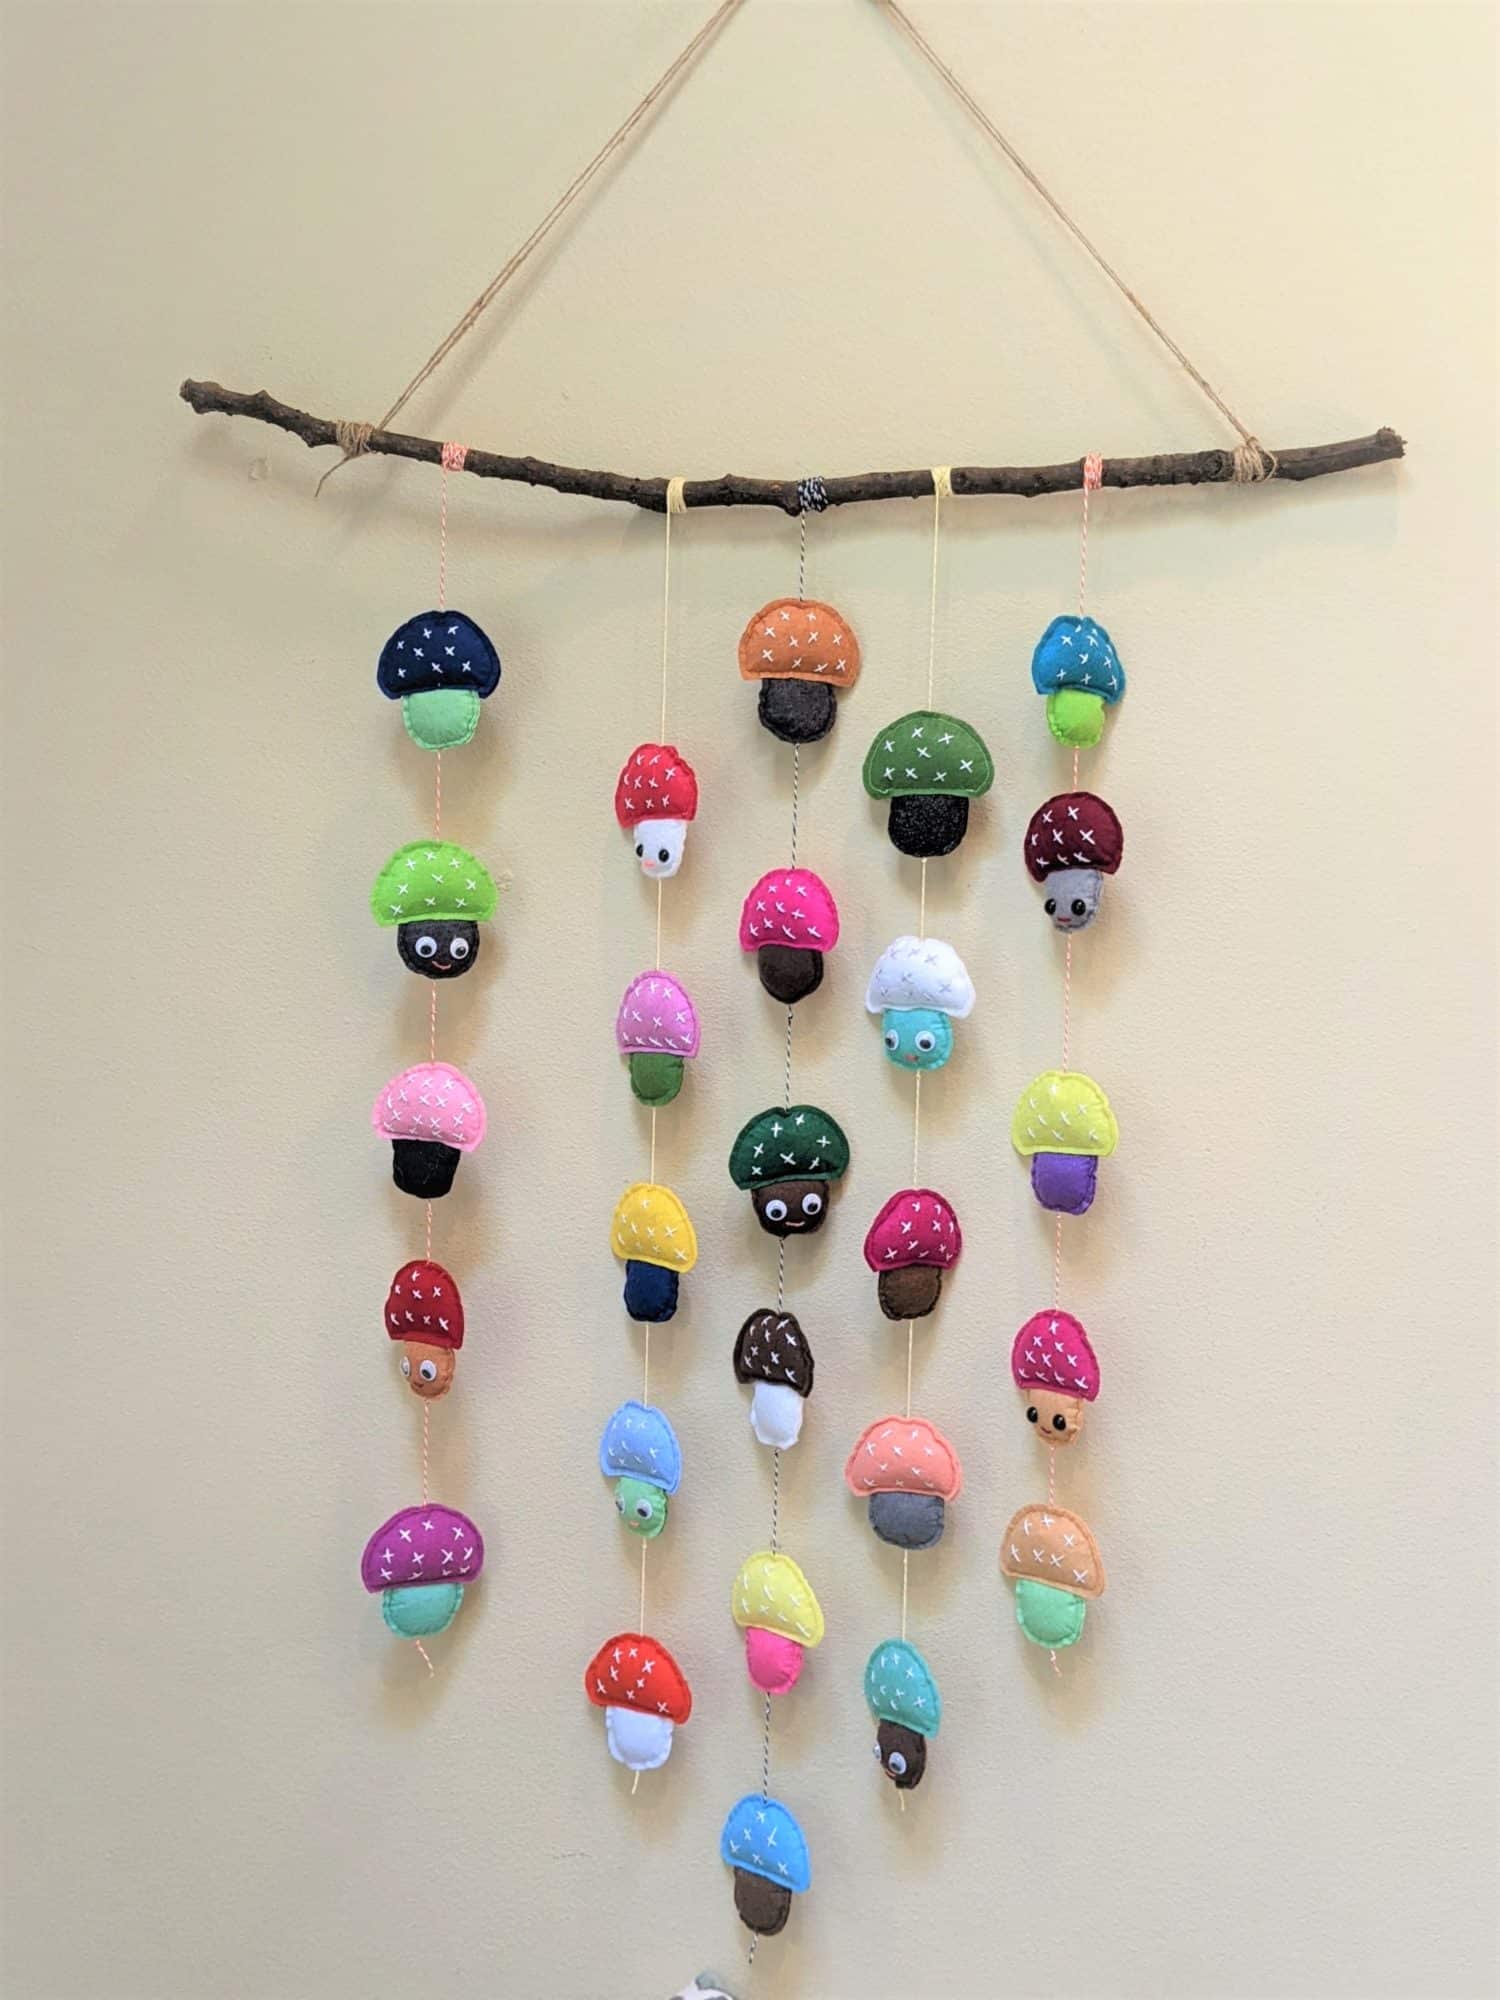
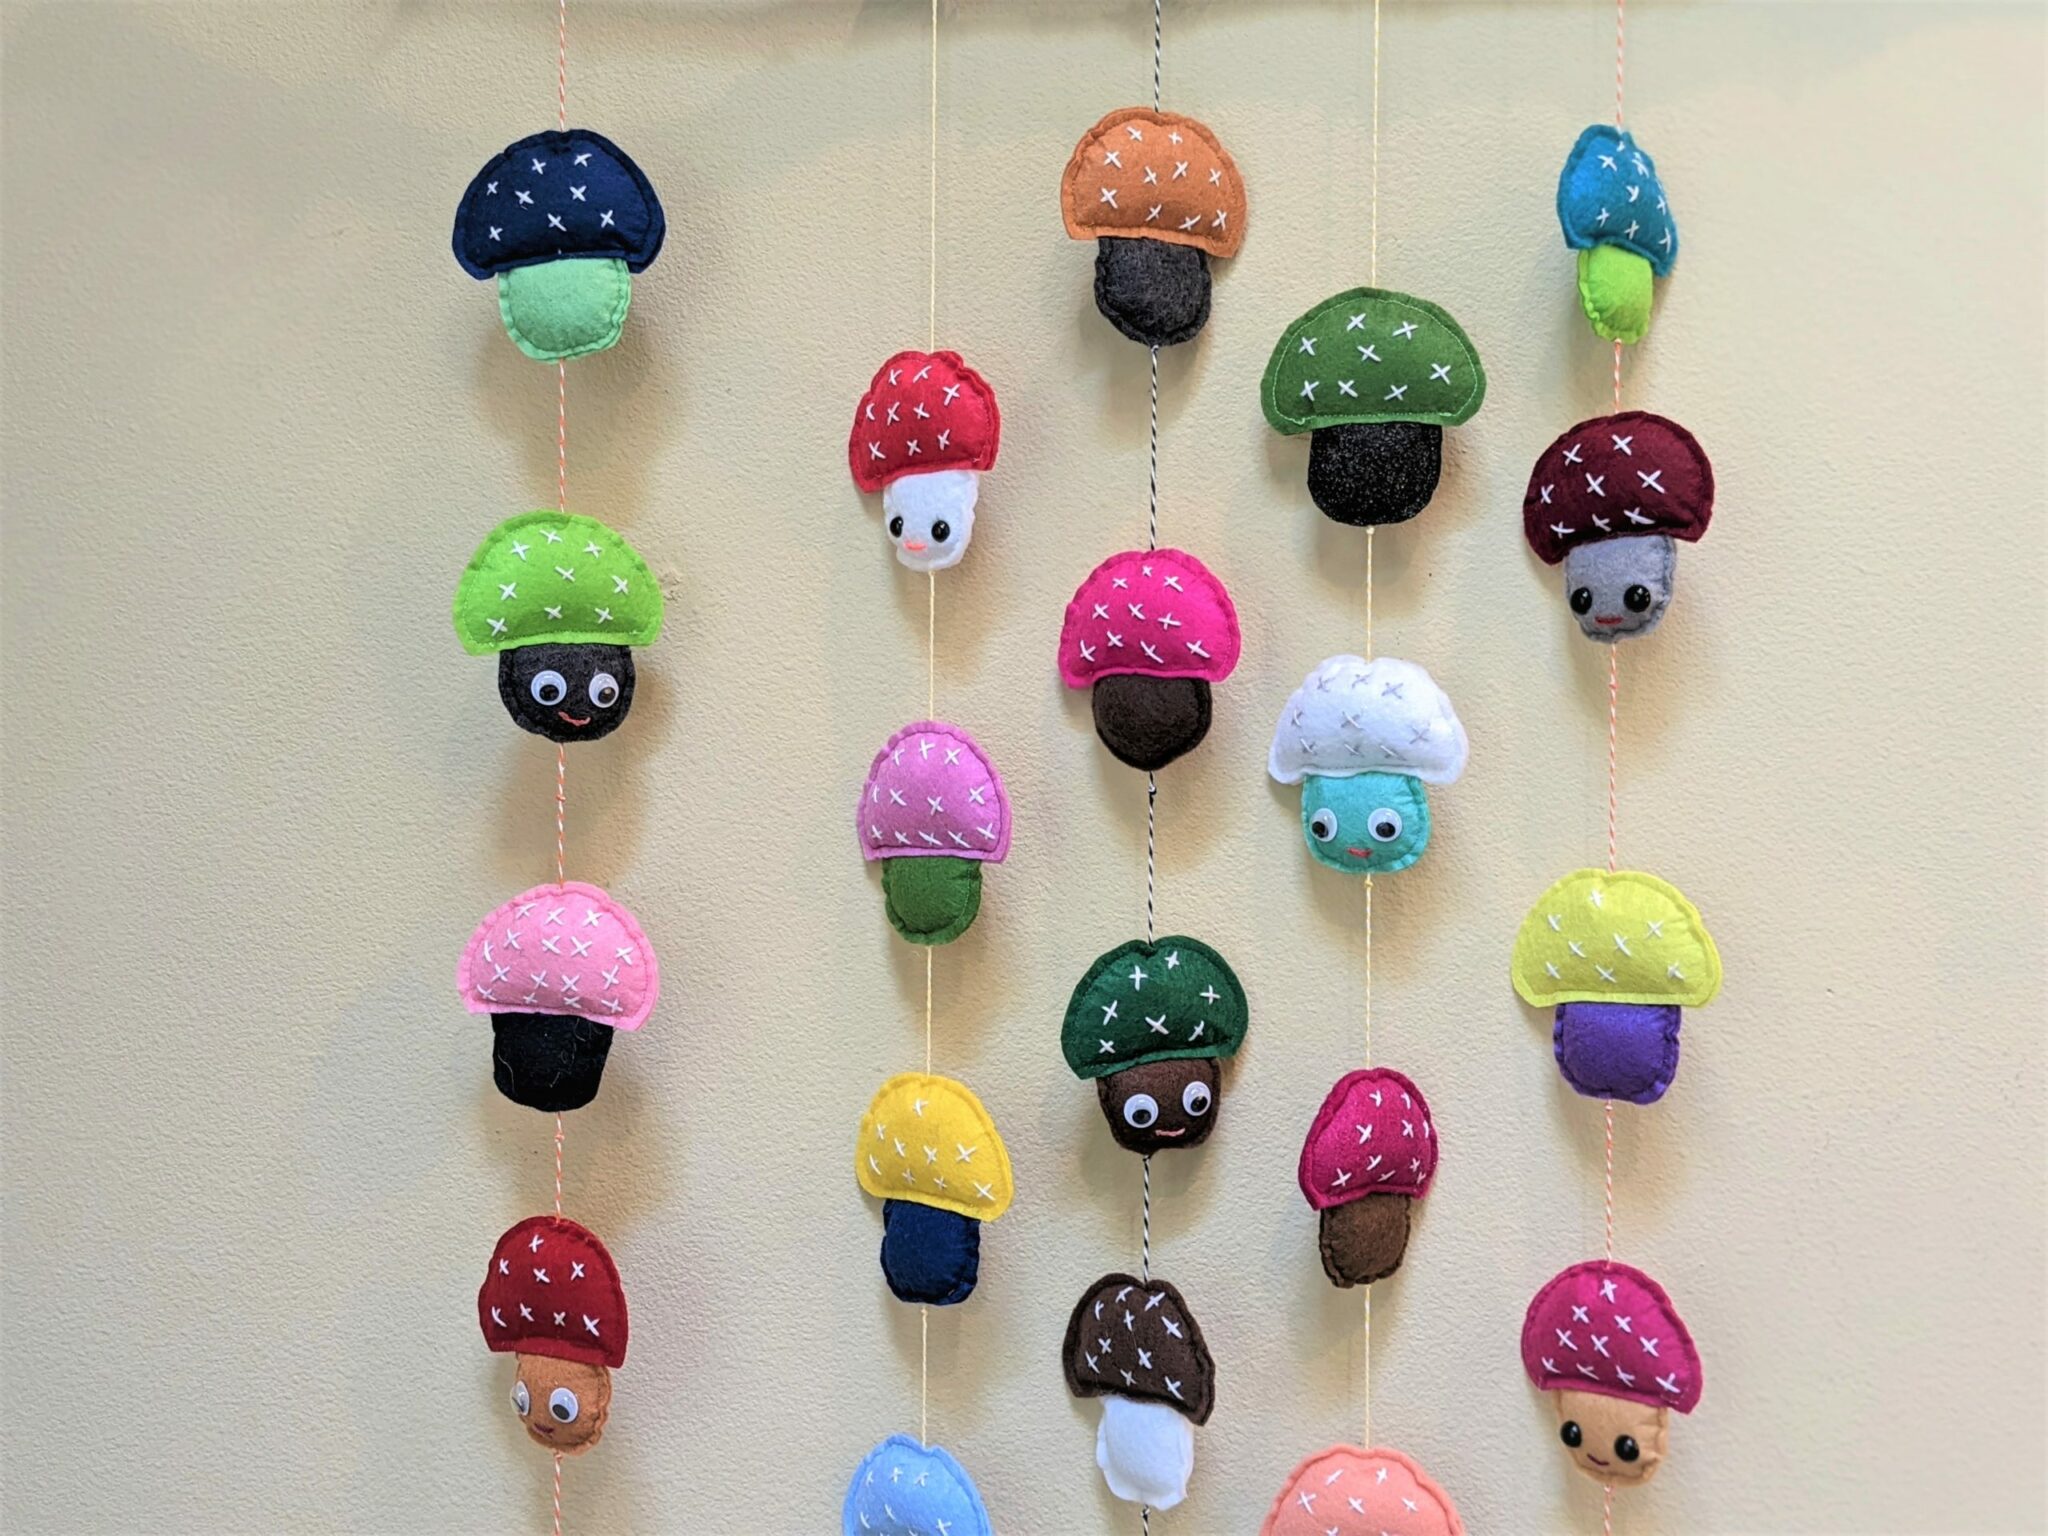
Earlier this year I made a Valentine’s Day-inspired wall hanging that I have kept up ever since. Heading into fall I thought it would be fun to make something a little bit more fall themed, but still cute and colorful so I made a felt mushroom wall hanging. I tried sewing my mushrooms with felt as well as woven fabric. My girls voted on the felt one, but you can definitely use the fabric if you prefer. (It’s just a bit less structured.) If you want to see the heart one I made you can find the tutorial for that HERE! Let’s get started on these mushrooms!
Supplies:
- Mushroom template-download, print, and cut
- Felt (or woven fabric) in a variety of colors
- Fiber-fil stuffing
- Jute twine, baker’s twine, and/or string (for the hanger and threading the mushrooms)
- Sewing machine and basic sewing supplies, or a needle and thread for sewing
- Embroidery floss
- Needle with a large enough eye to thread the string for the mushrooms
- Long stick
- Optional:
- Googley eyes and/or safety eyes
- Hot glue gun
Let’s Get Started!
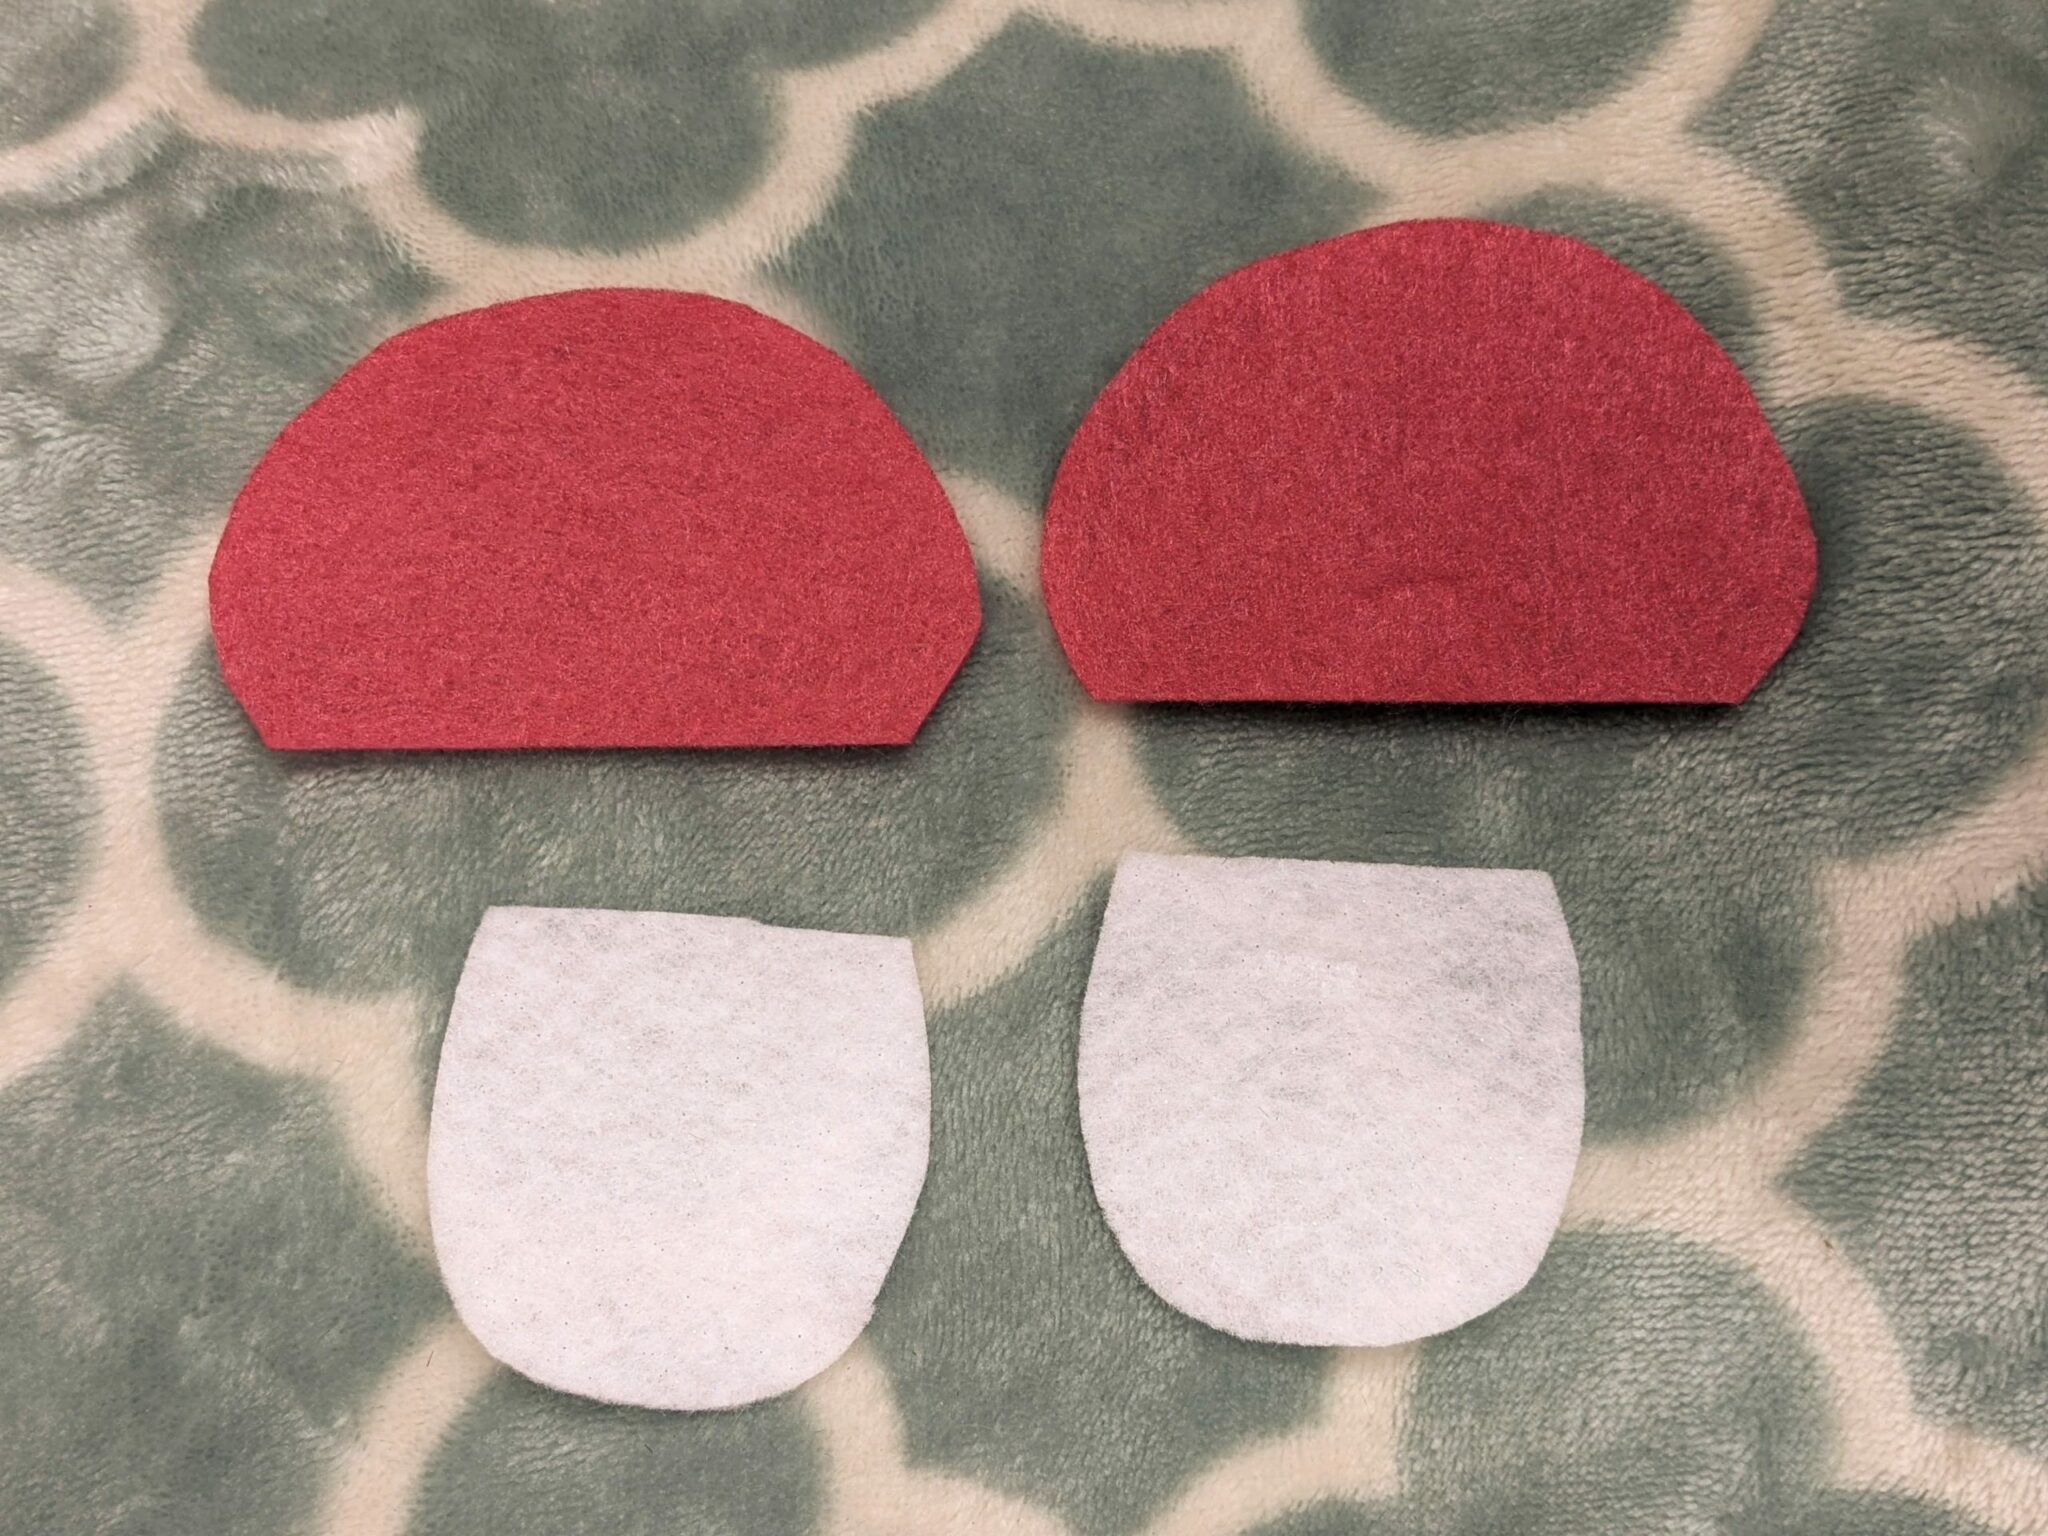
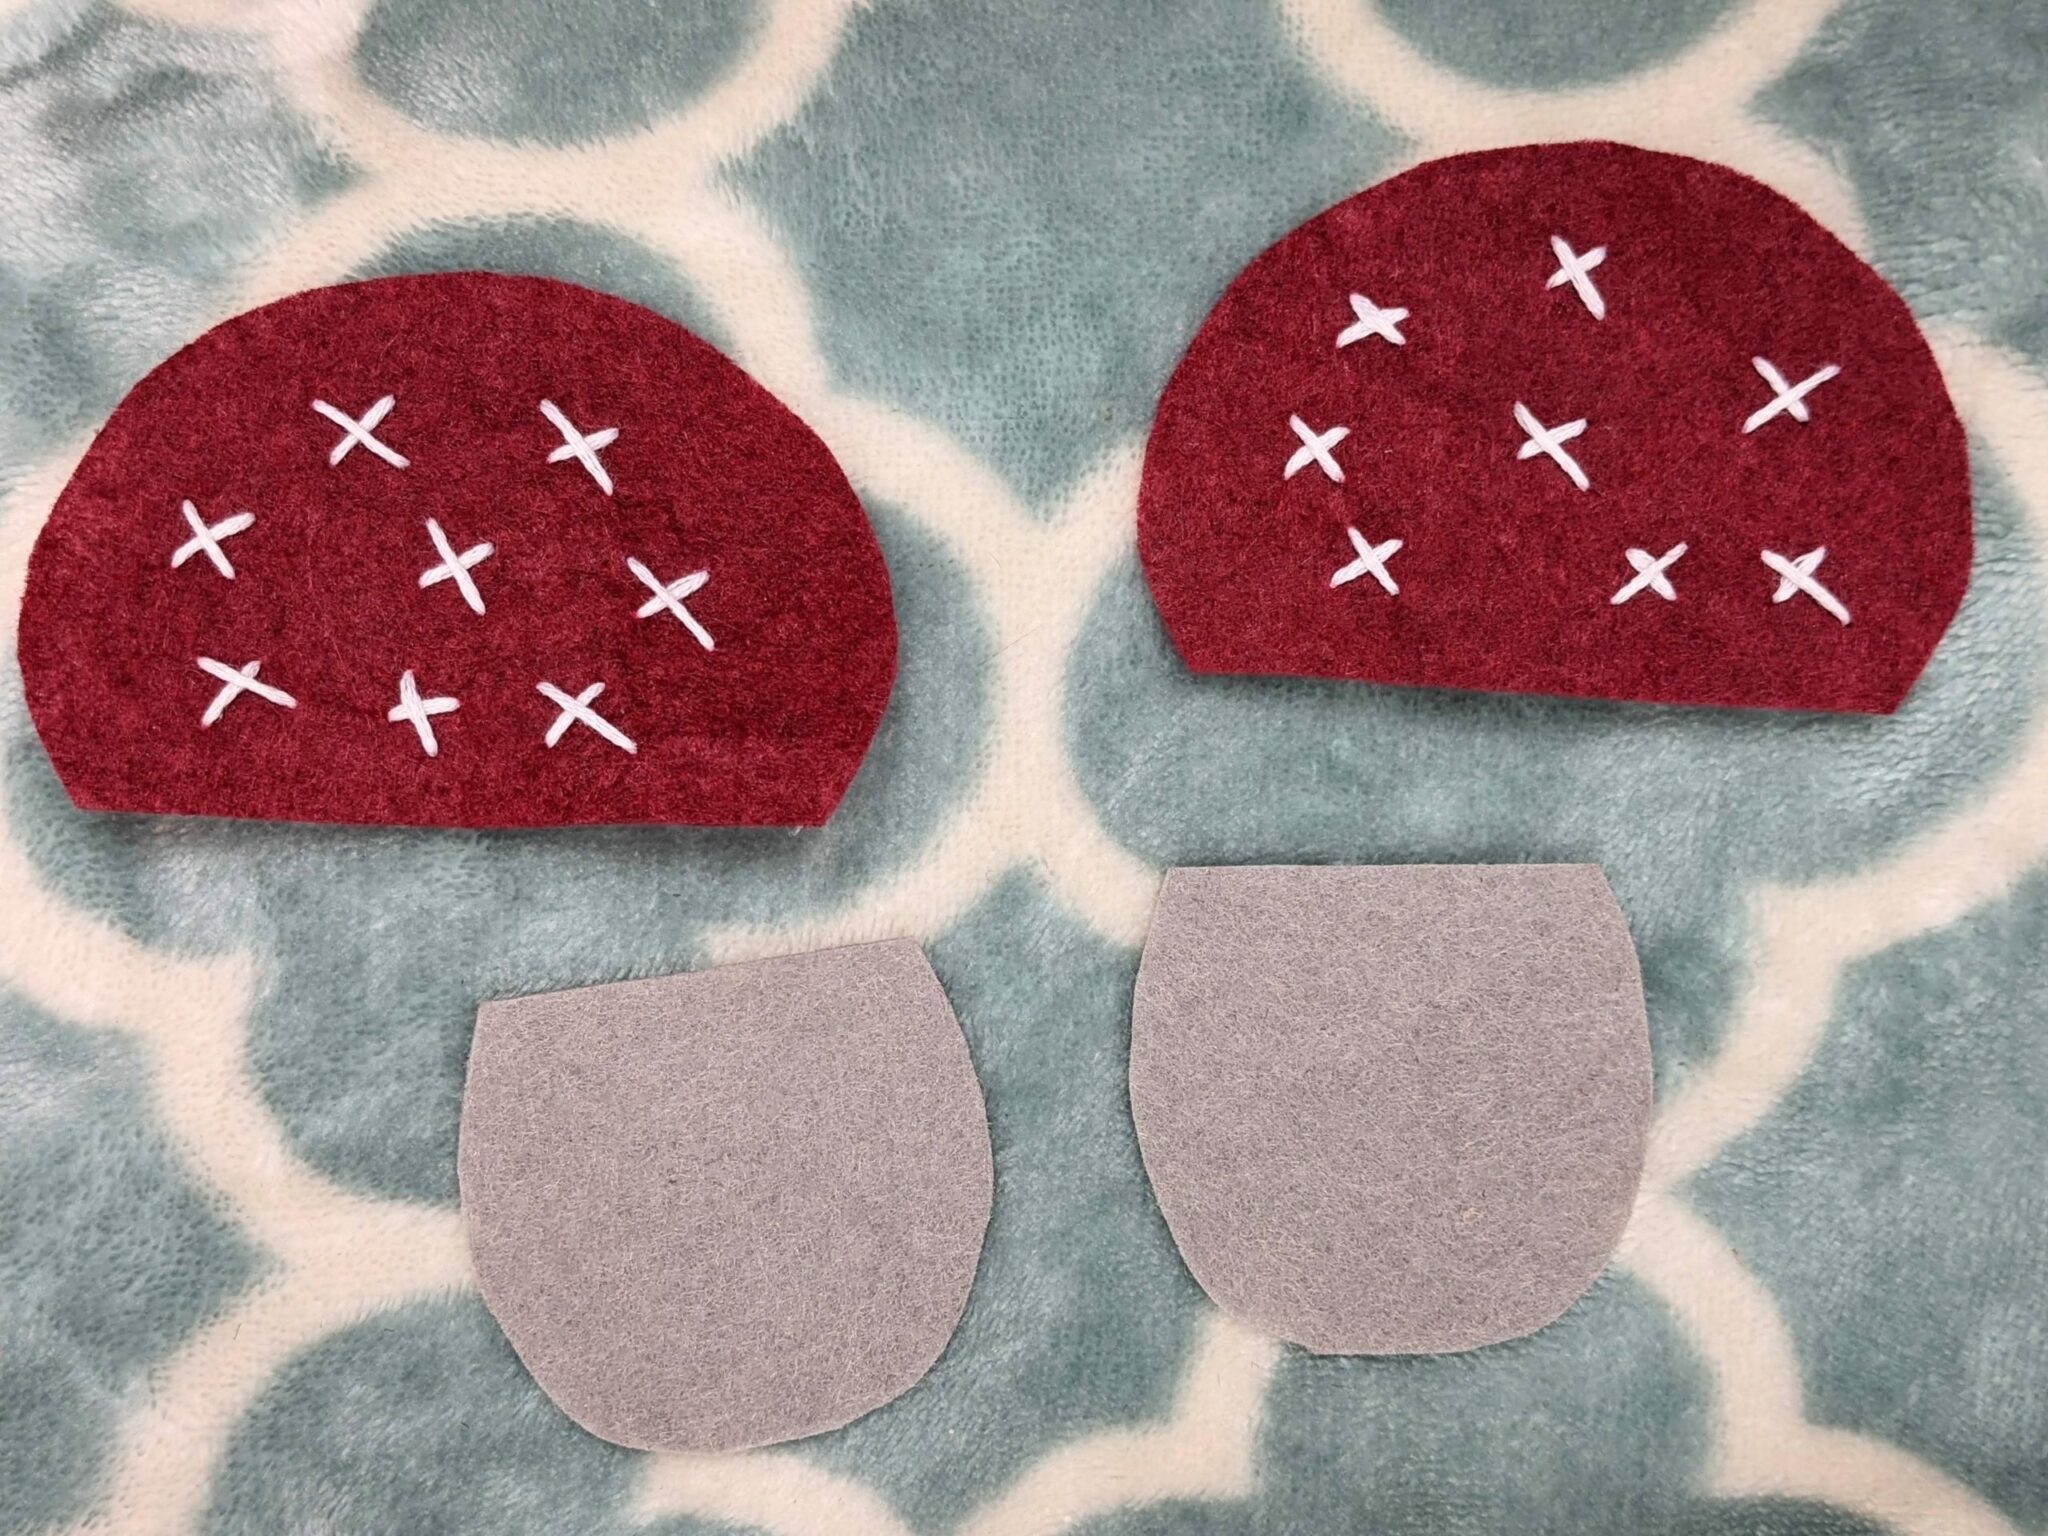
- For each mushroom, cut out 2 tops and 2 bottoms.
- Cut out as many as you want to have on your hanging.
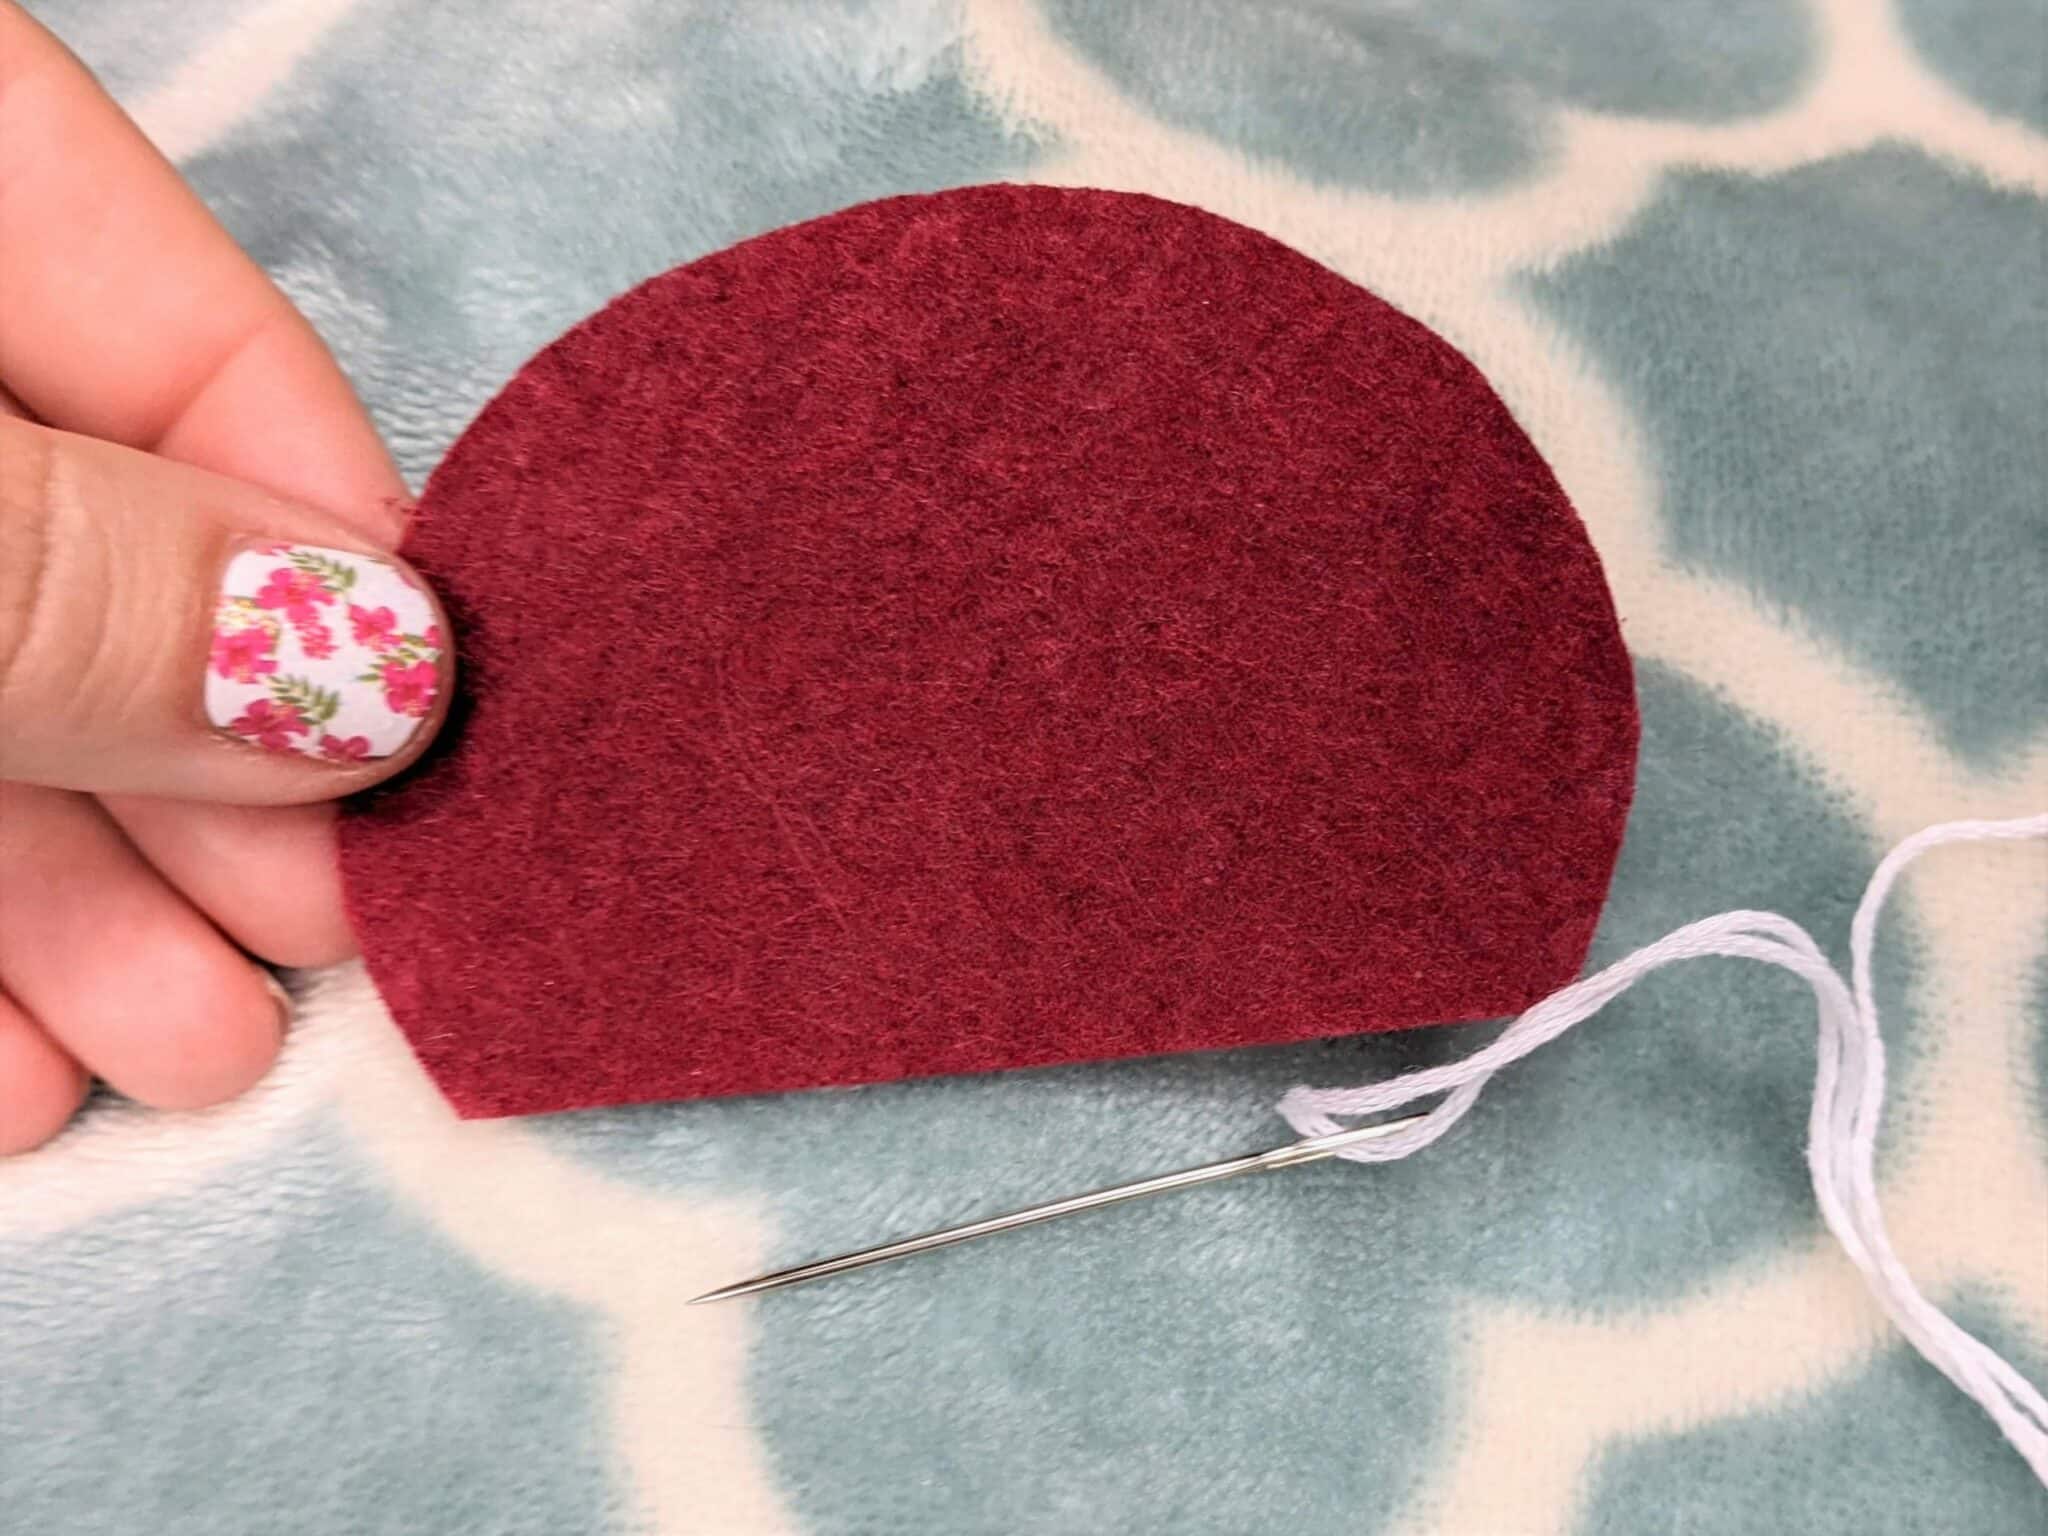
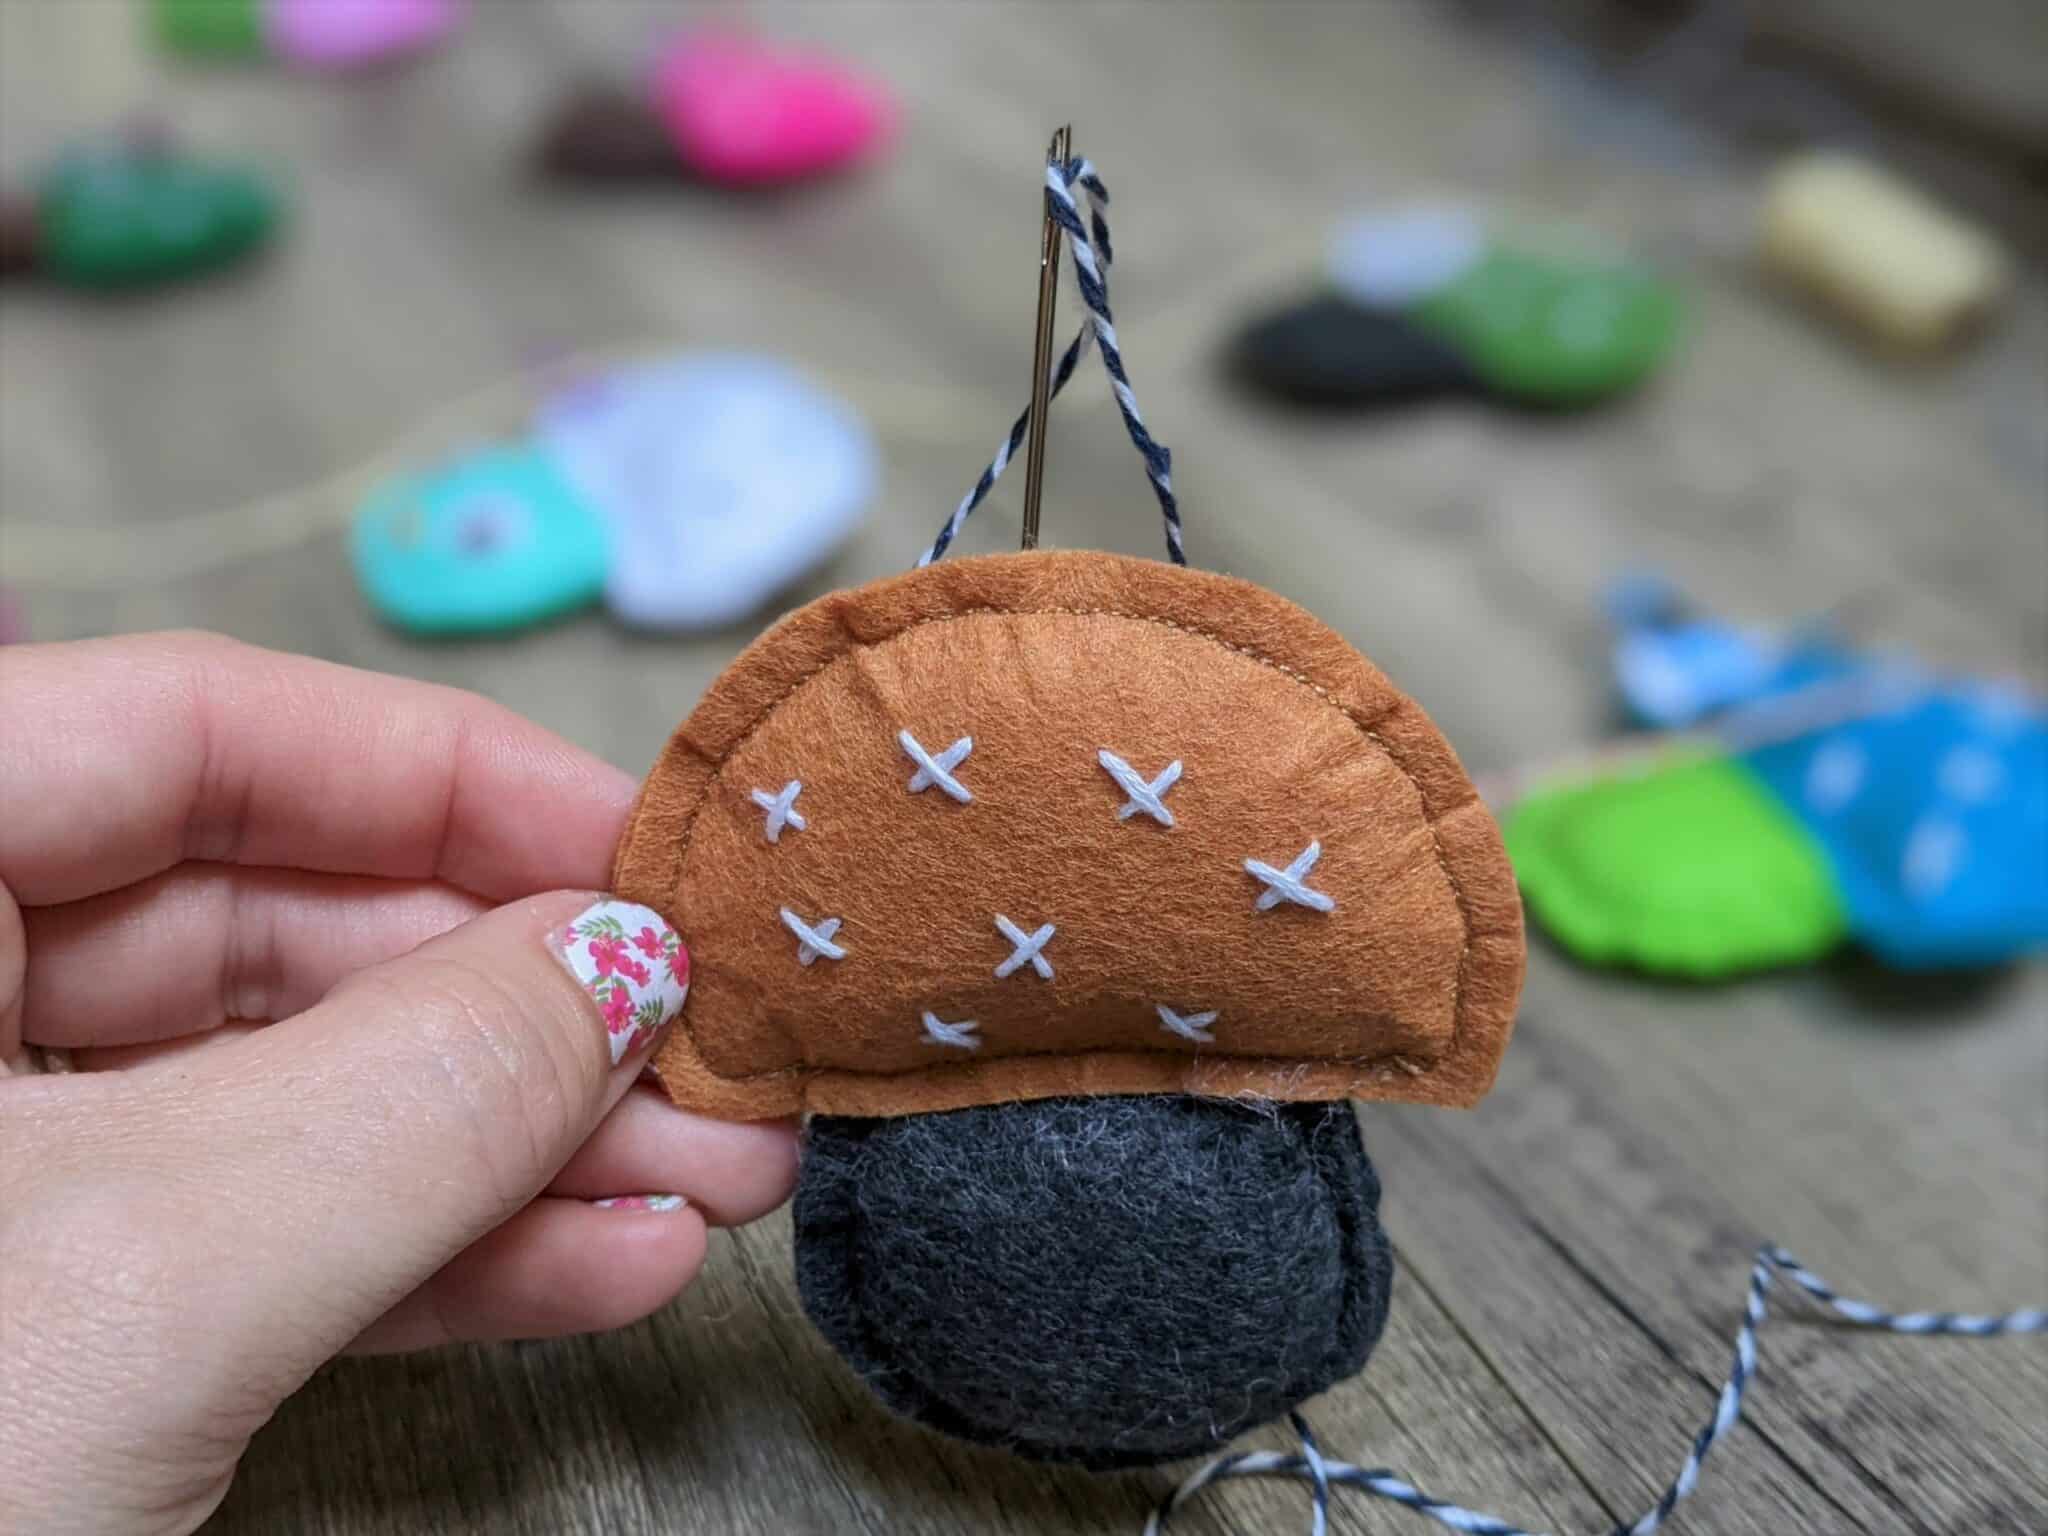
Mushroom Top
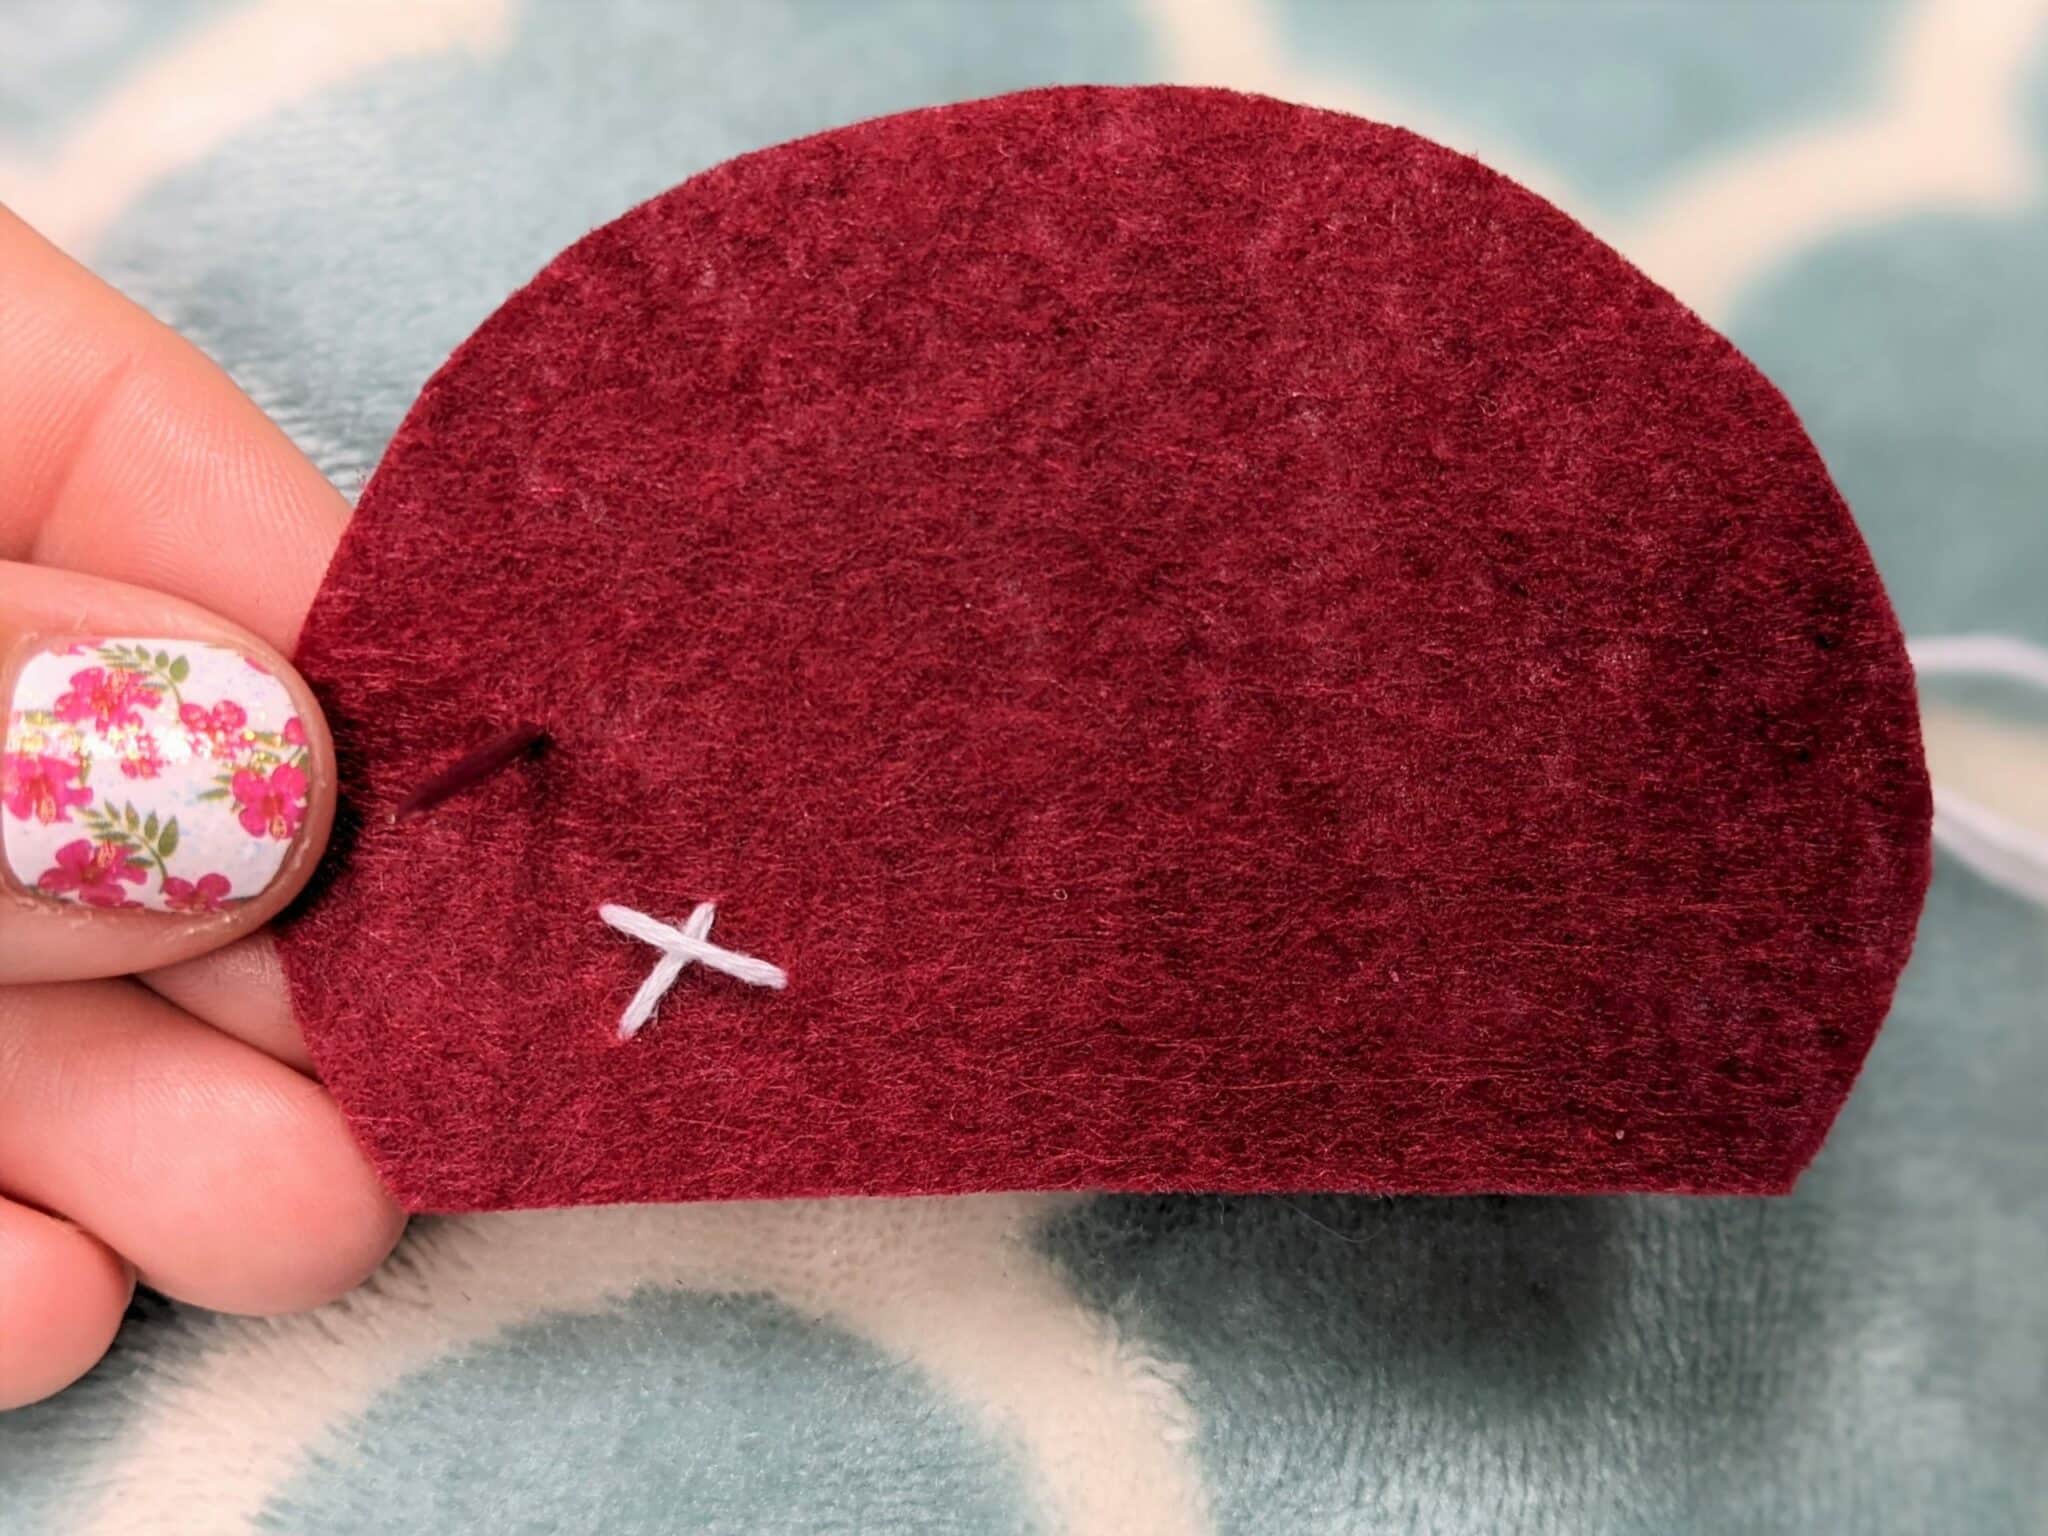
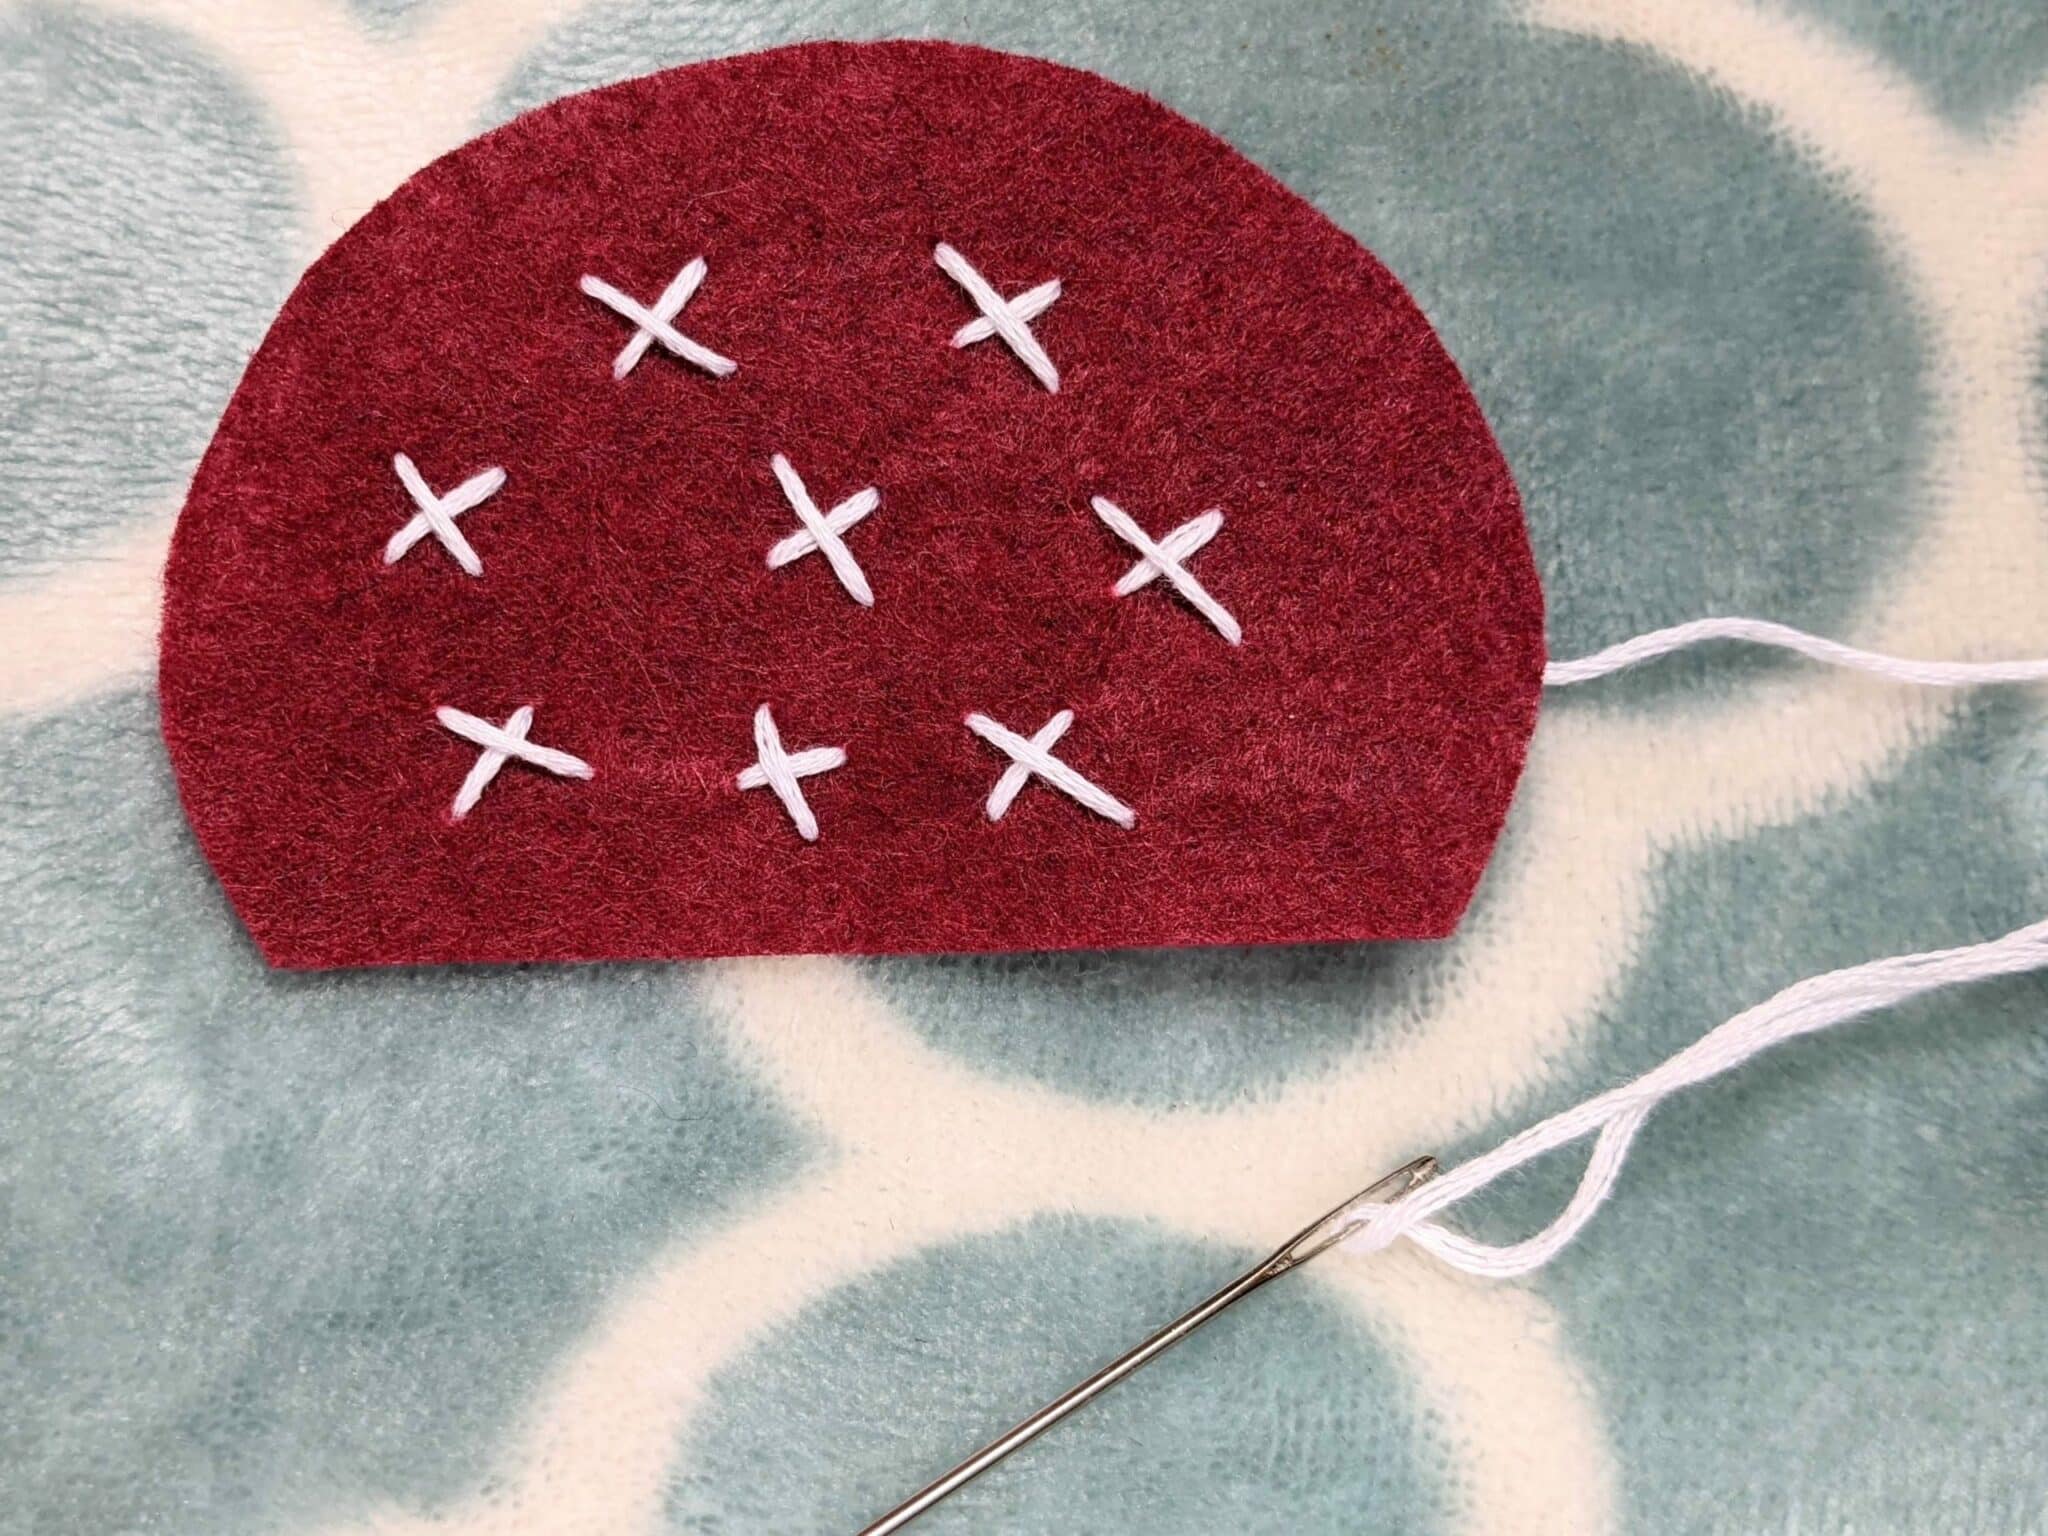
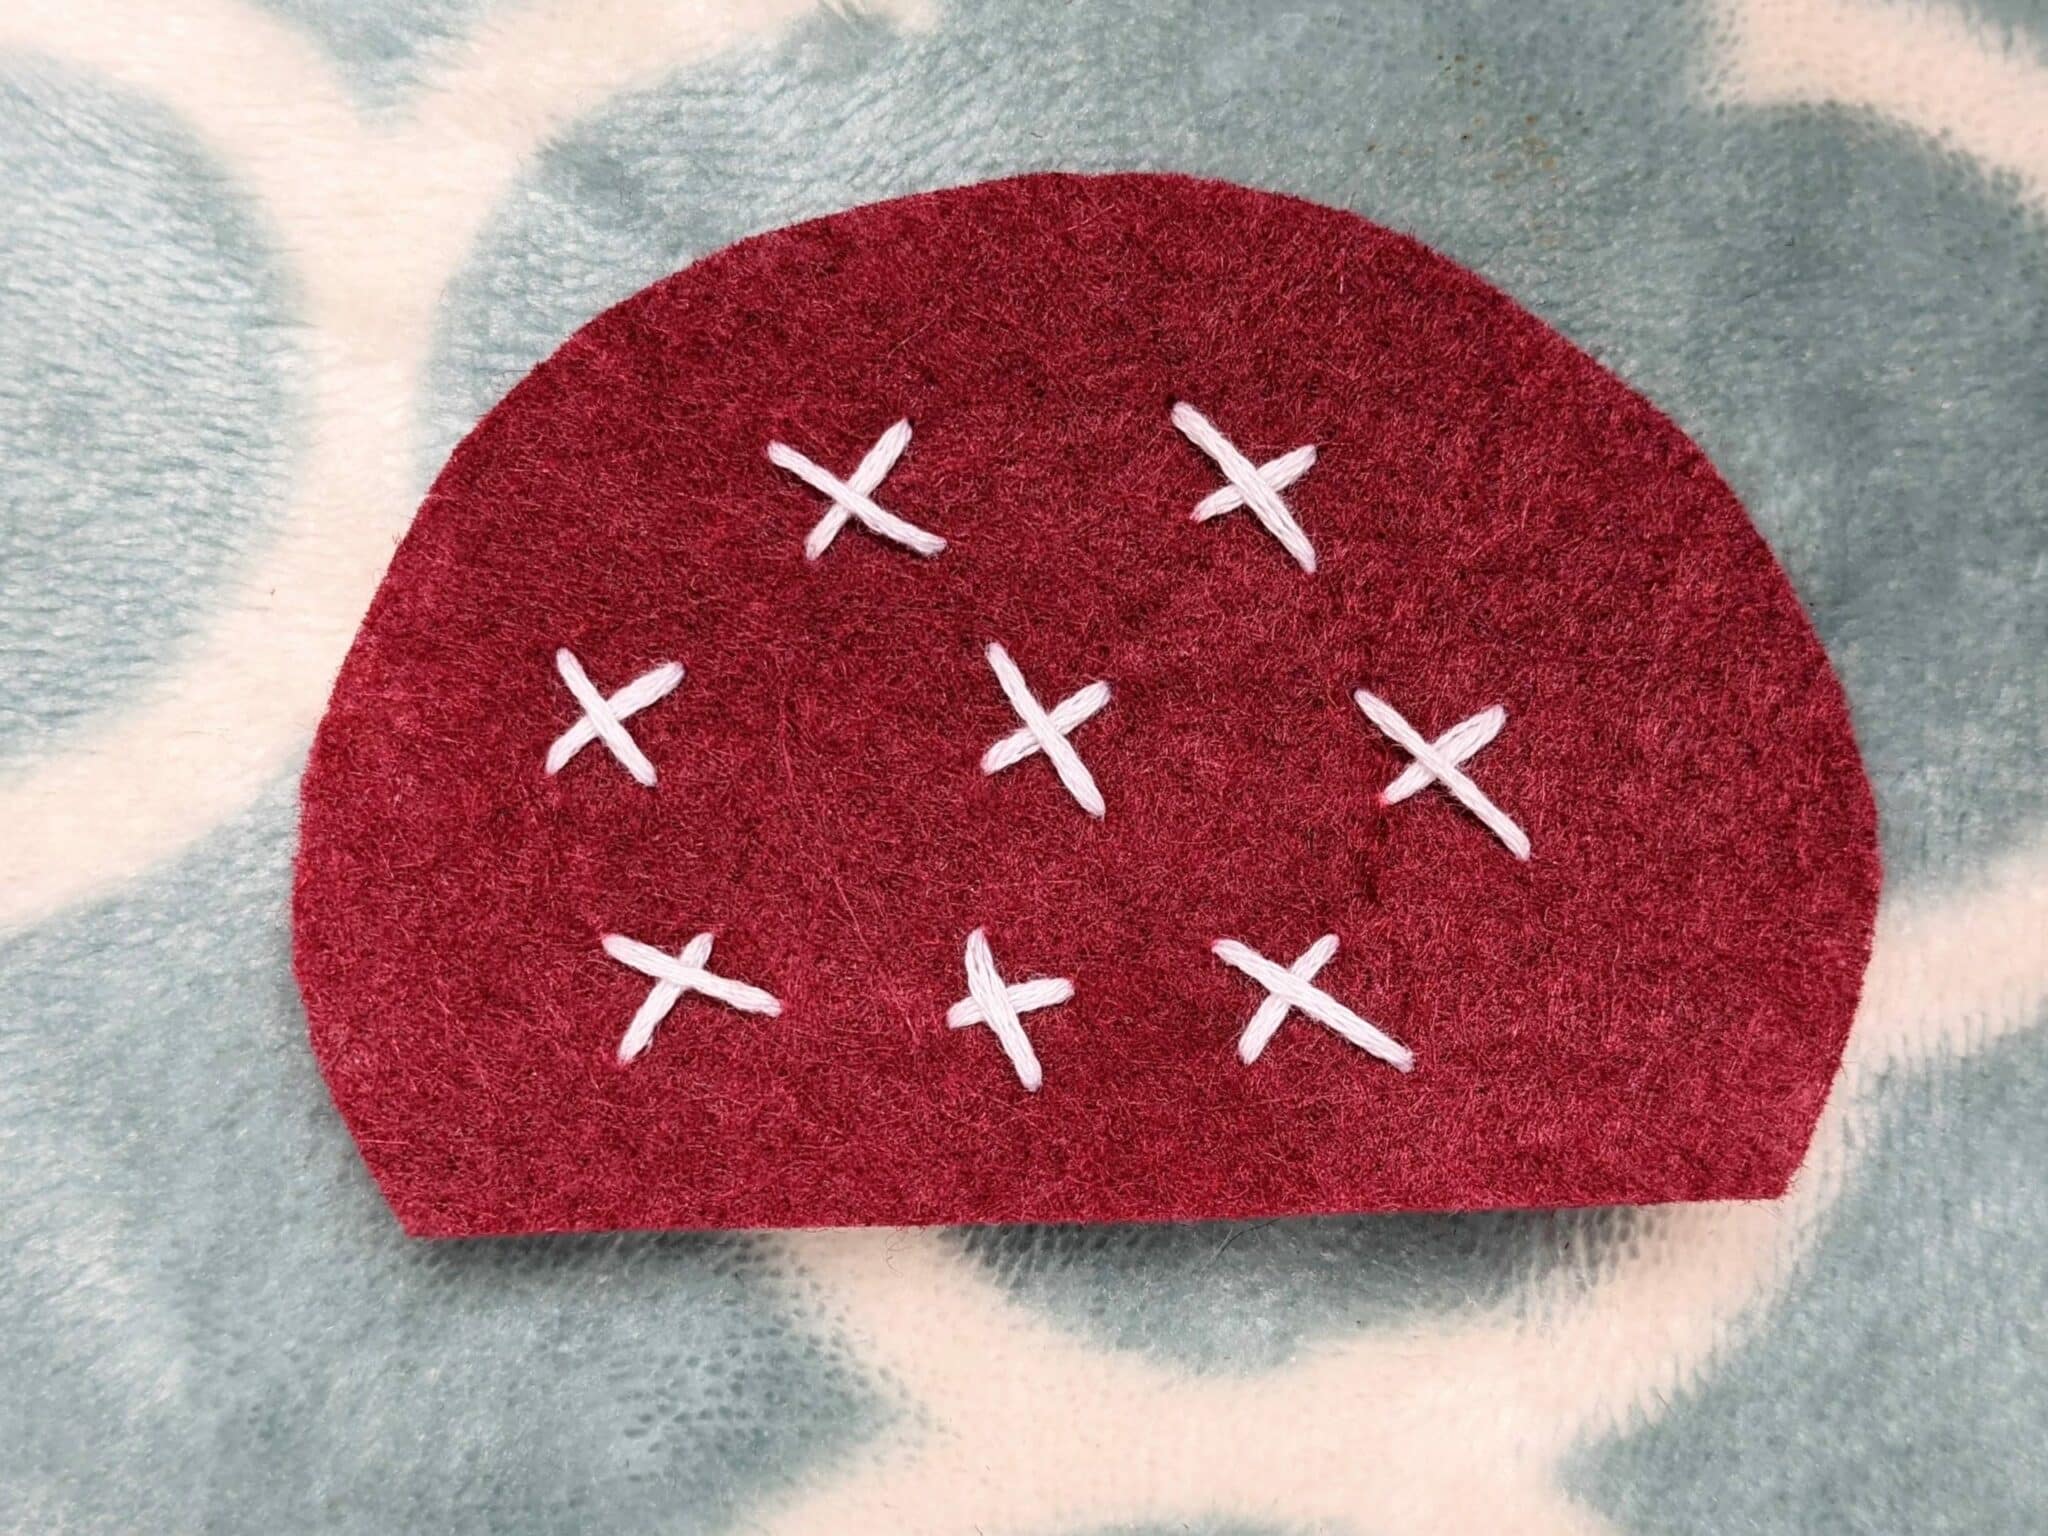
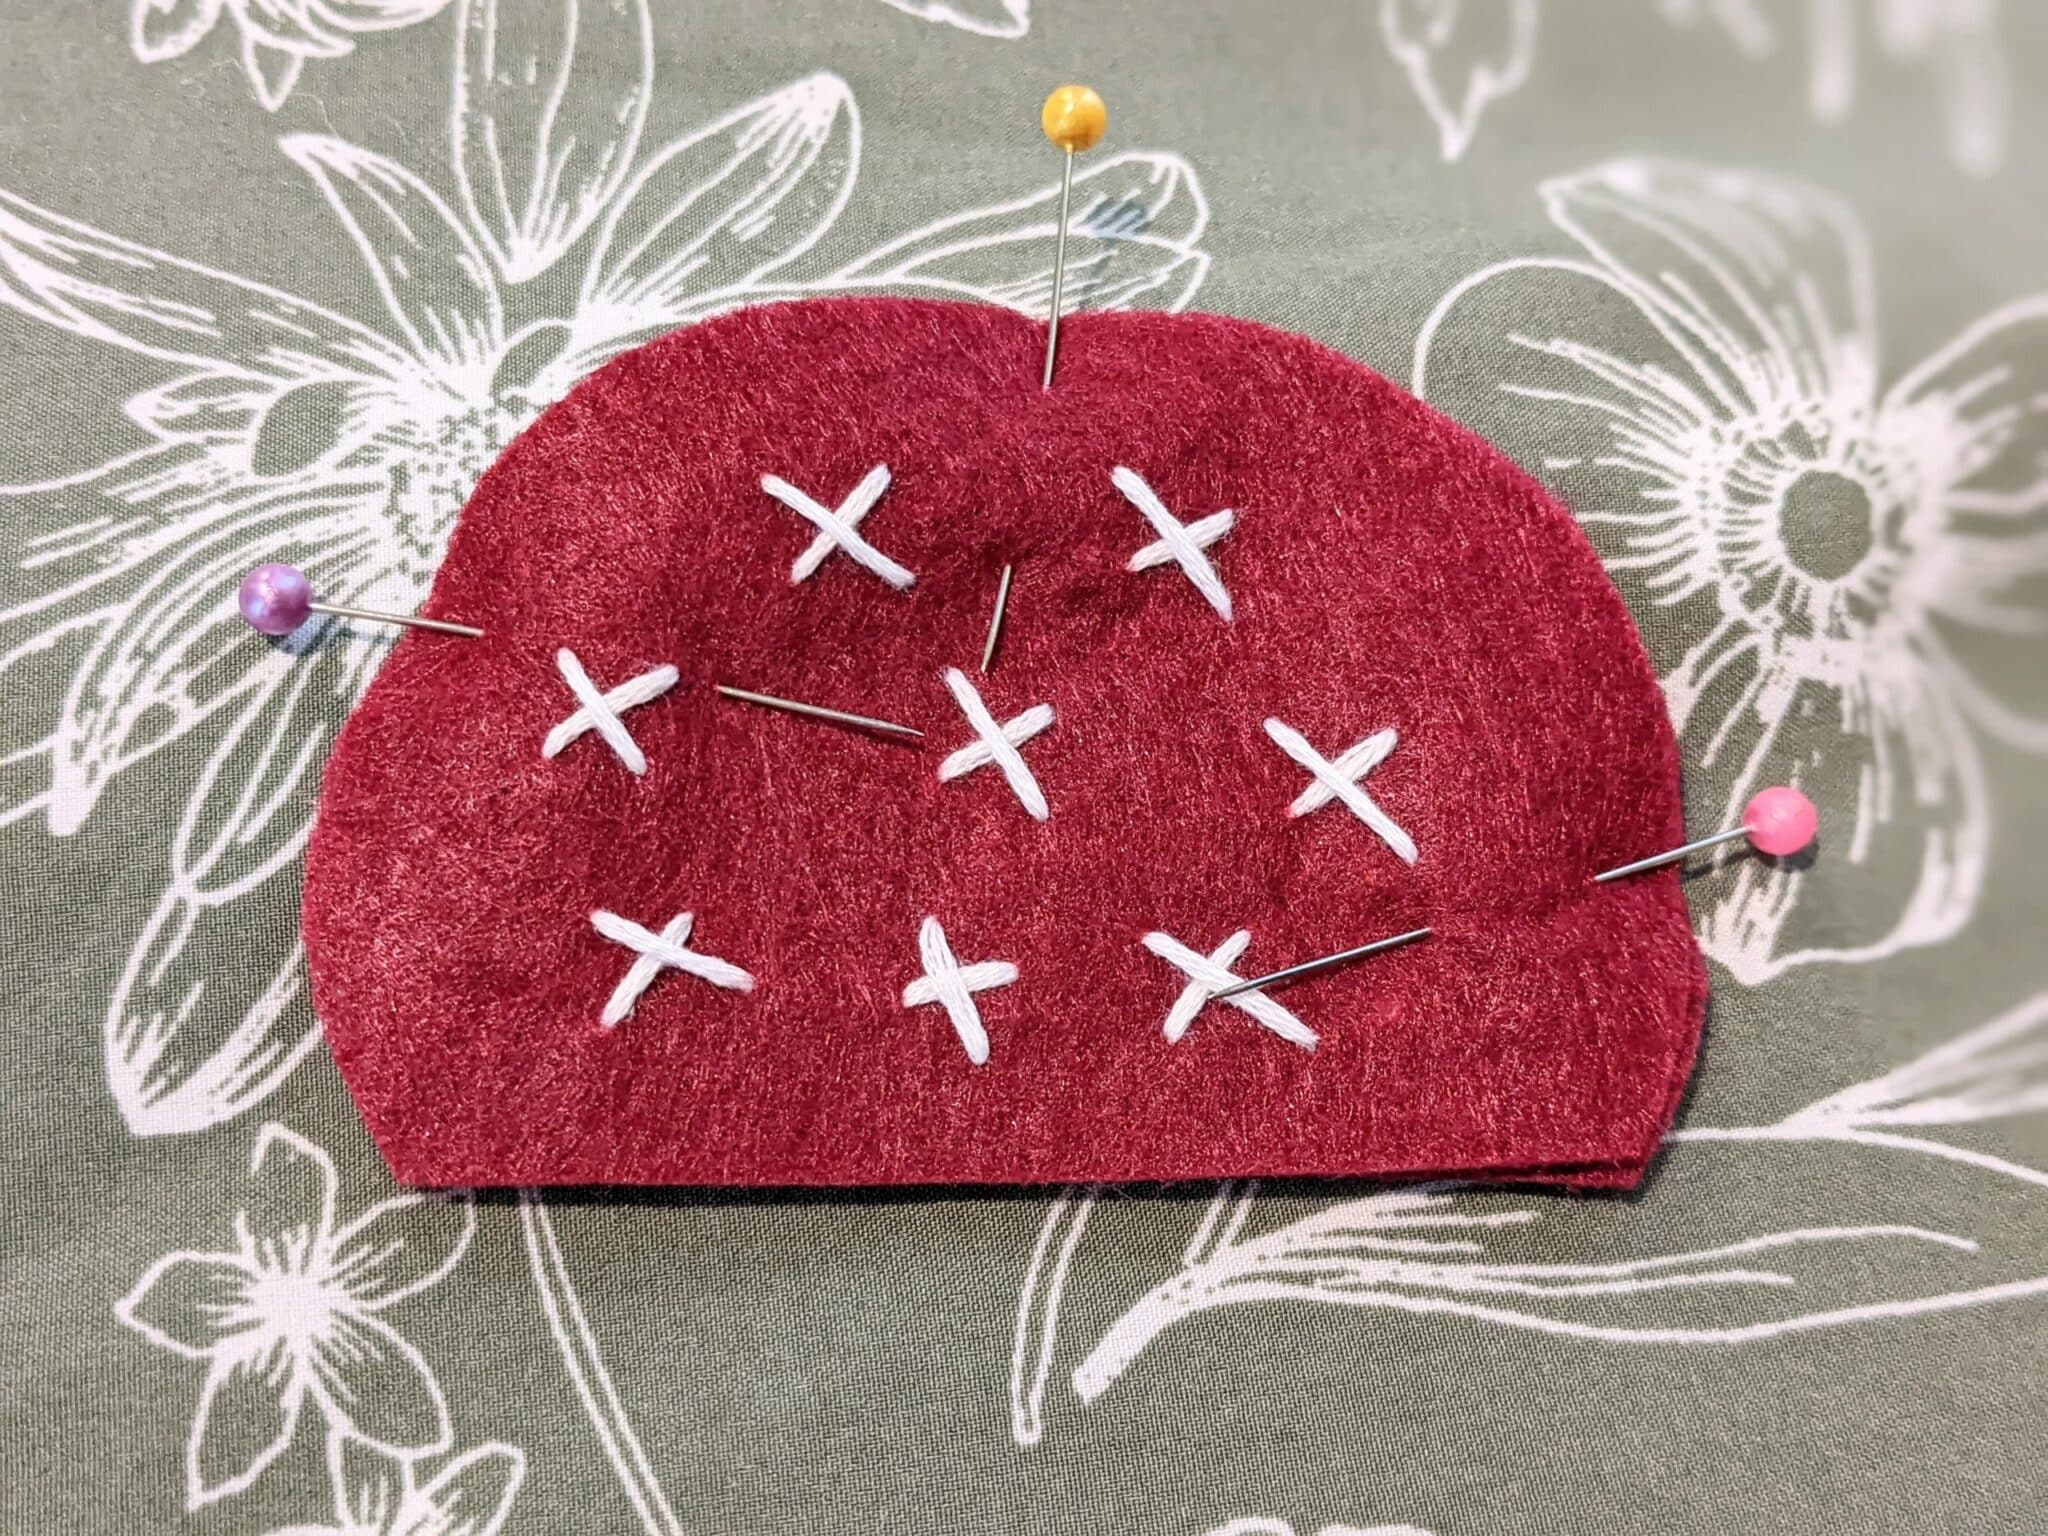
- Take a mushroom top and your embroidery floss and needle then sew several small “x’s” onto the front.
- Repeat for the back side of the mushroom top if you’d like.
Mushroom Bottom – Optional Face:
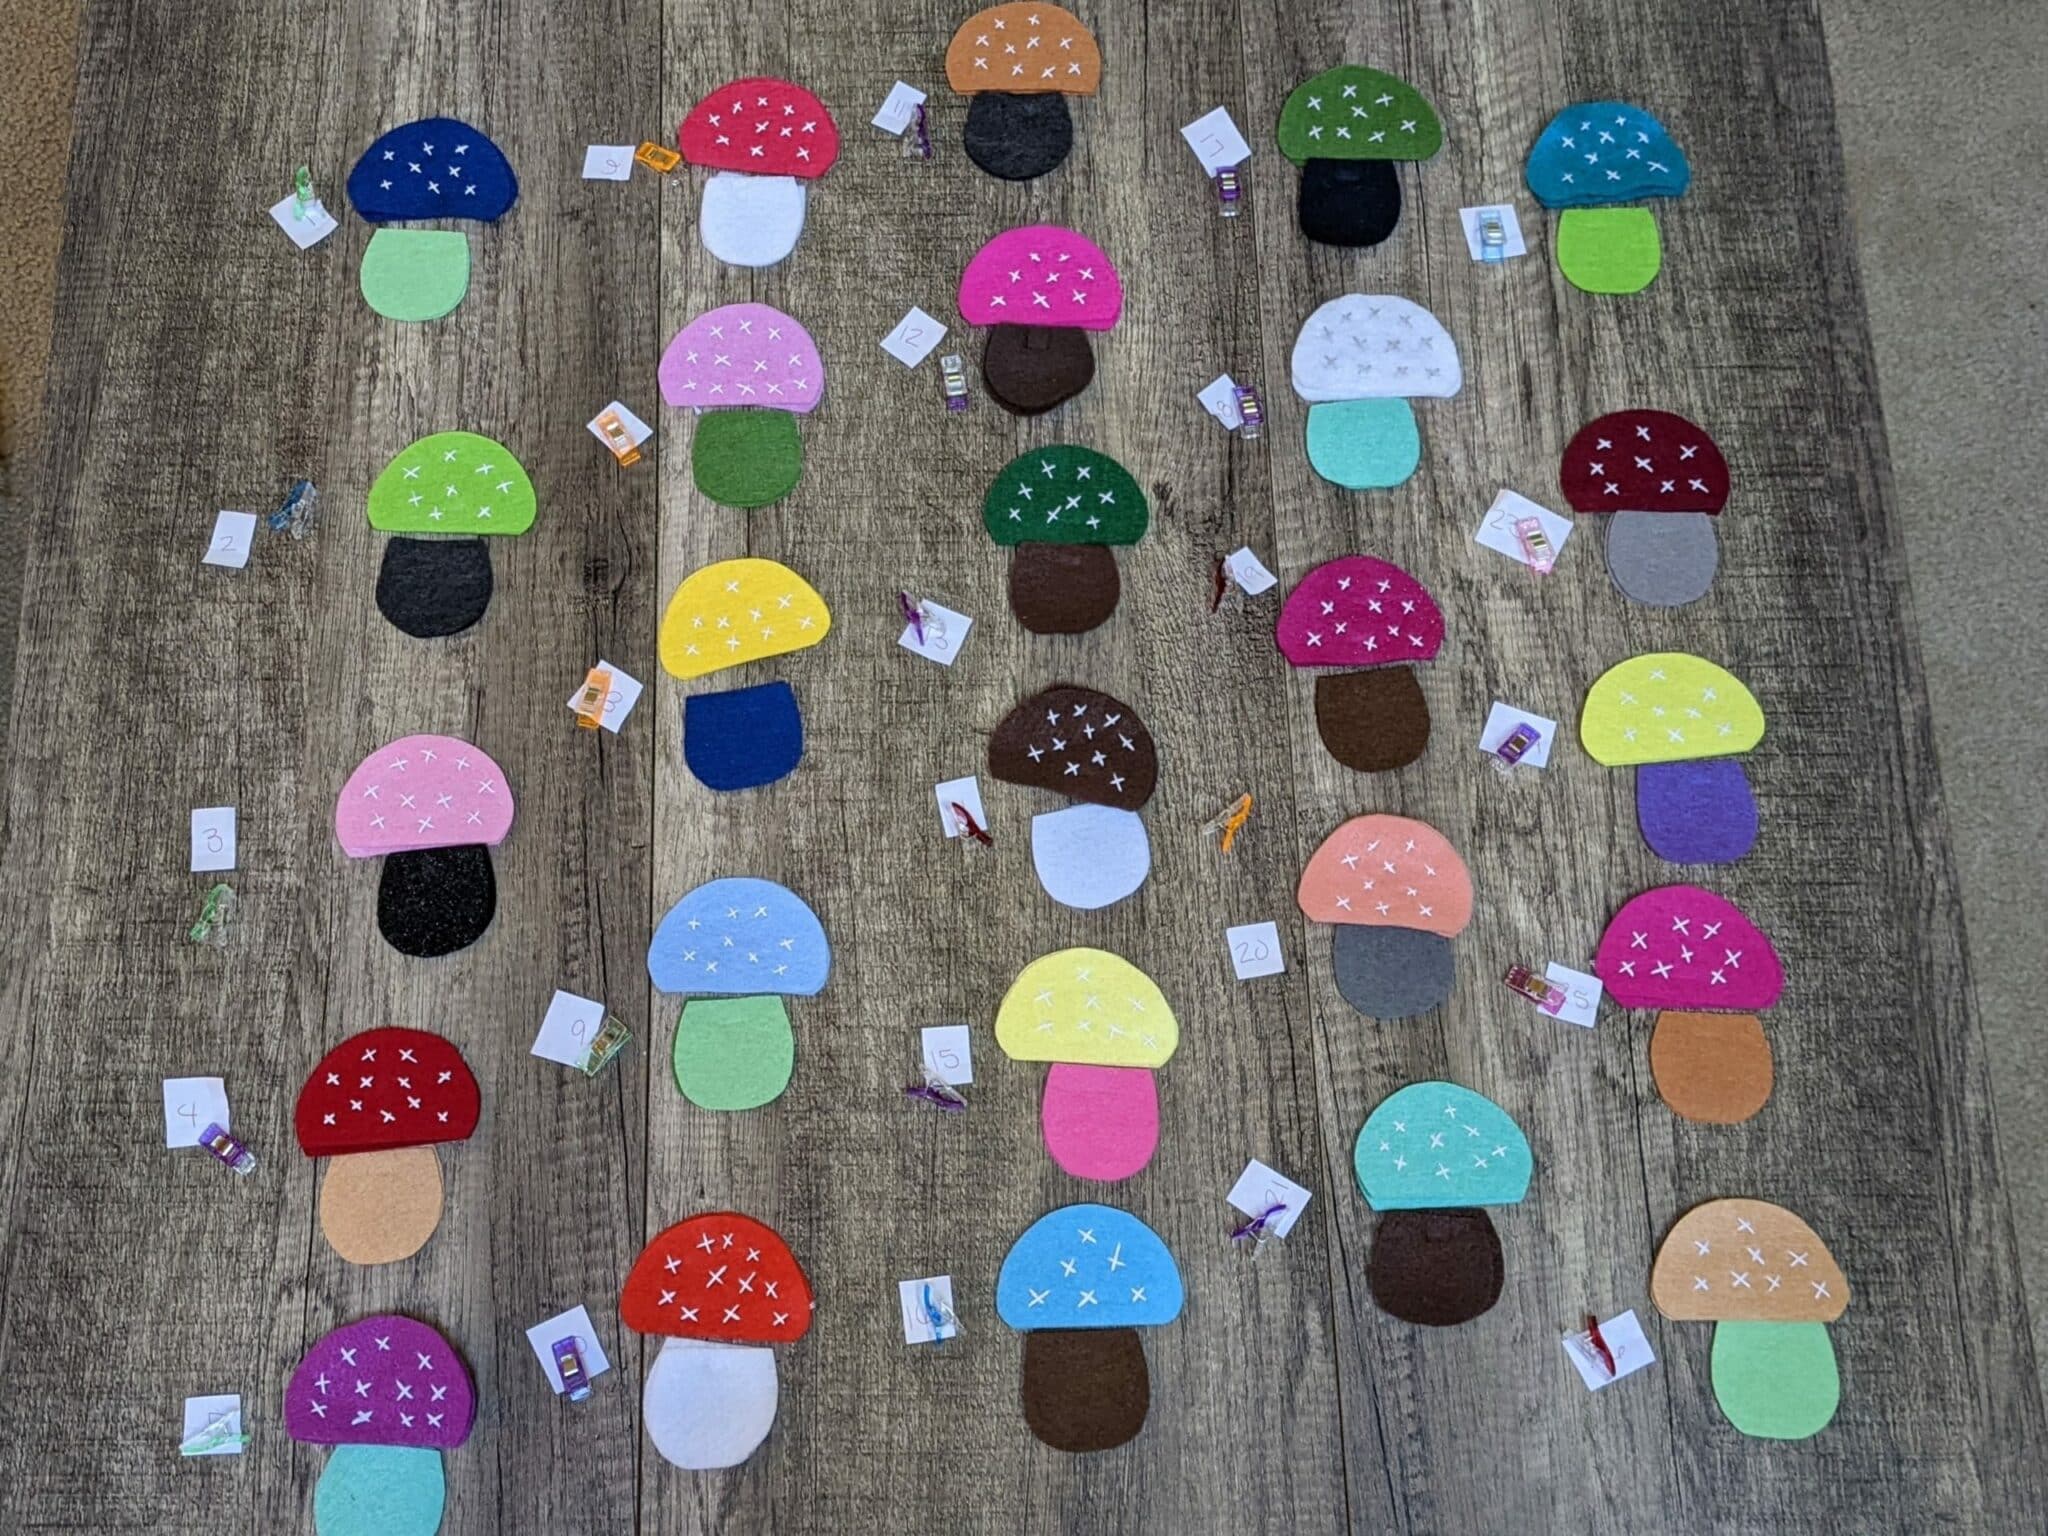
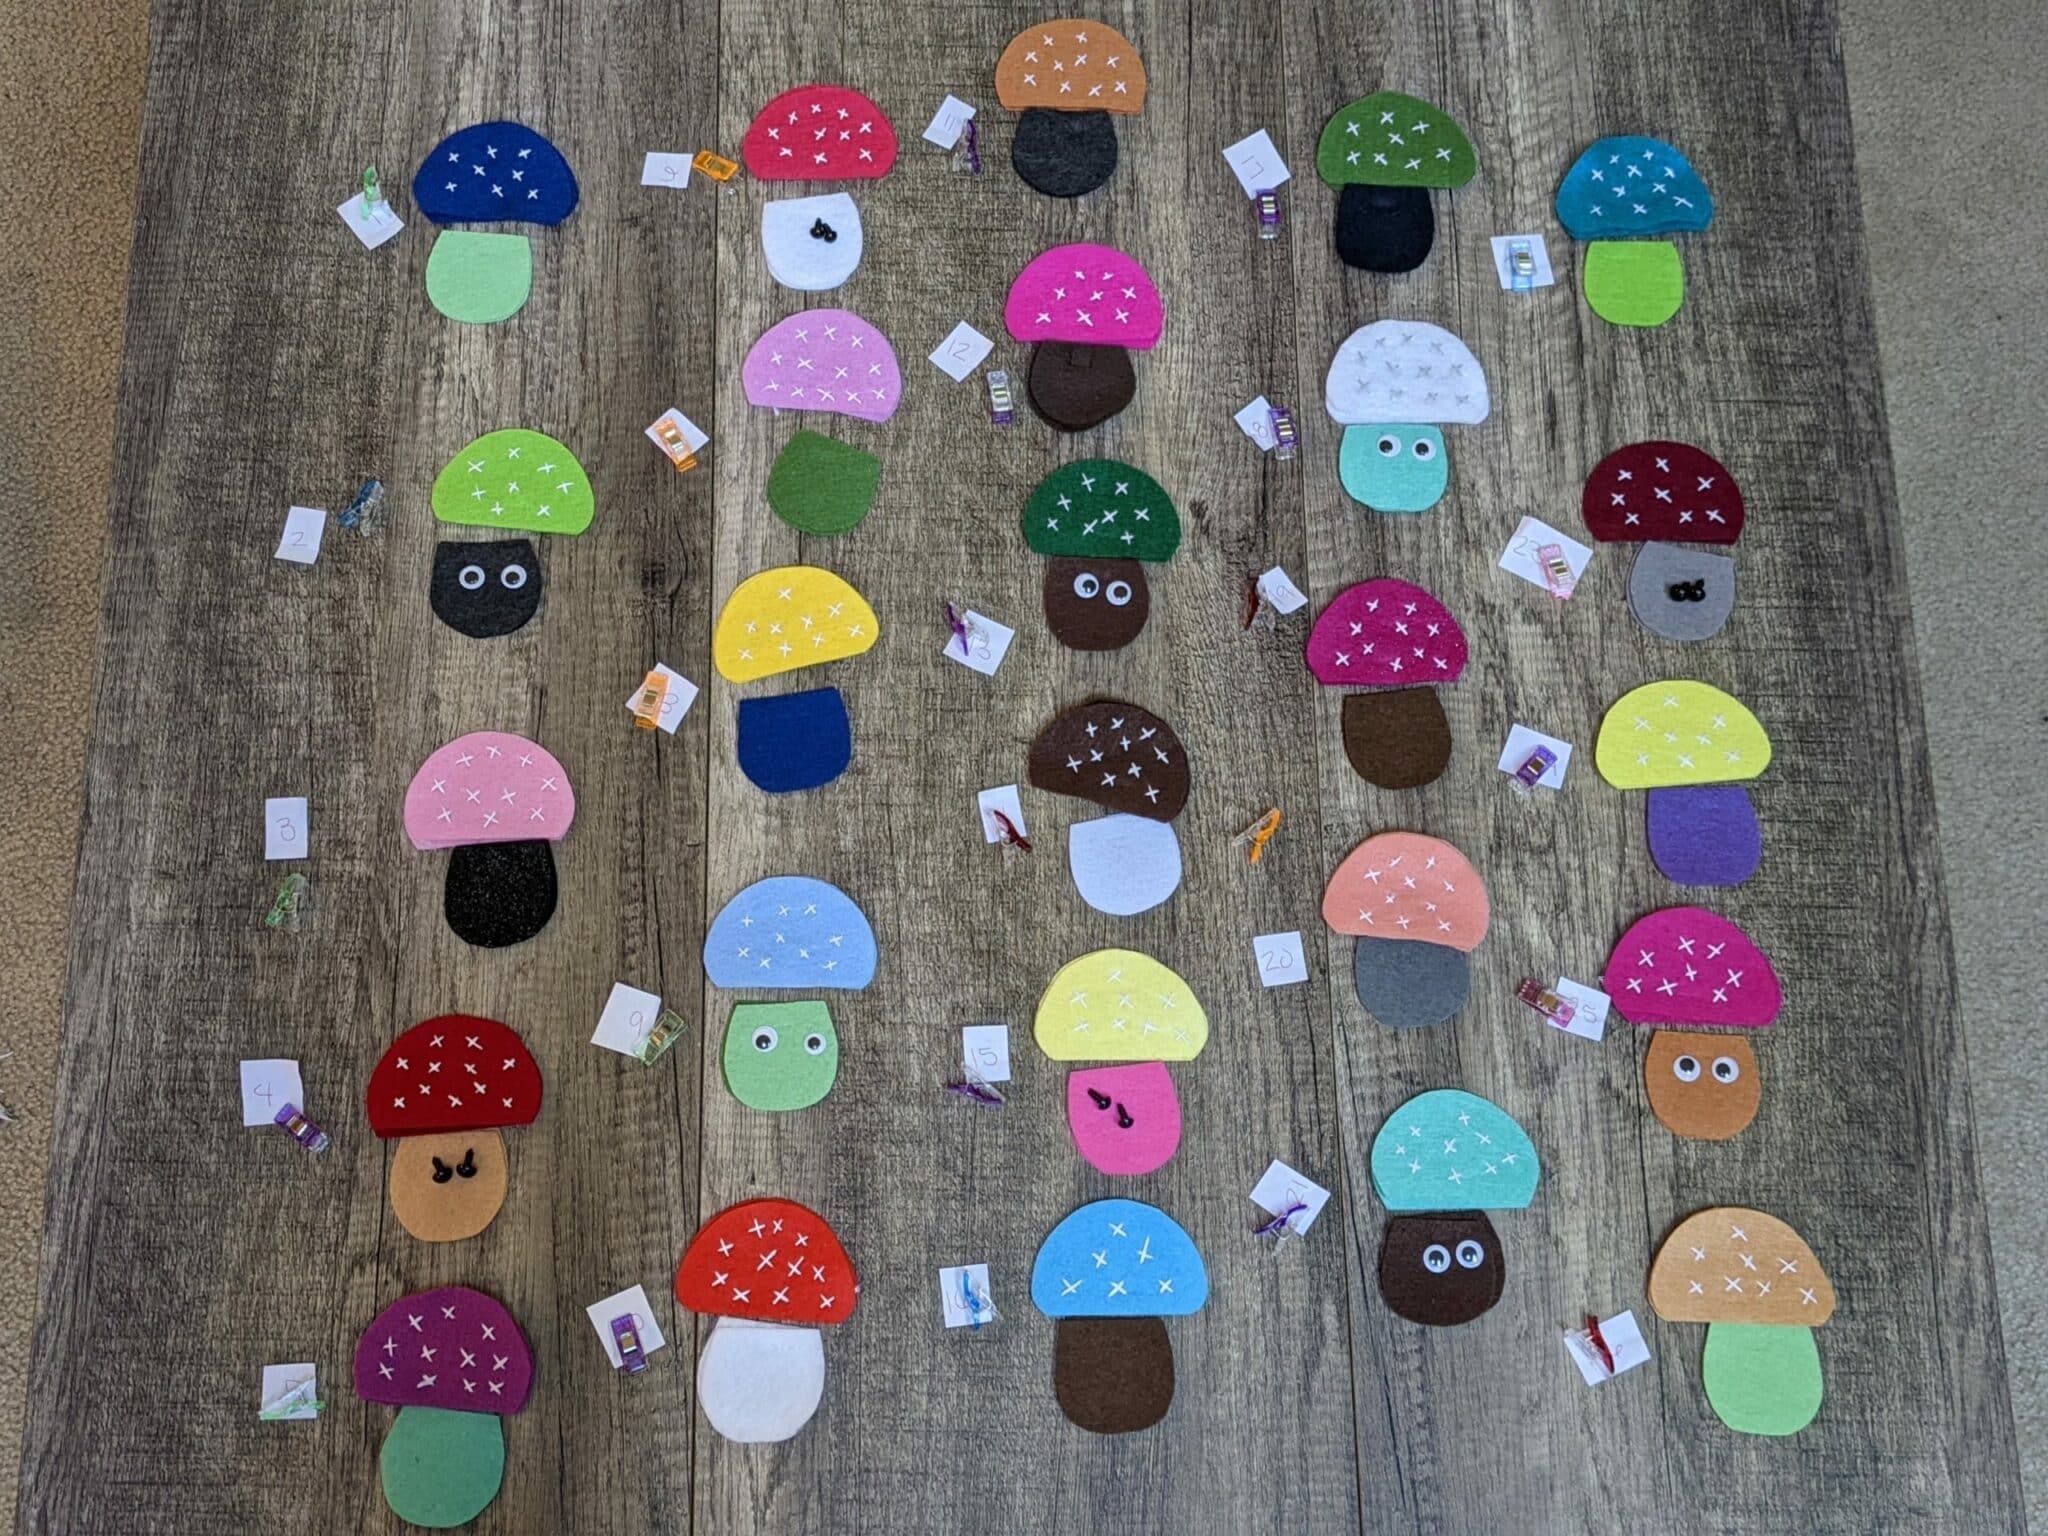
I laid out all of my mushrooms and arranged them in the order I wanted them to be when I was finished to decide which ones I wanted to put faces on. You can do however many or few as you want.
Googley Eyes:
- Use a hot glue gun to glue them in place on one side of the bottom of the mushroom.
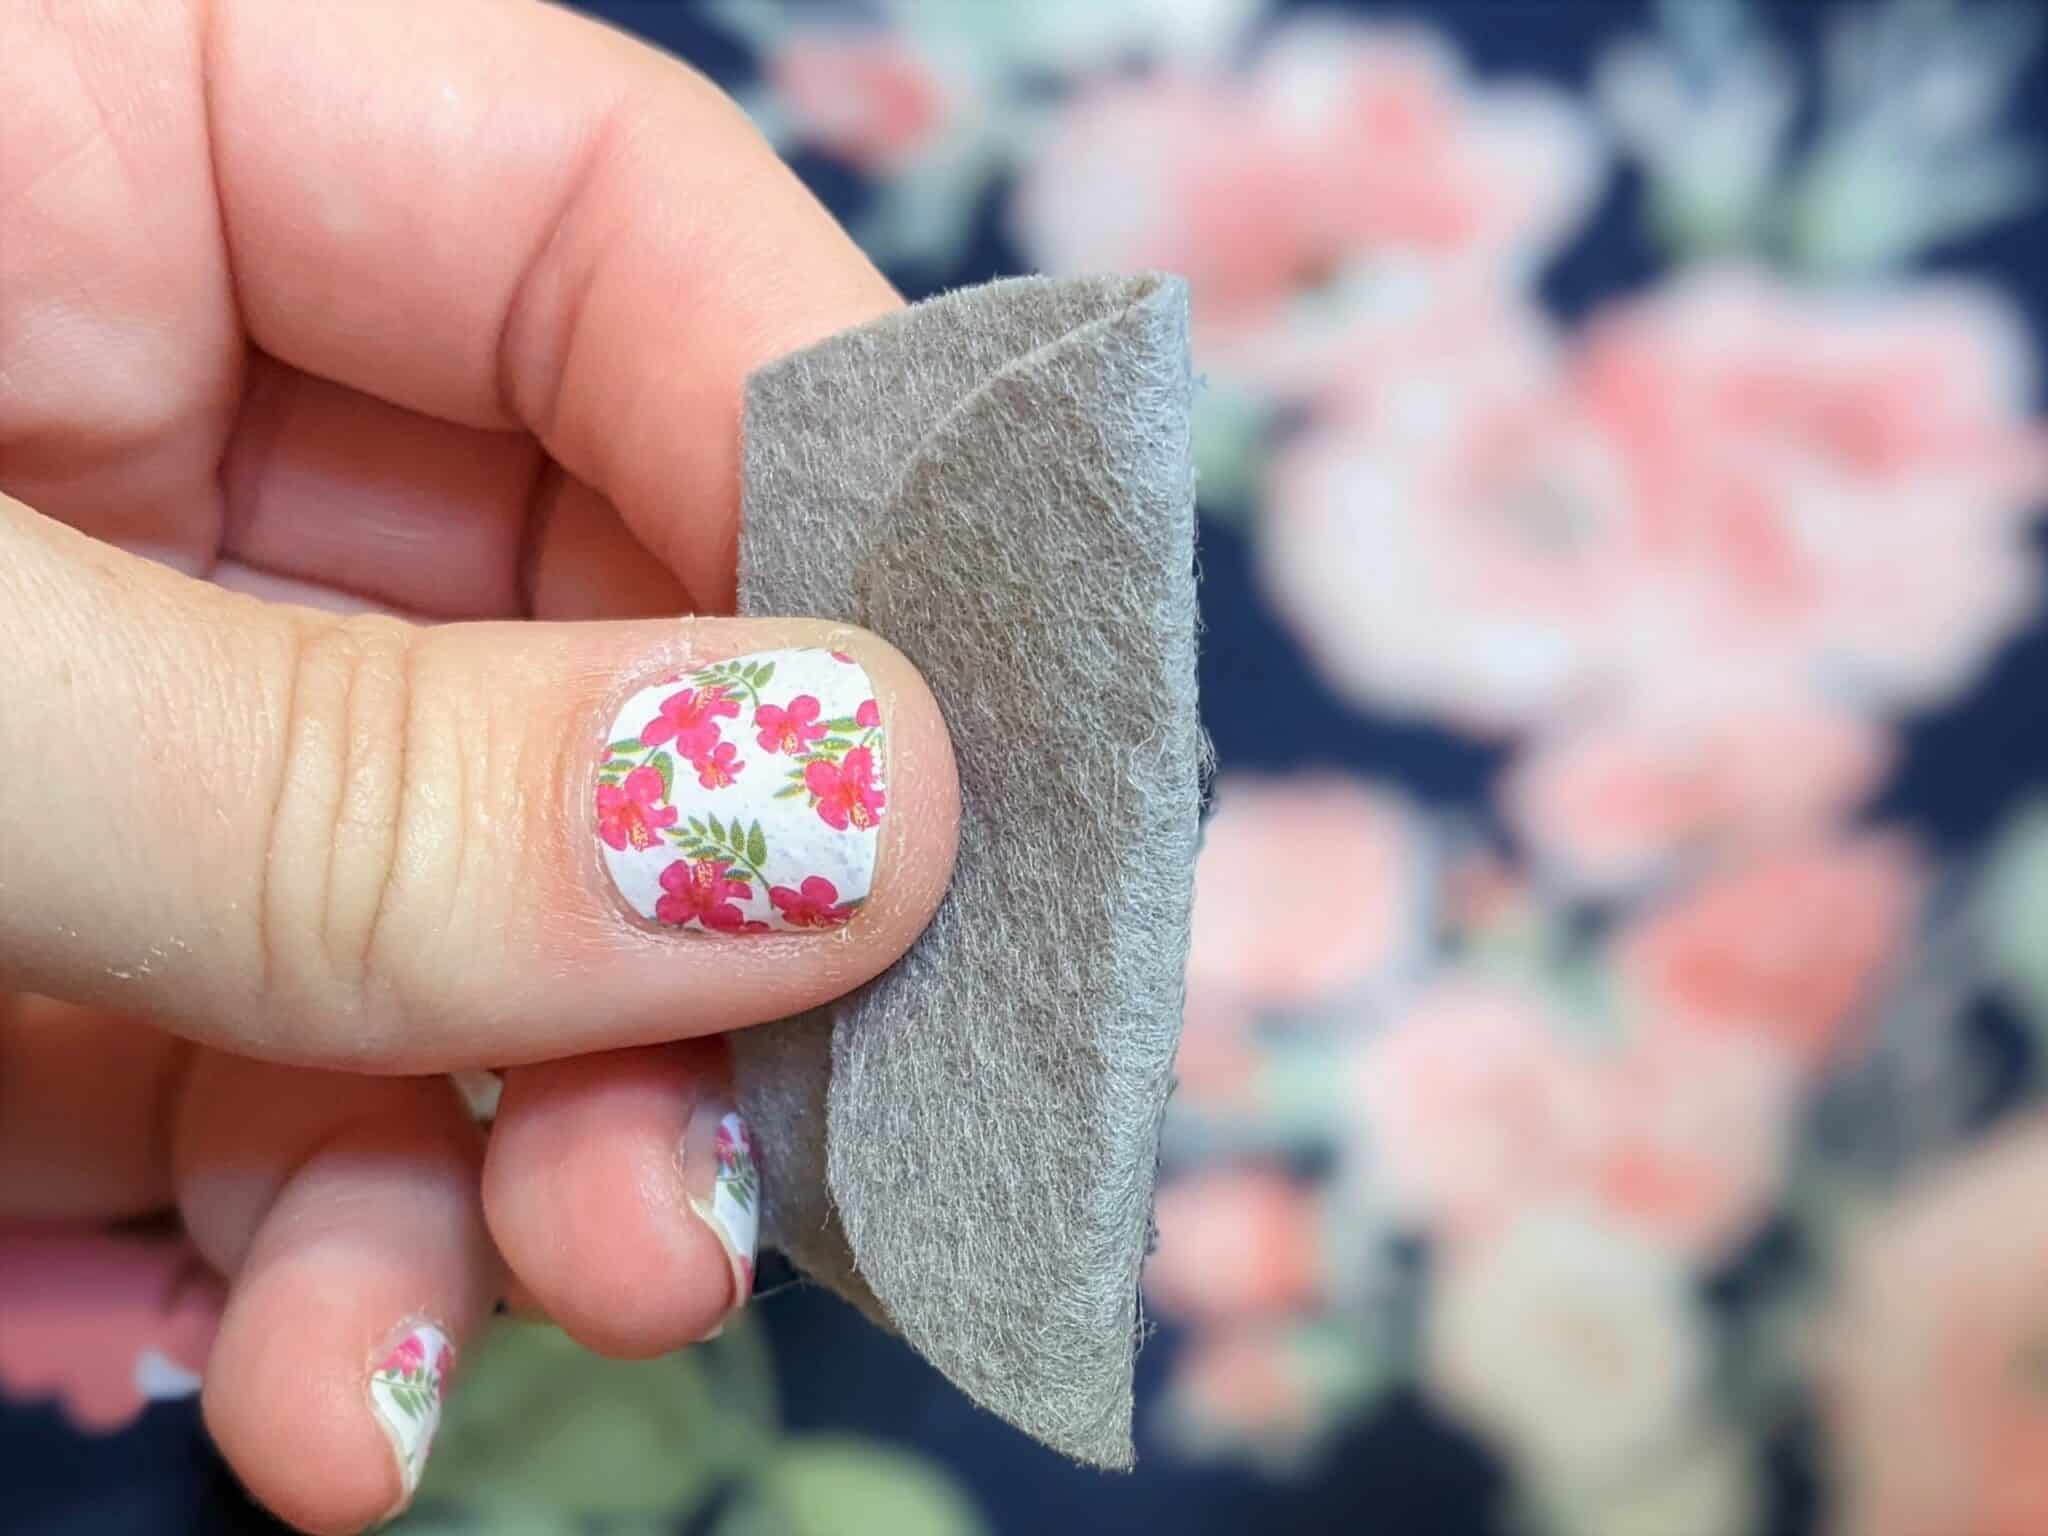
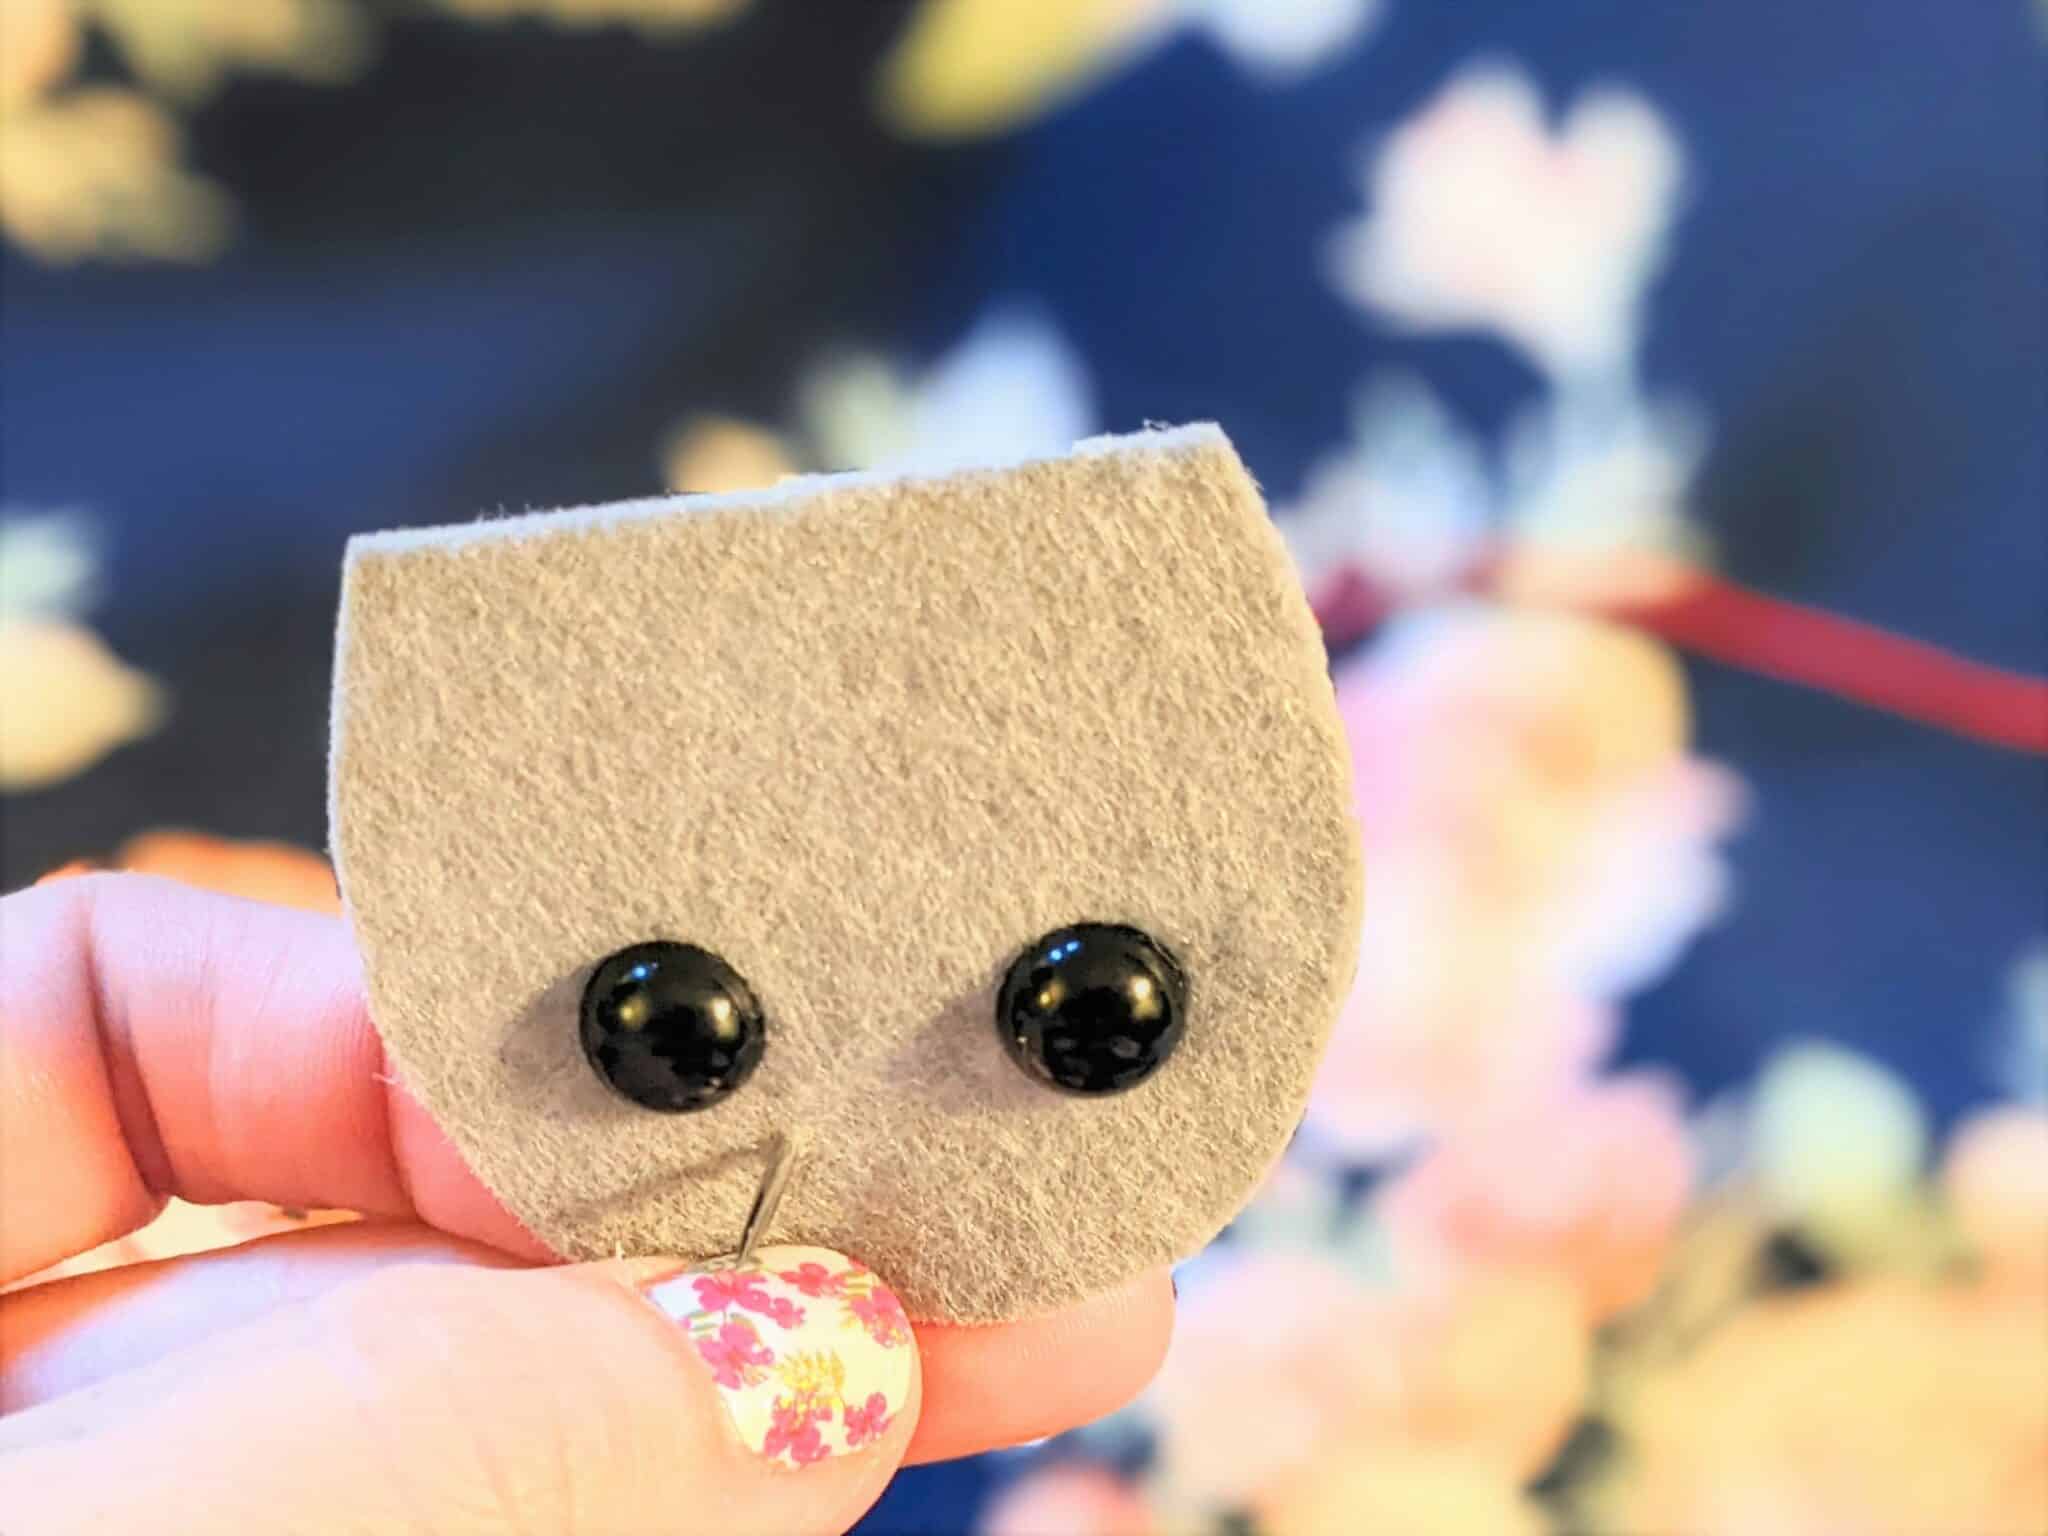
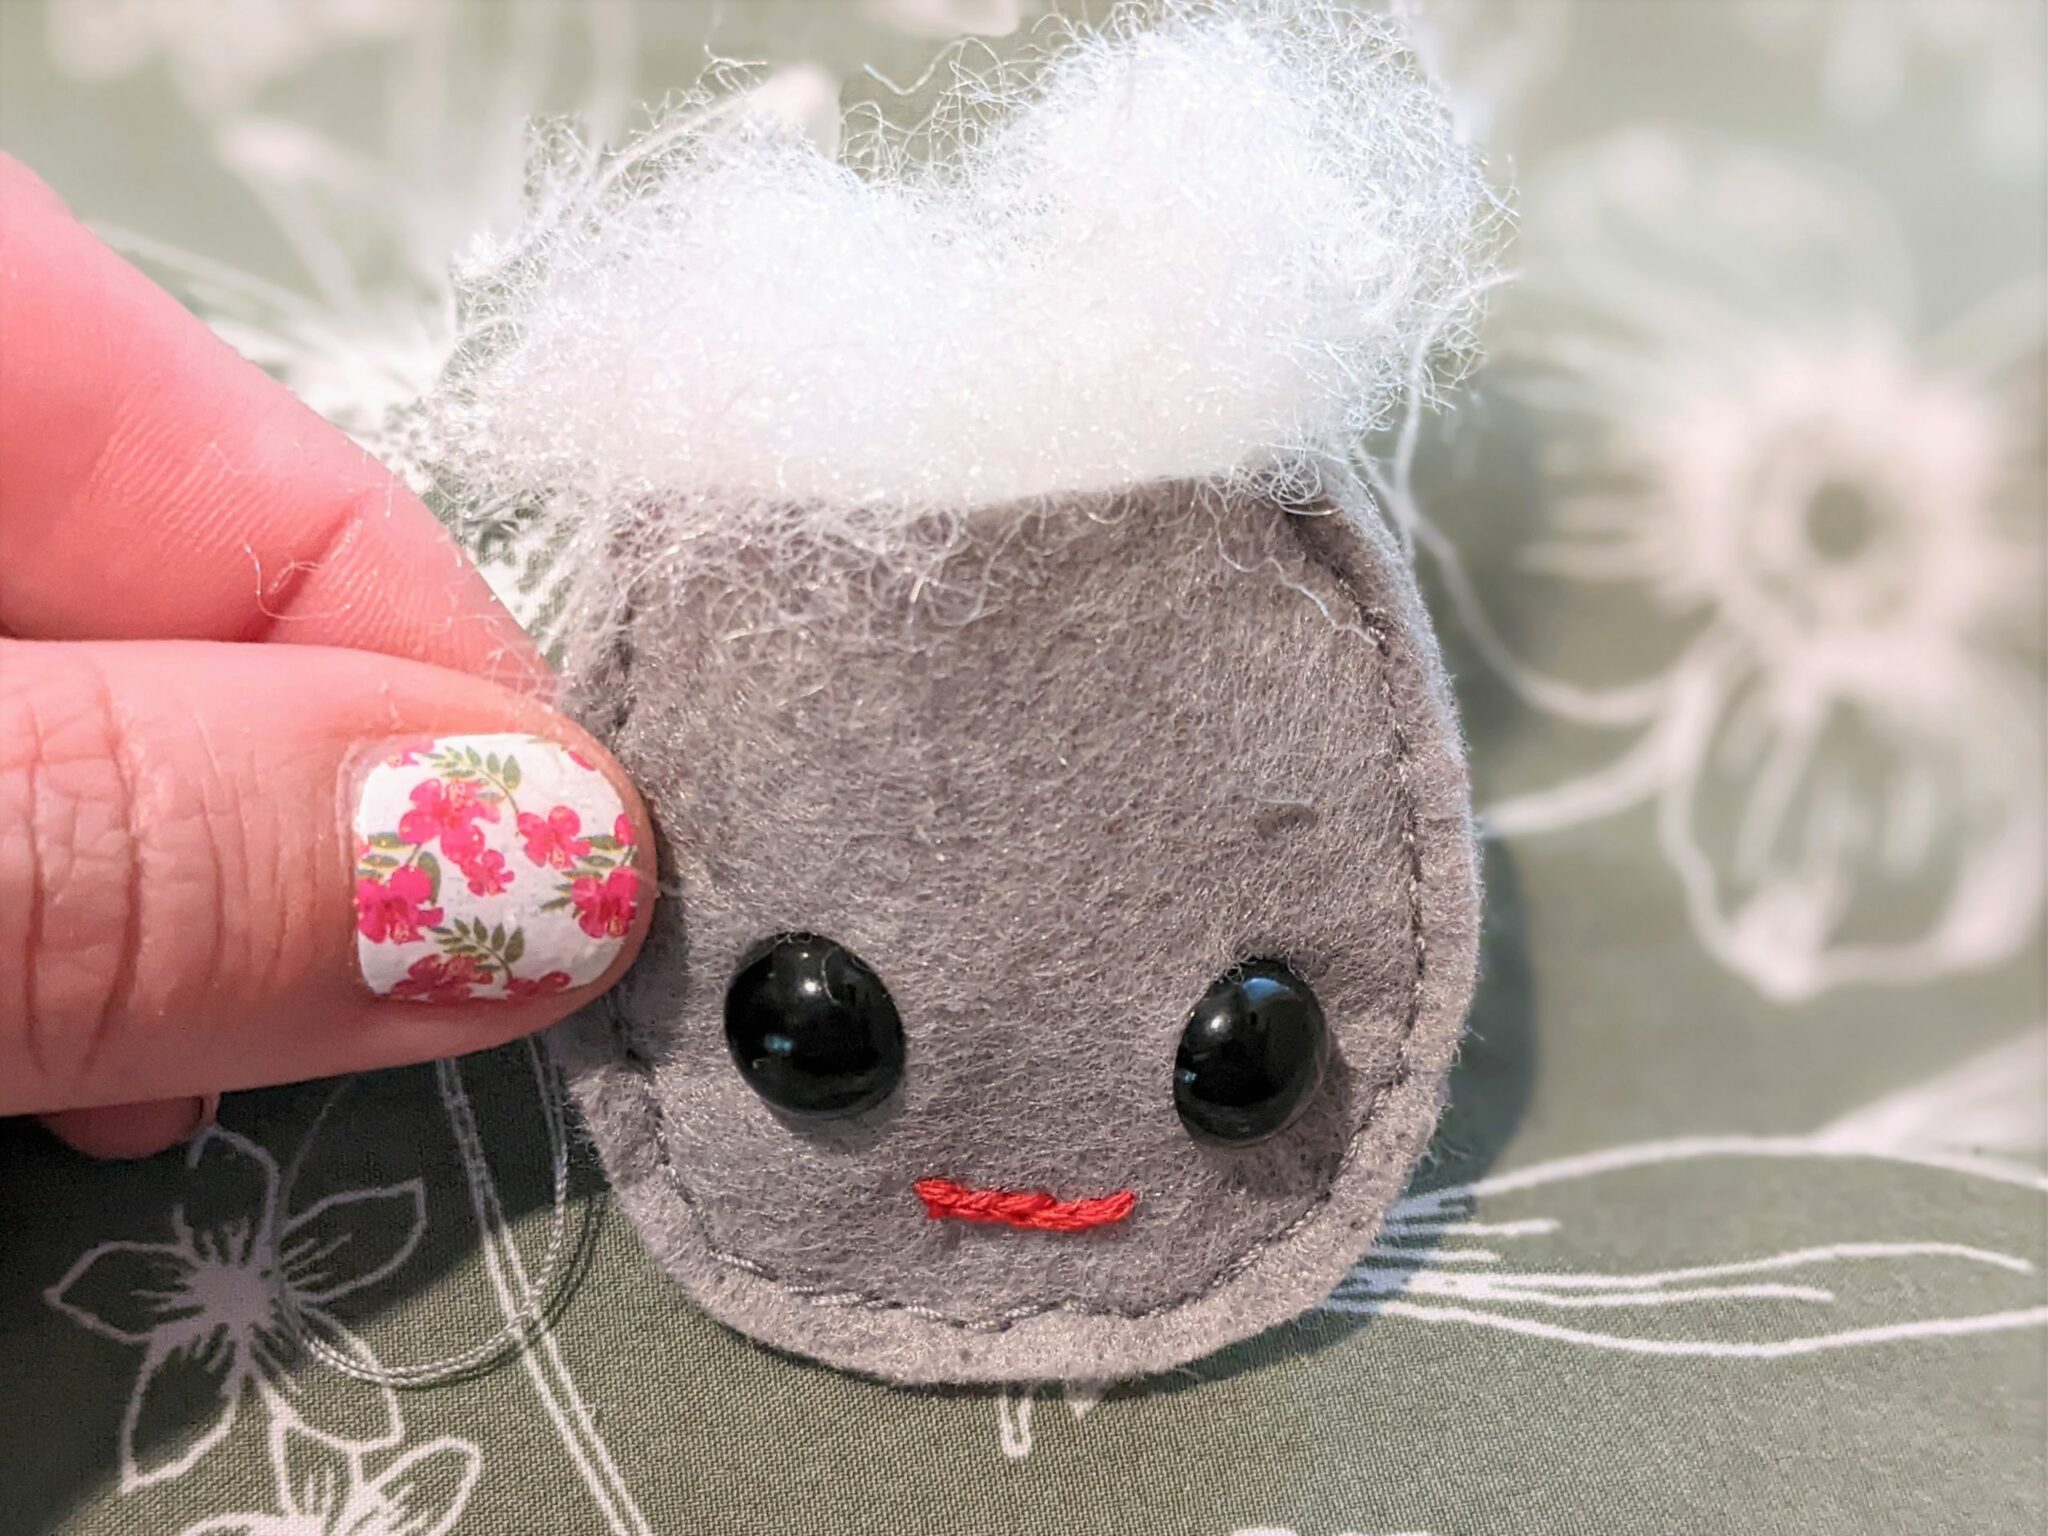
Safety Eyes:
- Fold the bottom of the mushroom horizontally where you want the eyes to sit.
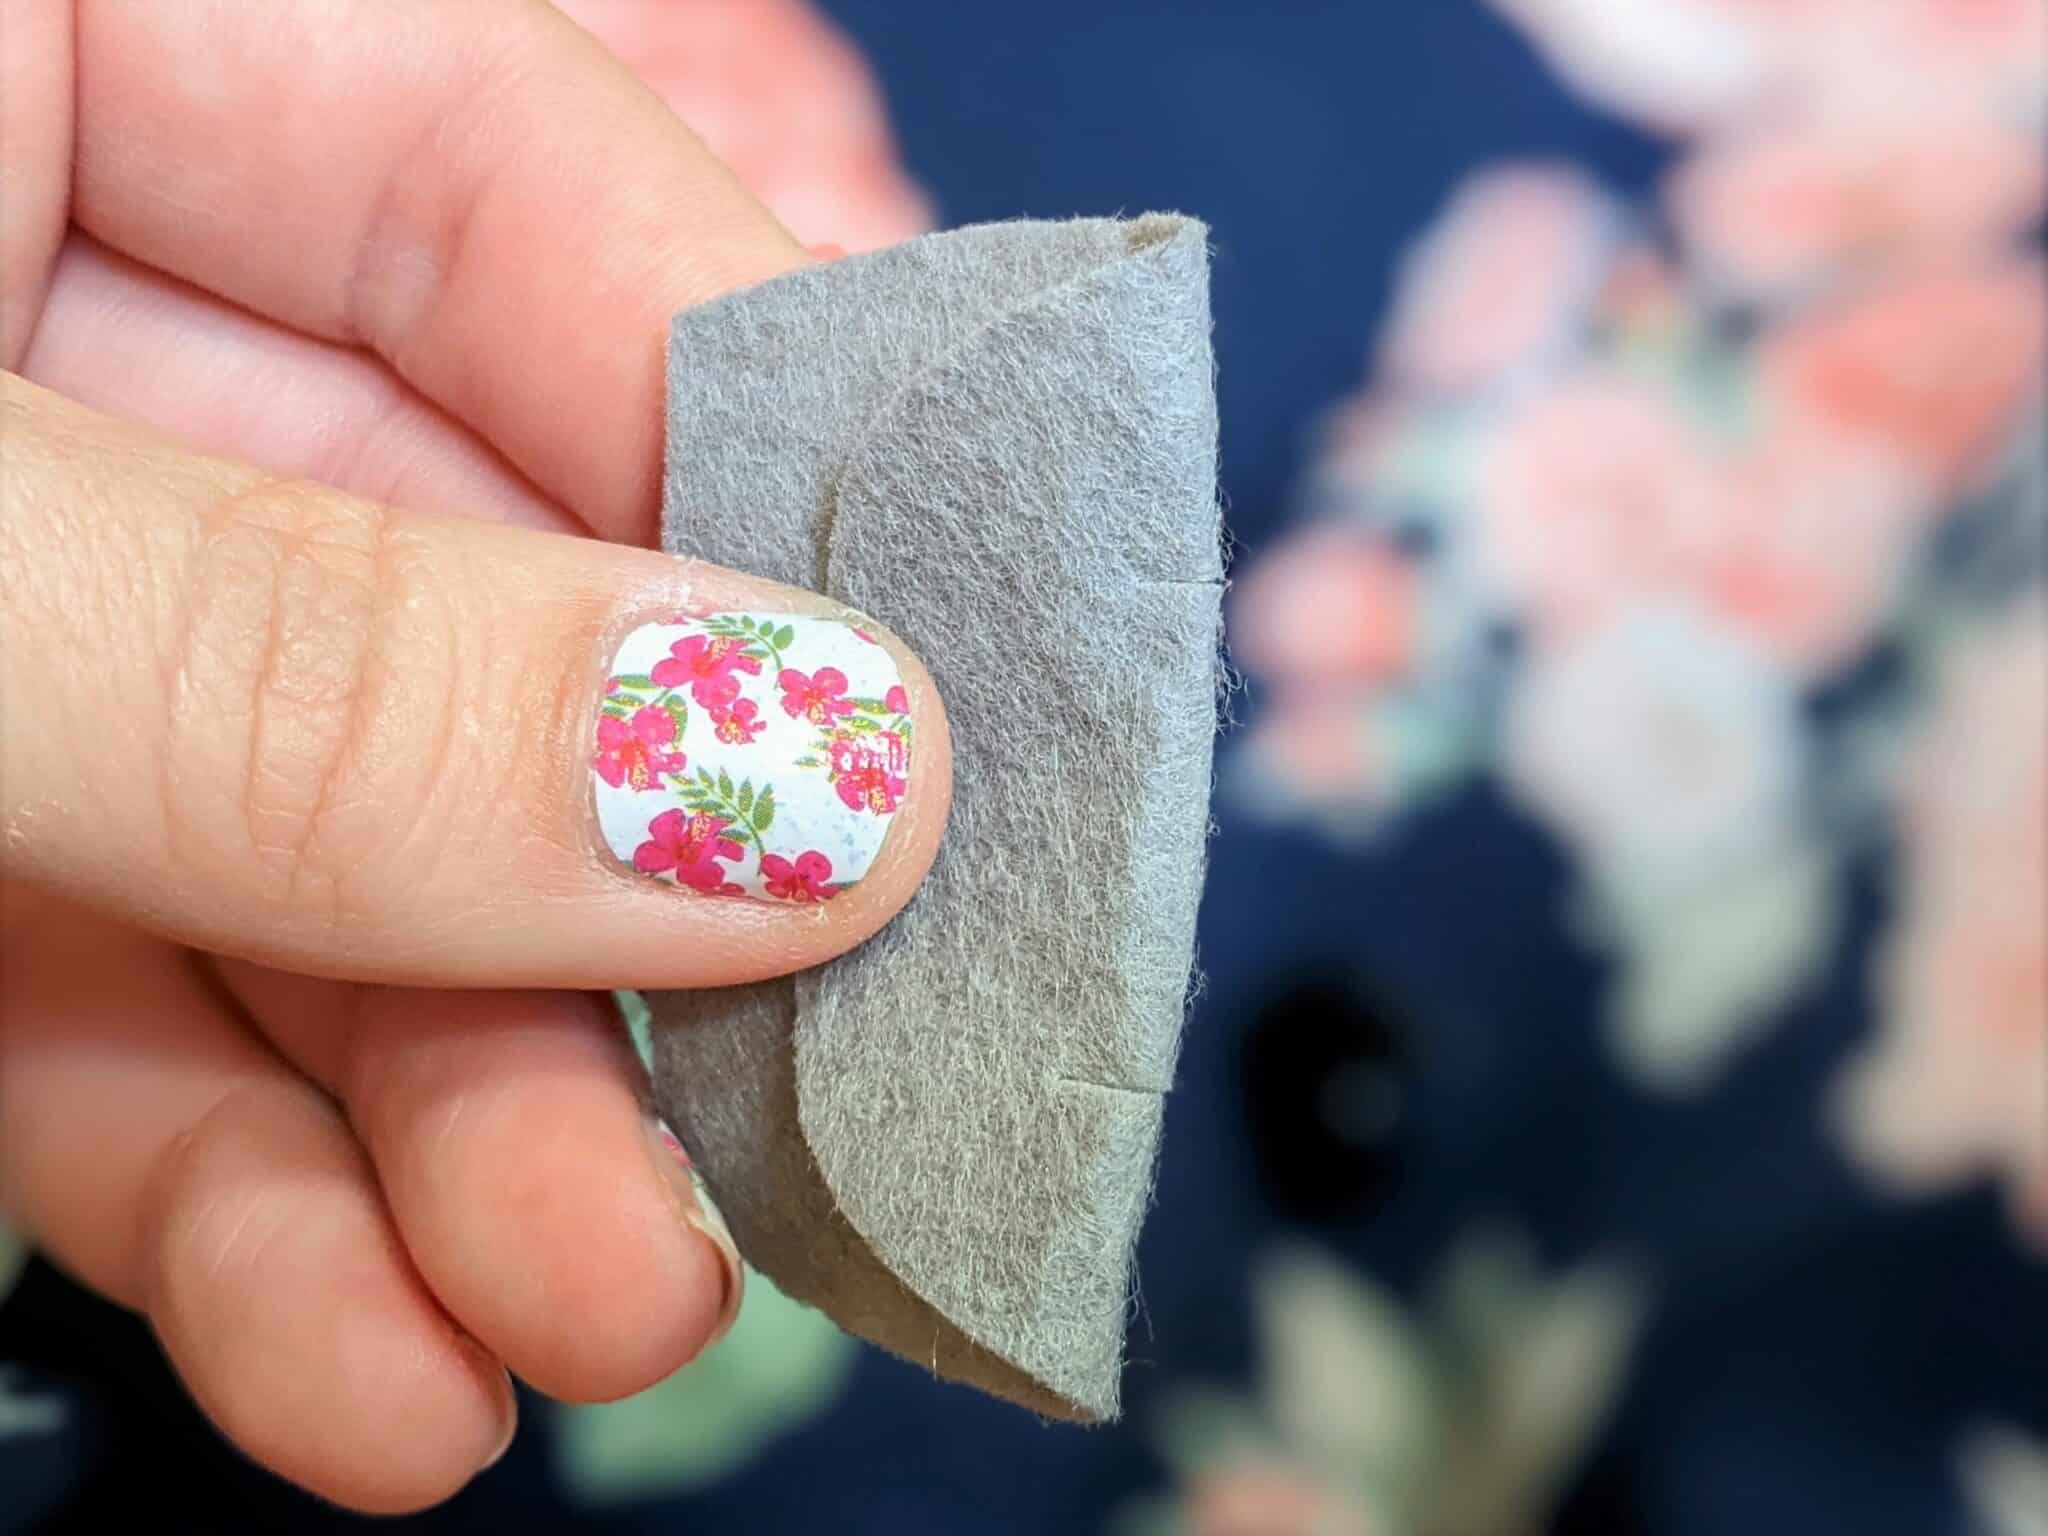
- Cut two small slits along the fold.
- Insert the safety eyes from the front and slide the safety cover over the back.

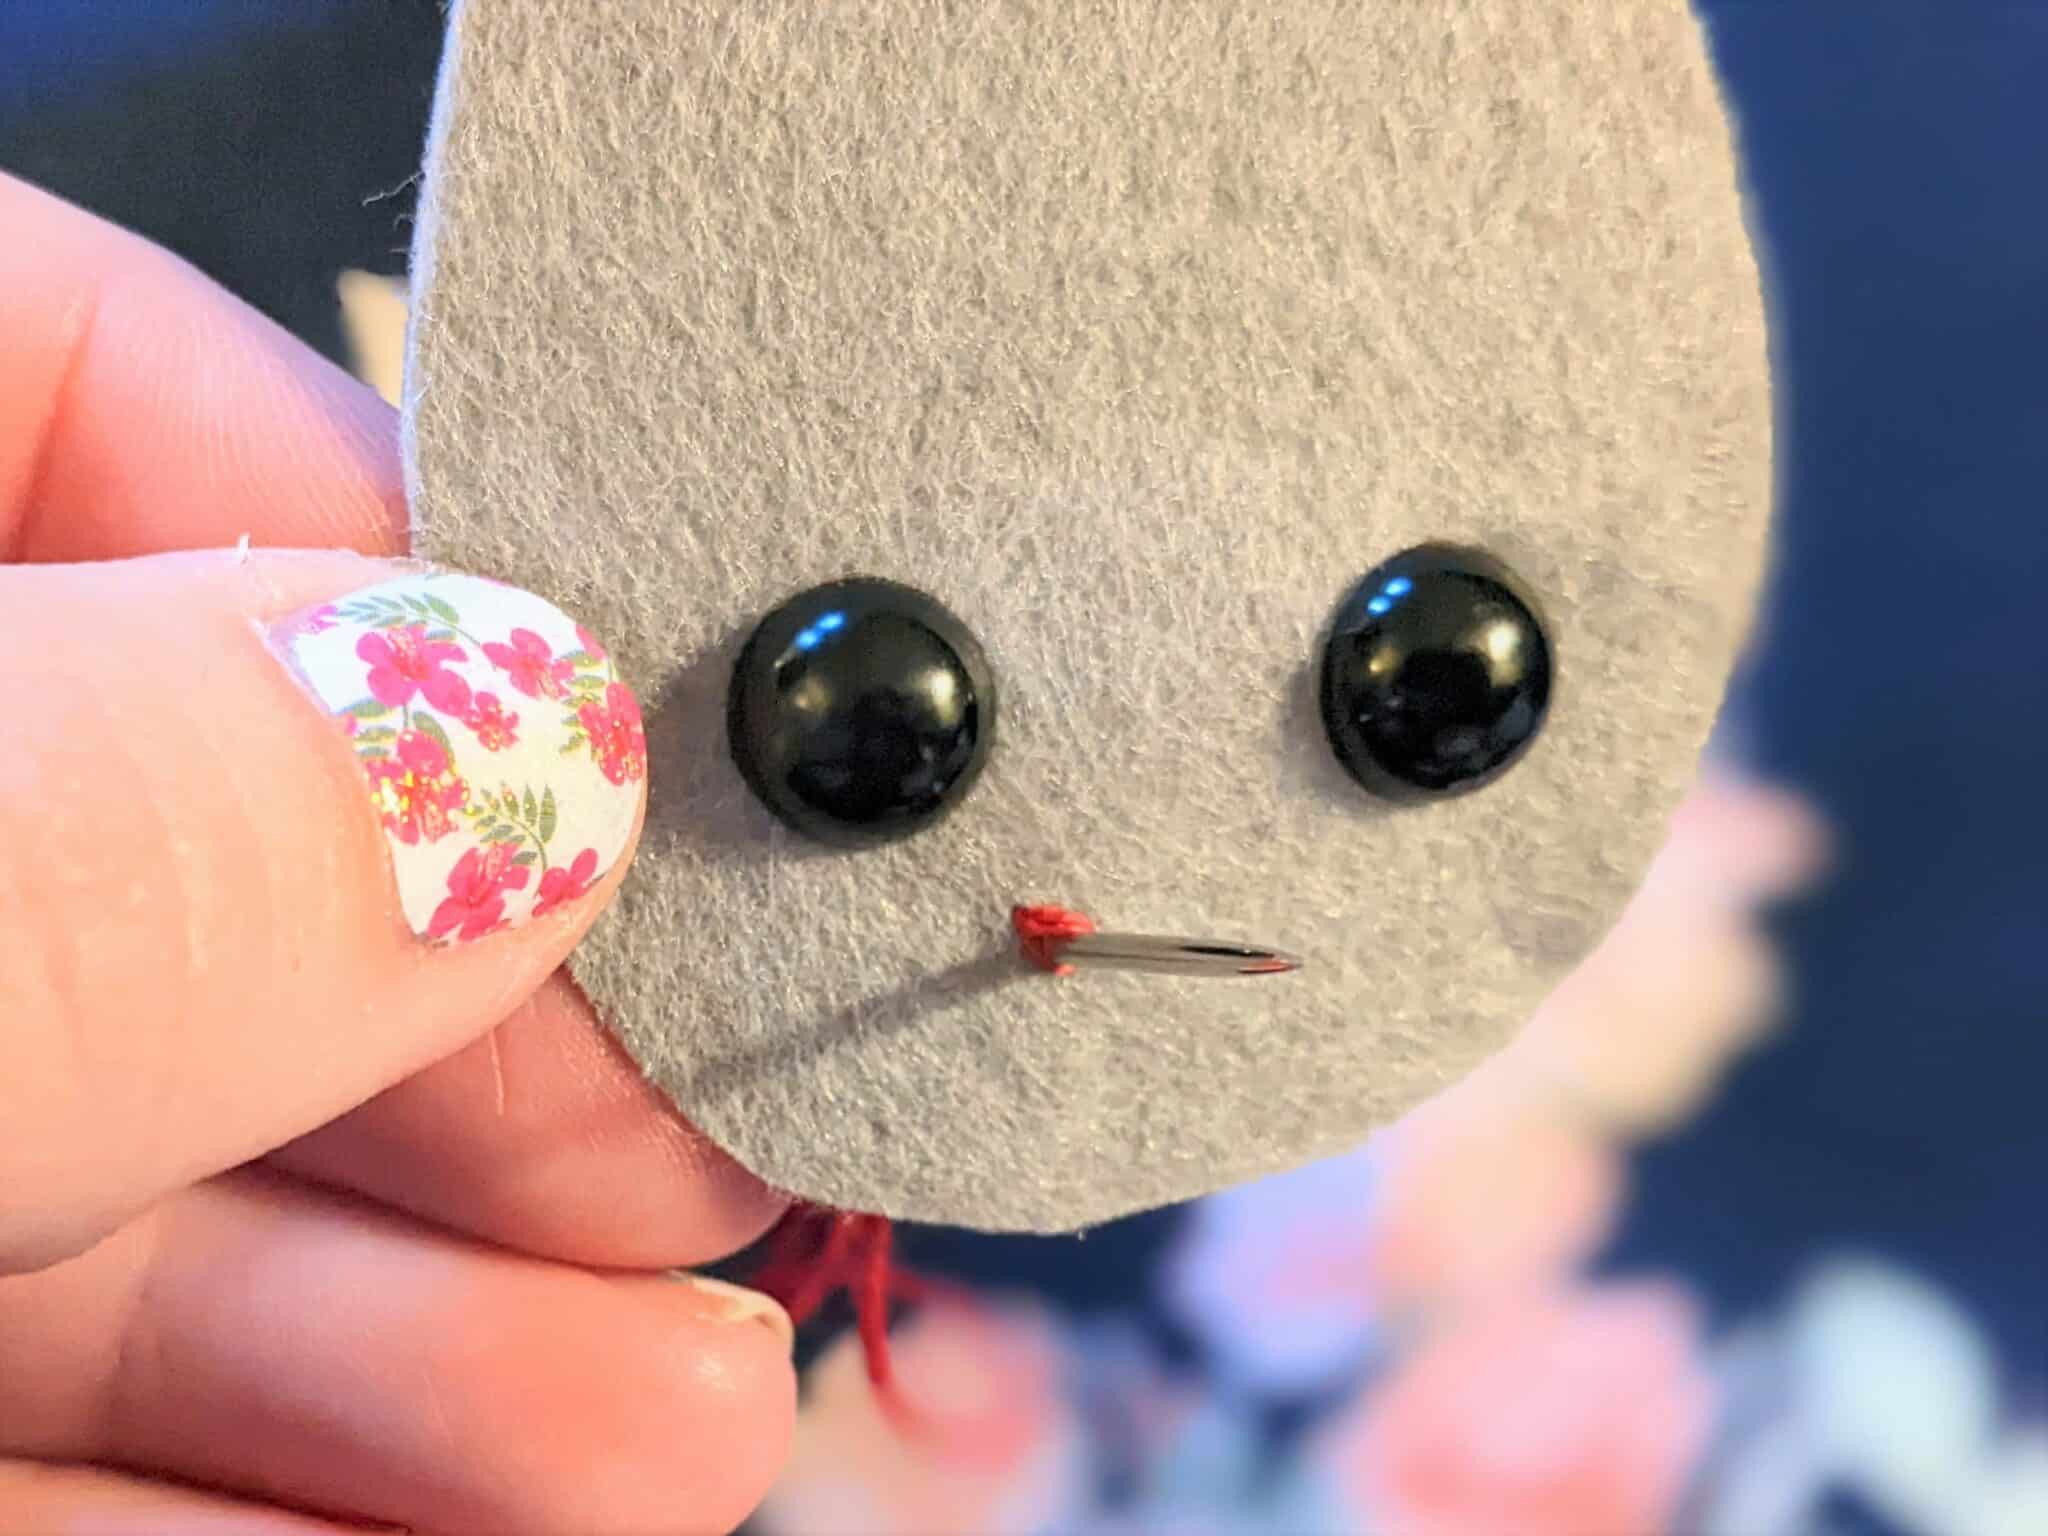
Mouth:
- Using your embroidery floss and needle, insert the needle from the back, pull the floss through, then insert the needle from the front and pull through making a small, short stitch.
- When you insert the needle for the next stitch, poke it through the middle of the previous stitch to make a continuous chain of stitches.
- Continue until the mouth is the desired length.
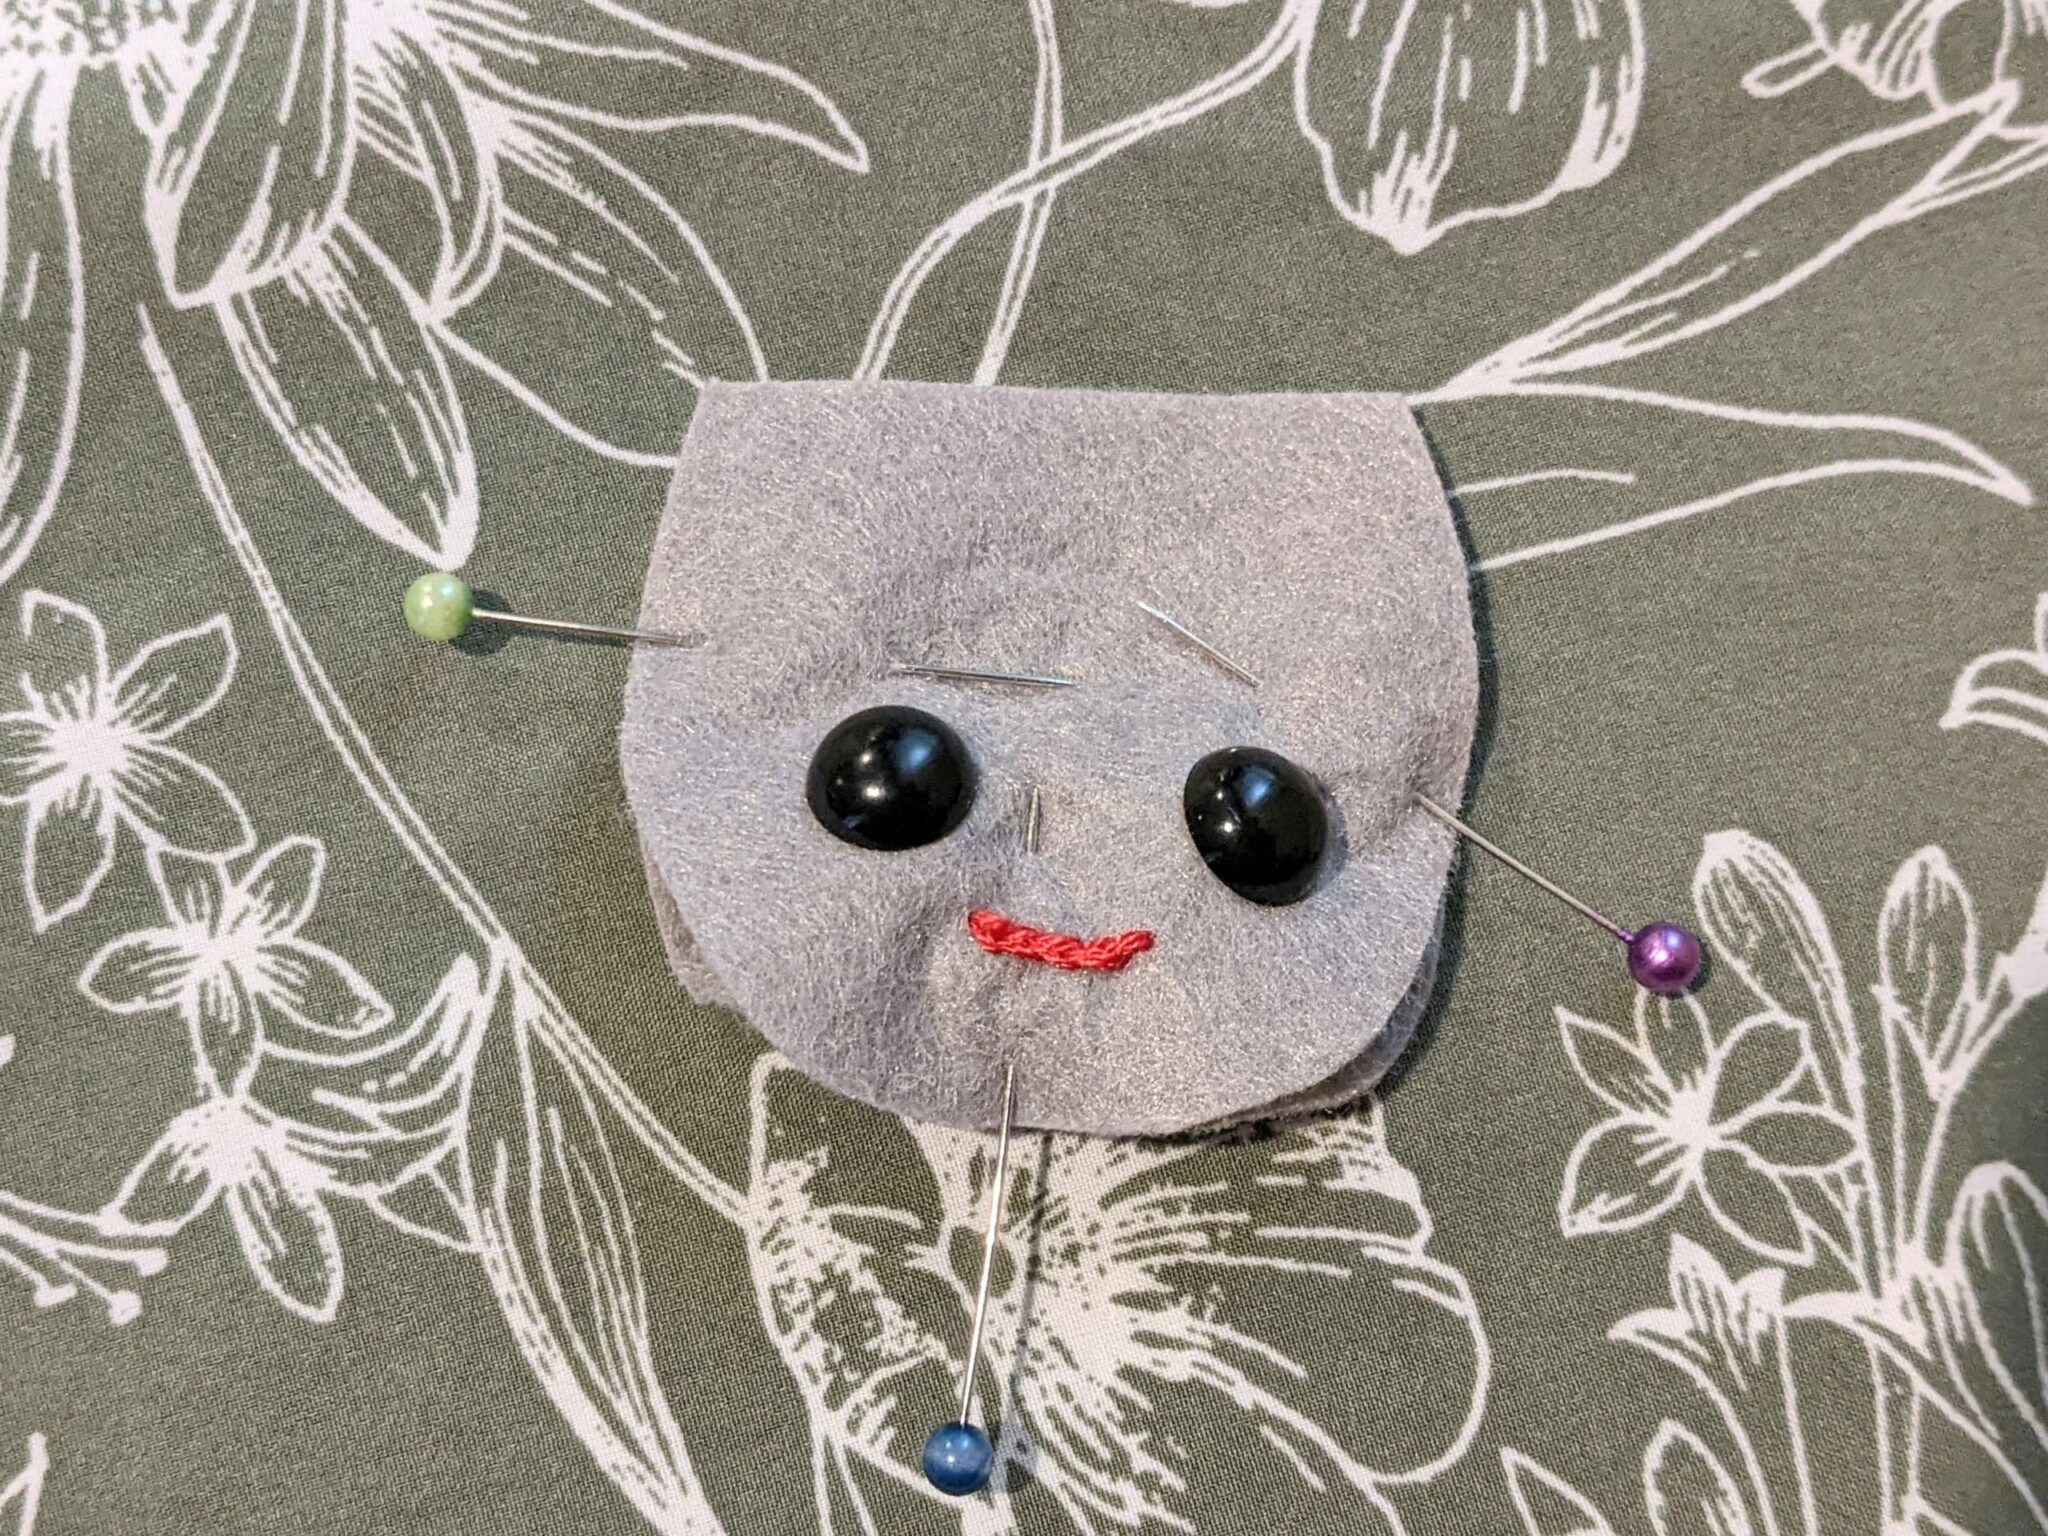
Sew and Stuff
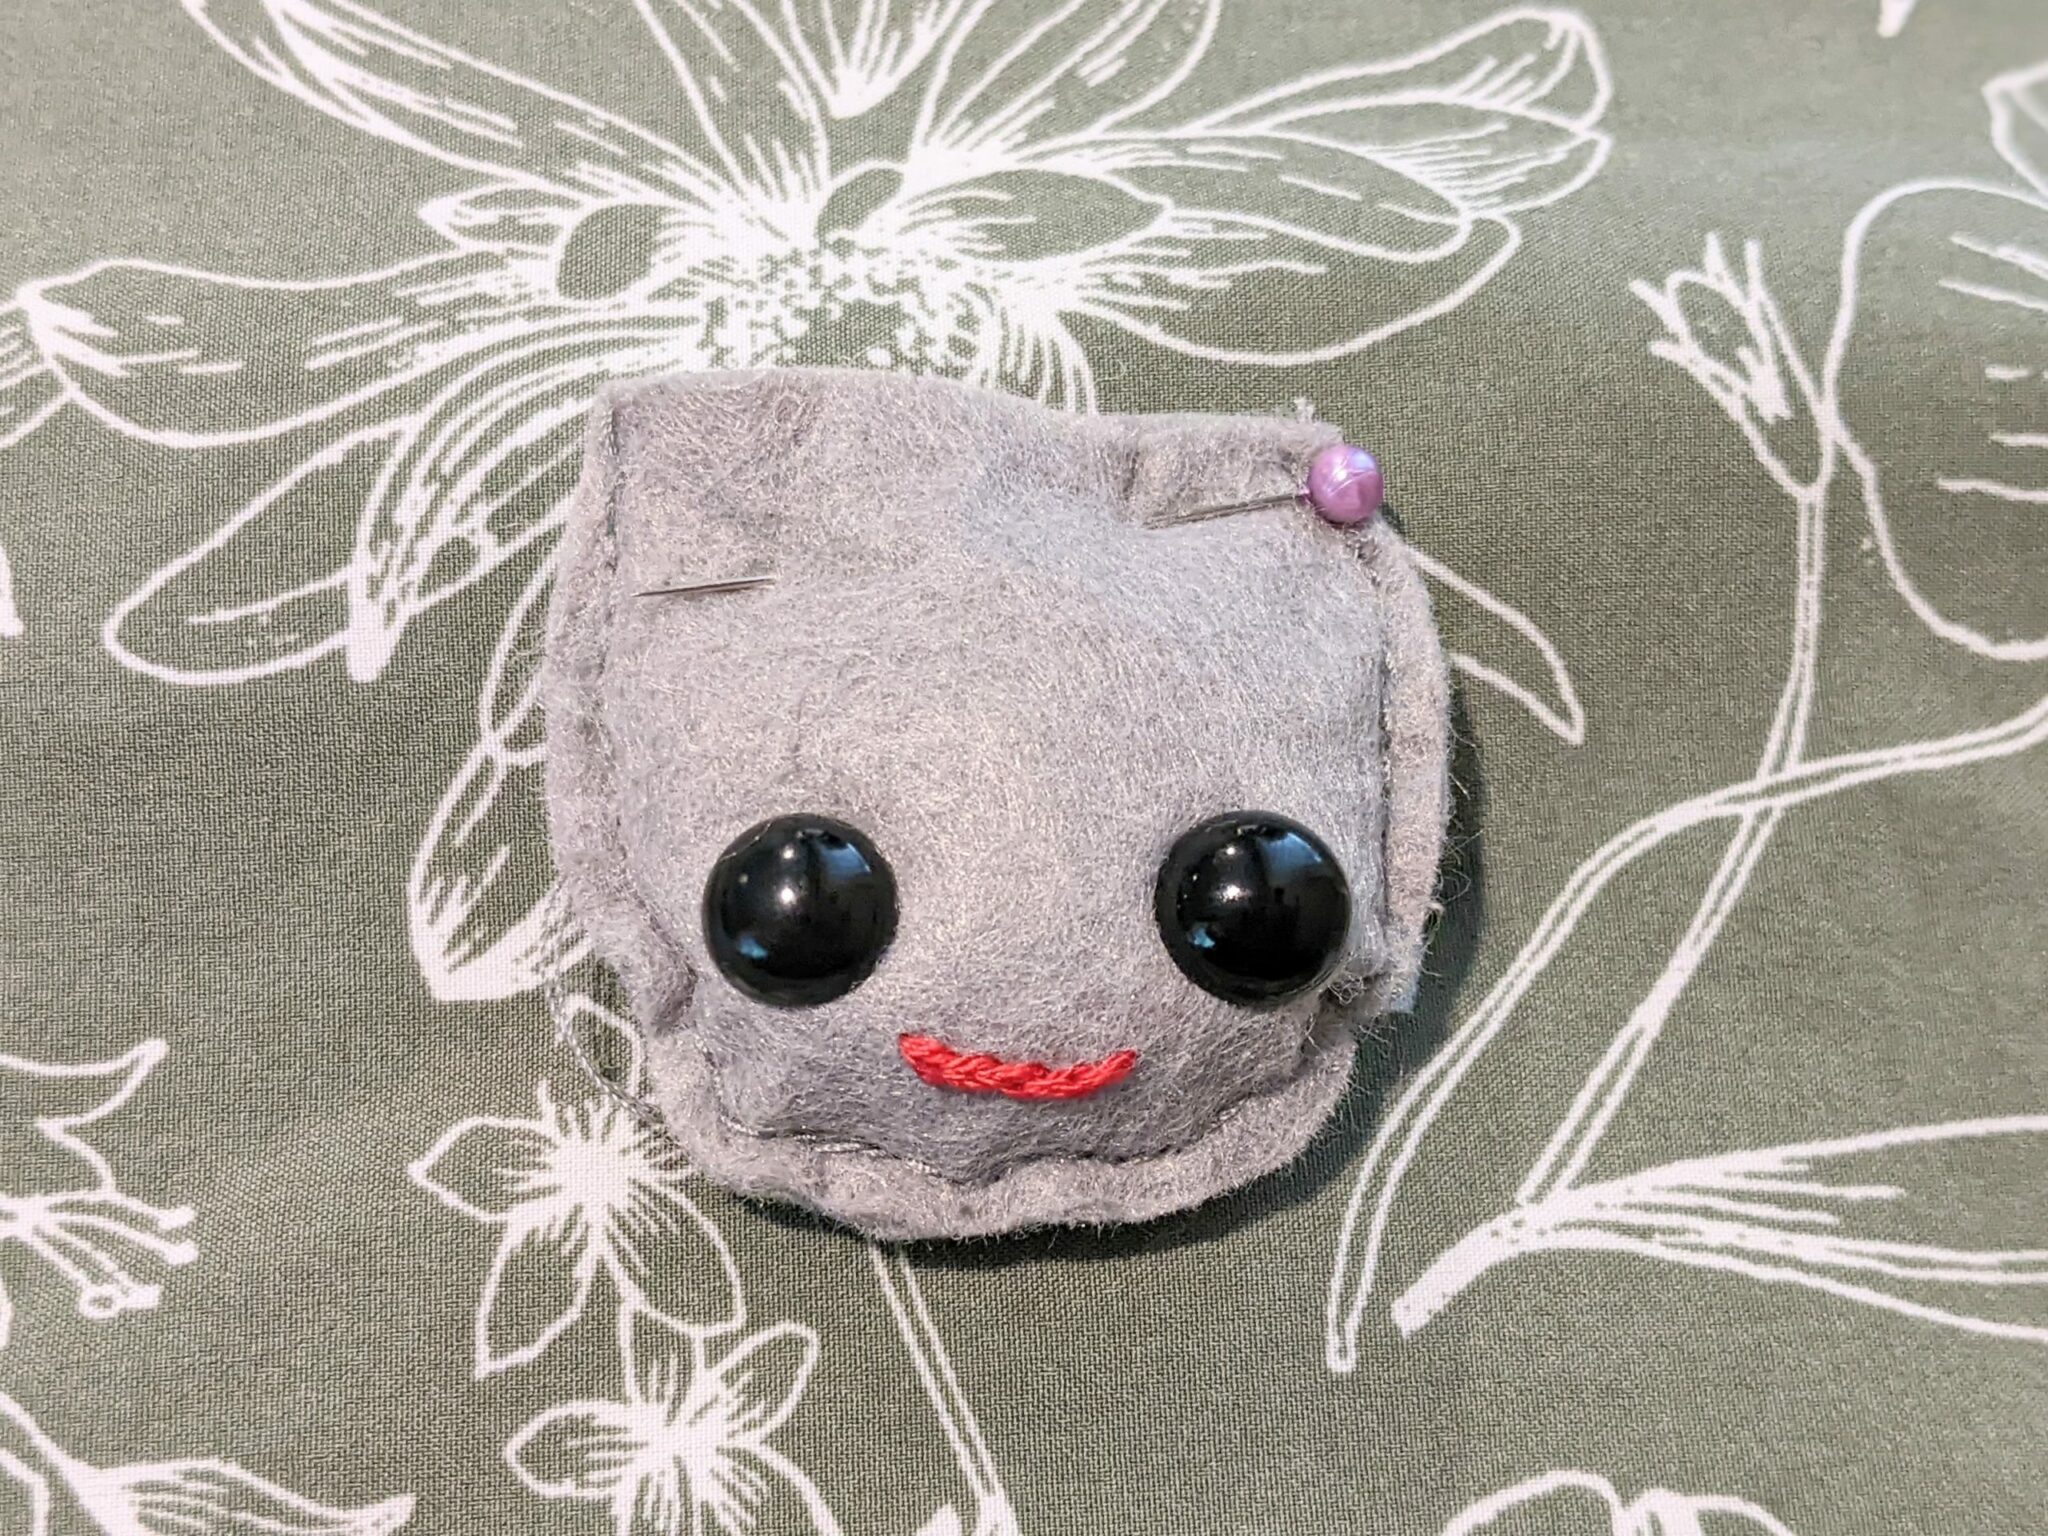
- Pin the two bottom mushroom pieces wrong sides together.
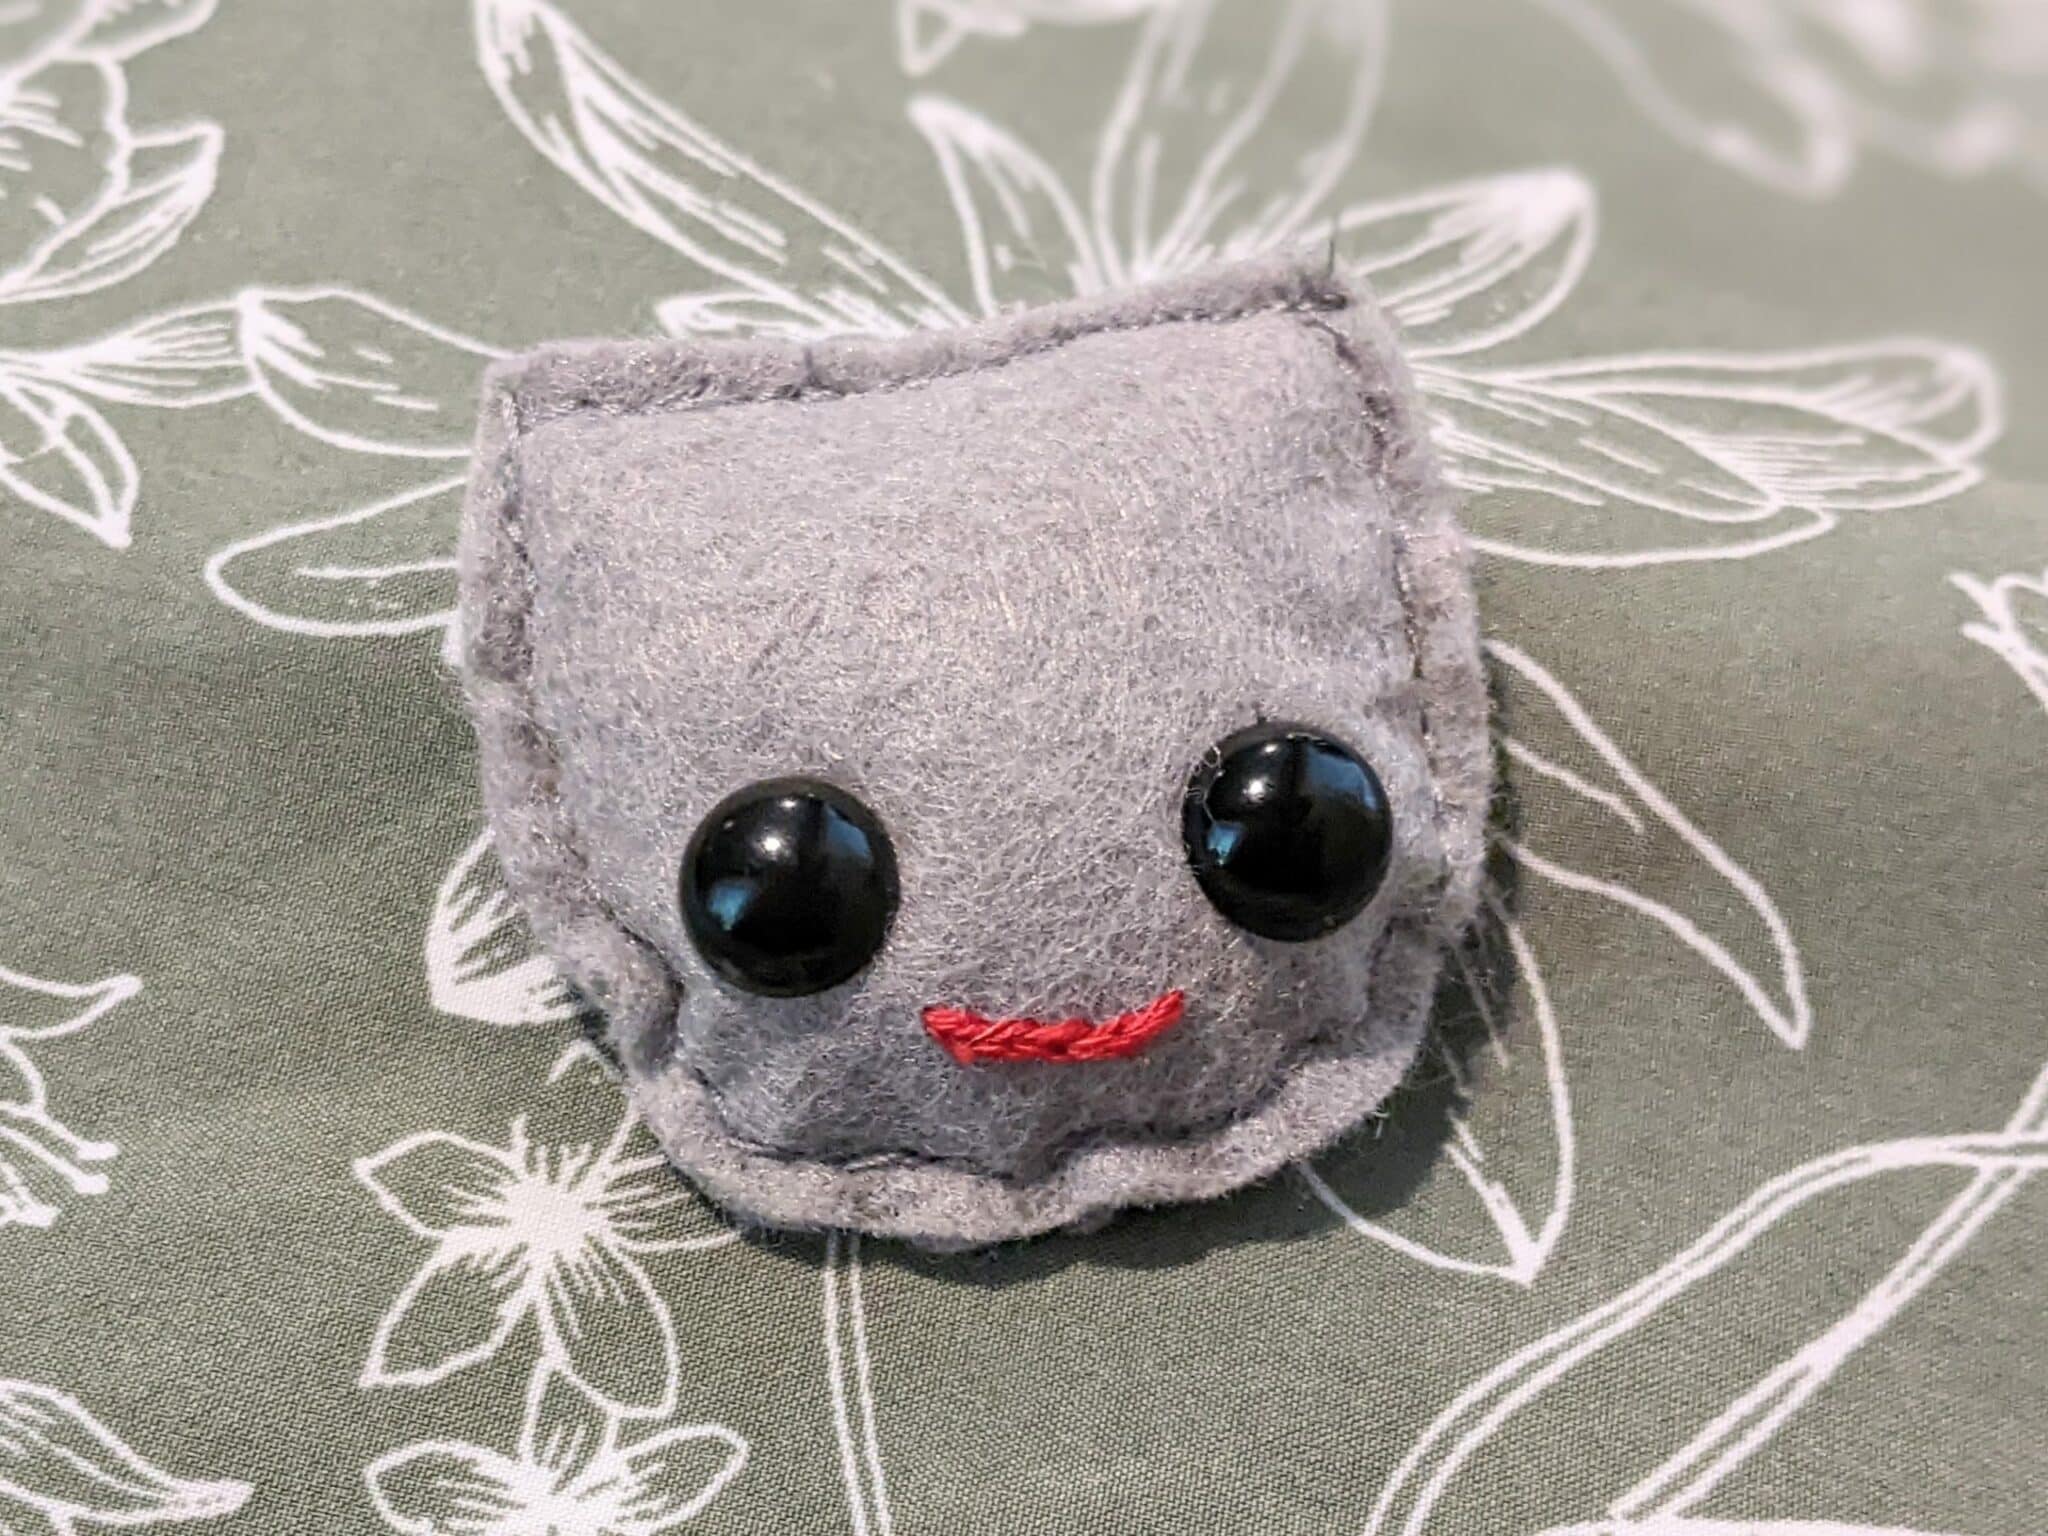
- Sew along the curved edge with your sewing machine or needle and thread using a 1/8″ seam allowance making sure to backstitch at both sides of the top edge. (This was fairly difficult to do with a sewing machine on the ones with the safety eyes.)
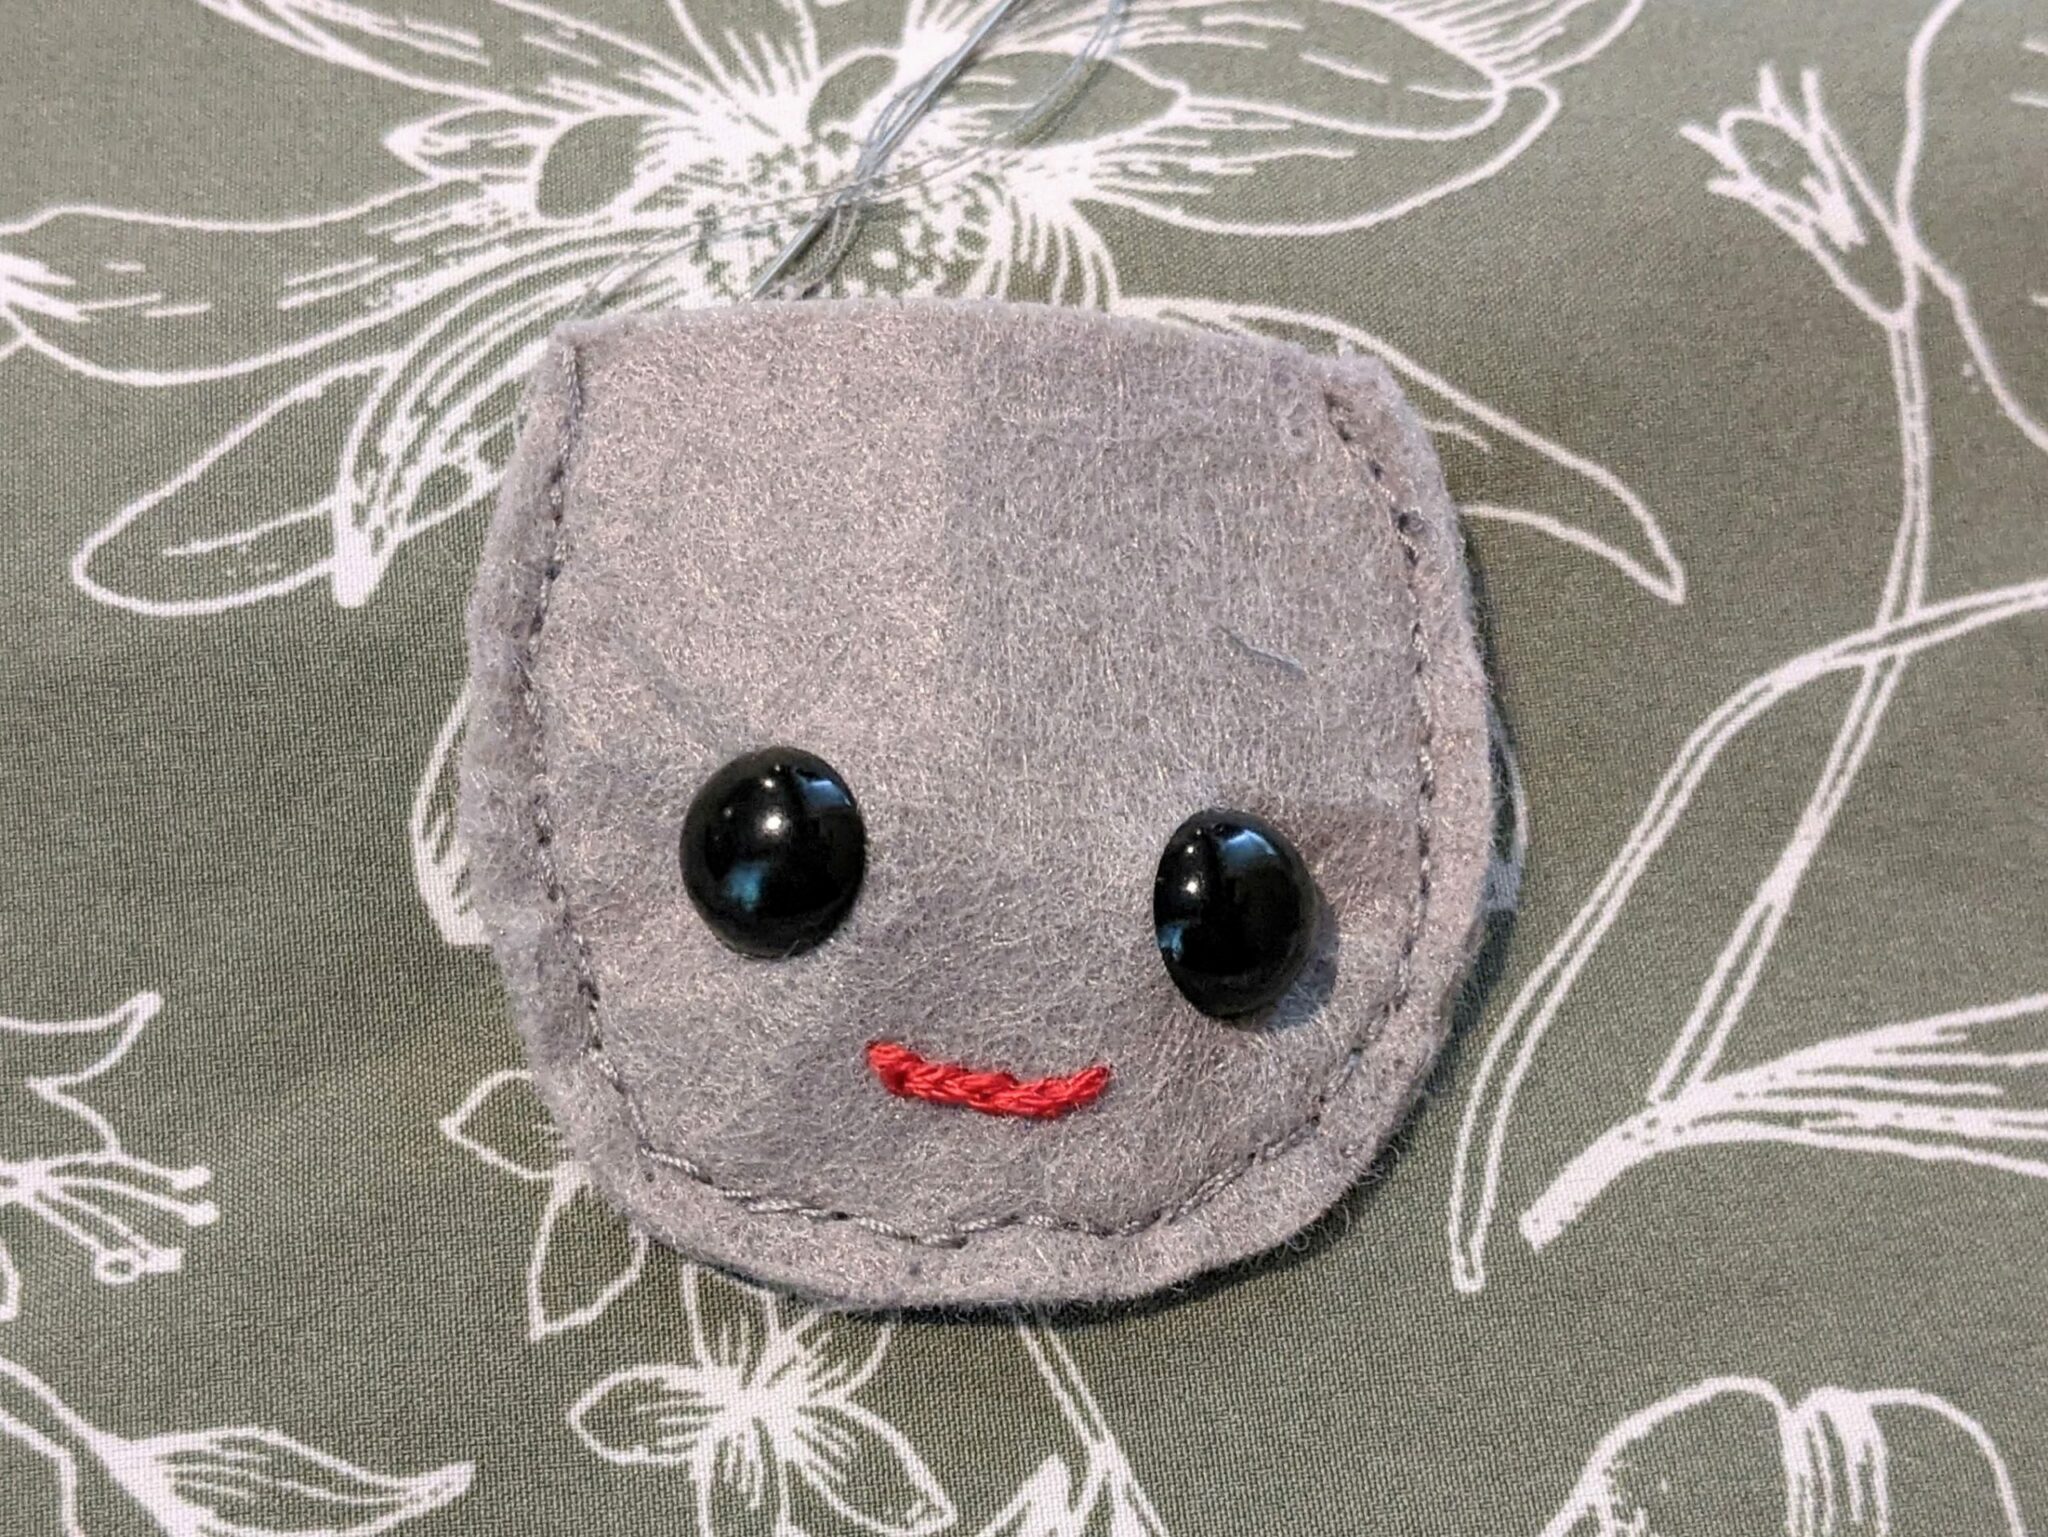
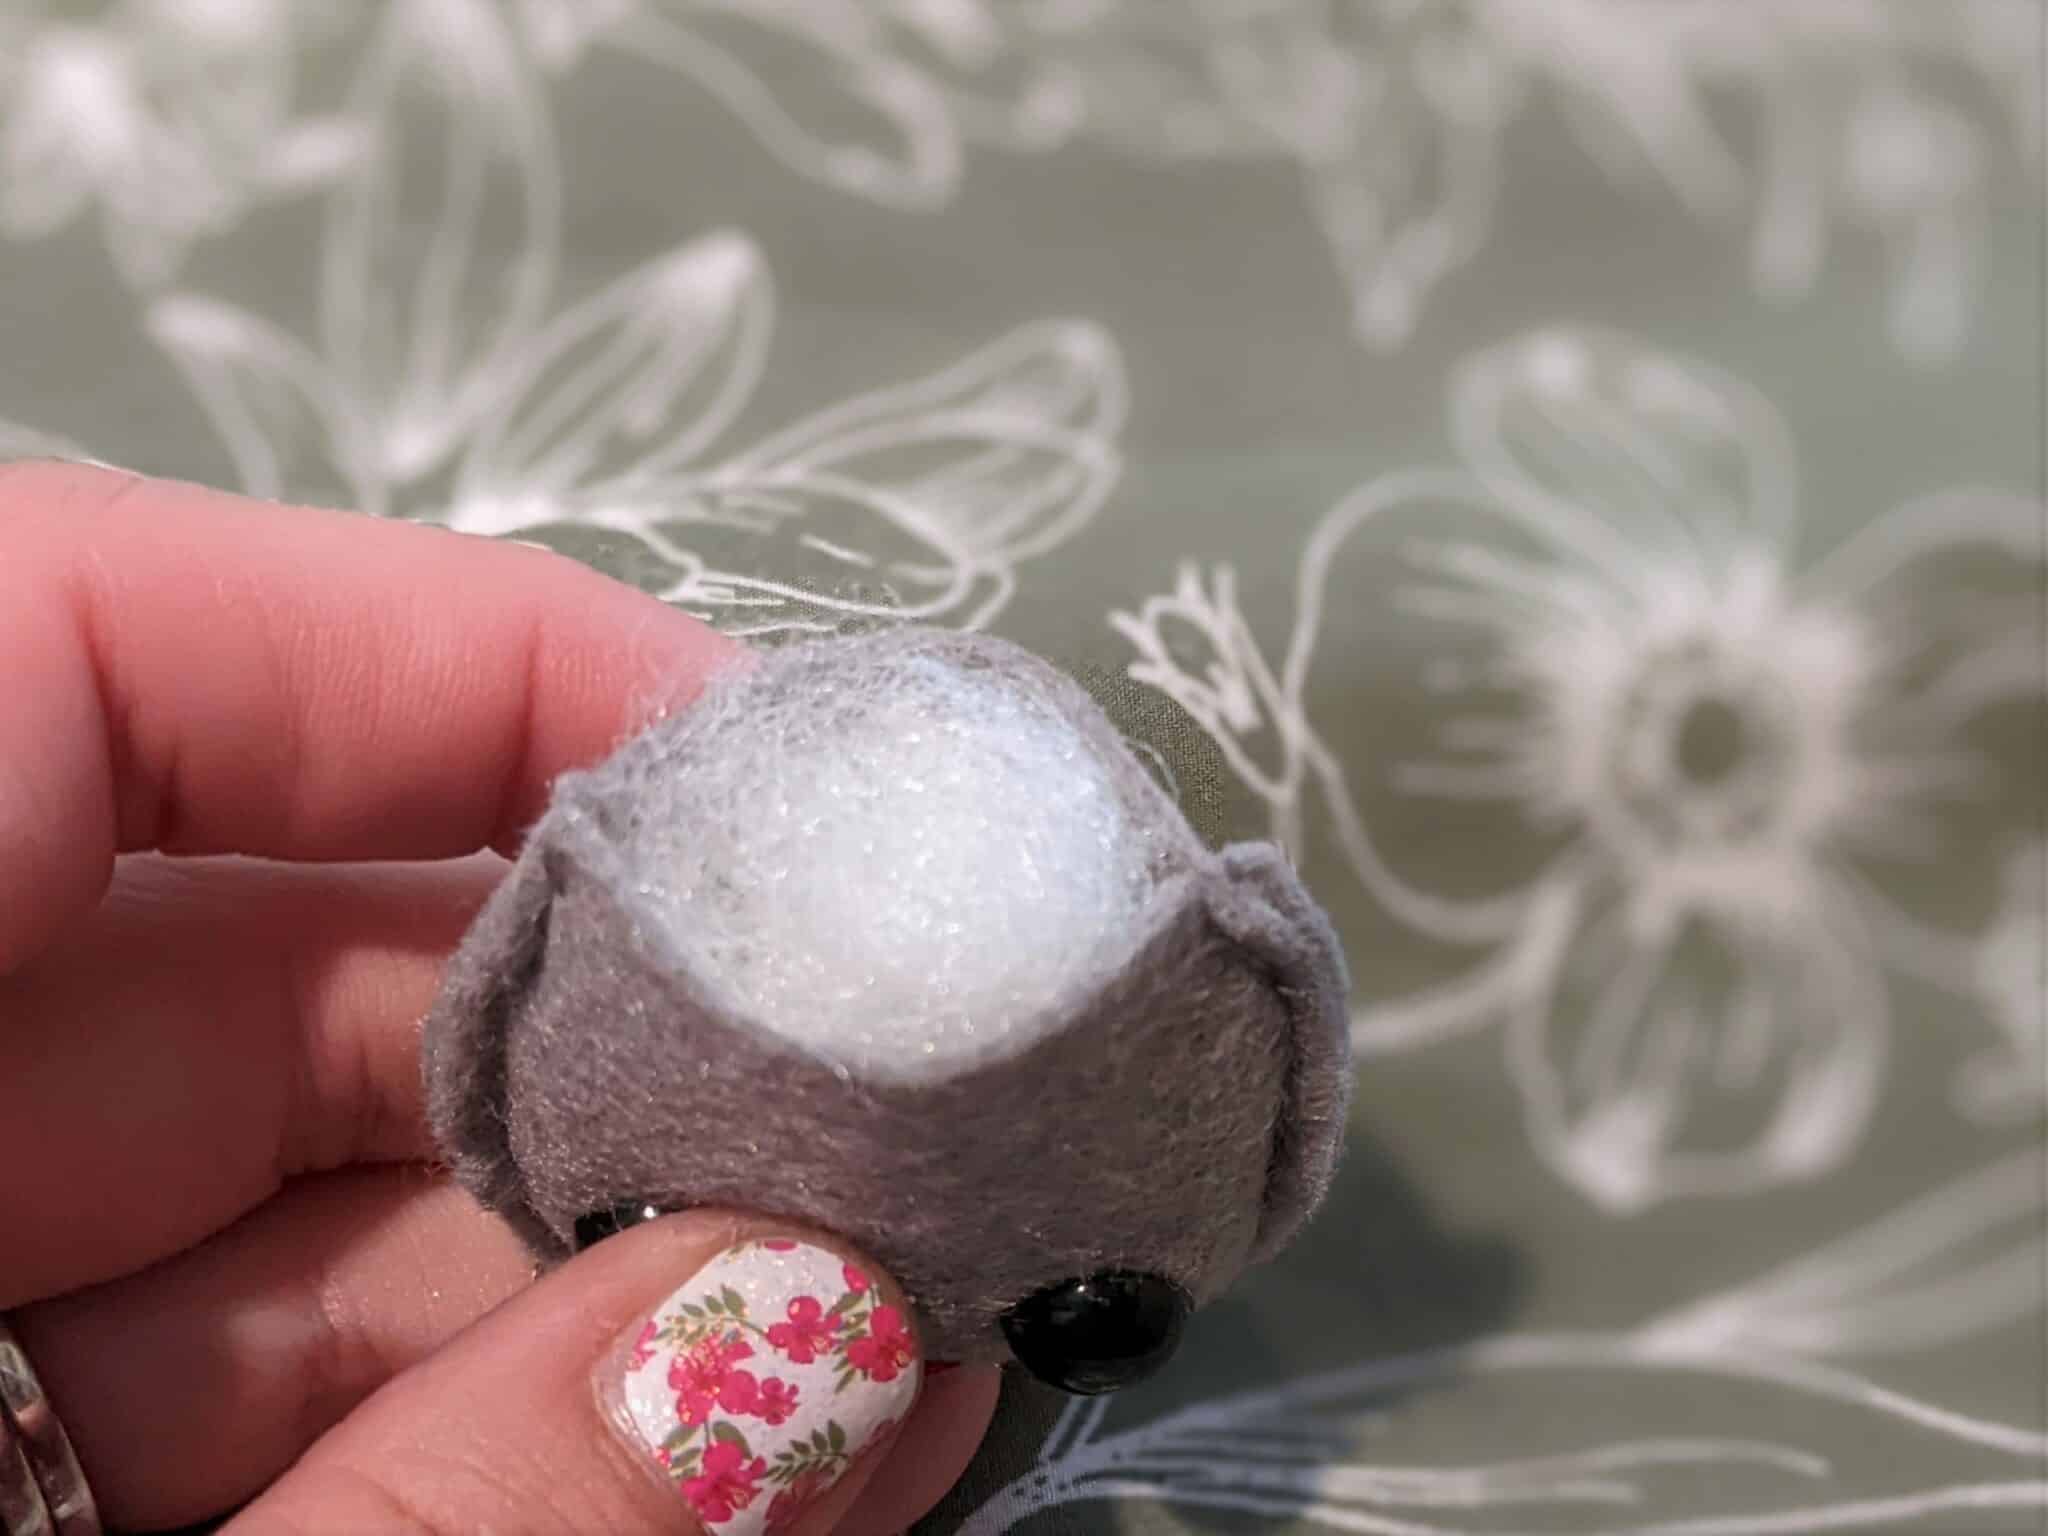
- Grab a small amount of fiber-fil stuffing and push it into the top of the mushroom stem.
- Pin (or hold) the top edge and sew it closed.
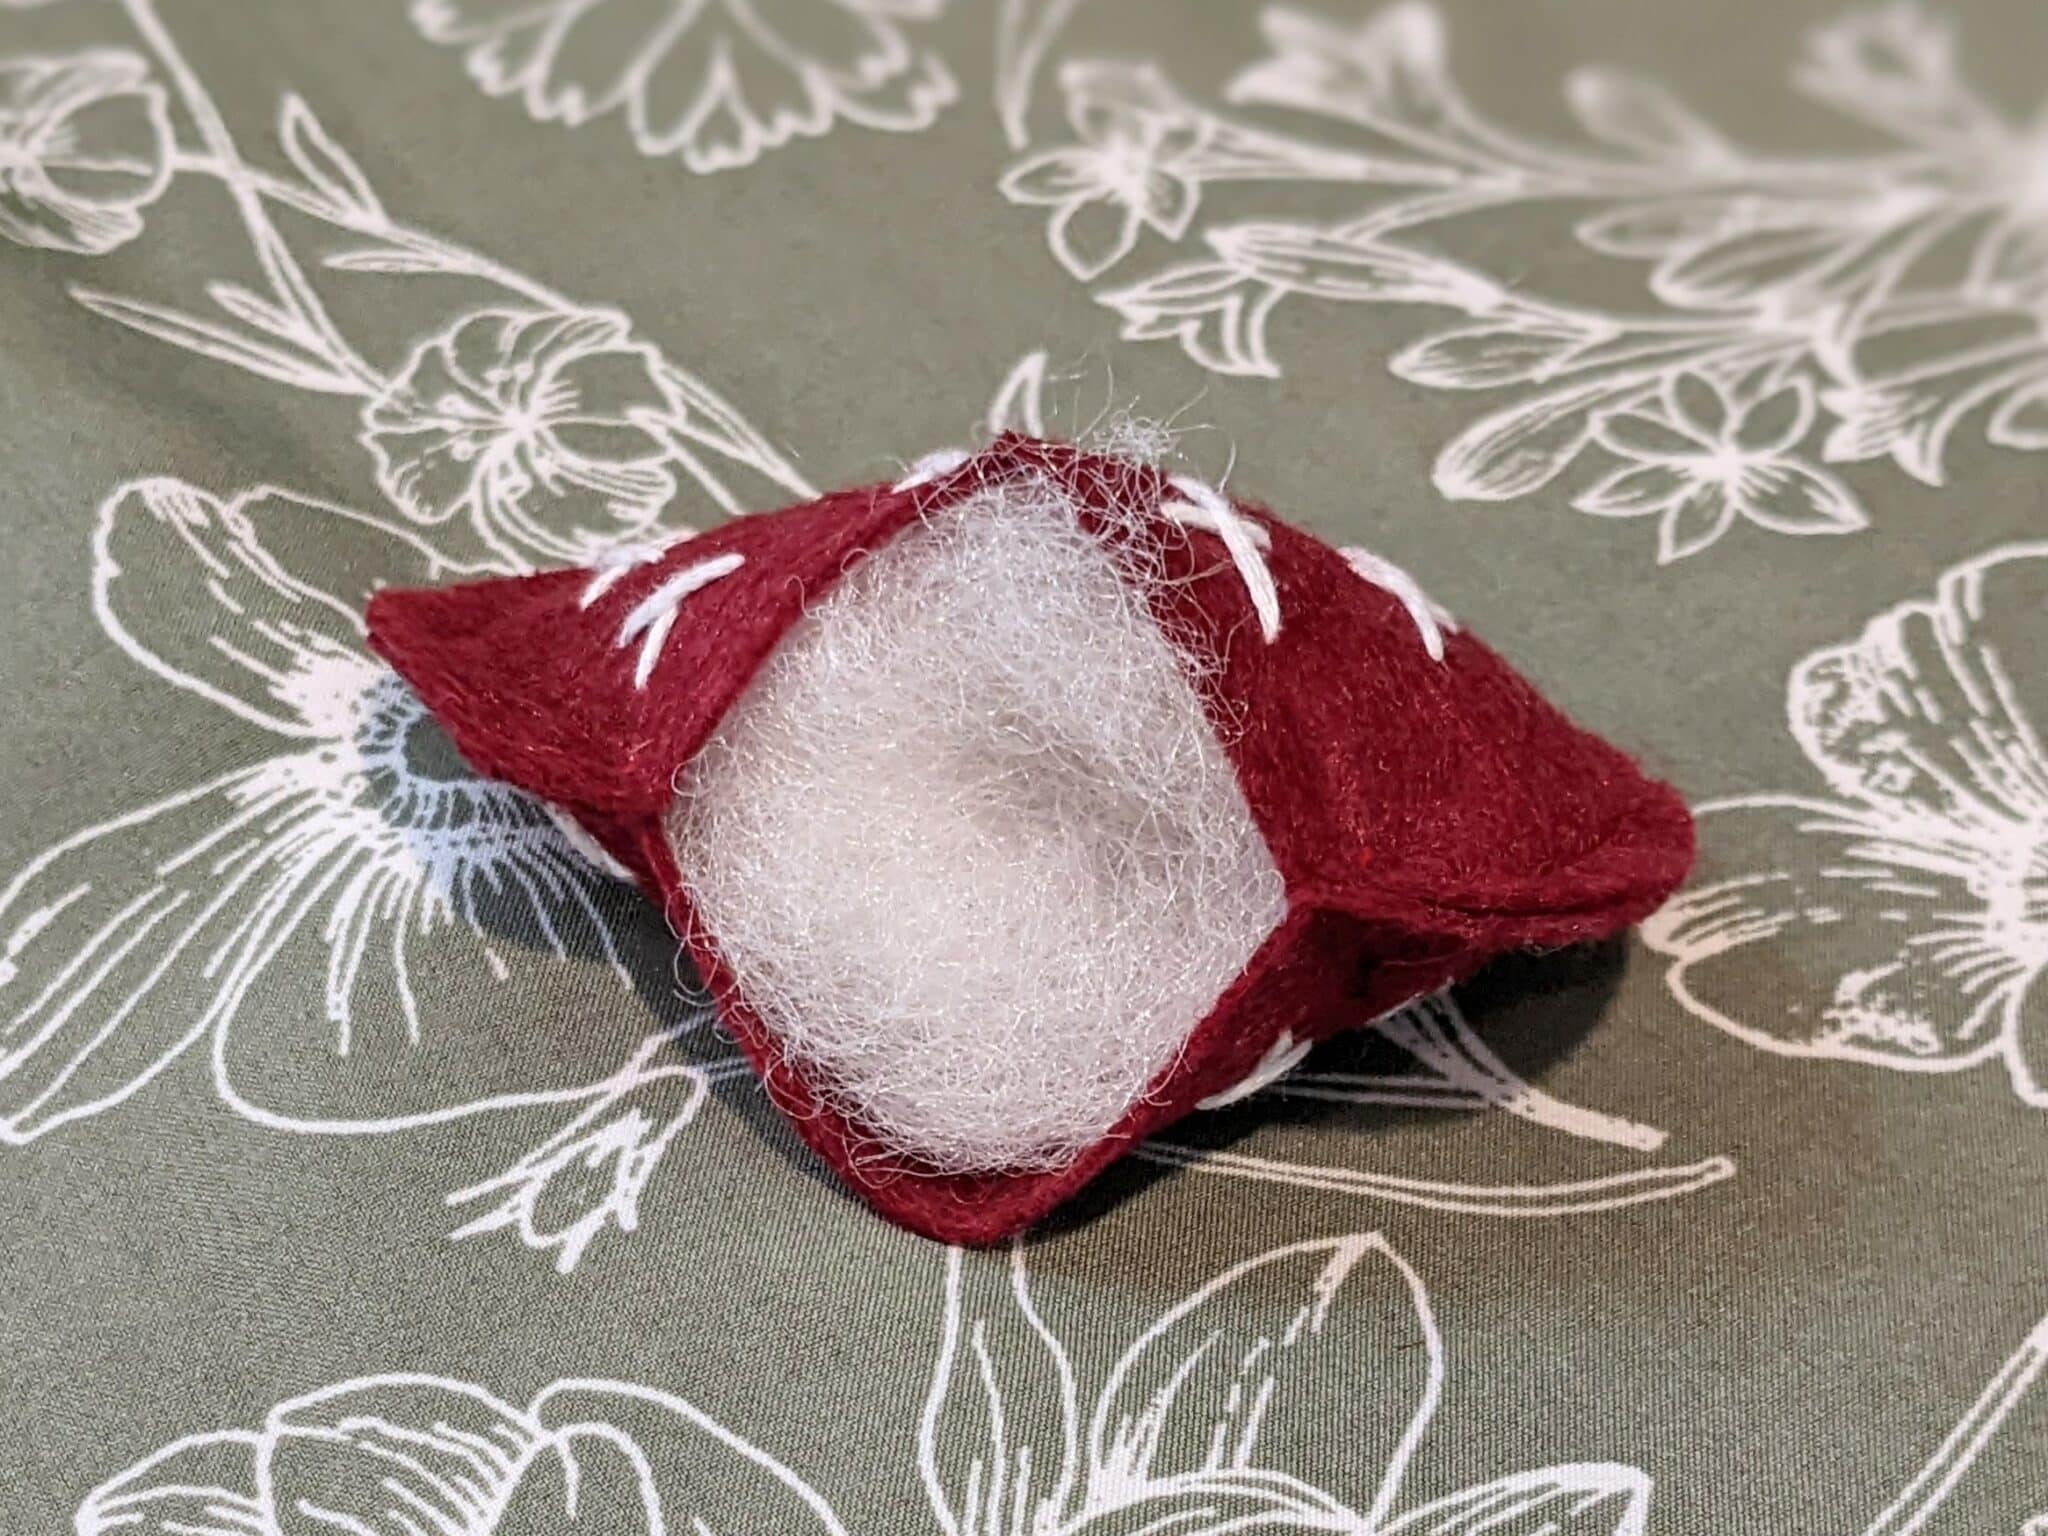
- Stack the two top mushroom pieces wrong sides together.
- Pin, sew, and stuff the same as you did for the bottom, but leave the edge open once it is stuffed.

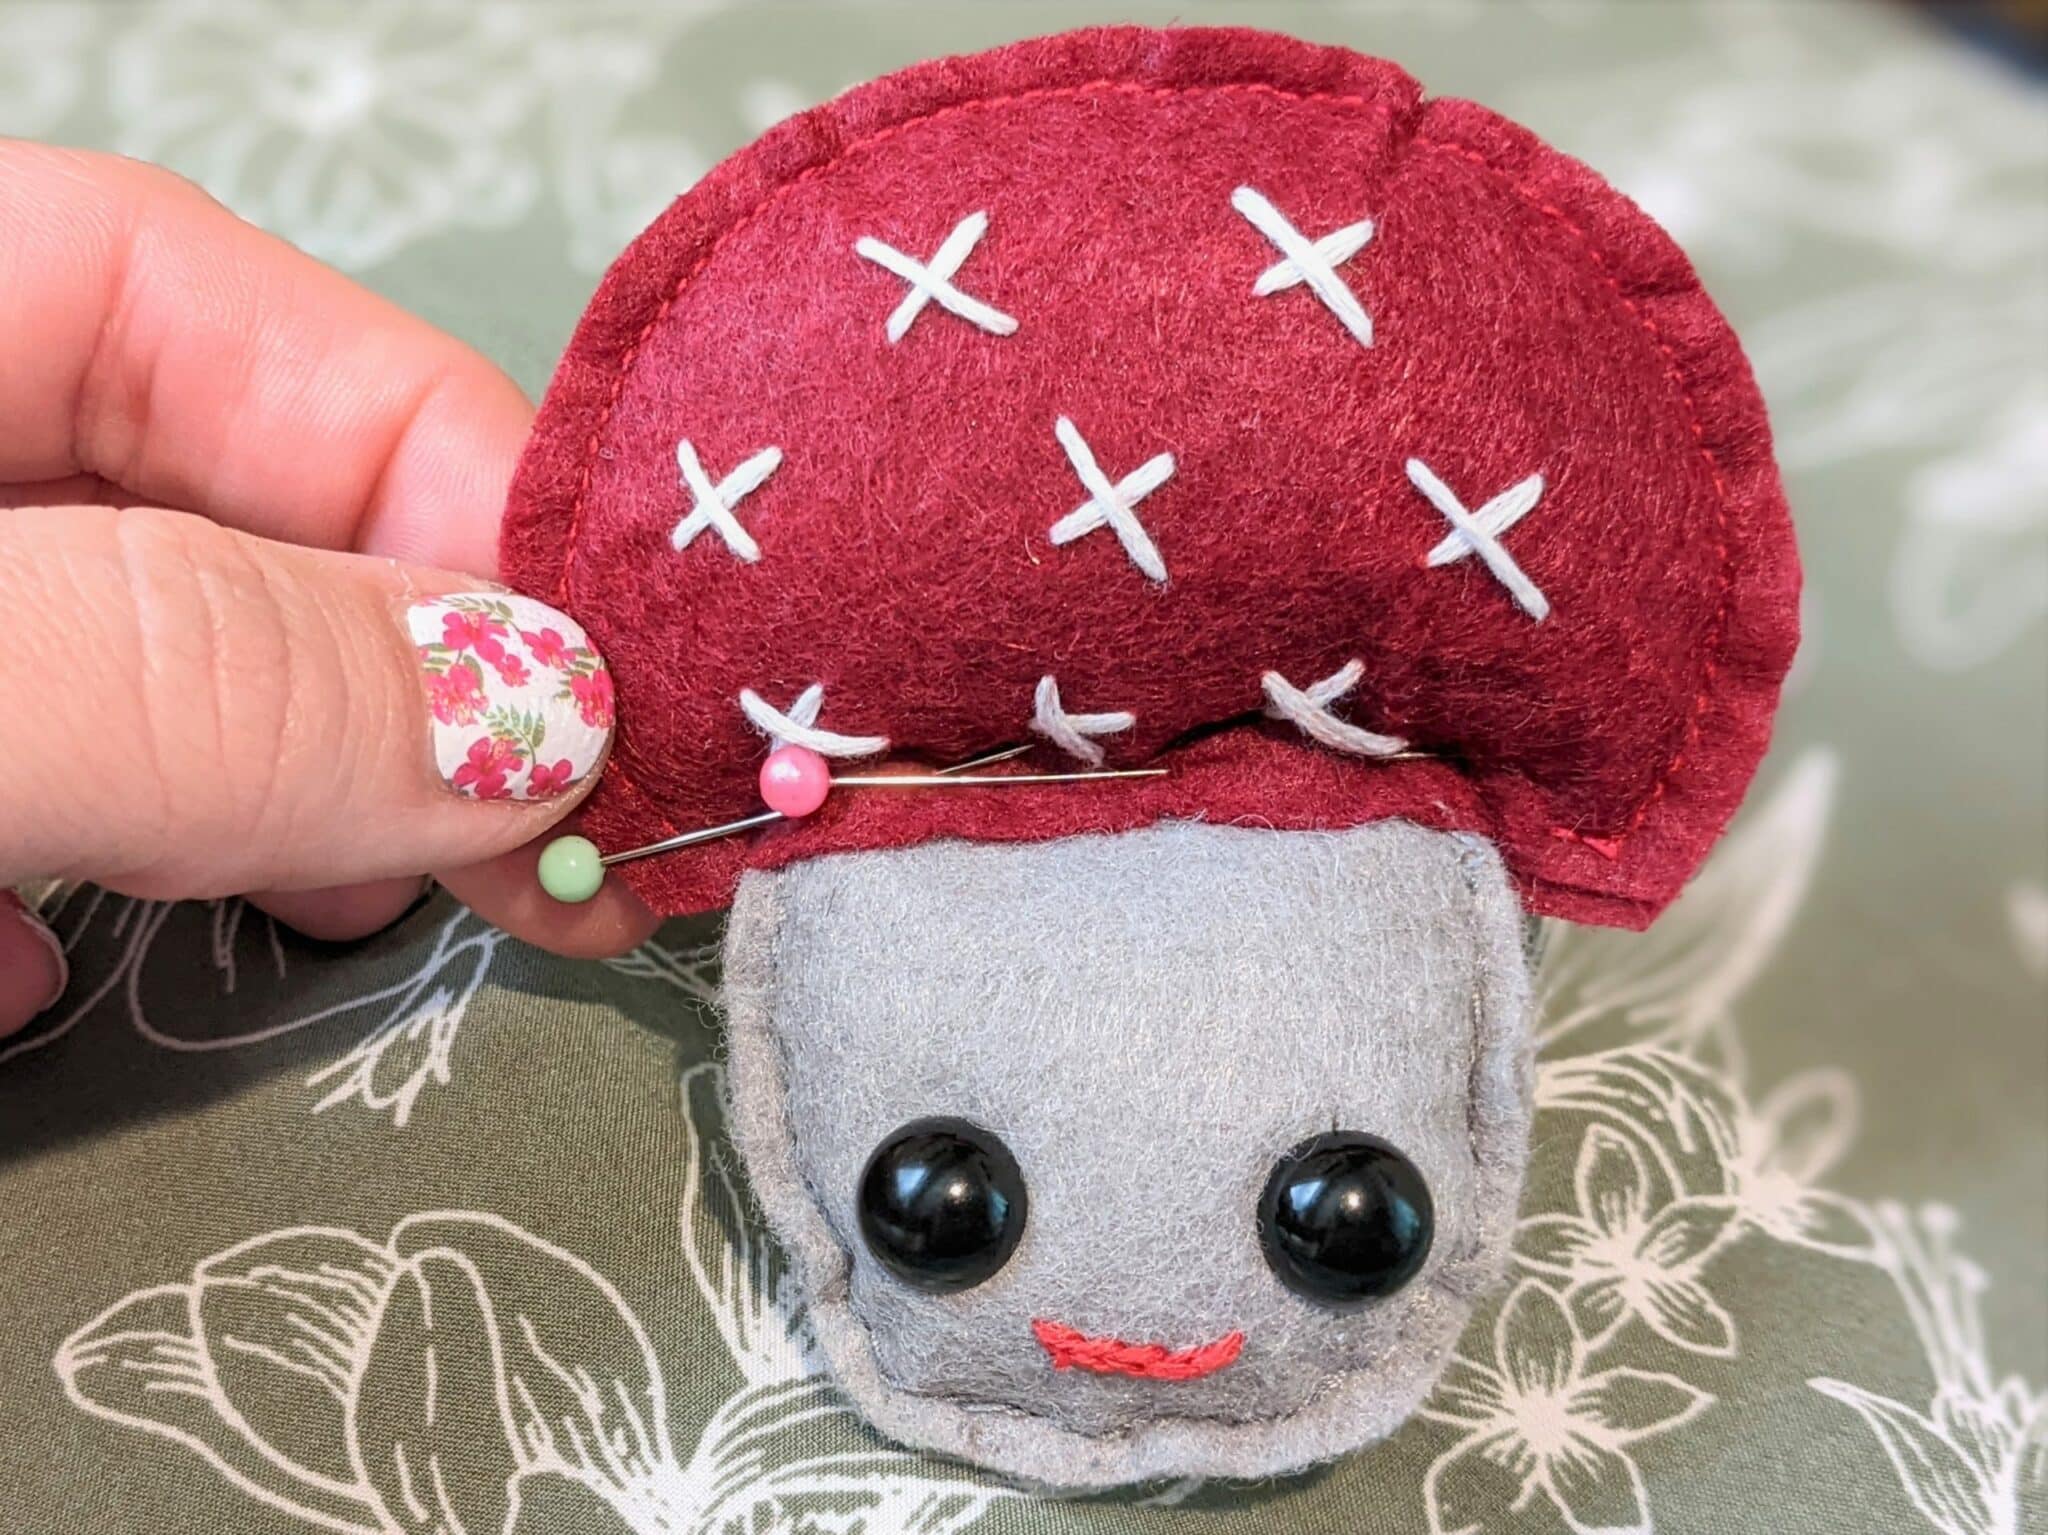
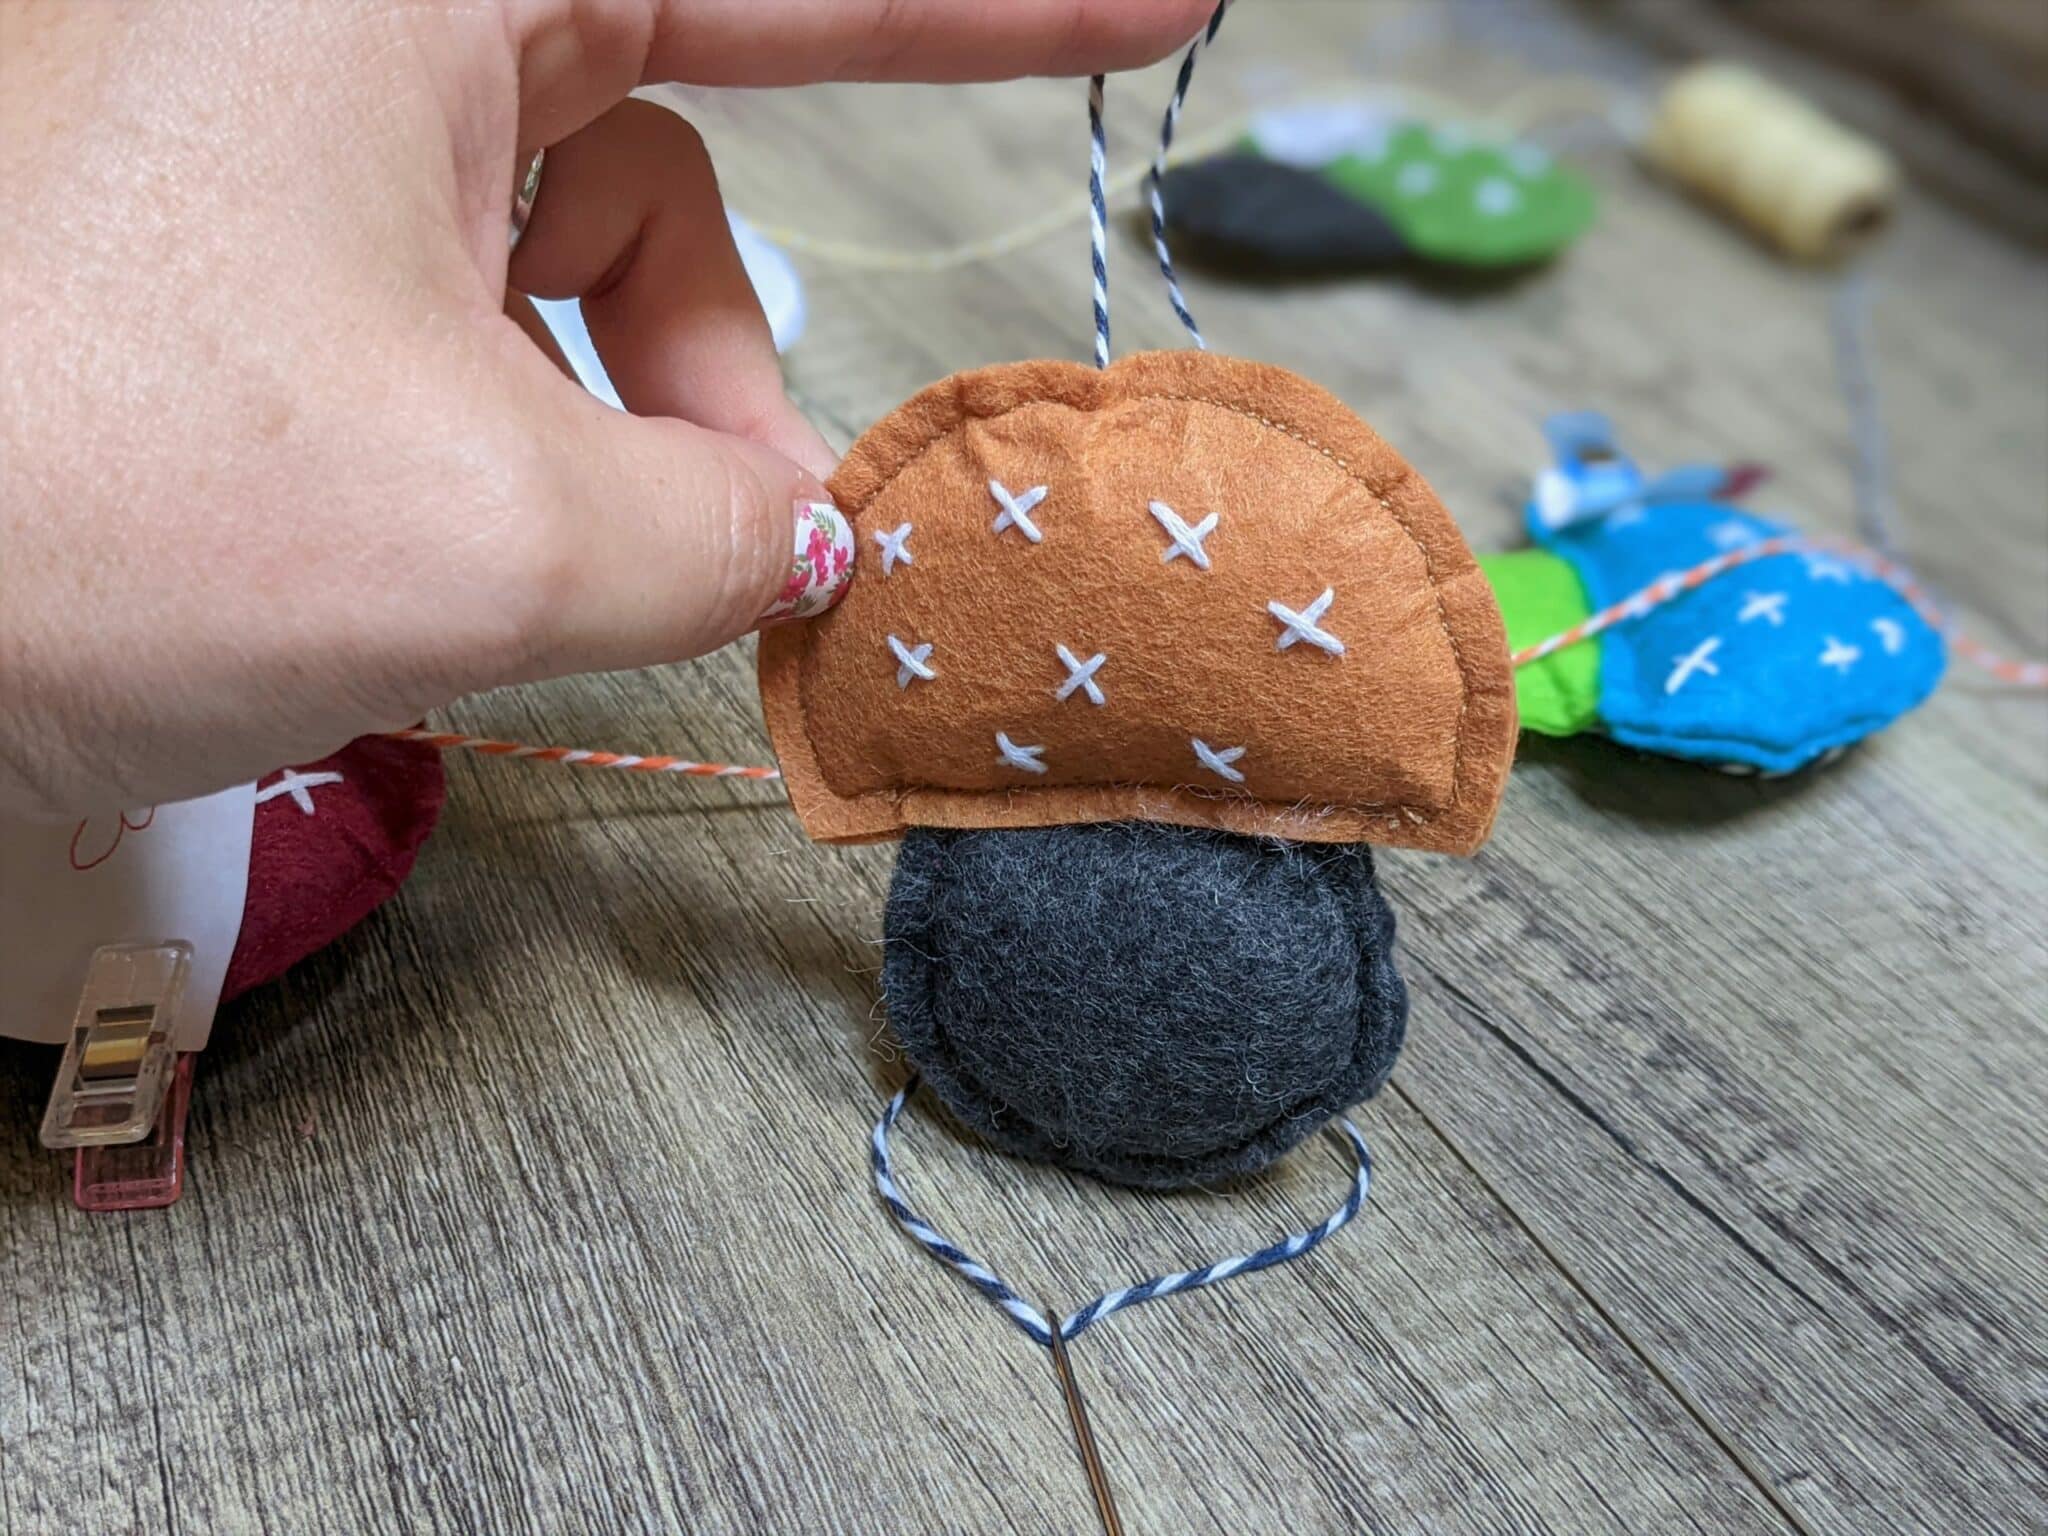
- Slide the top of the mushroom stem into the opening of the top piece.
- Pin through the front and back of the top where the stem is making sure you are pinning through the bottom piece of the mushroom.
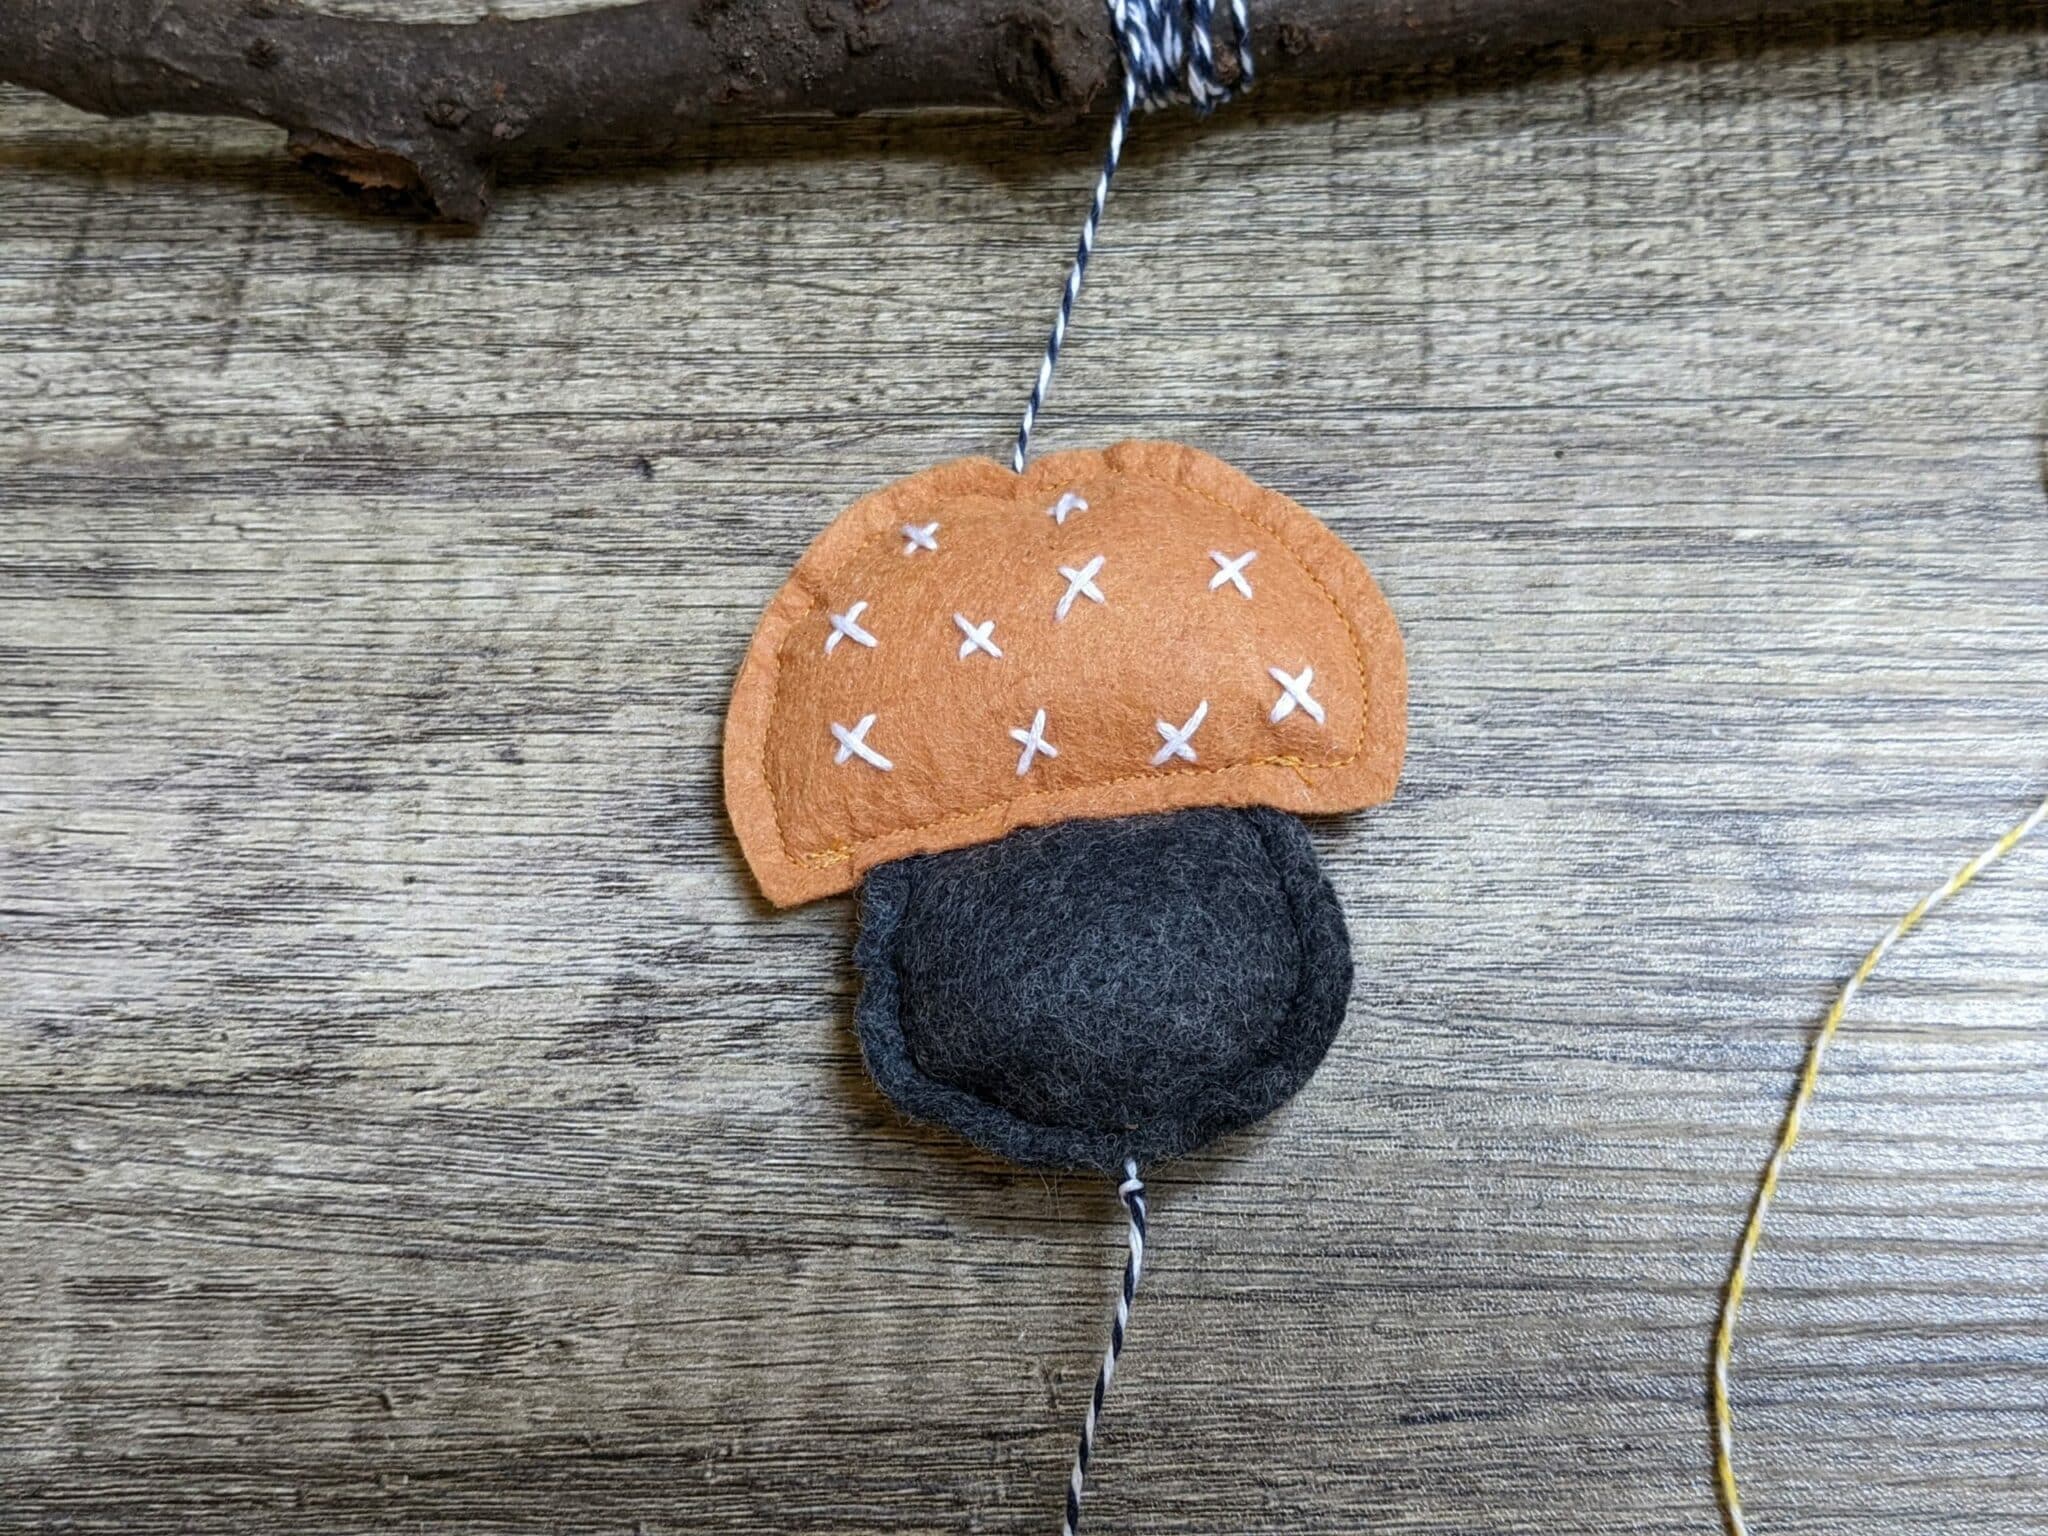
- Sew along the pinned edge.

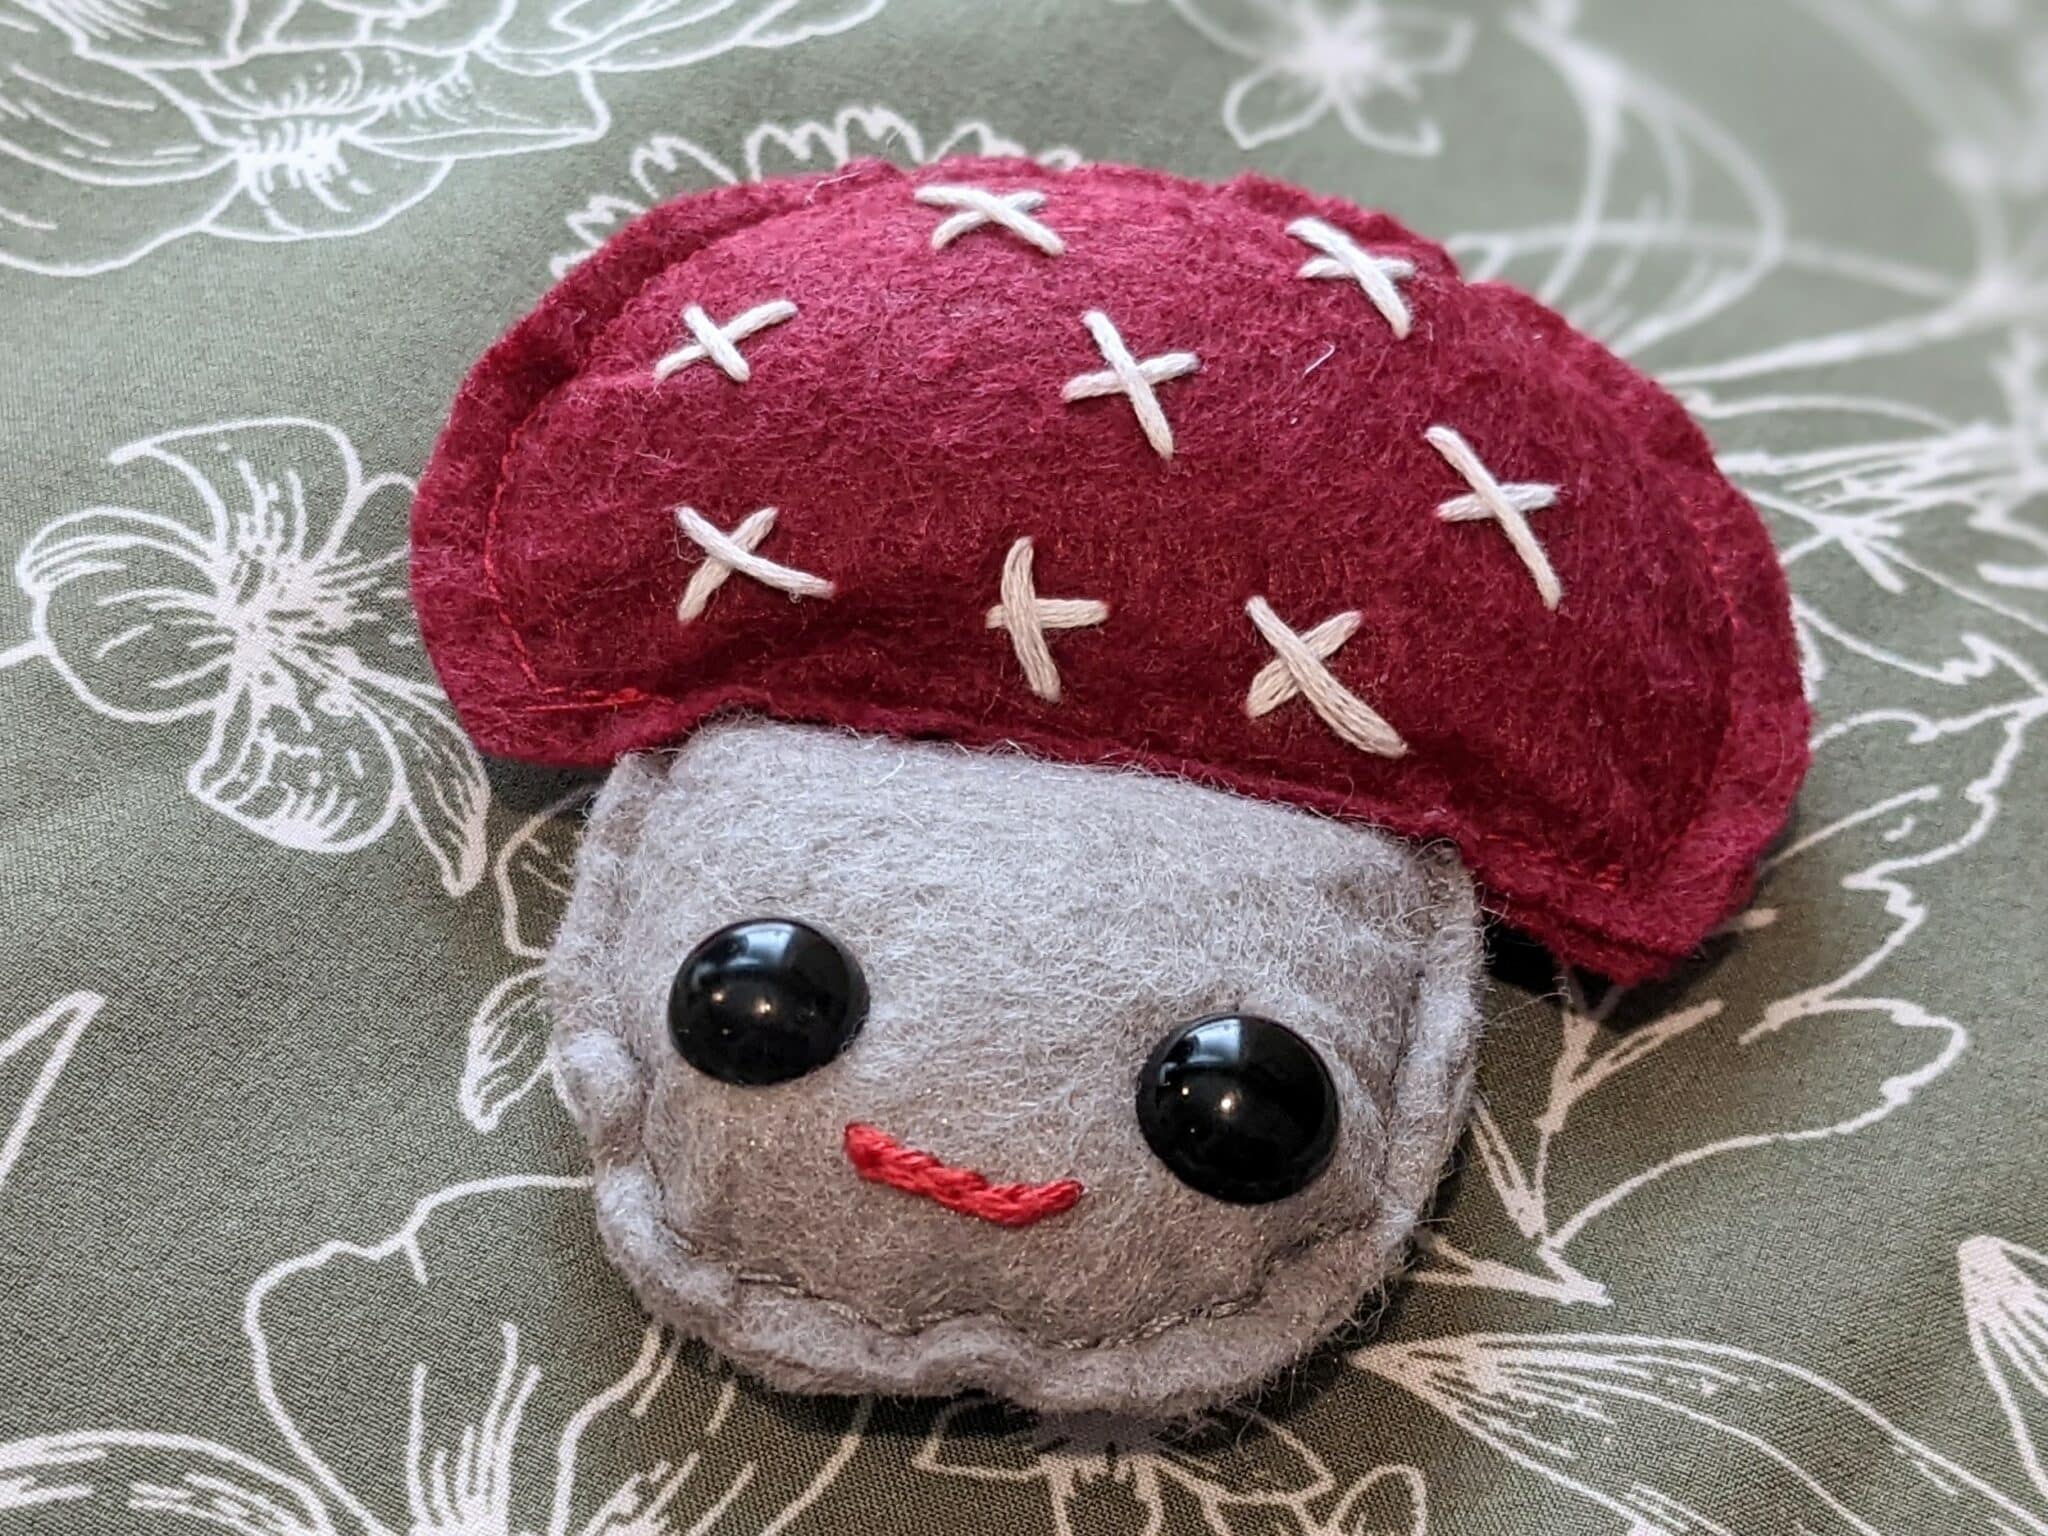
- Repeat this process for all of your mushrooms until you have a cute little mushroom army.
Make the Hanger
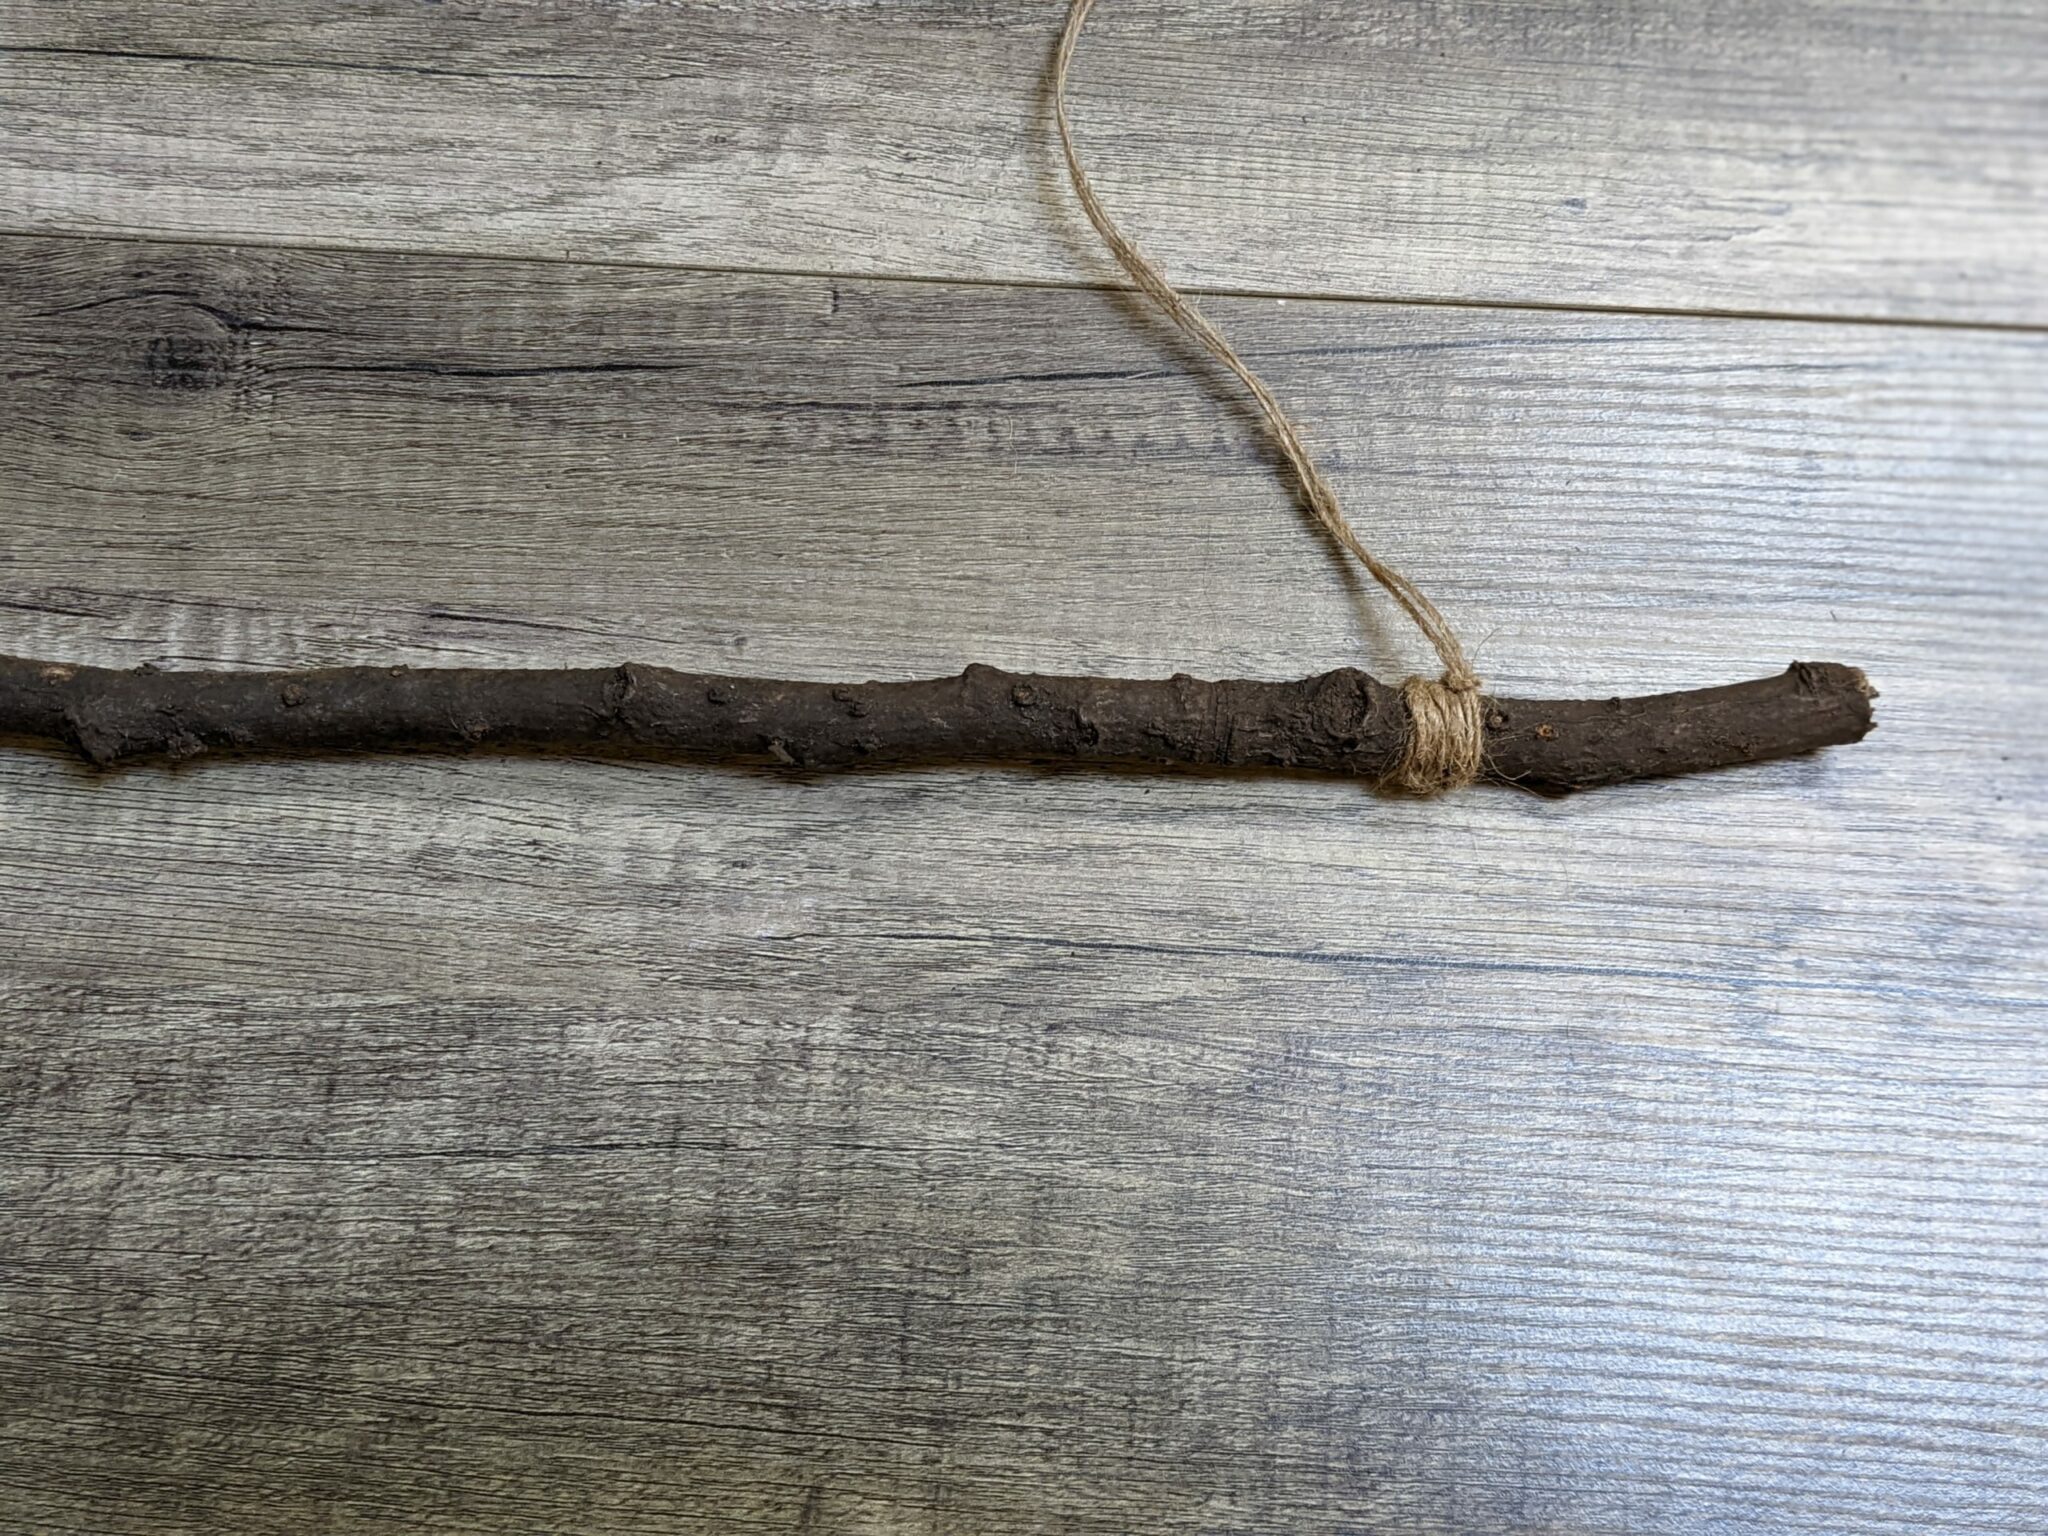
- Lay out your stick and jute twine or string to determine the approximate length for the hanger. You will want to add several extra inches to both sides to tie and wrap the twine.
- Knot the twine around one end of the stick the wrap it around several times before knotting it again to secure it.
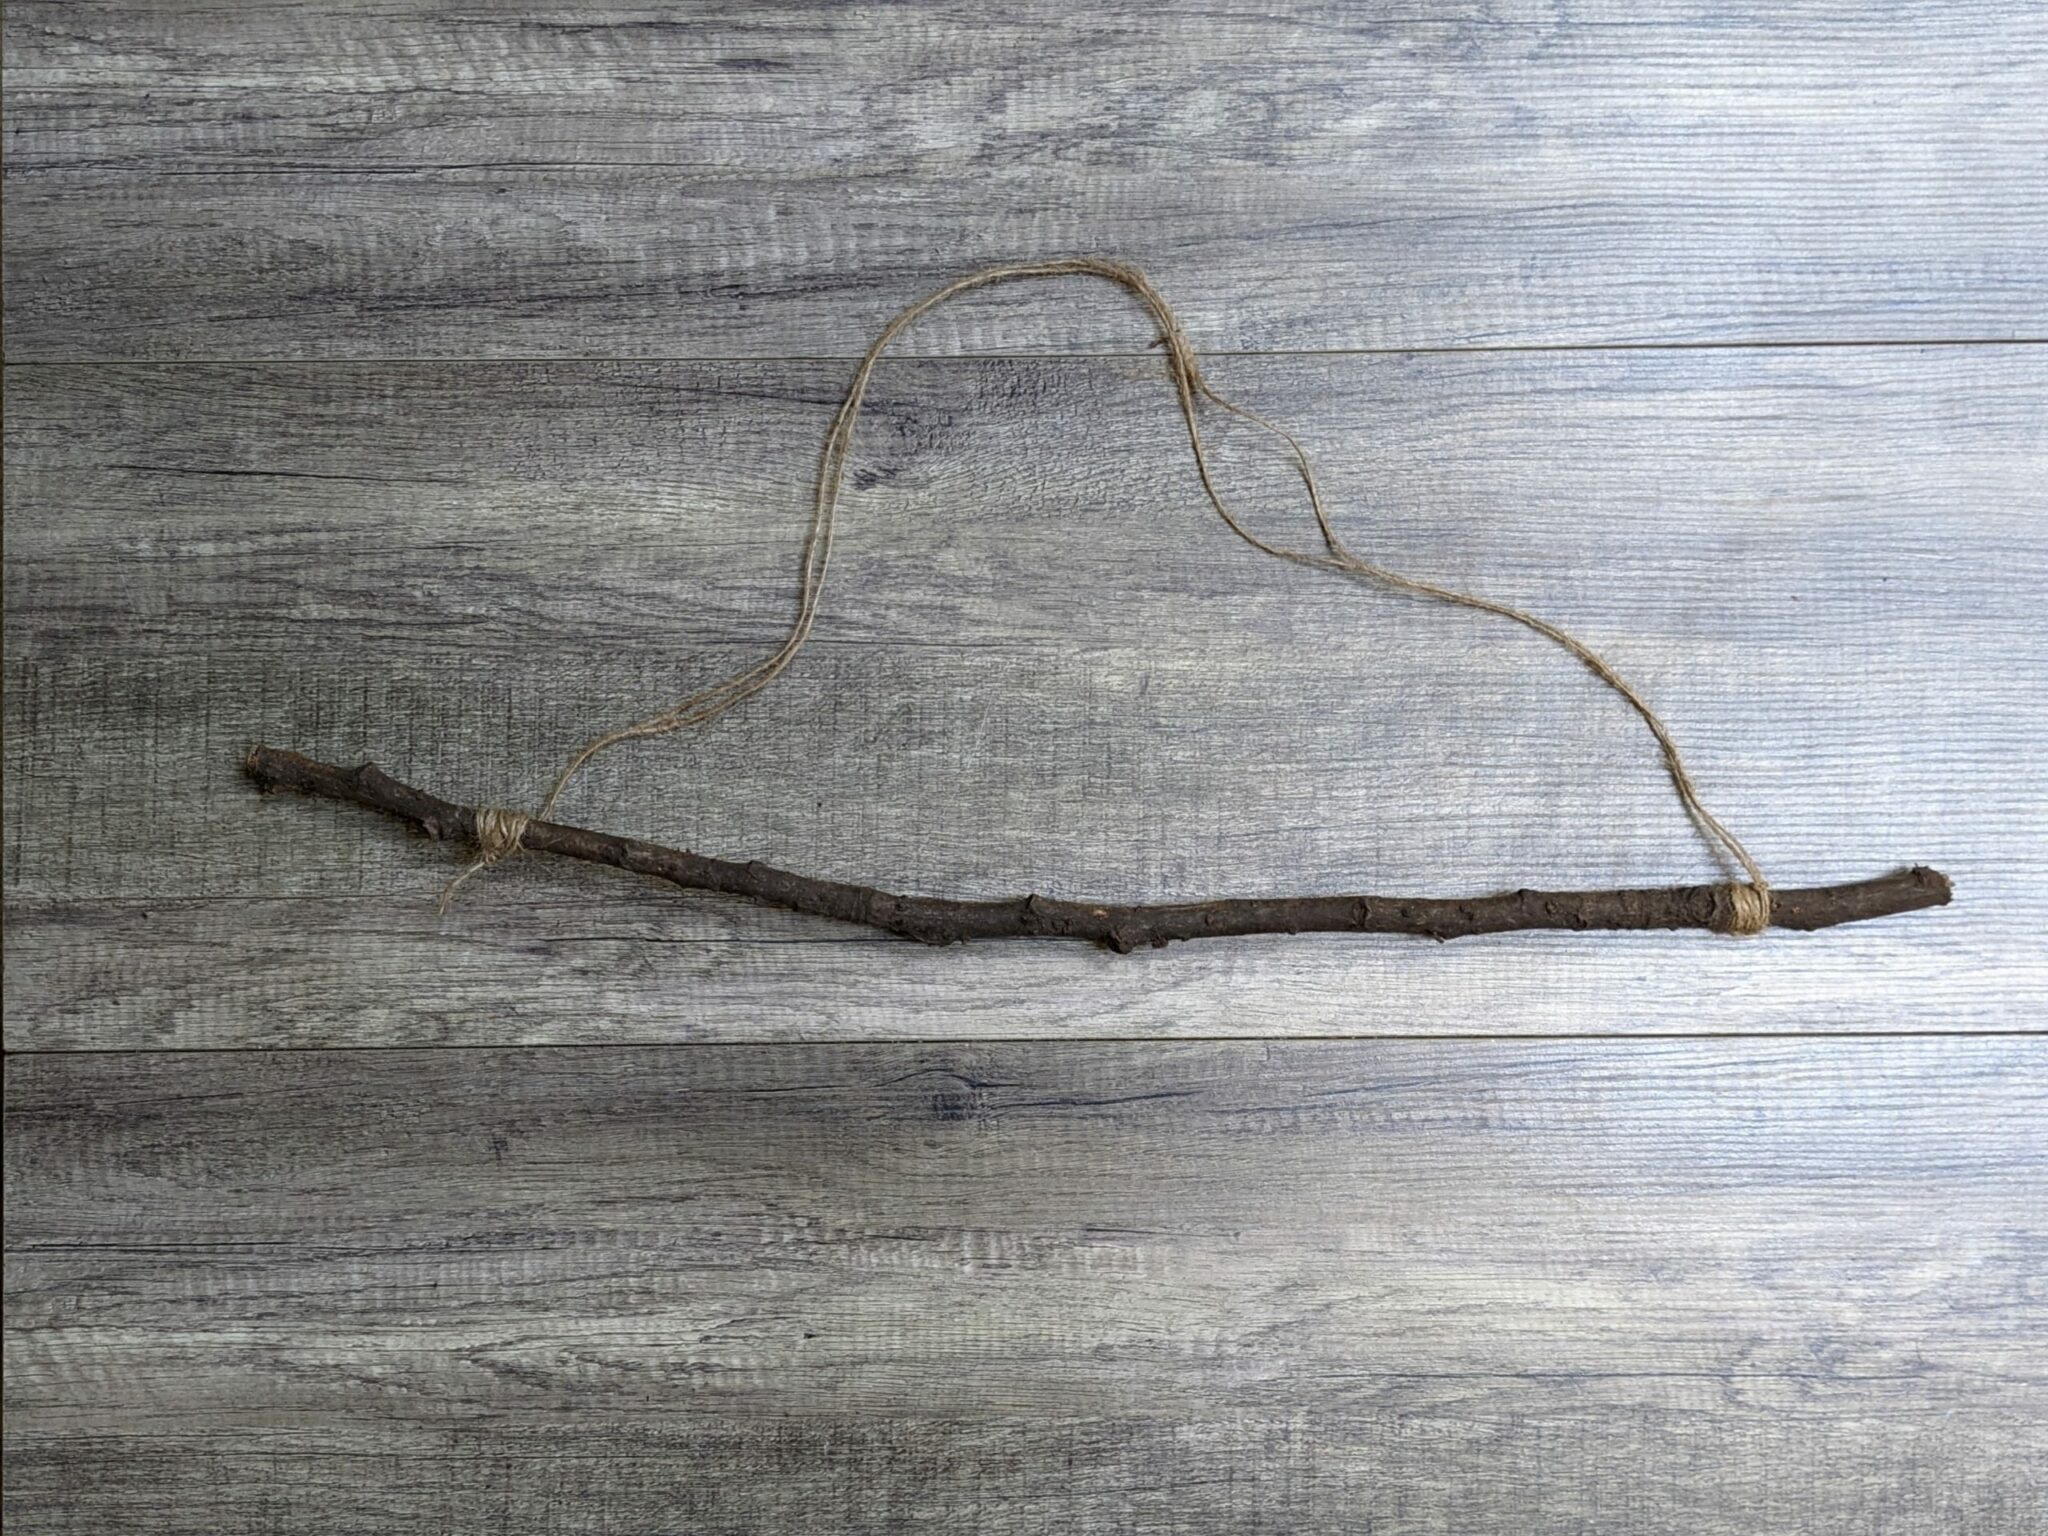
- Repeat the same process on the other end of the stick.

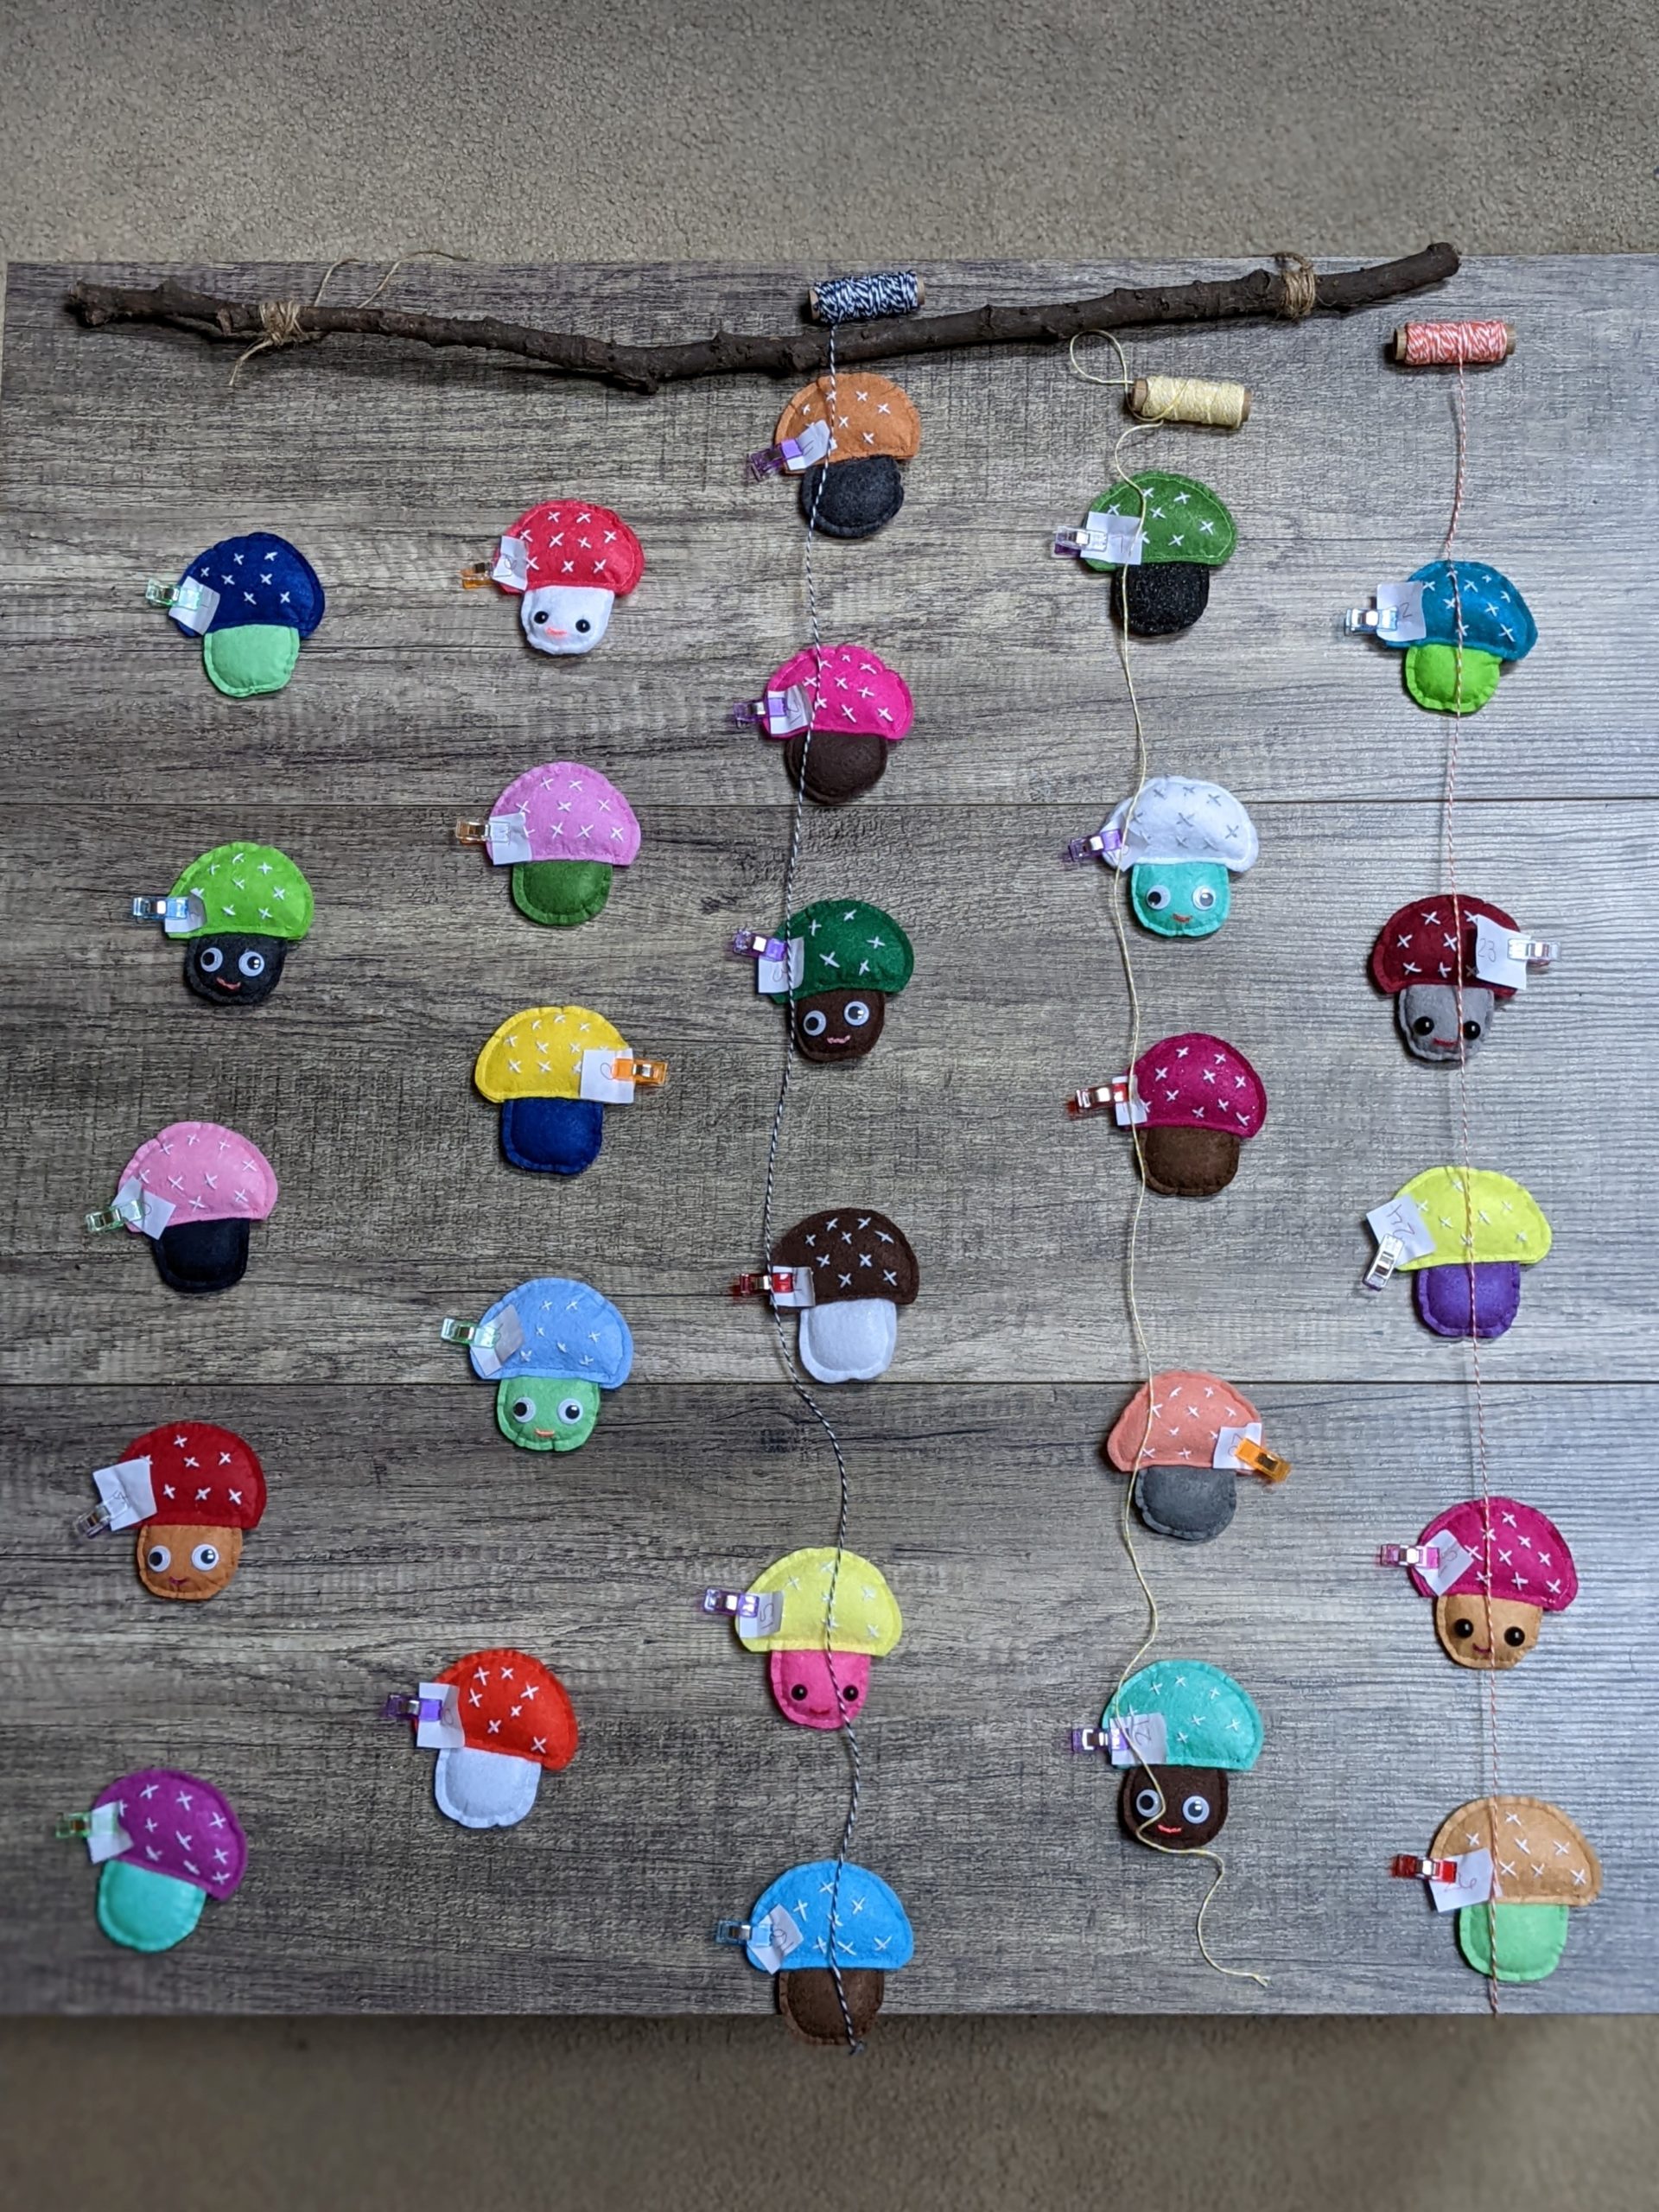
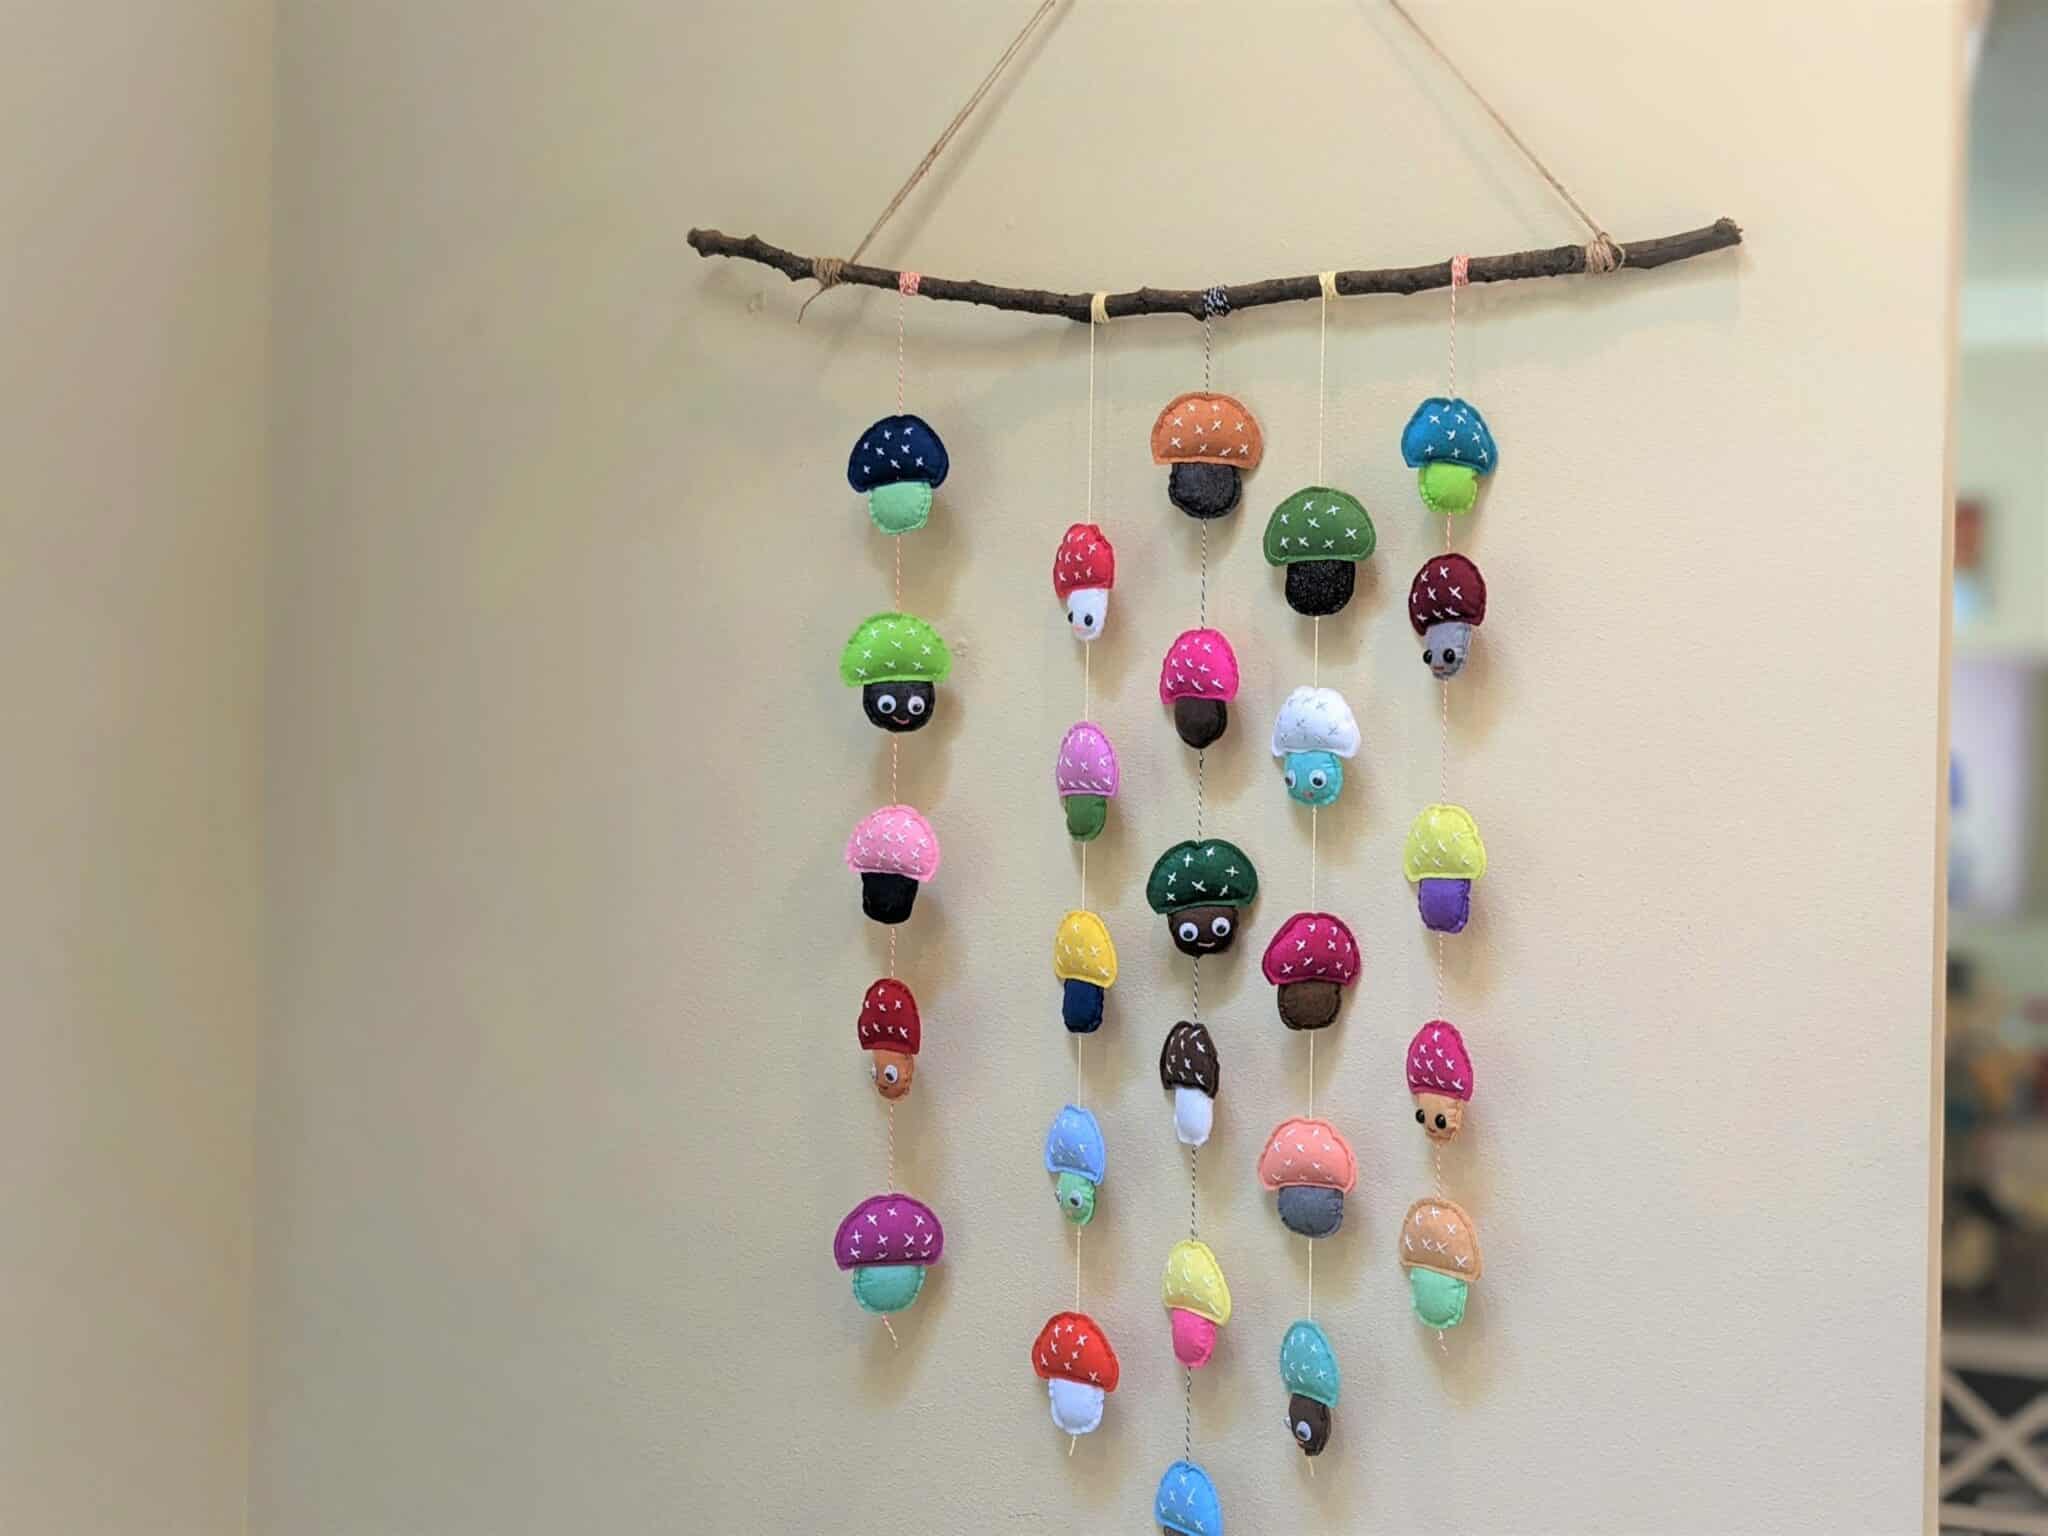
Thread the Mushrooms
- Arrange your mushrooms below the stick hanger how you want them to look once they are done to determine how long to cut the baker’s twine or string for each row.
- Cut each string several inches longer than the last mushroom to account for making knots.
- I prefer to start on the middle row to keep everything even. Tie a knot around the stick with the string then wrap it several times and tie it off.
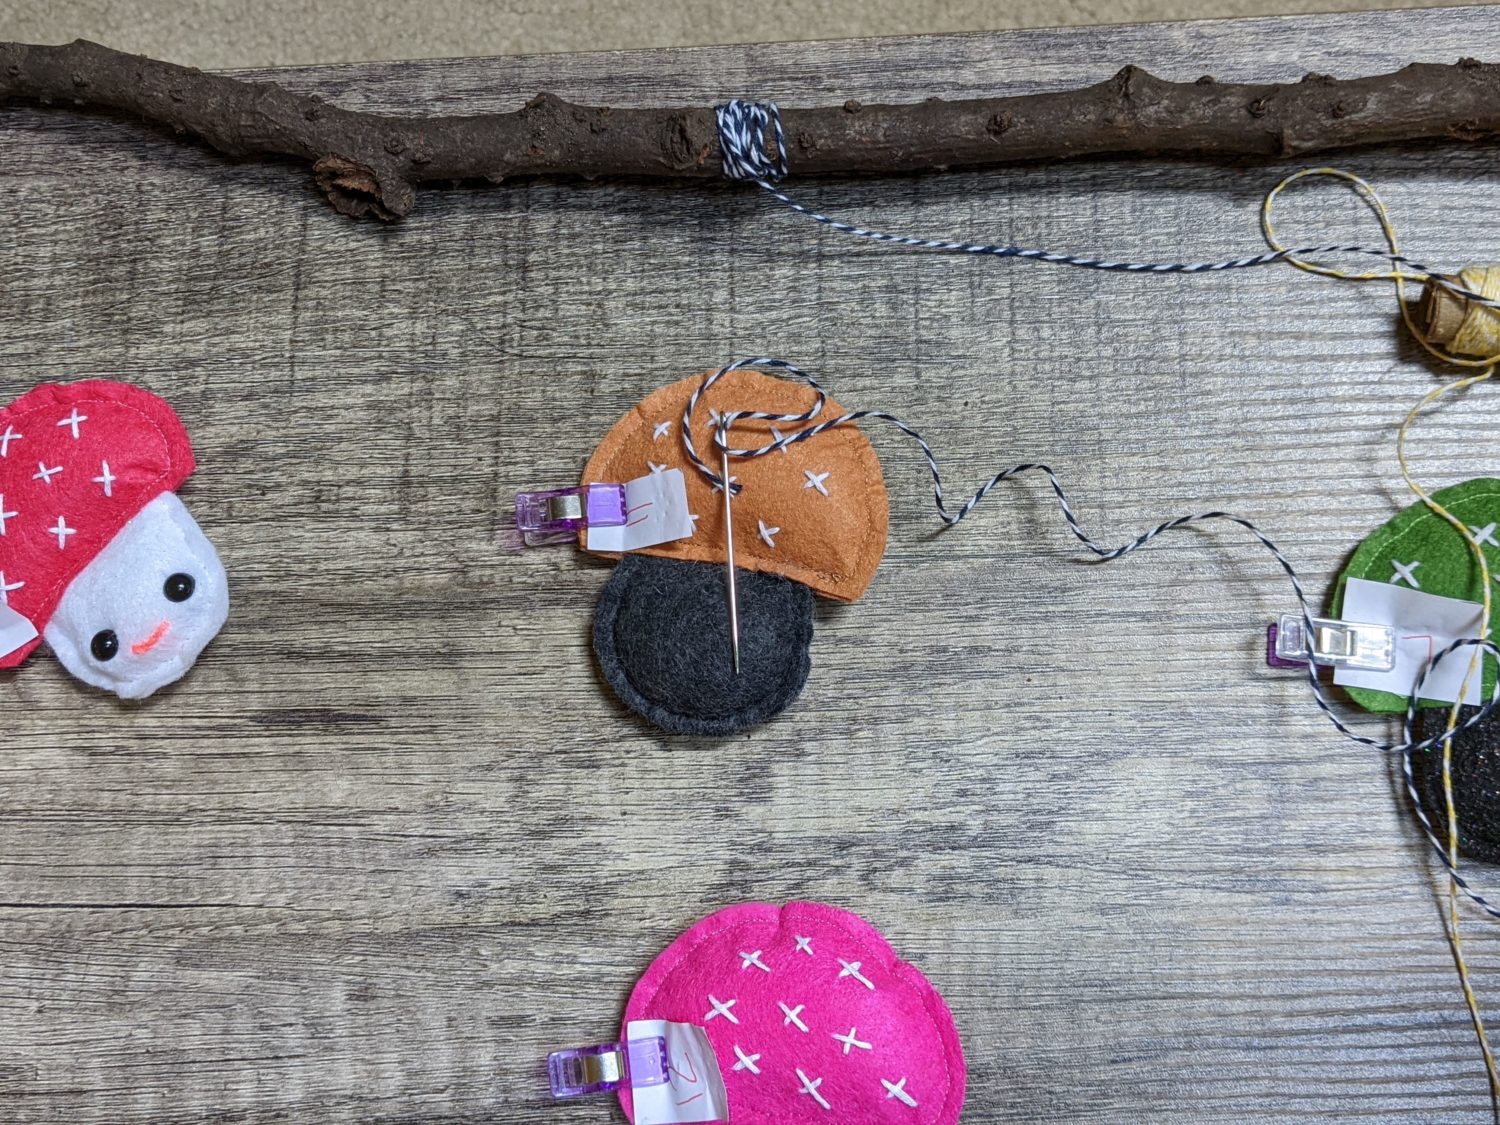
- Thread the string through your large needle then poke it through the center of the top.
- Push the needle all the way through and pull it out the center of the bottom.
- Slide the mushroom up the string to where you want it to sit, then tie a small knot below it to keep it from sliding down.
- Repeat this with all of your mushrooms making sure to tie a knot after each one as well as the bottom of each string.
You made it! Go you!
Want more FUN DIY Freebies? Check out the FREEBIE TUTORIALS and the FREEBIE PATTERNS!
As always, we’re here to help if you need it! Join us HERE and on Facebook, Instagram, Twitter, Youtube, and Pinterest. We’re everywhere you are.
Leave a Reply