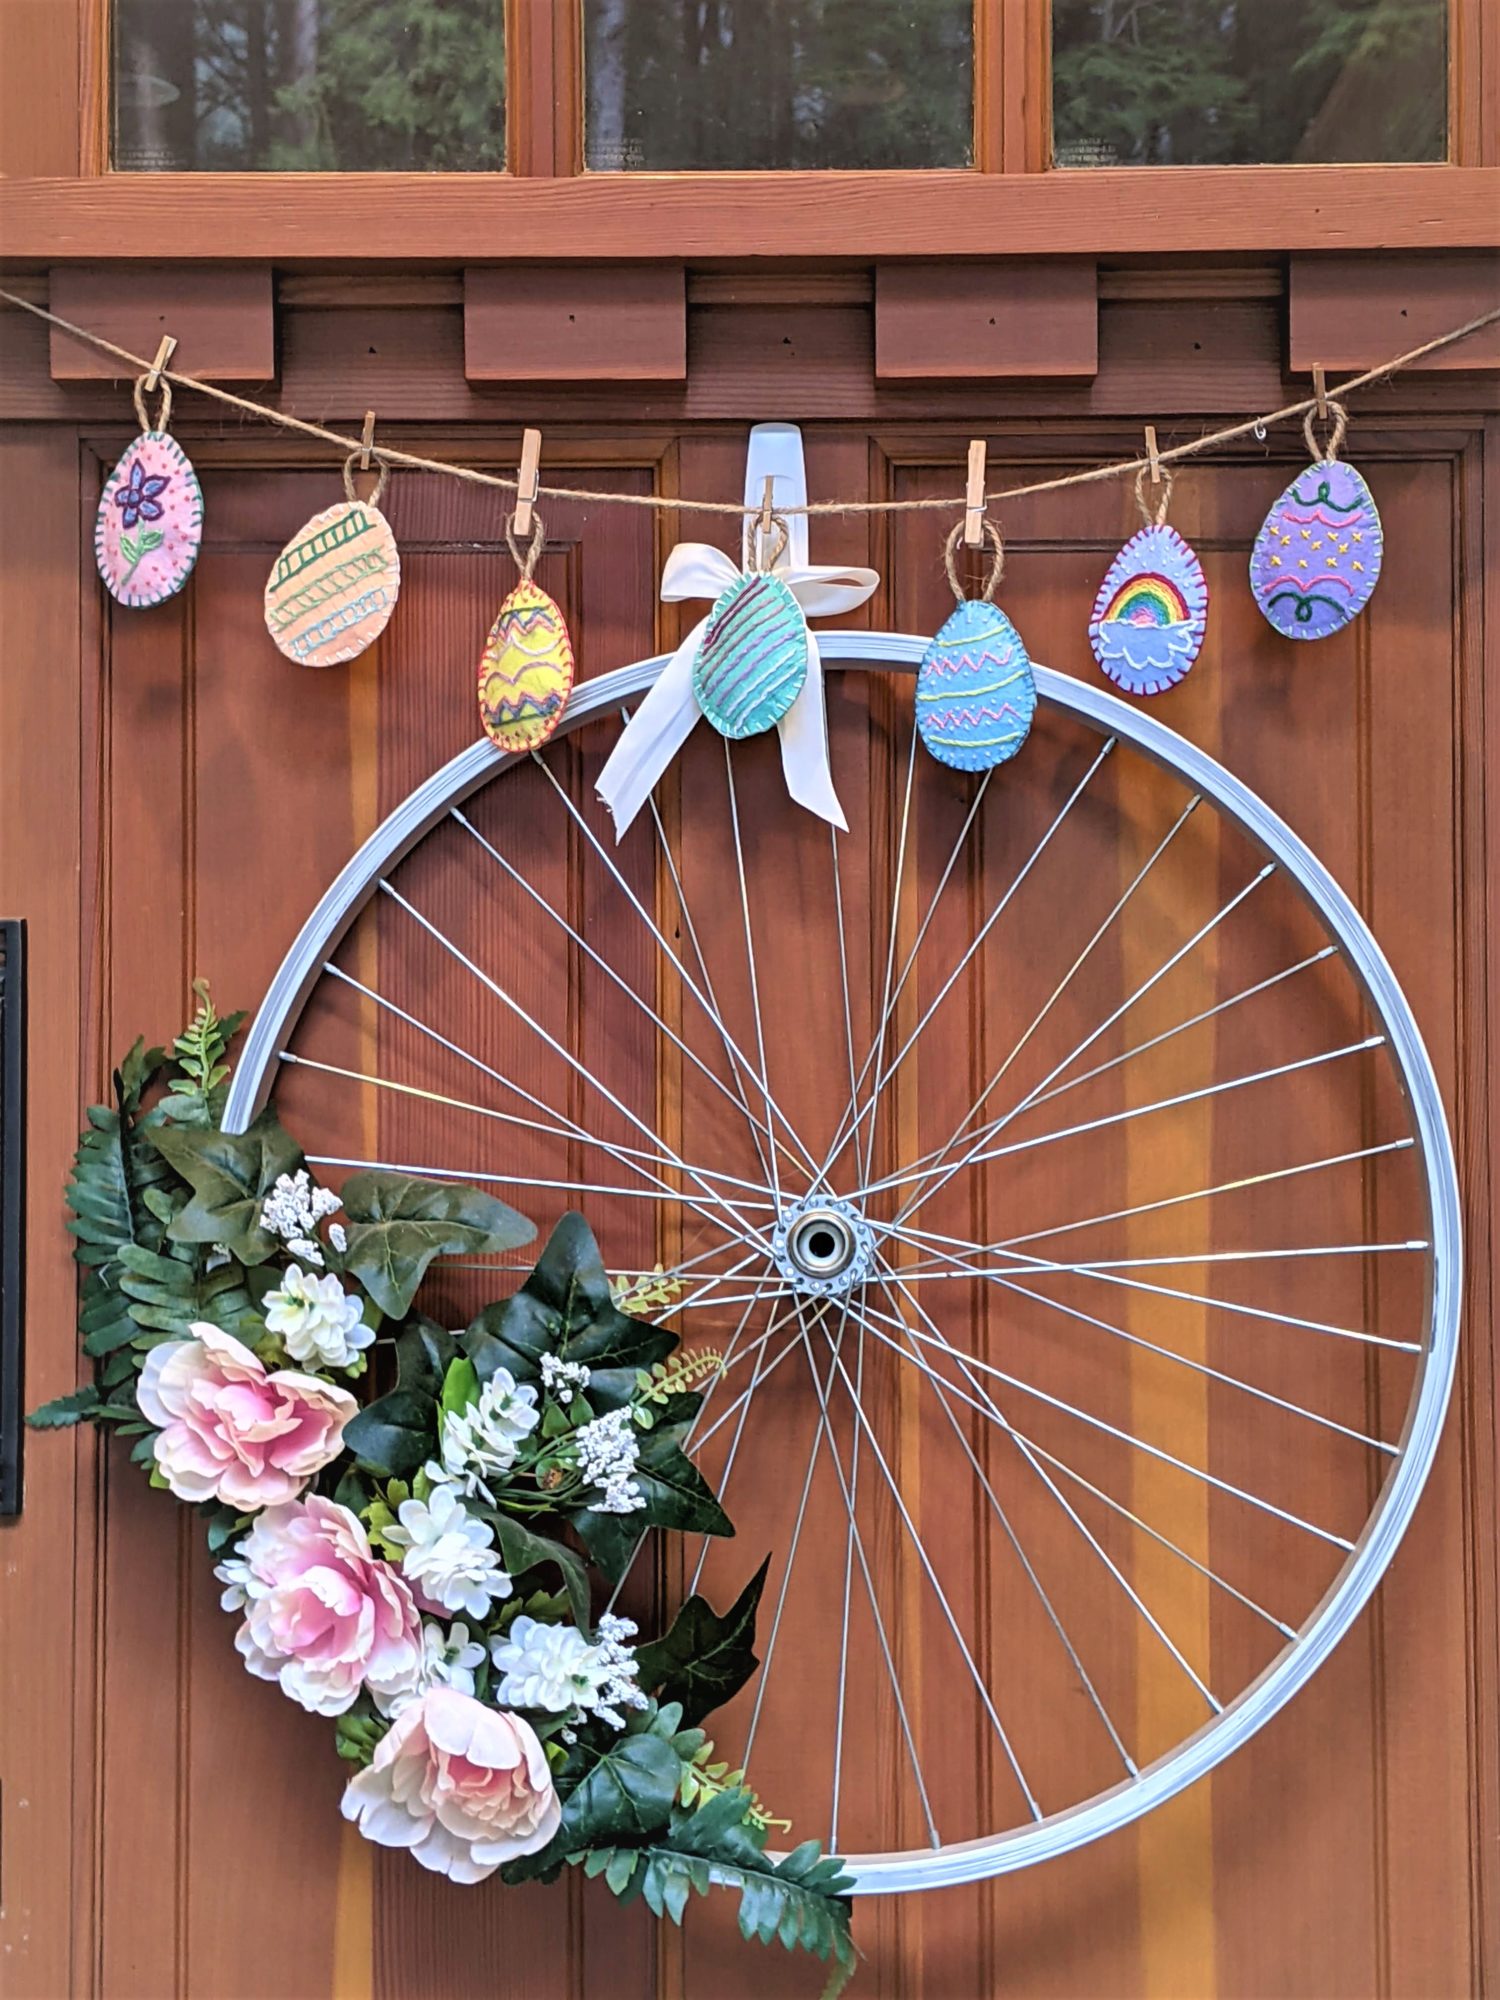
I’m continuing with the Easter theme this week as I attempt to make my house look somewhat ready for spring and Easter. I may even venture up into my holiday storage area to locate the rest of my decorations, or just continue with my mission to make my own this year. I’m terrible at decorating real eggs for Easter, but it turns out I’m much better at sewing and embroidering them! I’ll show you how to make these for your own house.
Supplies
- Woven fabric and interfacing, or felt
- Embroidery needle and thread (or fabric paint, pens, etc to decorate)
- Sewing needle and thread
- String/twine/ribbon
- Stuffing material
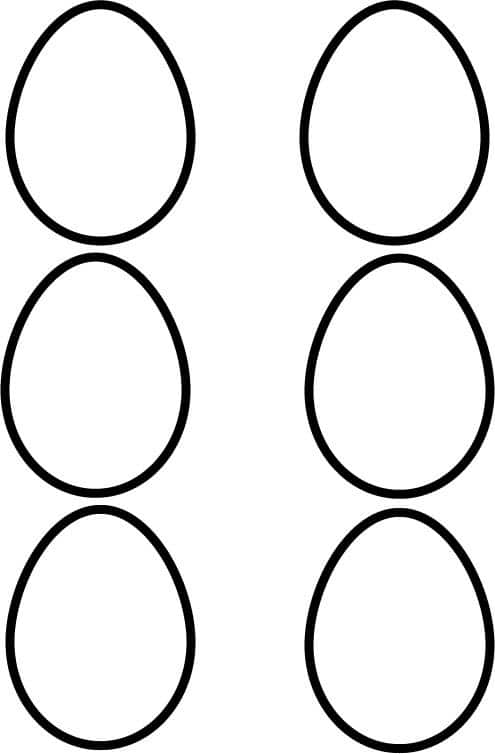
- Egg template
Cut out and Plan
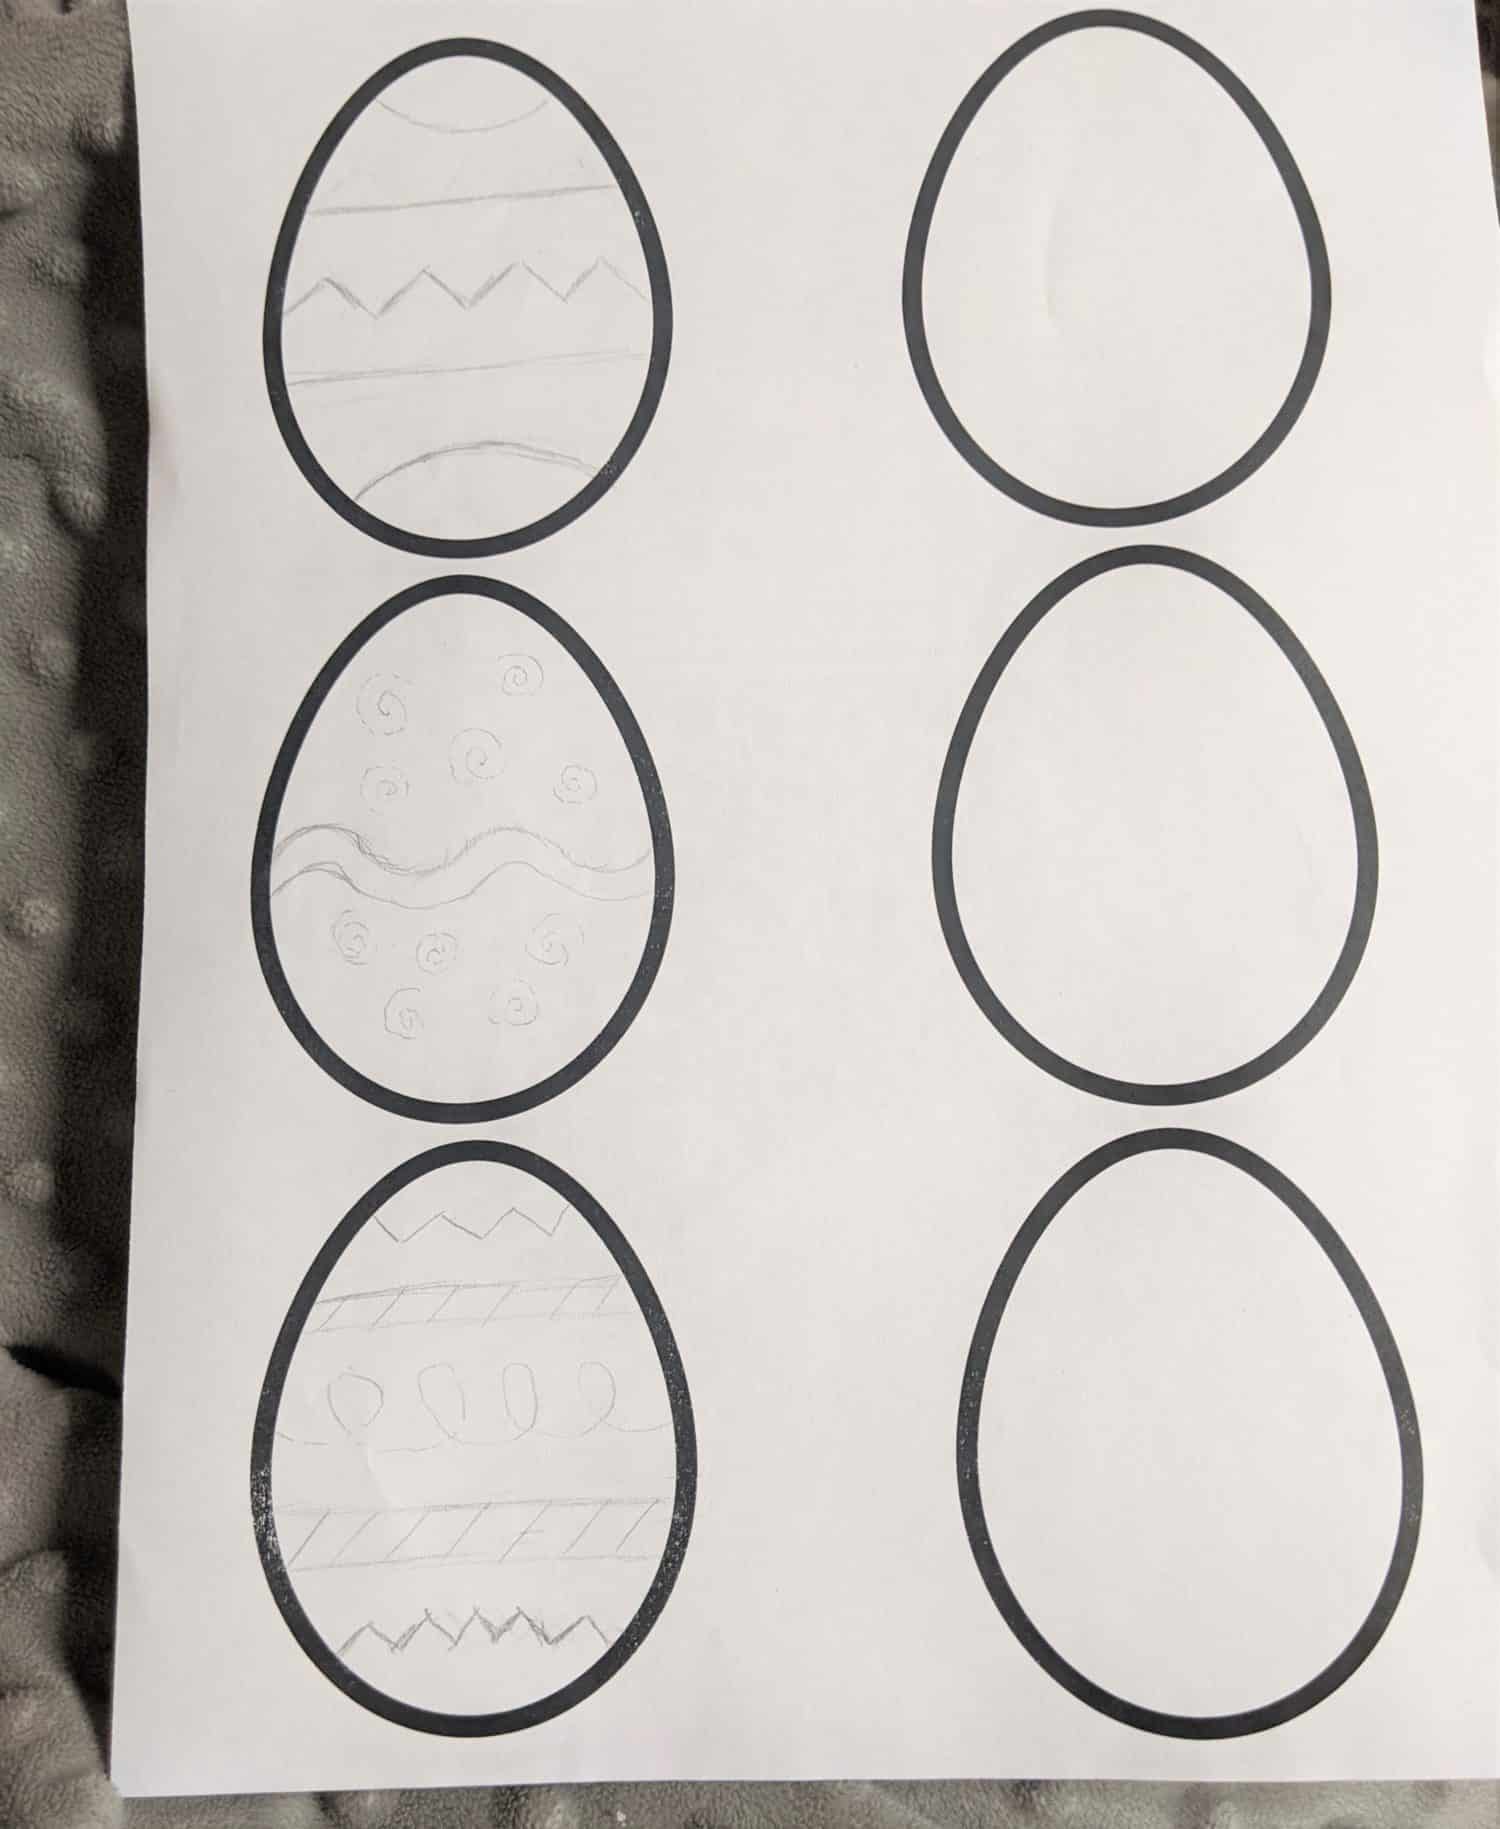
- Print out the egg template if you want to use mine, or you can make your own in the size you’d like.
- Use the template to draw out and plan patterns for your eggs.
- Cut out template piece(s) to use for cutting out your material
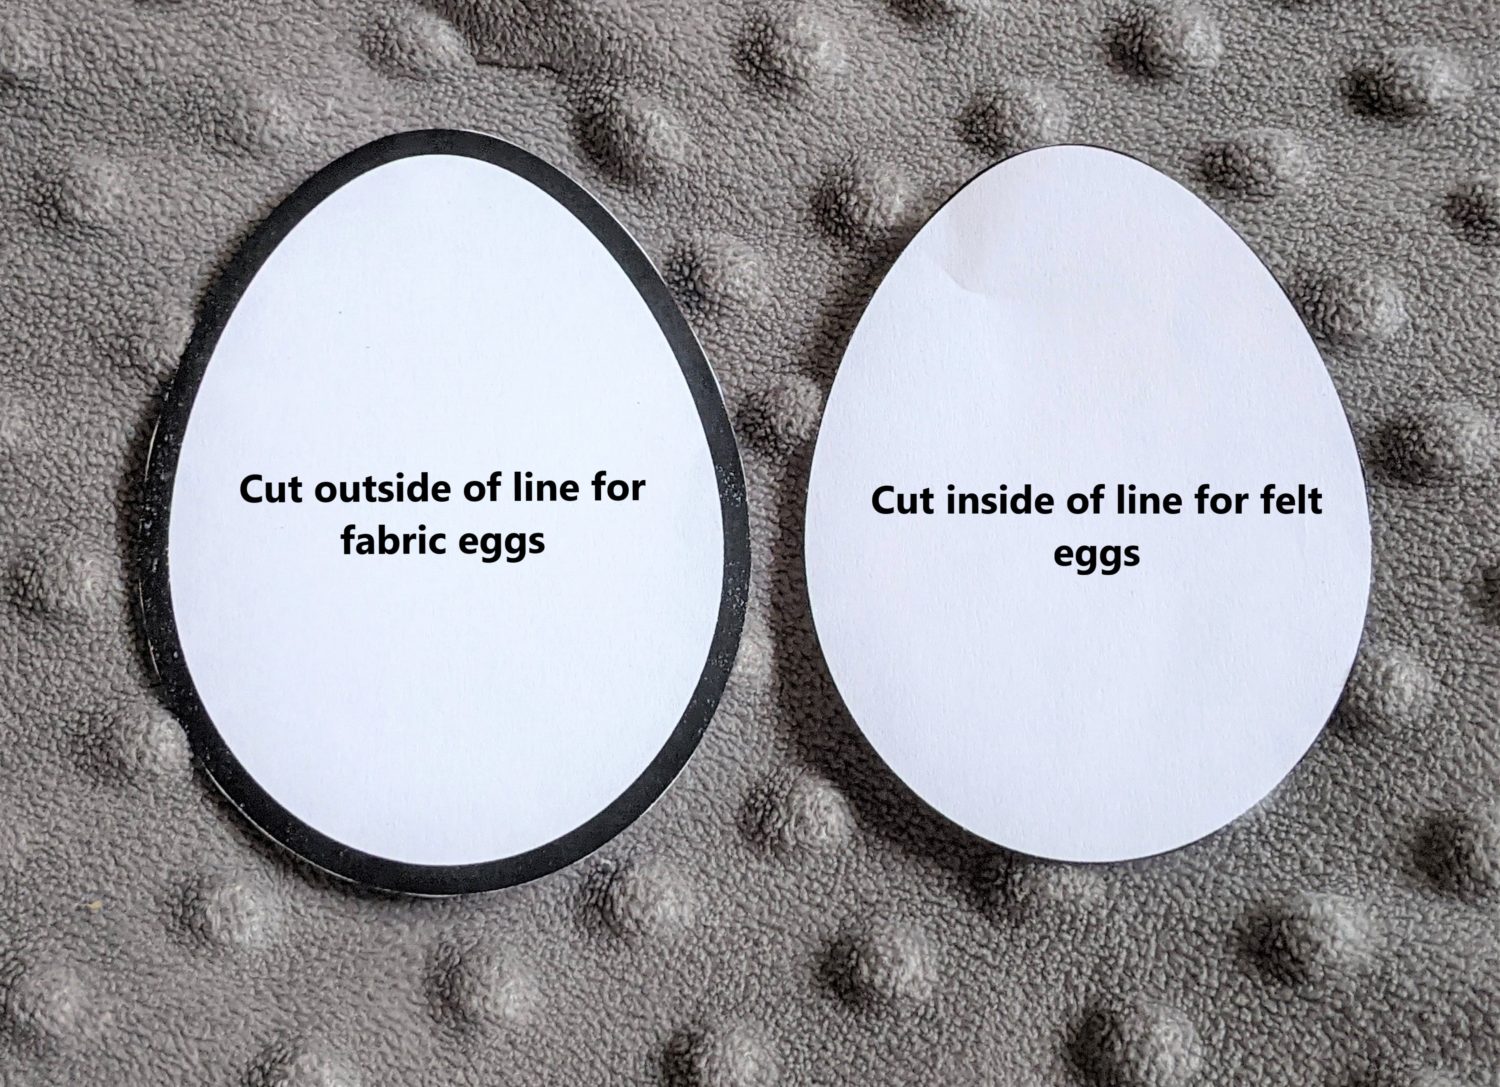
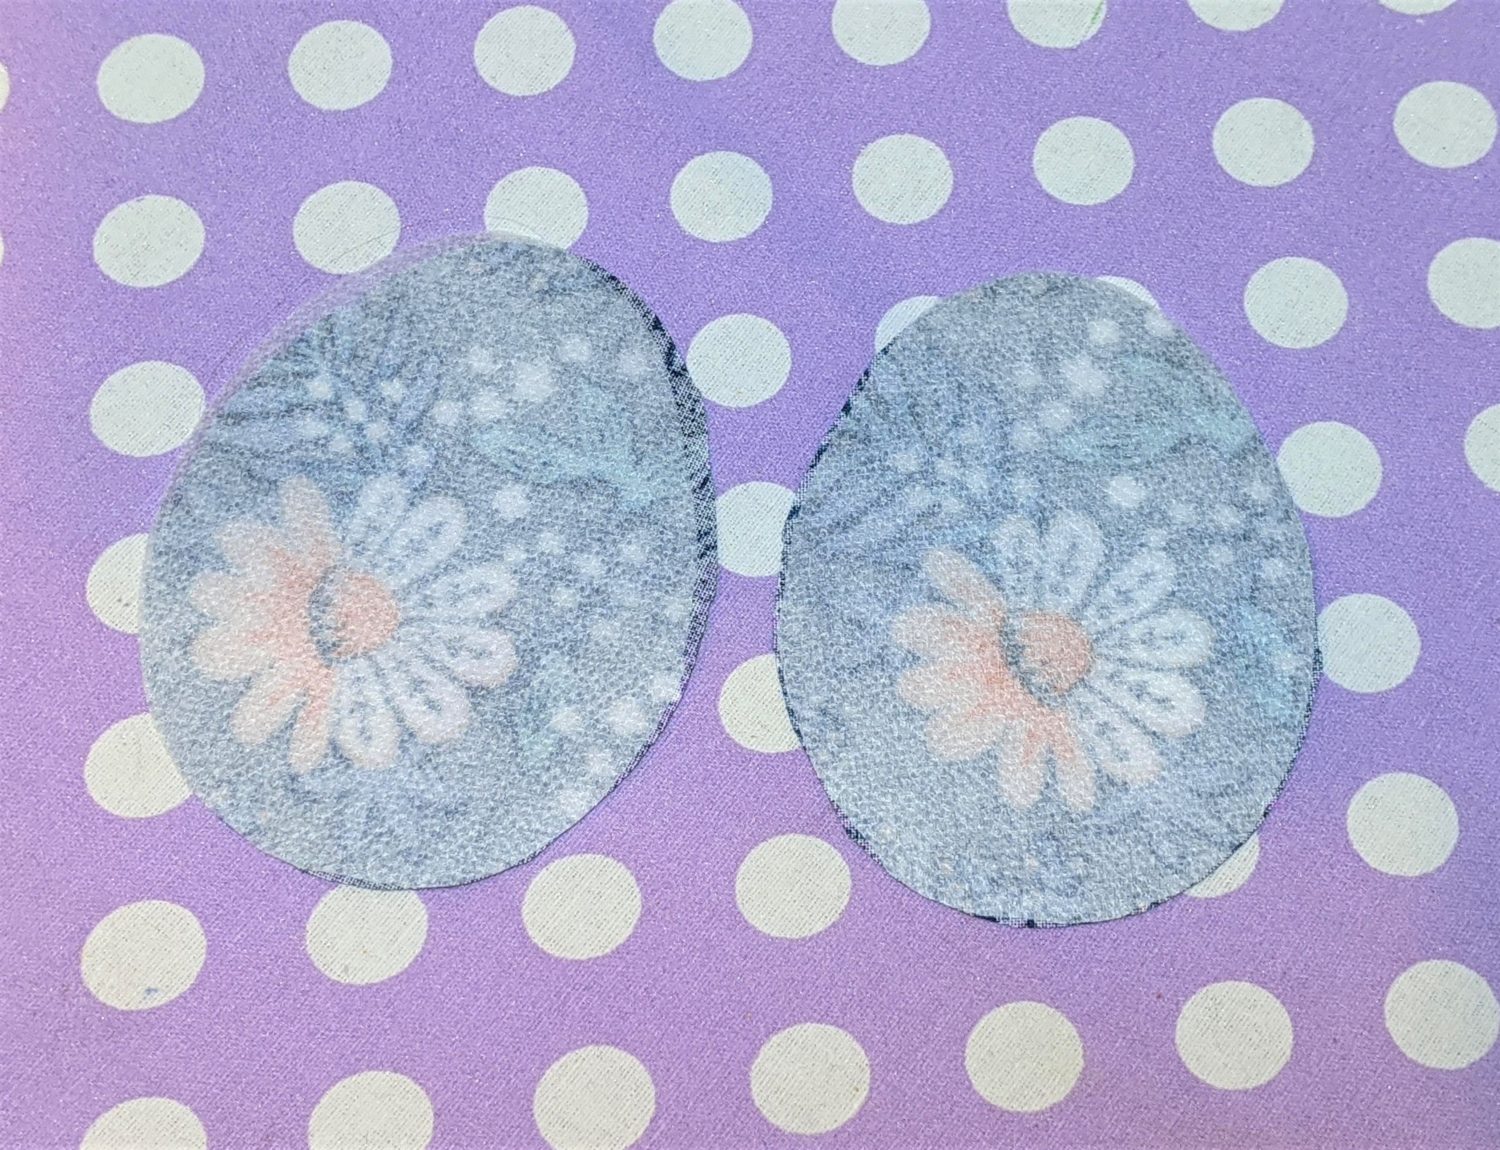
- For fabric eggs: cut 2 mirrored egg pieces along the outer edge of the bold template outline, and 1 or 2 interfacing pieces. (You only need to have one for the side you are embroidering, the other side is optional and just gives a little more stability to the fabric.)
- For felt eggs: Cut 2 mirrored egg pieces along the inner edge of the bold template outline.
- Cut one 2″-3″ piece of string, twine, or ribbon to use for hanging for each of your eggs.
Egg Decorating
*If you are making fabric eggs, iron your interfacing onto the wrong side of the fabric before decorating.*
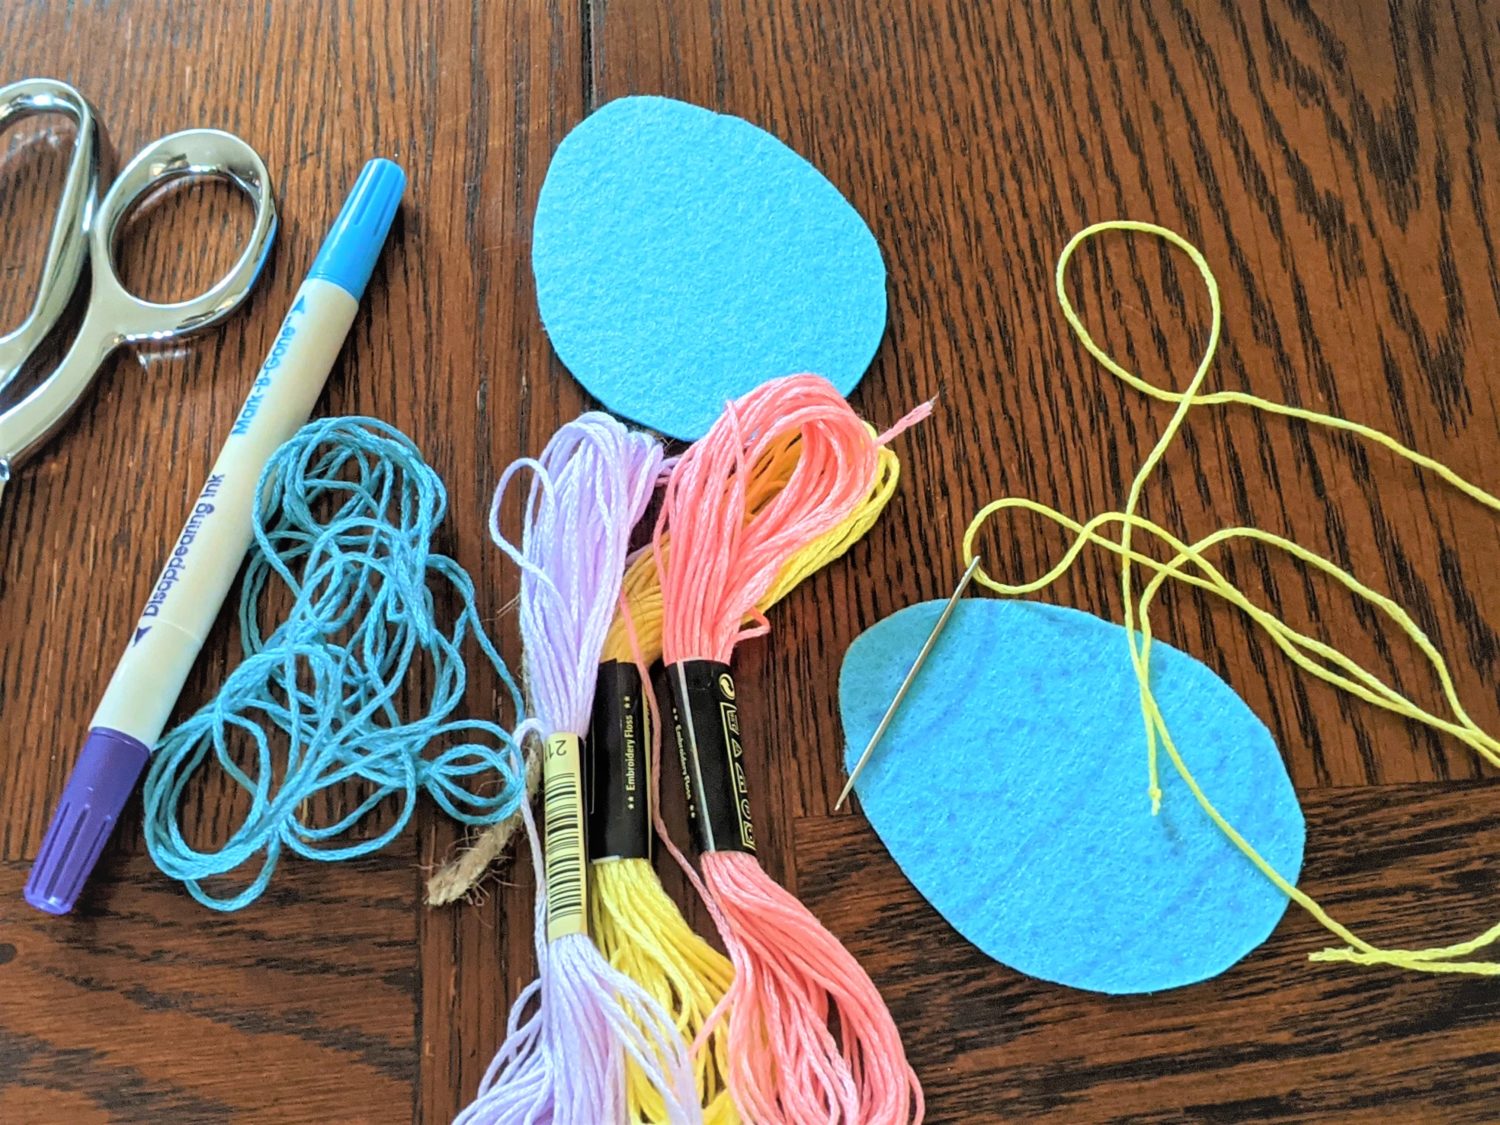
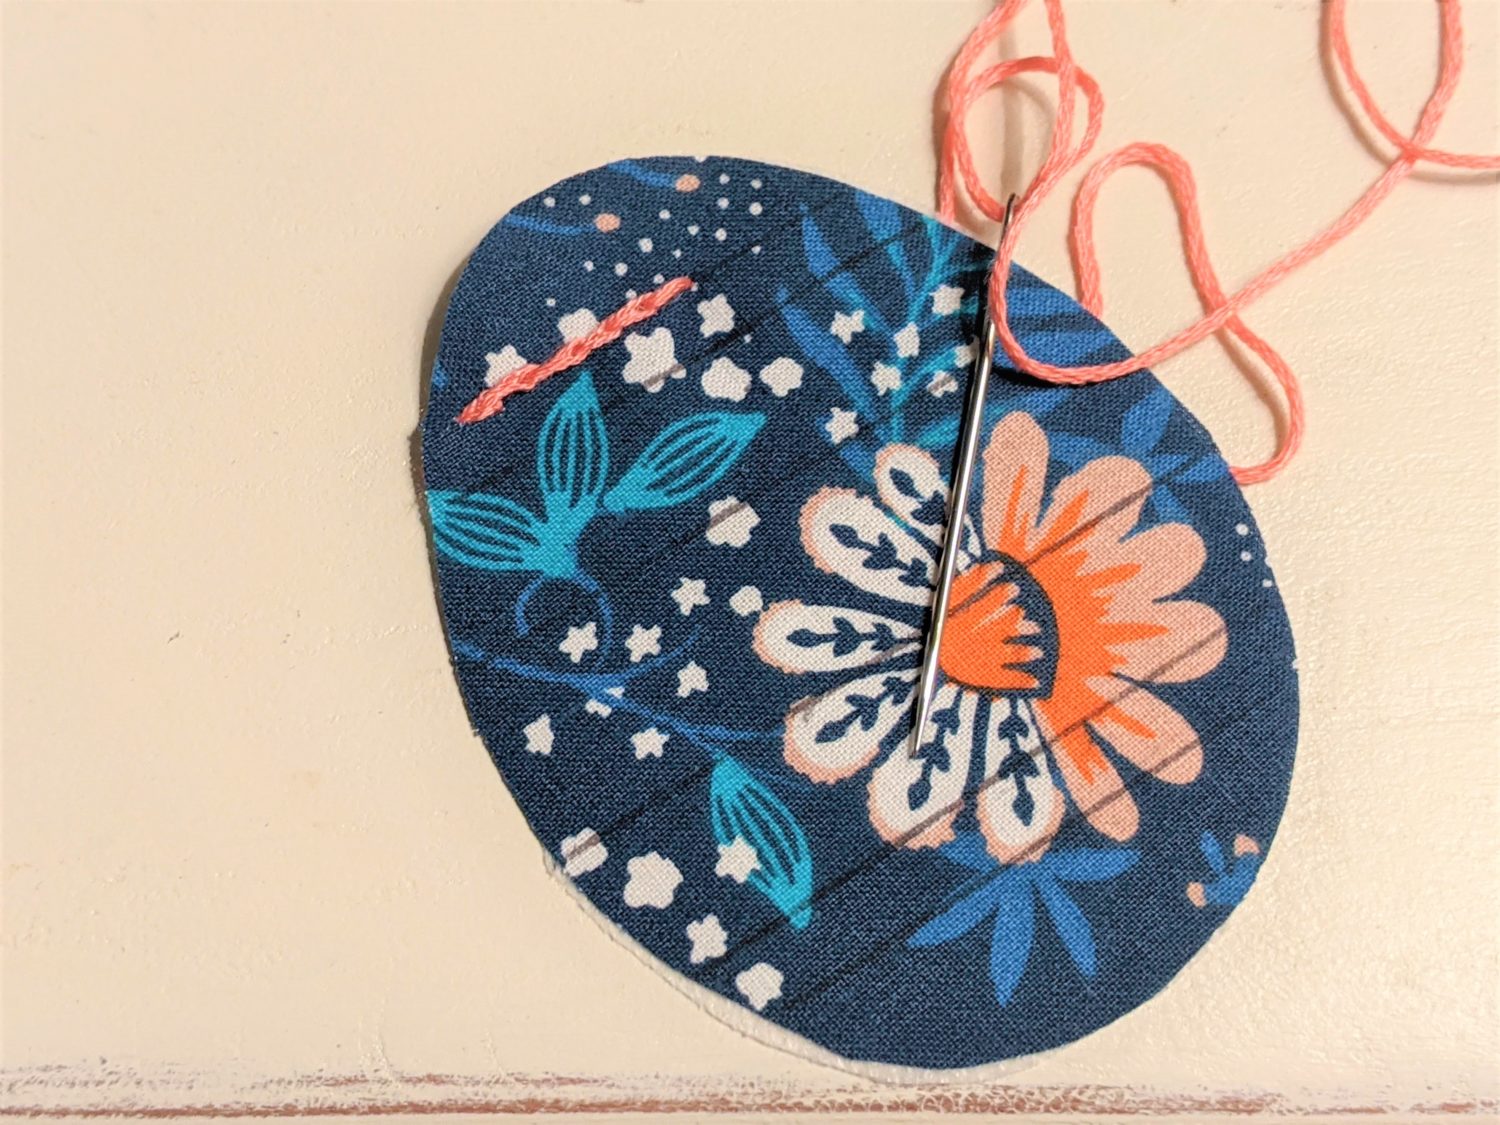
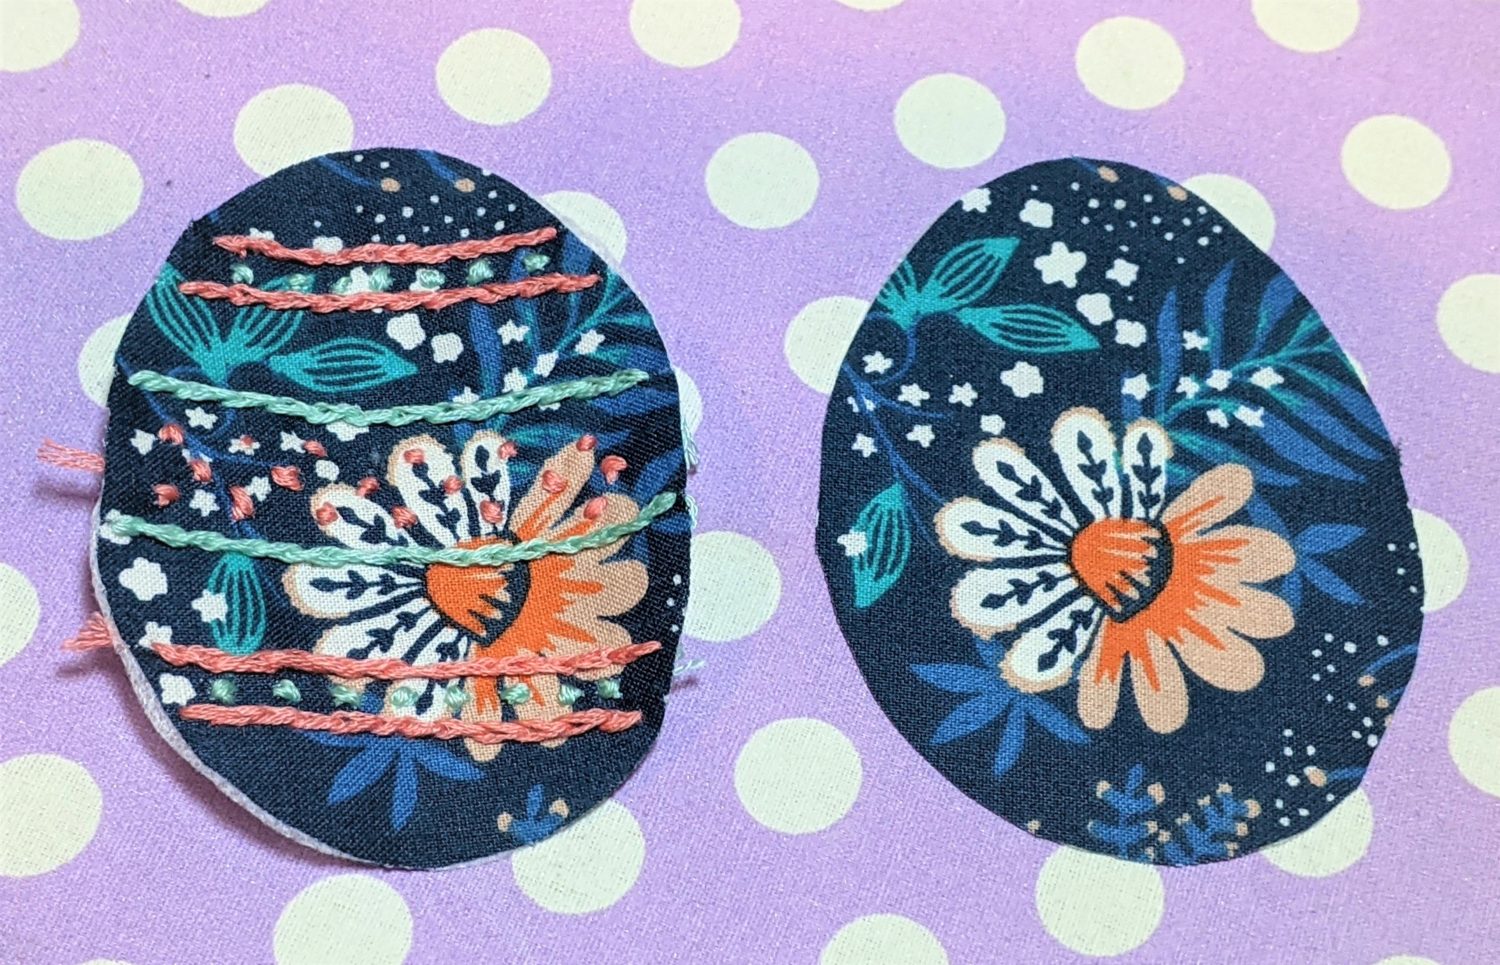
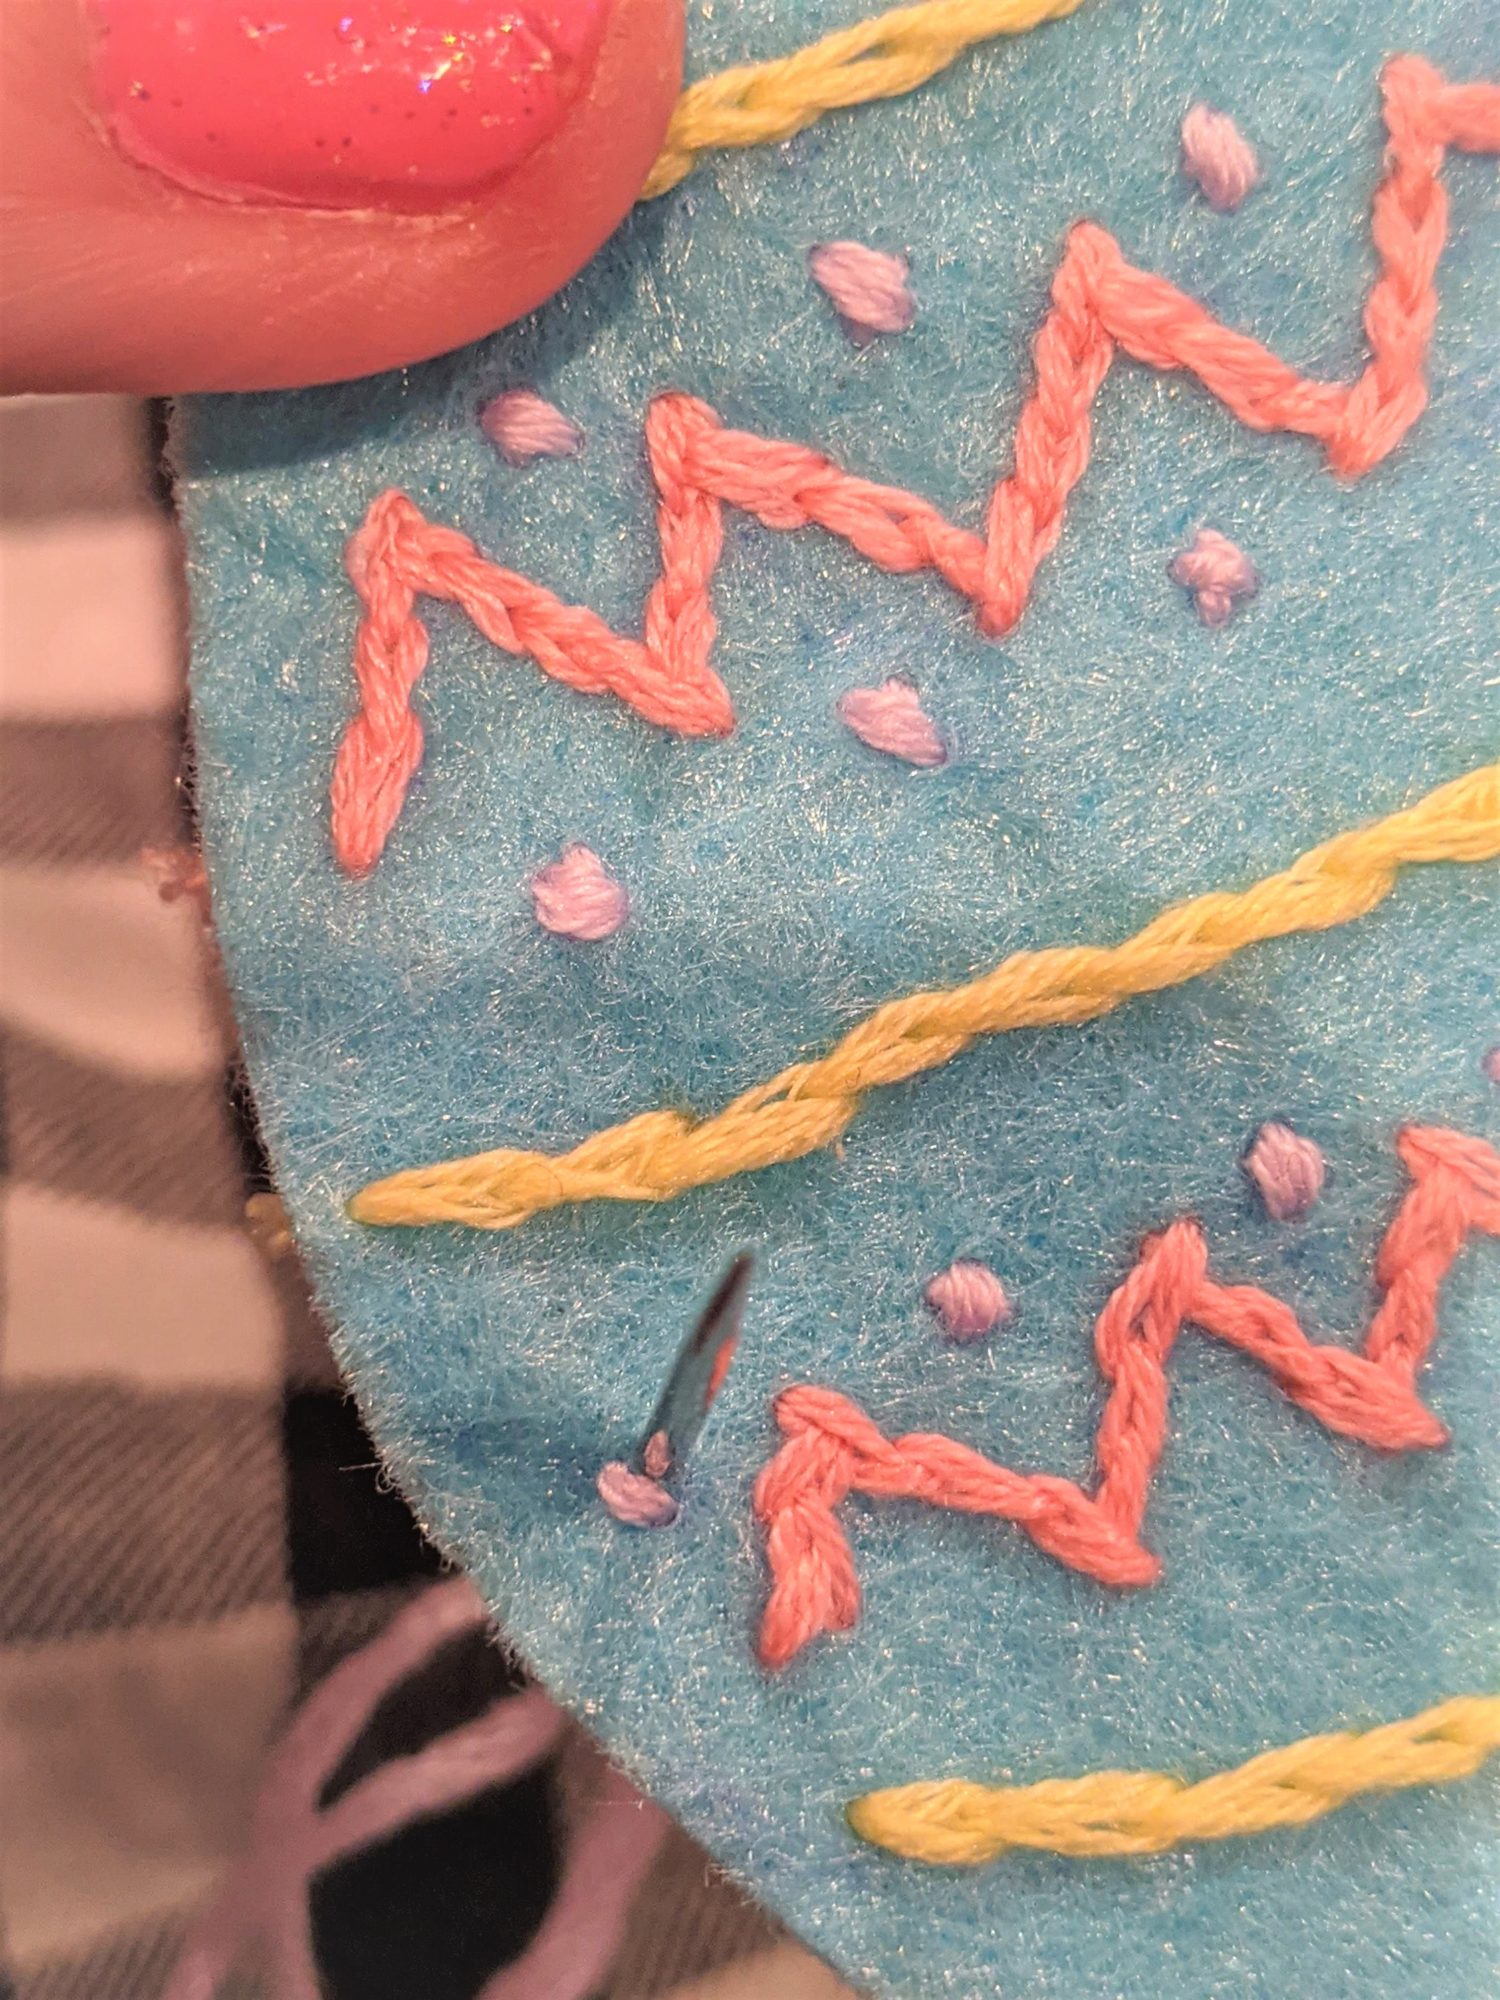
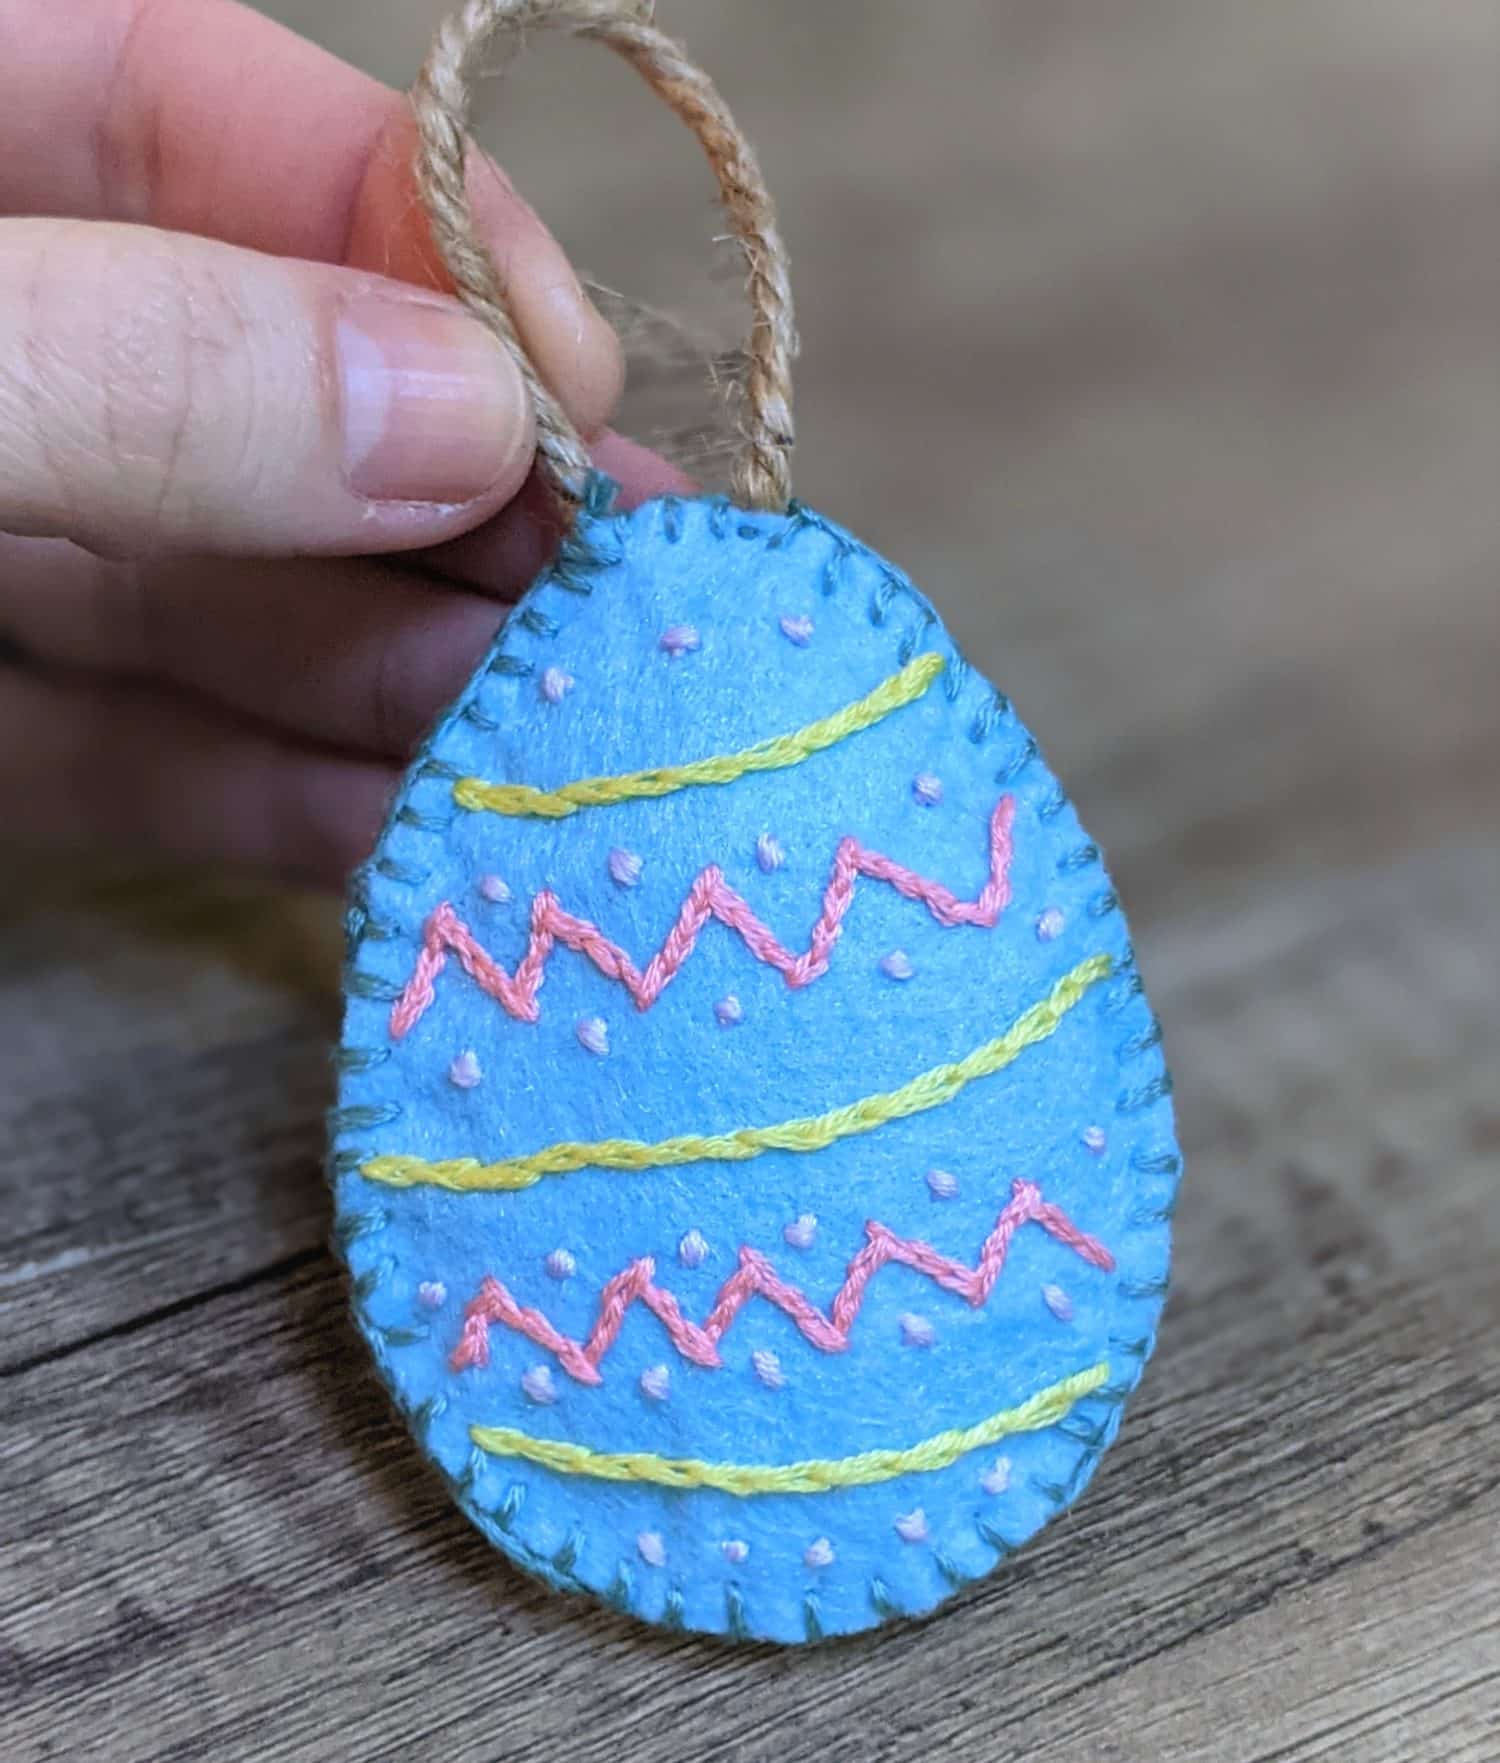
- Use a colorful variety of embroidery floss to sew decorative stitching onto your eggs.
- The stitches I used are a split stitch, a small x stitch, and a blanket stitch. For more instruction on these, you can see the blog post for the lovebirds pattern HERE.
- You can also use fabric paint, fabric pens, or use machine embroidering to decorate.
- Sketch out your decorating plan onto the eggs using an air or heat soluble pen.
- Use your chosen method of decorating to go over your sketch.
Split Stitch:
Push the needle up through the previous stitch 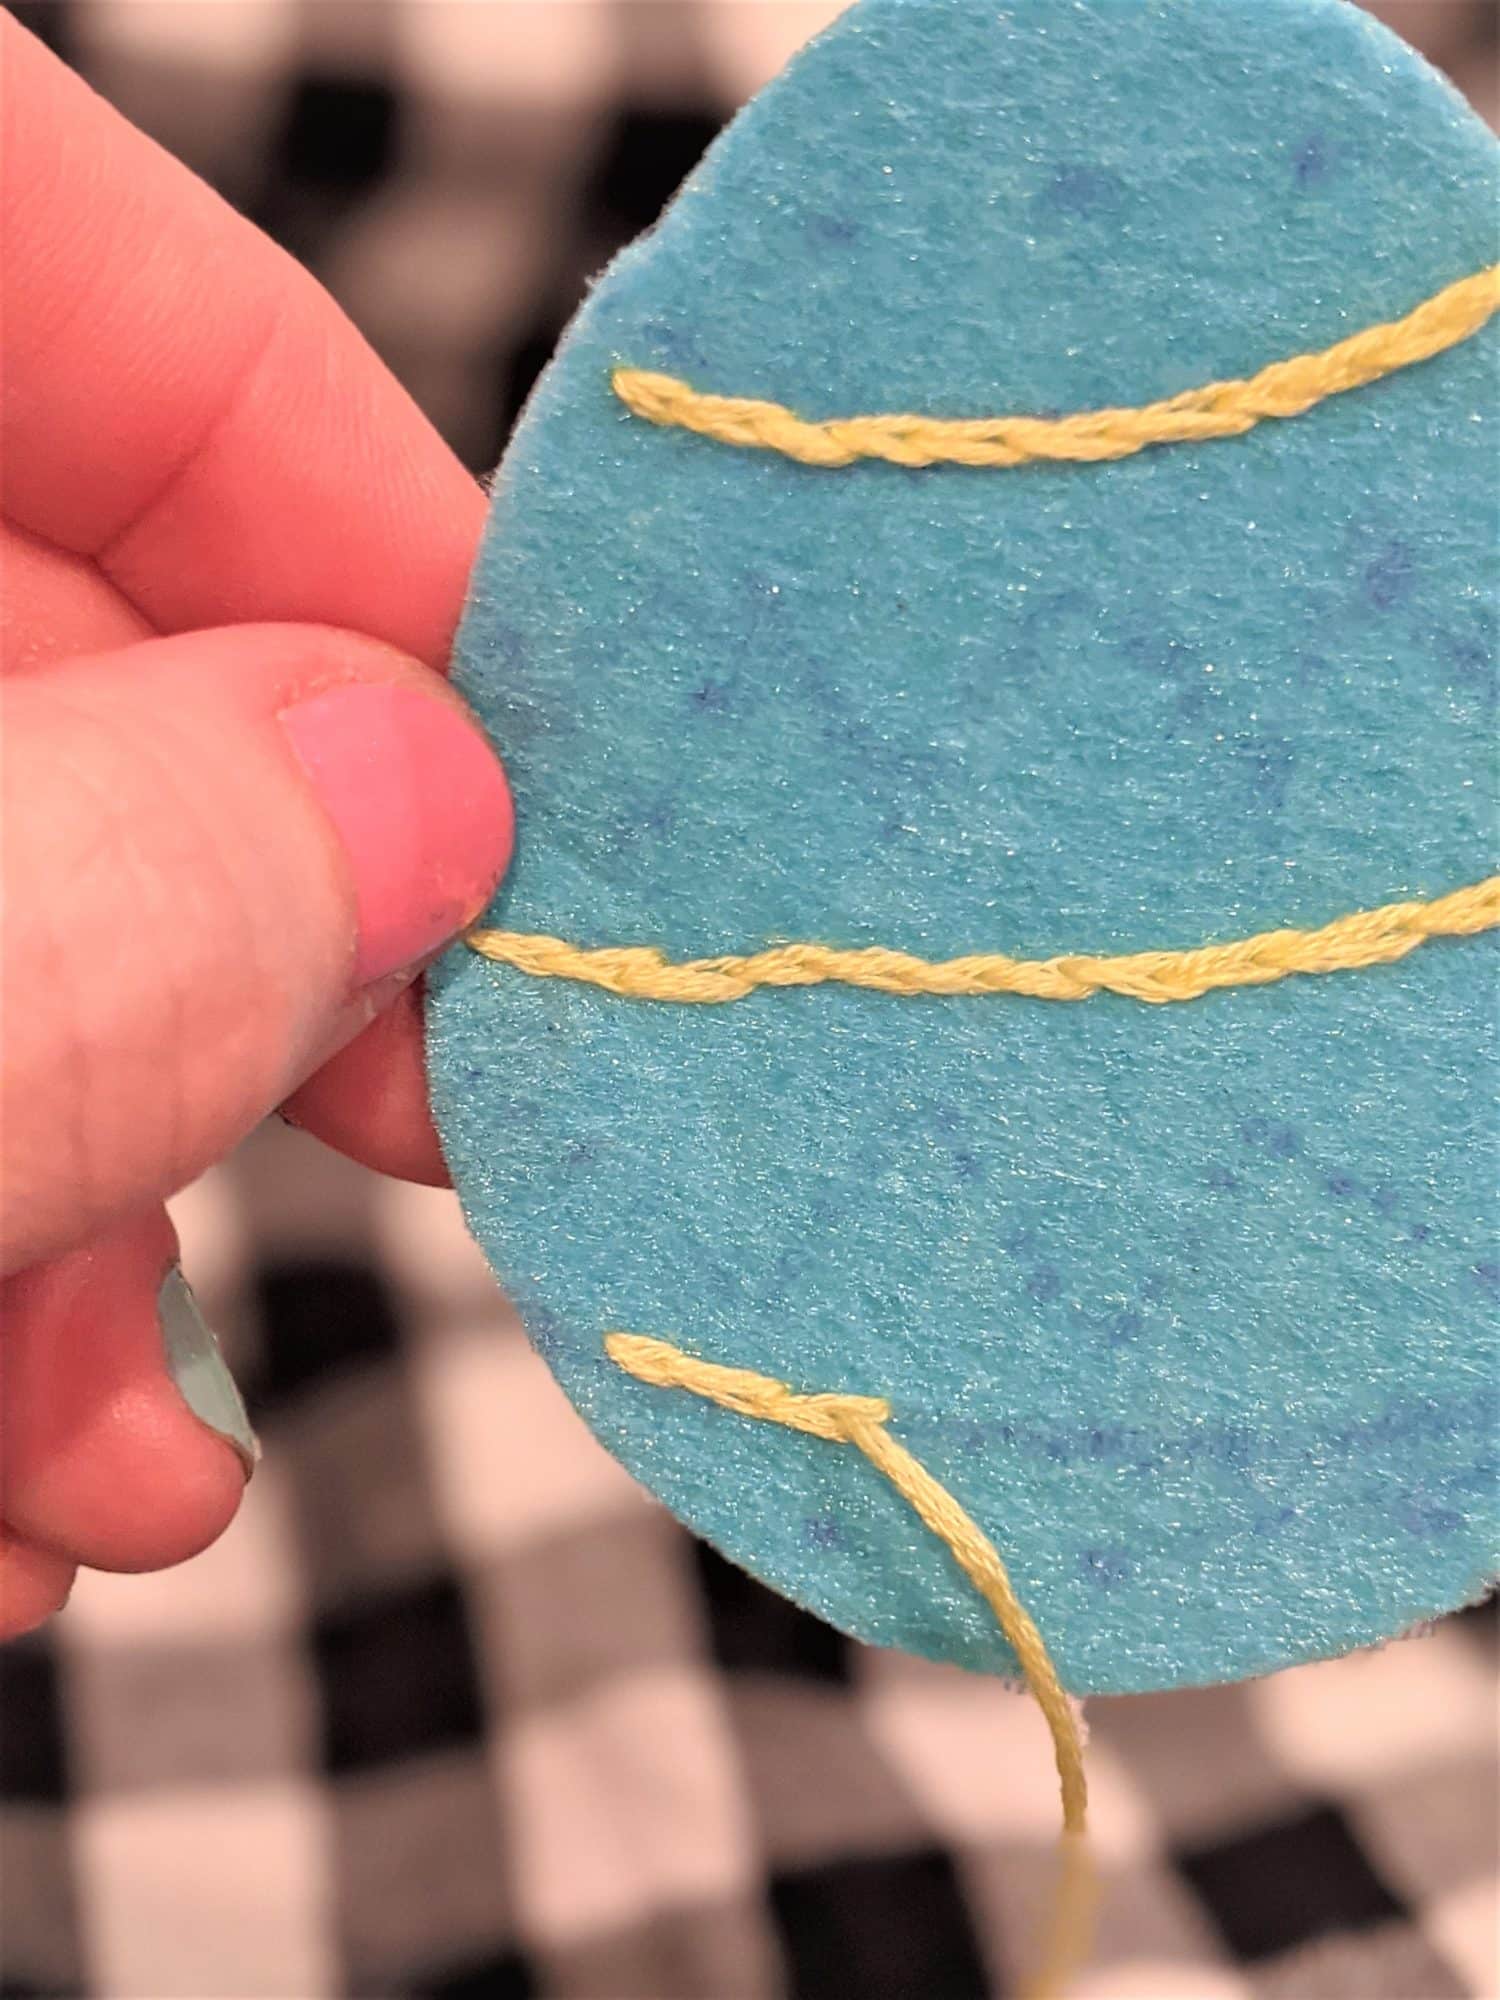
Pull thread through 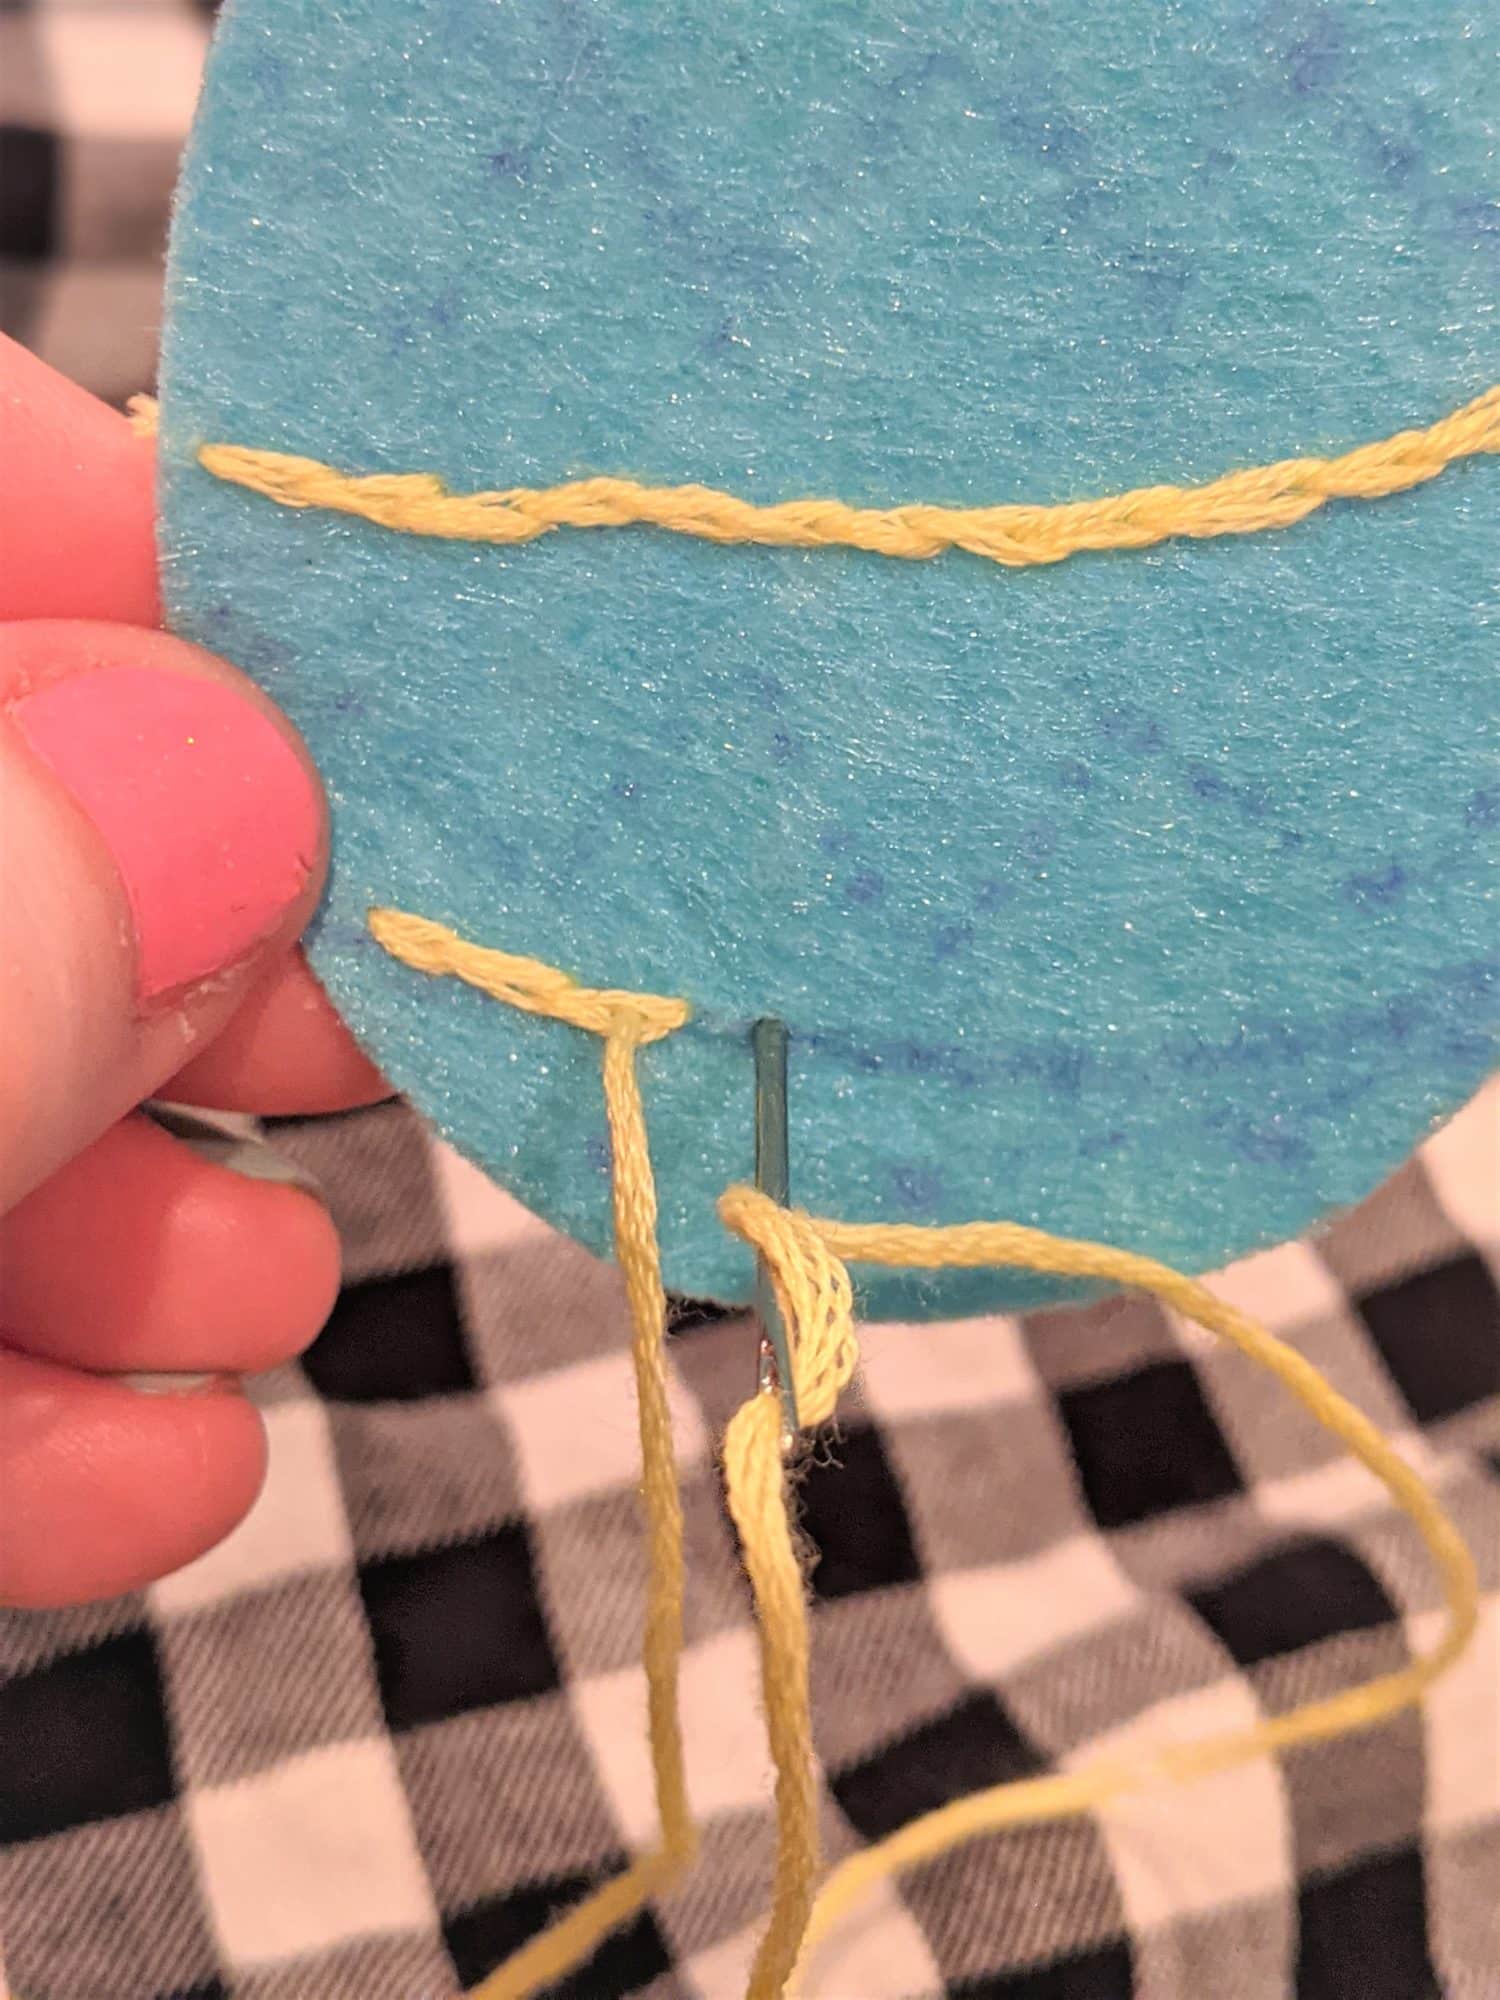
Push the needle back down to start next stitch
Small X Stitch:
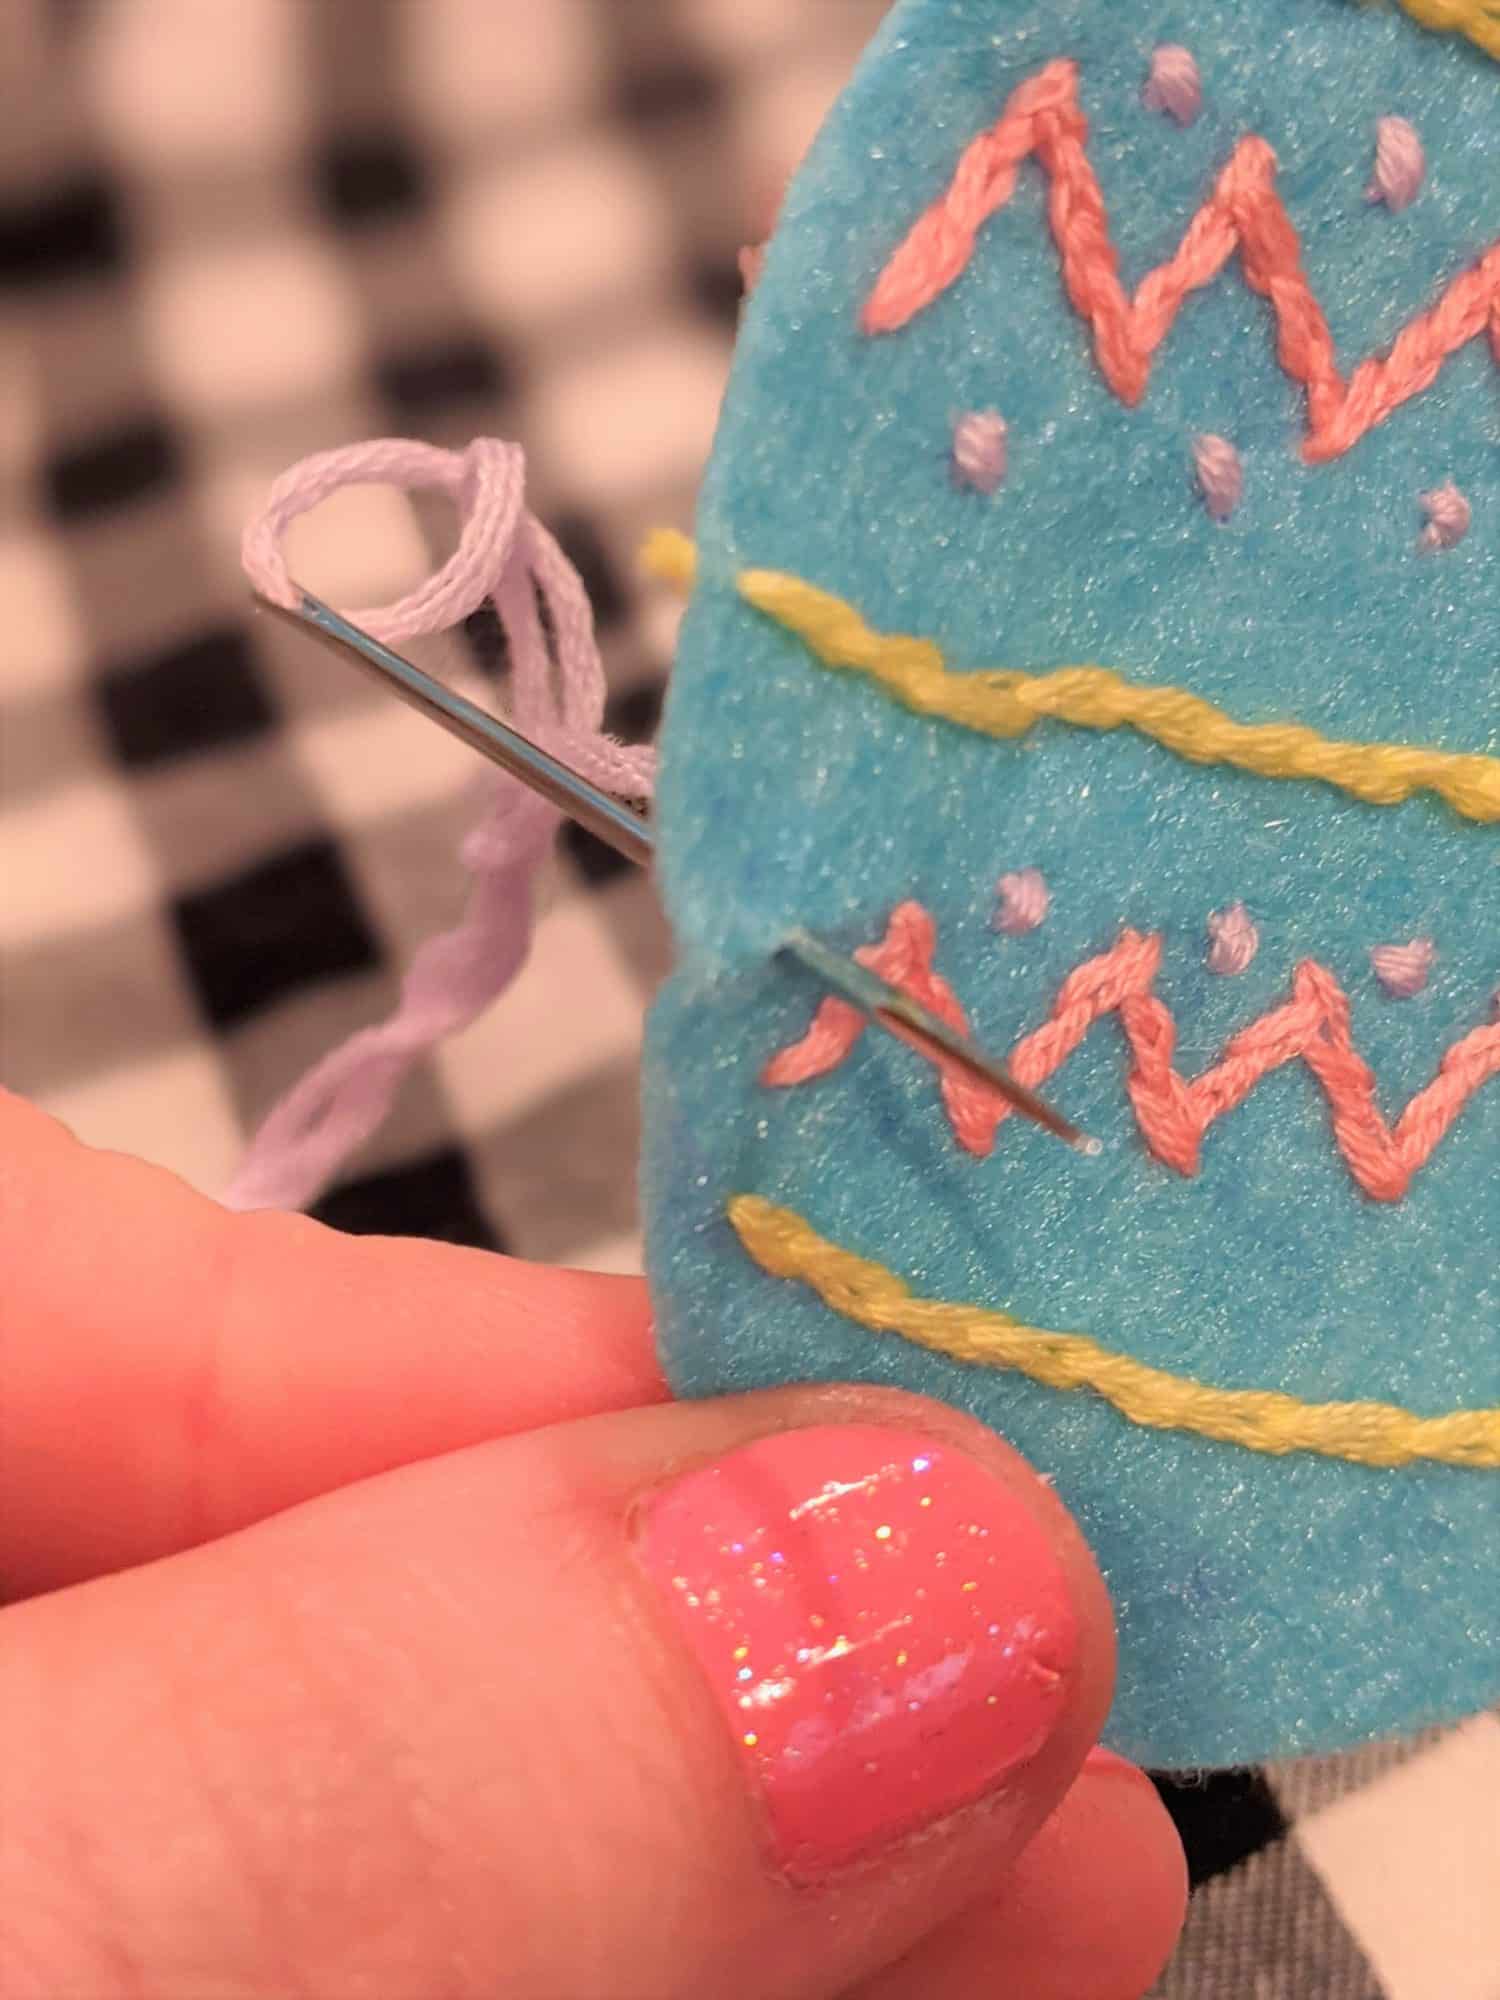
Push the needle through from the back 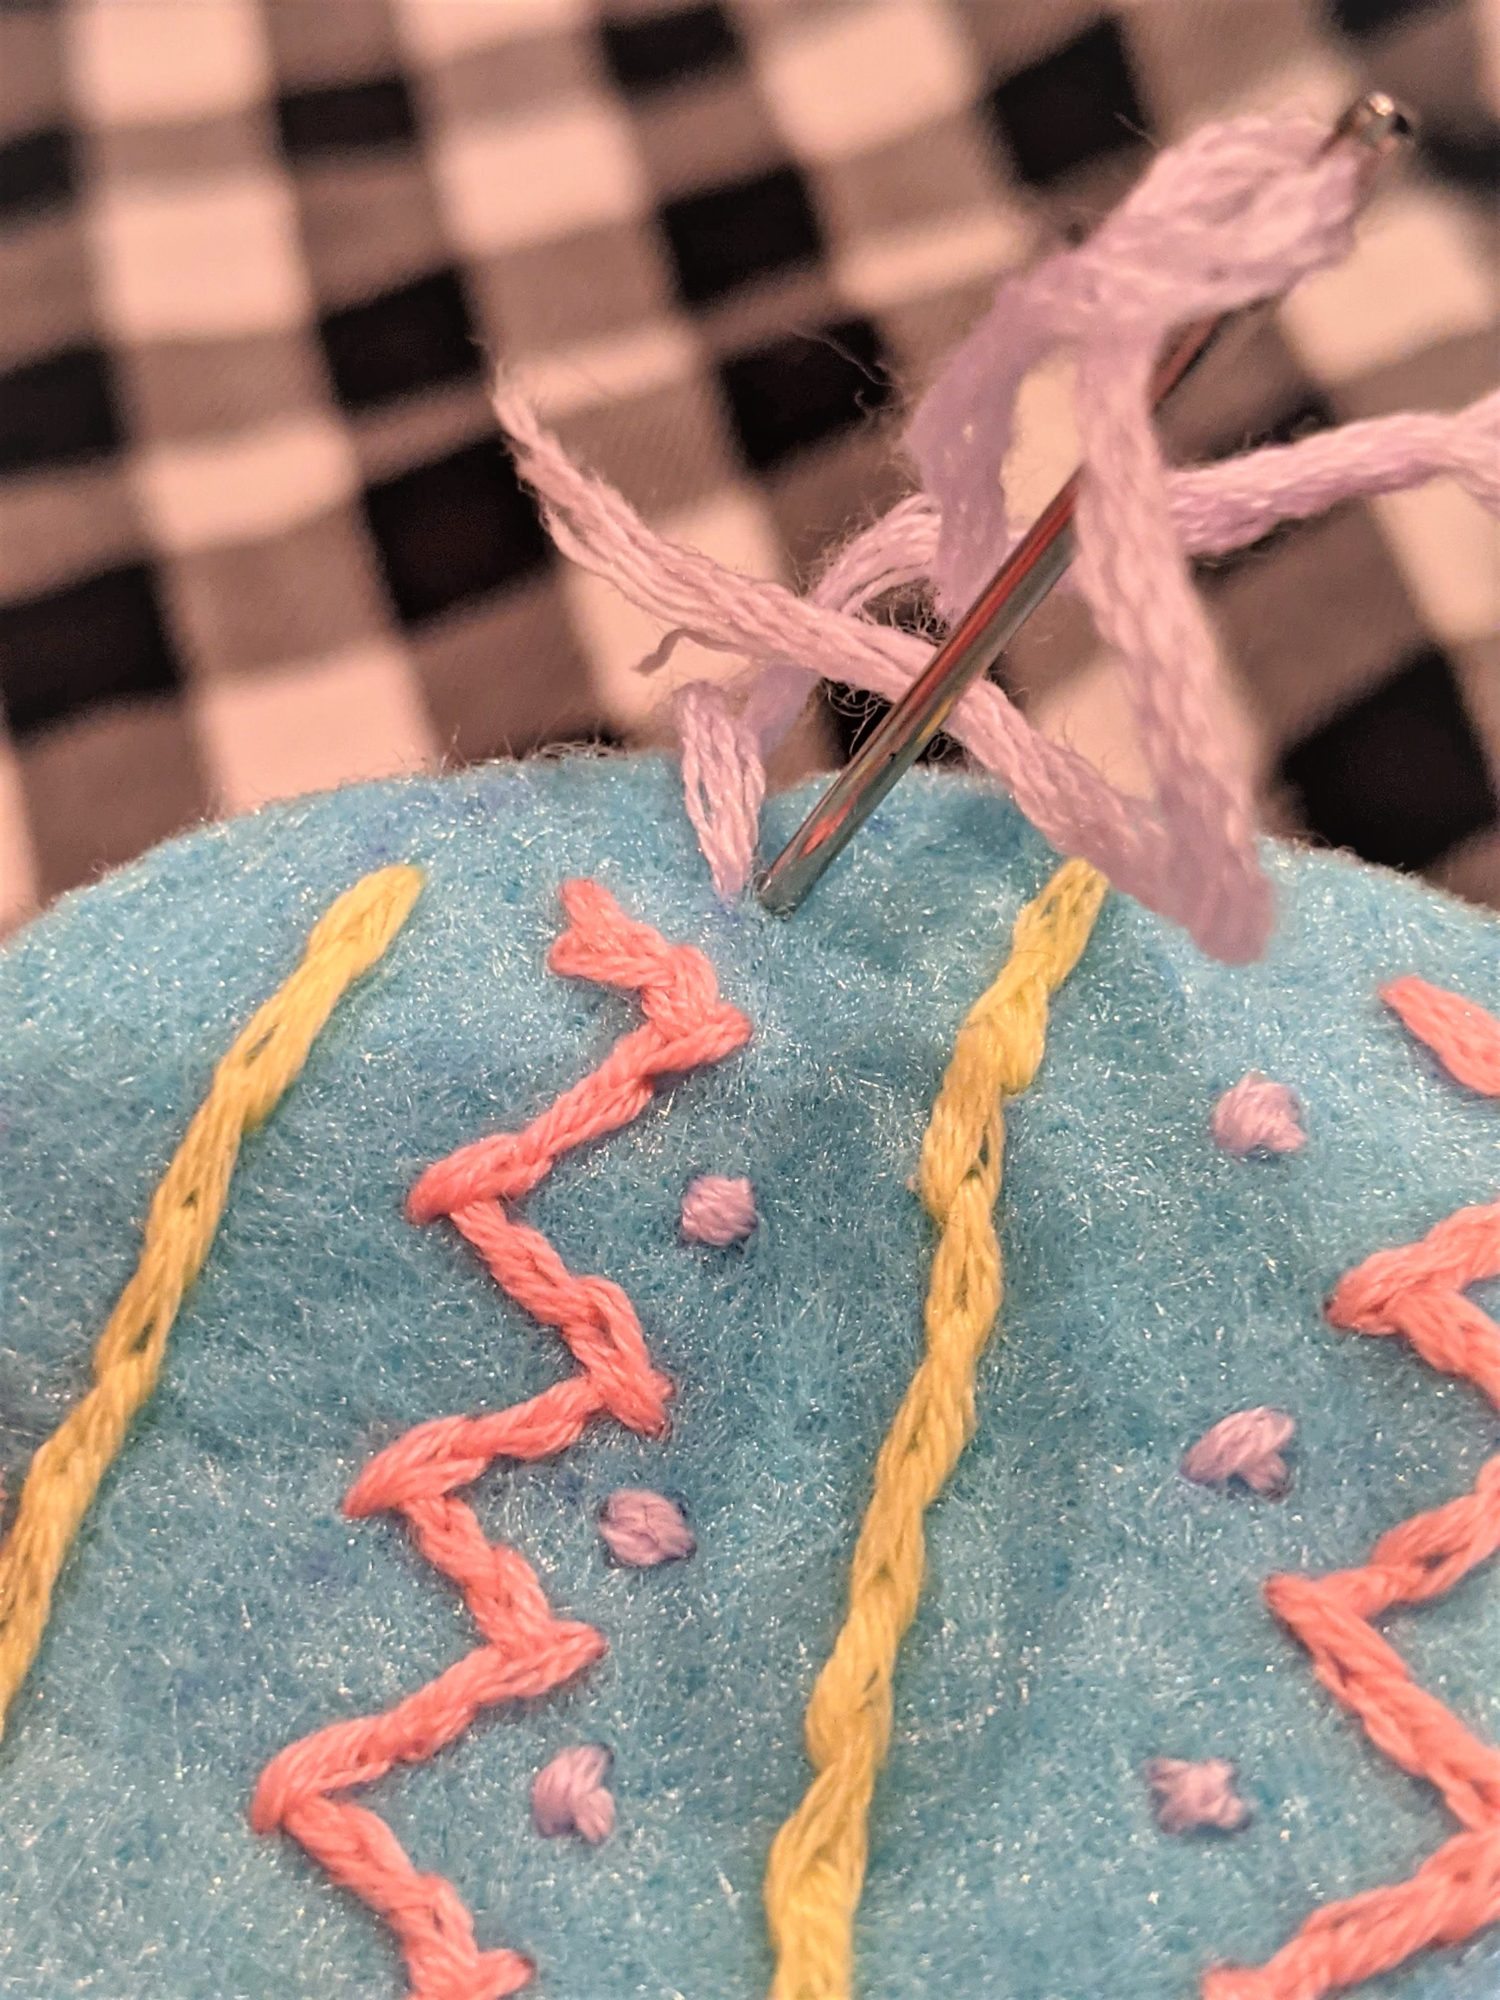
Insert the needle close to the previous sitch going from front to back
Bring the needle back up through the back next to the middle of the stitch 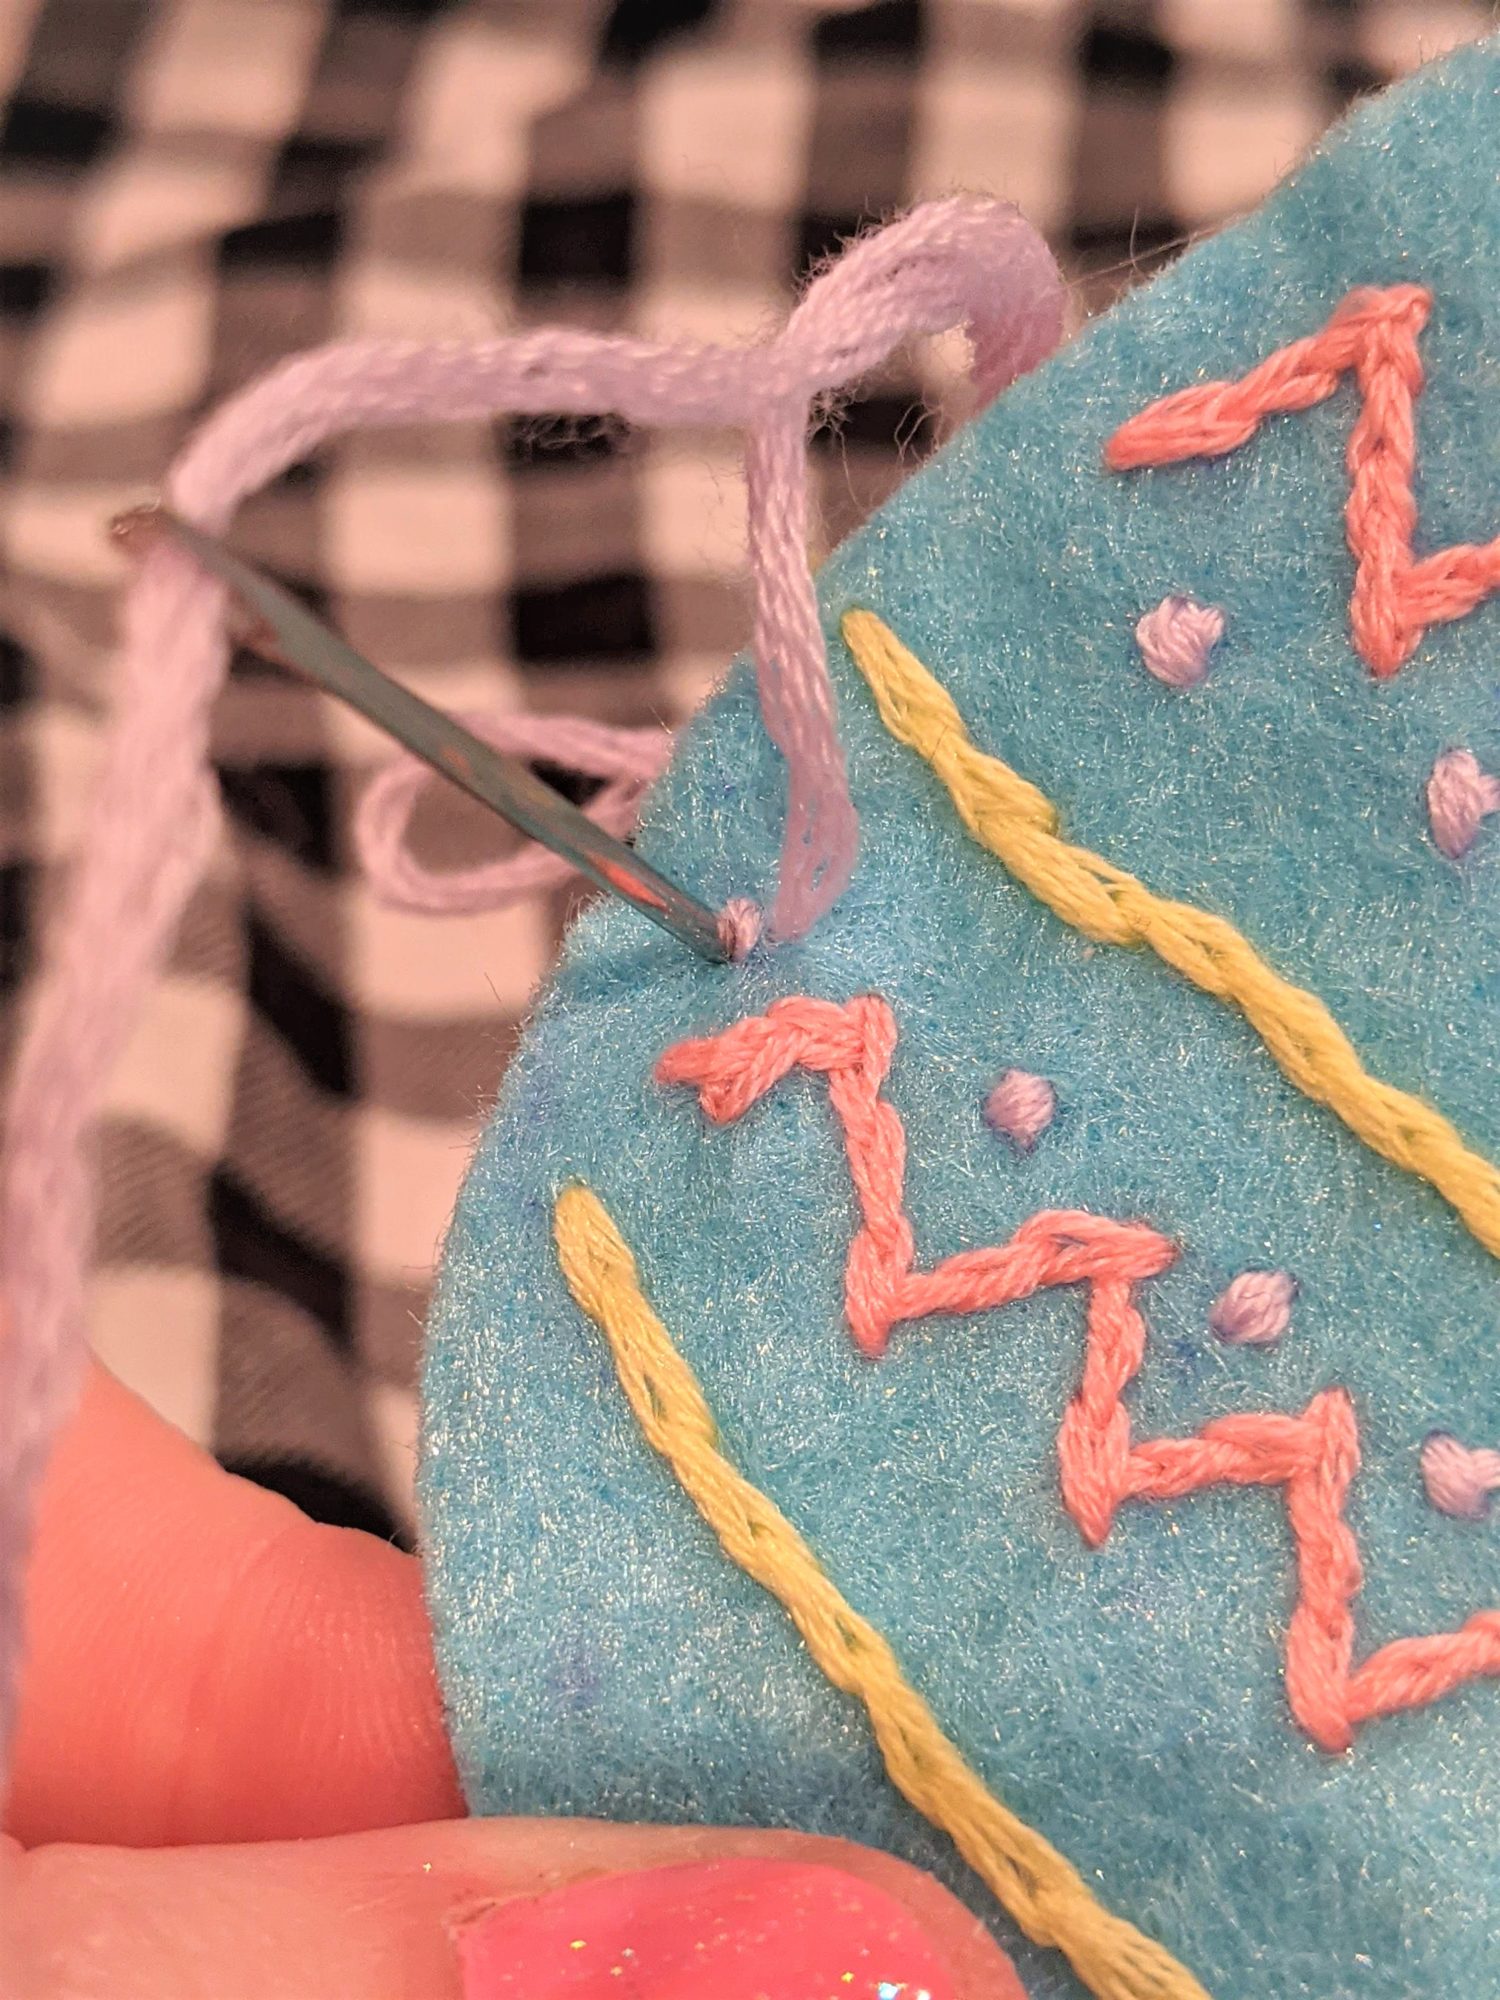
Cross over the stitch slide the needle back through right next to the stitch to create a small X or dot
After Decorating
Fabric eggs:
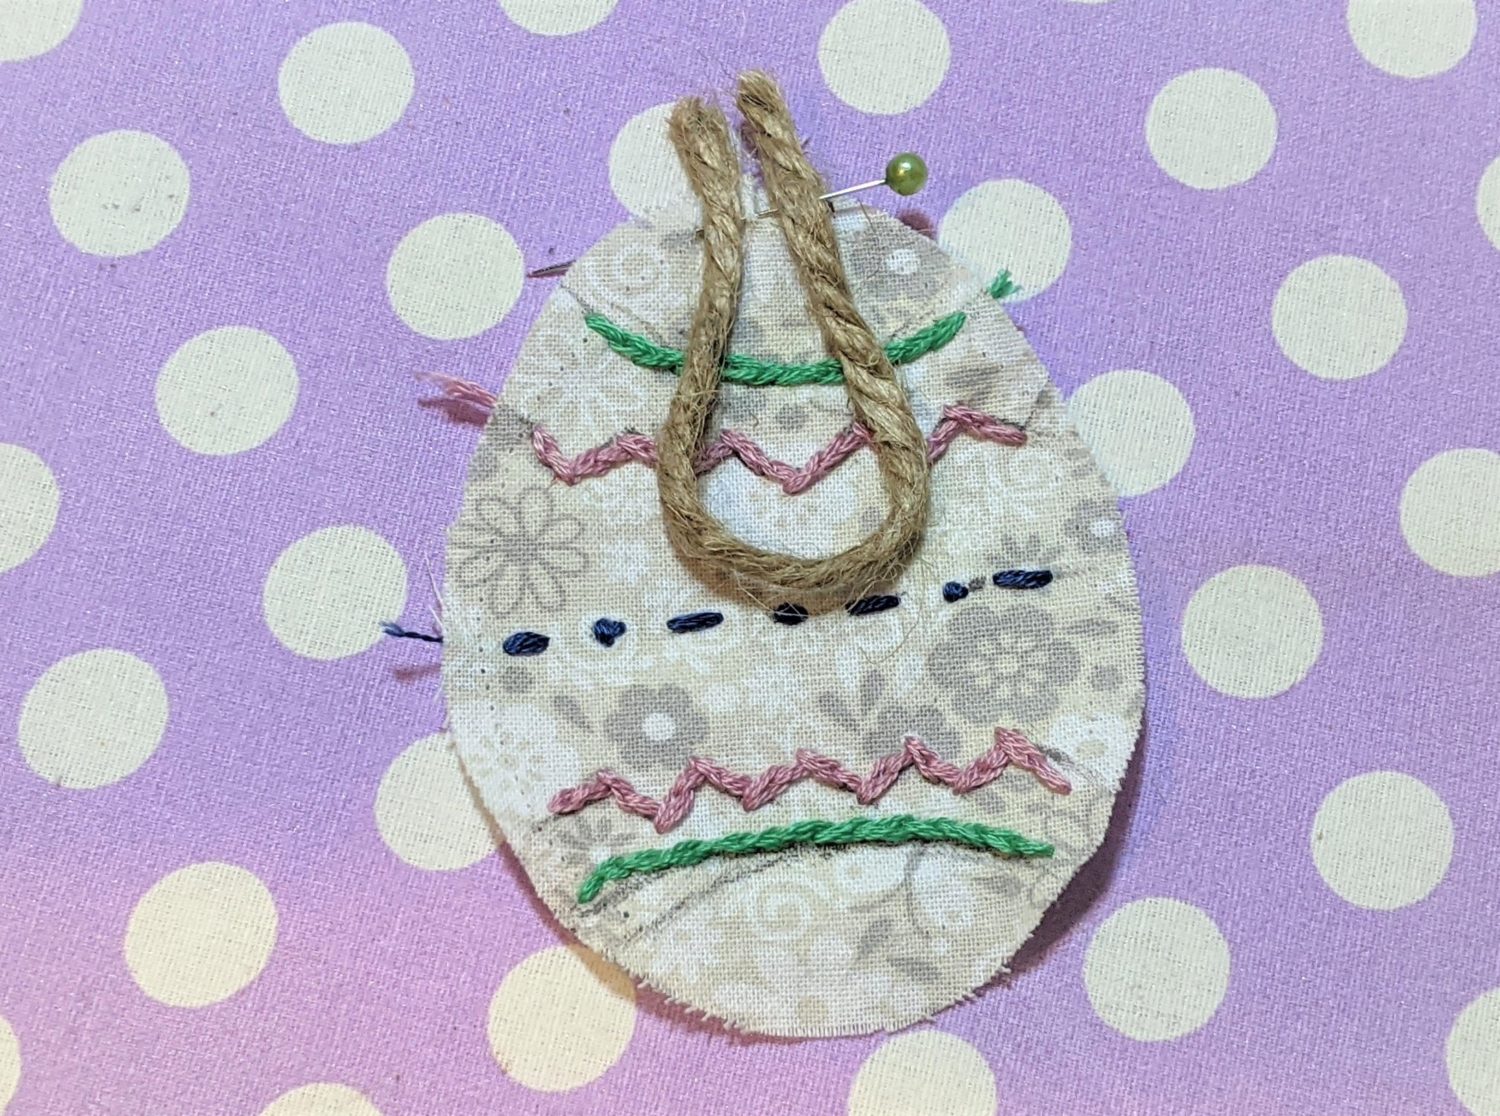
- Take your twine or string and make a small loop.
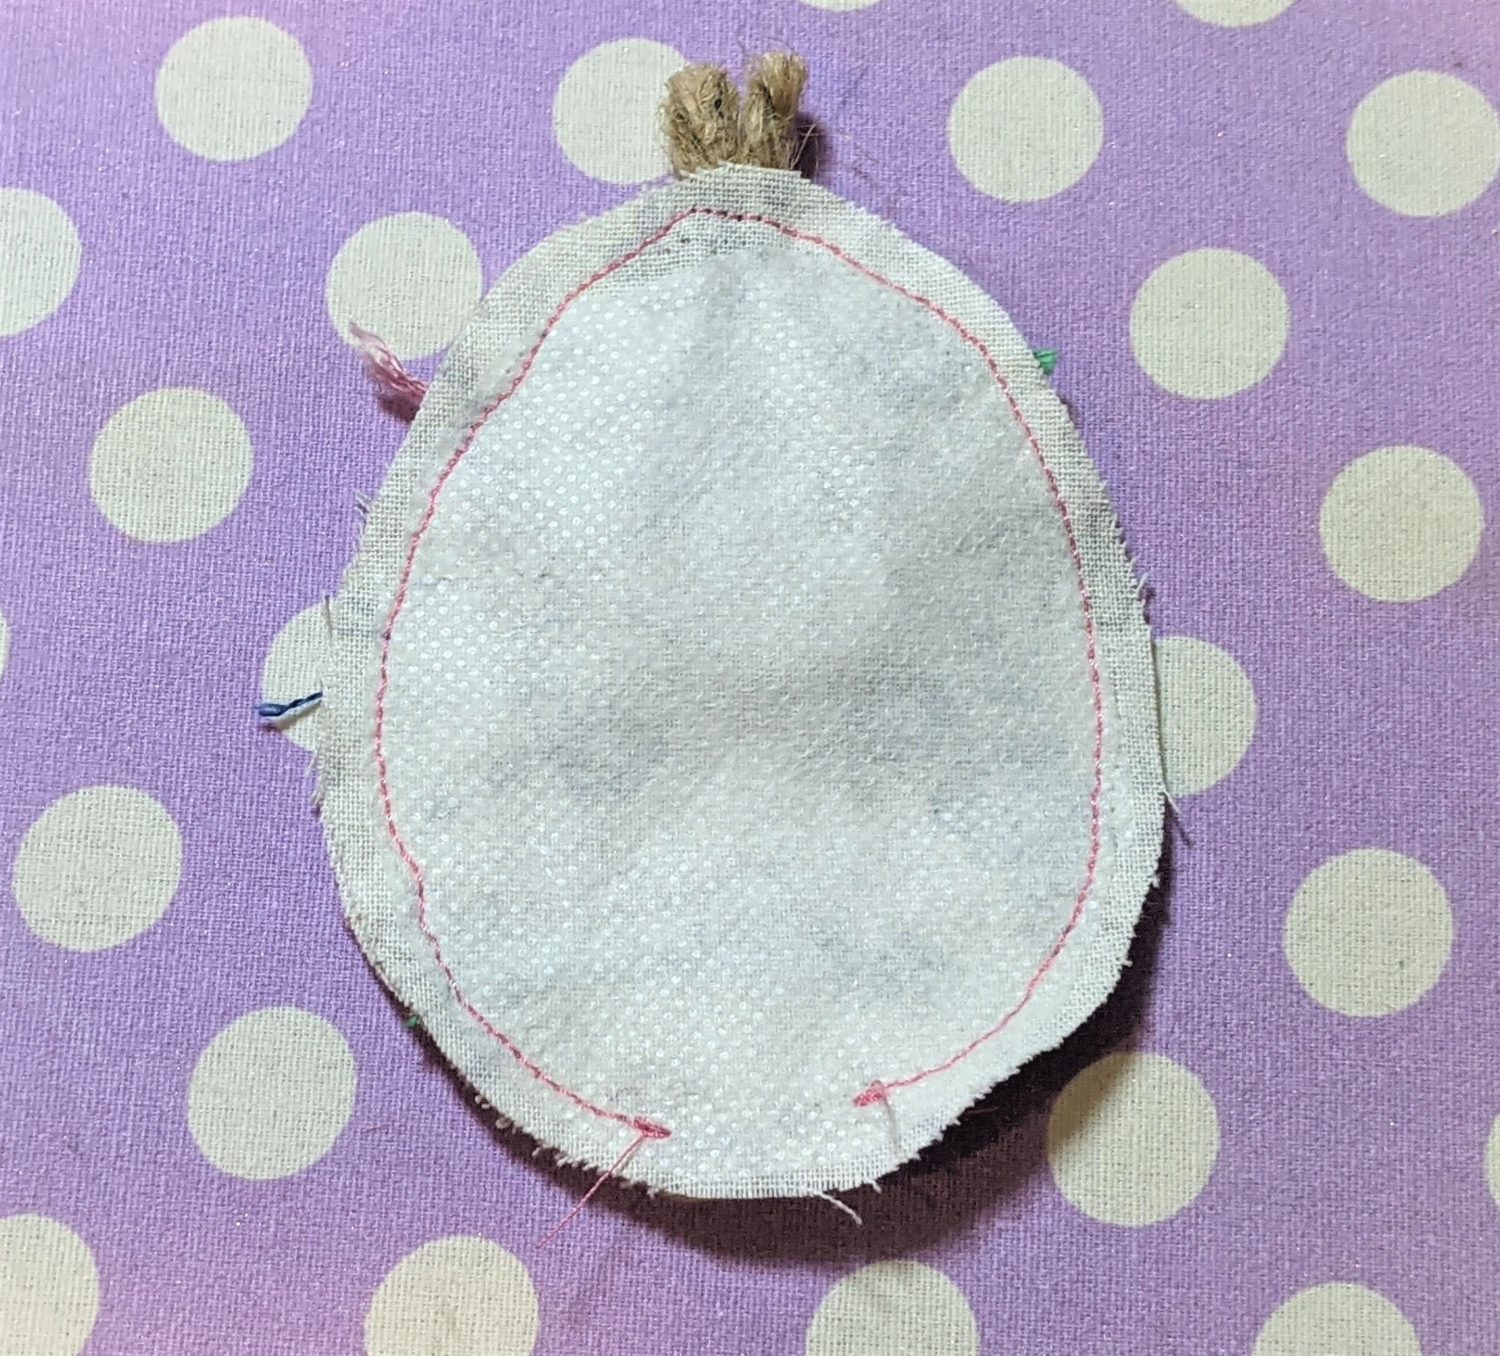
- With the loop facing down and the loose ends sticking up a little past the top of the egg, pin the twine in place on the right side of the egg.
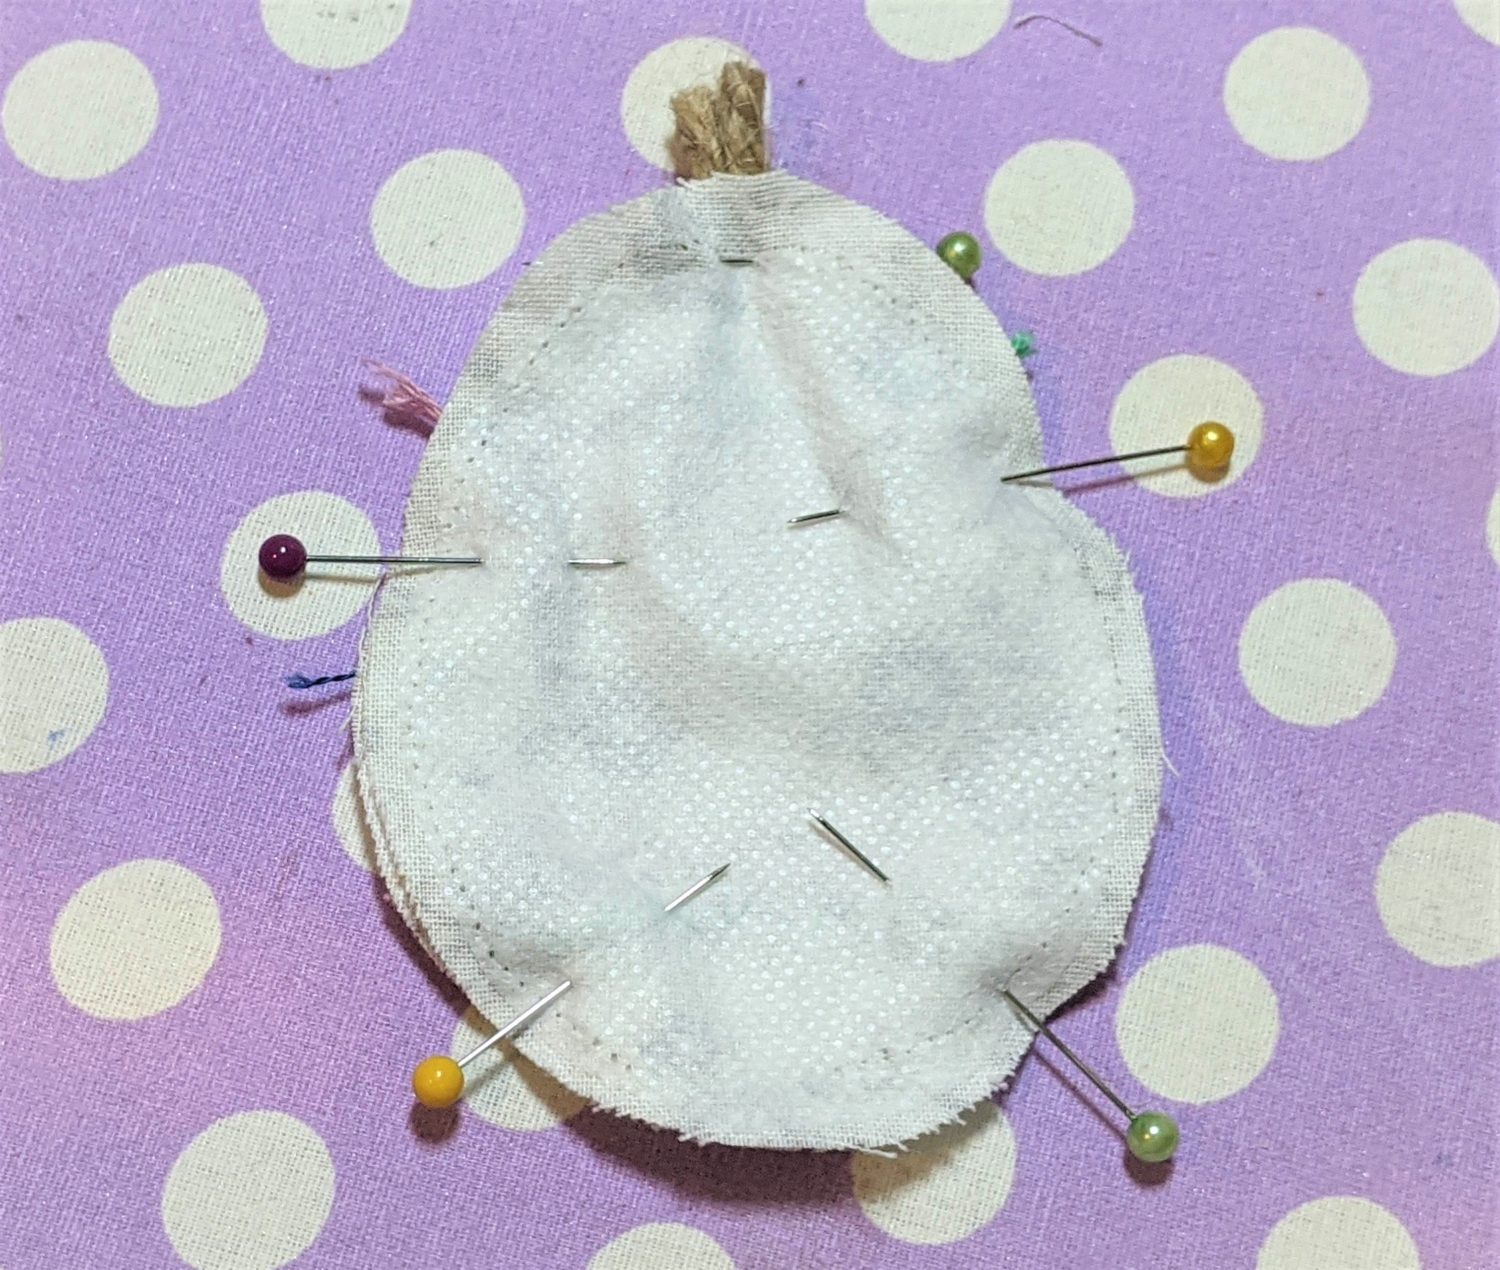
- Lay the other side of your egg ontop of the decorated piece and pin along the edges.
- Sew along the outer edge of the egg with a 1/4″ seam allowance leaving an opening near the bottom to turn right side out. Backstitch at the beginning and end of the stitching.
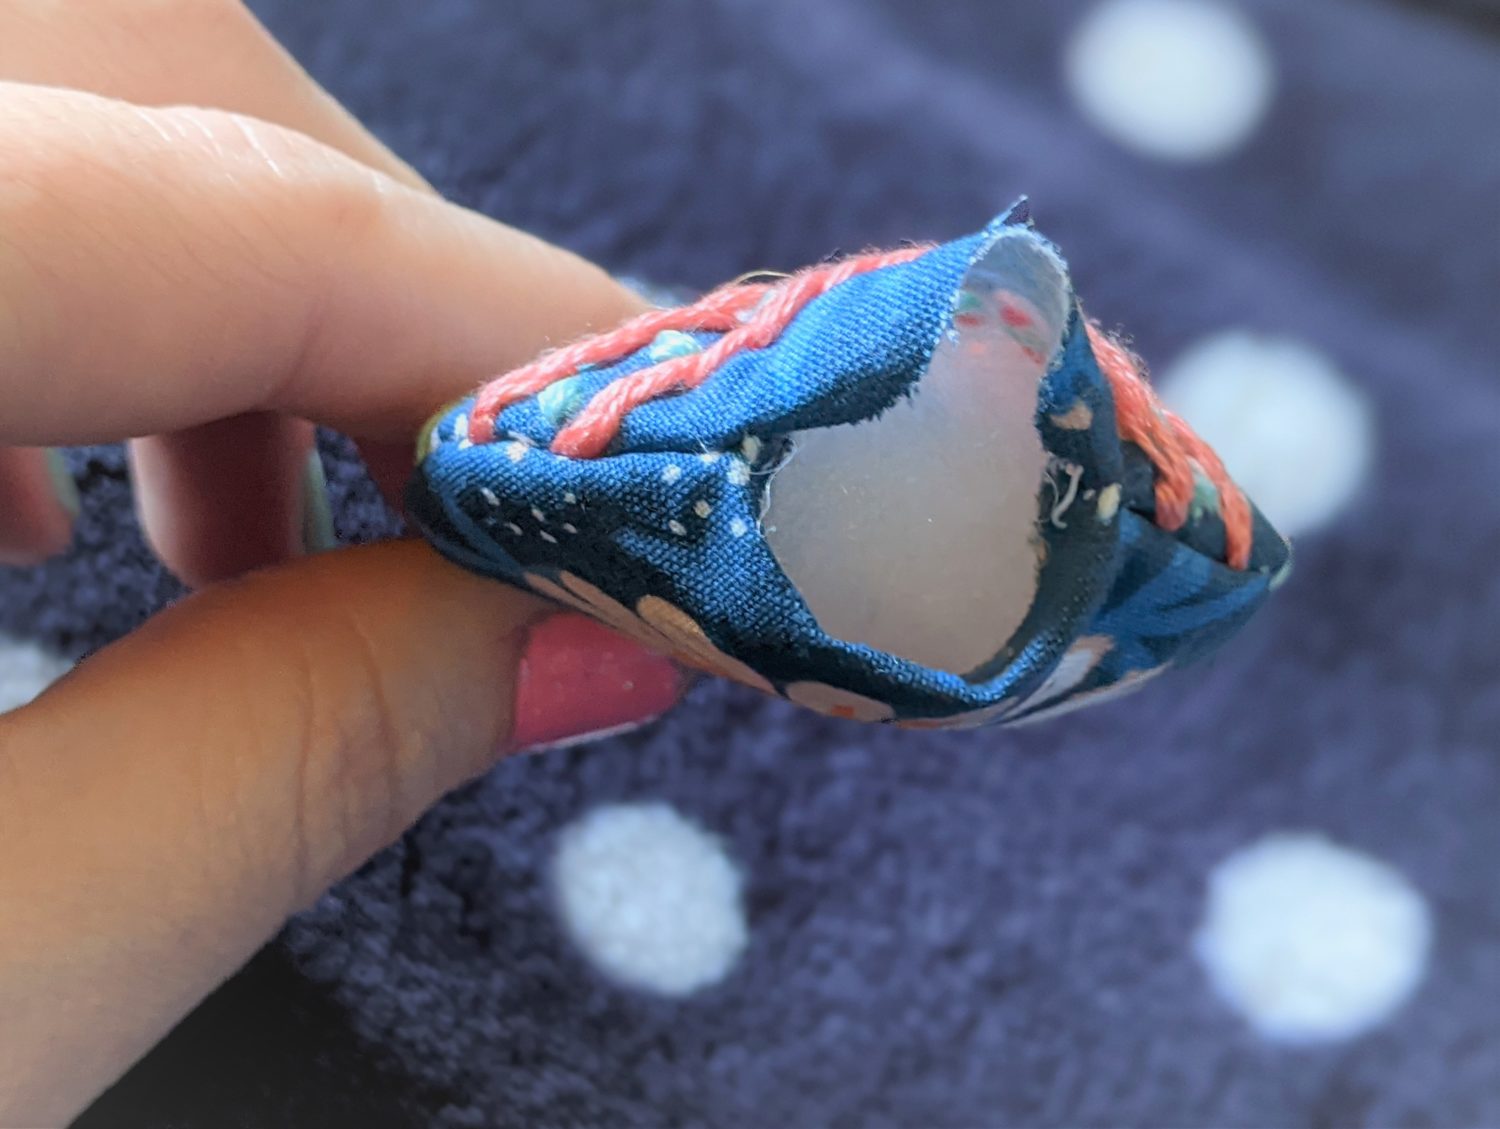
- Turn the egg right side out.
- Fill with stuffing.
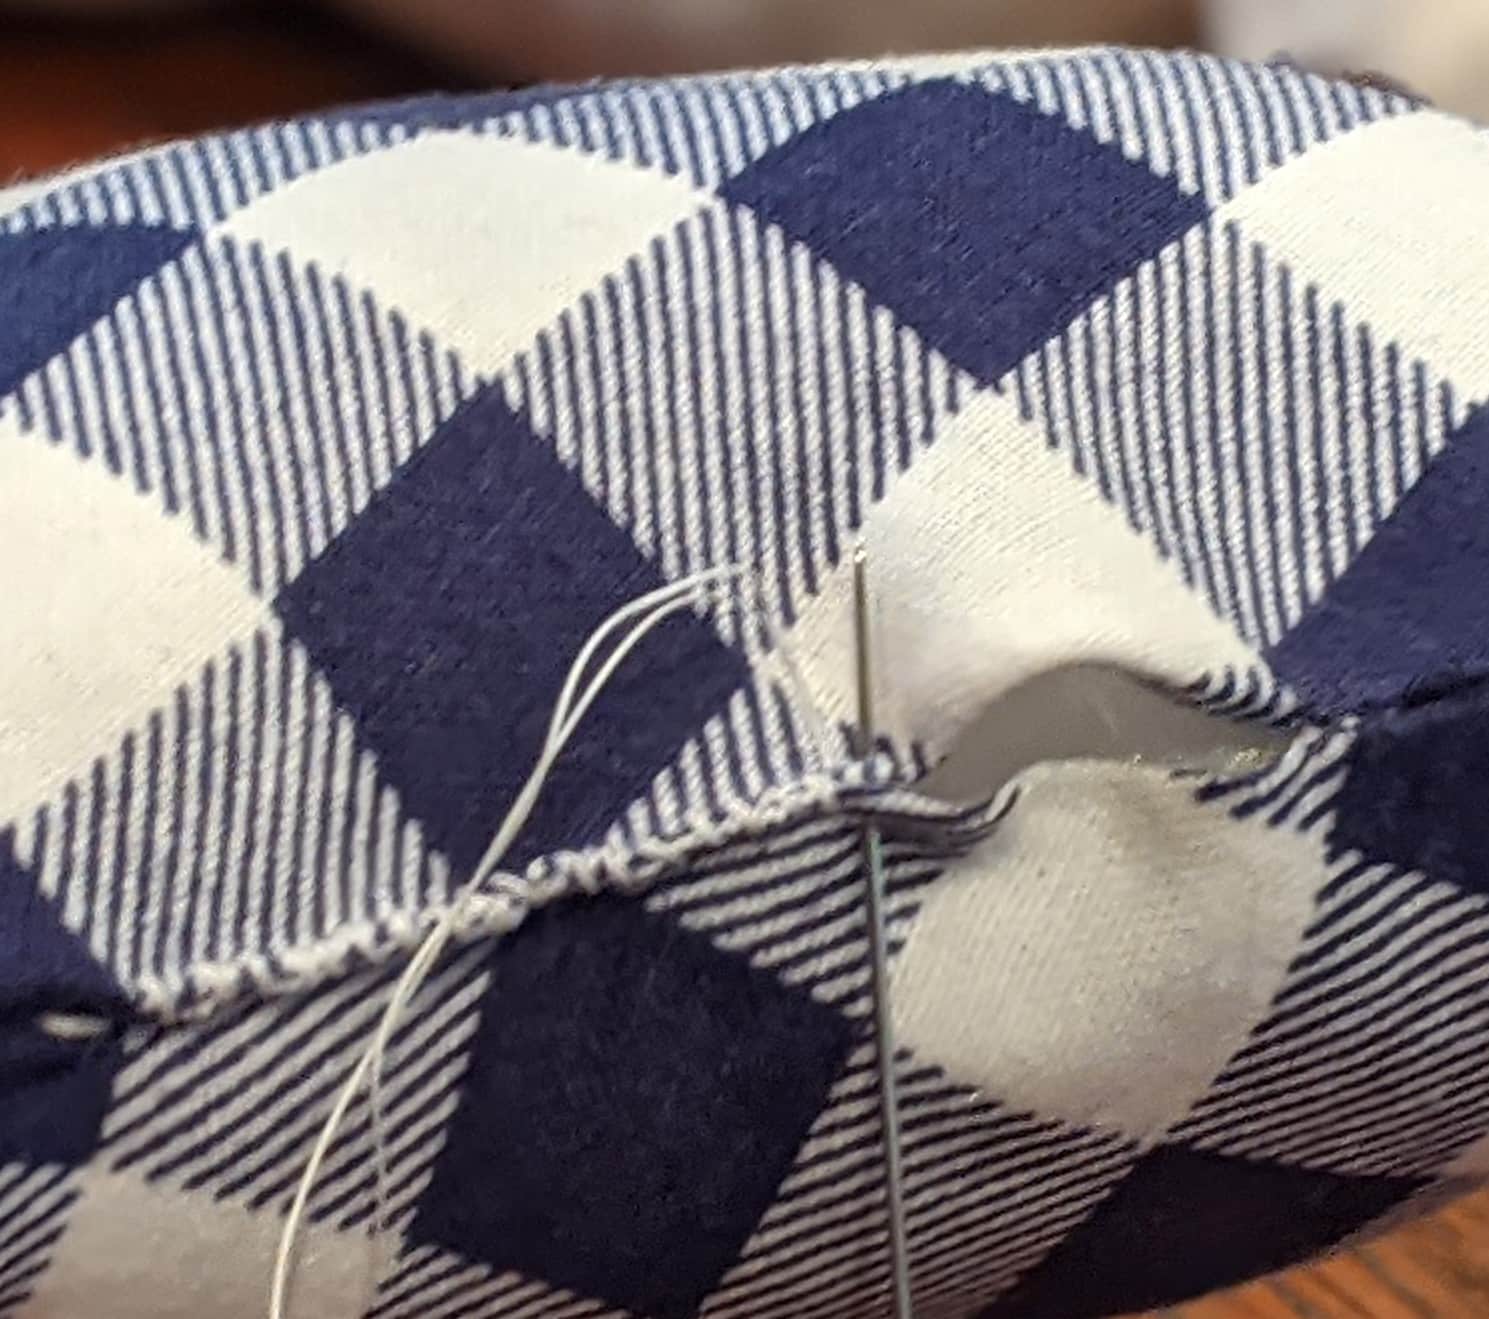
- Fold in the edges of the opening and use a small whip stitch and coordinating thread to close.
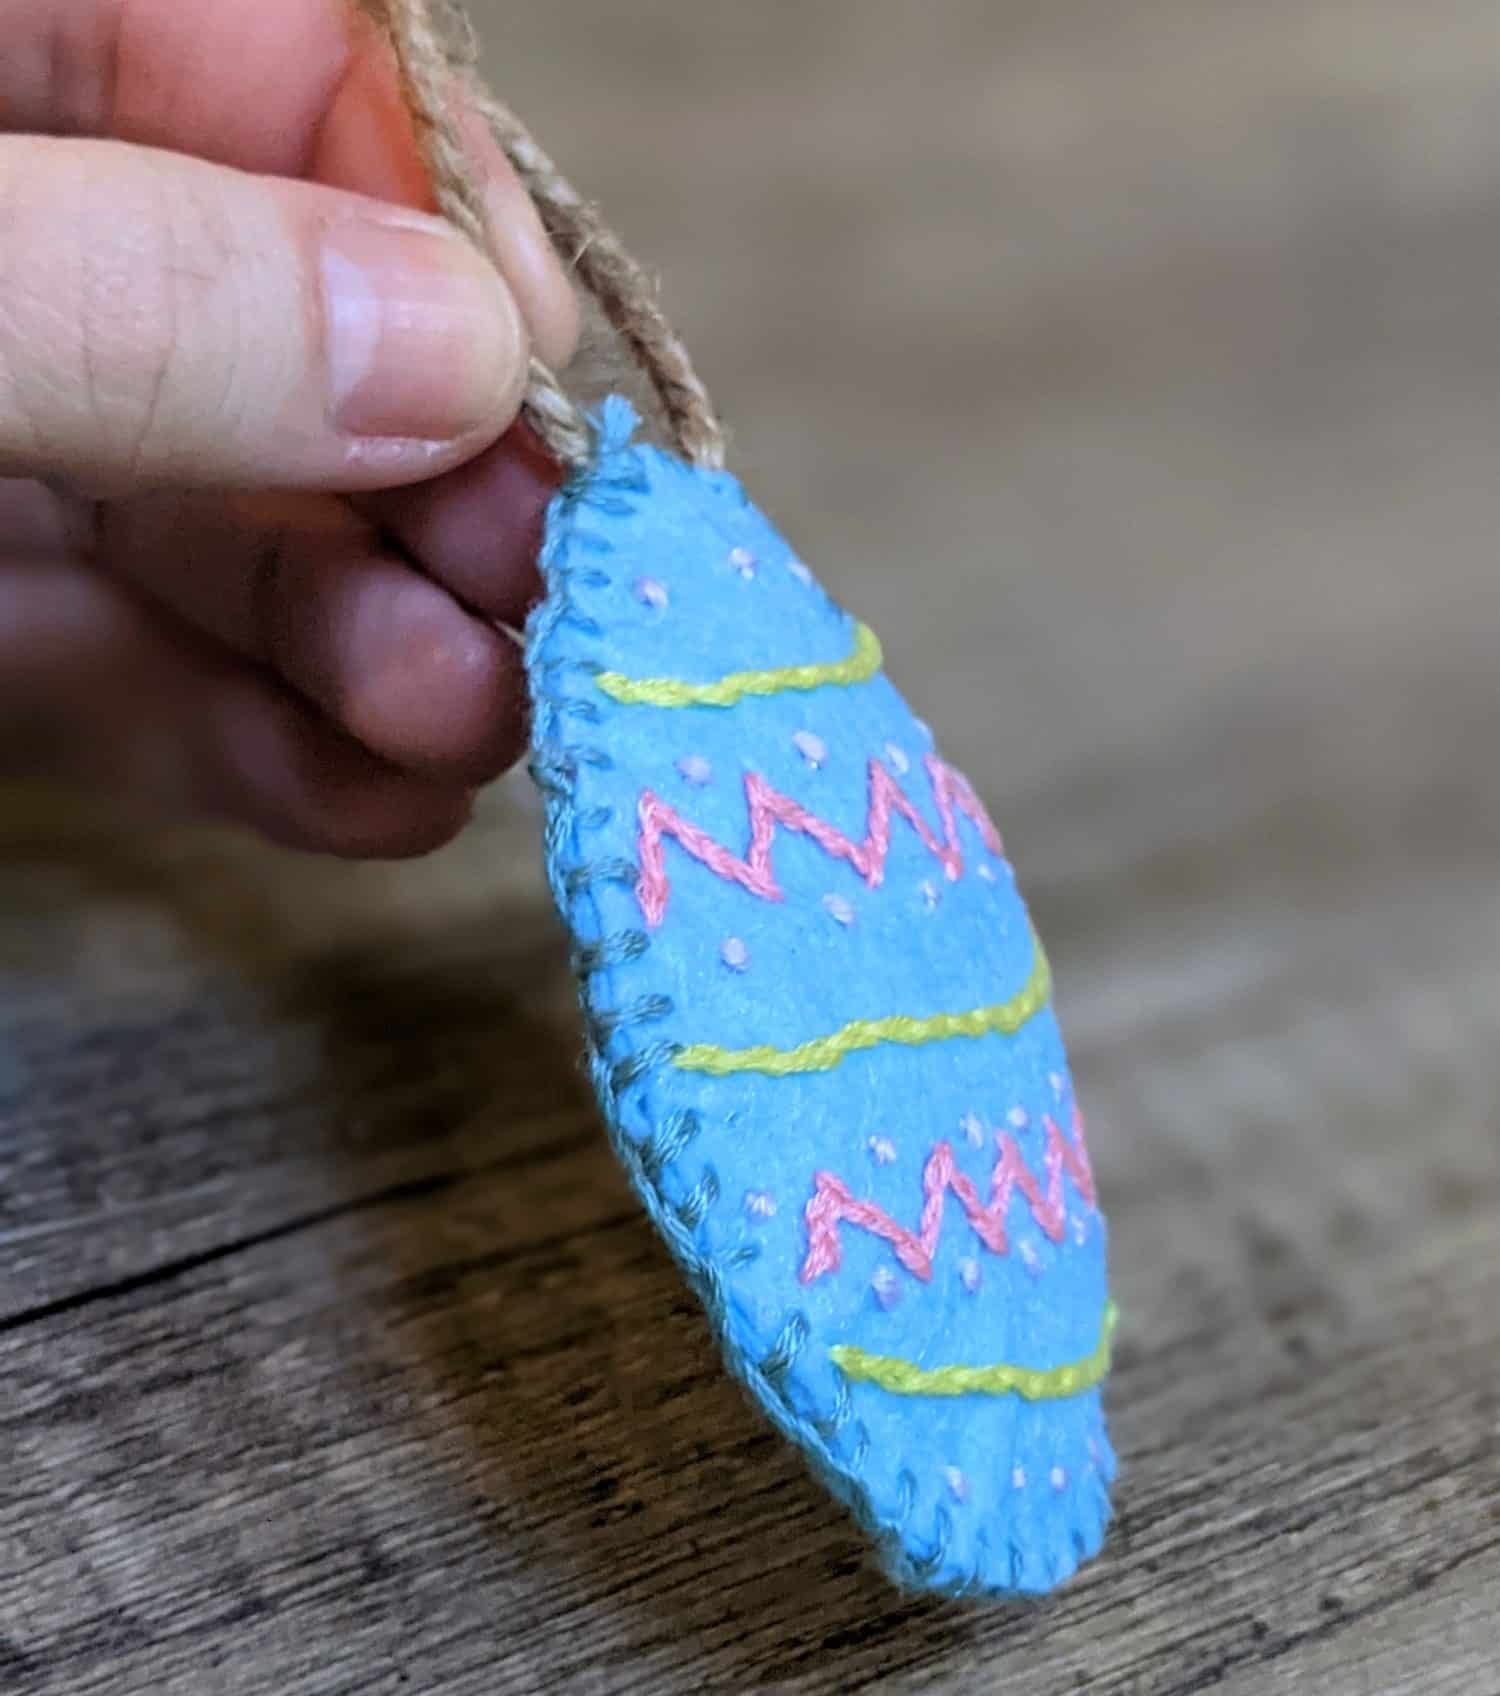
Felt Eggs:
- Set both sides of the egg wrong sides together.
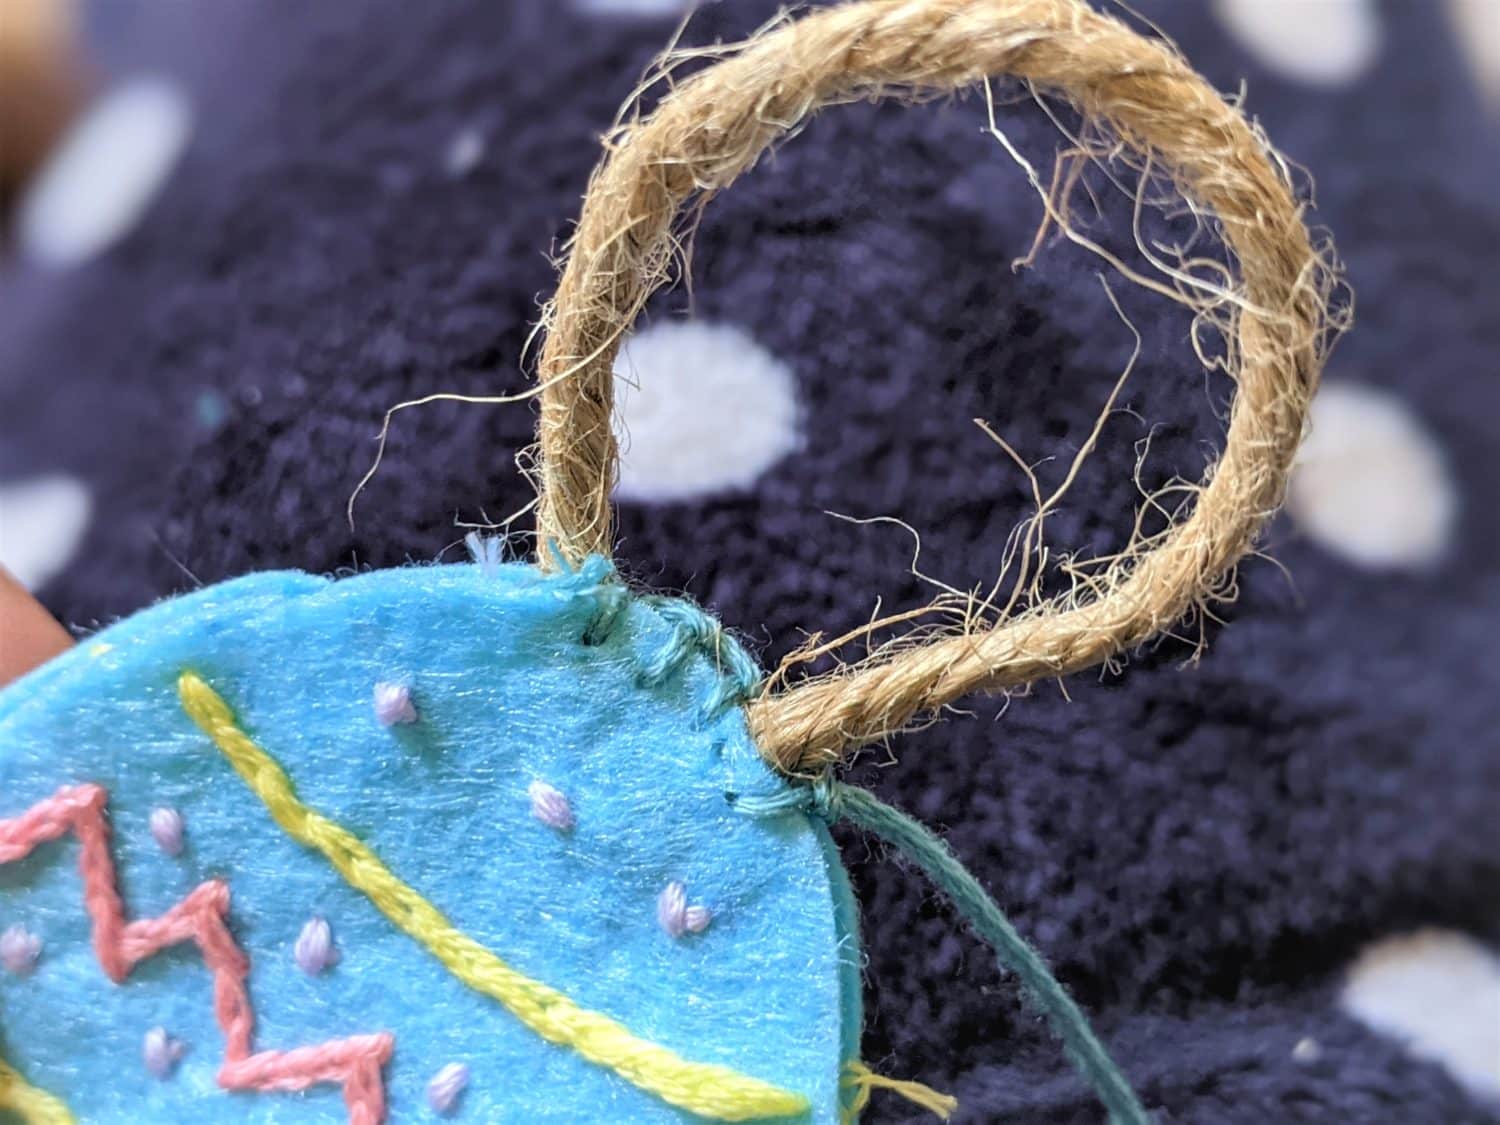
- Make a loop with your twine or string and insert the ends into the top of the egg between the two pieces.
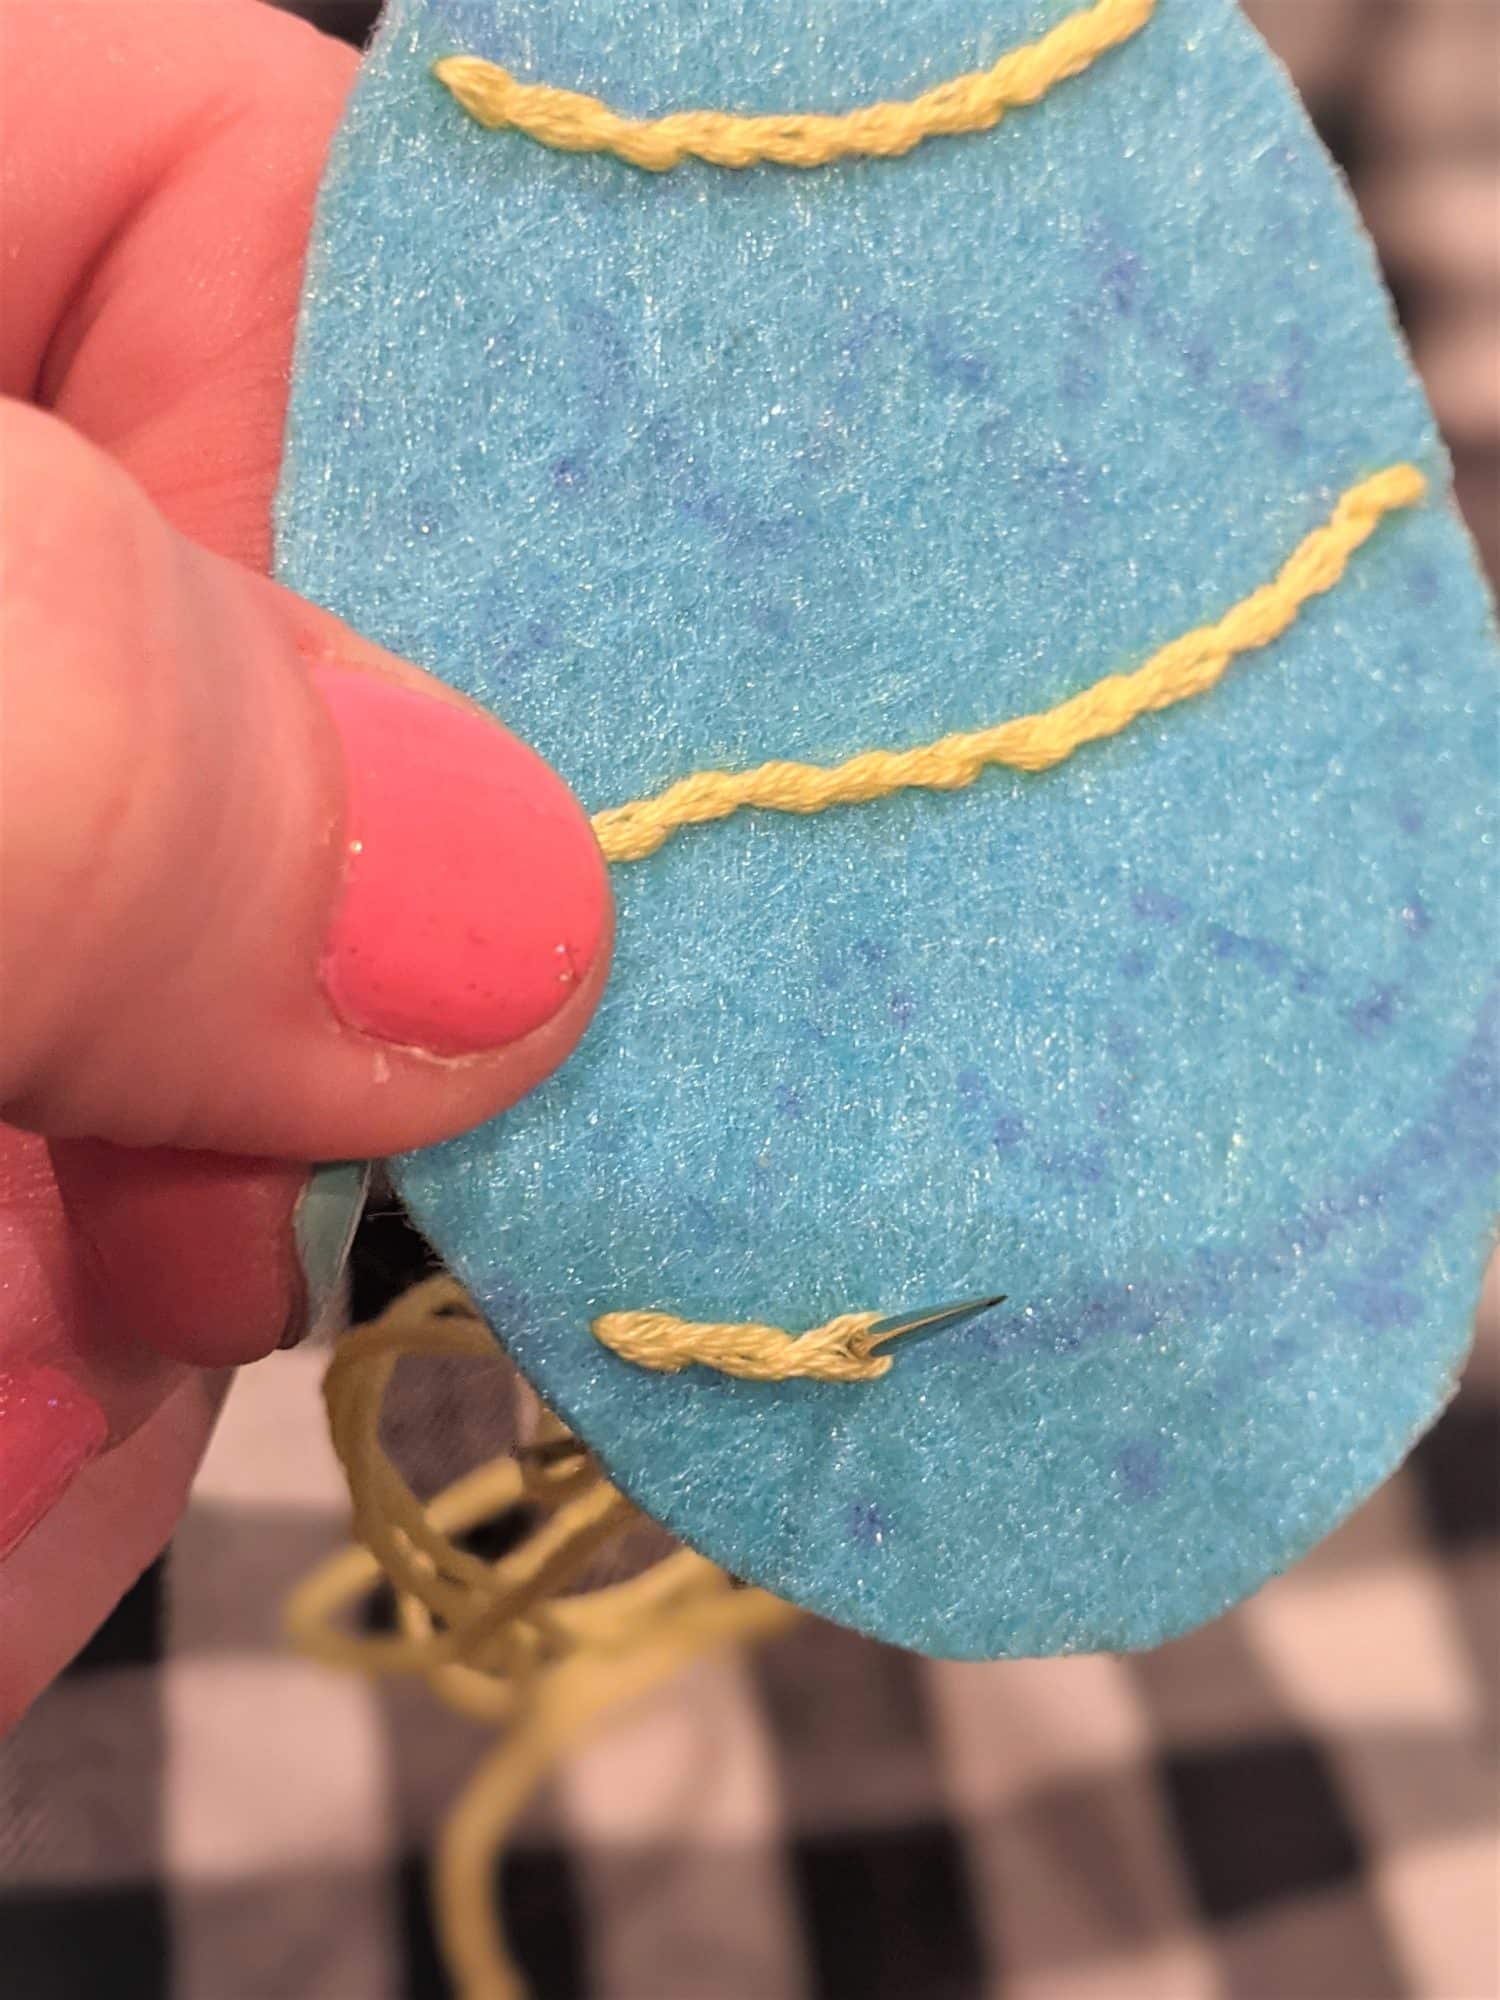
- I used a blanket stitch here. You could also use a whip stitch or straight stitch. Start at the top where the loop is, making sure you are pushing the needle through the twine to keep in sewn in place.
- Sew all the way around using the same stitch until you are about 1″ away from the beginning of your stitches.
- Fill the egg with your stuffing material.
- Continue sewing to close the hole.
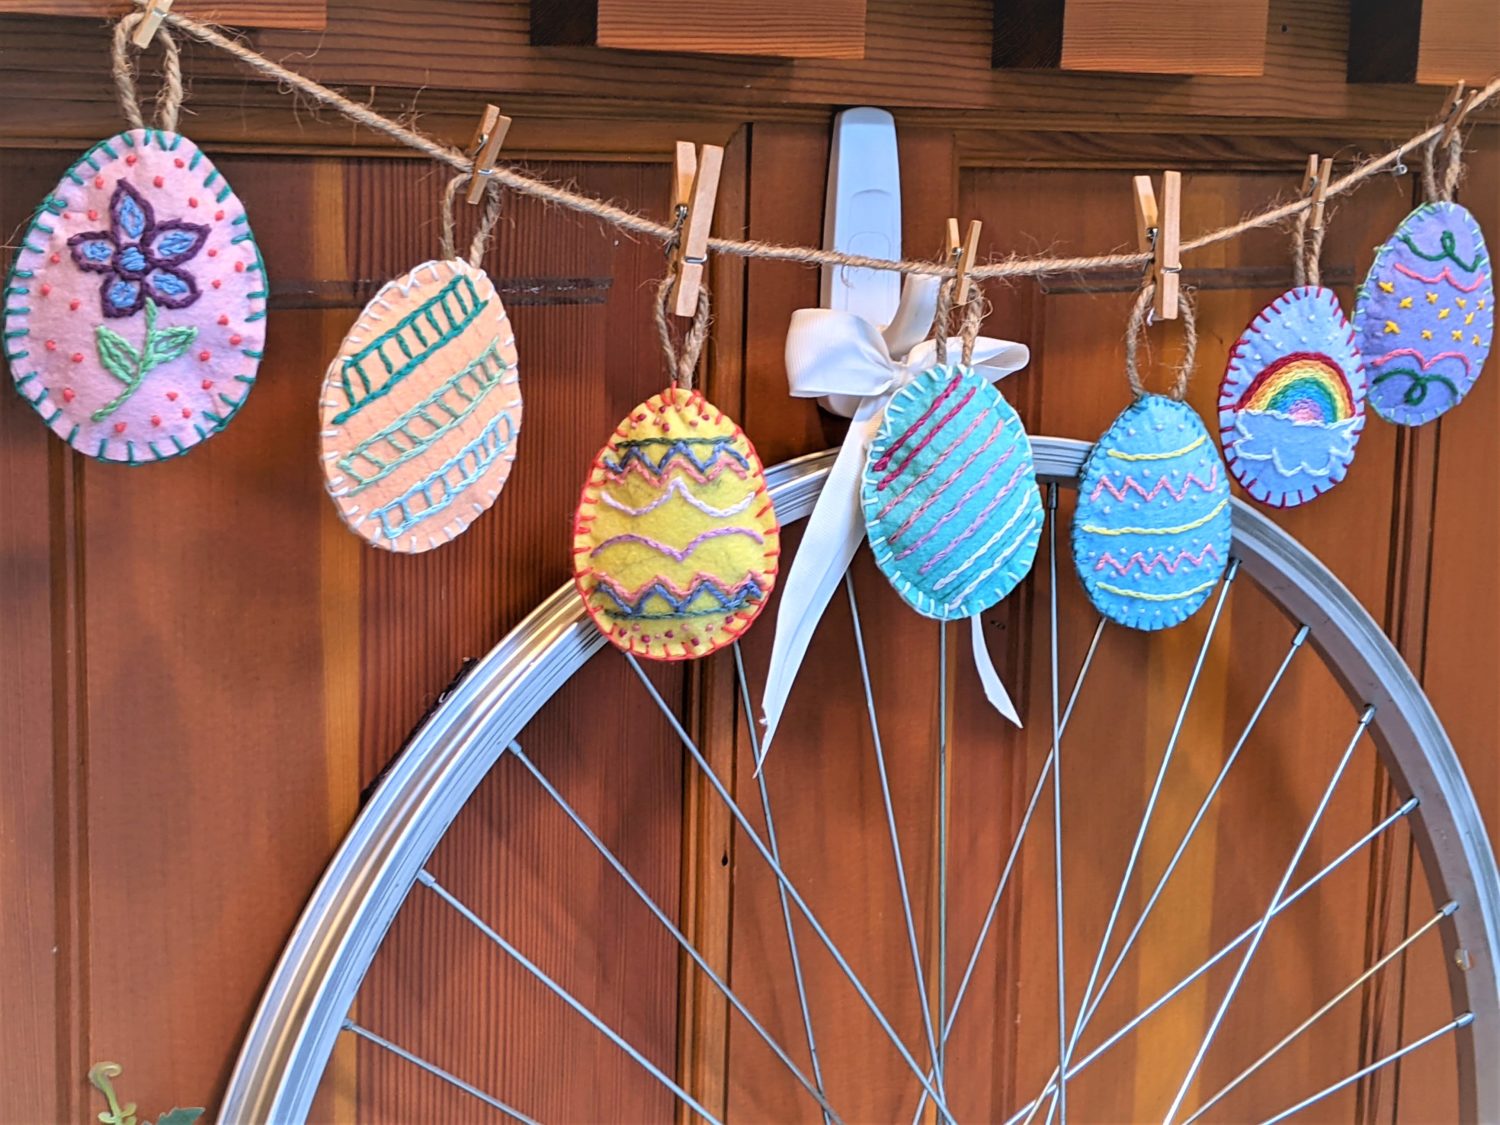
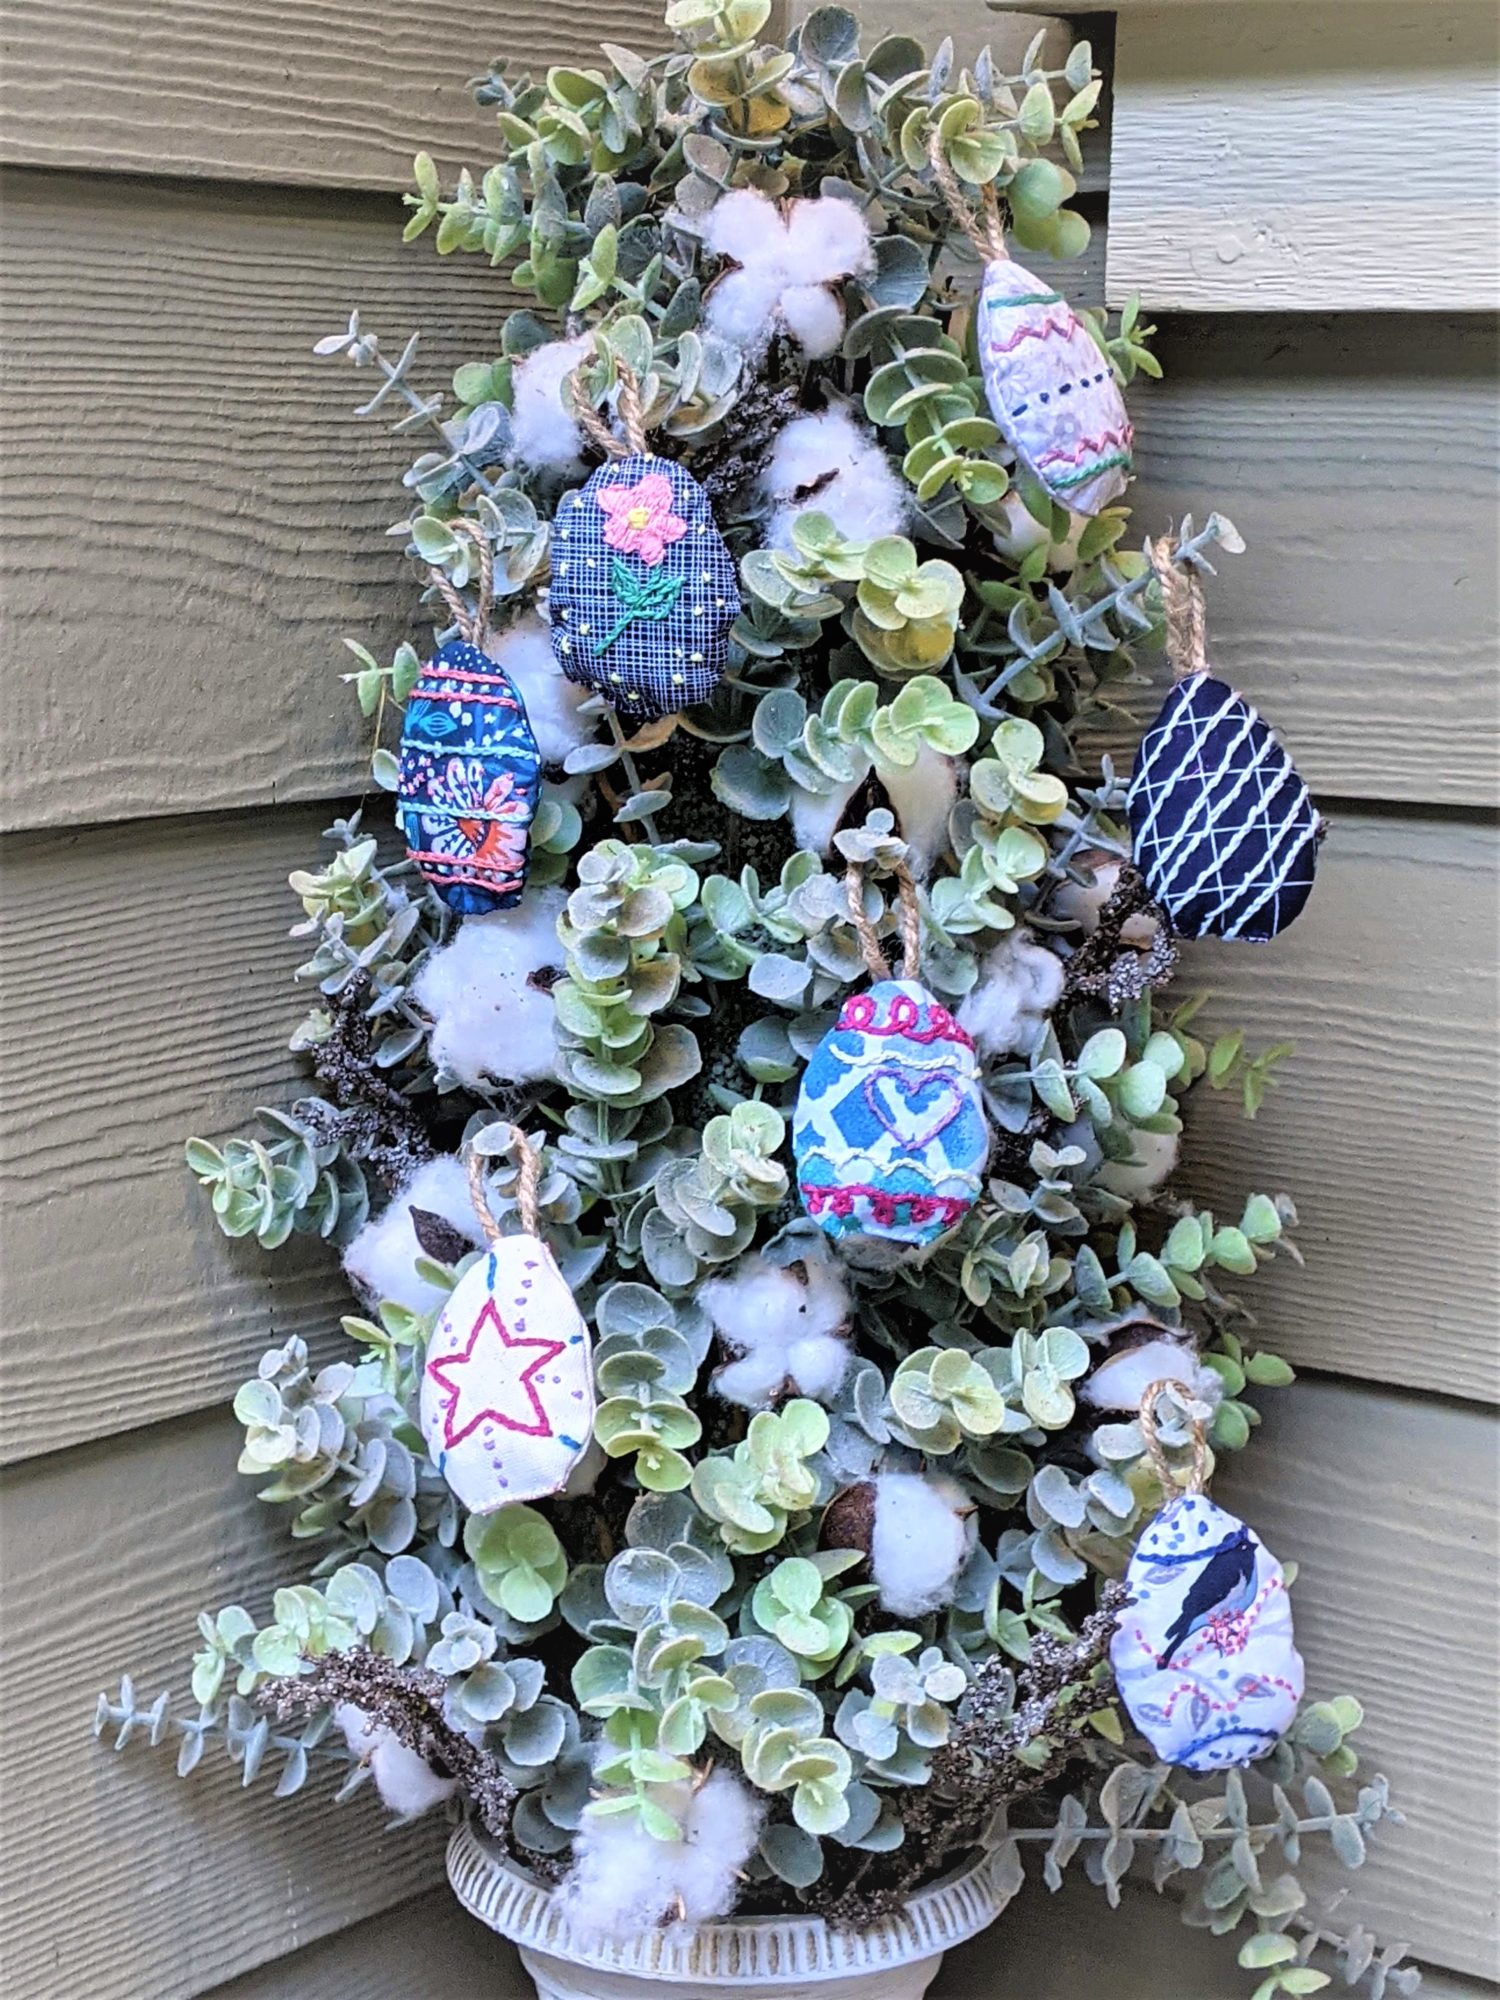
Now all that’s left to do is decide where to put them! I used twine to make a clothesline and tiny craft clothespins to hang them. I also have a small tree on my front porch so I made a little Easter tree too.
Want more FUN DIY Freebies? Check out the FREEBIE TUTORIALS and the FREEBIE PATTERNS!
As always, we’re here to help if you need it! Join us HERE and on Facebook, Instagram, Twitter, Youtube, and Pinterest. We’re everywhere you are.
Leave a Reply