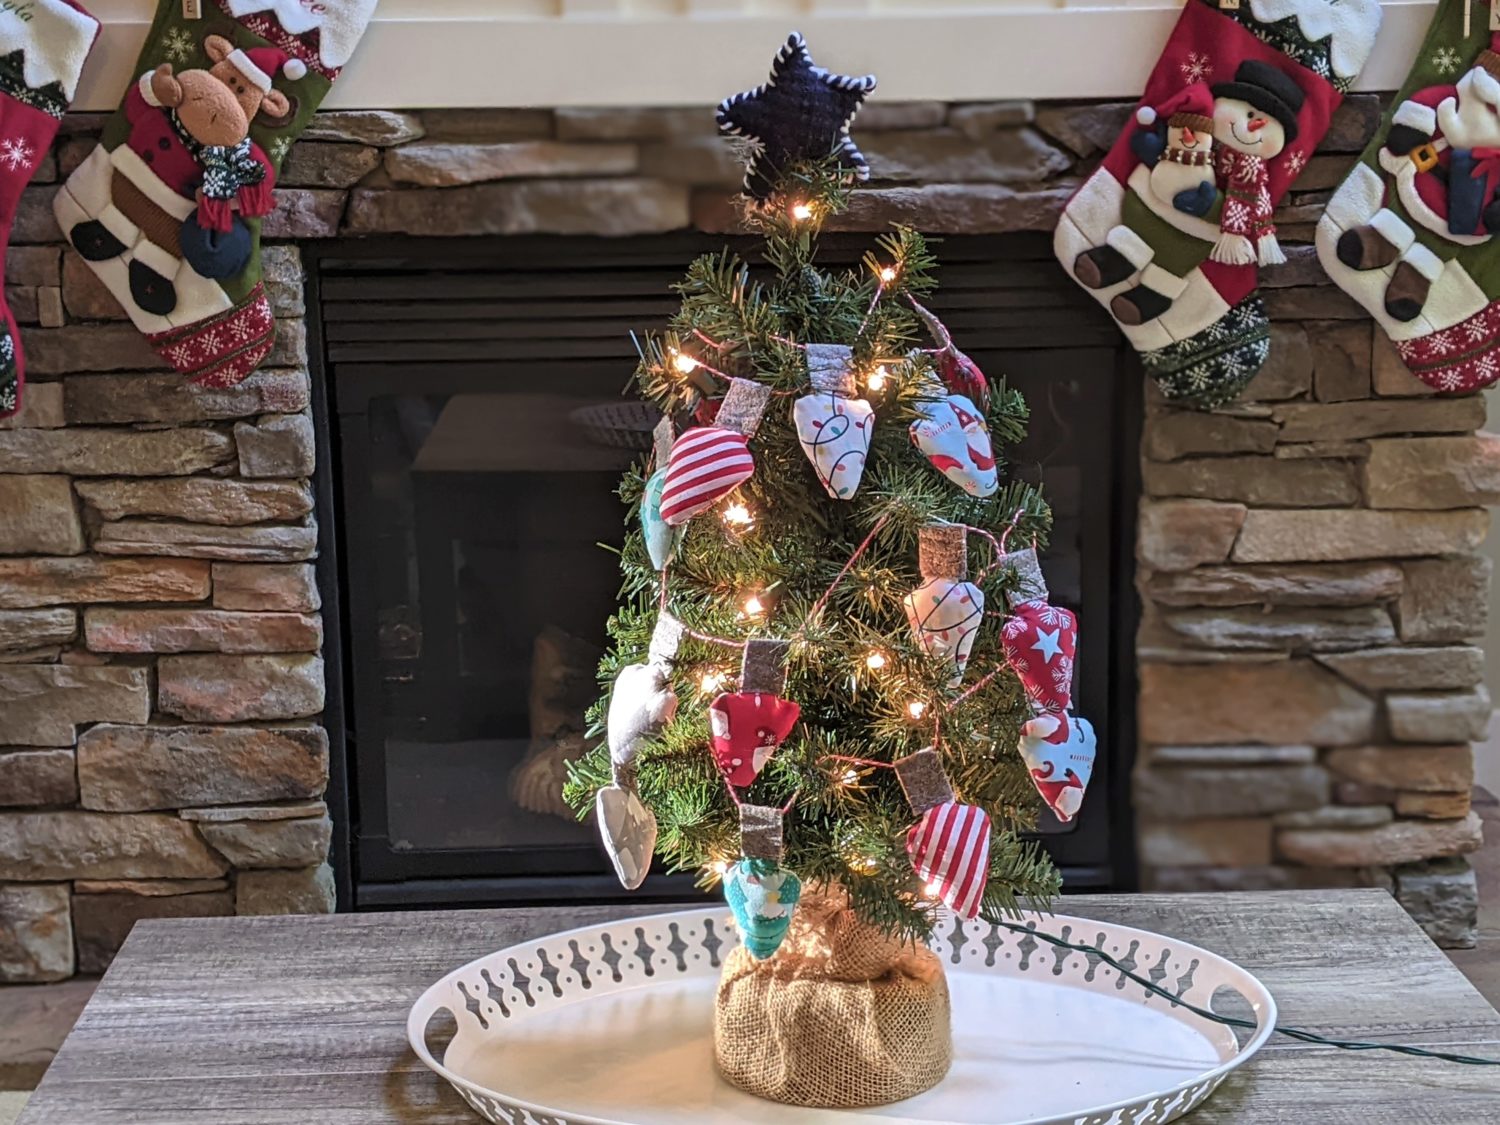
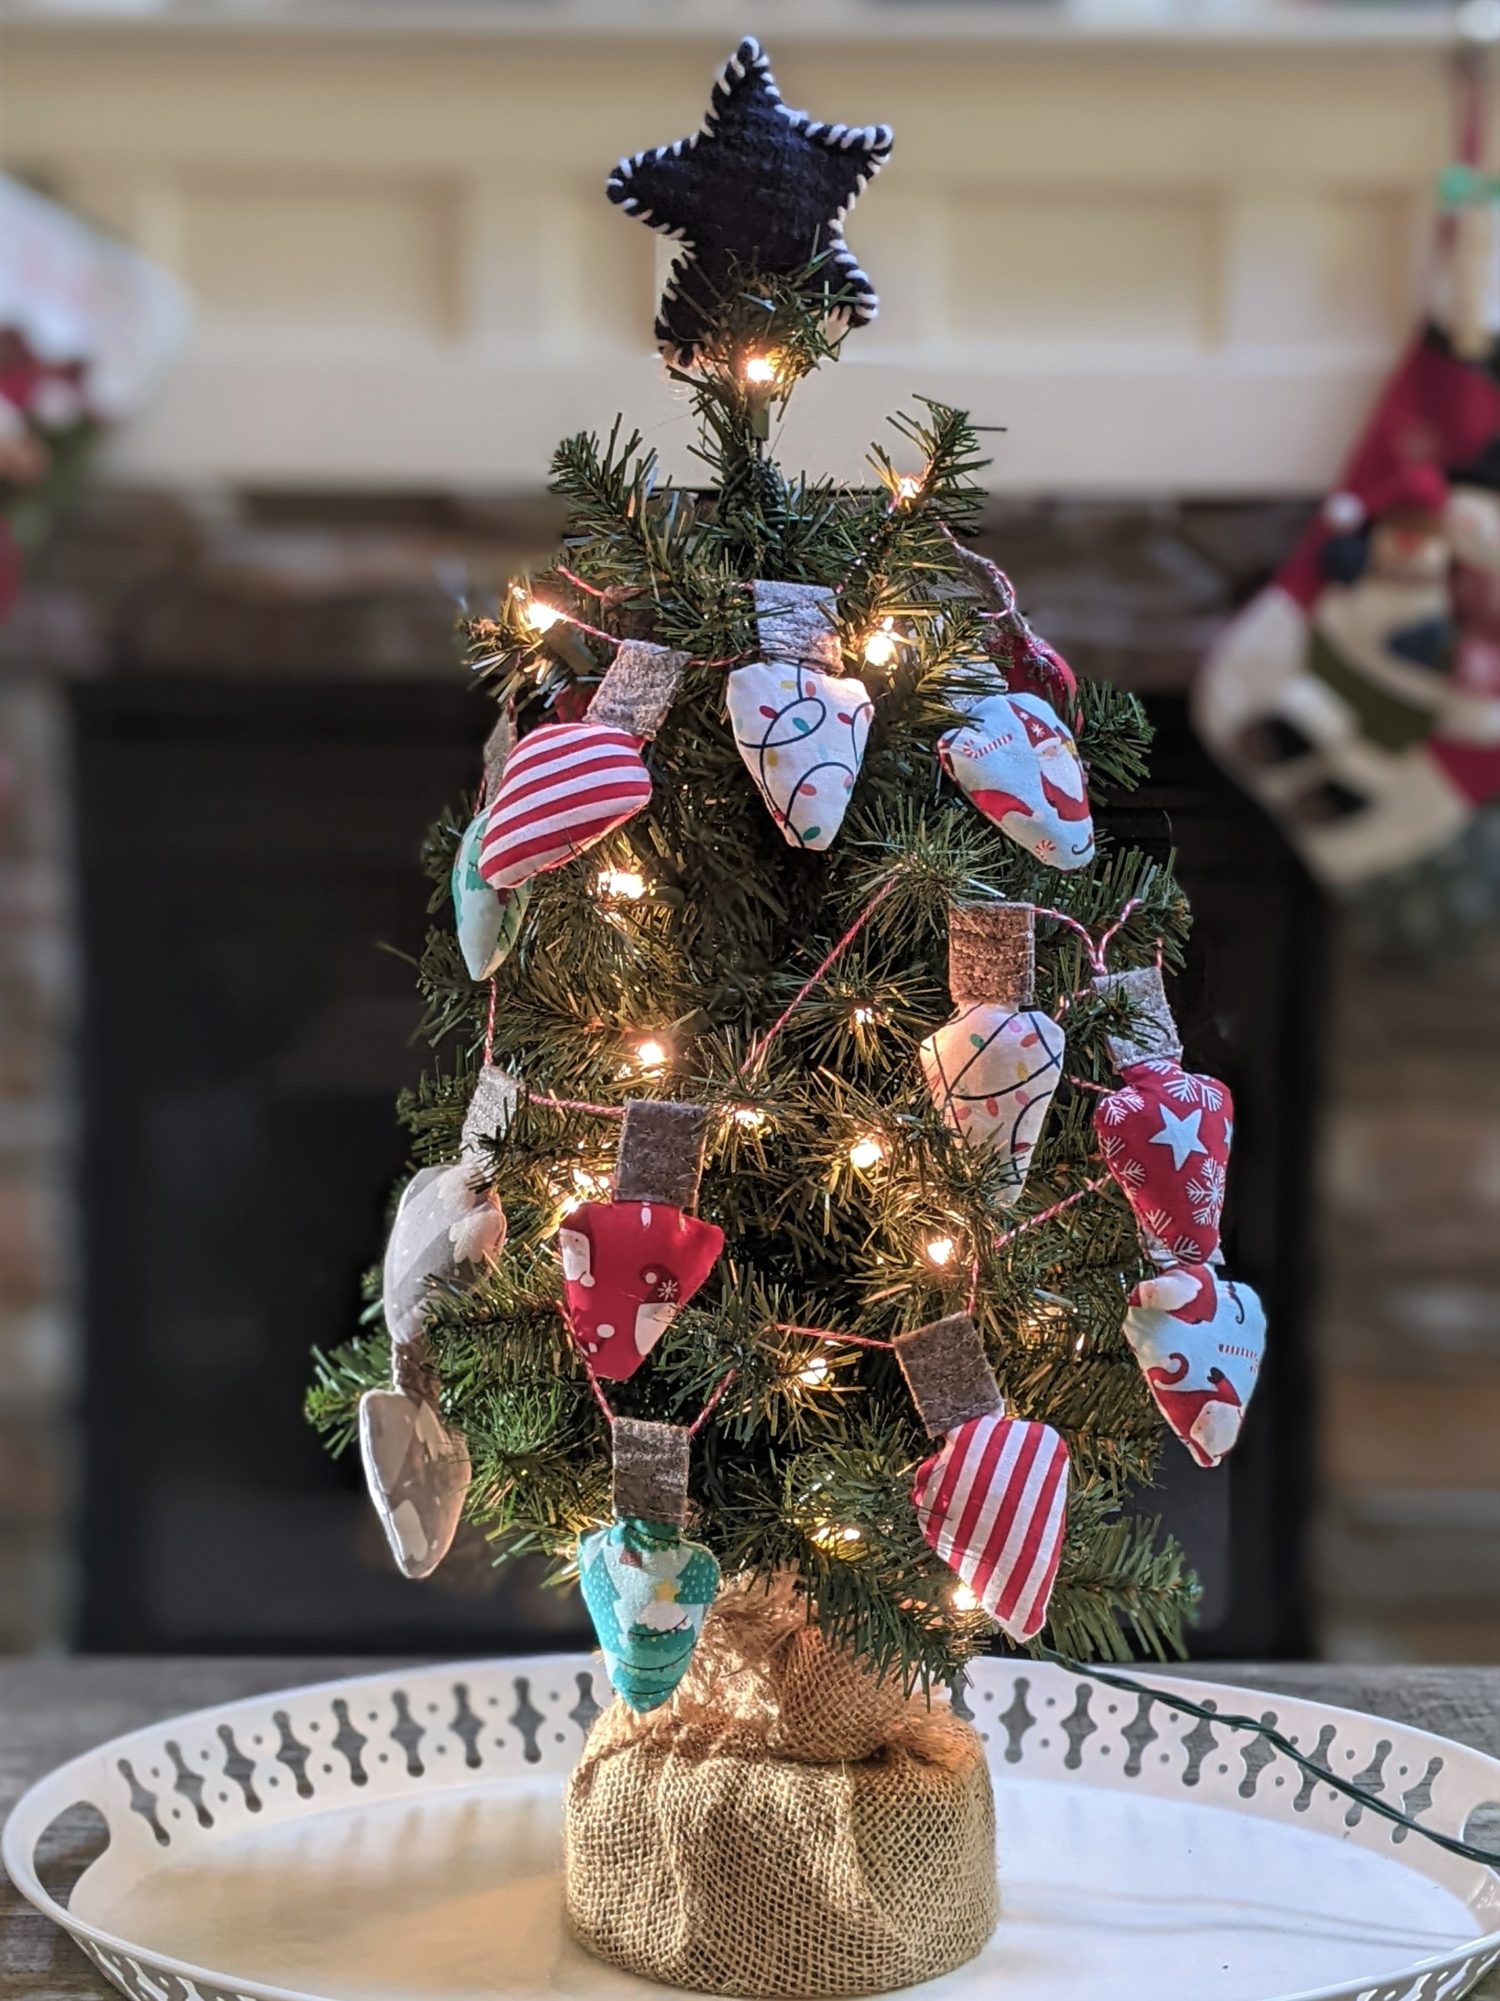
I had planned on making a fabric Christmas light garland to go across my fireplace. Then I remembered that our stockings were hung there and thought my mini Christmas tree could use some accessories too.
Materials Needed:
- Woven fabric in holiday colors or designs
- Coordinating felt
- Paper and pencil
- Fiberfill stuffing
- Basic sewing supplies
- Twine or string
- Sewing machine
- Embroidery needle
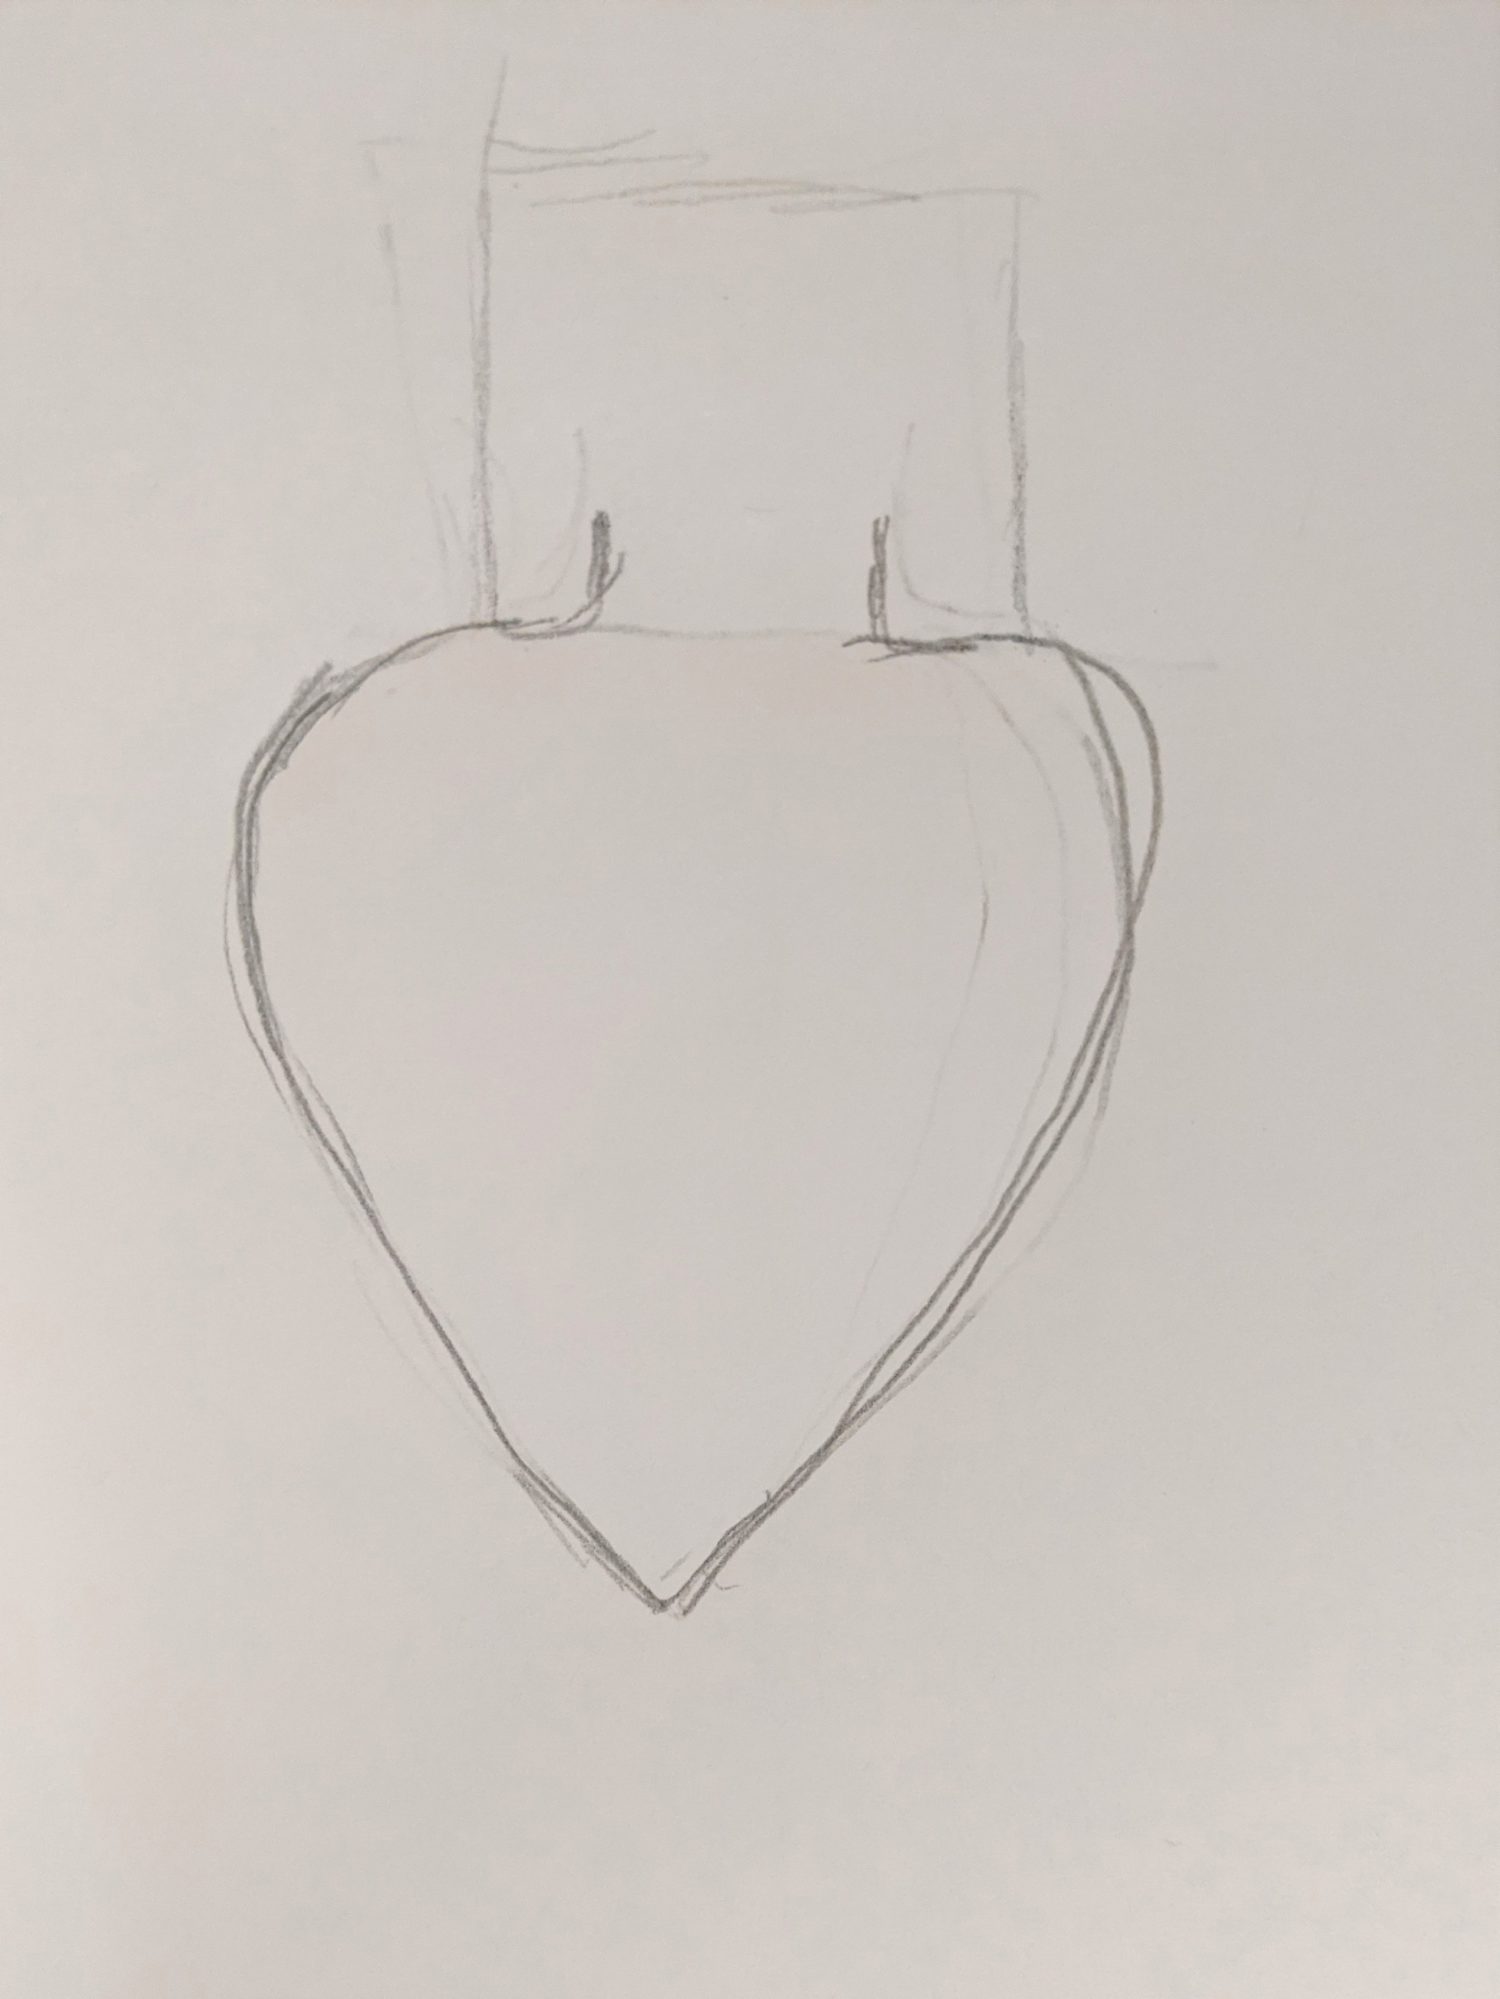
Make Your Template
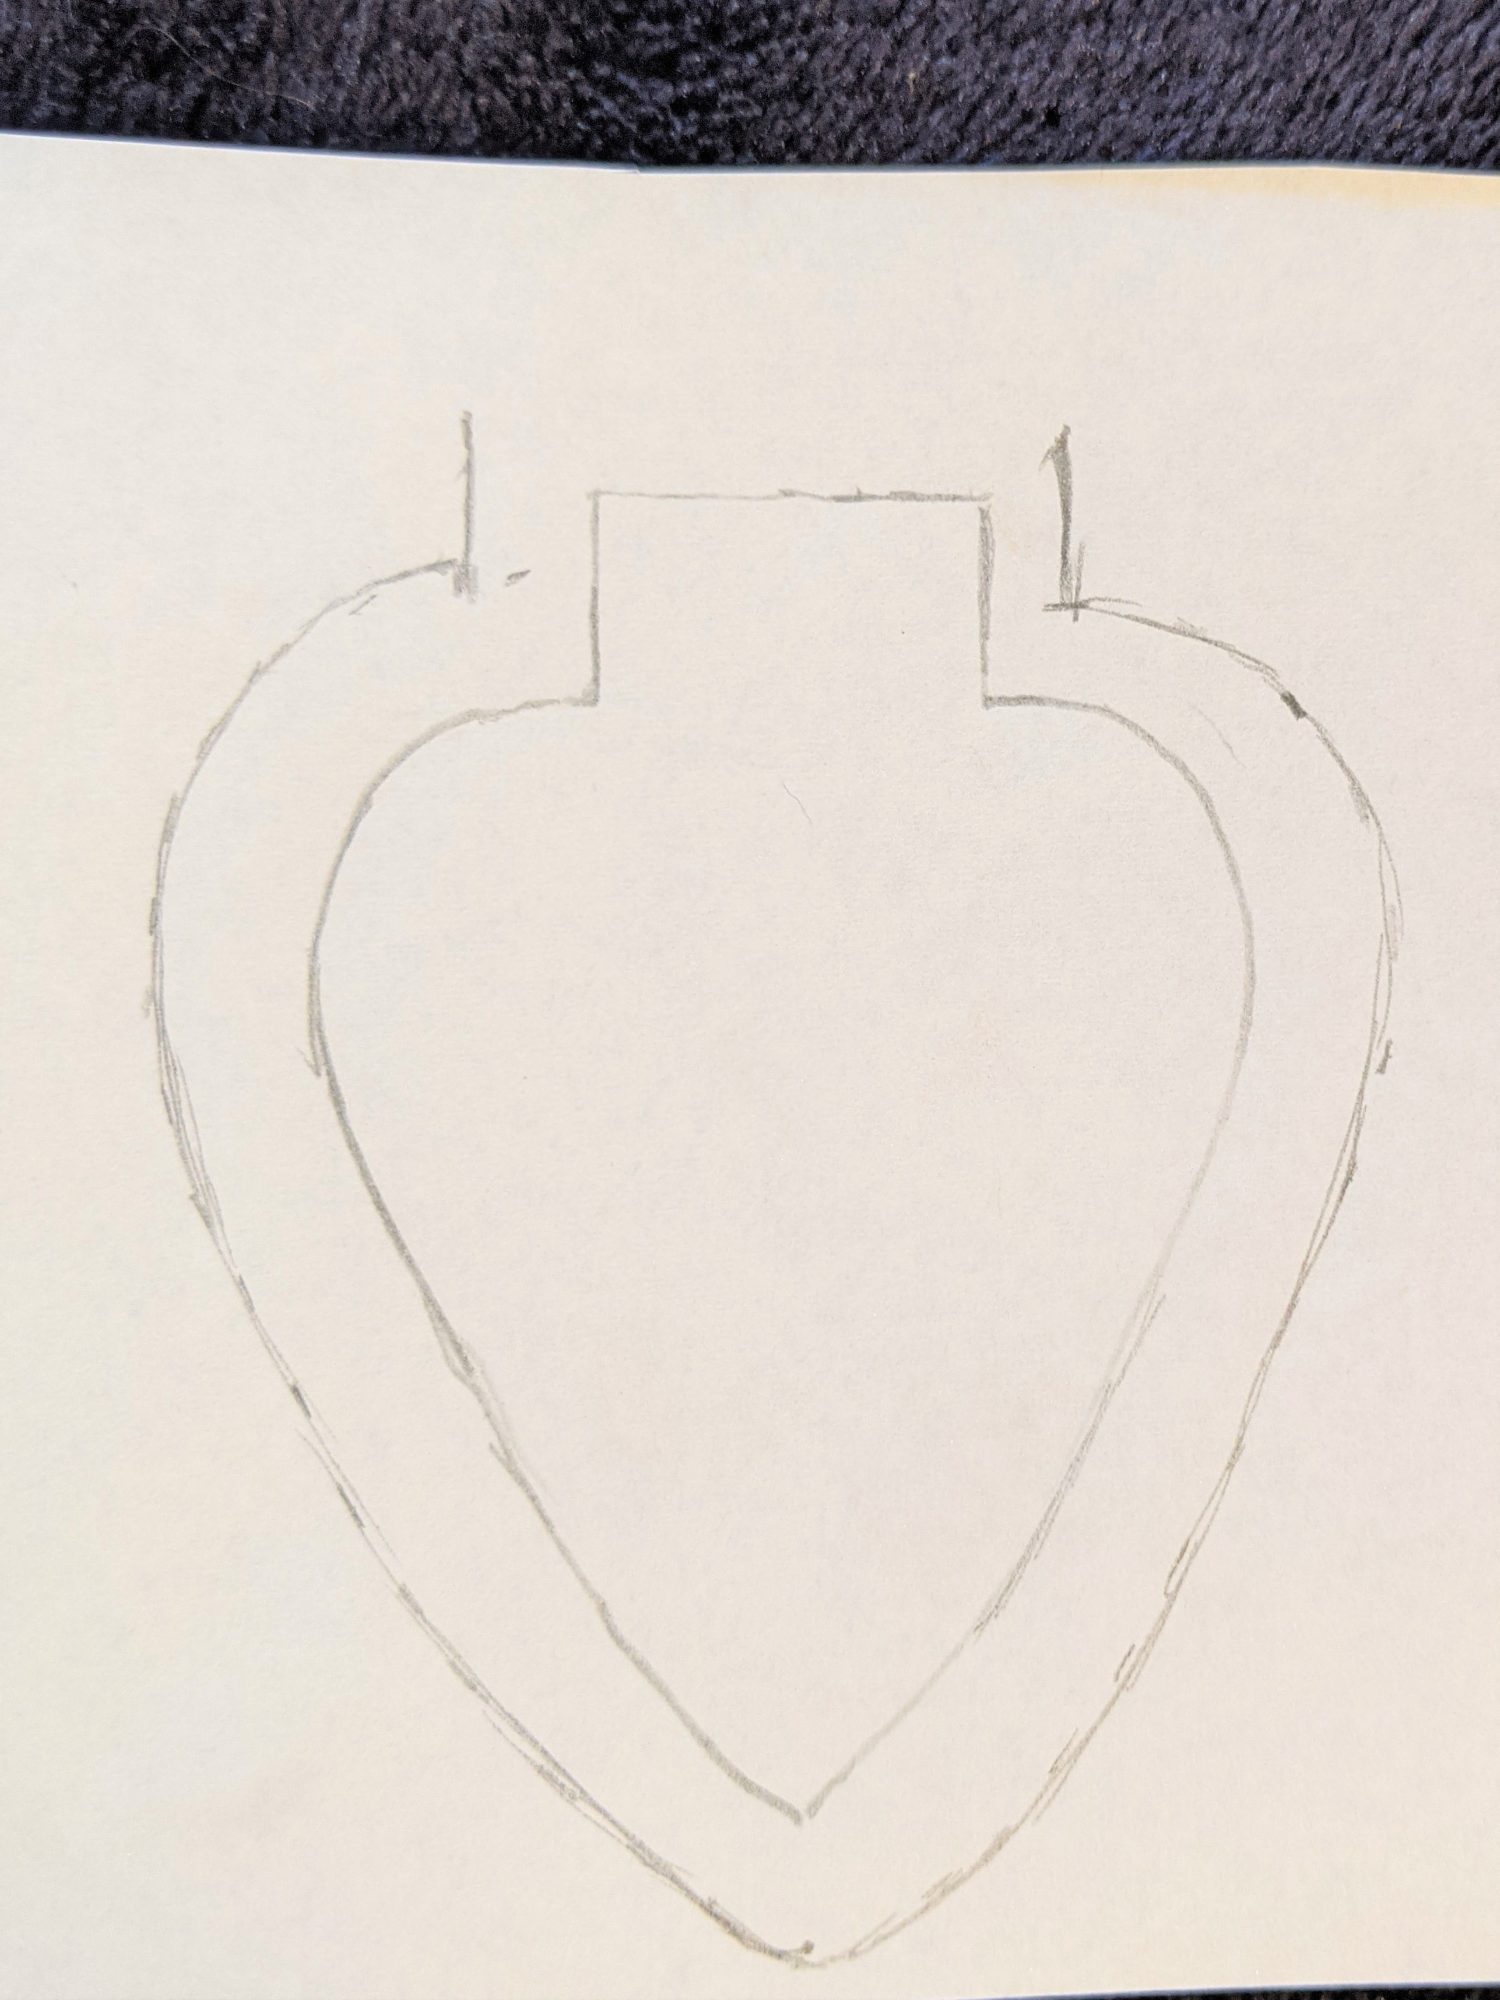
- Draw a rough sketch of a Christmas light bulb approximately 2″ tall and 3″ wide on a small piece of paper.
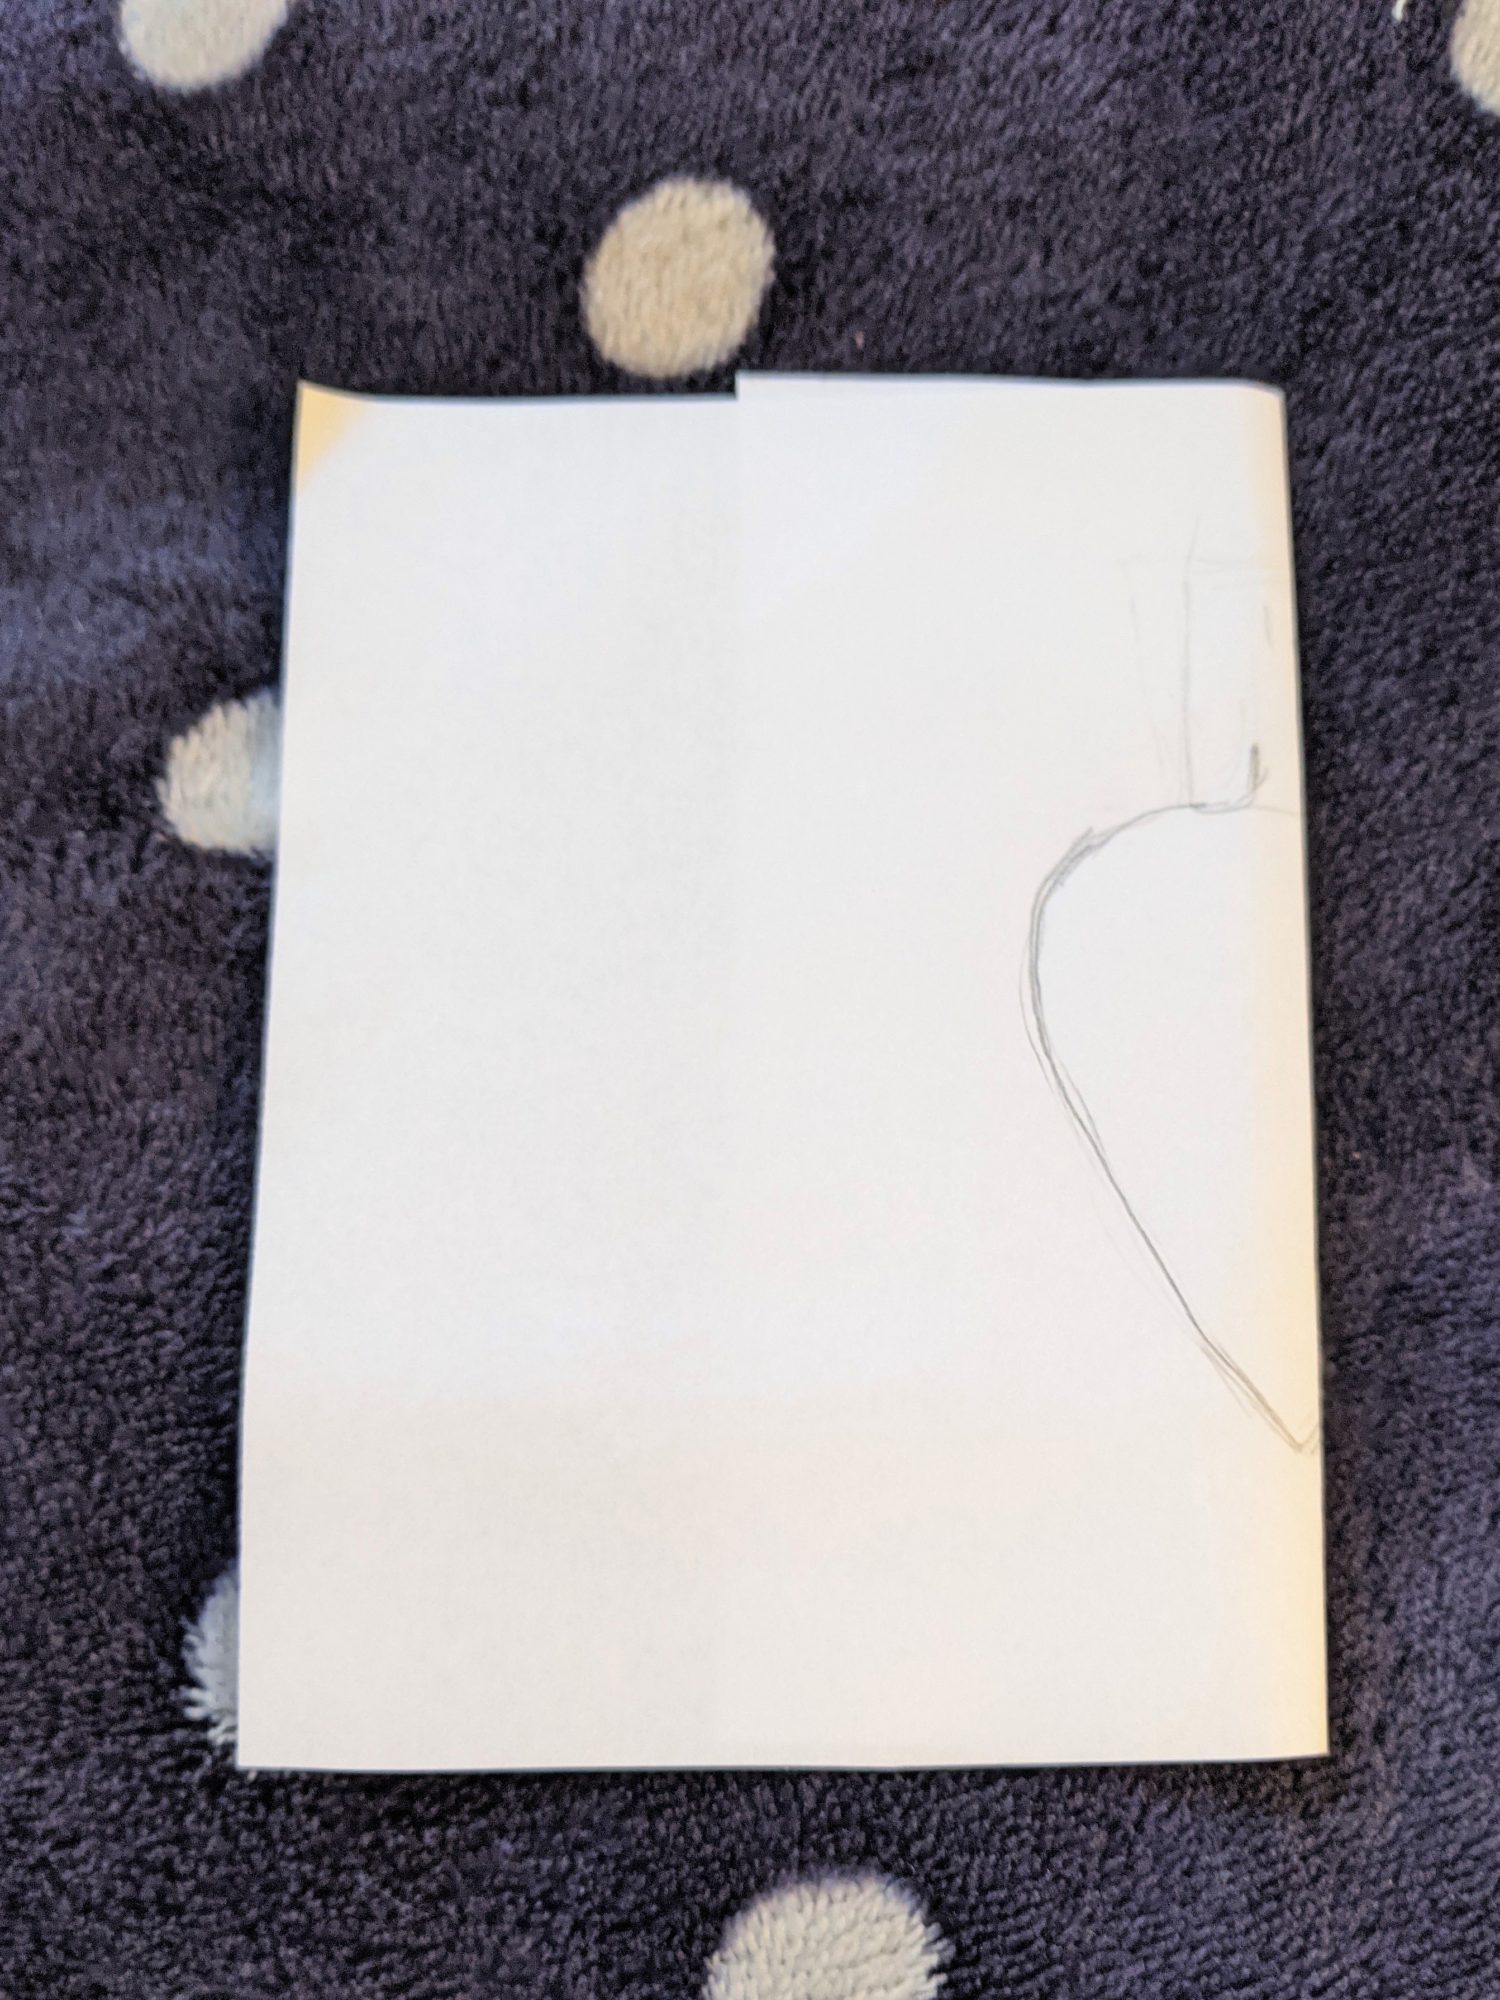
- Fold the paper in half along the vertical center of your bulb so that it will be symmetrical when you cut it out.
- Cut out your bulb.

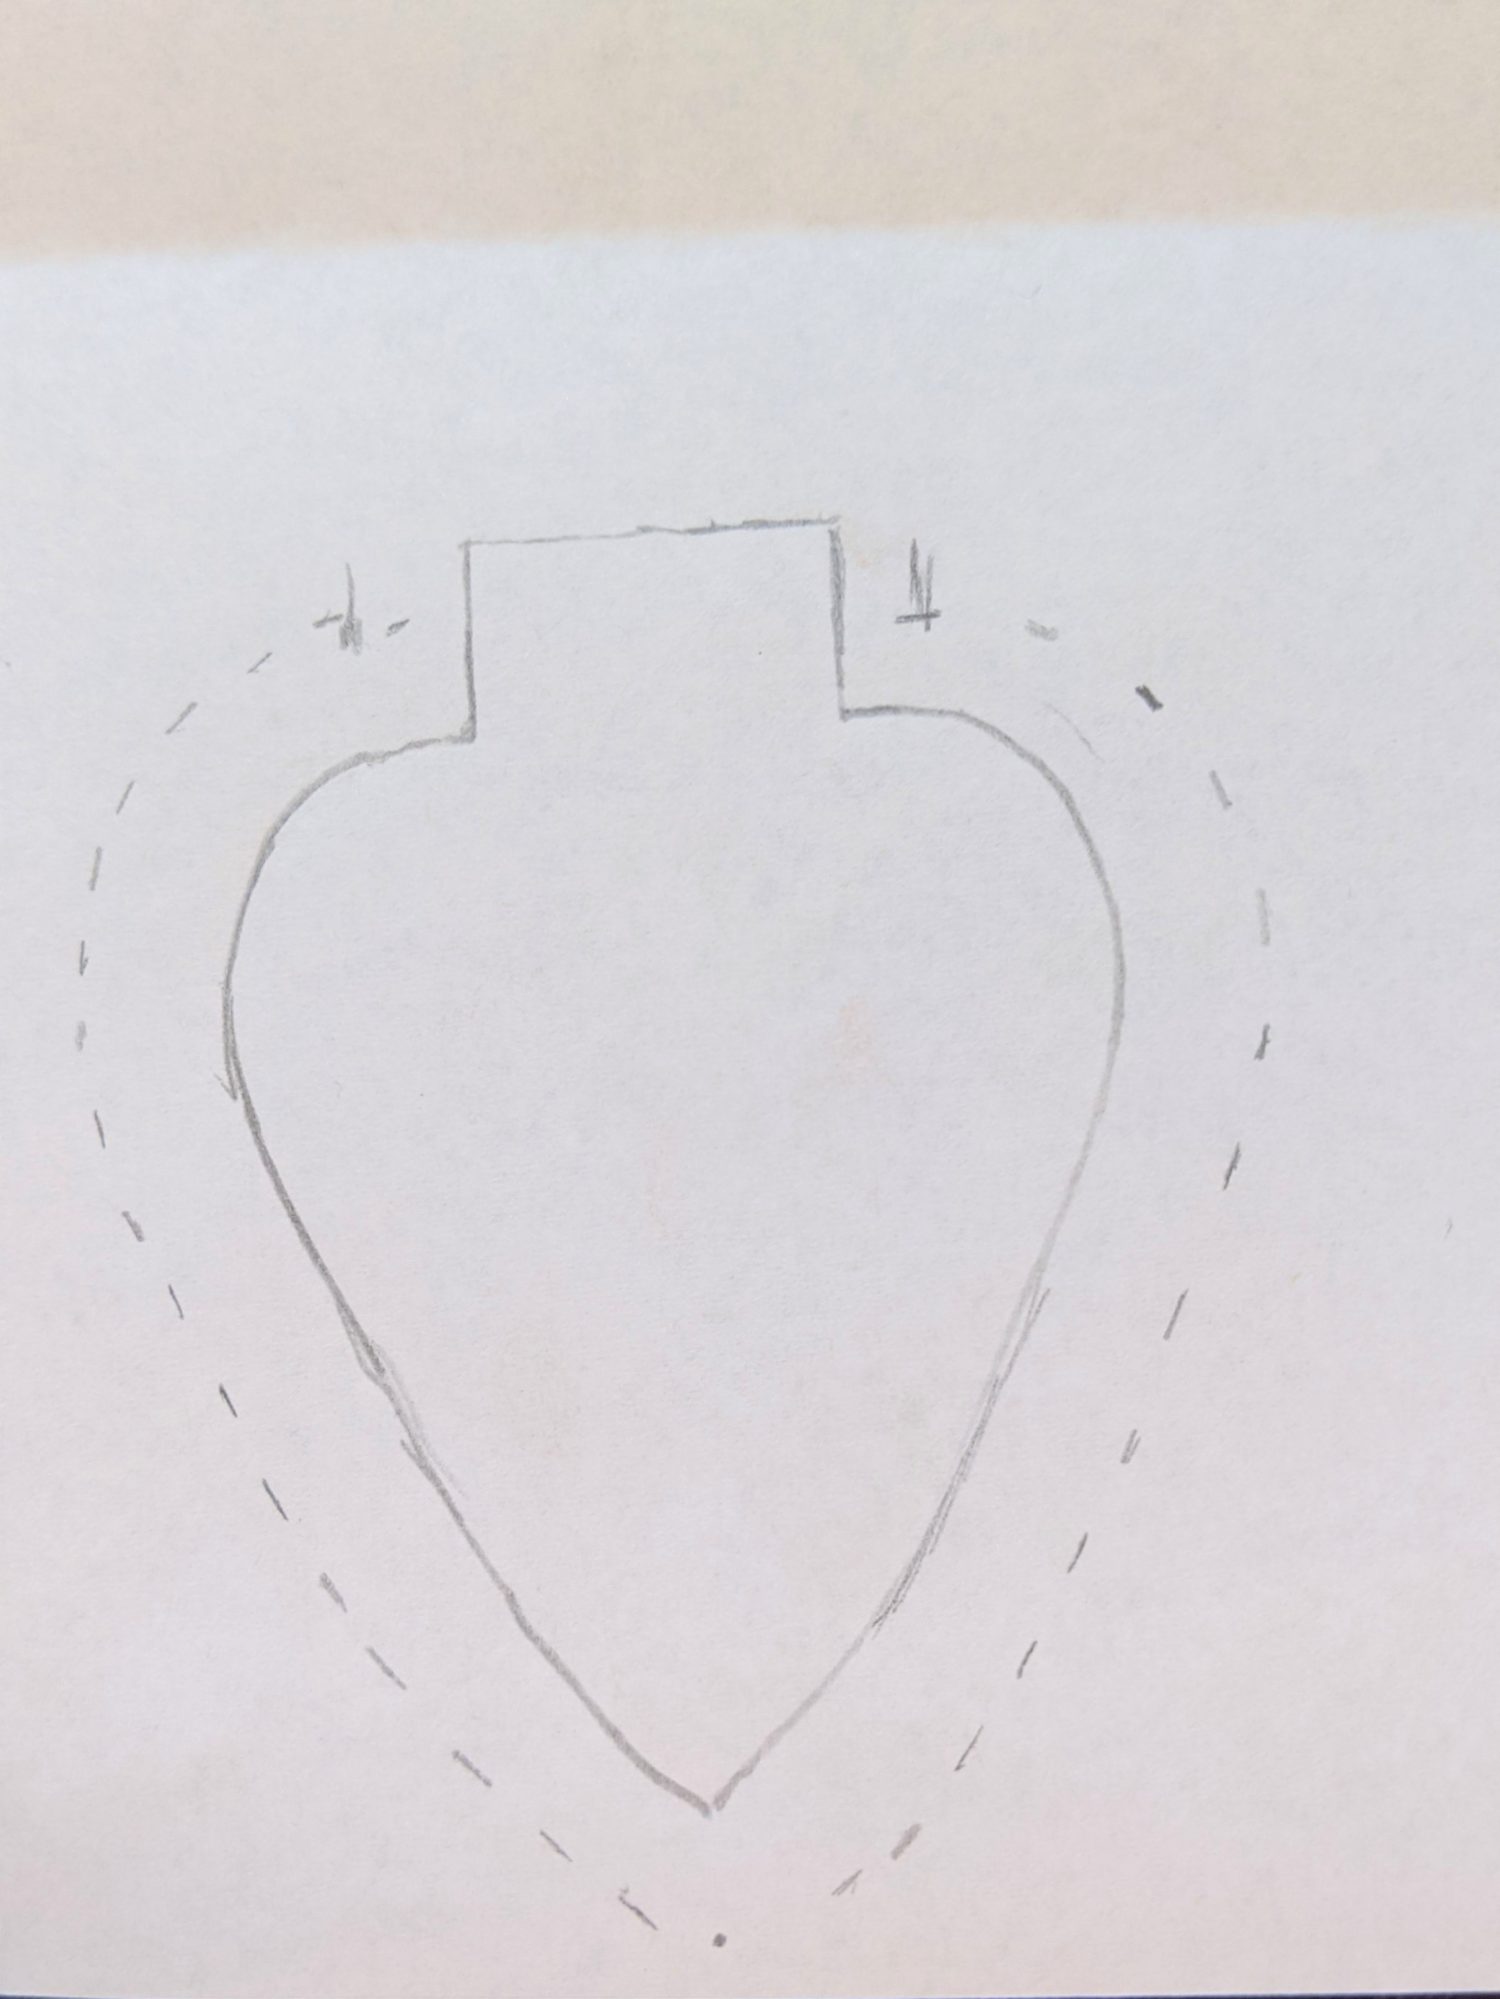
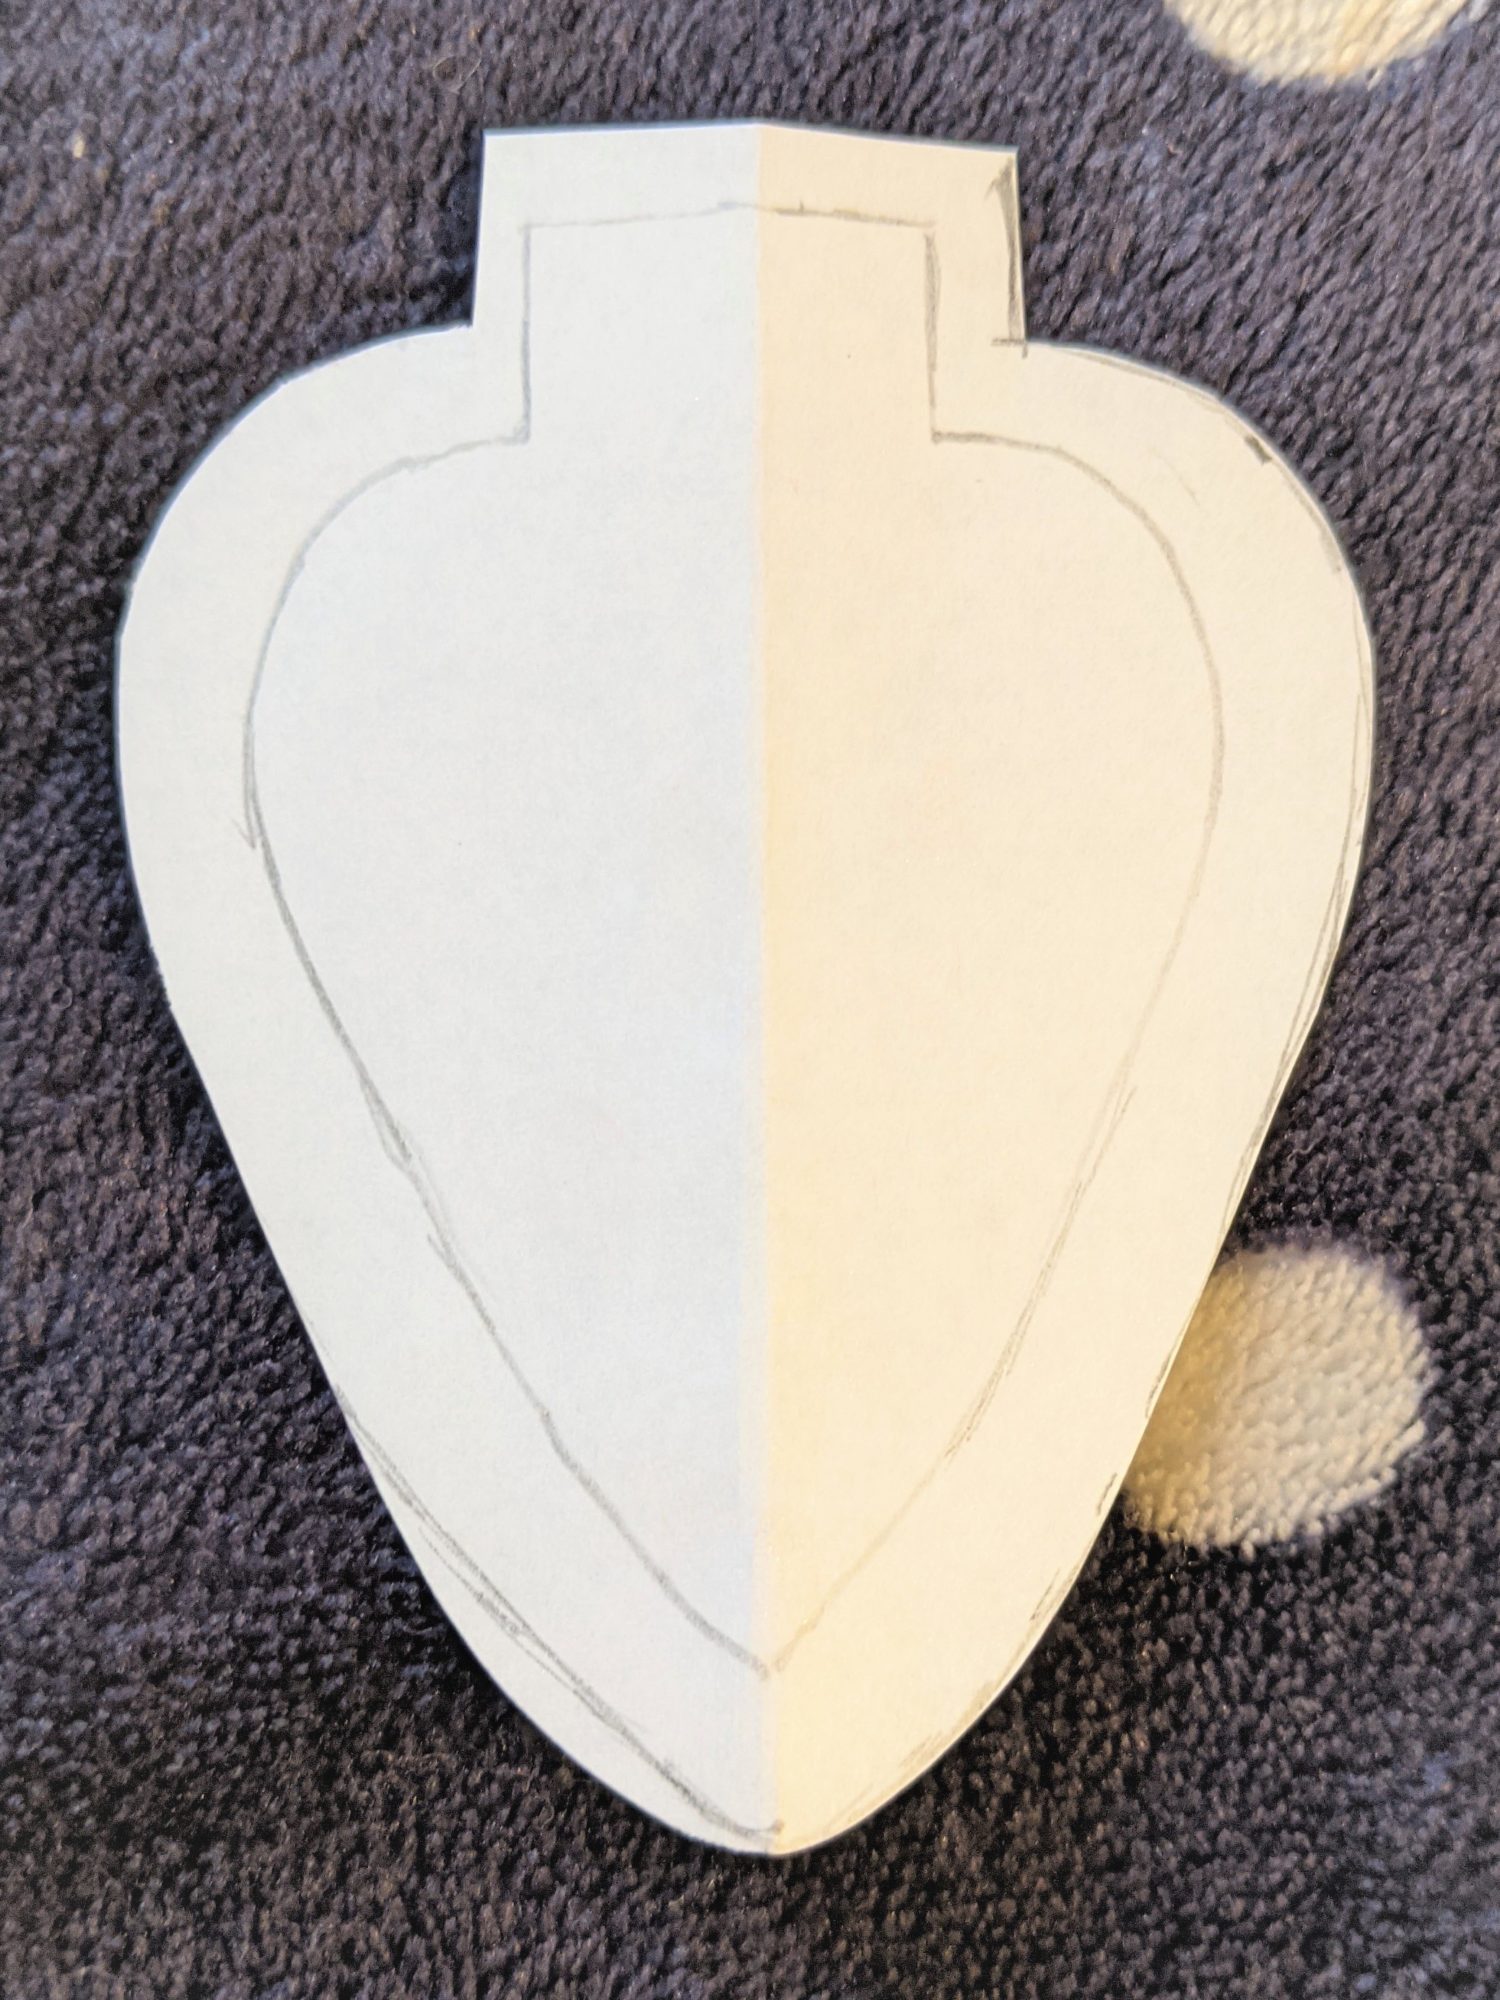
- Trace your light bulb onto a second piece of paper.
- Draw around the bulb adding 1/4″ all the way around to account for your seam allowance.
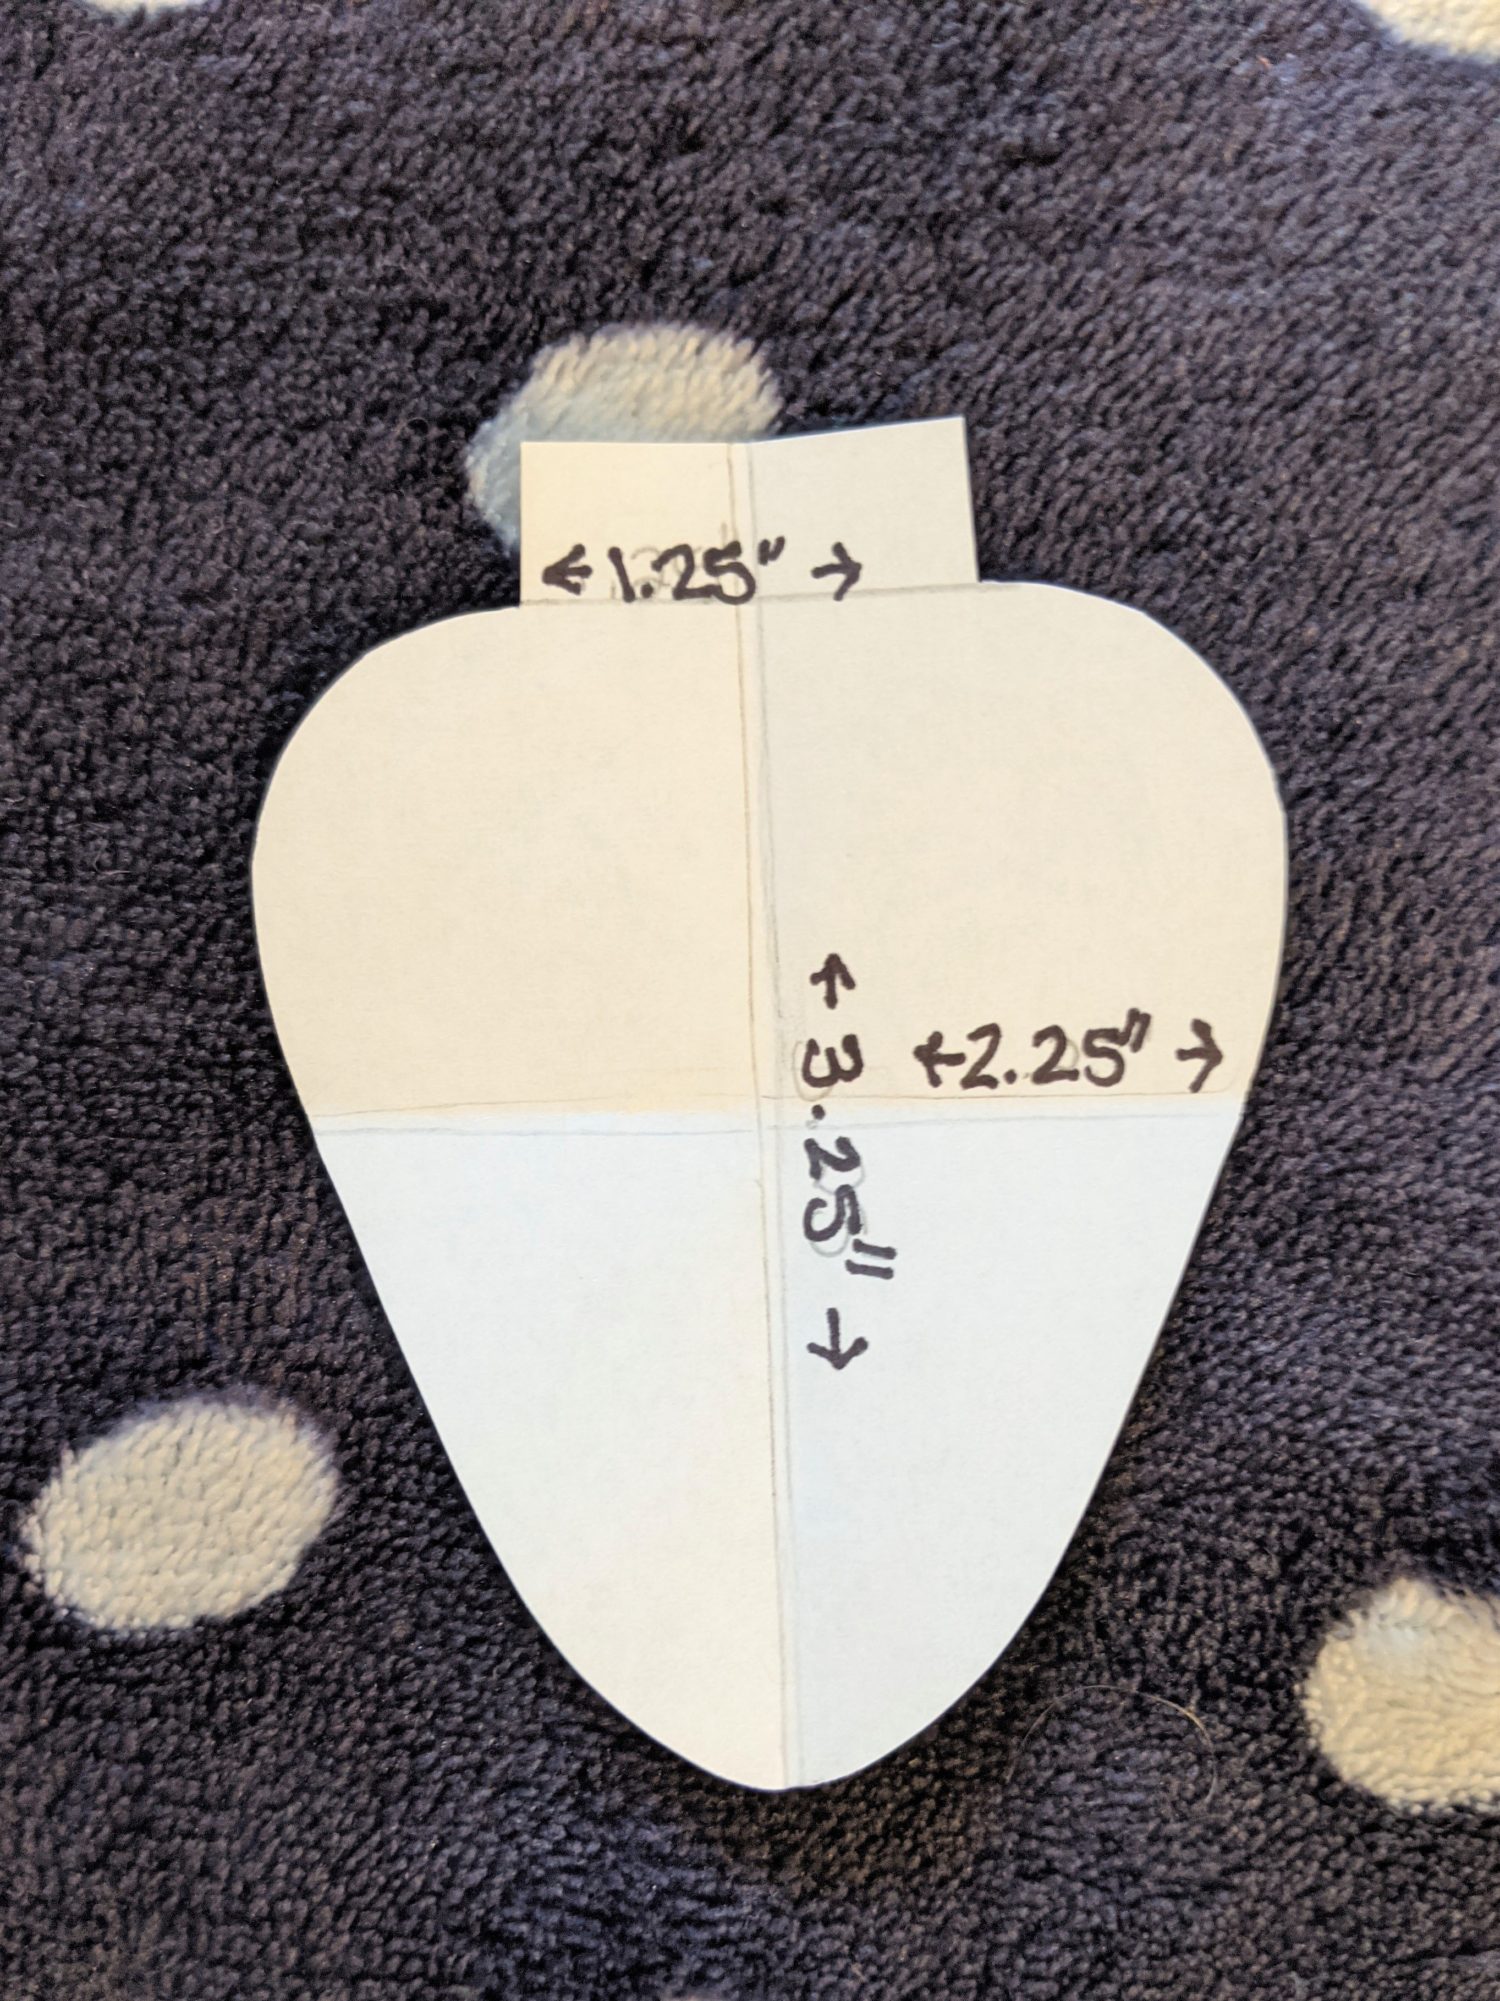
- Your finished template should be approximately 2.25″ tall and 3.25″ wide. You can fold it in half length and widthwise to find the center points to measure.
- Additionally, you will also need a piece for the top that is 1″ wide and 2.5″ tall. You can make a template for this, or just cut the pieces out by hand when it’s time.
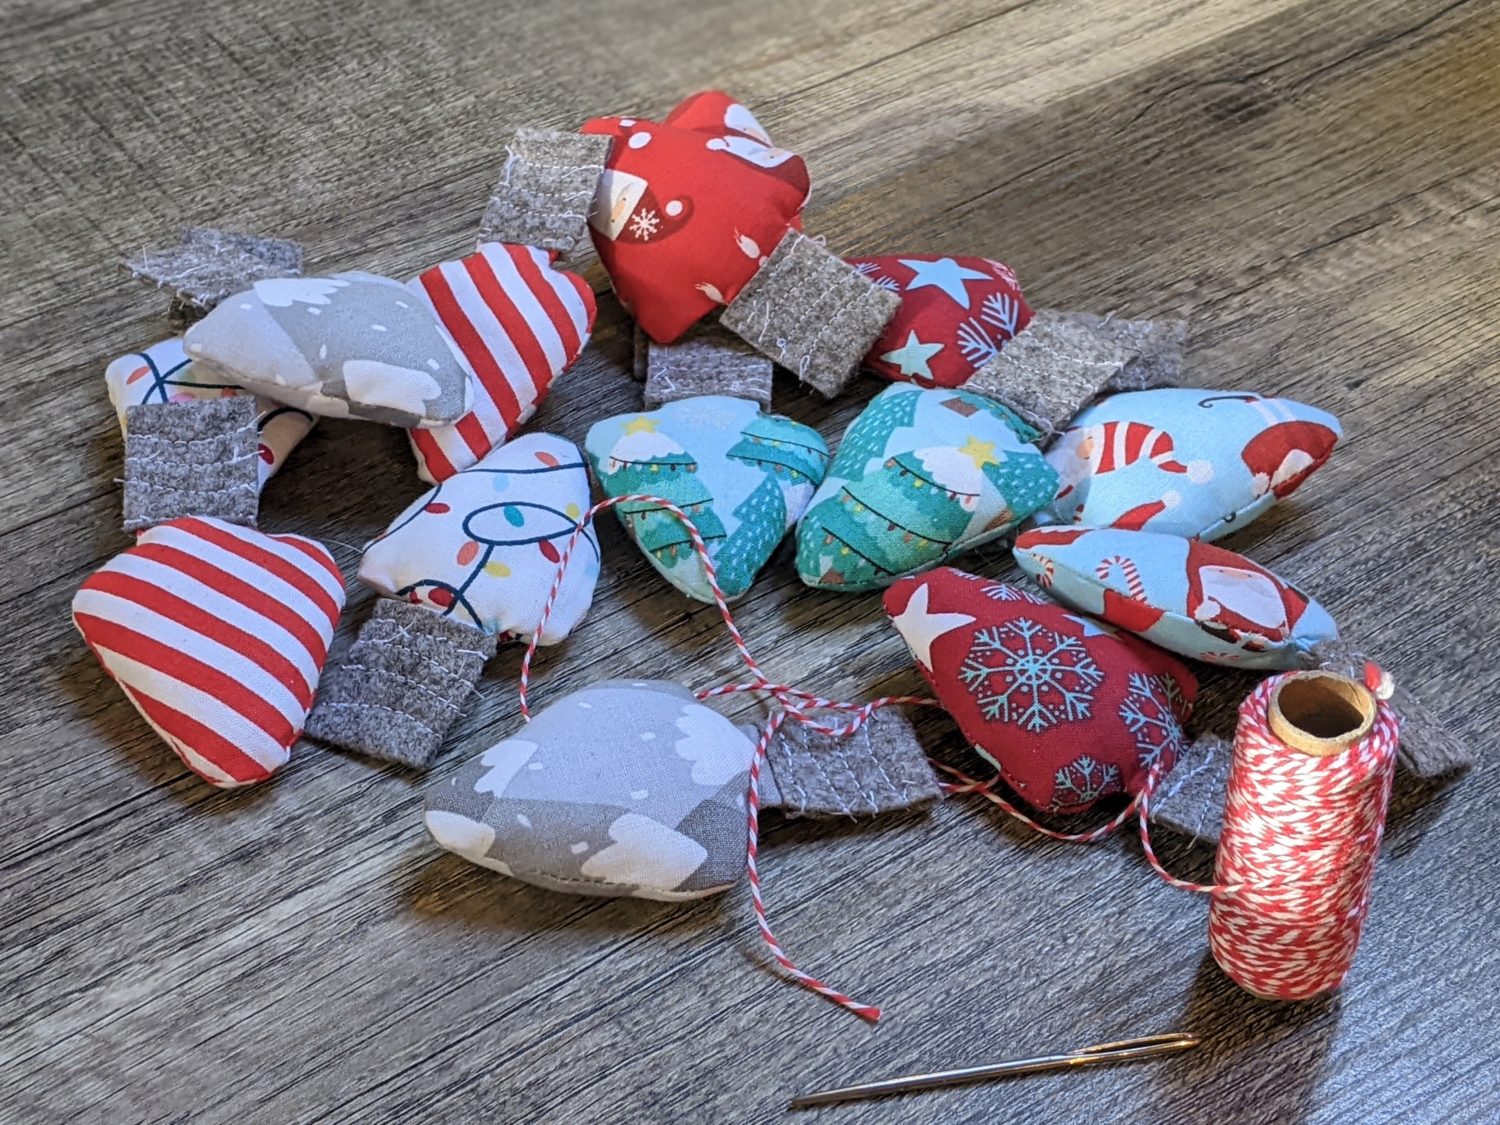
Cut out the Pieces
- For each light, you will need to cut out 2 bulb pieces from fabric and 1 top piece from felt.
Sewing the Lights
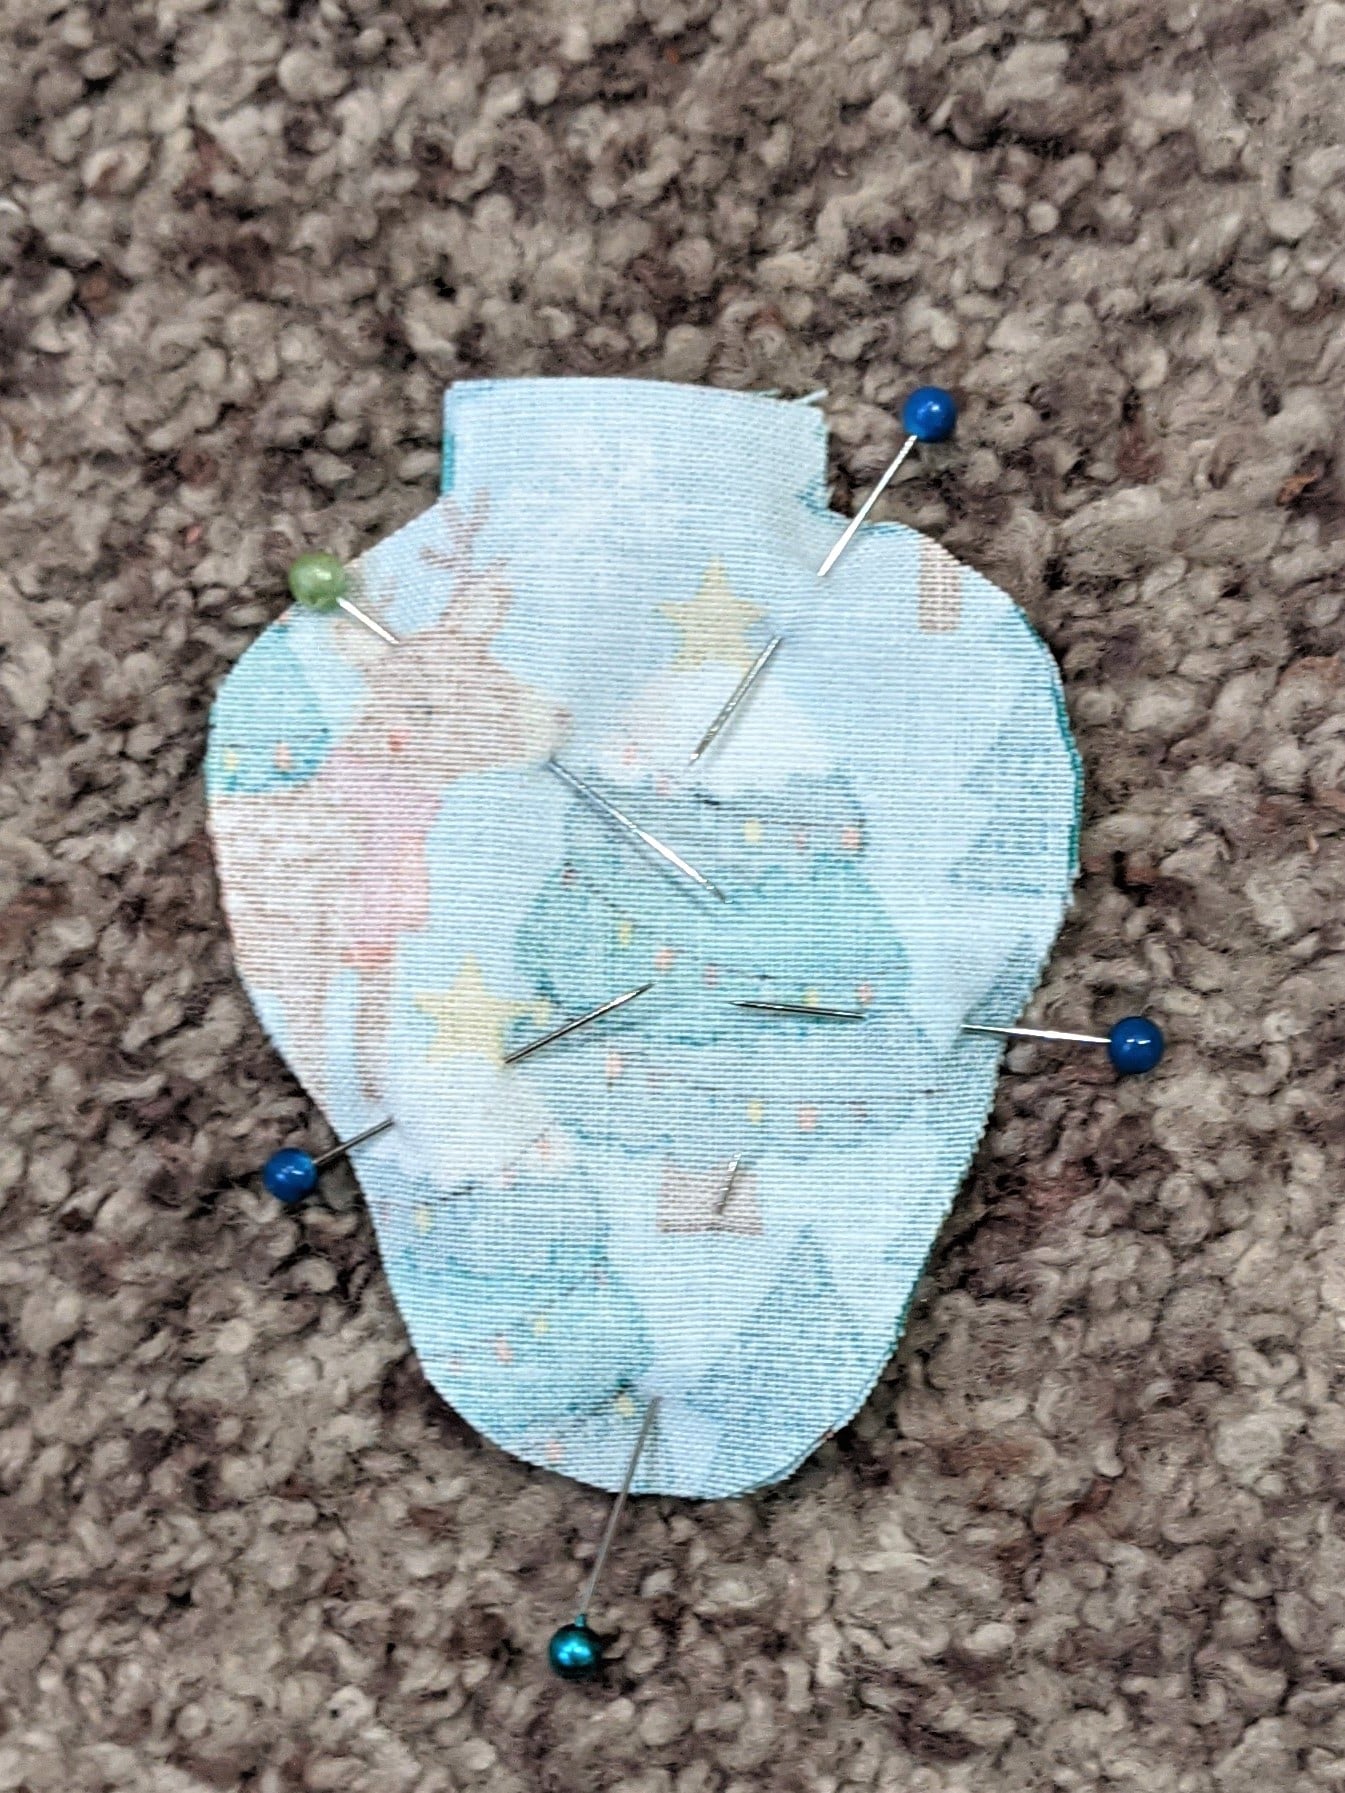
- Place the two light bulb pieces right sides together and pin.
- Sew with a 1/4″ seam allowance leaving the top of the bulb open. Backstitch and the beginning and end of the stitching.
- Snip around the edge of the seam allowance towards the stitching making sure not to cut the stitches.

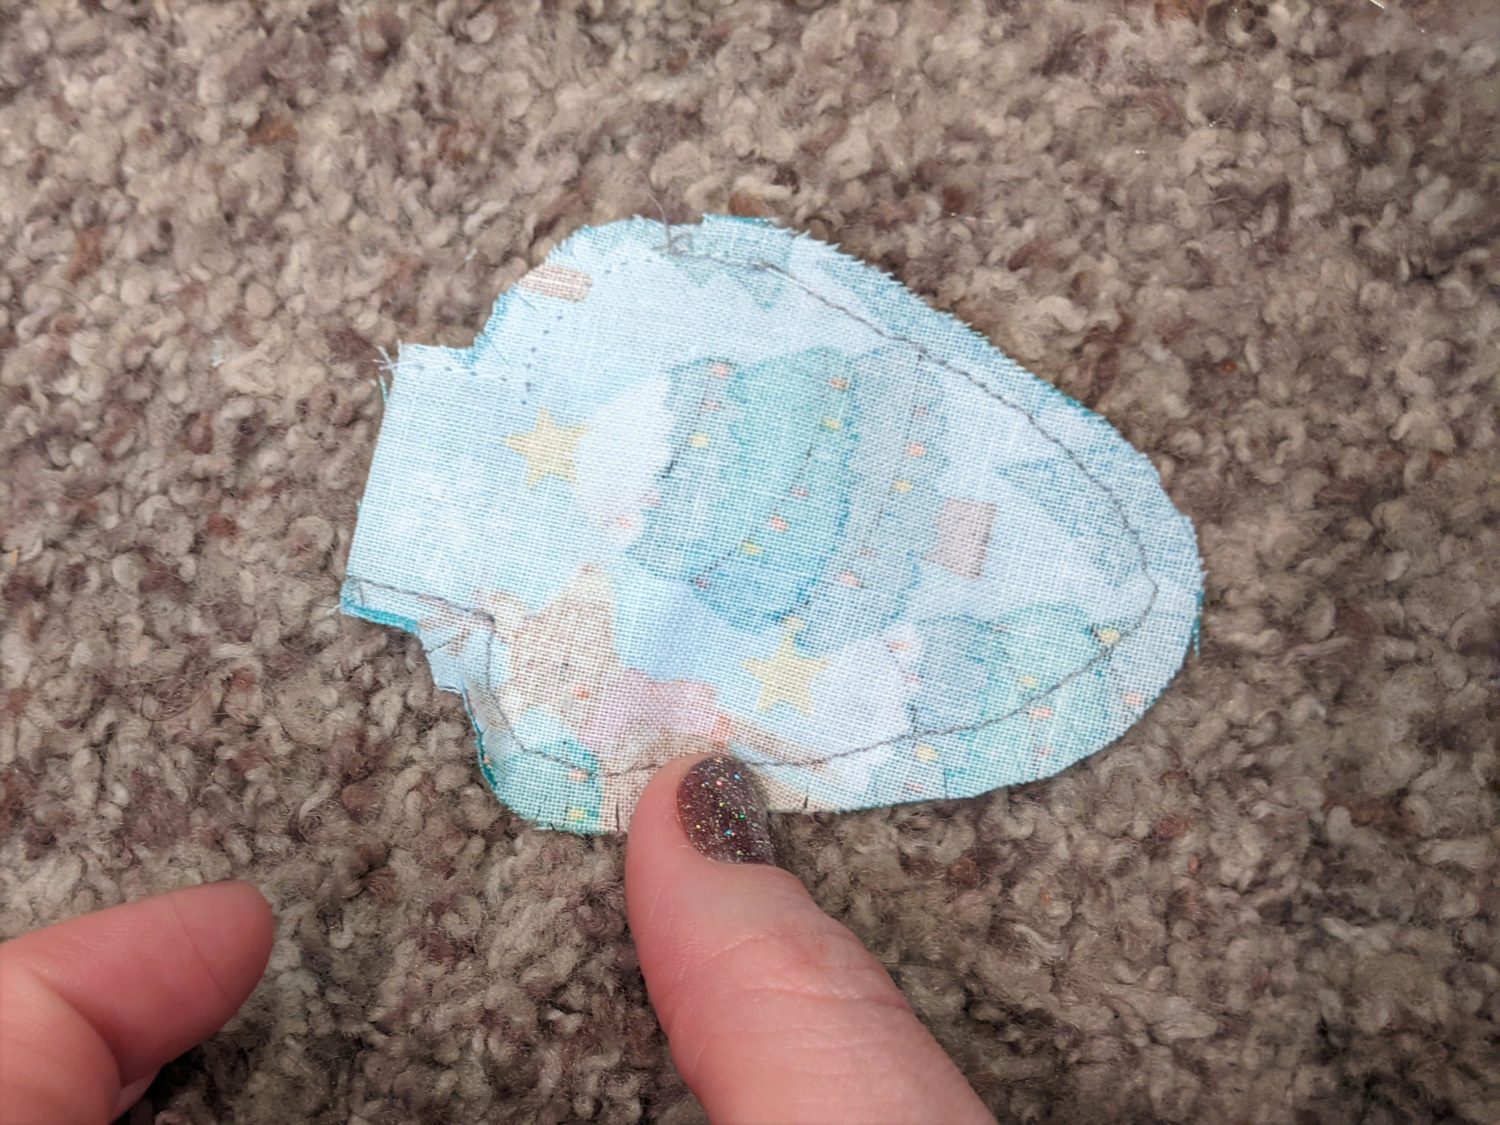
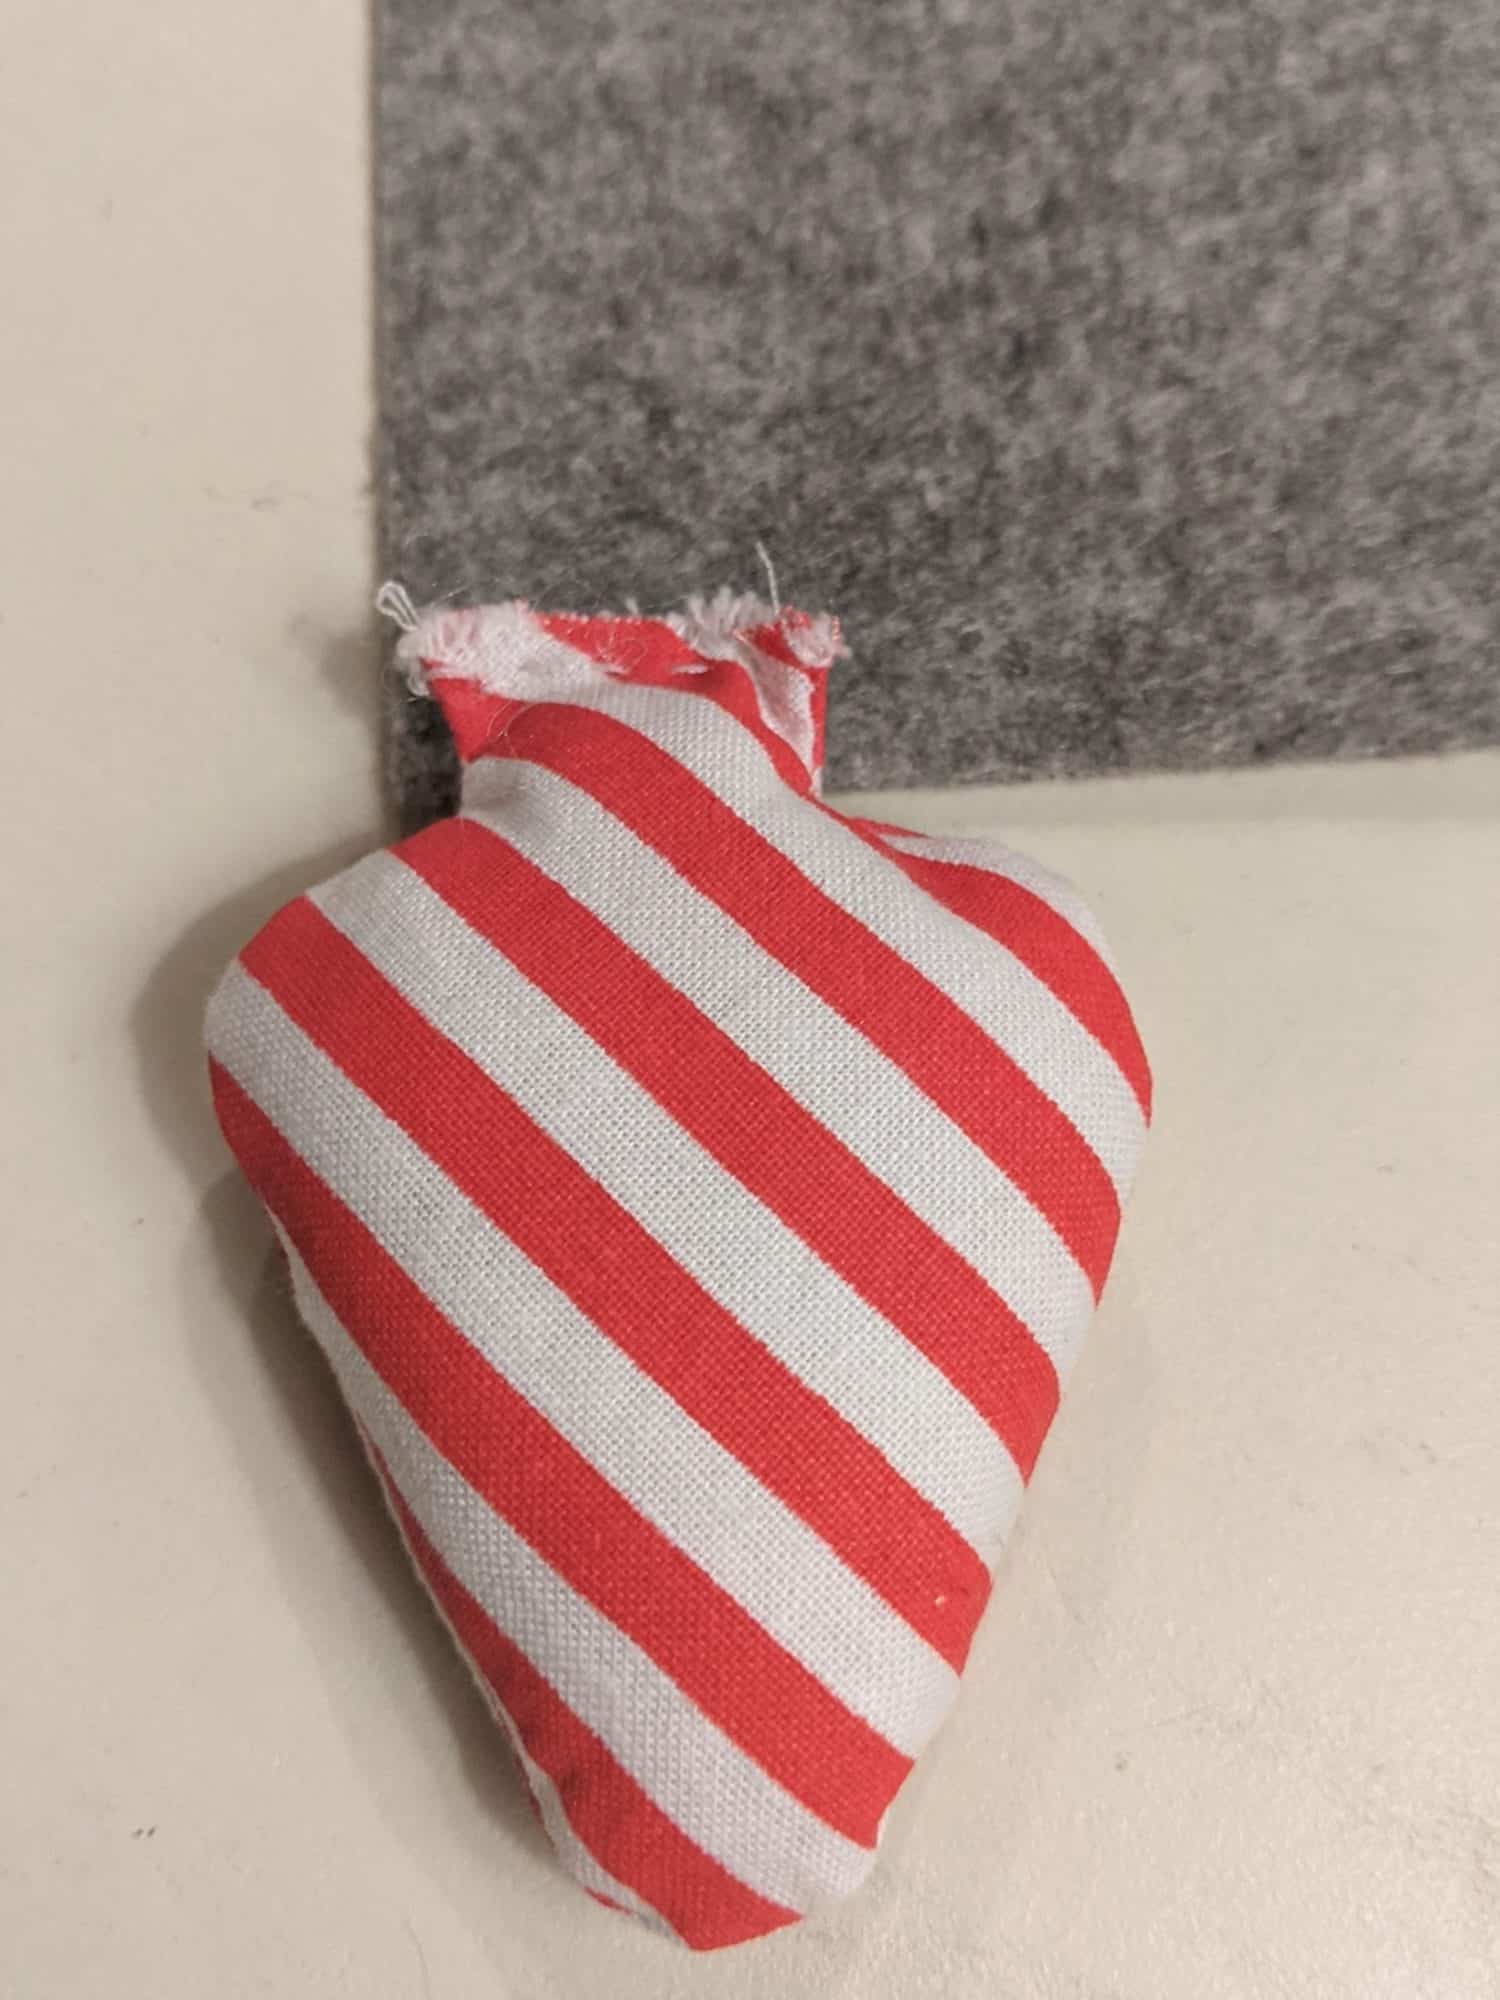
- Turn the light bulb right side out.
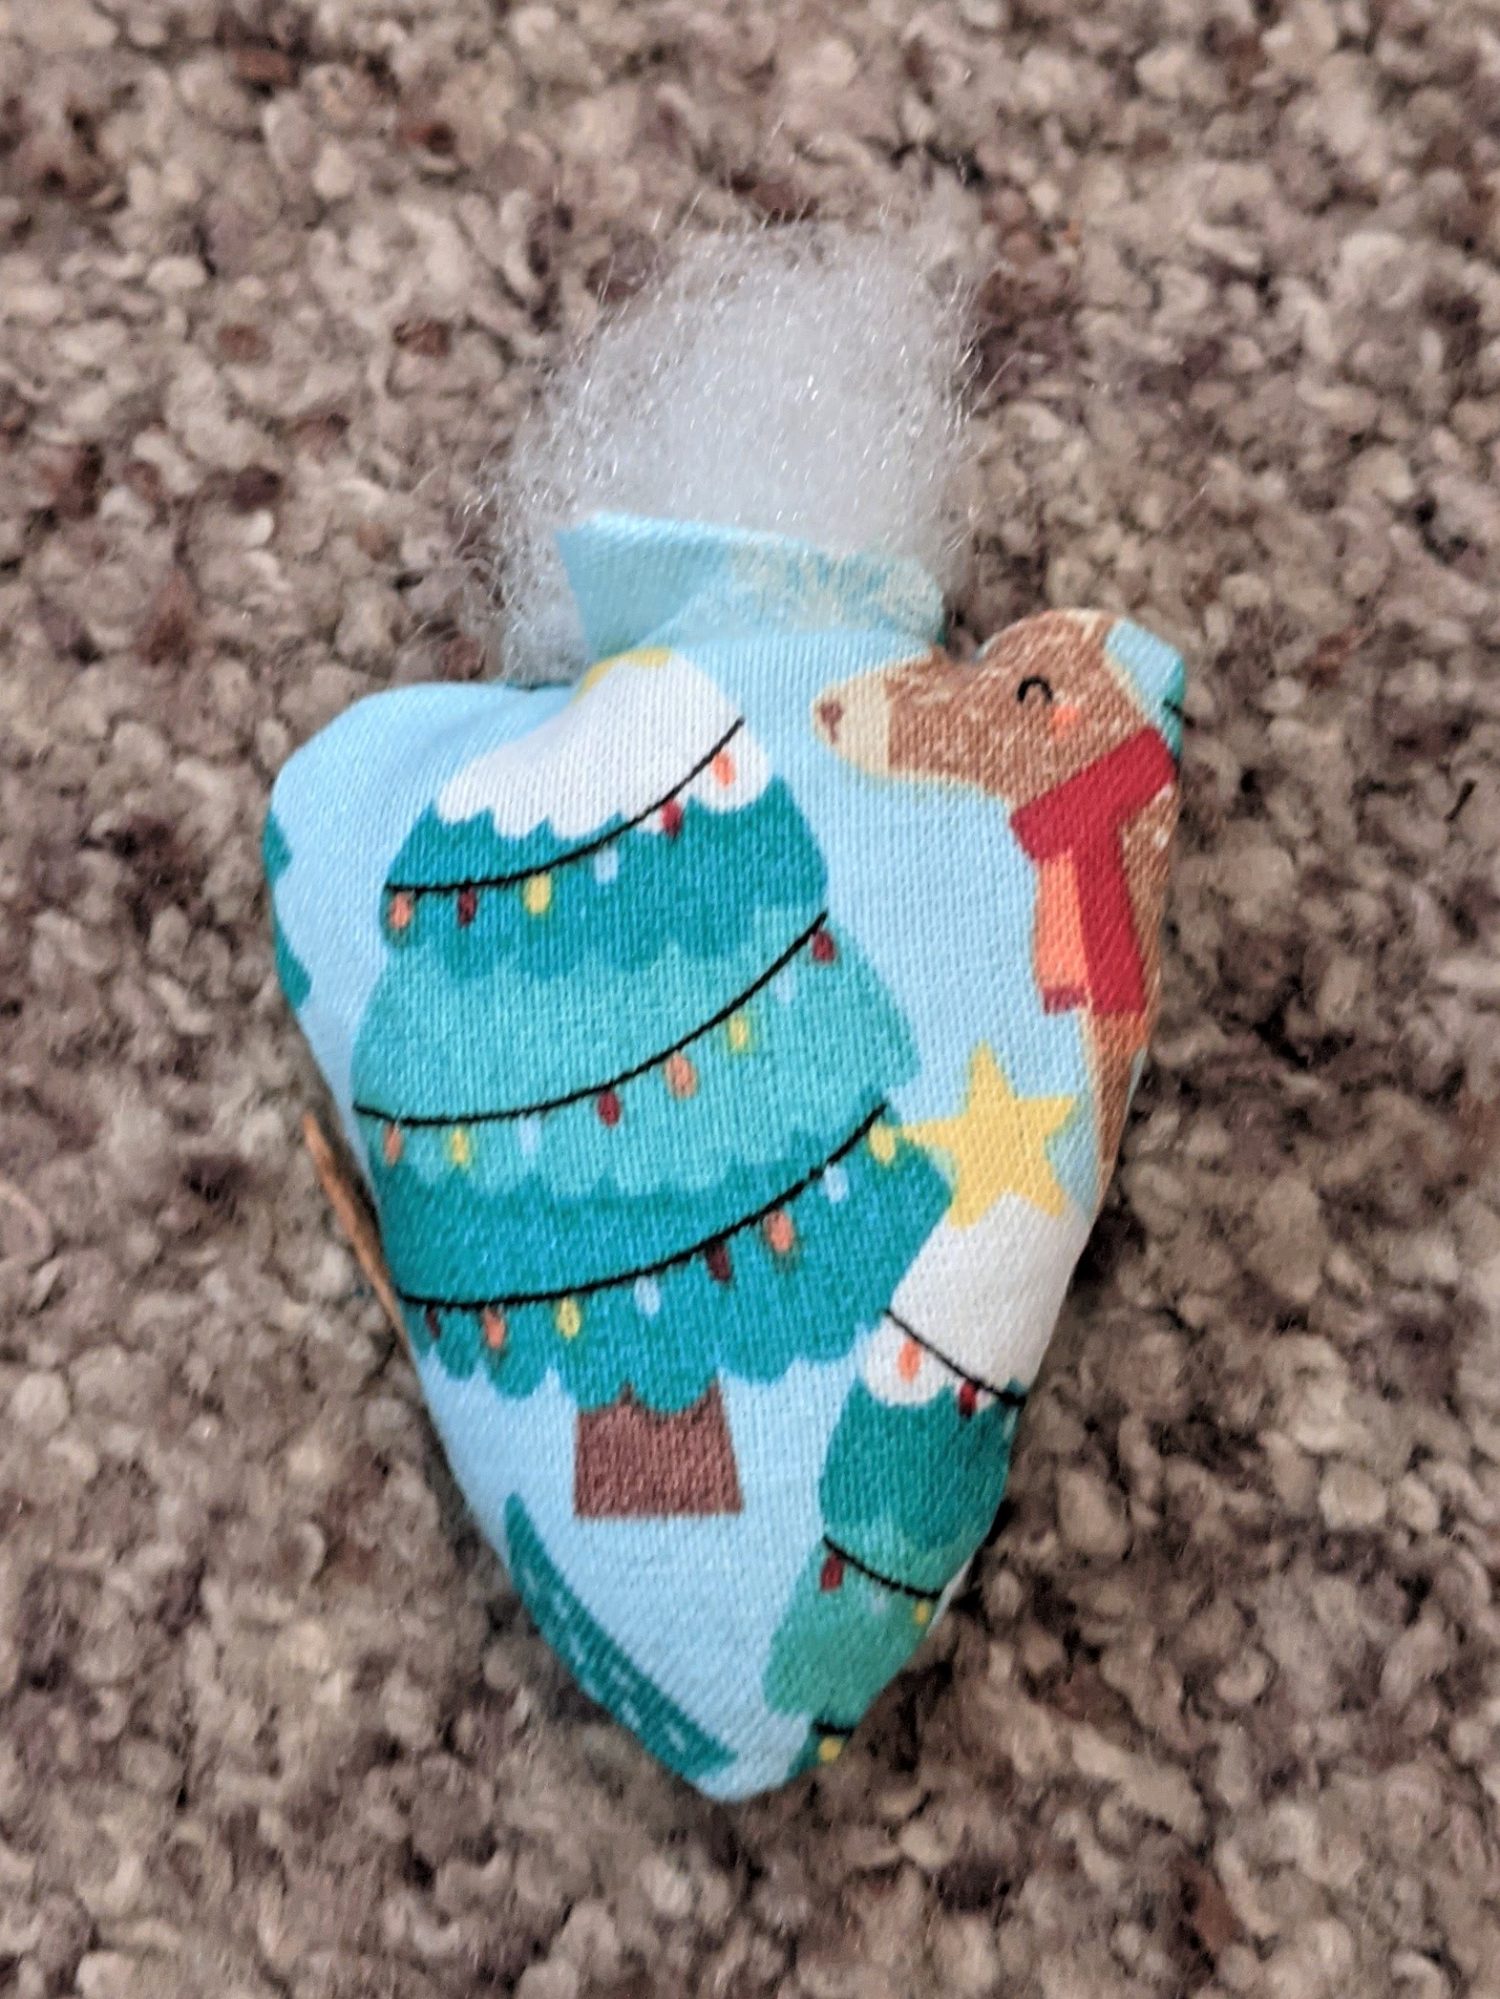
- Take a bit of fiberfill stuffing and stuff the bulb. This can be a little hard with the small opening. I used the eraser side of a pencil to get it all the way in.
- Once filled, use a needle and thread to stitch the top closed.
Attaching the Top
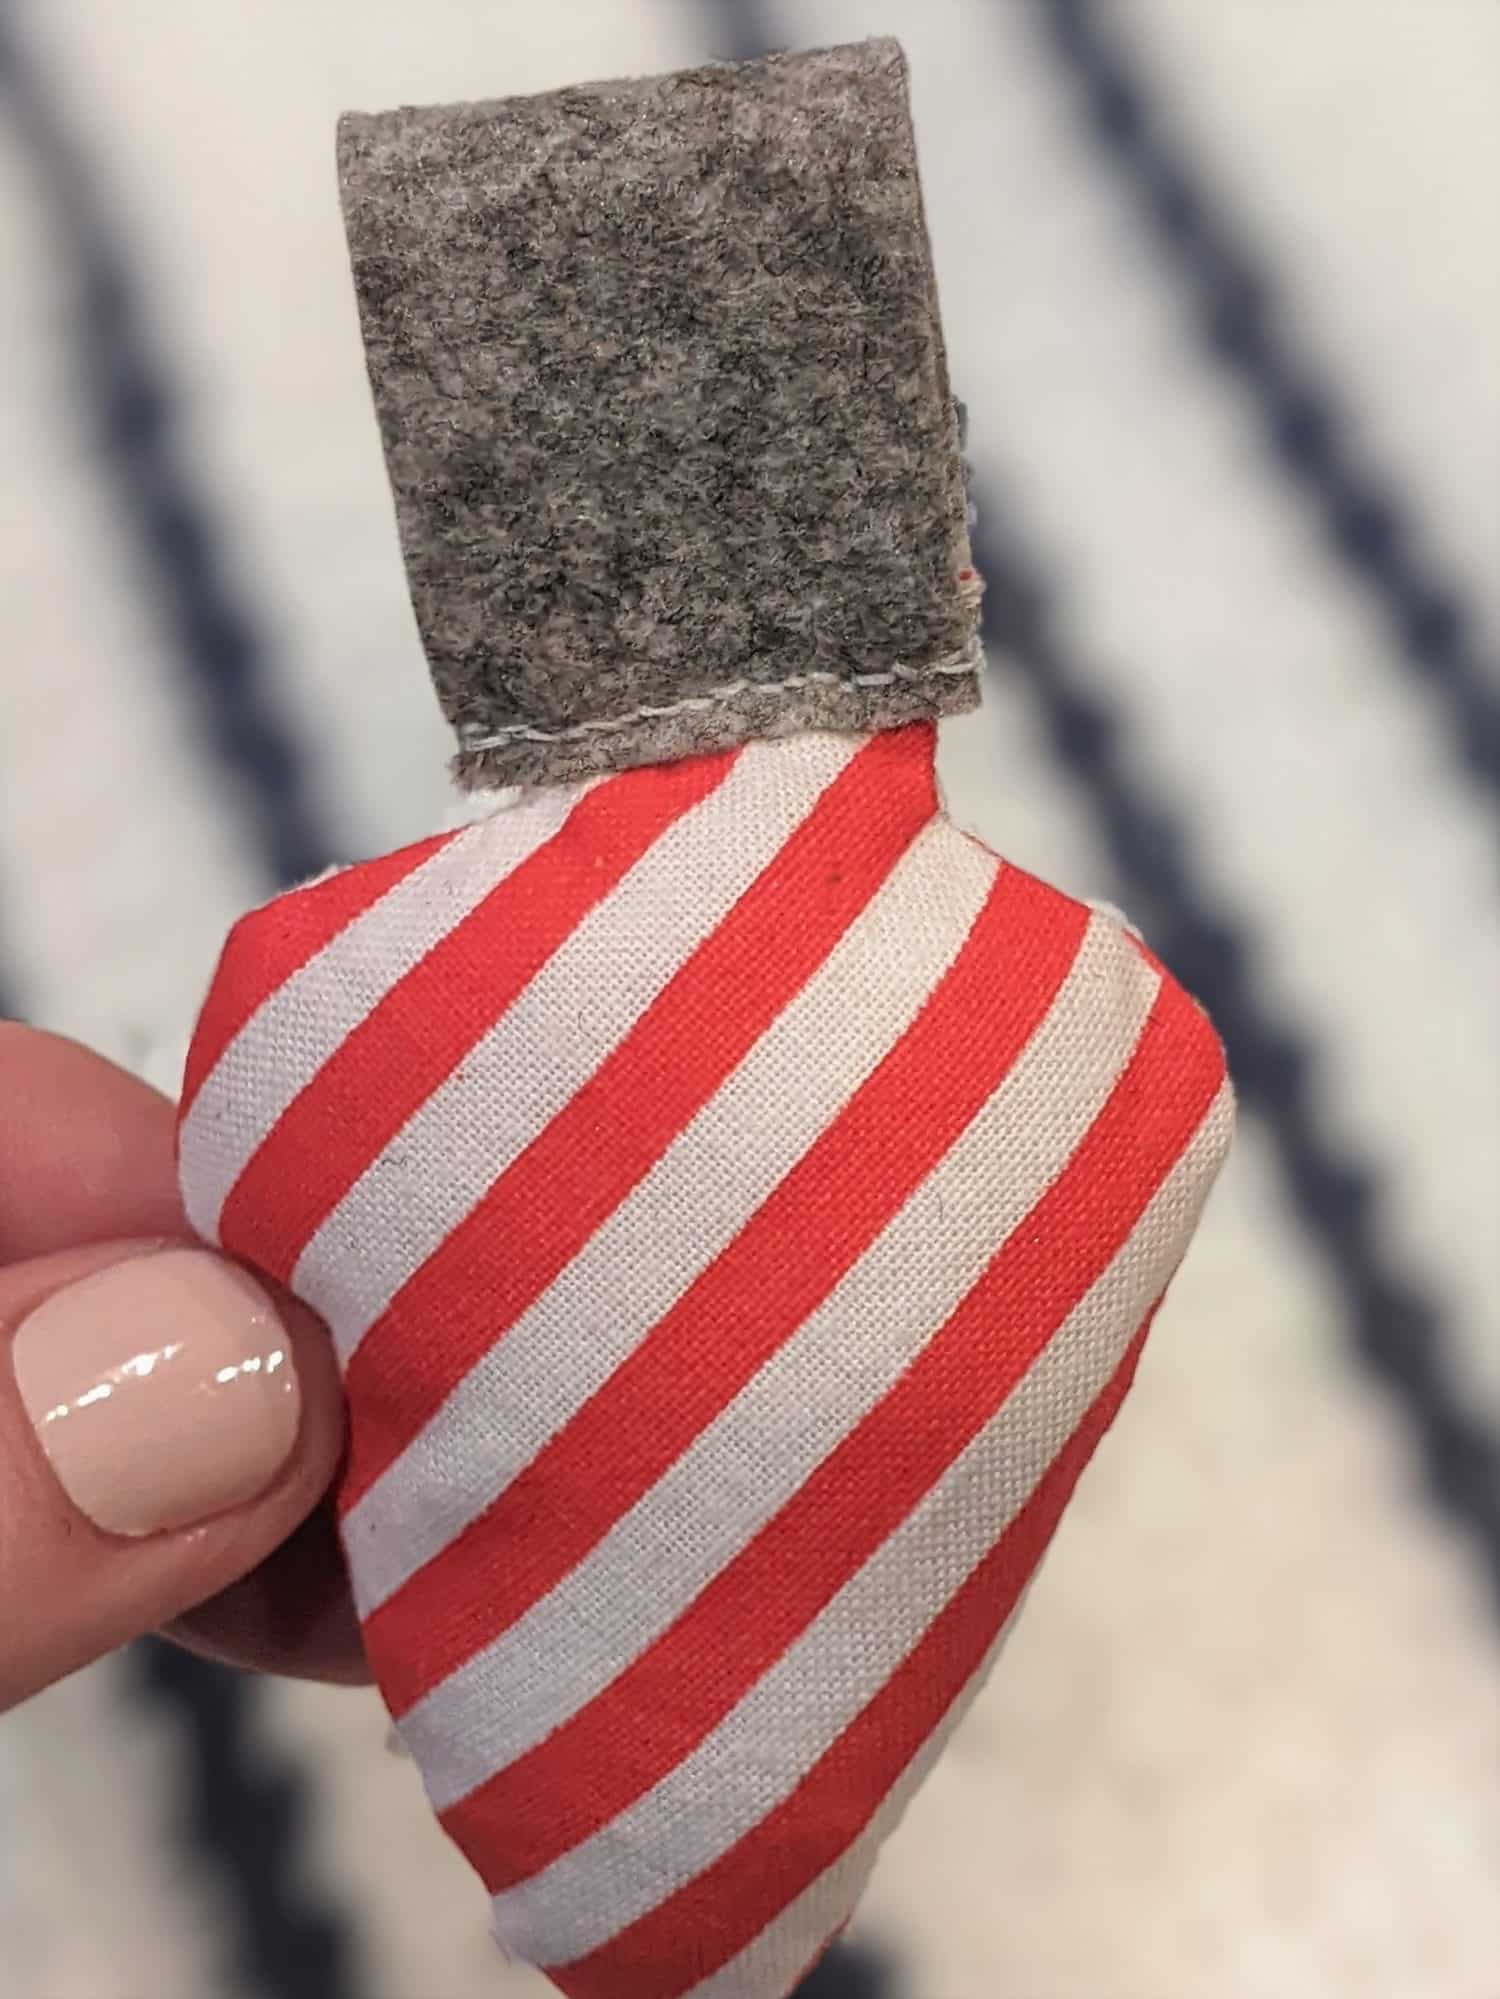
- Cut out a strip of felt that is the width of the top of your light bulb. This should measure approximately 1″ wide and 2.5″ long.
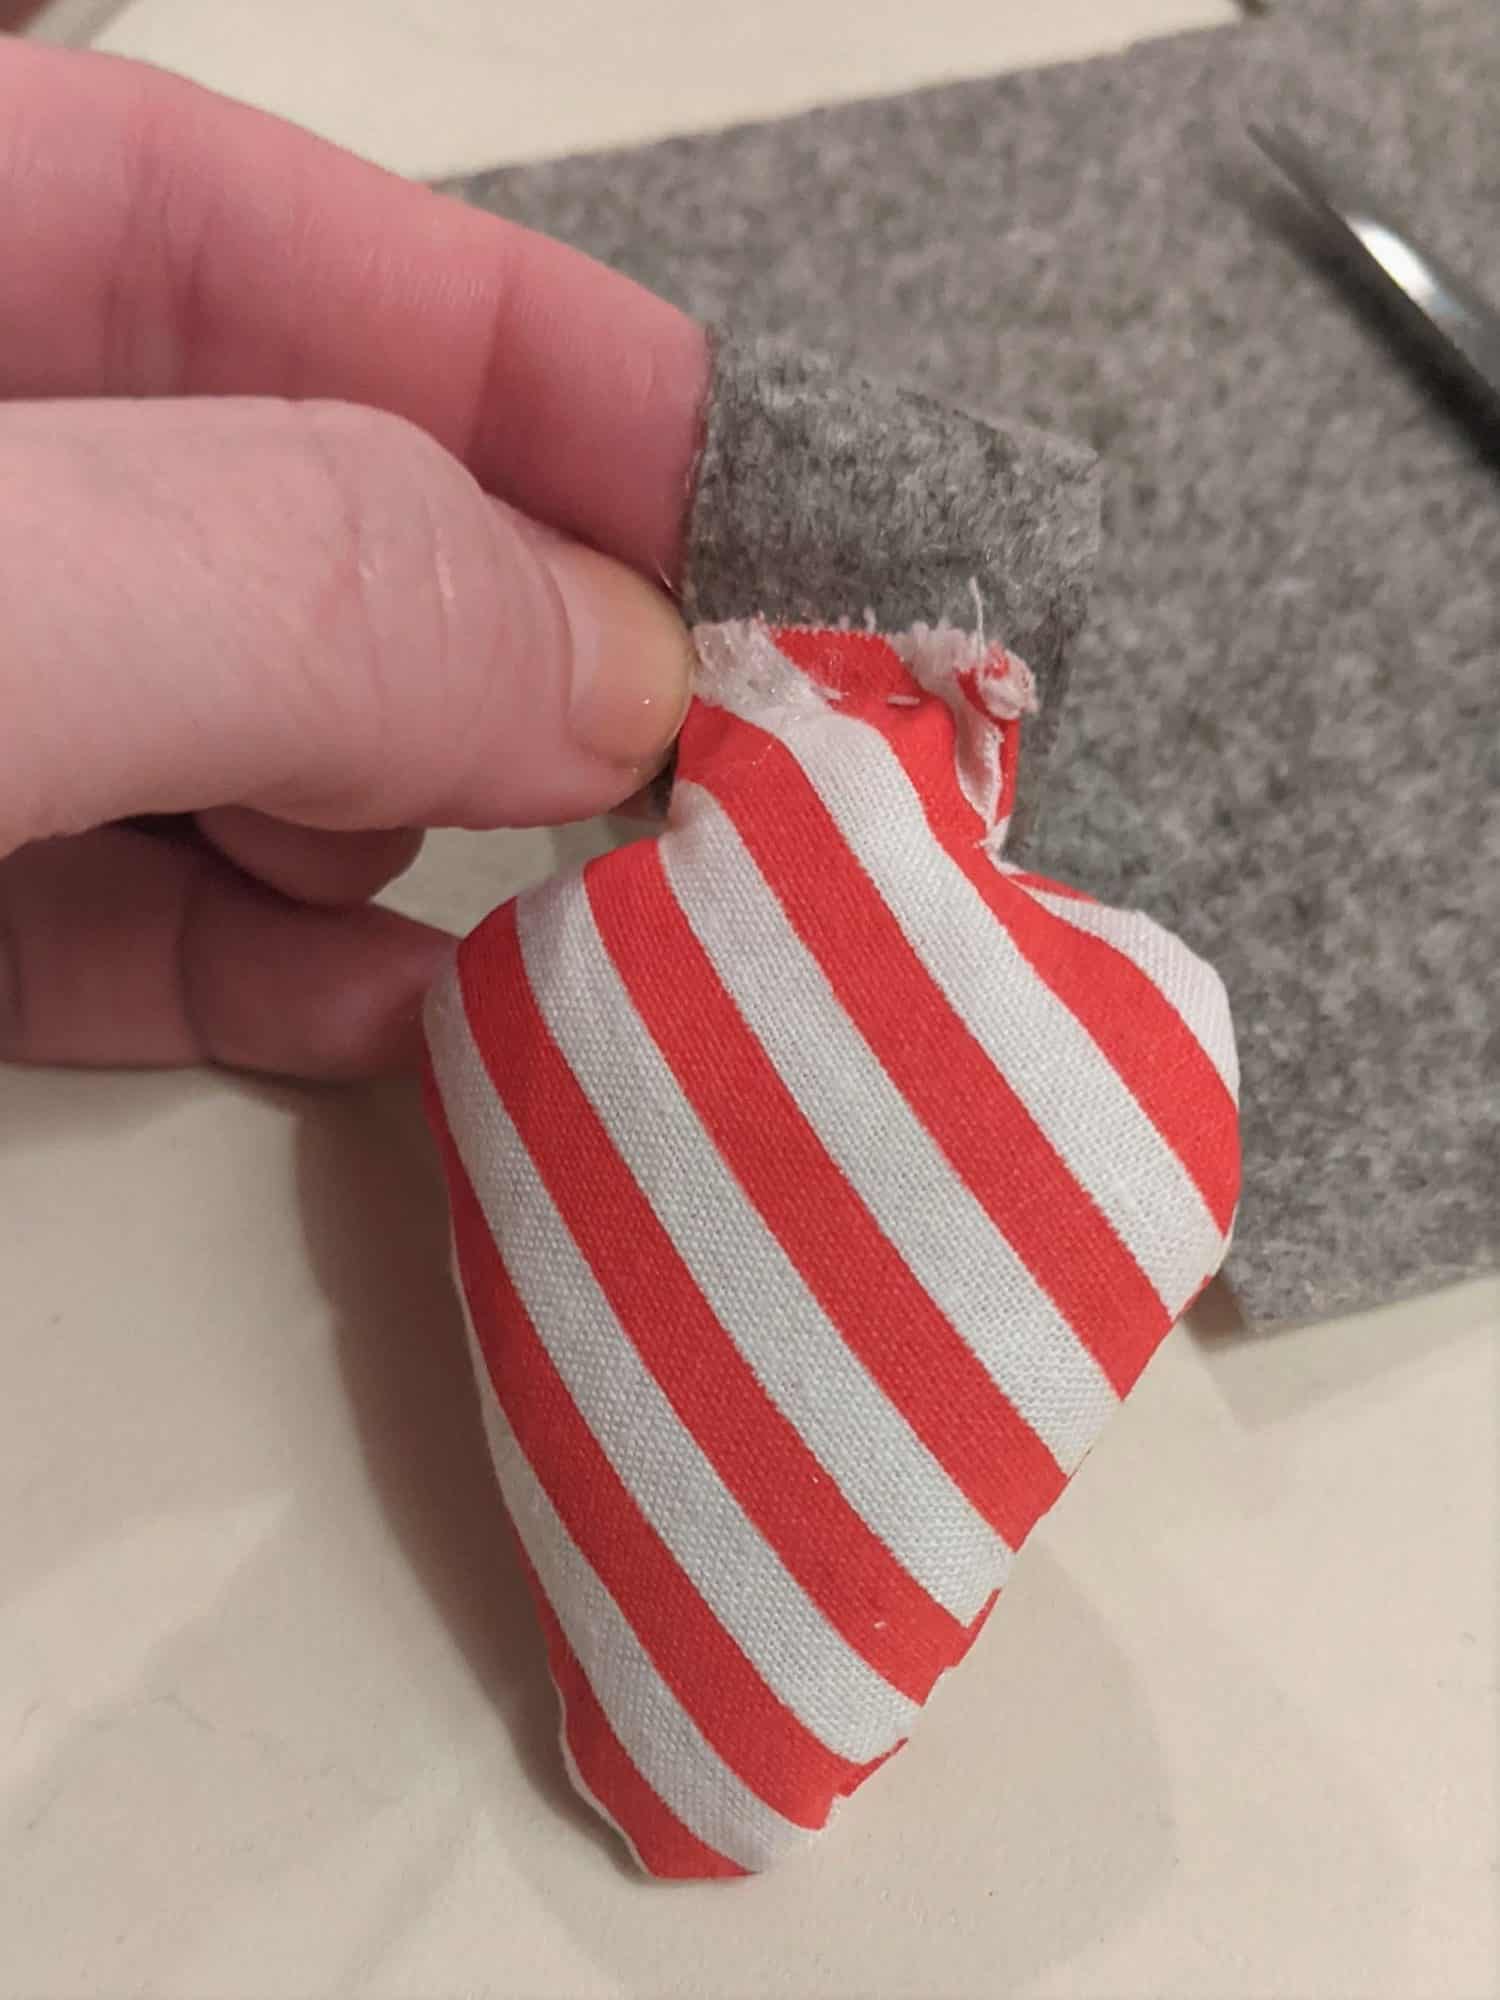
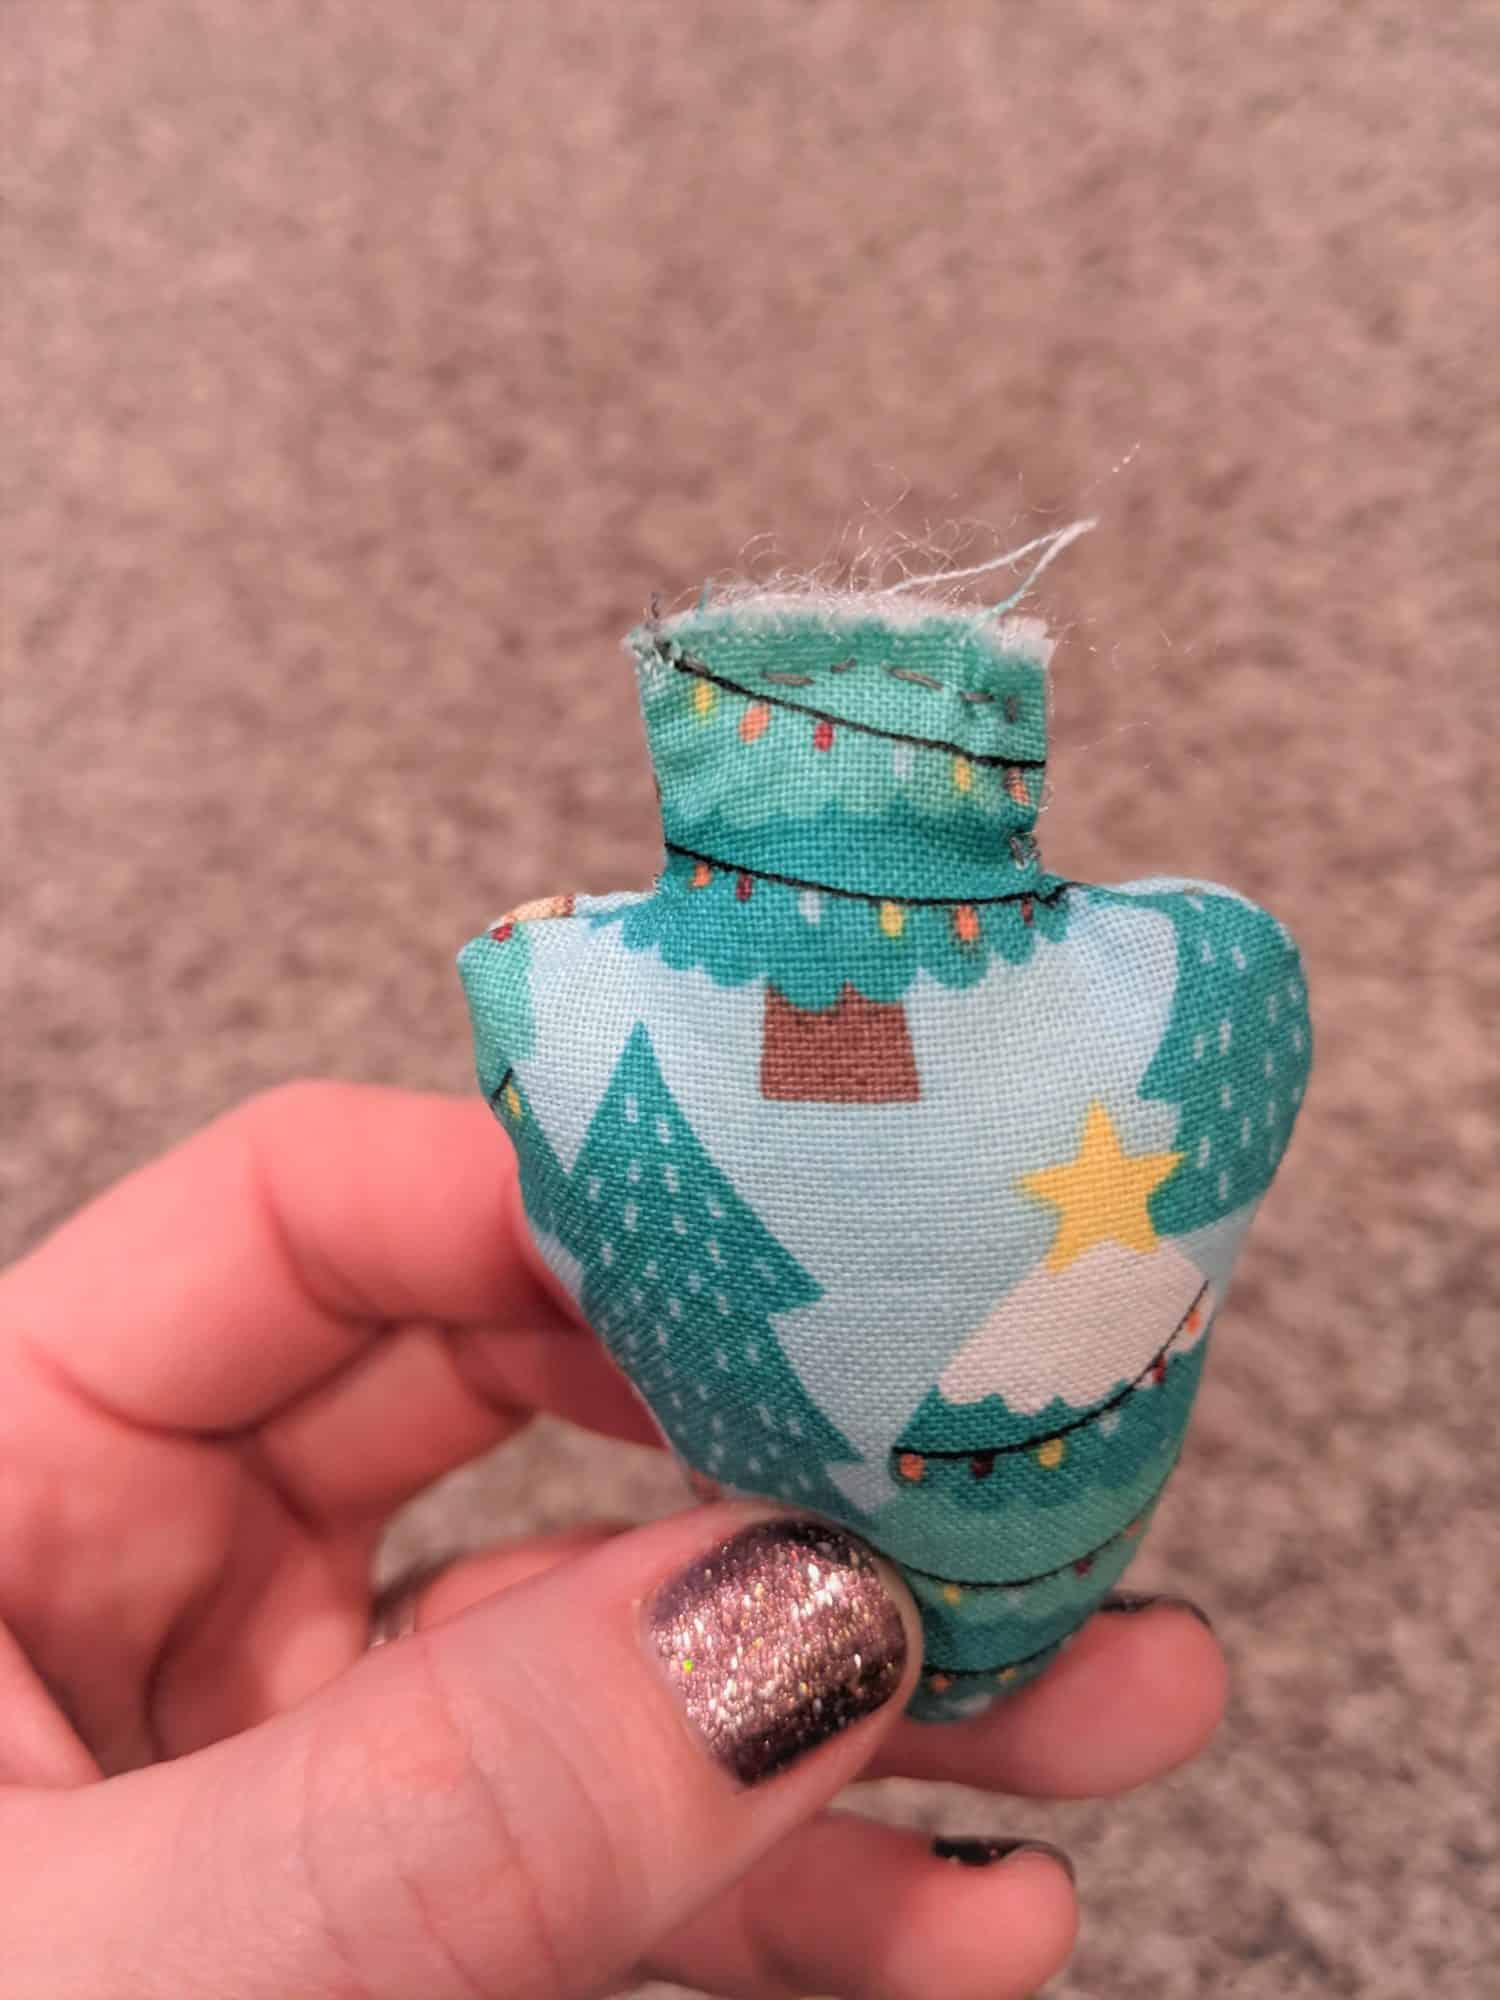
- Fold the felt piece in half and sandwich the top of the light bulb between the two sides.

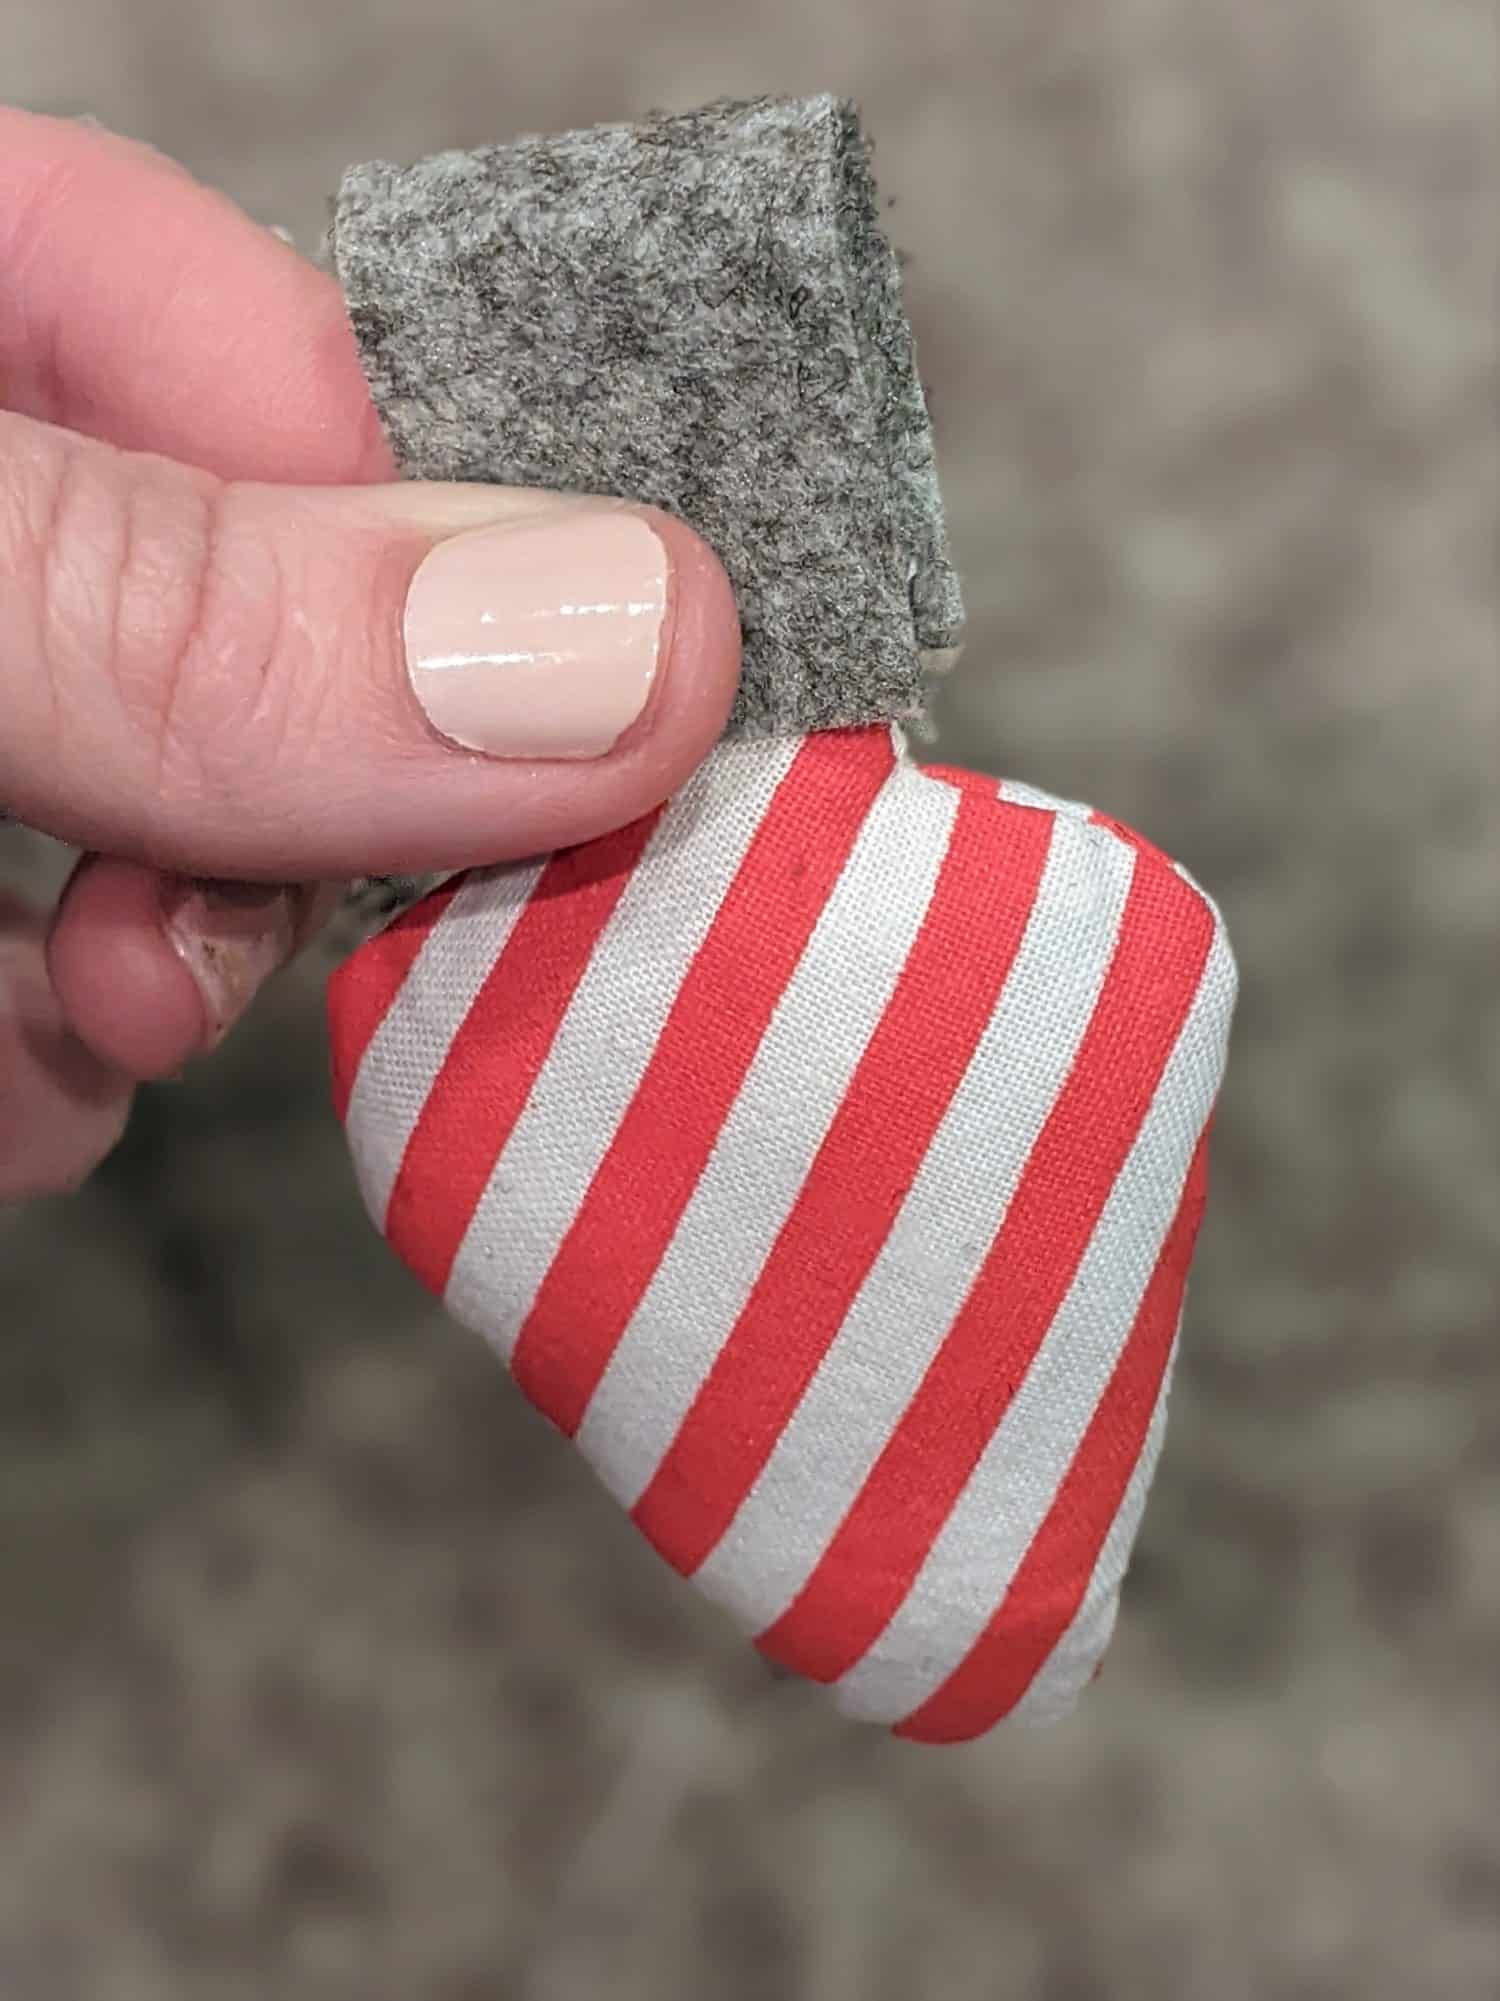
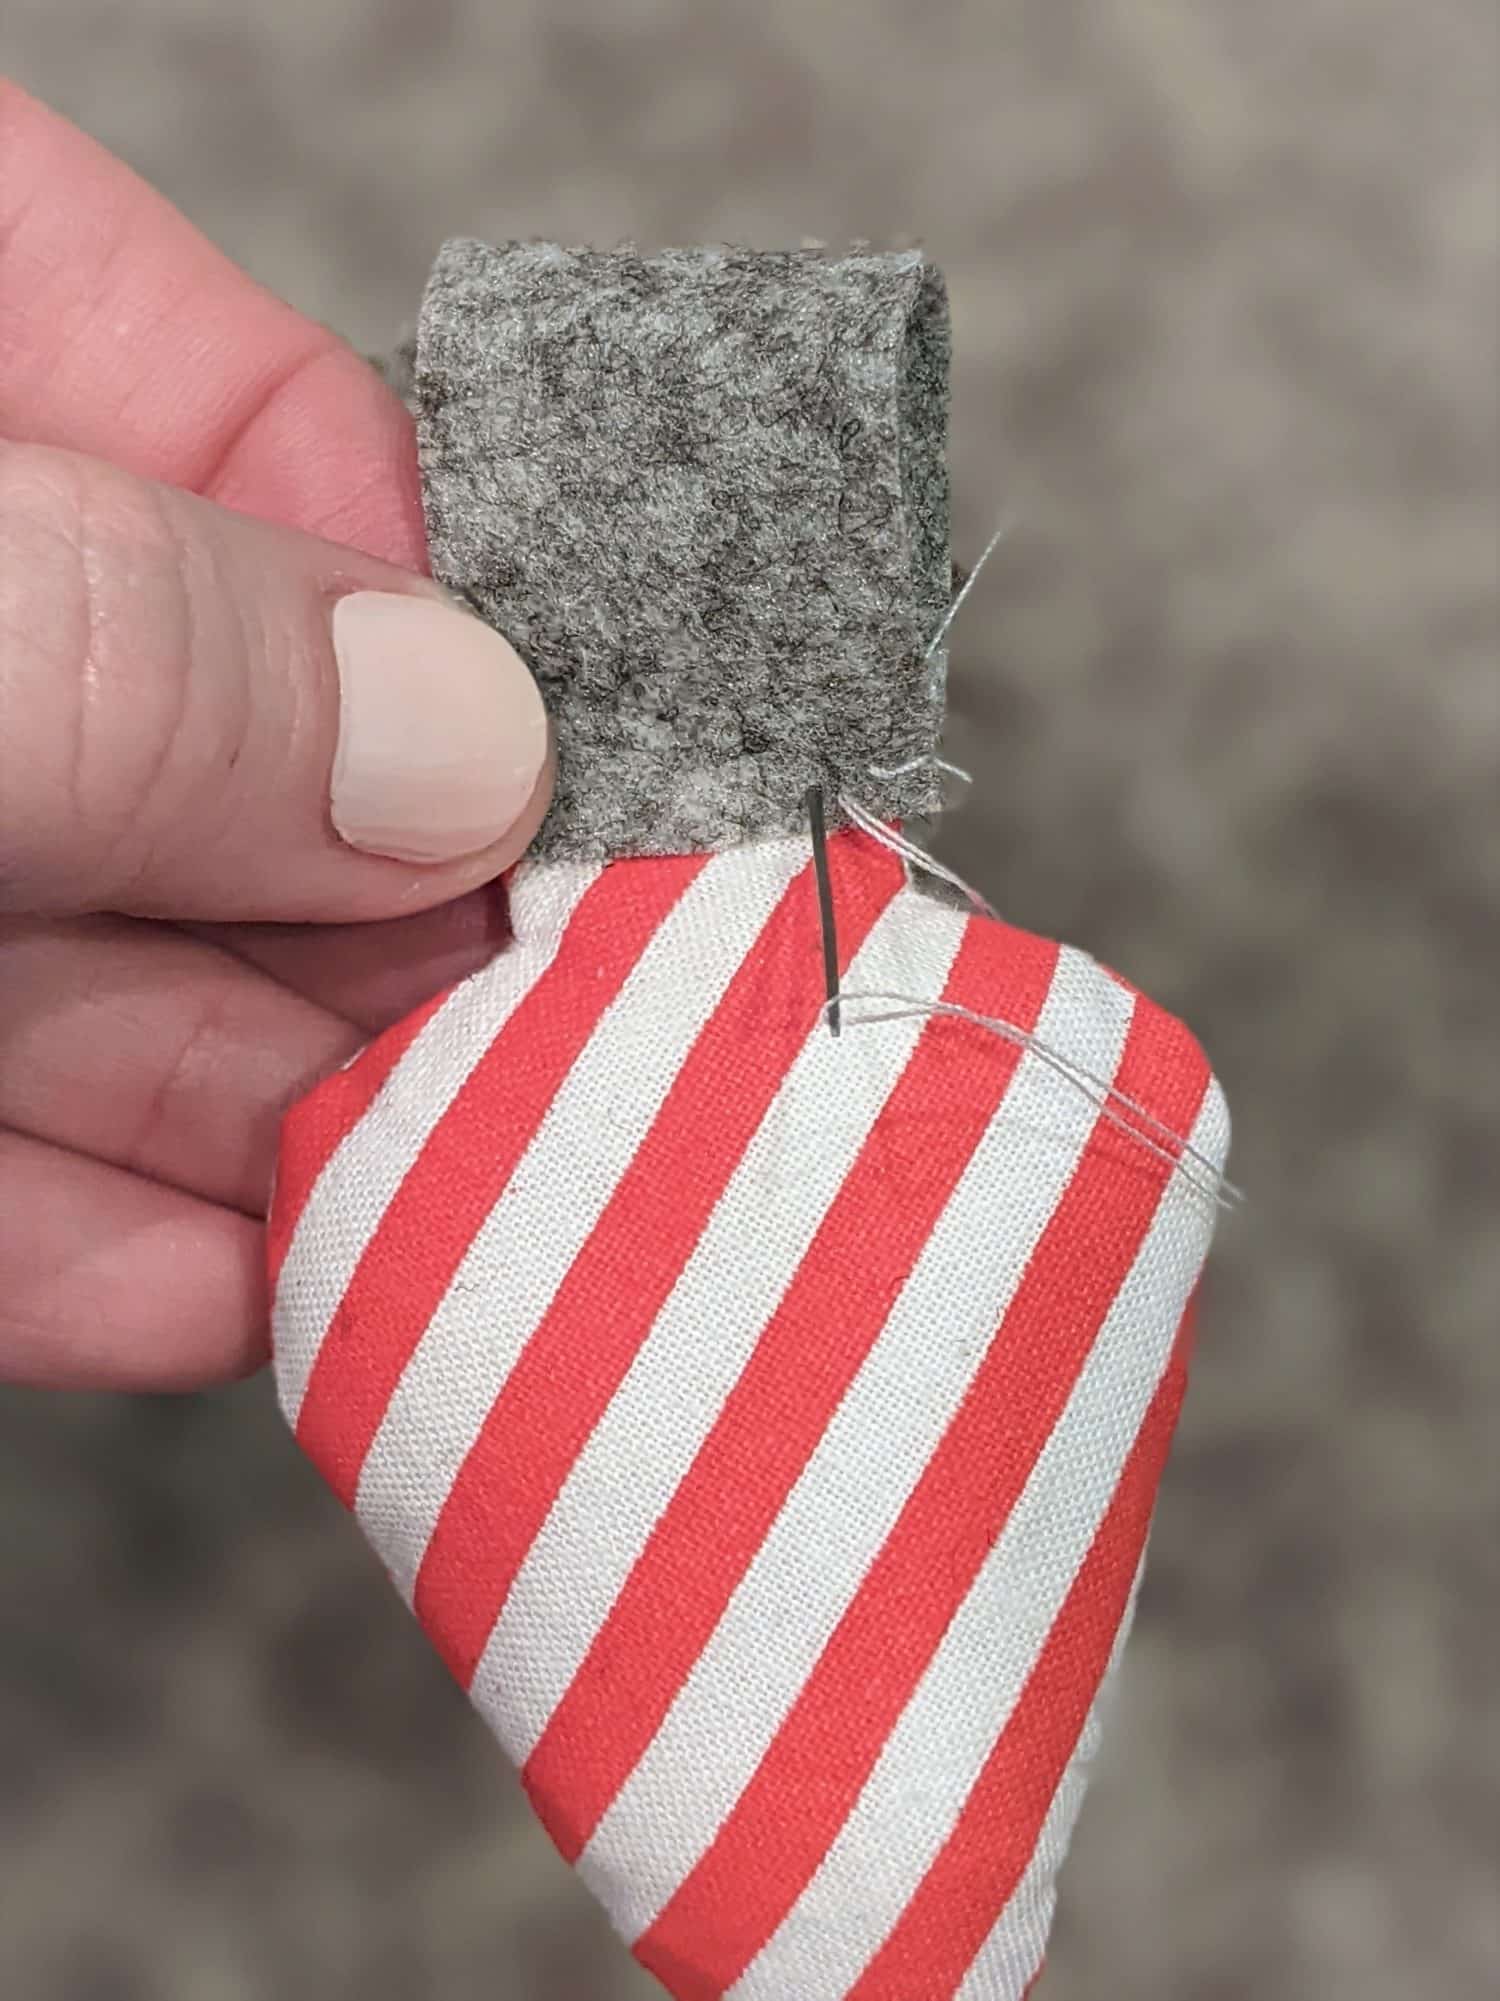
- Use your needle and thread to sew the top to the bulb along the raw edge of the felt.
- At this point, you can put them onto a string, or you can add stitching for a little more detail.
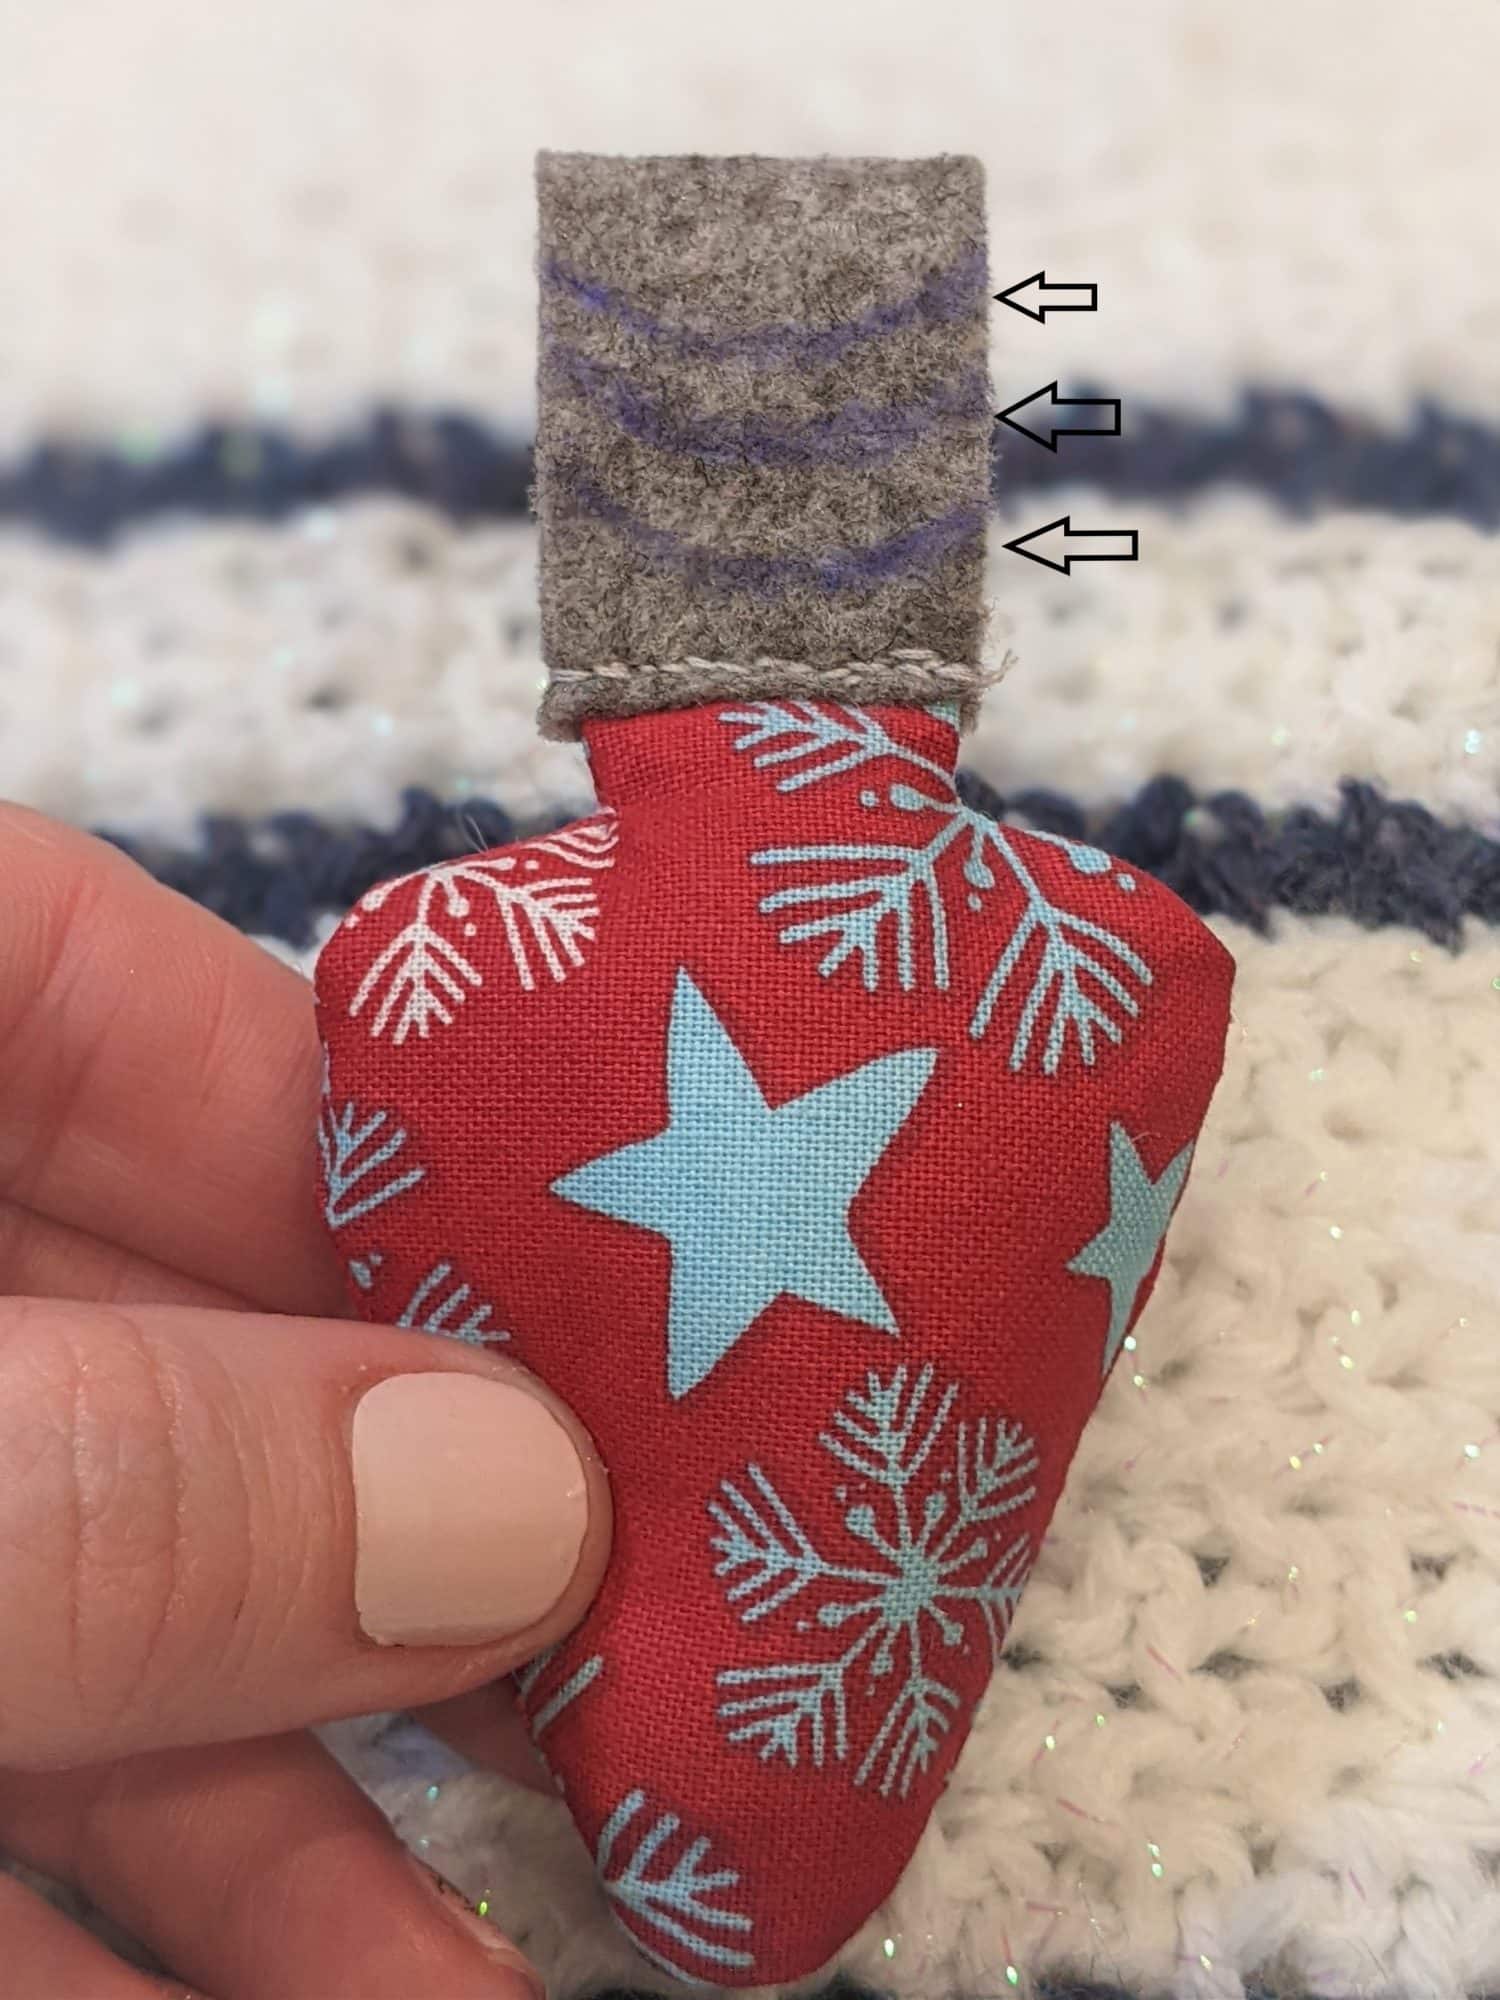
Optional Stitching Detail
- Use an air or heat soluable pen to draw a few rounded guidelines to stitch along. Or you can get really crazy and just eyeball it as you sew!
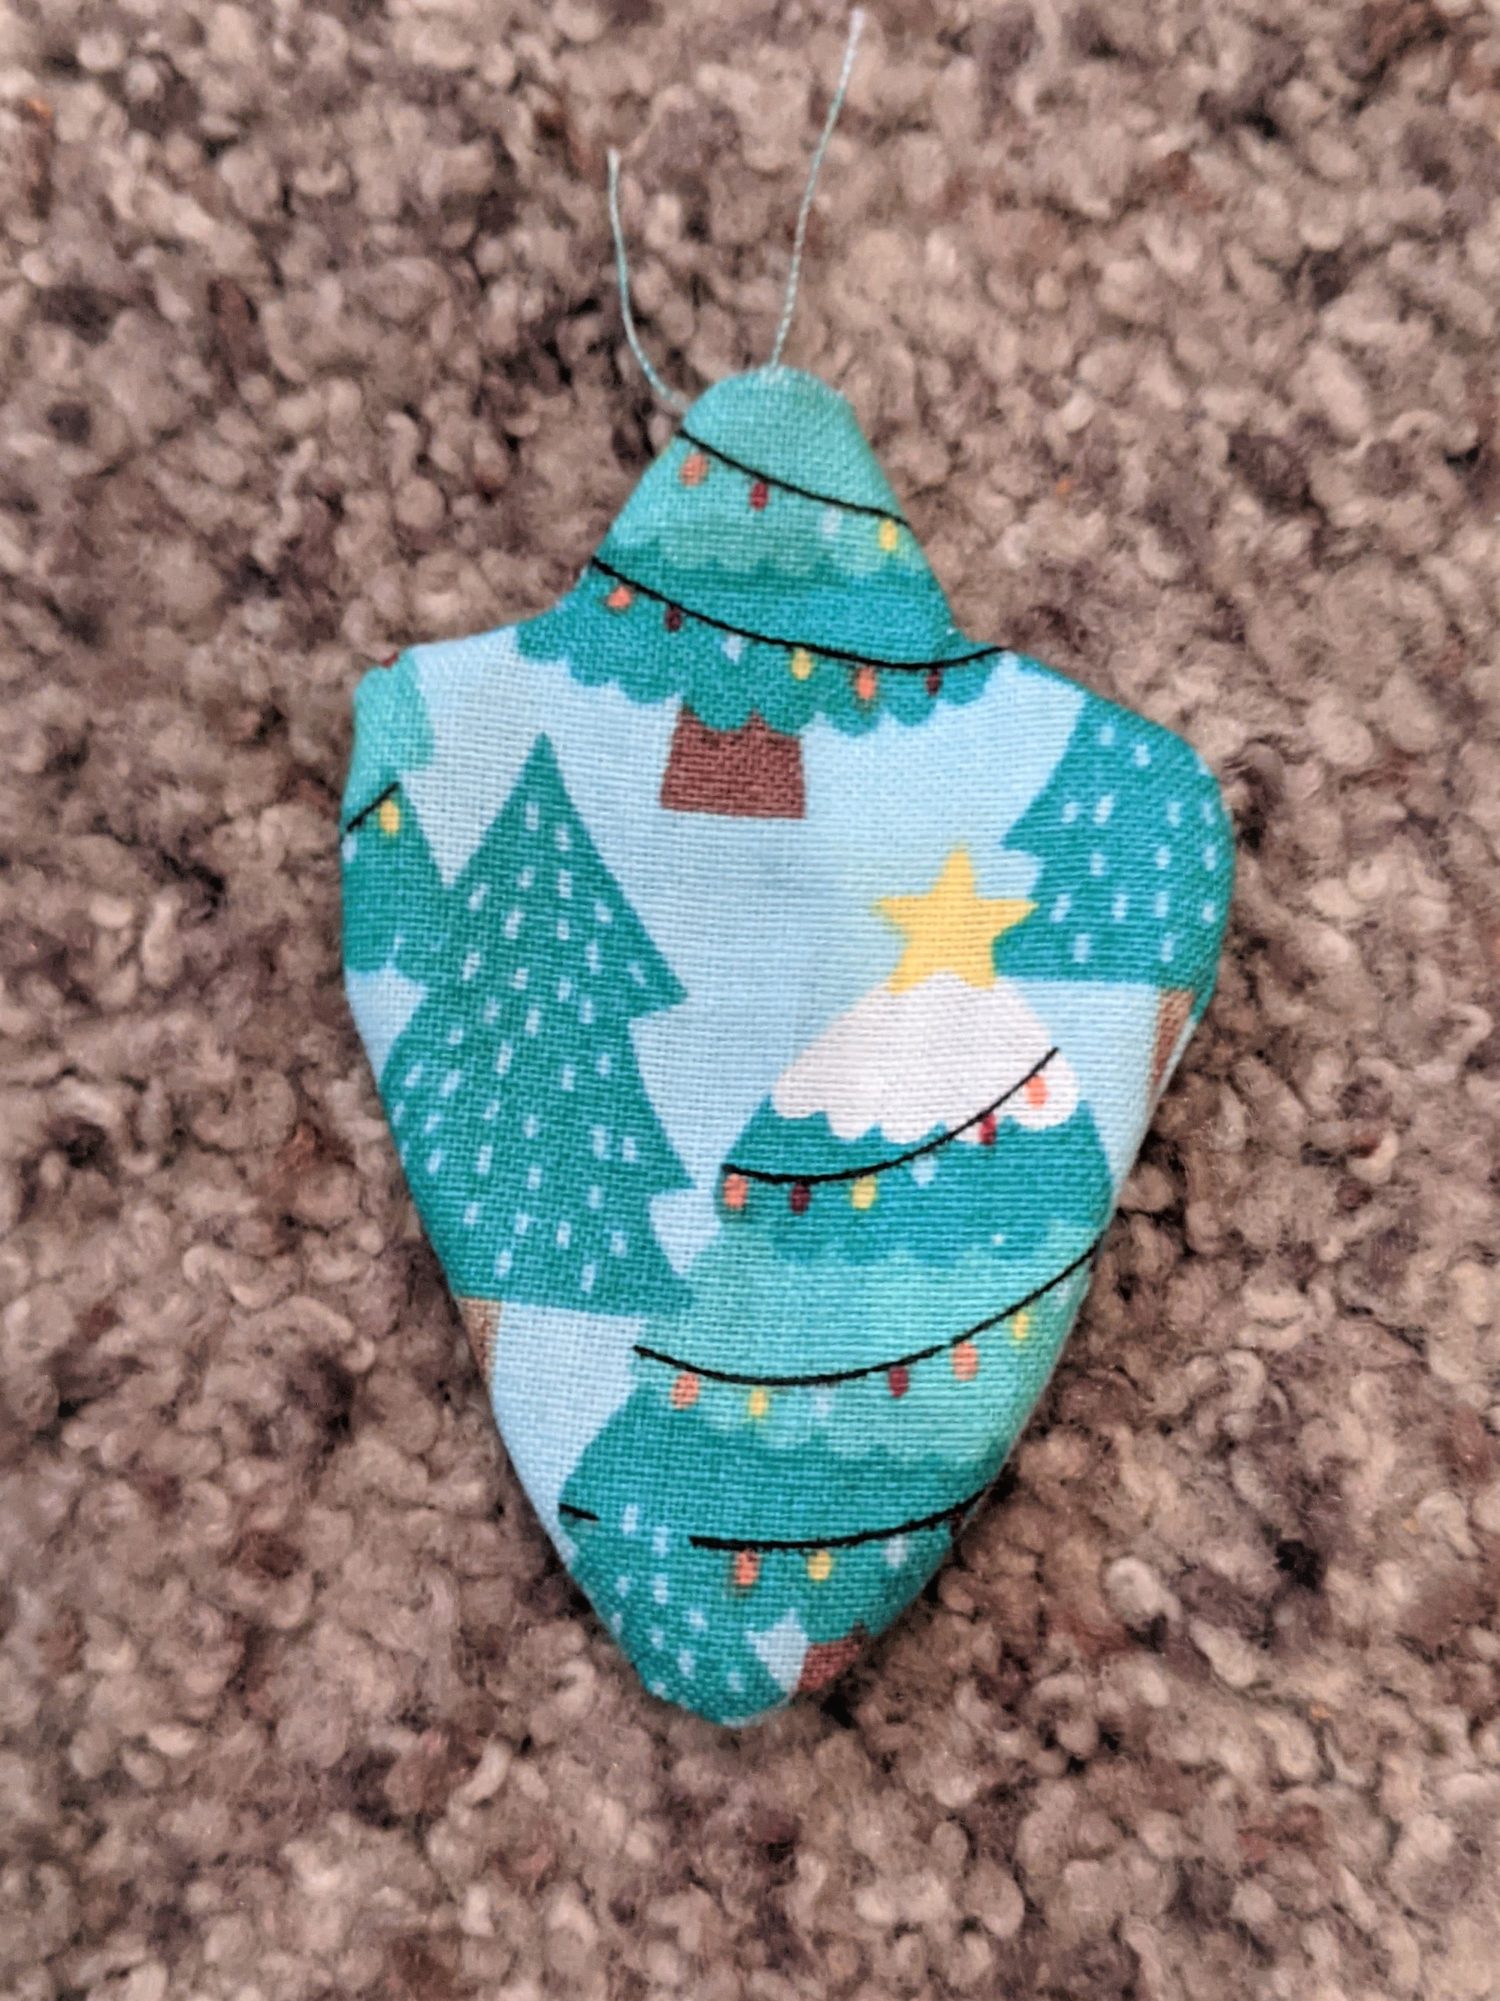
- Use your sewing machine to sew along your guidelines. Make sure to leave enough open at the top to be able to slide your string through.
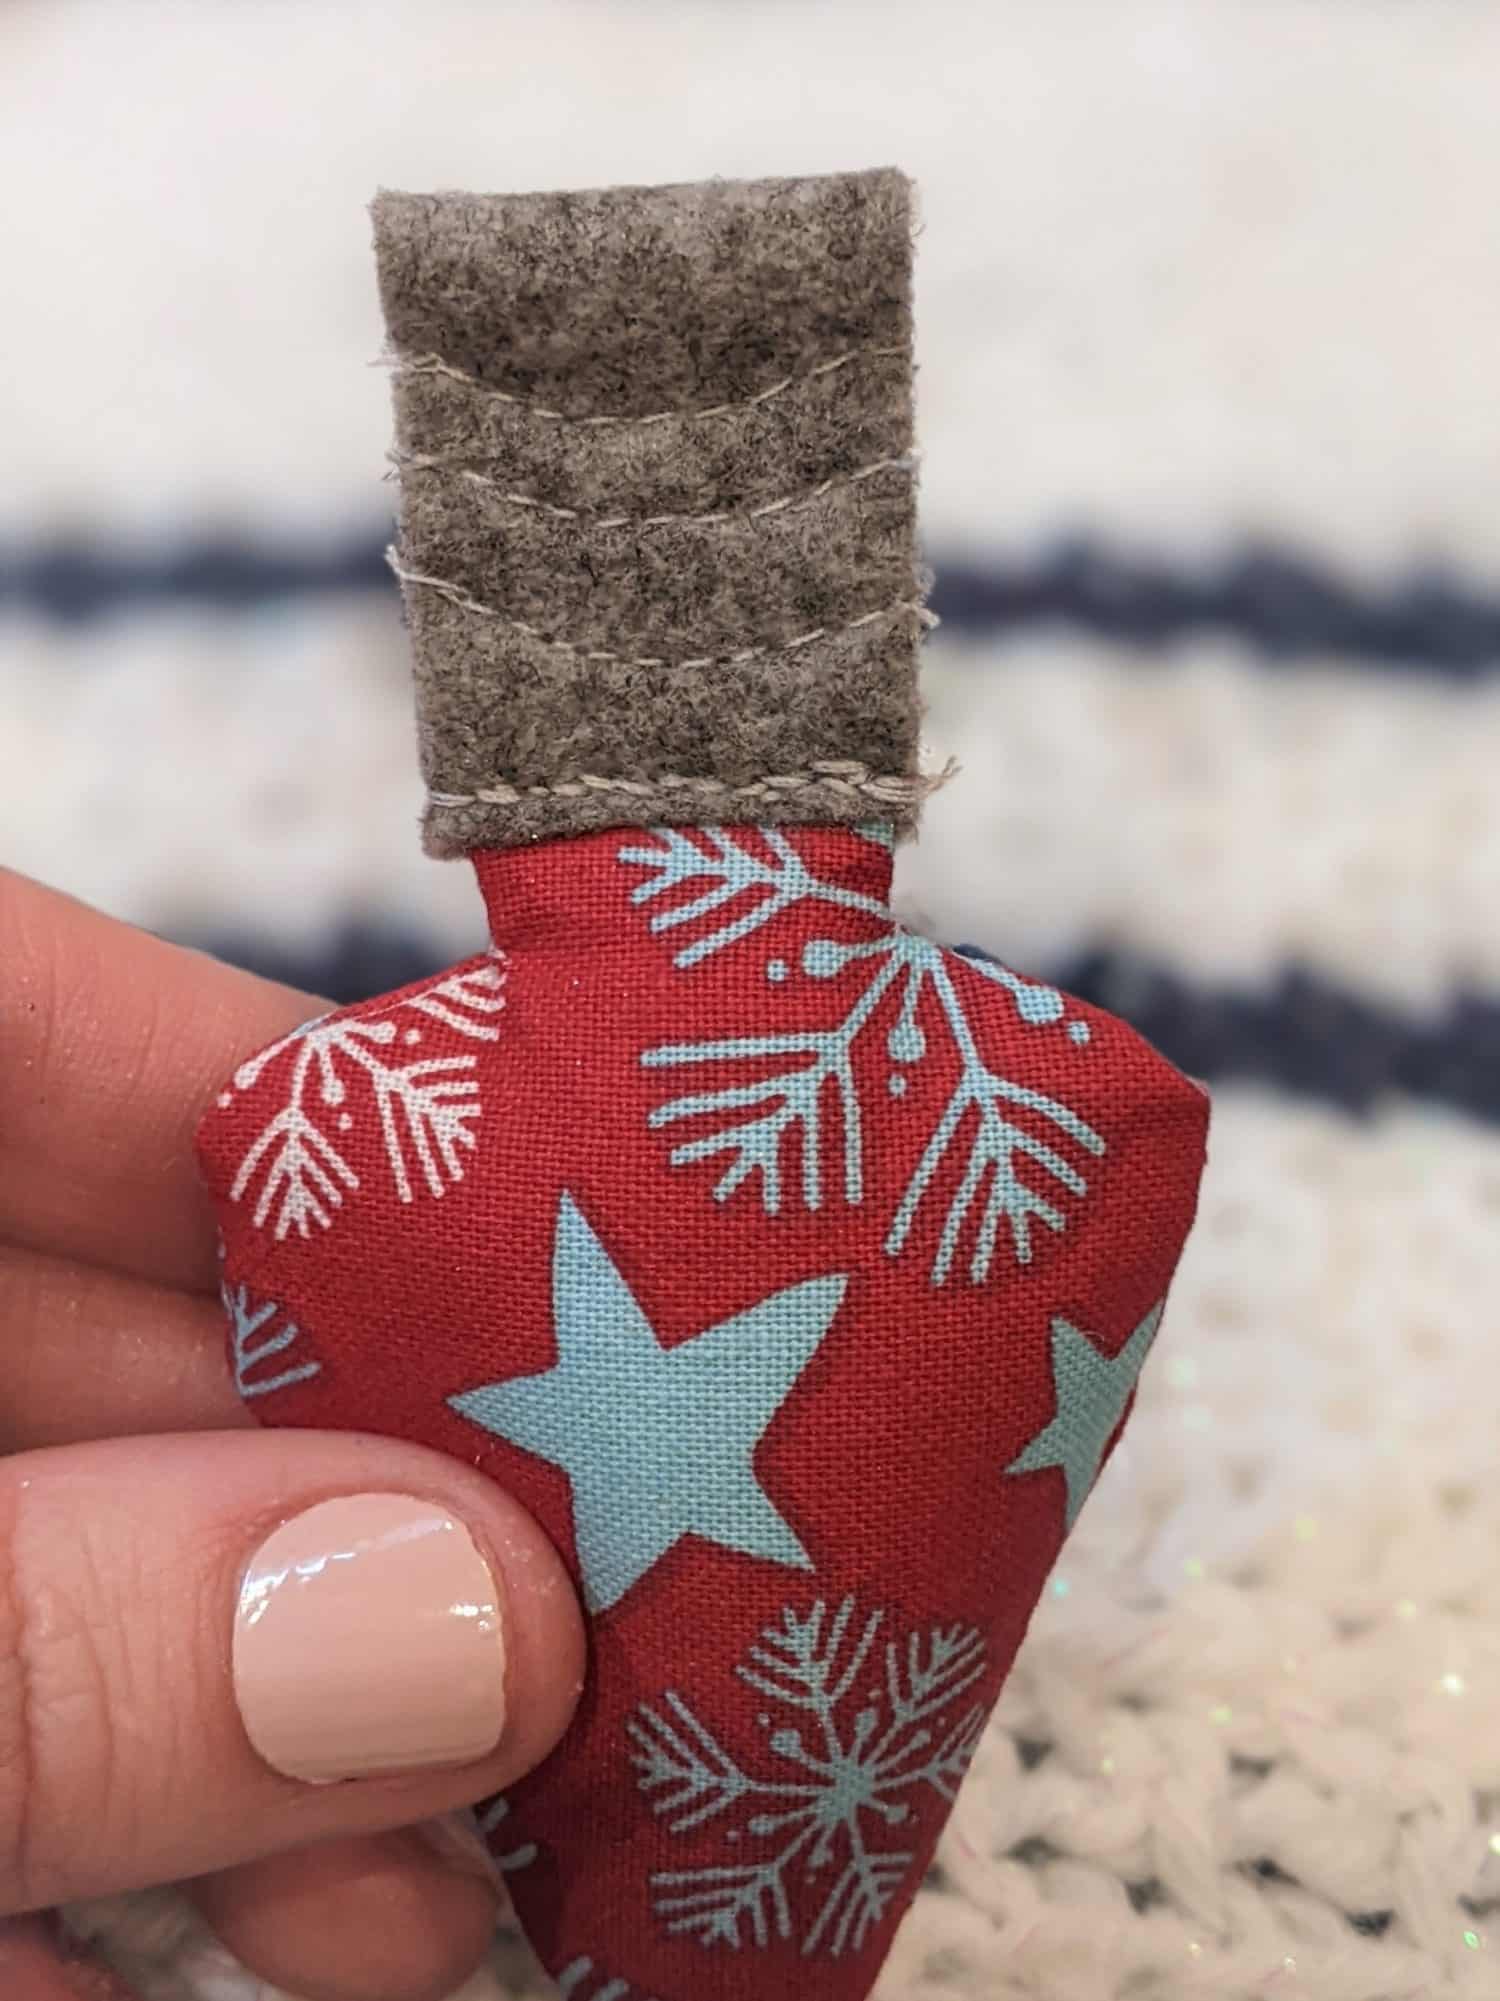
Now, just repeat these steps several times until you have as many lights as you want.
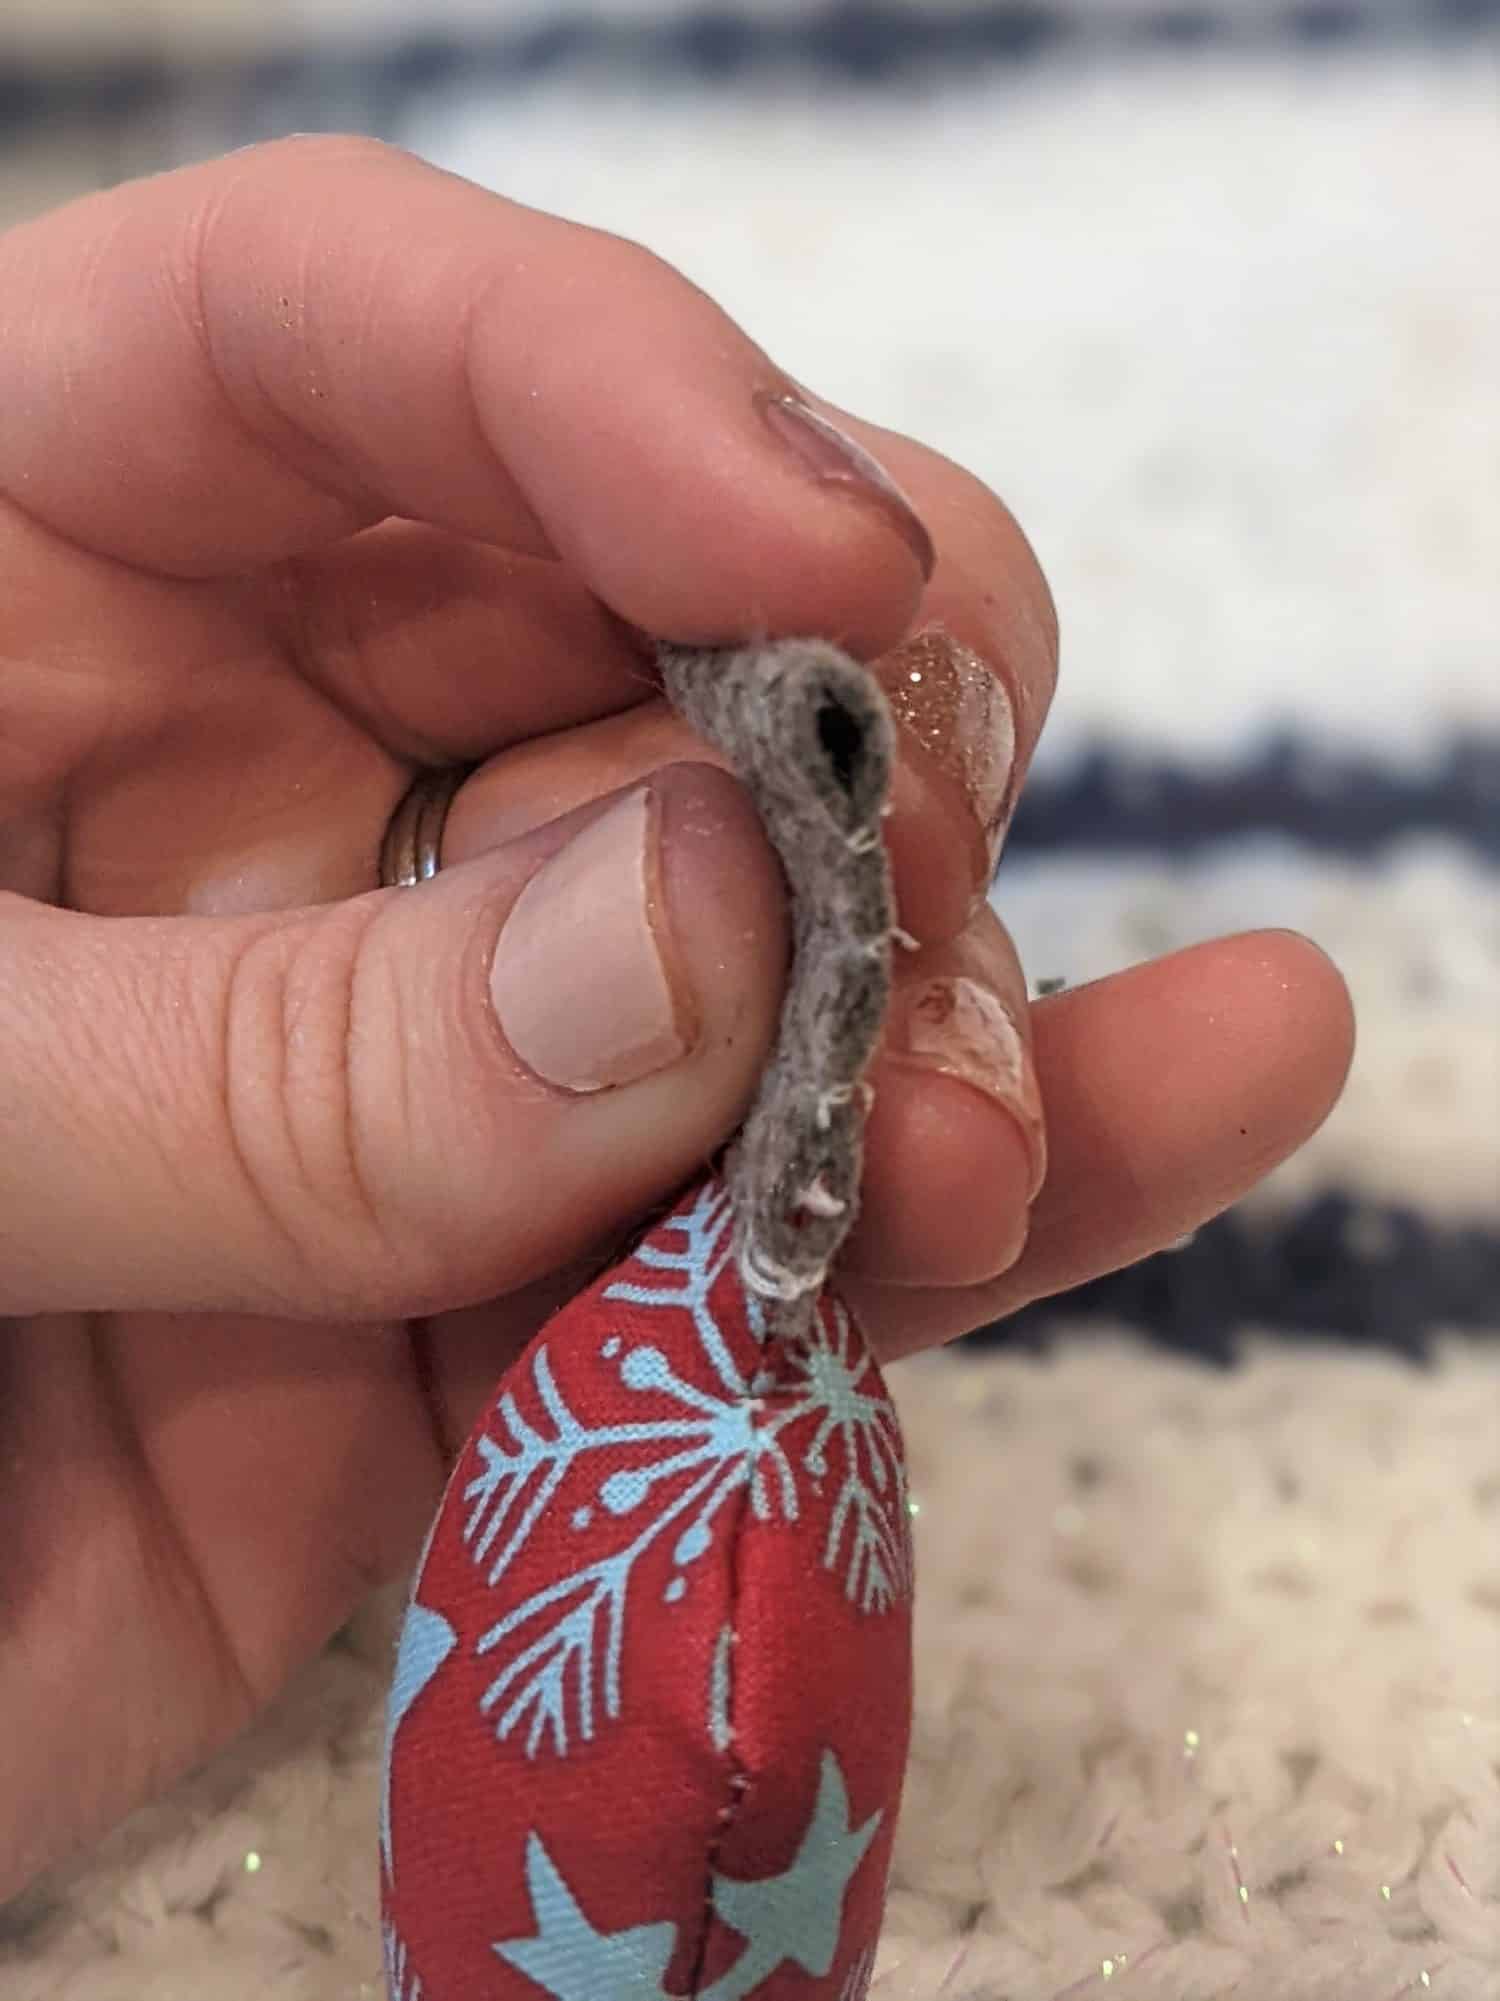
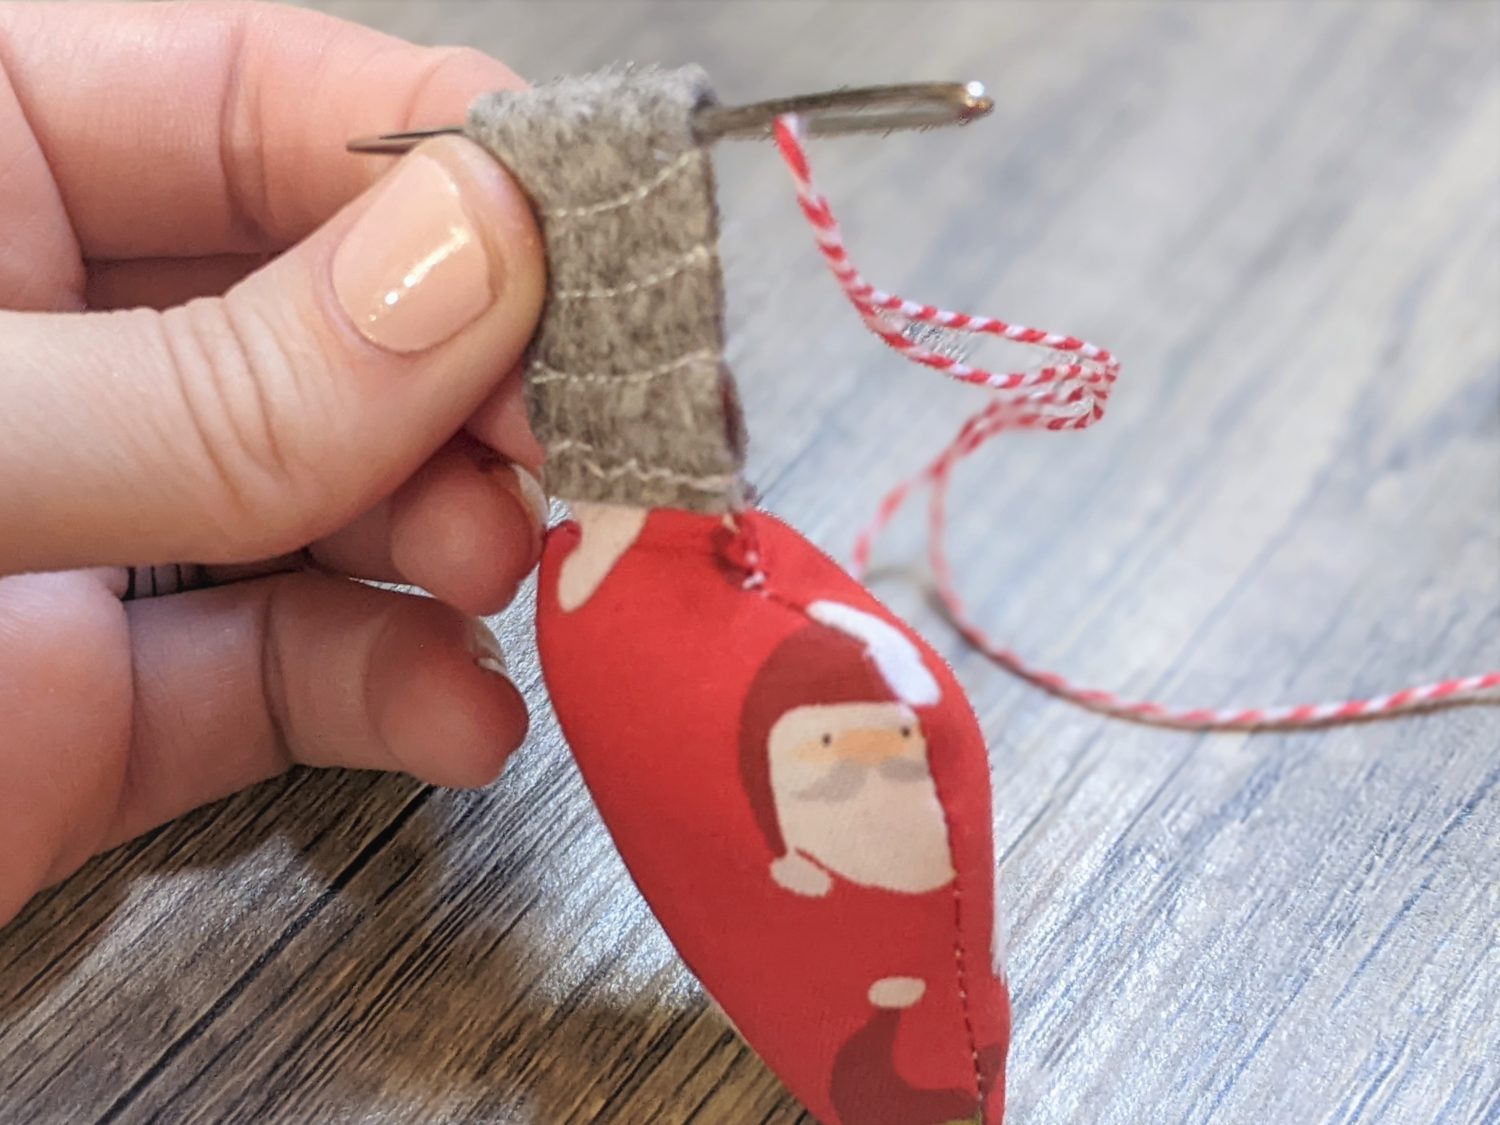
String Those Lights
- Thread your string through the embroidery needle.
- Slide the top loop of each light bulb onto your string.
Look how festive you are! Go you! Now hang that garland, decorate a tree, or hang them over a doorway.
Want more FUN DIY Freebies? Check out the FREEBIE TUTORIALS and the FREEBIE PATTERNS!
As always, we’re here to help if you need it! Join us HERE and on Facebook, Instagram, Twitter, Youtube, and Pinterest. We’re everywhere you are.
Such a lovely idea! I did something similar years ago, out of brightly colored felt after seeing Family Circle or another magazine photo featuring iced sugar cookies linked with black licorice cording. I added a little filet plug to one end…I hang them around my office cube every year and they continue to bring me great joy! Thanks for the memories….and new inspiration
Freaking adorable!