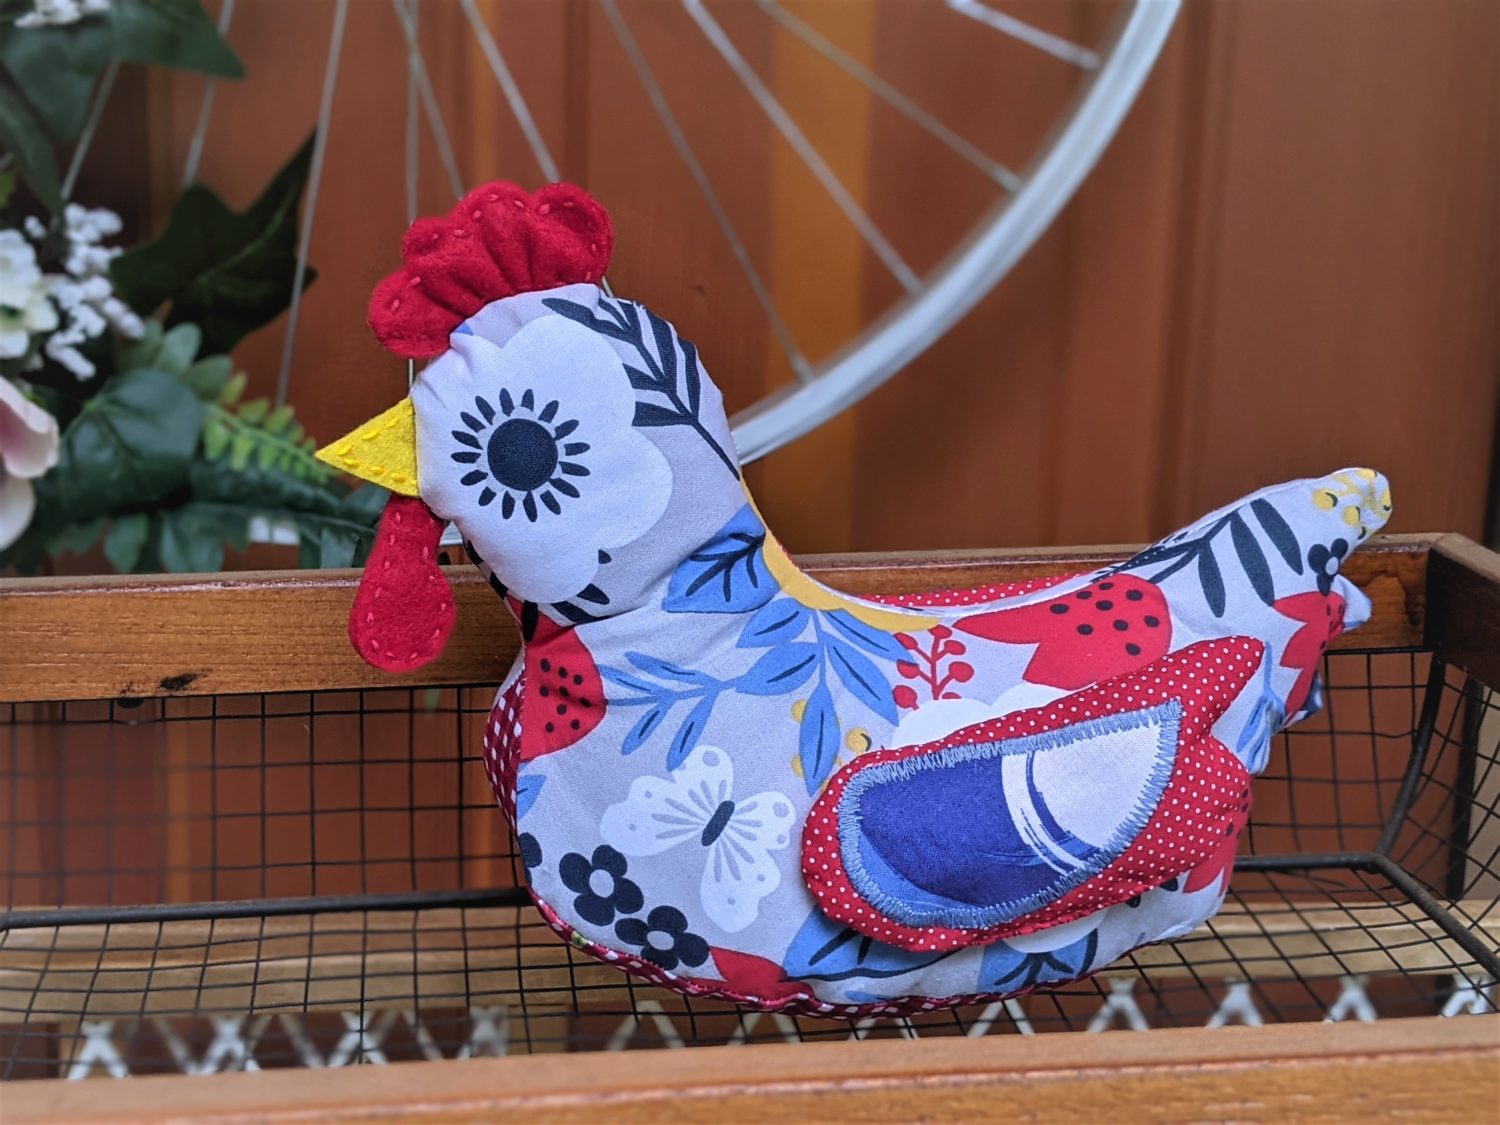
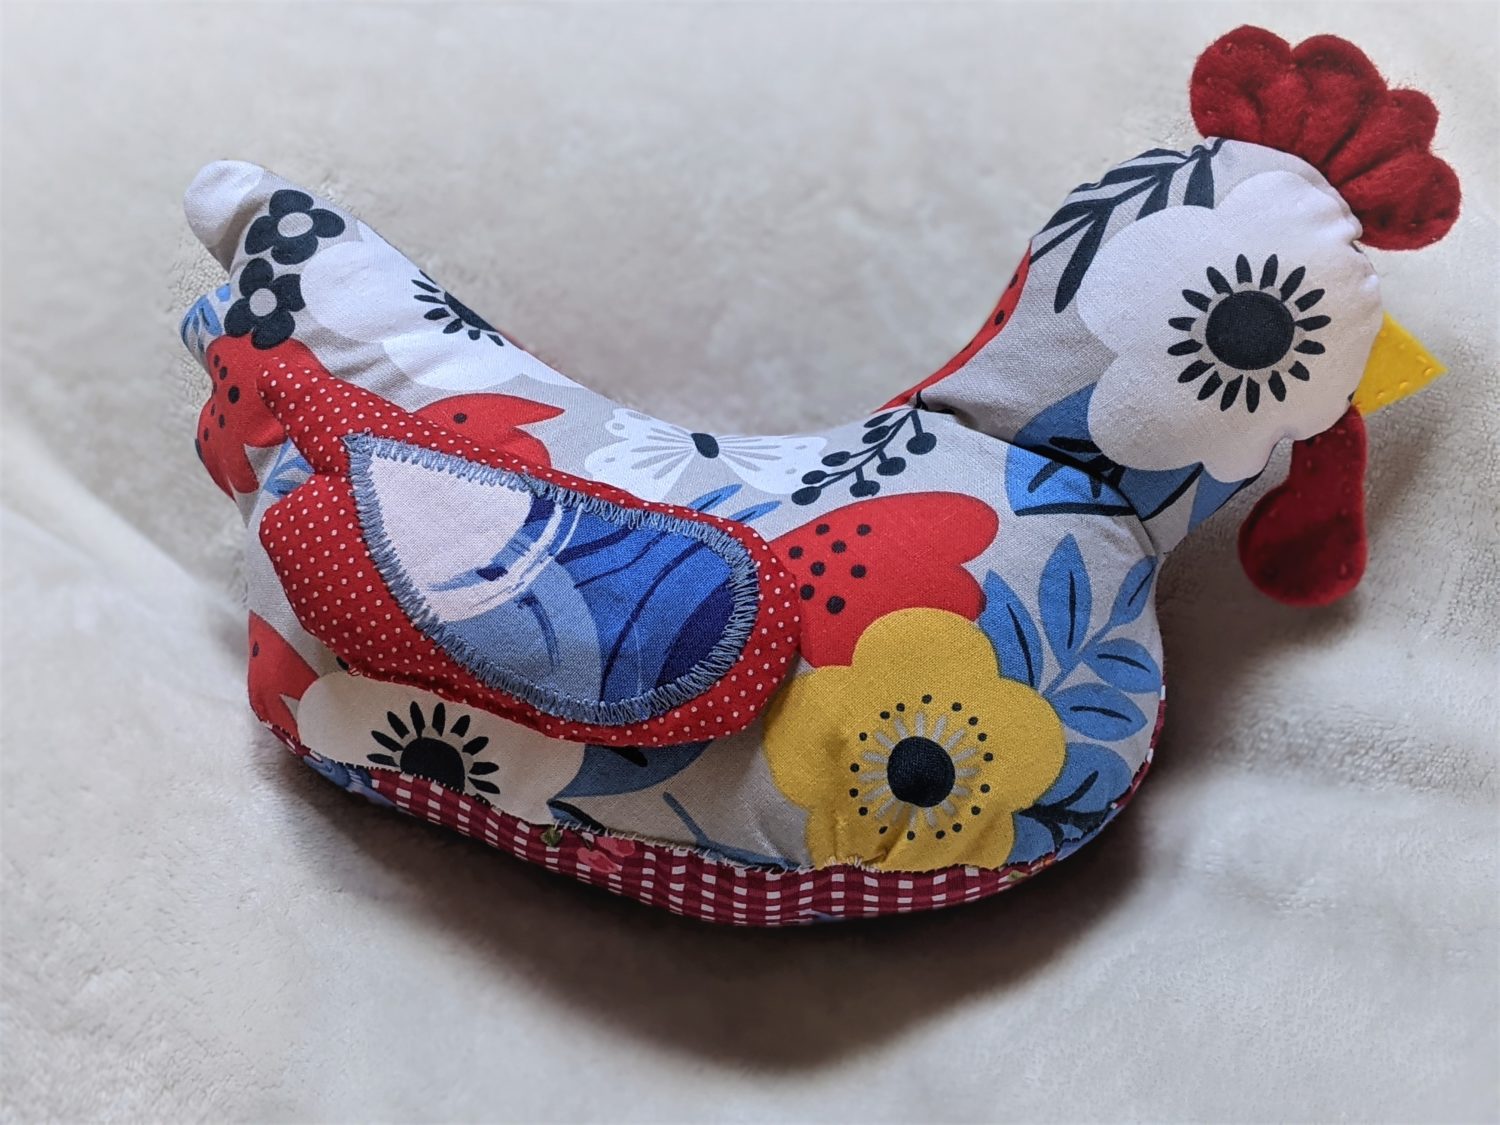
Every house can use an adorable fabric chicken, right? They’re just so cute and perfect for a little spring decor. You can use any combination of colors and patterns of fabric to make it suit your style and create a one-of-a-kind chicken! I even included my pattern for you to download and print from home.
Supplies
- Woven fabrics – up to 4 coordinating:
- #1: main body
- #2: Underbelly
- #3: Large wing
- #4 Small wing
- Small pieces of felt – Red: comb and waddle Yellow: beak
- Iron-on interfacing and iron
- Needle and thread
- Optional: embroidery needle and embroidery thread
- Stuffing material
- Sewing machine and basic sewing supplies
- Optional: quilt batting
Cutting your pieces
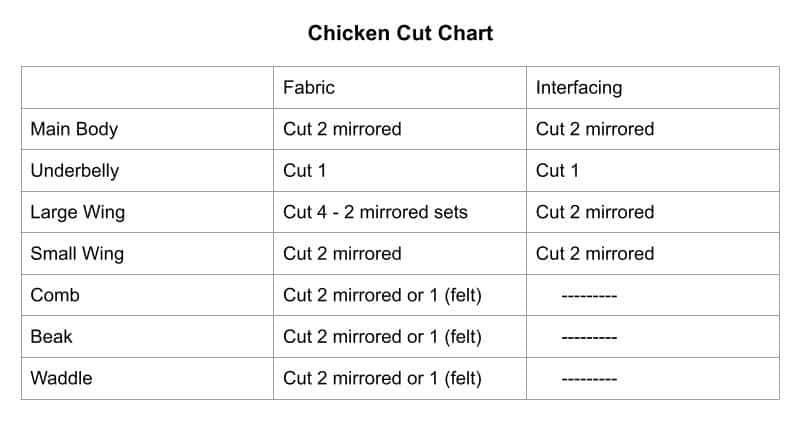
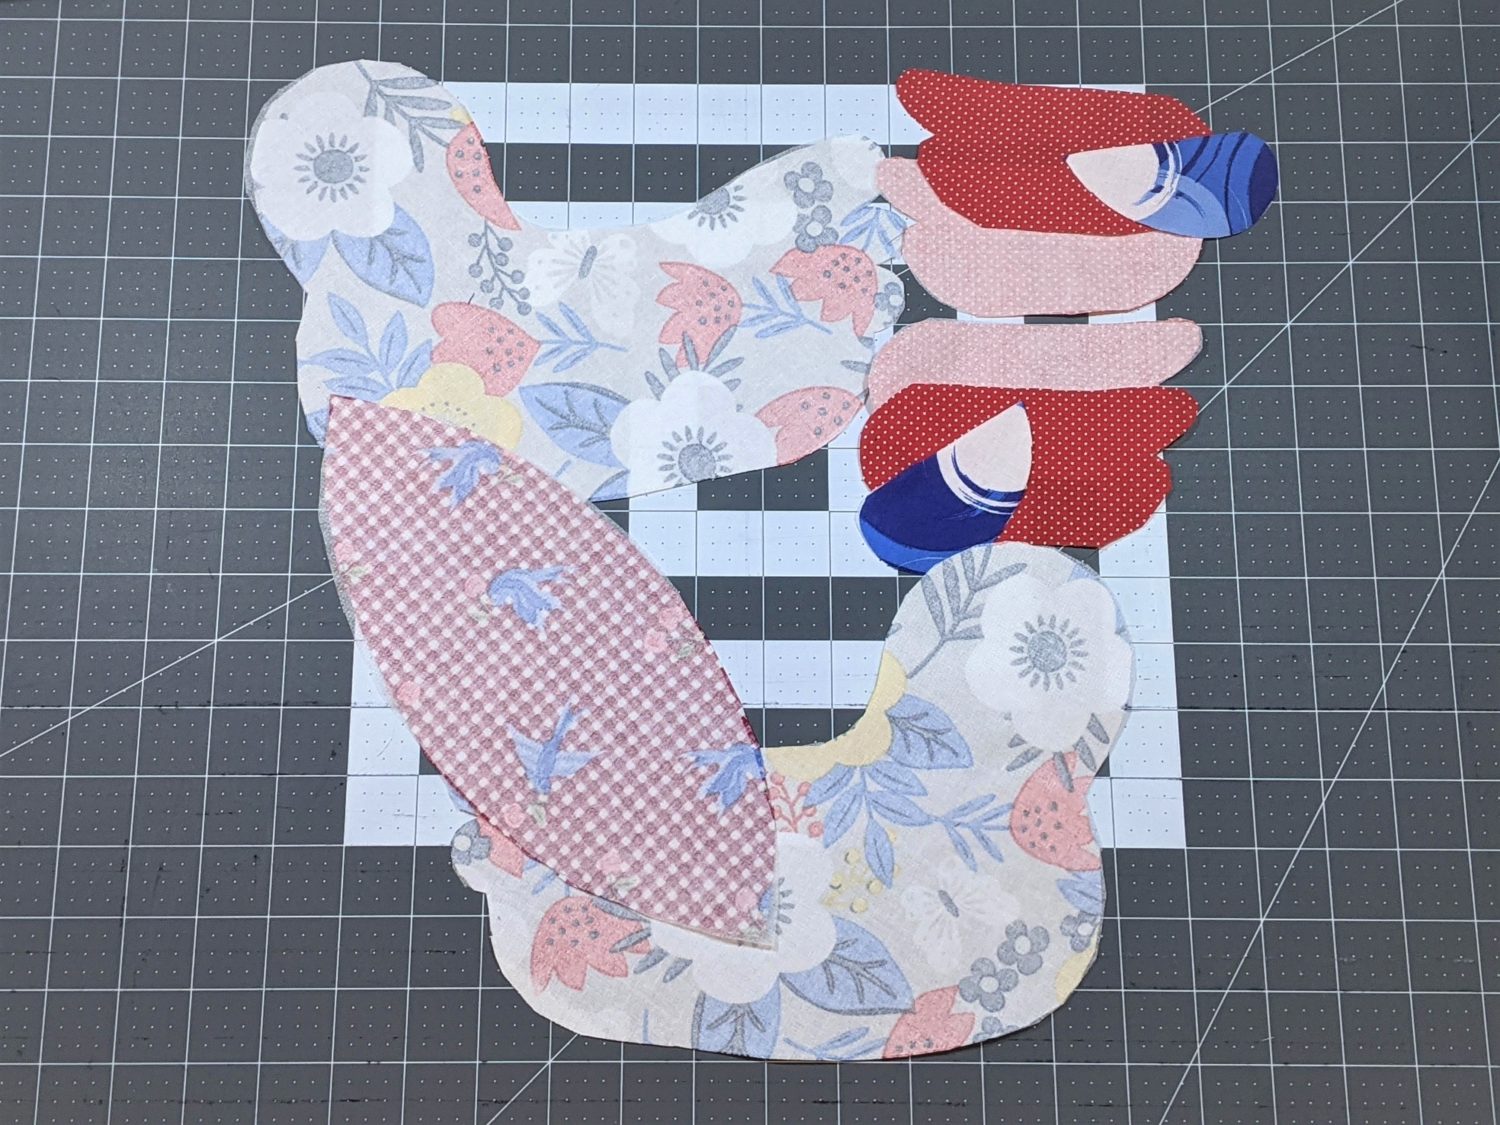
Interfacing for all pieces is optional, but it gives more stability to the fabric as you sew it together. Additionally, for all felt pieces you can choose to cut just 1 of each or cut two of each for added structure and dimension.
Download the chicken body and all of it’s parts here:
Prepping your pieces
- If using interfacing, iron it onto the wrong side of all pieces. (You will need it on just the outer piece of each large wing.)
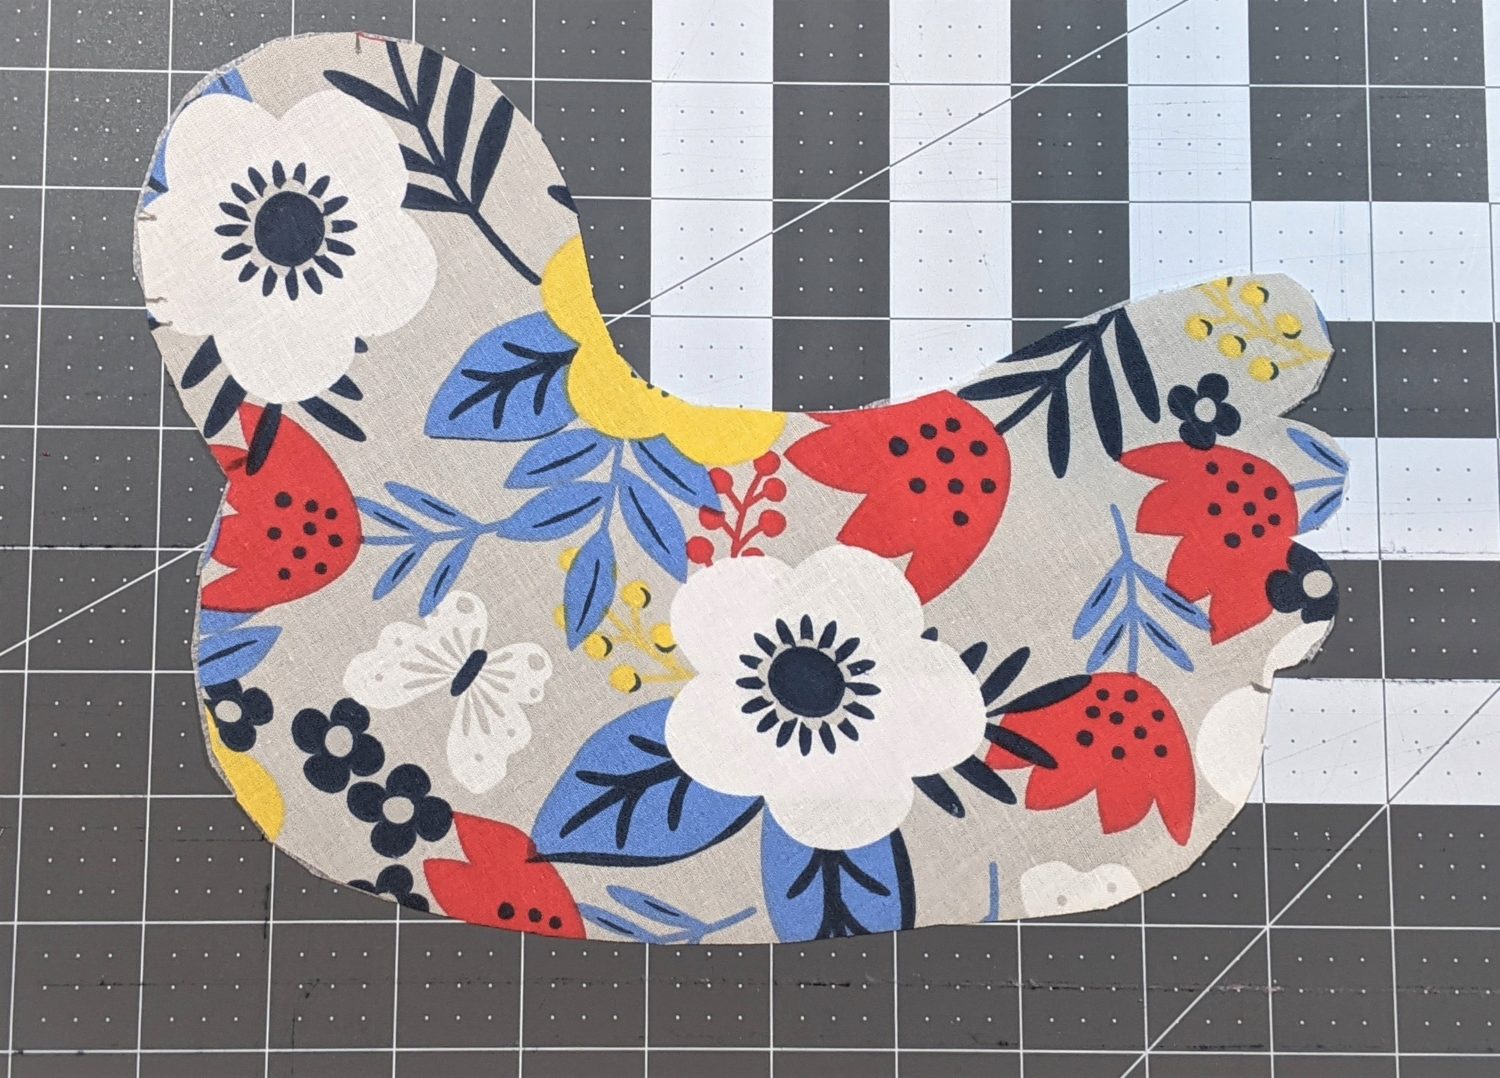
- Transfer all pattern markings from the body pattern piece to the fabric using pins, or an air or heat soluble pen.
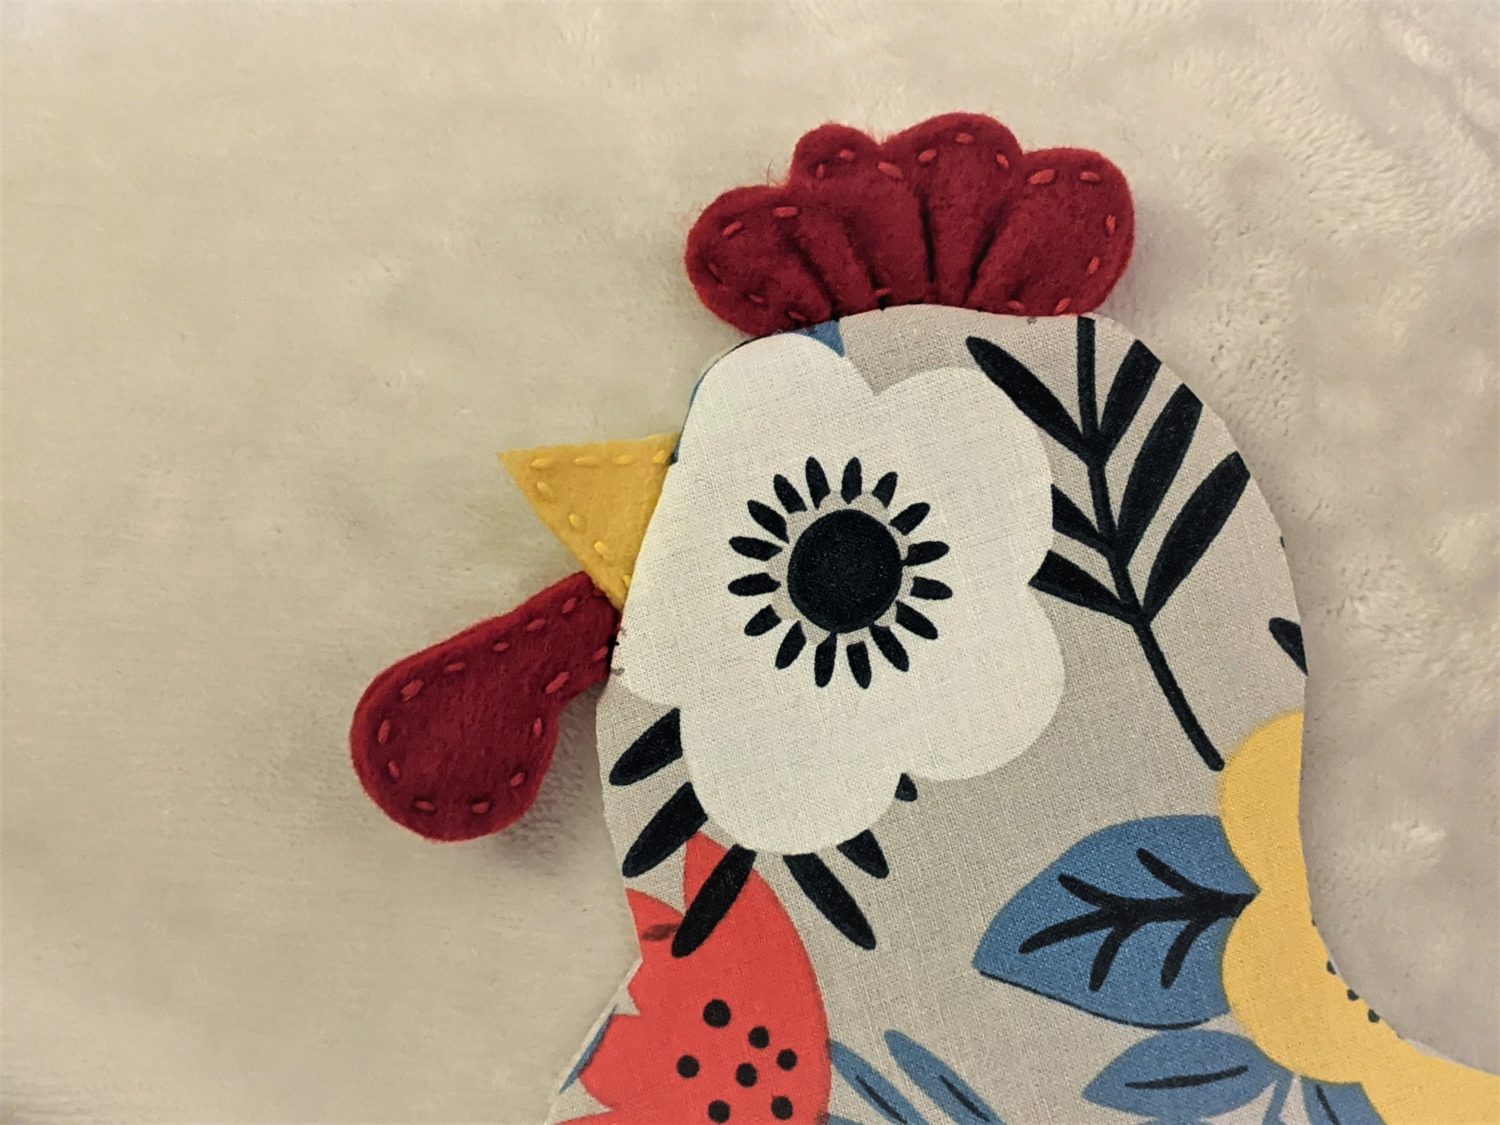
- Cut out your felt pieces for the comb, beak, and waddle.
- If you are doing a single layer, you can skip past the stitching in the next step, or add it just for some fun detail.
- For two-layered felt pieces, line up each set mirroring the other.
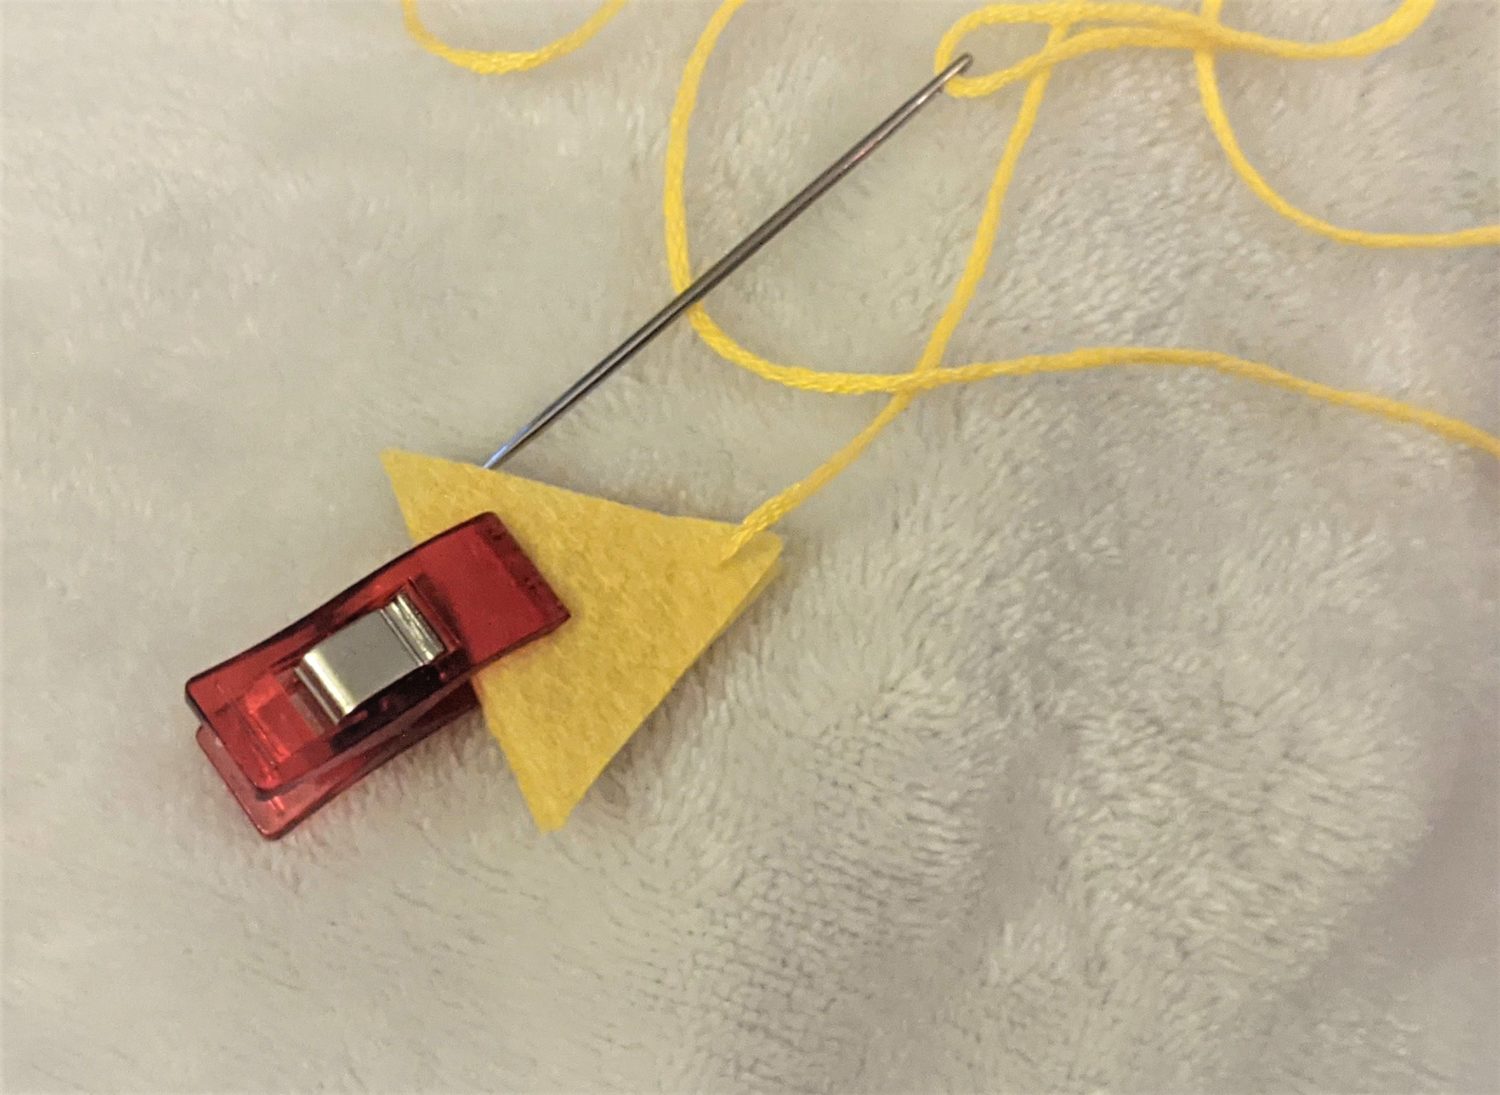
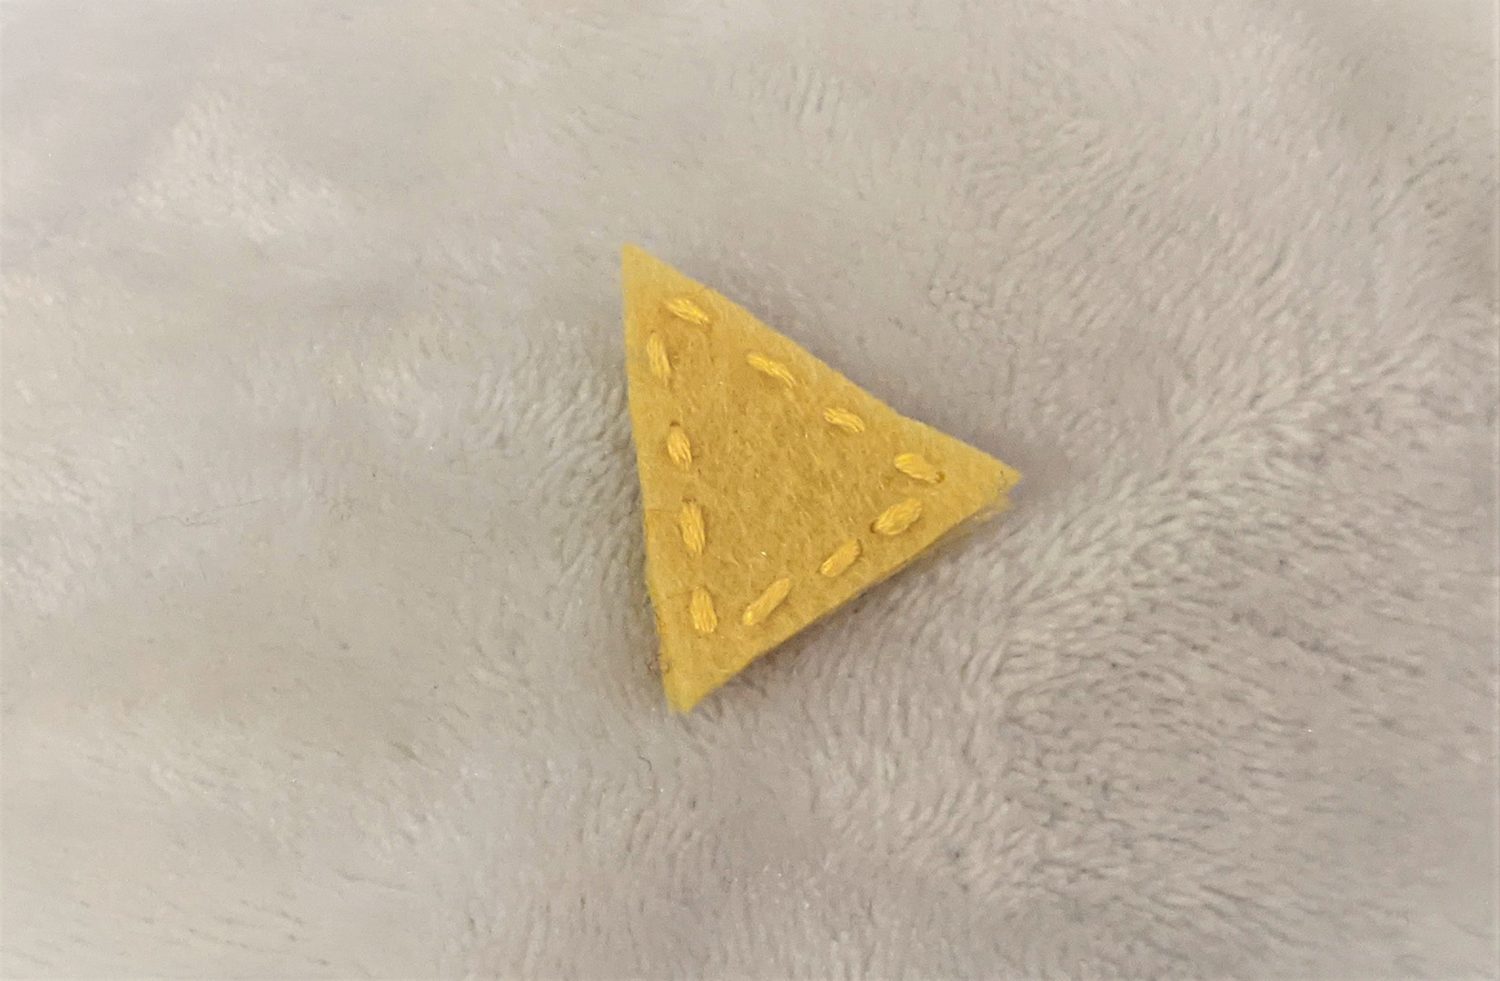
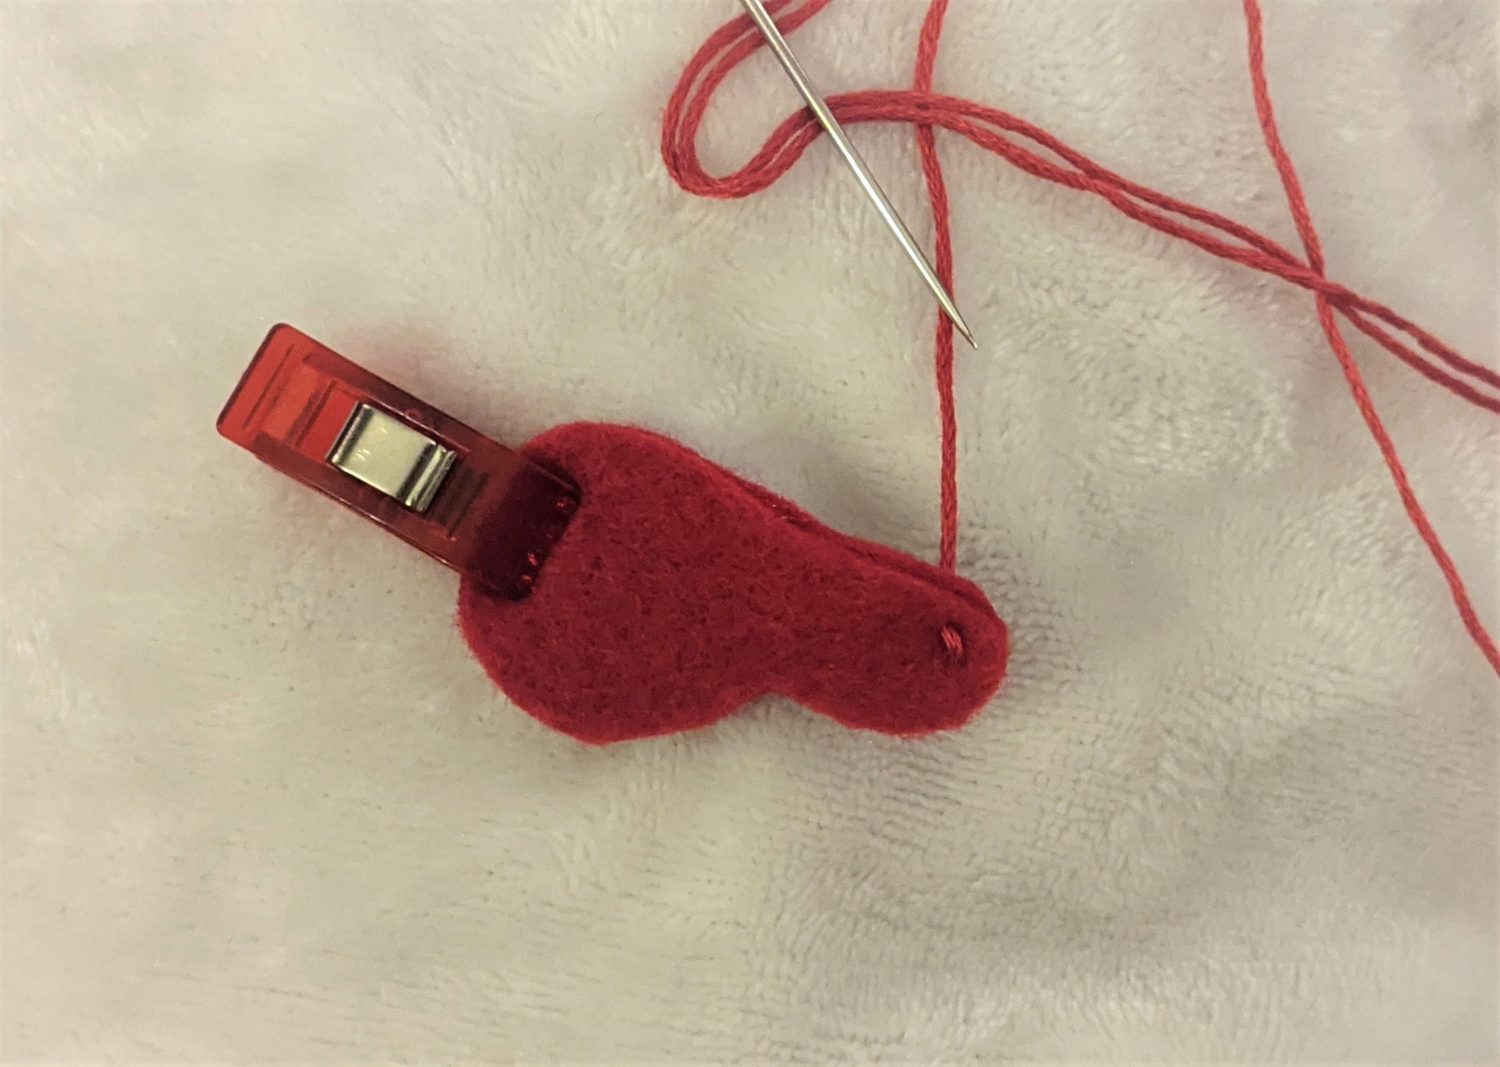
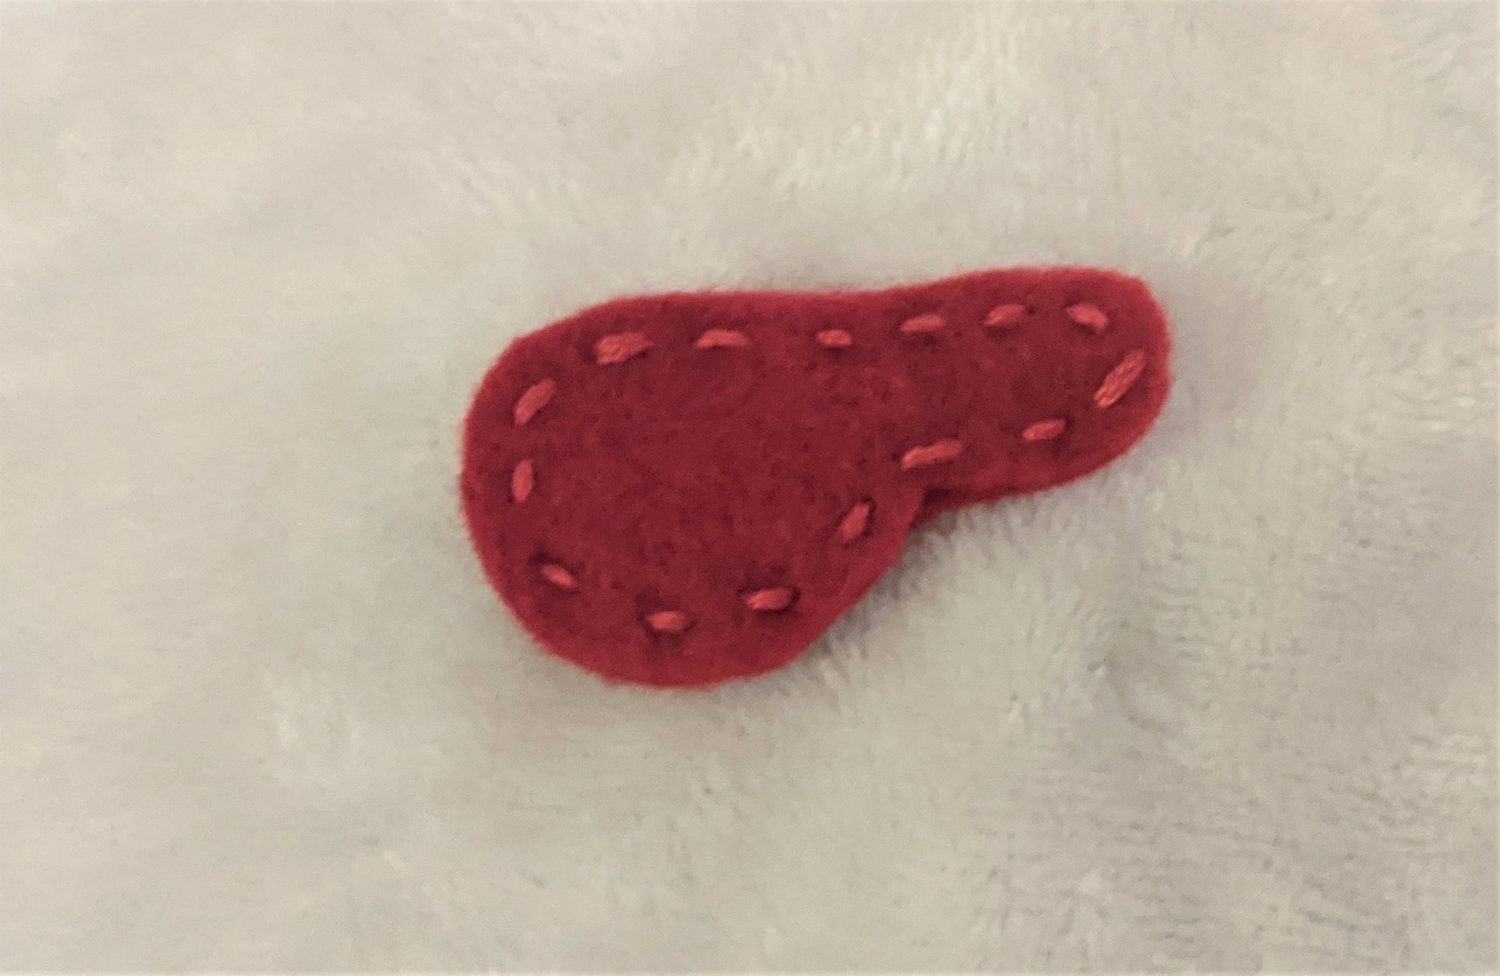
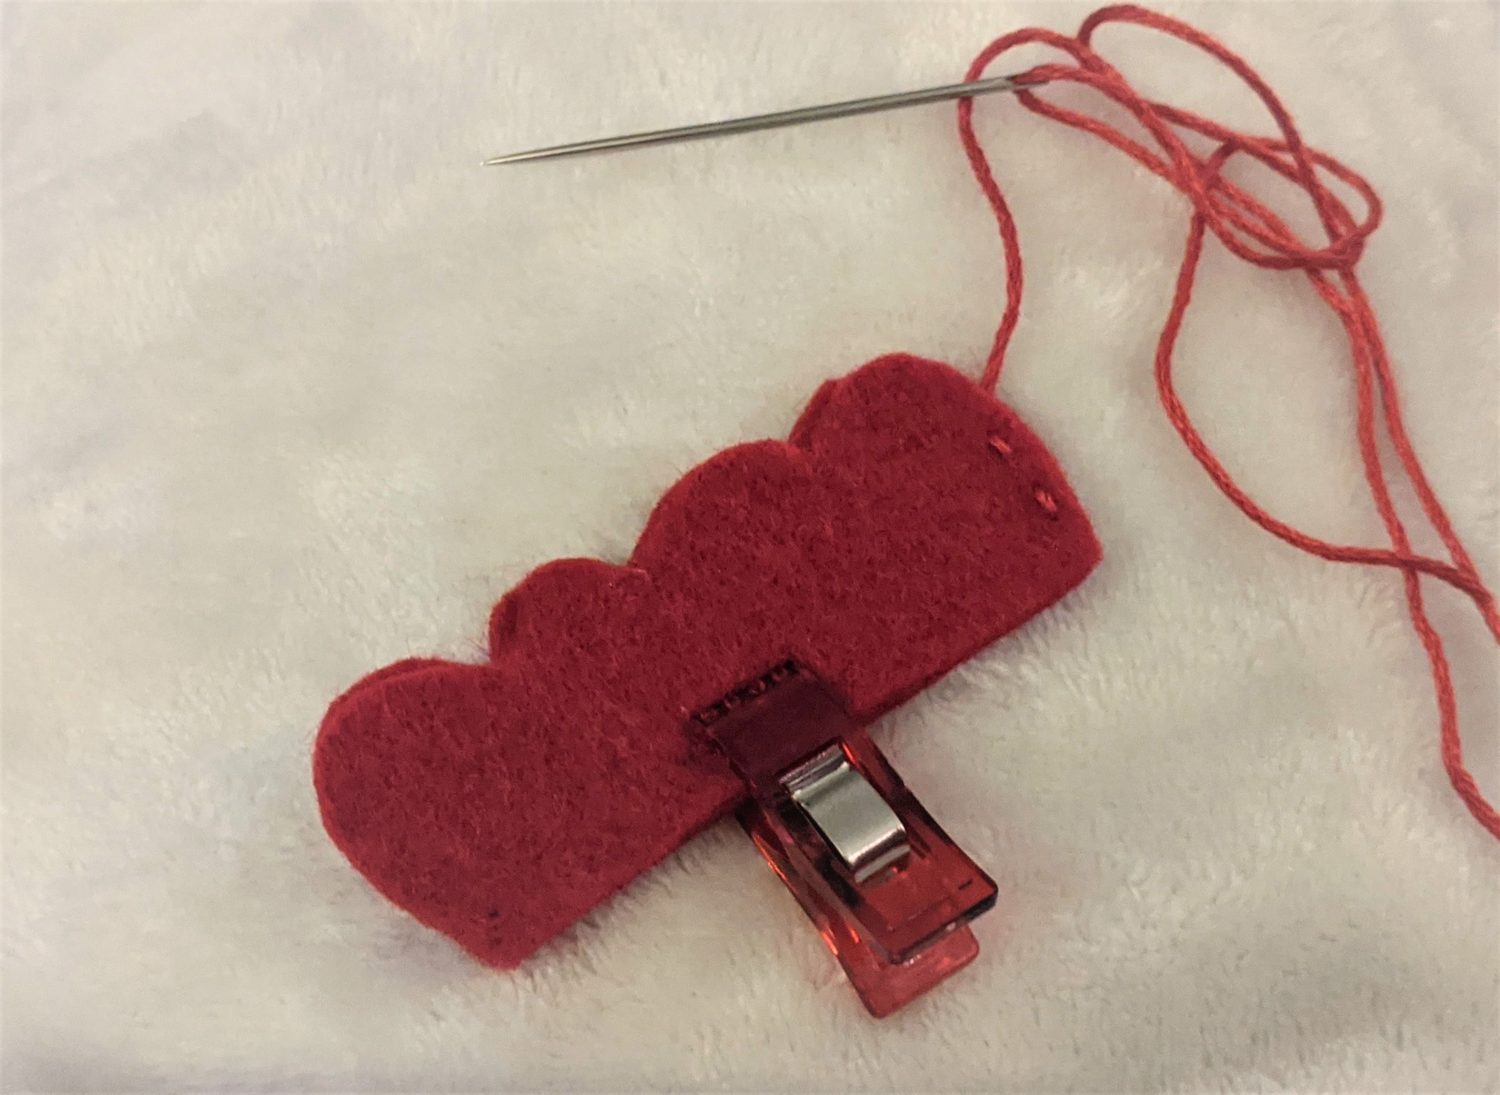
- Use your coordinating embroidery floss or regular sewing thread and make small stitches around the perimeter of the beak and waddle.
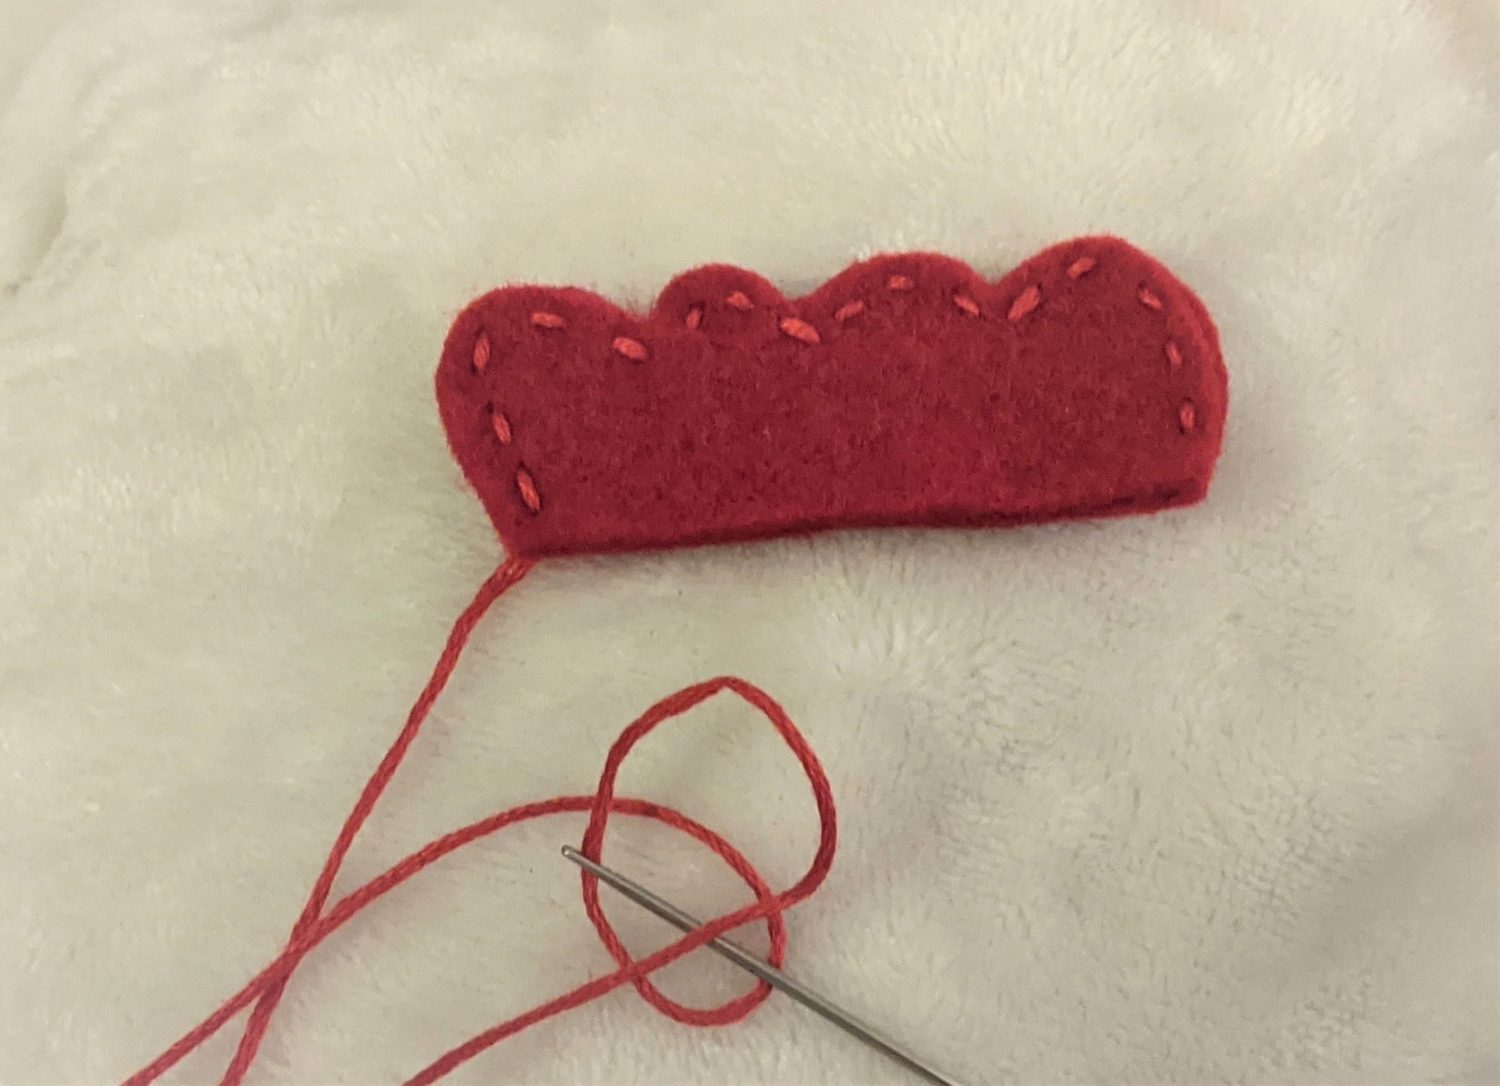
- Next, take your comb piece(s) and, (if adding stitching) make small stitches starting from one bottom corner, up and around each bump, then back down to the opposite corner.
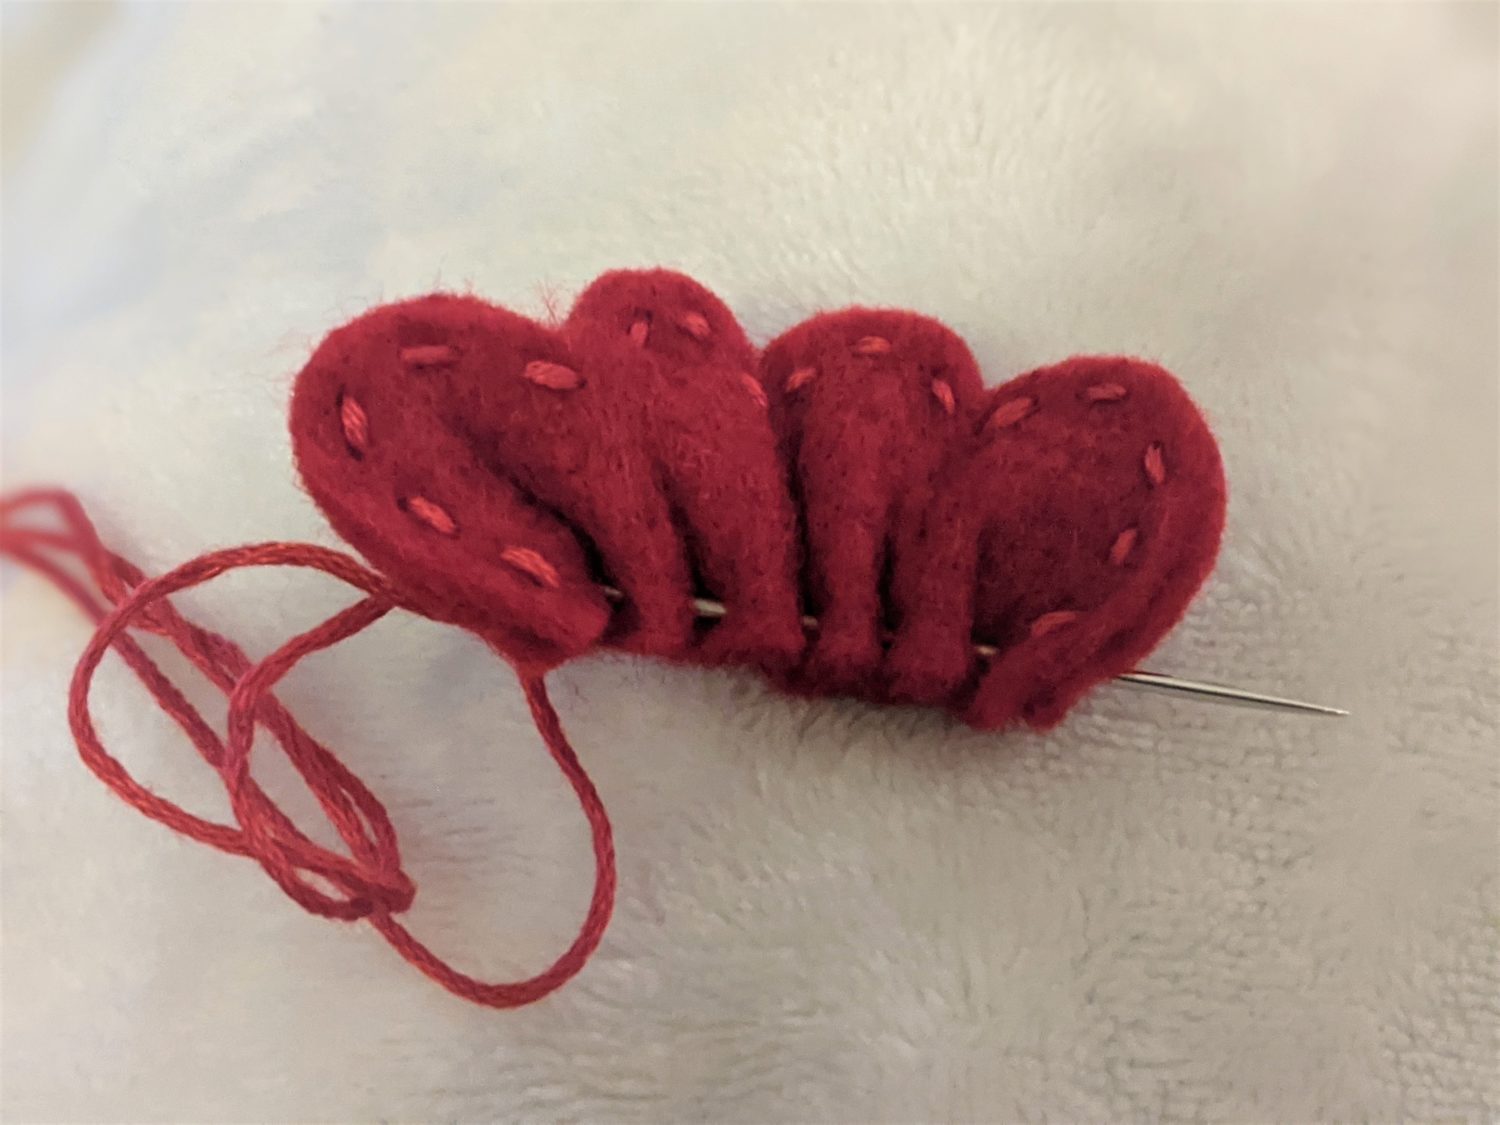
- Along the bottom straight edge, weave your needle and thread in and out until you reach the opposite side.
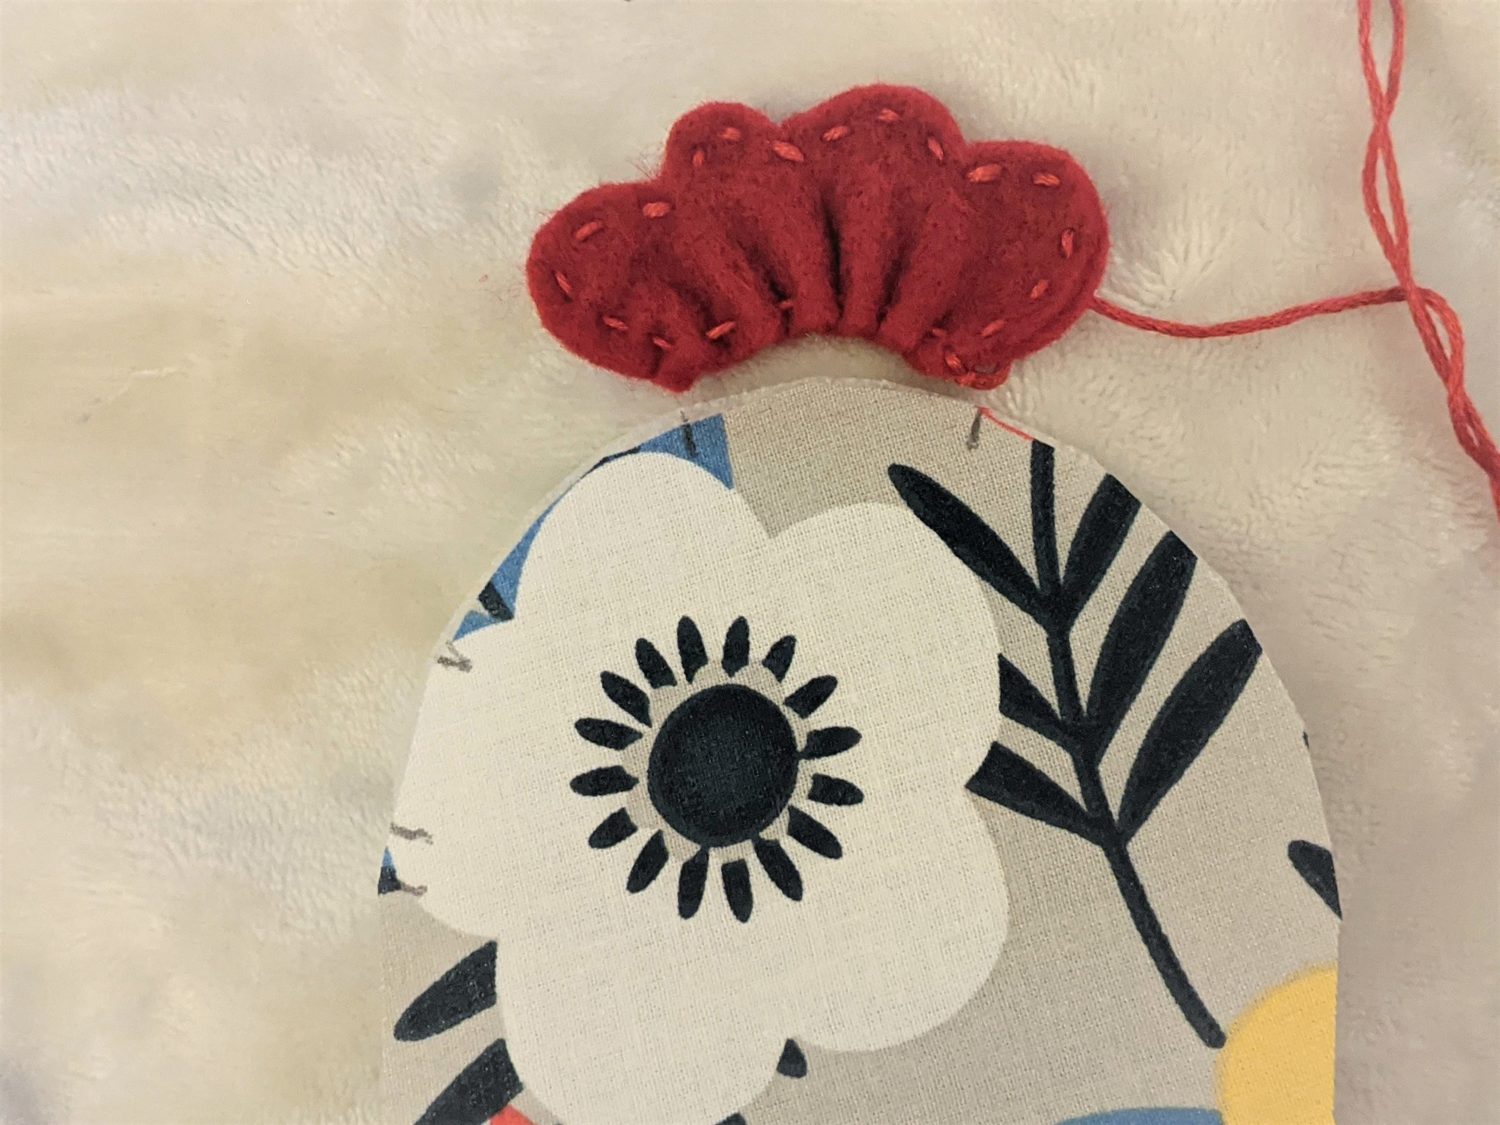
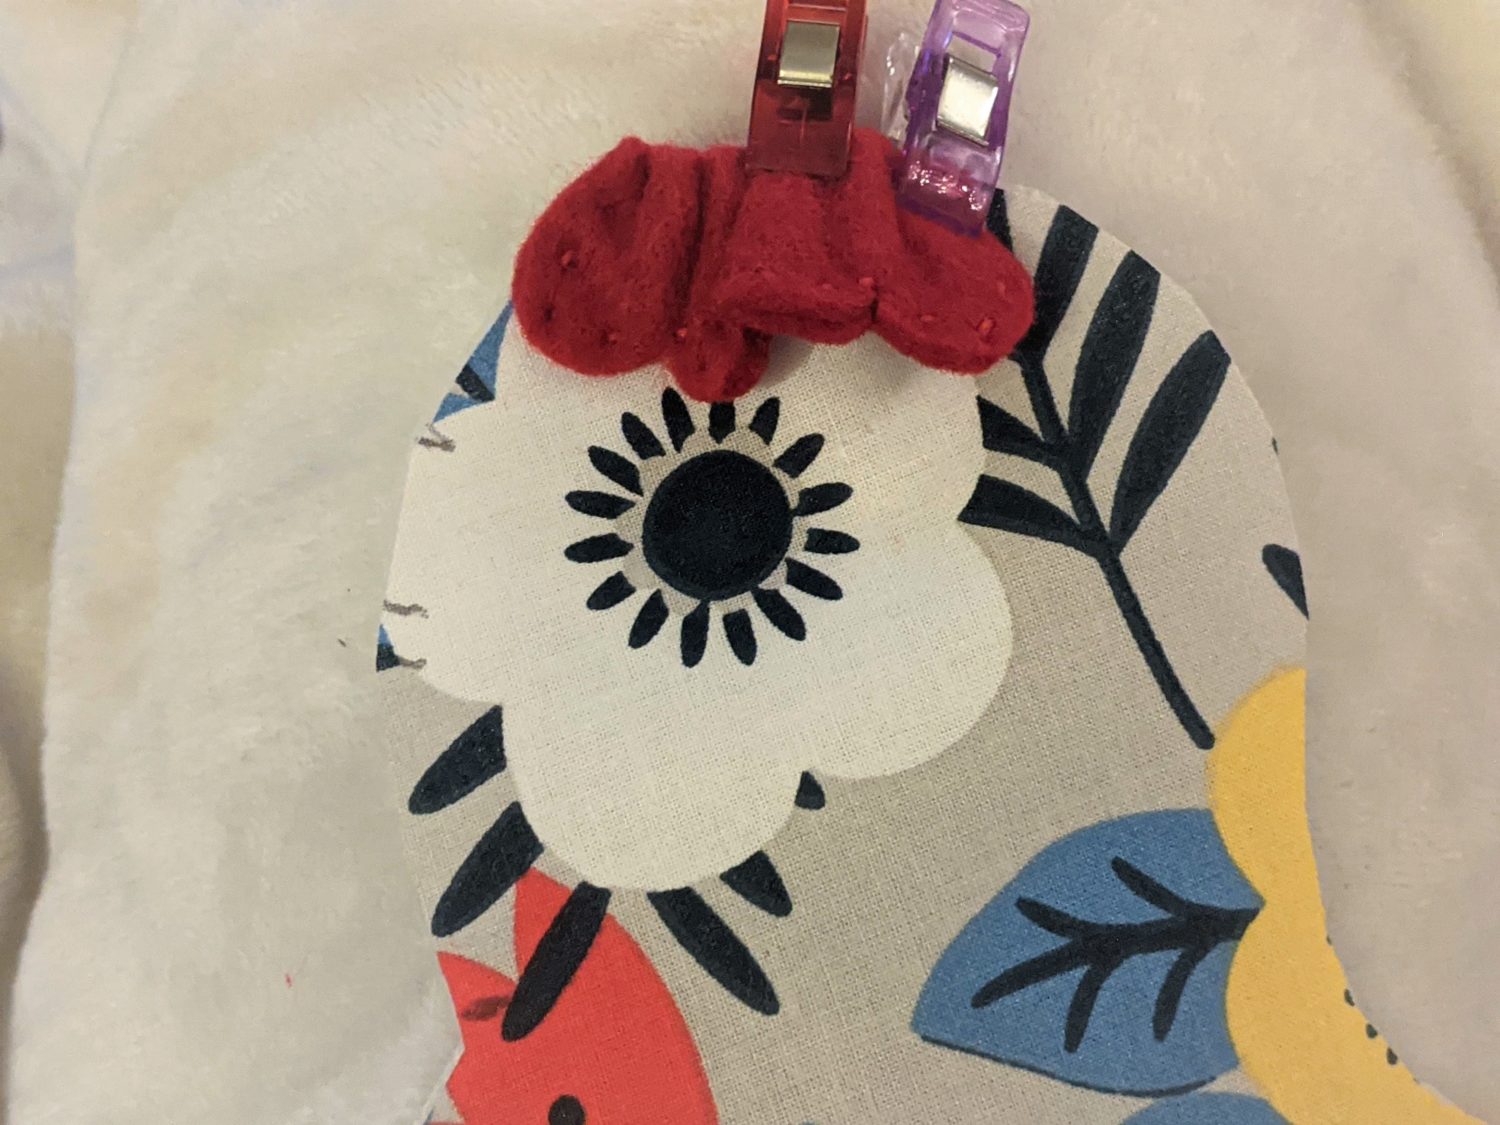
- Grab your main body piece and set the straight edge of the comb piece along the top of the head.
- Find your markings from the pattern piece, then pull the needle and thread along the bottom to gather the comb matching the approximate length of your markings.
- Tie off with a knot when it’s the right size.
Attatching the felt parts
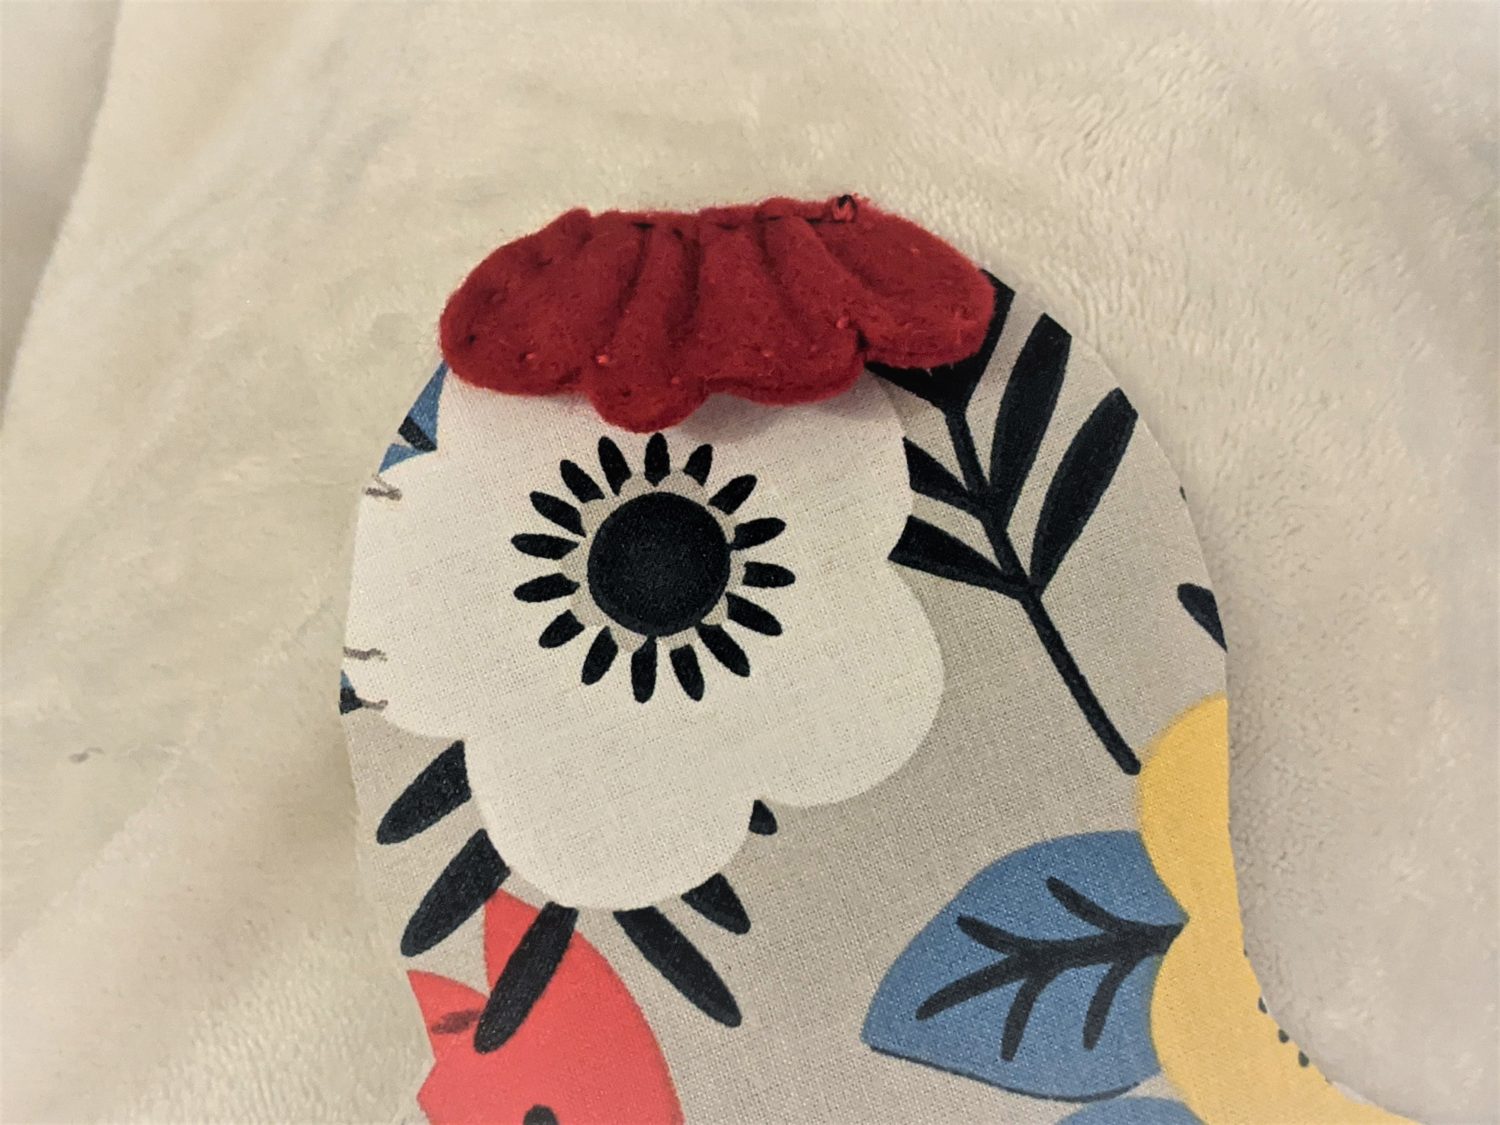
- Take your prepared comb piece and flip it so that the gathered edge is facing up and the bumps are facing down.
- Pin the comb onto the right side of the body piece lining it up with your markings along the top of the head.
- Baste the comb to the head using either a needle and thread or a sewing machine.
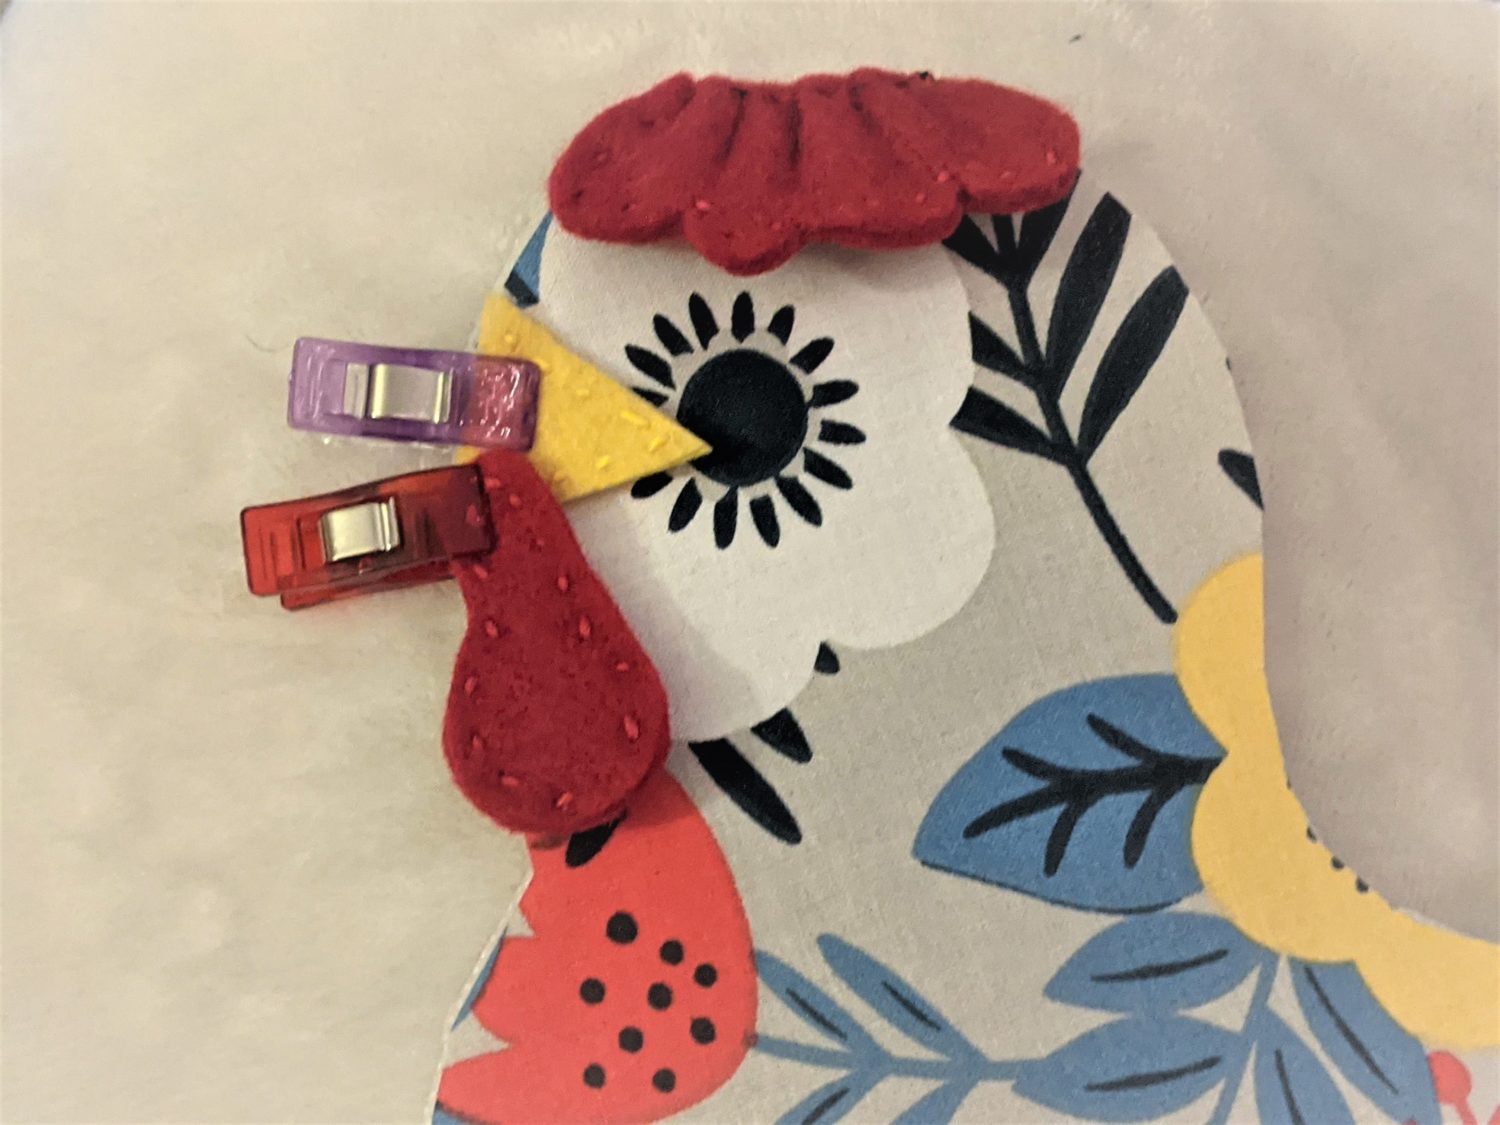
- Line up the bottom edge of the beak piece along the front edge of the face and pin it in place.
- Each point of my beak hung over the markings a little bit. That’s totally fine! The markings are just a guide, and you can adjust the pieces however you’d like.
- Take the waddle piece and set it on top of the beak just overlapping the bottom corner of the beak. The straighter edge of the waddle should be facing in.
- Pin the top bump of the waddle to the bottom point of the beak and the edge of the fabric.
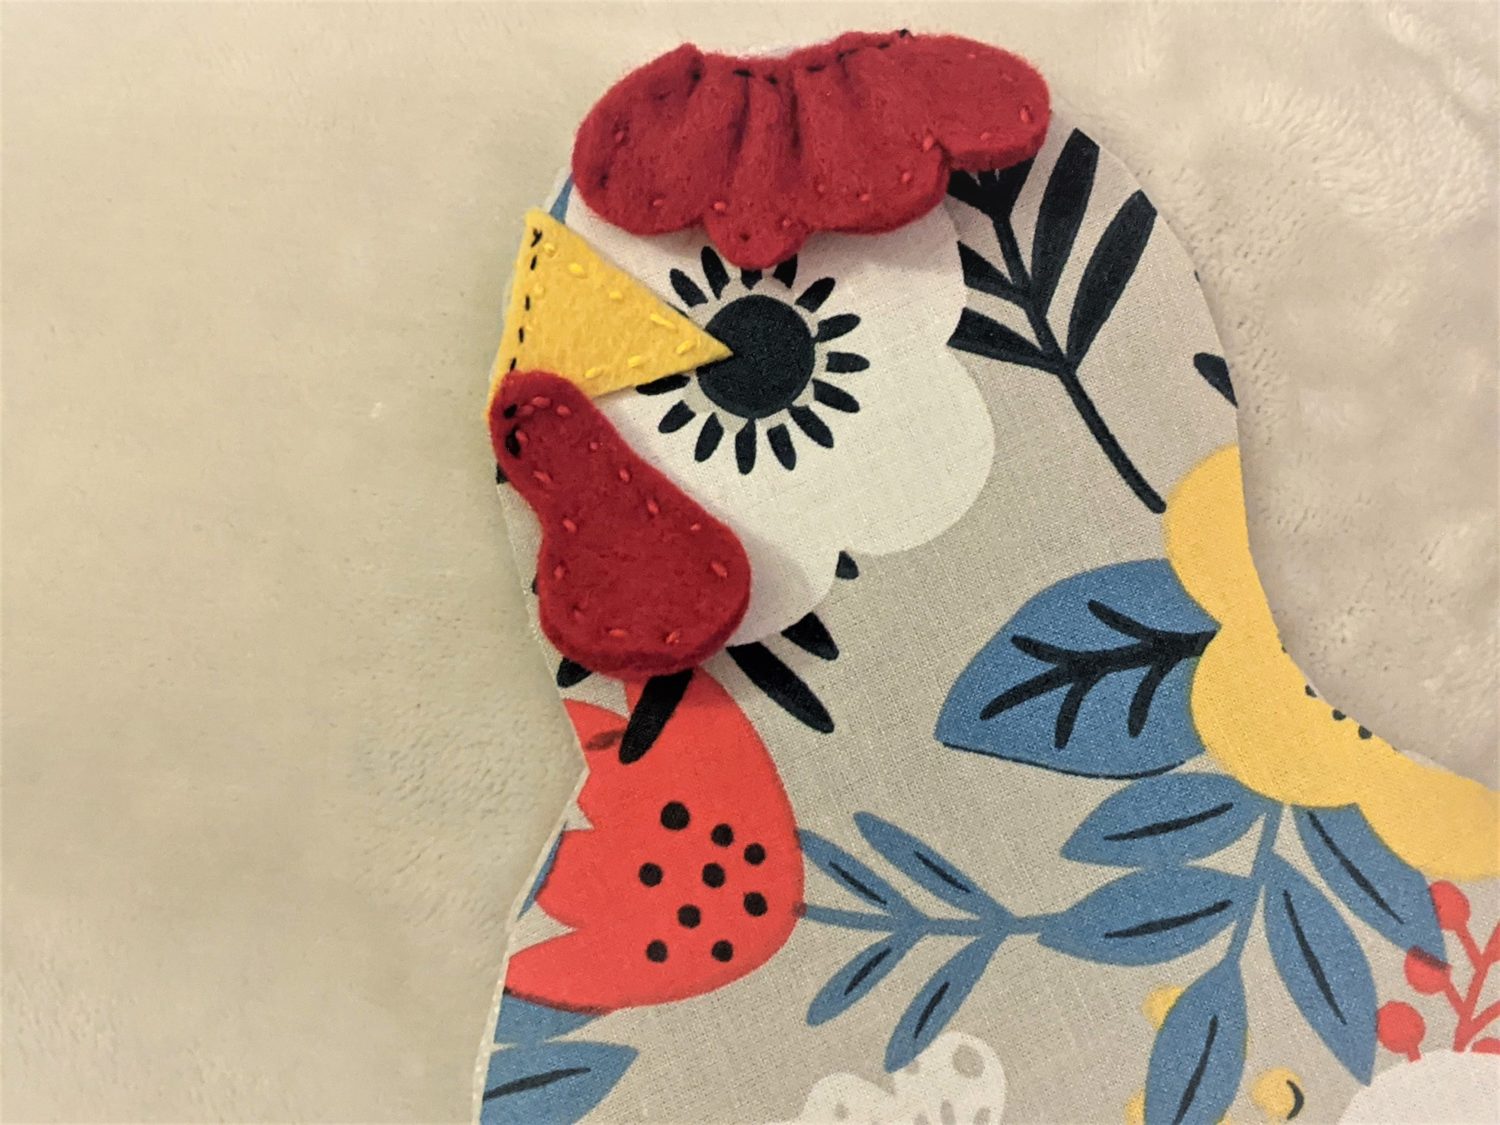
- Baste both the waddle and beak in place using a needle and thread or sewing machine.
- You can now flip your pieces out to check that you like their placement and make any adjustments before moving on.
Sewing the body
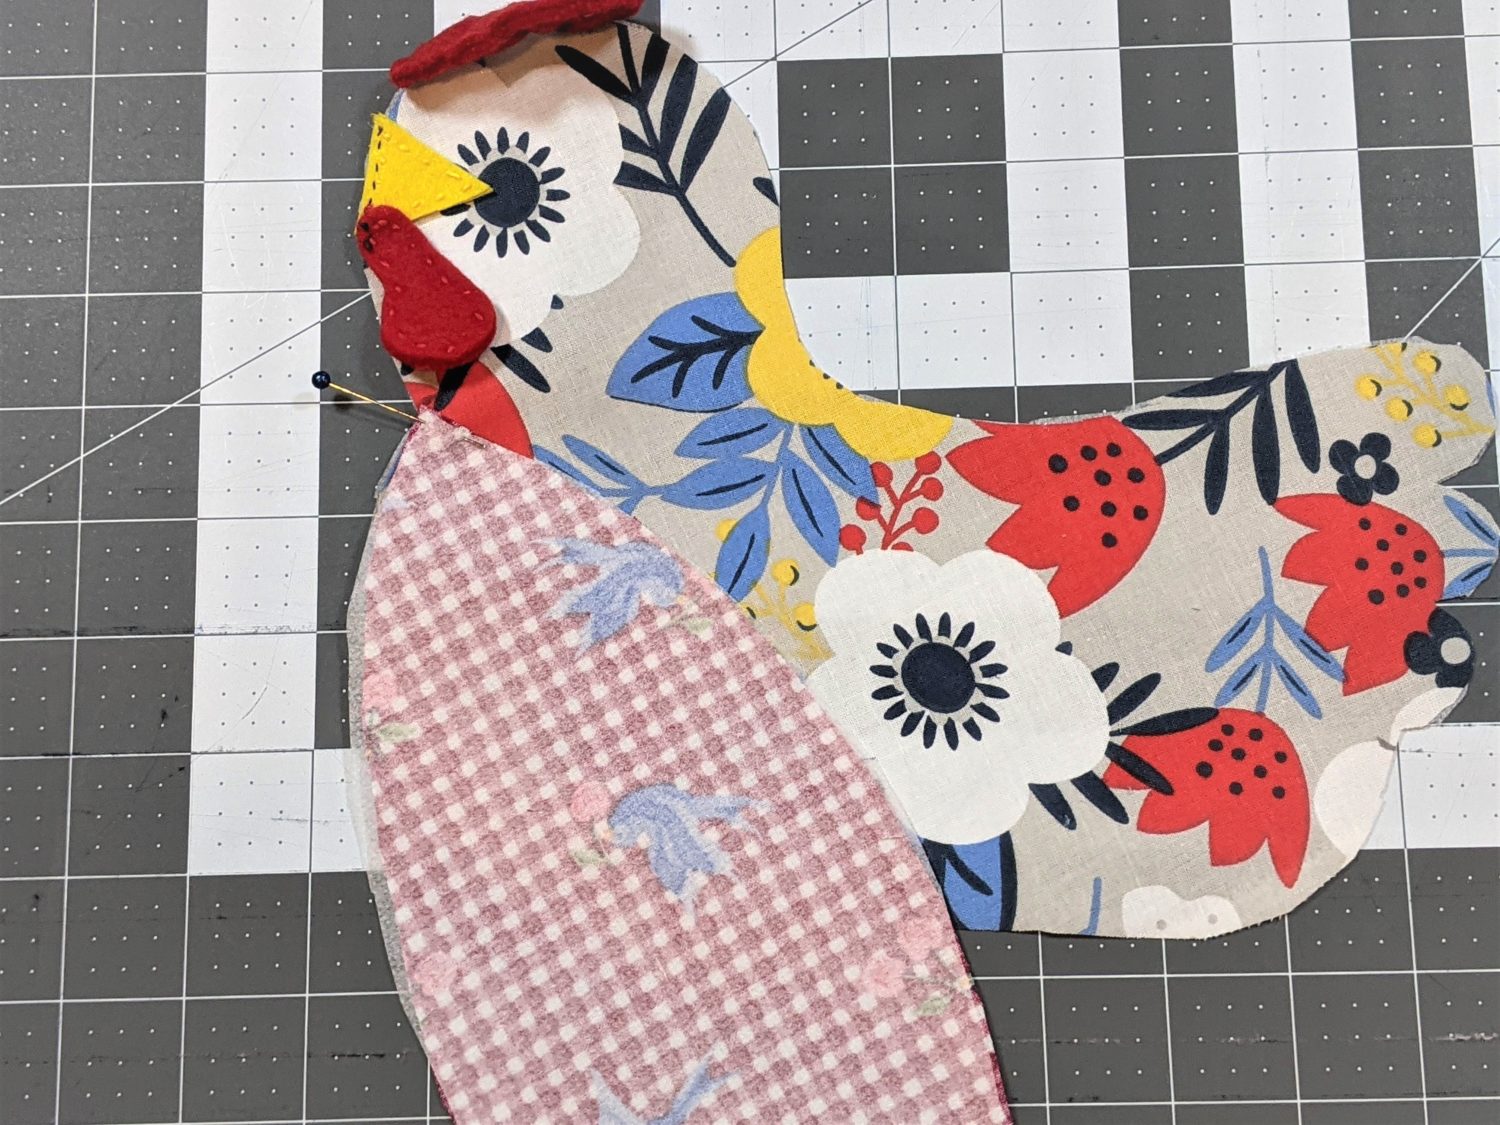
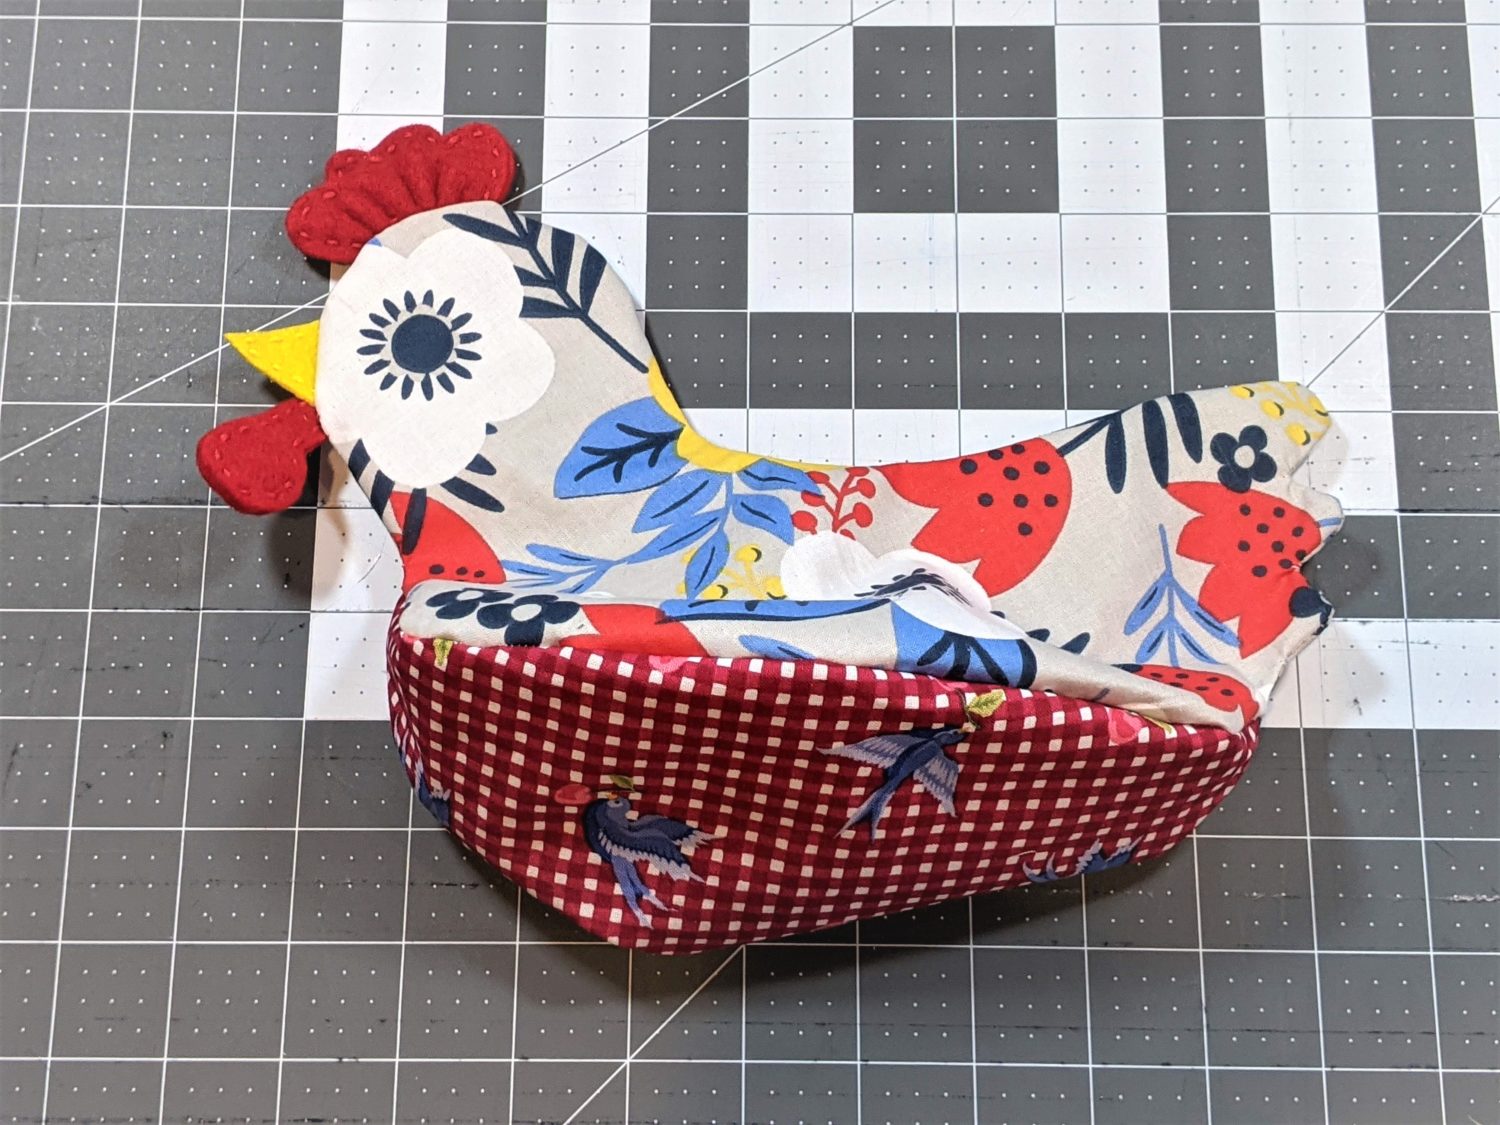
- Take one of the main body pieces and line up the front end of the underbelly piece at the marking on the body from the pattern piece. (I ended up moving mine down slightly to the “v” of the neck)
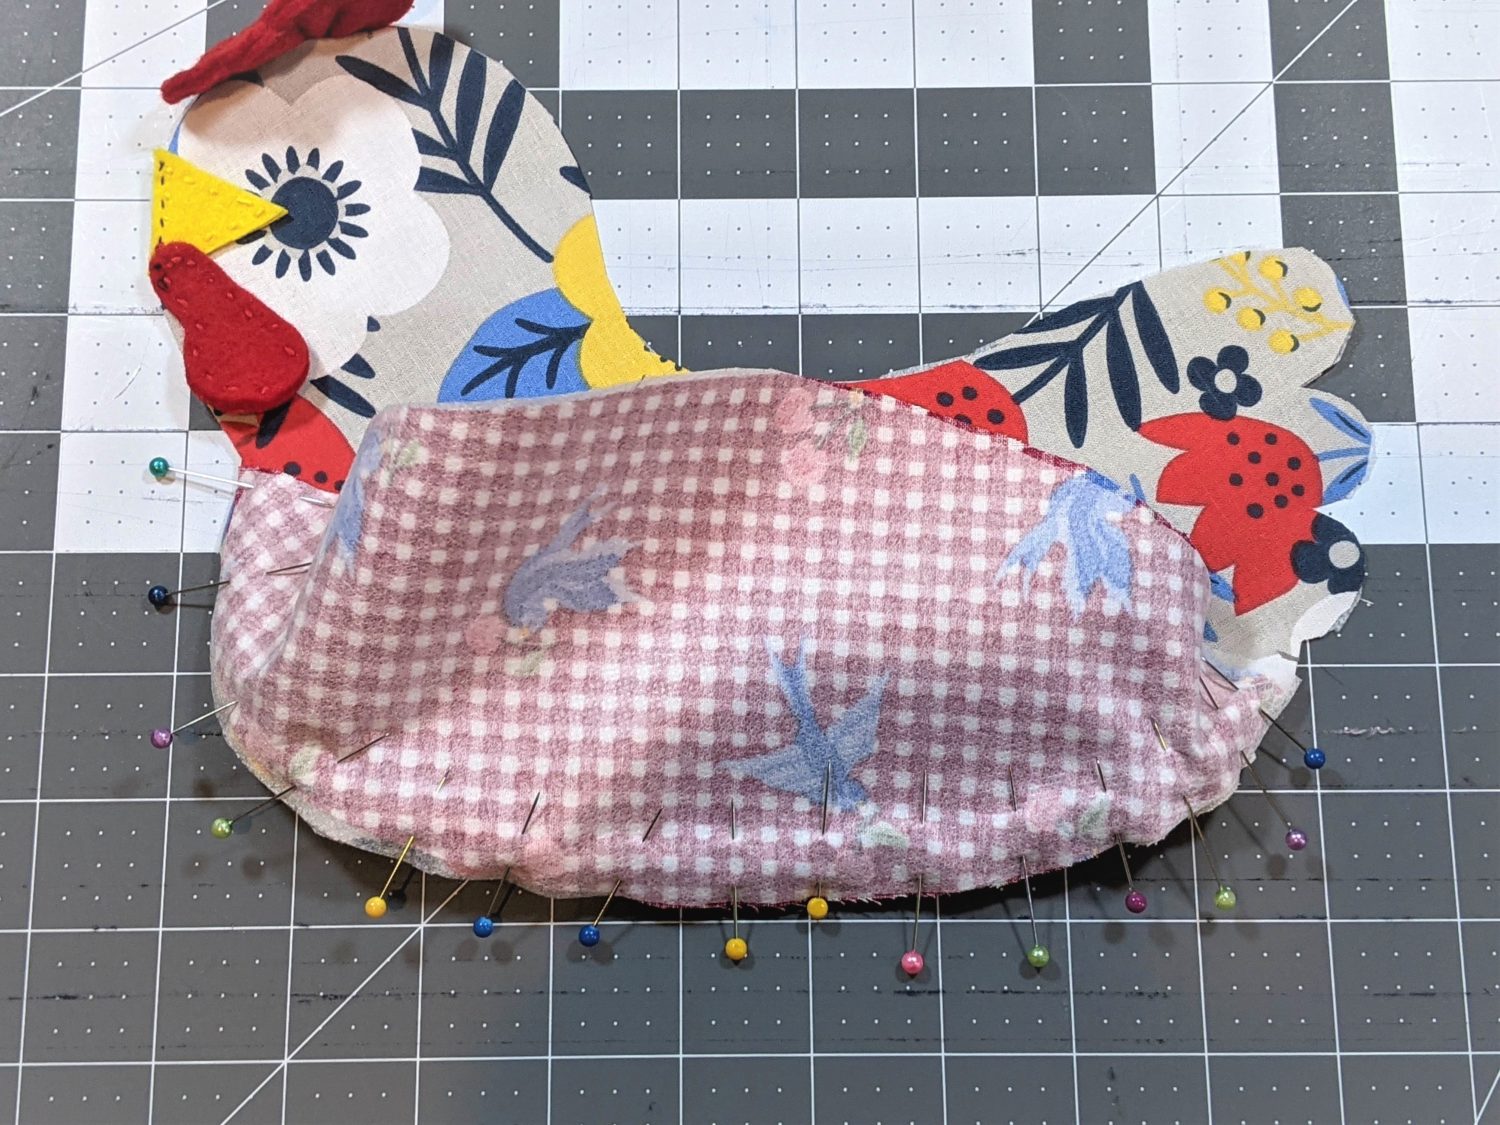
- Ease the belly piece along the curve of the bottom of the chicken’s body using a lot of pins to keep it in place.
- Continue pinning until you reach the back end. The belly piece may not quite reach the back marking, but it should end pretty close to the “v” under the tail feathers.
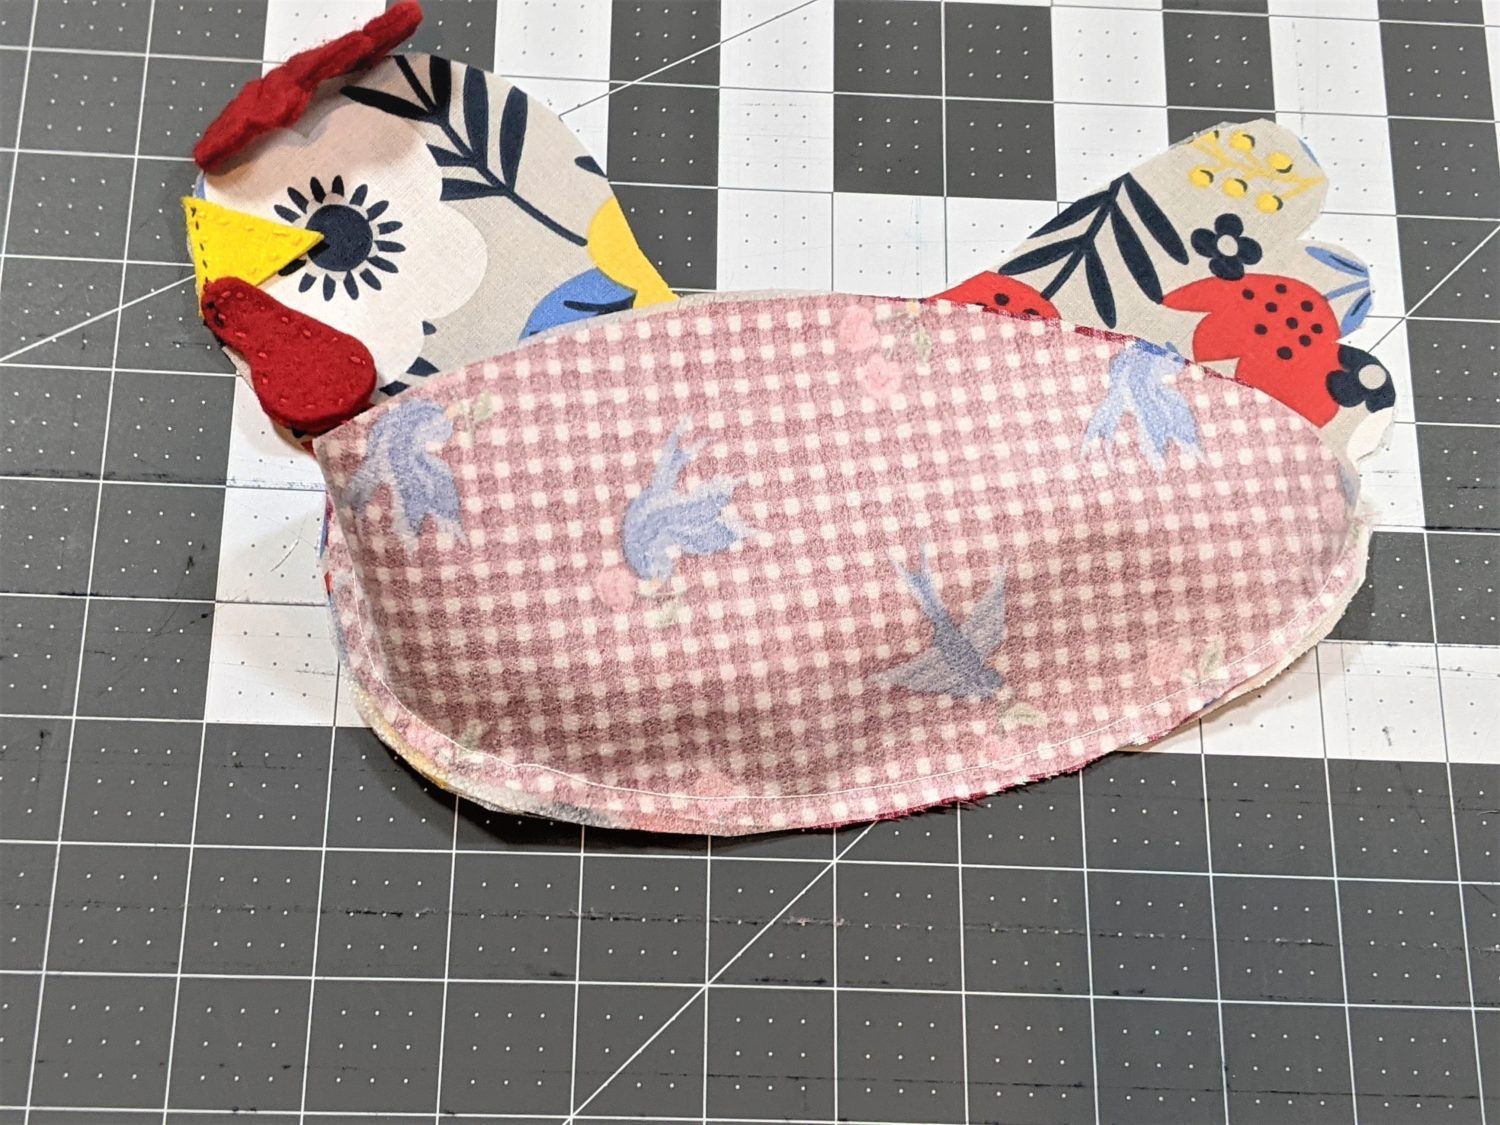
- Sew along the pinned edge using a straight stitch and a 1/4″ seam allowance.
- Clip the seam allowance along the curves.
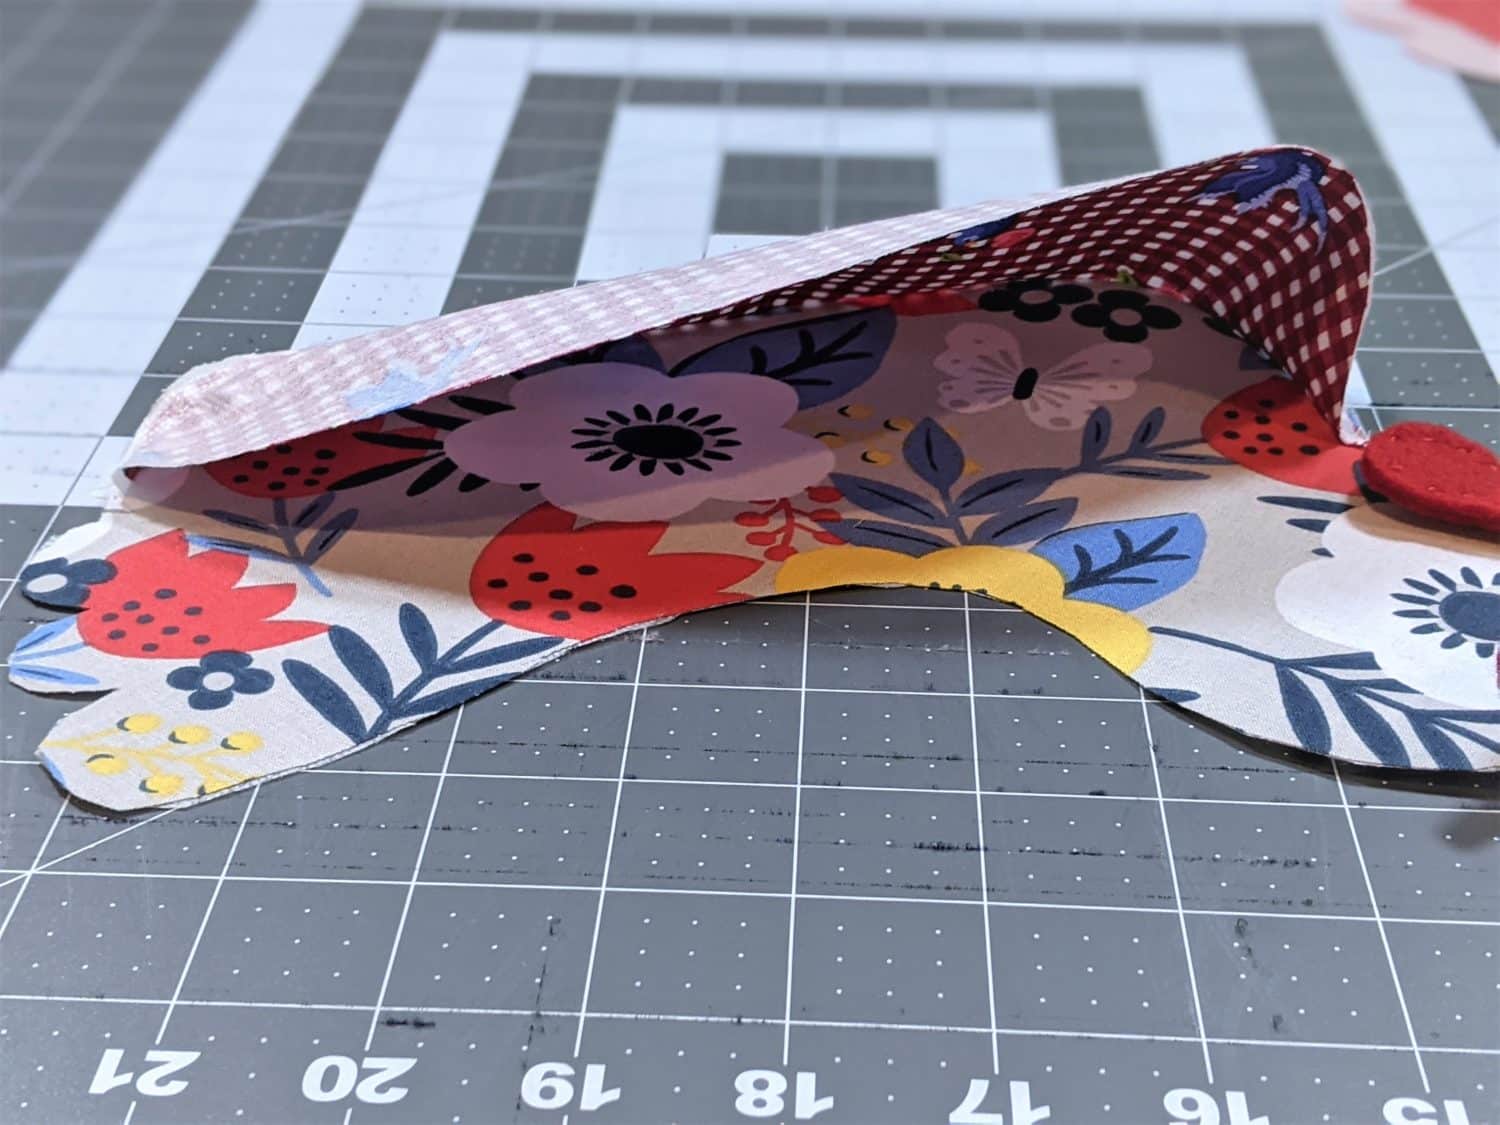
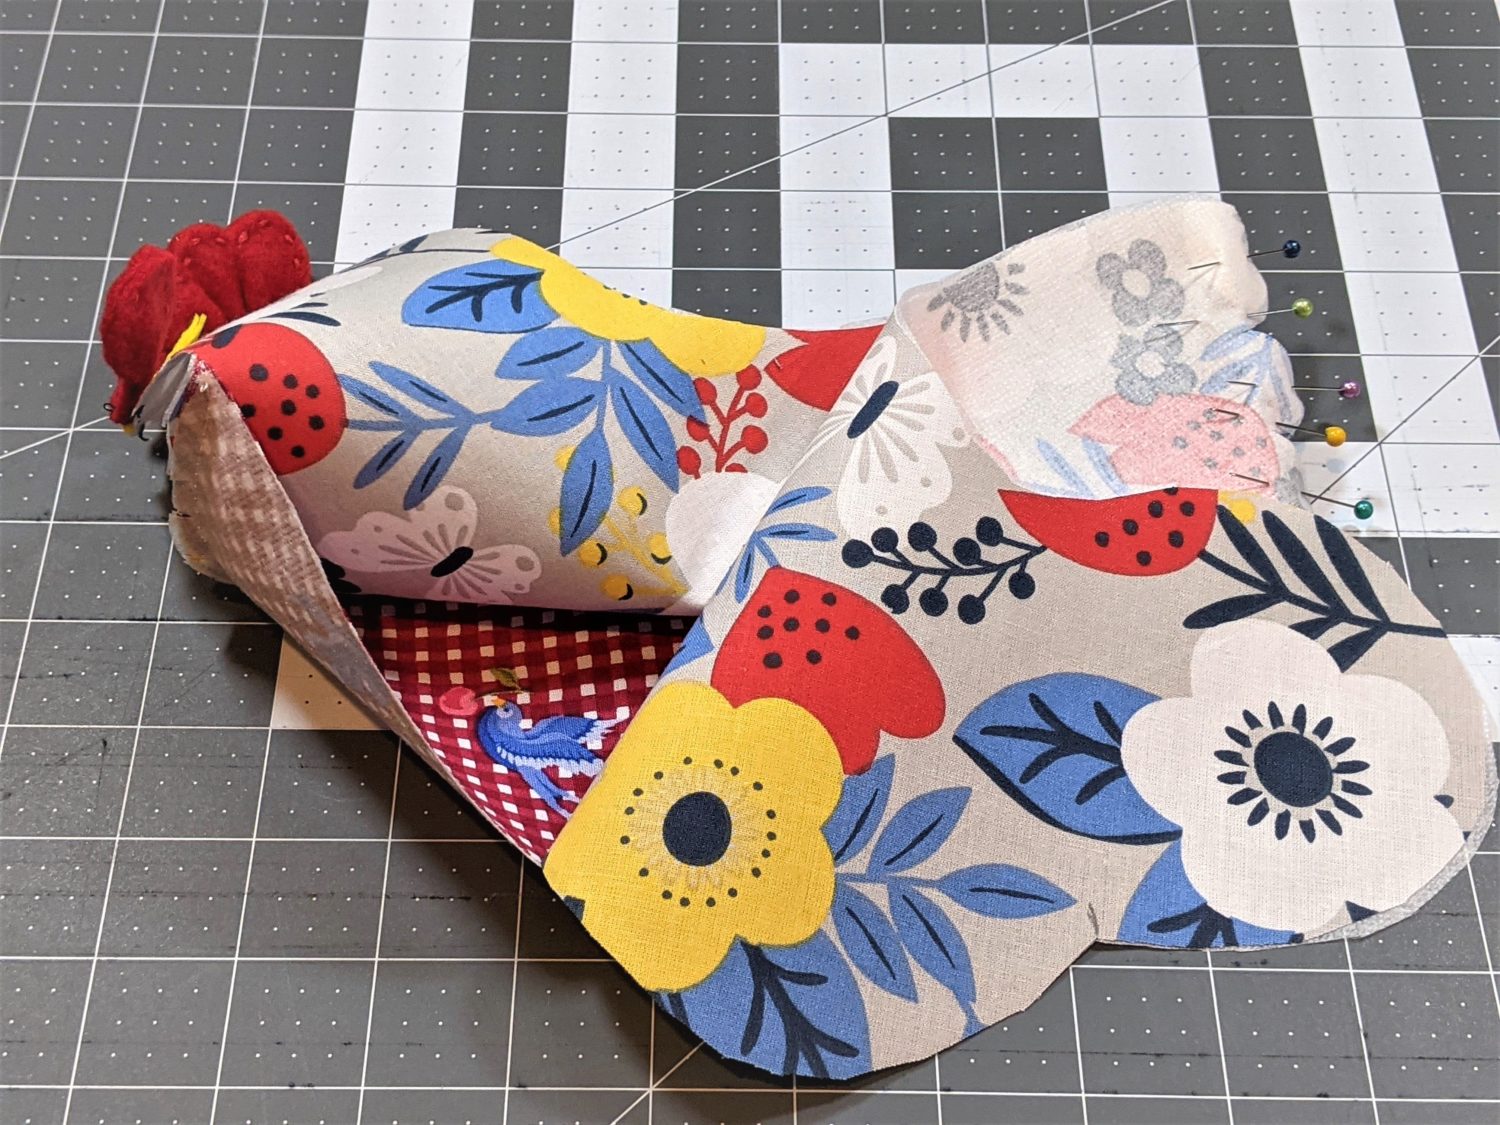
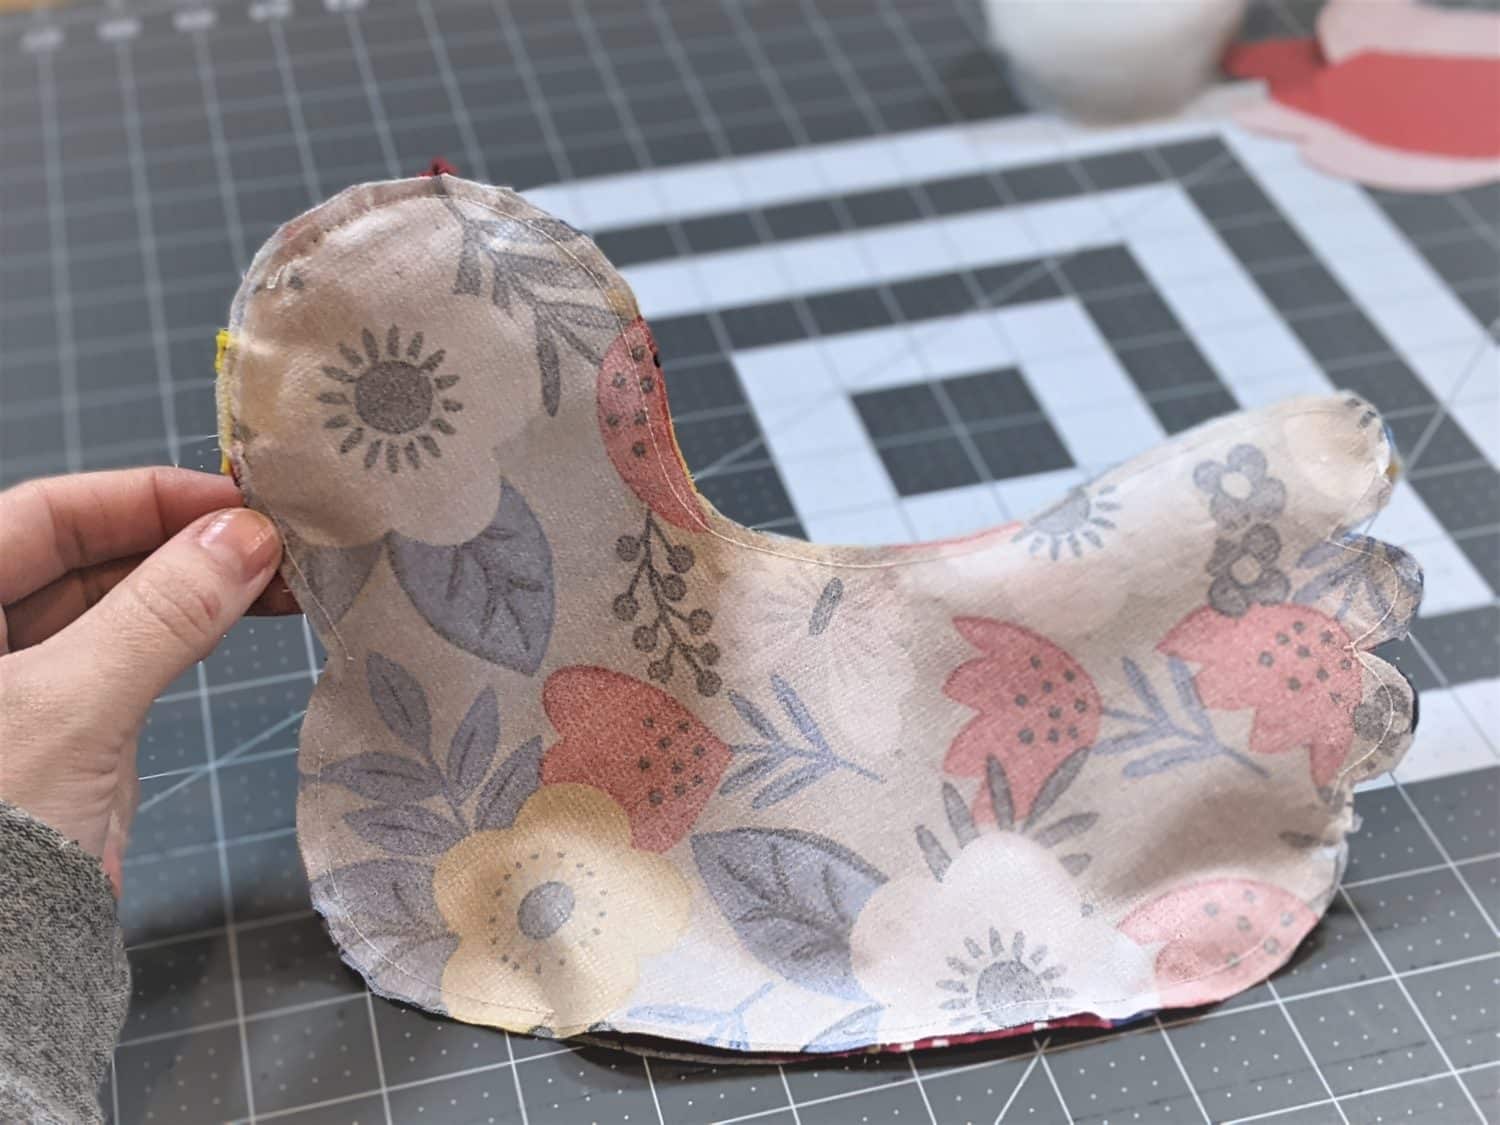
- Take both body pieces and set them right sides together.
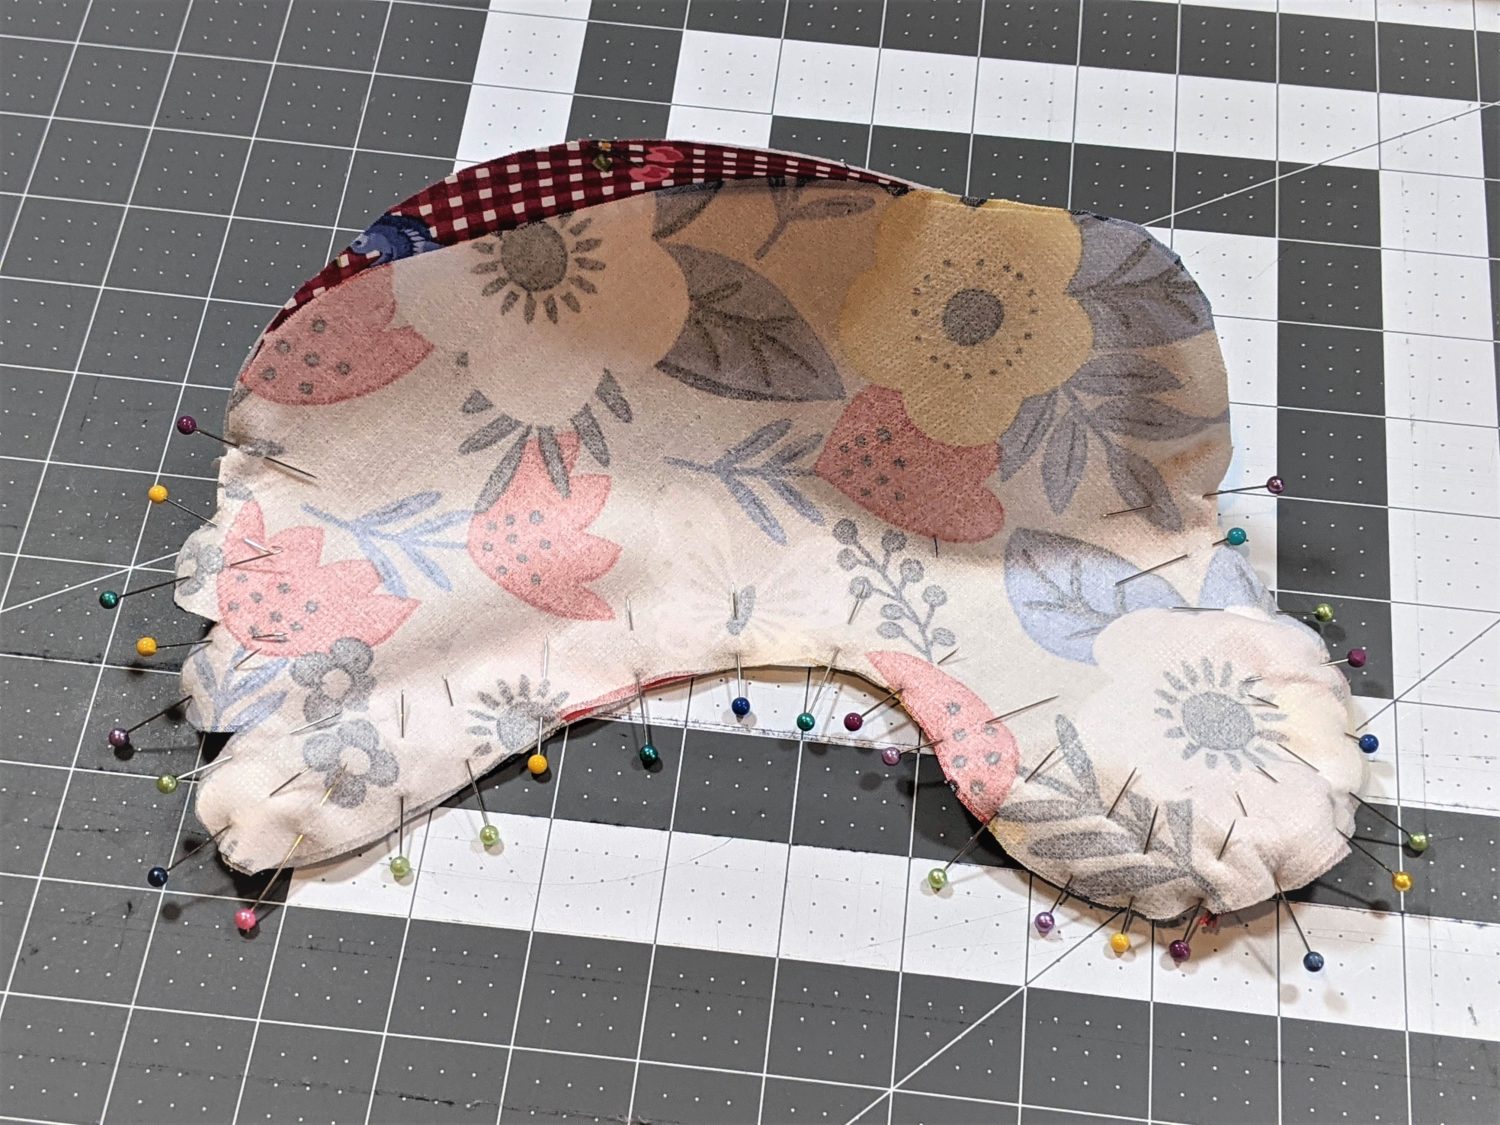
- Pin along the main body from the front of the underbelly, along the top, and down to the bottom of the tail feathers leaving the side with the belly piece open. Use a lot of pins to keep it secure.
- Make sure your comb, beak, and waddle are facing in, sandwiched between the two body pieces.
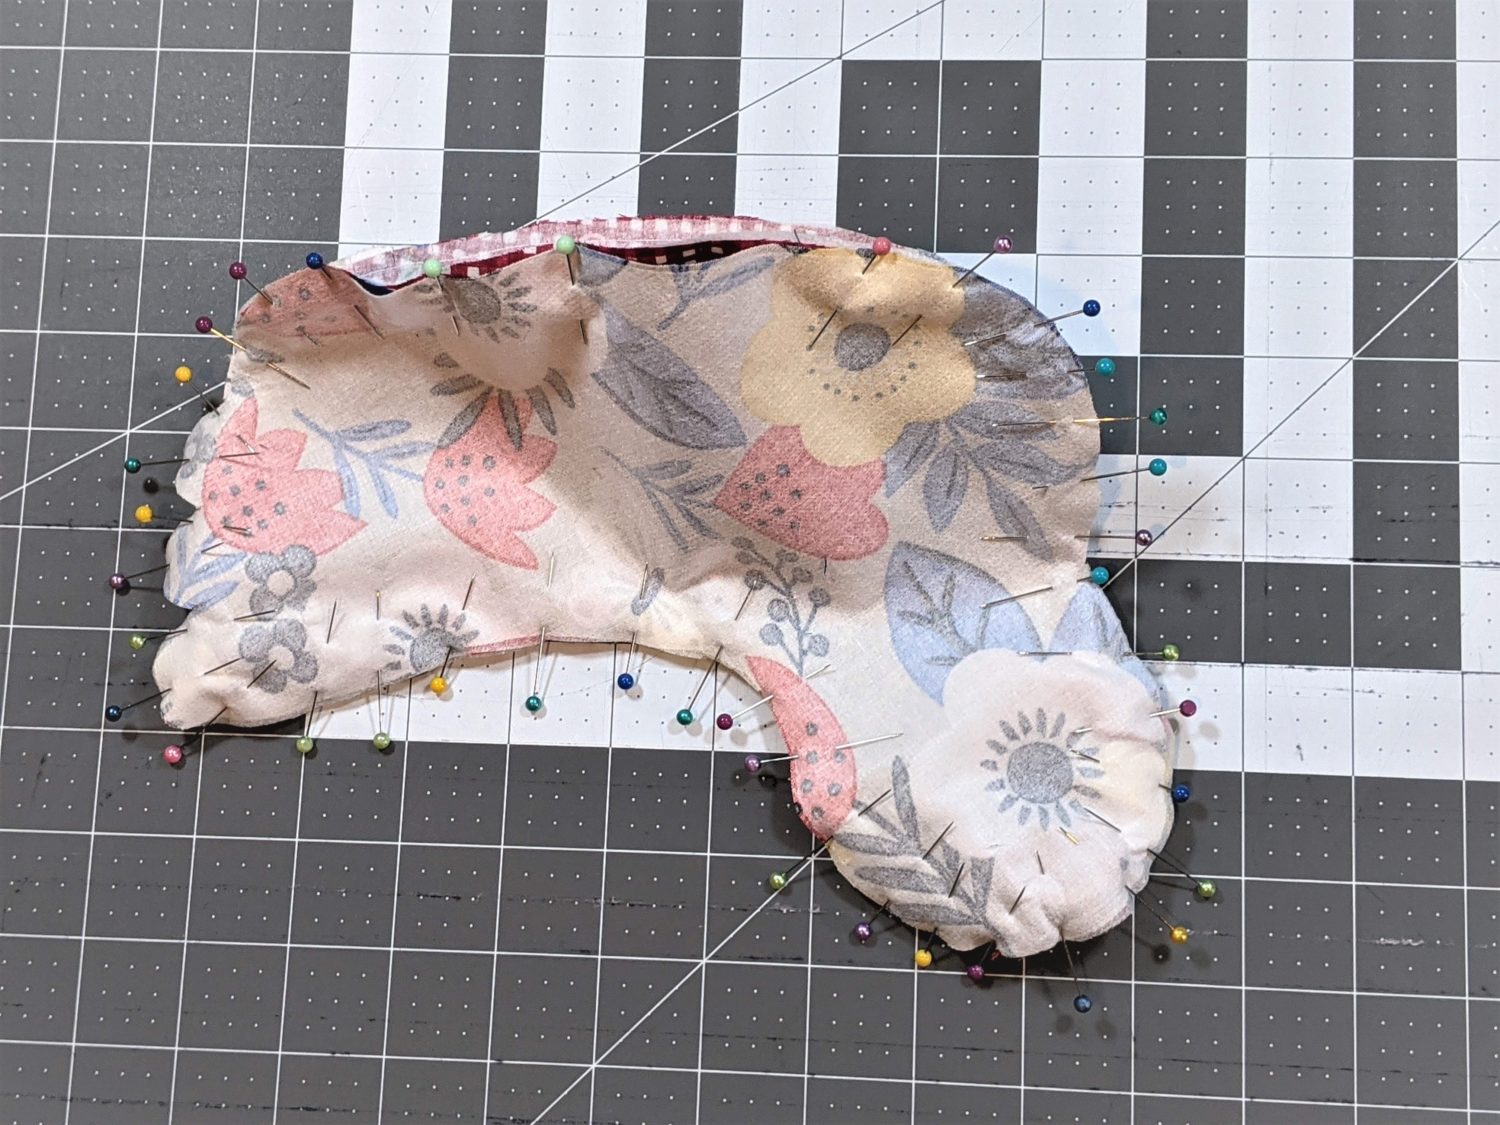
- Once the top portion of the chicken is pinned, work your way along the bottom of the chicken pinning it to the edge of the belly piece right sides together. Leave a 2″ opening along the belly to turn it right side out.
- Starting along the underbelly, sew with a straight stitch and 1/4″ seam allowance making sure to backstitch several times at the beginning and end of the 2″ opening to keep the stitches tight when turning.
- When sewing along the “v’s” of the neck and tail feathers, keep your needle down when you get to the point, lift the presser foot and turn the fabric, then put the foot back down and continue sewing.
- Sew slowly along the areas with the felt pieces. It’s thicker in those spots and can cause your machine to be grumpy and skip stitches.
- Carefully clip the seam allowance around curves and into the “v’s” making sure you don’t cut through any stitching.
Finishing the body
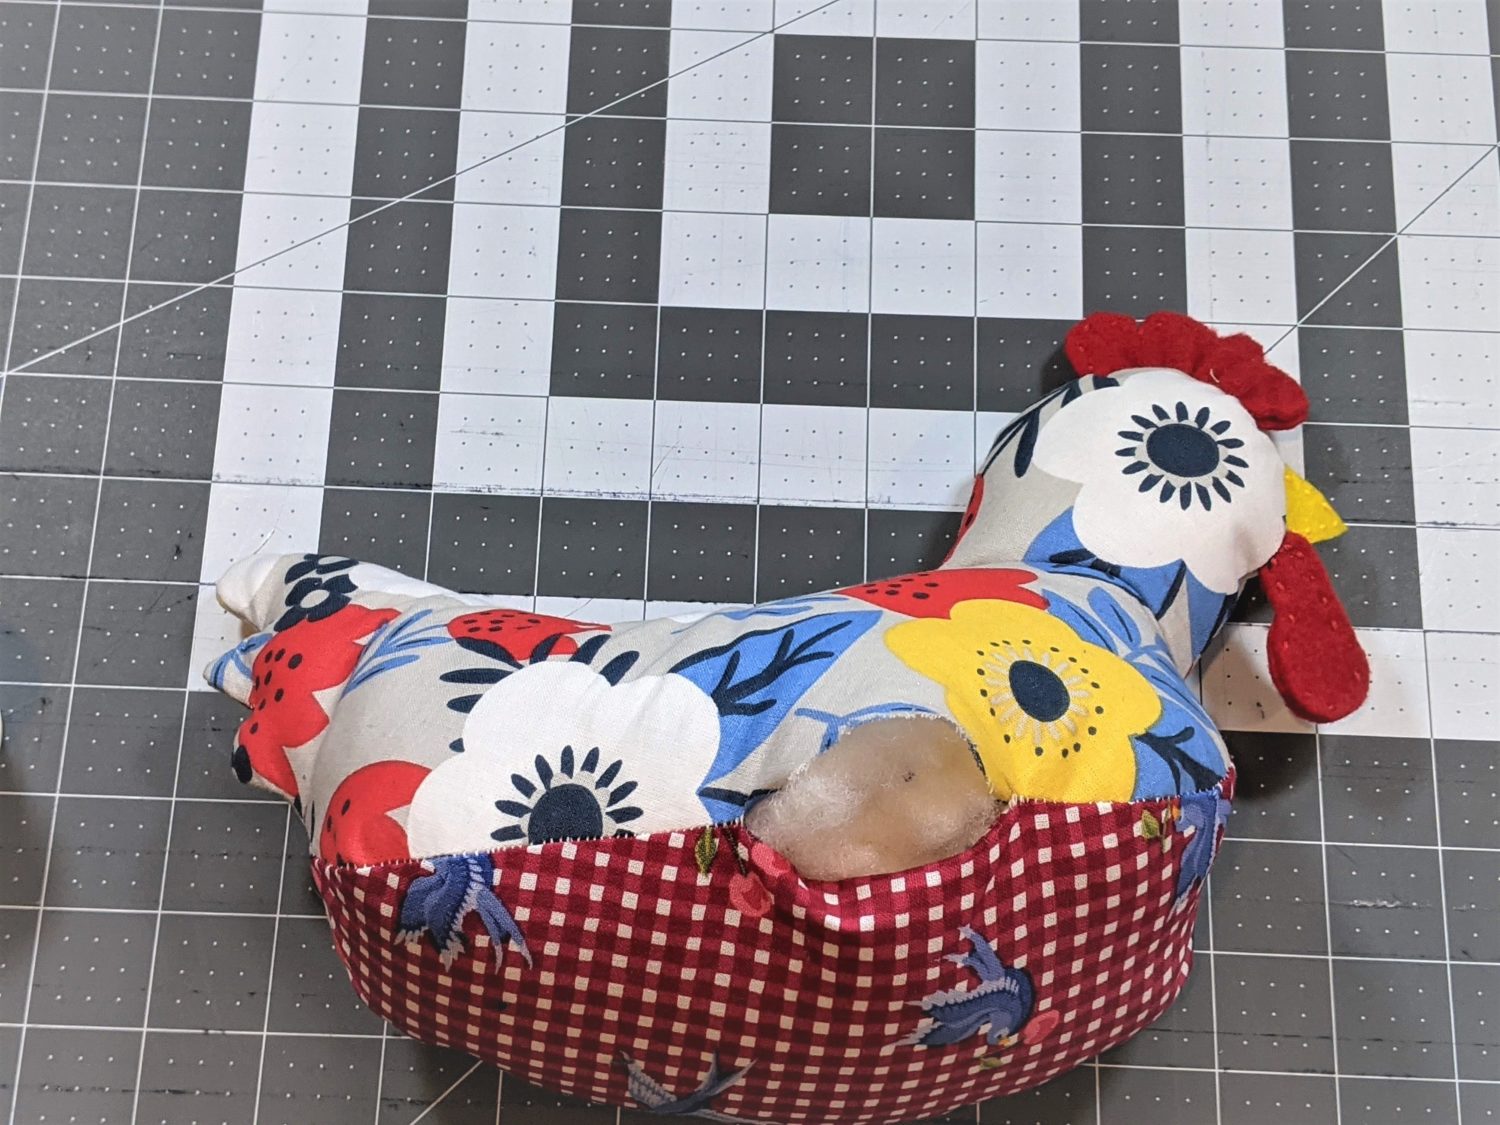
- Turn the chicken right side out by pulling the fabric through the opening along the belly.
- Push out all edges. It helps to use a pencil to push out the tail feathers.
- Fill the chicken with your stuffing material until it is stuffed to your liking.
- It helps to start with the head and tail ends first. Push the stuffing all the way to the edges and into the feathers then continue with the rest of the body.
- Once your chicken is stuffed, take your needle and matching thread and use either a ladder stitch or small whipstitch to close up the hole. We have a sewing school tutorial HERE if you need help with a ladder stitch.
Time to make the wings
- Take the outer side of each set of the large wings. (The side you put interfacing on if using interfacing.)
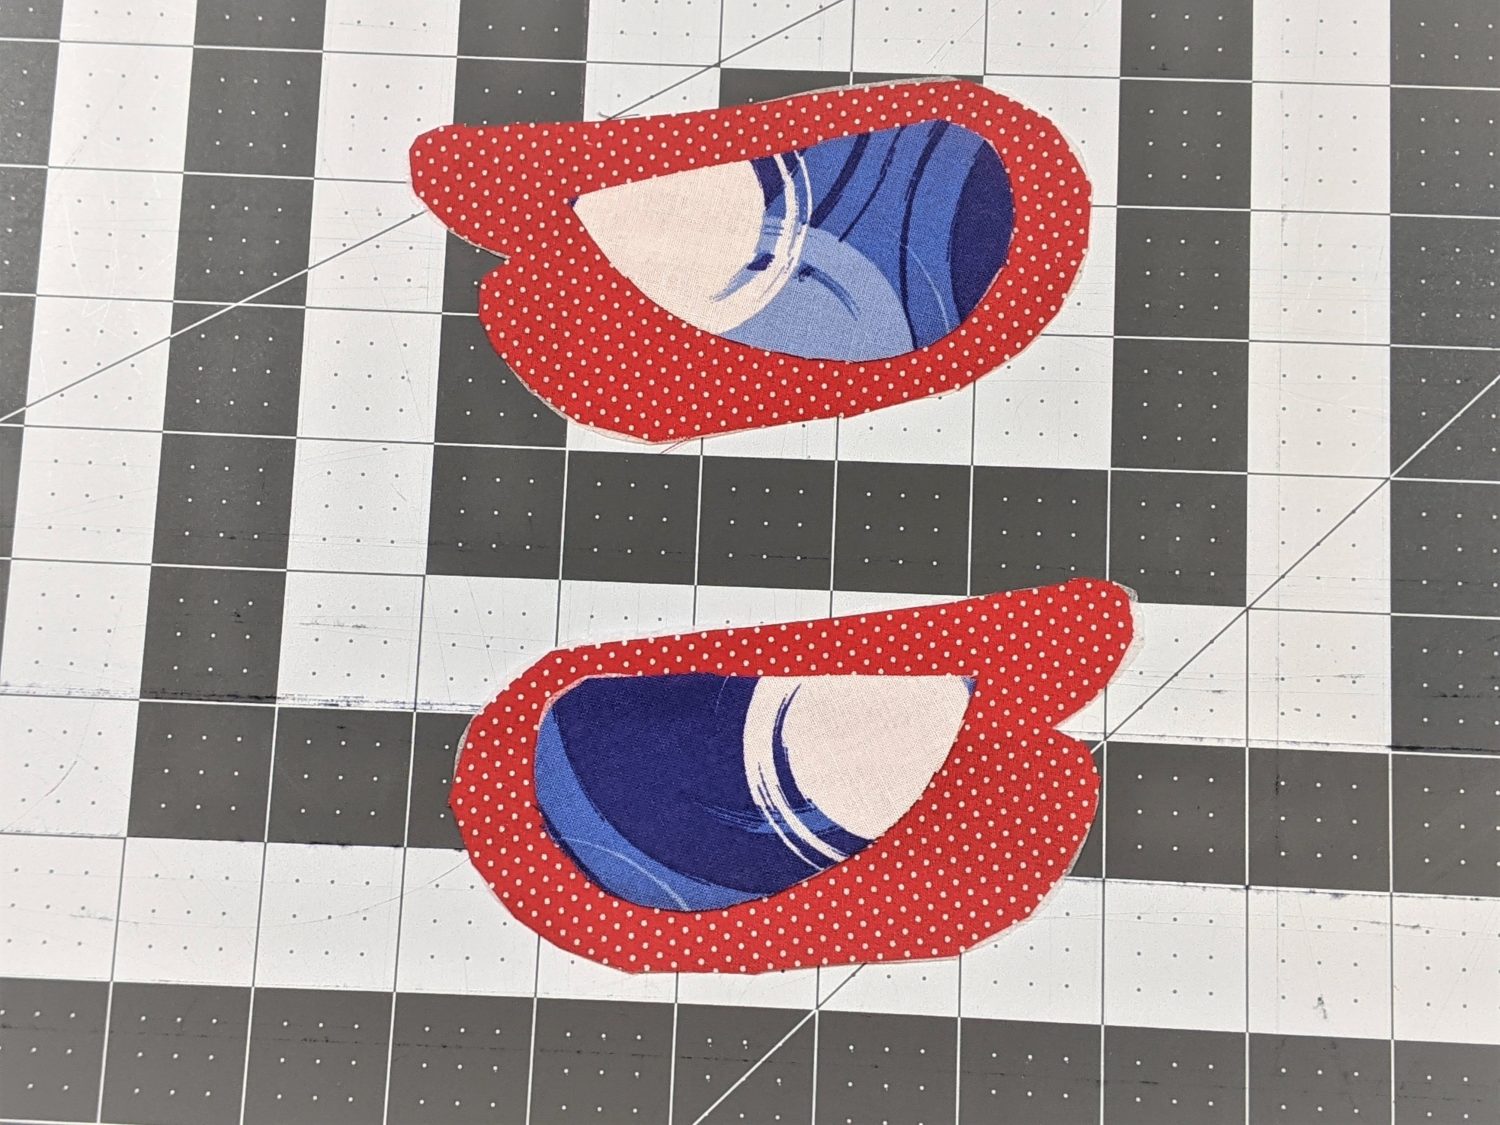
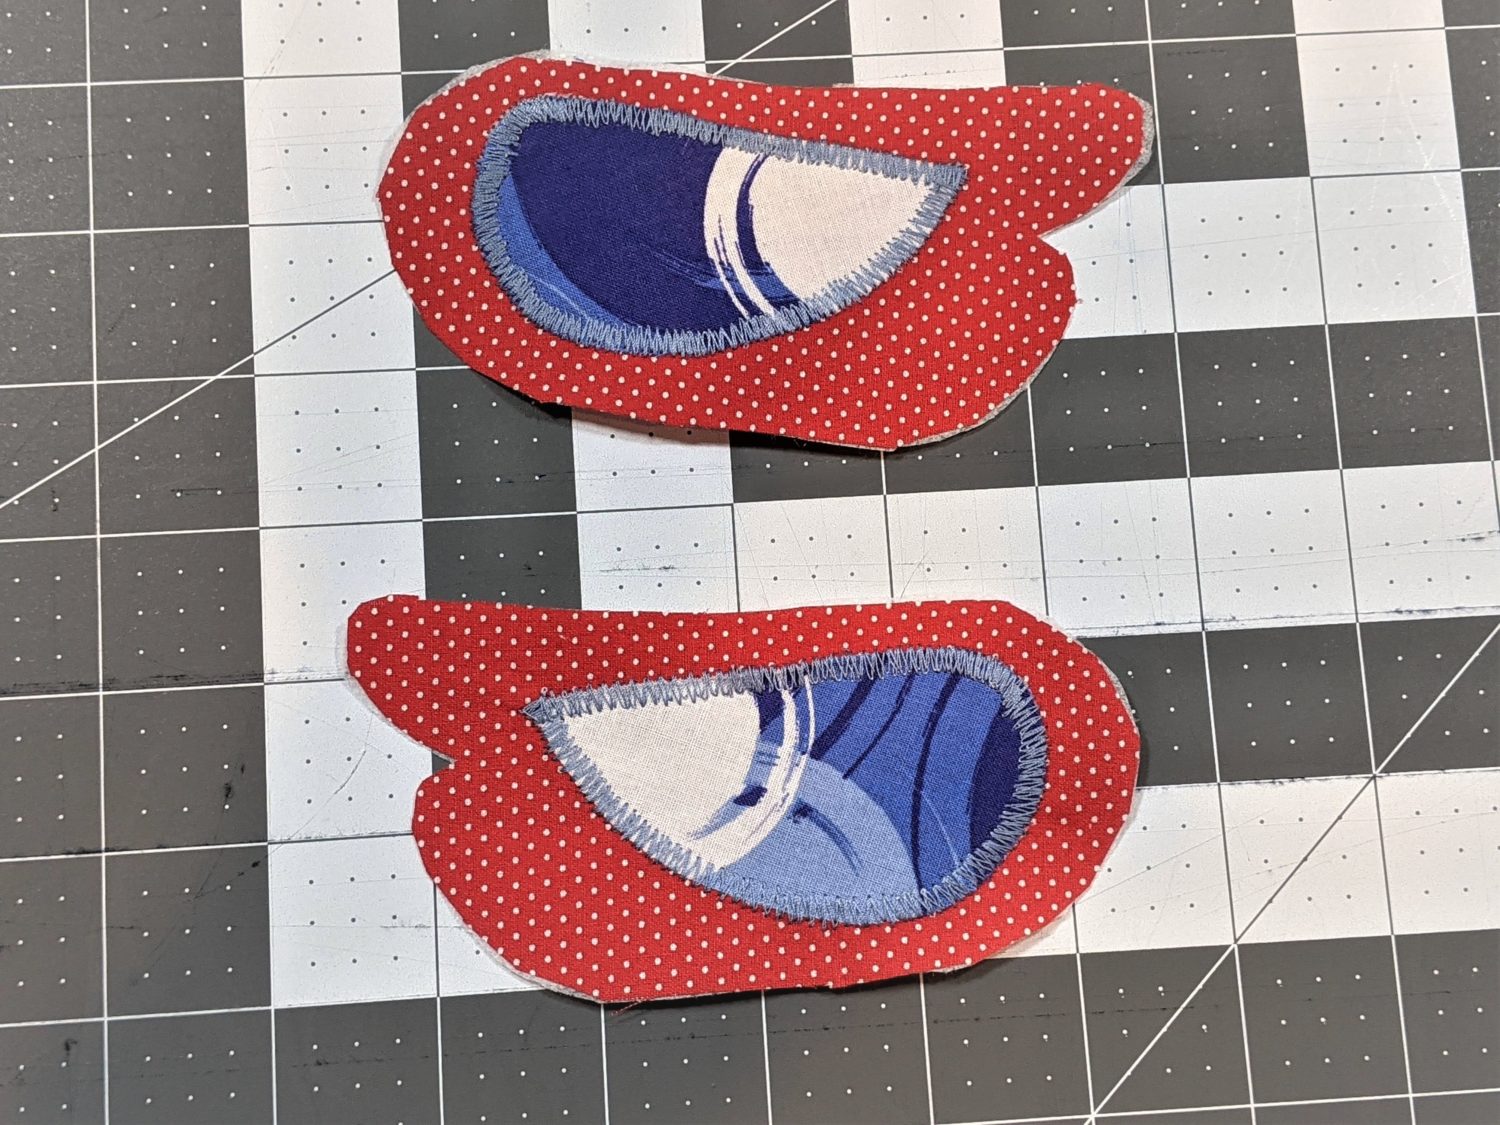
- Pin or wondertape the small wing onto the right side of the large wing with the rounded and pointed ends of each facing the same direction.
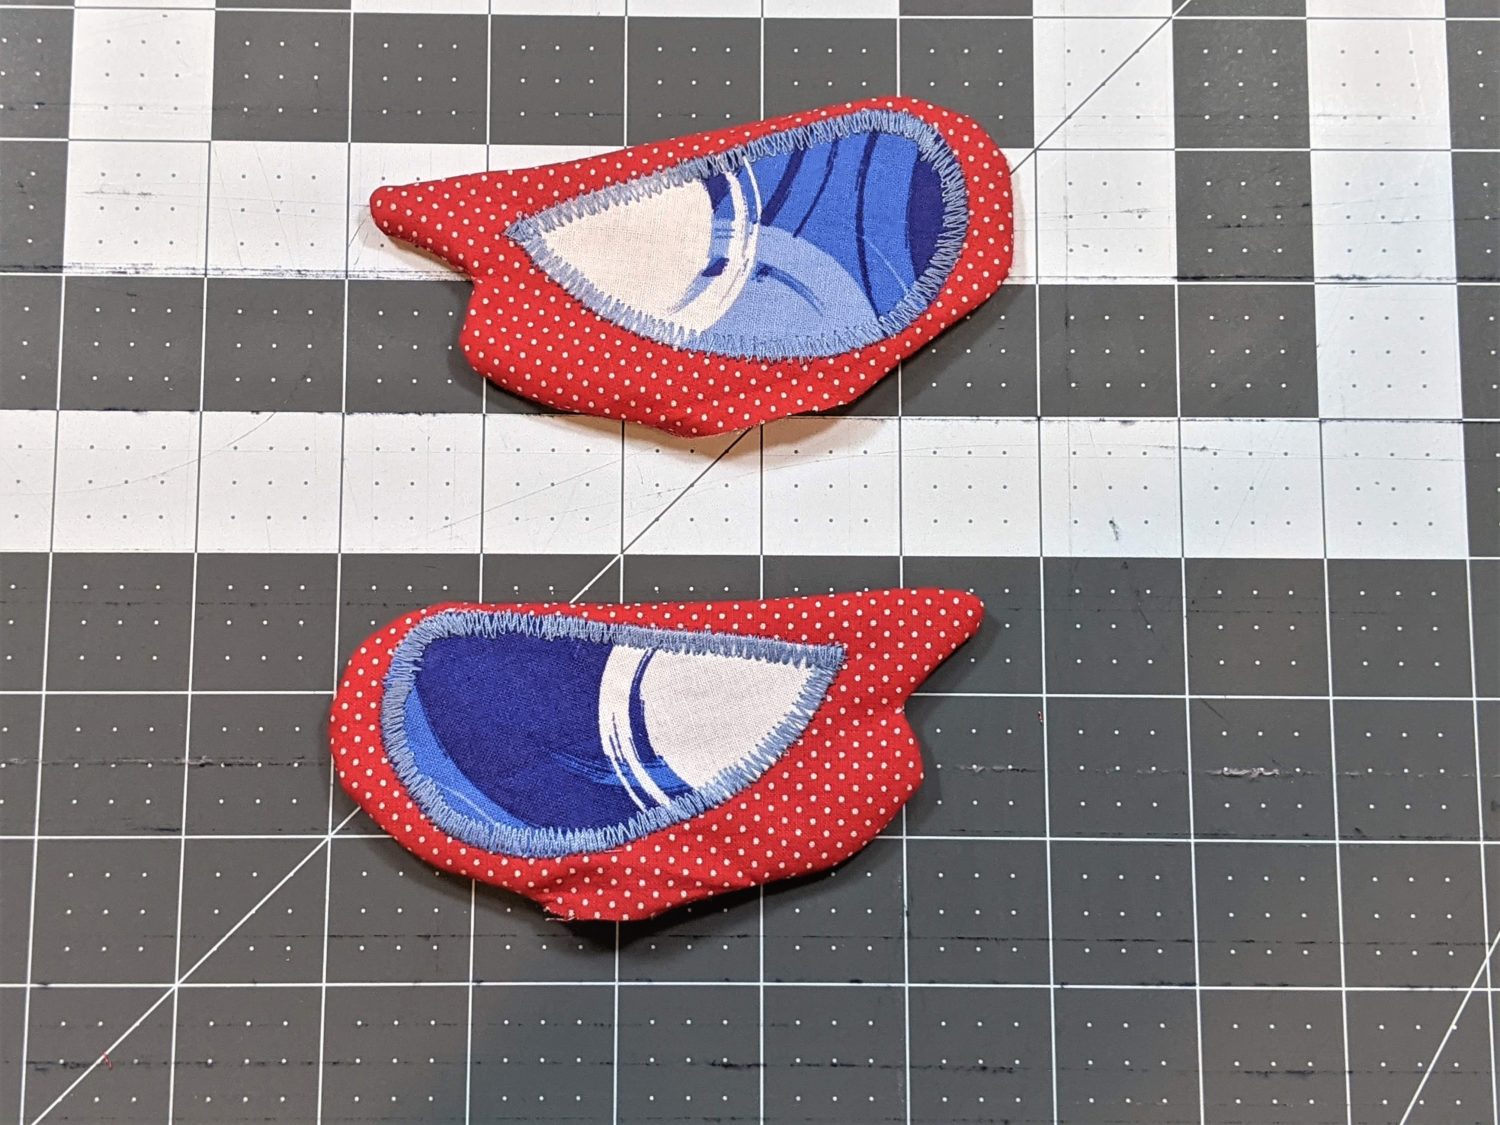
- Use a short and wide zigzag stitch around the perimeter of the small wing to create an applique effect. (This is optional, you can sew a straight stitch instead, or use double-sided fusible interfacing to iron it to the large wing.)
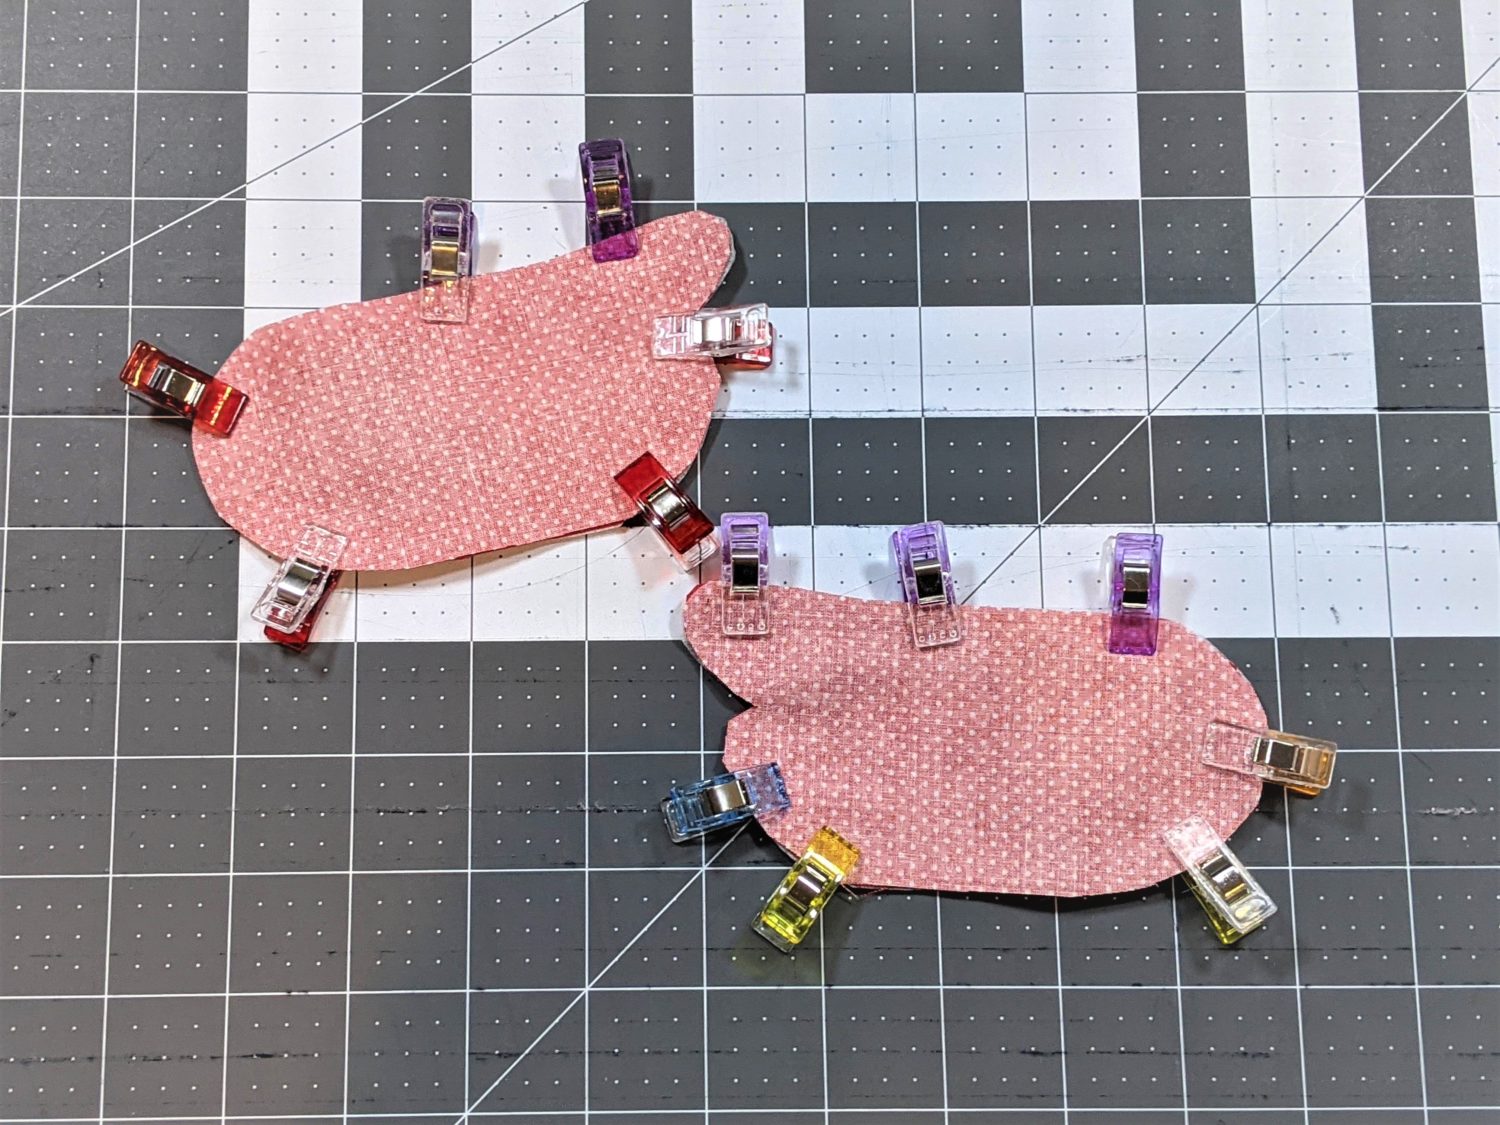
- Take the other side of each wing and lay them right sides together.
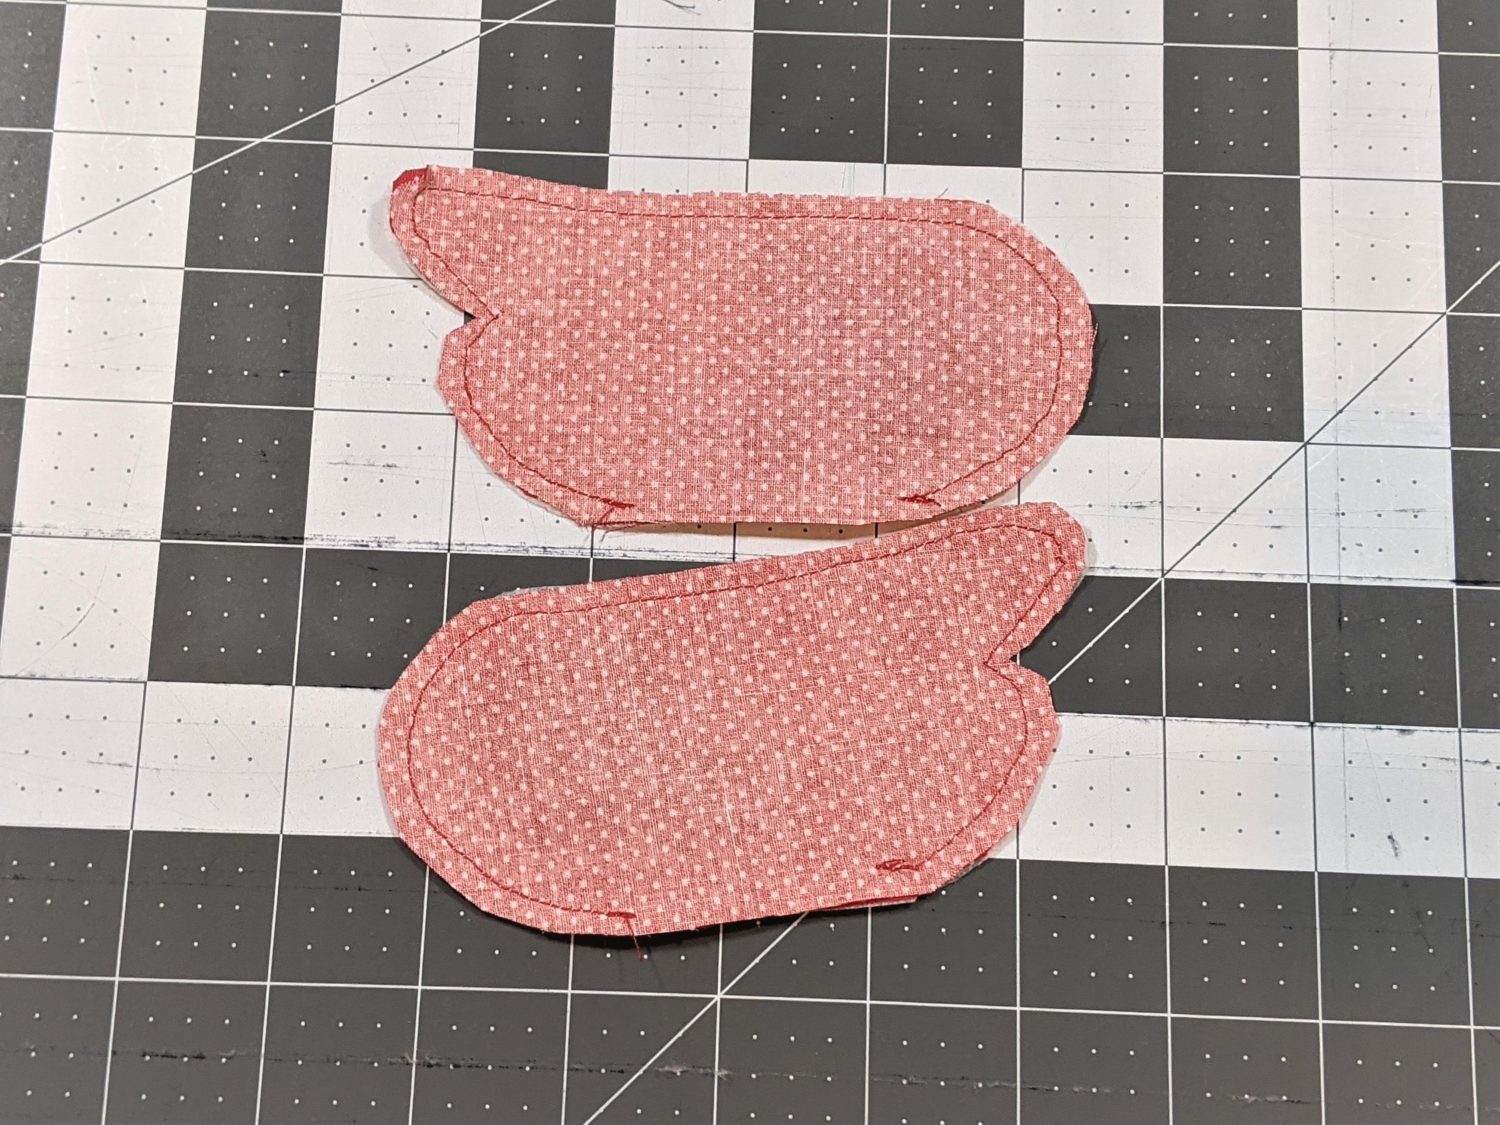
- Pin and sew along the perimeter using a straight stitch and 1/4″ seam allowance leaving a 1″ opening along the bottom edge for turning. Clip curves and the “v” of the seam allowance.
- You will sew along the “v” in the same way you did the body pieces.
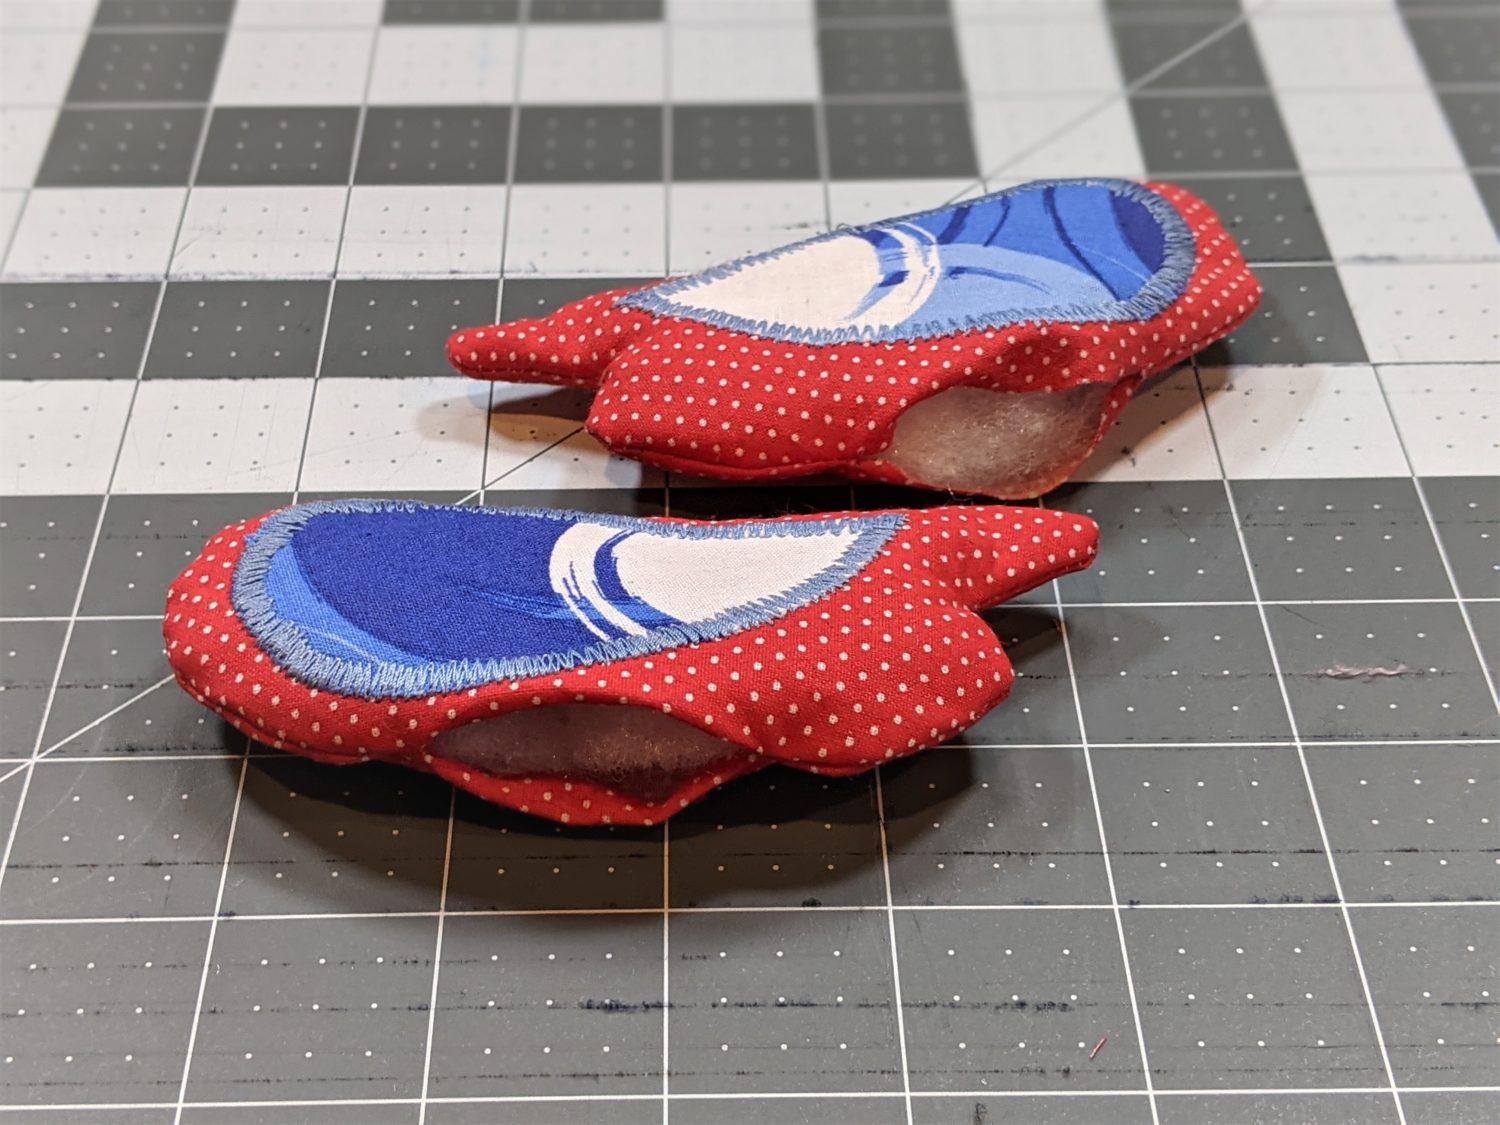
- Turn both wings right side out.
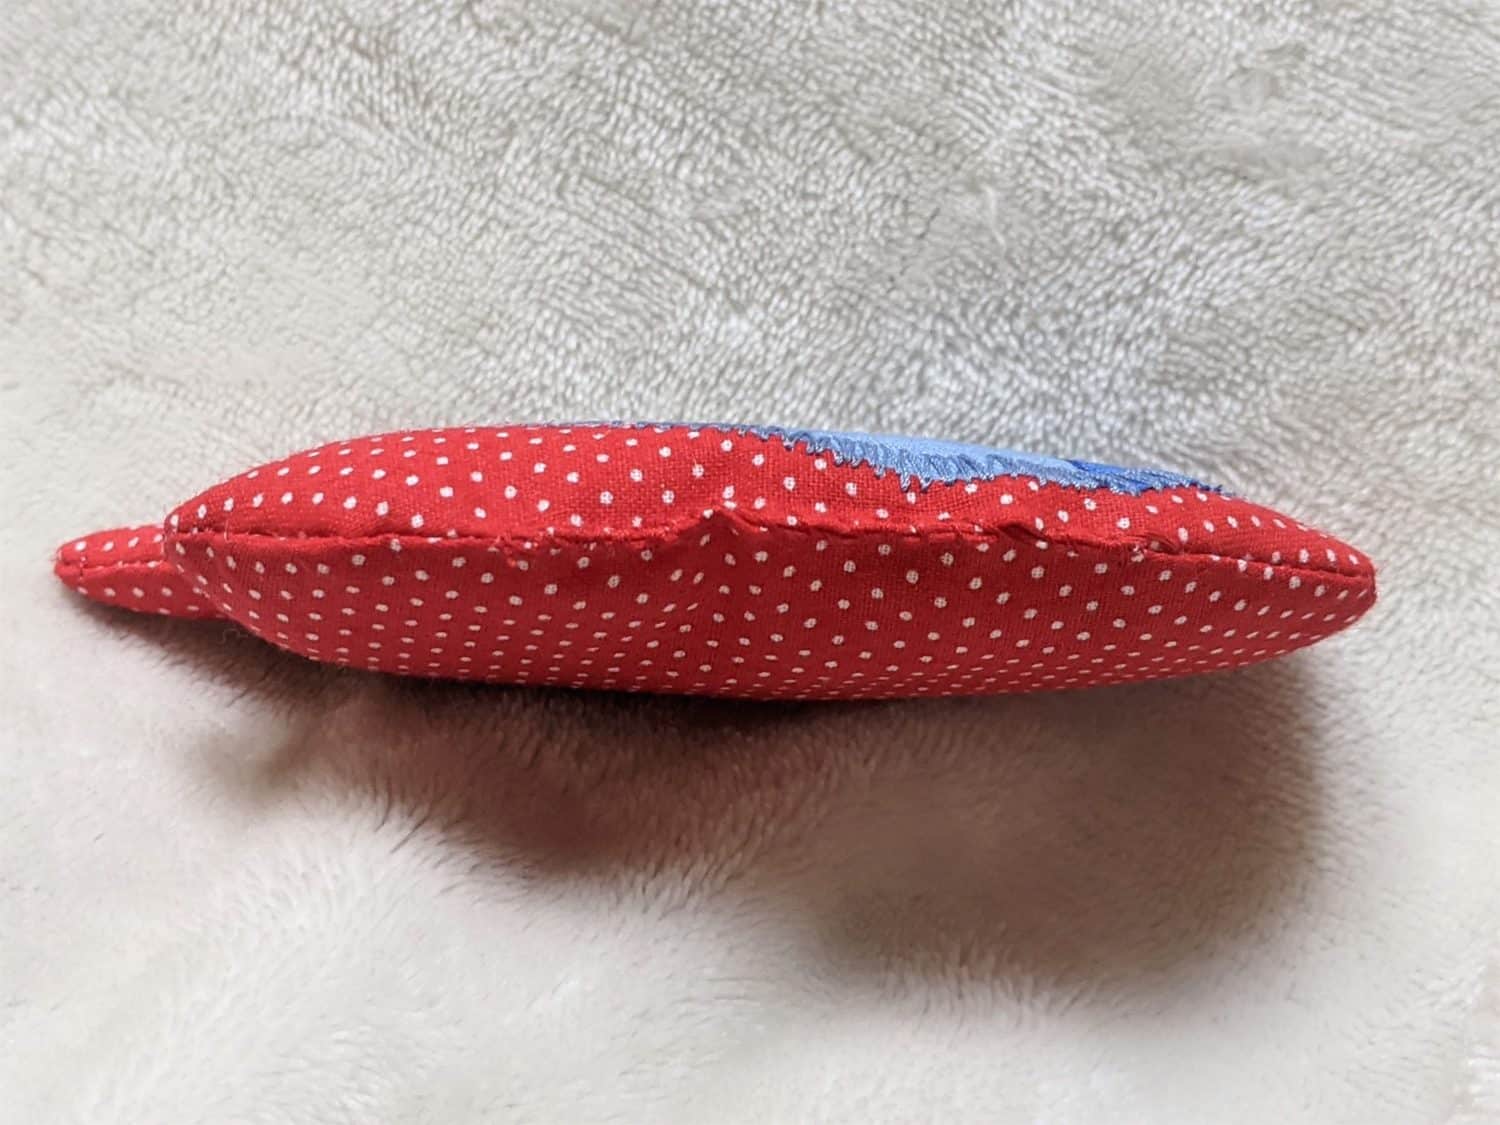
- Stuff each wing using either your precut quilt batting or regular stuffing material.
- Sew the holes closed using either a ladder stitch or small whipstitch.
Attach the wings
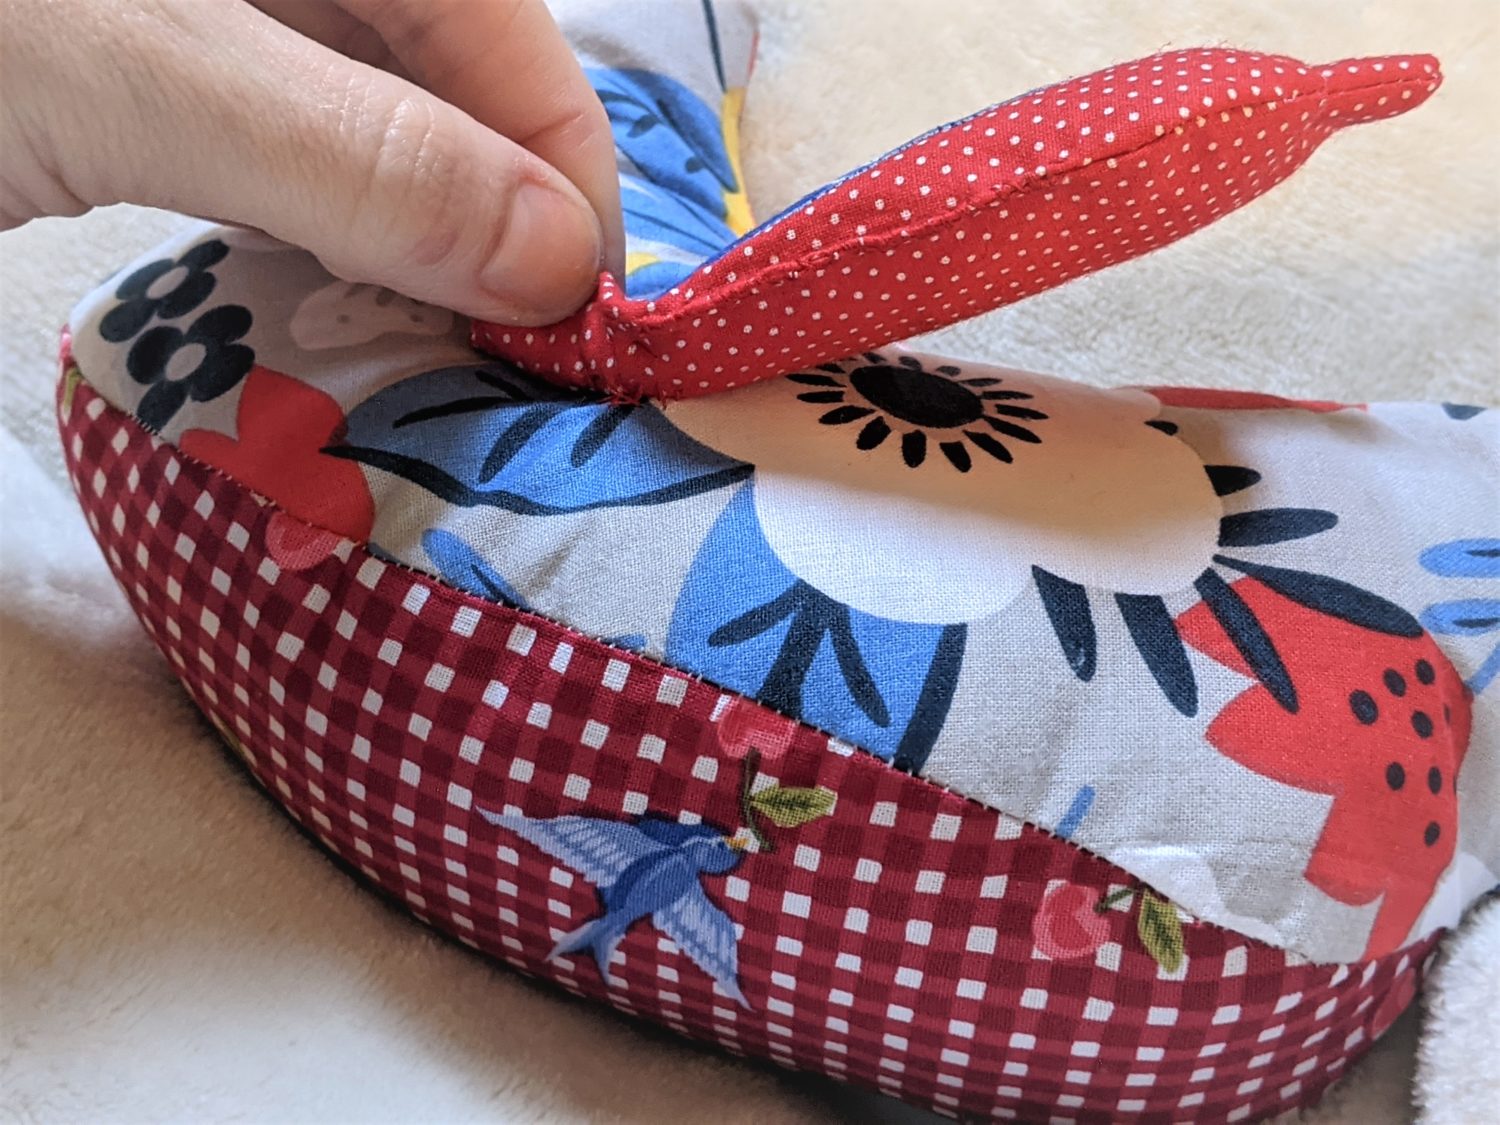
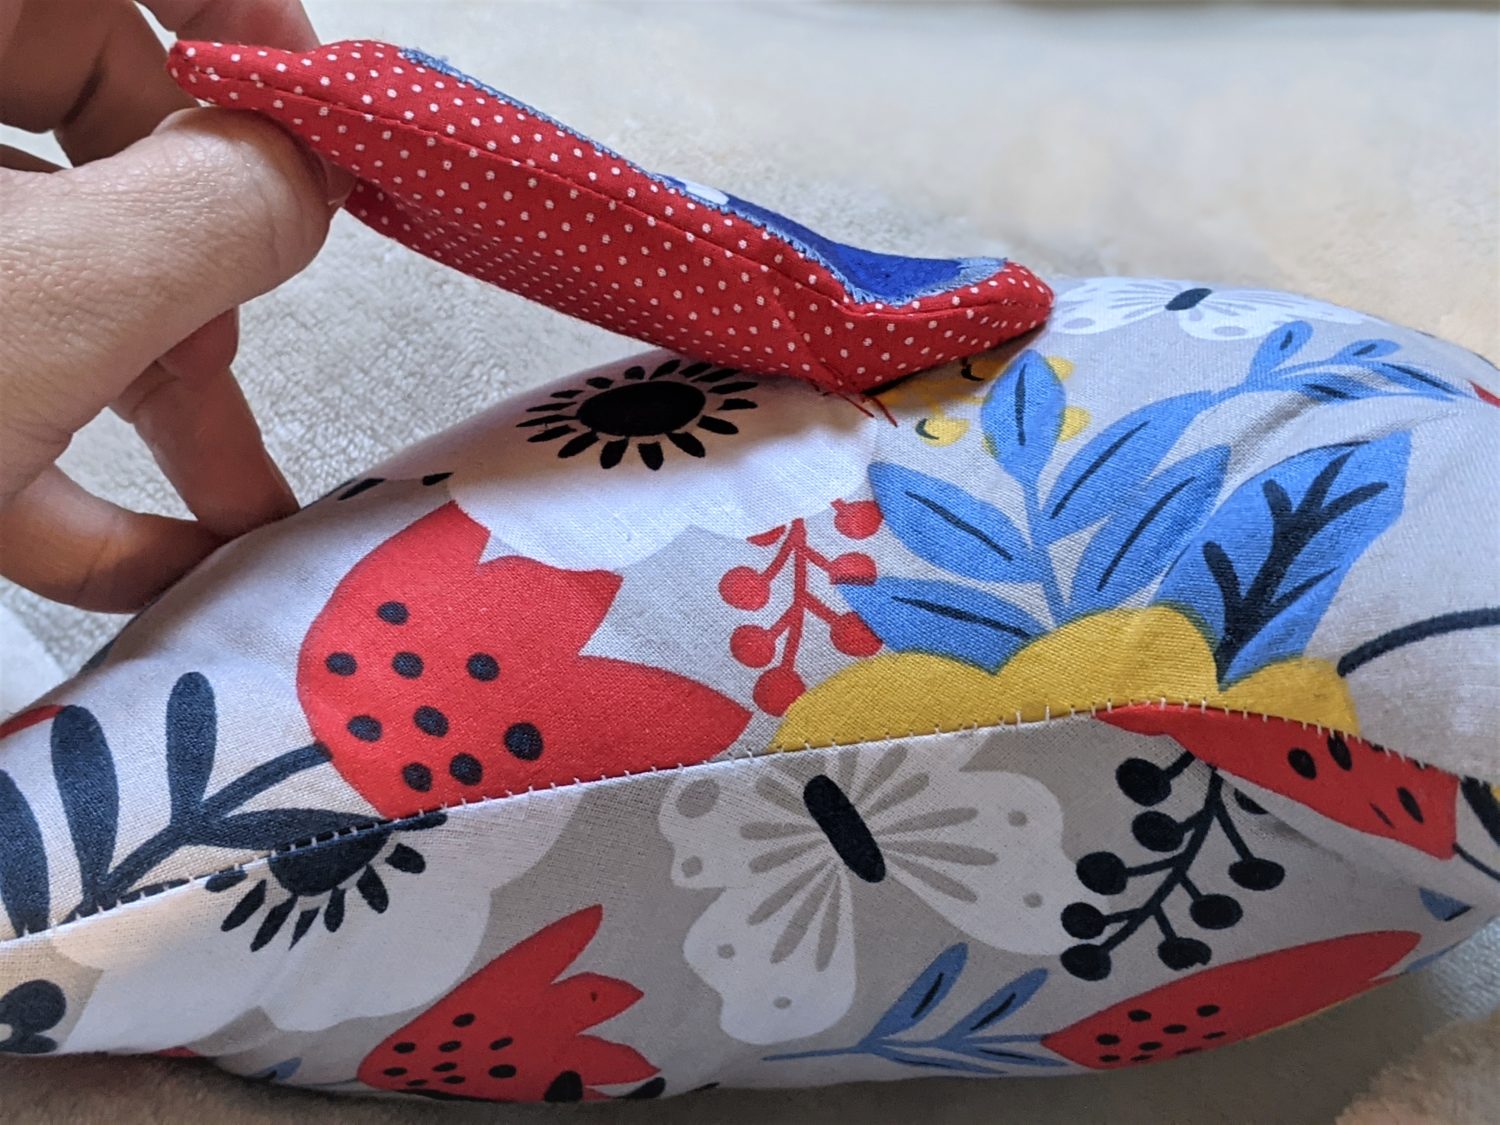
- Hold a wing up to your chicken to decide on its placement.
- Using a needle and thread, sew the wing to the body by lifting the wing and sewing through the body and just the inner side of the fabric along the (front) rounded edge of the wing.
- You won’t see these stitches so it won’t matter what they look like, you just want the wing to be secure.
- Repeat these steps with the other wing.
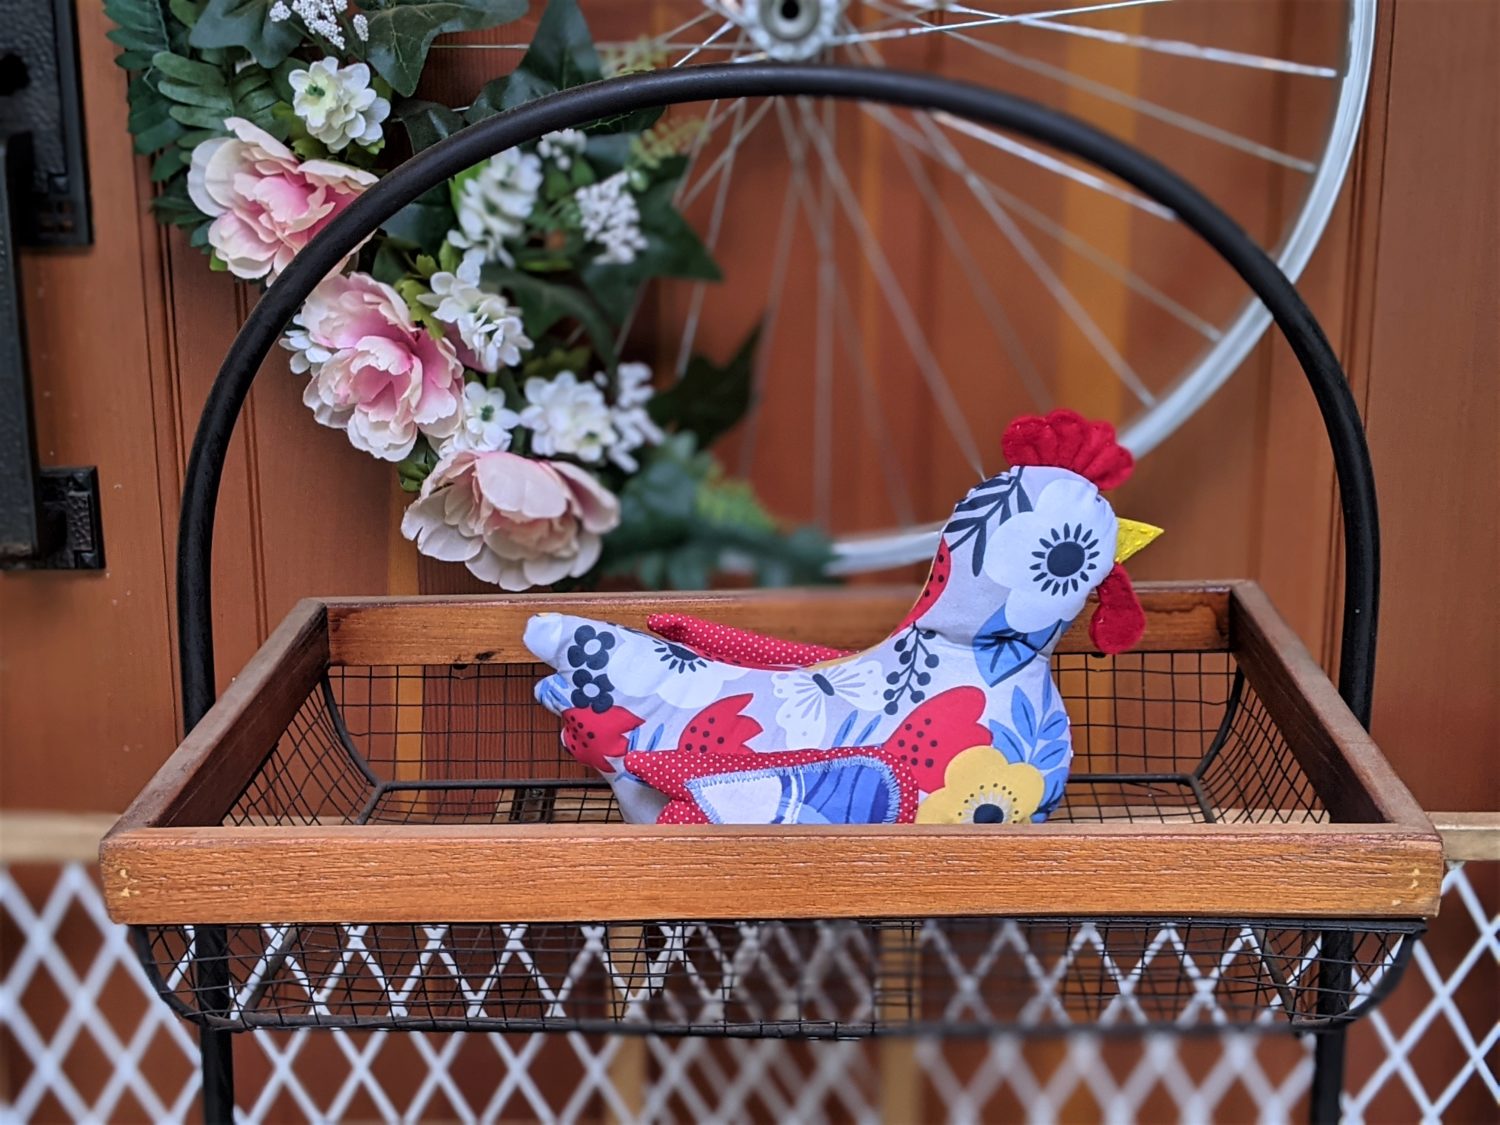
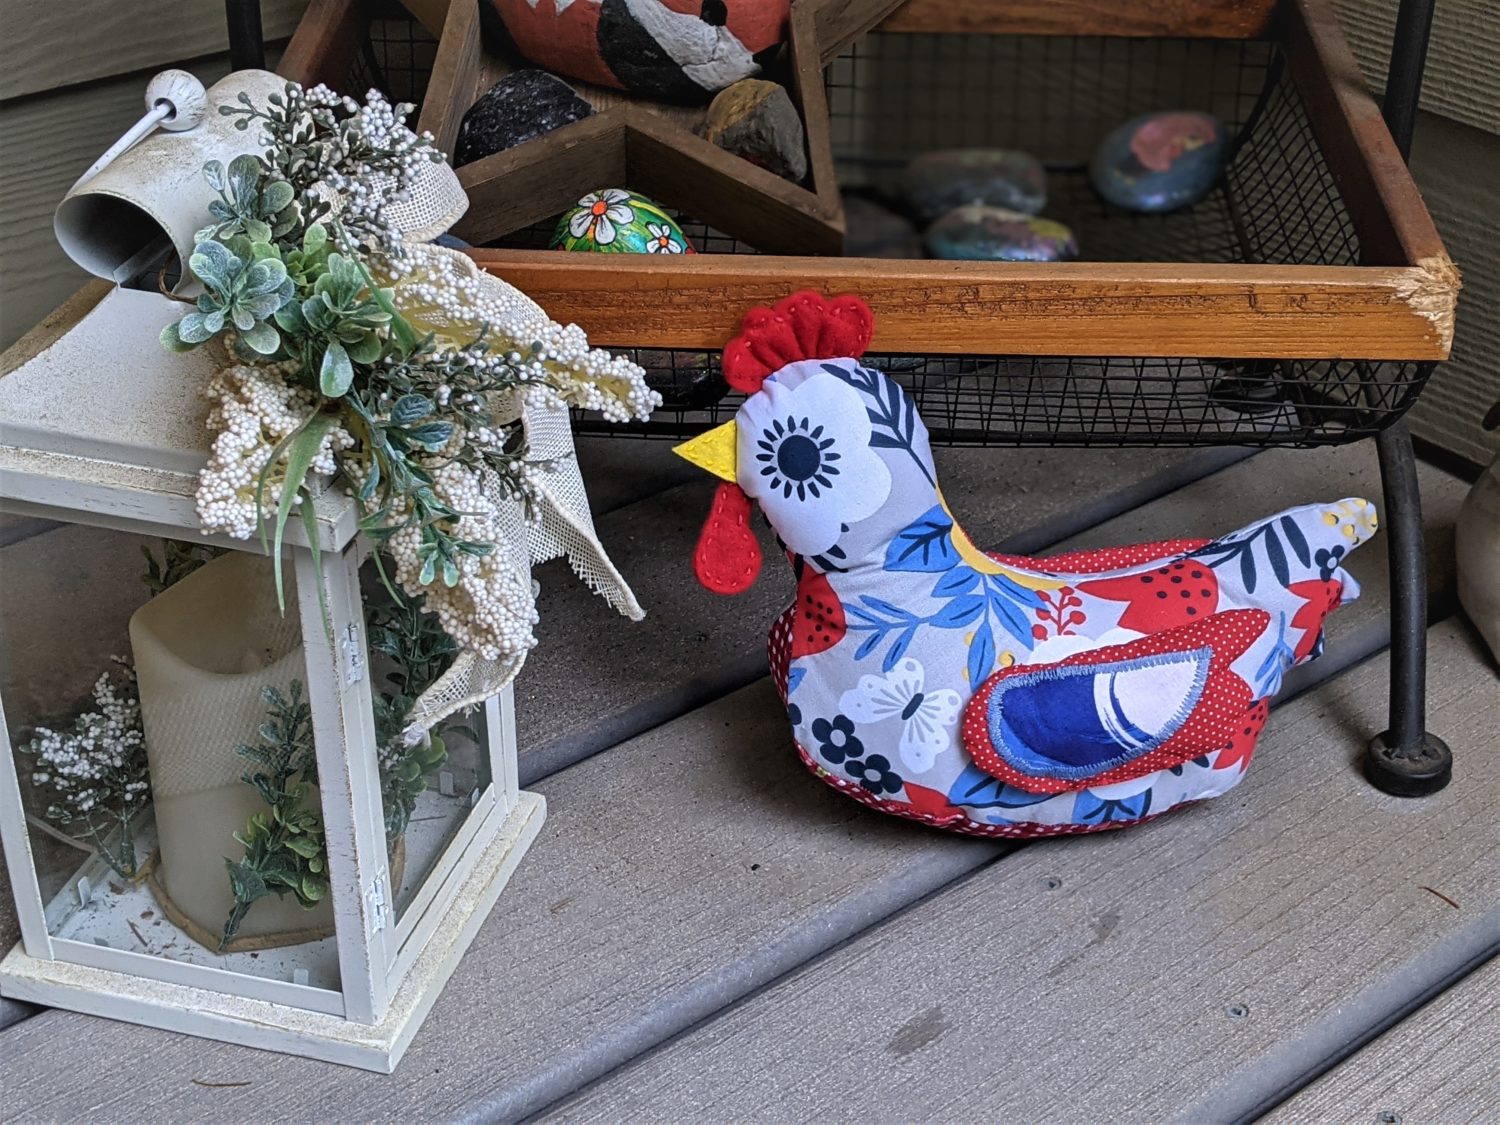
So stinkin’ cute!
Want more FUN DIY Freebies? Check out the FREEBIE TUTORIALS and the FREEBIE PATTERNS!
As always, we’re here to help if you need it! Join us HERE and on Facebook, Instagram, Twitter, Youtube, and Pinterest. We’re everywhere you are.

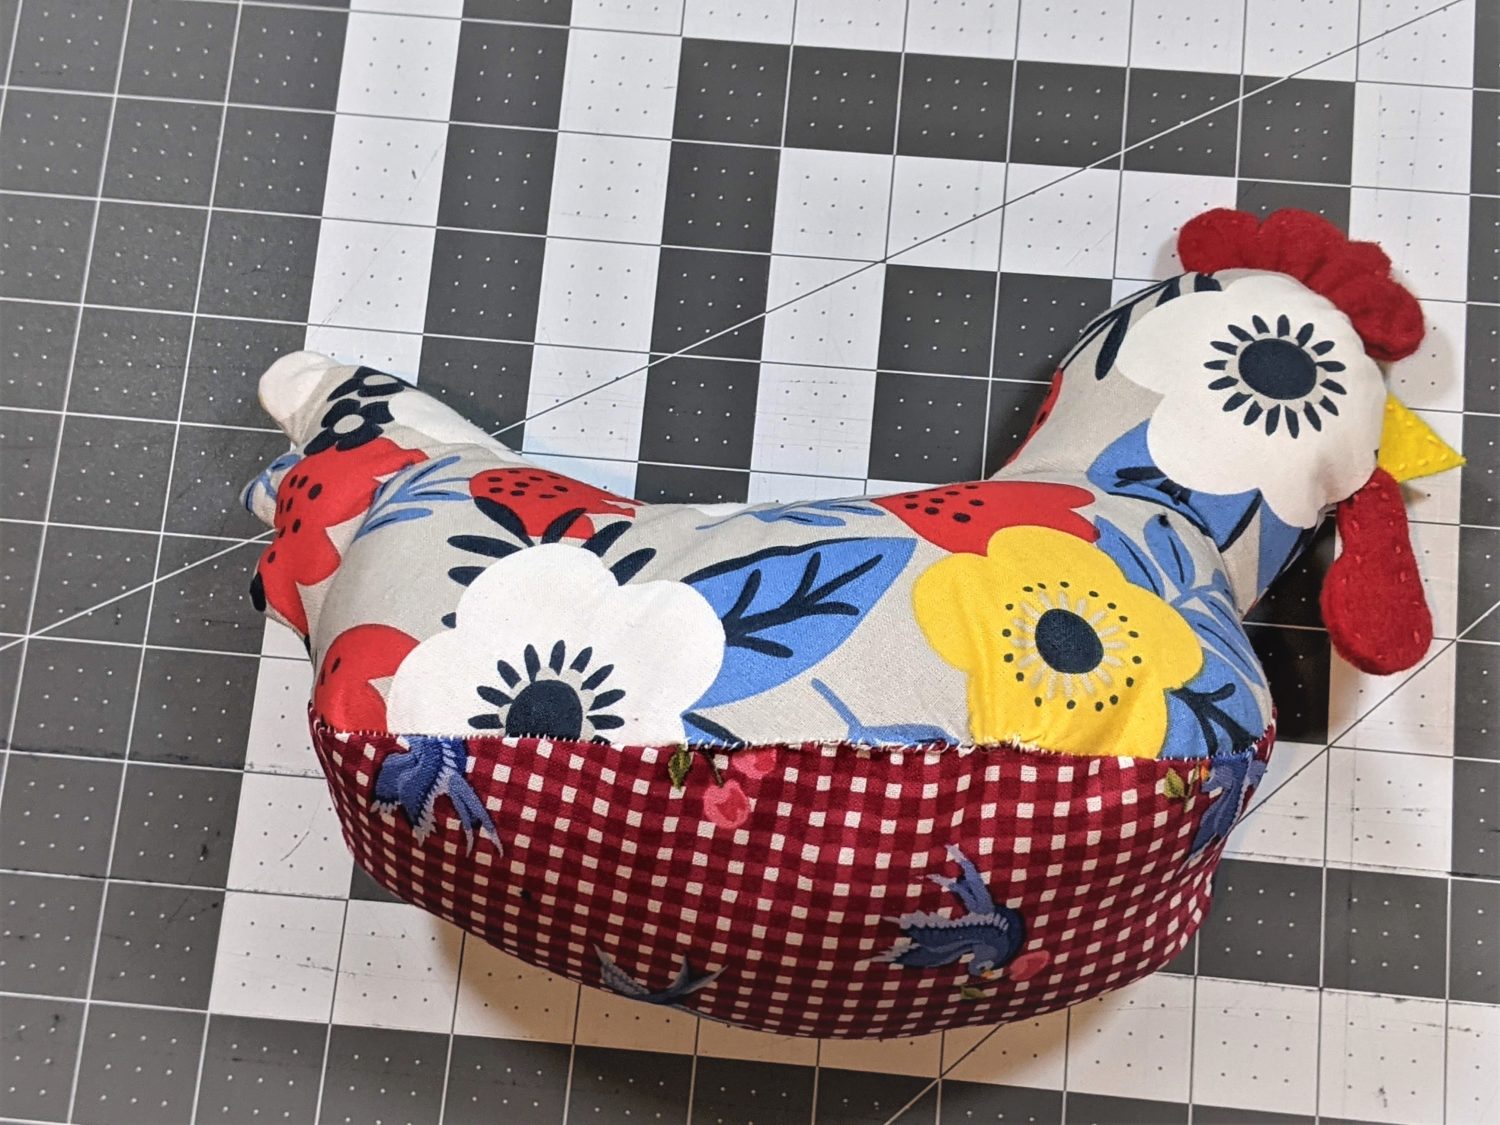
What an adorable little scrap buster. Easy to follow directions with plenty of pictures. Goes together super quick too.
This chicken is so cute can’t wait to make it Thank You for the pattern!!!