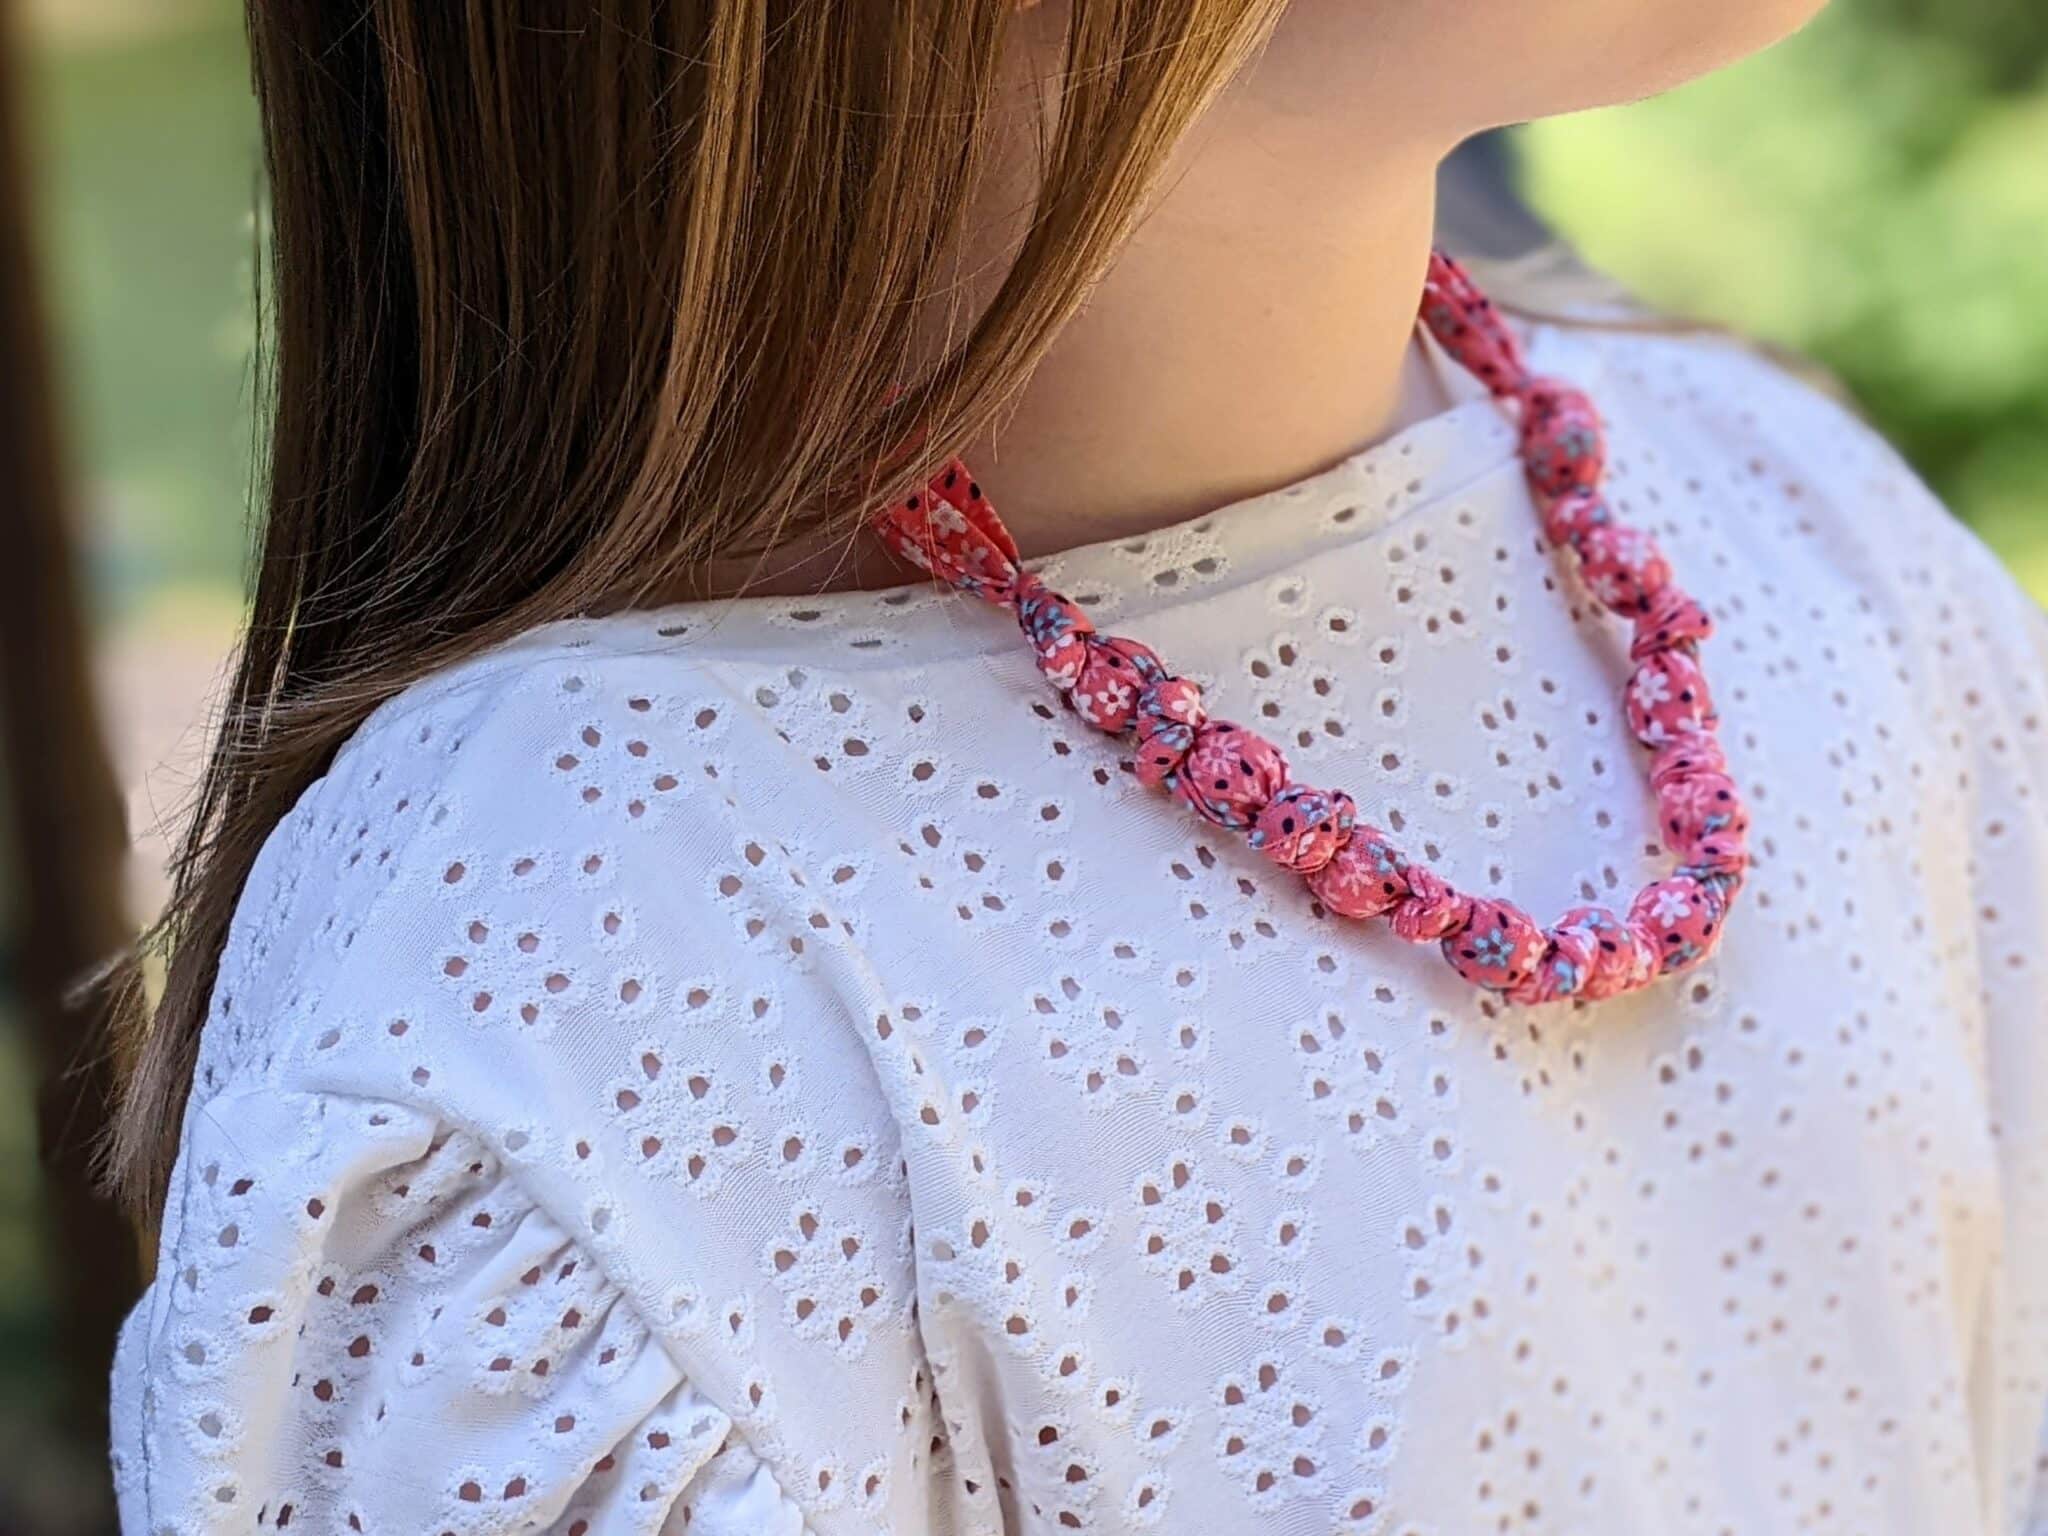
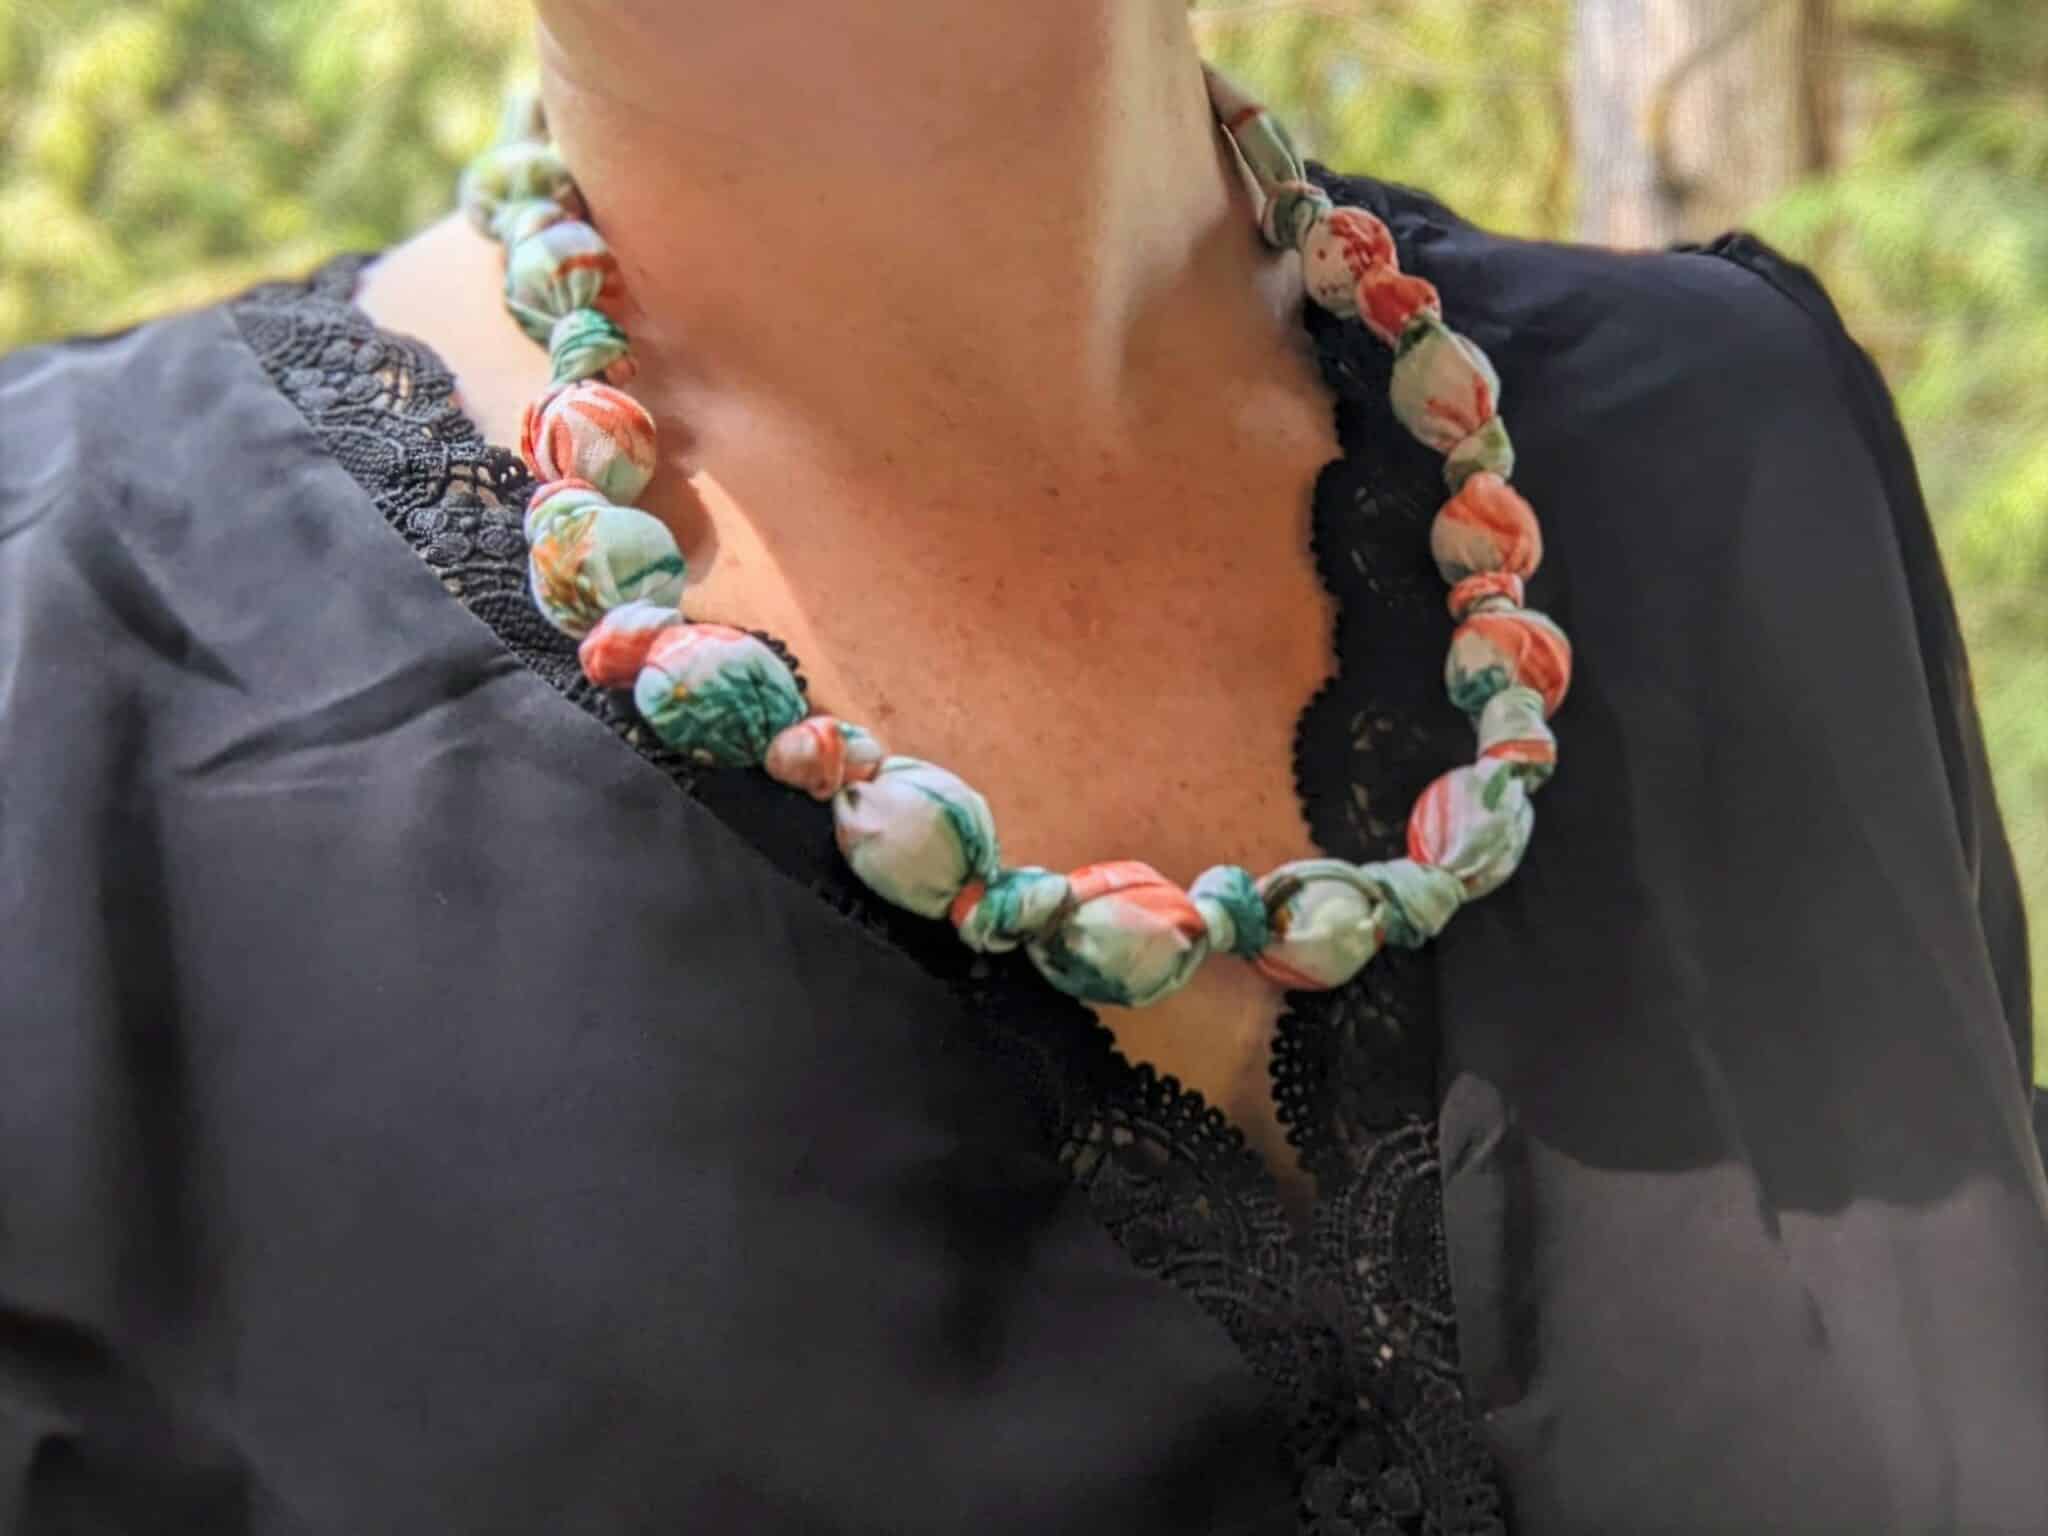
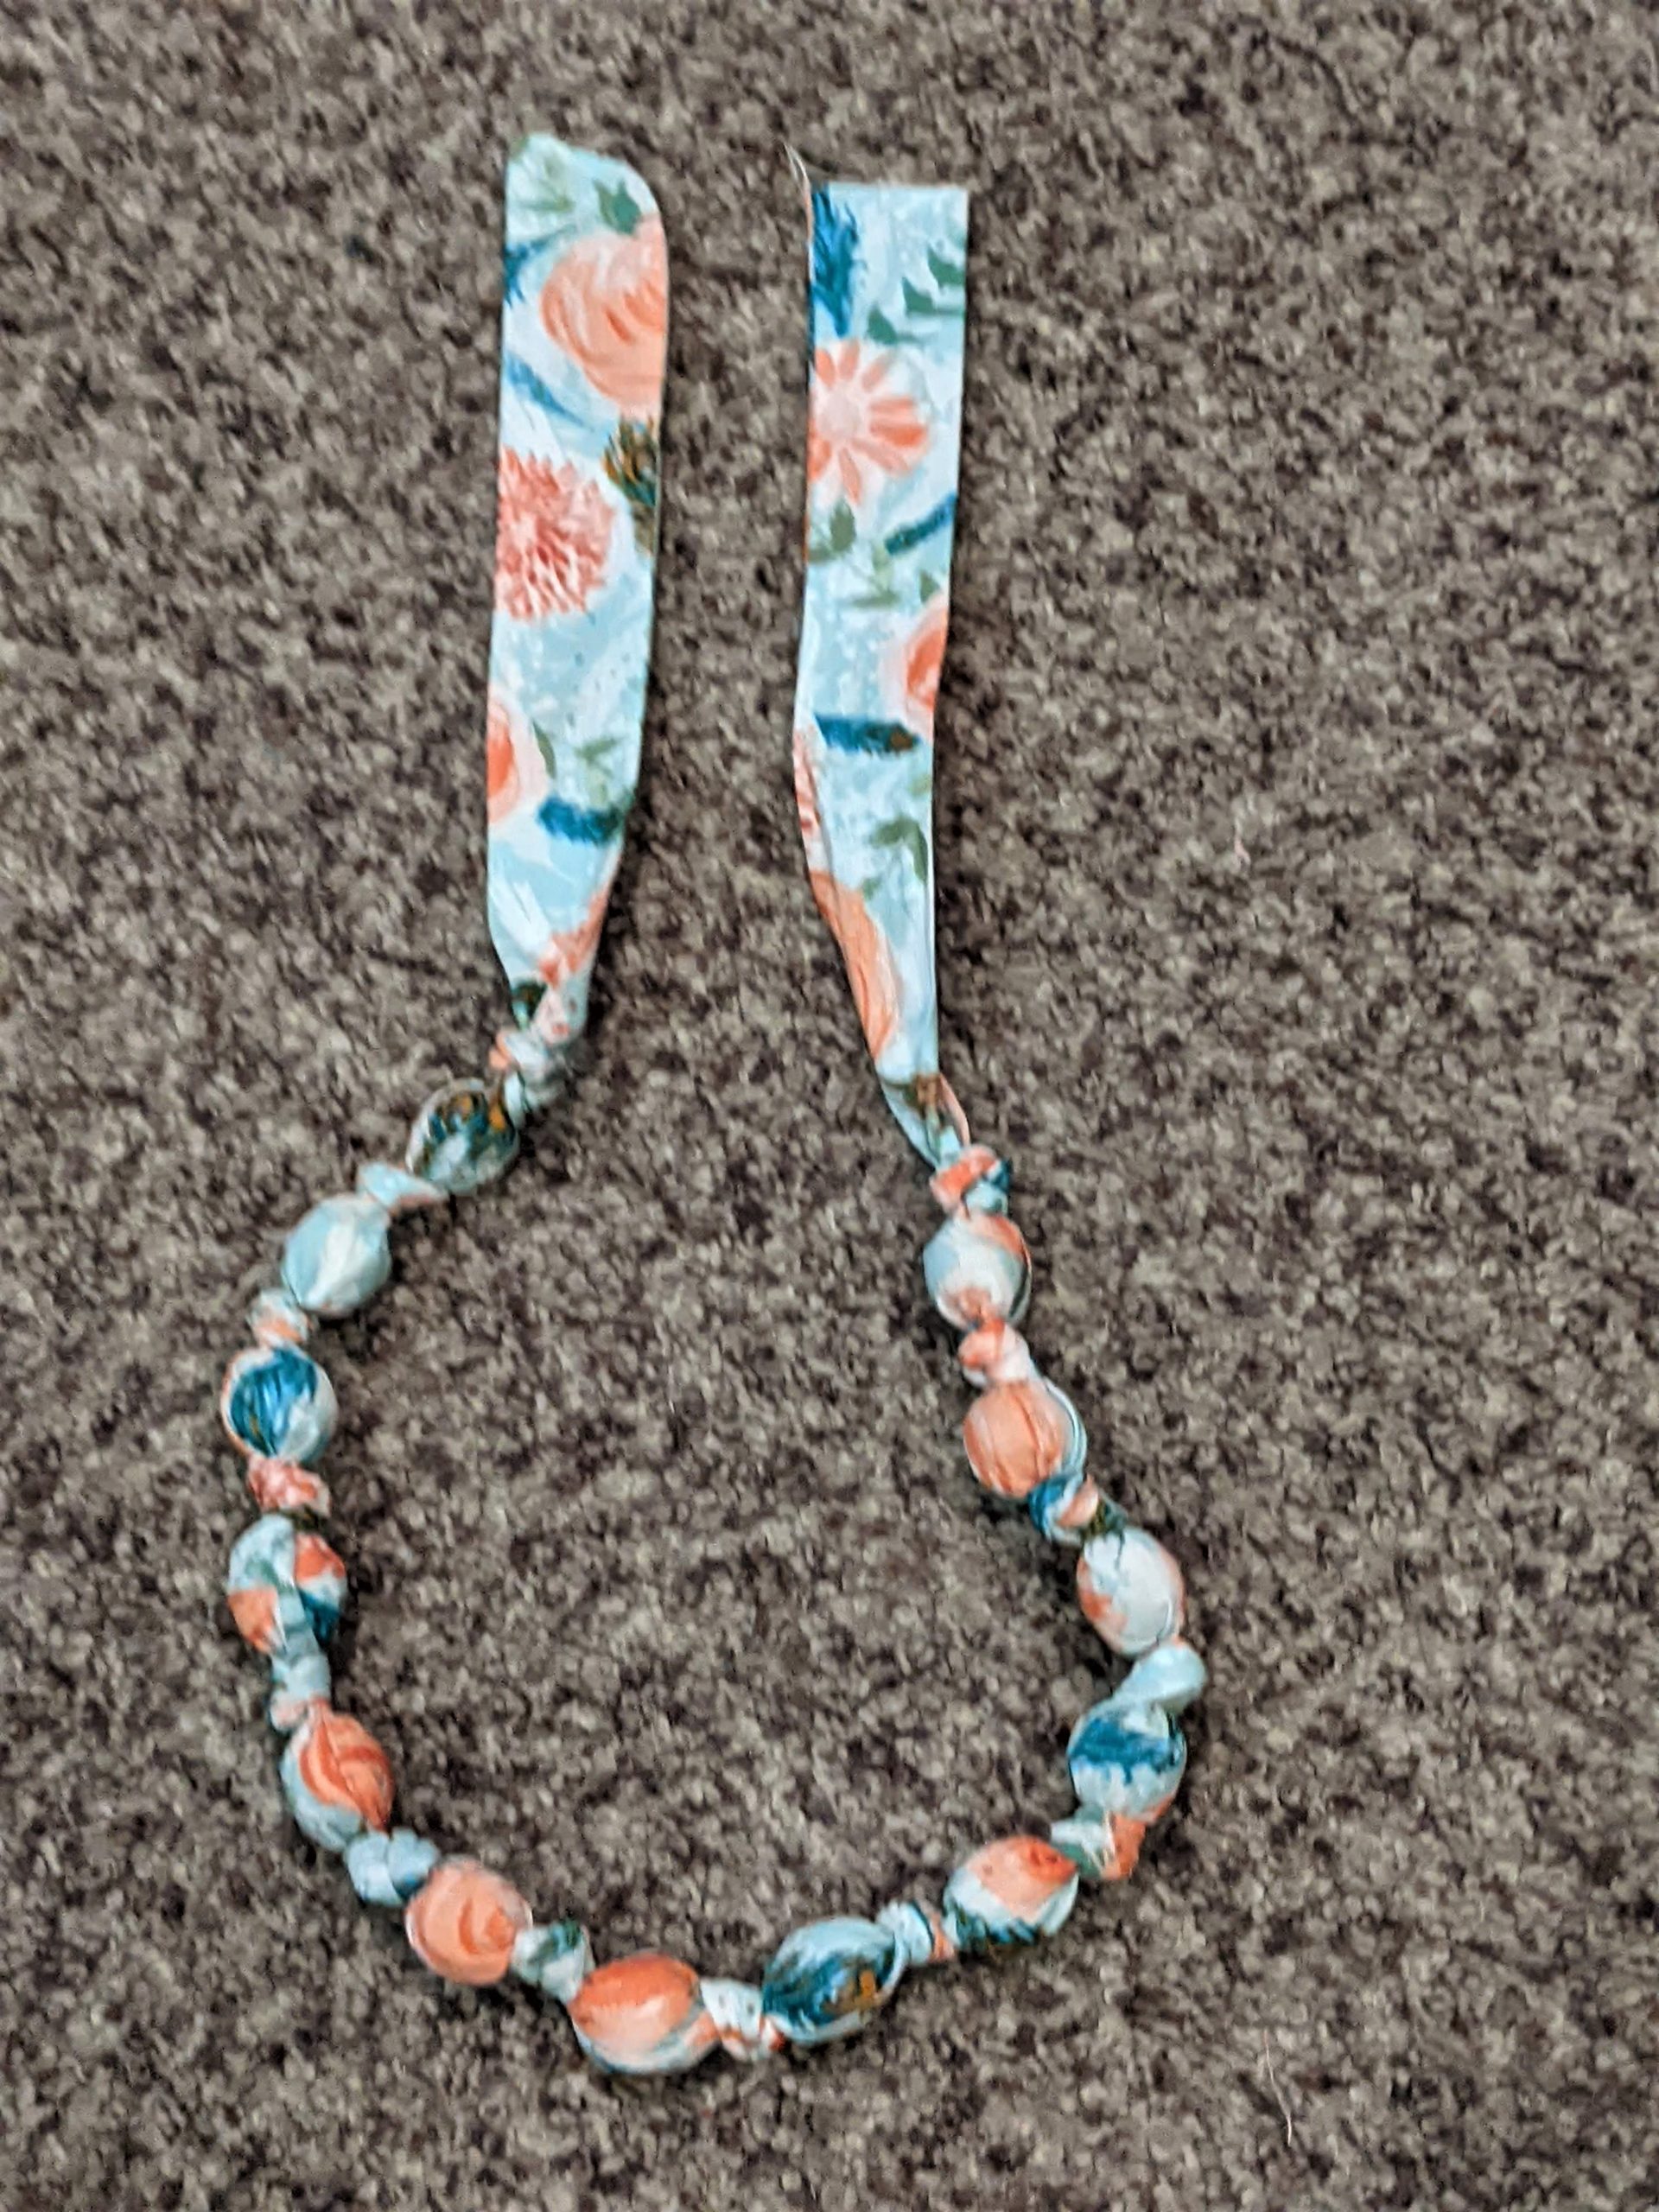
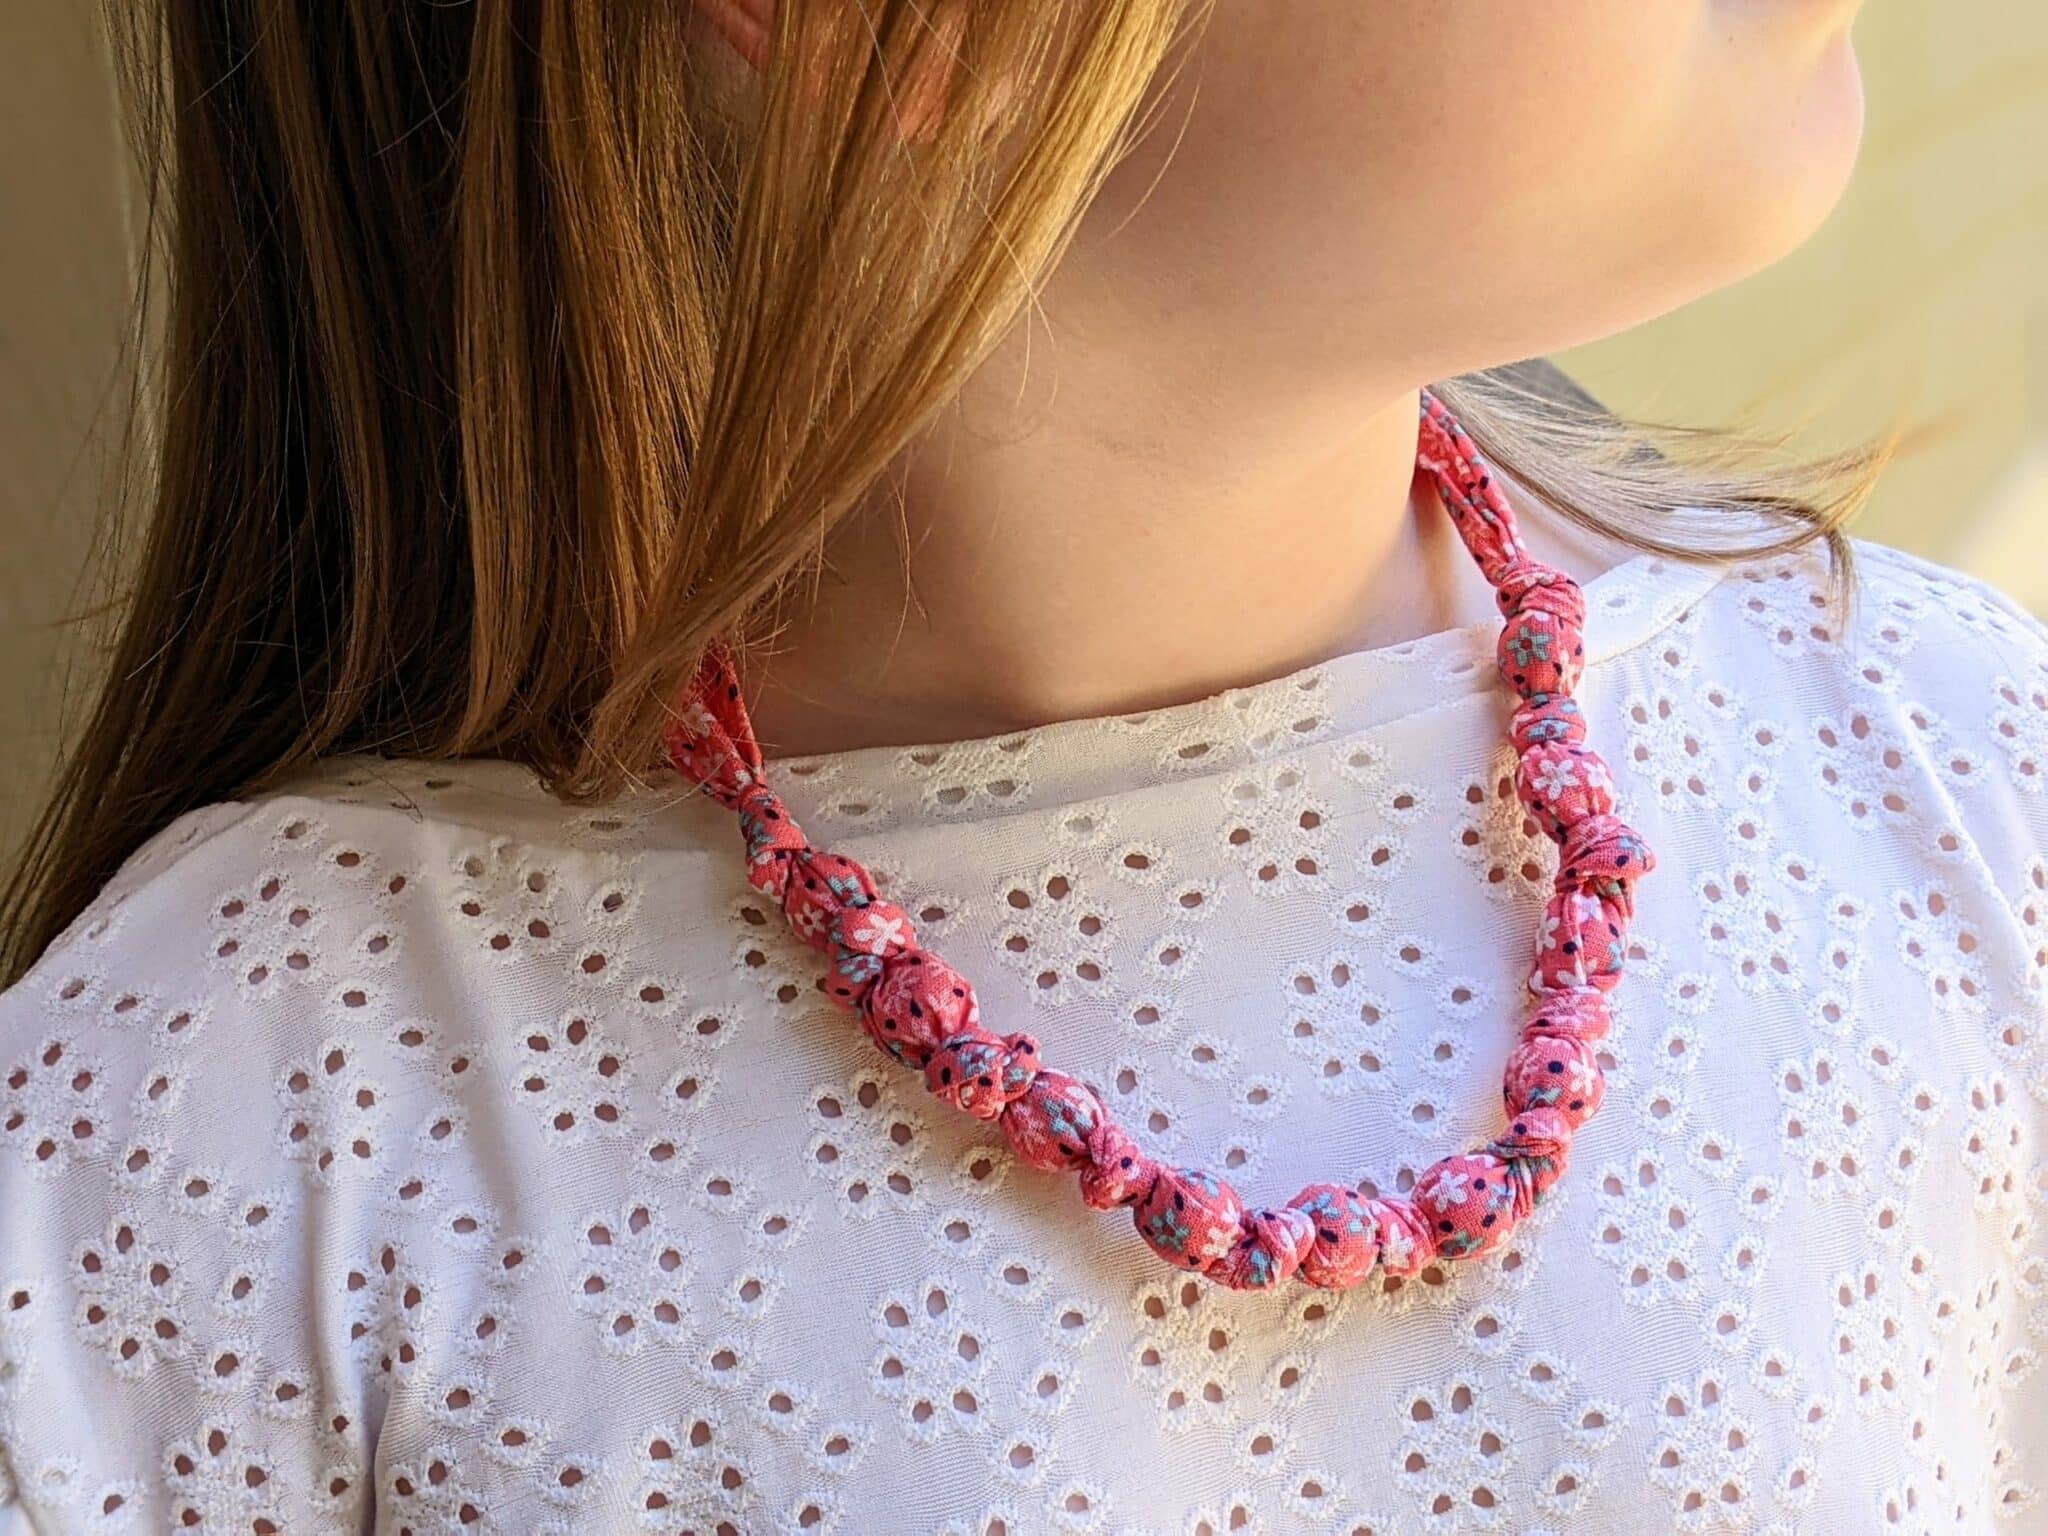
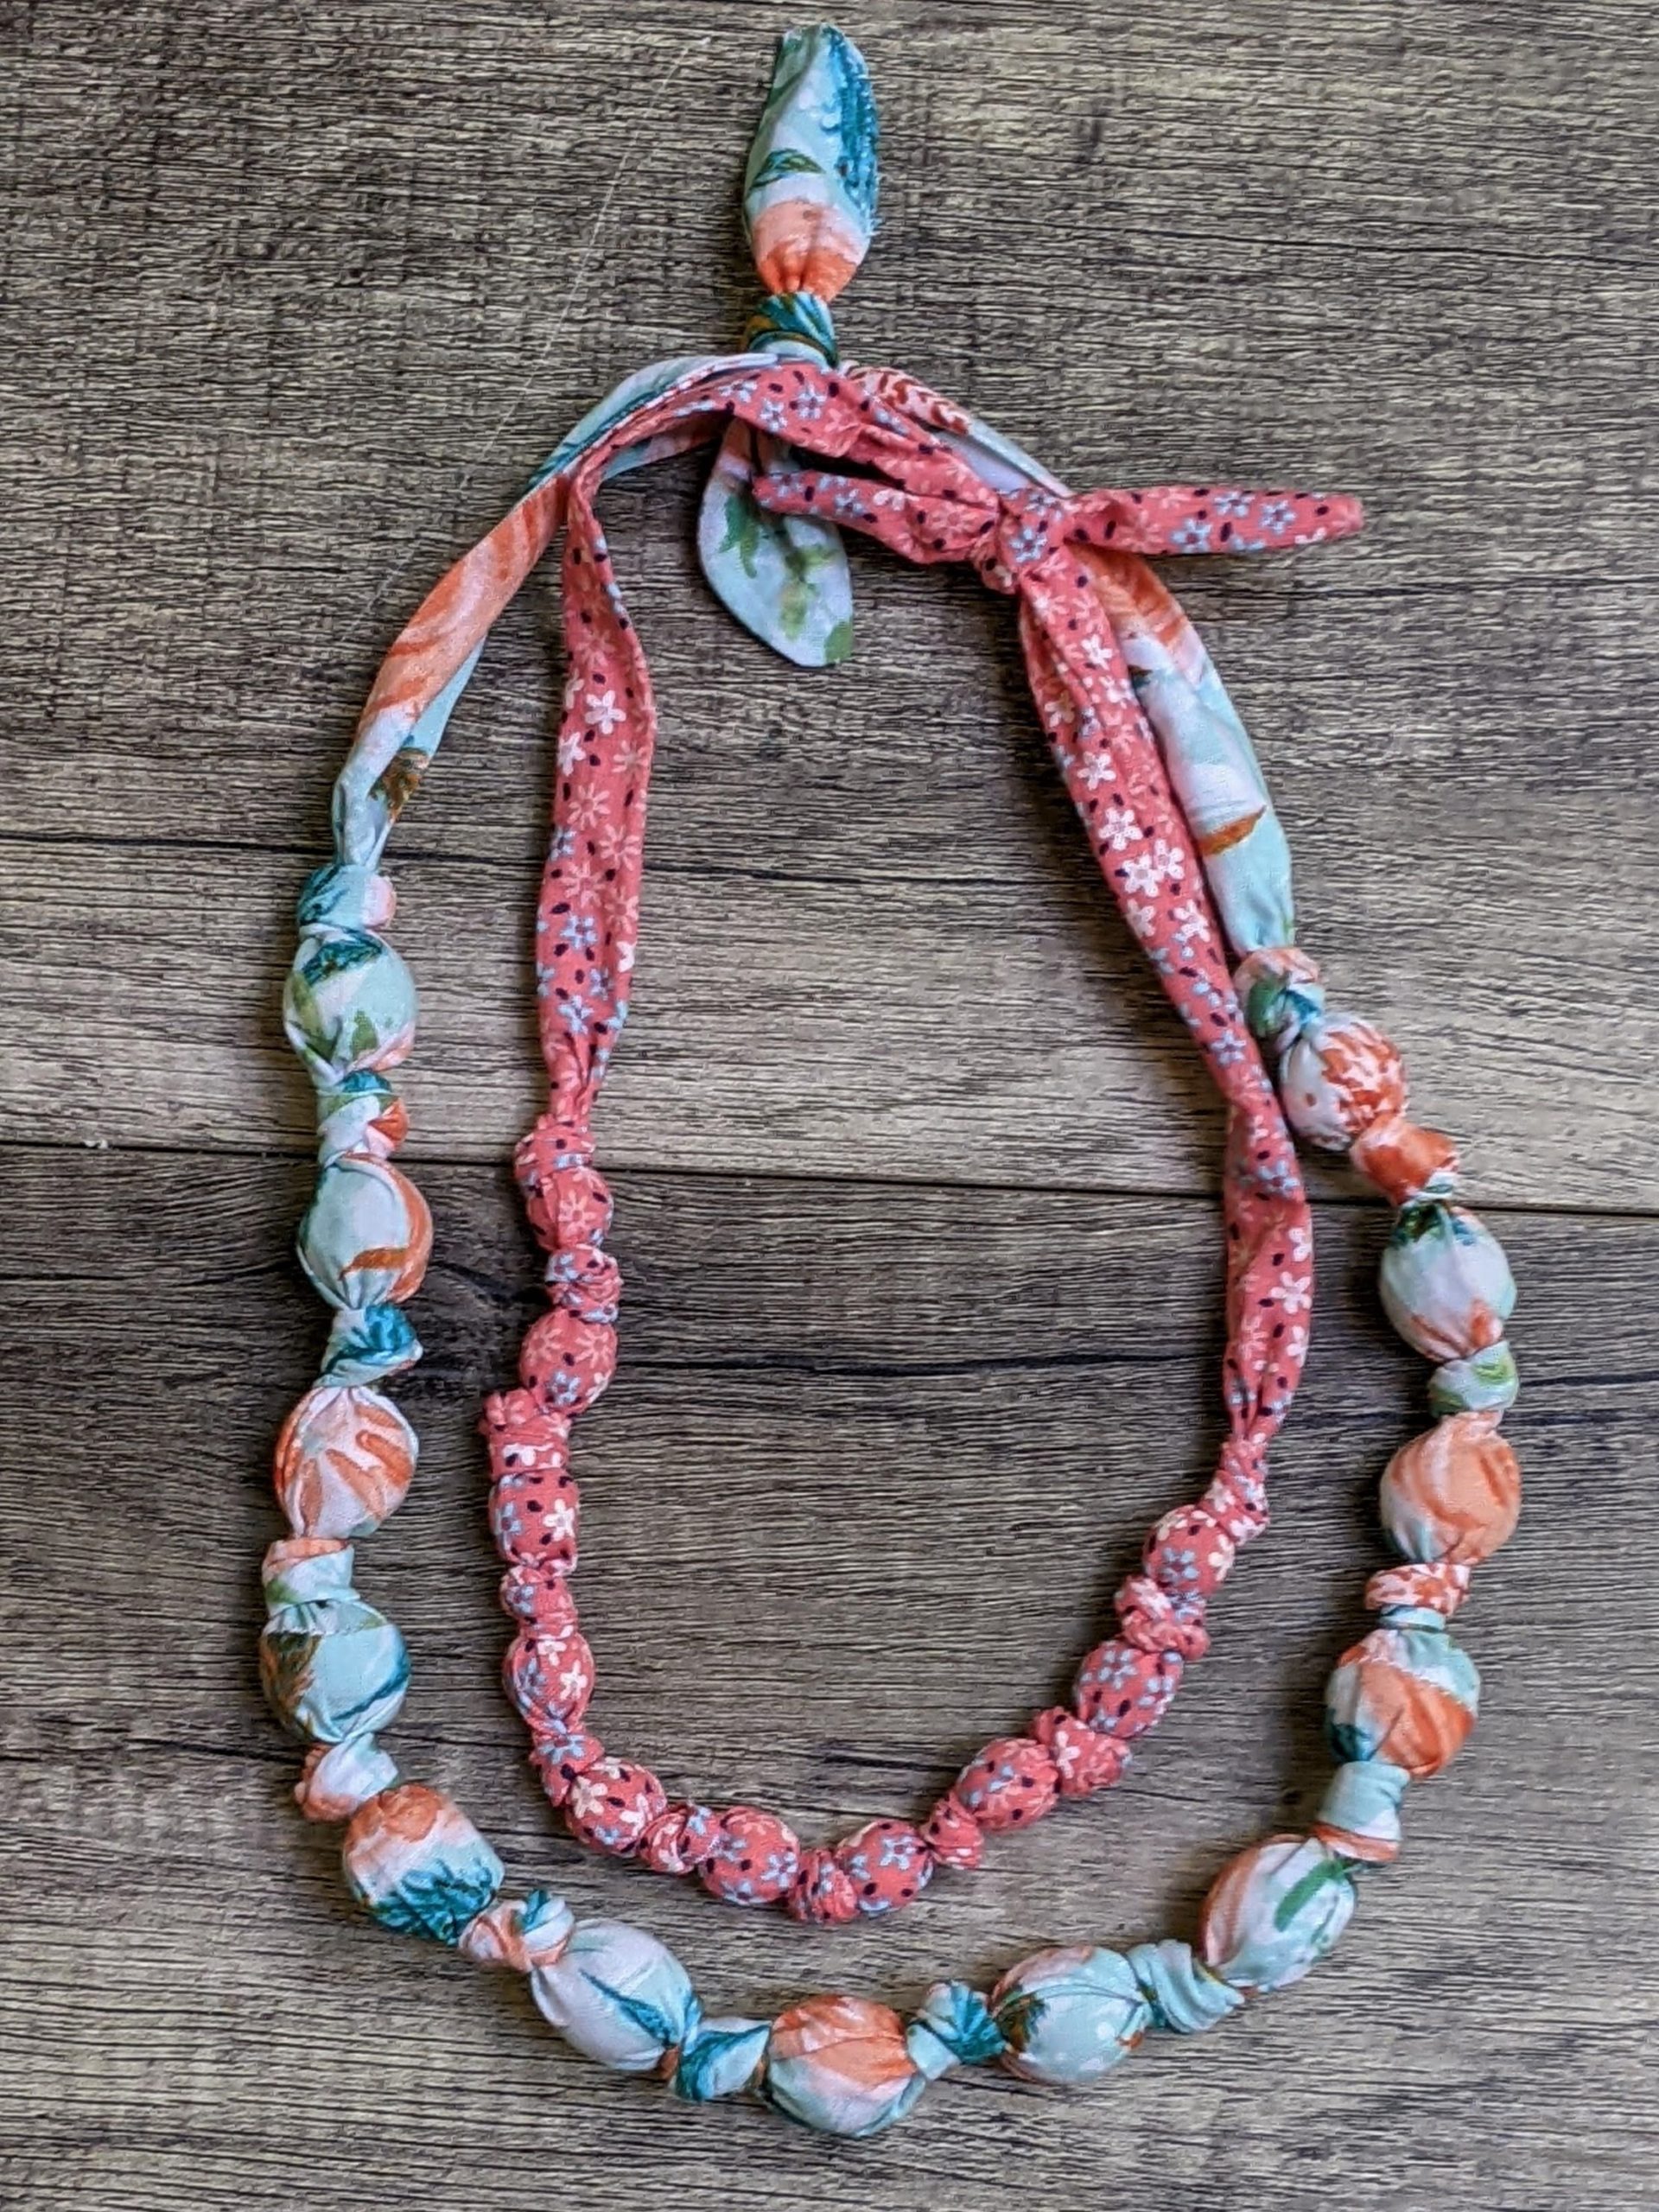
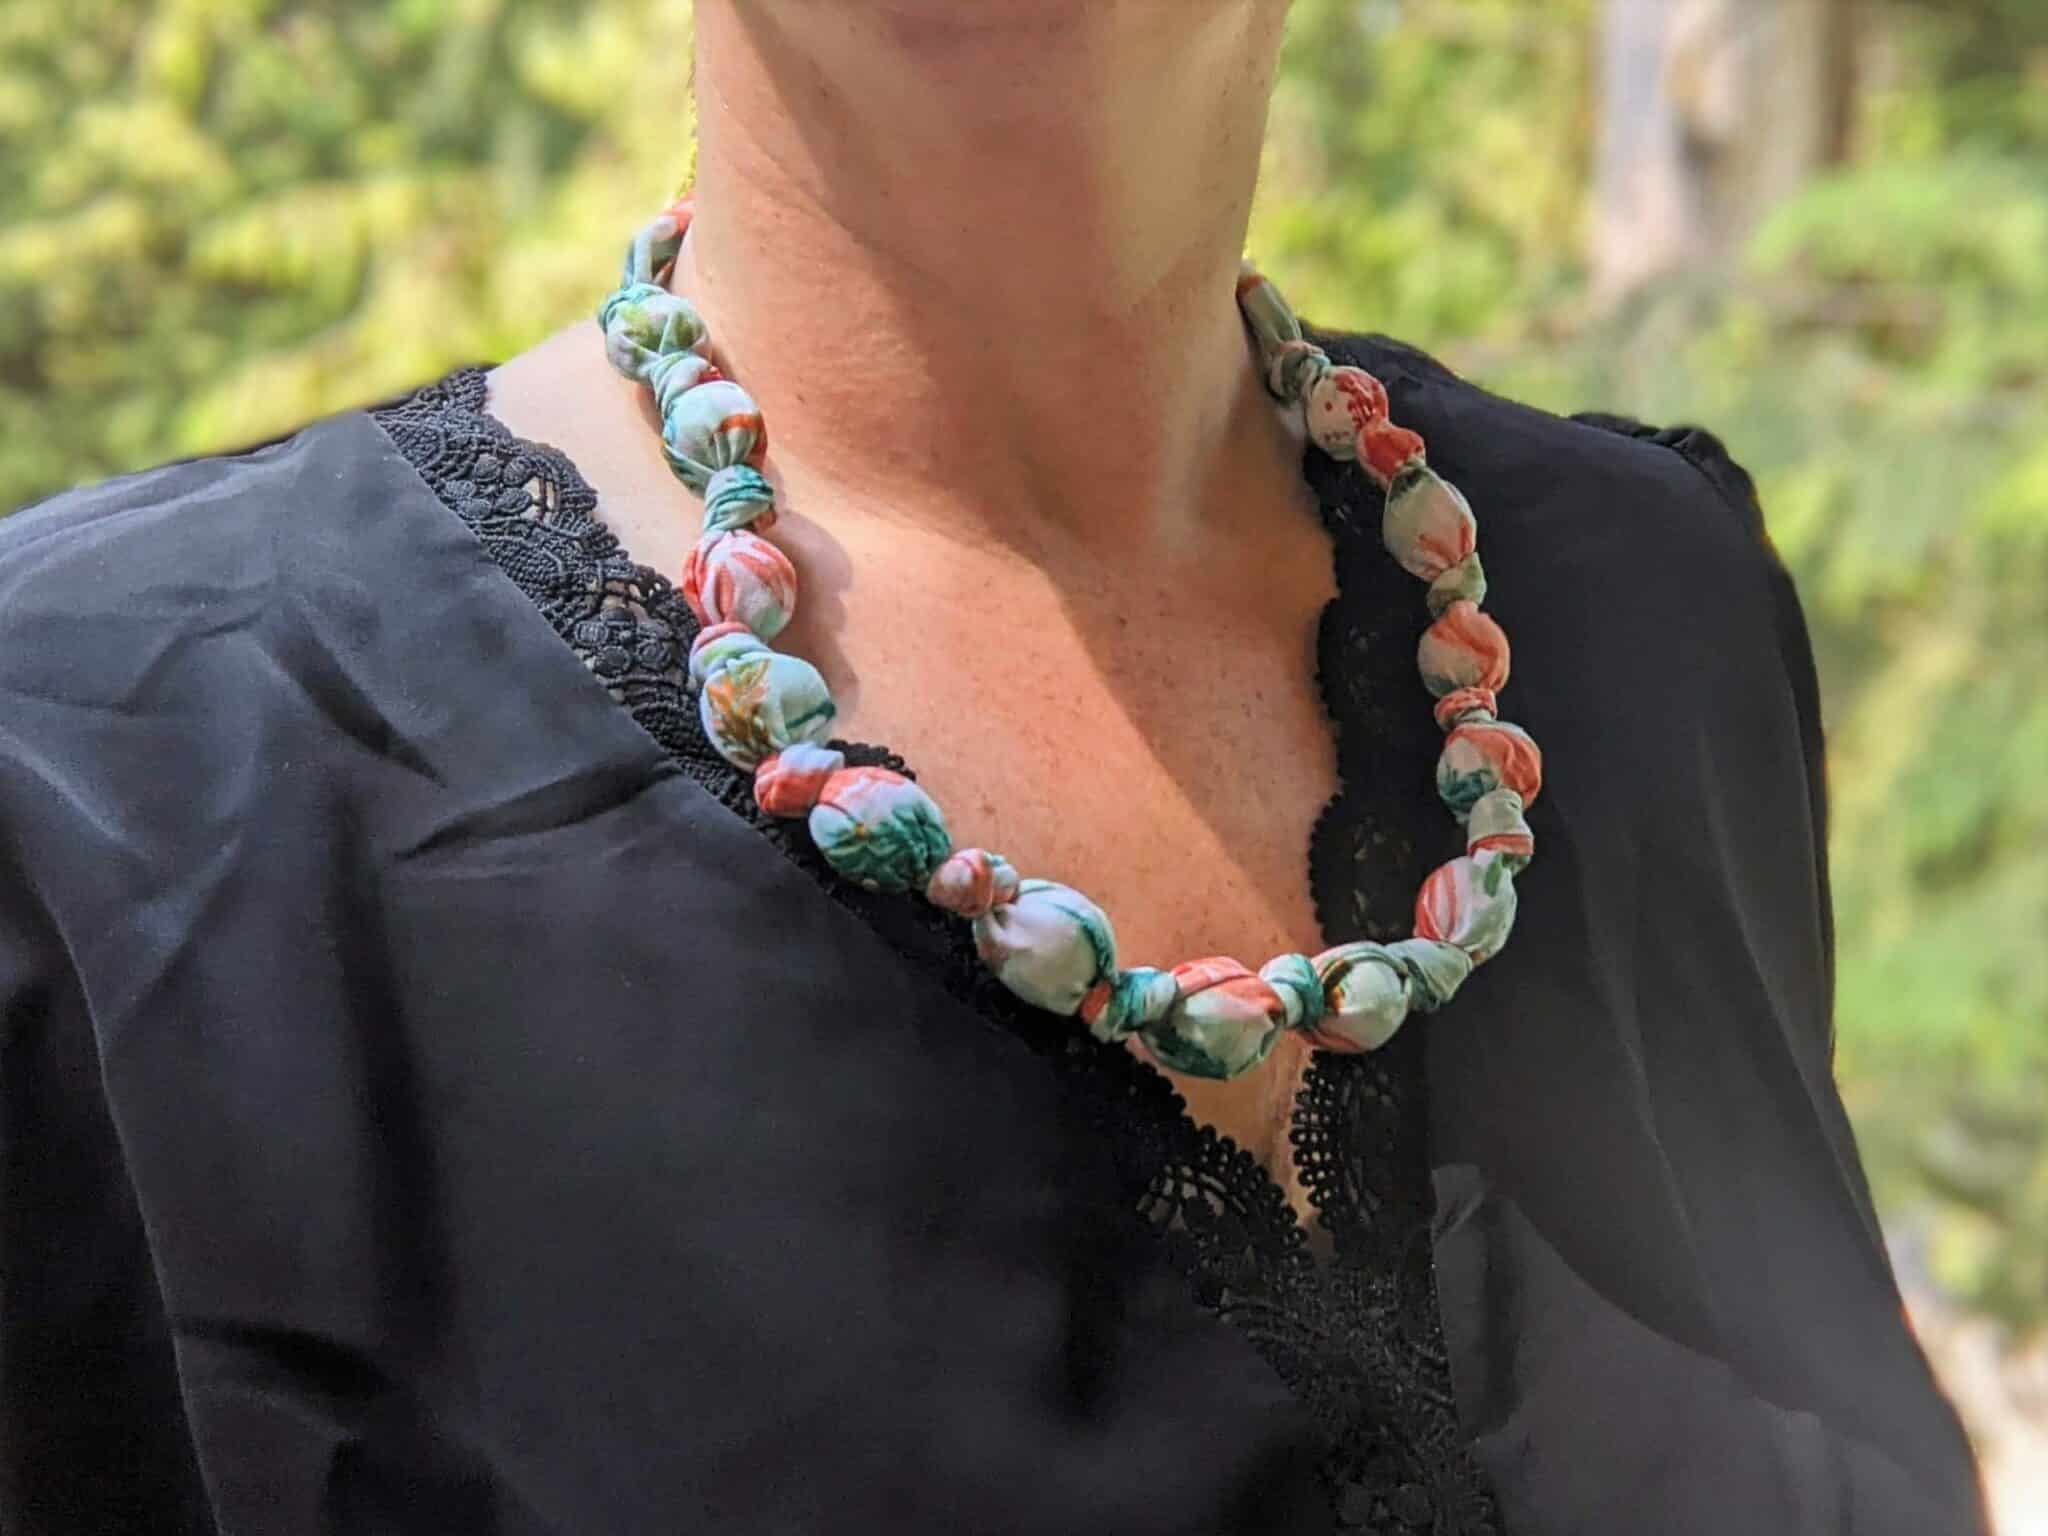
I broke out my kids’ bead collection and some cute cotton fabric scraps to make a fun and summery necklace. I love how easy it is to customize these to your preference by switching up the fabric choice, bead size, and length. They are quick and easy to make too which is always a bonus!
Supplies
- Woven fabric
- Wooden or plastic beads
- Sewing machine and basic sewing supplies
Cut Your Fabric
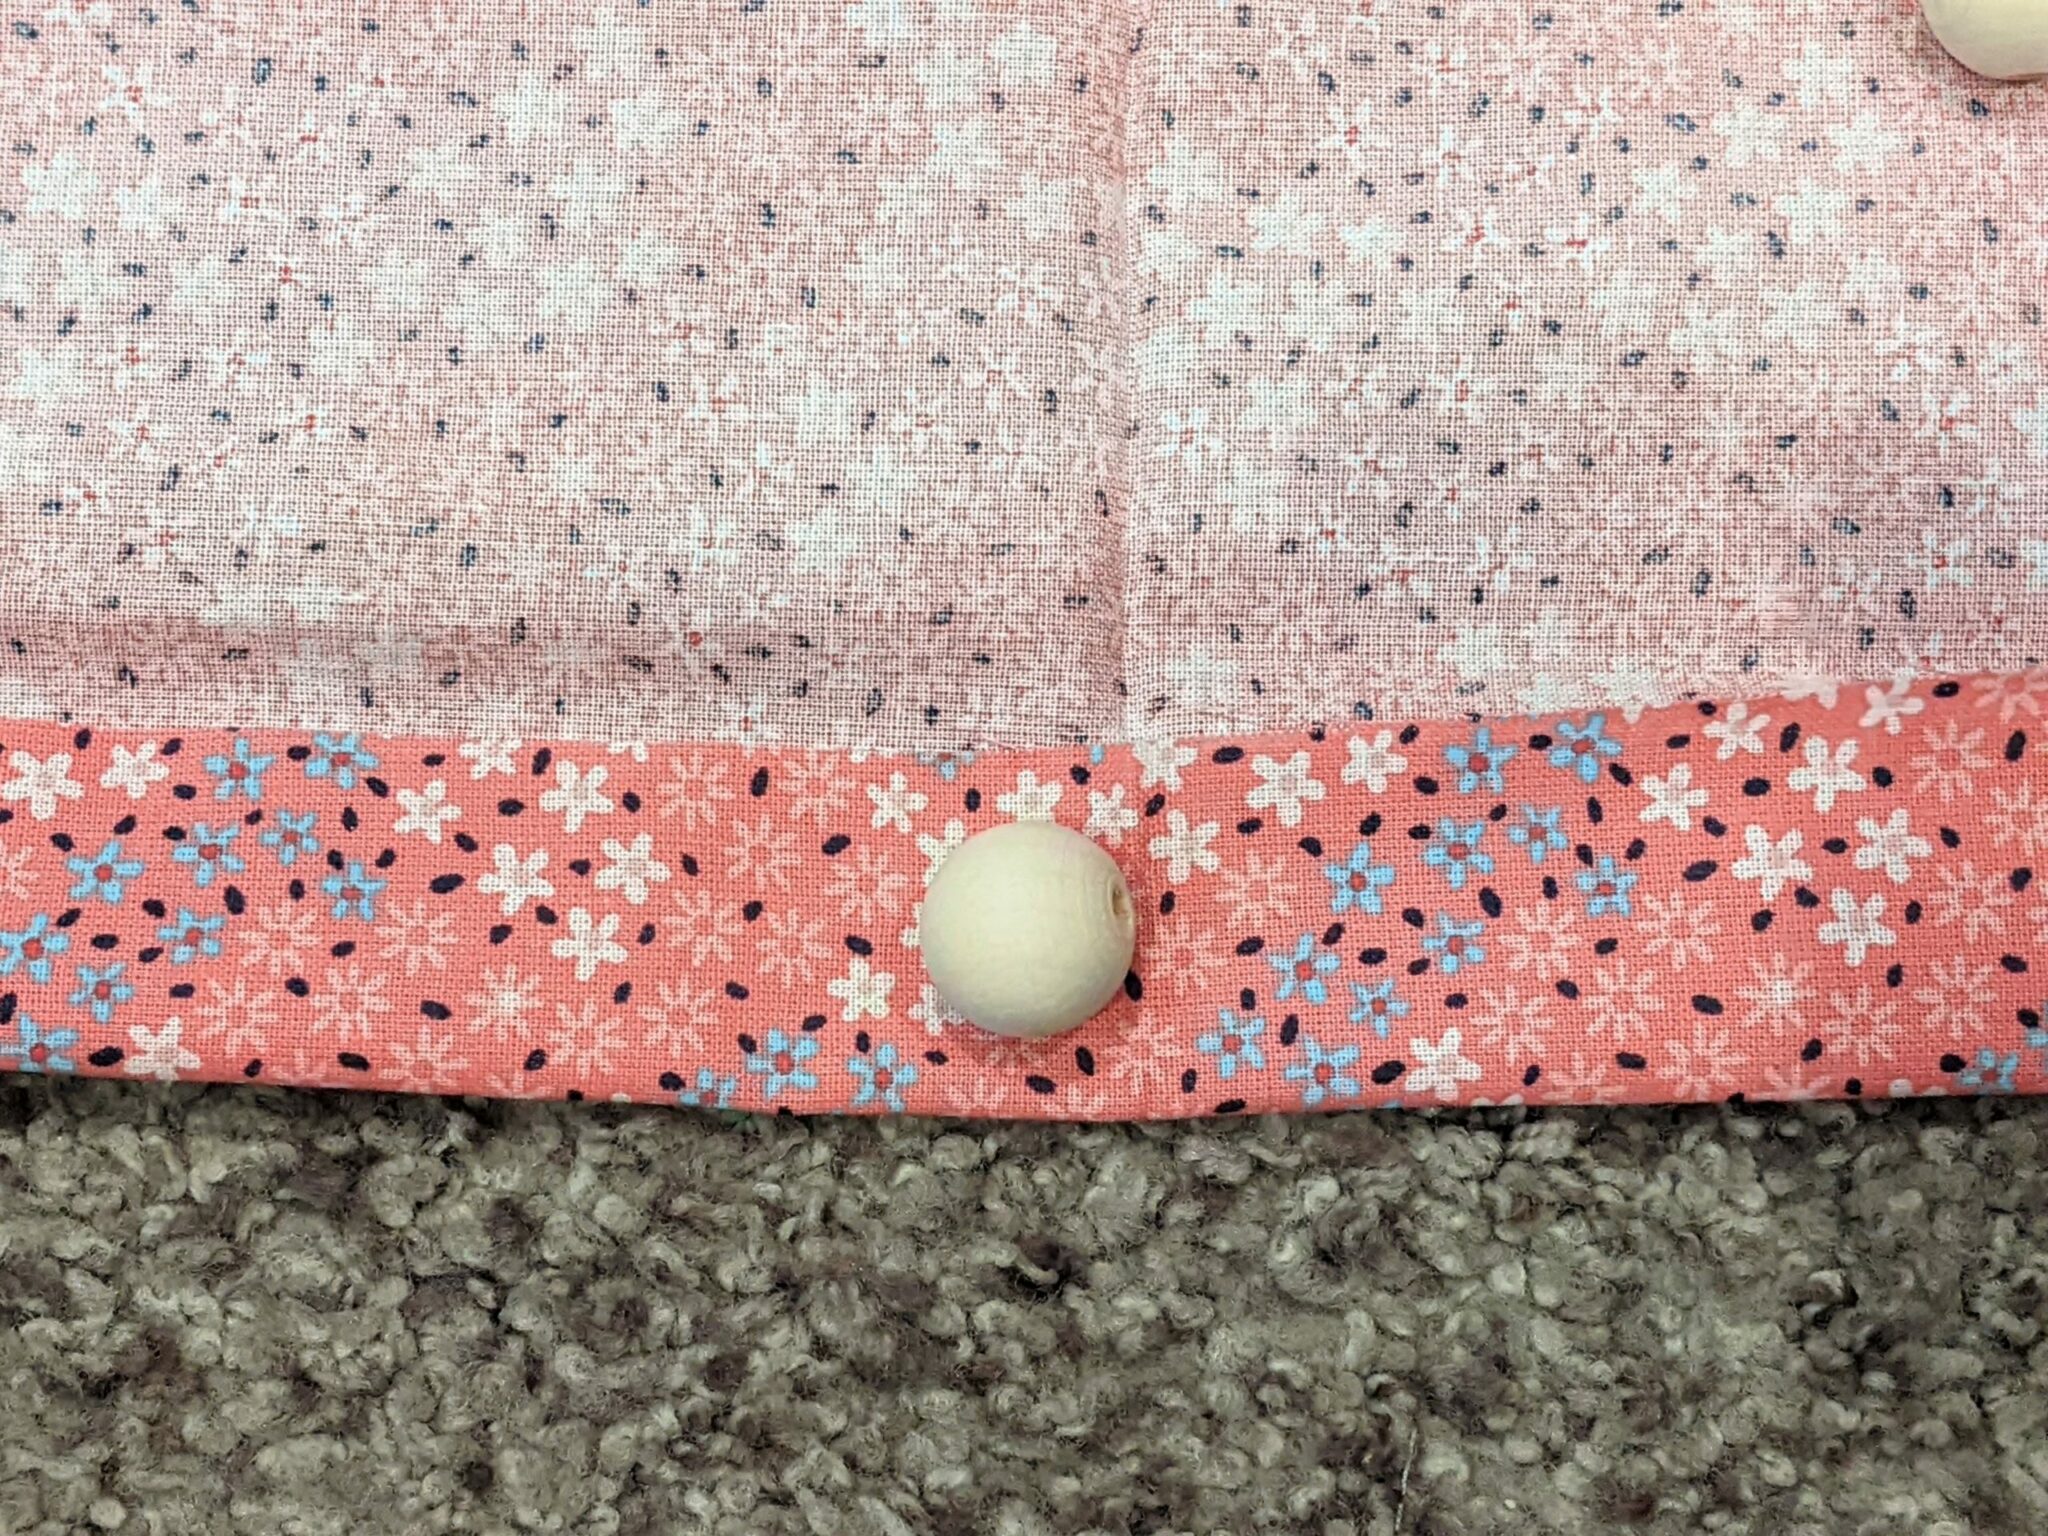
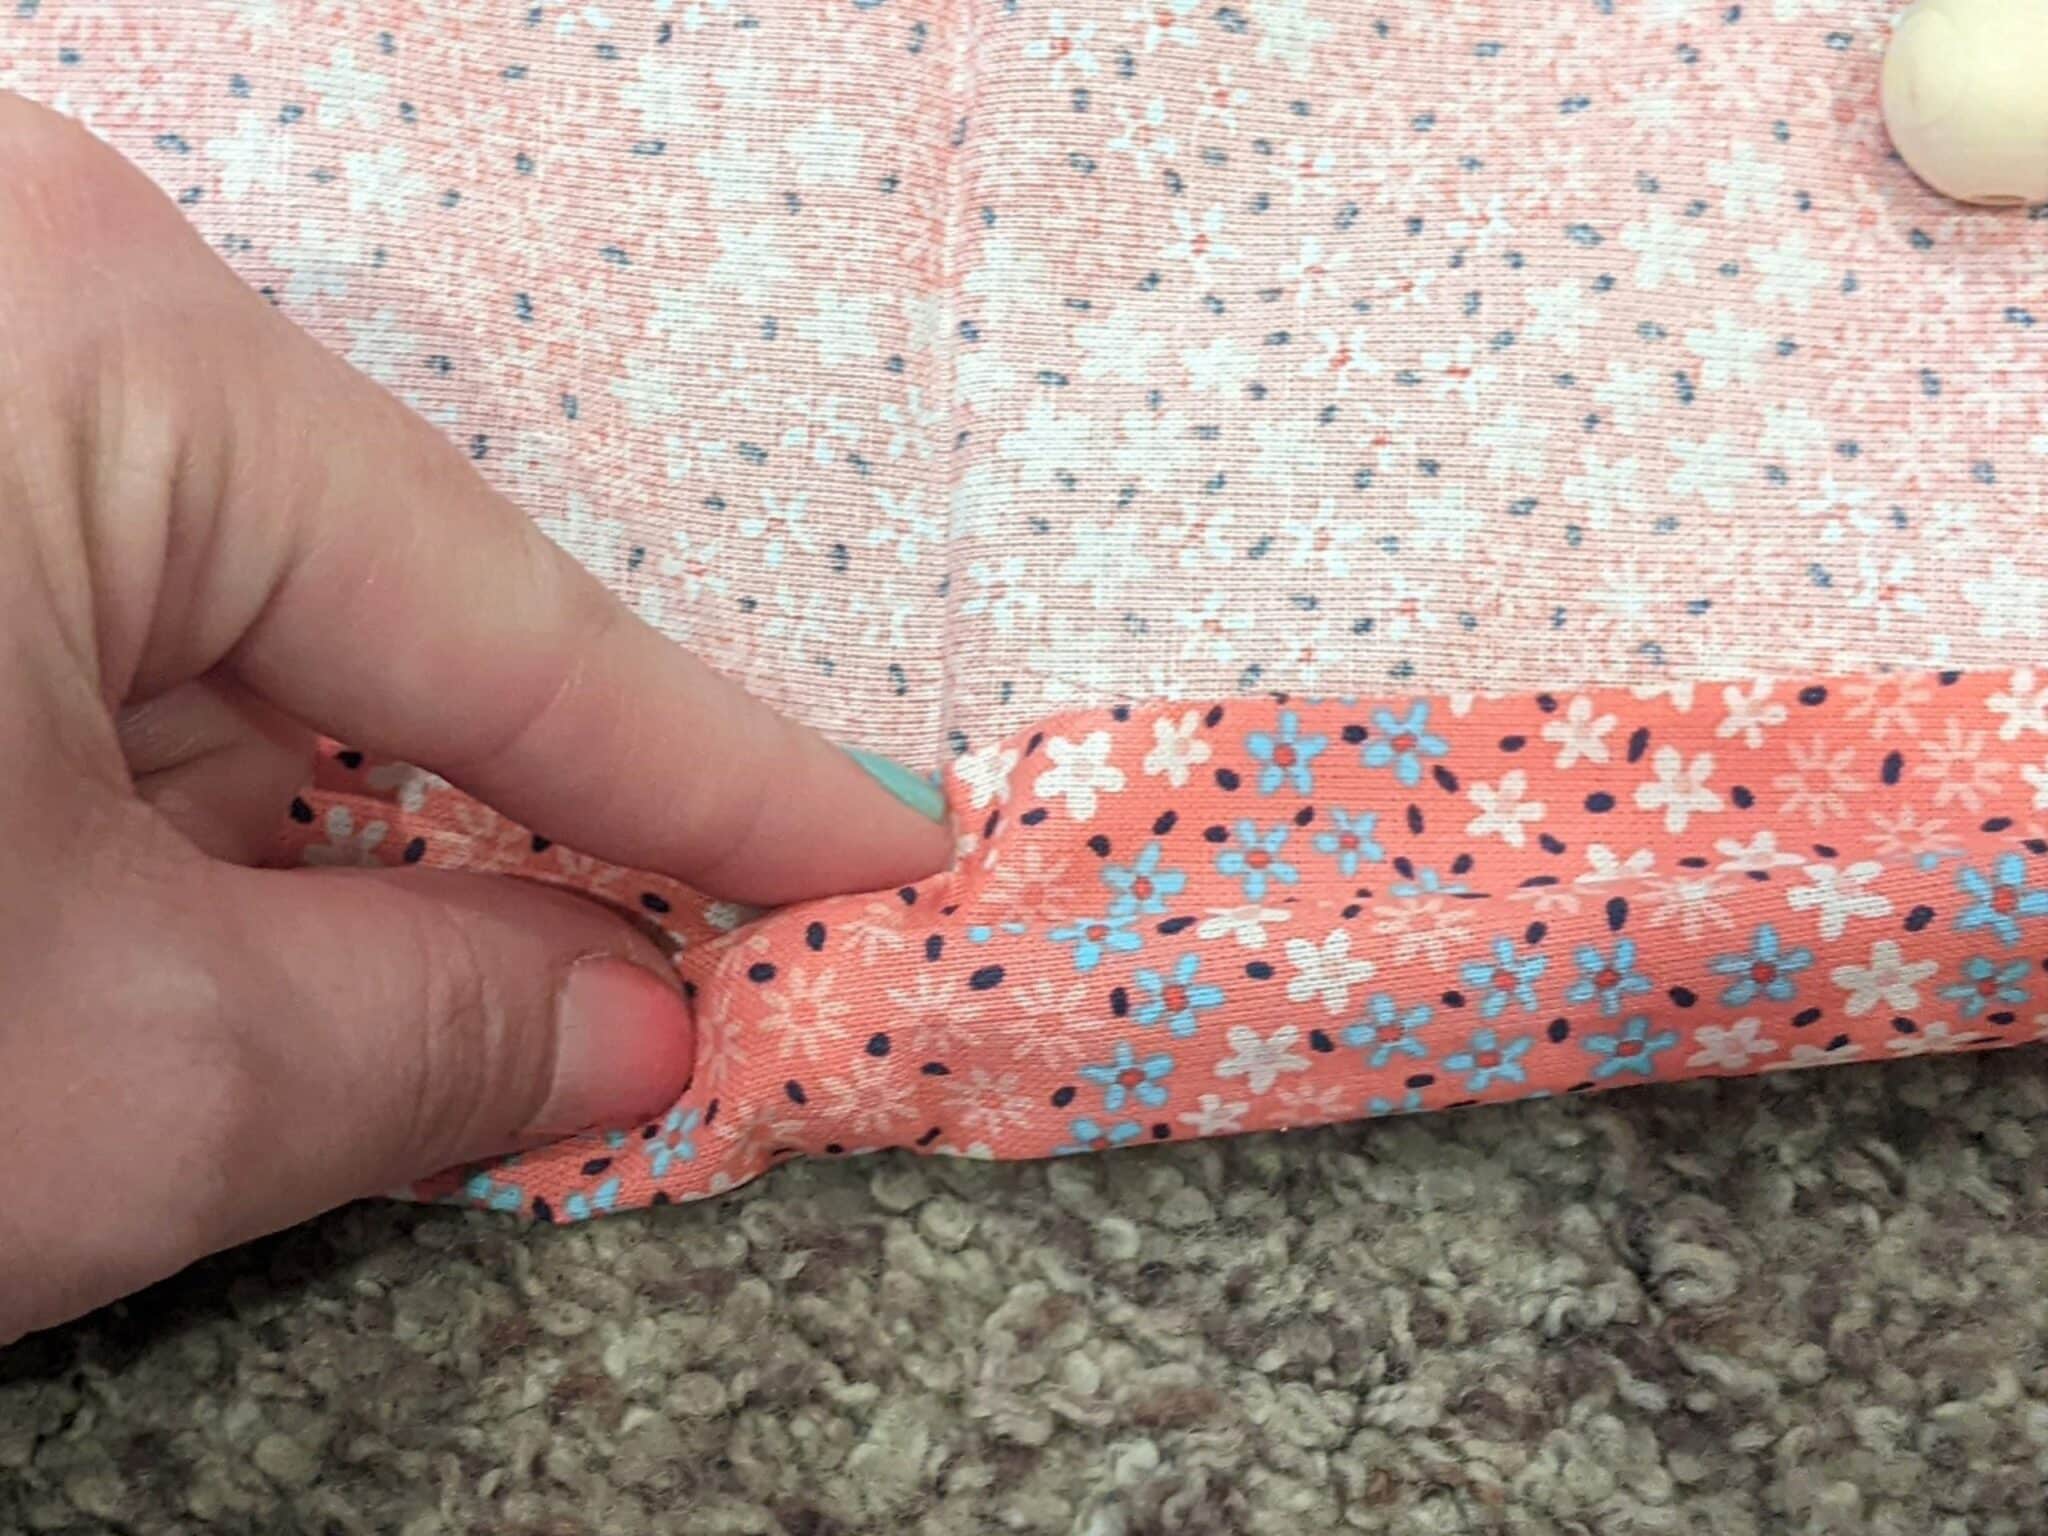
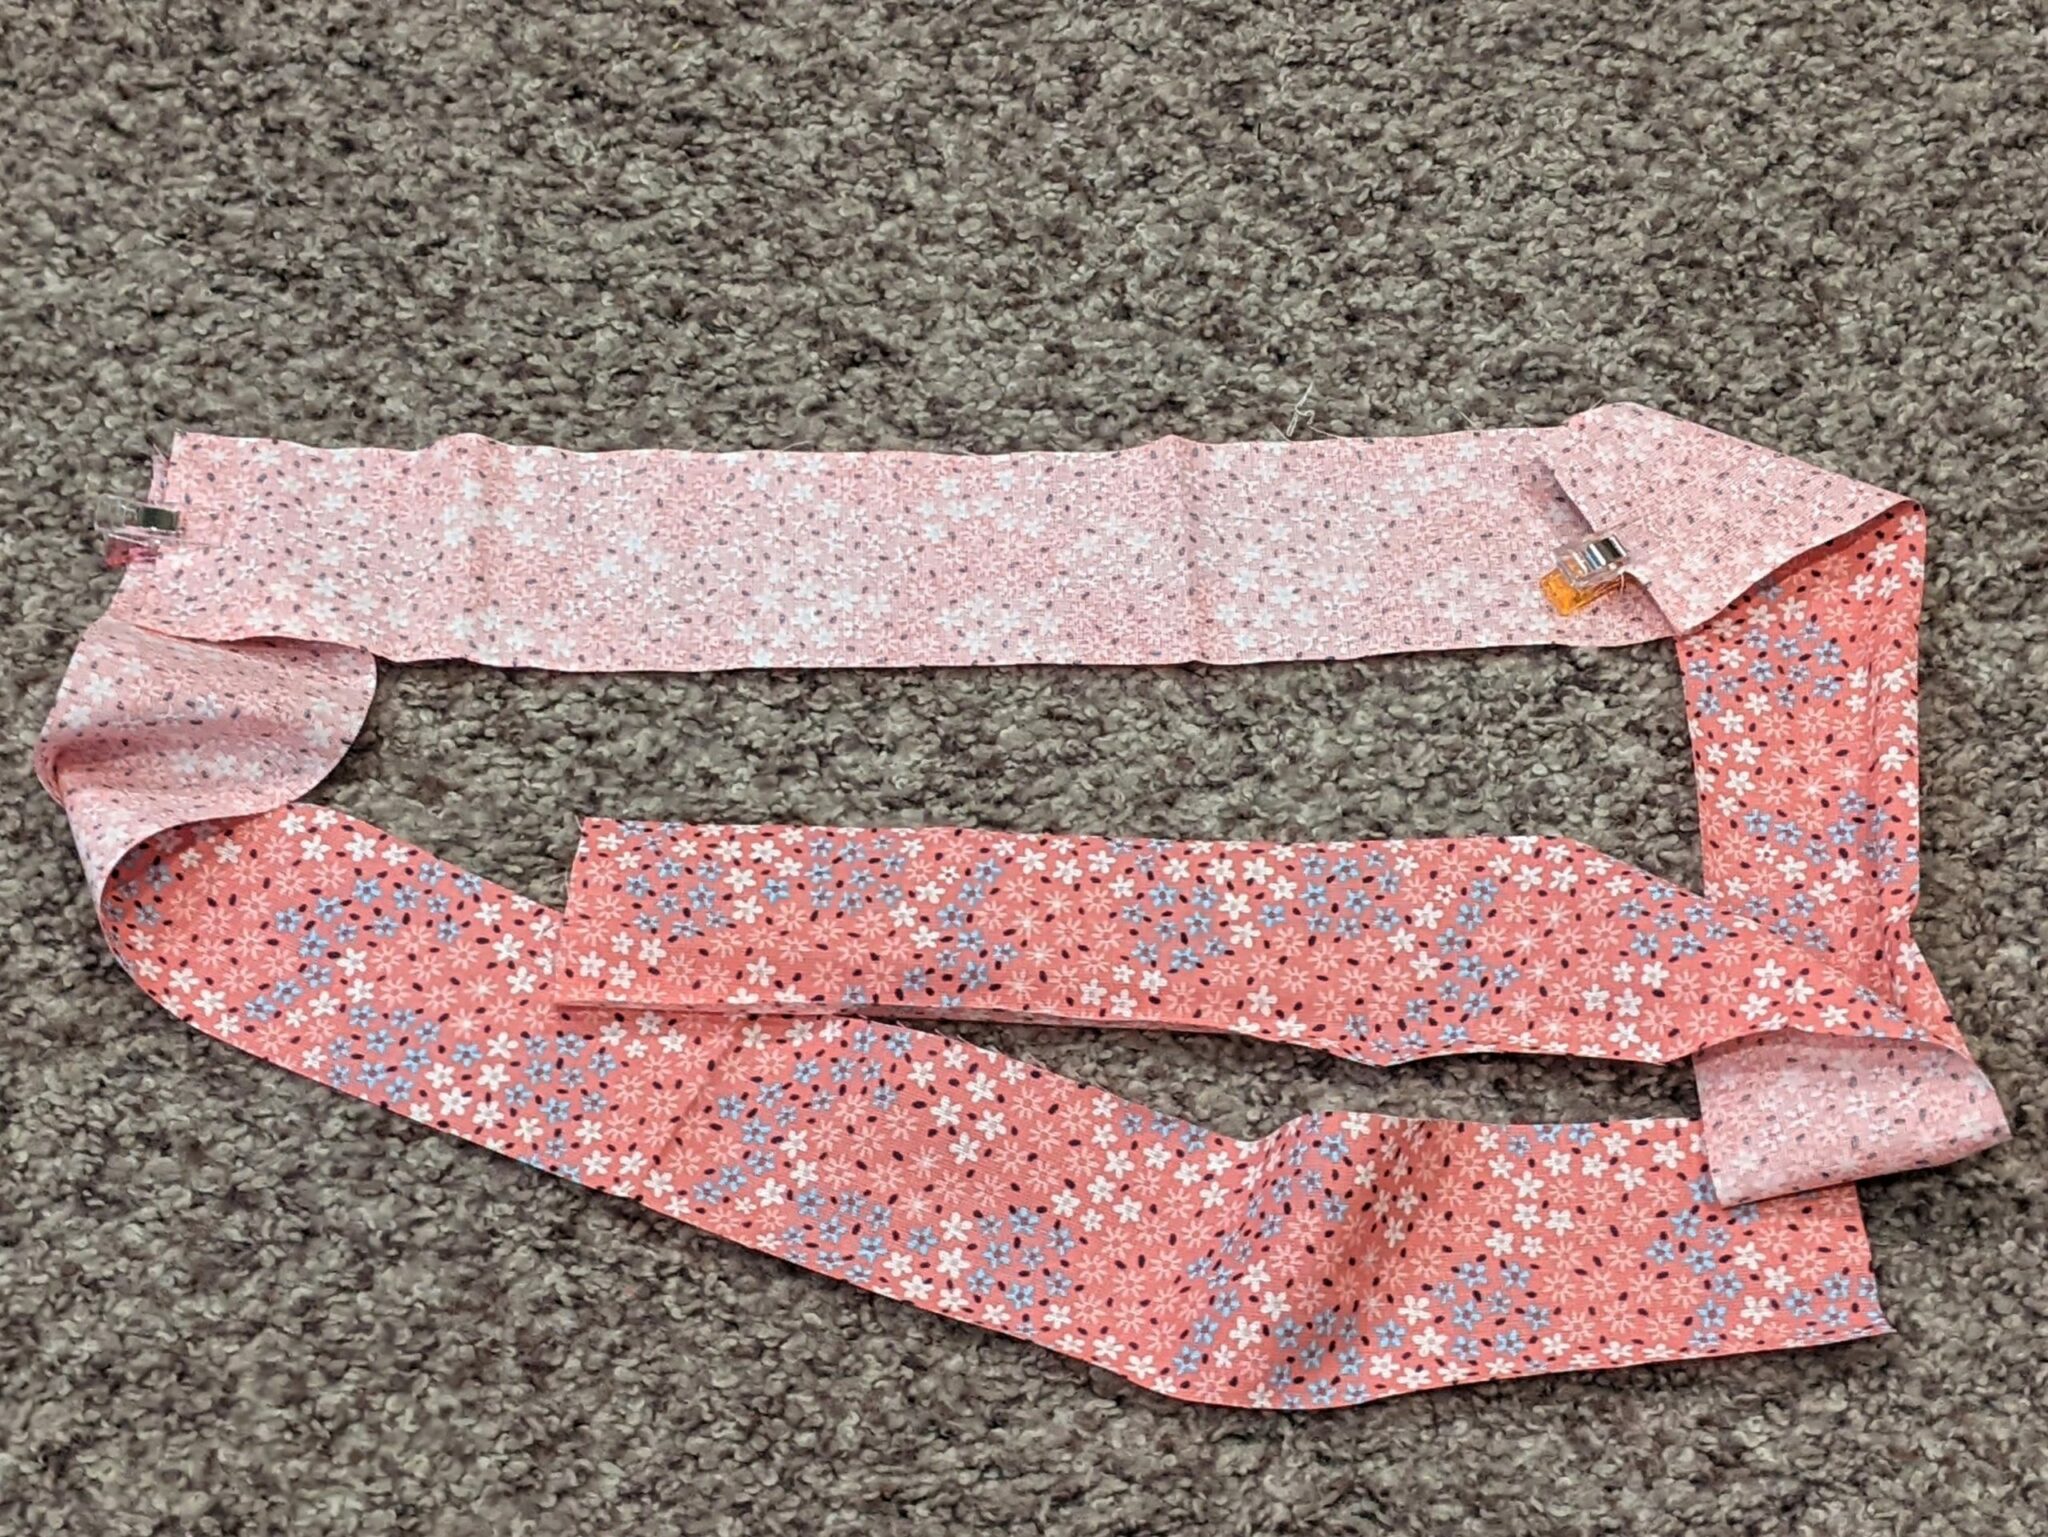
- Lay out your woven fabric and fold one edge over towards the middle.
- Take your bead and put it inside the folded edge to measure the width you will need your fabric strip to be.
- Fold the strip past the bead to give yourself enough room for a 1/4″ seam allowance and still be able to easily slide the bead in.
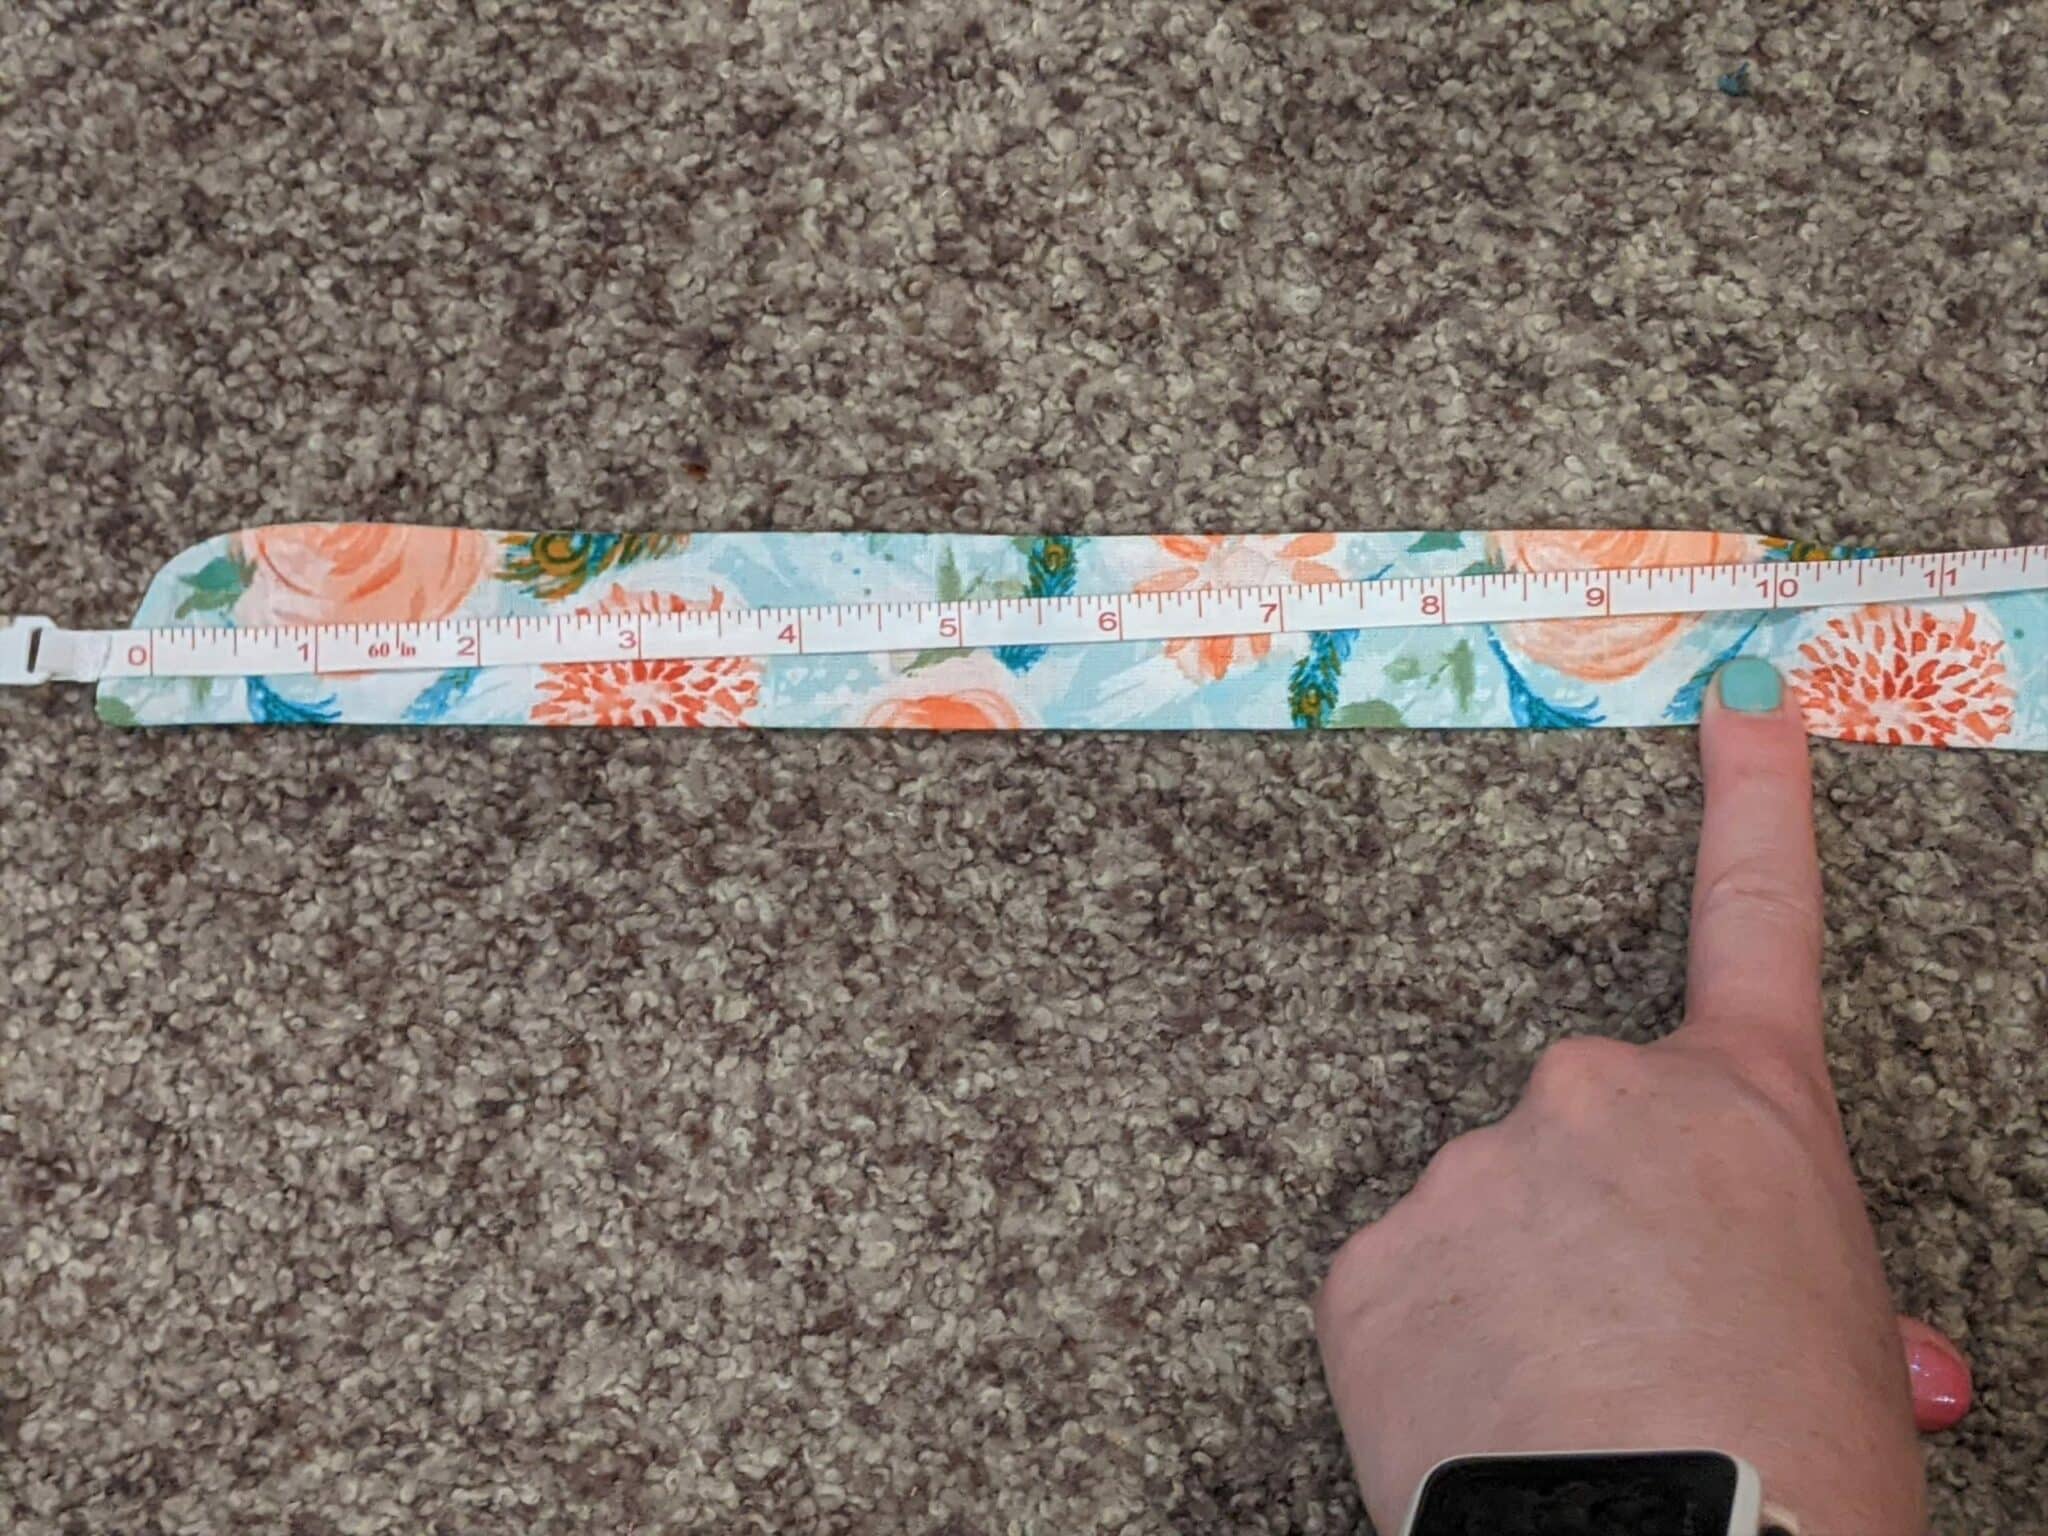
- Mark your fabric at the edge then open it and measure the width. (Mine was 3.25″)
- Since you will be tieing knots along it as well as putting in beads, you will cut the strip much longer than you would think. (Mine is cut to 64″ for the blue one and 48″ for my daughter’s coral one.)
- Adjust the length to fit your style. My measurements are just a reference for a starting place.
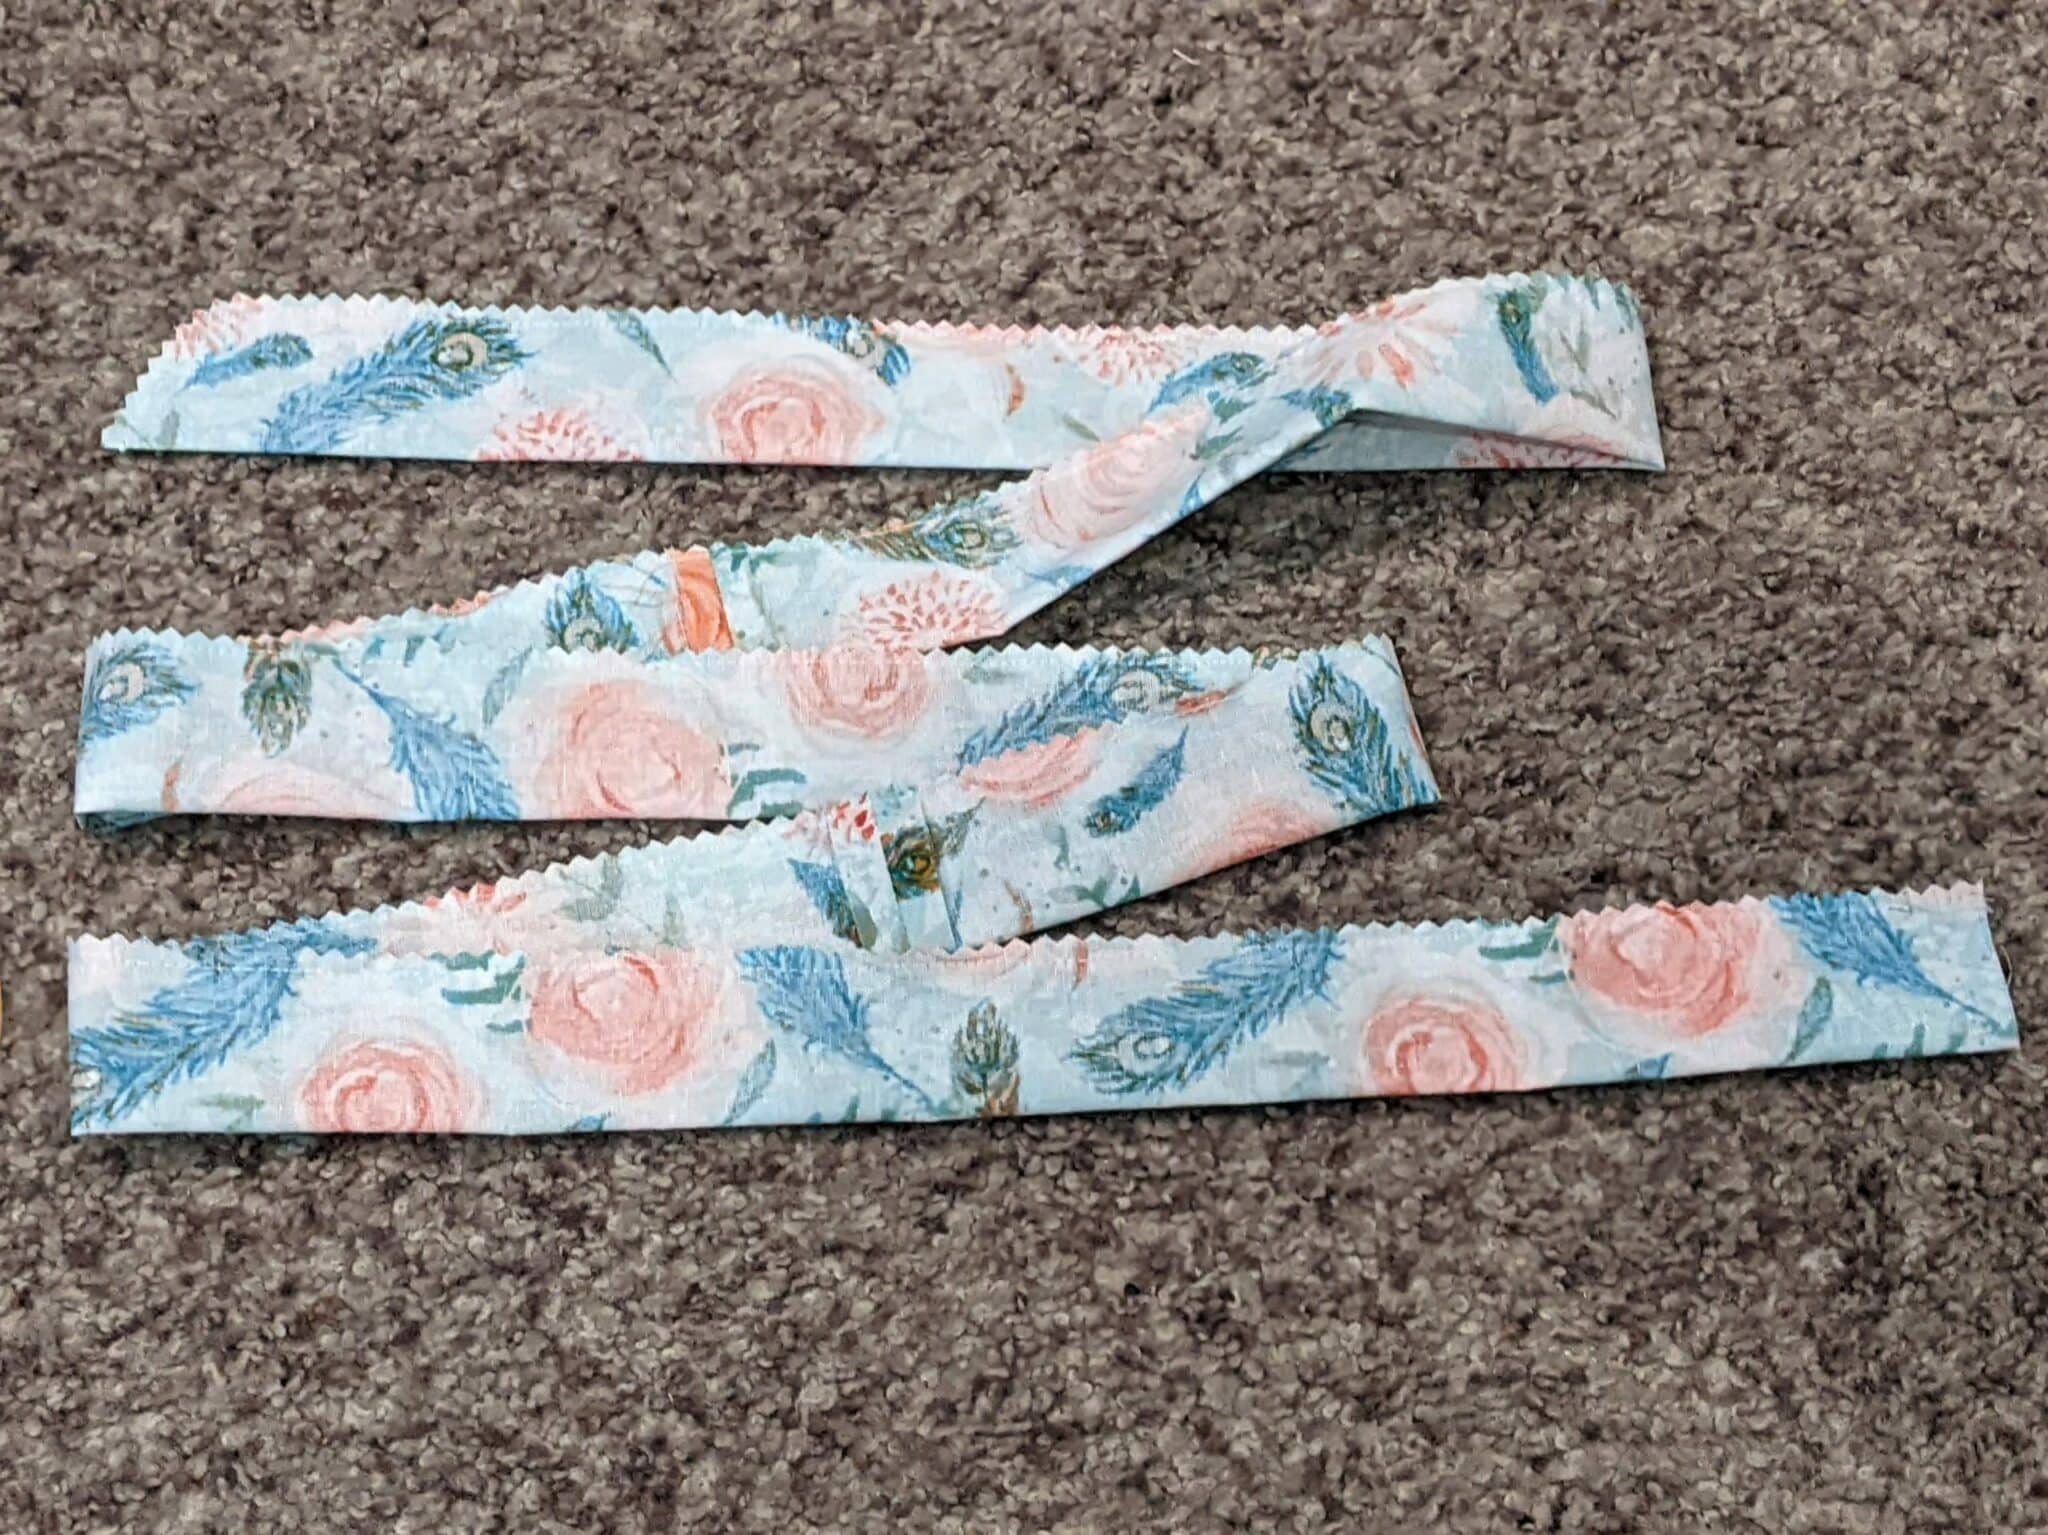
- You will likely need to sew multiple shorter strips together to get your needed length.
- Use a rotary cutter and mat (or your scissors) to cut out your fabric strip(s).

Time to Sew
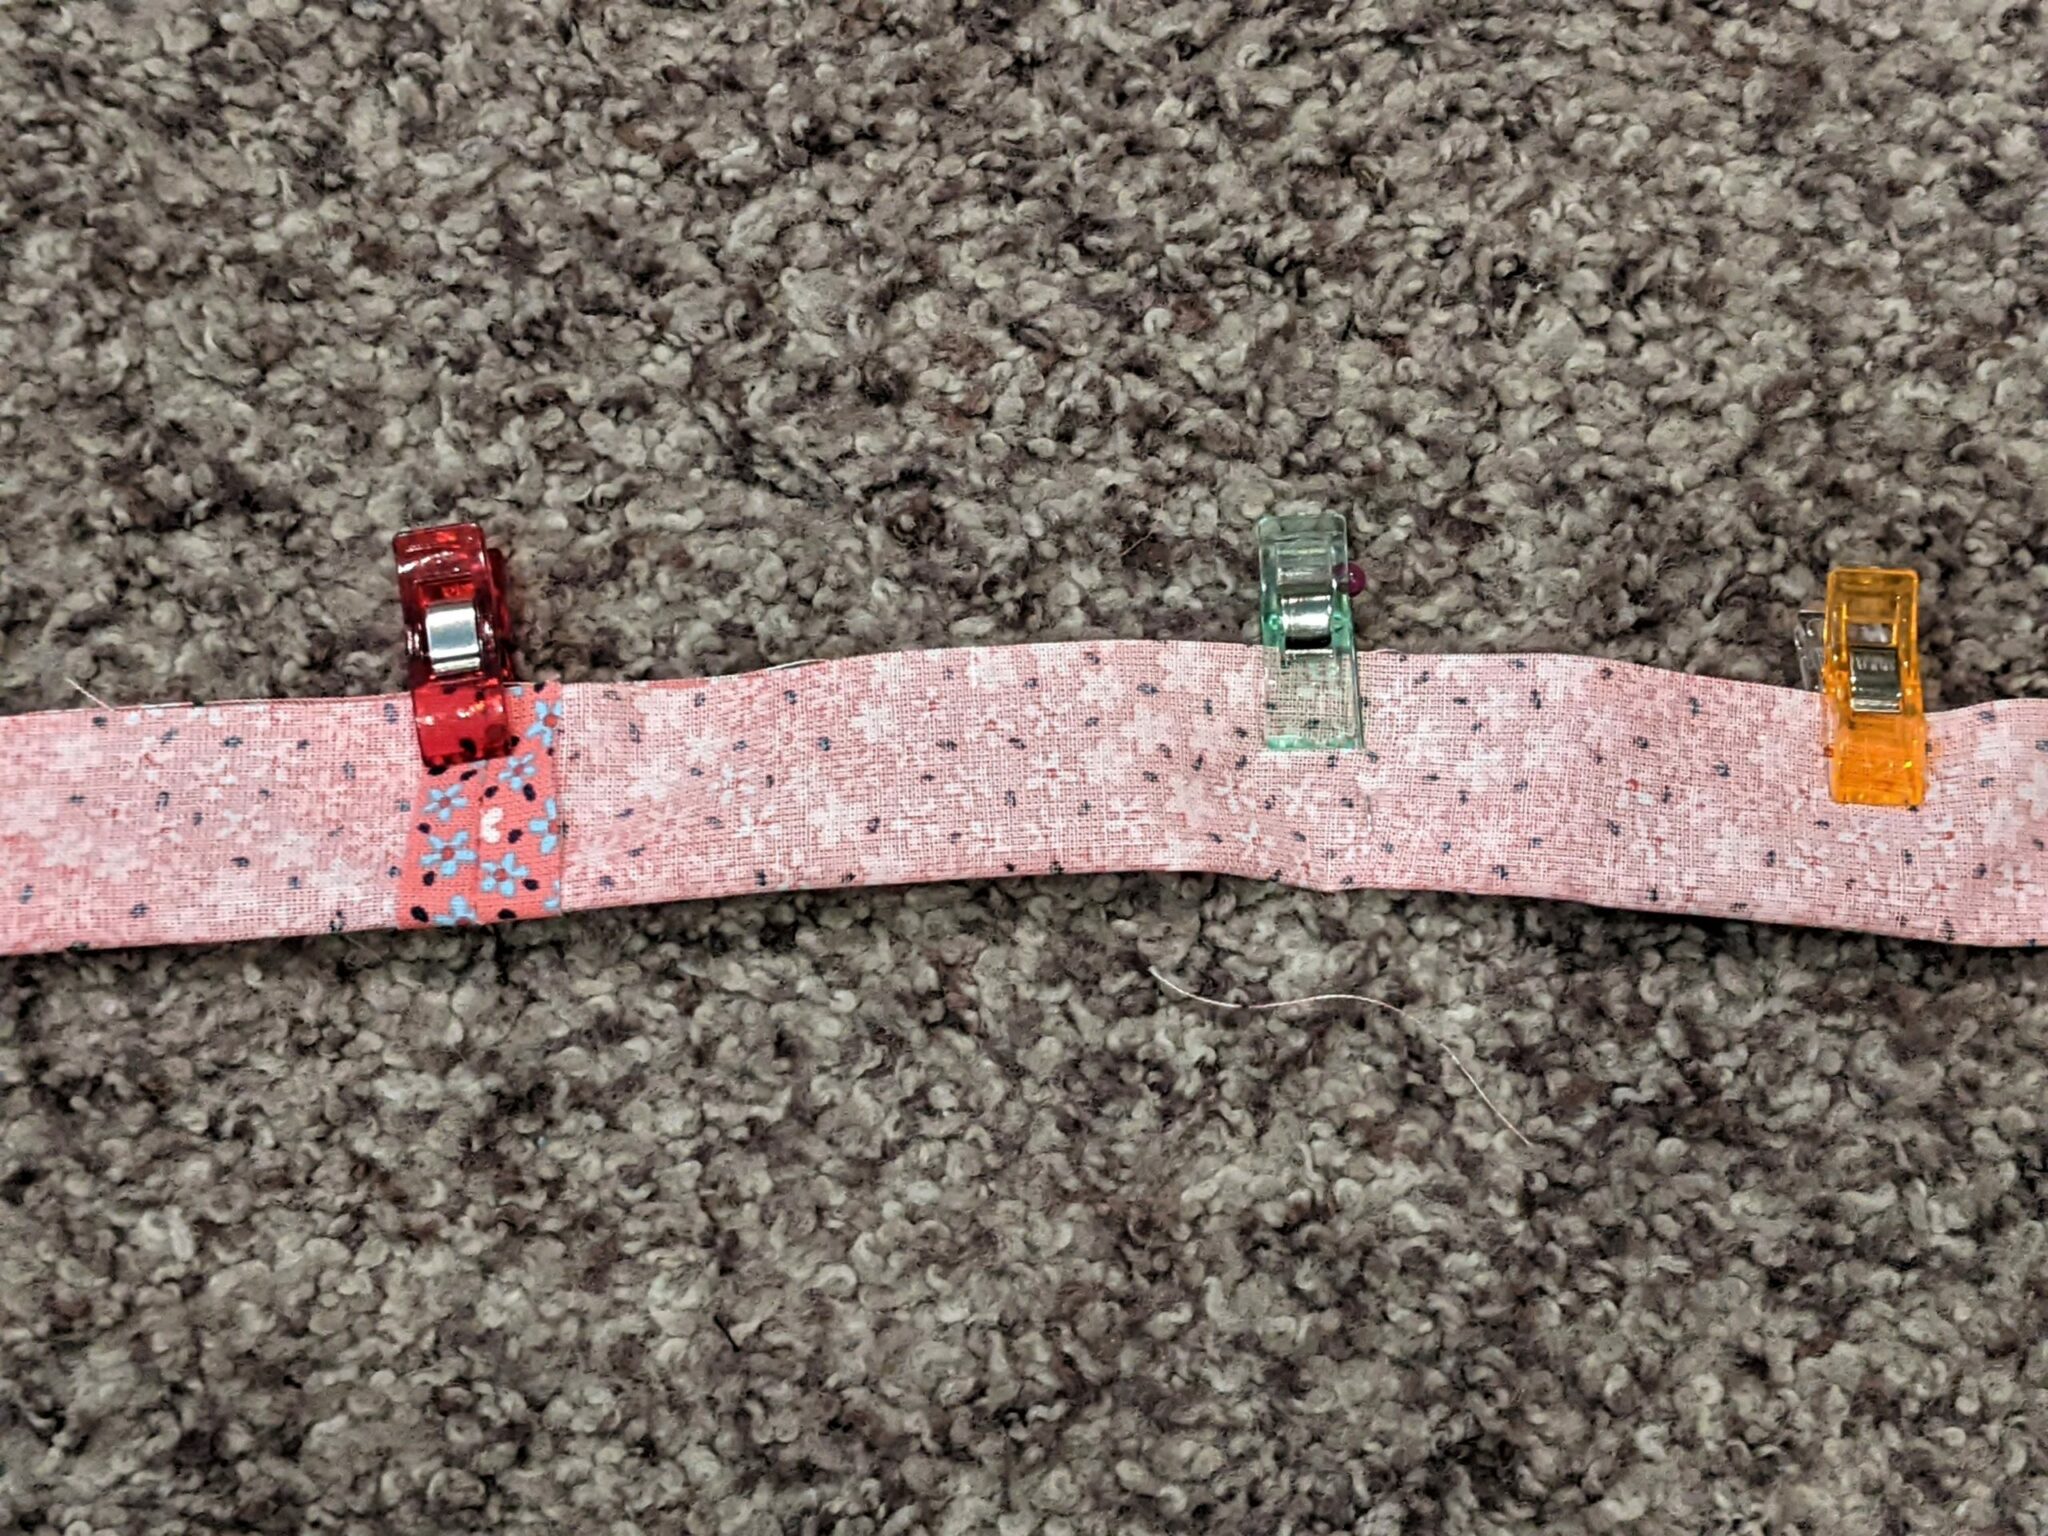
- If you have multiple shorter strips, pin their short ends right sides together and sew.
- Press the seam allowance open.
- Fold your necklace strip in half horizontally right sides together and pin all the way down the open edge.
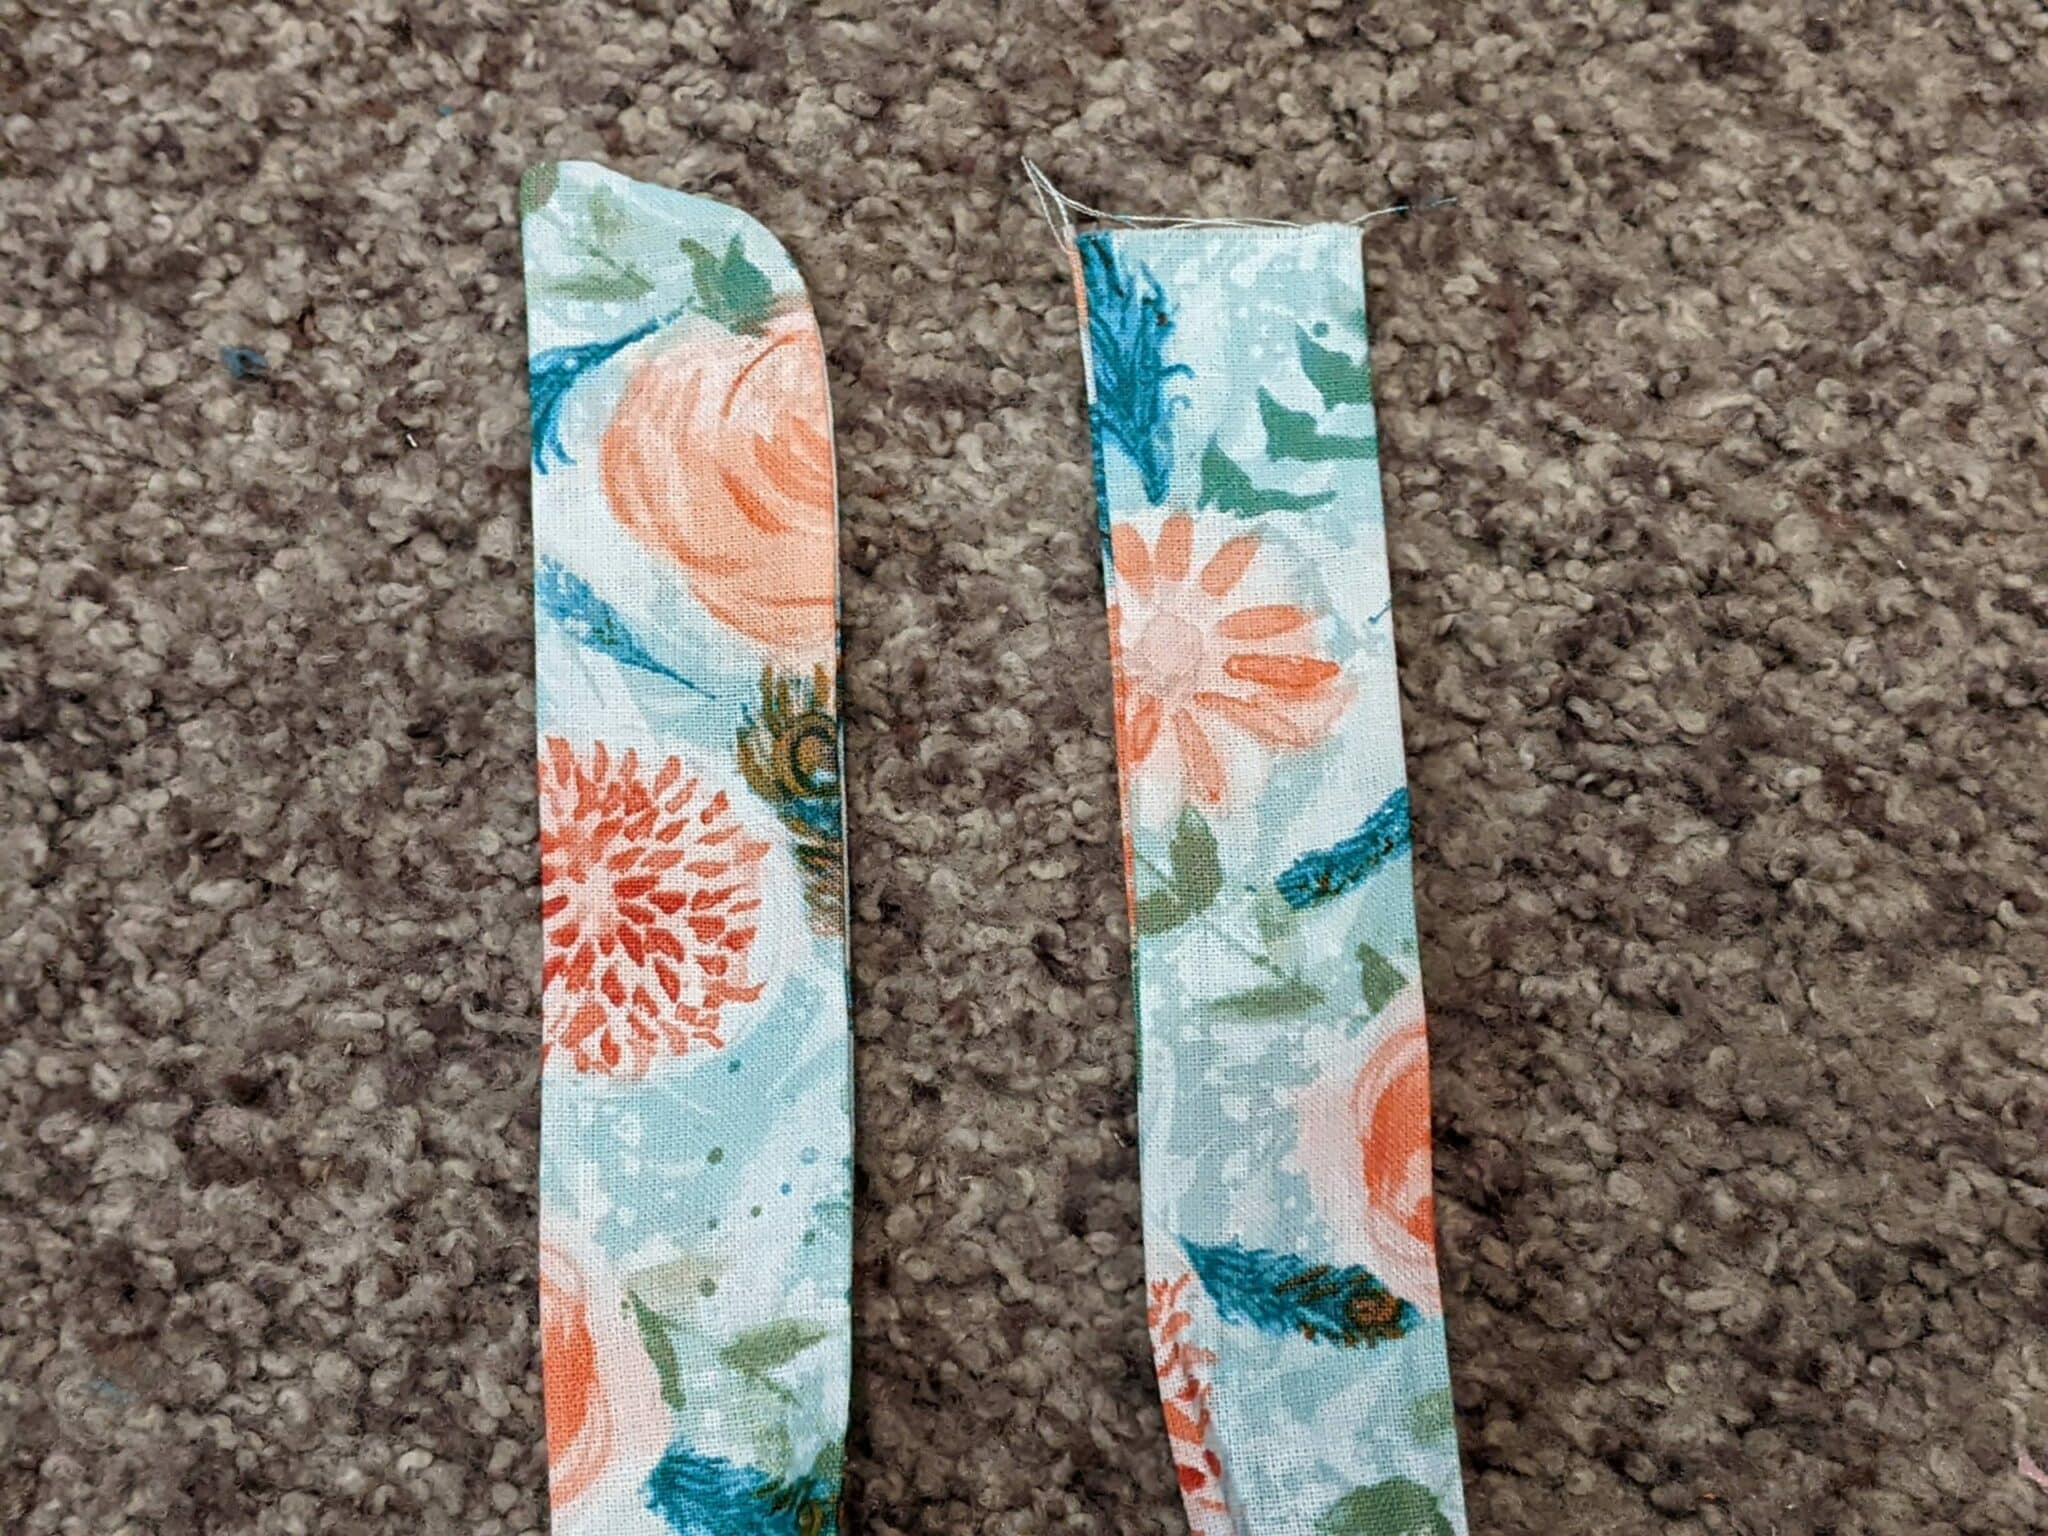
- Optional: draw a curved line on one end from the fold to the open edge to give your finished necklace tapered ends.
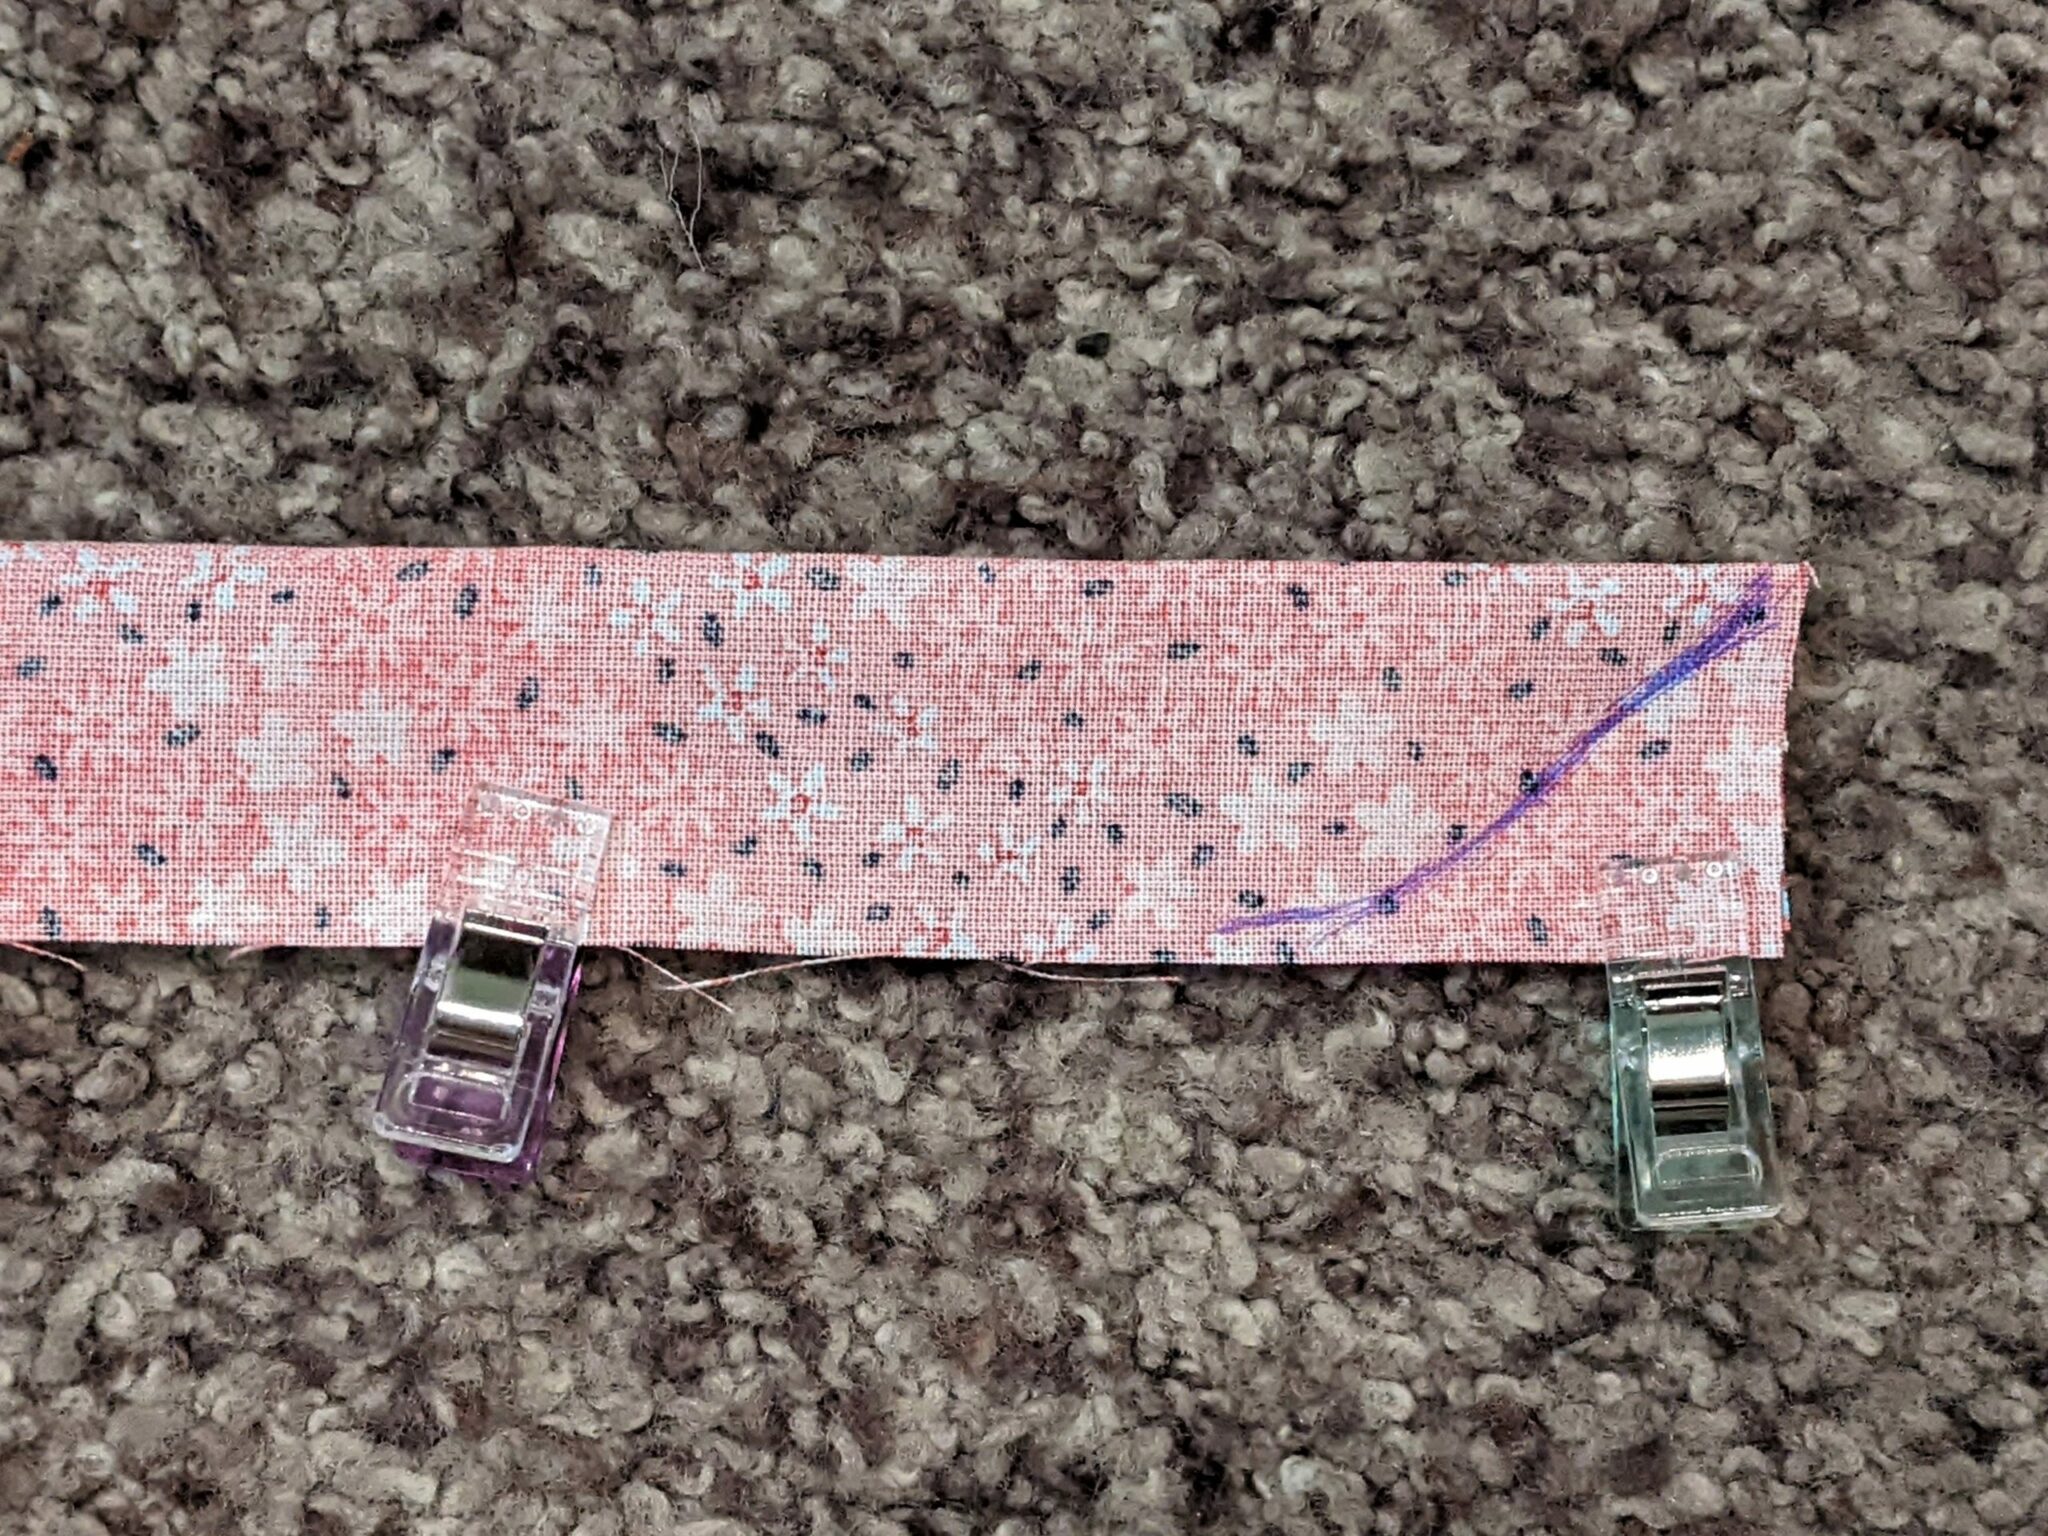
- Sew one short end together (or along the curved line) then all the way down the pinned edge with a 1/4″ seam allowance leaving the opposite end open.
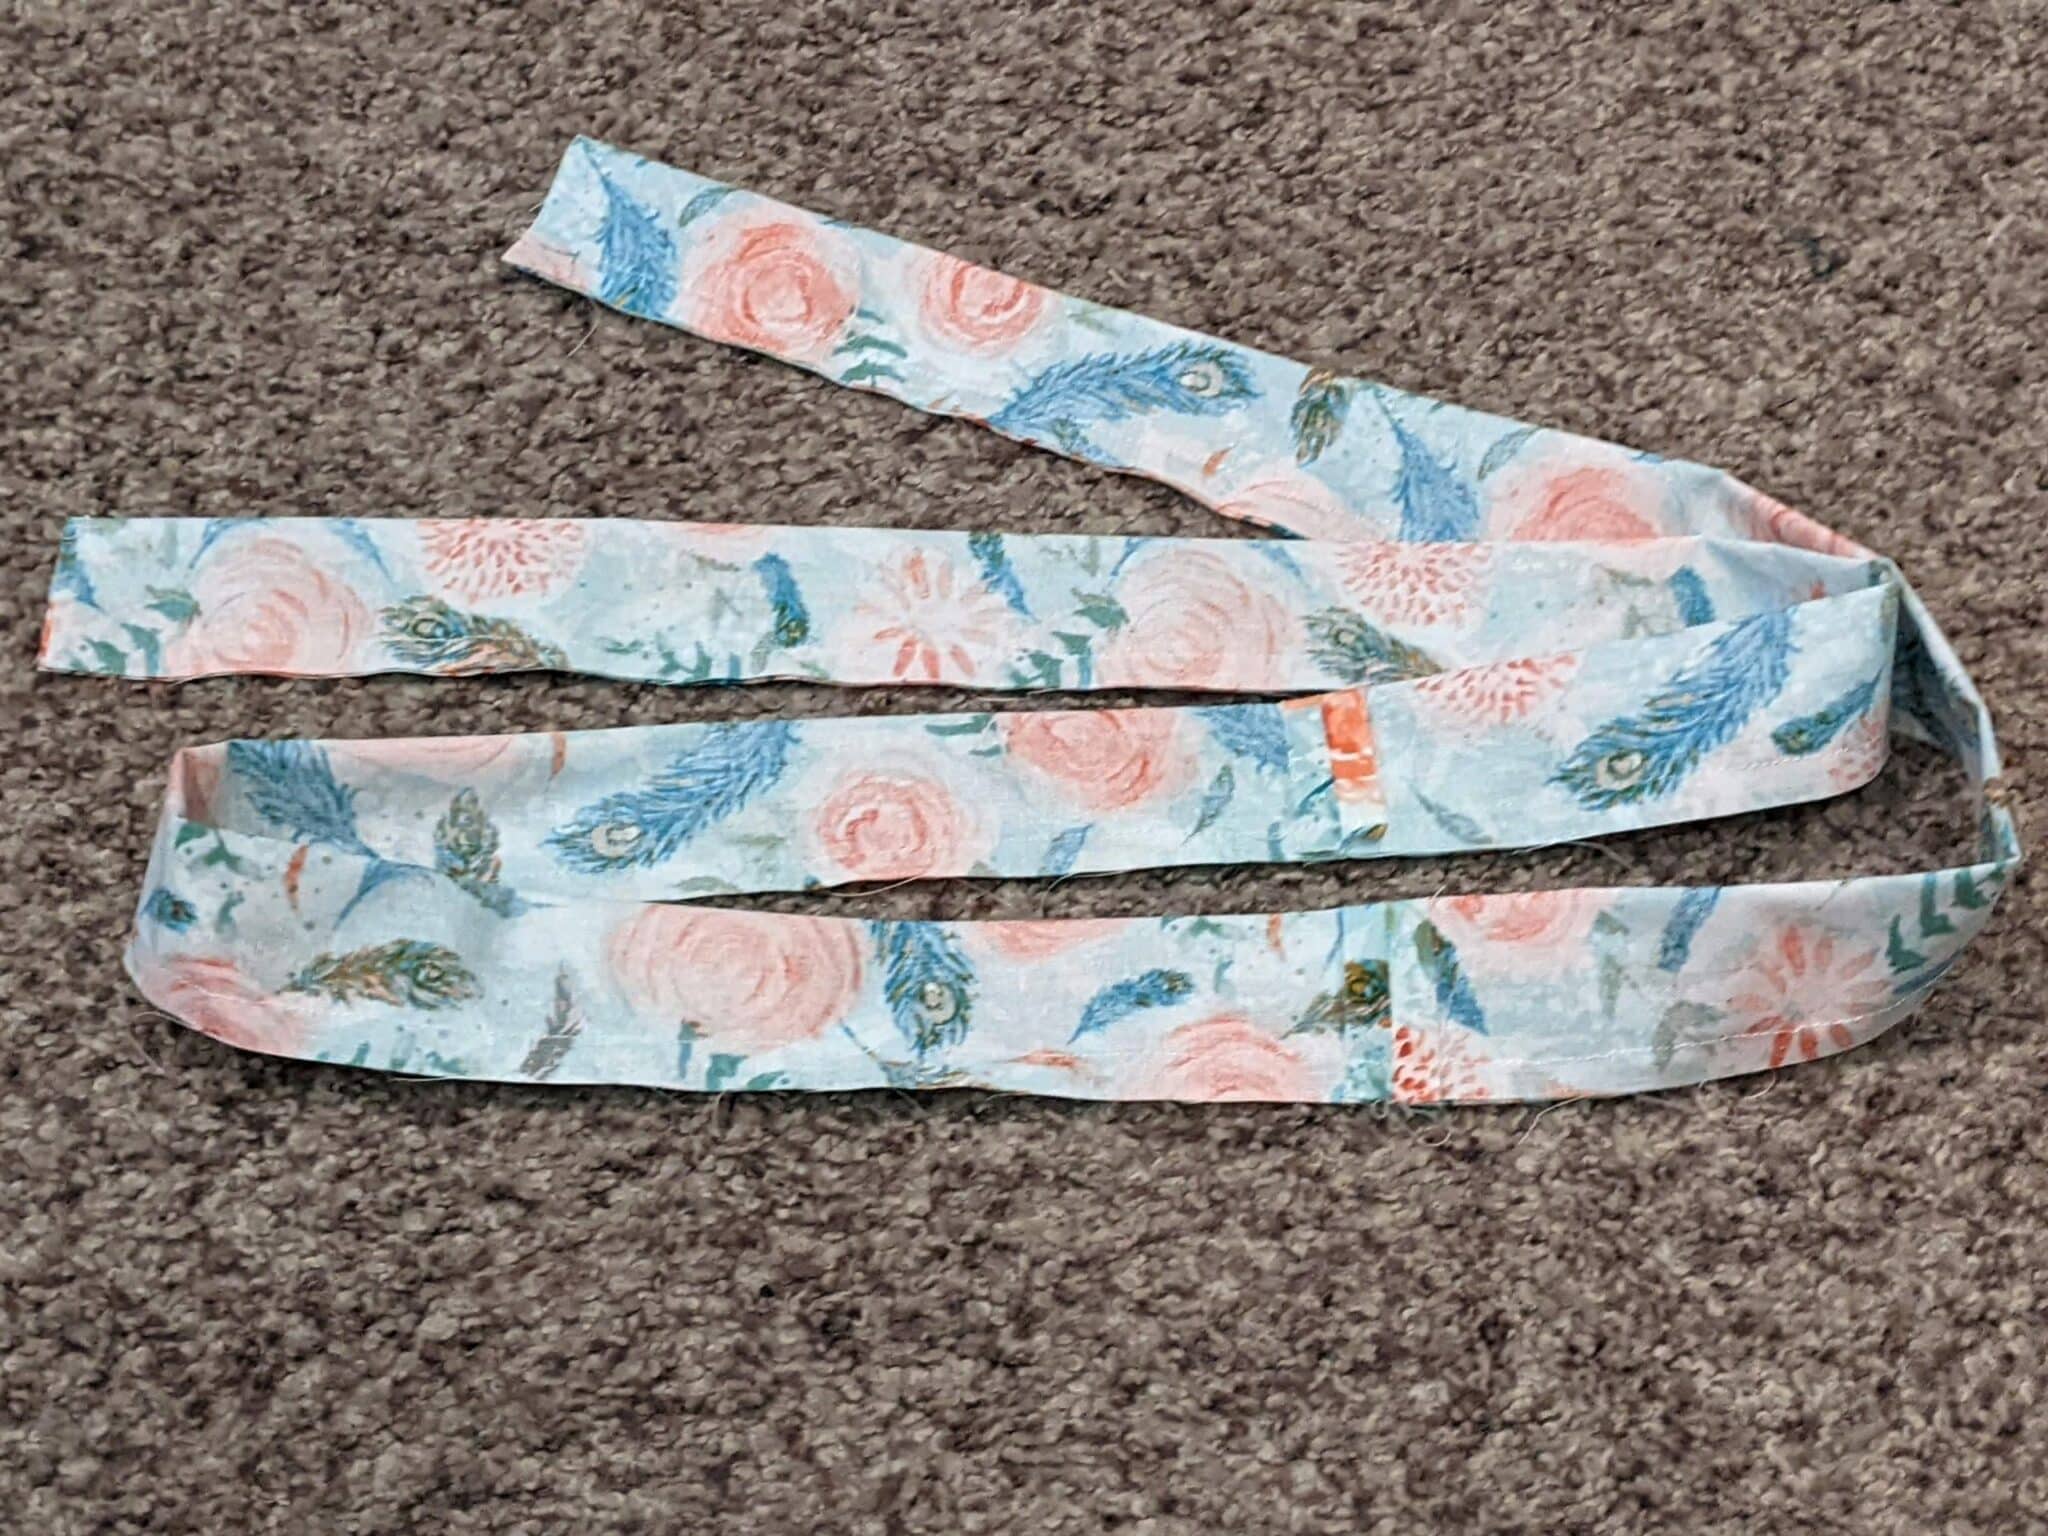
- Trim off the seam allowance close to the stitching with pinking shears or regular scissors.
- Turn your necklace right side out using a turning tool, stick, etc.
Beading the Necklace
- Measure 10″ in from the closed end of the necklace and tie a knot.
- You can make the ends longer by measuring further in if you prefer.
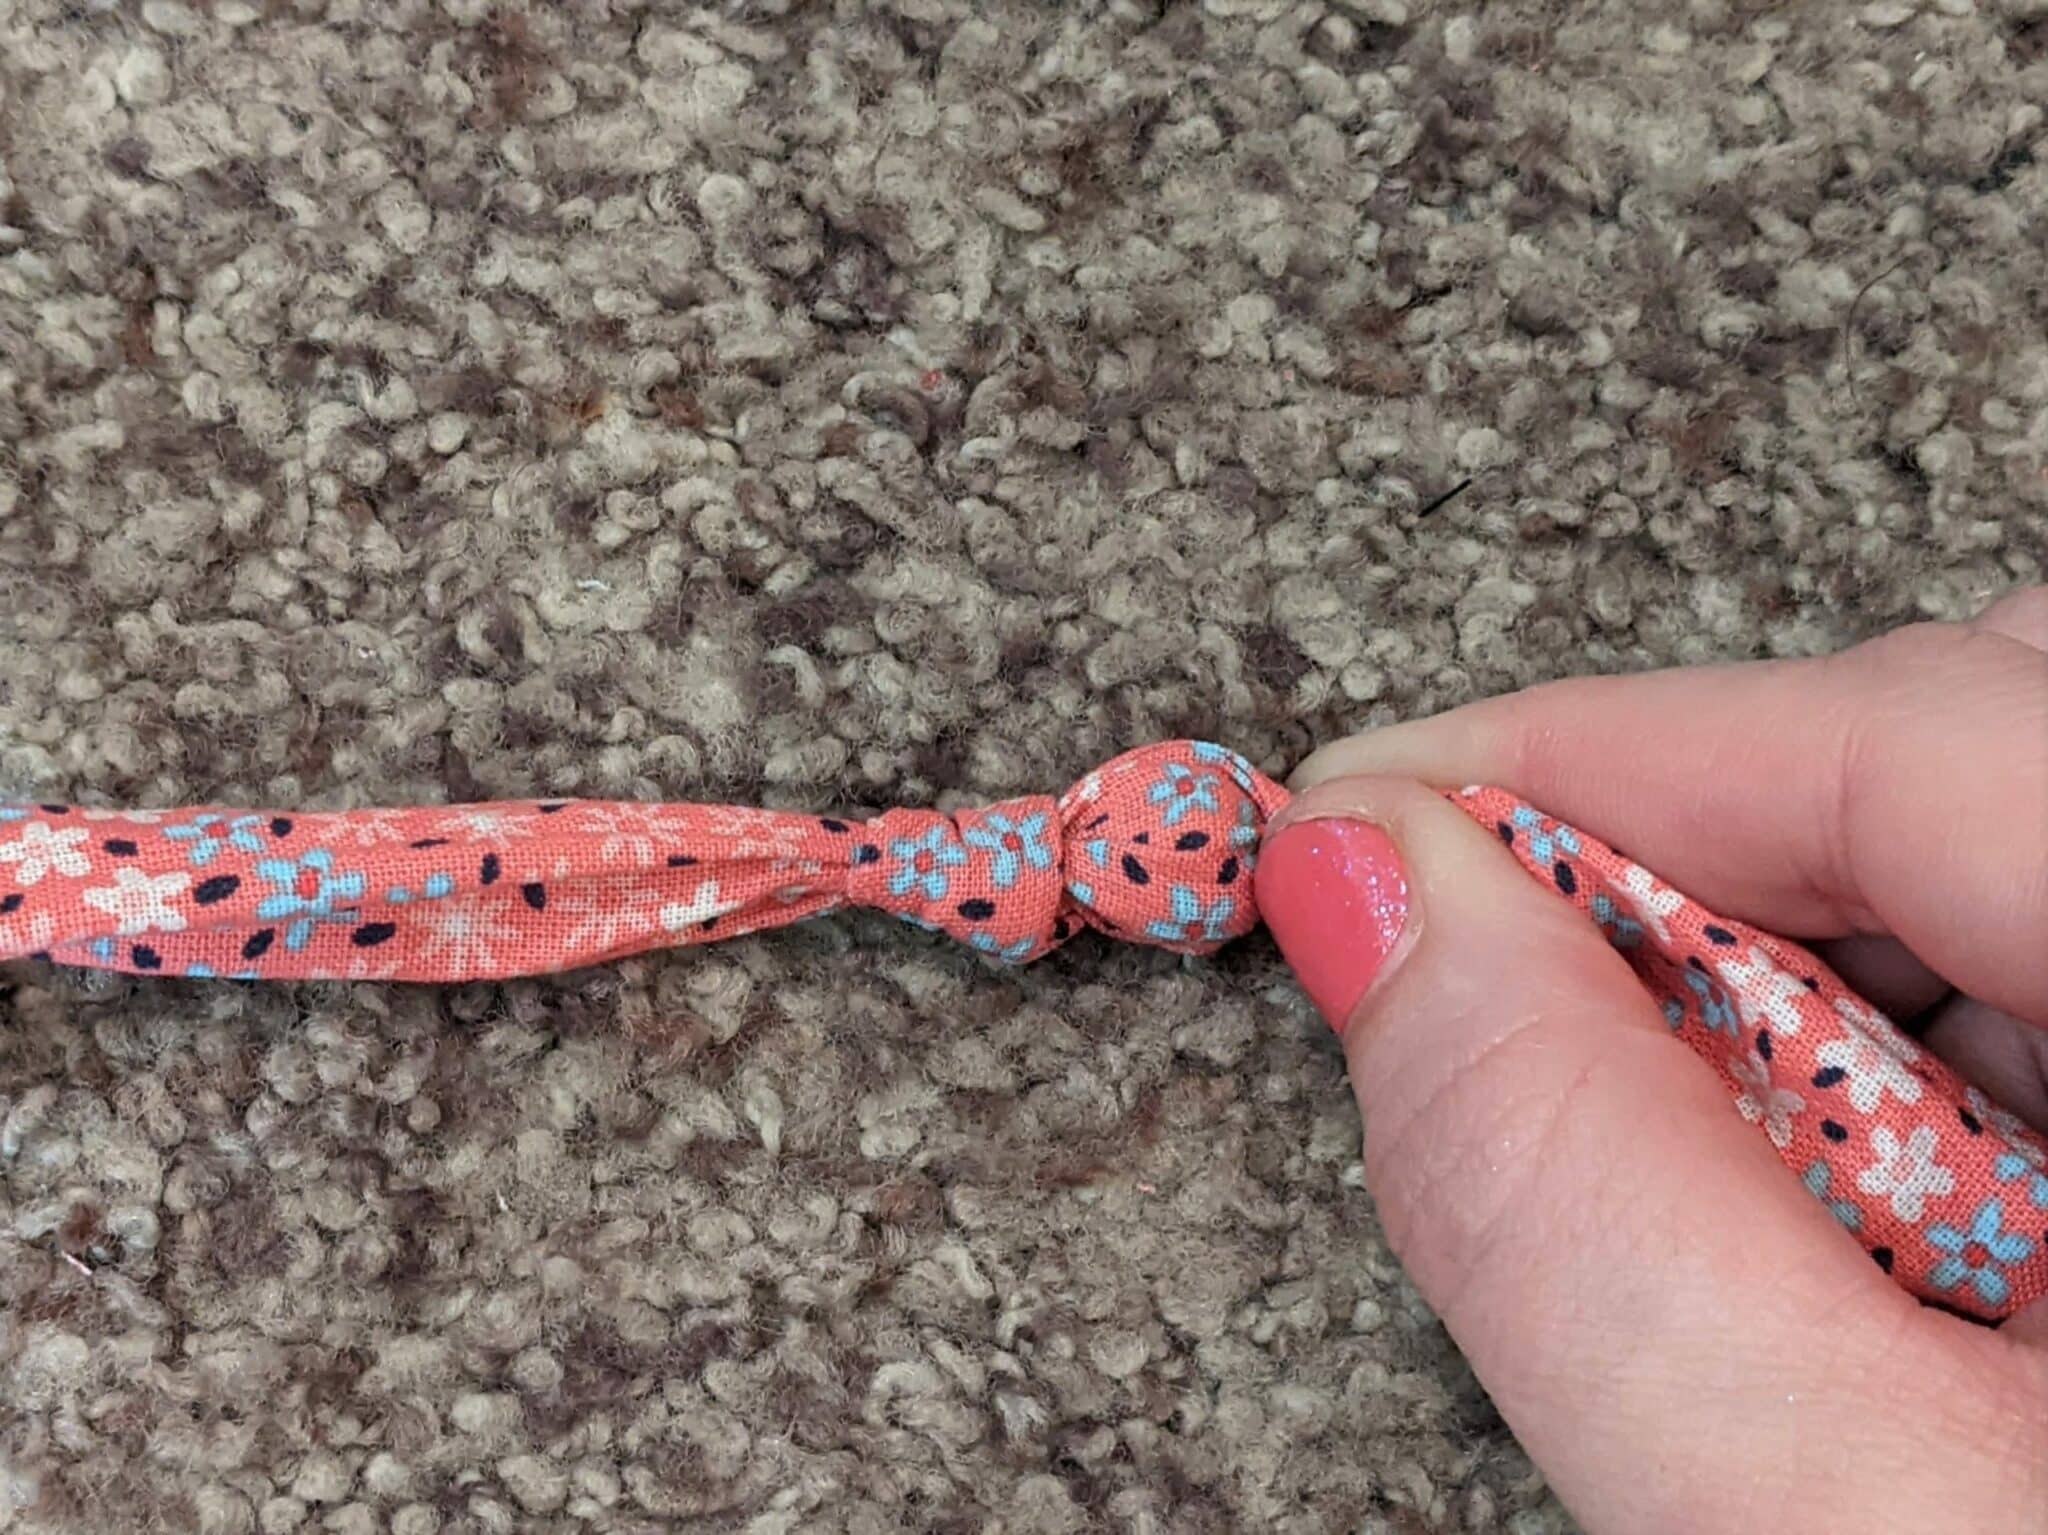
- Insert your first bead through the open end and slide it down to your knot.
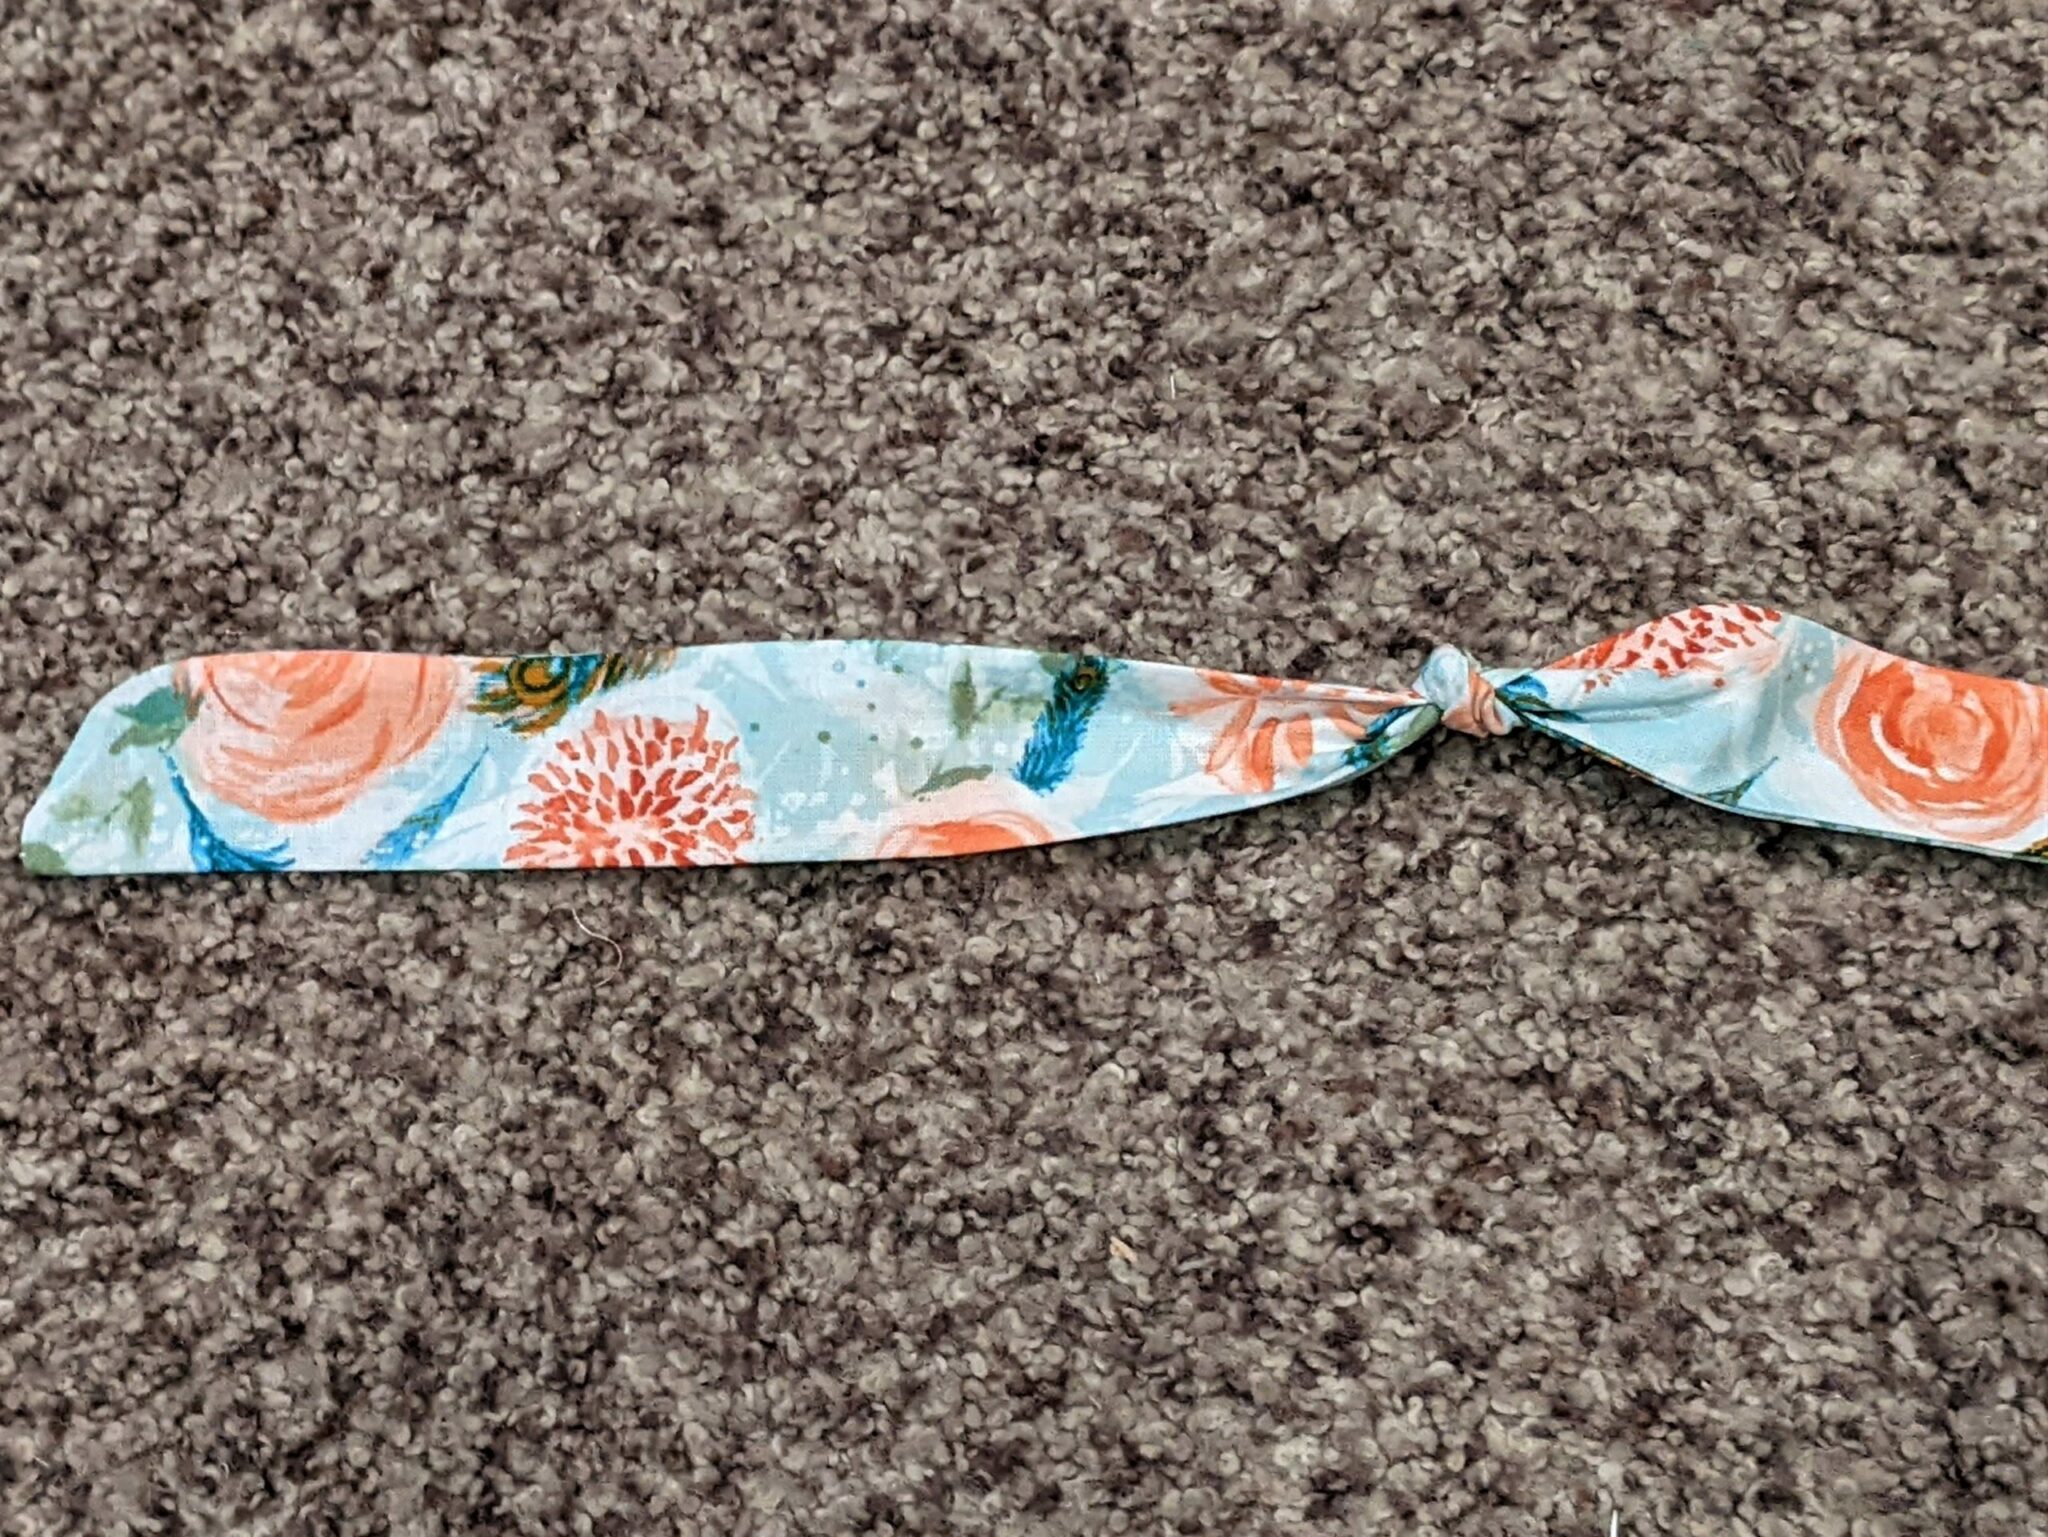
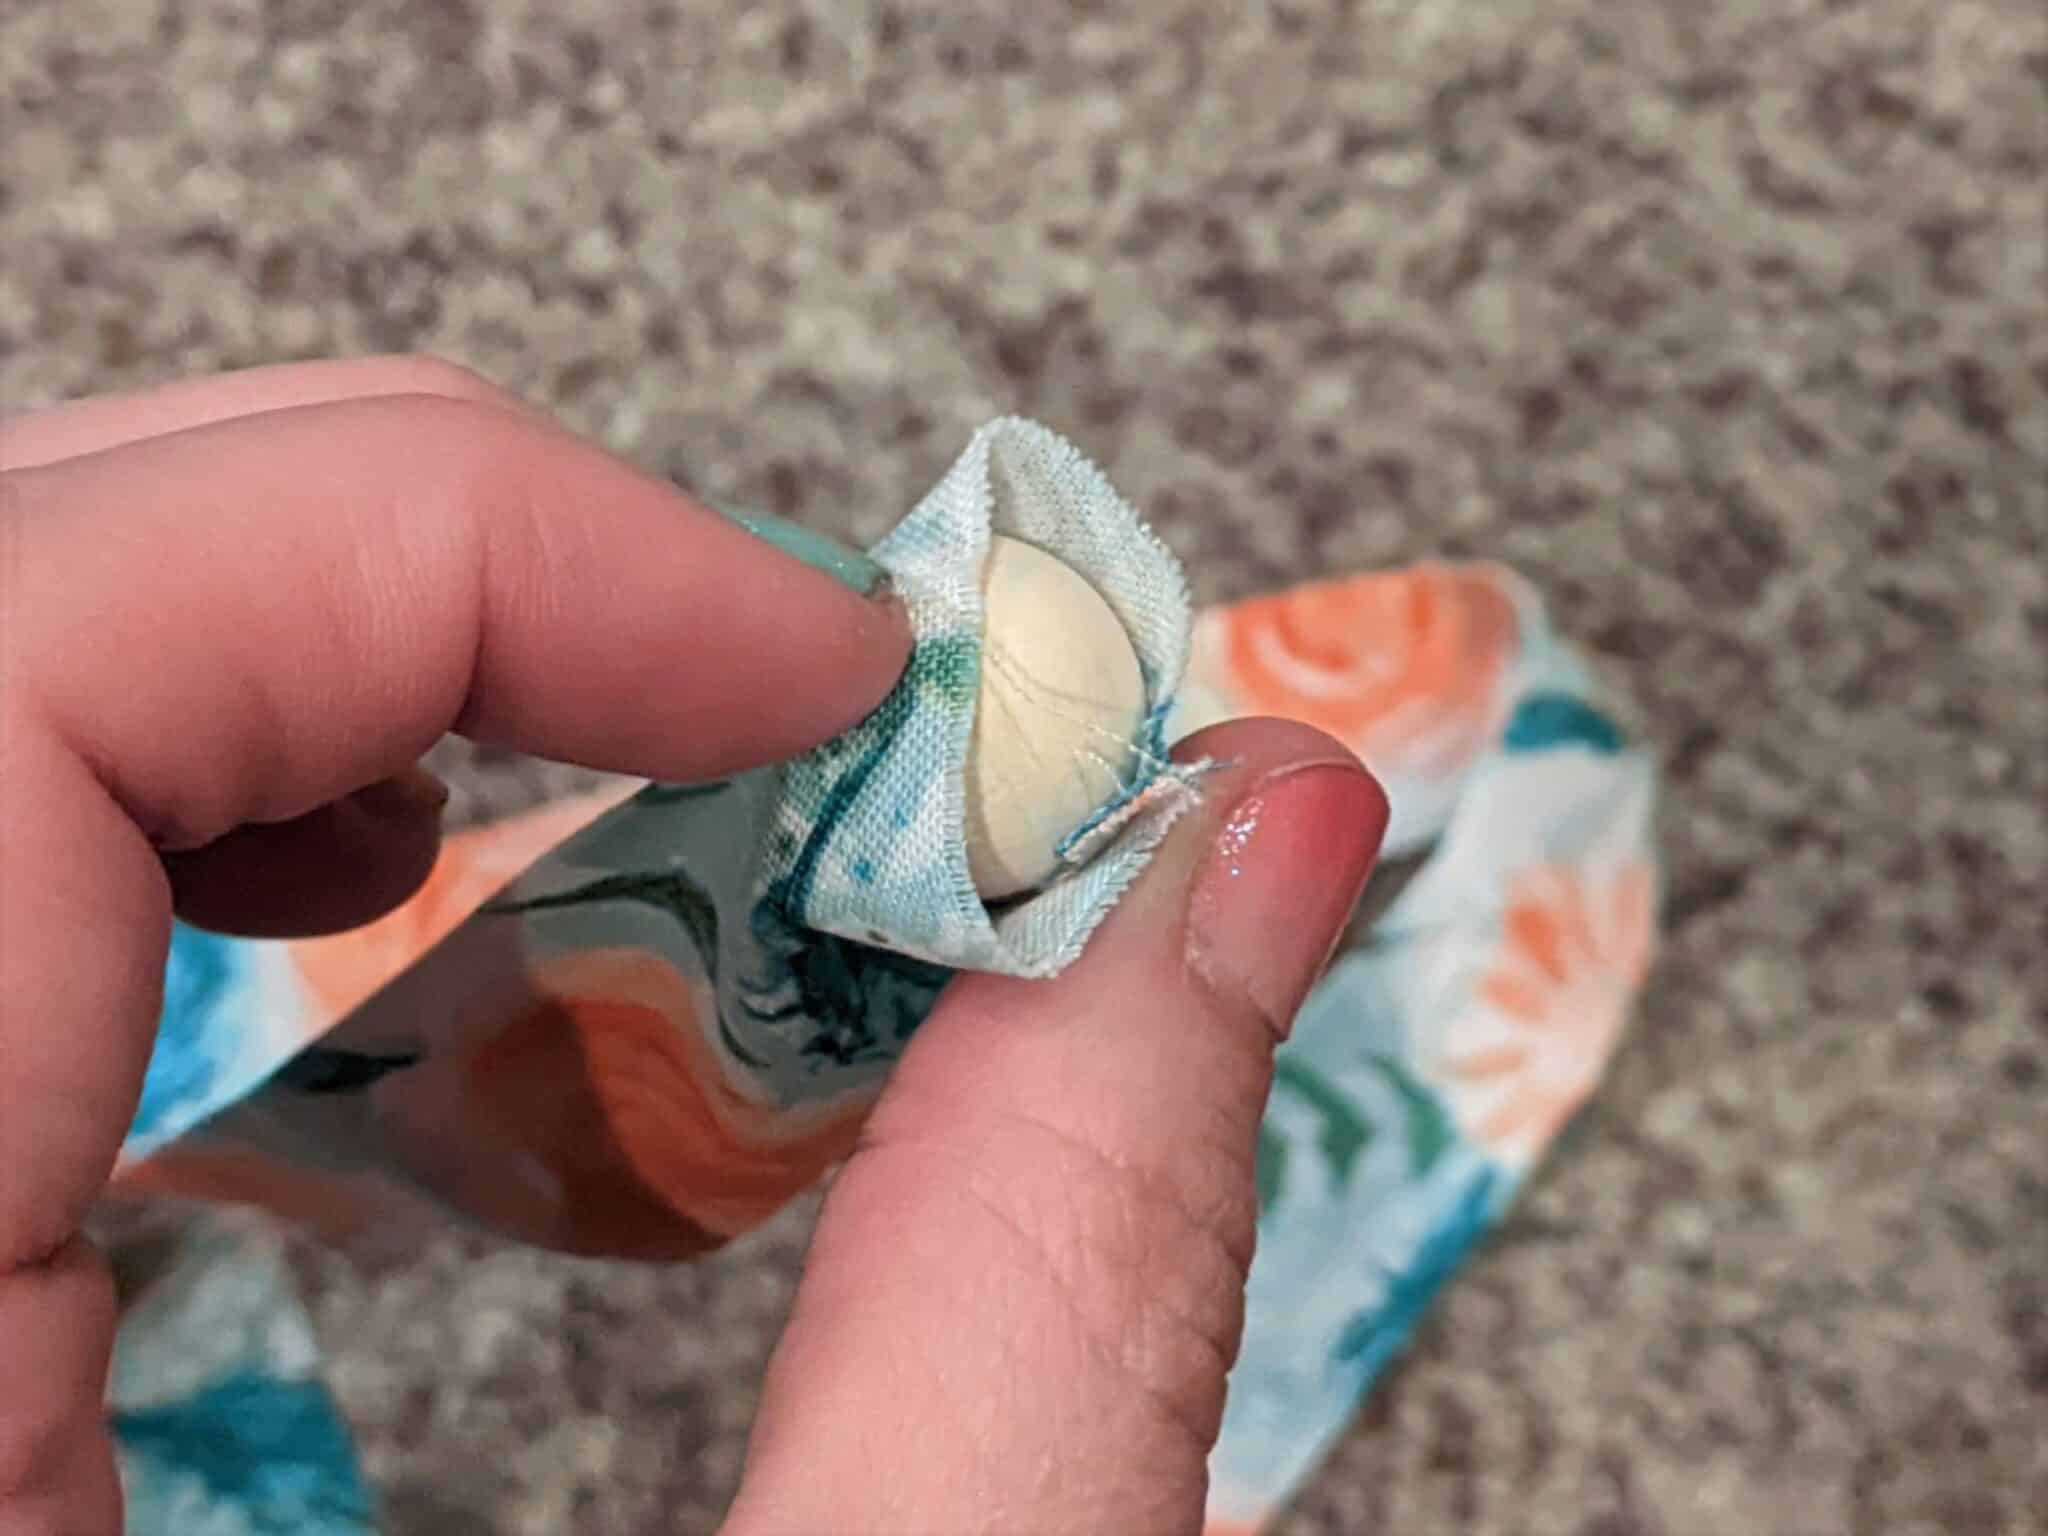
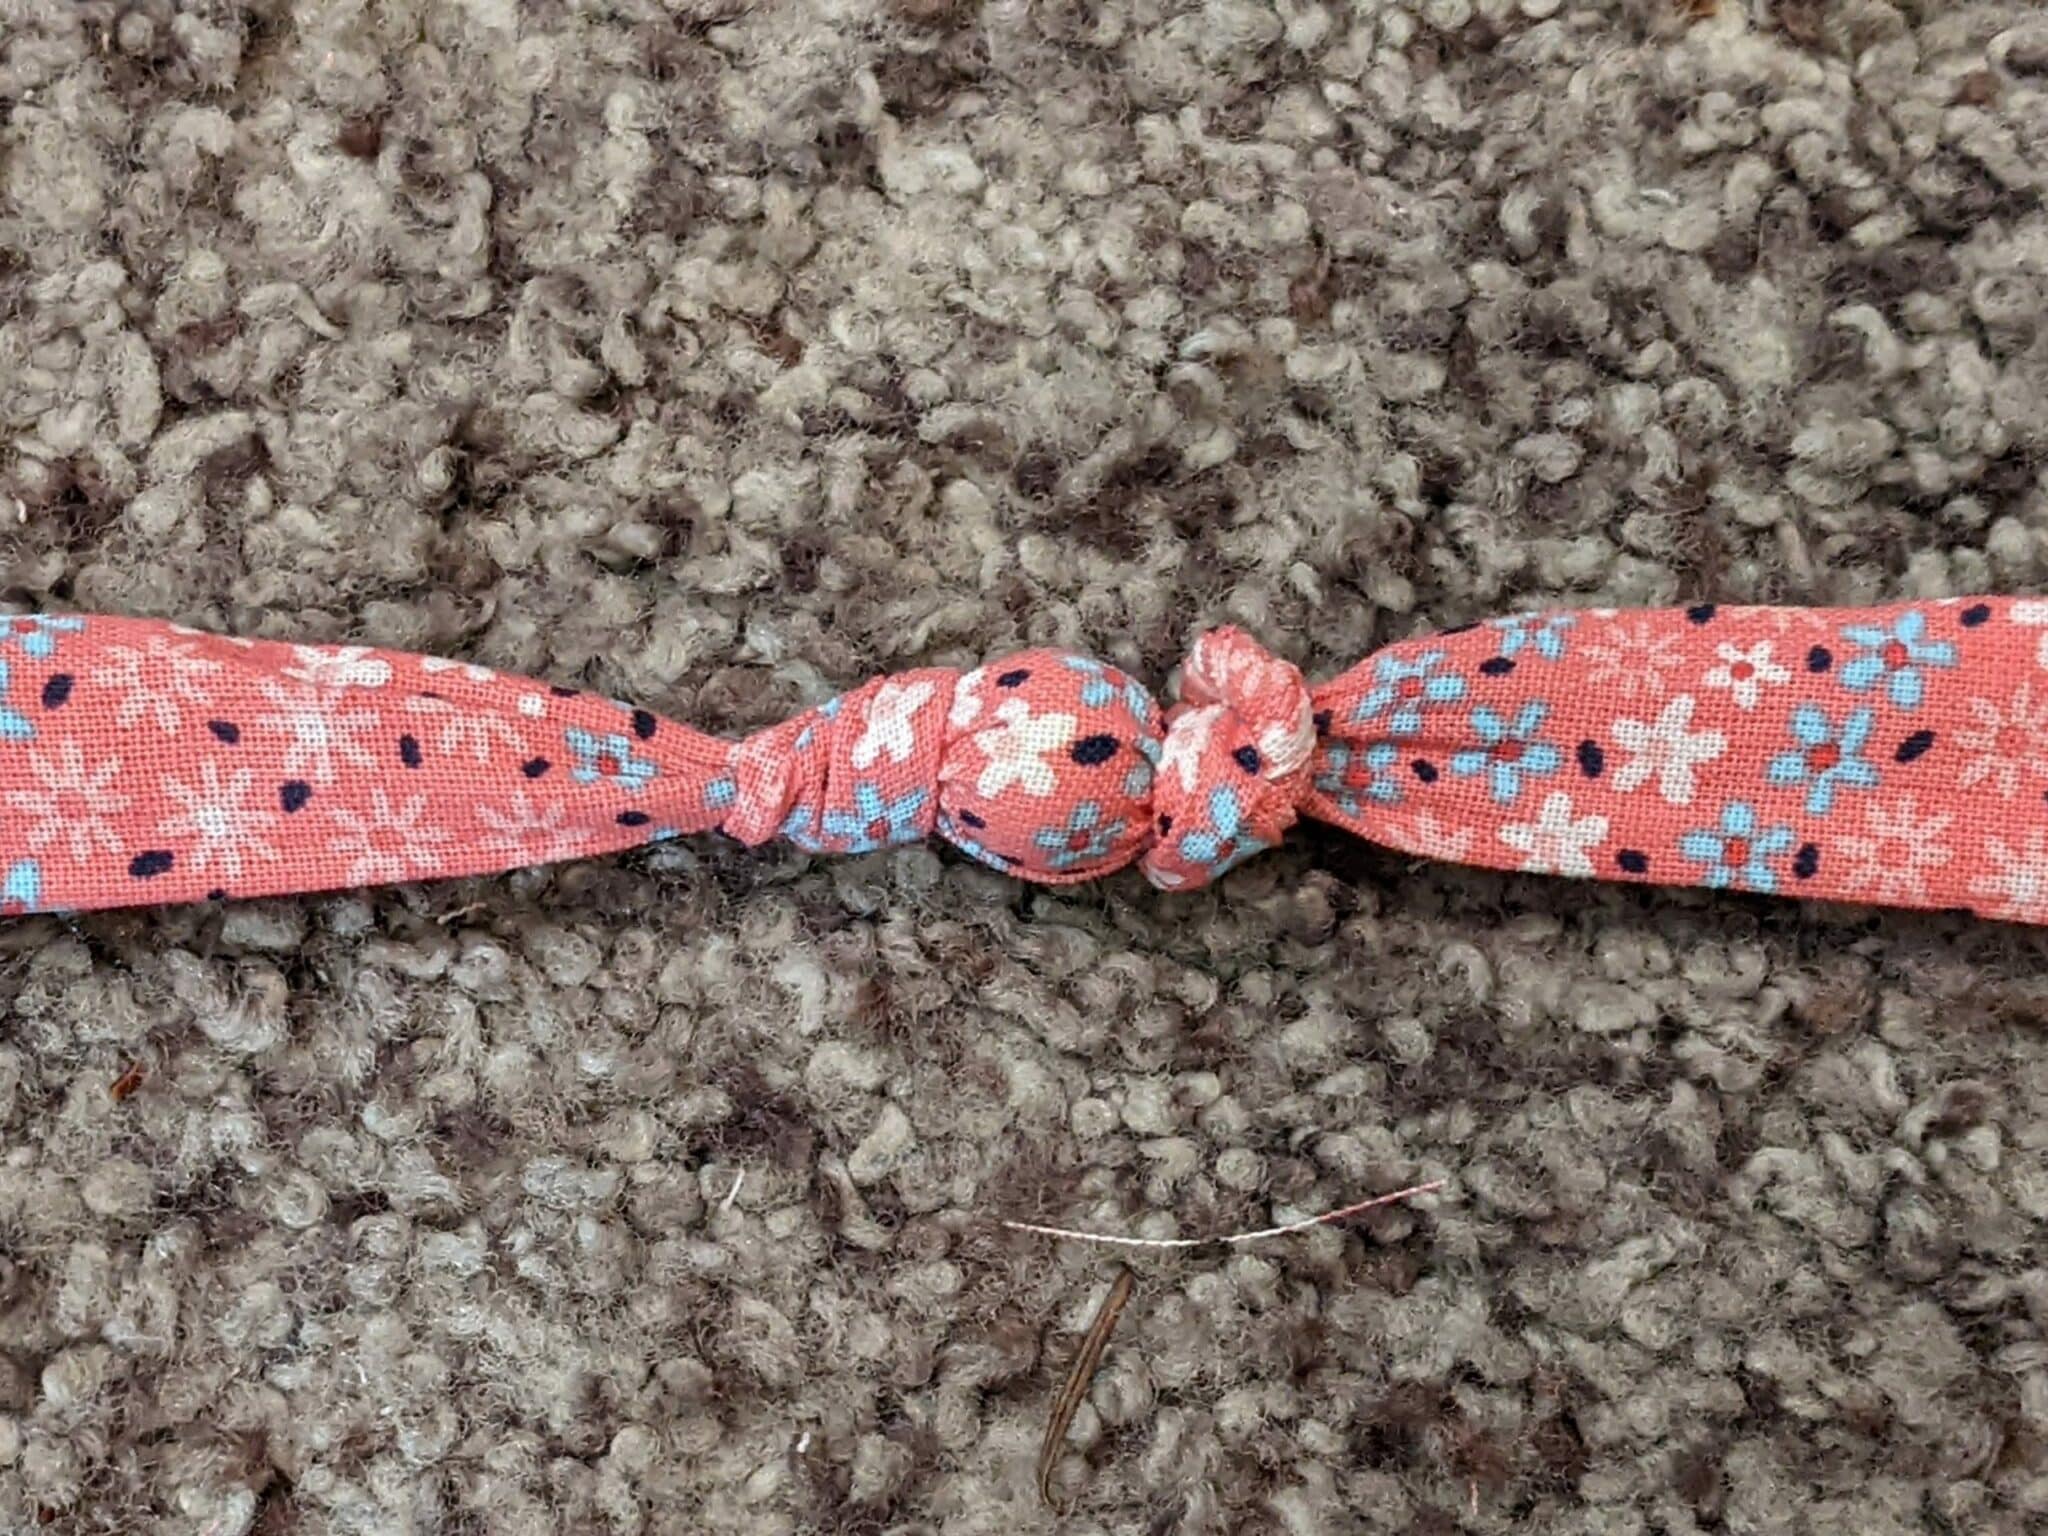
- Twist the fabric around the bead one turn, then tie another knot on the open side.
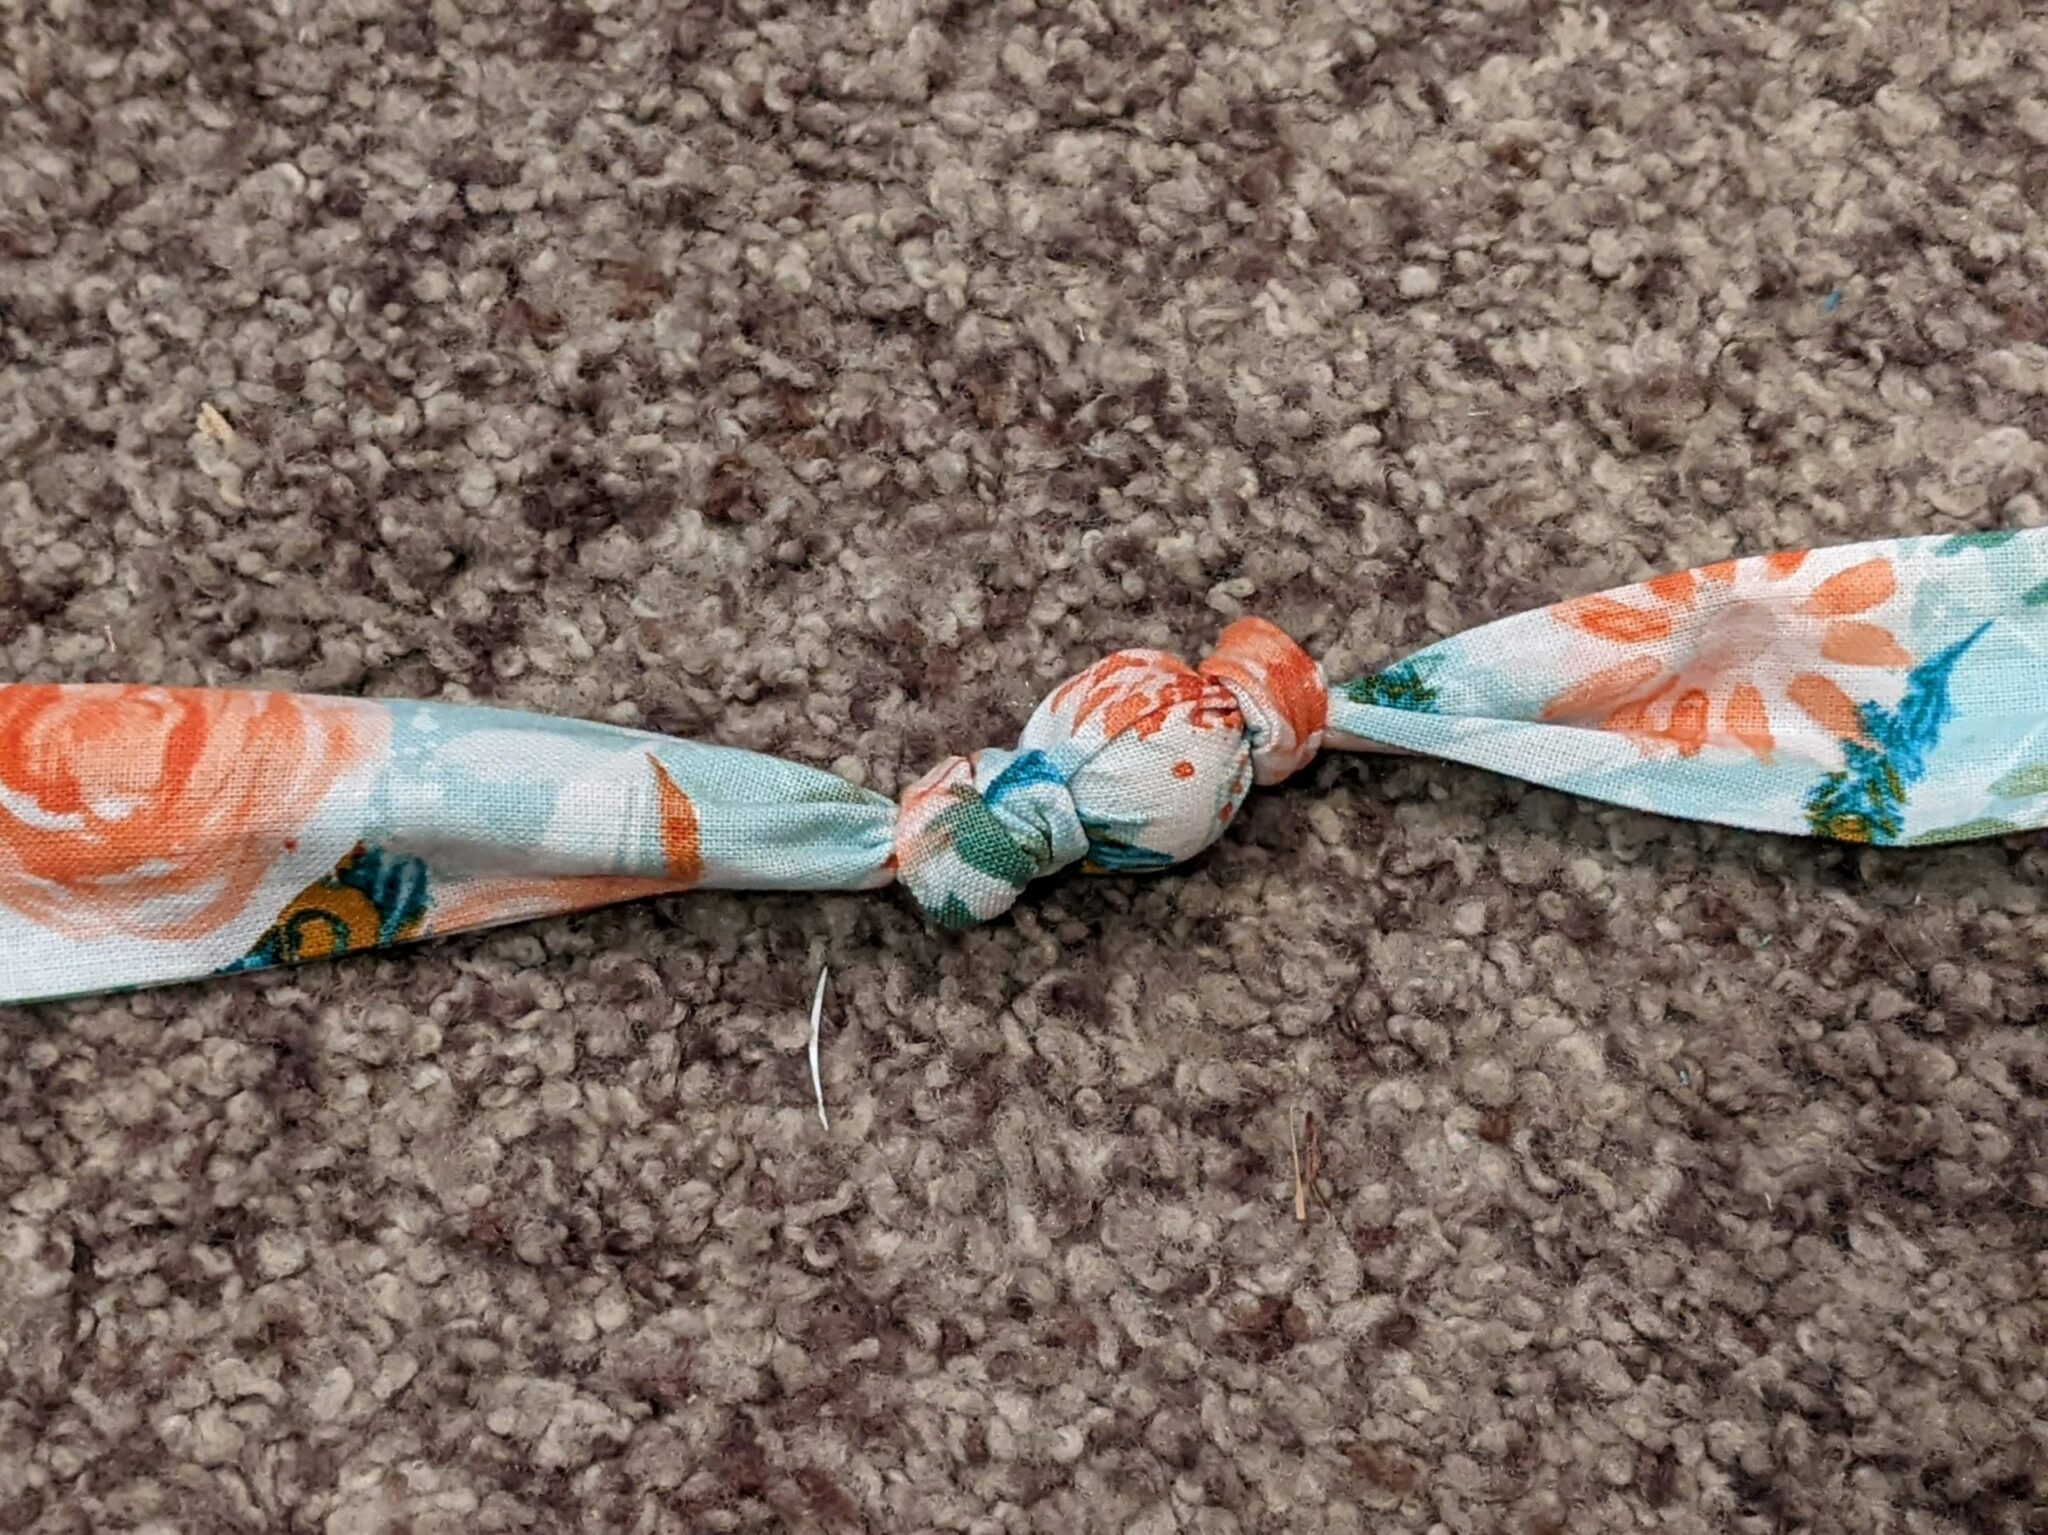
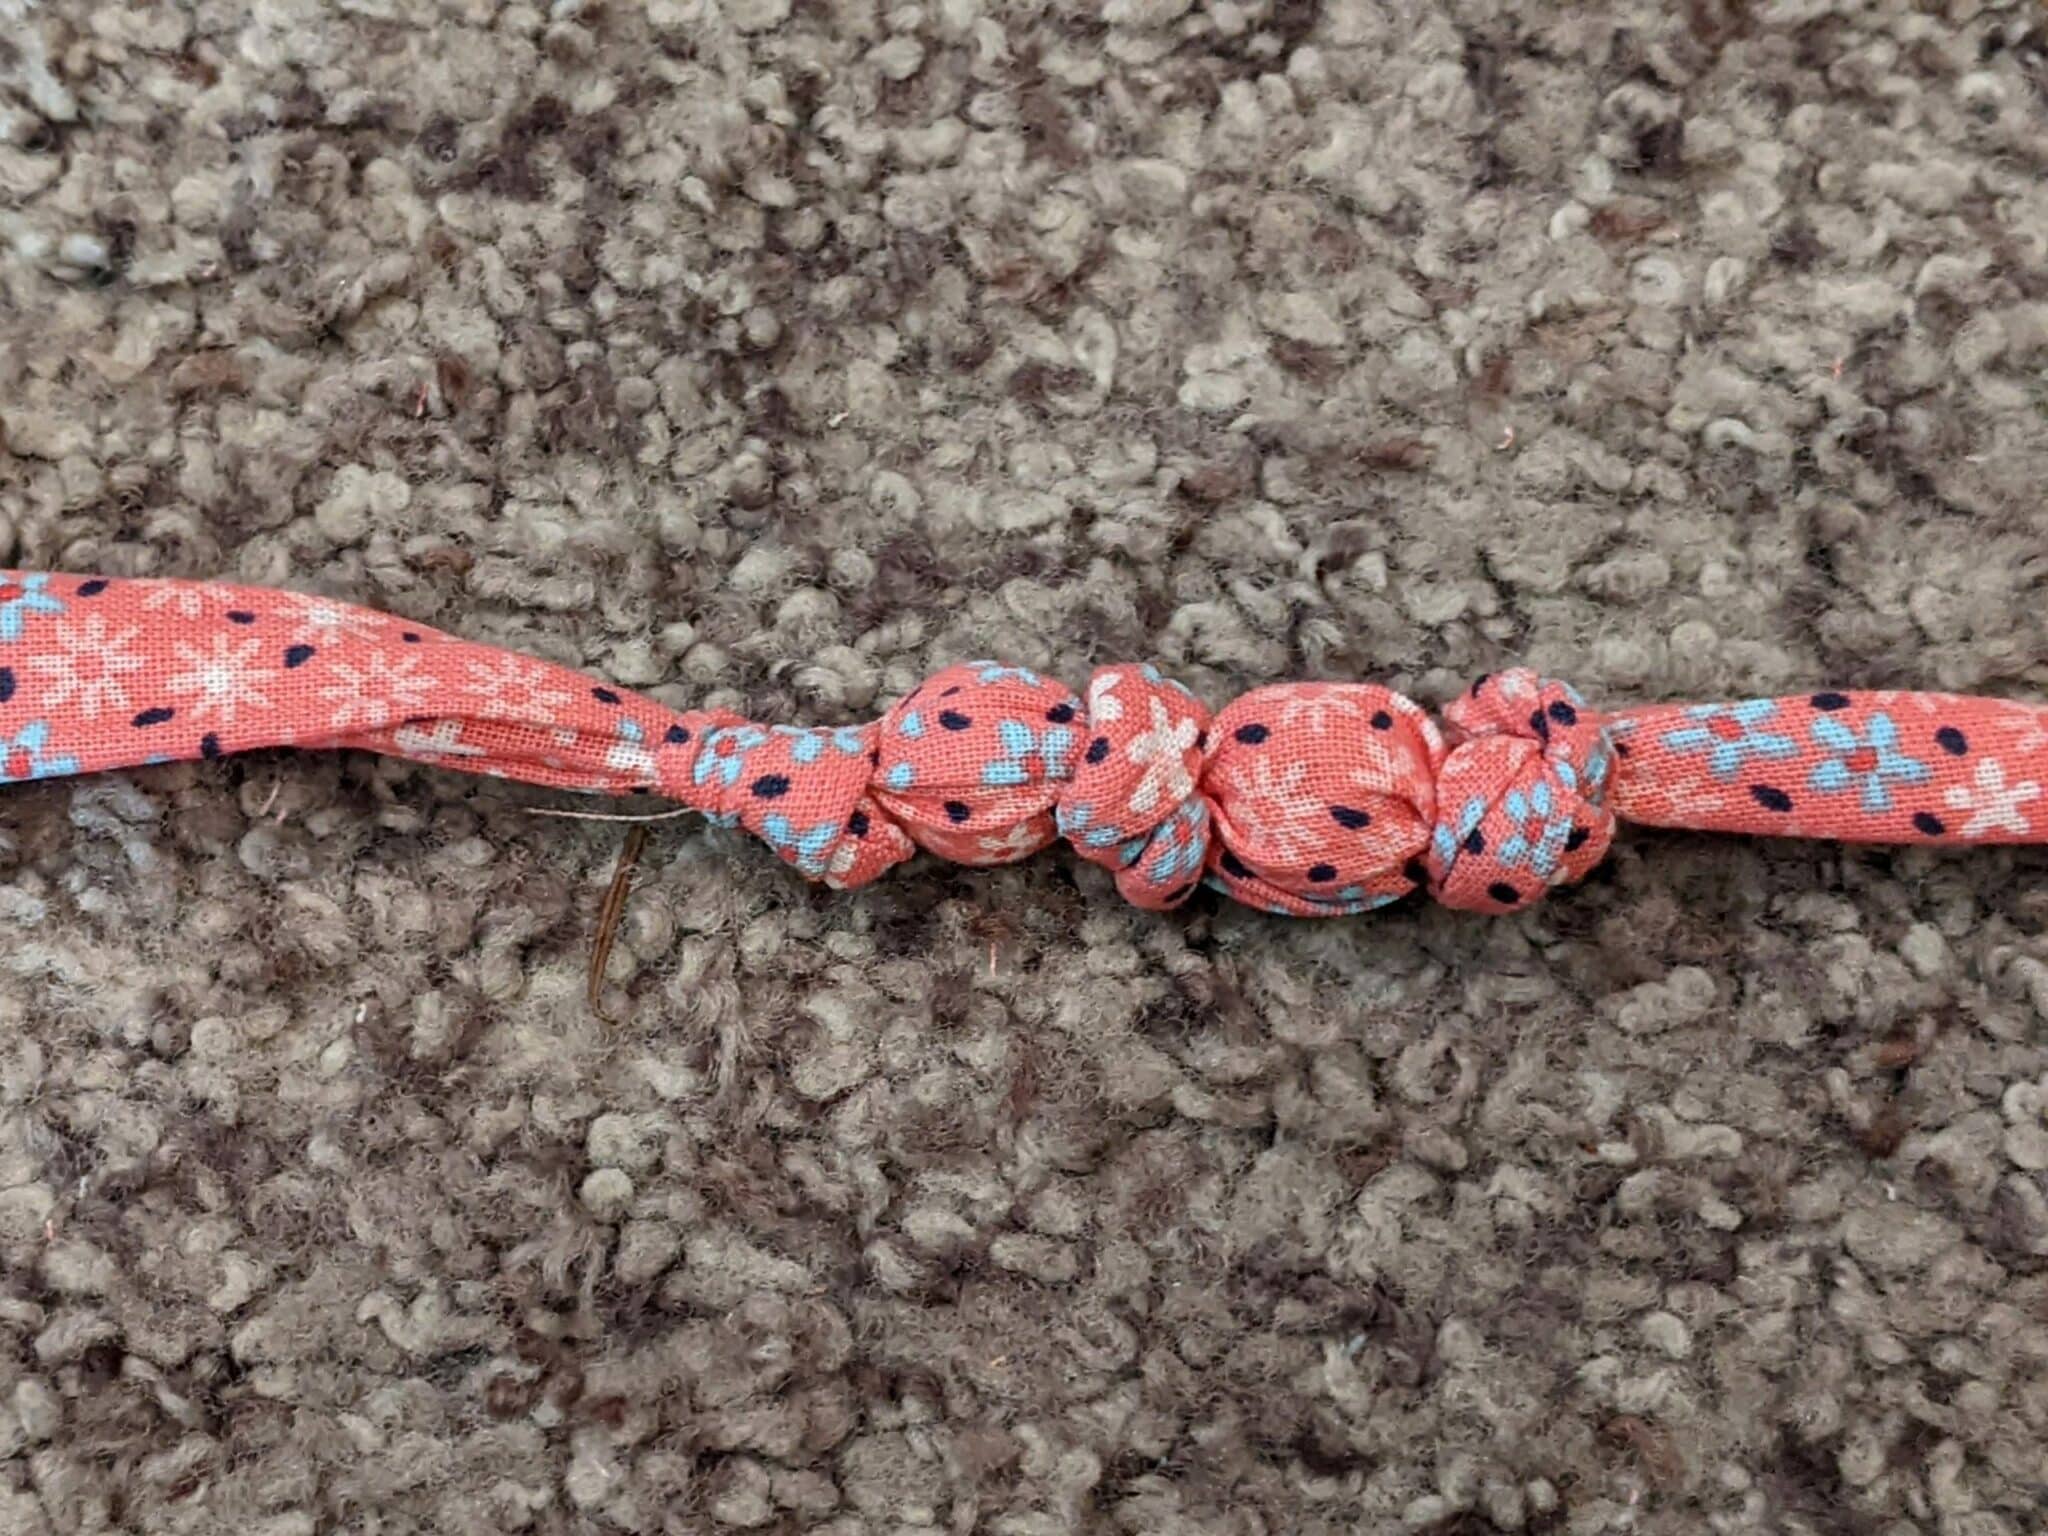
- Add your next bead, twist, and tie a knot.
- Continue these steps until you reach the same distance from the open end as your starting end.
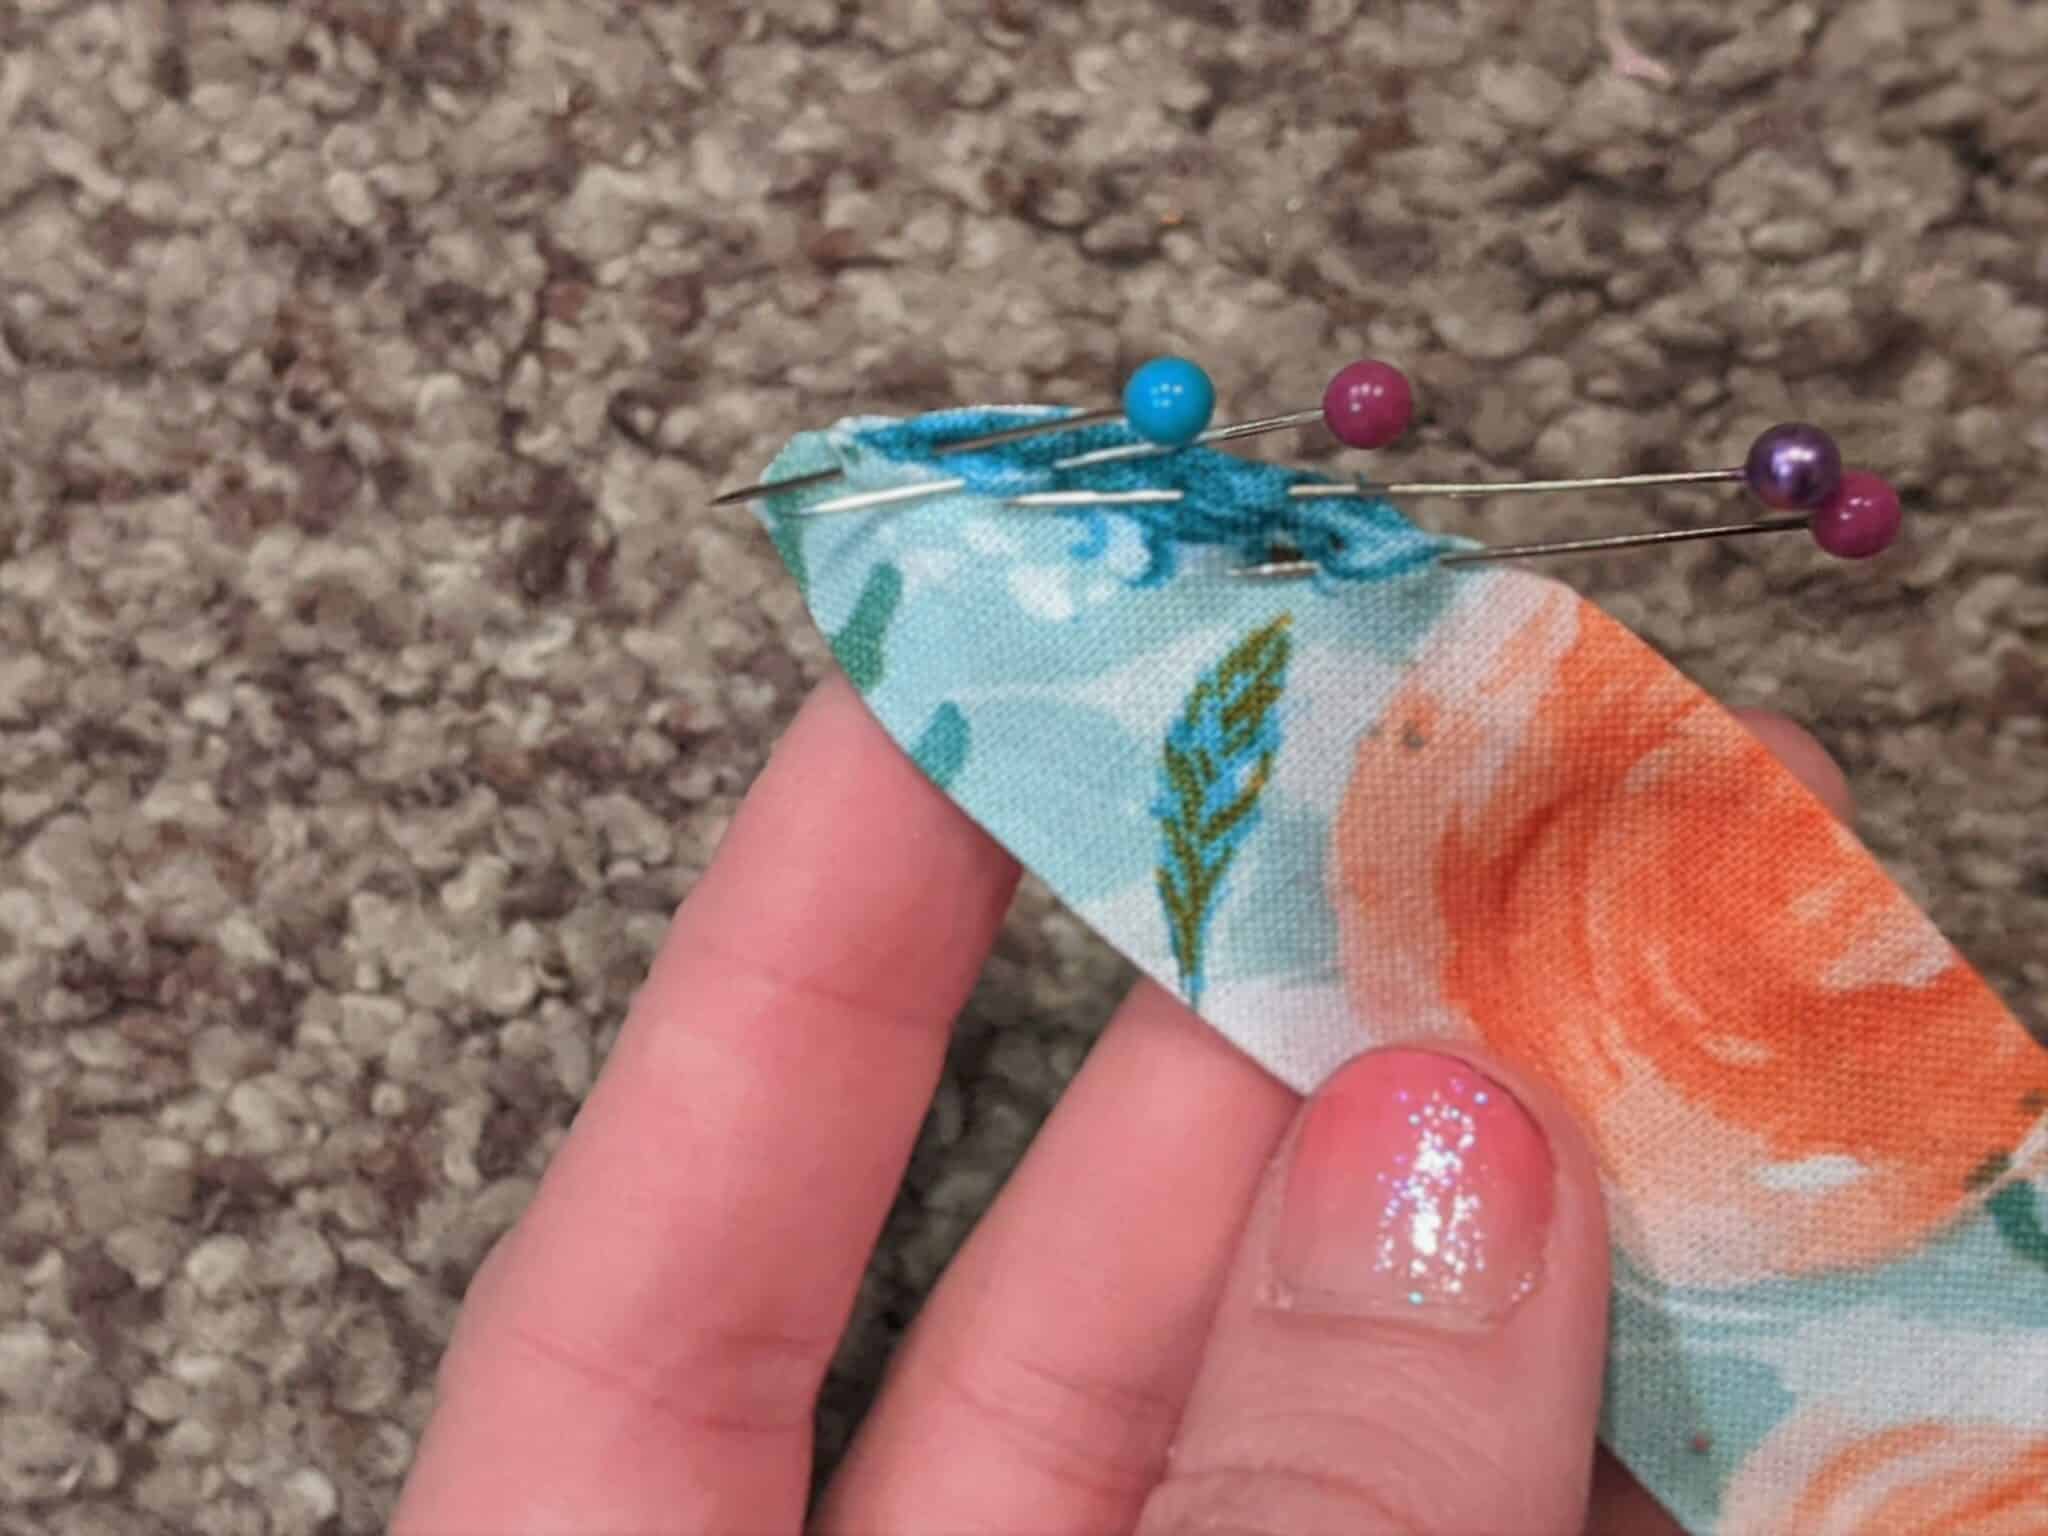
- If your sewn end is curved, trim the opposite end to be curved as well.
- Turn the raw edges of the open end in and pin them in place.
- Use a needle and matching thread to sew the end closed.
Tada! You’re all done. Wasn’t that quick and easy?
Want more FUN DIY Freebies? Check out the FREEBIE TUTORIALS and the FREEBIE PATTERNS!
As always, we’re here to help if you need it! Join us HERE and on Facebook, Instagram, Twitter, Youtube, and Pinterest. We’re everywhere you are.
Leave a Reply