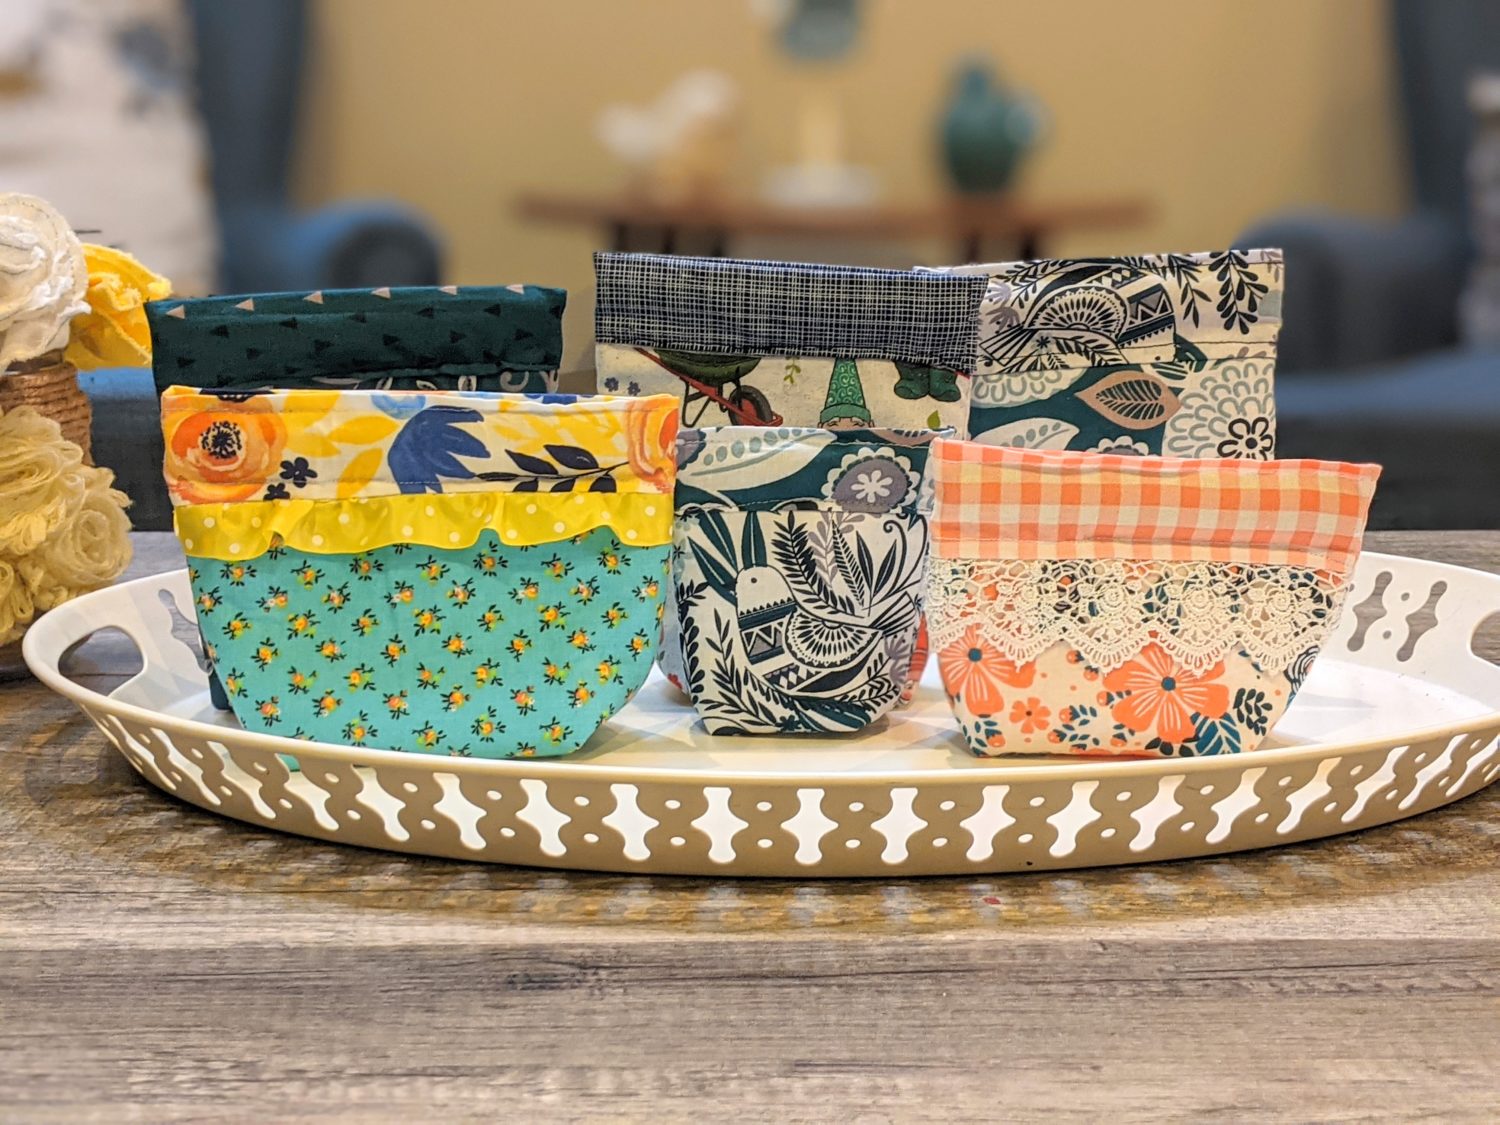
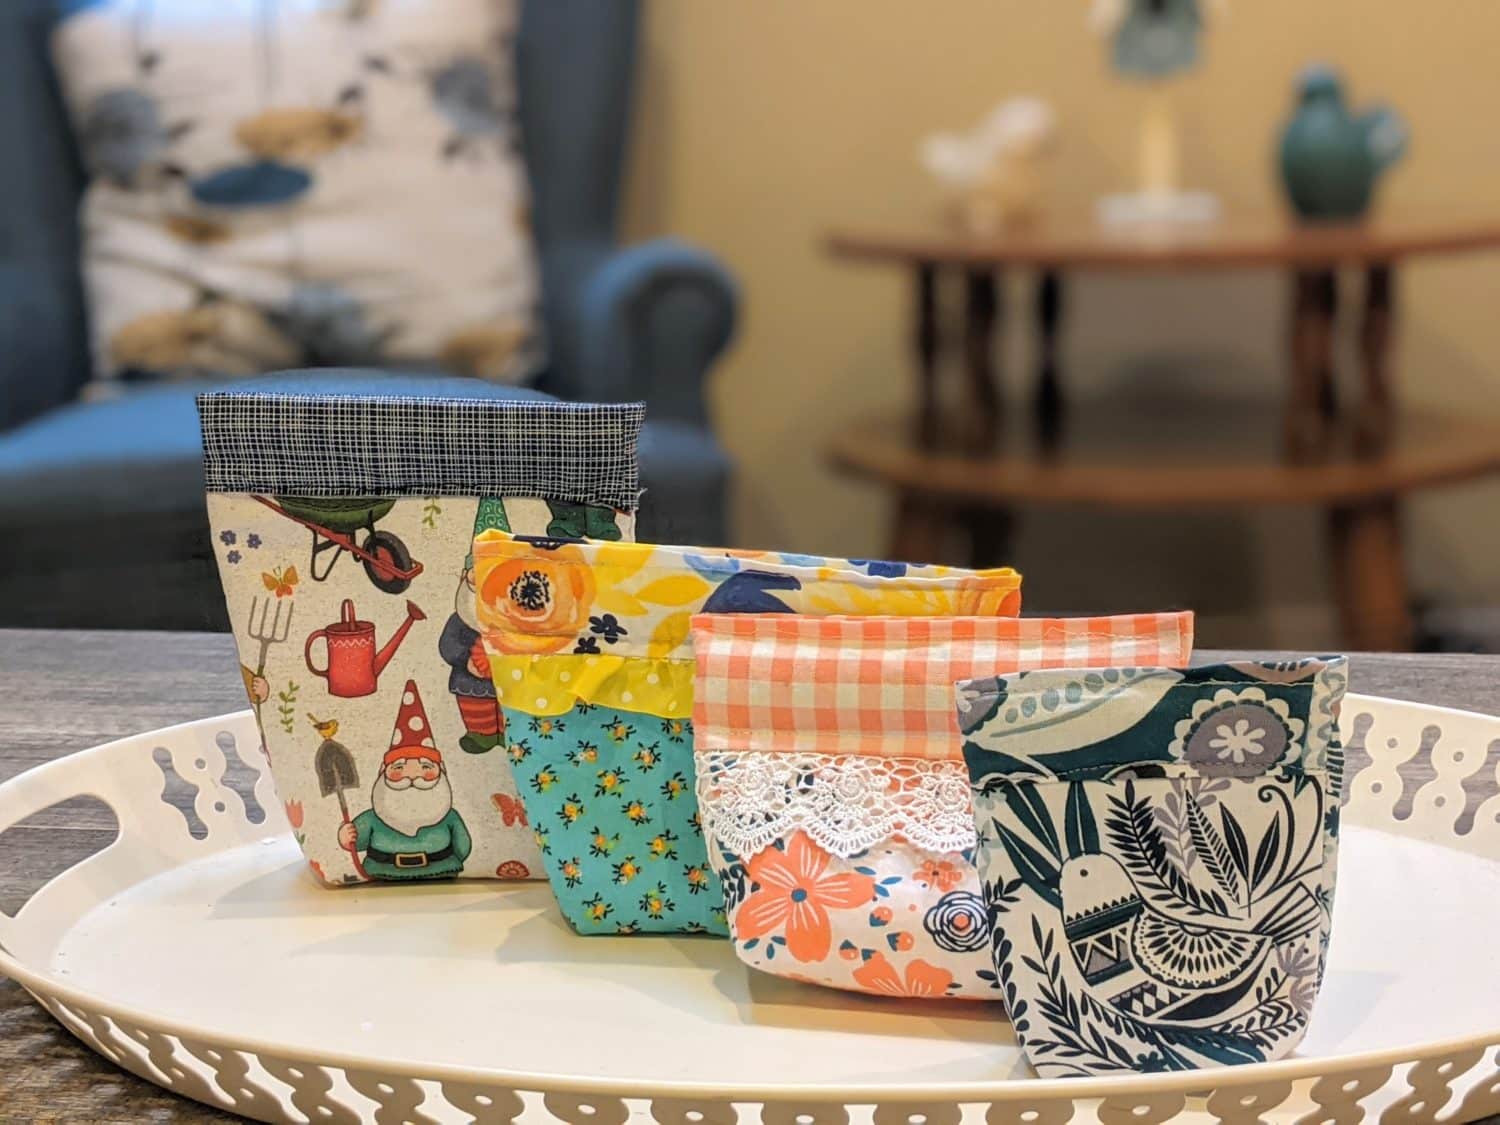
These cute squeezy pouches make great little coin purses, makeup bags, snack bags and so much more. You can make them any size to fit your needs, and they are a great scrap buster. There is a chart that includes all the dimensions for the sizes pictured, plus instructions on how to create any size you want.
Supplies
- 2 Coordinating woven fabrics
- Fusible fleece or heavy interfacing
- Iron
- 1″ wide metal tape measure
- Non-sewing scissors
- Tape
- Sewing machine
- Needle and thread
- Optional: ribbon, lace etc for extra detail
Cutting Your Pieces
(Click on image to enlarge if needed)
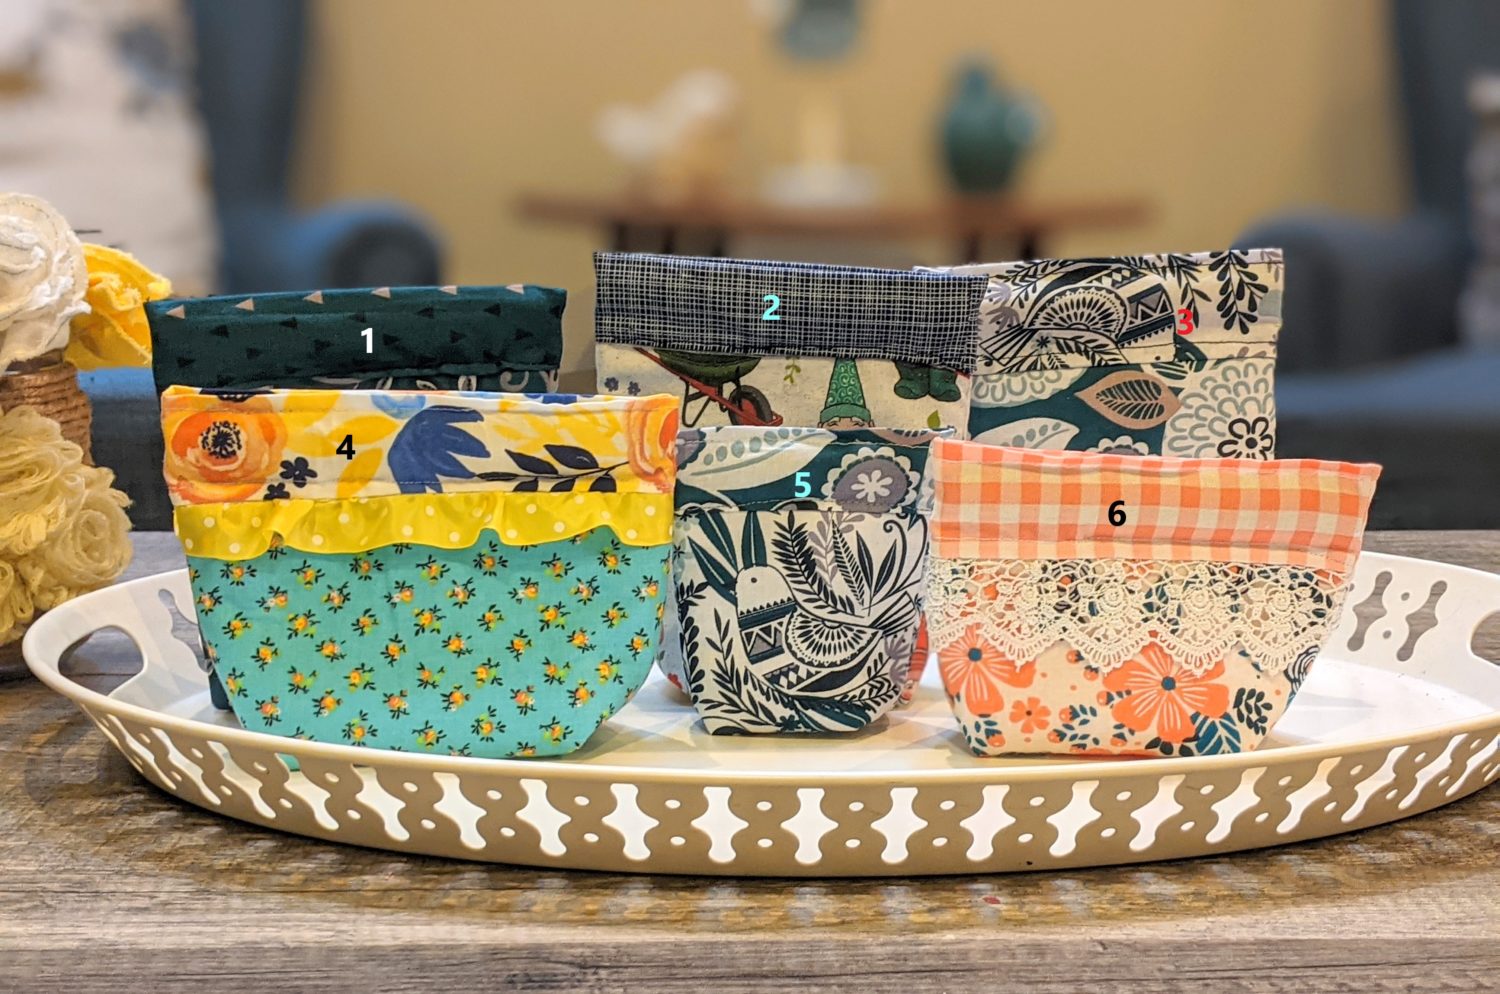
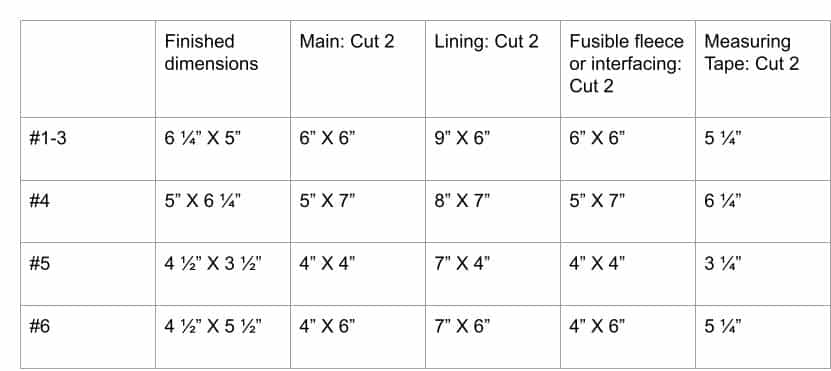
The above chart shows all the information needed to make these sizes. However, you can make any size you’d like. To determine all of your measurements, first, decide on the size you want to make. Take seam allowance into consideration if you want an exact size.
*All parts are sewn with a 1/4″ seam allowance and use a straight stitch unless otherwise specified*
- Main: Cut 2 pieces the size you decided to make
- Lining: Add 3″ to the length of the main fabric length and cut 2
- Fusible fleece or interfacing: Cut 2 the same size as the main fabric
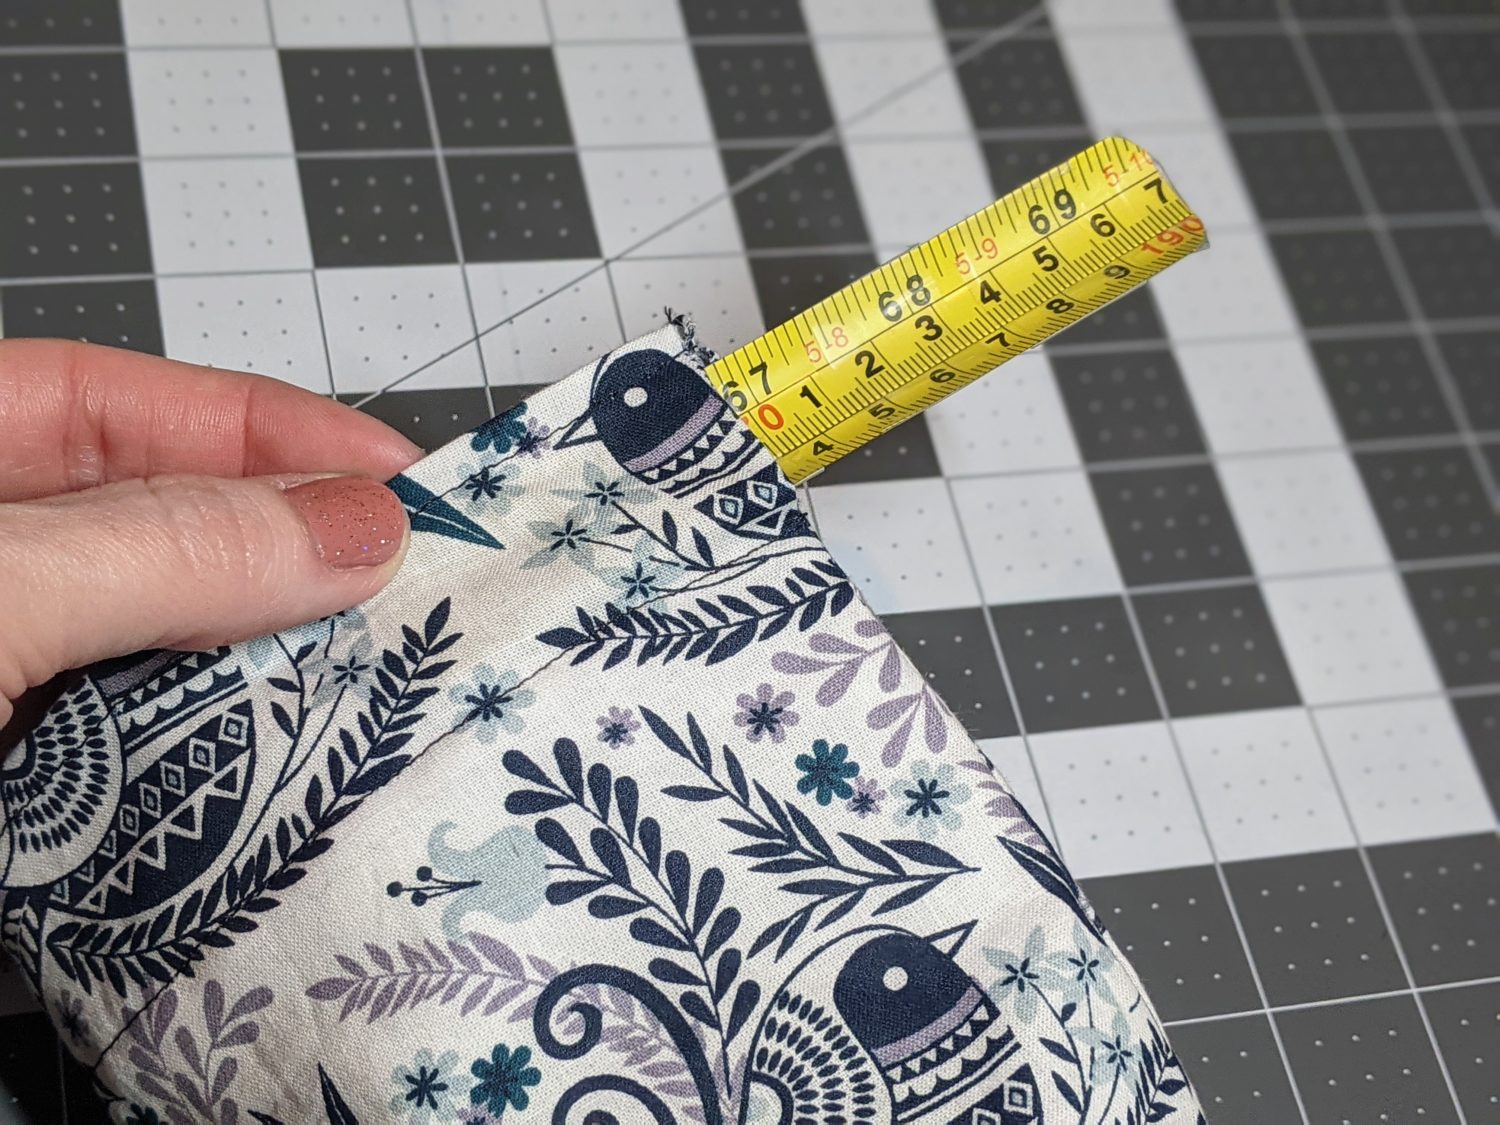
- Tape measure: Cut 2 lengths of a metal tape measure that are 3/4″ shorter than the width of your fabric pieces
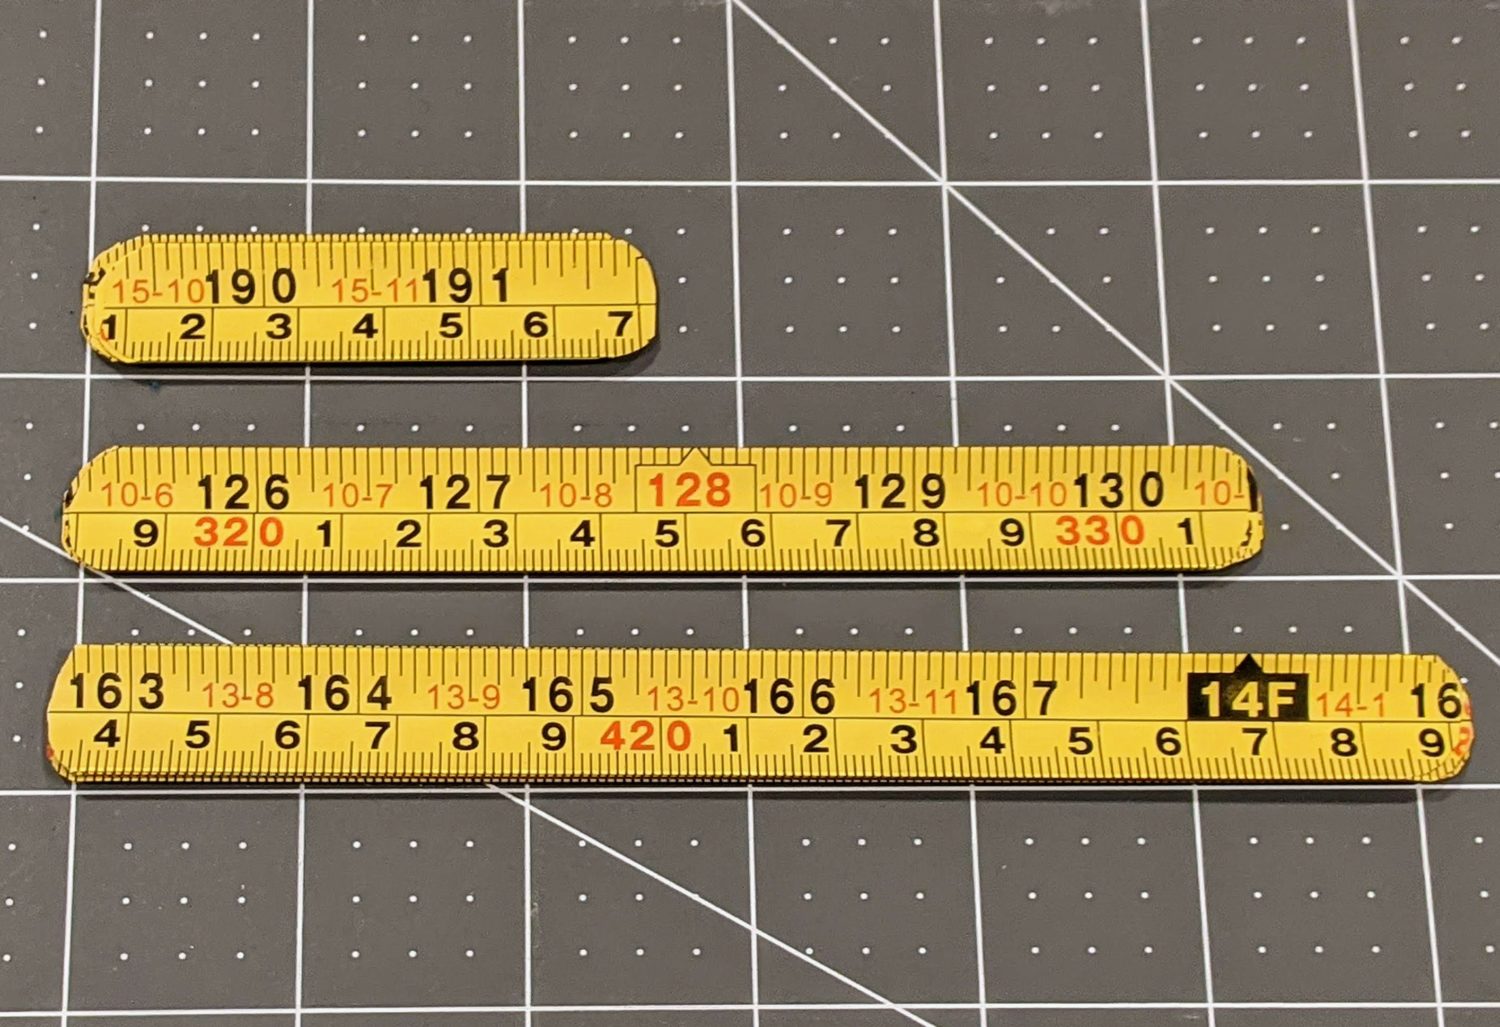
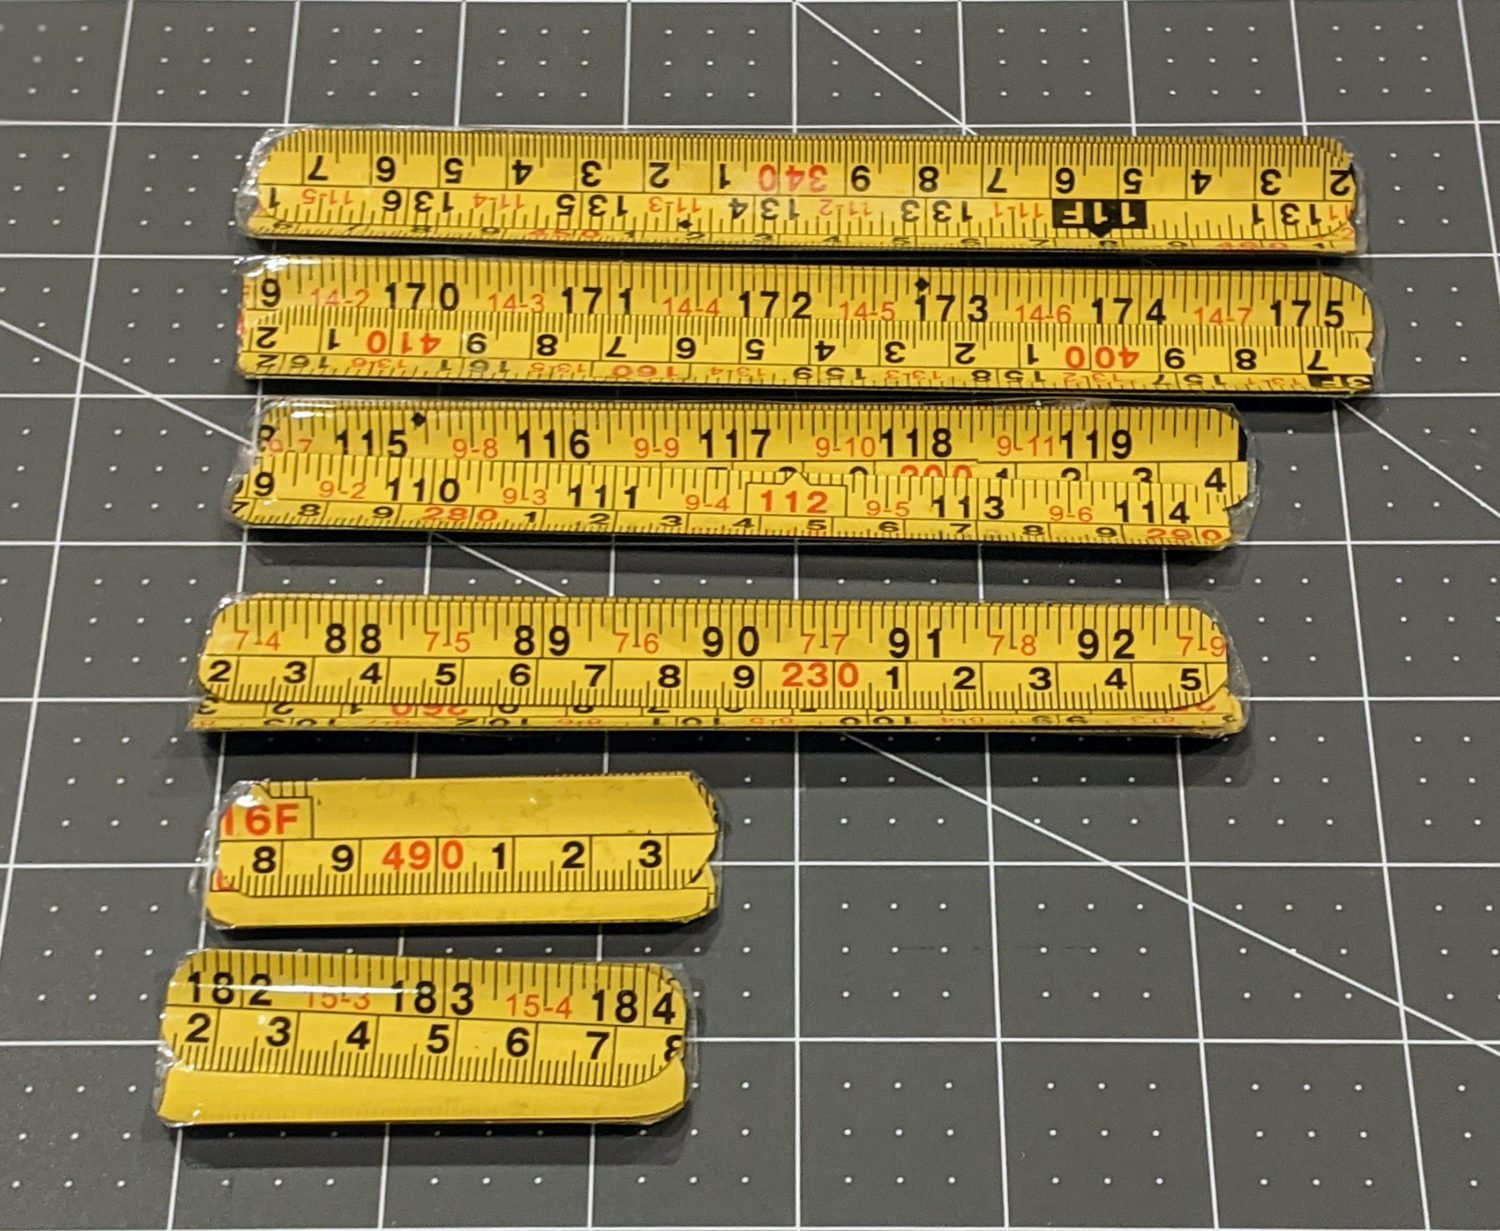
How to Cut a Tape Measure
You want to have a sturdy metal tape measure that is 1″ wide. However, if, like me, you have a narrower and flimsy tape measure you got from the dollar store, you can still make it work.
- Cut your measuring tape to your determined length using your regular (non-sewing) scissors.
- If you have a narrow or thin measuring tape, you can overlap and stack them to make them the correct width and make them sturdier. Then wrap tape around them to keep them from sliding.
- Trim off and round the sharp corners on both ends.
- Wrap a piece of tape around the ends to keep the metal from getting caught in the fabric or poking through.
Sew it Together
- Iron the fusible fleece or interfacing to the wrong side of the main fabric.
- Lay one main piece and one lining piece on top of each other with right sides together.
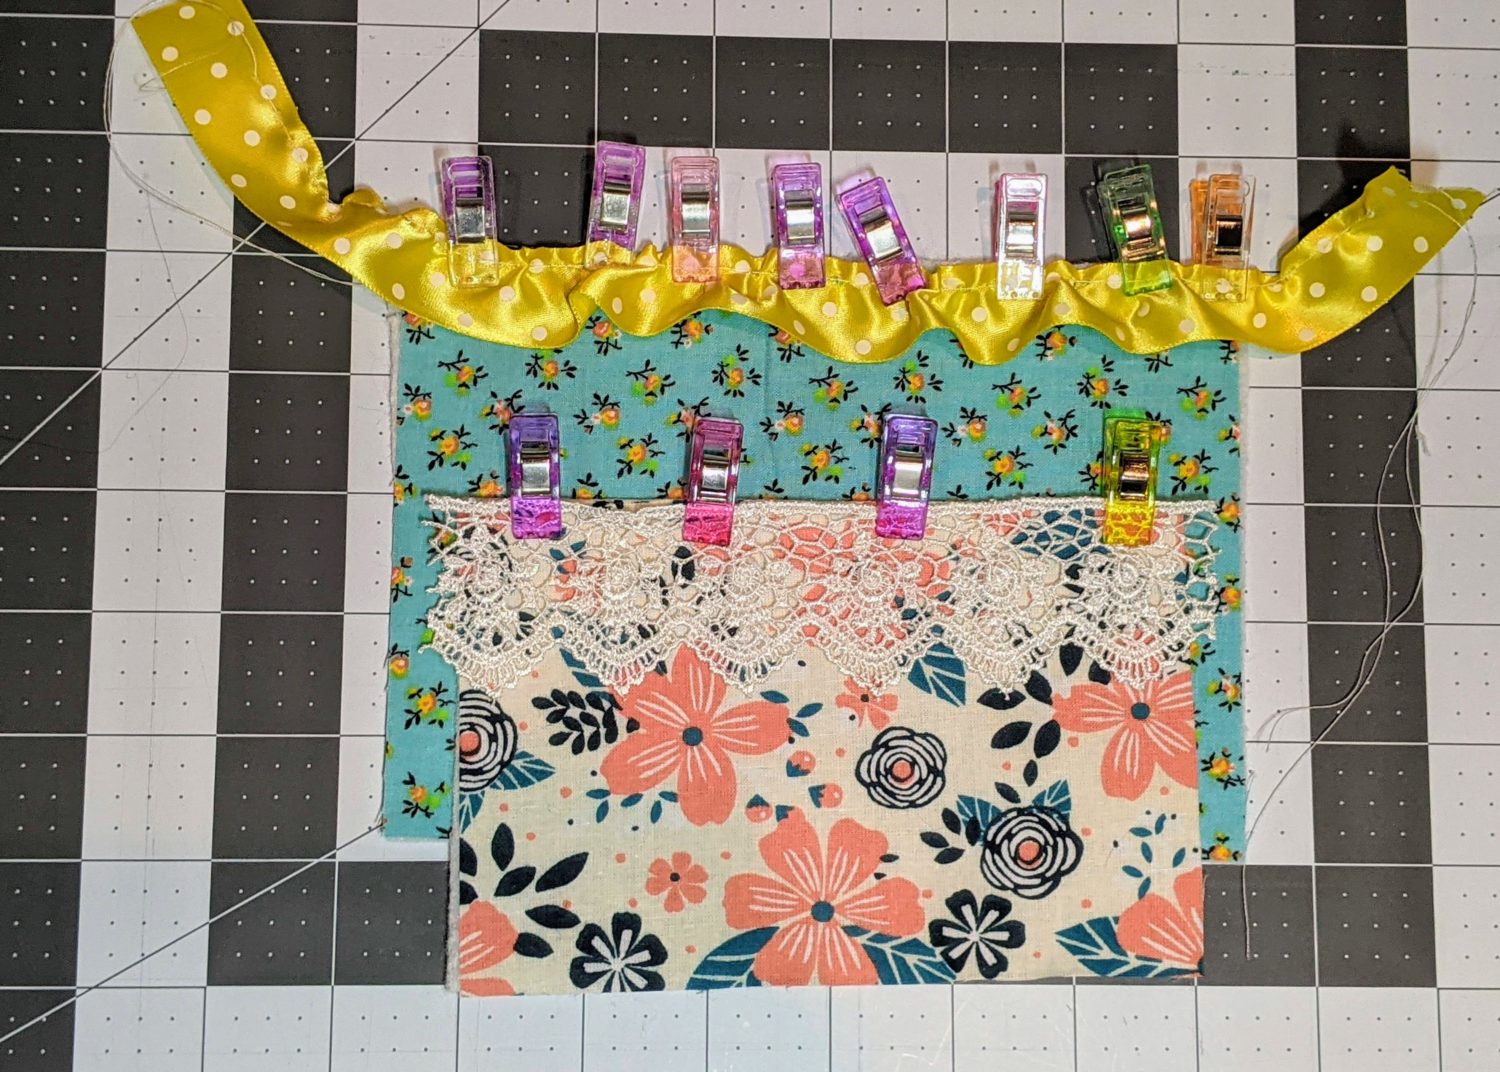
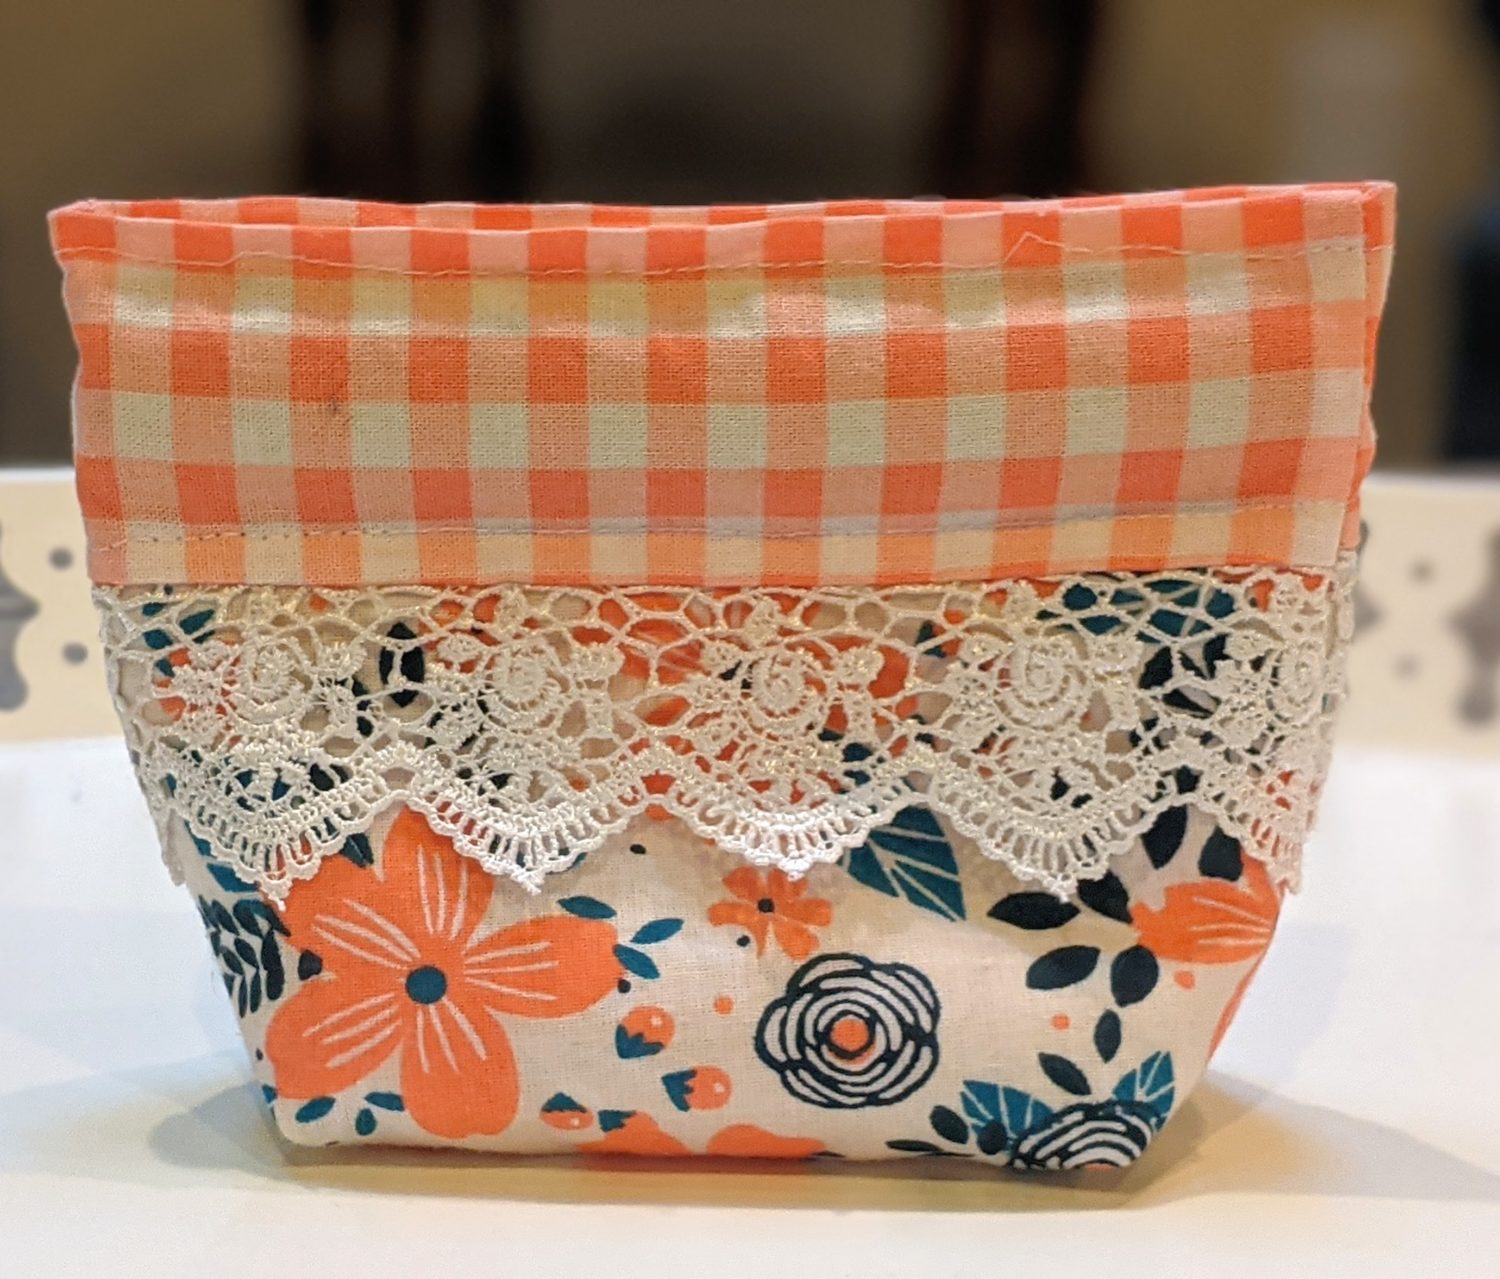
- If you are adding lace, ribbon, or ruffle detail, pin it along the top right side edge of the main fabric piece and baste it in place. Then you will stack the lining piece on top and continue with the rest of the steps.
- Pin along the top edge and sew. Repeat with the other main and lining pieces.
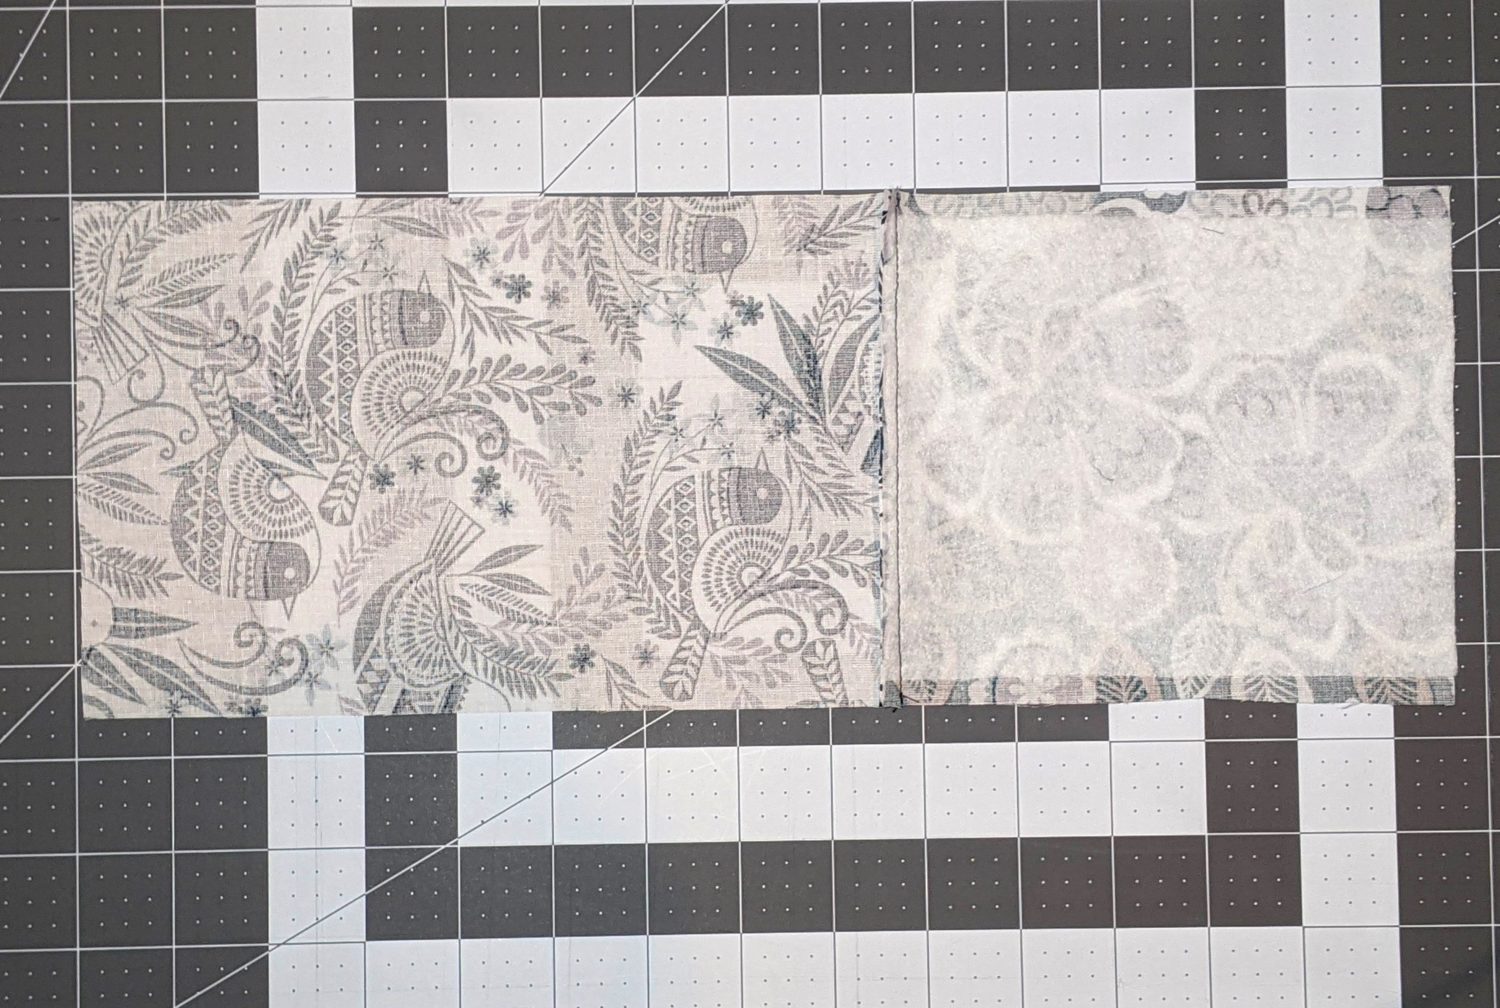
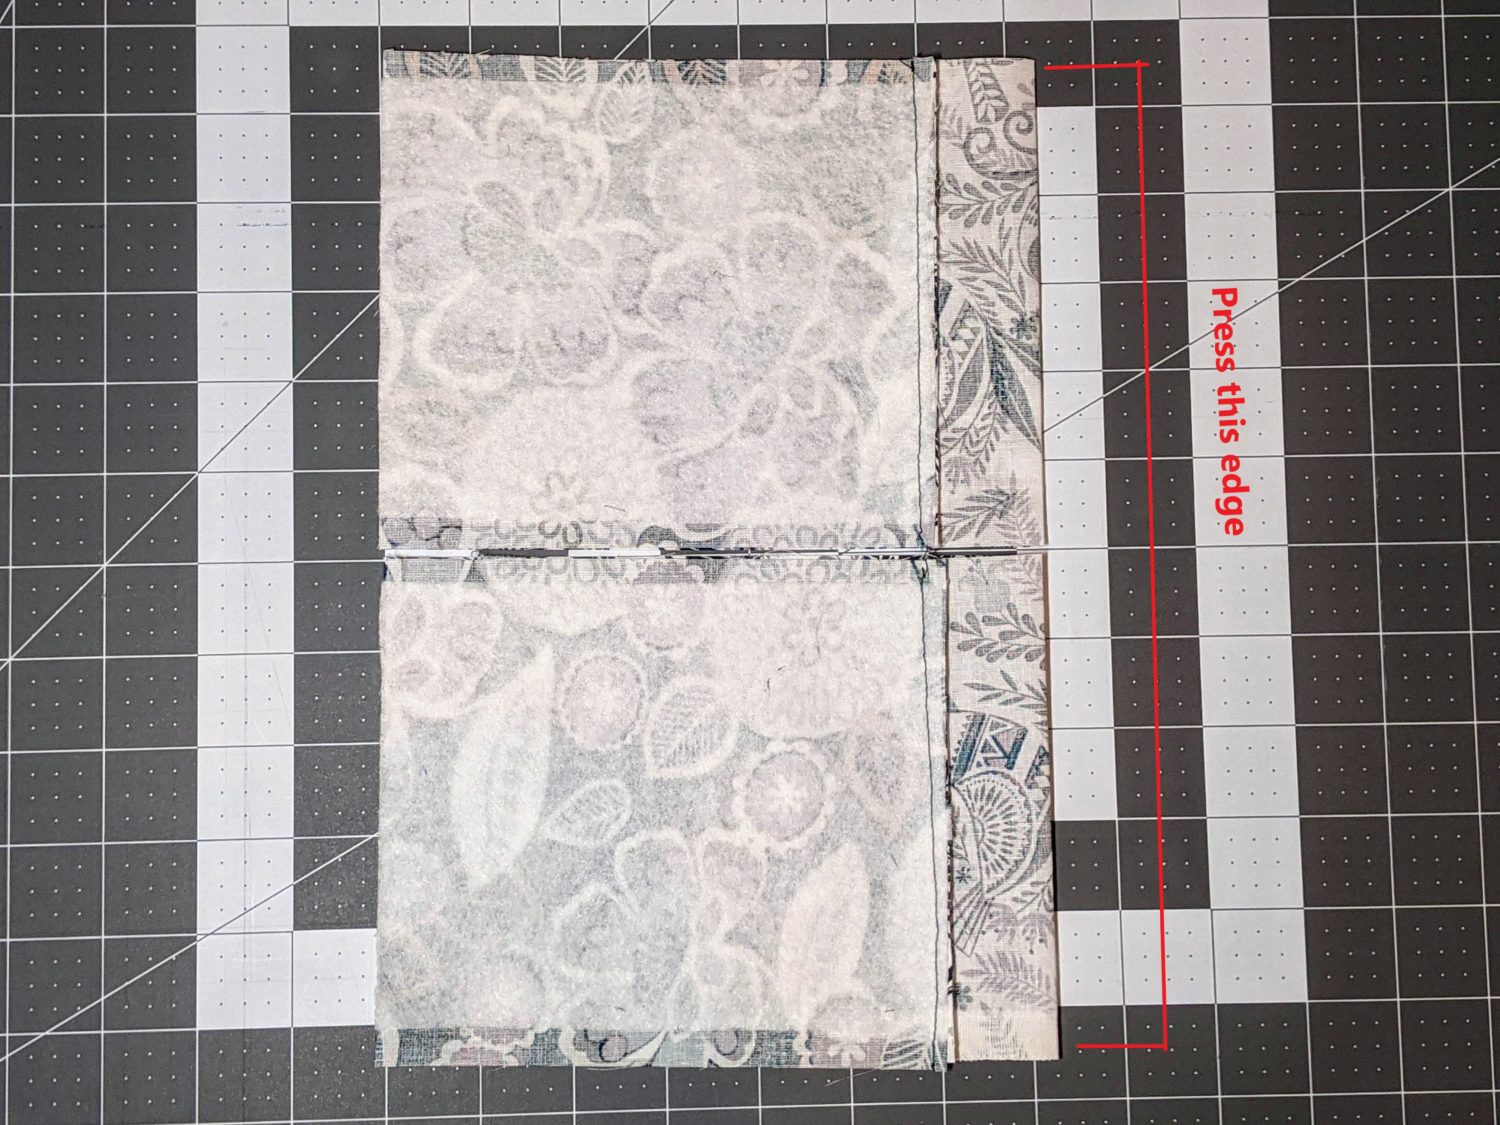
- Open and press the seam allowances towards the lining.
- Fold in half and match up the bottom edges opposite of the sewn side and press.
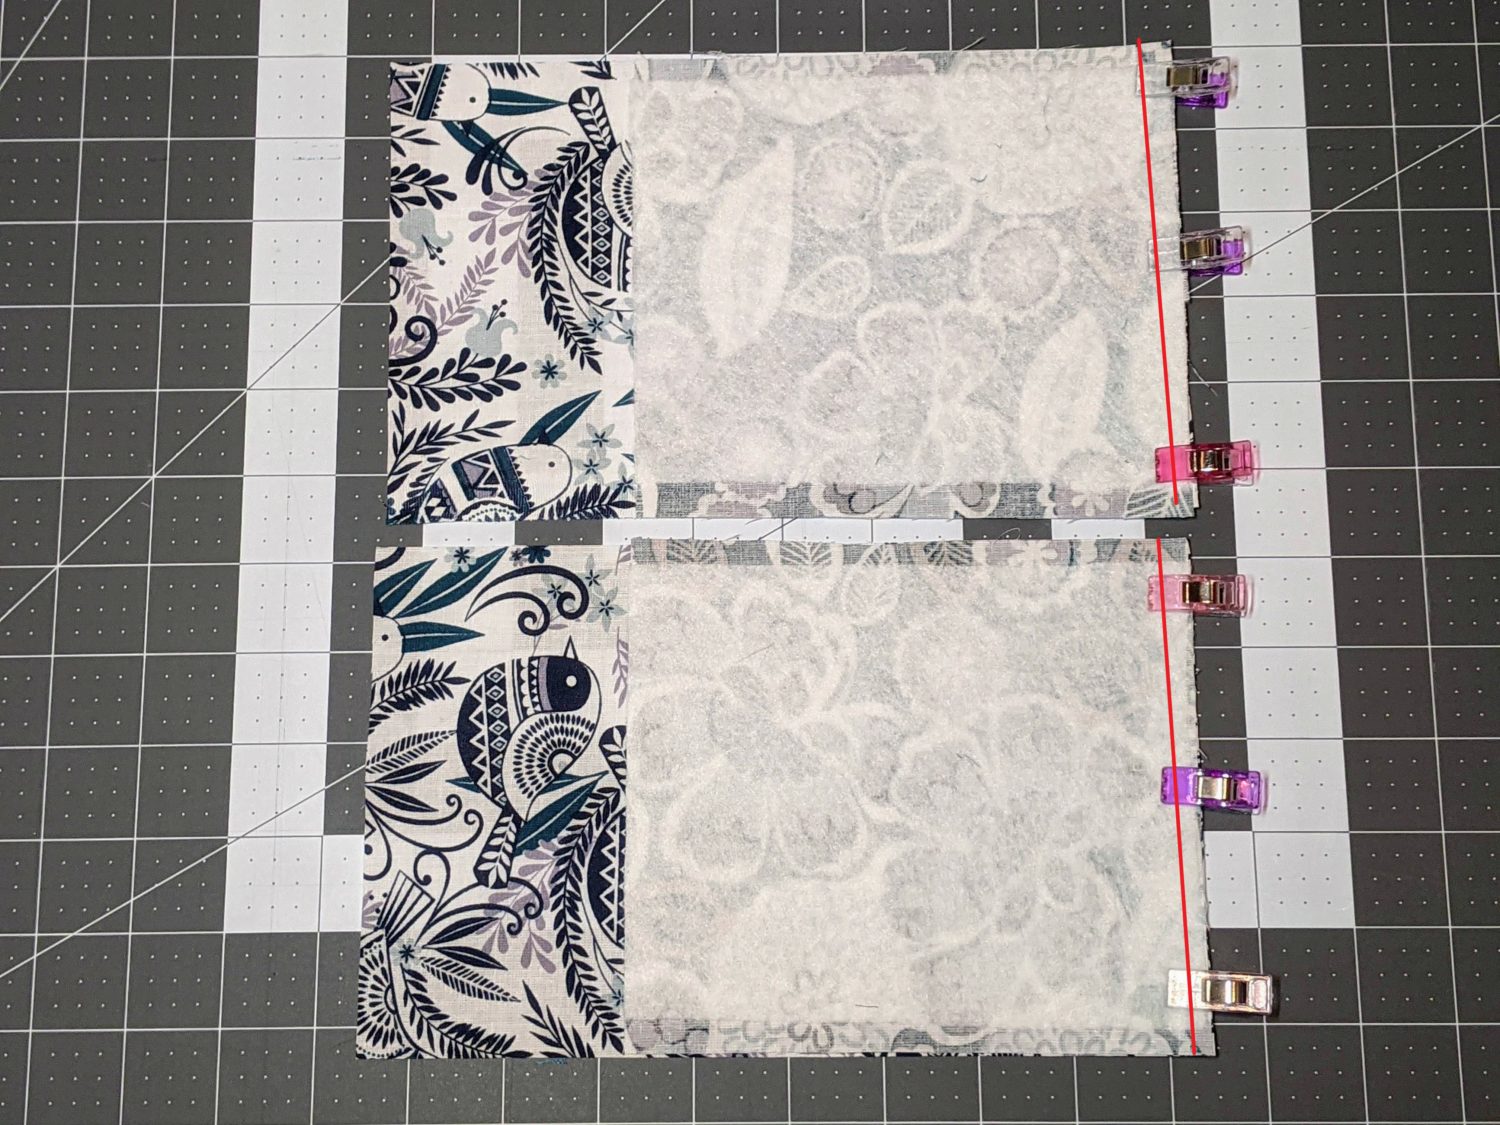
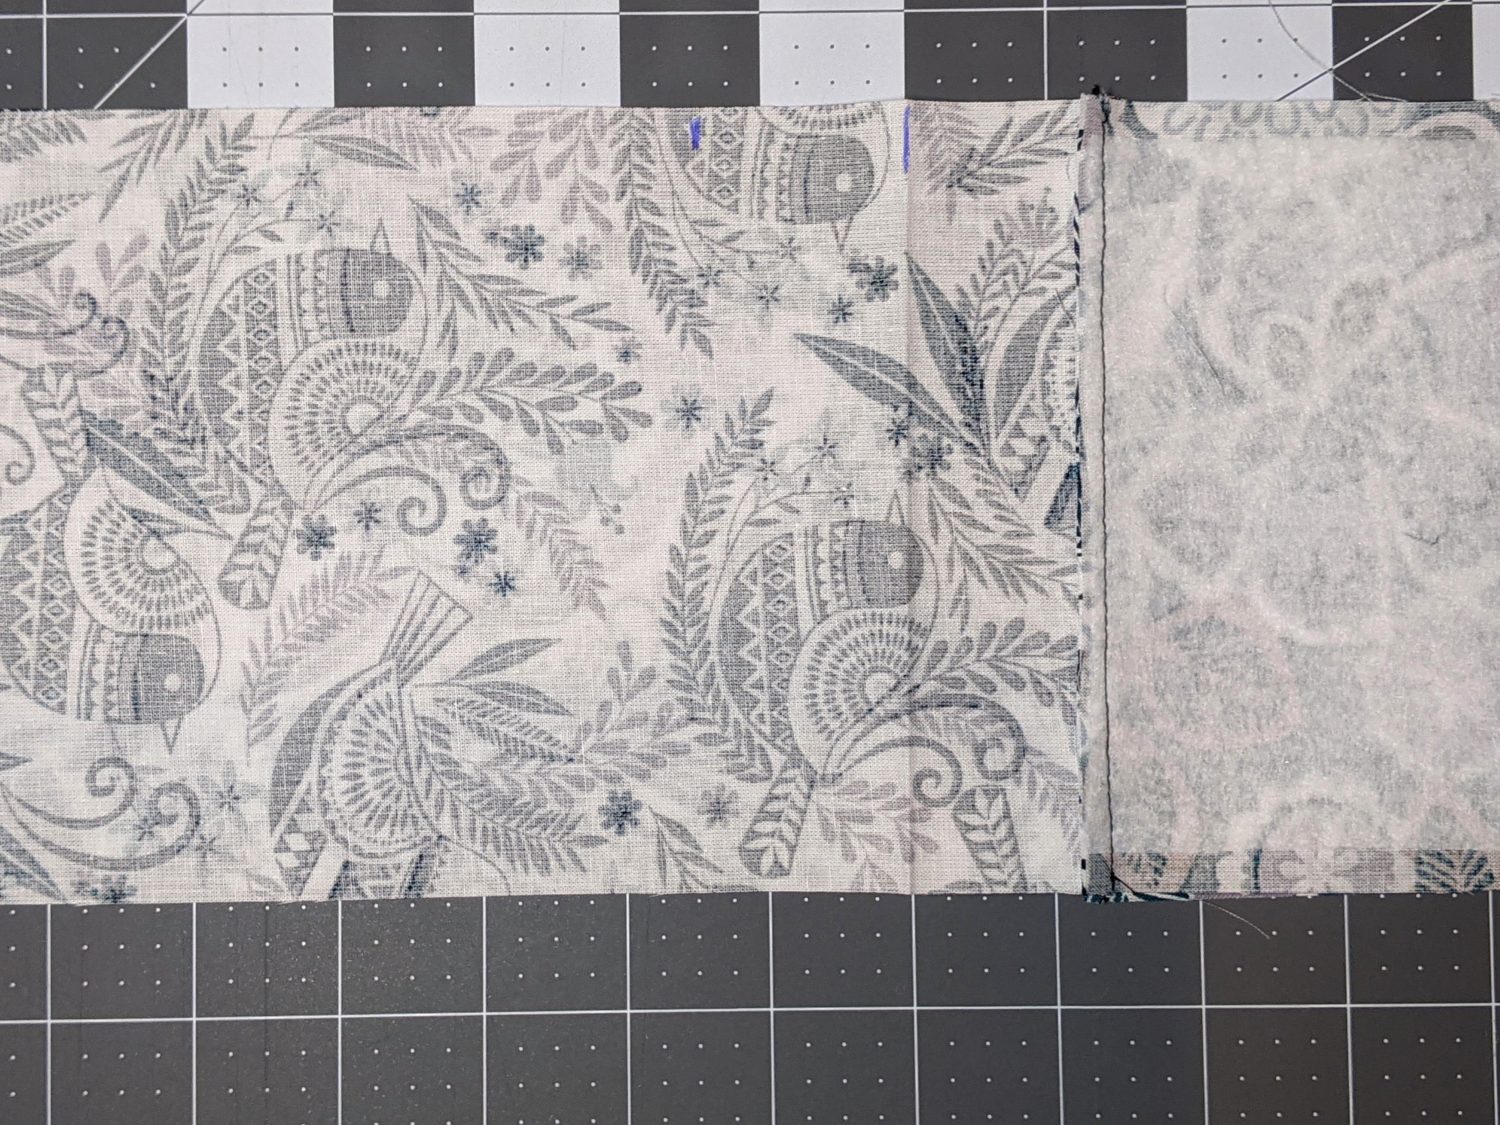
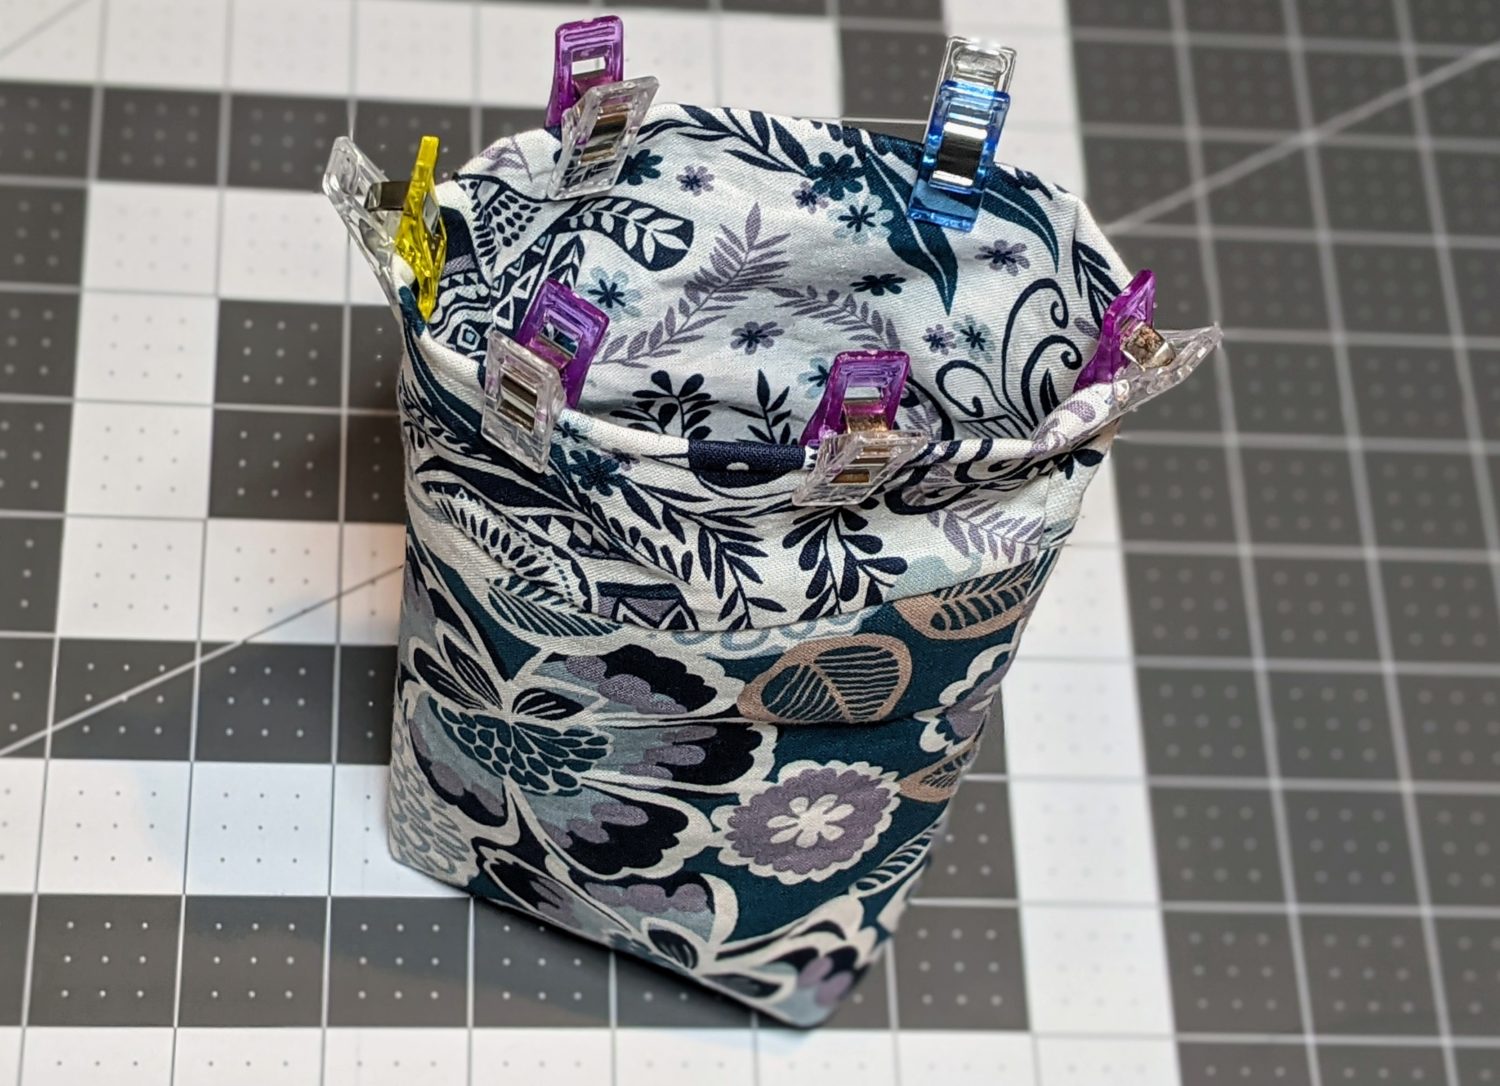
- Open both pieces of the pouch and line up all edges with right sides together.
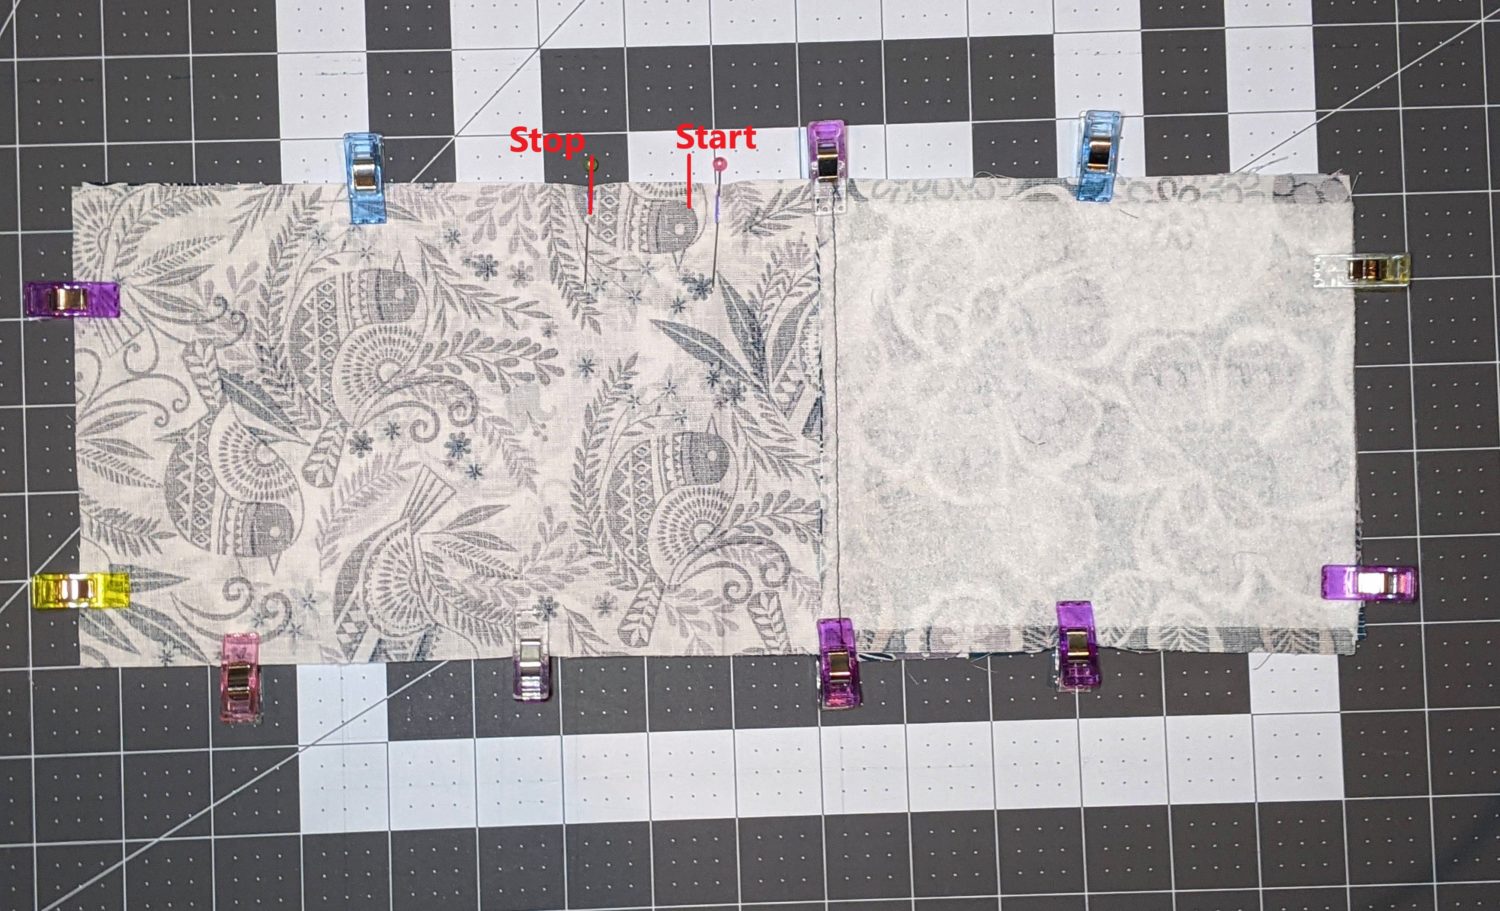
- Mark and pin at the crease line from where you just pressed it.
- Measure down (away from the seam) 1 1/2″ from the pin on the crease and place another pin.
- Pin or clip around the rest of the edges.
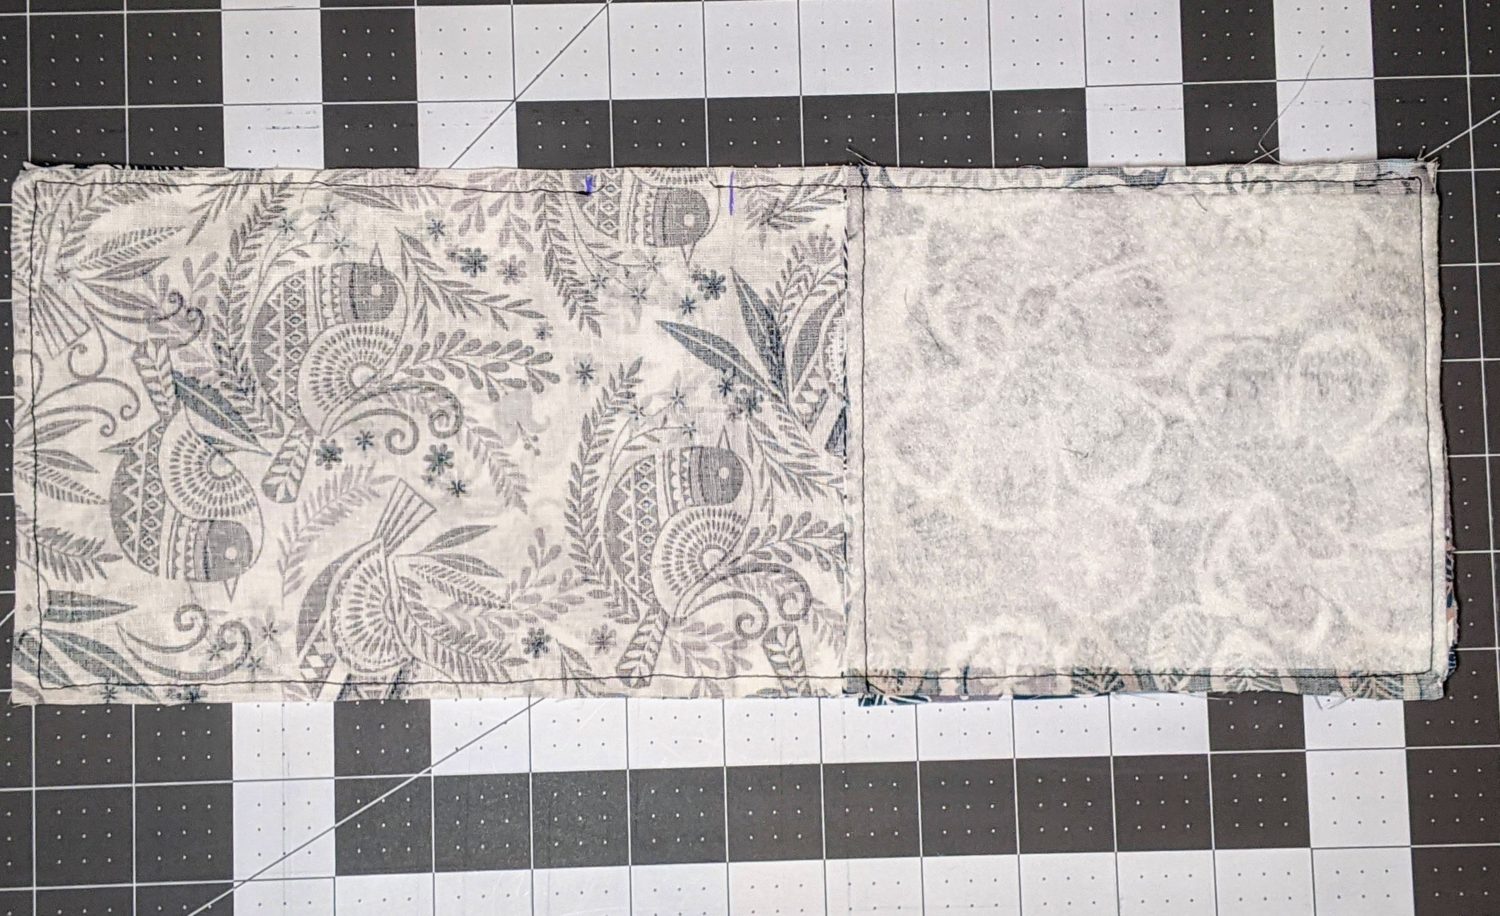
- Start sewing 1/8″ down from the 1st pin (closest to the seam) then continue around all sides until you get back to the second pin. Backstitch at the beginning and end of your stitching.
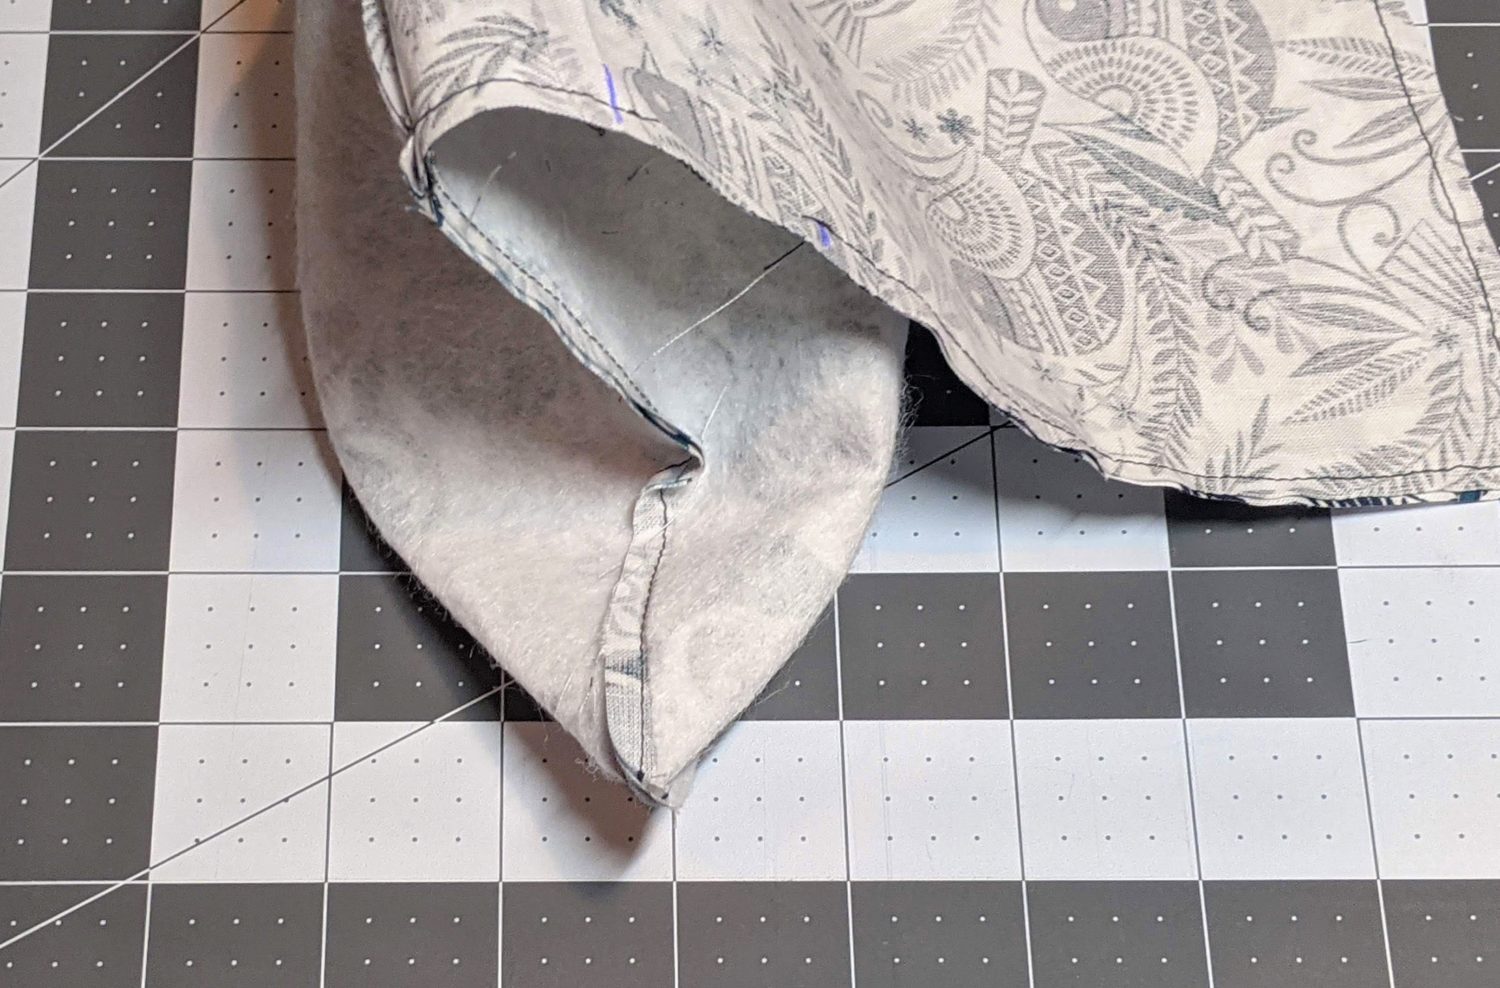
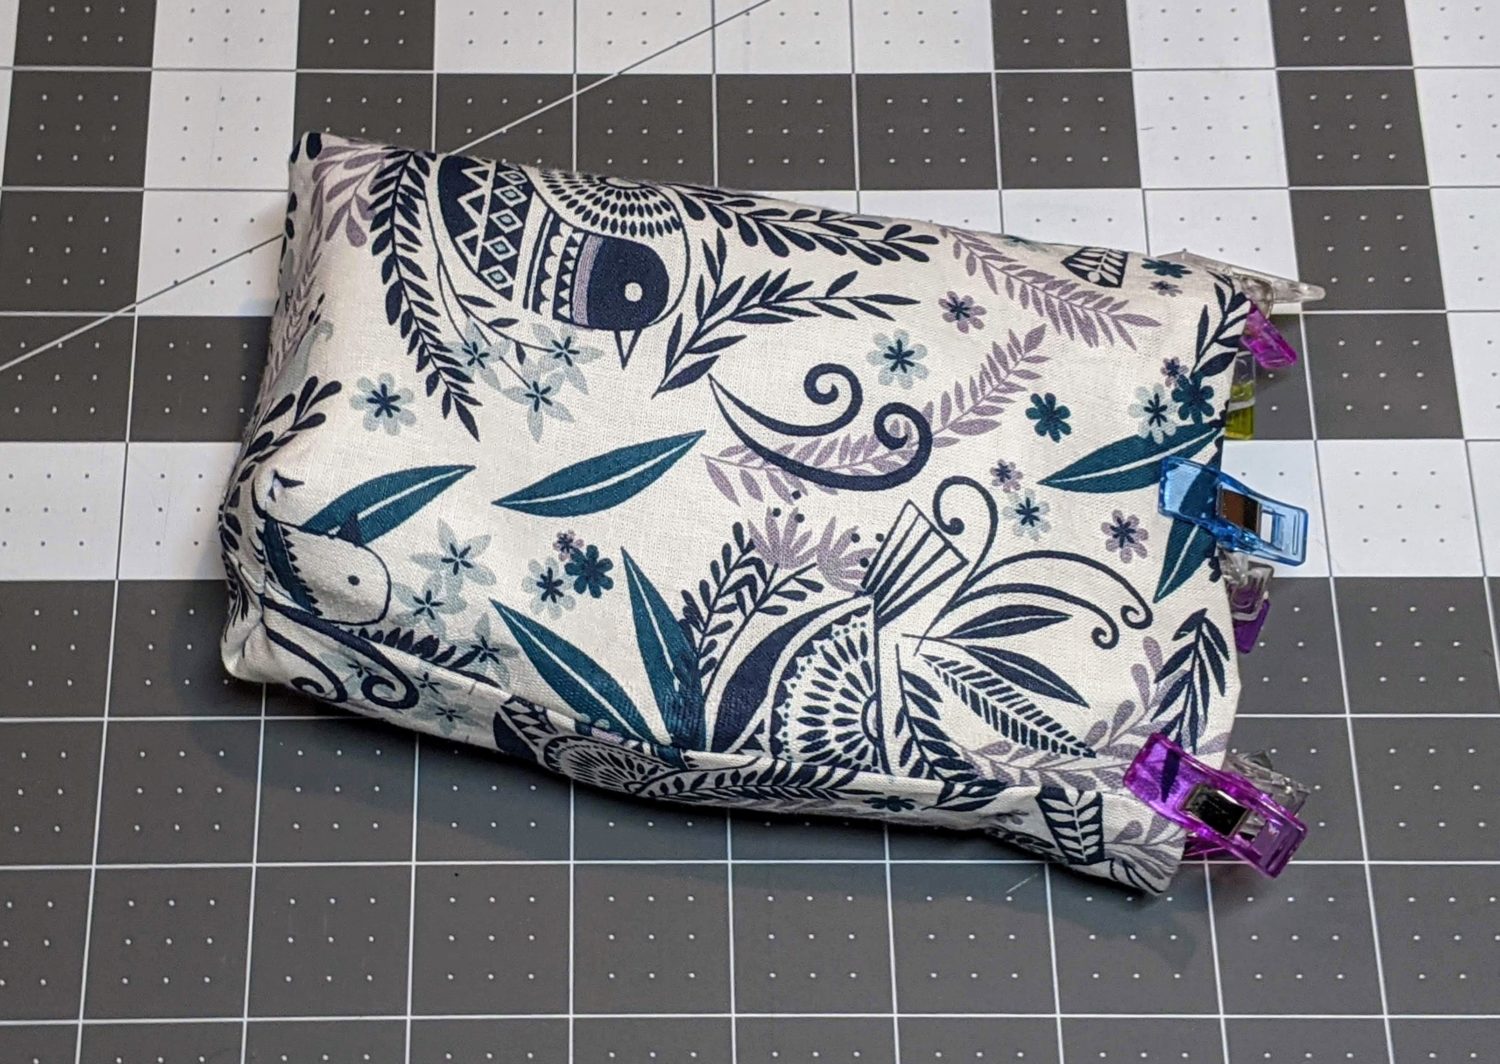
Box the Corners
- Flatten the corner and push out into a triangle lining up and centering the seams.
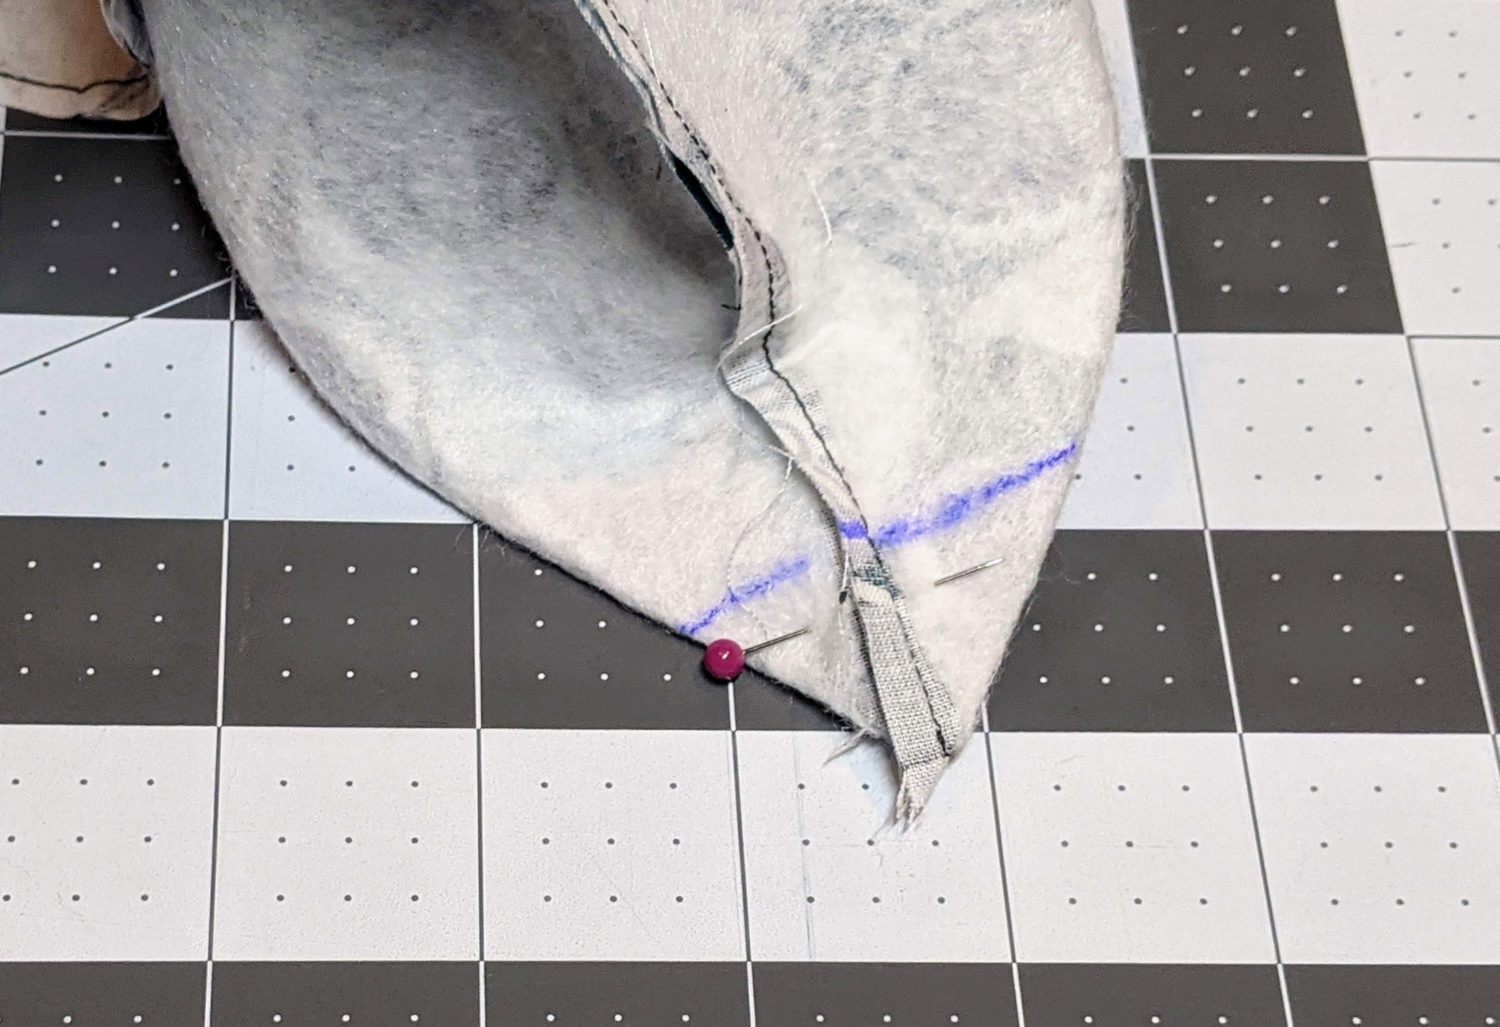
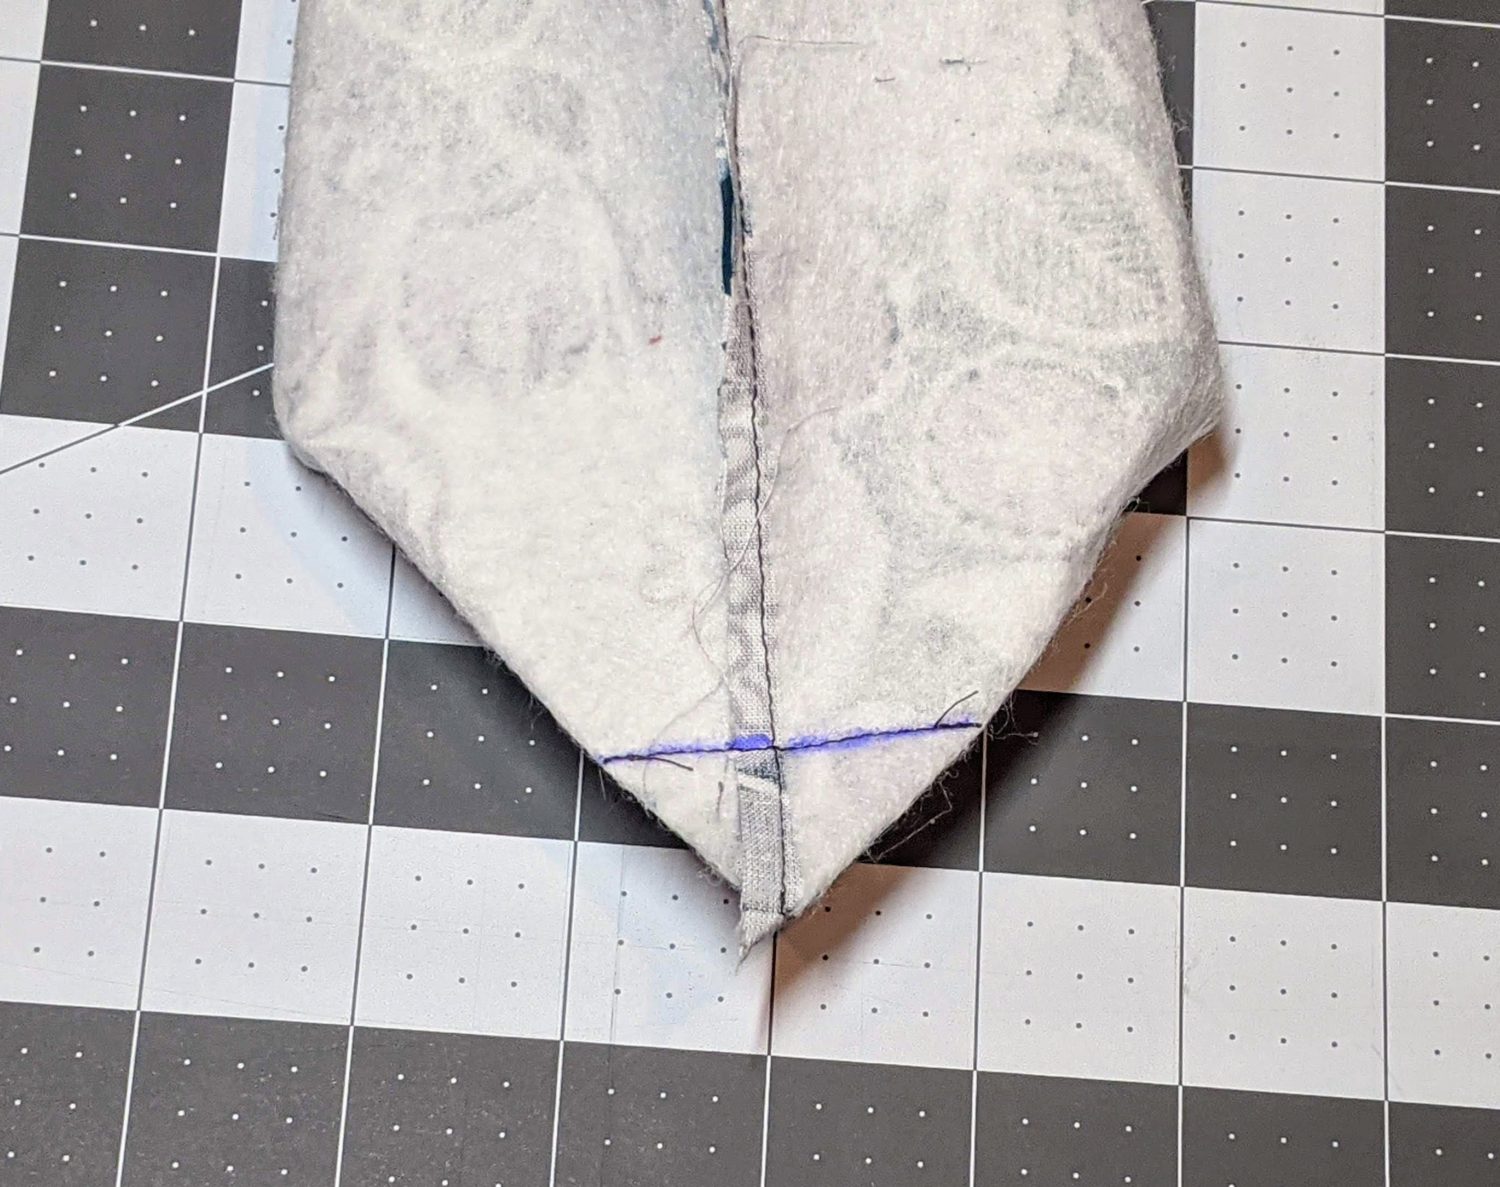
- Measure in 3/4″ from the point, draw a line across, and pin to hold.
- Sew along the line, then cut off the point about 1/8″ away from the stitching.
- Repeat on all corners.
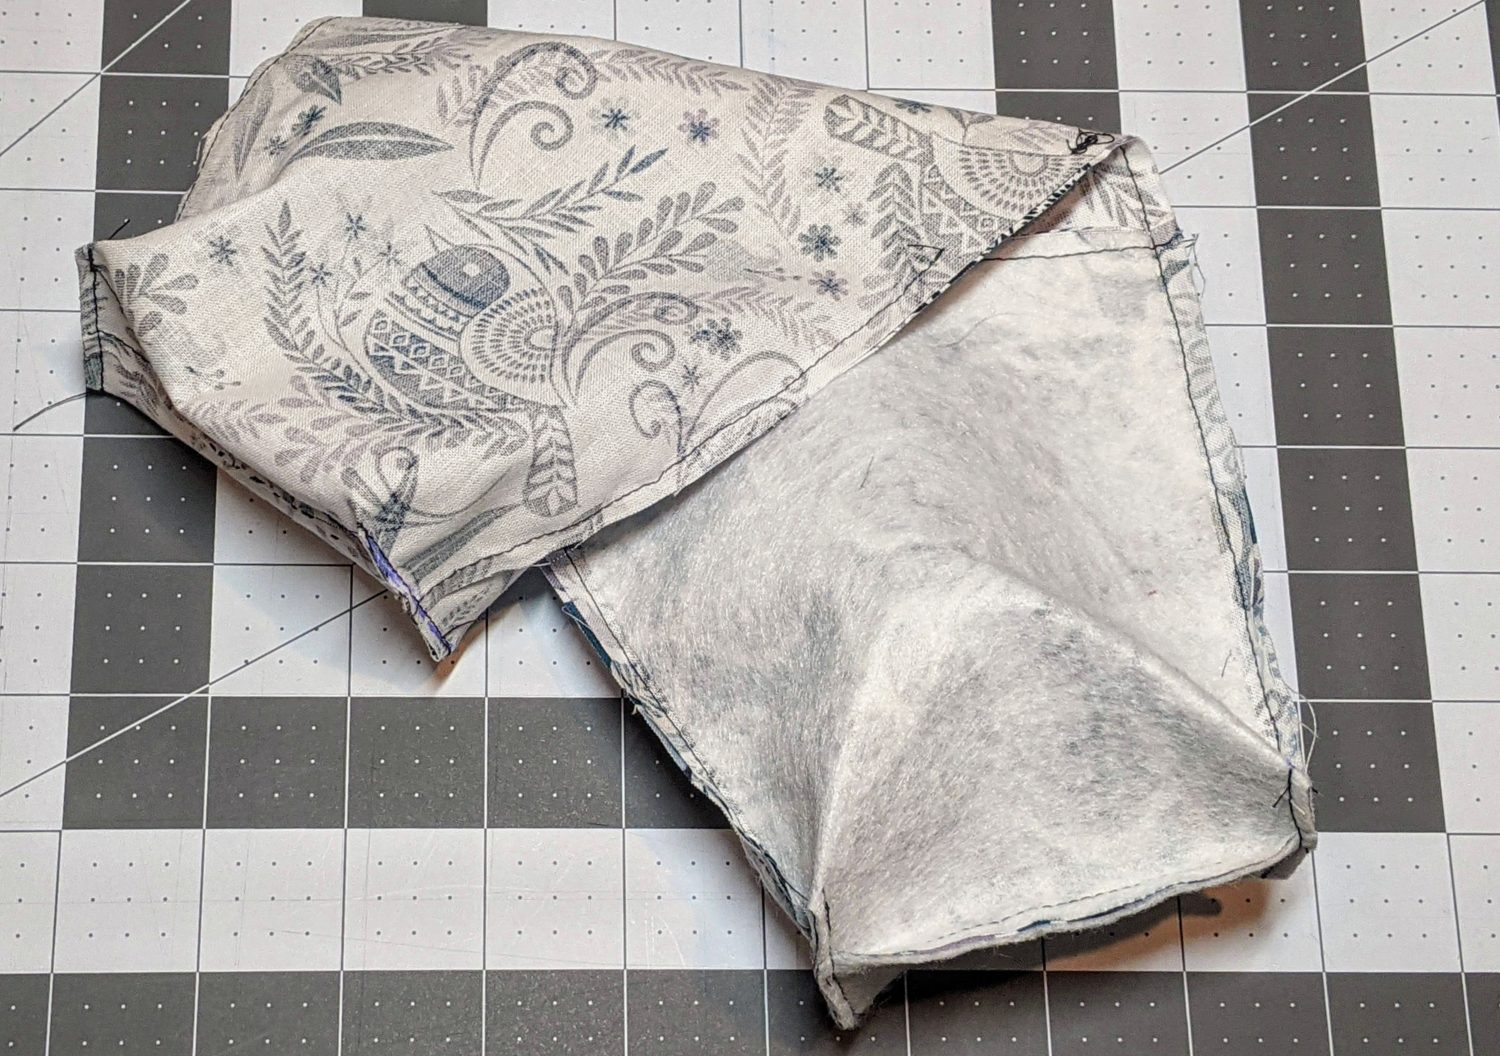
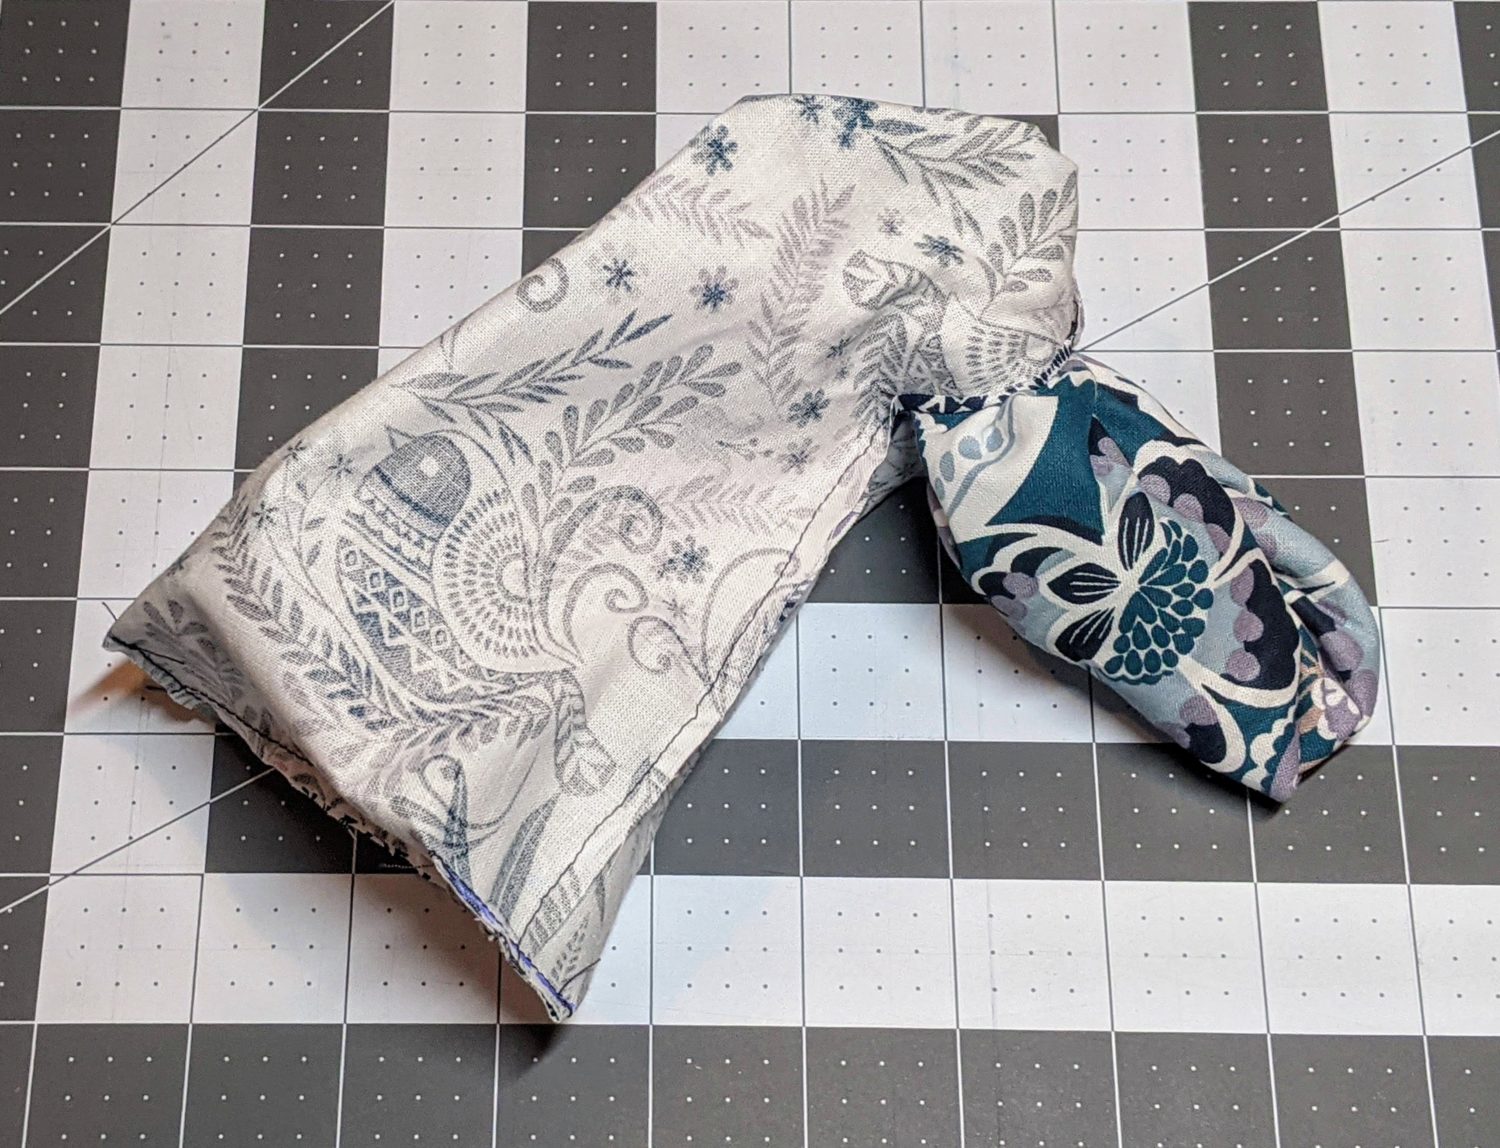
Turn it into a Pouch
- Pull the whole pouch through the opening in the lining to turn it right side out.
- Push the lining down into the main part so it’s flat and lined up against the main. The lining will stick out 1 1/2″ above the main fabric.
- Press the top and pin/clip along the edge.
- Turn the pouch so the lining is on the outside.
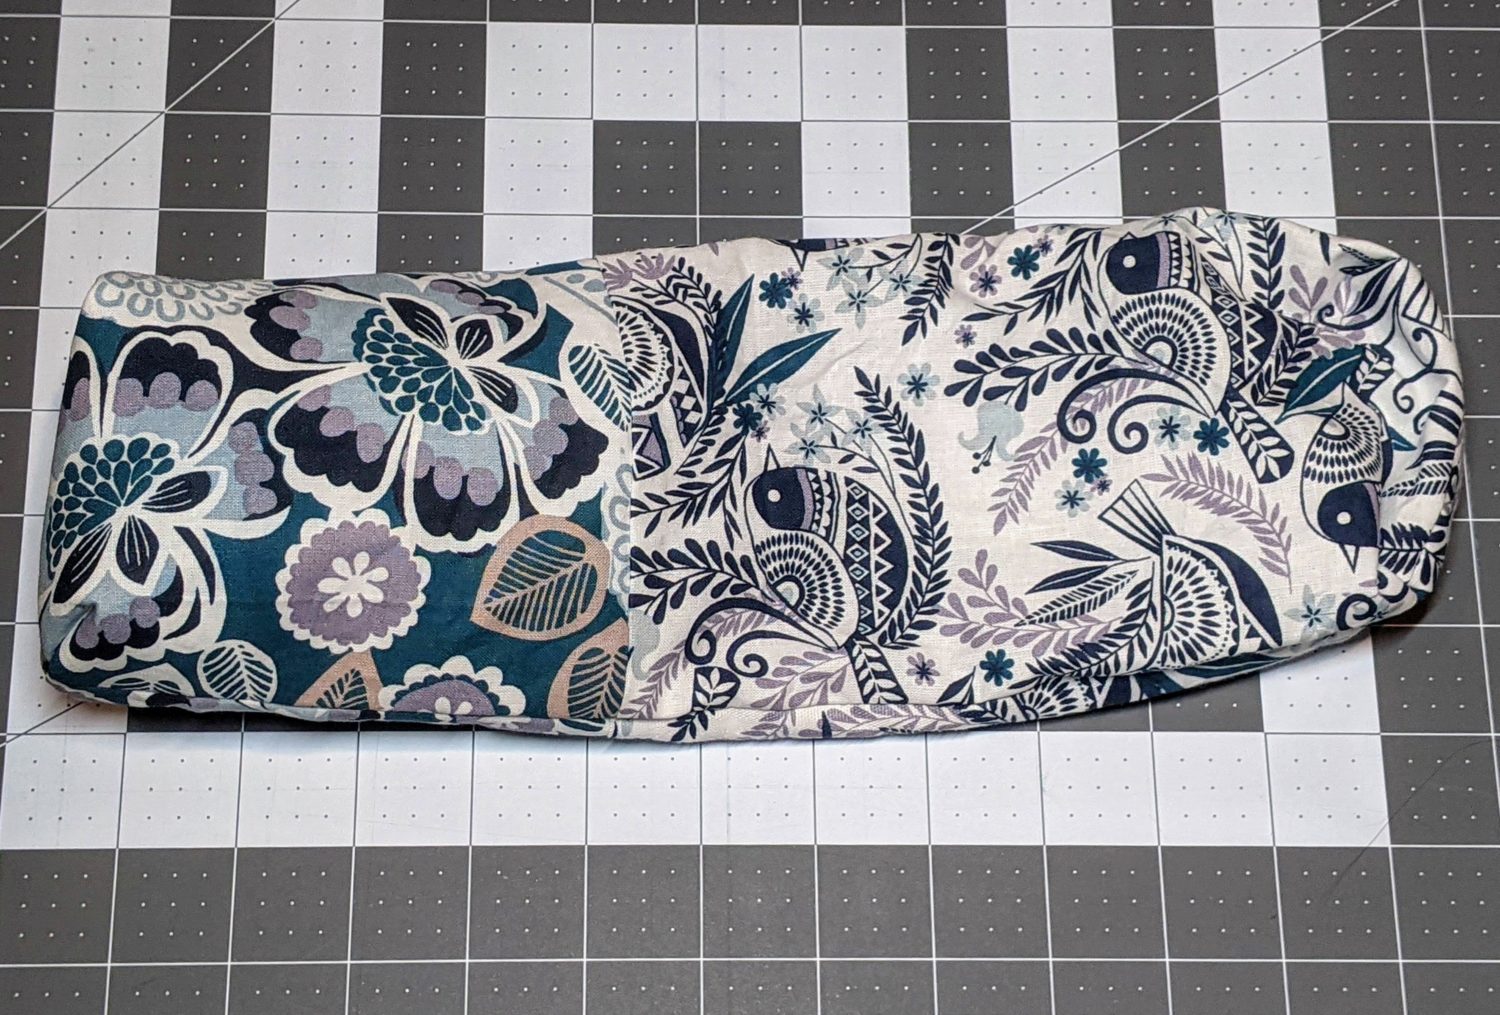
- With the main fabric on the inside, topstitch along the top of the main fabric 1/4″ in from the edge.
- Moving down to the seam between the lining and main, topstitch 1/4″ up from lining edge.

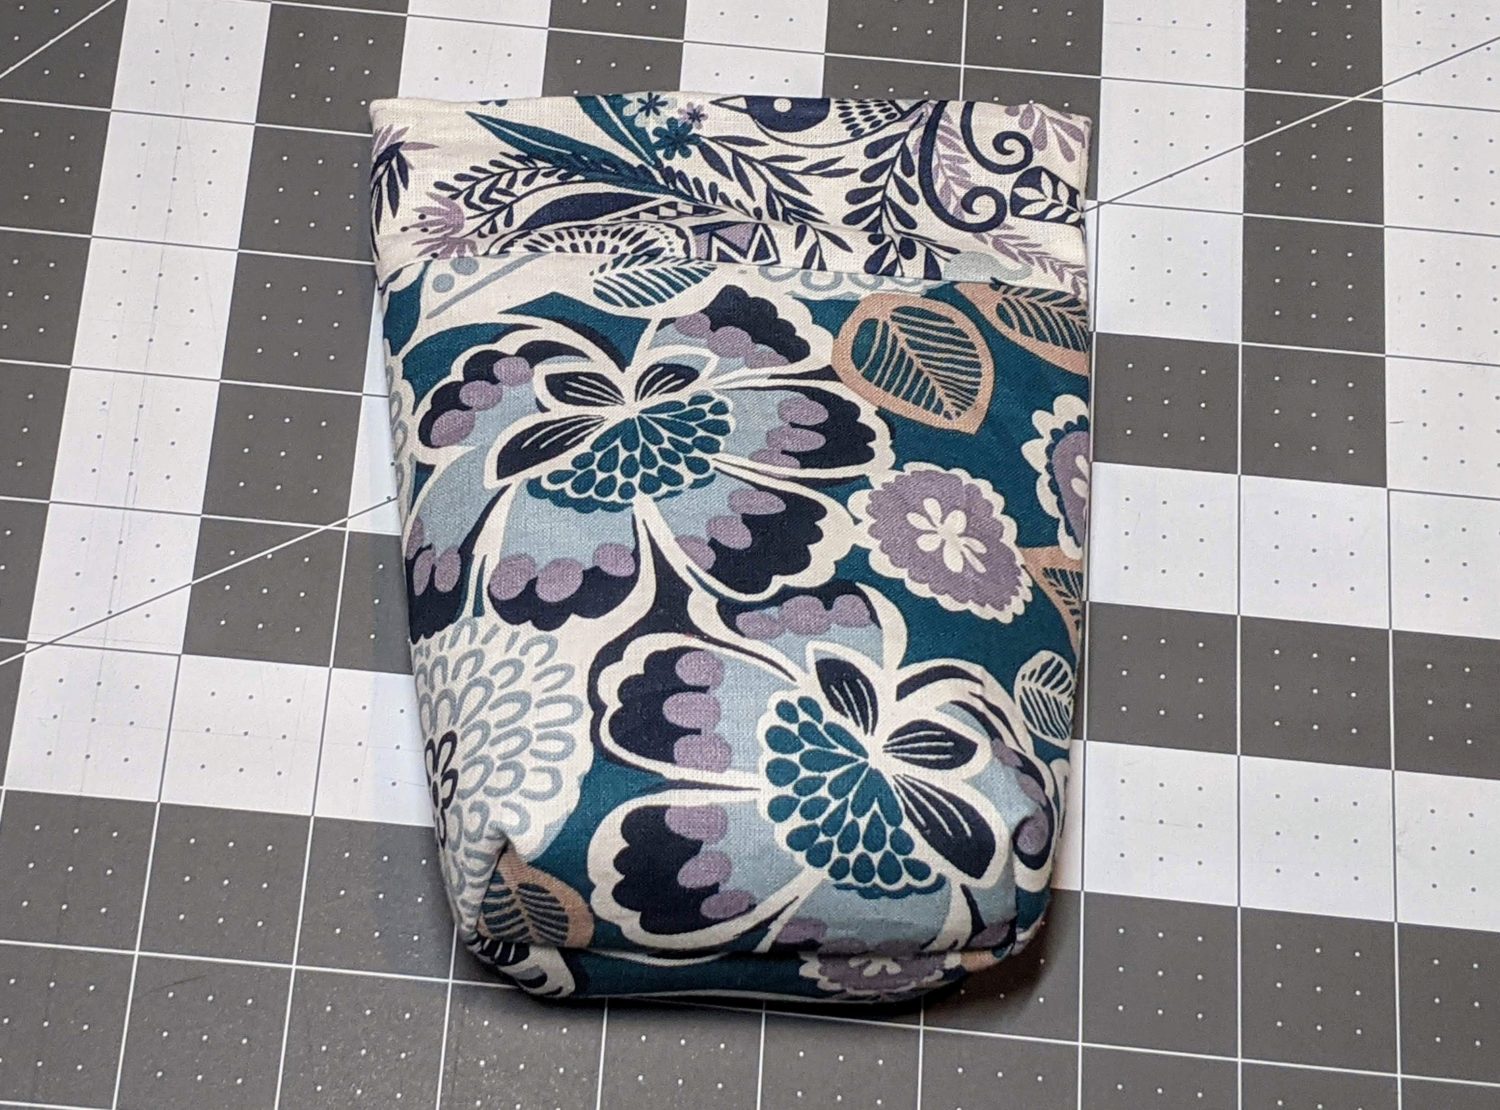
Topstitch the top of the lining edge 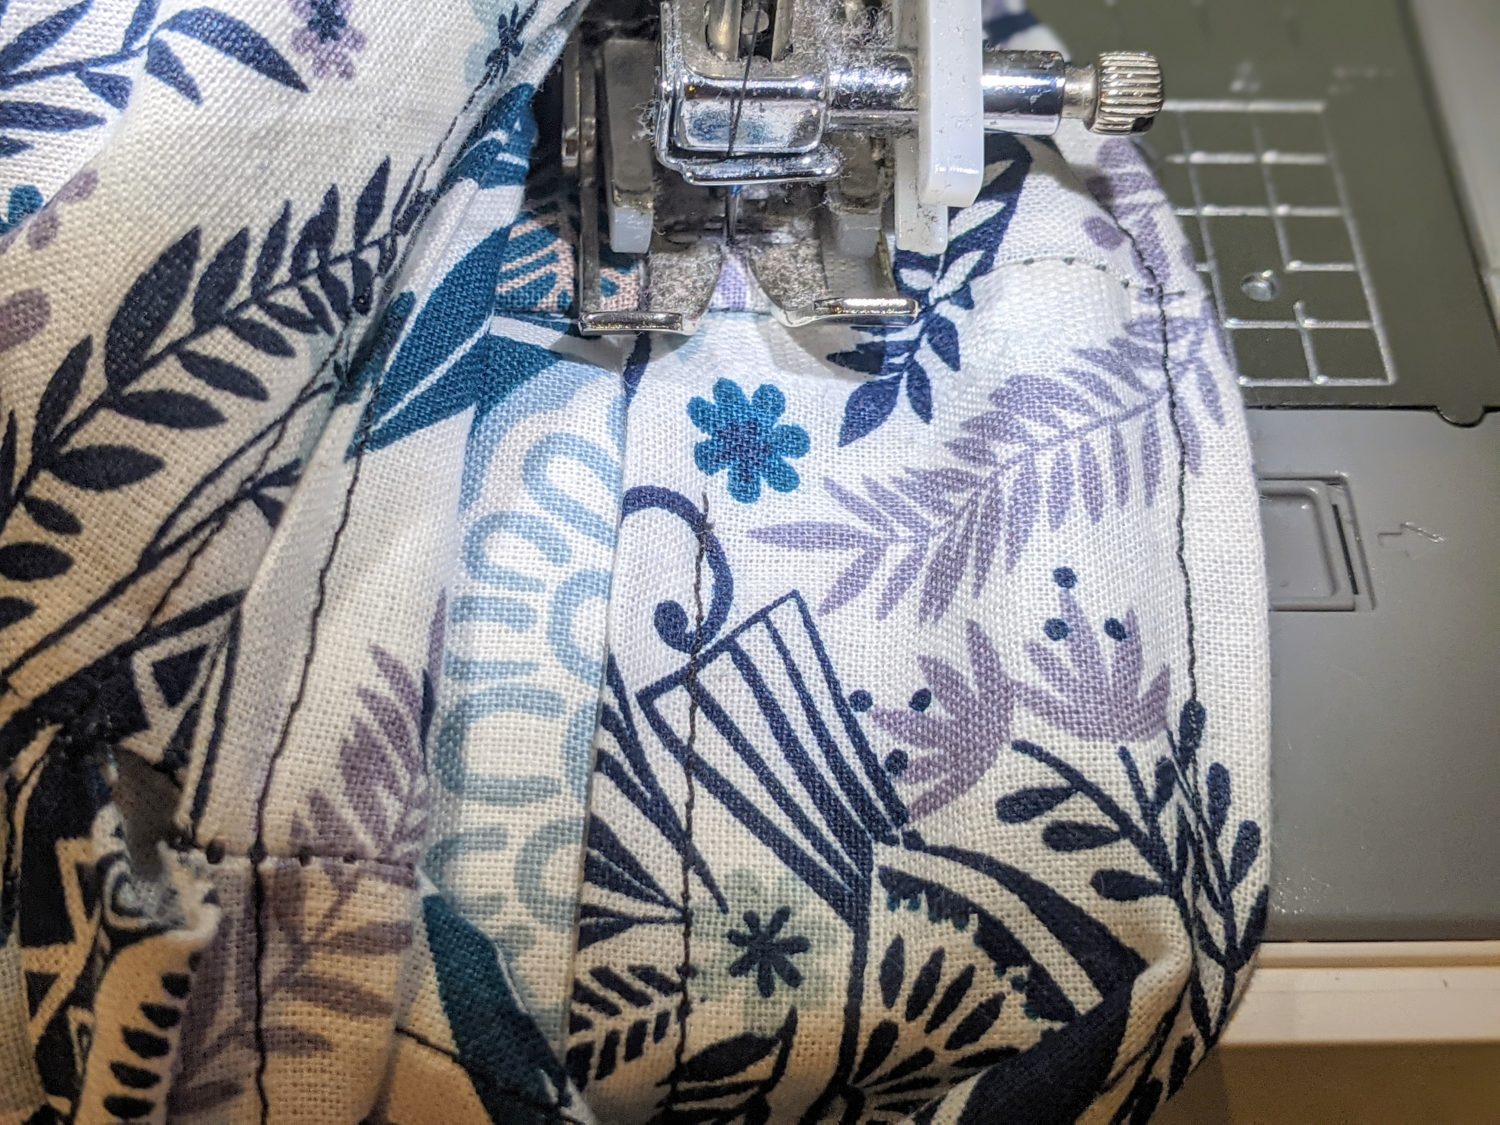
Topstitch the bottom of the lining edge
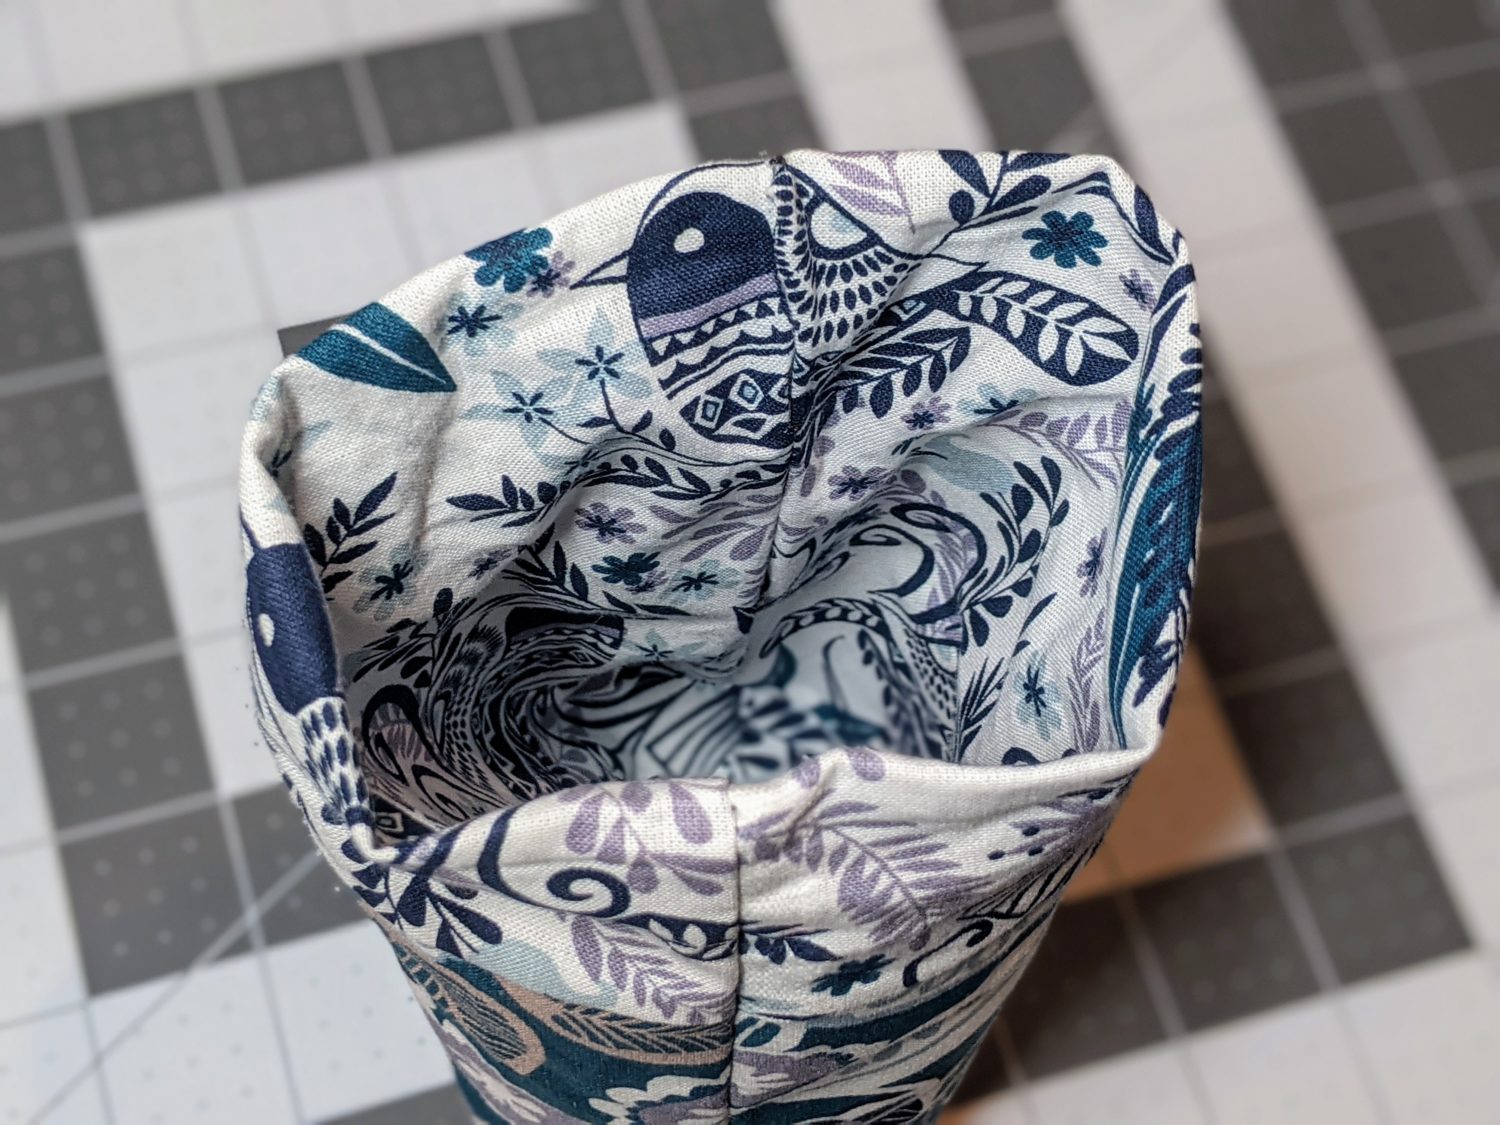
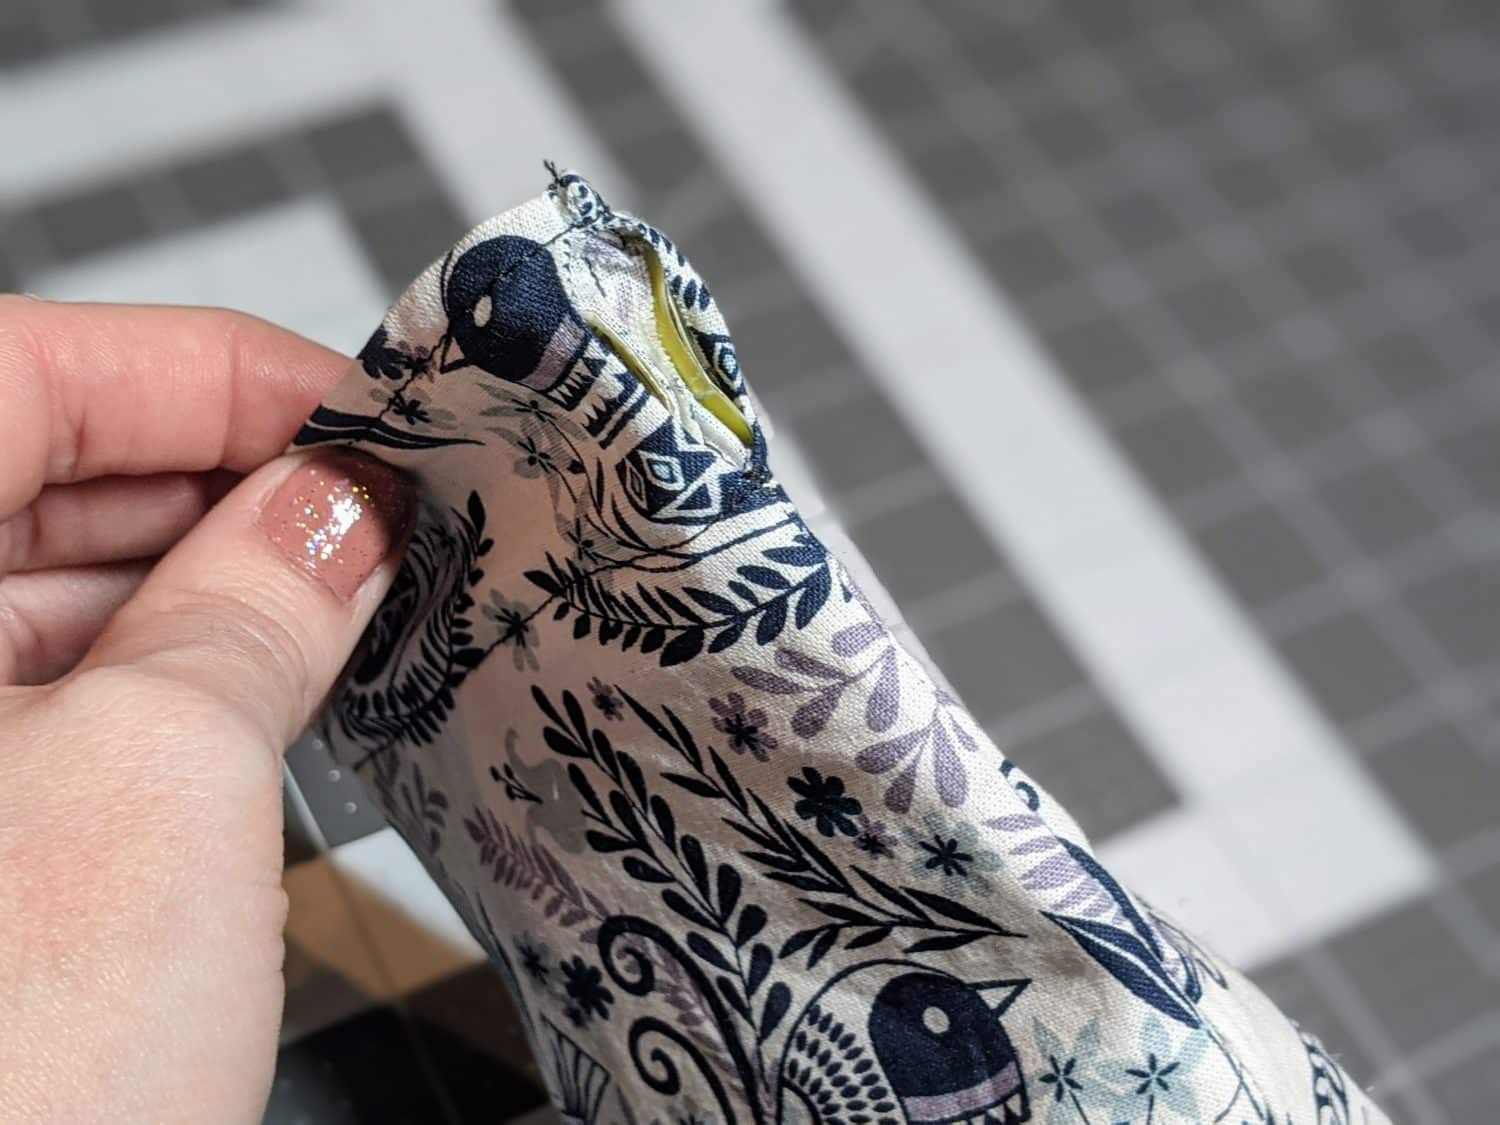
Insert the Measuring Tape and Finish
- With the lining still on the outside, slide each piece of the tape measure into the opening at the seam with the numbers on the tape facing out. (If you need to shorten the tape at all, just trim, round and tape the end)
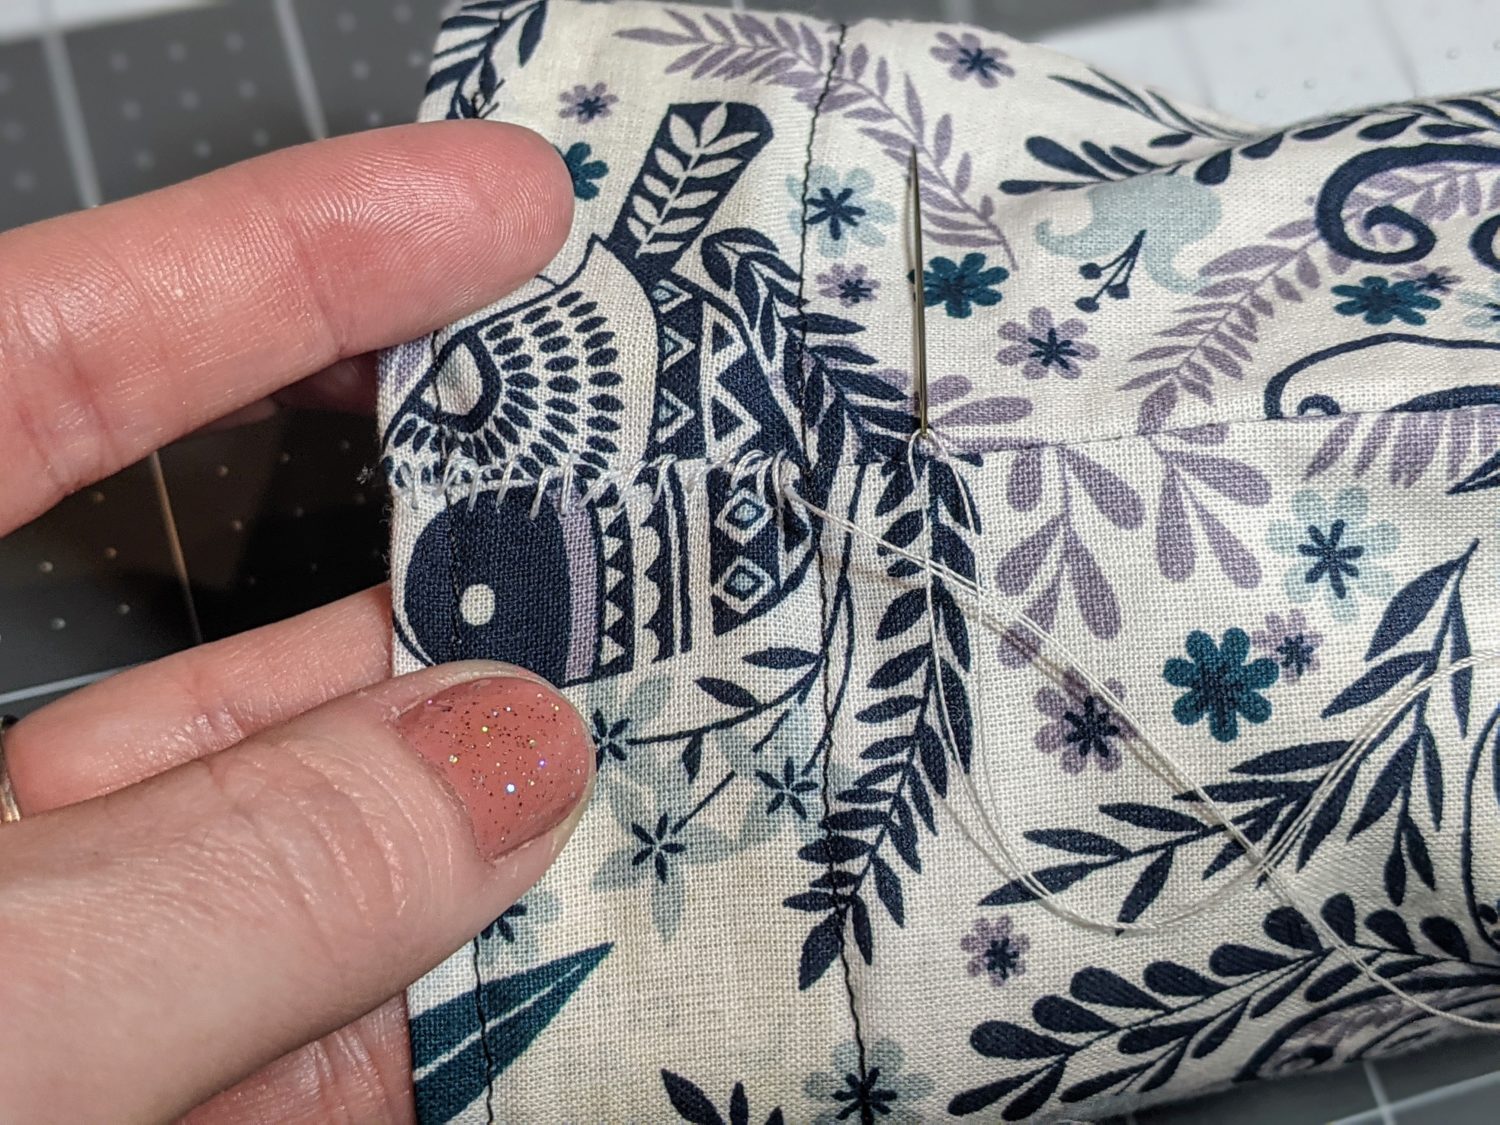
- Sew the opening together using a whipstitch.
- Turn the pouch right side out.
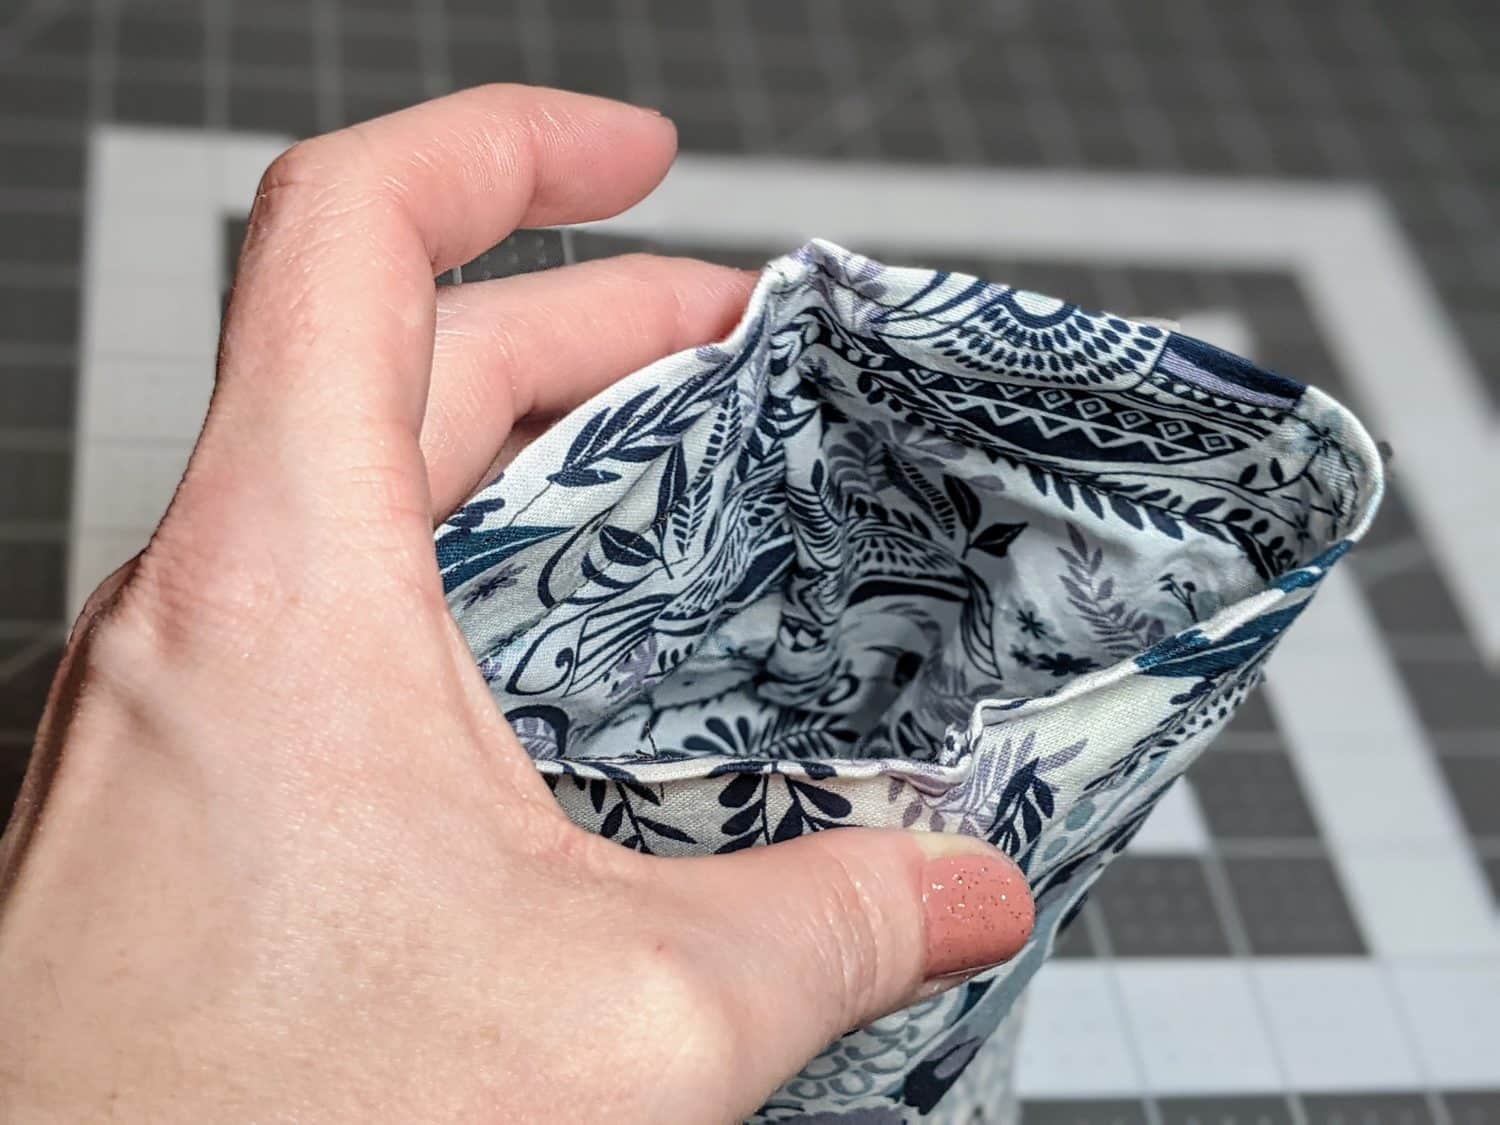
- Squeeze at the sides to open.

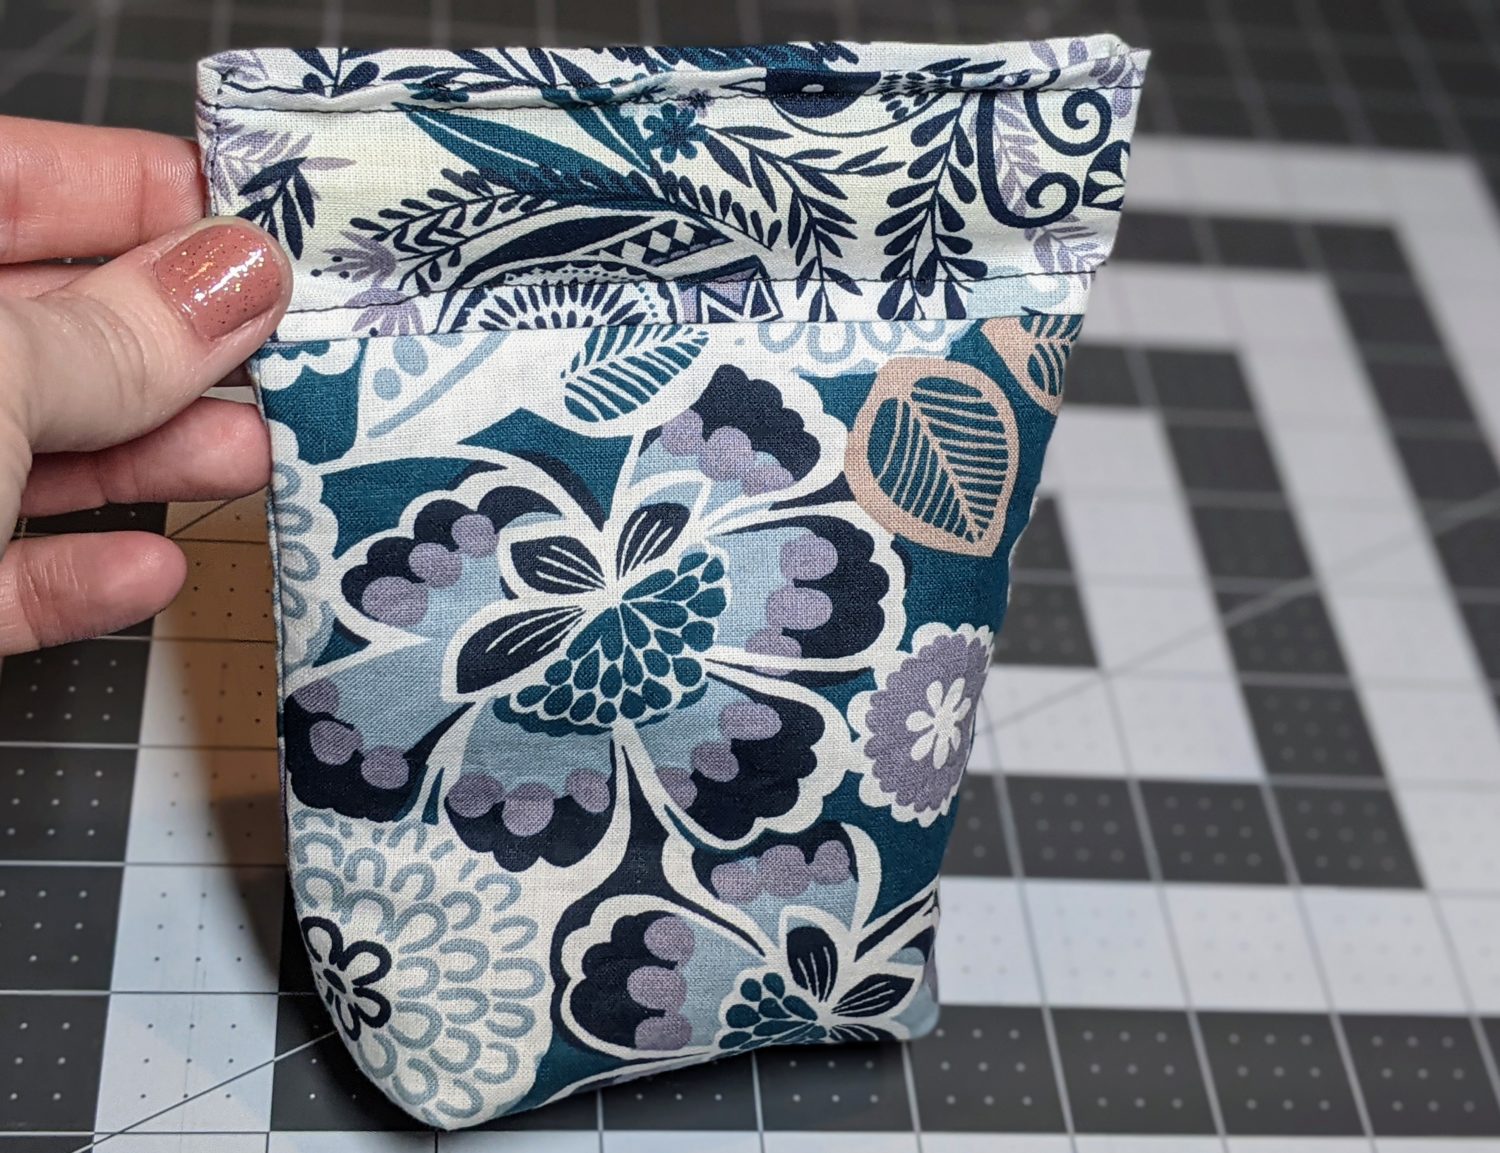
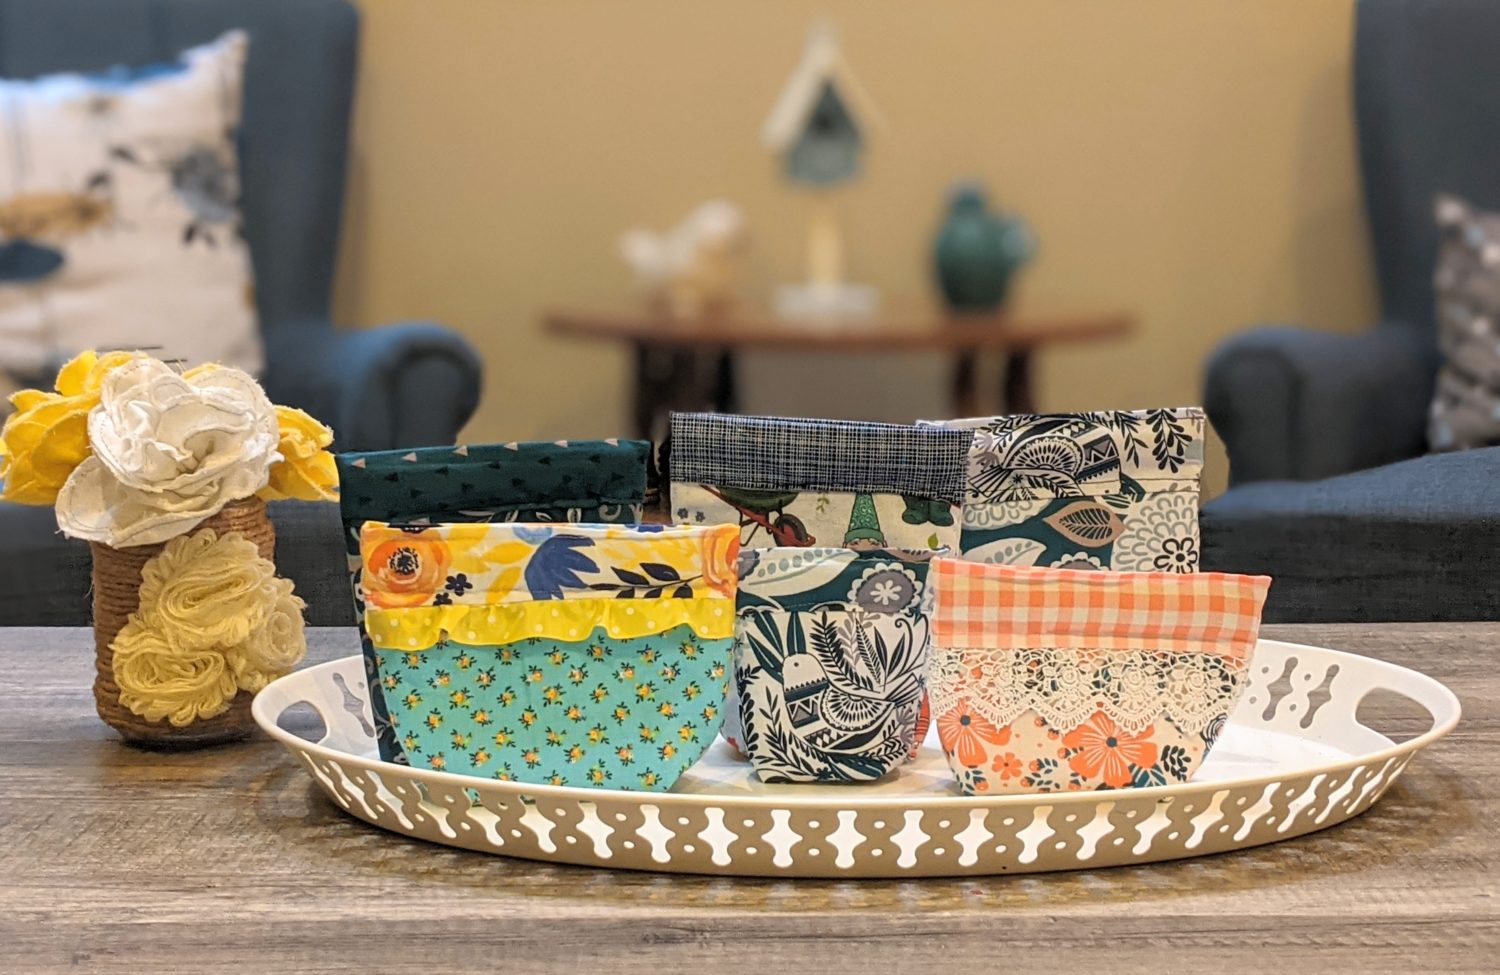
Easy Peasy Lemon Squeezy!
Want more FUN DIY Freebies? Check out the FREEBIE TUTORIALS and the FREEBIE PATTERNS!
As always, we’re here to help if you need it! Join us HERE and on Facebook, Instagram, Twitter, Youtube, and Pinterest. We’re everywhere you are.
Very cute.
Love it!