

I was inspired by a scarf I saw a woman wearing on a tv show, so I thought I’d give it a try and make similar one for myself. The DIY wrap scarf is meant to be cozy and comfortable, but still have some style to it! I used fleece fabric for the scarf and snaps to hold it together. I also put some decorative buttons on the outside. This is quick, quite easy to make, and so warm and snuggly for a cold day! You could also use a lighter weight fabric for a cooler option. Want to make your own DIY wrap scarf? Then, read on and I’ll show you exactly how I made mine!
Materials
- Fabric: I used two coordinating colors of fleece
- If you have long and skinny scraps, this is a great way to use them! Have you ever made a Frosty the Sleeved blanket? I used my fleece scraps from my Frosty projects!
- If you aren’t using scraps, you’ll need 1/2 to 2/3 of a yard of fabric
- Snaps: I used two snaps, but you can use more or less if you prefer
- Decorative buttons: again, I used two
Cutting Fabric
The great part about making a DIY project is that you can completely customize it to your preferences! So, I’ll give you the measurements that I used for my fabric, but play around with it and see what you like best! I cut two pieces of fabric 9 inches by 36 inches. If you don’t want yours as high up your neck, you’ll want less than 9 inches. If you want it shorter, cut less than 36 inches. These are just the measurements that I liked best. Also keep in mind your fabric choices, a thinner fabric will drape more and probably won’t sit as high up your neck, even if it is the same measurements as mine.
- Cut 2 pieces of fabric to your desired measurements

Time to sew your DIY wrap scarf!
- Put your two pieces of fabric right sides together
- Sew along the two long sides and one short side
- Leave one short end unsewn so that you can turn the scarf right sides out
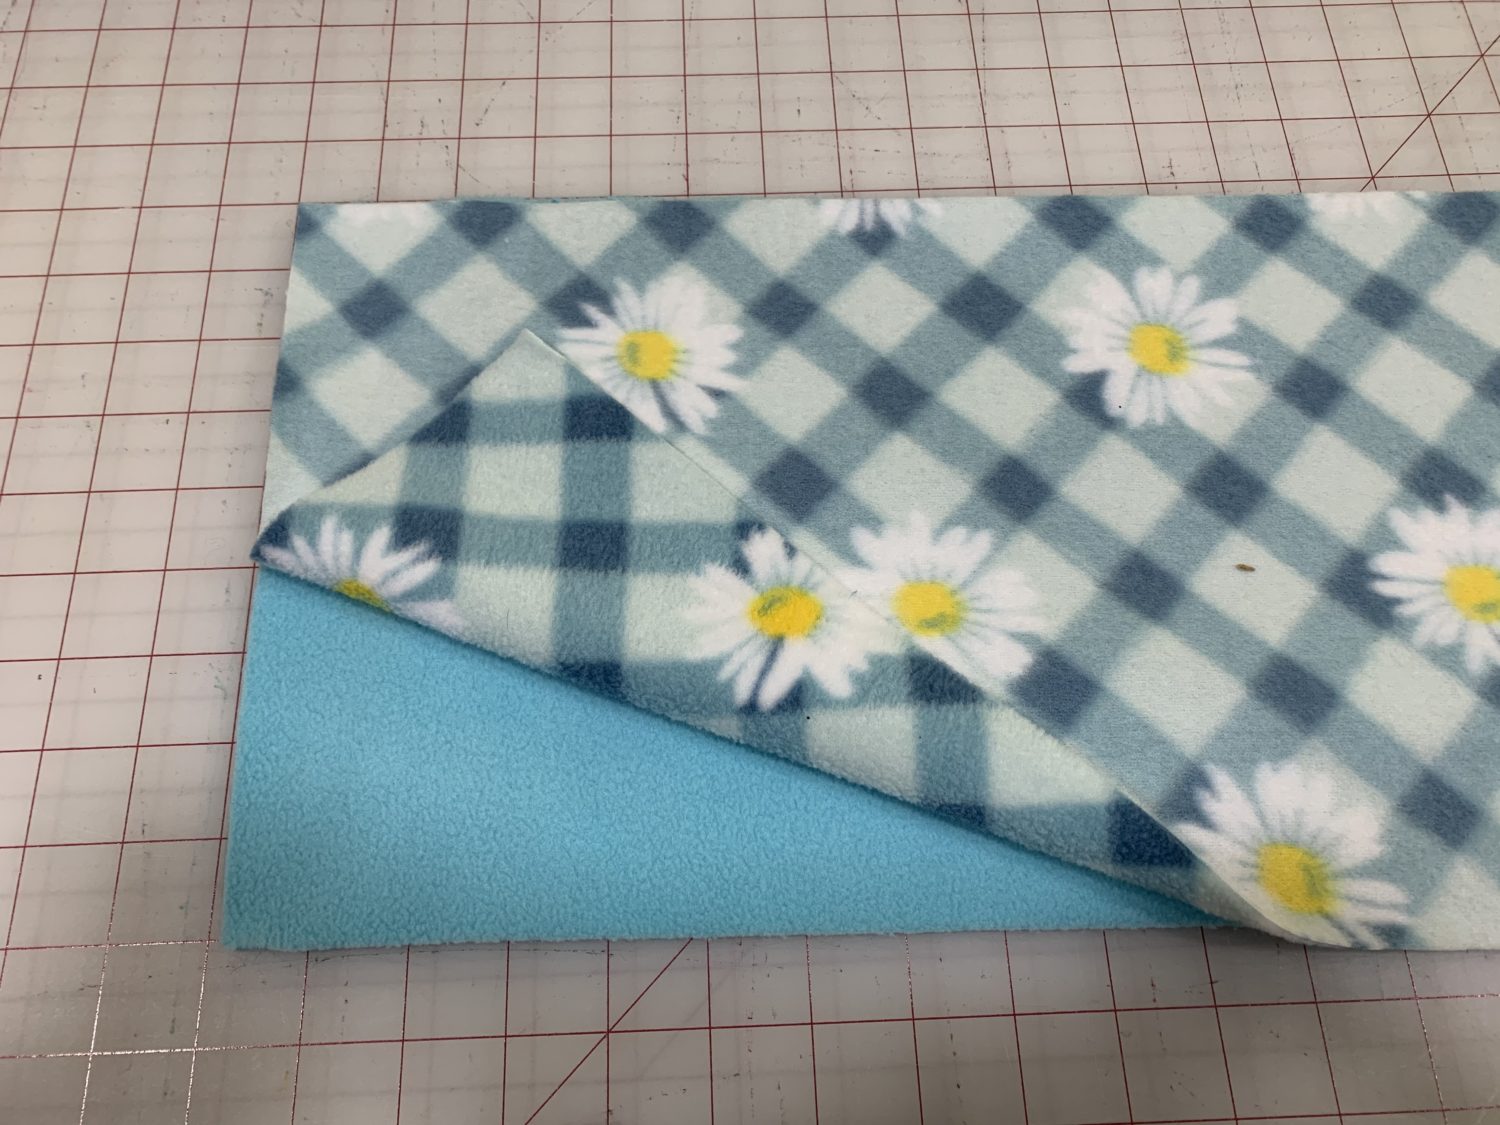
- Cut the corners and trim your seam allowance-don’t cut through the stitches!
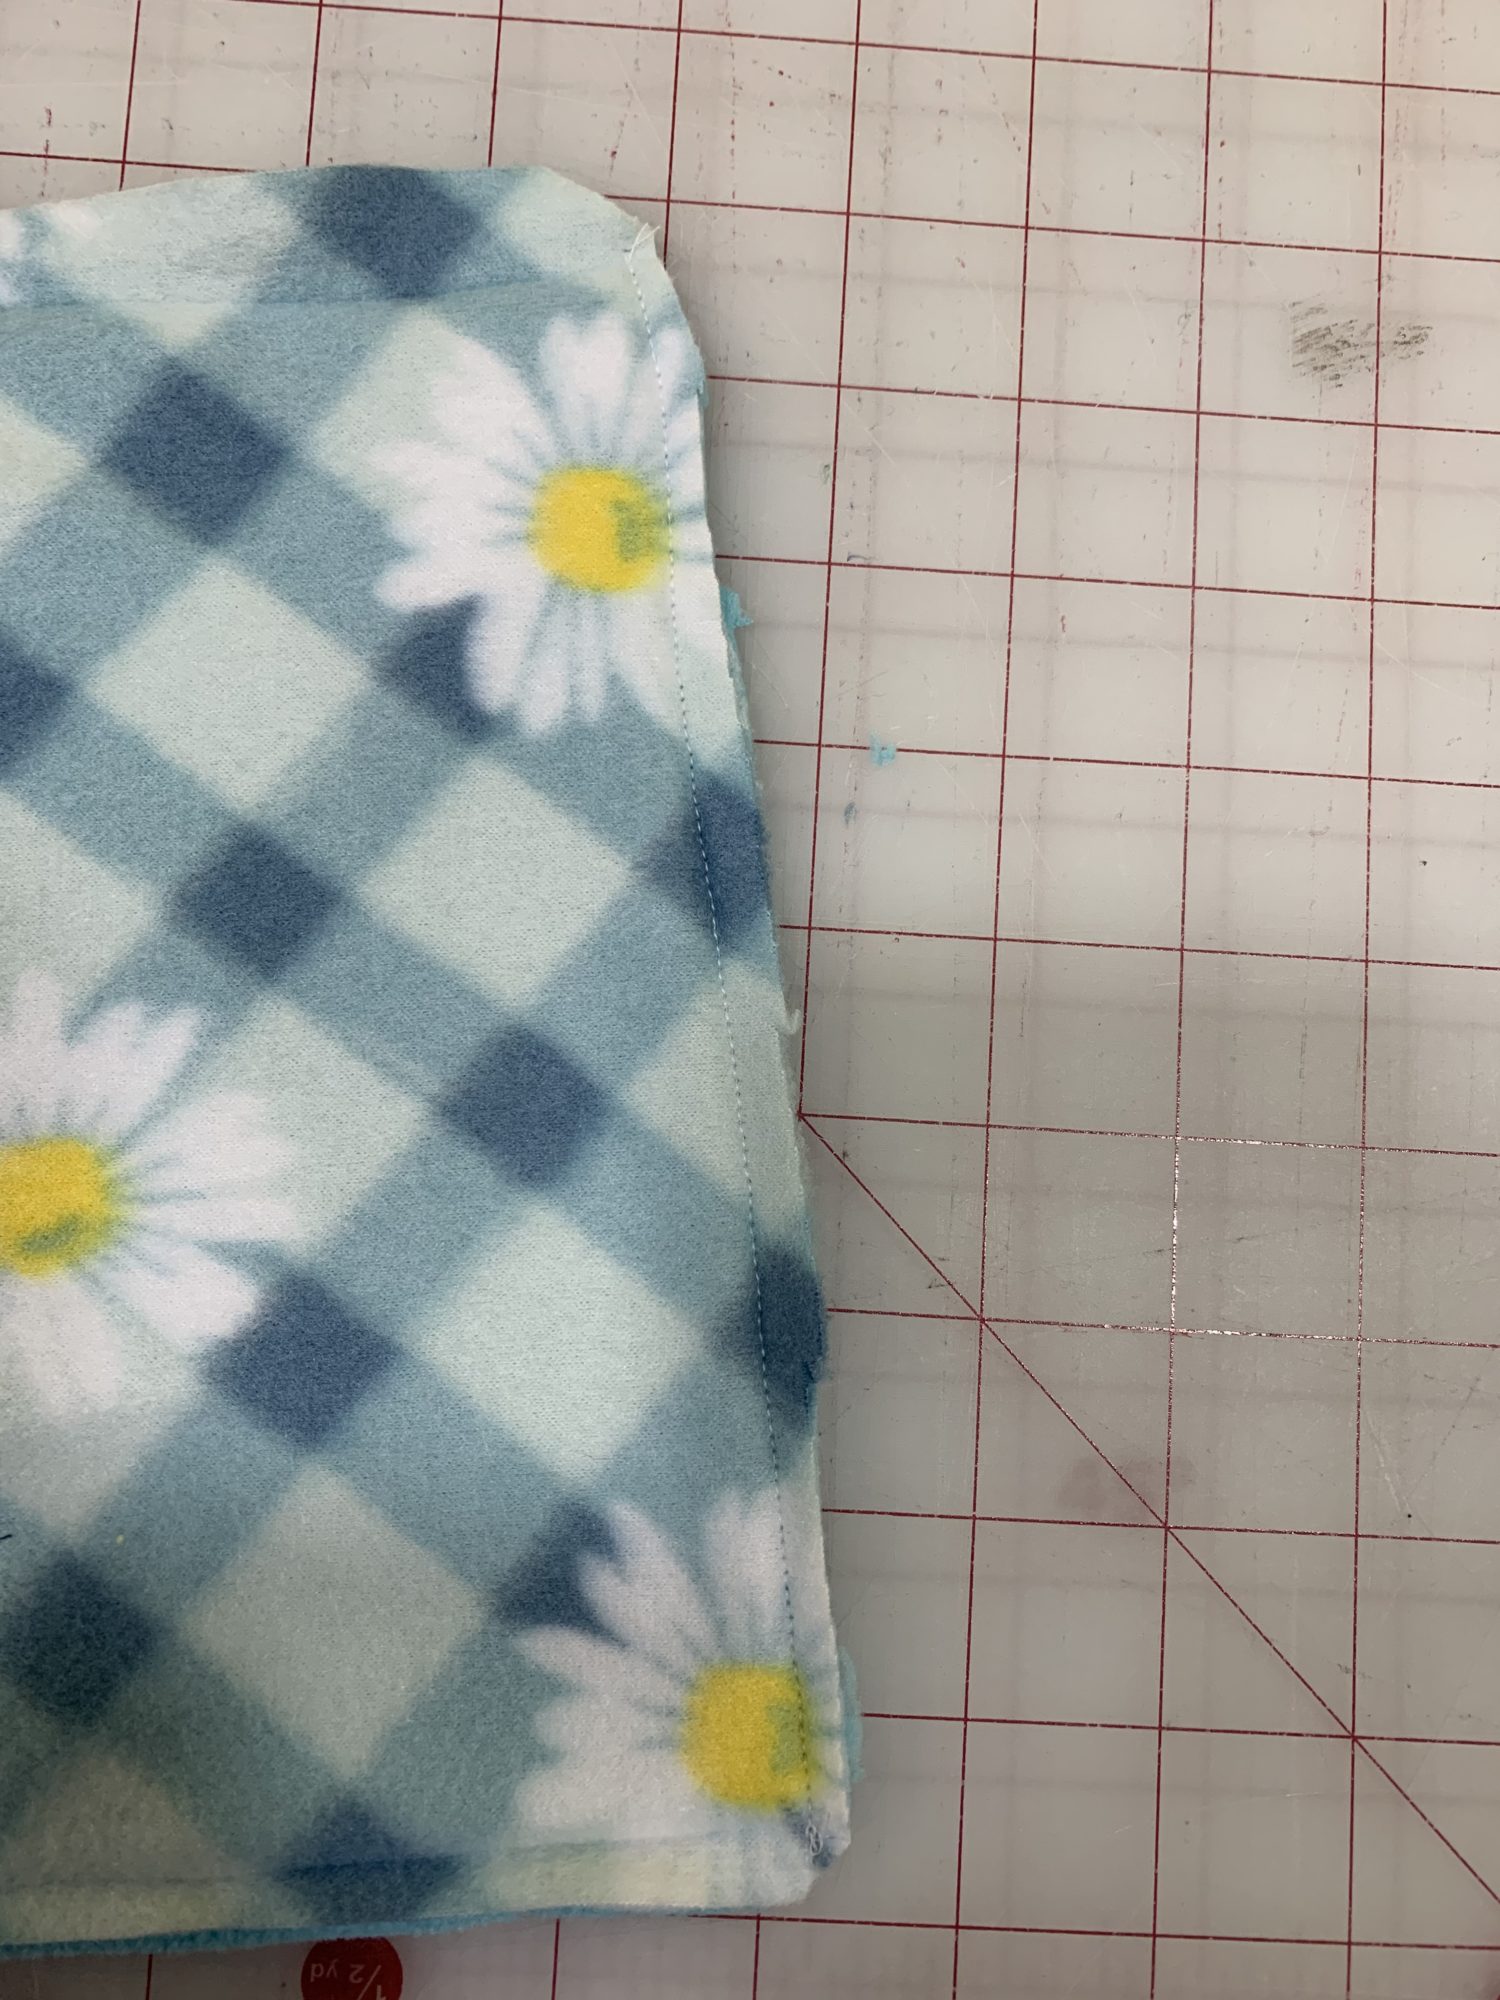
- Turn your scarf right sides out
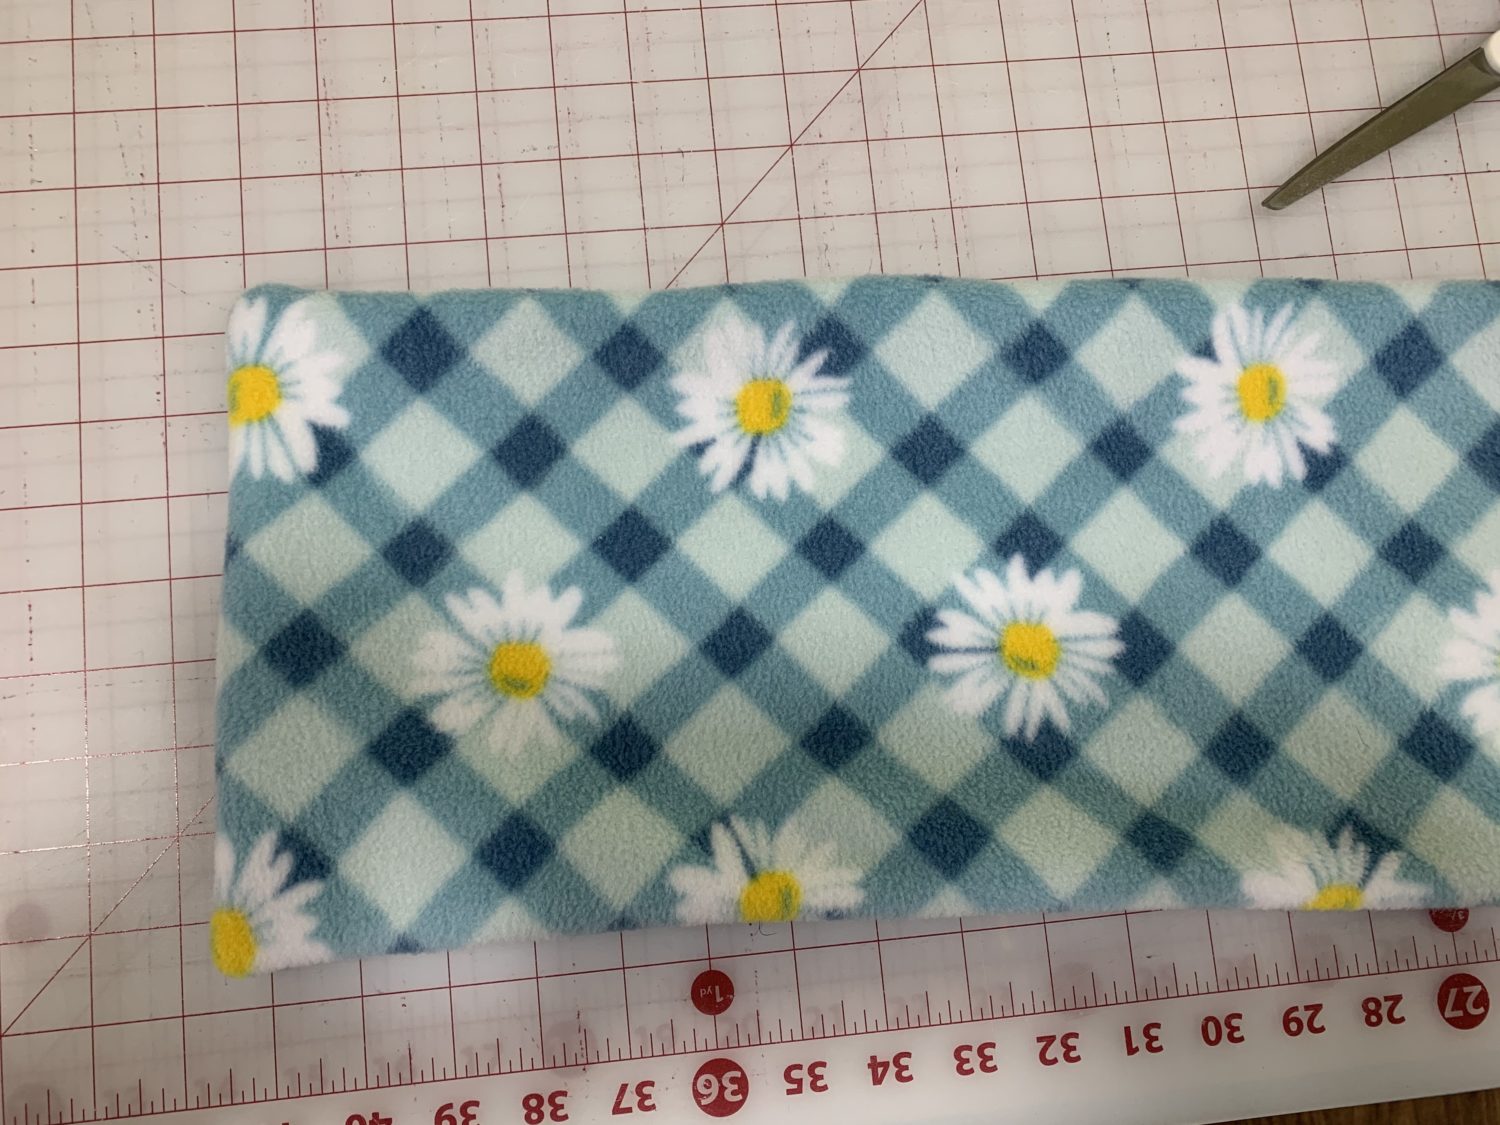
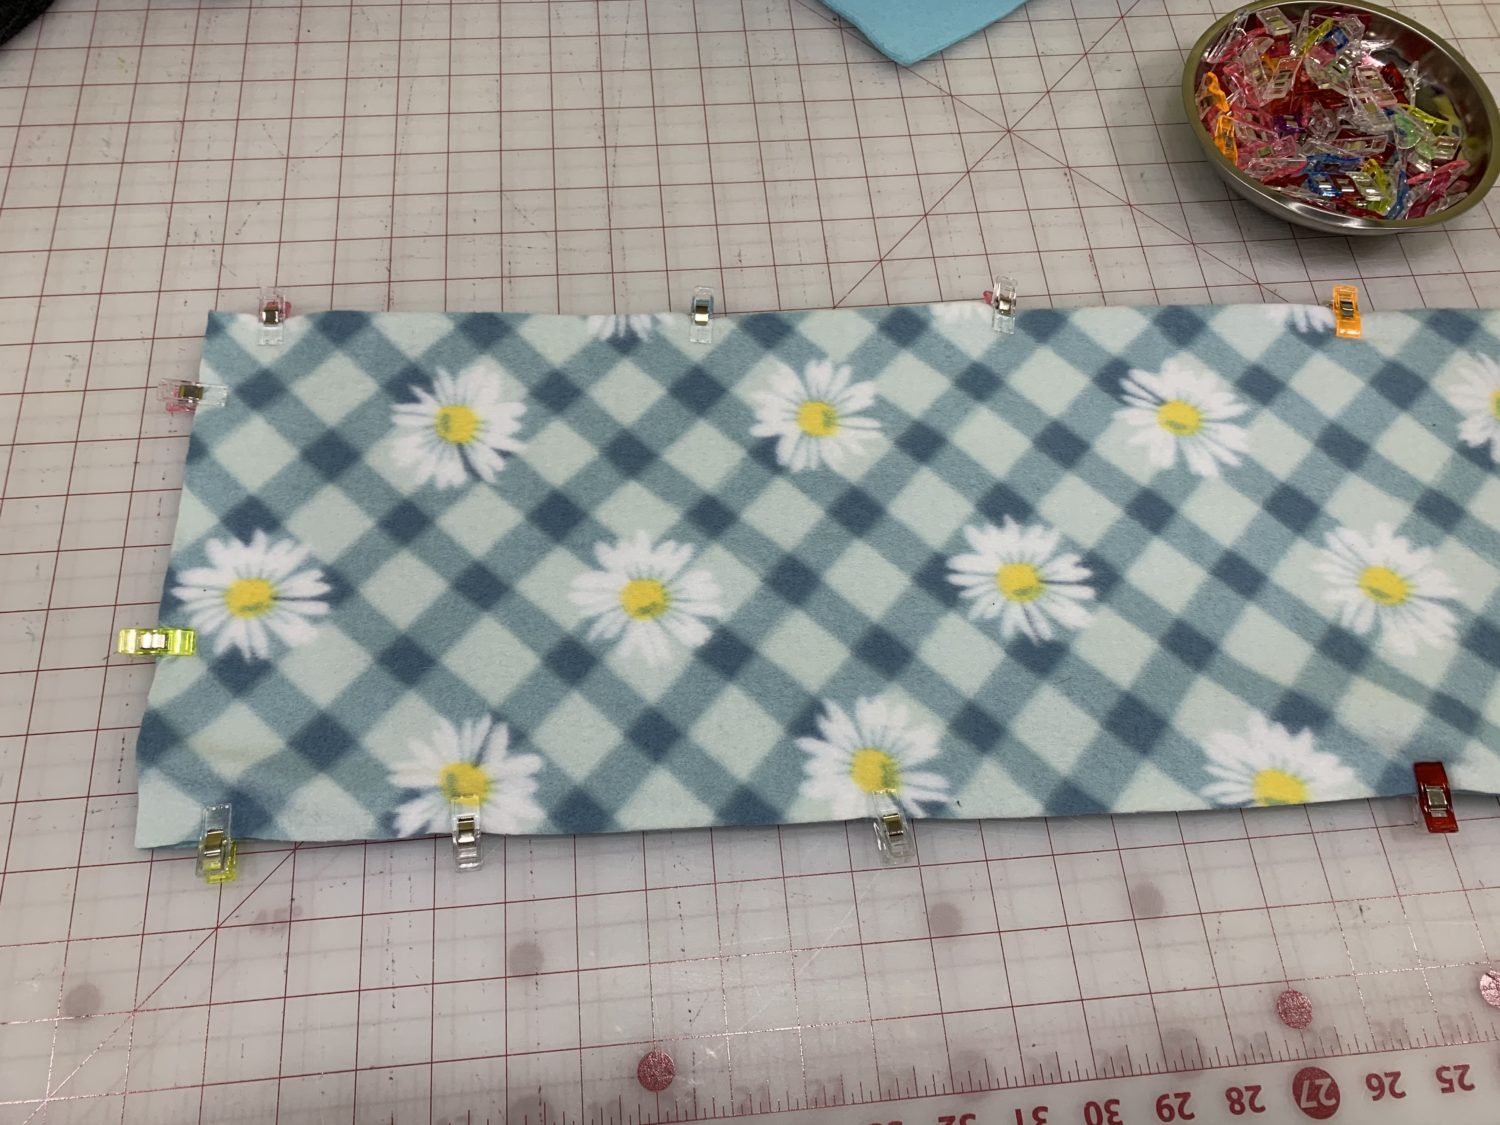
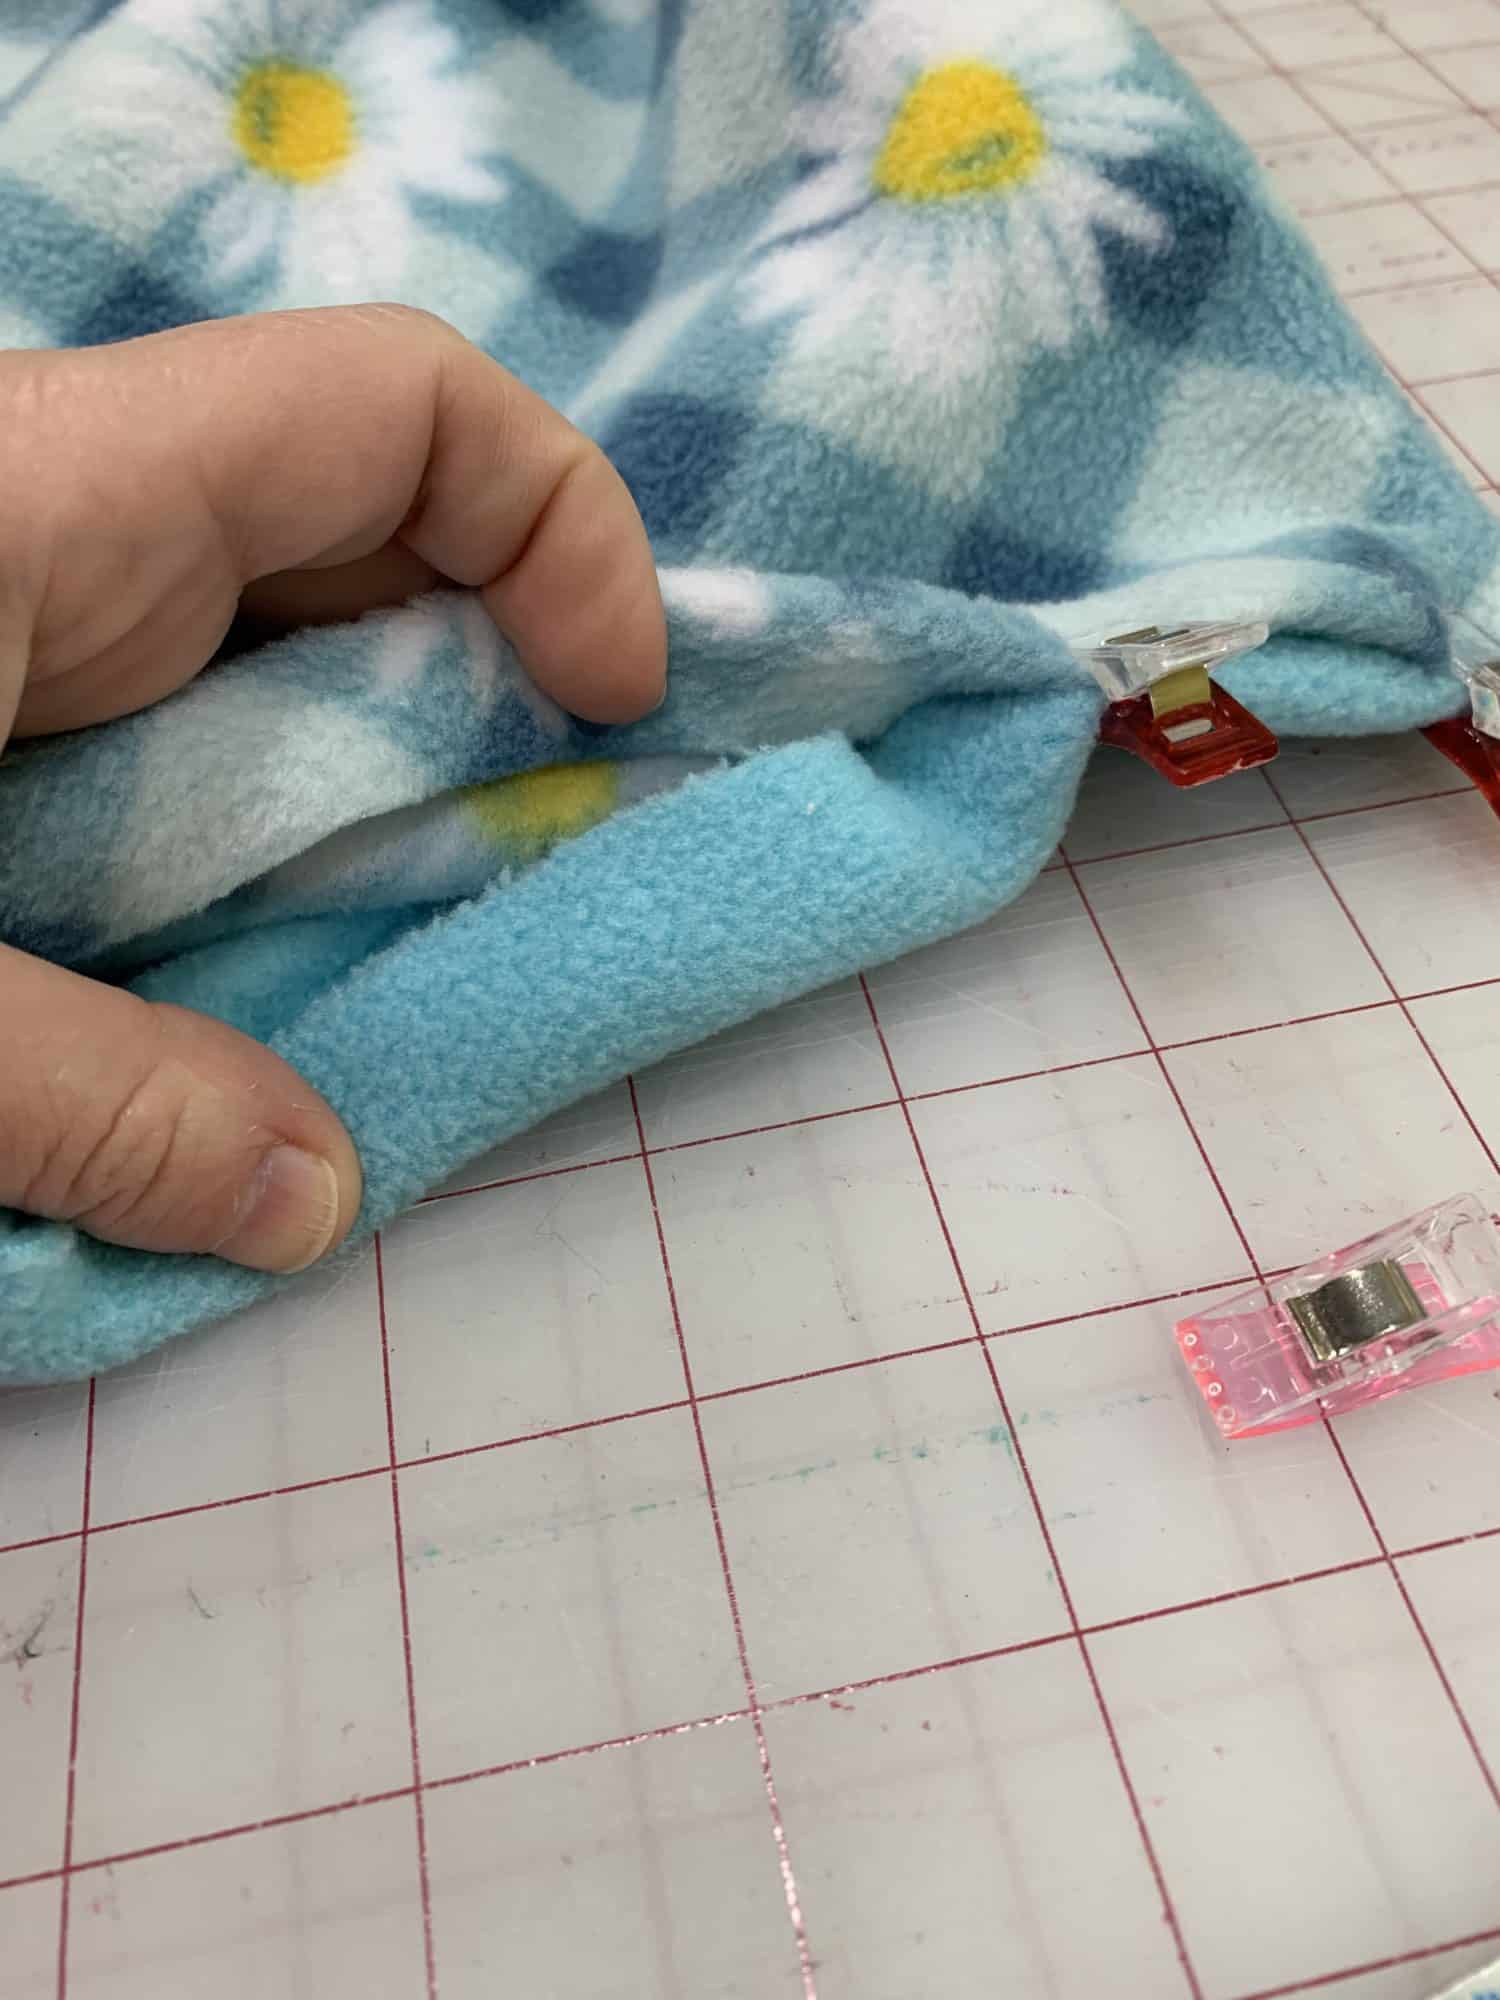
Hem the opening
- Fold the raw edge into the scarf opening
- Close the opening, sandwiching the raw edges inside the scarf
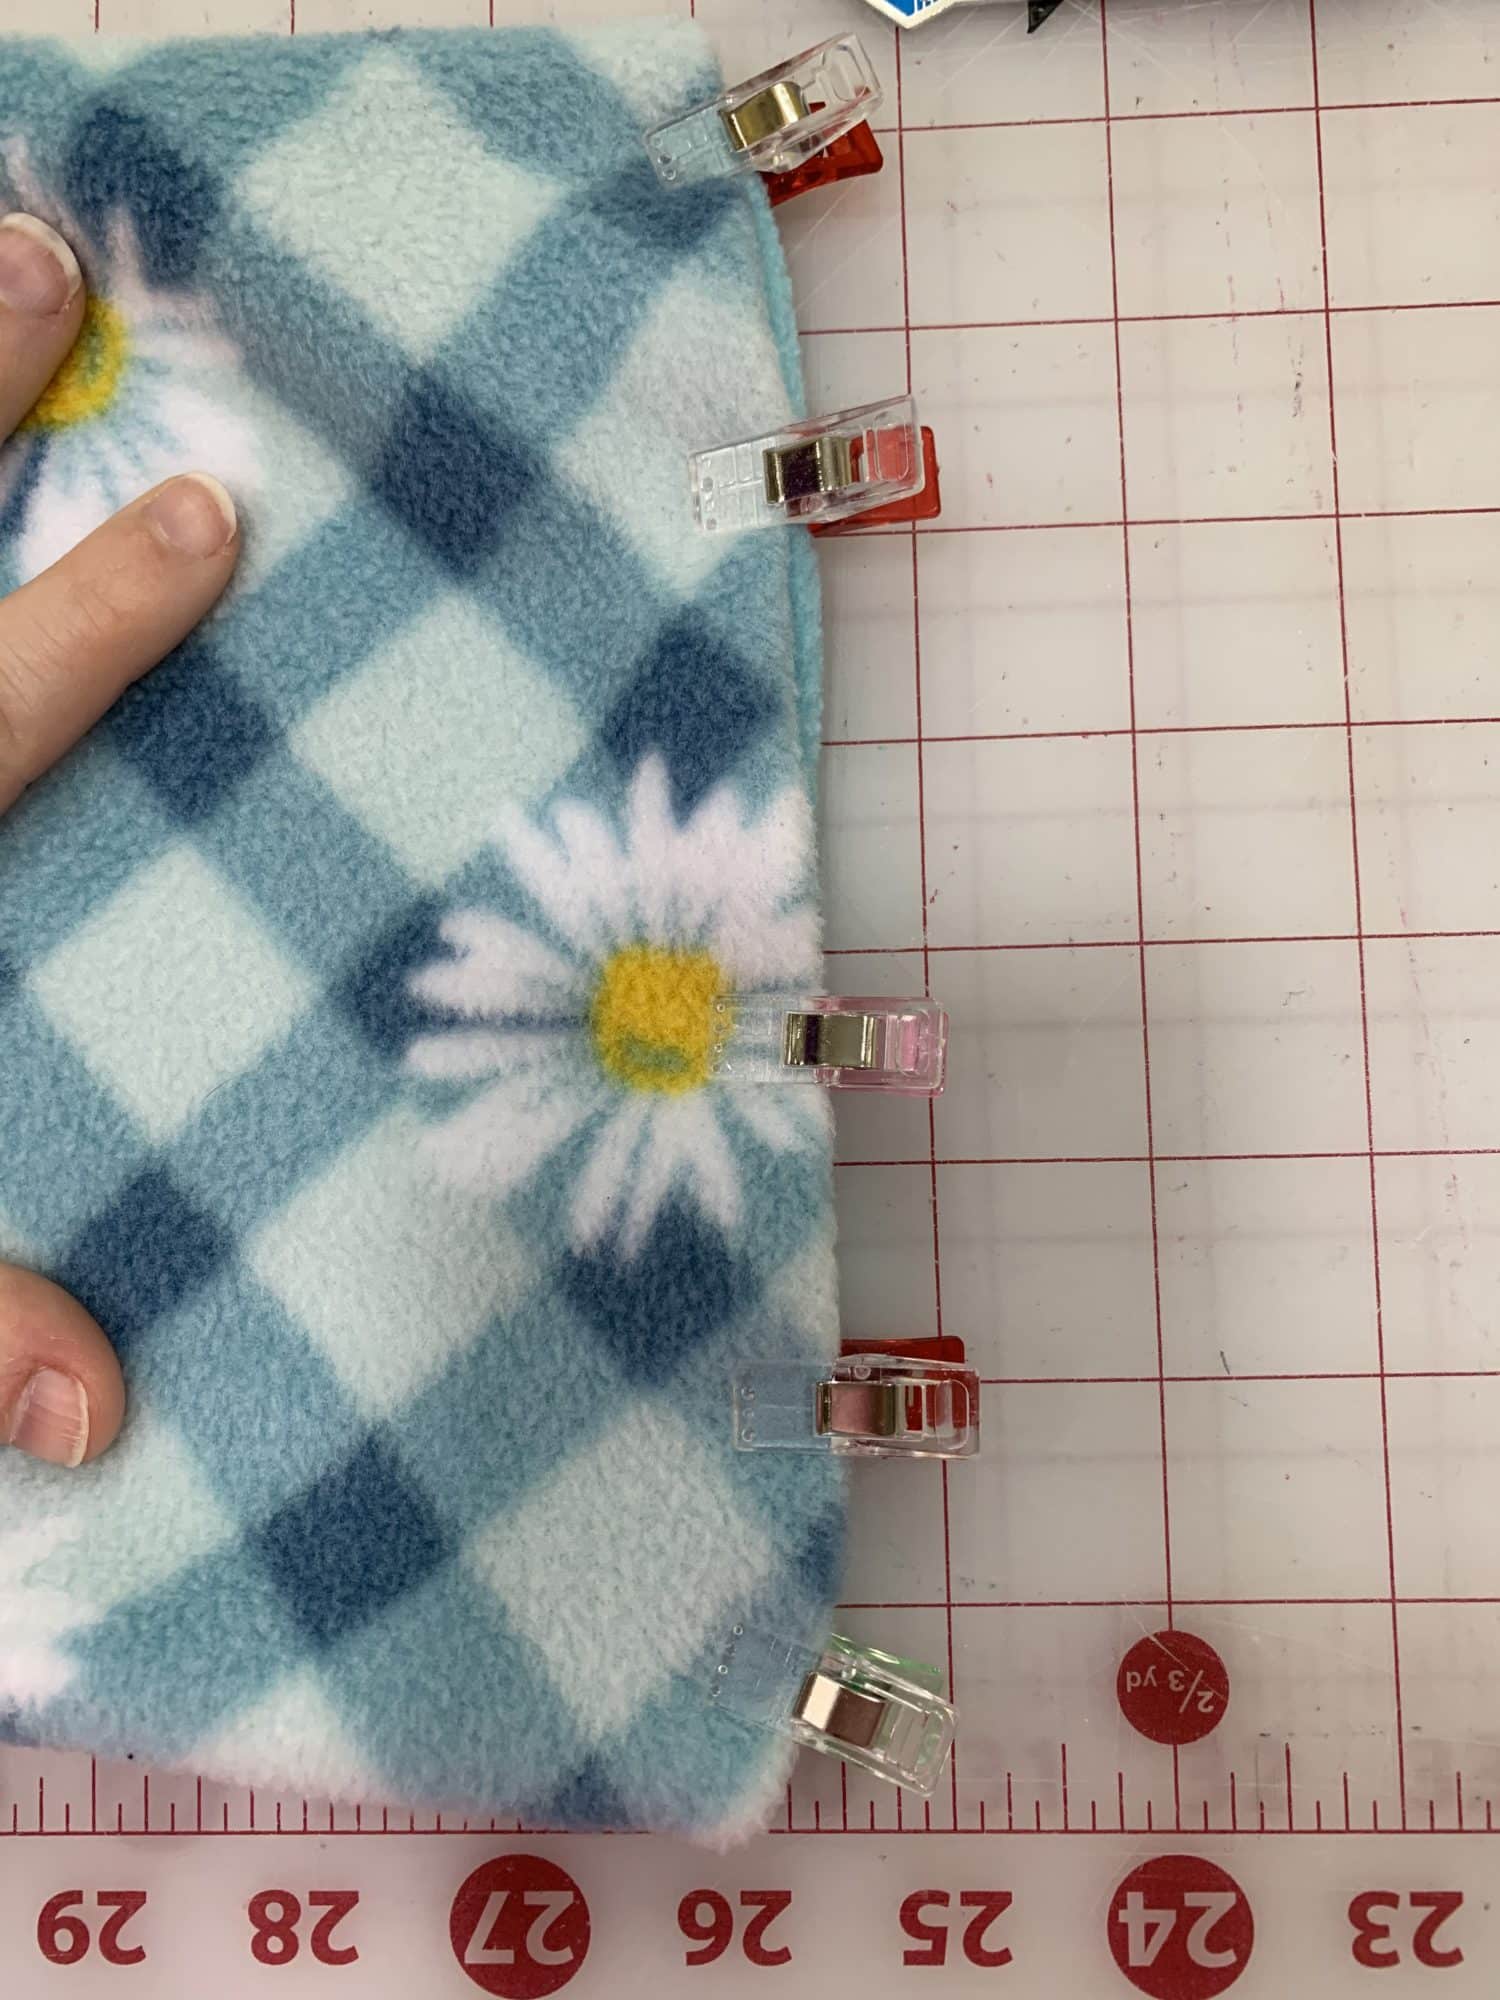
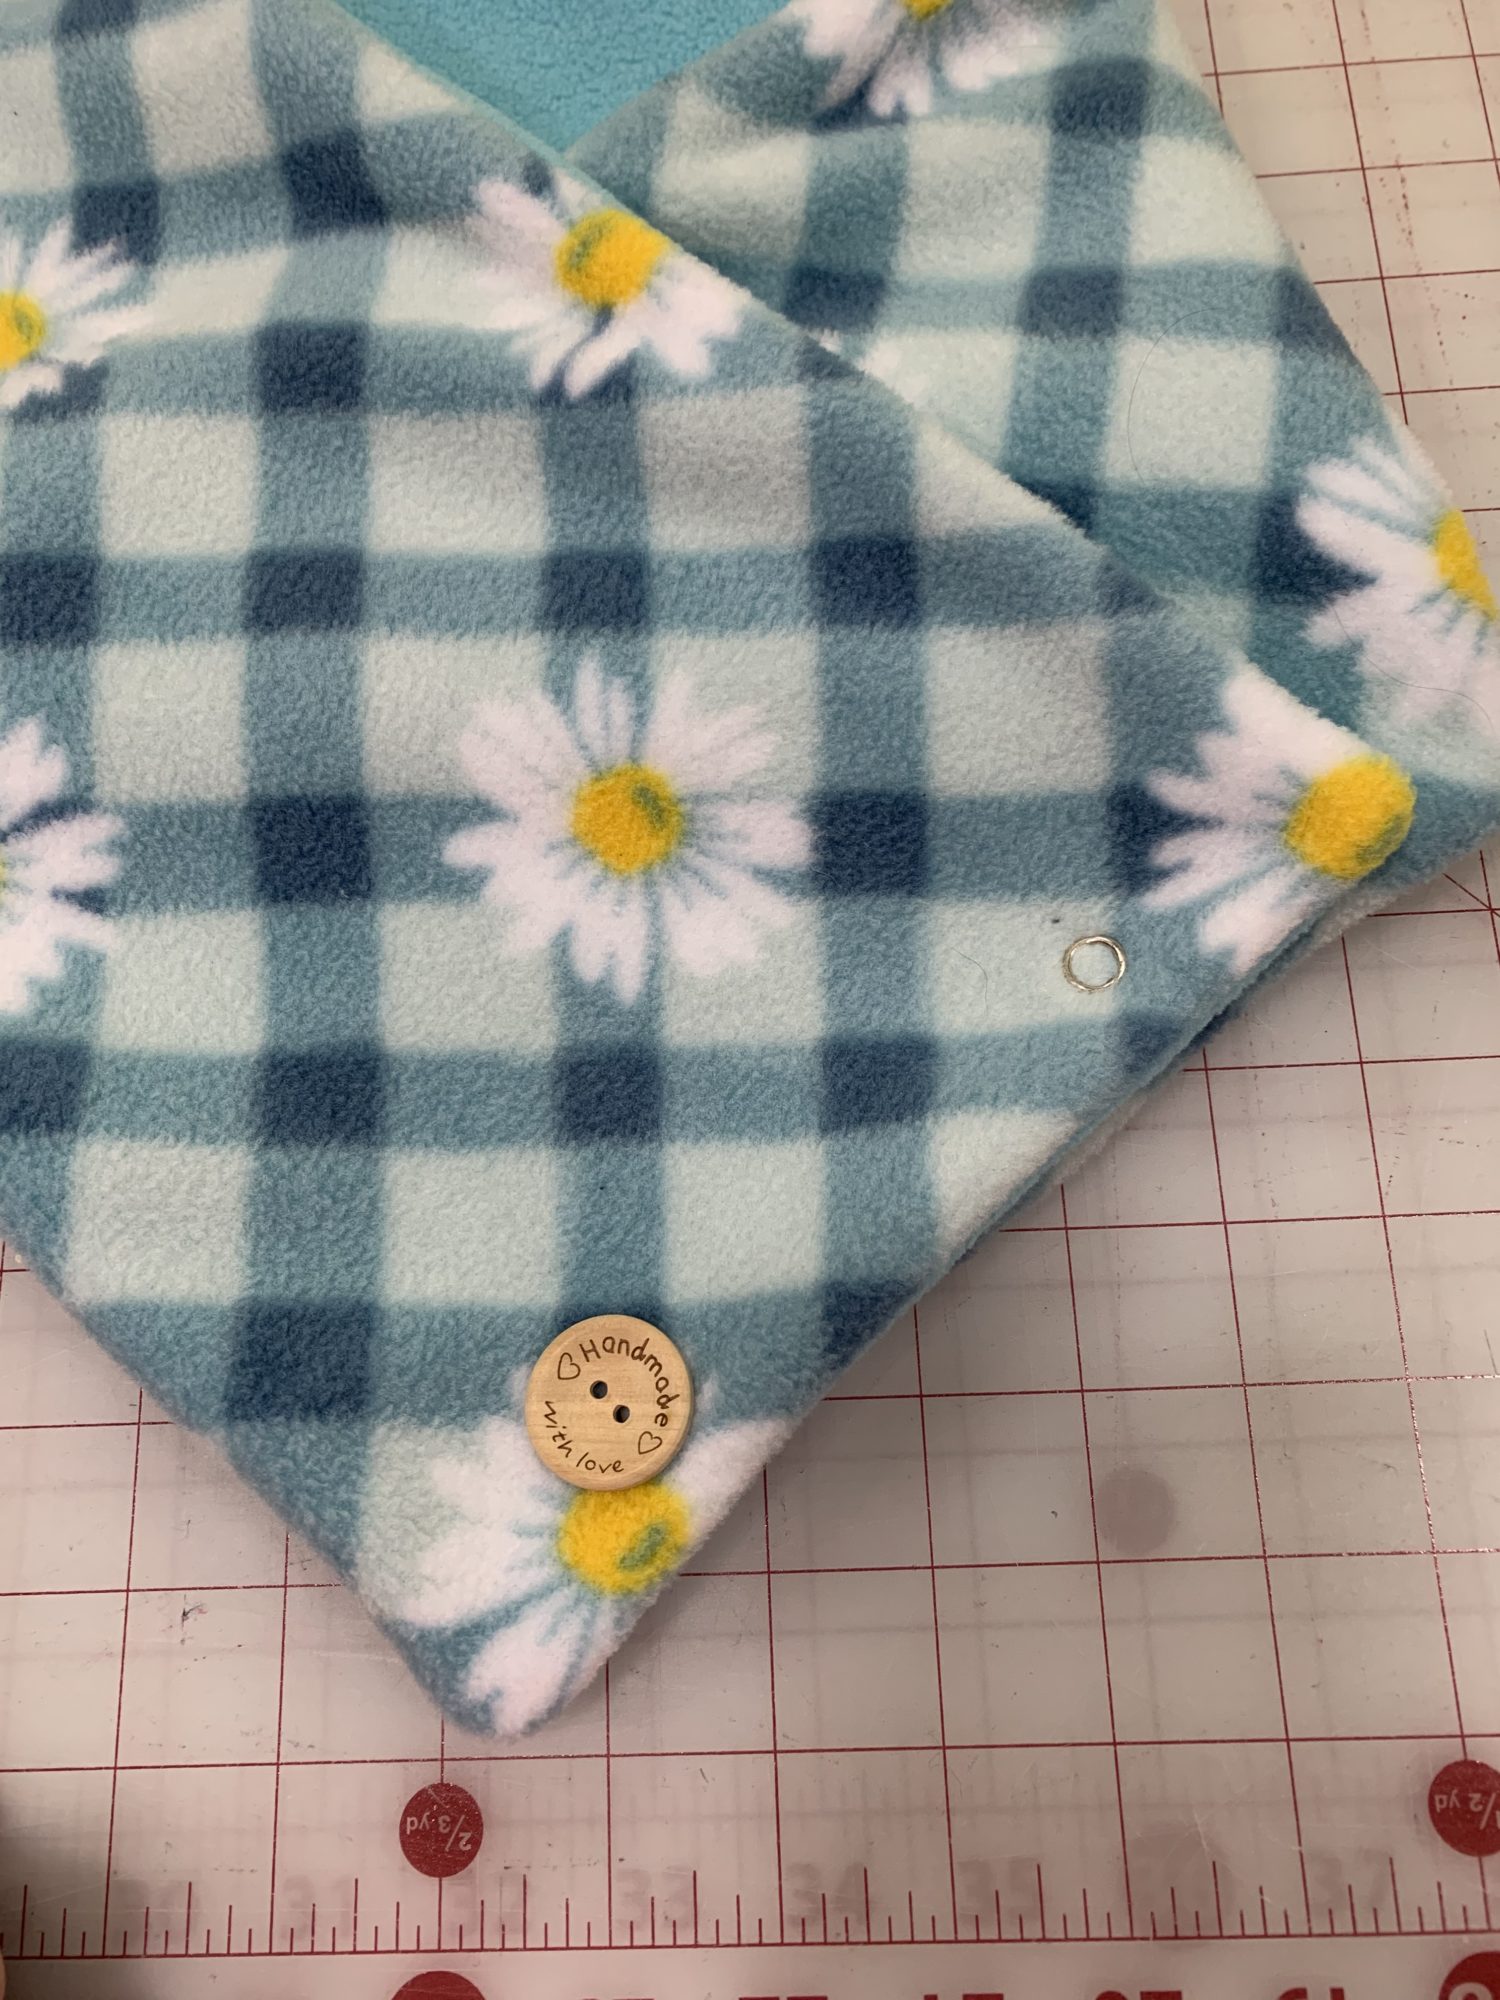
Determining button/snap placement
- I used two buttons, so I quartered the edge of my fabric so that my buttons would be even
- Fold one of your short edges in half and mark the center with a clip or pin
- Fold the top and bottom edges toward the center and mark the quarter points
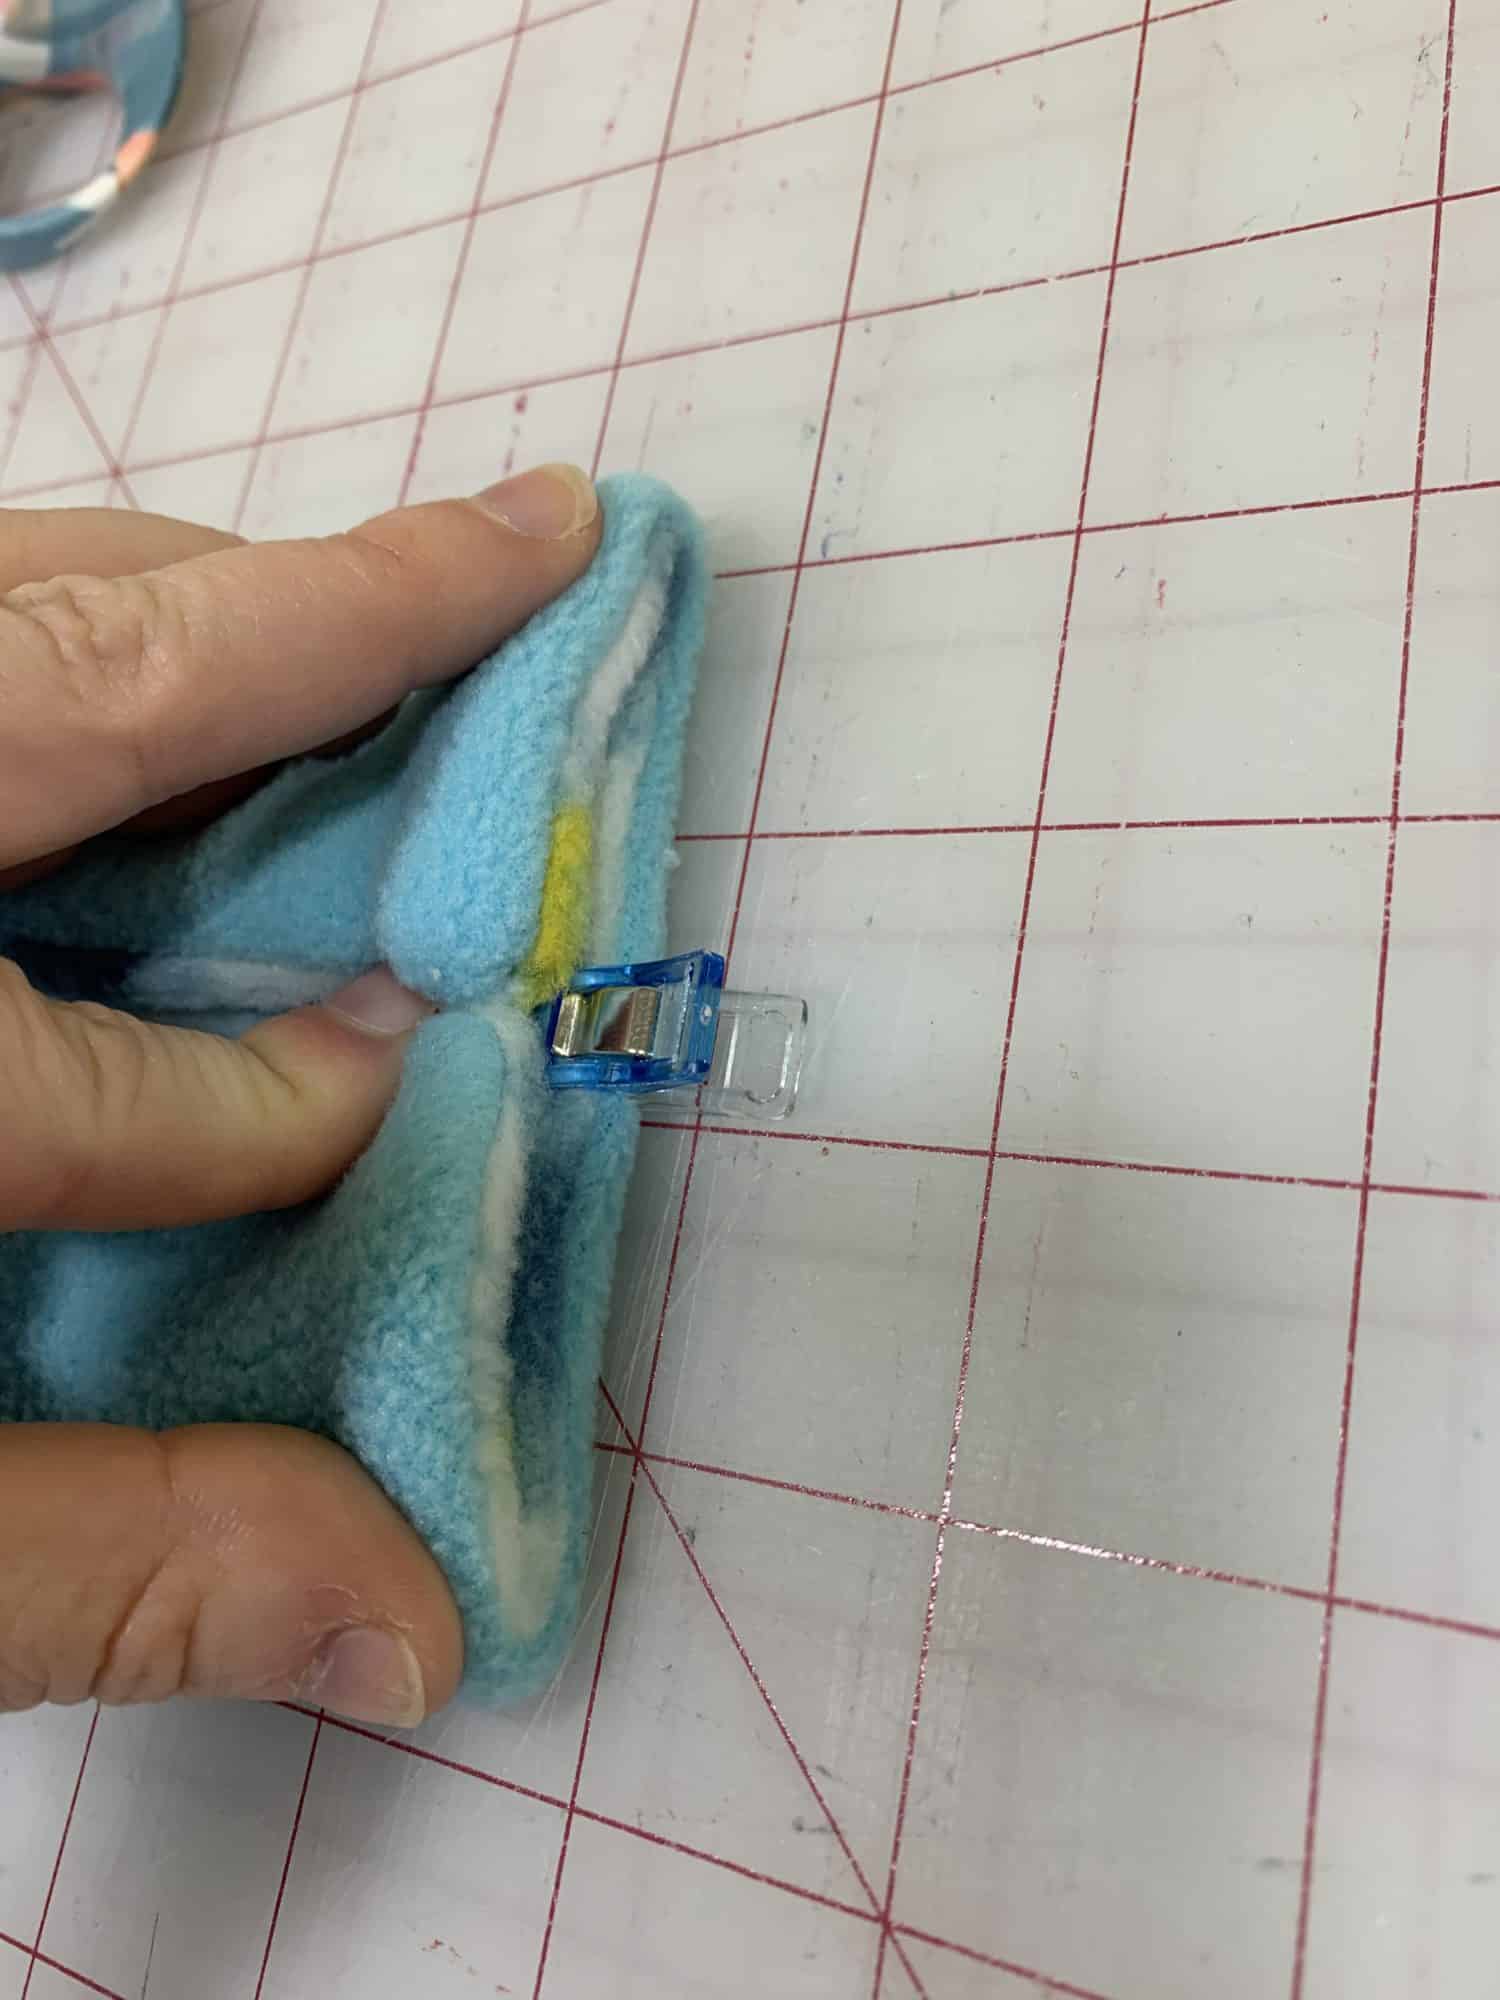
- Those two quarter marks will be the spots where you’ll put your buttons on the right side of the fabric and the snaps will go on the wrong side of the fabric
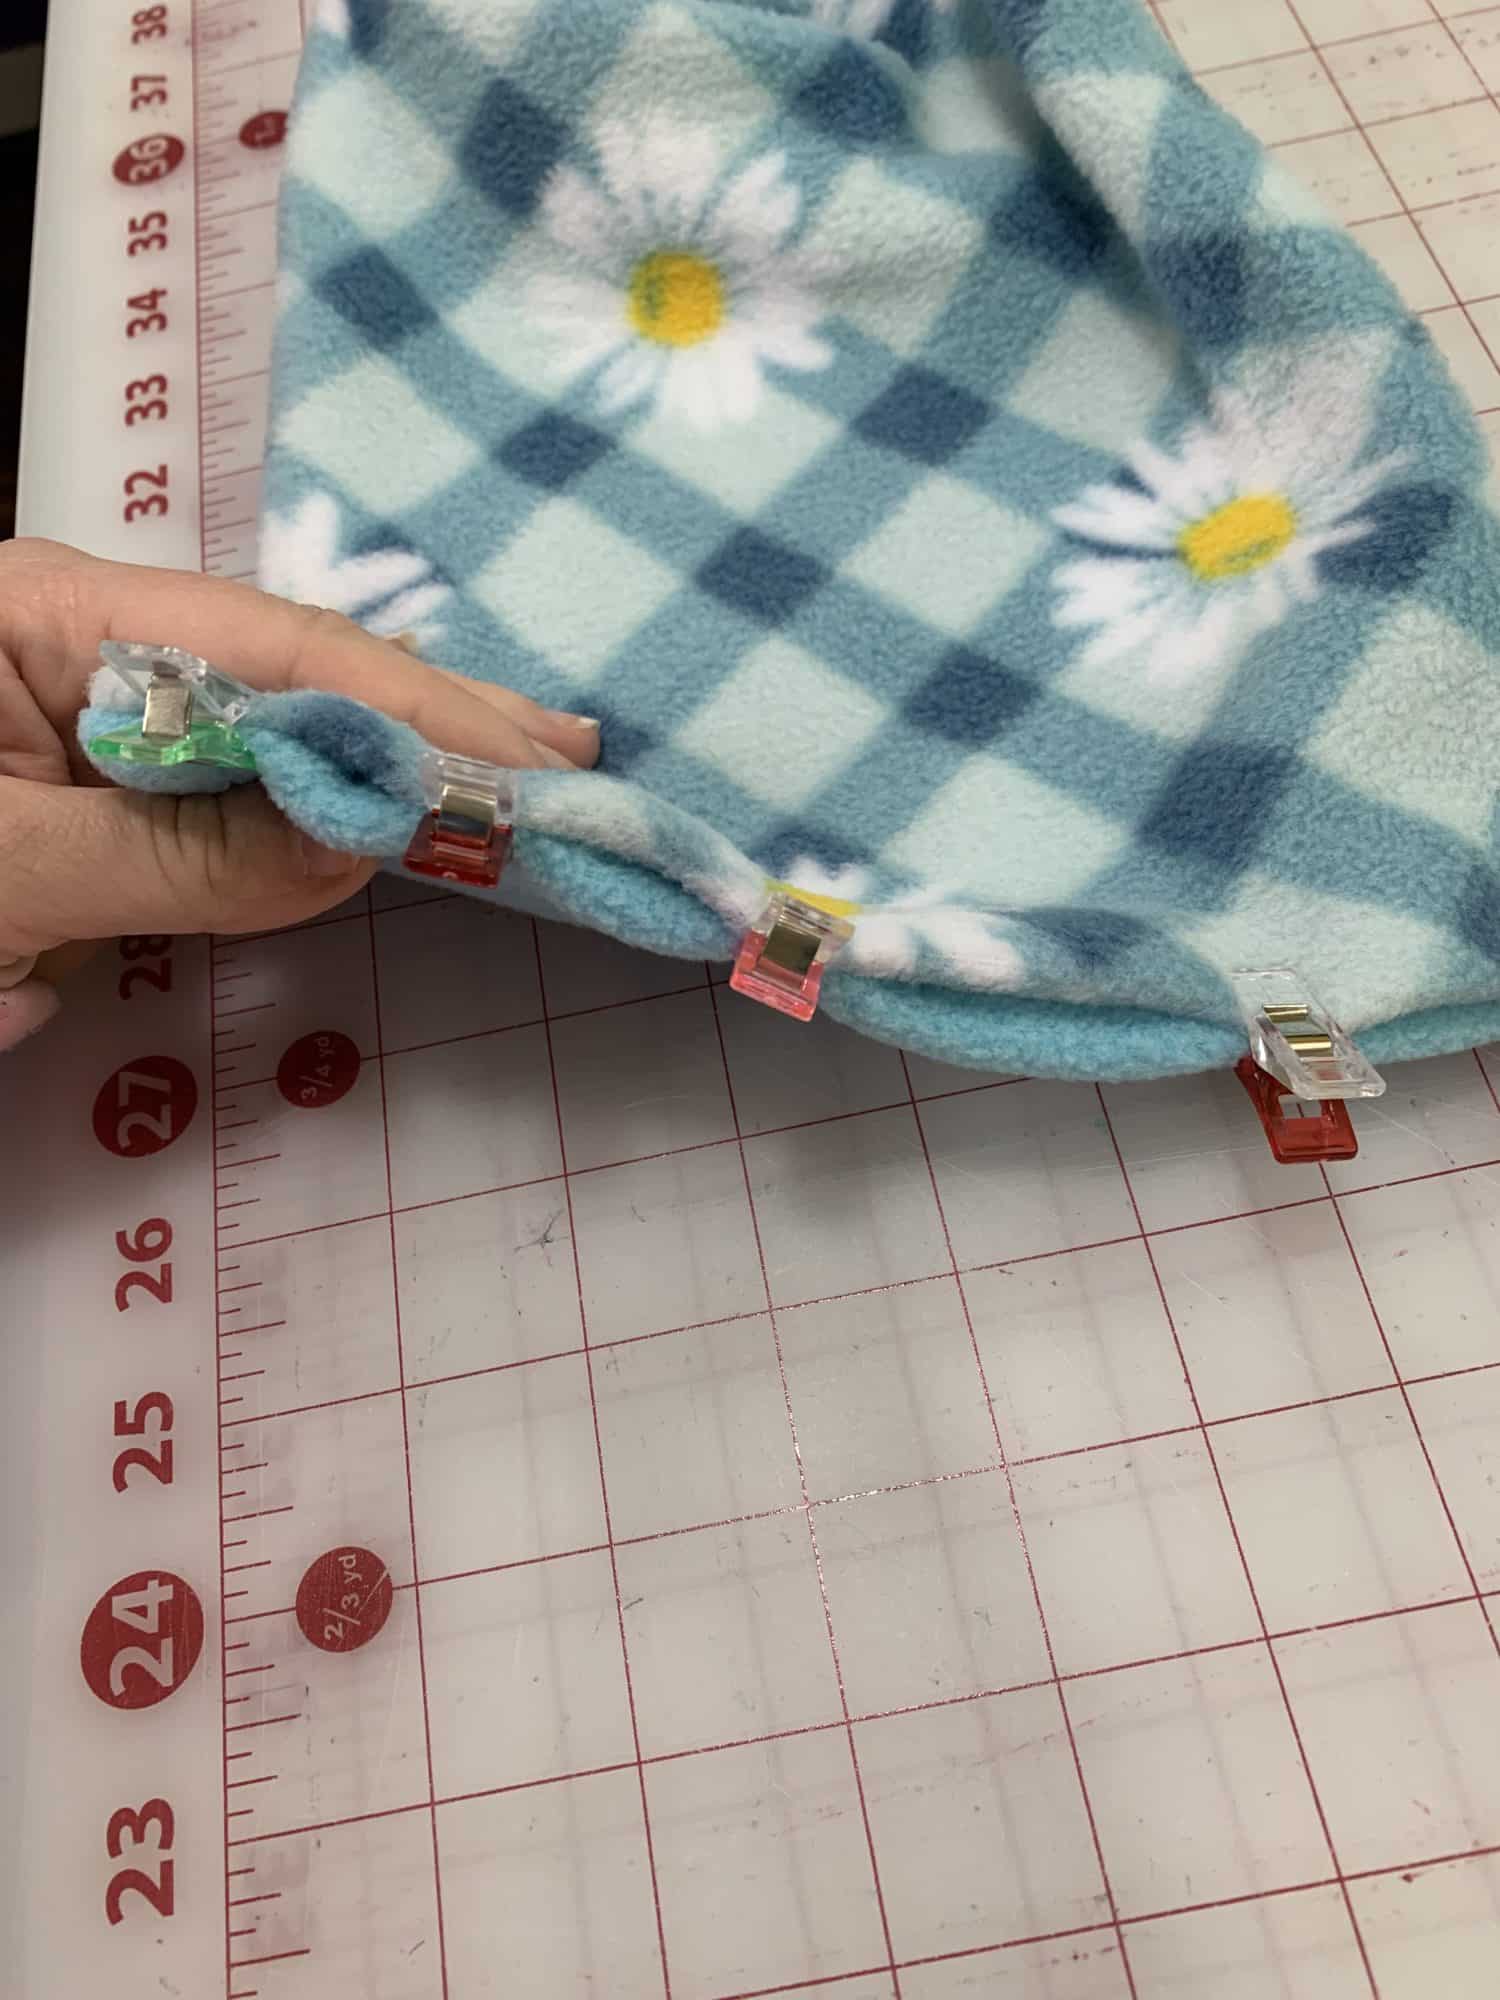
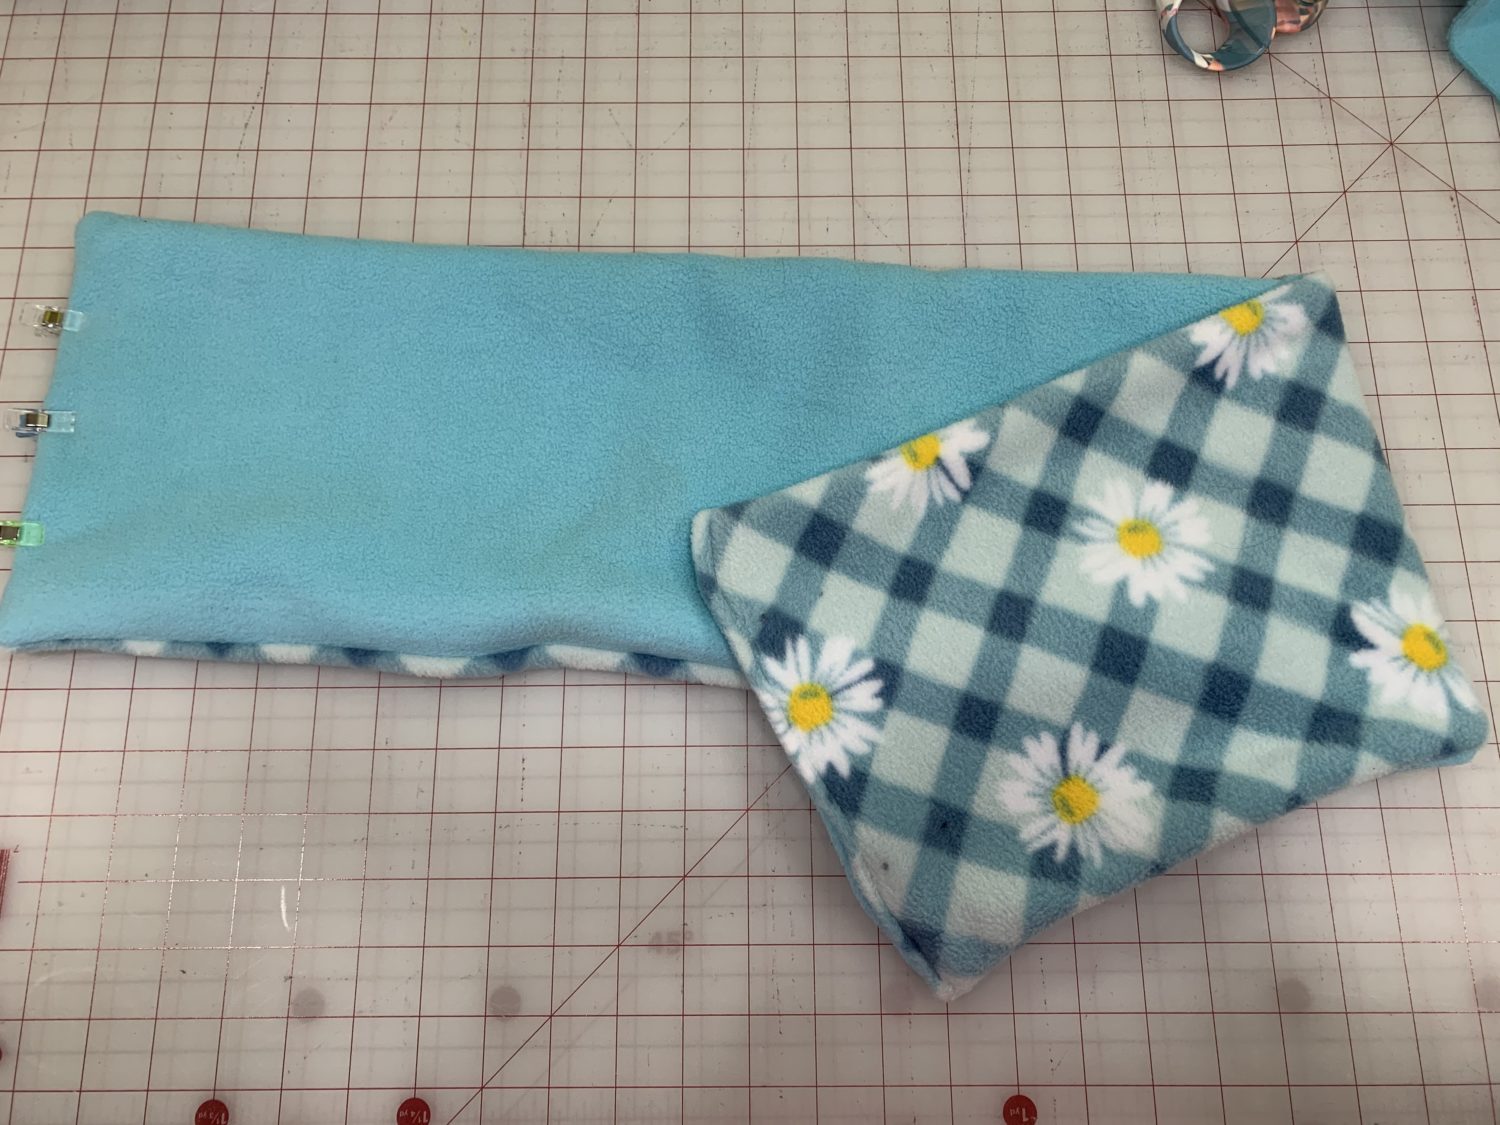
- Now, you’re going to fold your scarf to find the placement of the snaps on the other side of the scarf
- Lay your scarf out with wrong sides up
- Fold the side that you didn’t quarter in toward the center of the scarf
- Then, fold the side that you quartered in to meet the other side
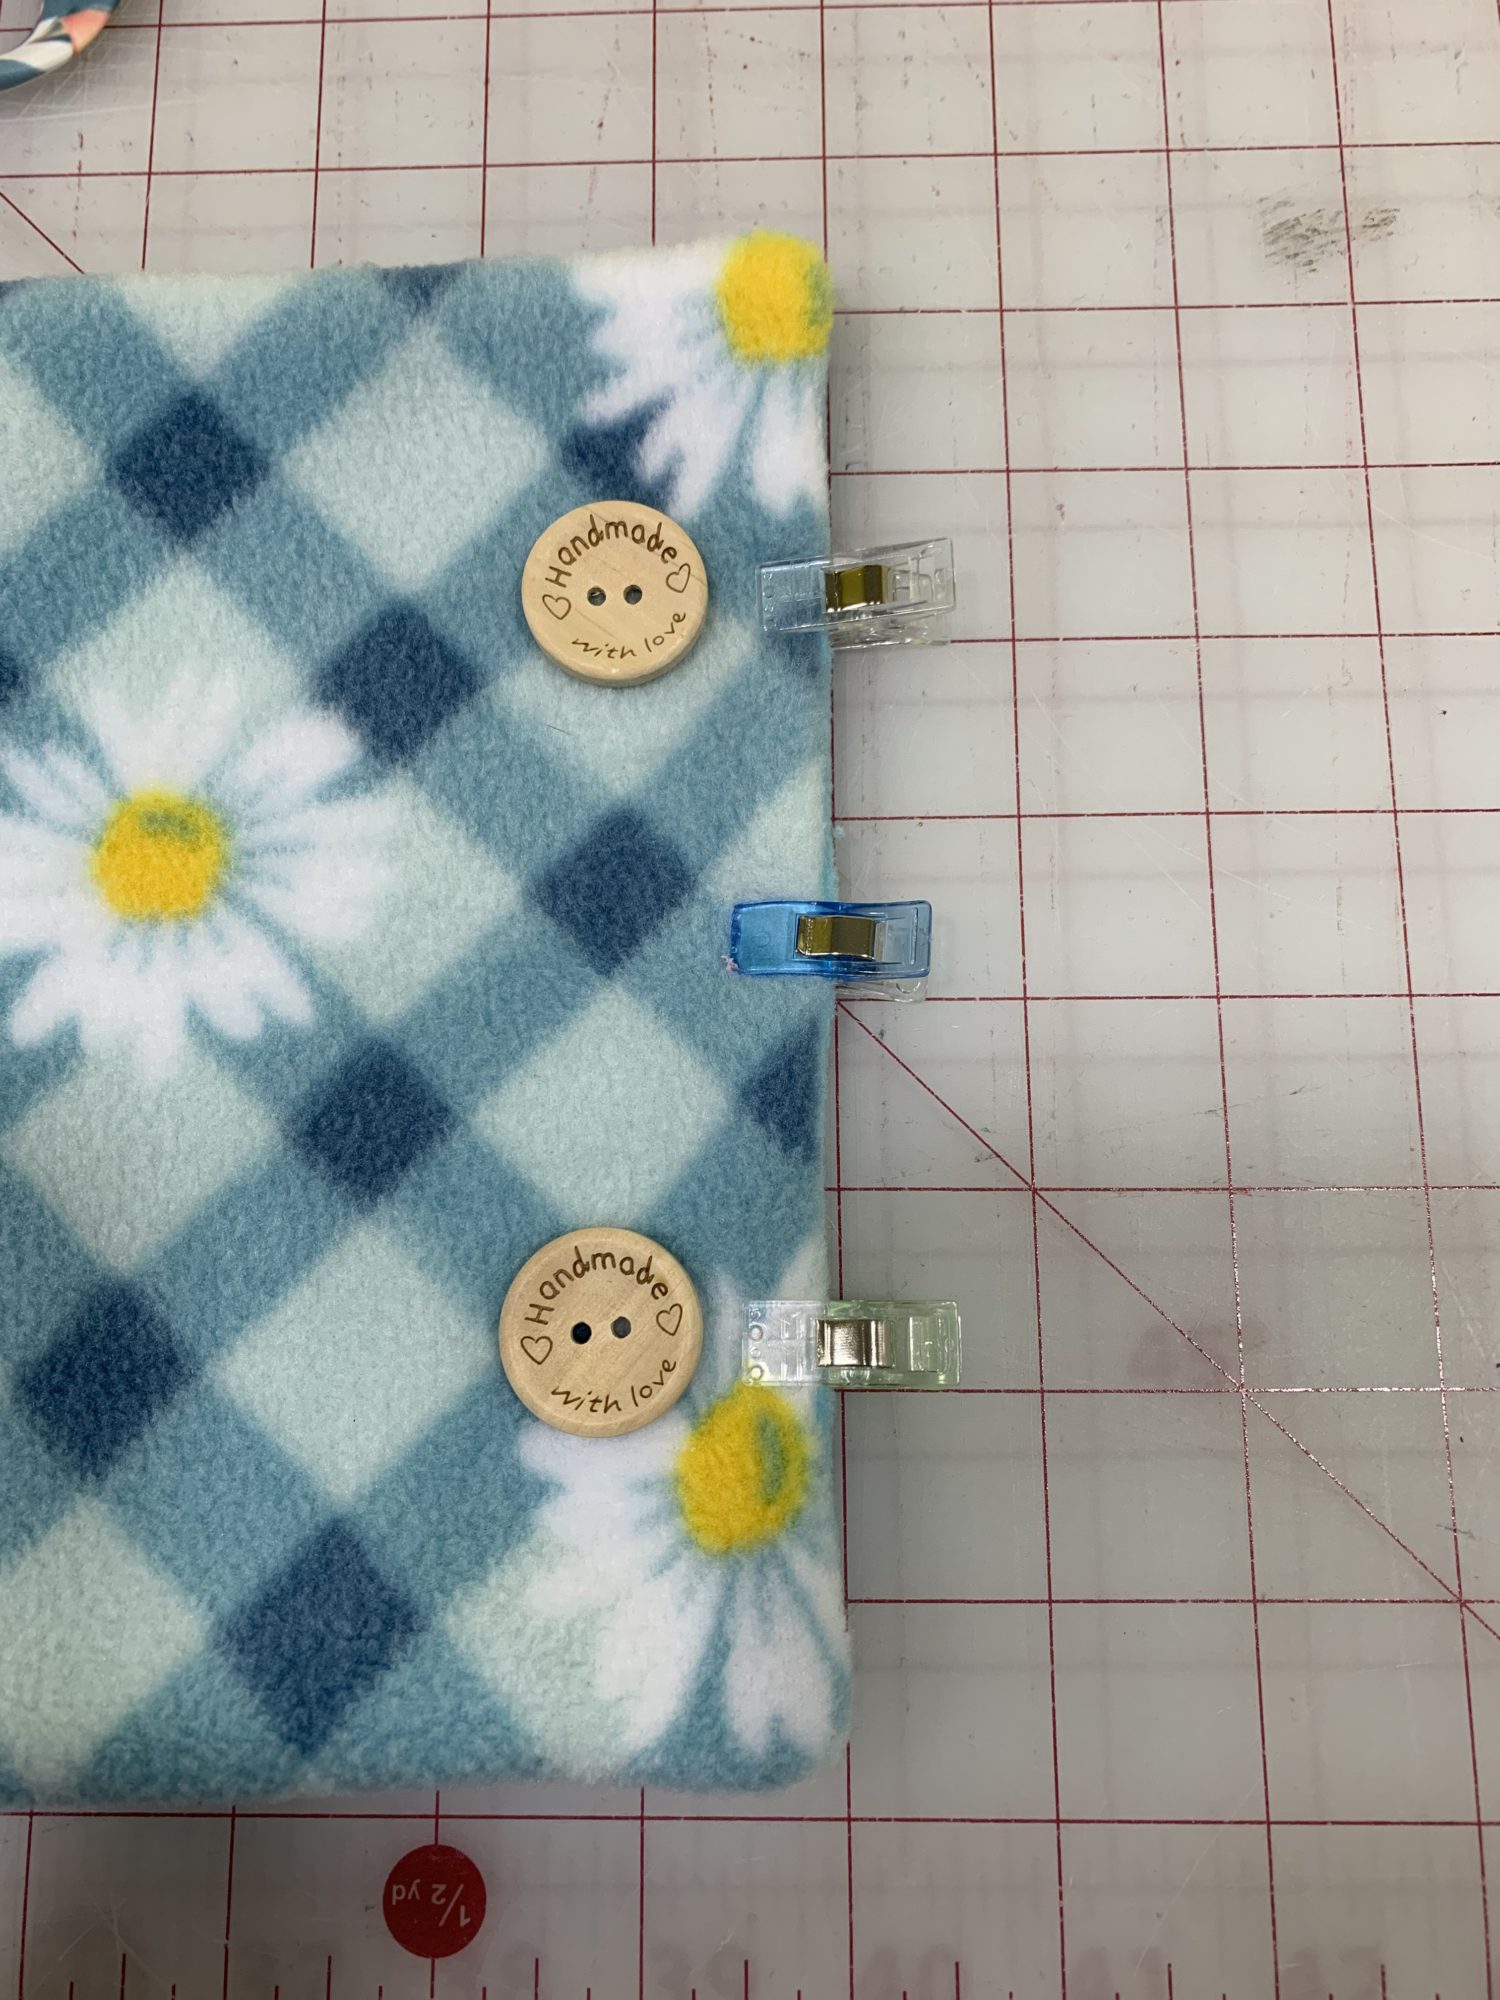
- Use the quarter points on the top short edge (button side) to mark the snap placement on the bottom edge so that they line up
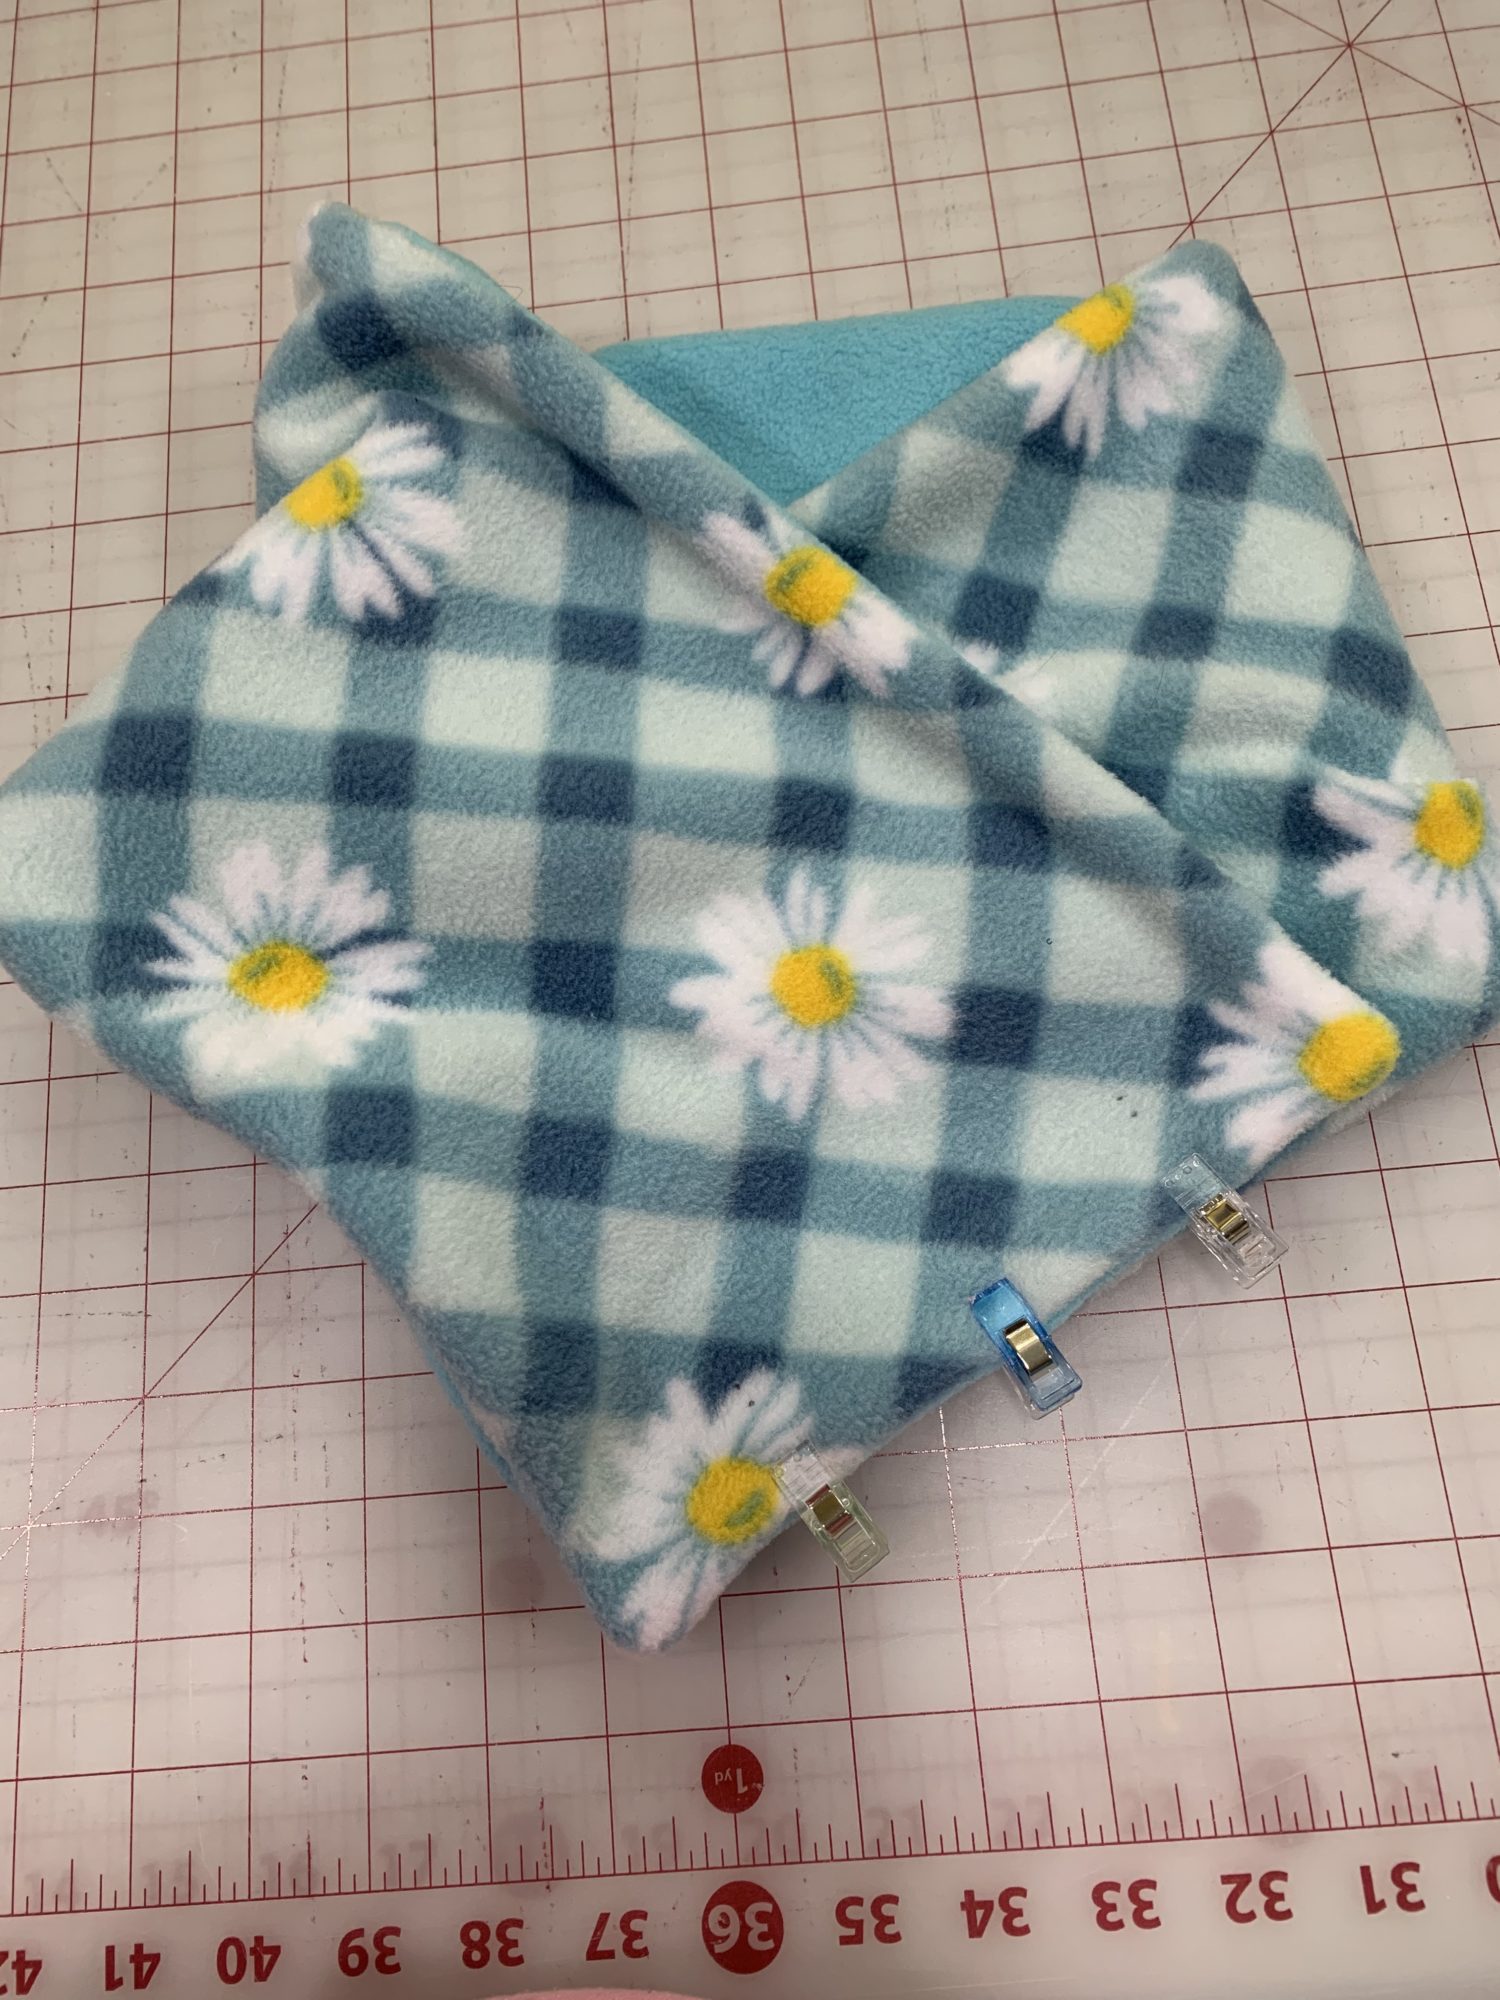
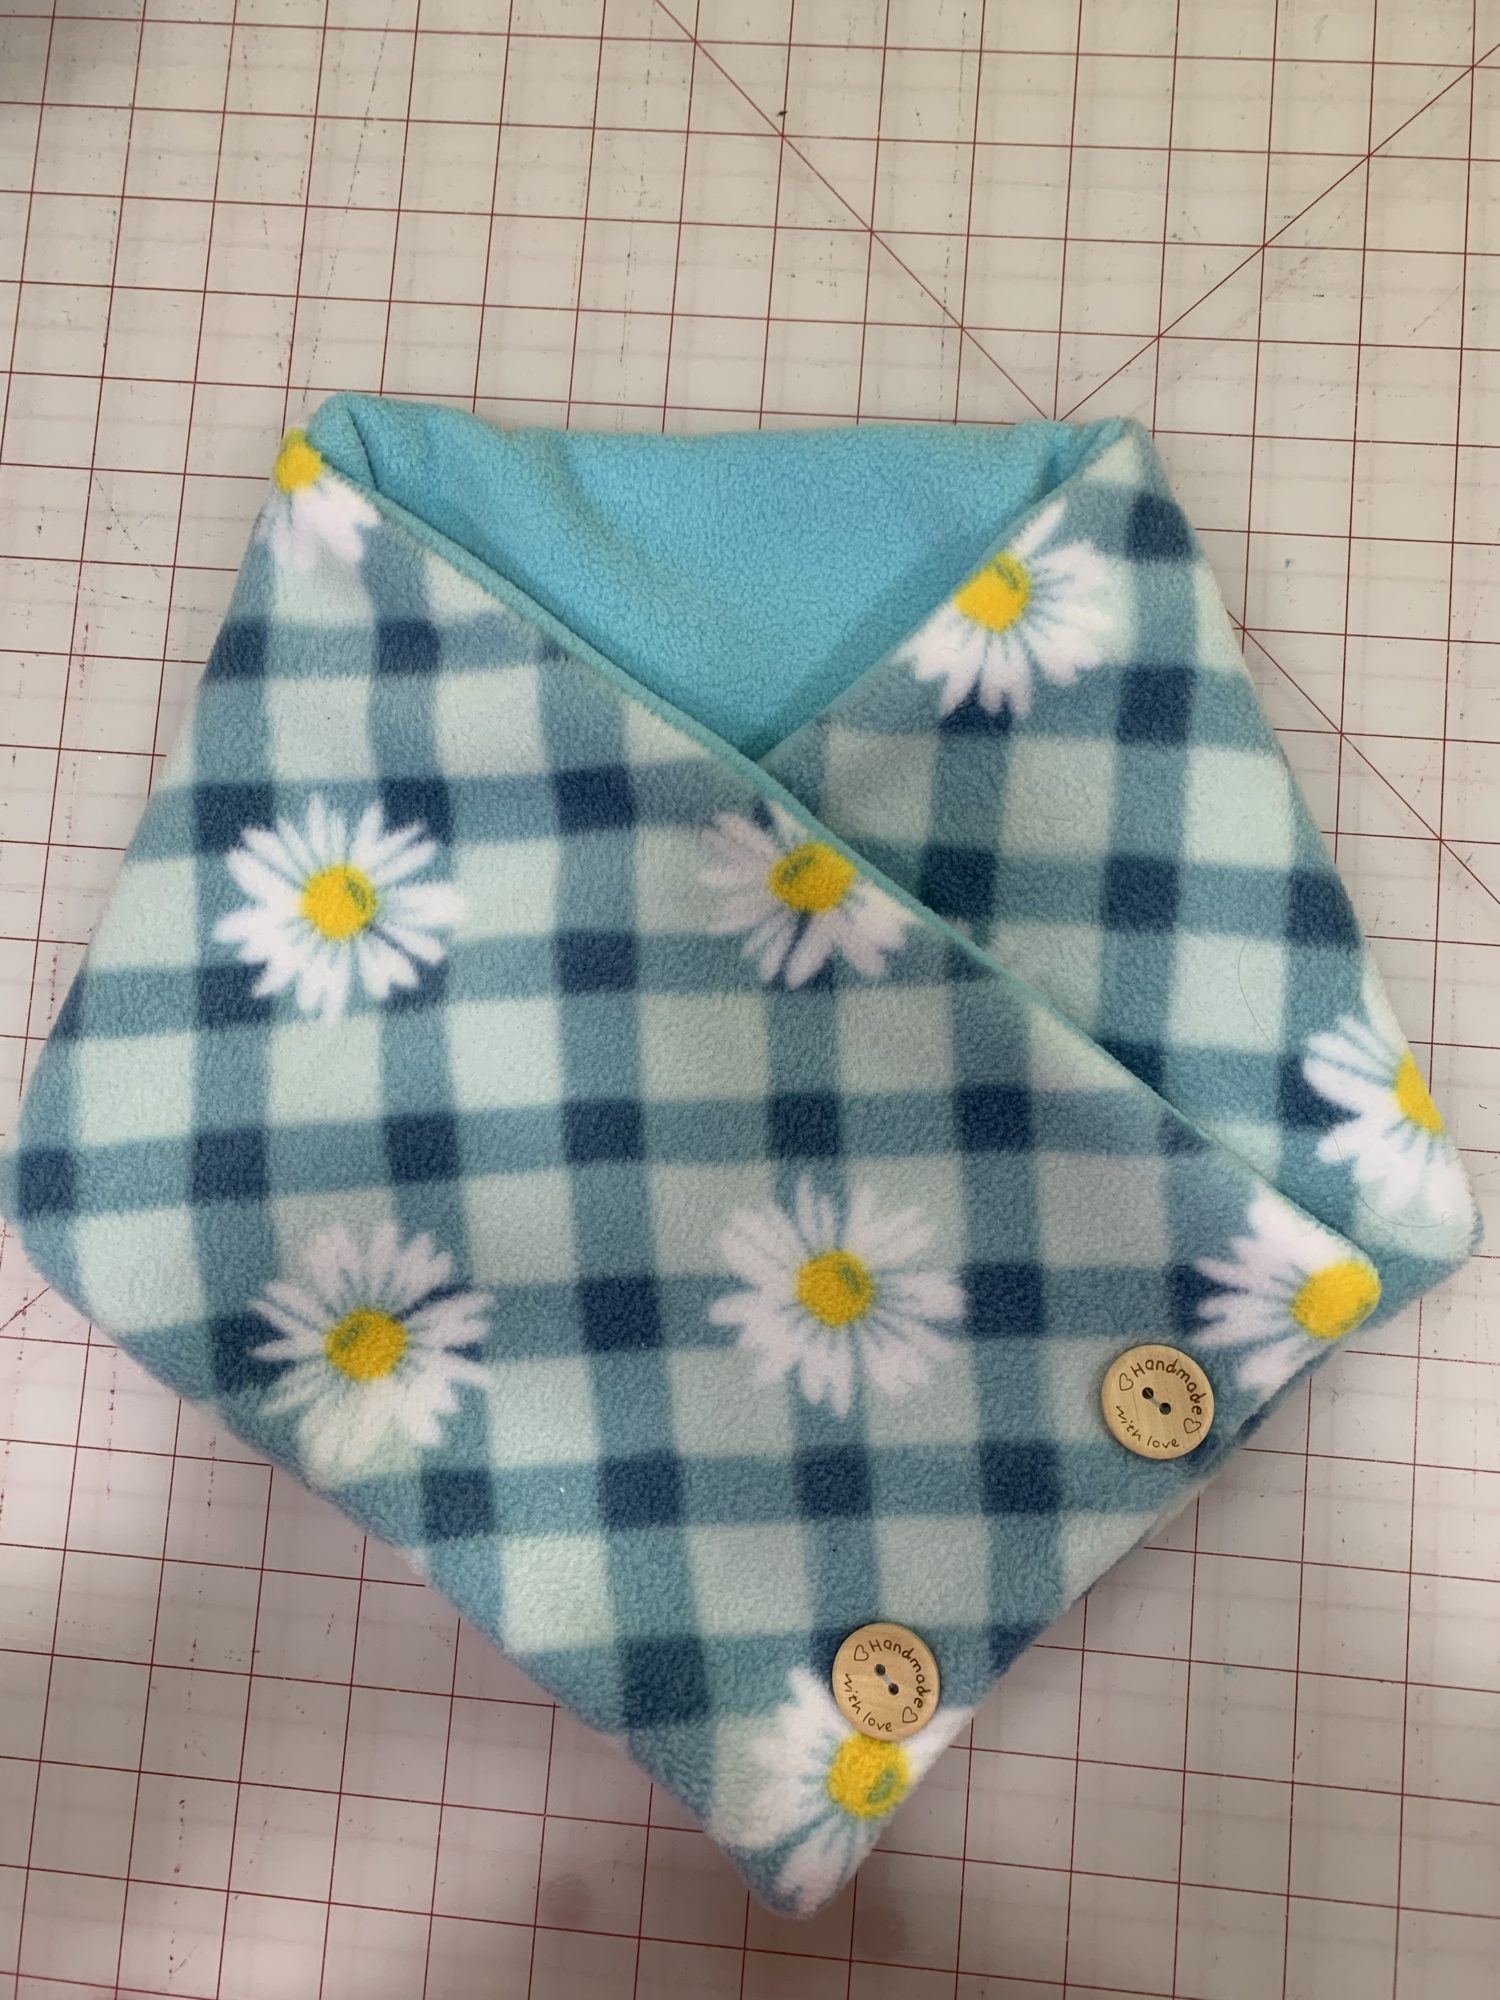
- The buttons will go on the right side (daisy) of the short edge that is on top and two snaps will go directly under the buttons on the wrong side (blue side). The other half of the two snaps will go on the right side of the side of the scarf side that is on the bottom. These snaps won’t go on the short edge, but on the long edge. This is so we end up with the triangle shape to the scarf. See the below for a graphic to visually explain that
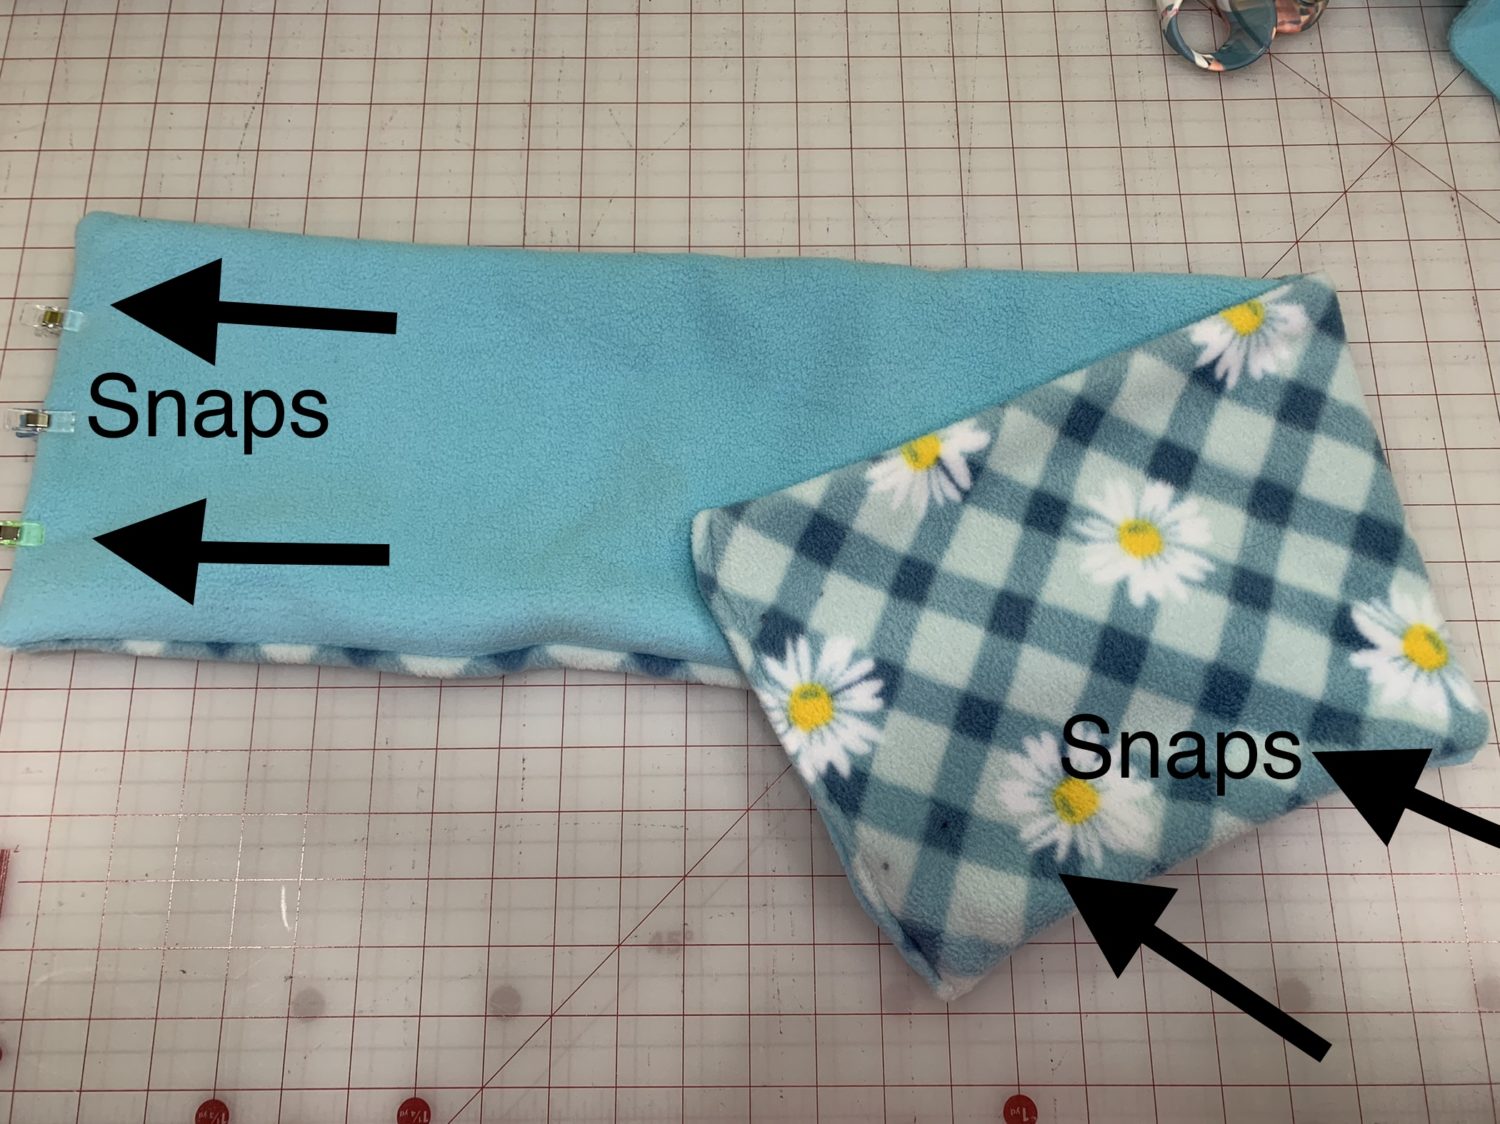
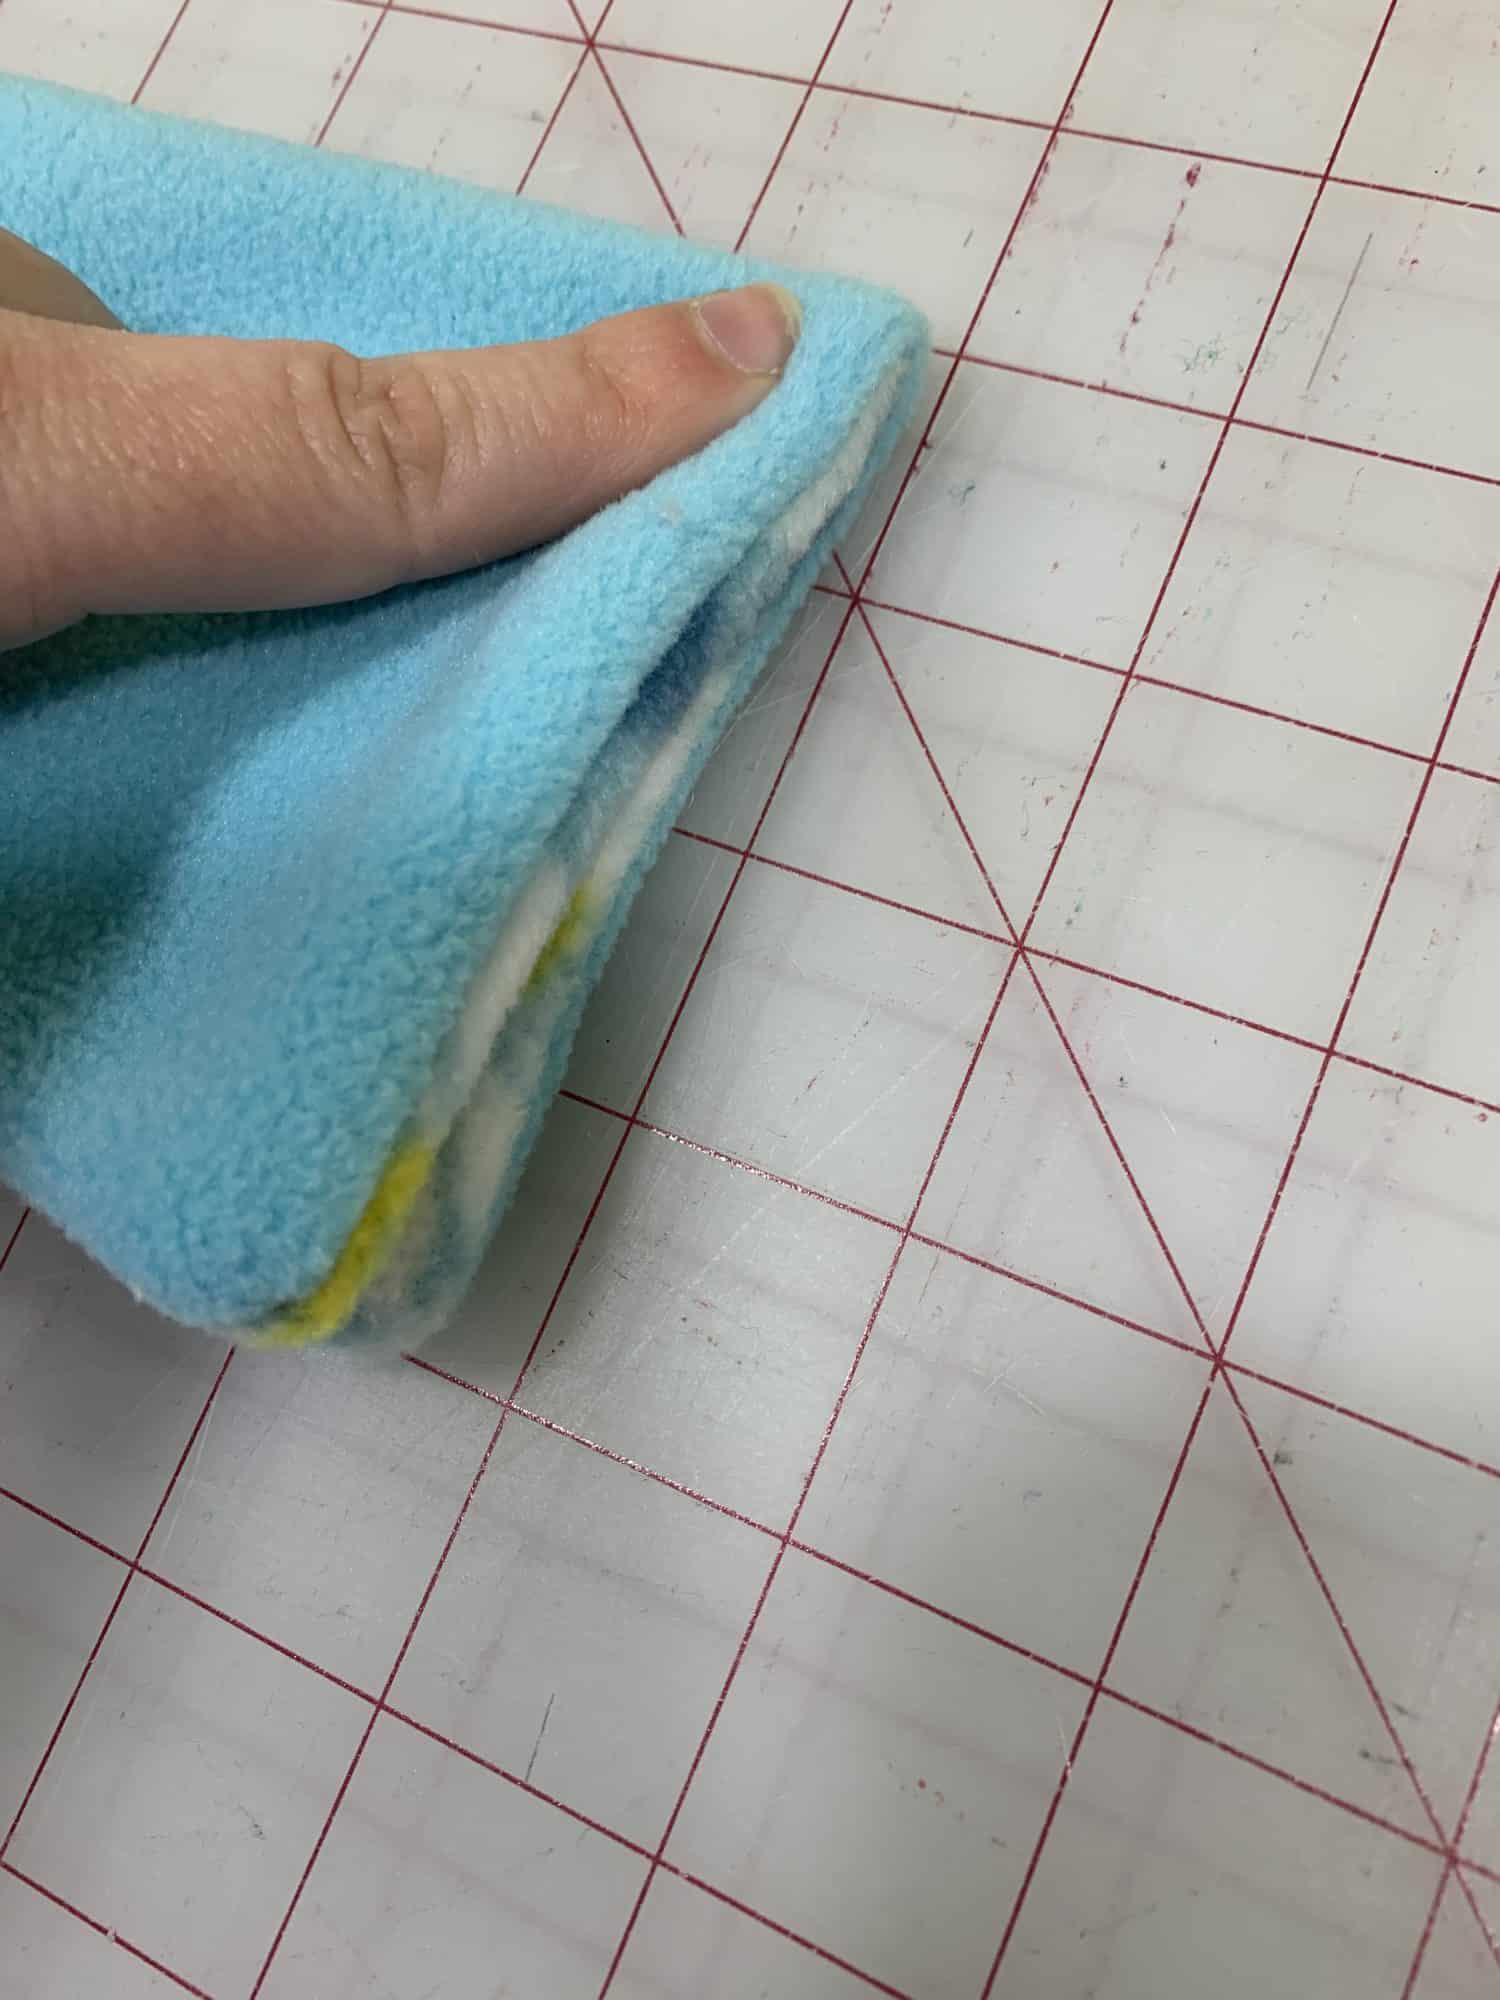
- Here is what it looks like from the side
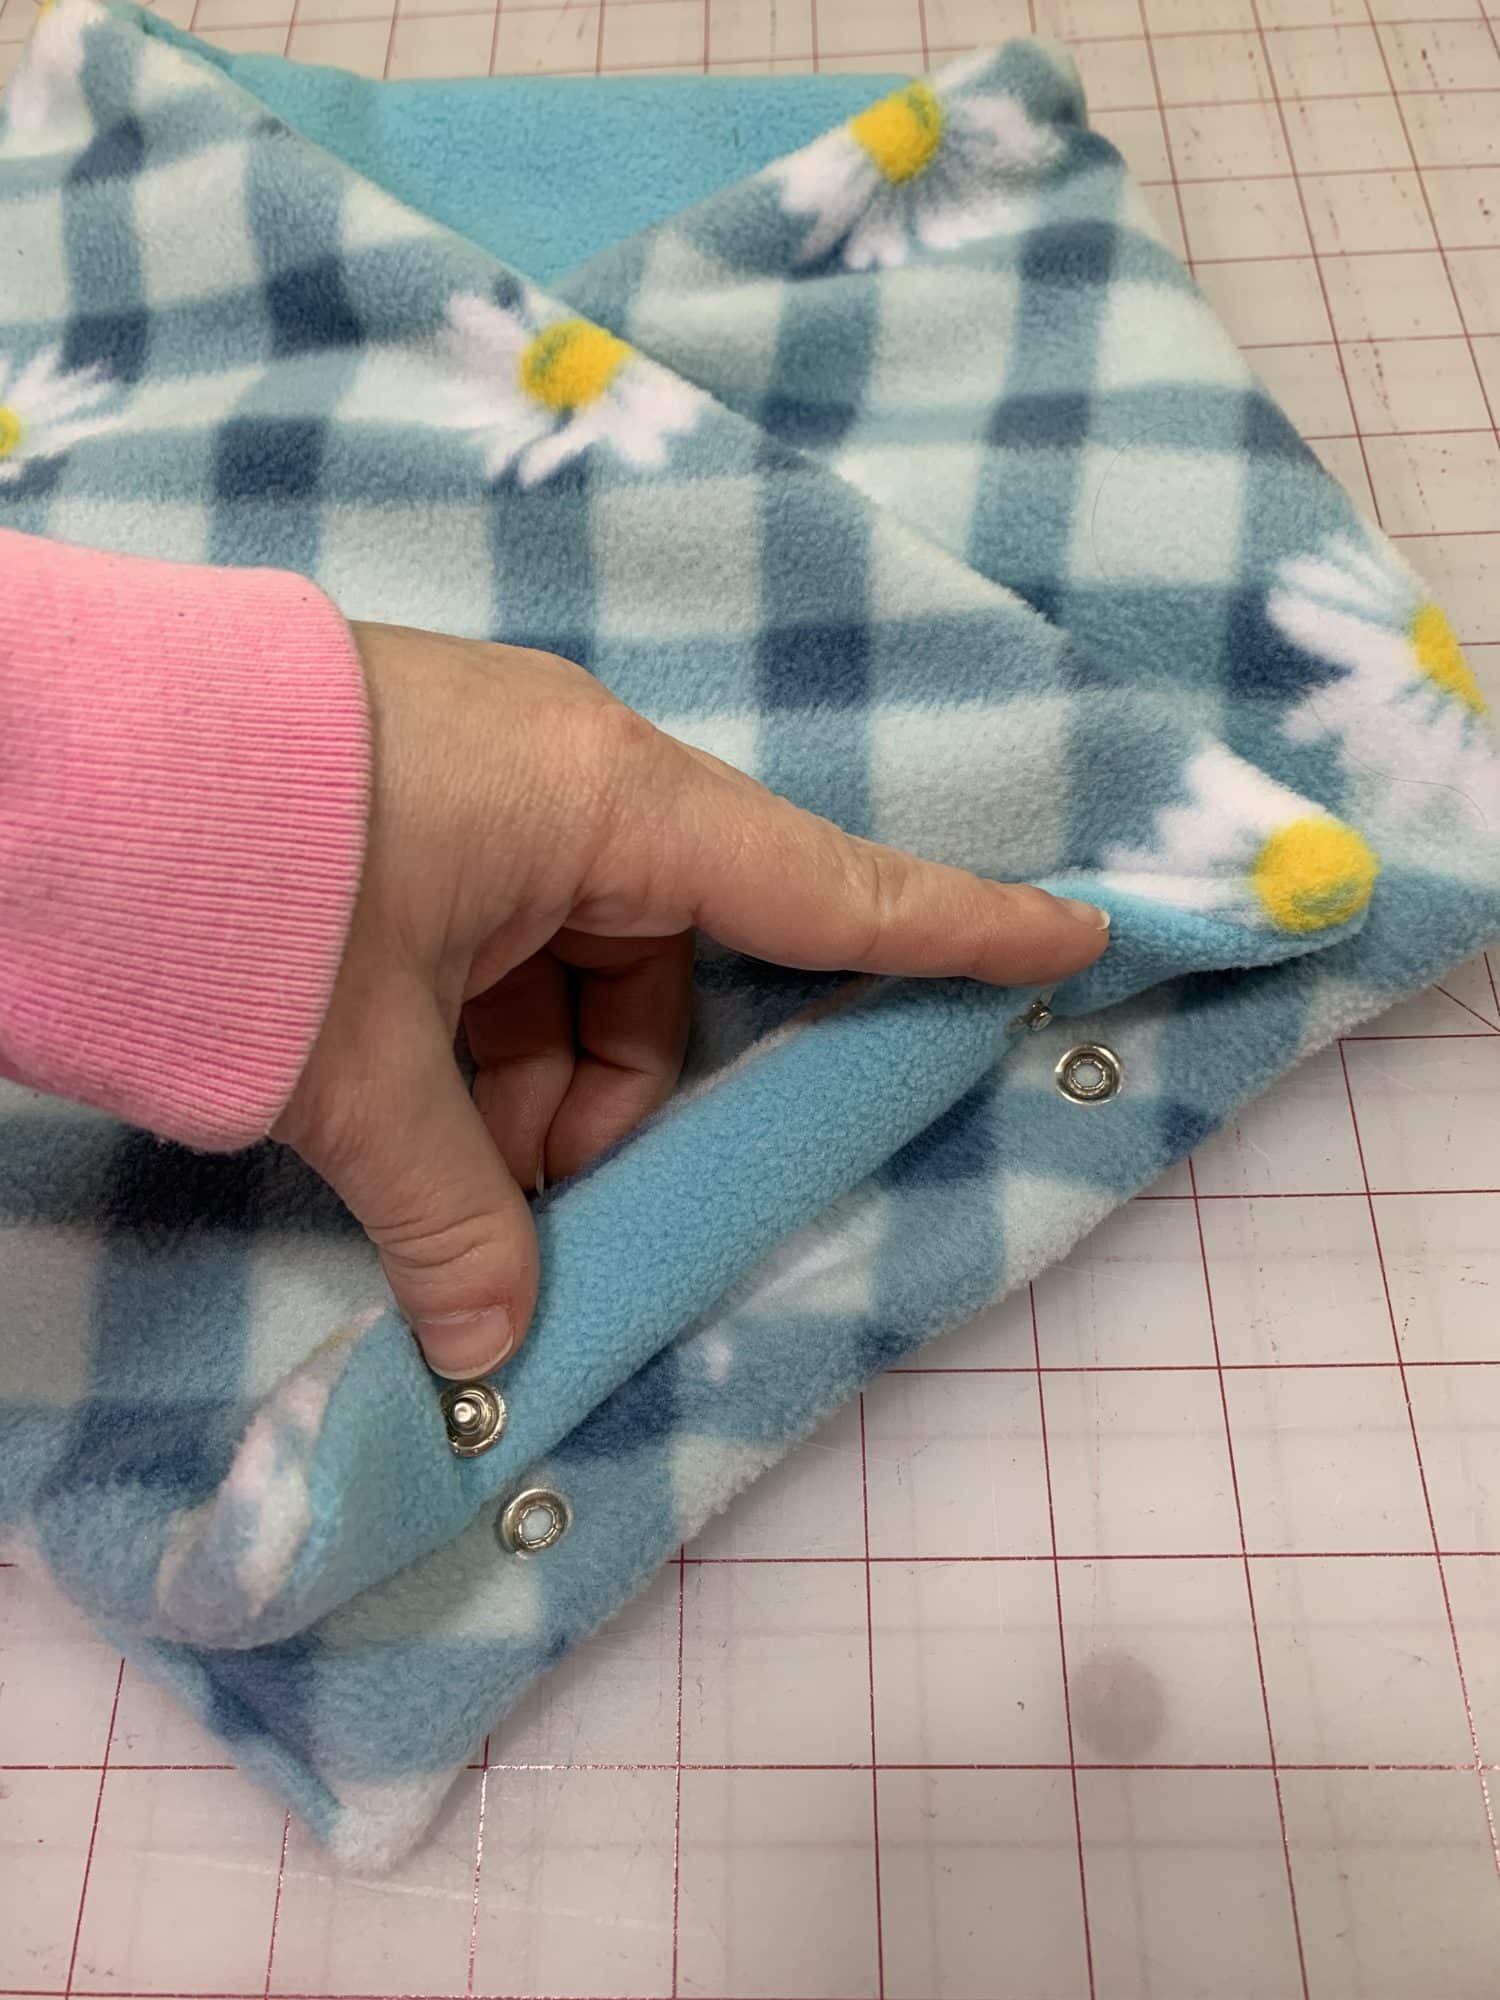
Apply snaps
- Now that you marked all the snap placement points, it is time to add your snaps
- After adding snaps, make sure that everything lines up and snaps together
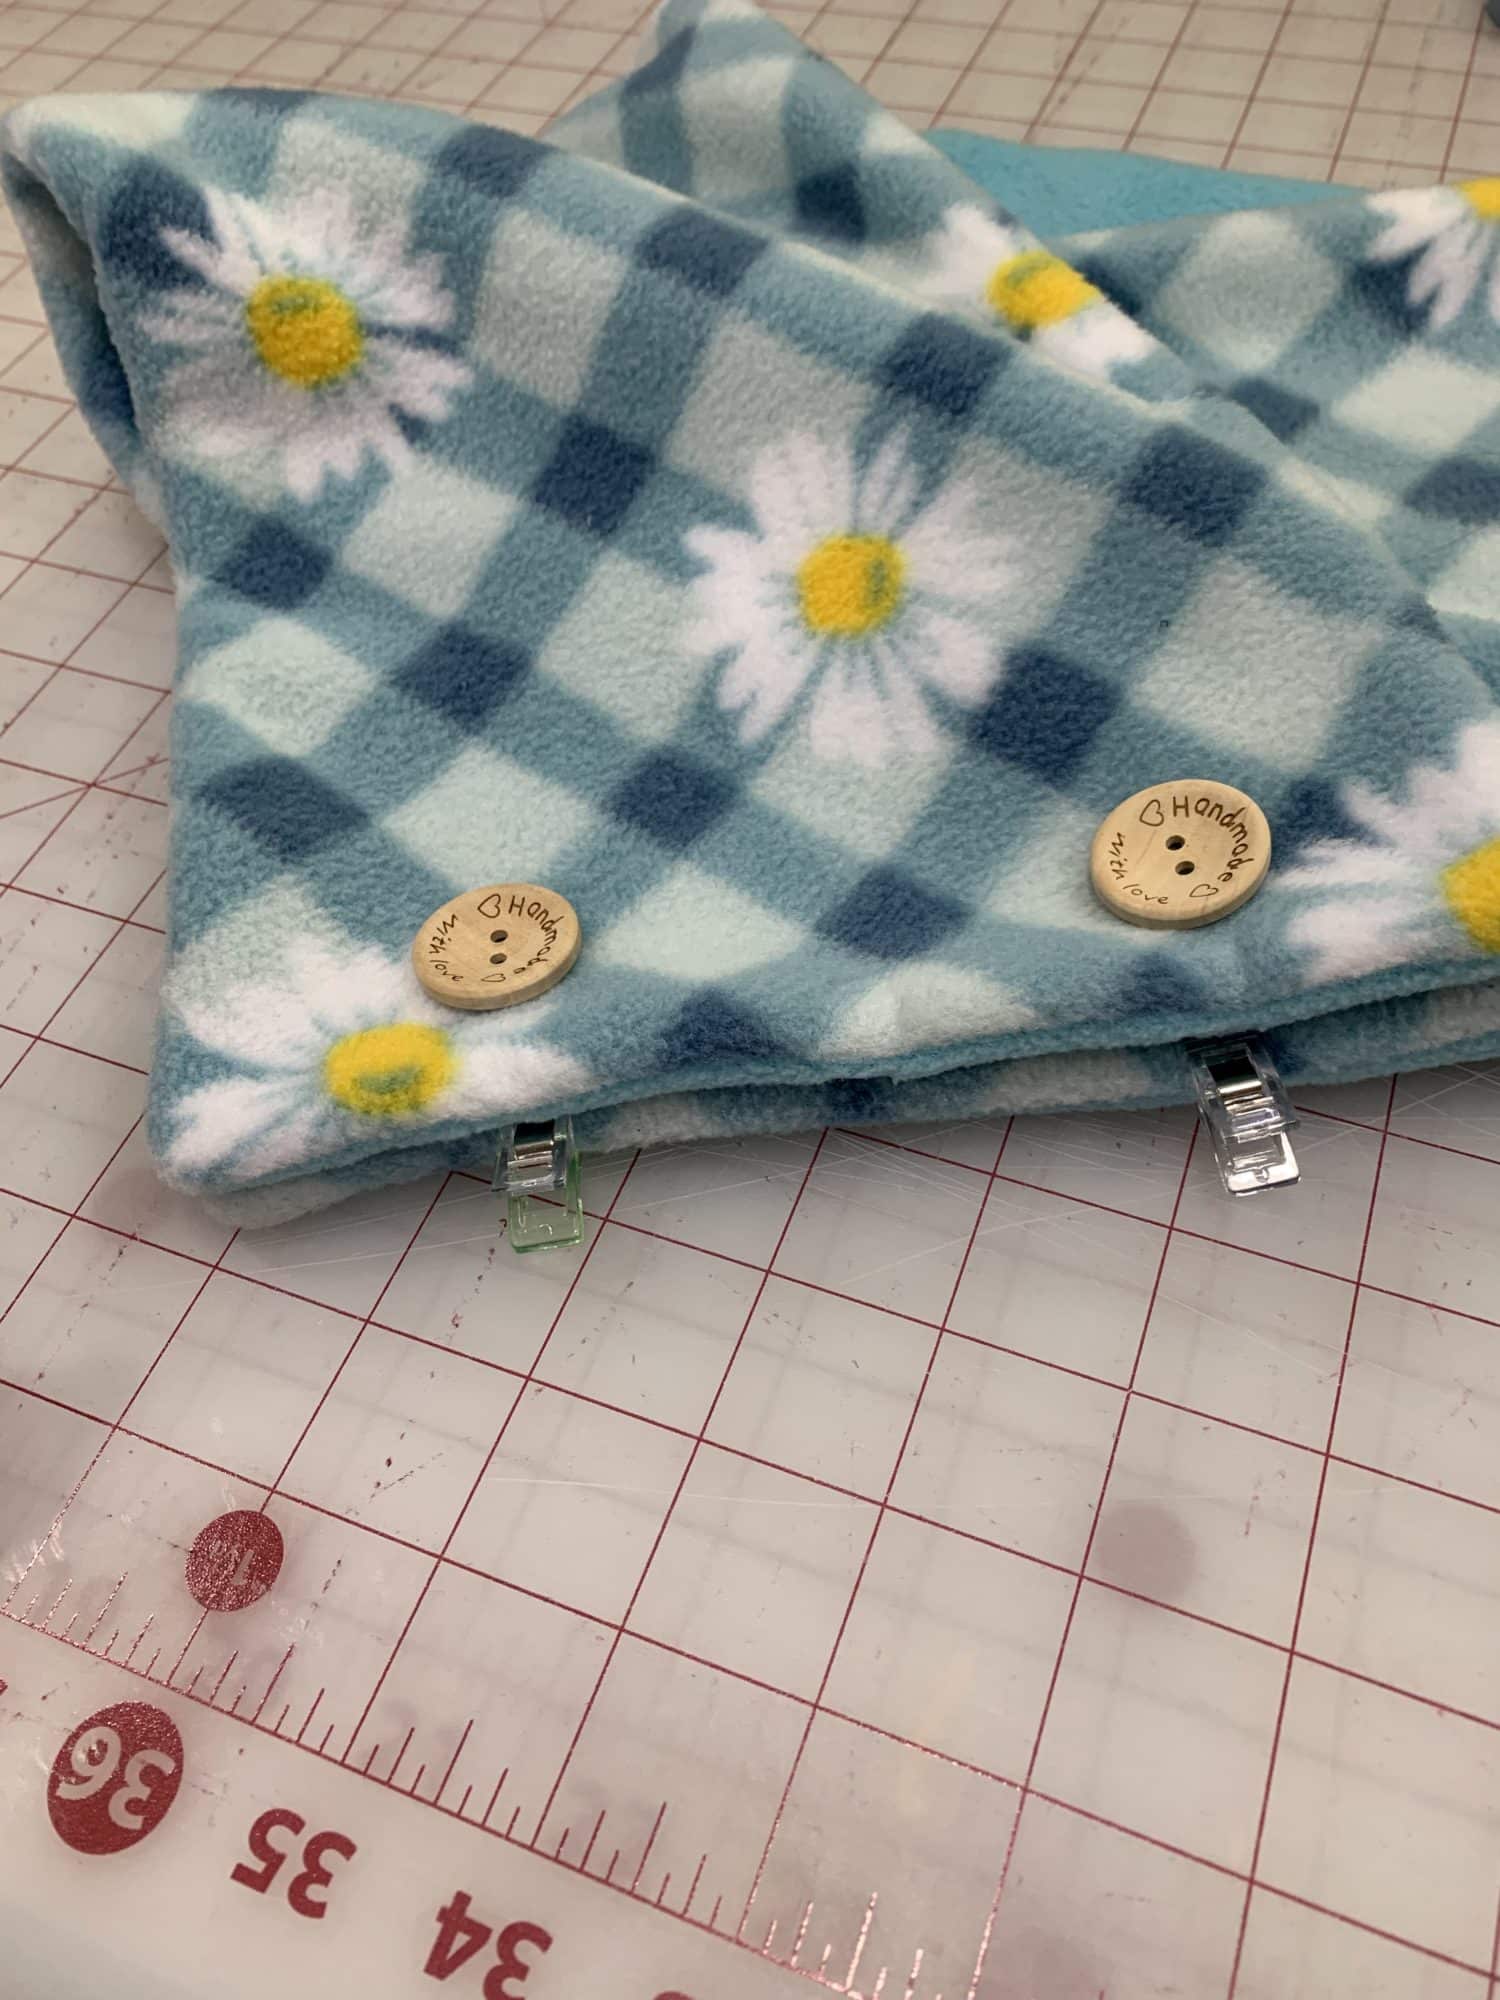
Add your buttons to the top
- The last thing to do is to hand sew your buttons to hide the snaps on the top right side of your scarf
You did it!
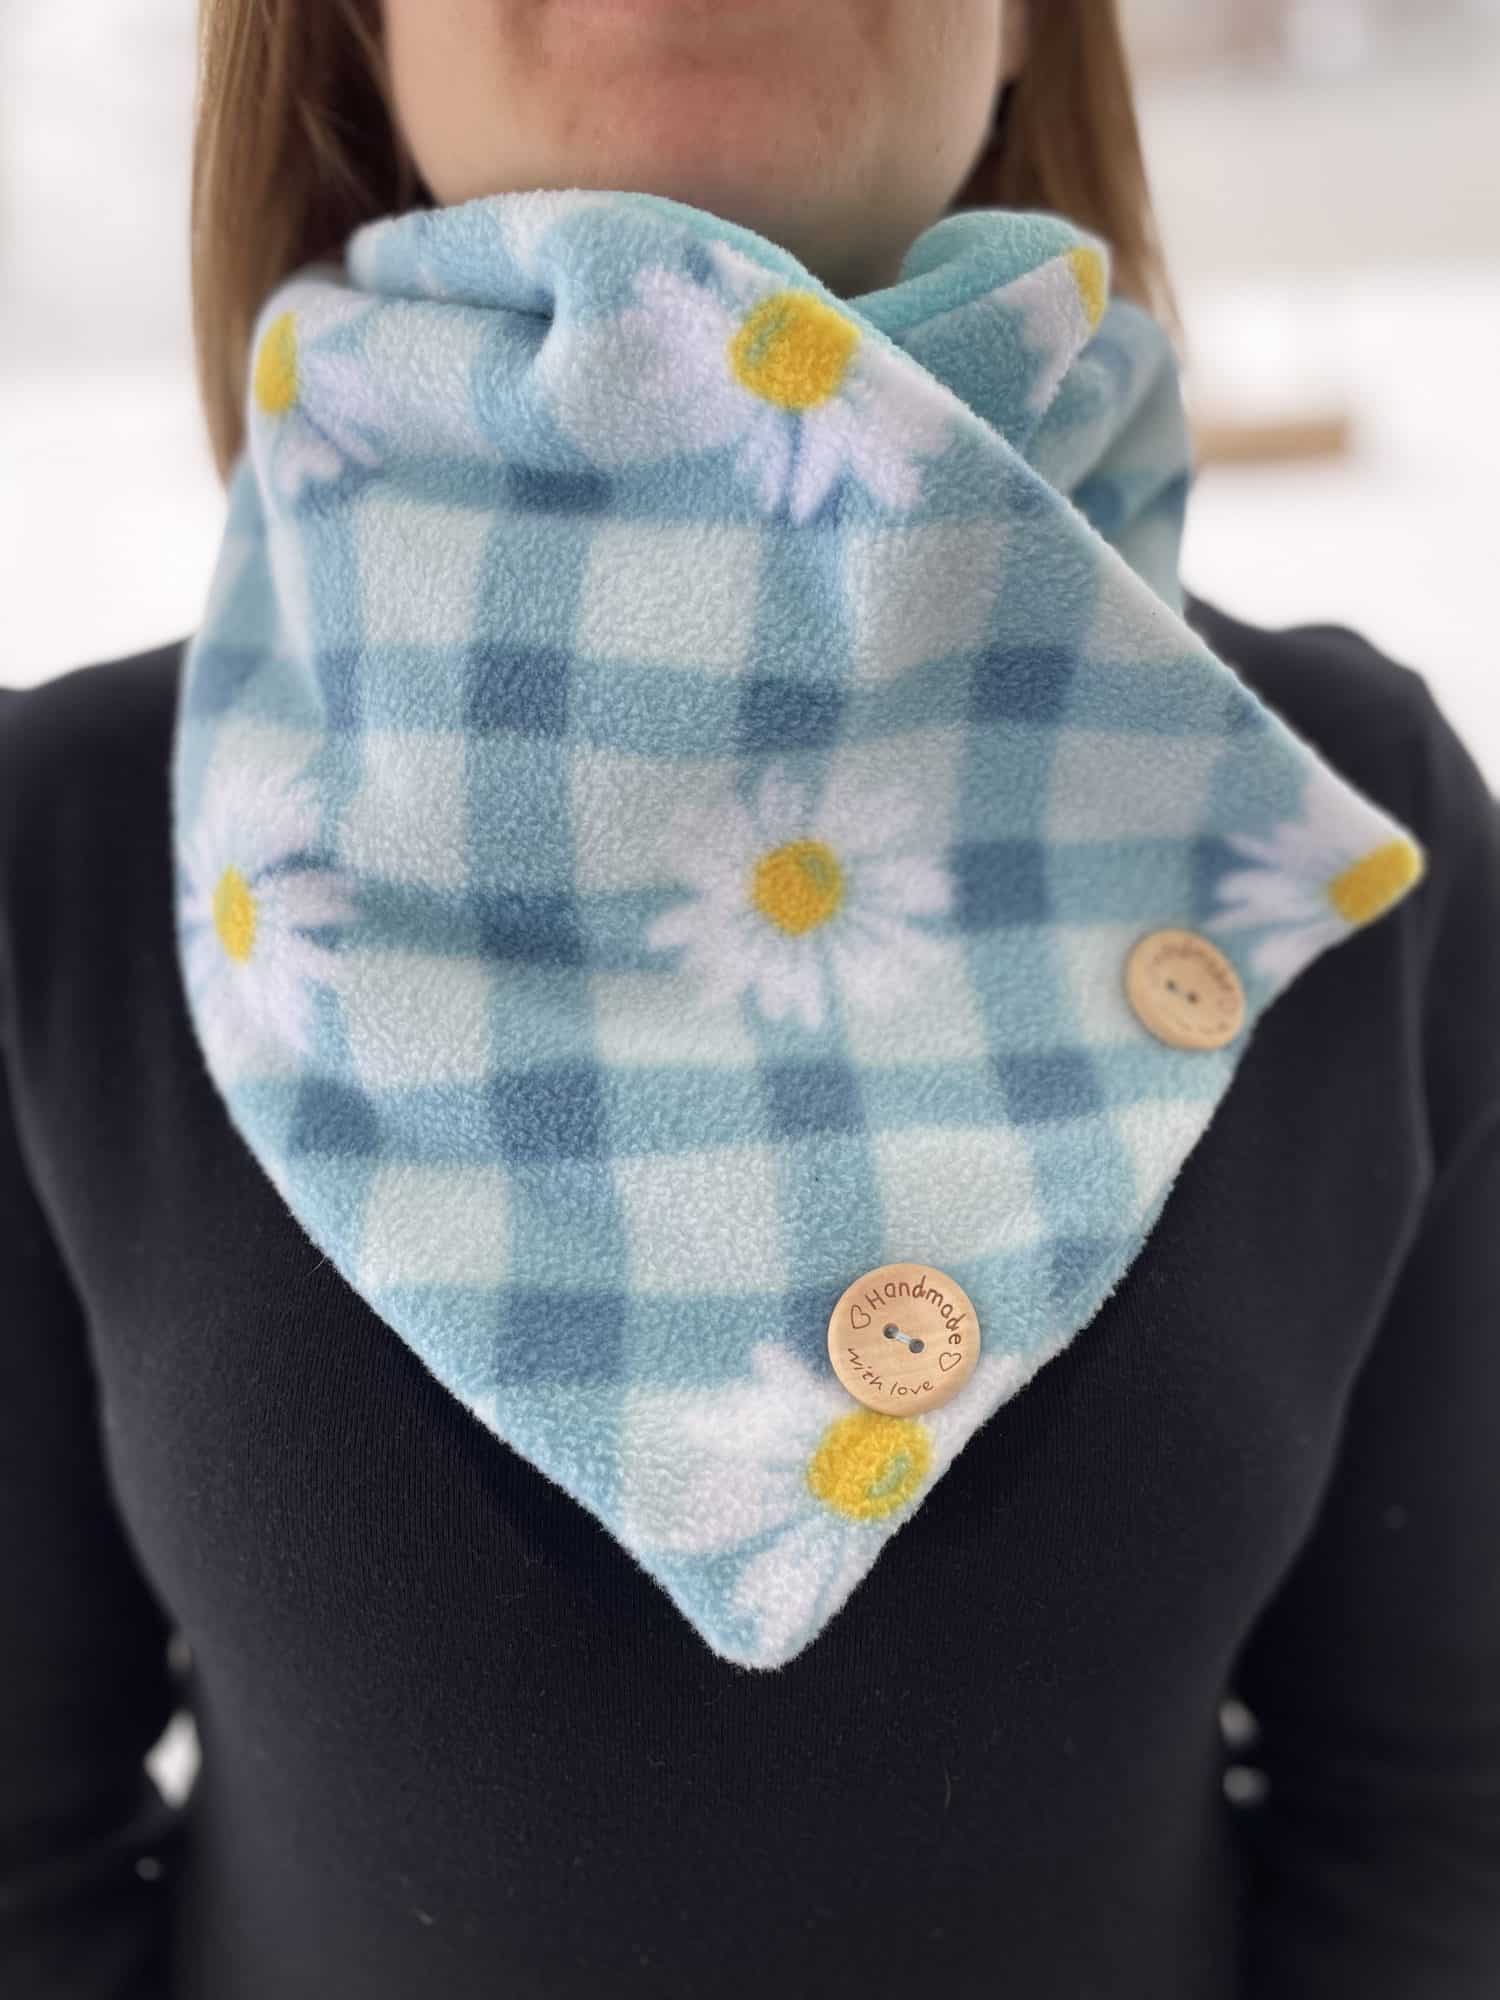
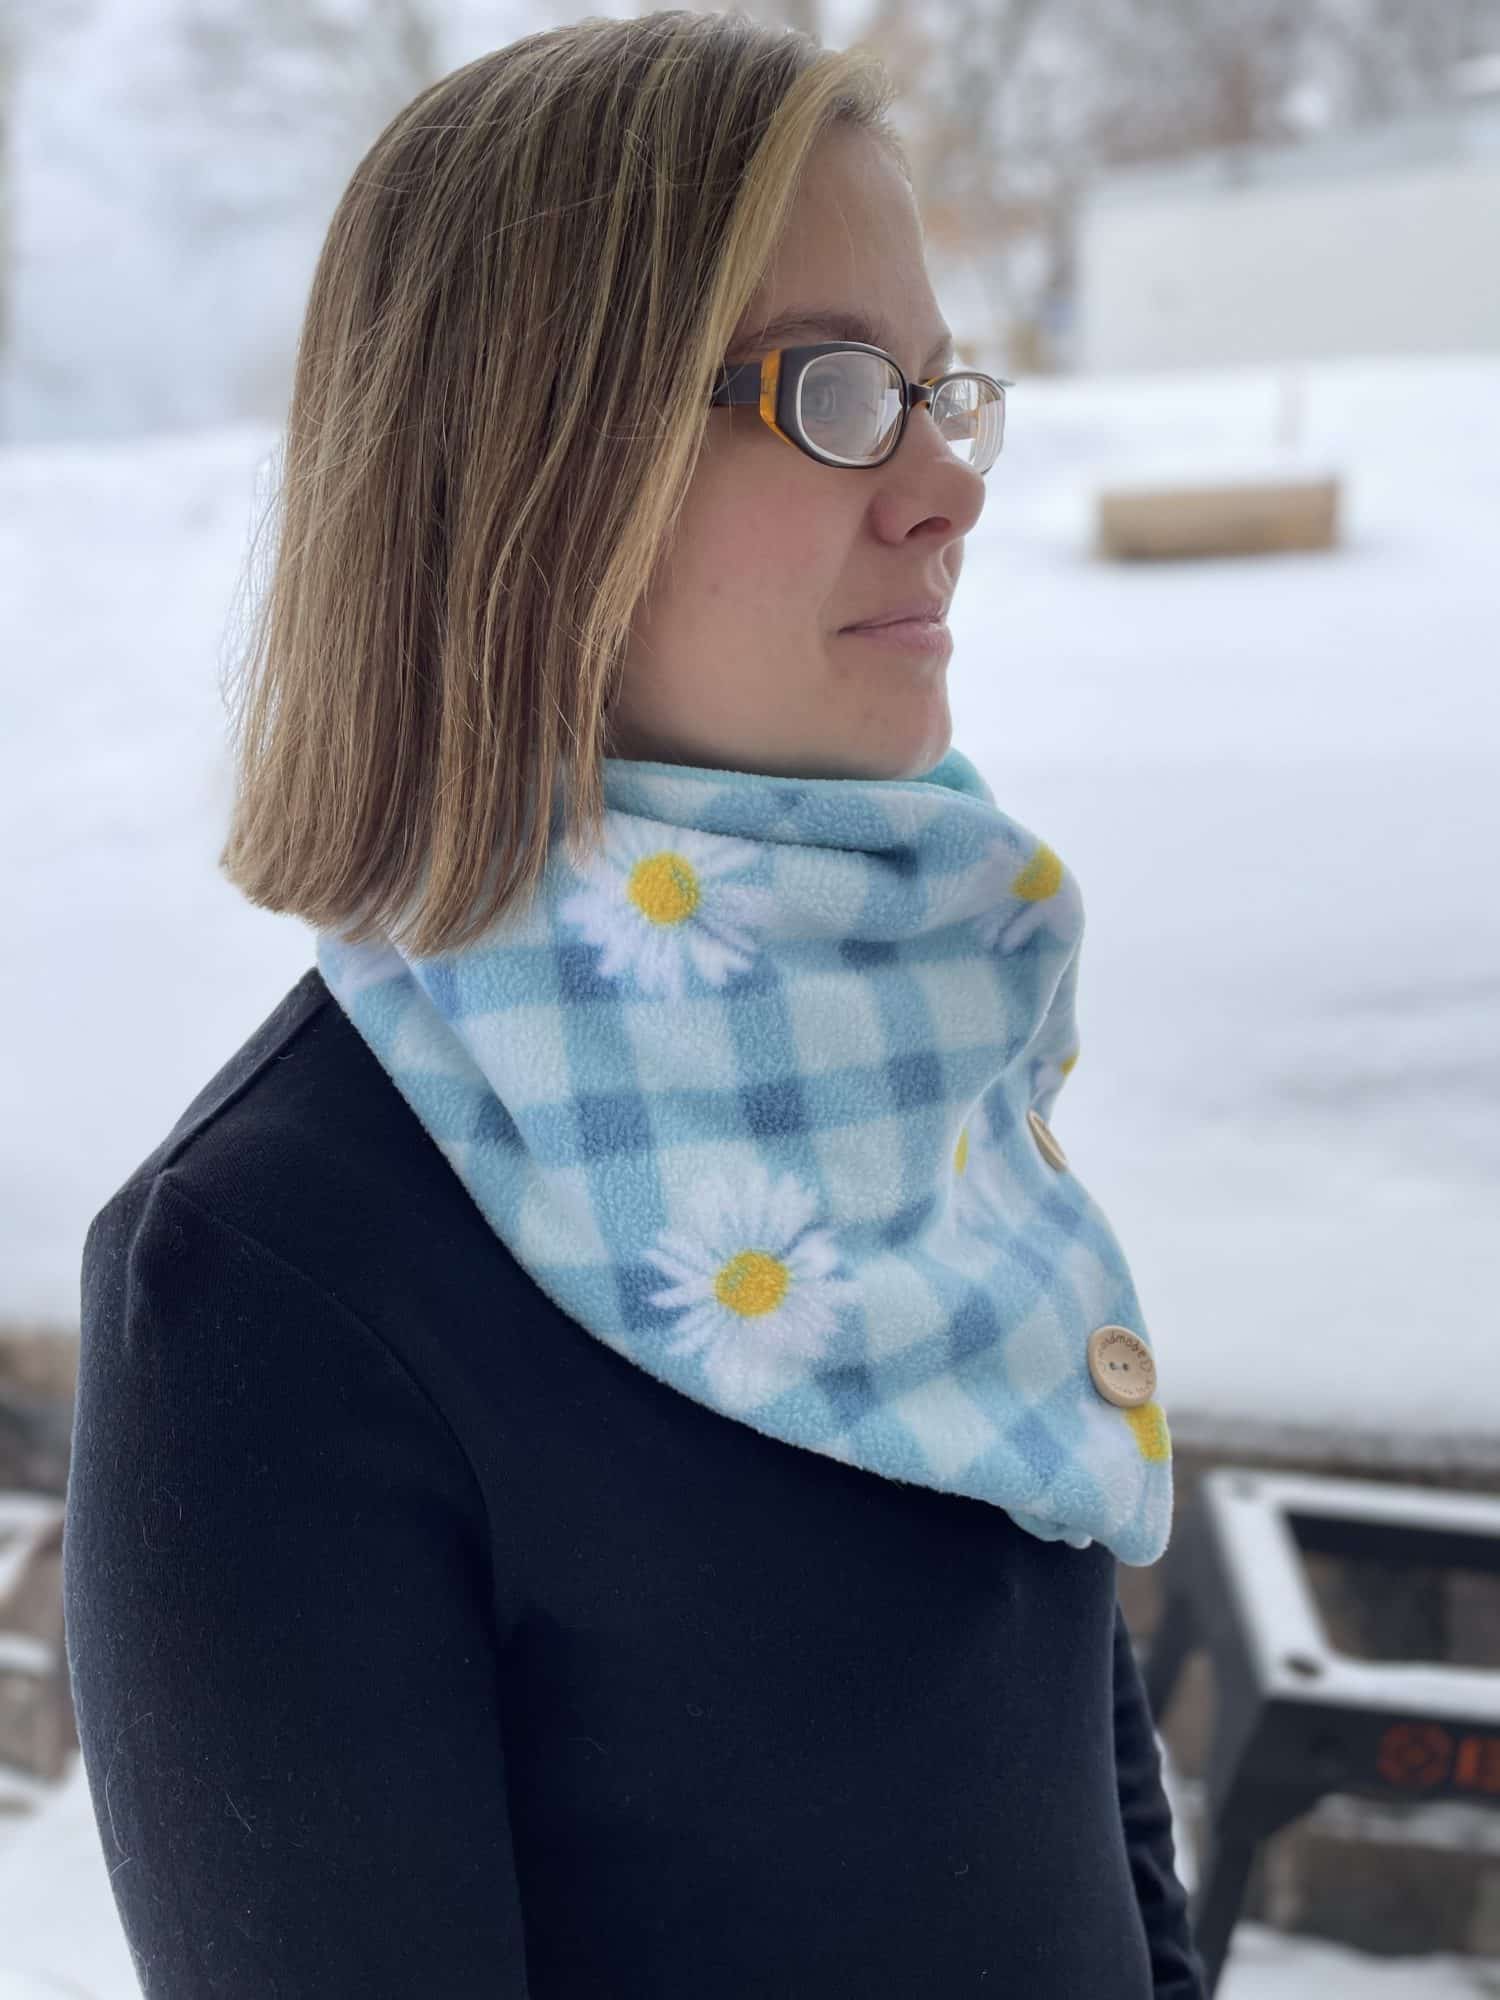
You made your very own DIY wrap scarf! Now, try it on and wear it proudly 🙂
Want more FUN DIY Freebies? Check out the FREEBIE TUTORIALS and the FREEBIE PATTERNS!
As always, we’re here to help if you need it! Join us HERE and on Facebook, Instagram, Twitter, Youtube, and Pinterest. We’re everywhere you are.
Leave a Reply