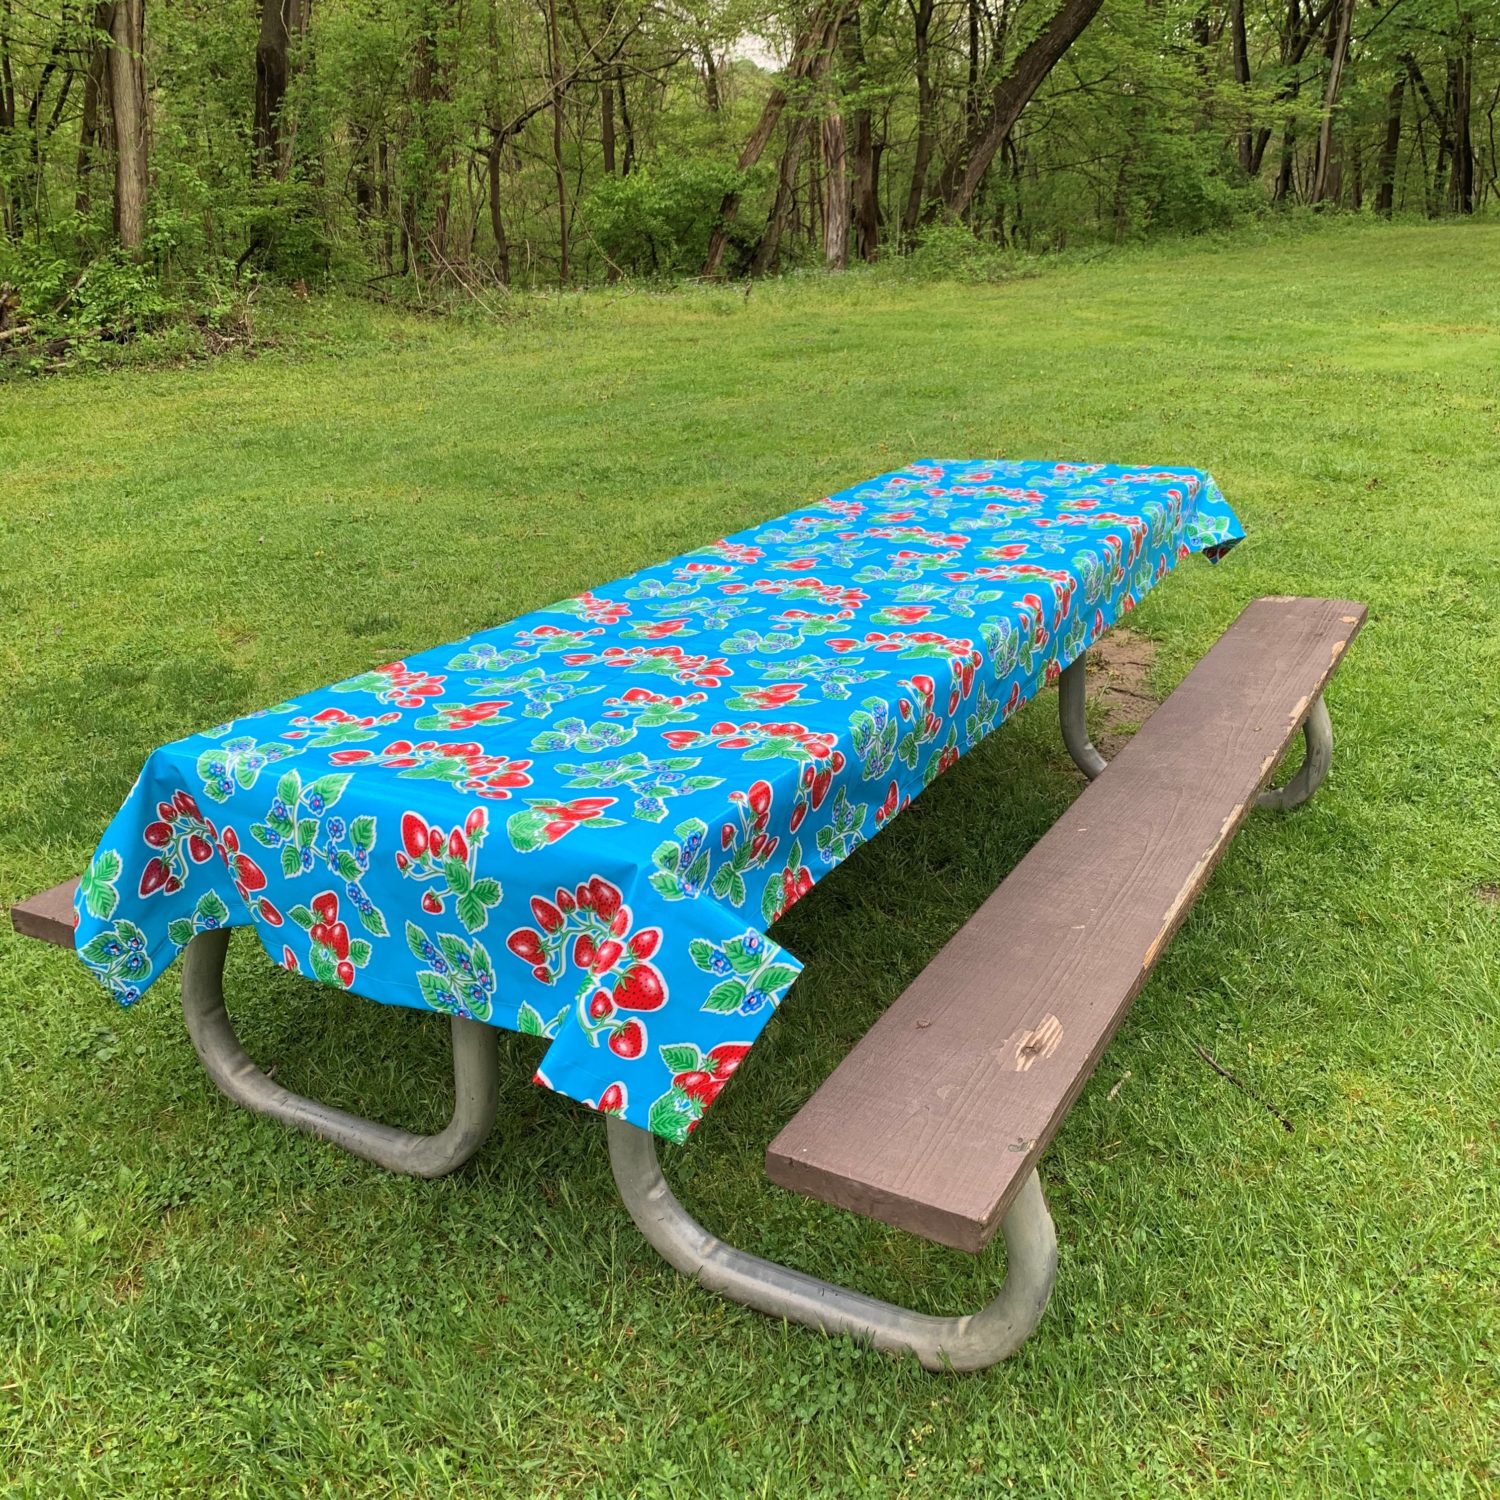
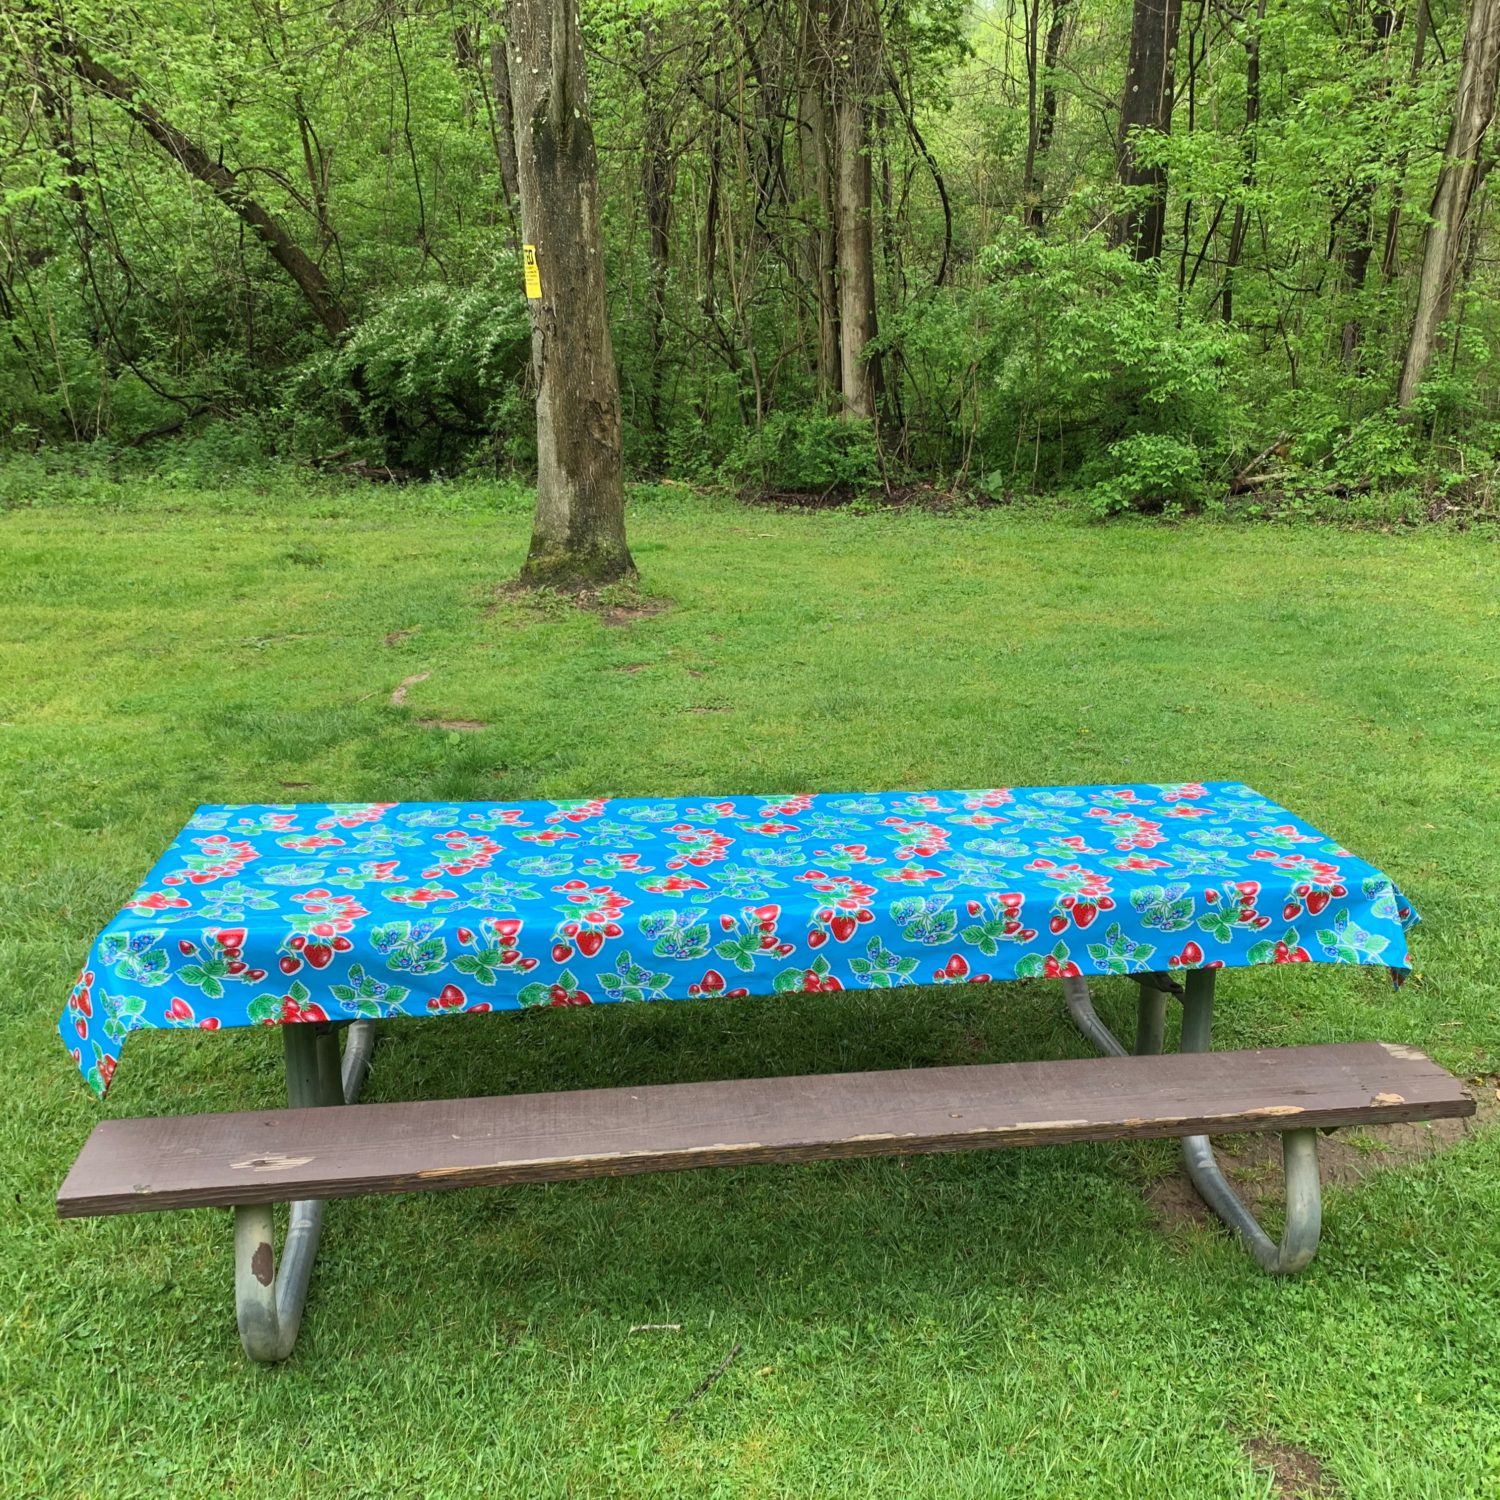
Don’t you just hate it when you put a tablecloth on a picnic table and it constantly starts blowing away?! I do! Then, I had an idea to make a weighted tablecloth to hopefully stop the wind from taking my tablecloth. I used oil cloth for my weighted tablecloth and tire weights that I got from a tool store. They are self adhesive so they stick on the tablecloth and won’t move all around inside the hems. You could use tablecloth vinyl or laminated cotton, really any kind of waterproof fabric. You can also choose any kind of weight like drapery weights or washers if you prefer not to use tire weights like me. I liked the tire weights because they are adhesive and they are flat. I wanted to keep my hems relatively flat and as small as possible so that I don’t loose too much table cloth to my hems. The tire weights were also way cheaper than the drapery weights! Ready to make a weighted tablecloth? Let’s do it!
Materials
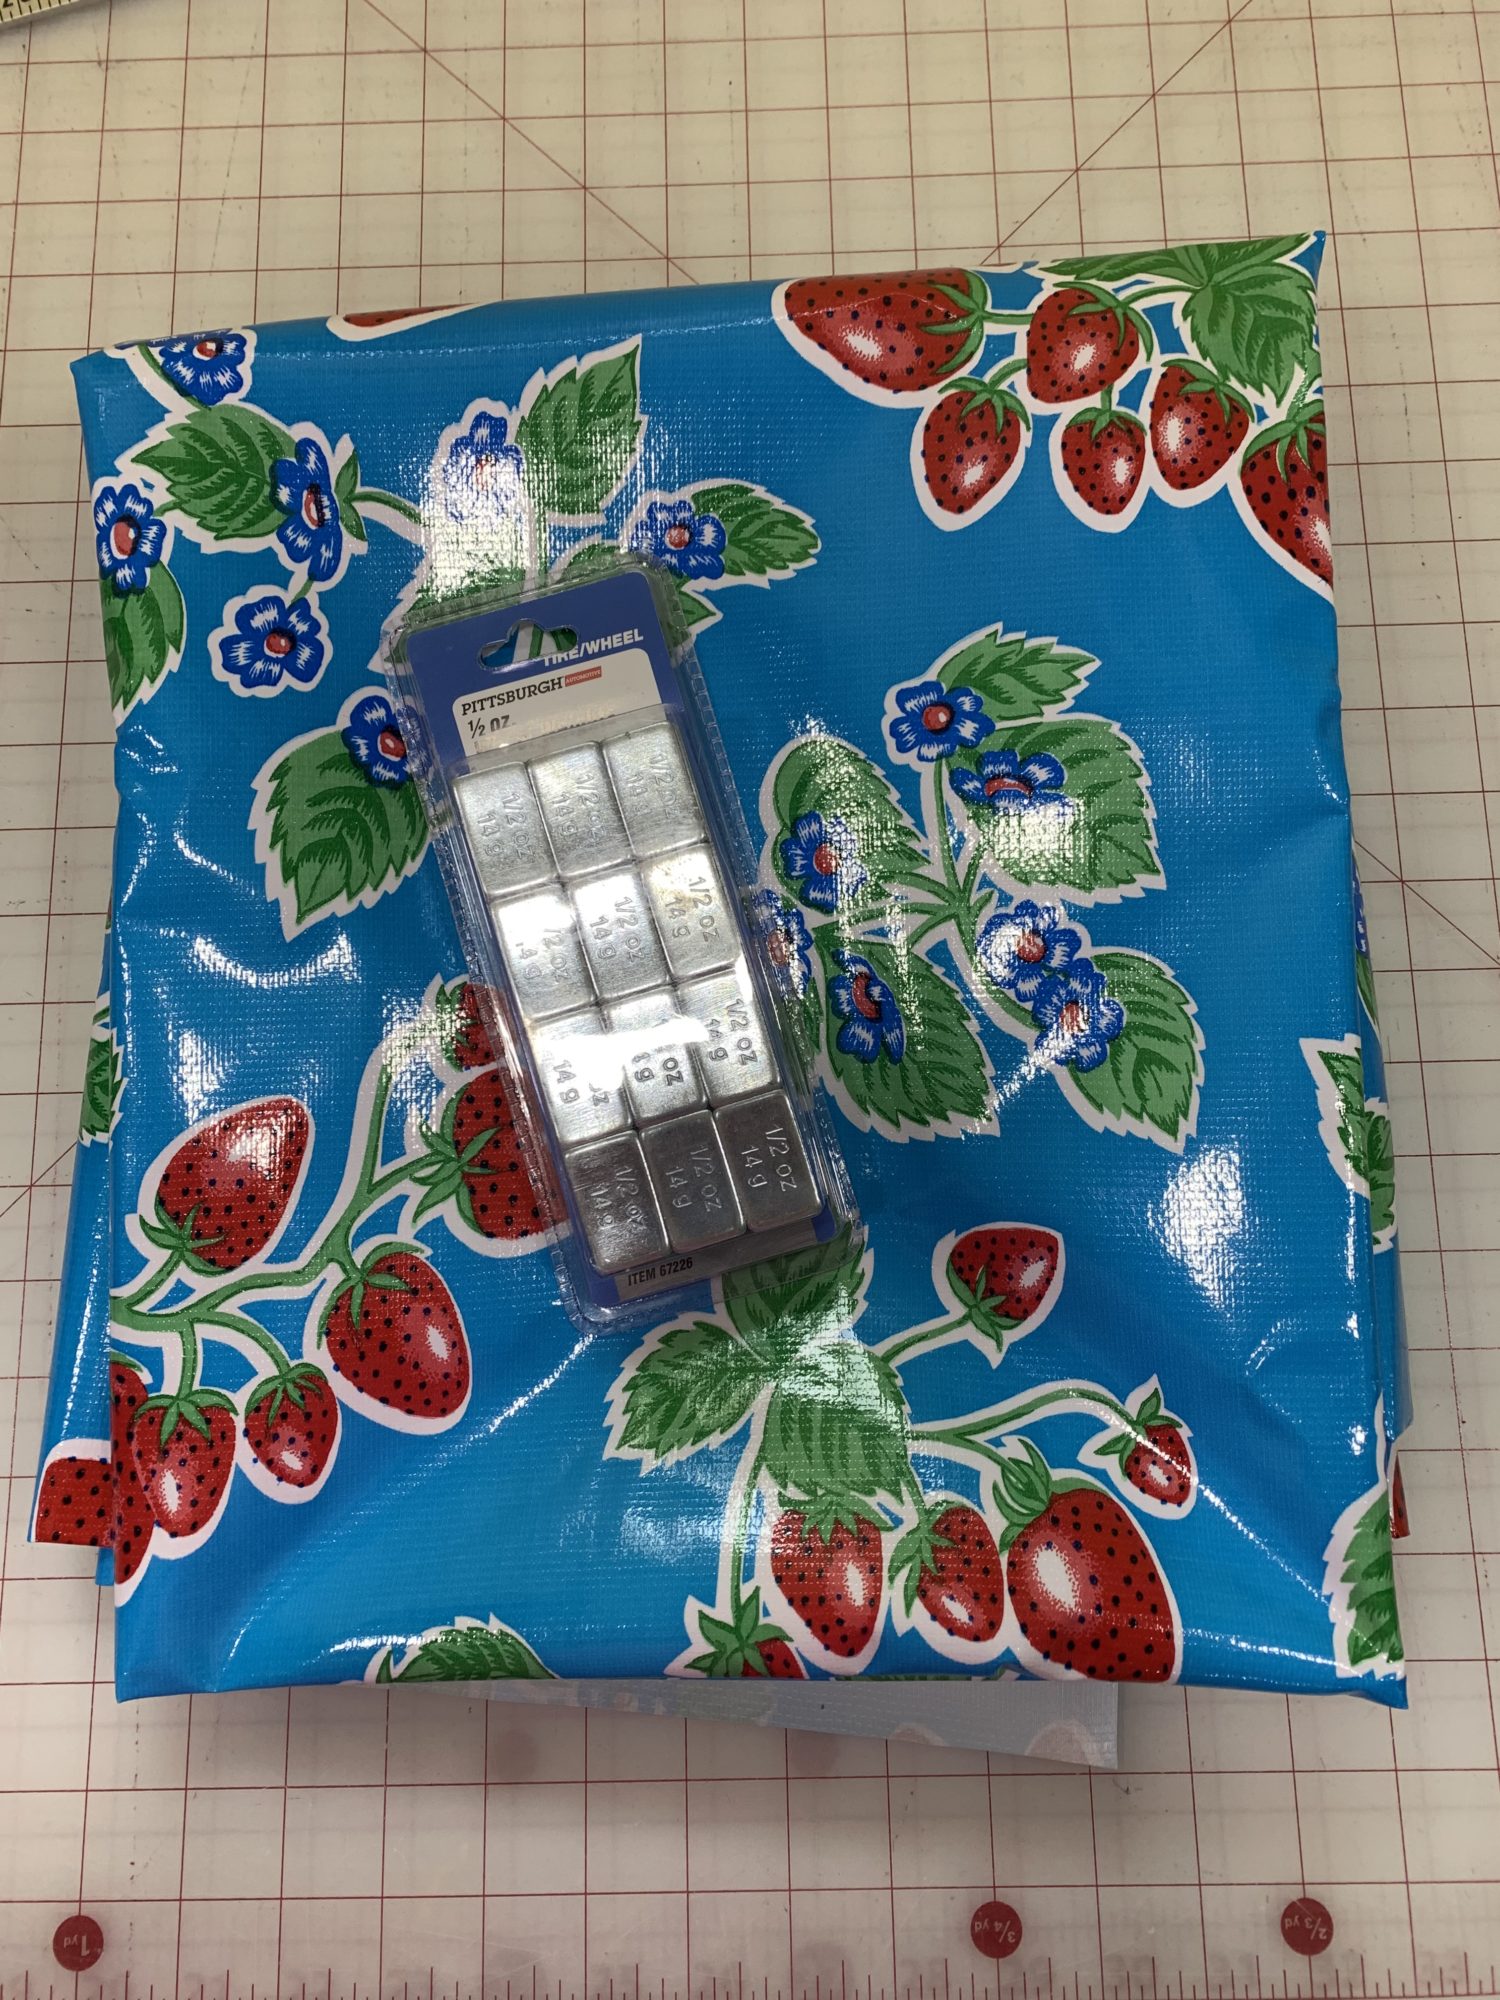
- Waterproof fabric-I used 3 yards
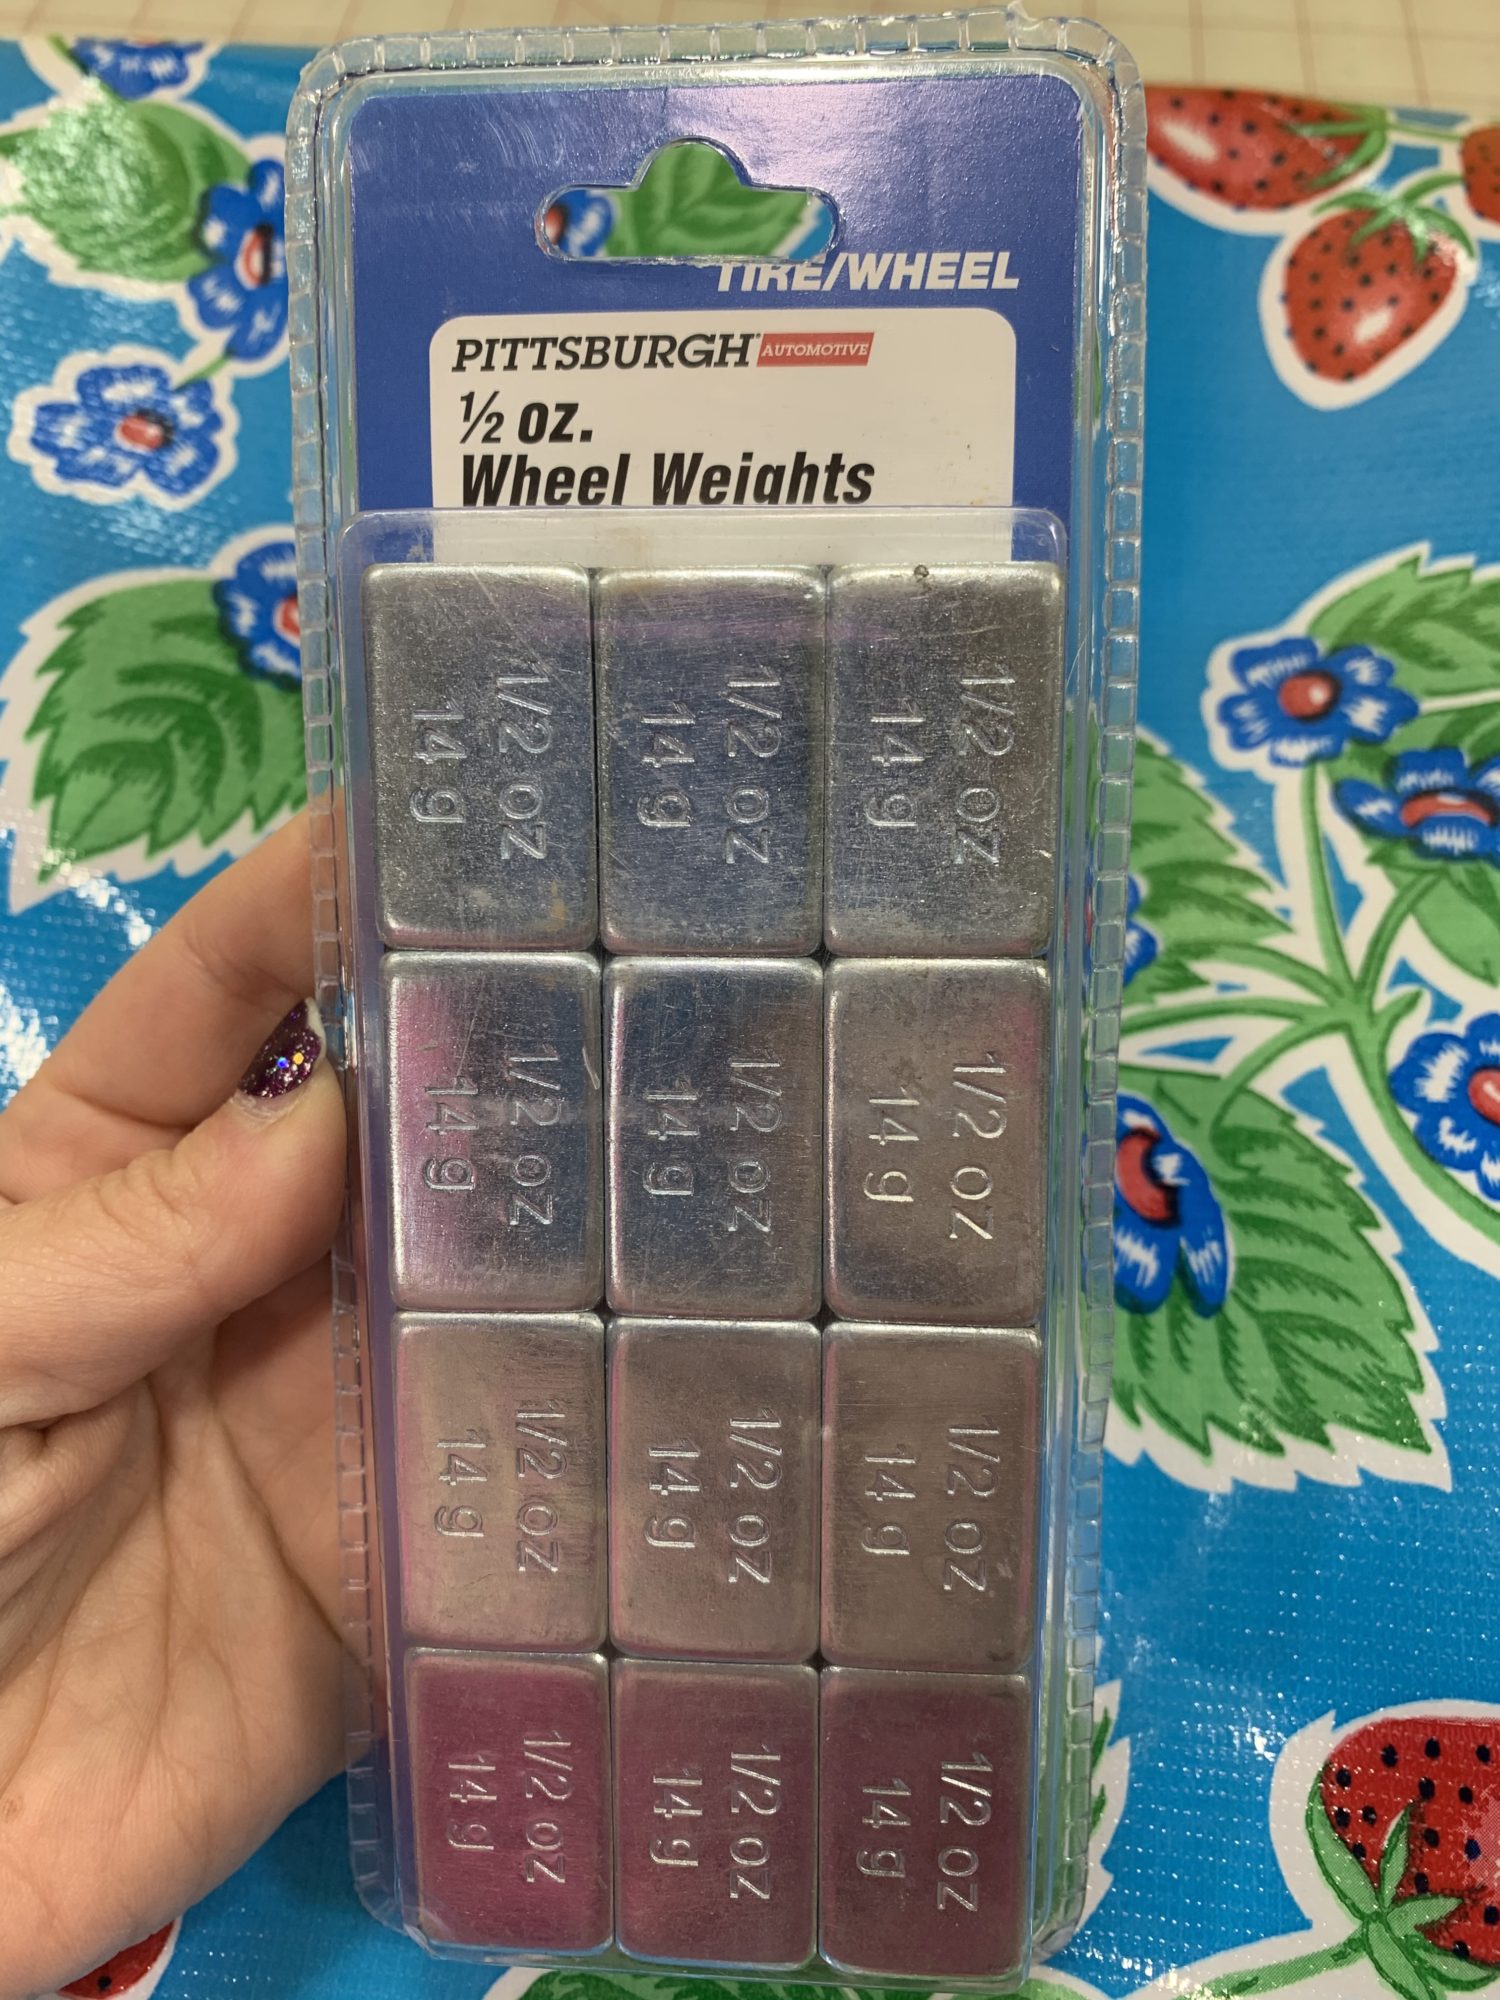
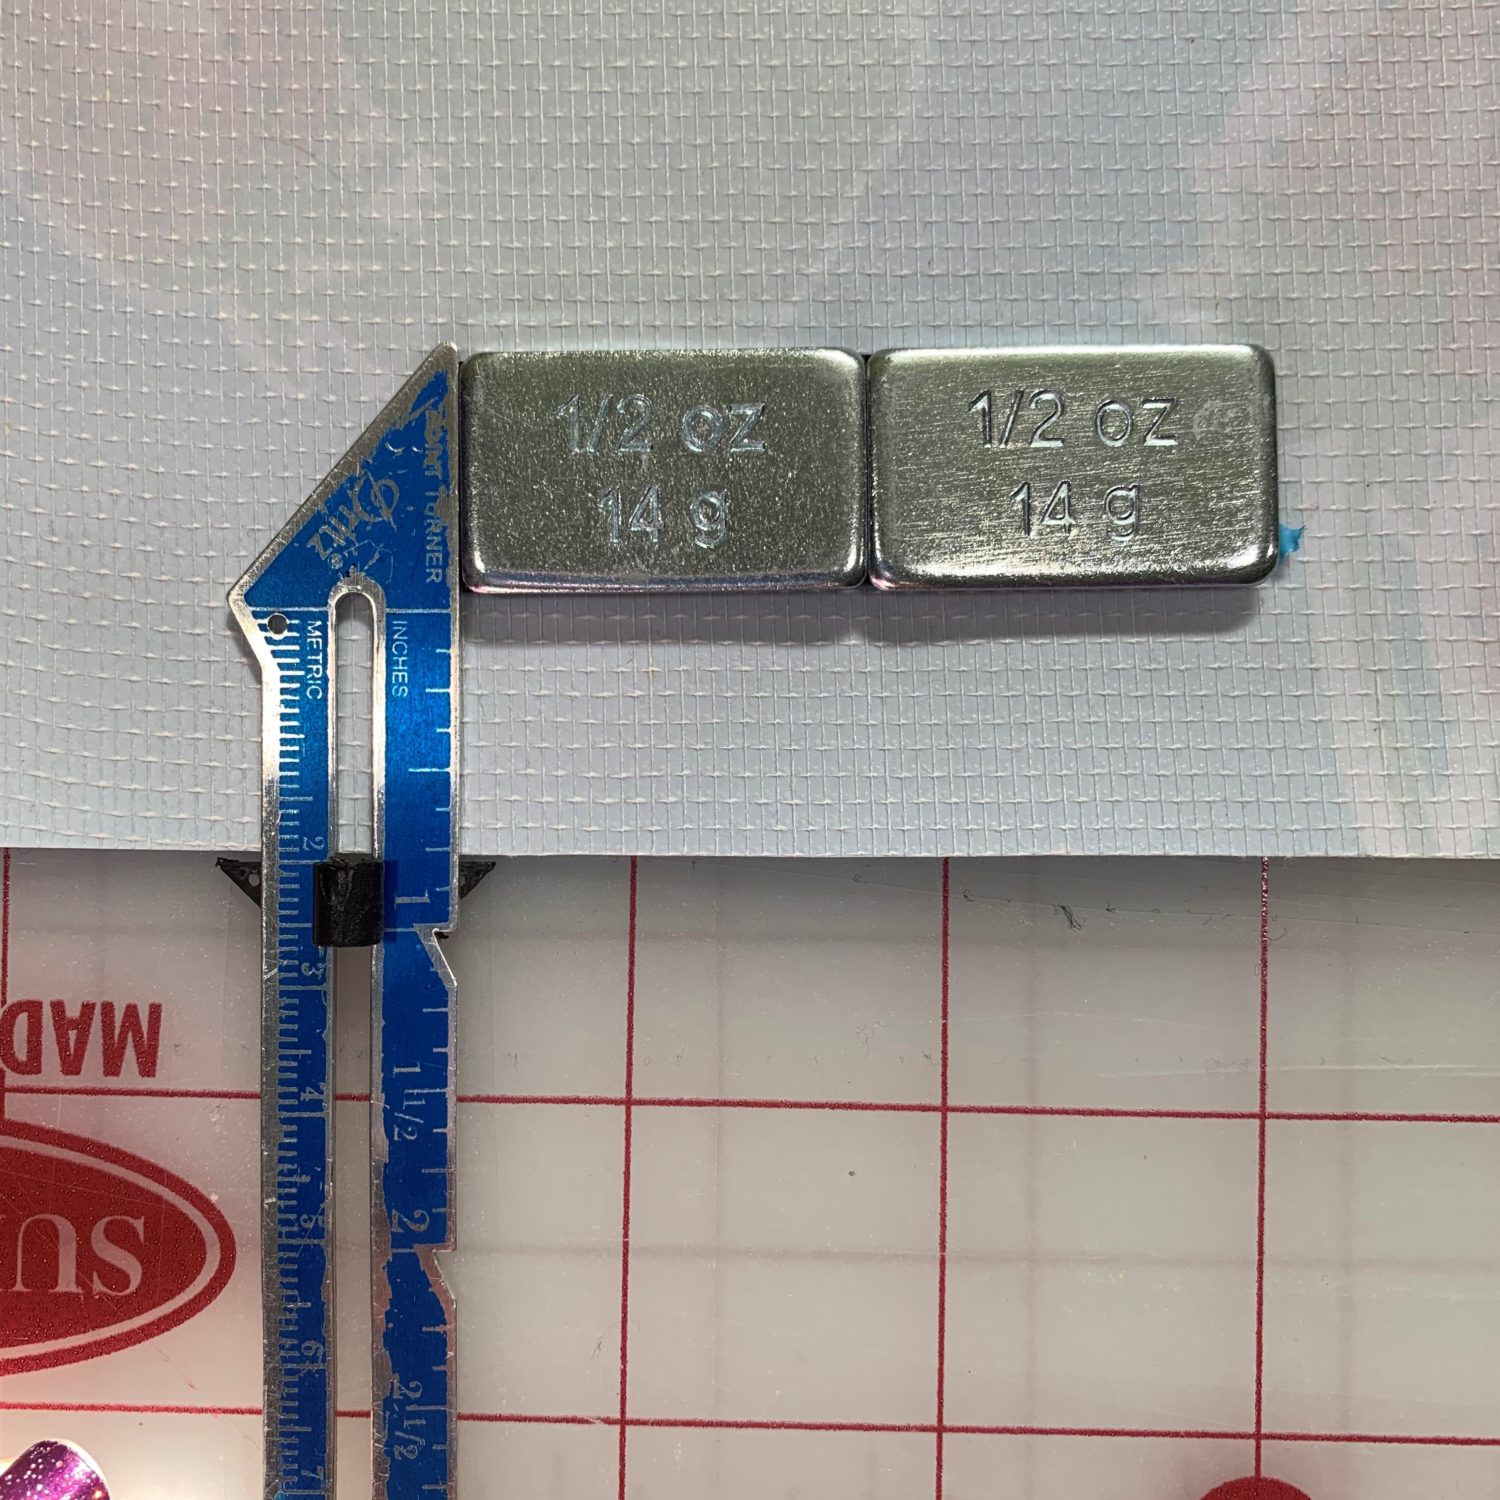
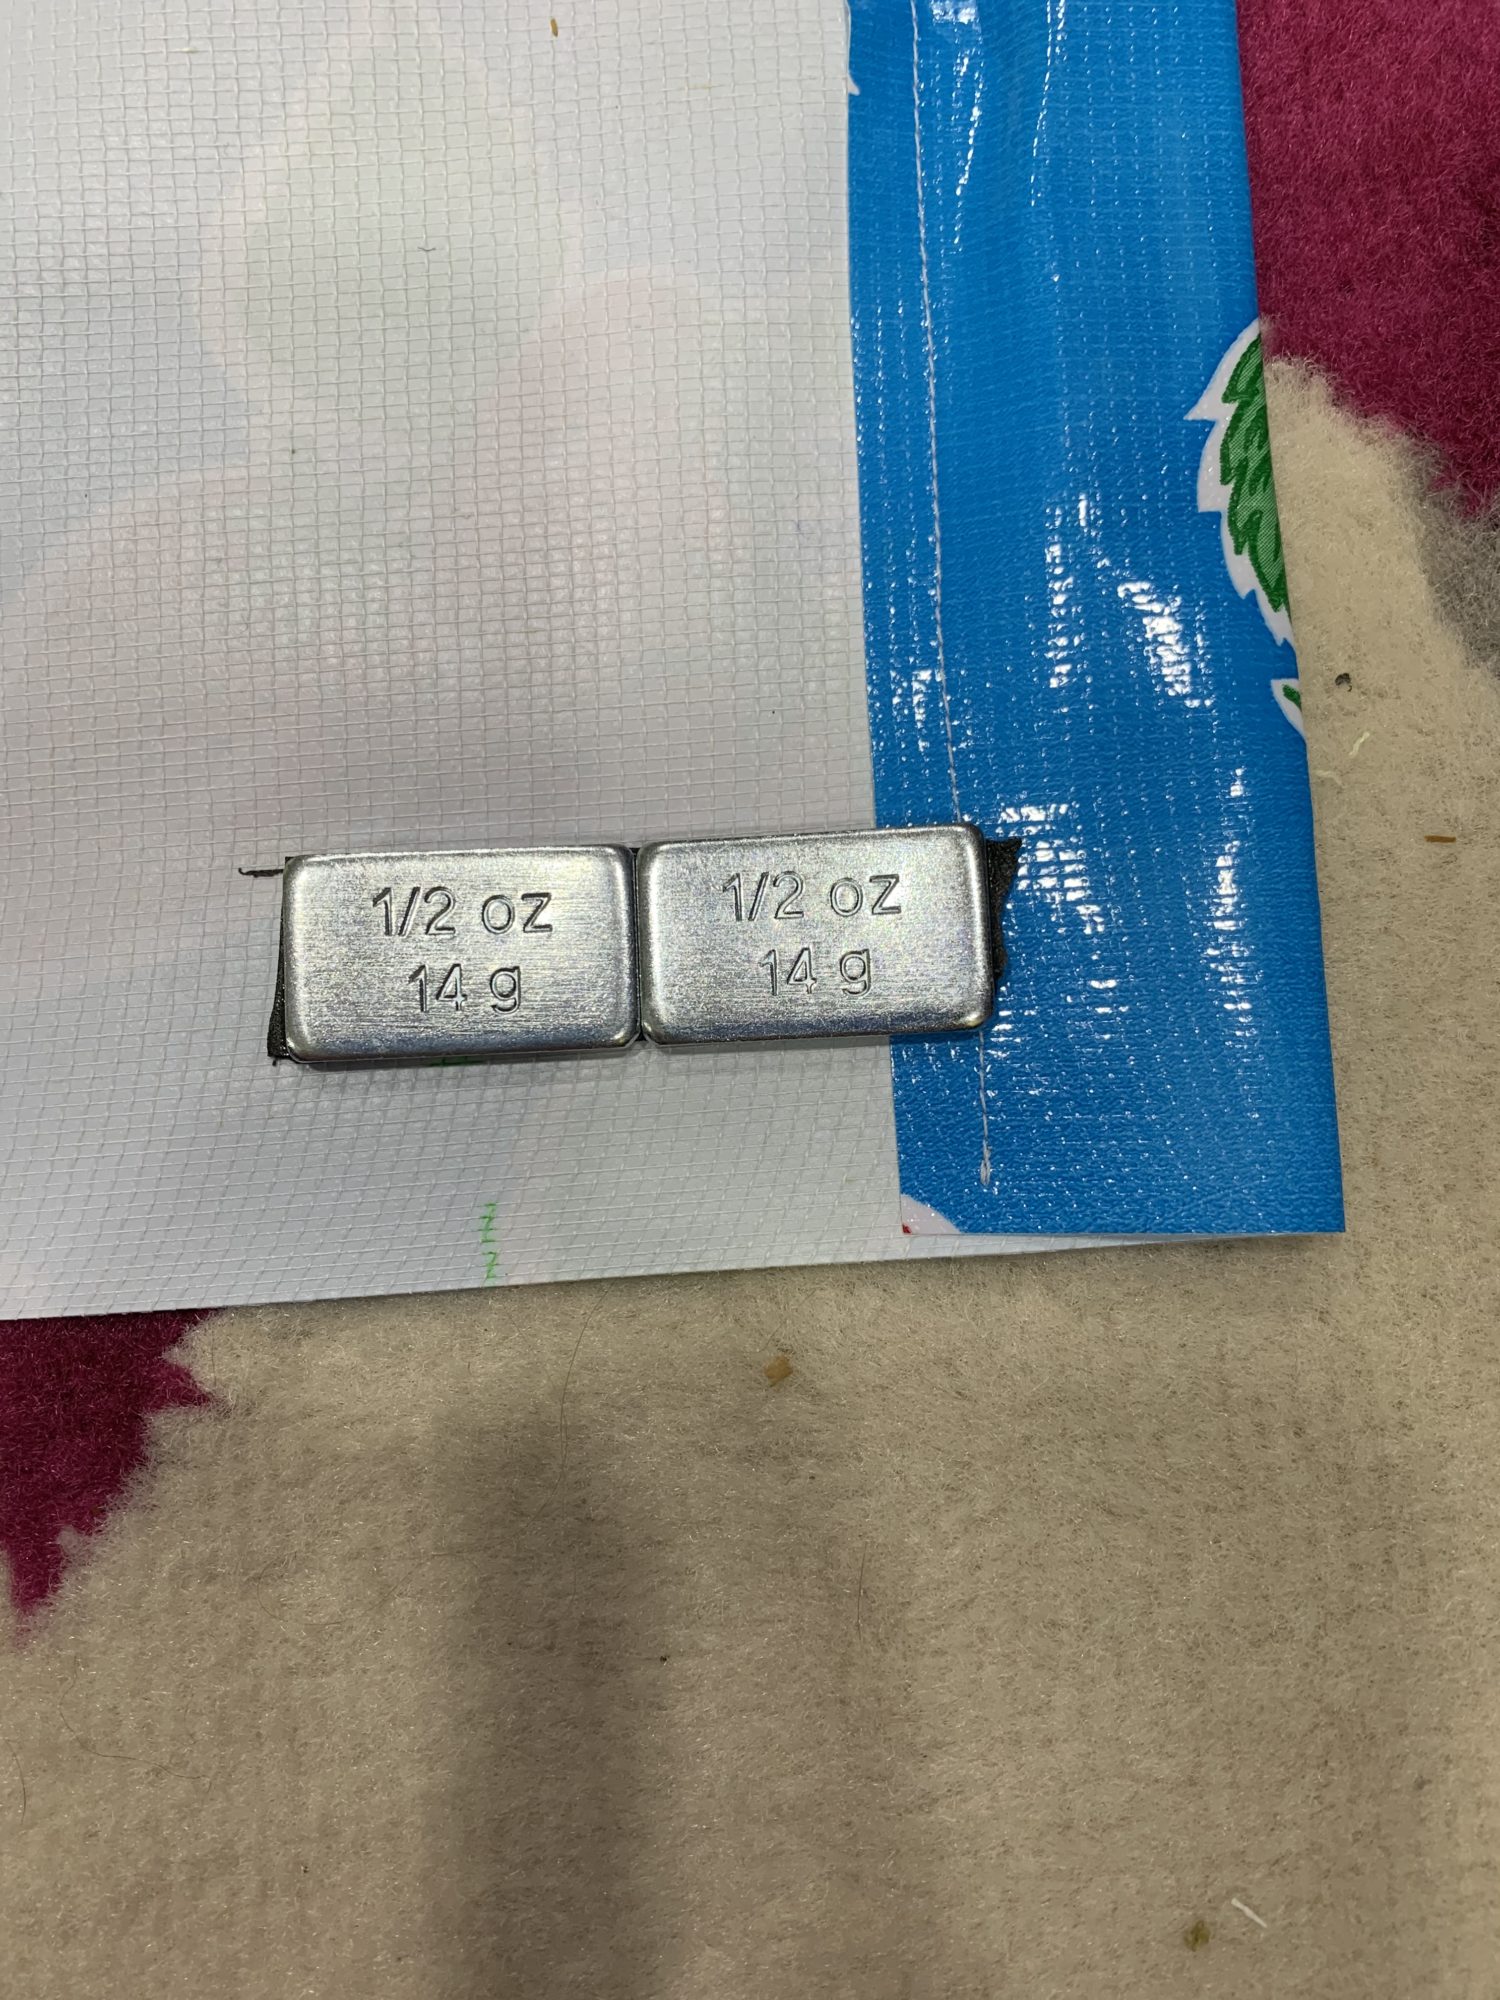
- Weights-I used tire weights
- Heavy Duty needle-I used a universal 100/16 needle
- Smooth Presser foot (sometimes called a non-stick or Teflon foot)
Let’s get started!
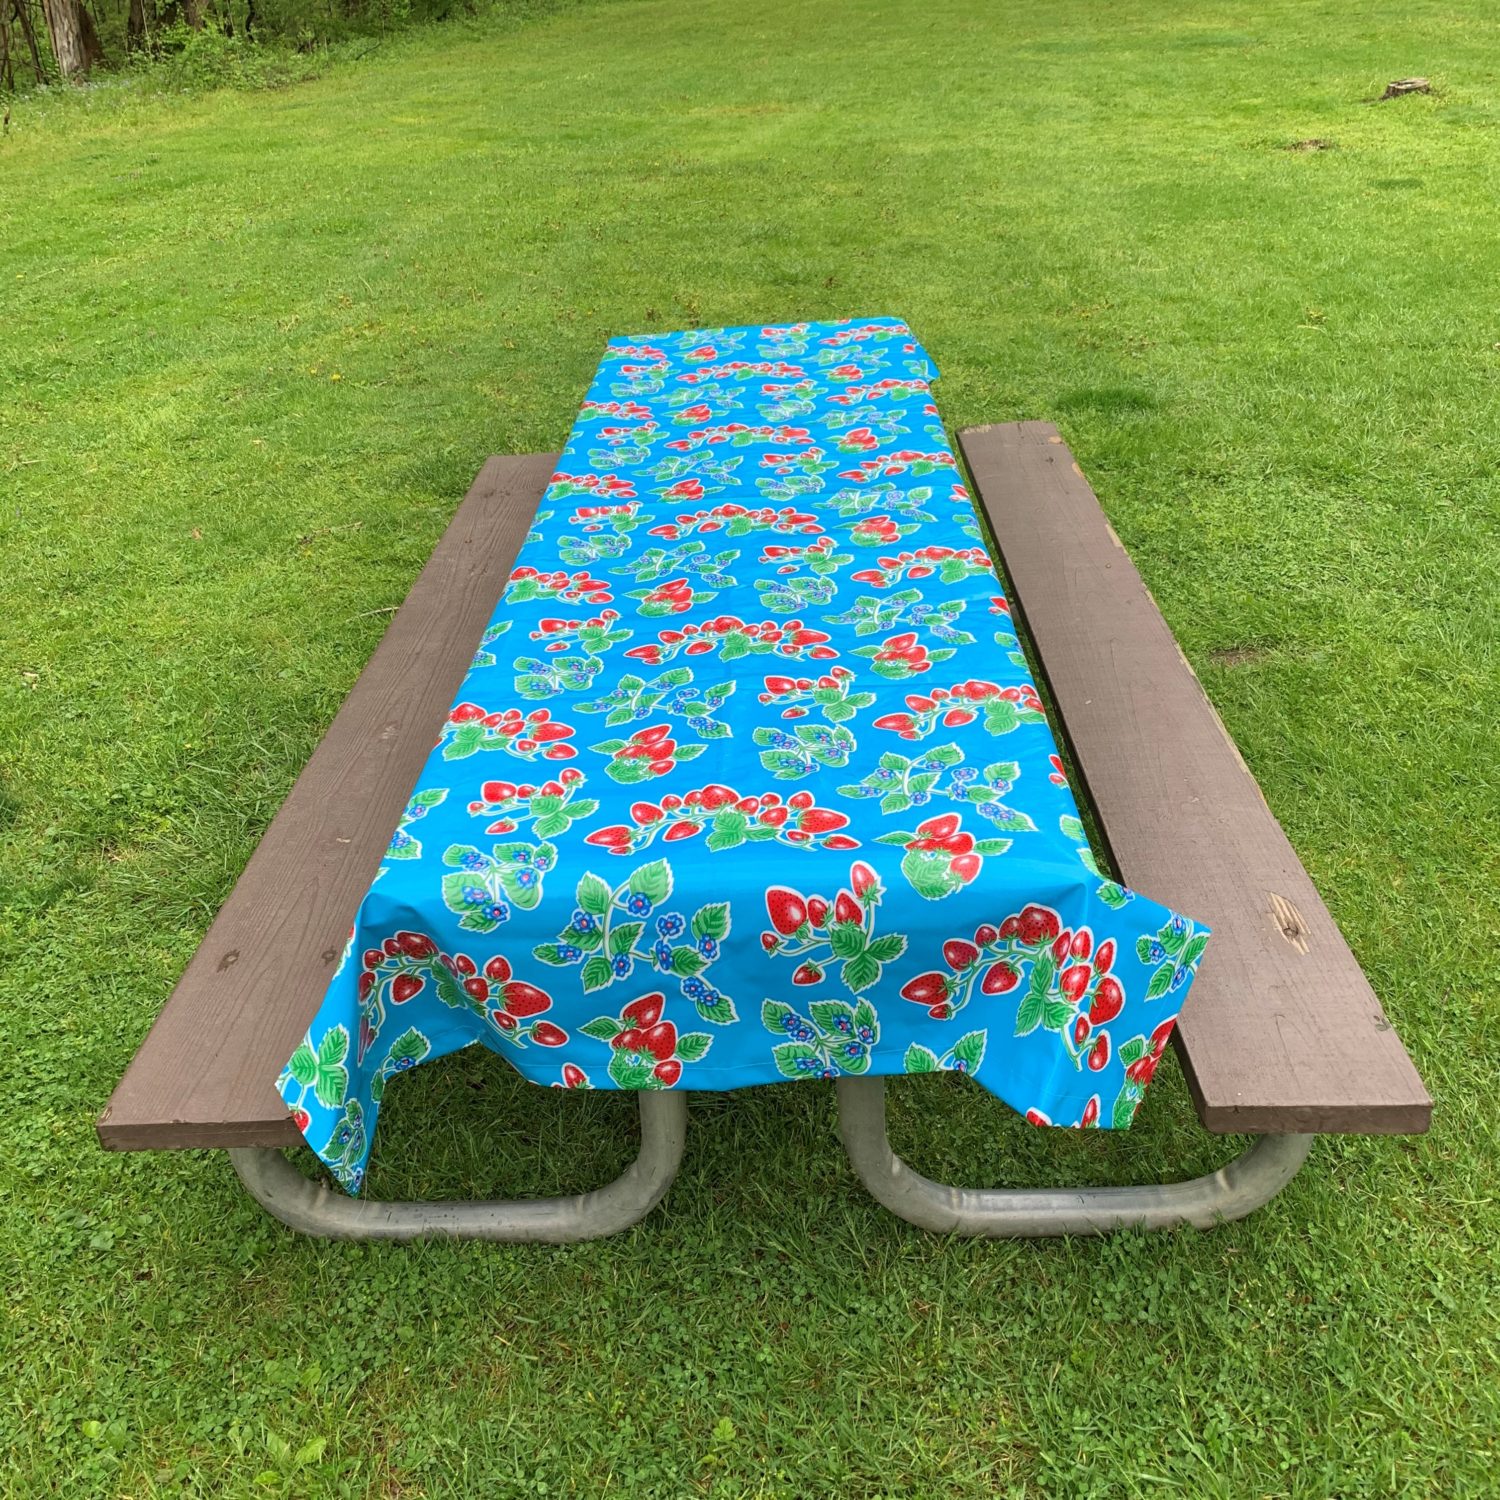
- To start, determine how big you want your tablecloth to be and cut your fabric. Depending on the width of your fabric, you may be limited on how wide you can make the weighted tablecloth. My fabric was 47 inches wide, so after seam allowances, my tablecloth is 44 inches wide. I ordered 3 yards of fabric and I just used all 3 yards. It maybe a bit long for some picnic tables, but I’d rather it be a bit long than too short! Speaking of picnic tables, I have found that there are many different sizes of picnic tables! If you have a camp or a specific park that you know you’ll be using a lot, measure that table to make sure your tablecloth will fit! If not, I err on the side of too big is better than too small! There seems to be a wide variety of picnic table sizes, so one size won’t fit all. For reference, the table that I used for the pictures was about 3 feet wide and about 7.5 feet long.
- Remember to include seam allowances before you cut your fabric. I used all of my yardage, so I didn’t have to cut my fabric at all, but each side has a 1.5 inch seam allowance, which means that my fabric measures 44 inches wide by 105 inches long. Your seam allowance may end up being bigger than 1.5 inches if your weights are bigger than mine. You’ll need to make sure that the seam allowance covers the weight with plenty of extra room to sew it shut.
Time to add some weight to your weighted tablecloth!
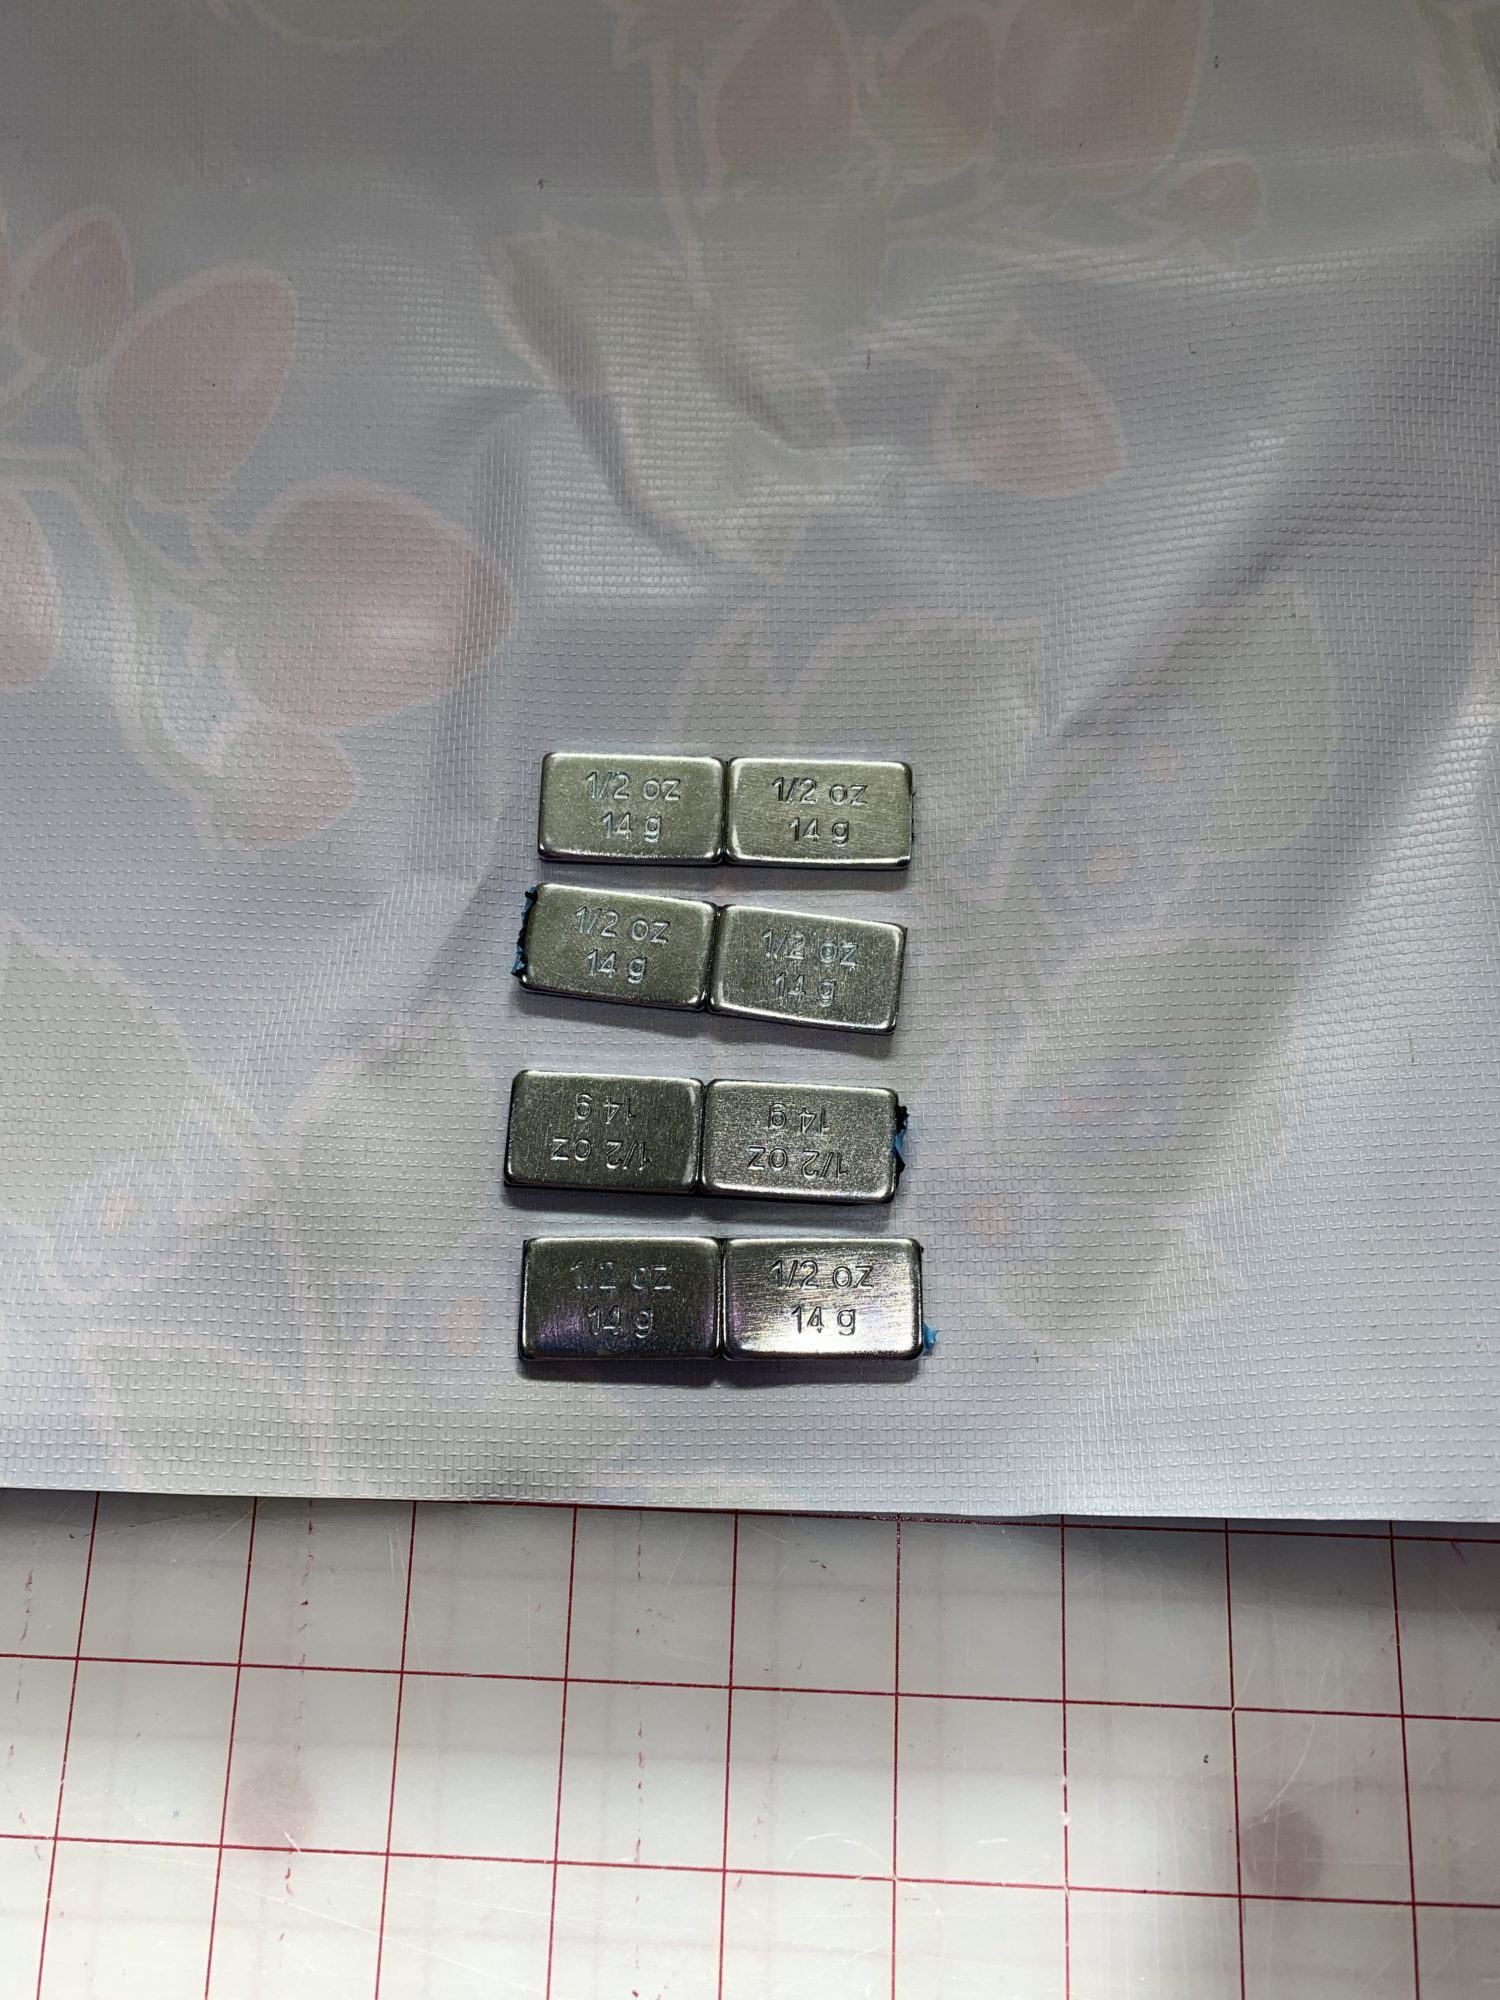
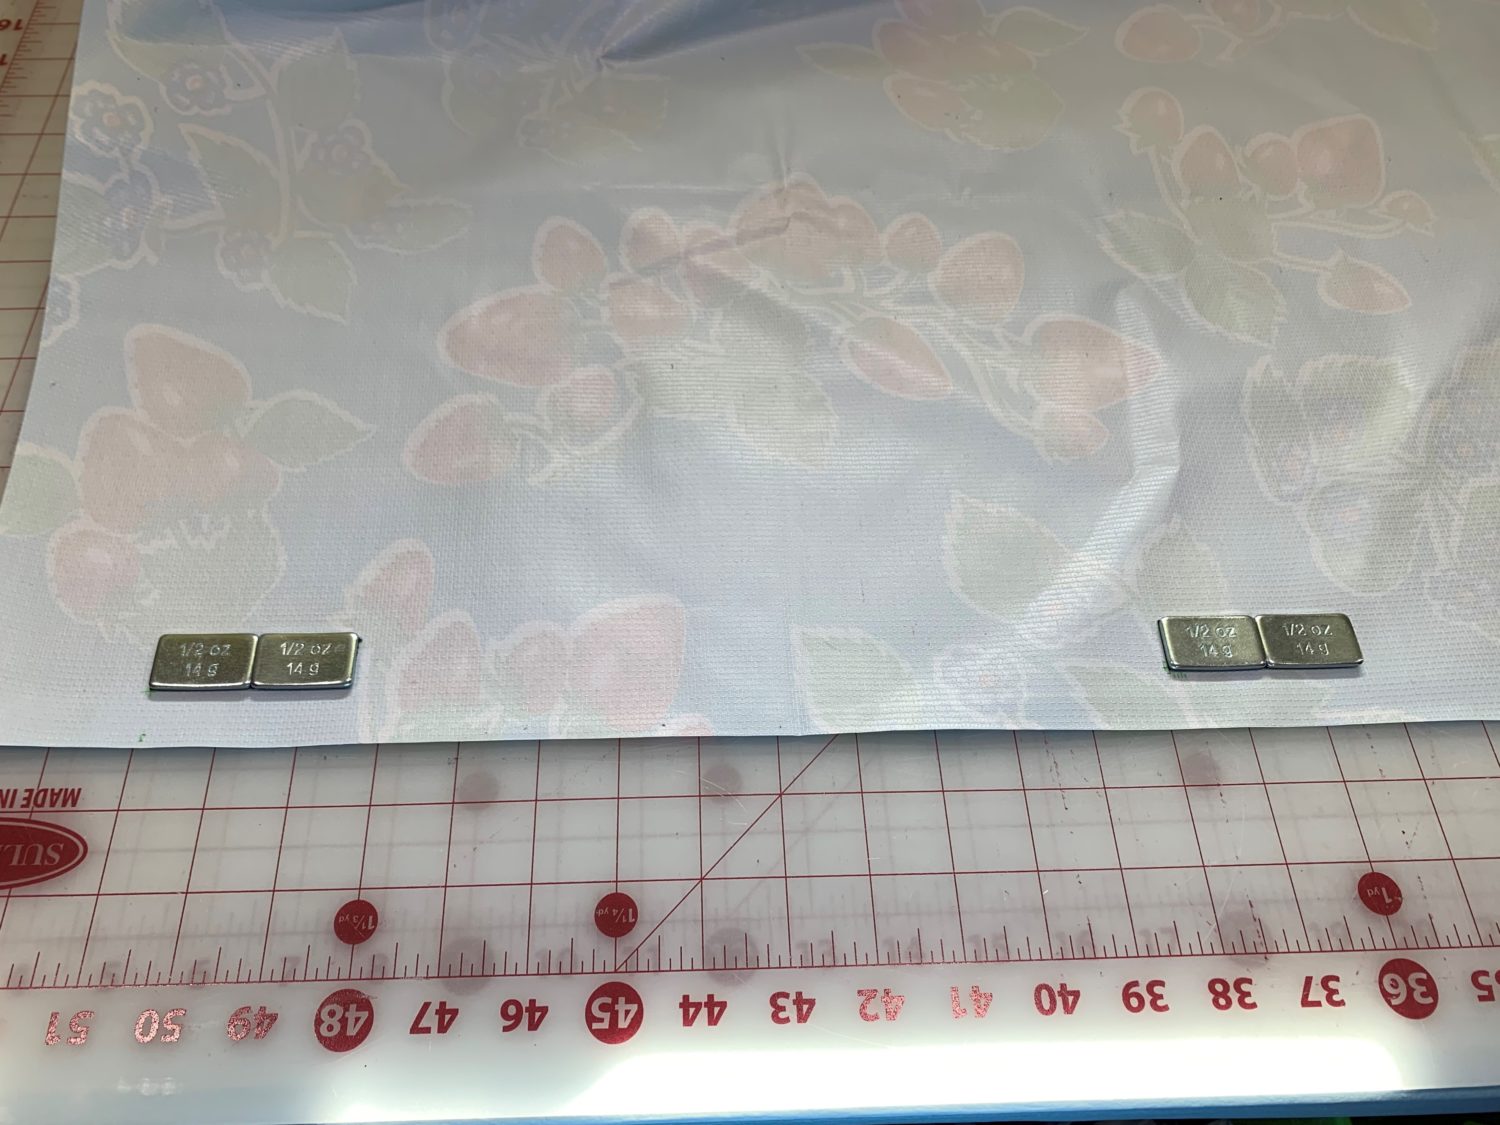
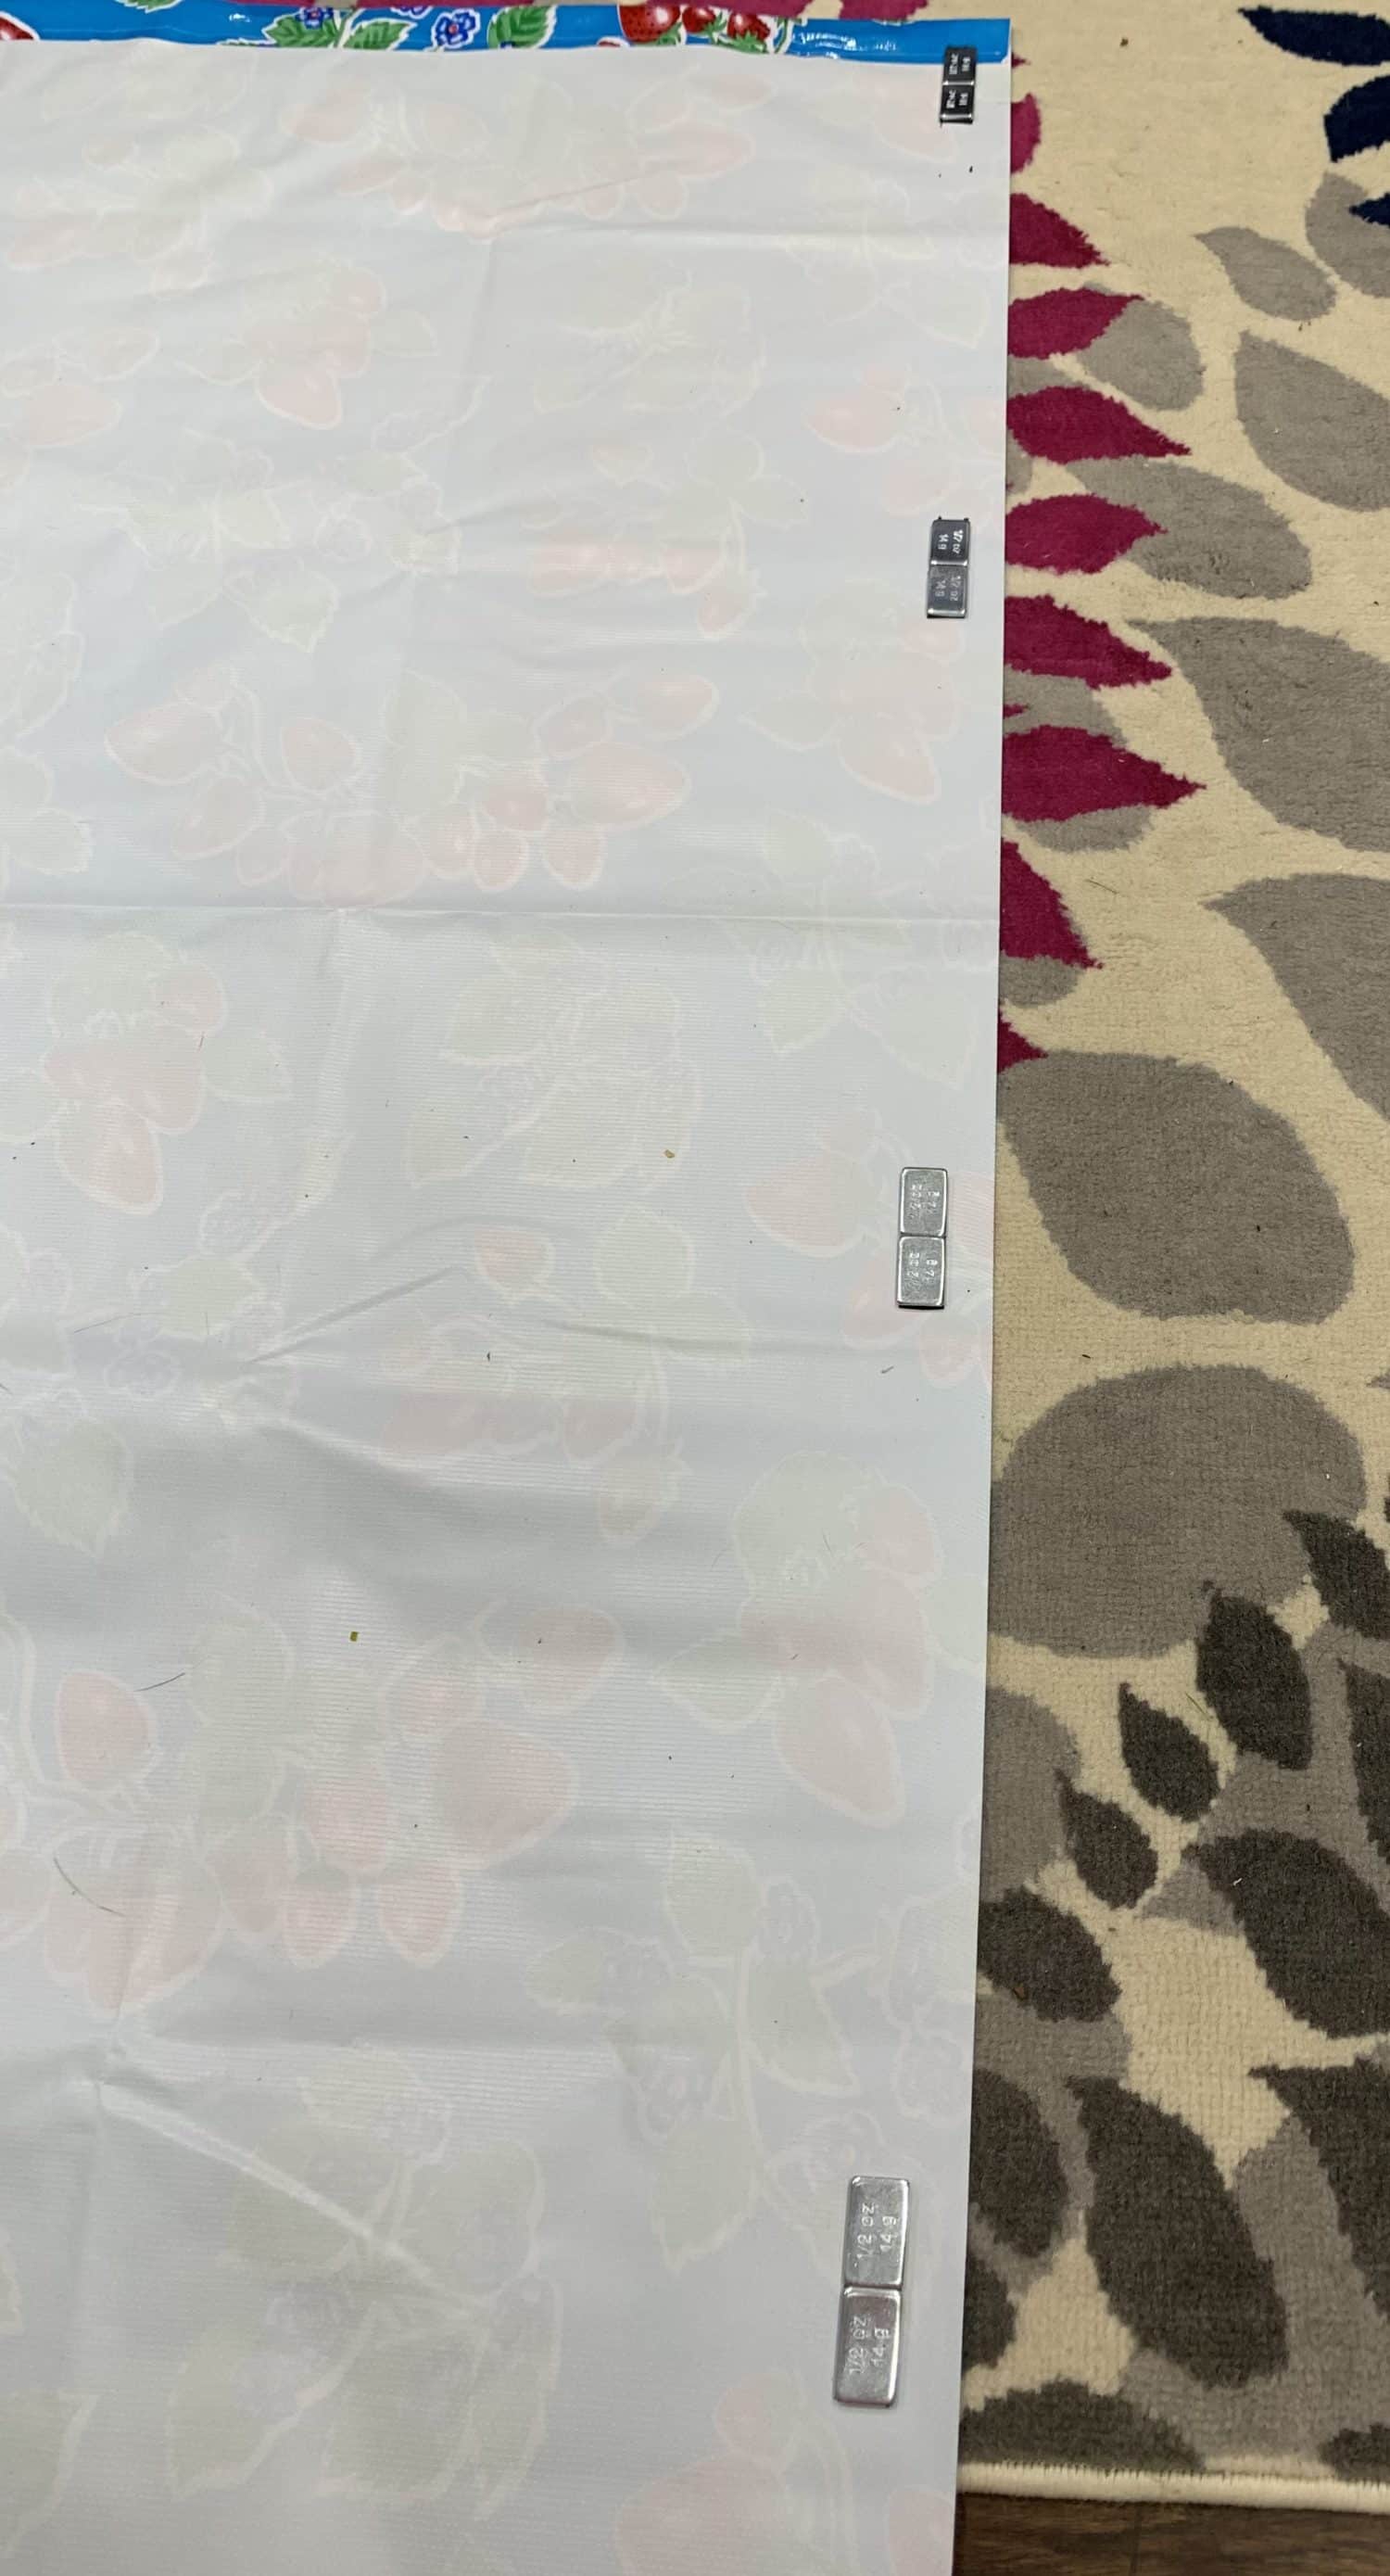
- I started on the short sides of my fabric and I used 4 weights on the short sides.
- My weights are stuck together in groups of 4, I split them in half and used a group of 2 as 1 weight.
- My tire weights are self adhesive, so I just pull off the back cover like a sticker and it’s ready to be stuck on where I want it!
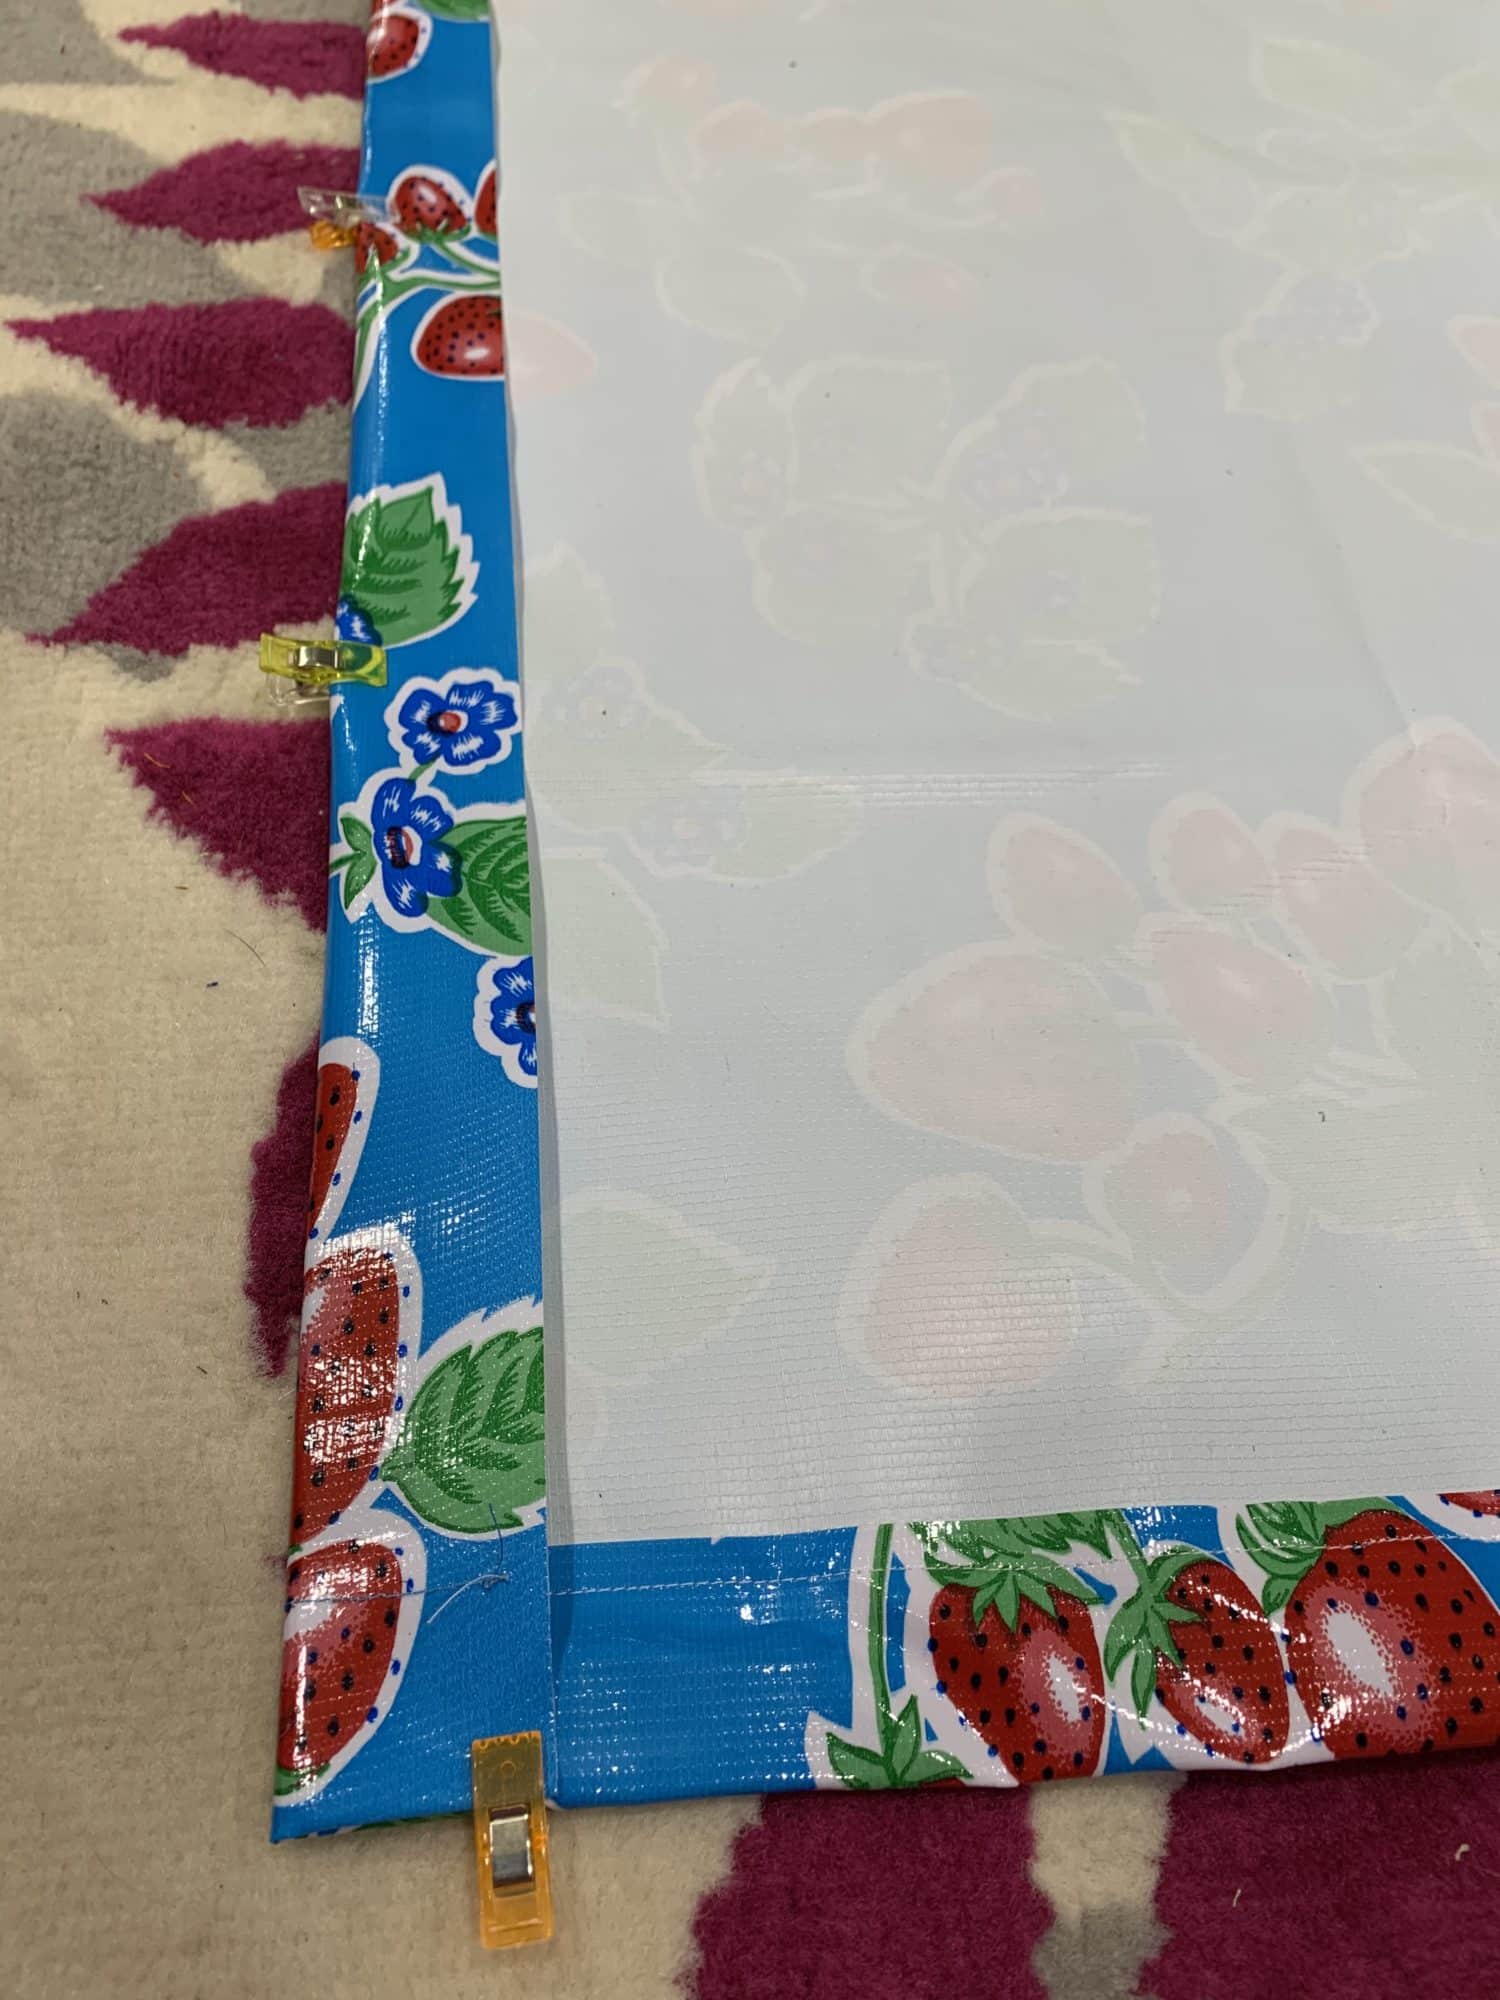
- The first weight should be placed 4 inches in from the side of the fabric. This is really important because you don’t want the weight to be in the way when you sew the long sides!
- The weights are also placed 3/4 inch from the bottom of the fabric. This is to give enough room for your presser foot and needle to sew the fabric and not hit the weight! If your weights are taller than mine, you might need to leave a bit more room, just try folding up the fabric and seeing how much space you have left to sew.
- Then, the other weights are evenly spaced in the middle
A note about sewing oilcloth
Make sure you use a denim needle and increase your stitch length. You want to increase your stitch length so the stitches aren’t too close together because you run the risk of the fabric ripping with too many stitches in one area. Also, use a non-stick presser foot. On my machine, it’s called a Smooth presser foot. Yours might be a Teflon or vinyl foot. Whatever it is called, it needs to be non-stick so that the fabric doesn’t get stuck to the foot and not feed well! This fabric isn’t hard to sew, I think the hardest part of this project is negotiating the large amount fabric through the machine! It likes to weigh itself down and pull on itself as you are sewing, so using a really big table or even the floor might help that a bit. Also, use clips and not pins! Once you put a hole in oilcloth or vinyl, it stays there! You won’t want a bunch of pin holes in your new tablecloth!
Ok, time to hem that weighted tablecloth!
- Flip your hem up and enclose the weights inside the hem.
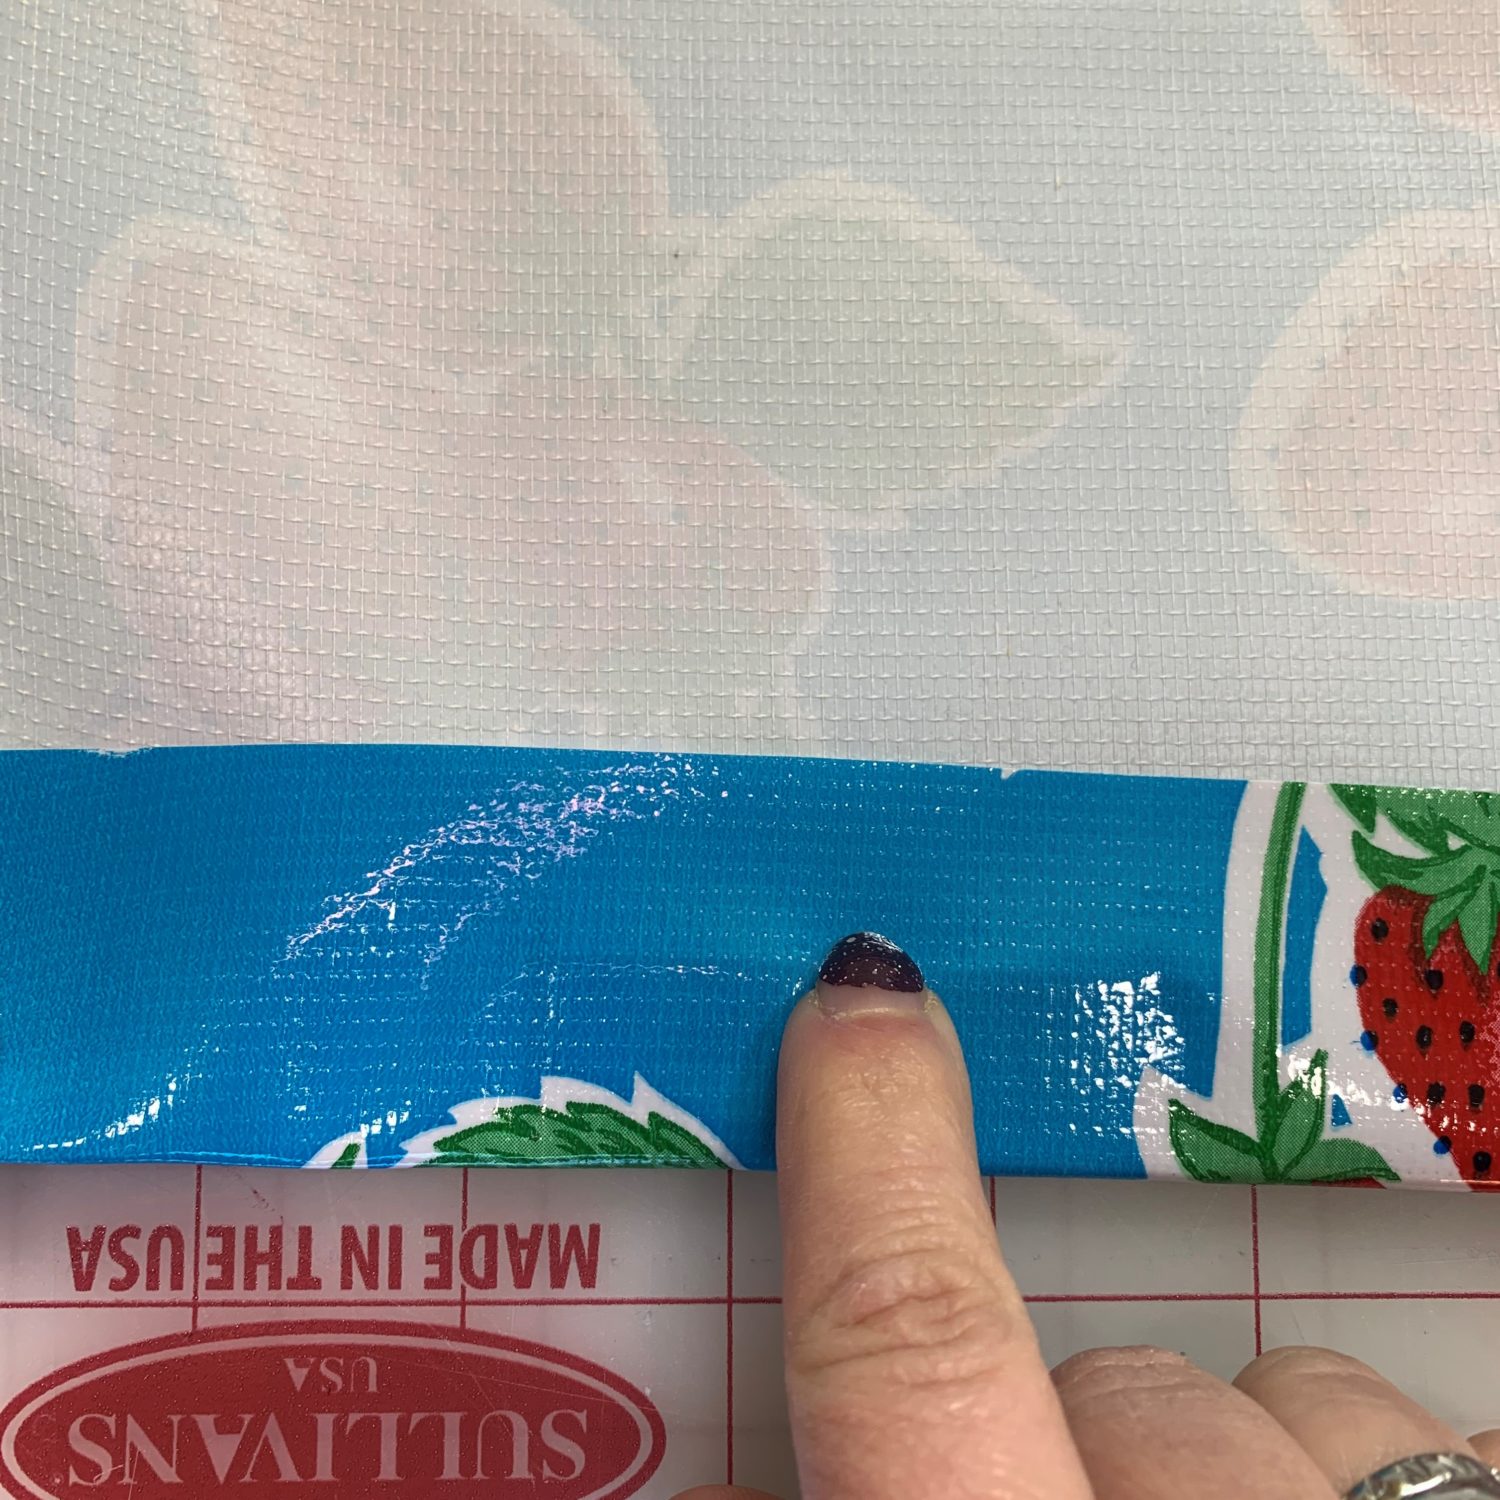
- Sew along the edge of the hem.
- Make sure you know where those weights are so that they stay away from the presser foot and needle!
- Repeat with the other short side.
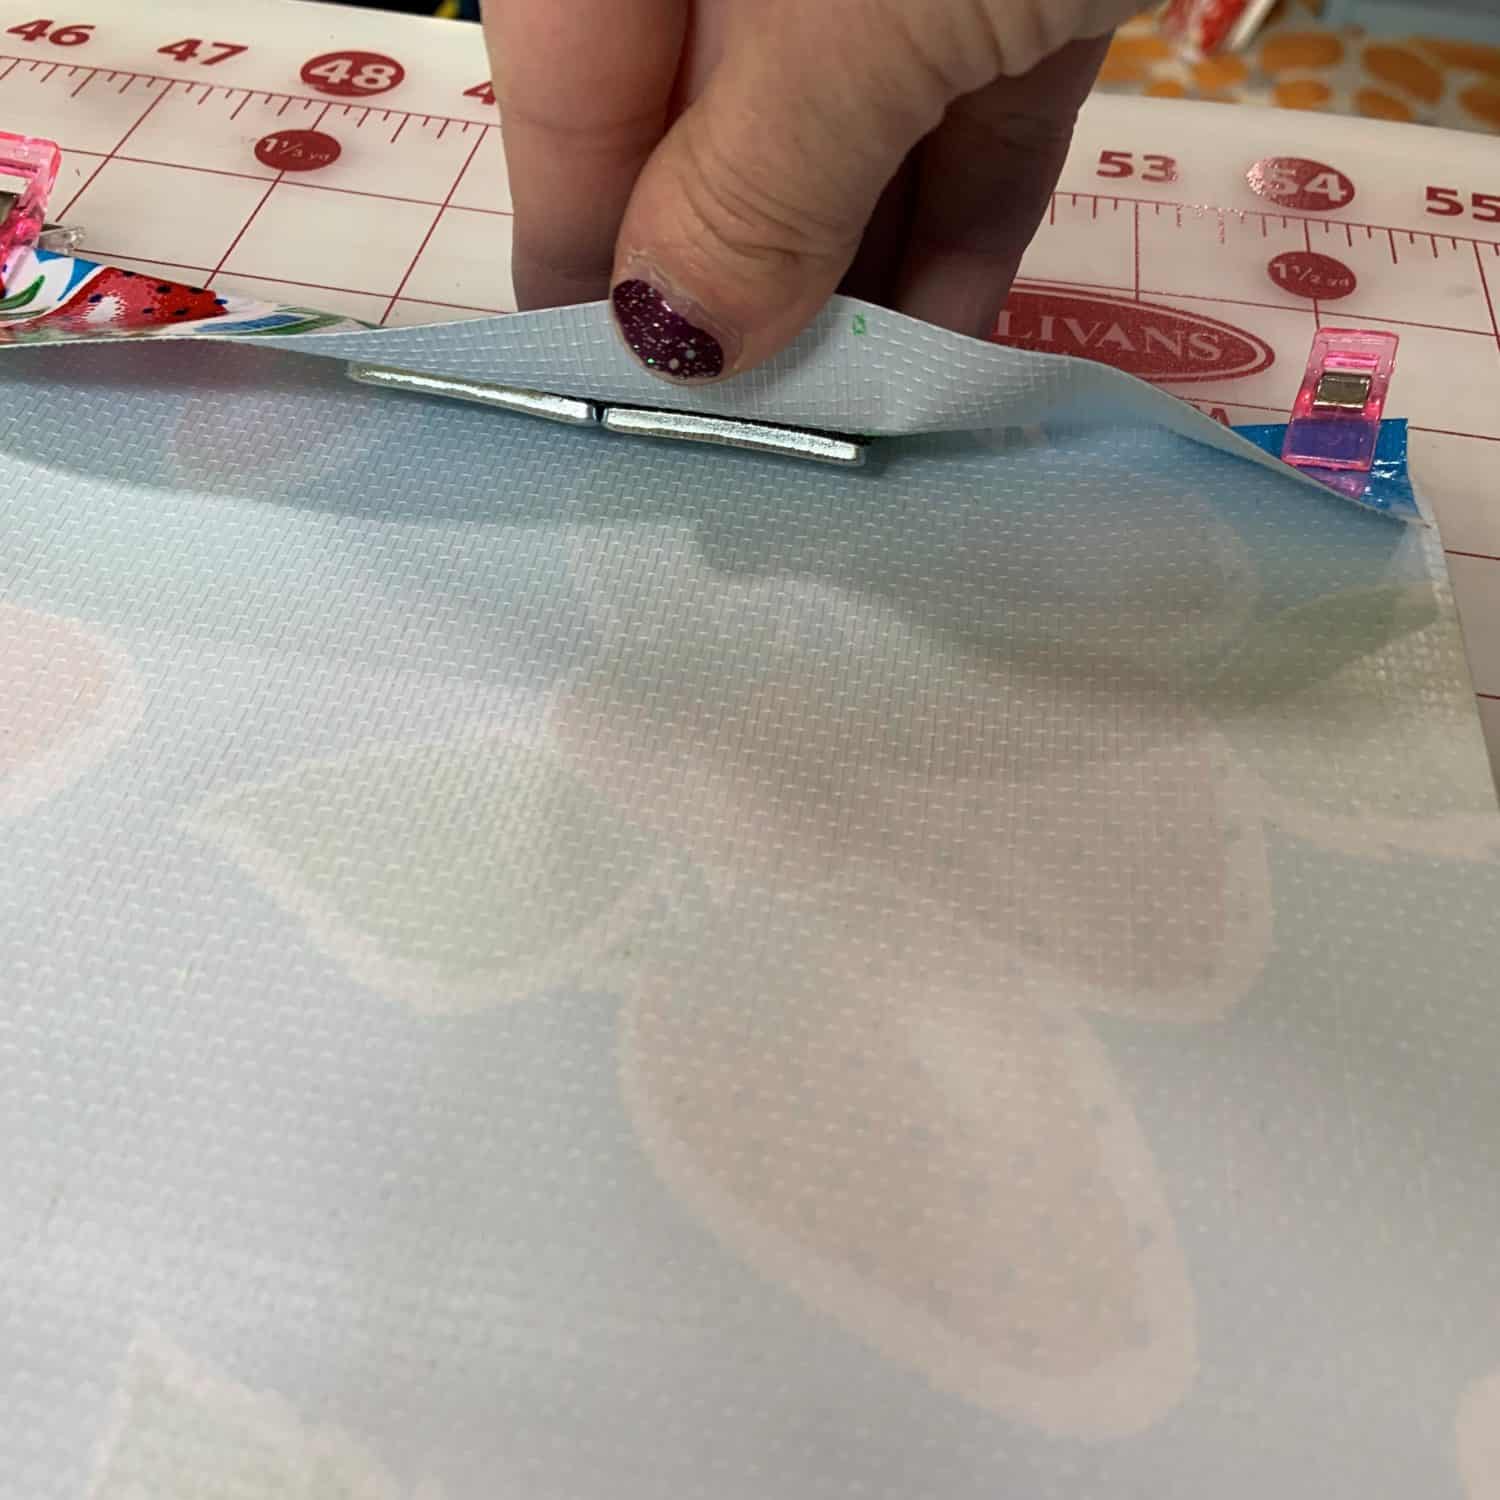
I am pointing to the top edge of the weight, you can see there is plenty of room to sew the edge 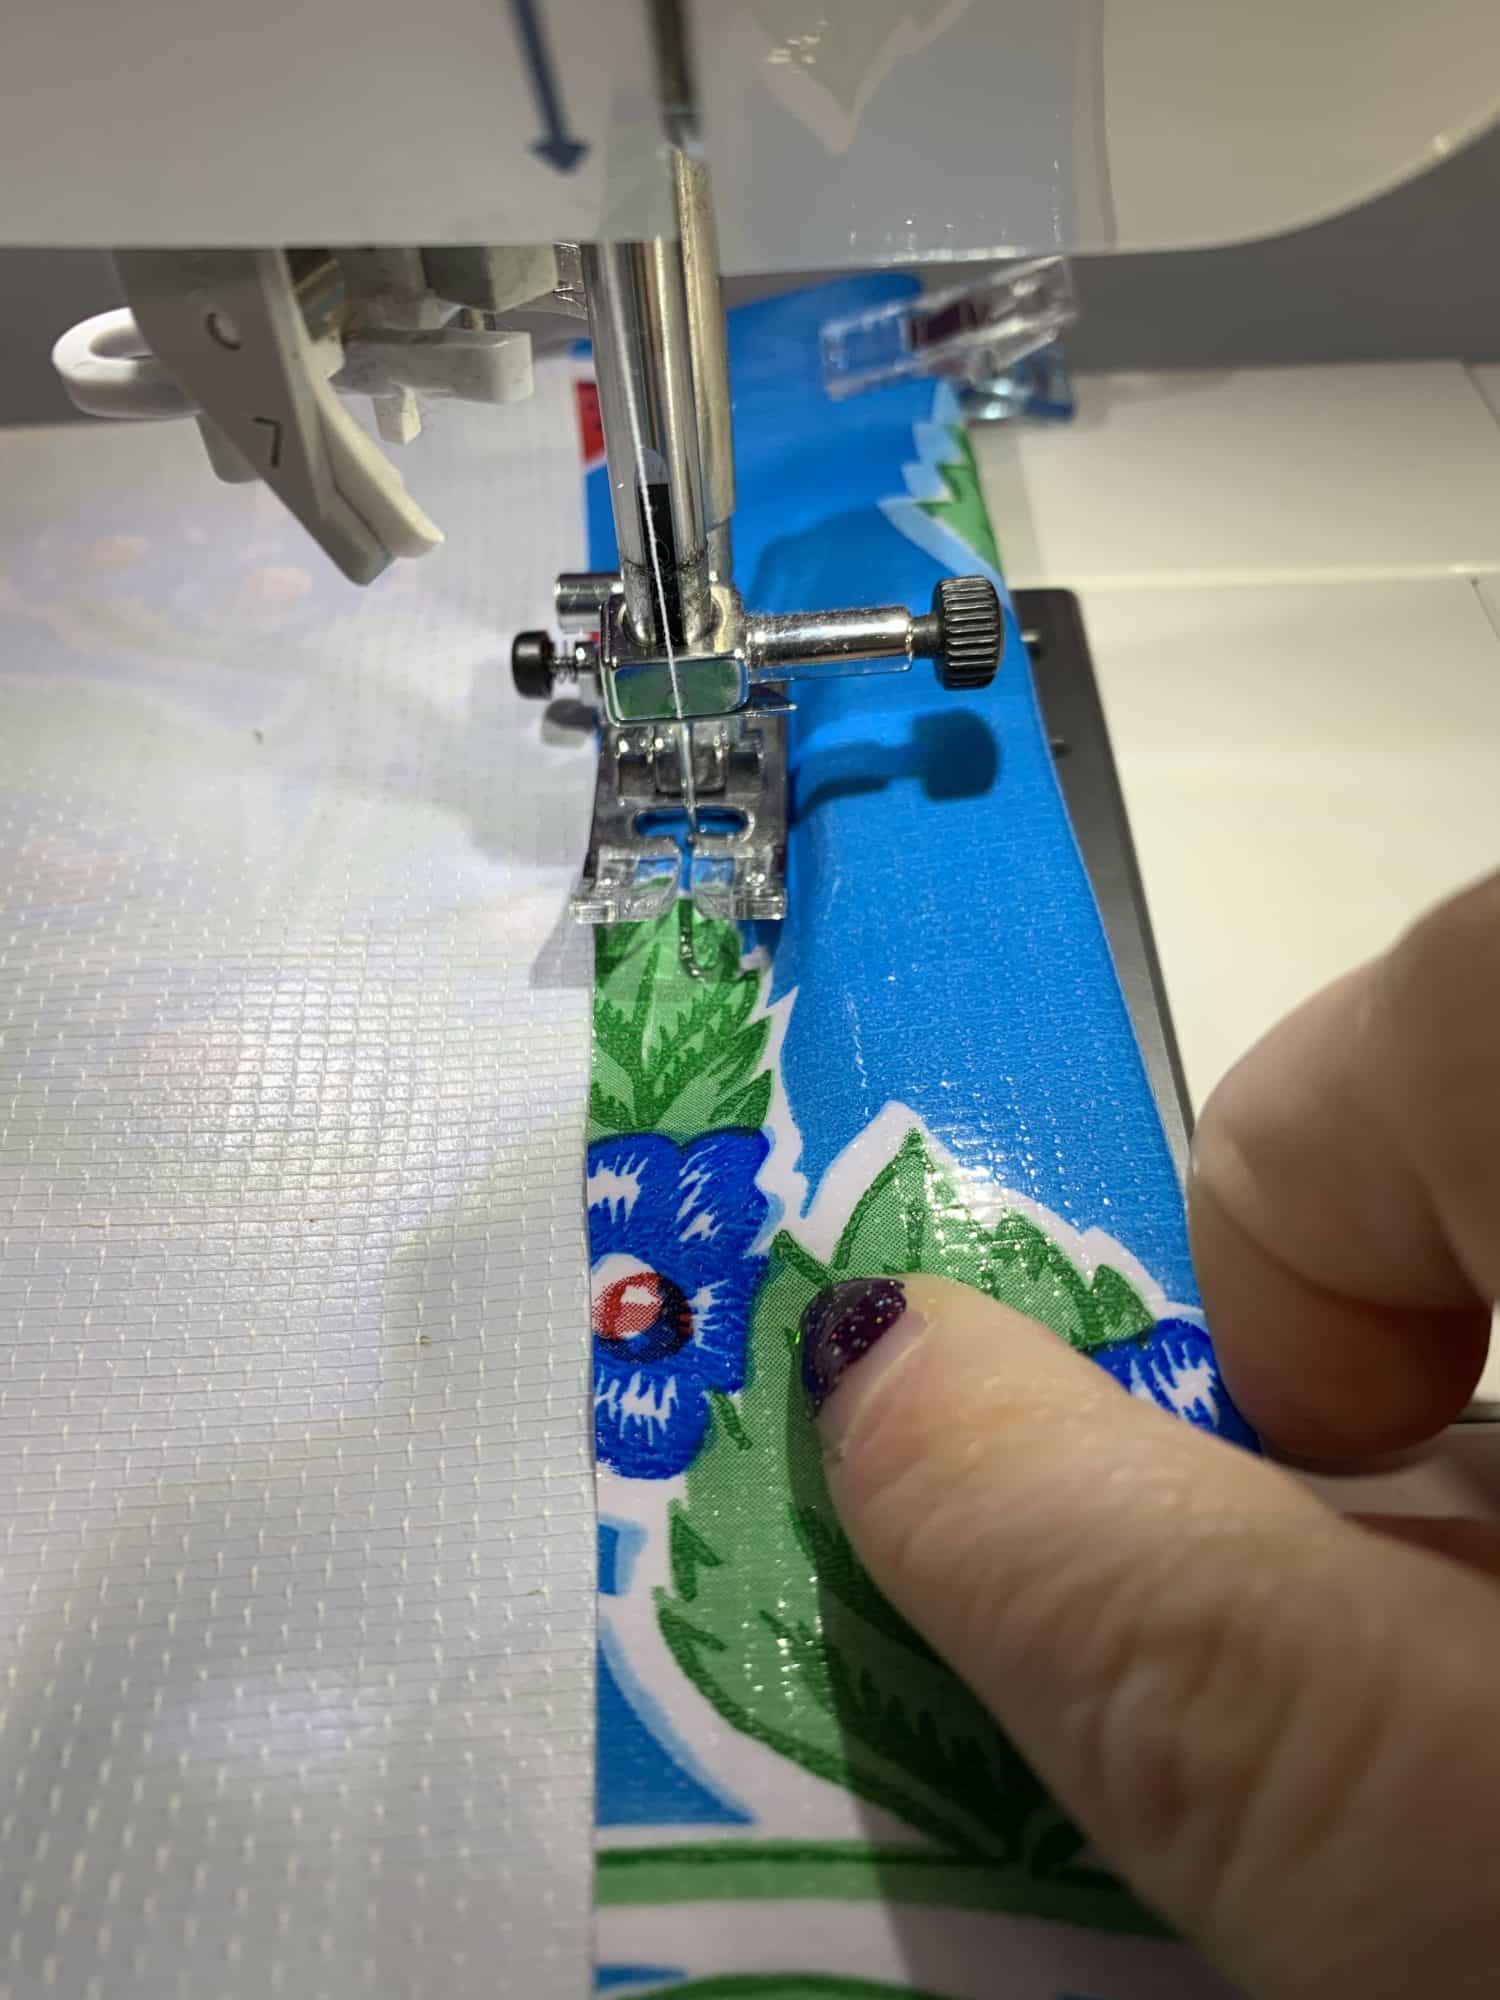
The edge of my weigh goes right on the outside of the presser foot
Hemming the long edge of the weighted tablecloth
- Once you hem both short sides, it’s time to hem the long edges. This is pretty much the same as the short edges, except that the weight can start closer to the side of the fabric if you wish. It doesn’t have to be 4 inches away from the edge like on the short side.
- I started my weights about 1.5 inches in from the edge on both sides.
- I used 8 weights on the long sides. You can always use more or less weights, depending on how heavy you’d like the tablecloth.
- Make sure that the weights are placed 3/4 of an inch from the bottom edge of the fabric so that you have room to sew.
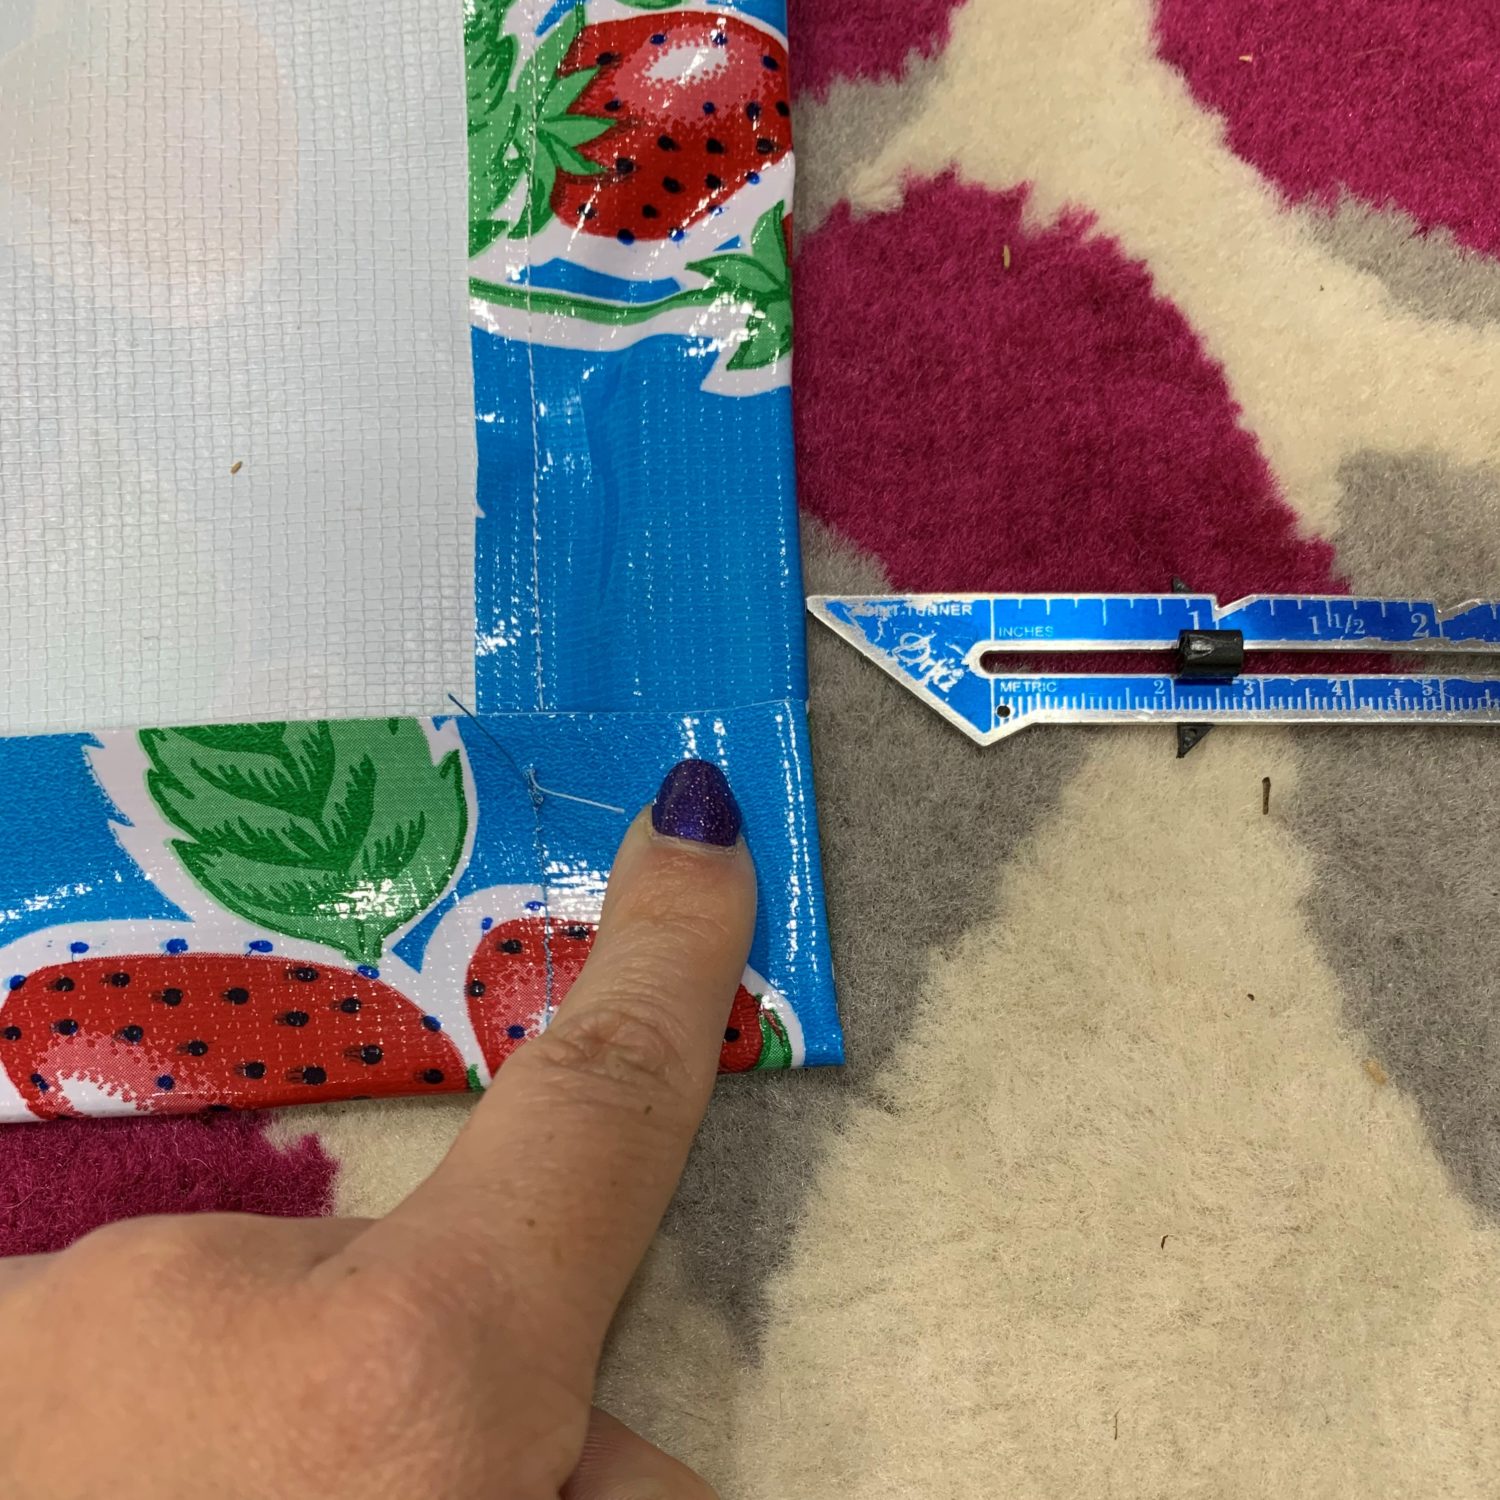
My hem gauge is pointing to the first weight on the short side, it’s away from the seam of the long edge hem. That’s why I placed it 4 inches in from the side.
- Put another weight 1.5 inches from the other side
- The rest of the weights are spread out evenly along the middle
- Mine are about 14 to 15 inches apart along the long side. It wasn’t an even number so some are a bit closer together than others, but it will be fine!
- Now, fold up the hem and sew along the edge, just like on the short side!
- Repeat on the other side and you’re all done!!
There you go! A brand new, fun weighted tablecloth ready for you to have a picnic!!

Want more FUN DIY Freebies? Check out the FREEBIE TUTORIALS and the FREEBIE PATTERNS!
As always, we’re here to help if you need it! Join us HERE and on Facebook, Instagram, Twitter, Youtube, and Pinterest. We’re everywhere you are.
I love this idea! Thanks for the great tutorial.
What a great idea!
Fabulous idea! Thanks for sharing.