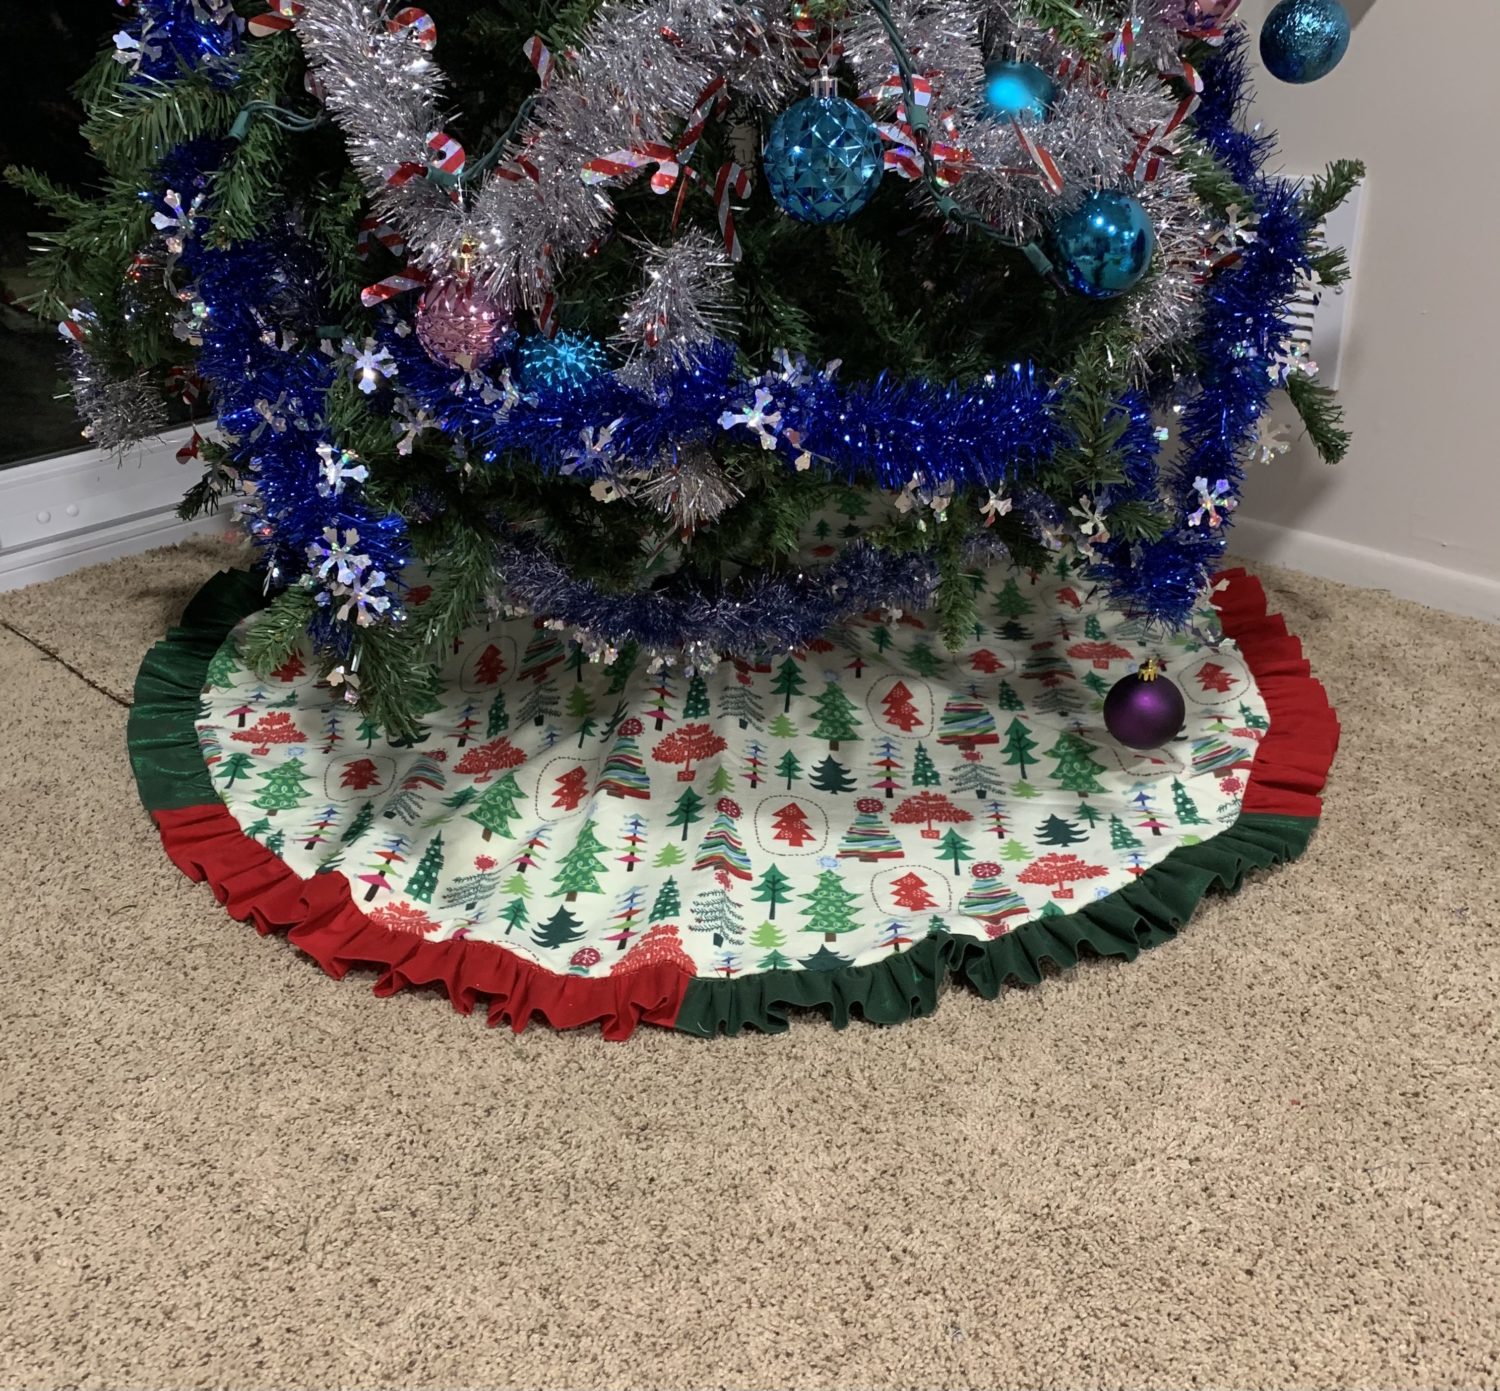
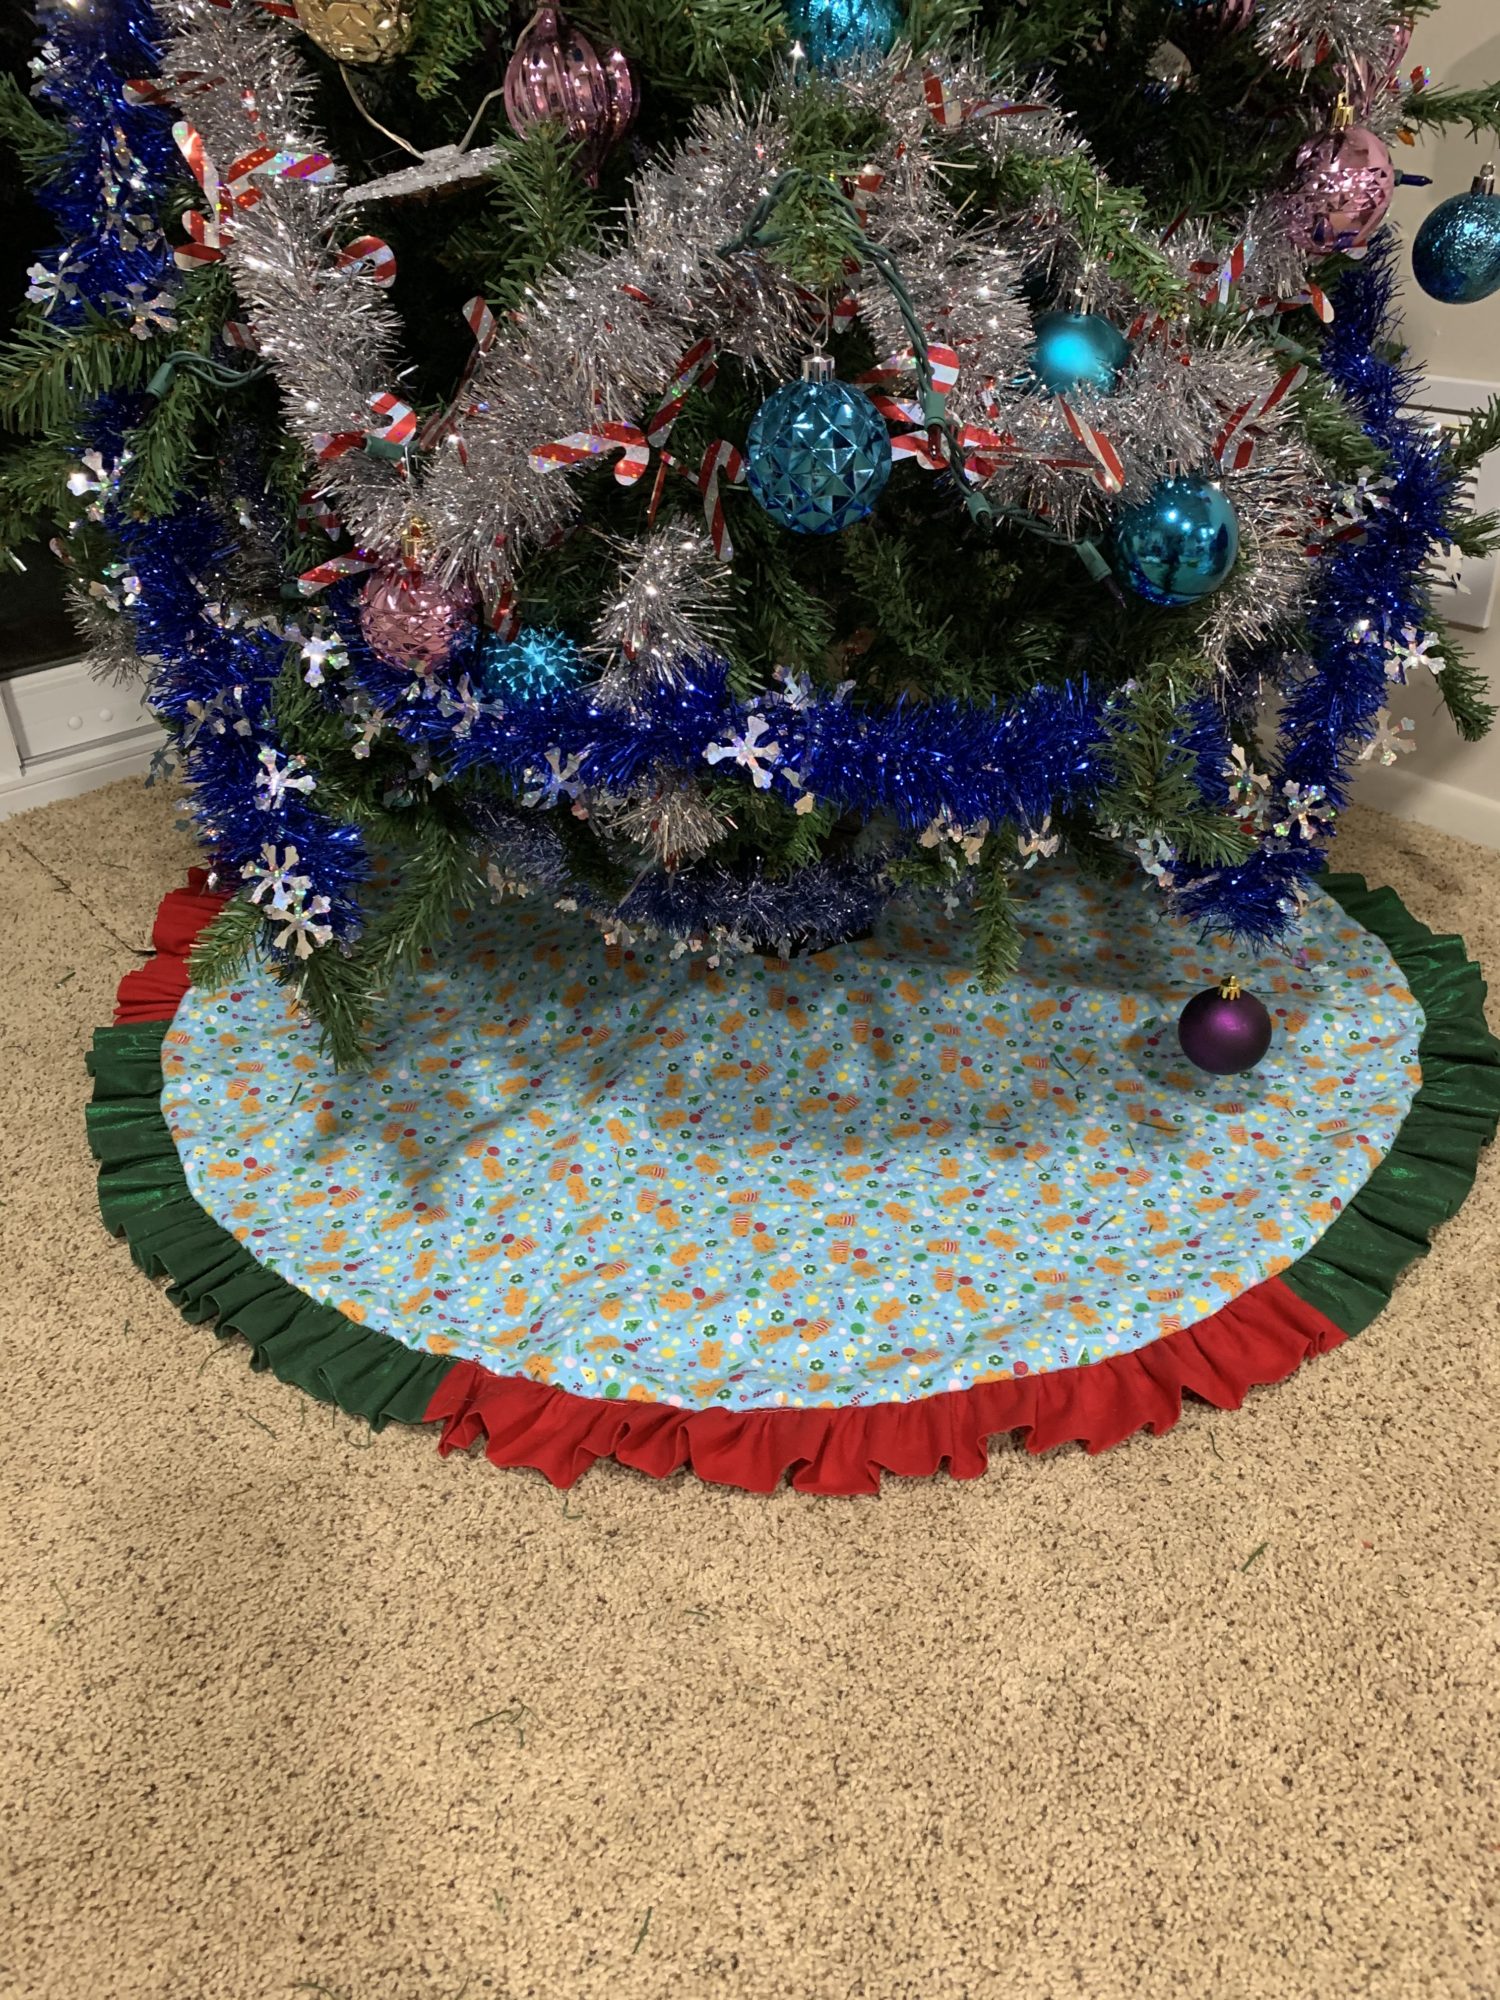
It’s time to start decorating for Christmas! Woo Hoo! I’ll be honest, I actually decorated last week. I know it is early, but it’s 2020 and we all could use a little extra cheer, right? As we were decorating, I realized that I still need a tree skirt for our tree that is downstairs. So, I made one myself! I love that I had full control over the fabric, style, color and size! Want to know the best part? It is a reversible tree skirt! That’s like 2 tree skirts in 1! I am super excited about this project! Want to make your own reversible tree skirt? Read on!
Materials
- Fabric for top of tree skirt
- Fabric for bottom of tree skirt
- Ruffle Fabric
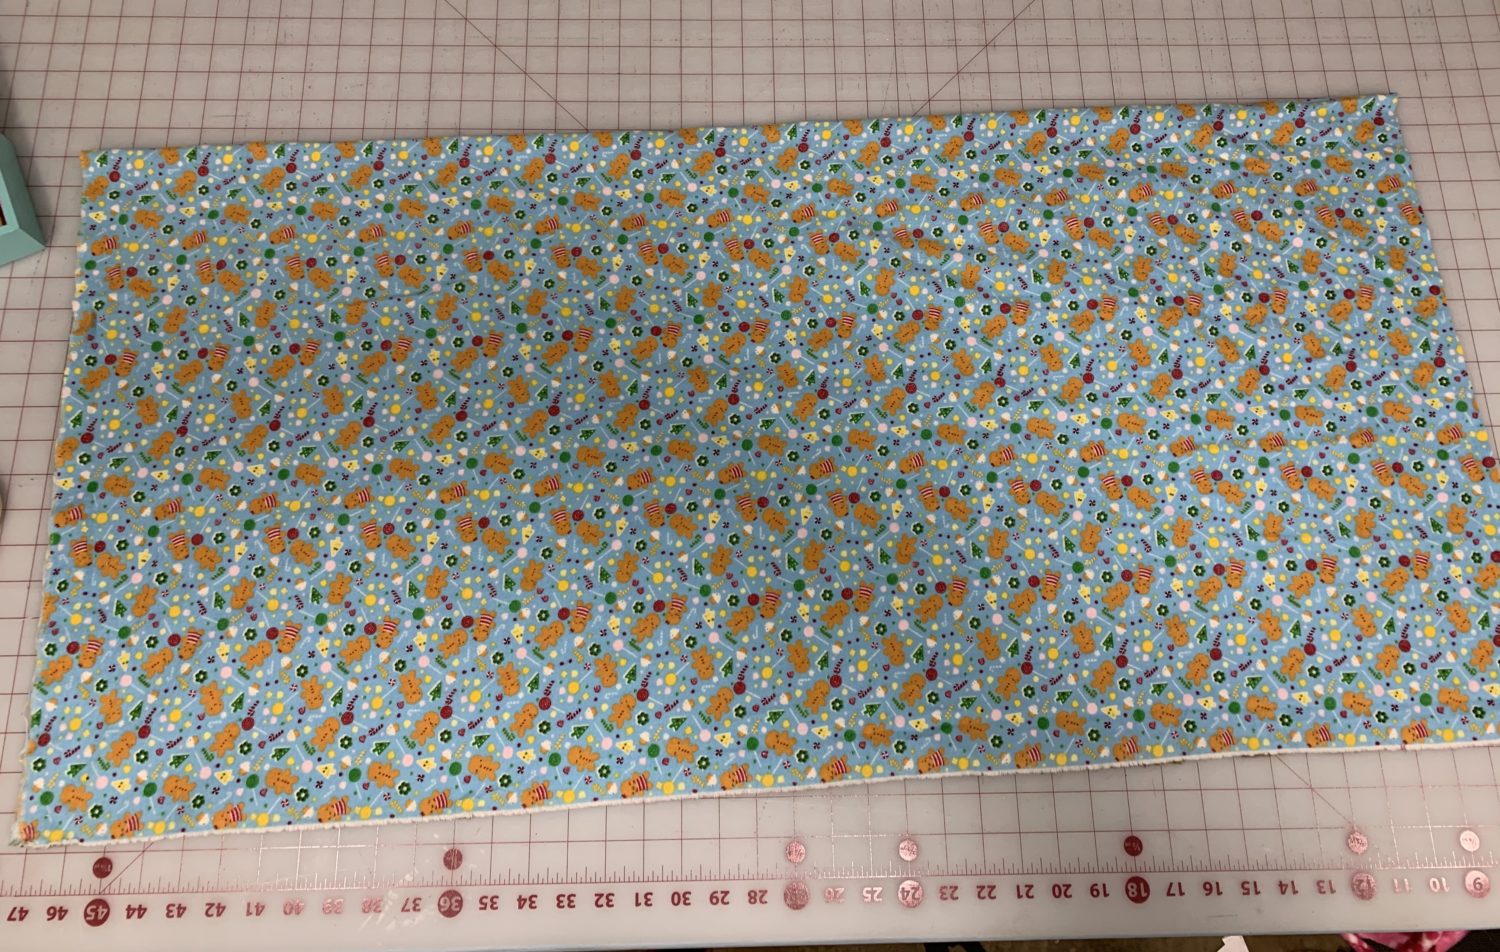
I used flannel for the main parts of my tree skirt because that is what I had available. I used squares that were about 41 inches long and 41 inches wide. The ruffle pieces that I used were quilting cotton and broadcloth because, again, that’s what I had! There was only enough fabric to make my ruffle pieces 5 inches long (which makes about a 2 inch ruffle after folding it in half and adding in seam allowance). I think that I would make them a bit bigger next time, but I was using scraps. I used the width of the fabric on my ruffle pieces so each one was probably about 41 inches wide.
Cutting fabric
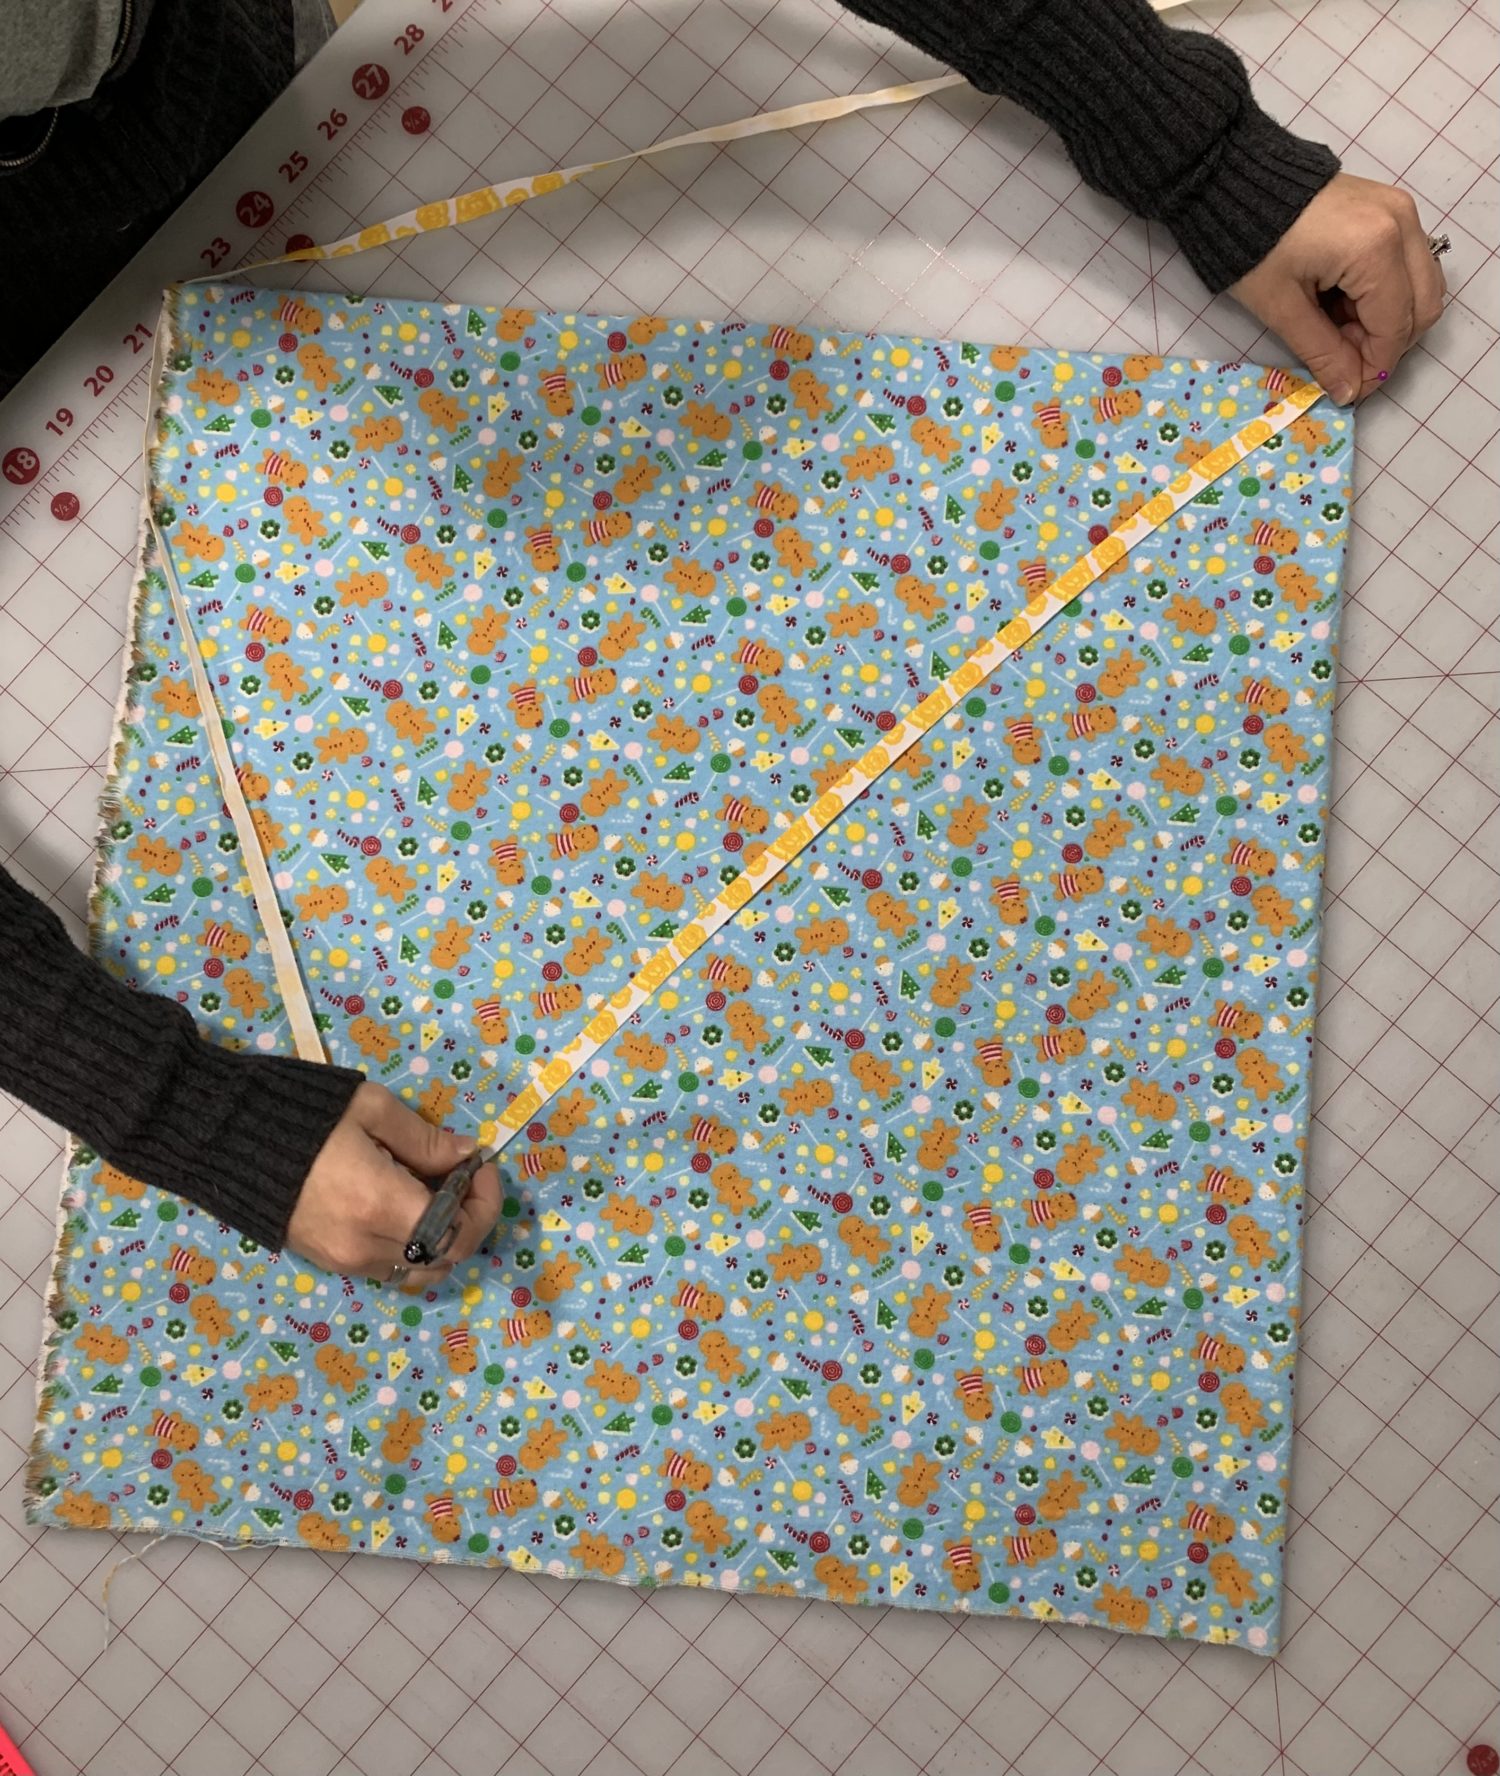
- Fold one of your main fabric pieces in half and then in half again the other way. If you’ve ever made a circle skirt, this is the same method. You’ll end up with a double fold on your fabric.
Folded in half once (top down) 
Folded a second time (left to right) 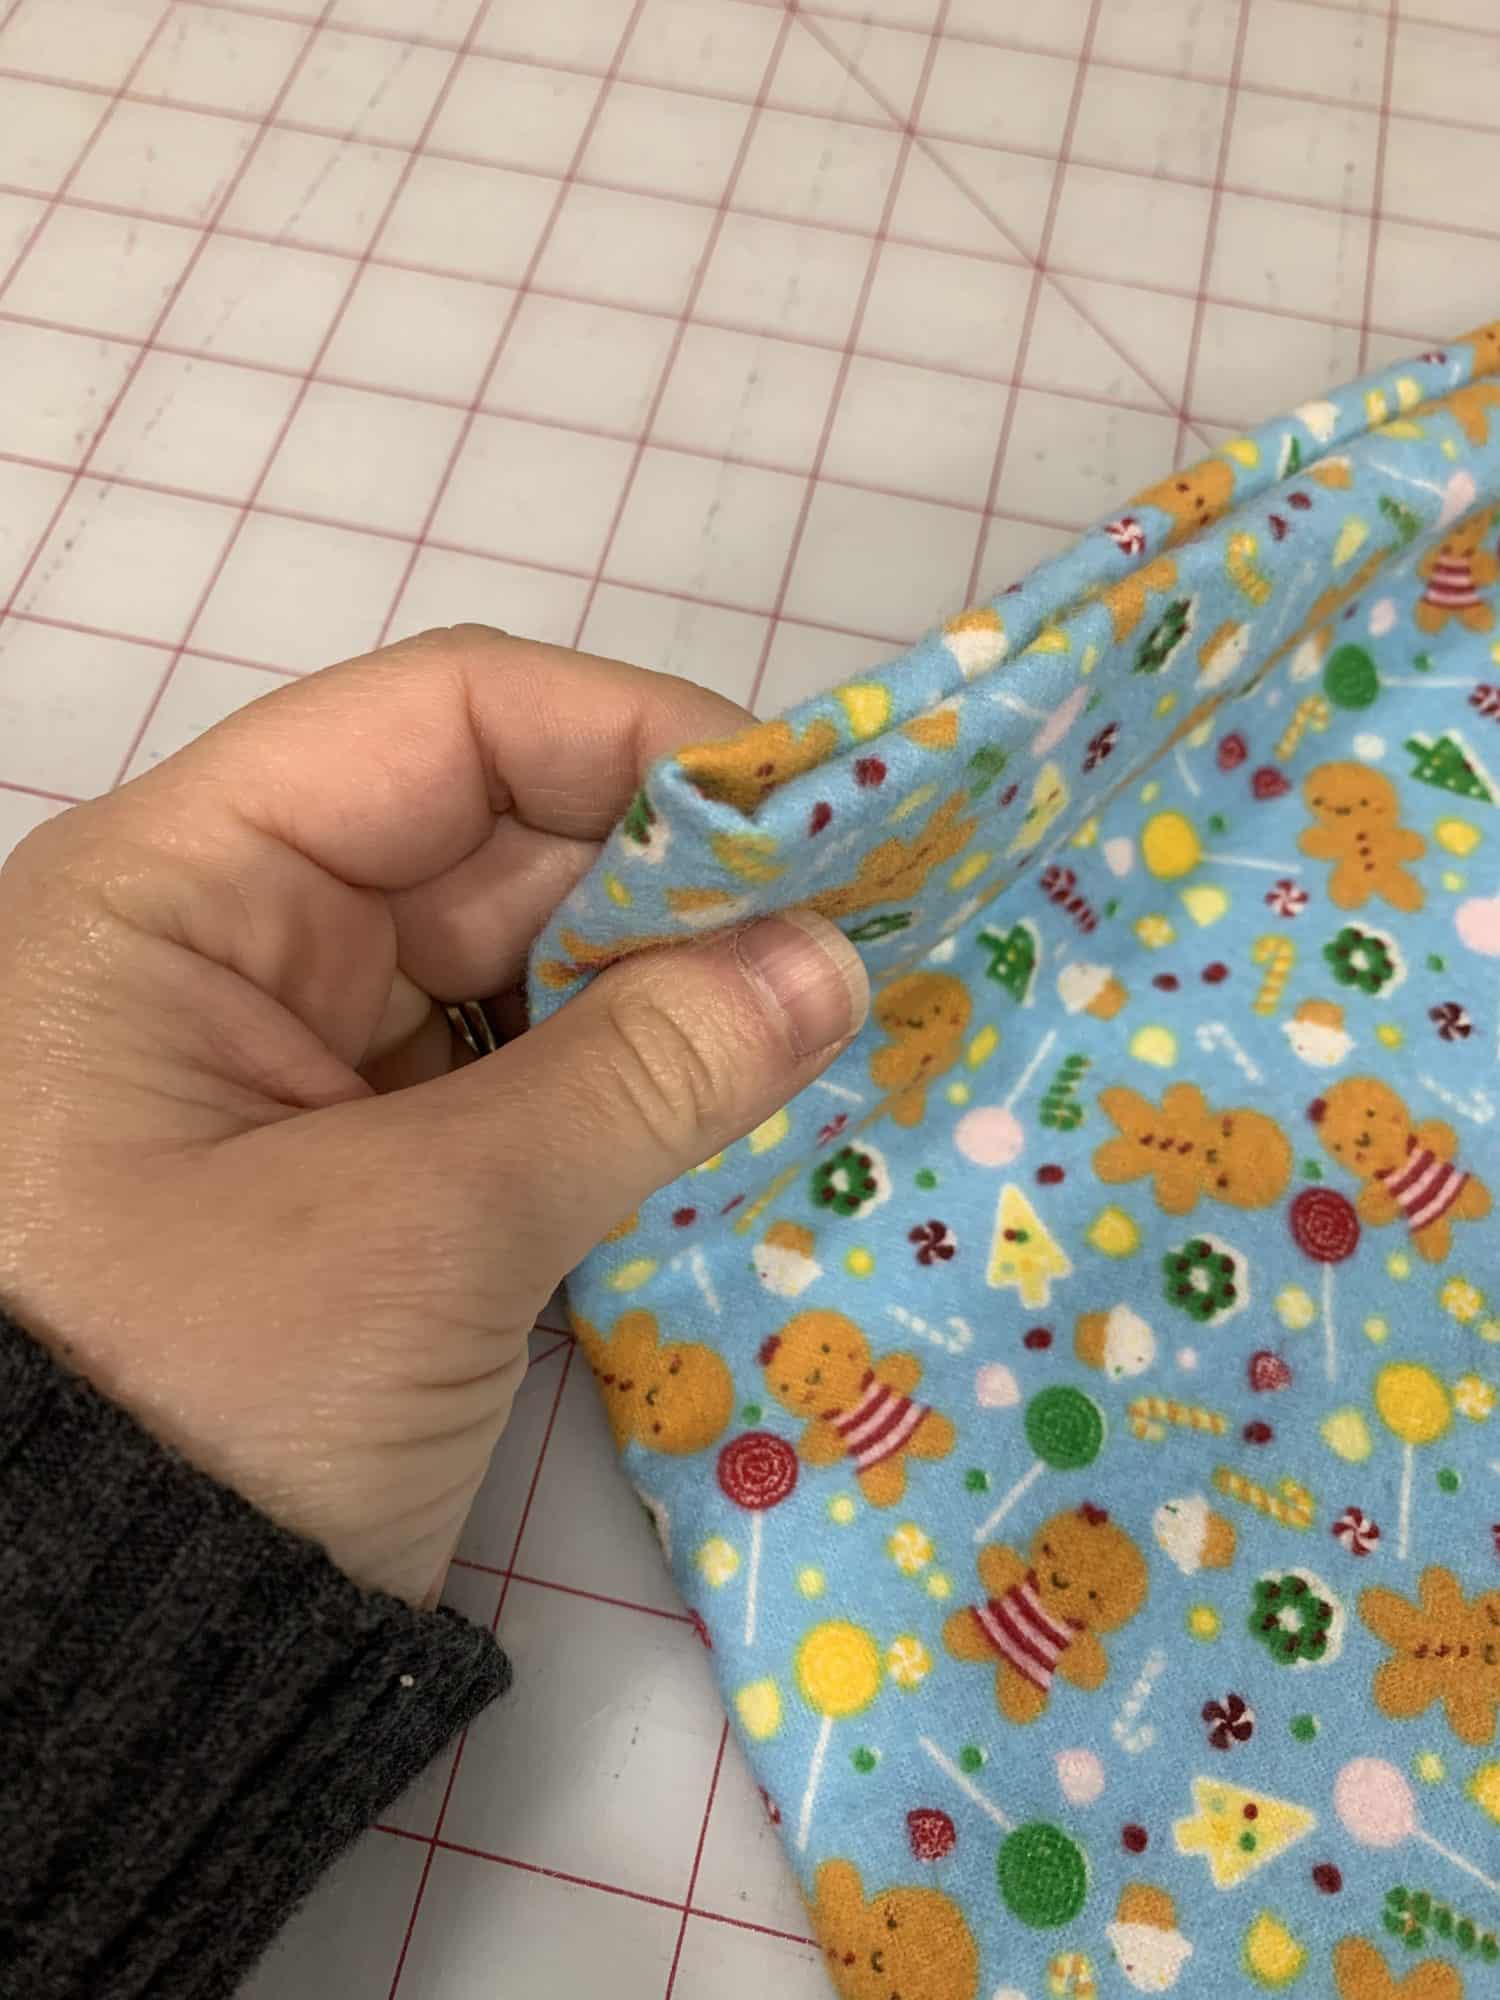
Here is your double fold
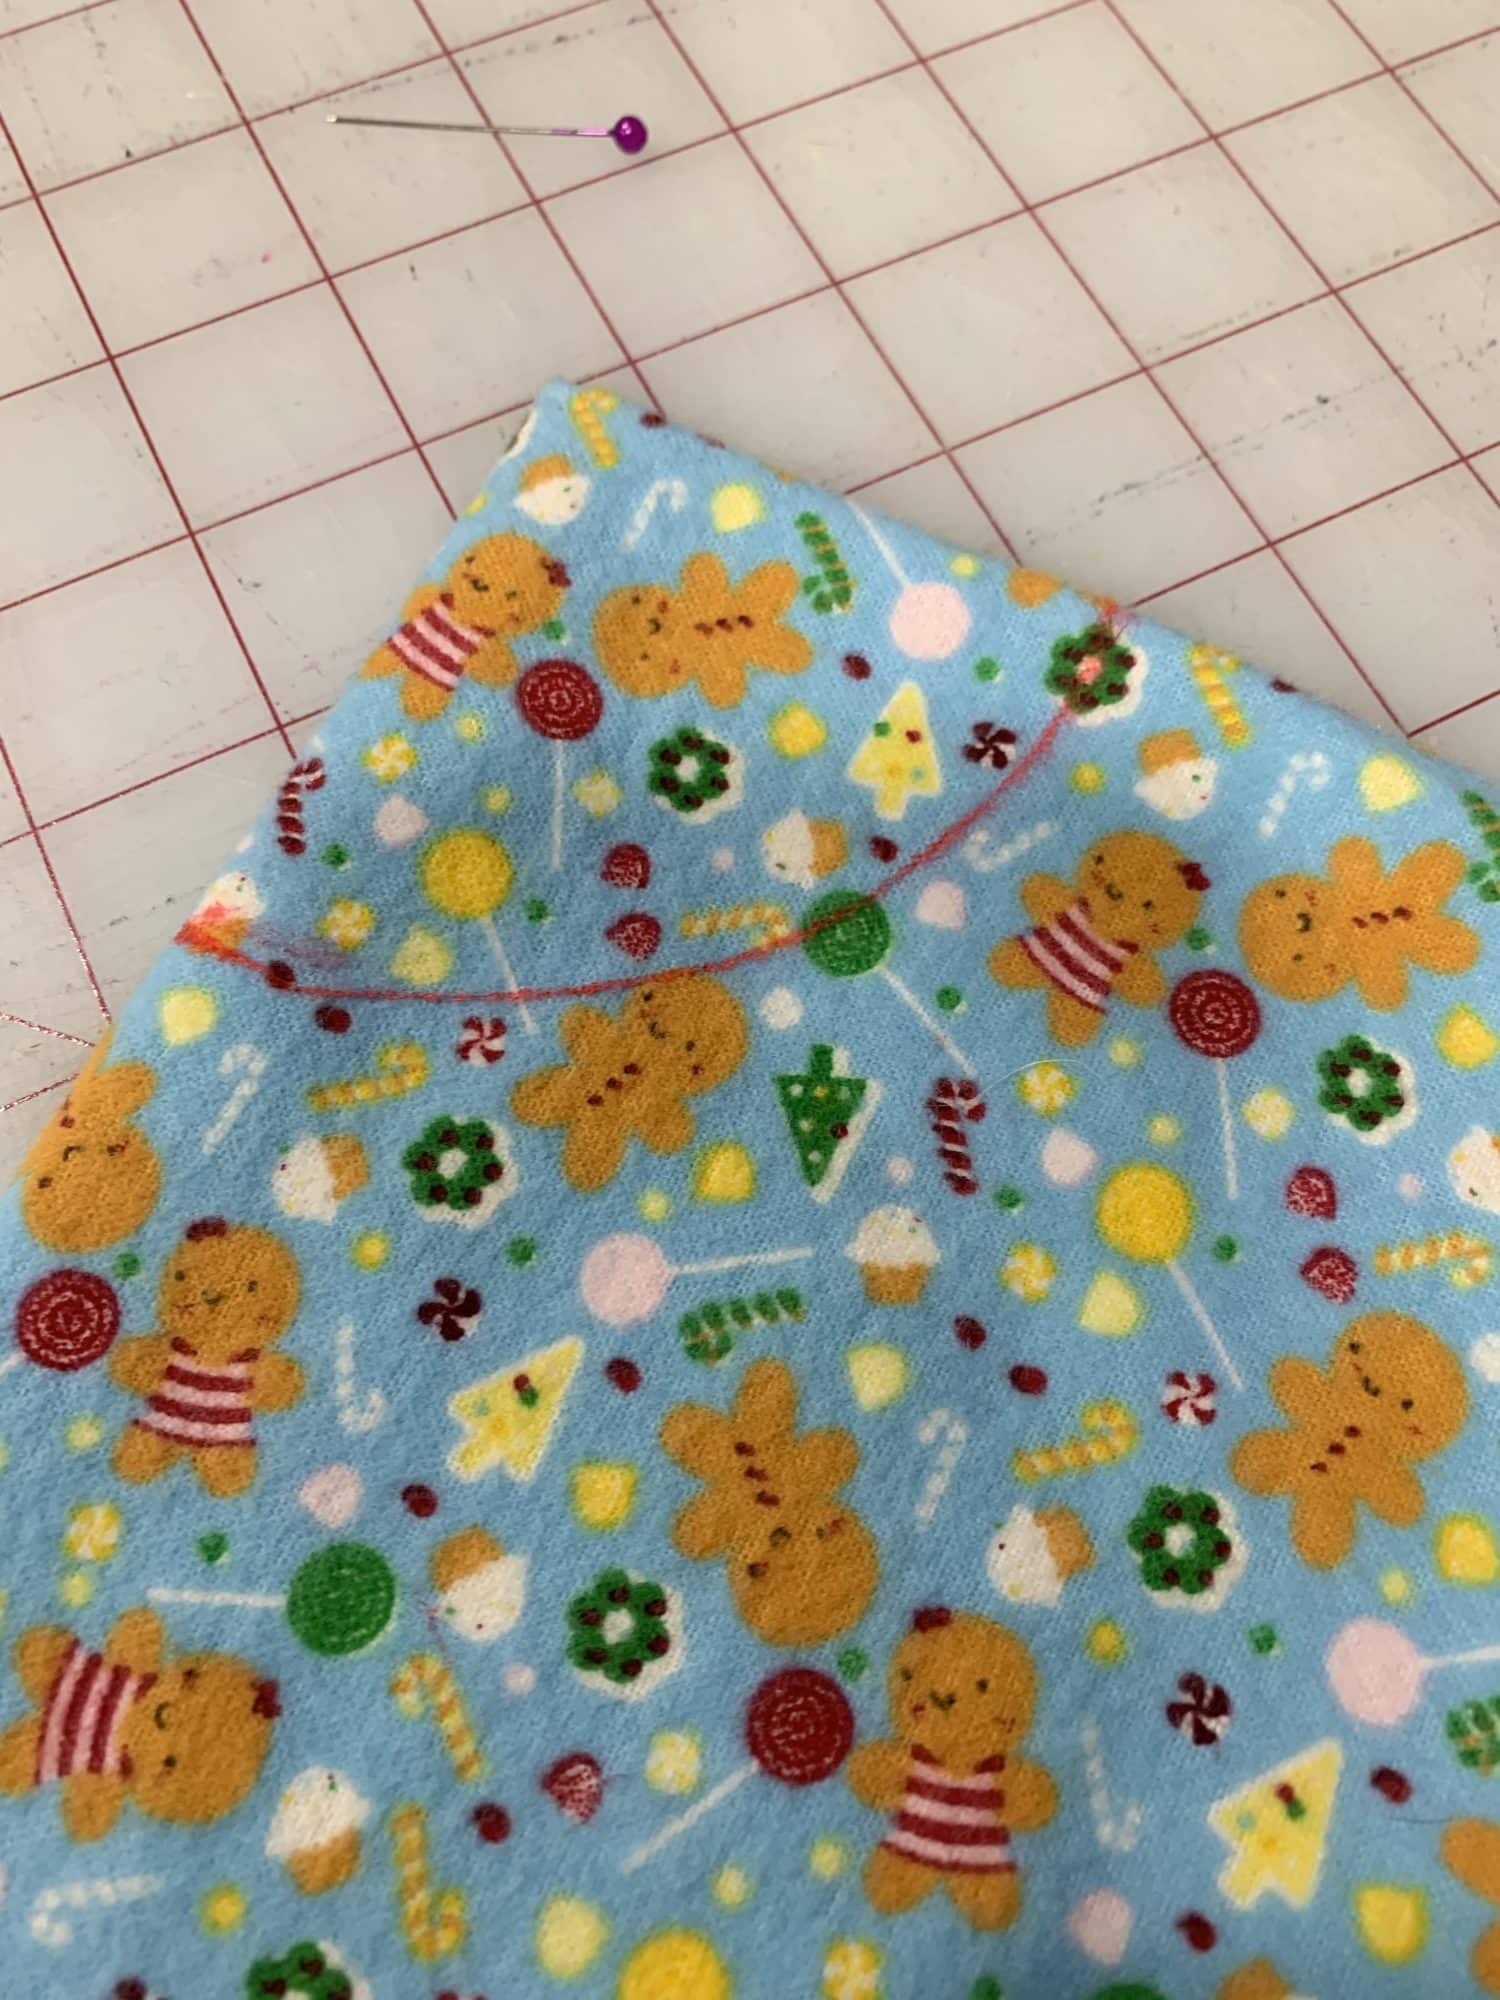
- Now you’ll need a pin and a ribbon or string. Pin the string to the top of the fabric, right at the triangle with the double fold
- Measure down how long you want your tree skirt to be. Mine was about 19 inches and that used all of the fabric that I had. If you want a longer tree skirt, you’ll need fabric that is 54 or 60 inches wide. Don’t forget, the ruffle will also add more length to the tree skirt also.
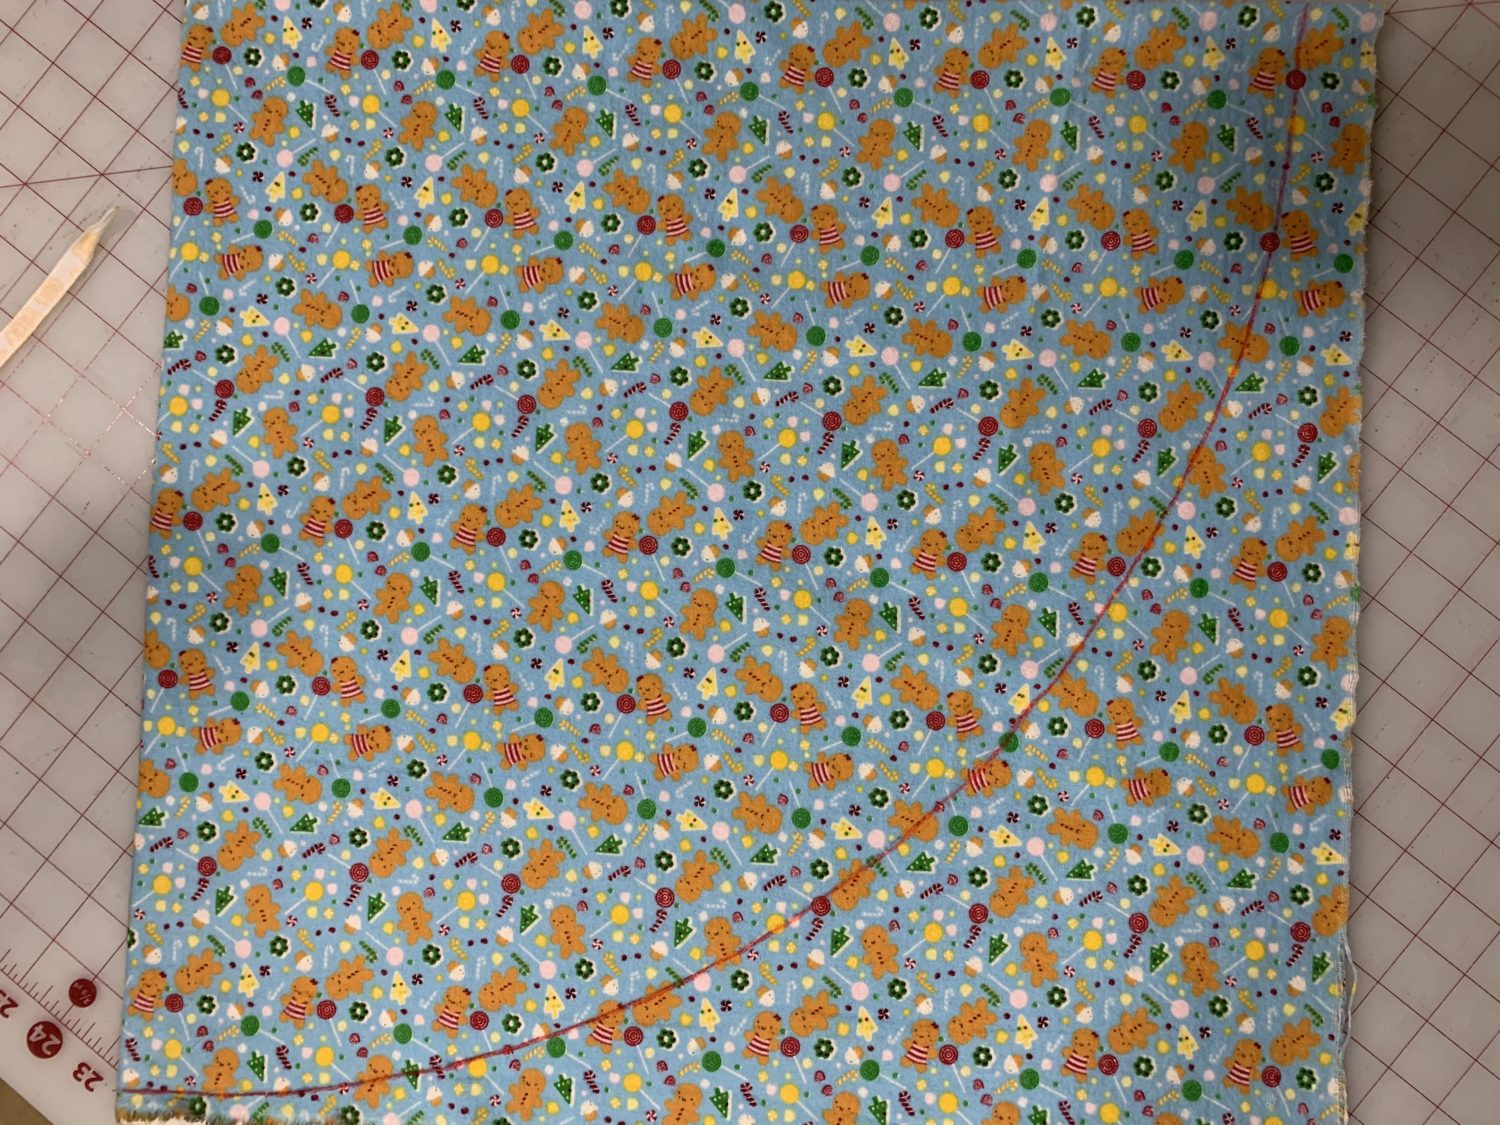
- Use a pen or tailor’s chalk to follow the string and draw a curve on your fabric. Just put the writing utensil at the end of the string and follow the string as you move from one edge of fabric to the other edge. Keep your string taut, but be careful not to pull it too tight and move the pin.
- You’ll end up with a beautiful curve that, once cut, will make a perfect circle for your tree skirt
- Cut along your curved line
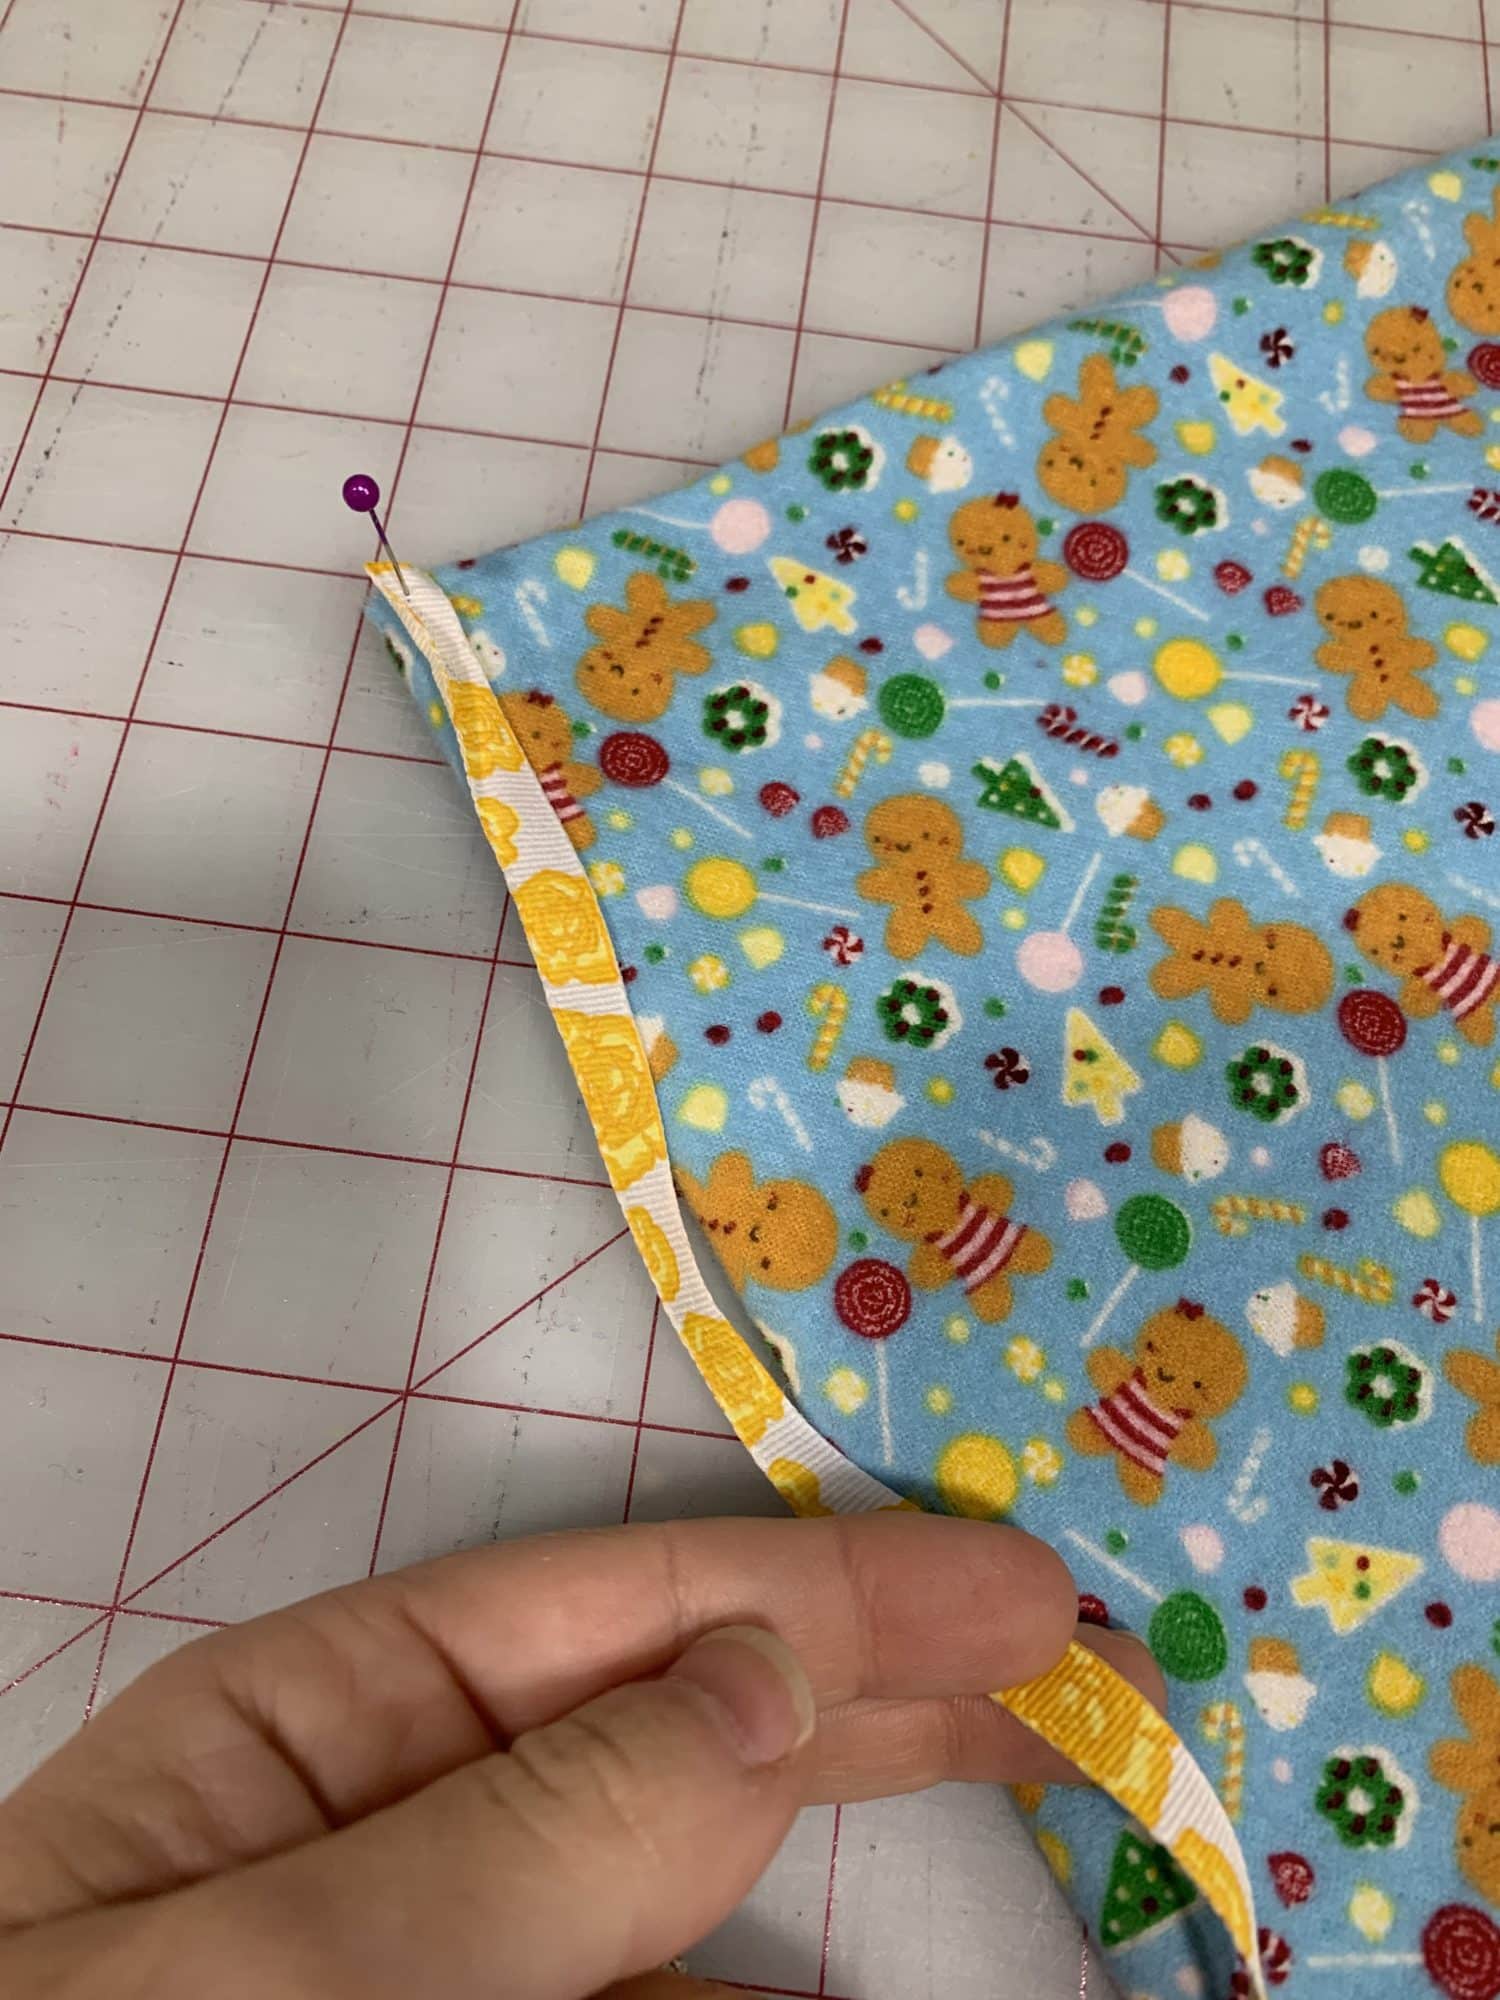
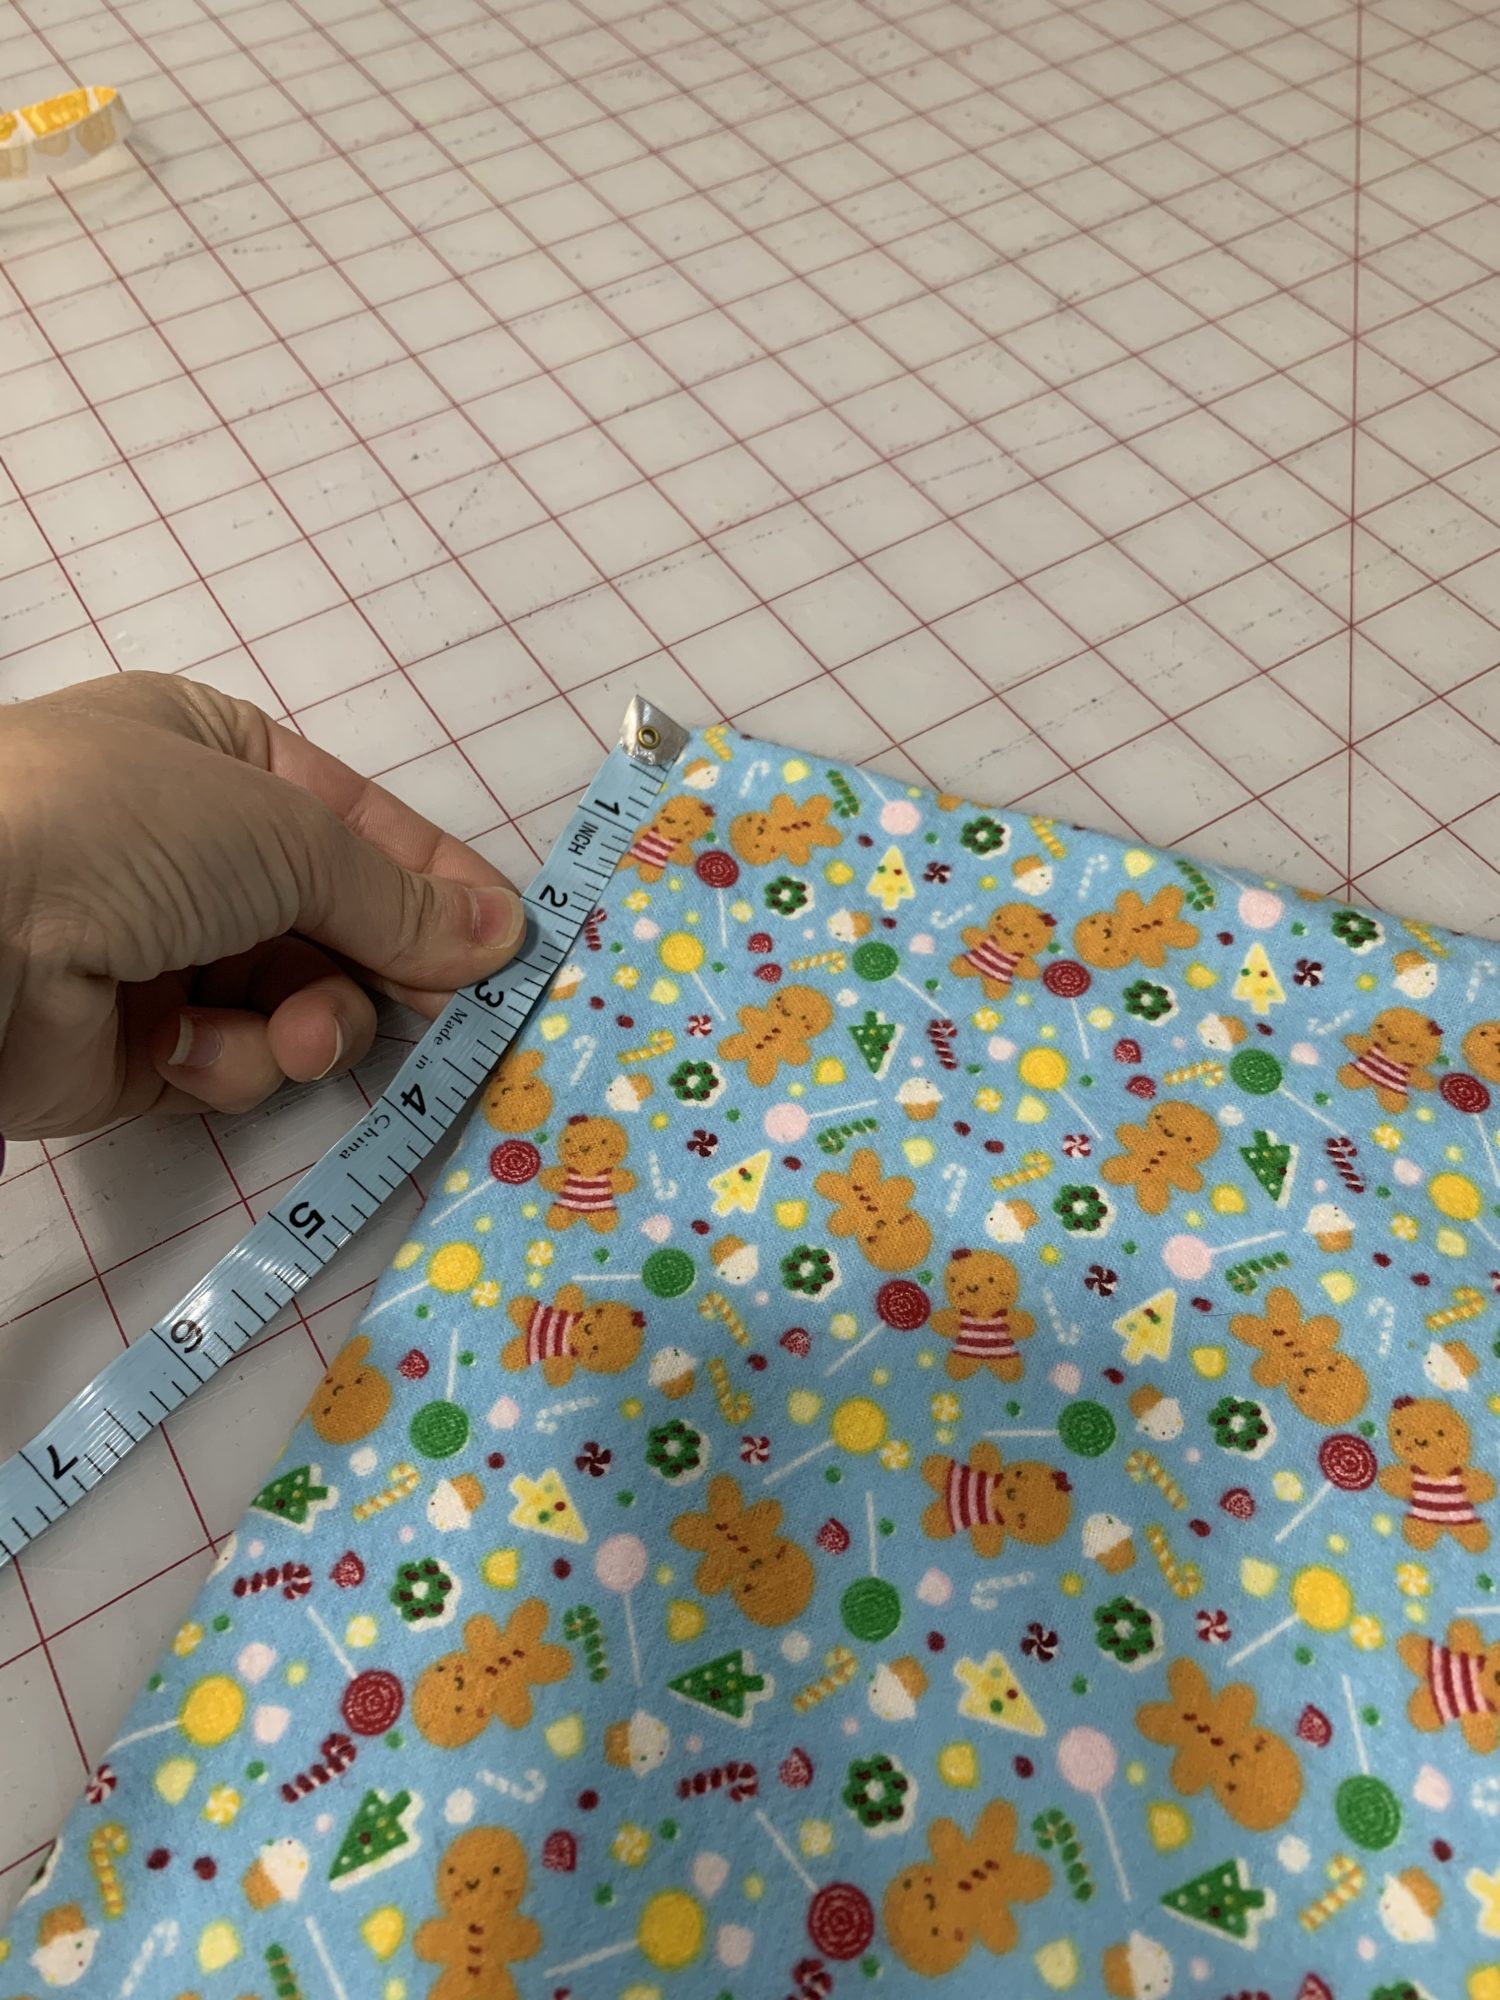
- You need to cut a curve at the top of the fabric as well. This will become your center circle that will go around the base of your tree.
- Do the same thing that you just did on the bottom curve, but on a smaller scale
- I measured down about 2.5 inches. This gives me a 5 inch circle.
- Cut the top curve
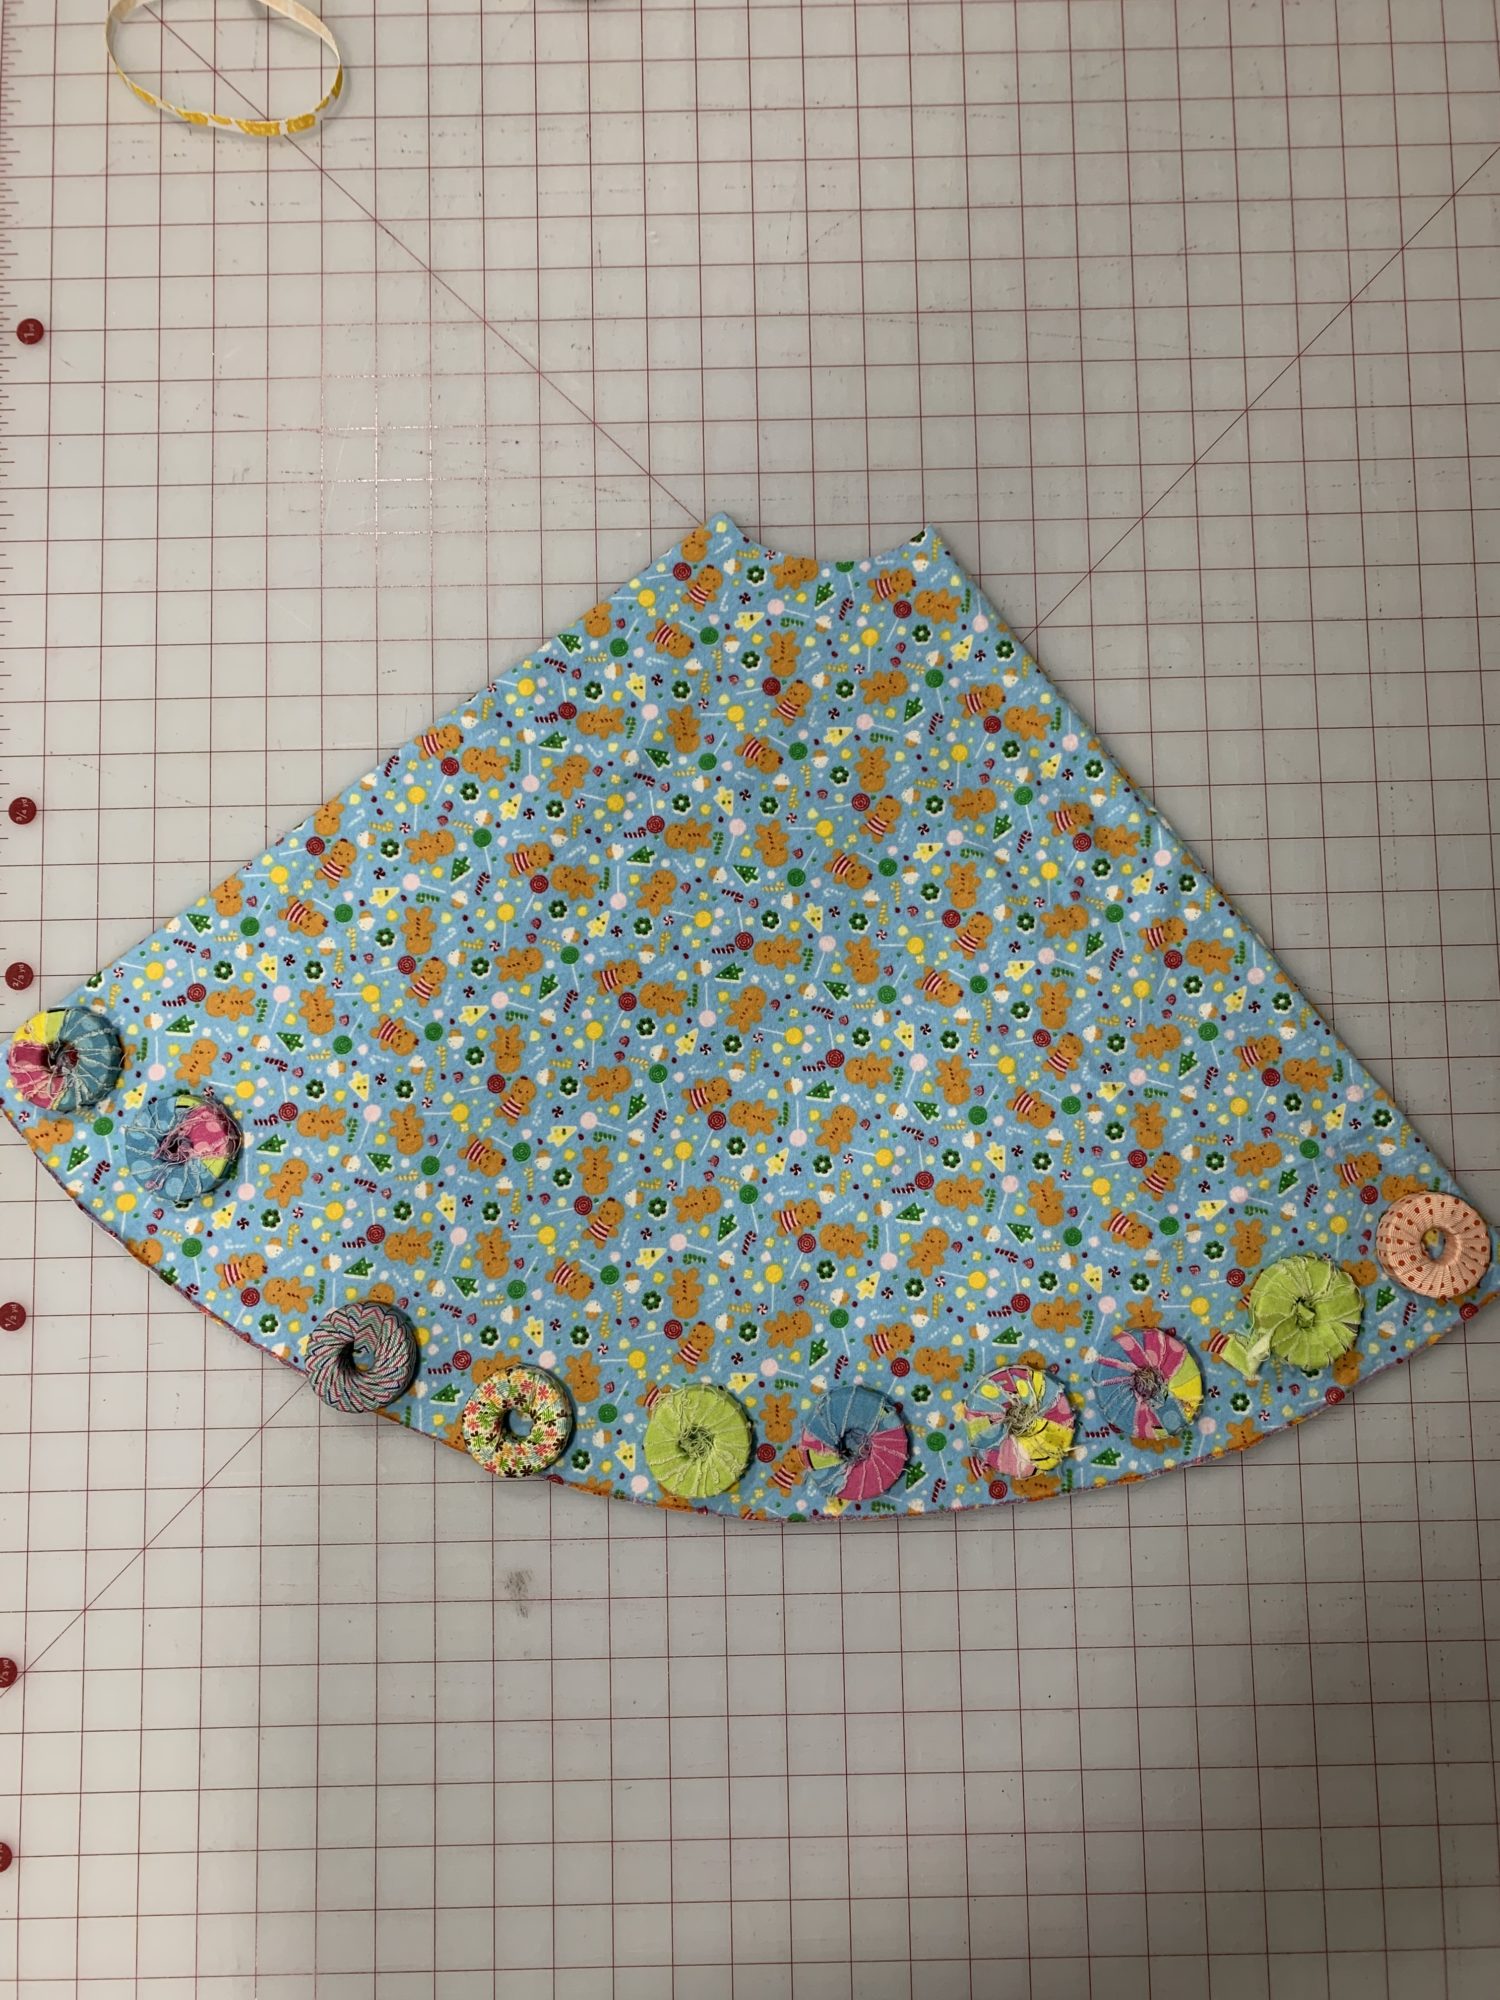
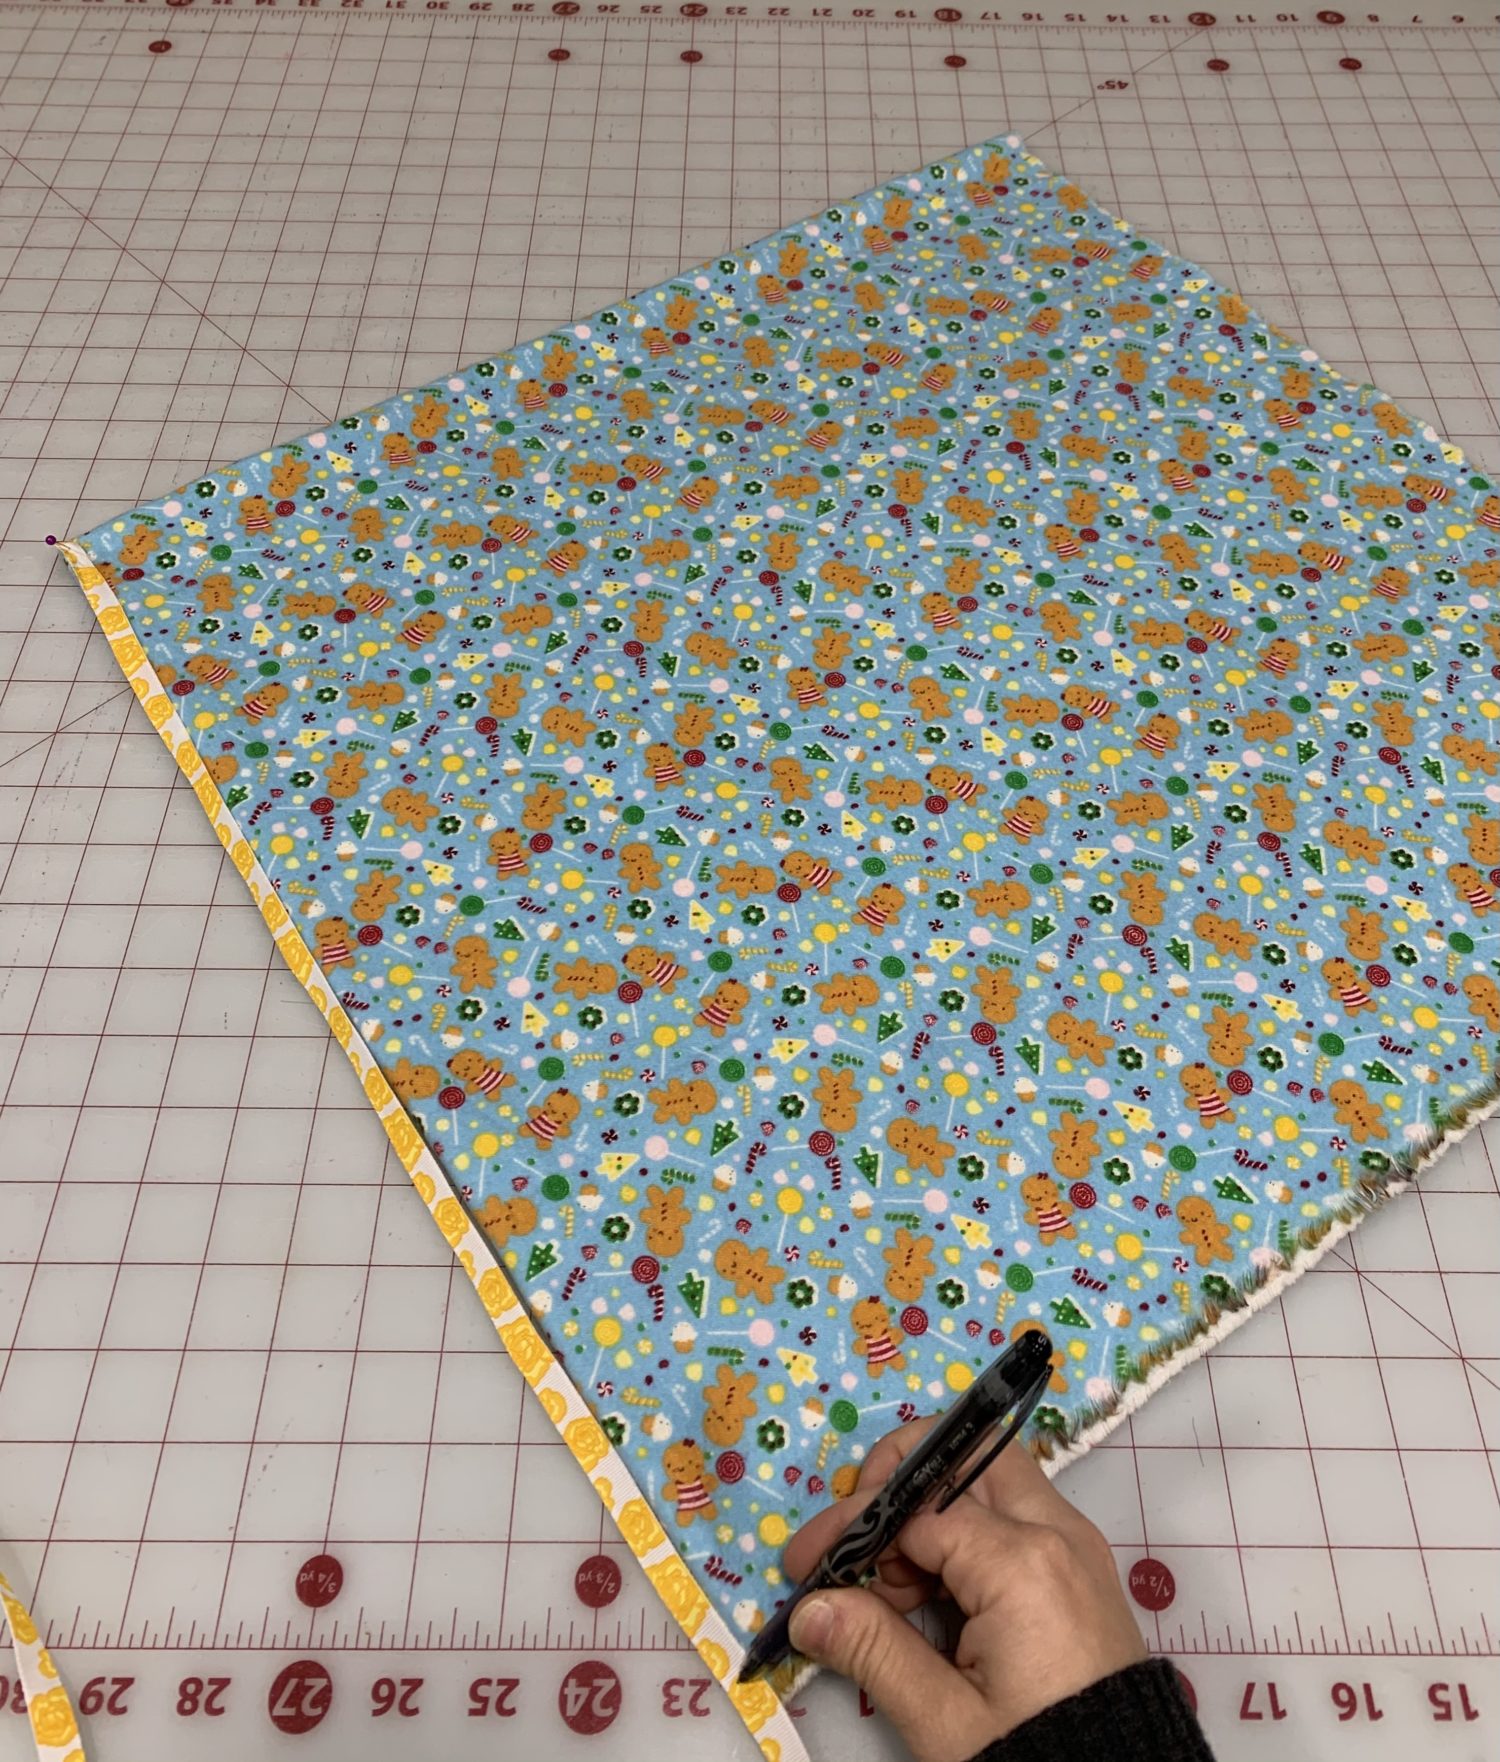
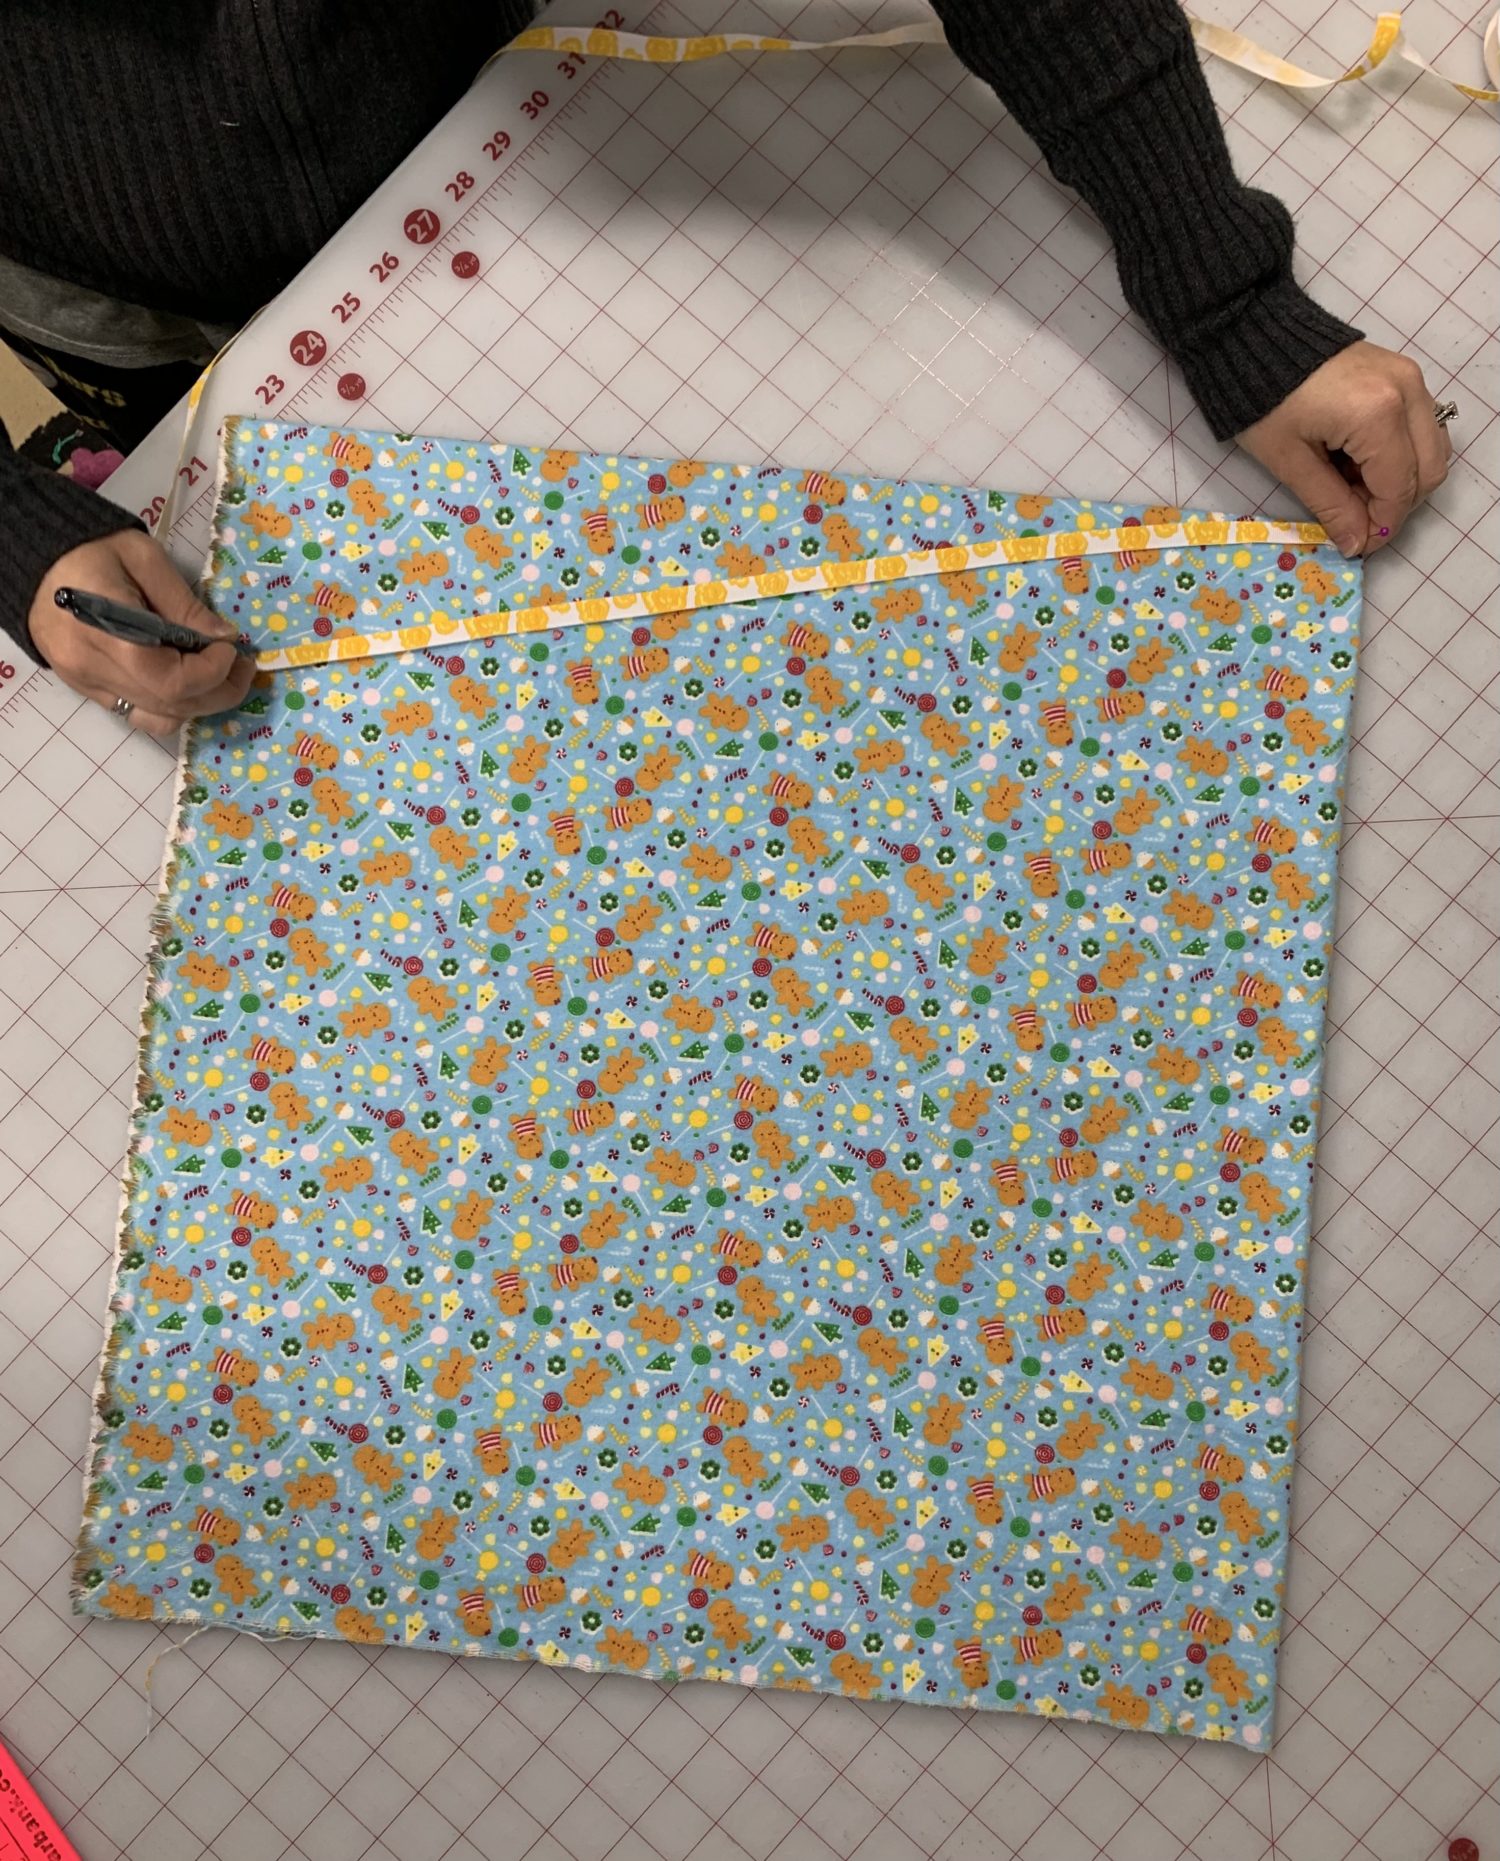
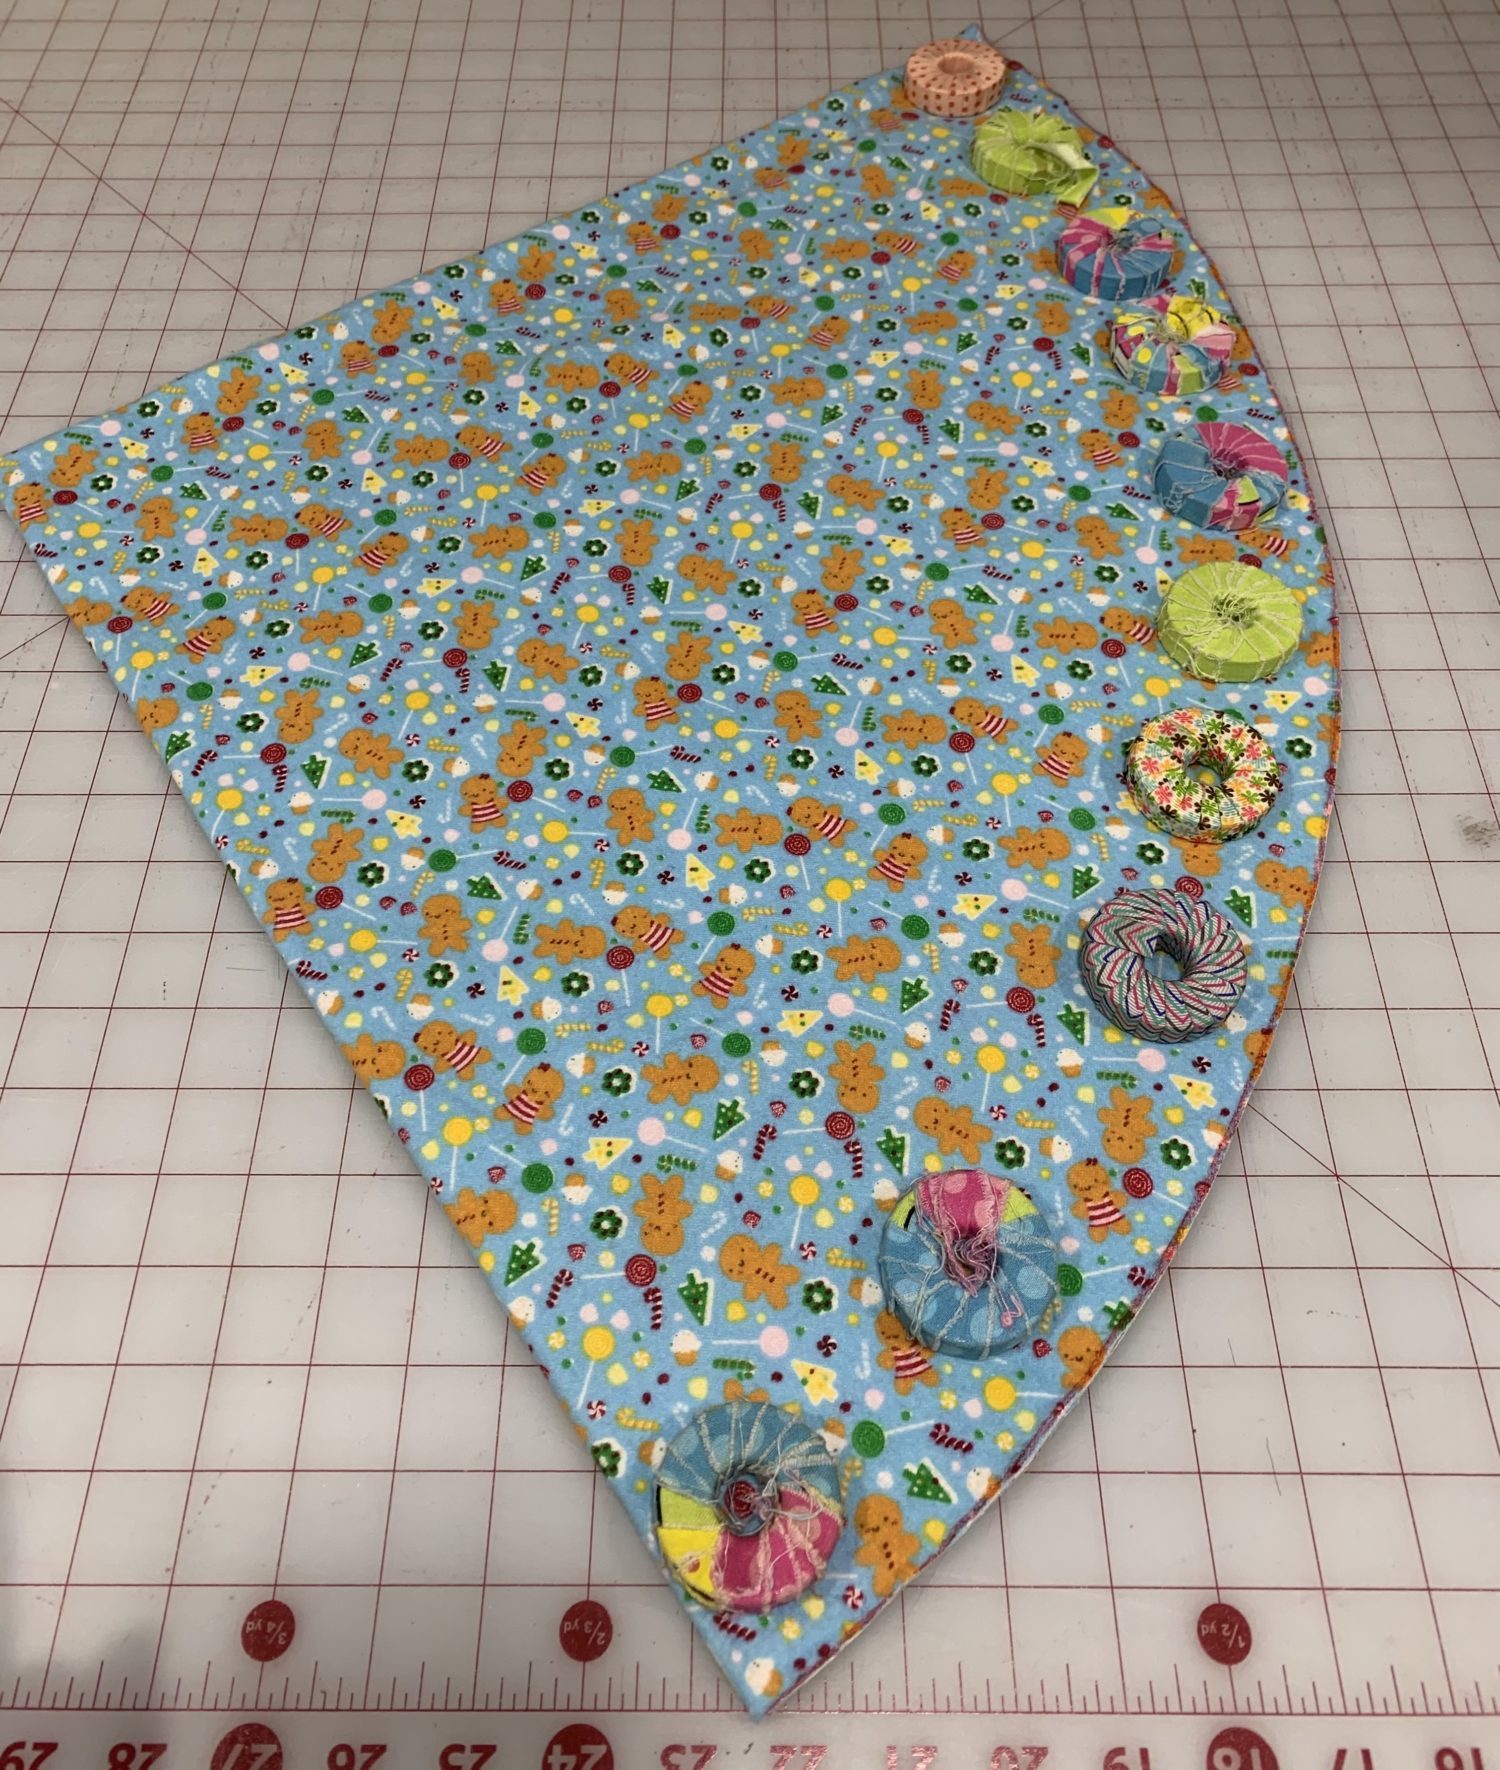
- You have your first piece cut out! Now you need to cut your second main piece. Do the exact same thing so you’ll have two circles that are the same size.
Cutting ruffle pieces
- Decide how much ruffle you want your tree skirt to have. To do this, figure out the circumference of your tree skirt. For example, mine was 120 inches. If you just want a border (no ruffles), you’ll need 120 inches of ruffle fabric. The more fabric you have, the more ruffles you’ll get. I used all of my scraps and got about 220 inches of ruffle fabric. Typically, ruffle fabric is calculated at 2 to 2.5 times the circumference of your main fabric. You can do it however you want!
- Cut your strips to the measurements that you like (mine were 5 inches by 41 inches). I used 6 strips of fabric.
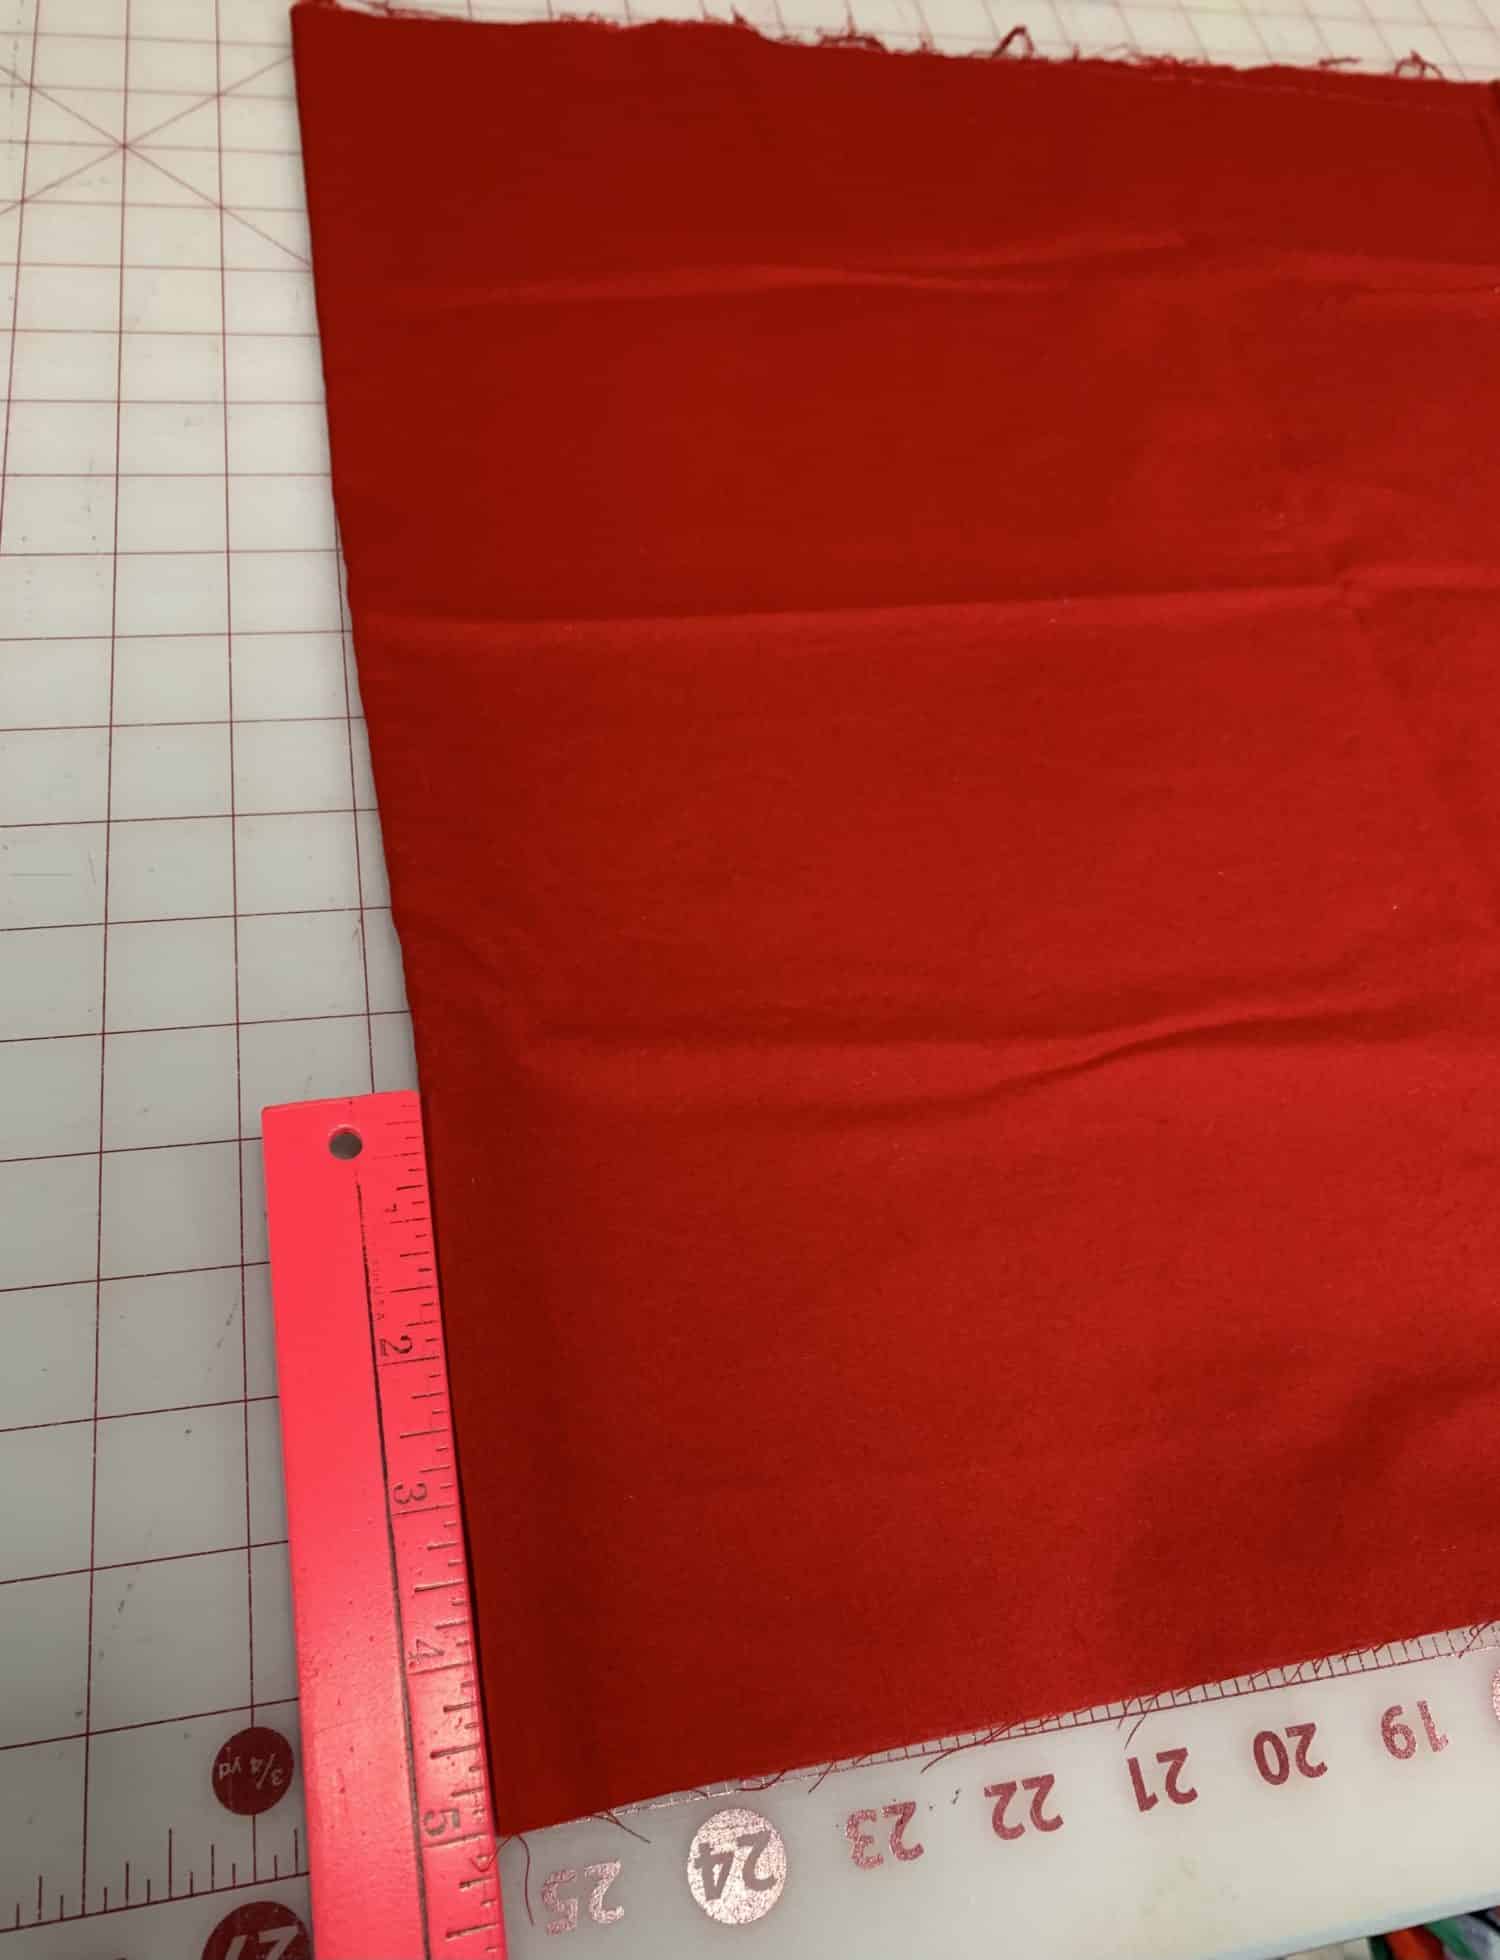
I folded the fabric in half to make it easier to cut the width of fabric! 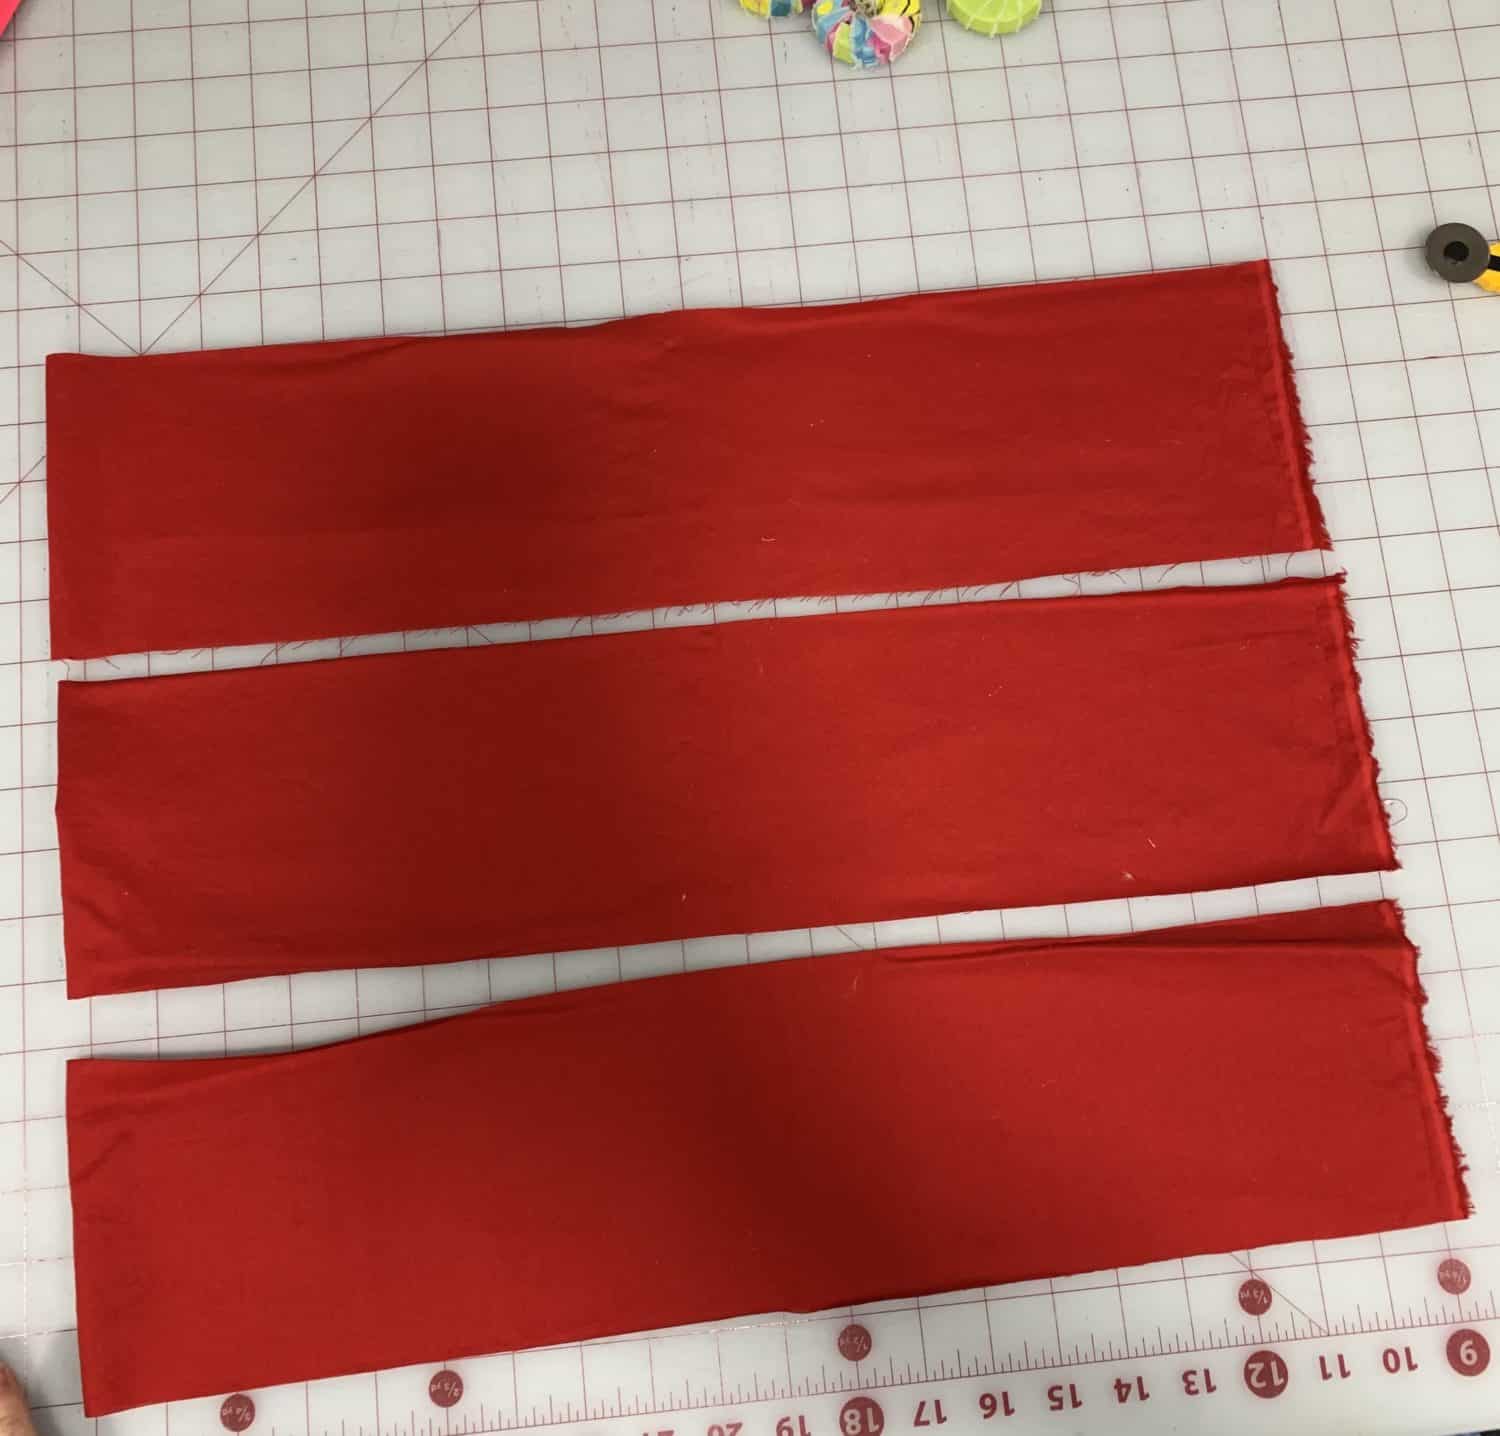
Red ruffles 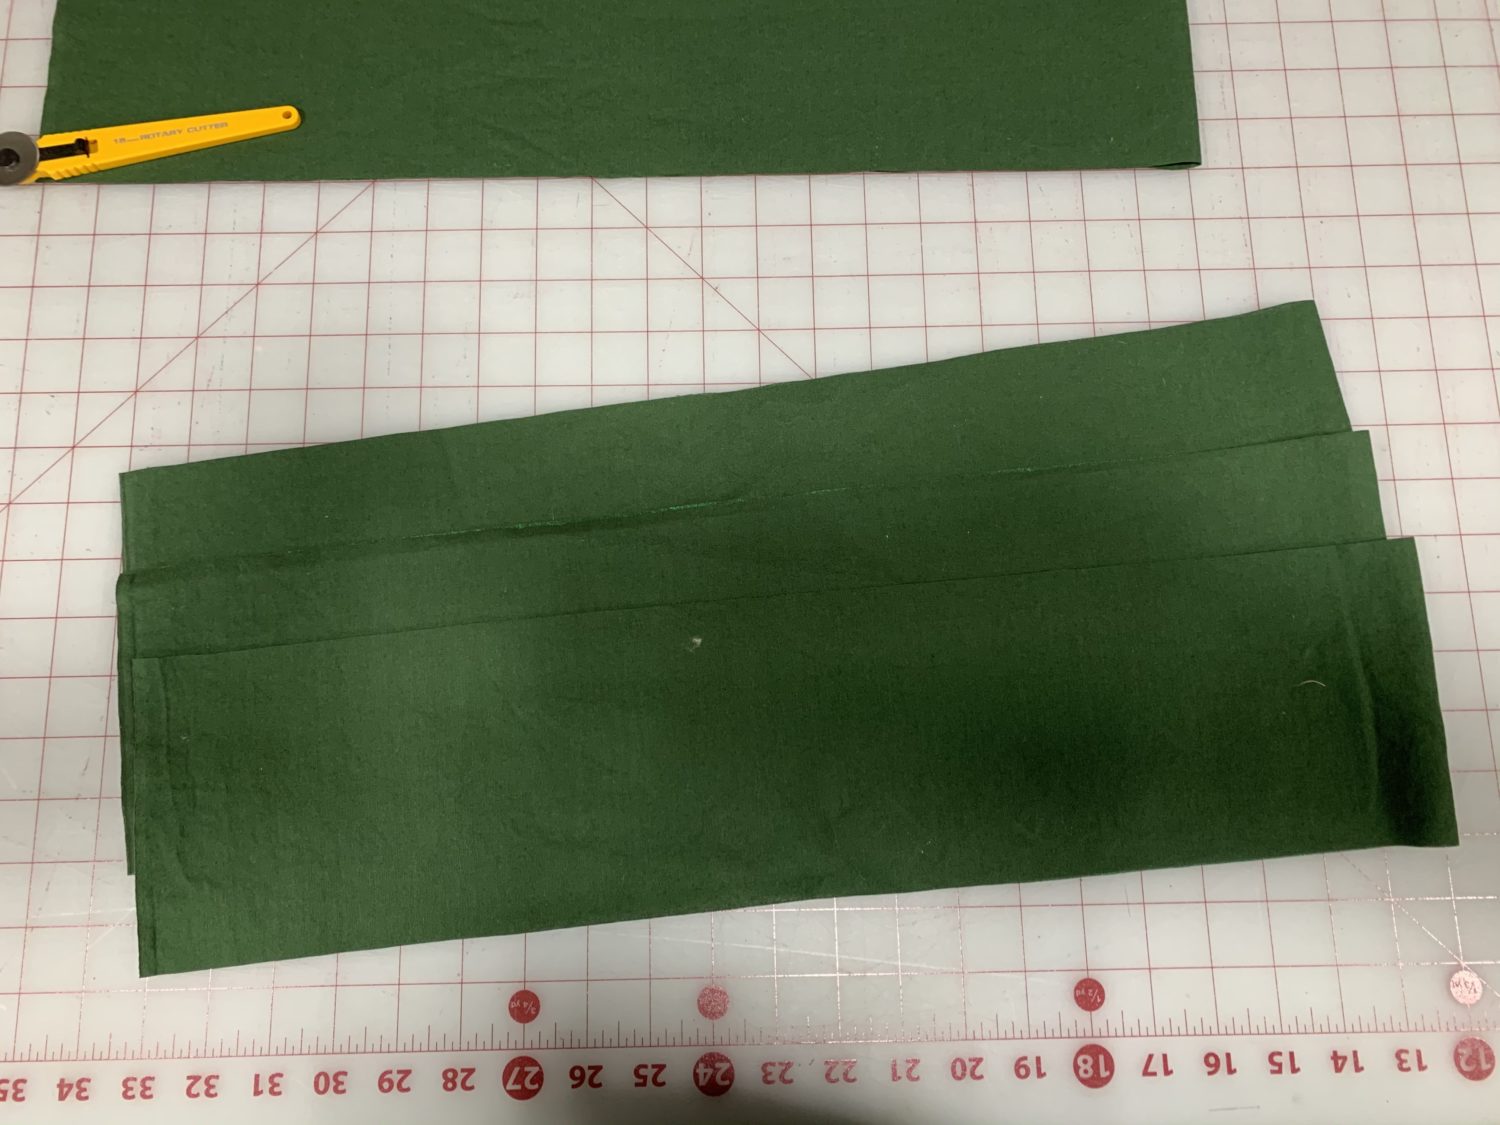
Green ruffles
Time to sew
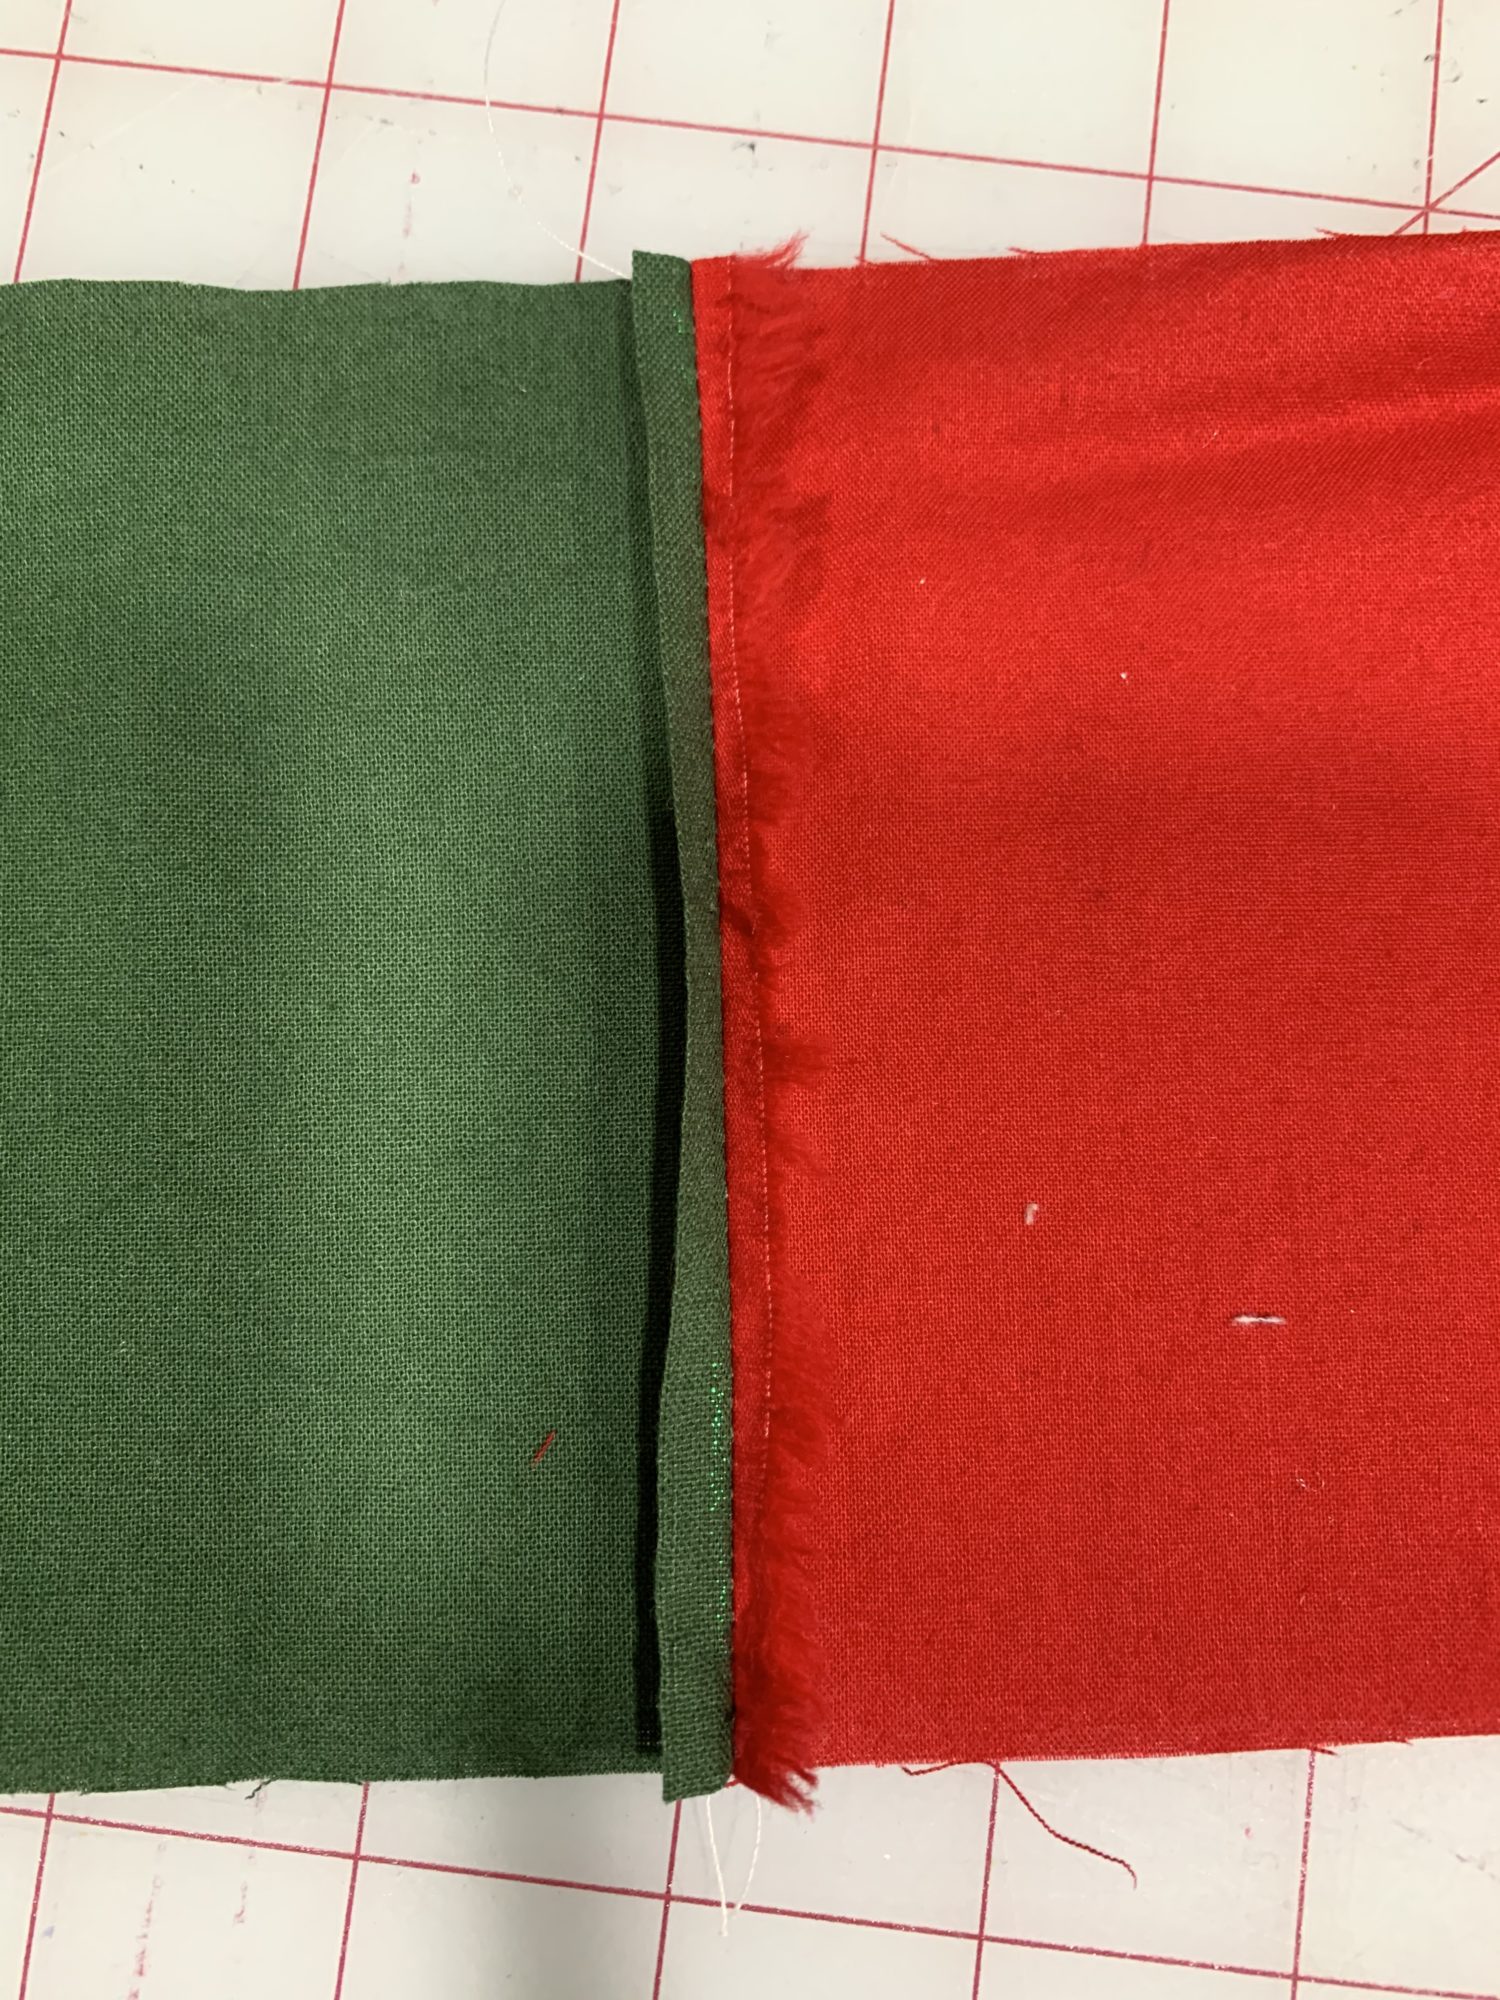
- You are going to use all of the ruffle pieces to make one big long strip of fabric
- Put two ruffle pieces right sides together and sew along the short edge
- Continue putting pieces together until you use them all

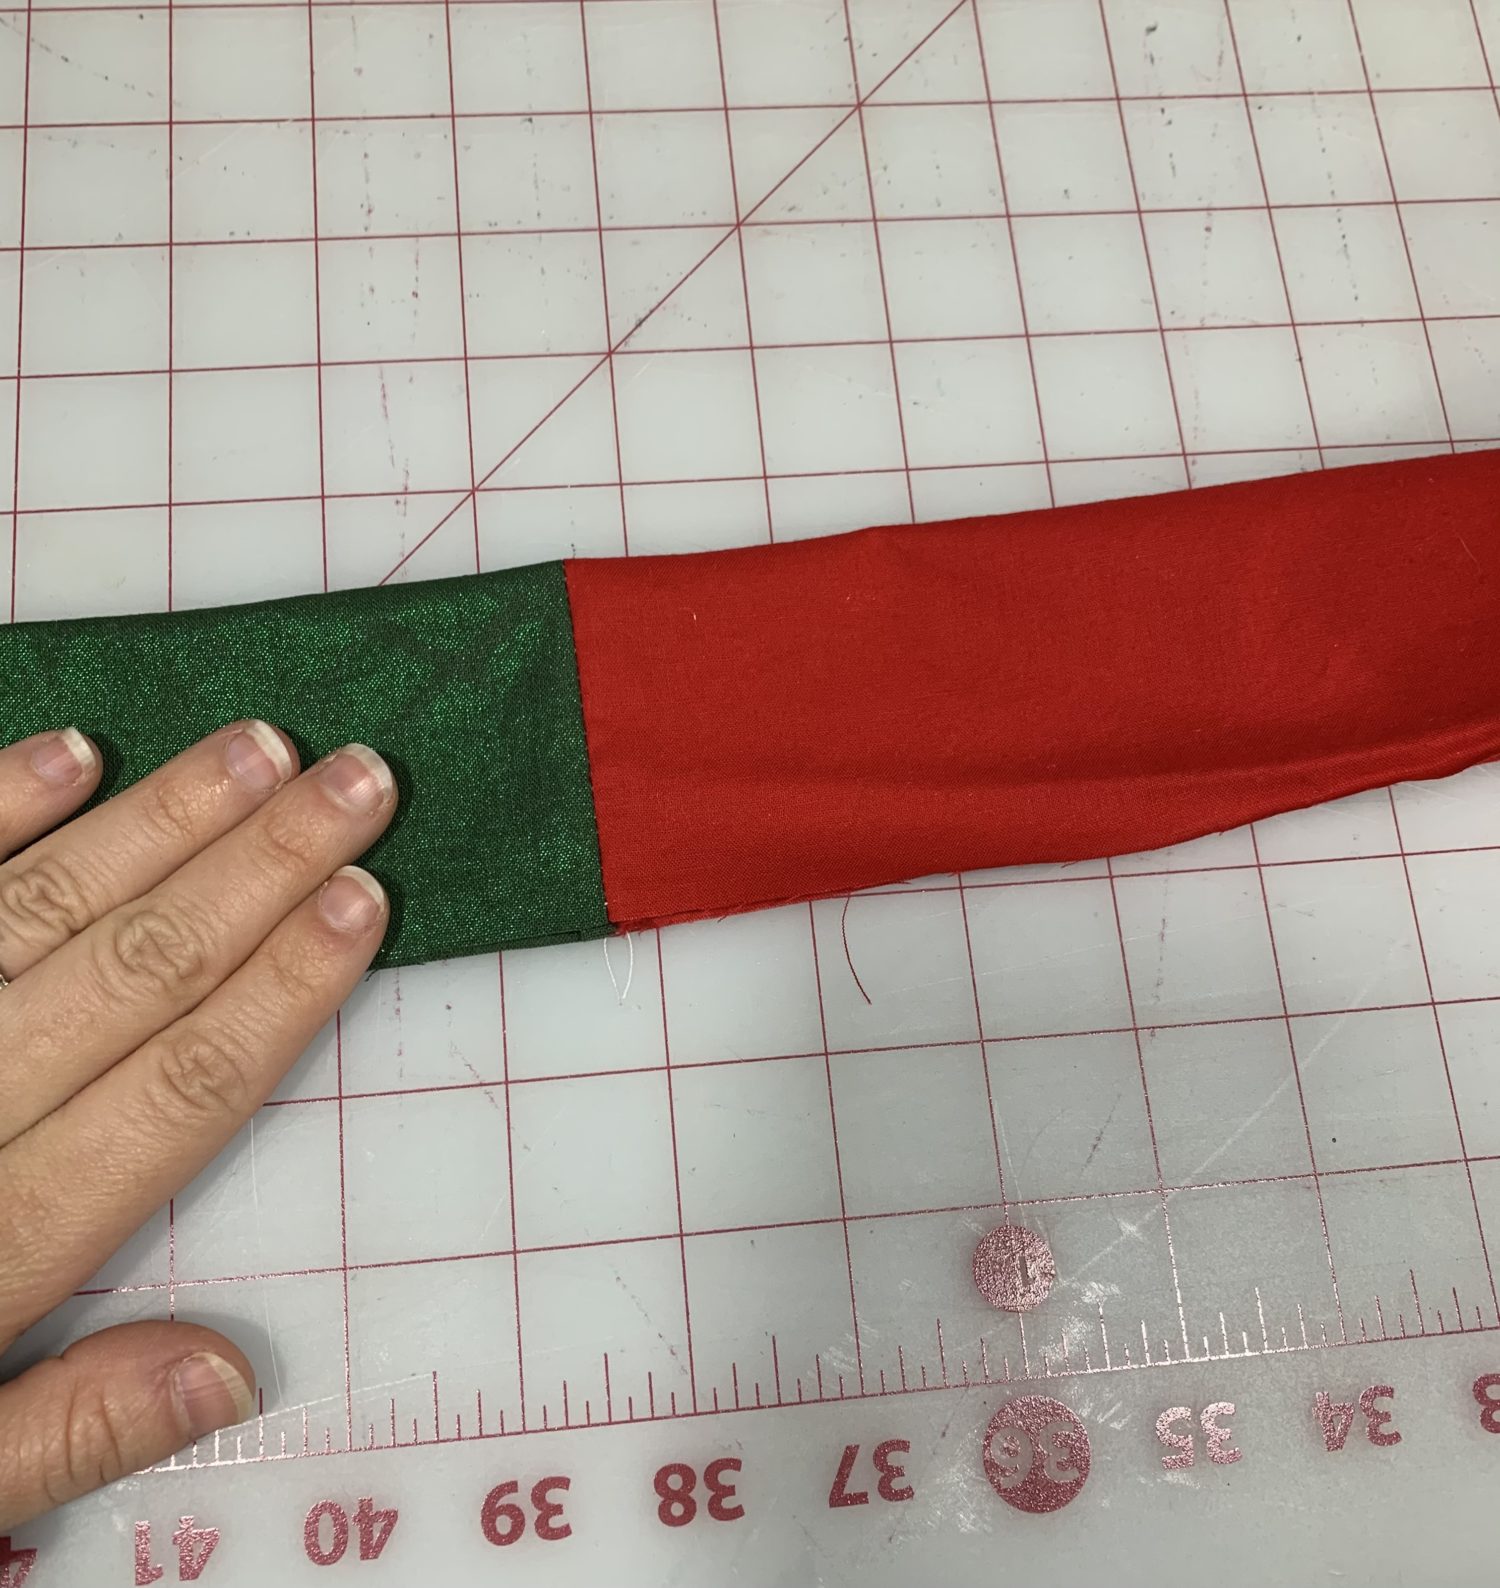
- Press your seams open
- Fold your long strip in half long ways, wrong sides together
- Press well
- Sew a gathering stitch along the long, raw edge of your ruffle piece, don’t backstitch at the beginning or end
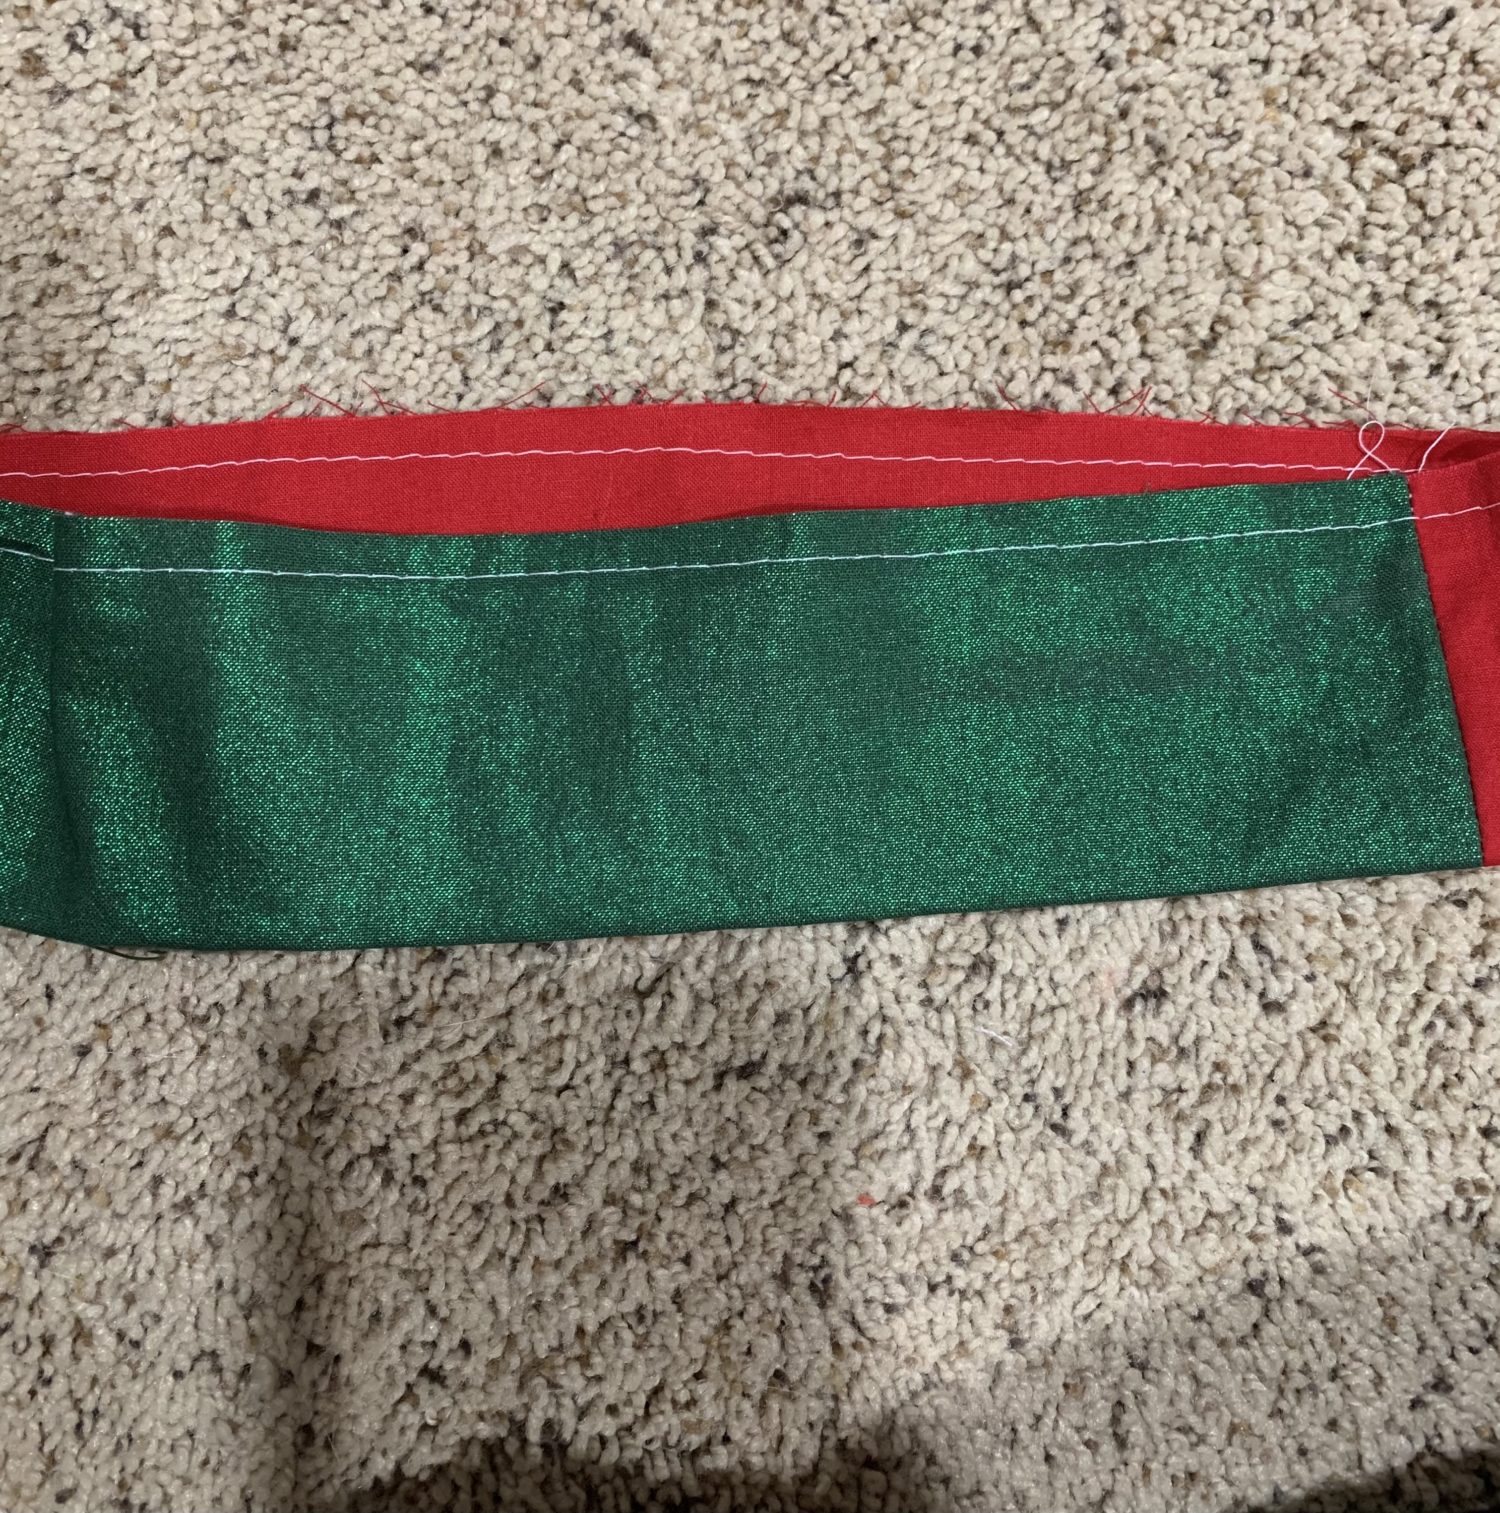
- Pull on the bobbin thread and start gathering your ruffles! Be patient. This can be a tedious process, but it is totally worth it! Grab a cup of cocoa, put on a good Christmas movie, and gather gather gather!

- Gather until your ruffle piece is the same size as your tree skirt
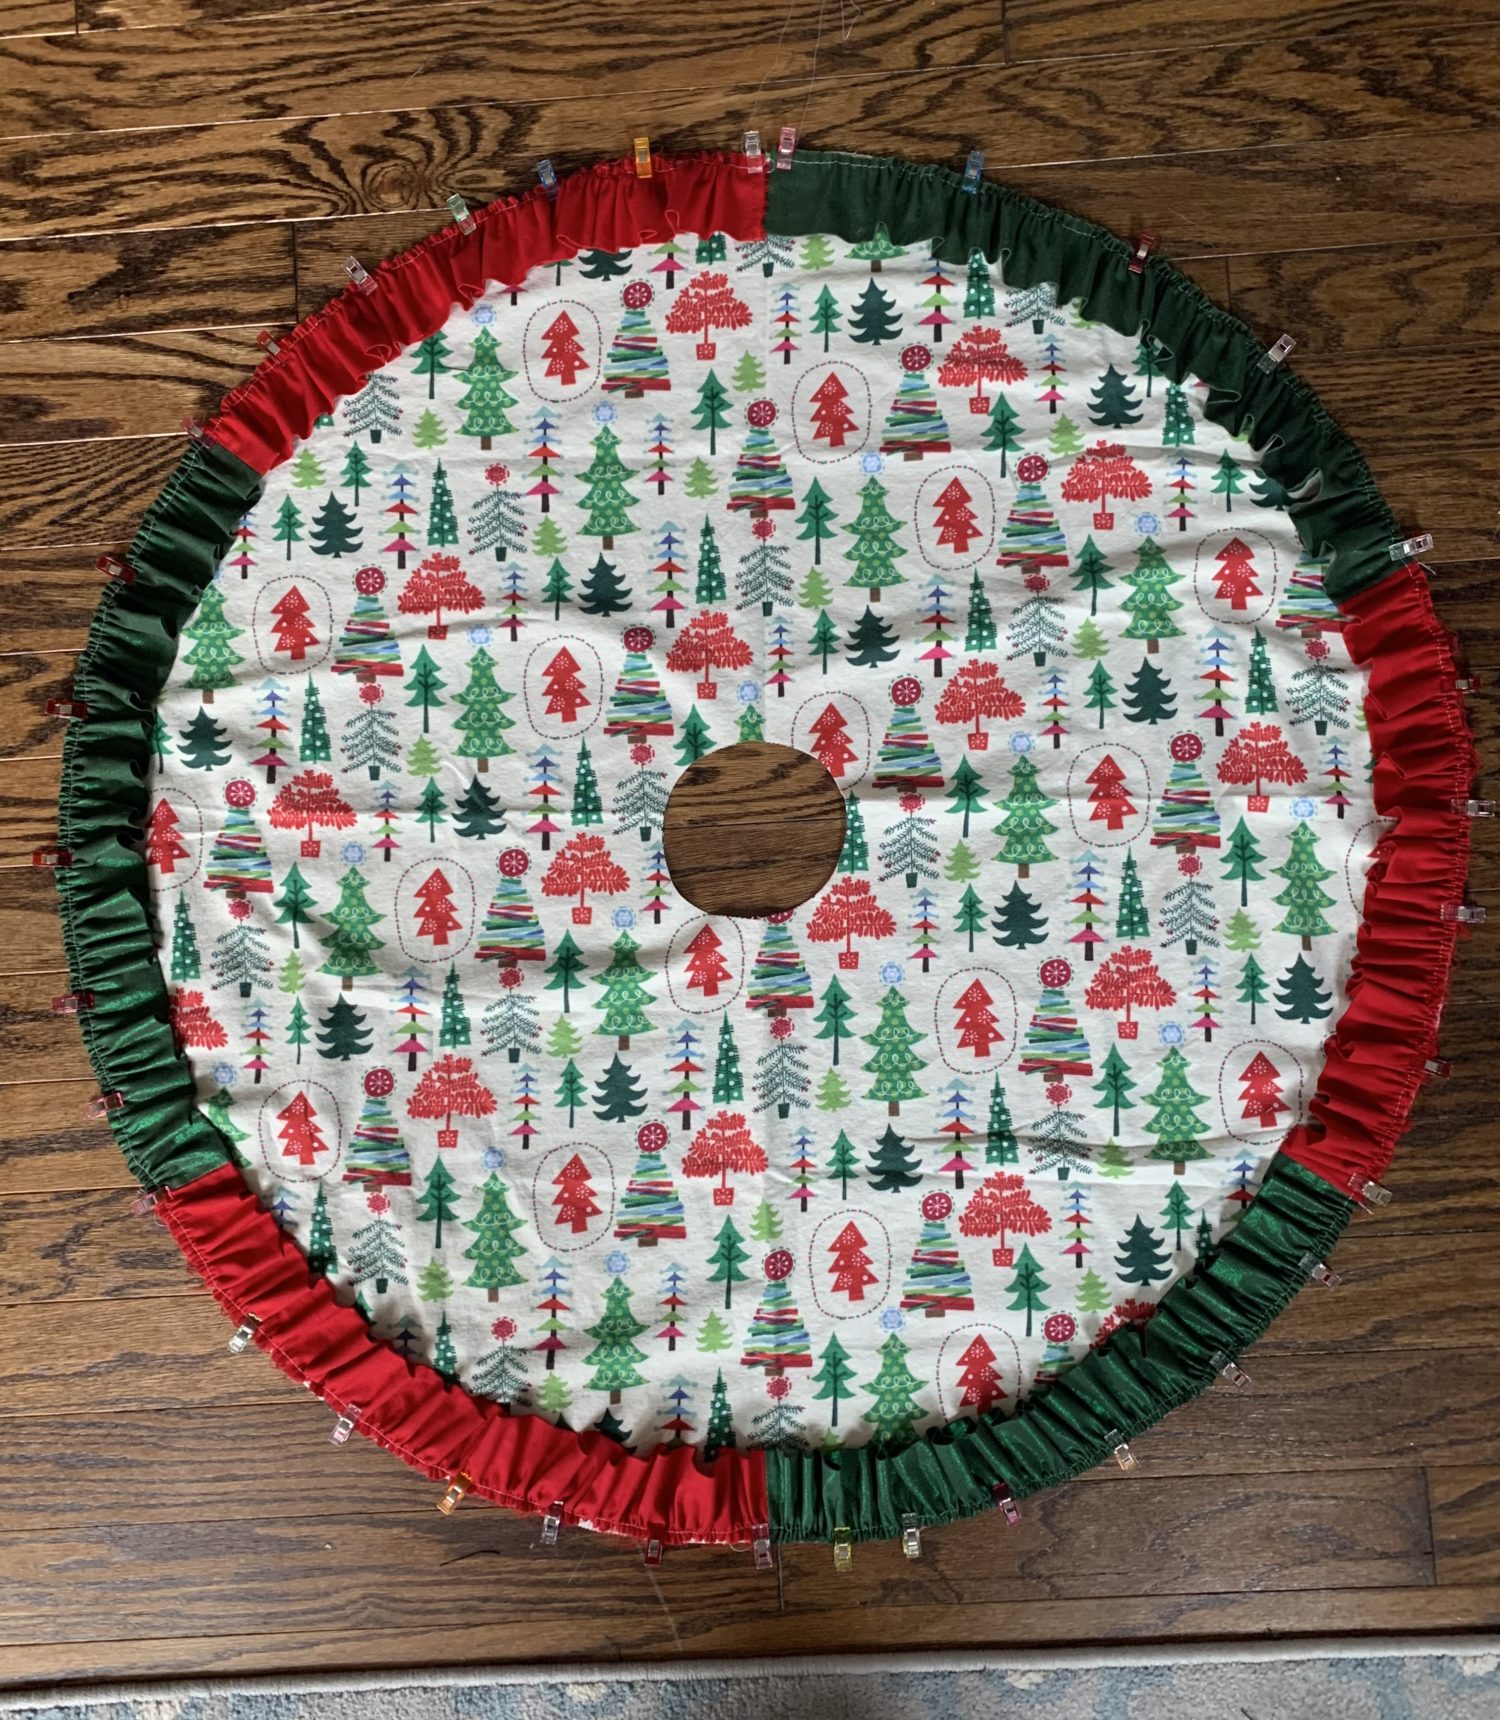
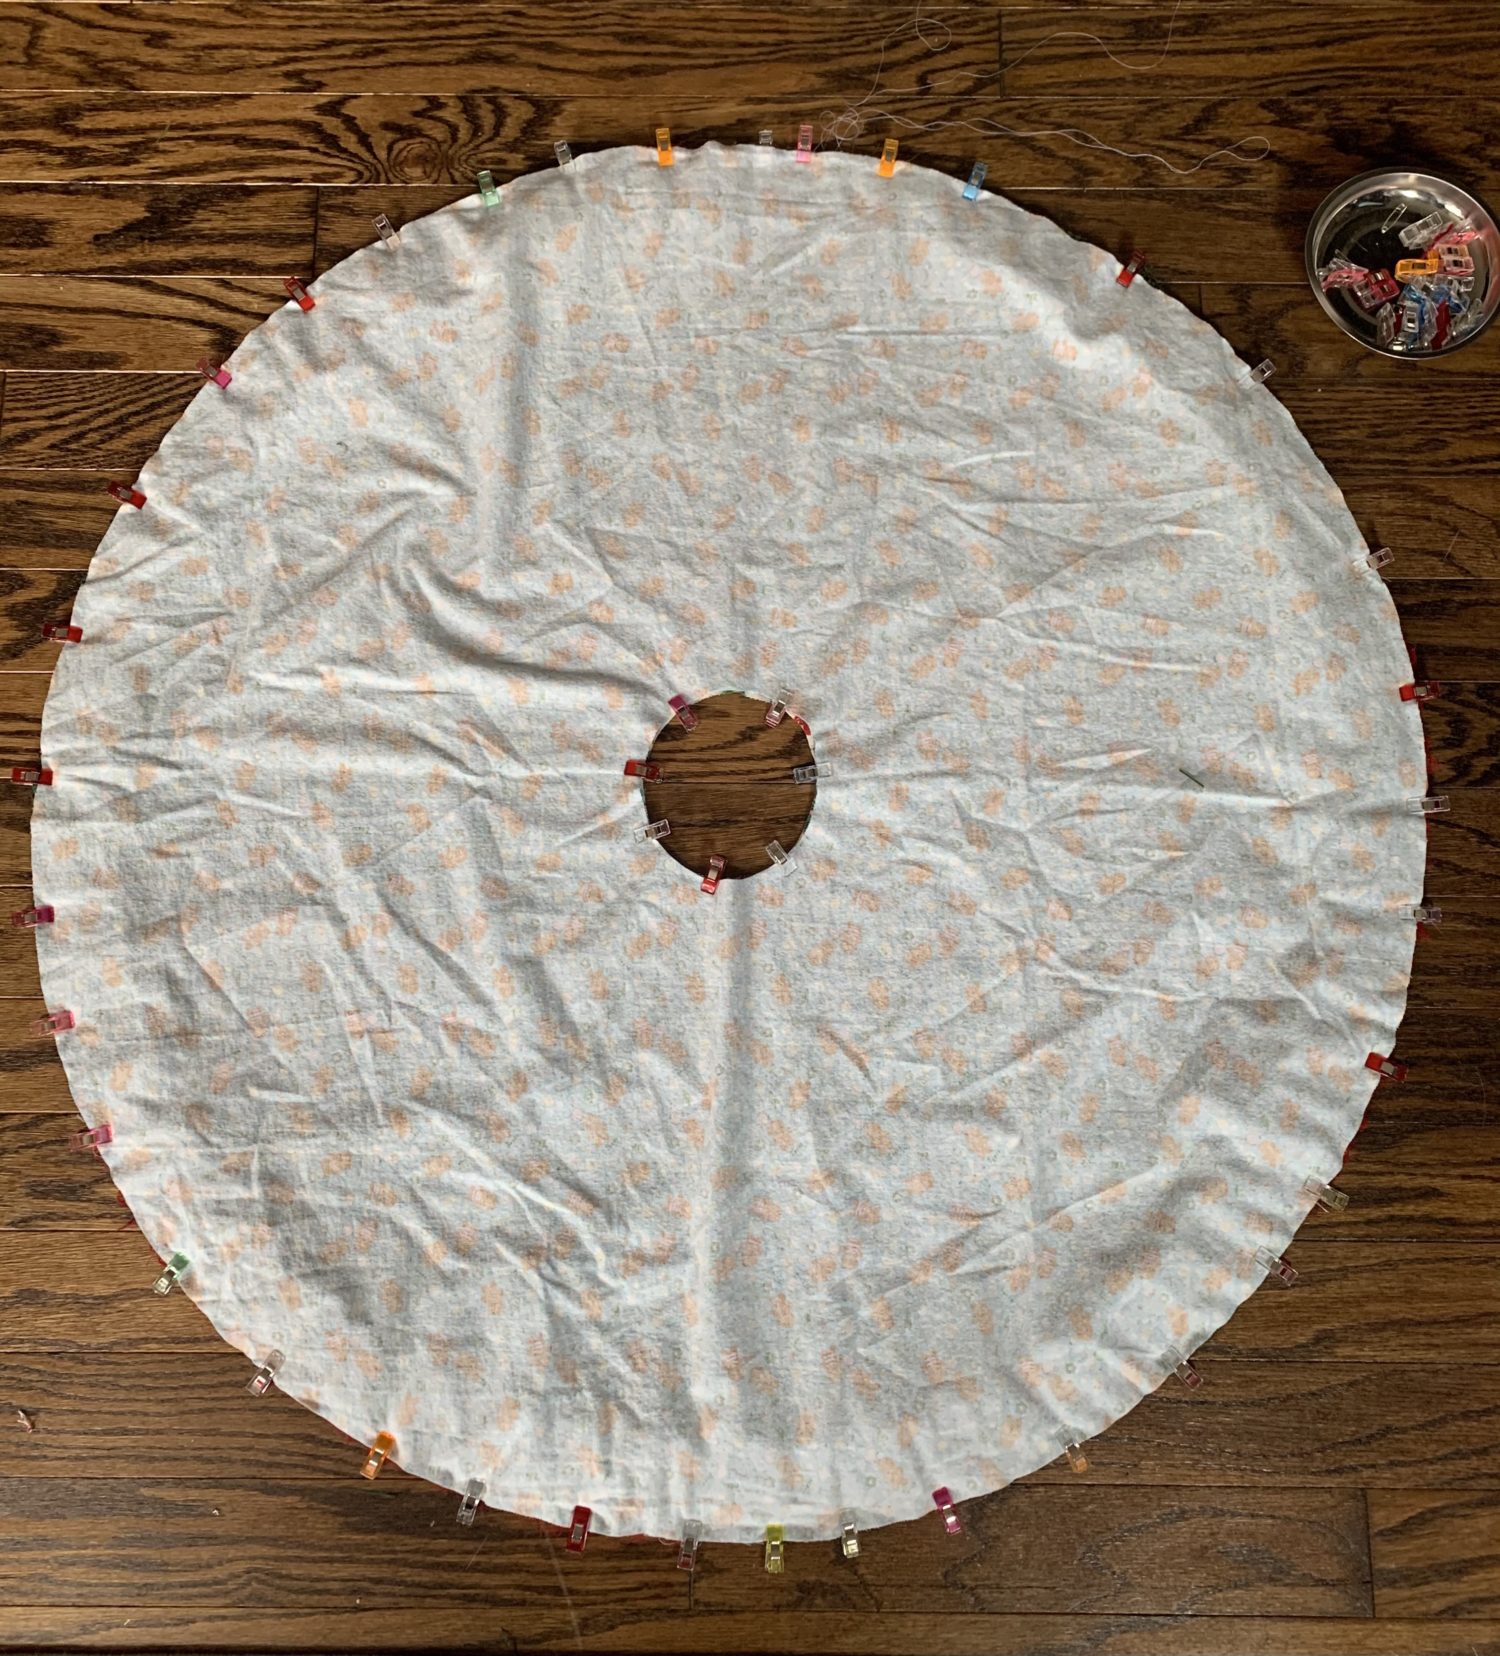
- Put one main tree skirt piece right side up
- Lay your ruffle fabric on the tree skirt and match up the raw edges
- Make sure the top of your ruffle (the folded edge) goes in toward the center circle
- Keep the gathers even as you go around the tree skirt
- Clip all the way around the outer circle
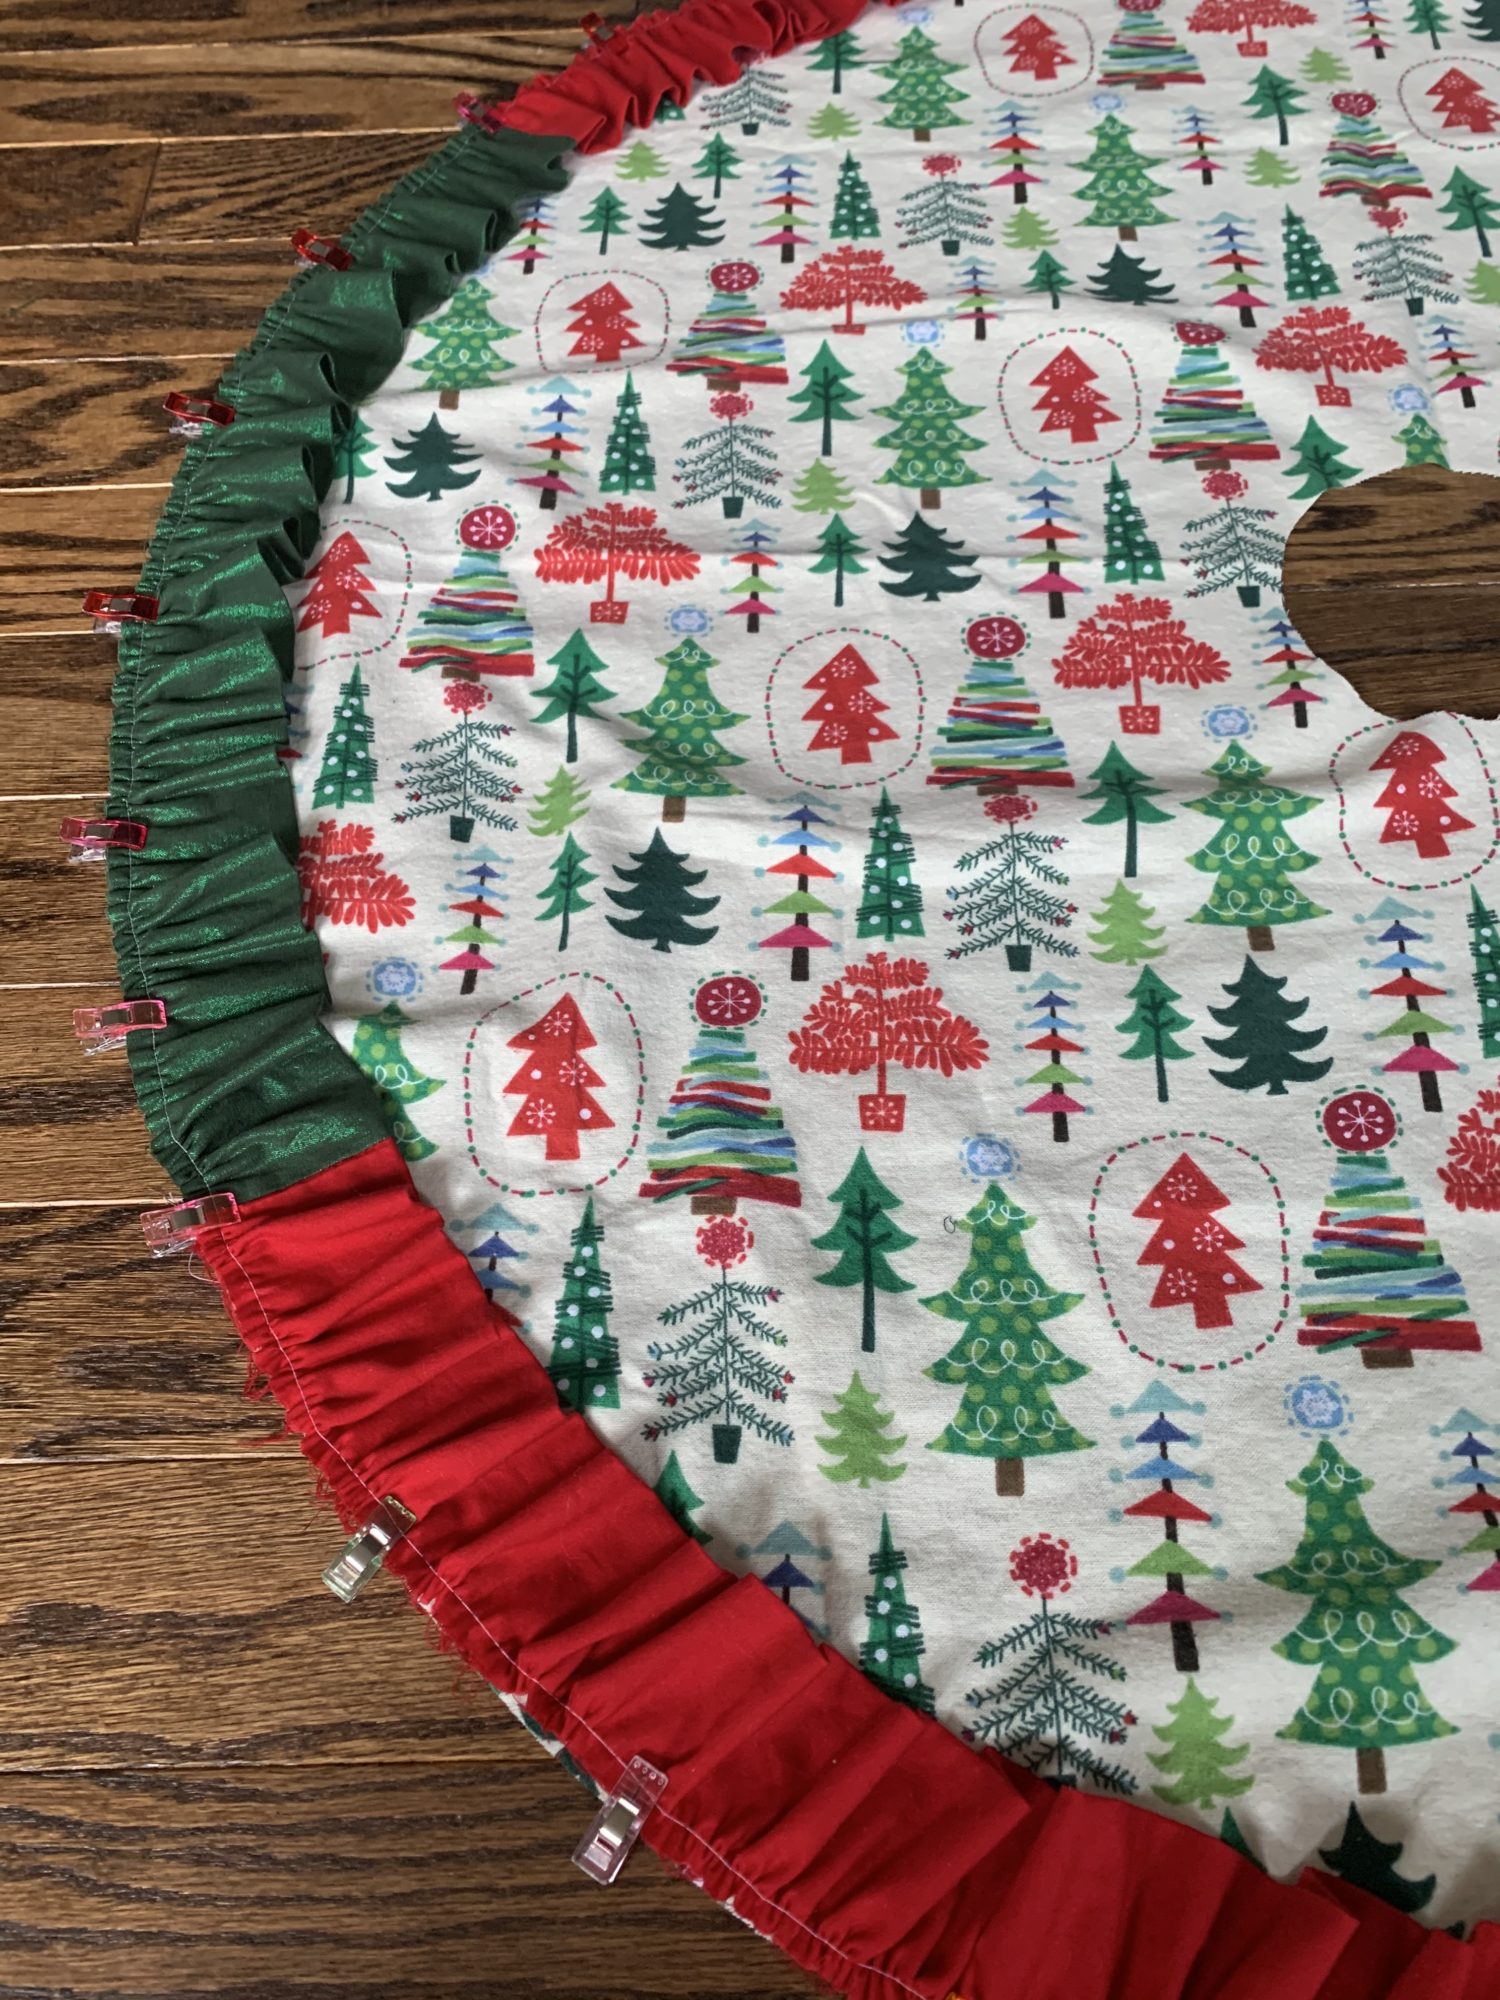
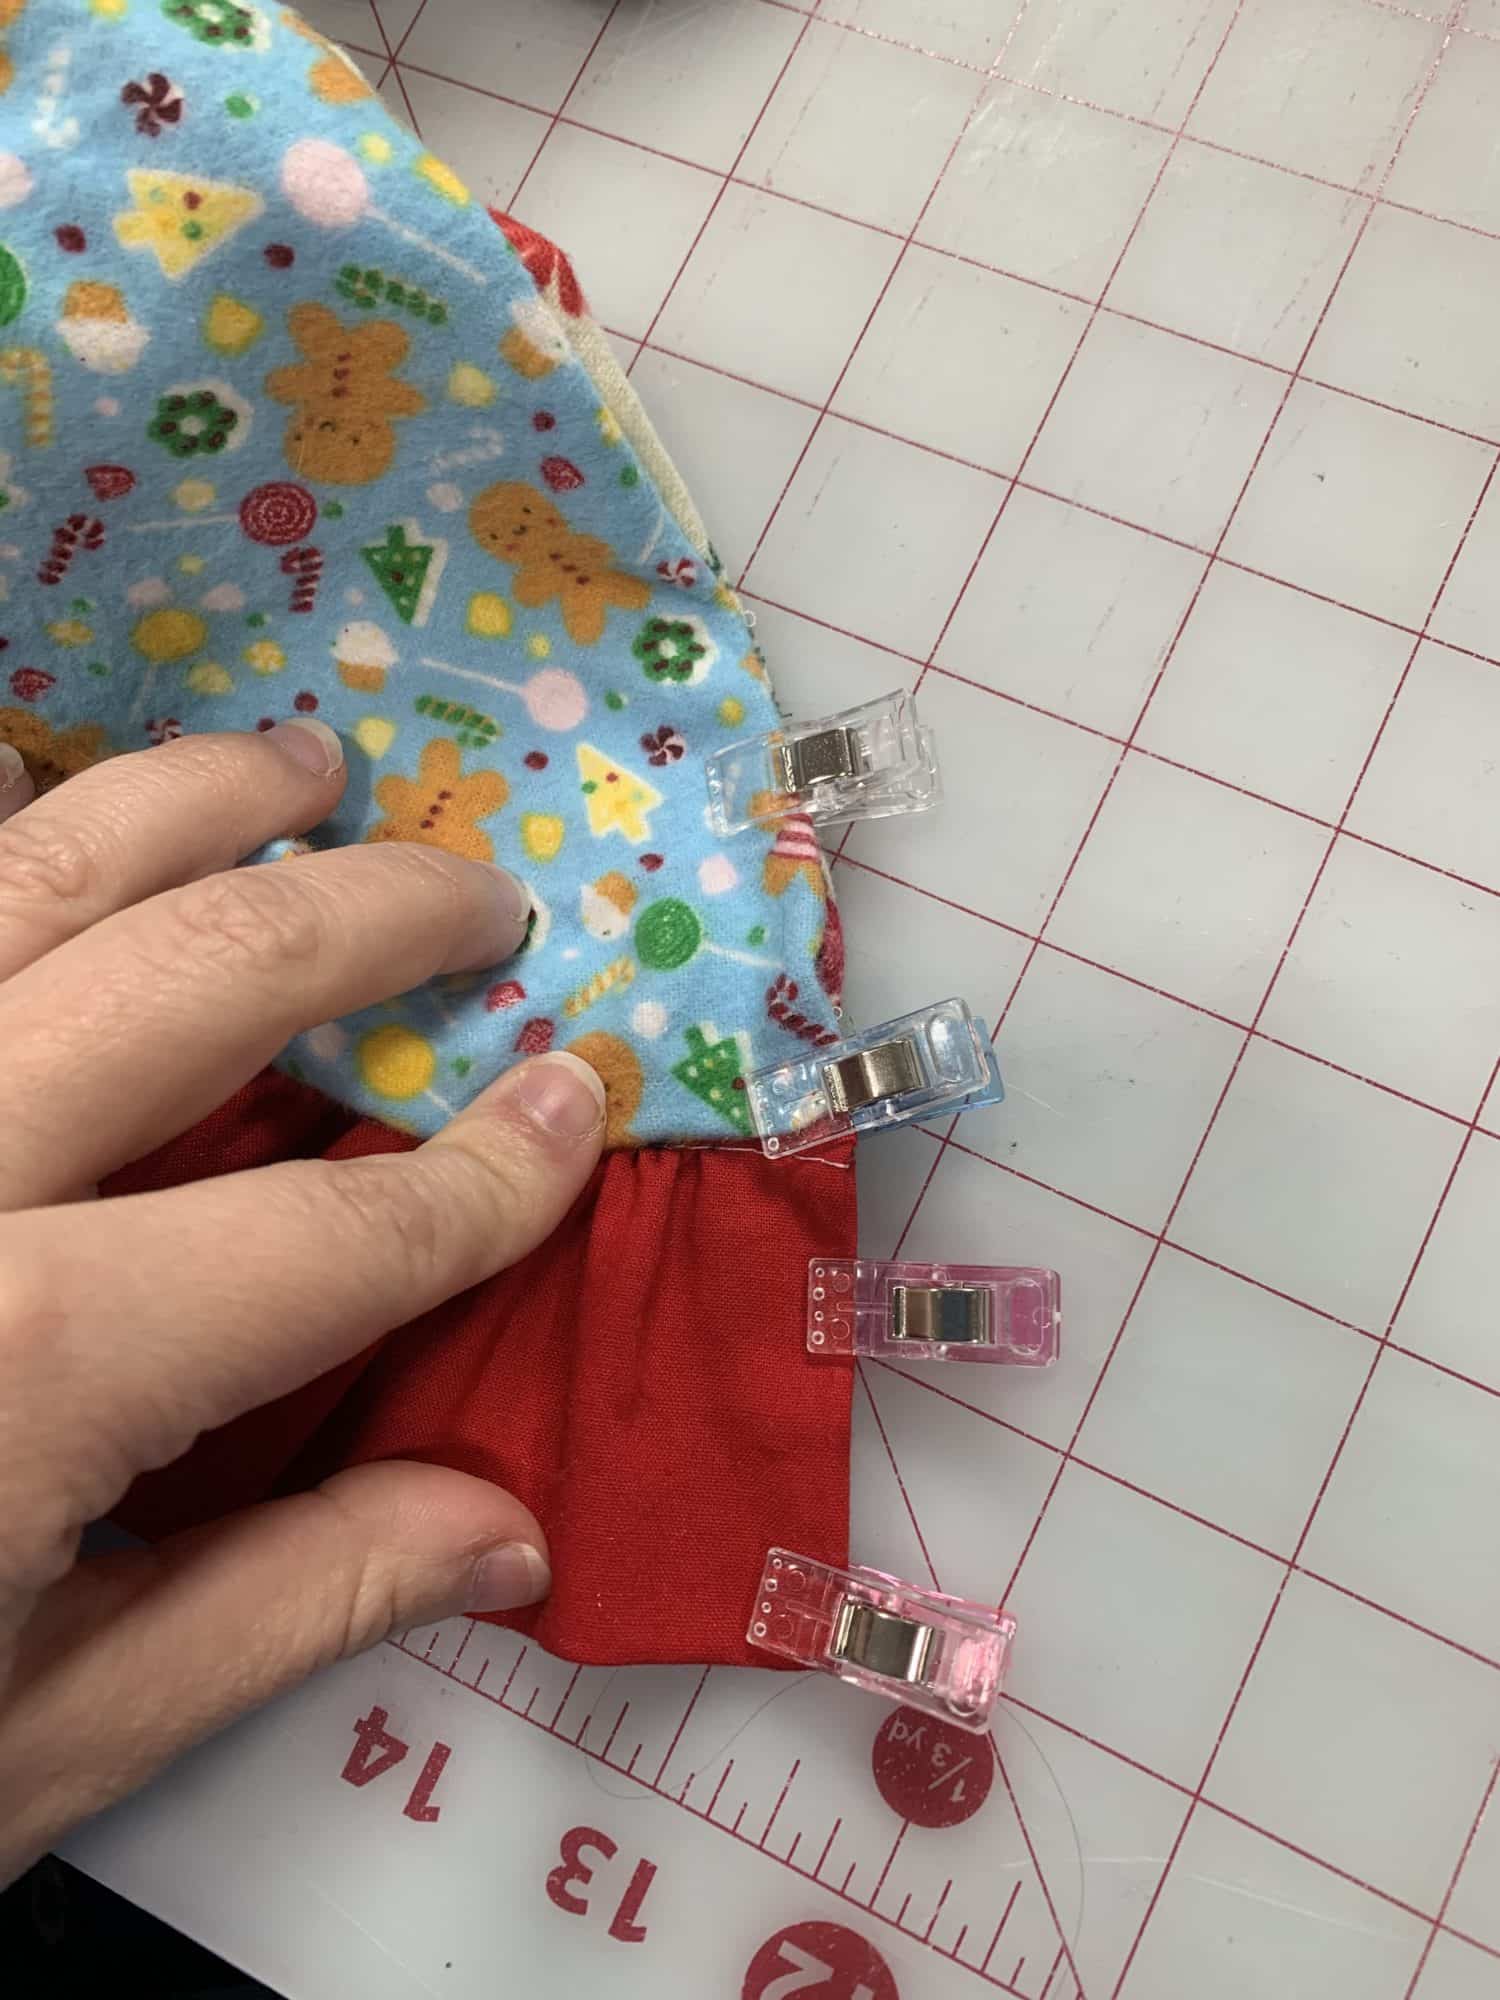
- Take your second main piece and put it right sides down on top of your ruffles and other main piece
- The main pieces will be right sides together and the ruffles will be sandwiched between them
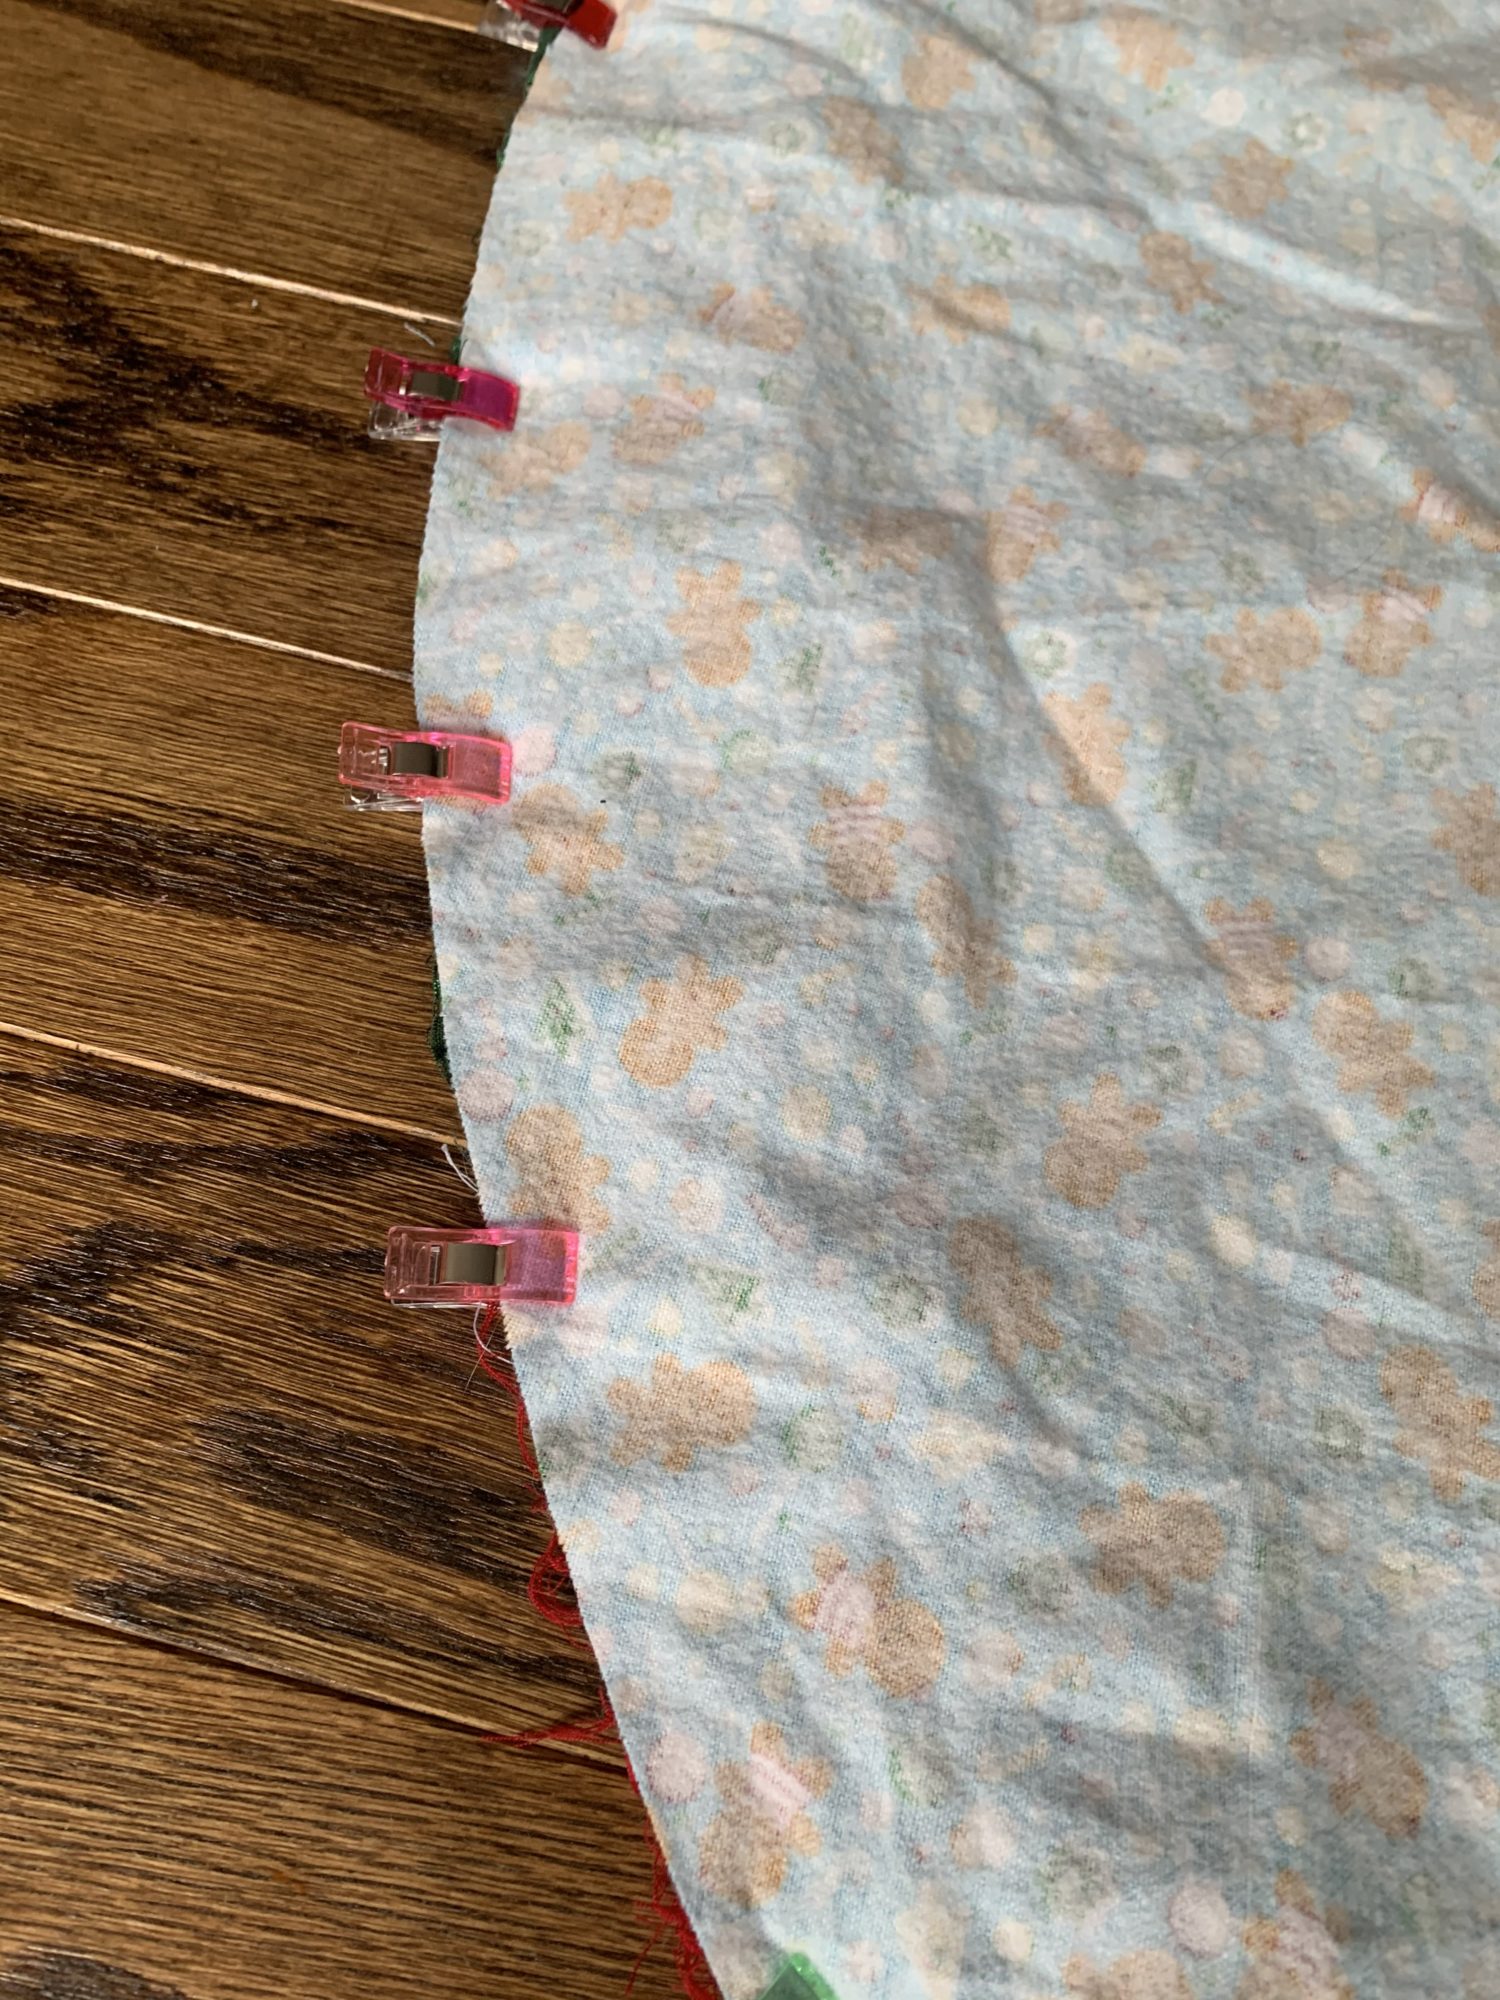
- Clip all the way around
- Clip your center circle
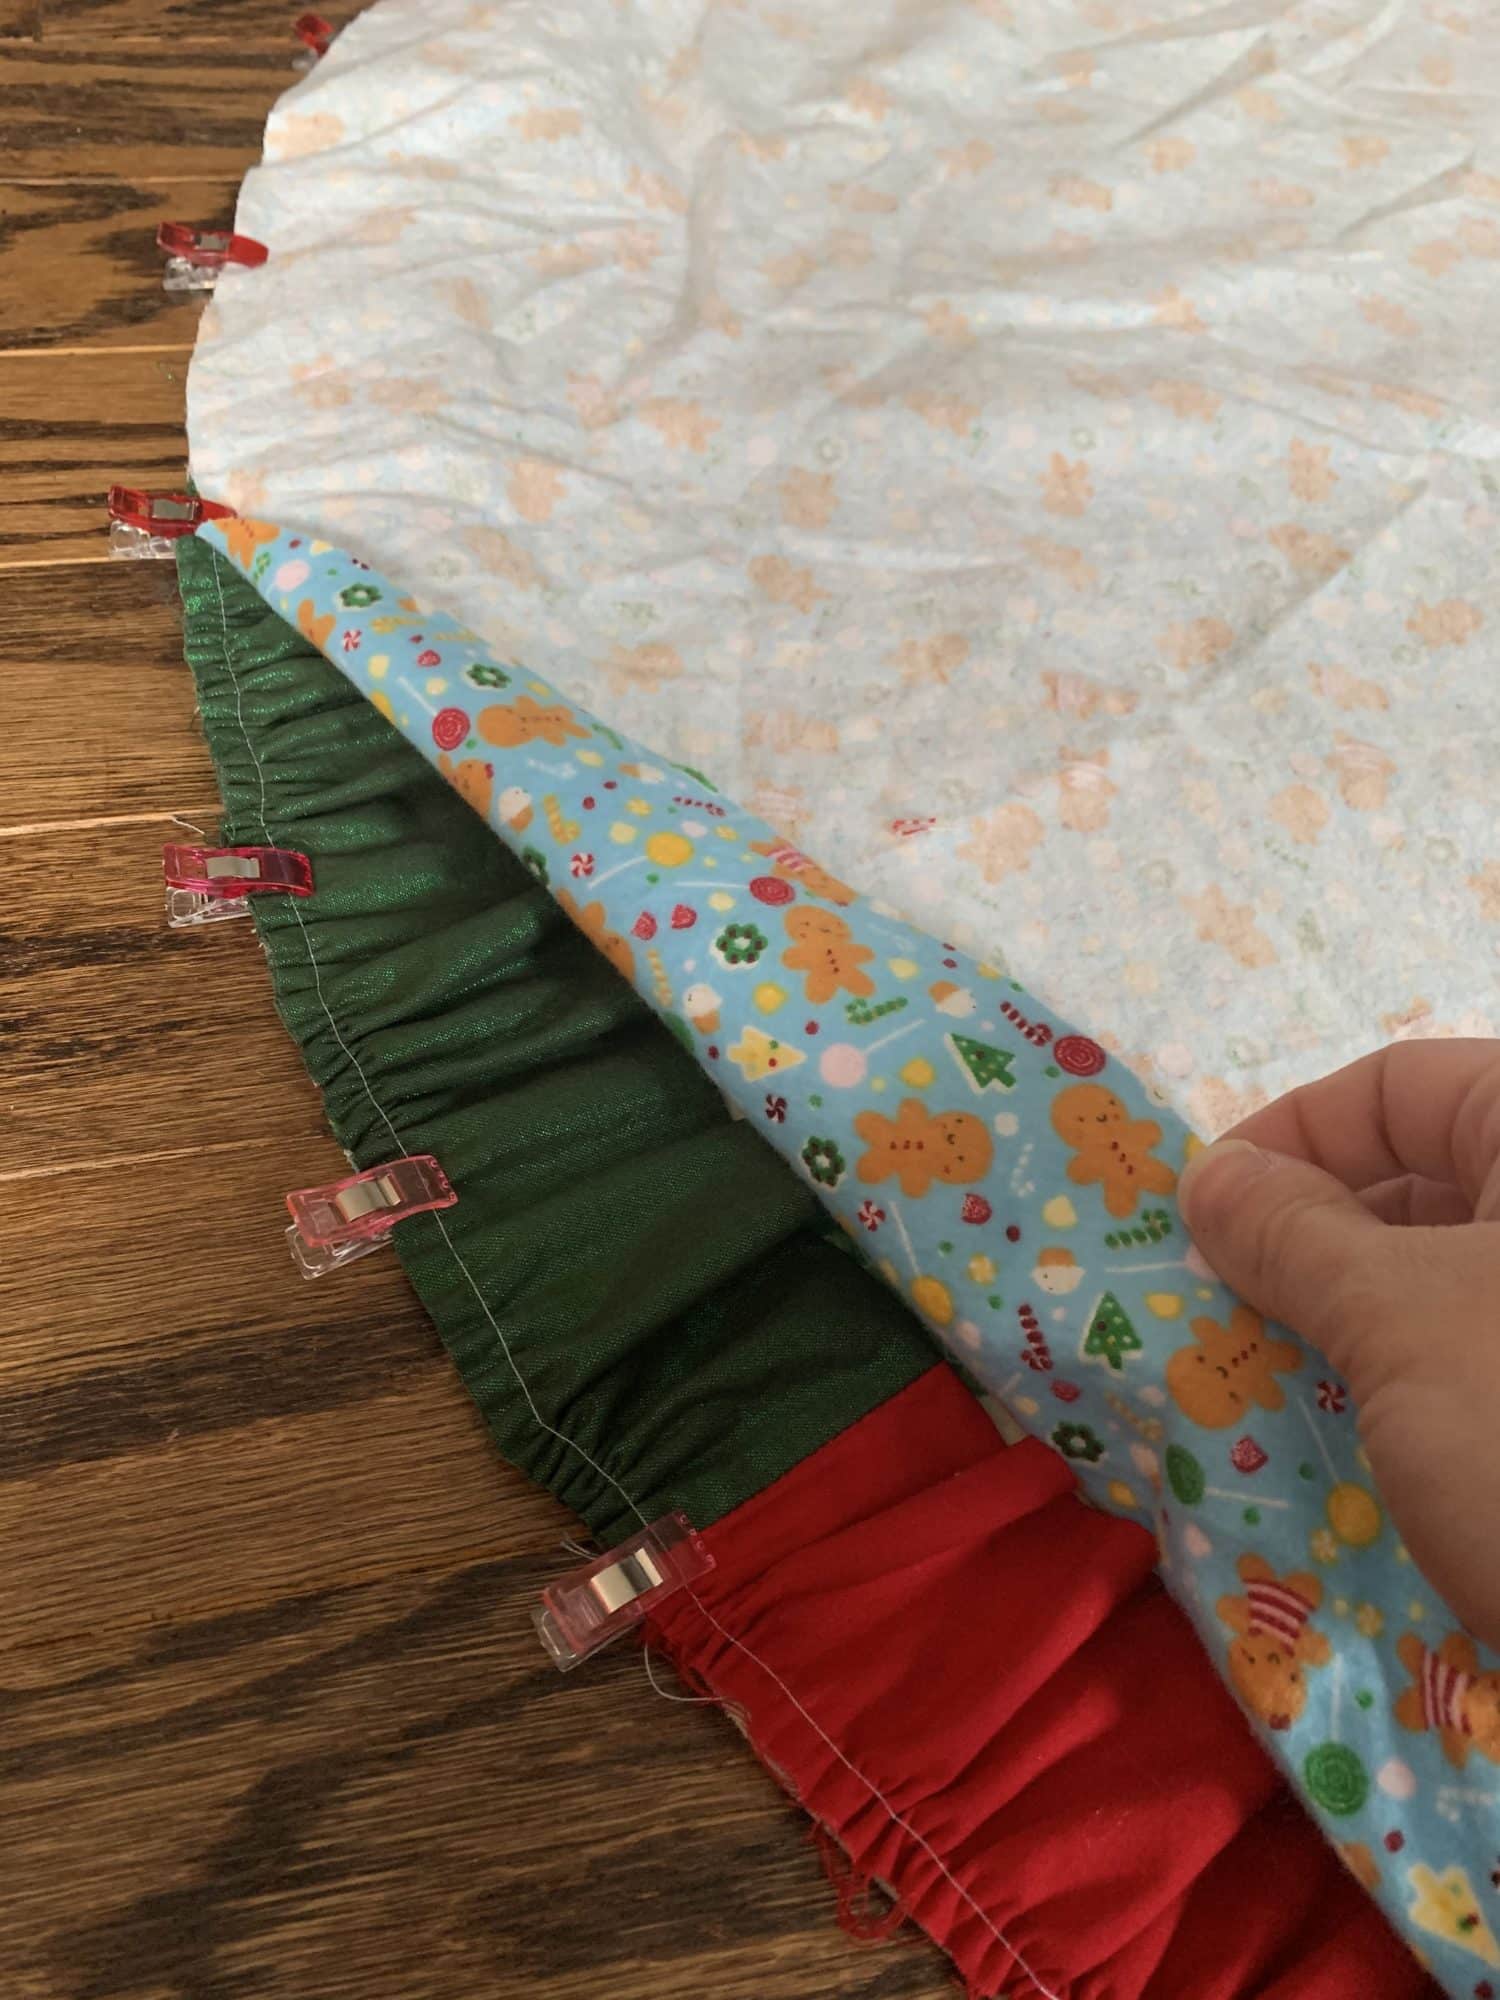
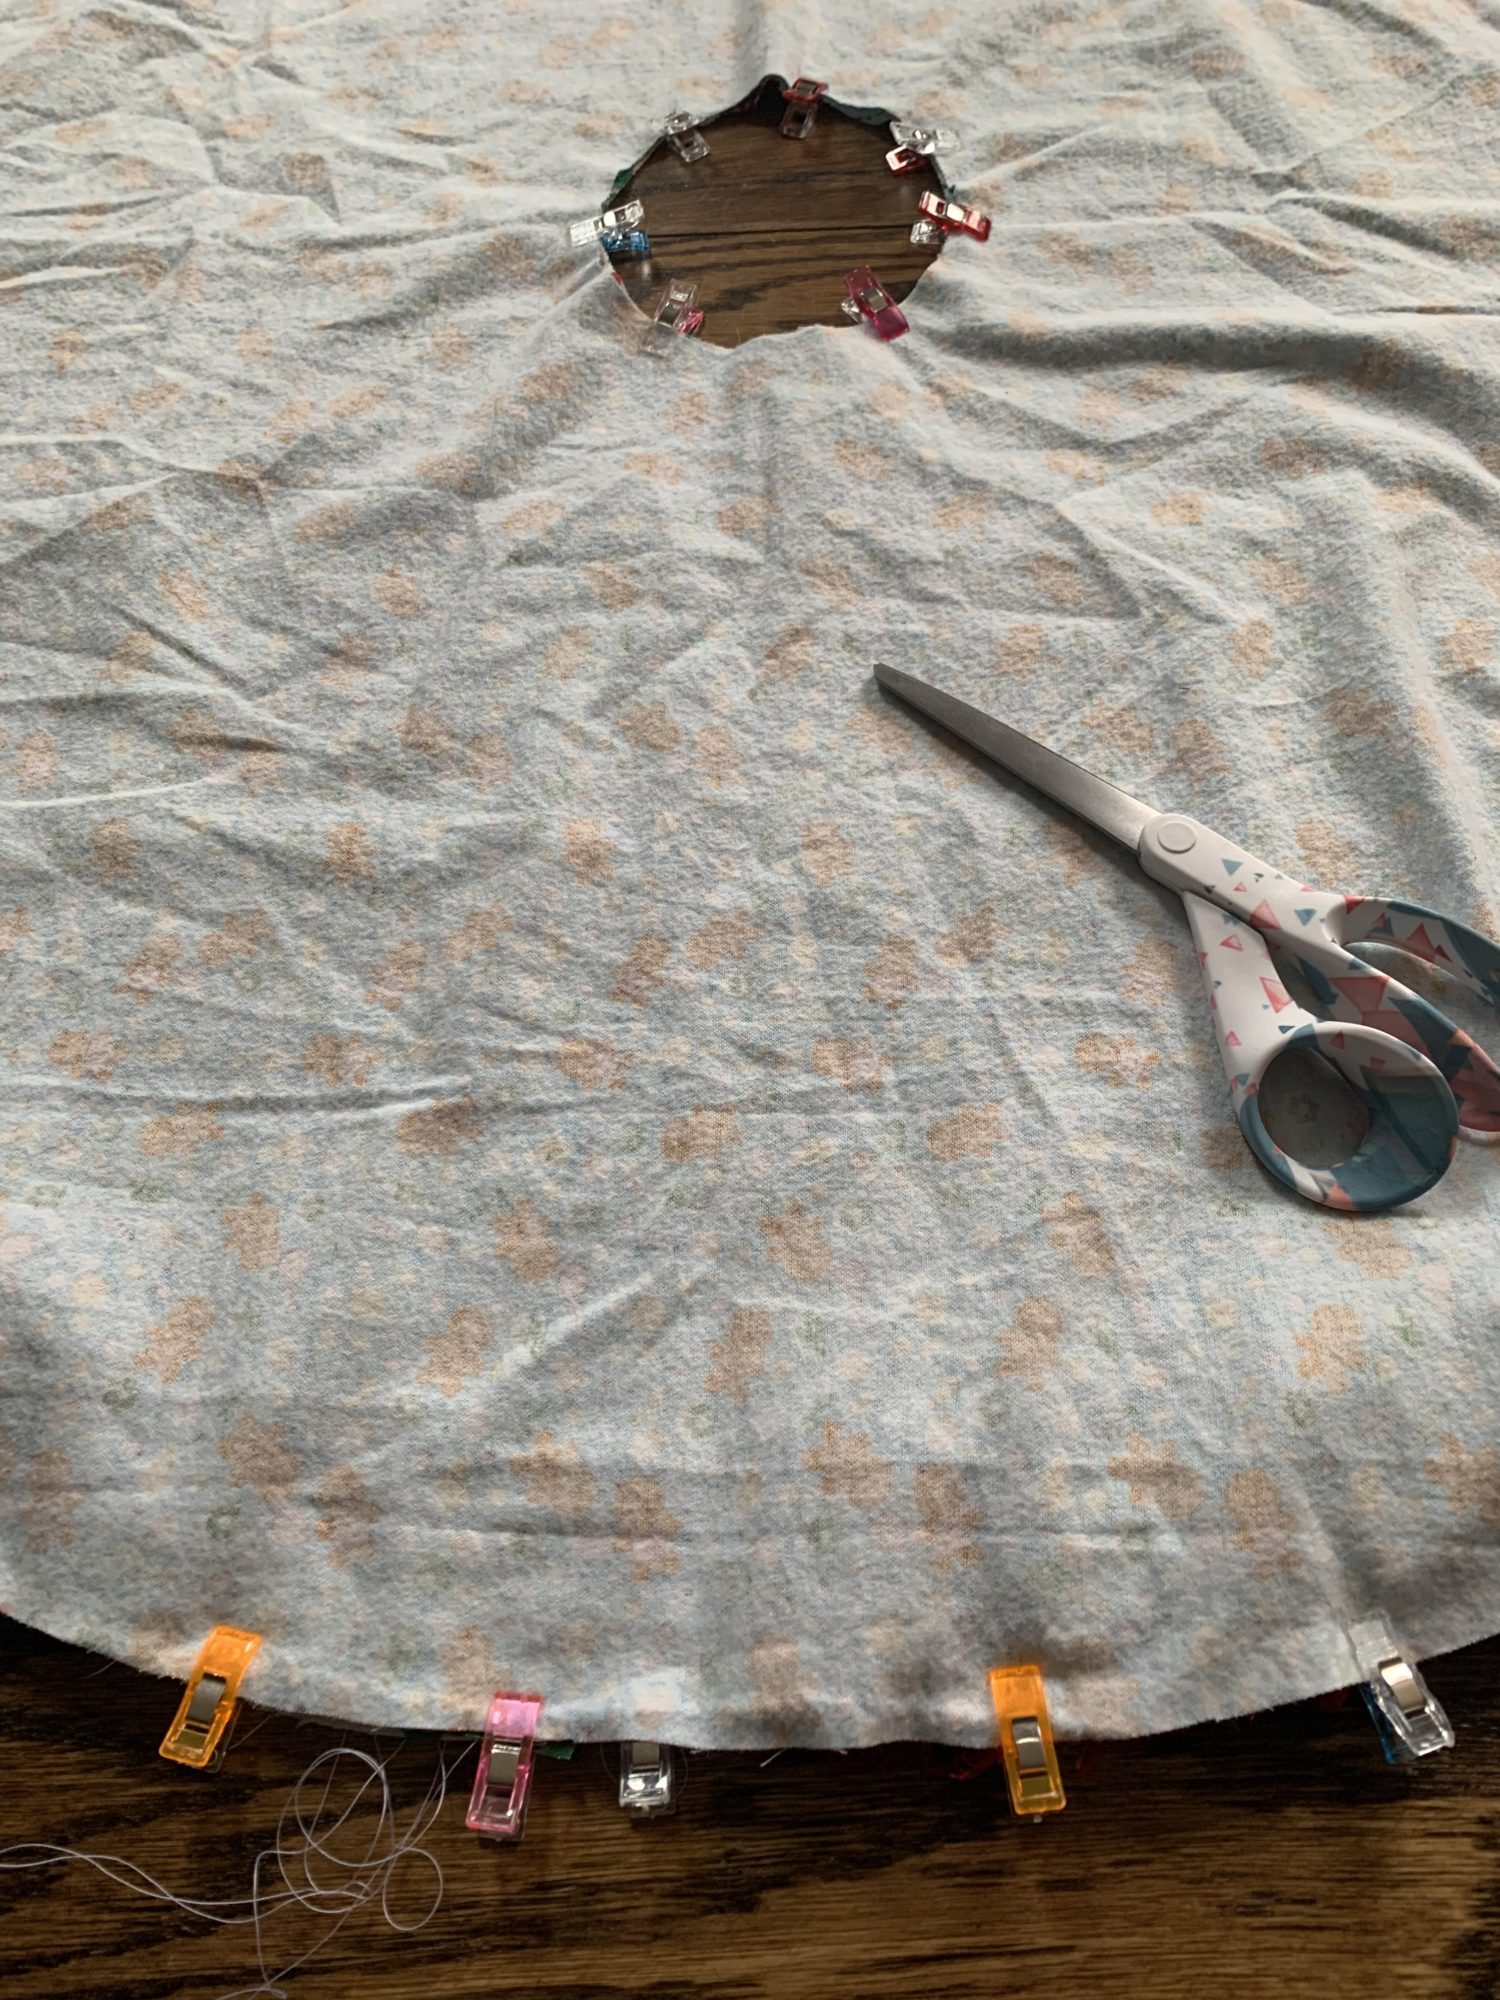
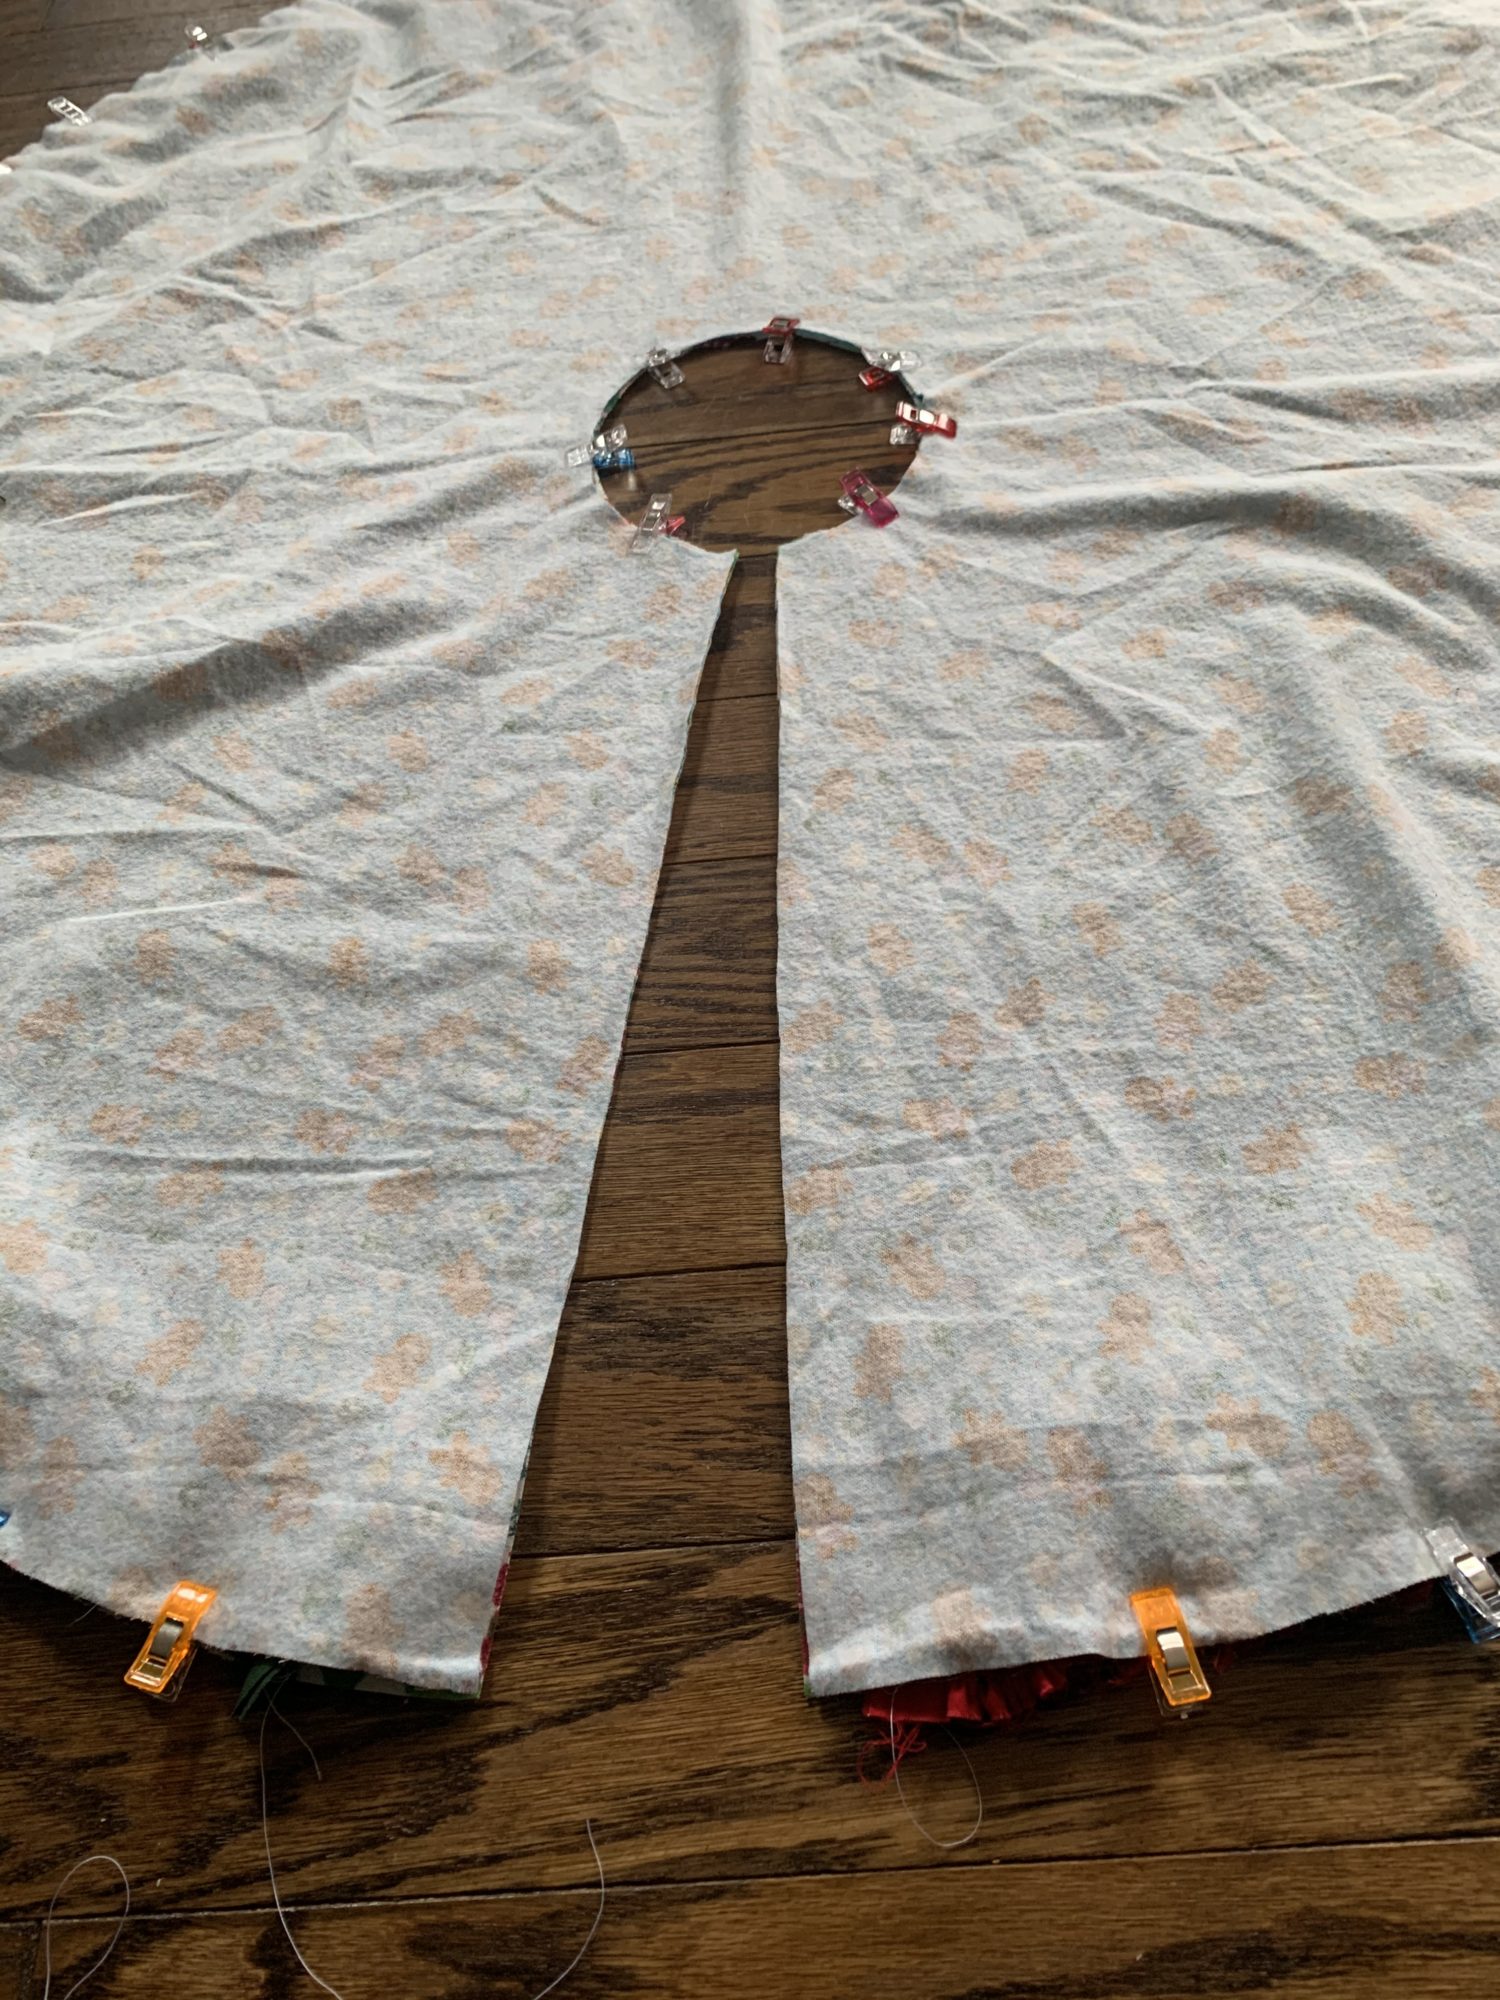
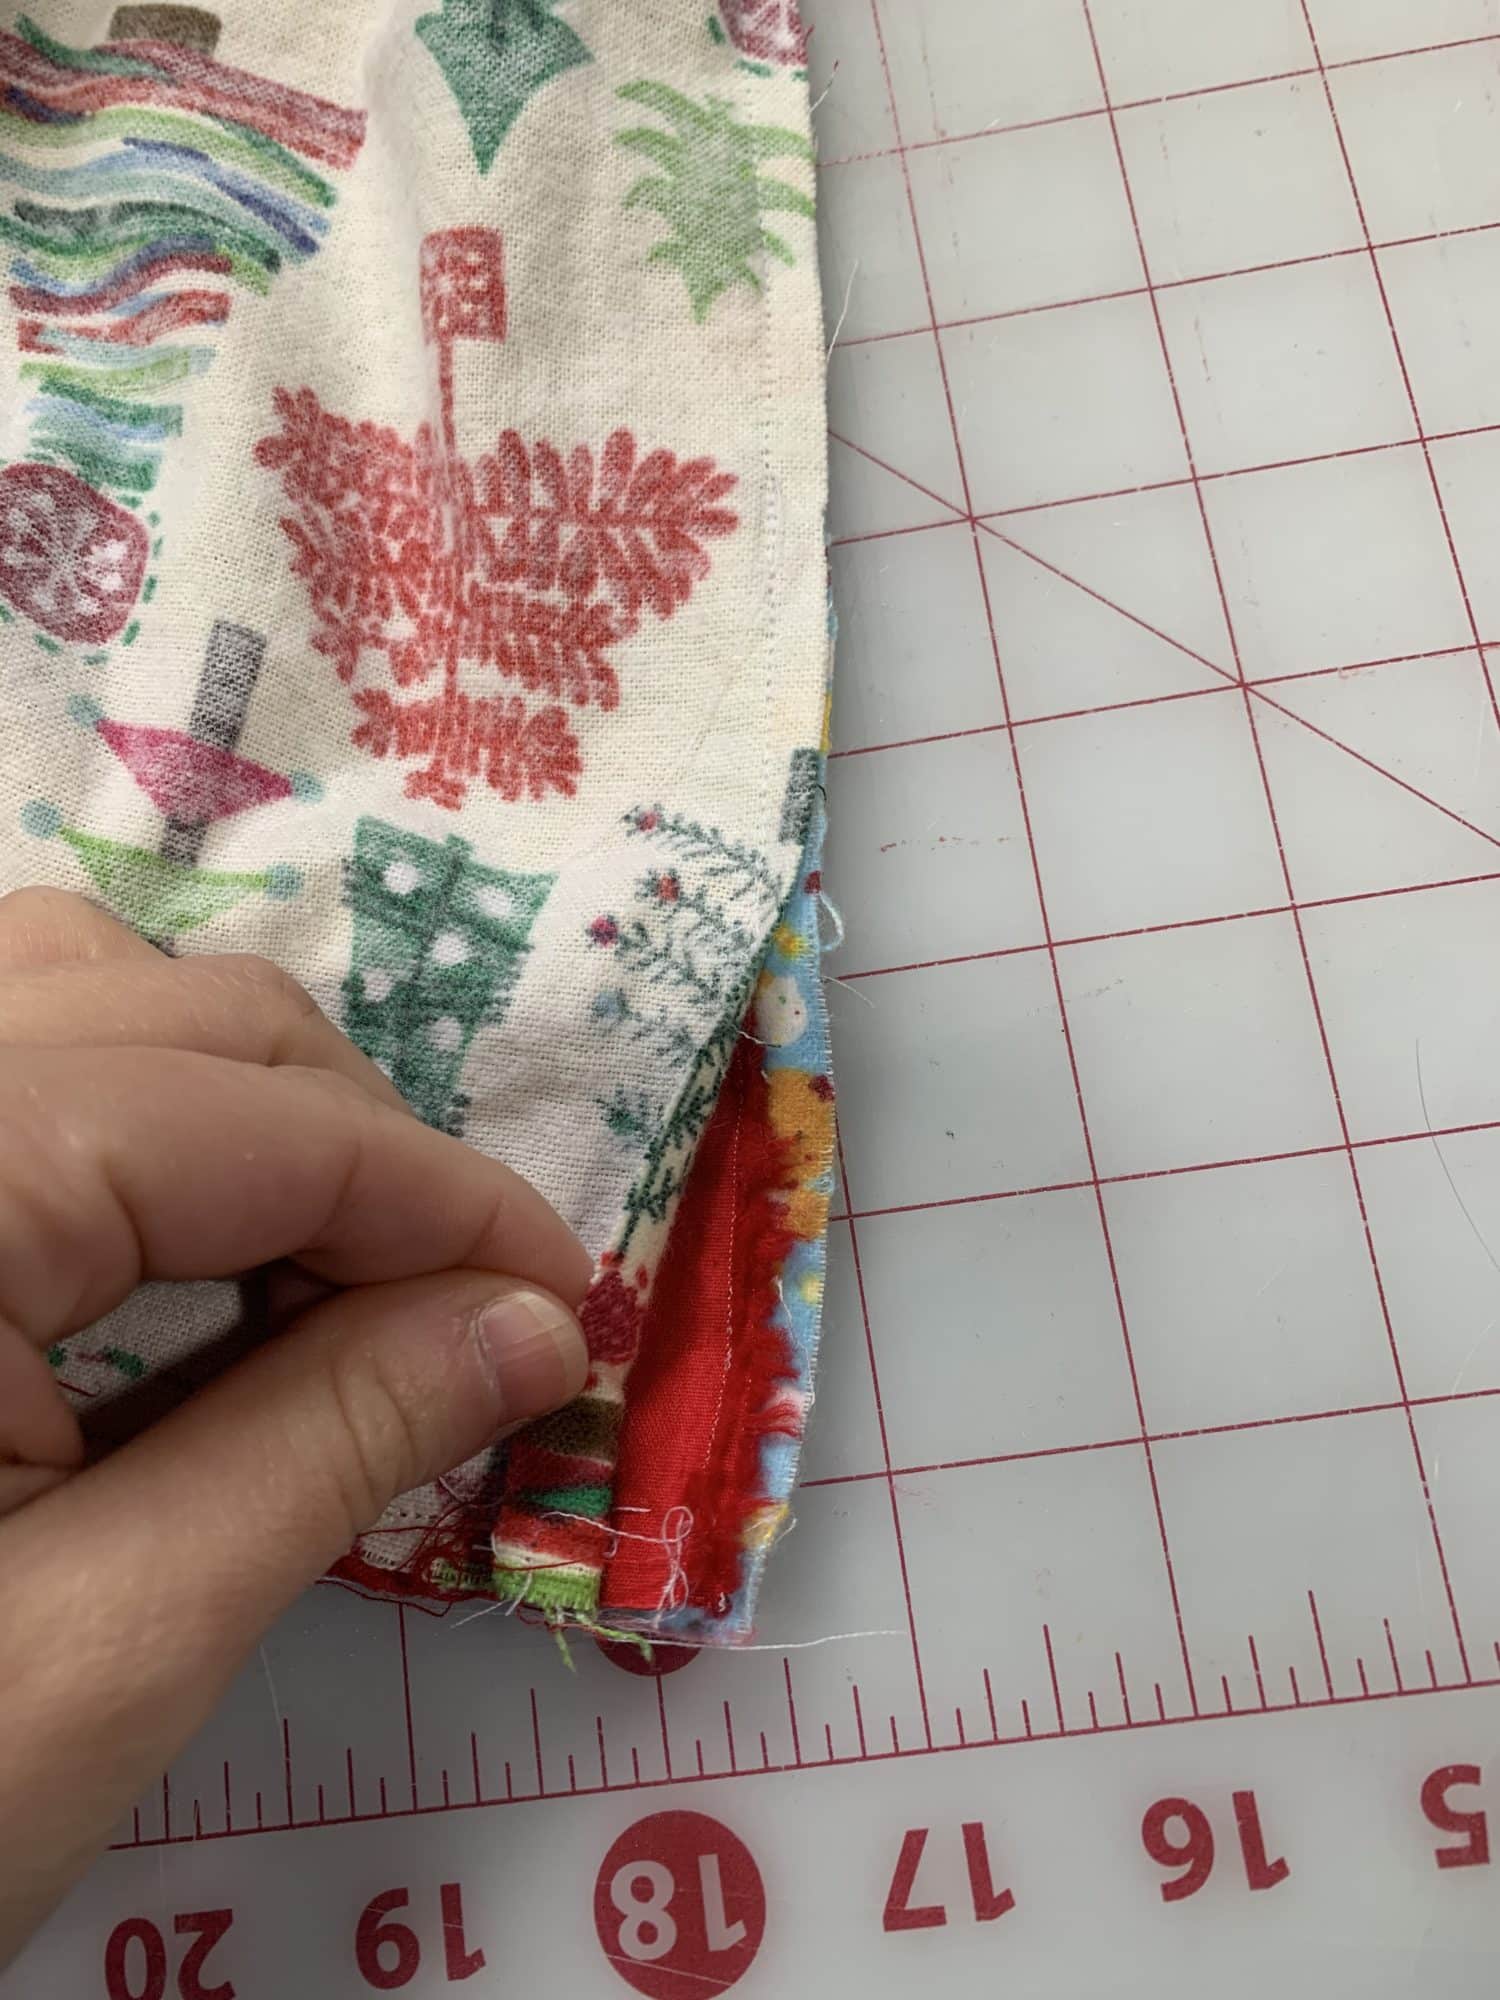
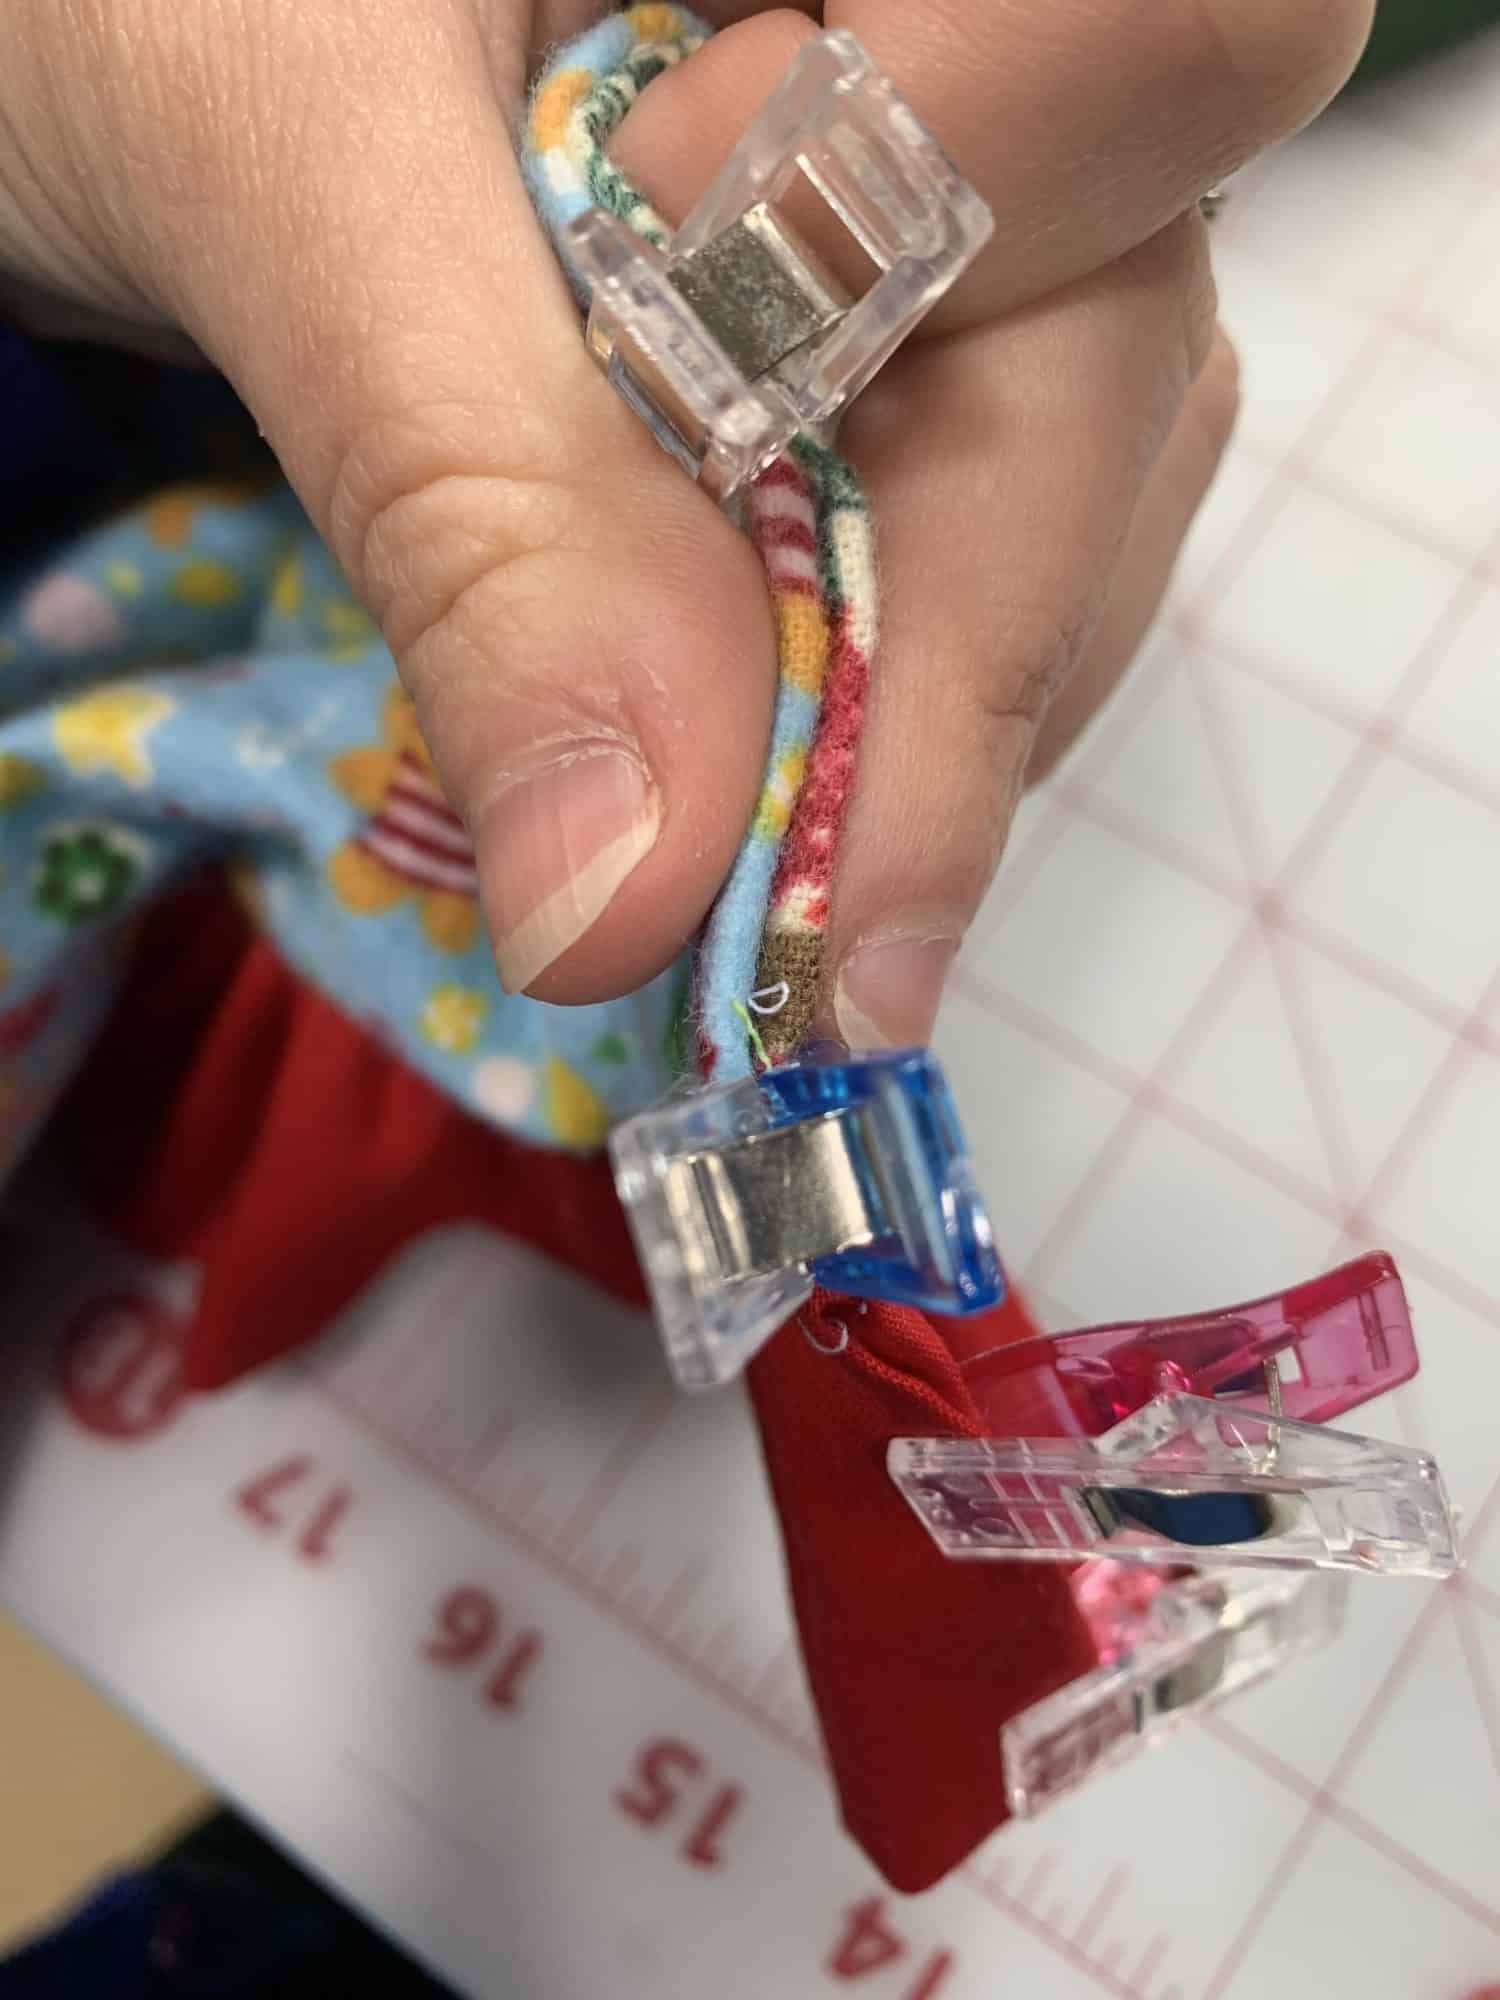
- Once everything is put together and clipped in place, you’ll need to cut your slit. This is so you can get it around your tree!
- Cut a straight line on the back of your tree skirt from the bottom to the top
- Make sure that your slit goes right between the ends of your ruffle pieces. Don’t cut through your ruffle!
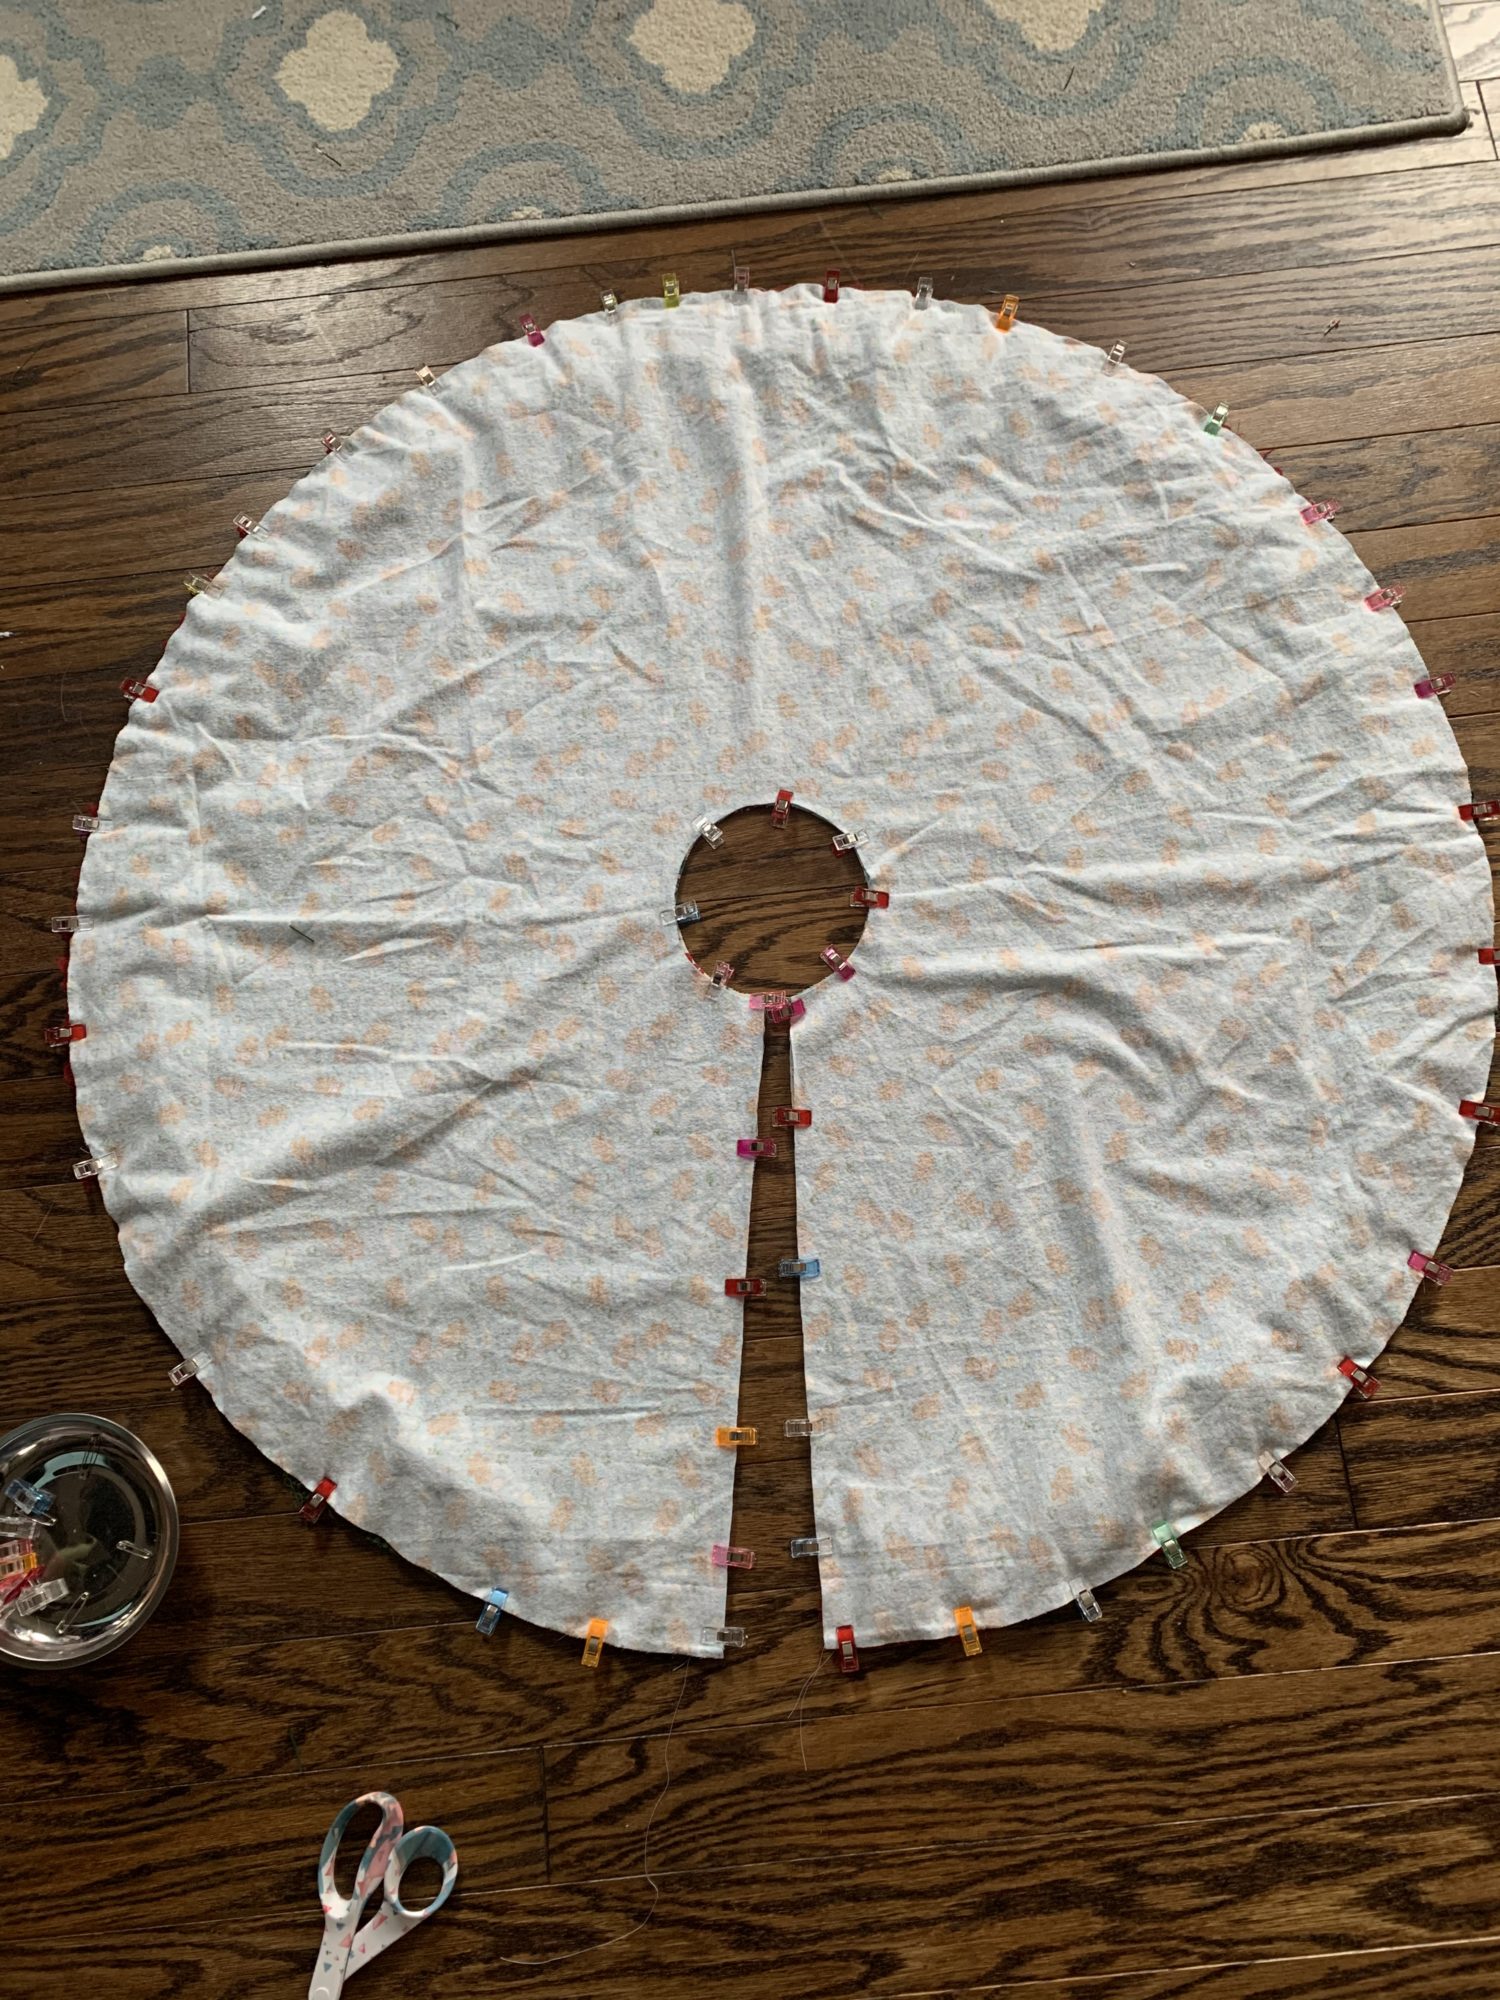
Now, you are going to sew along the entire outer edge
When sewing the outer circle, start sewing a 1/2 an inch in and stop sewing a 1/2 an inch before you get the other end. This is so you can hem the edges of your ruffle later
- Sew the center circle
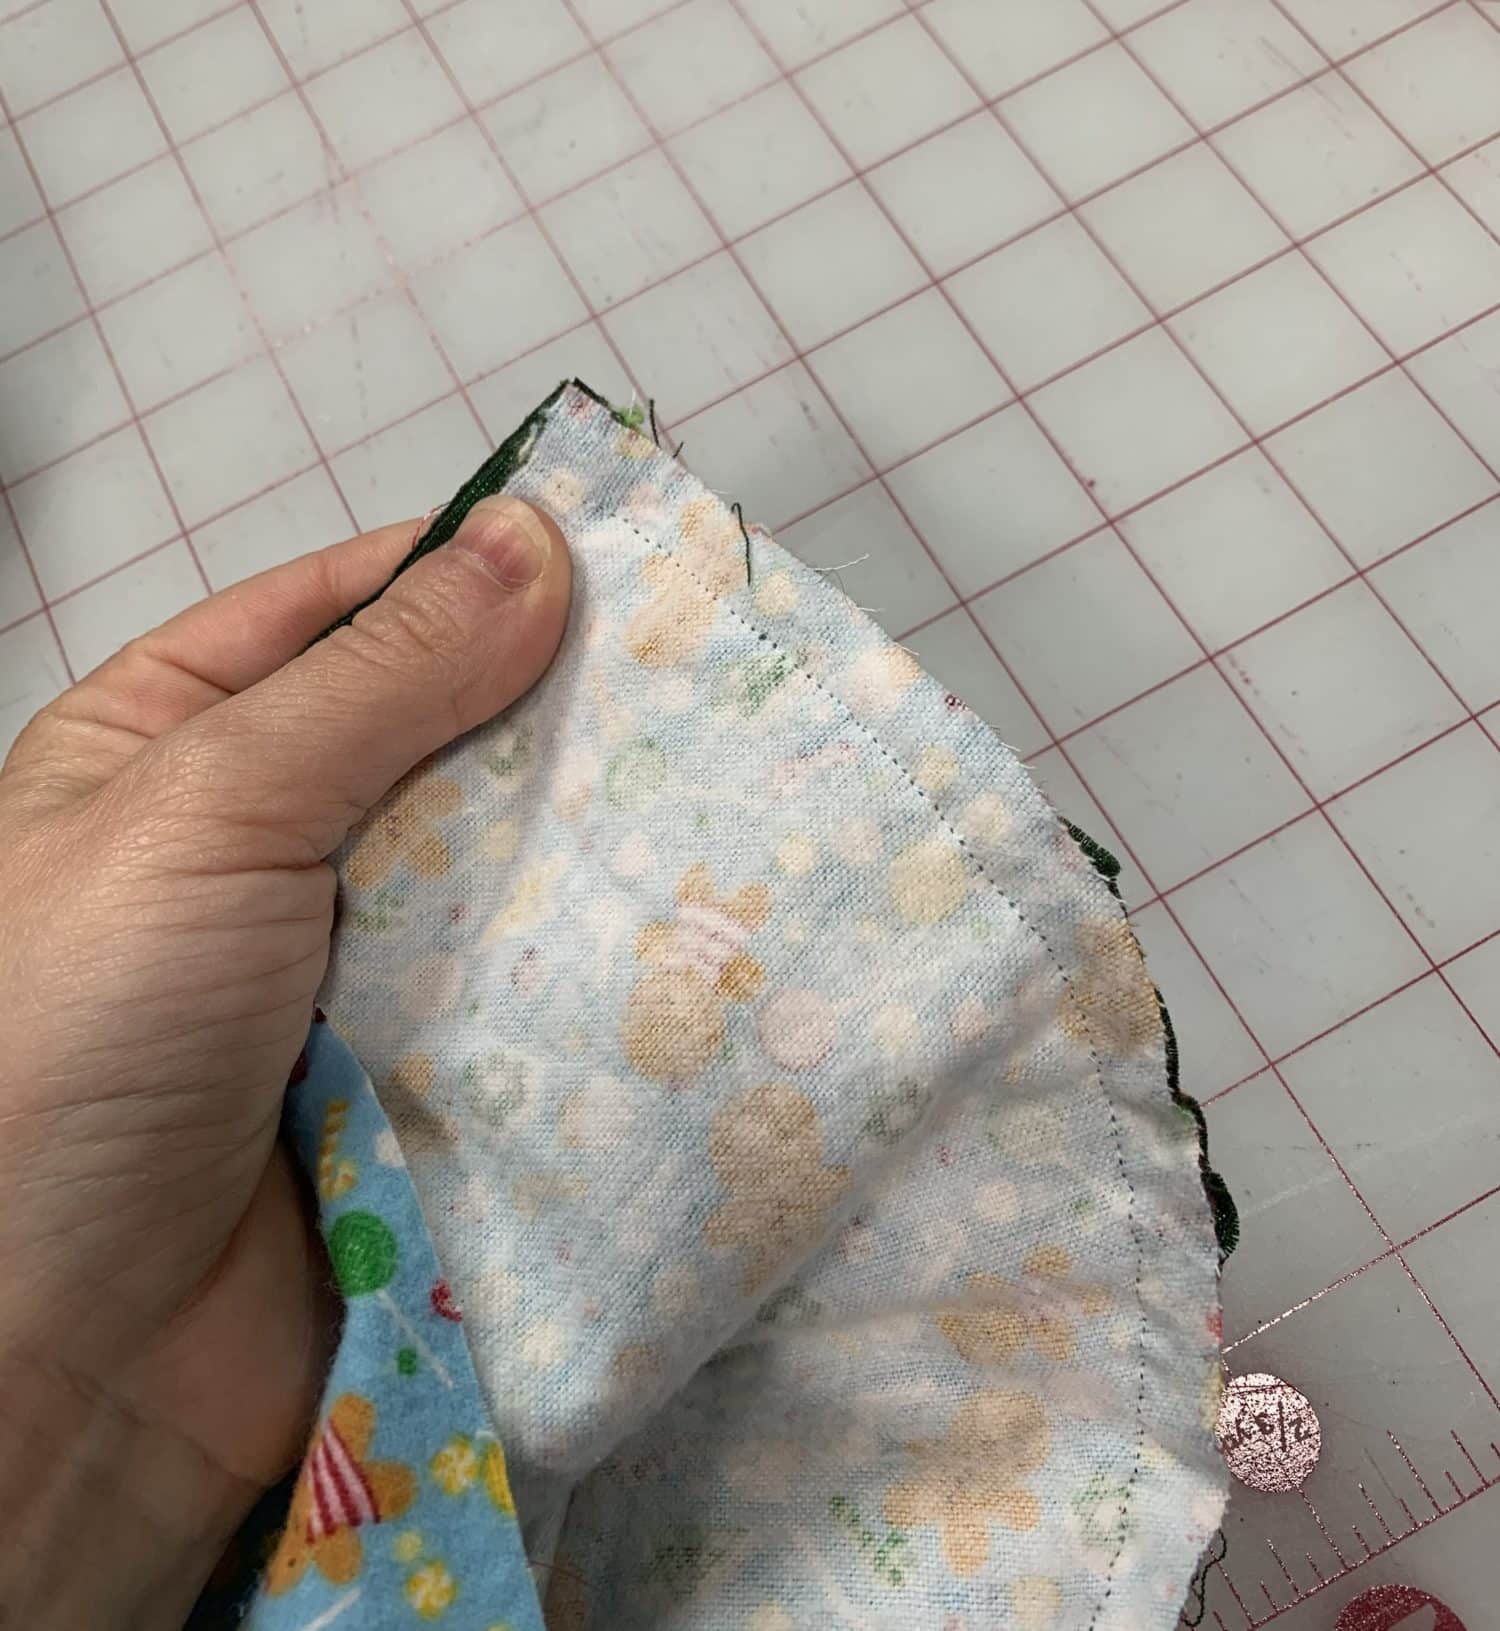
- Sew down one edge of your slit, but stop before you get to your ruffle. You don’t want to sew your ruffle into the seam! You’ll finish the edges later
- Use the open slit side that you didn’t sew to turn the tree skirt right sides out
- It’s starting to look like a tree skirt and you’re almost done!
Finishing the edges
- Now, you have to close up the edge that you left open for turning and finish the ruffle edge on the other side
- Turn the edge of the each main fabric a 1/2 an inch to the wrong side and press well. You’ll sew that closed when you topstitch
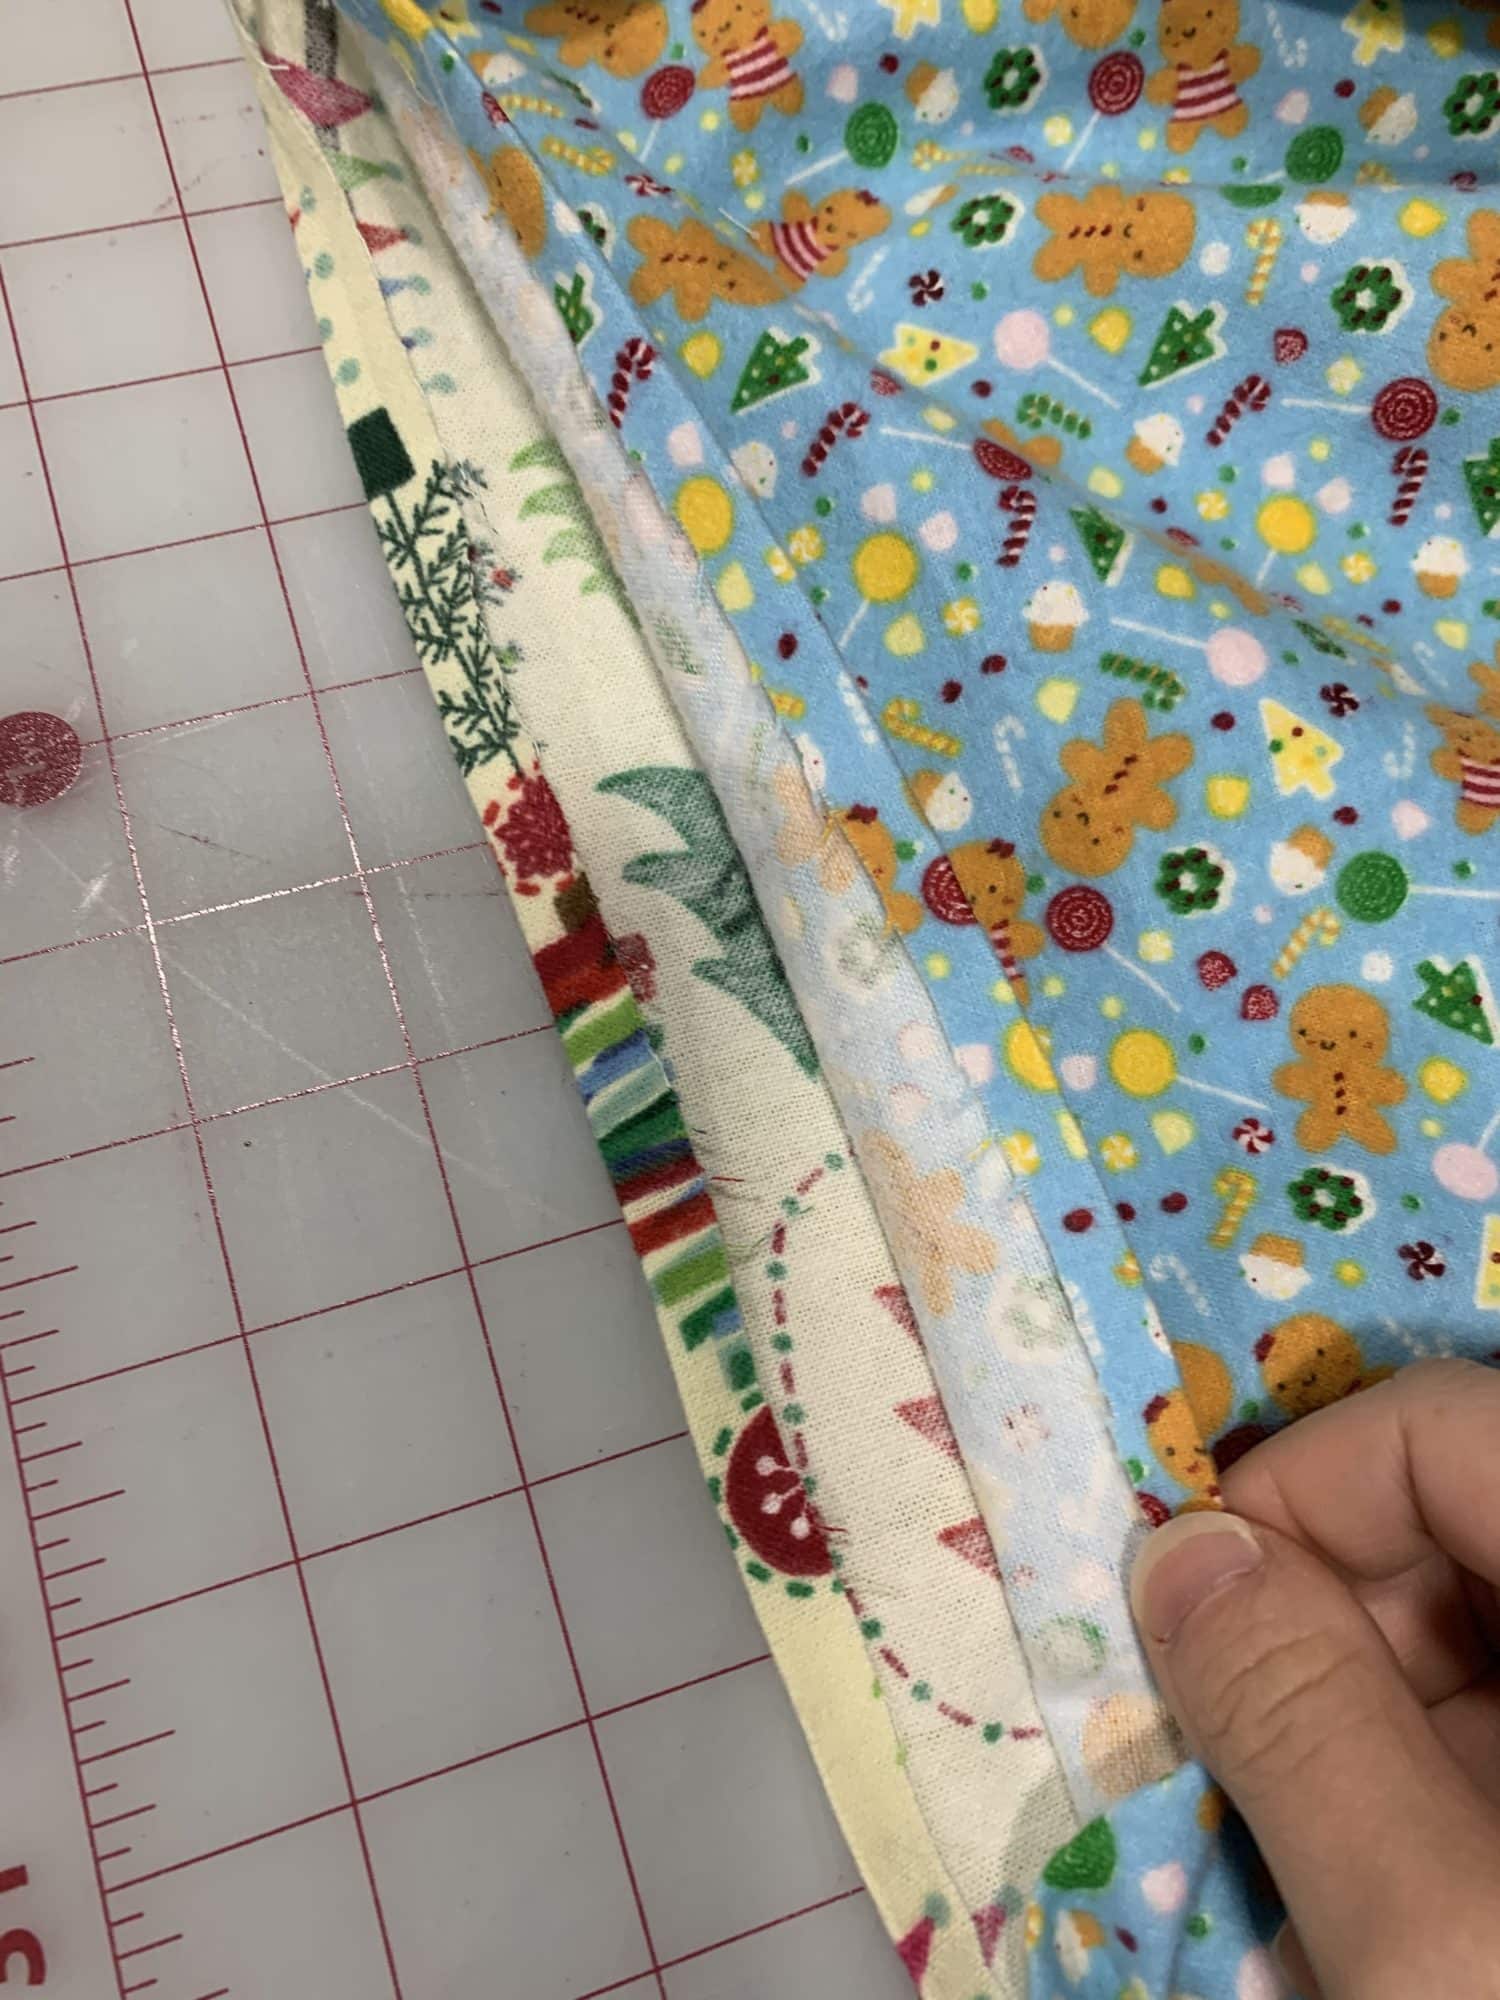
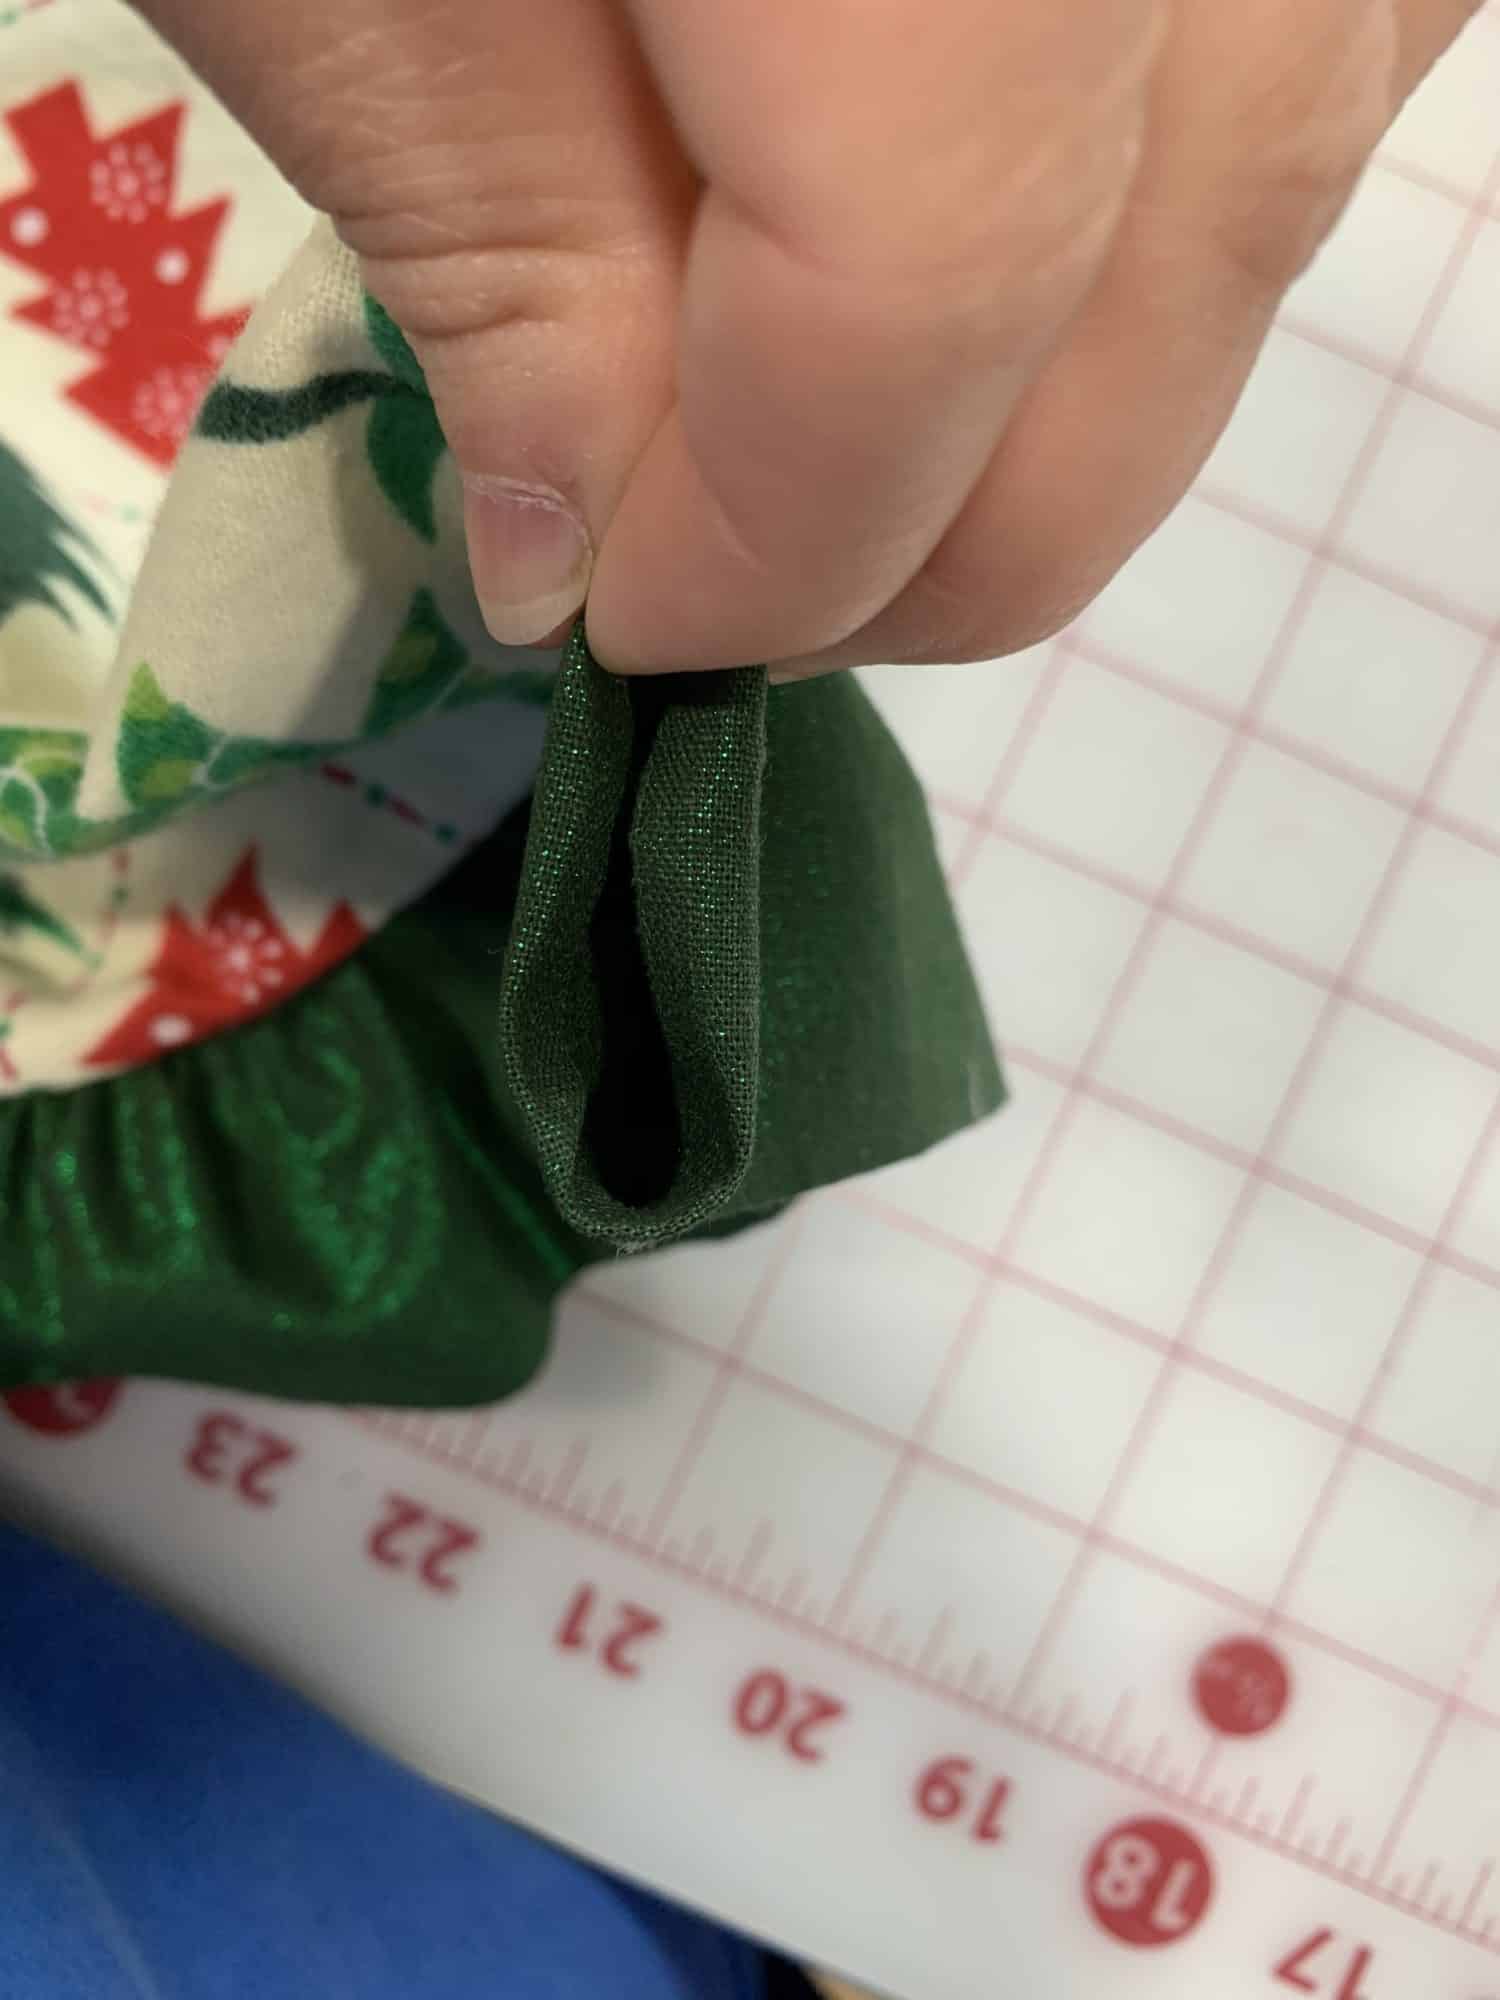
Do the same thing to the other side’s (the slit that you sewed) ruffle. Turn the edges in to the wrong side and press
- Give your tree skirt a really good press
- Top stitch the entire tree skirt, making sure to catch your hems in the top stitch
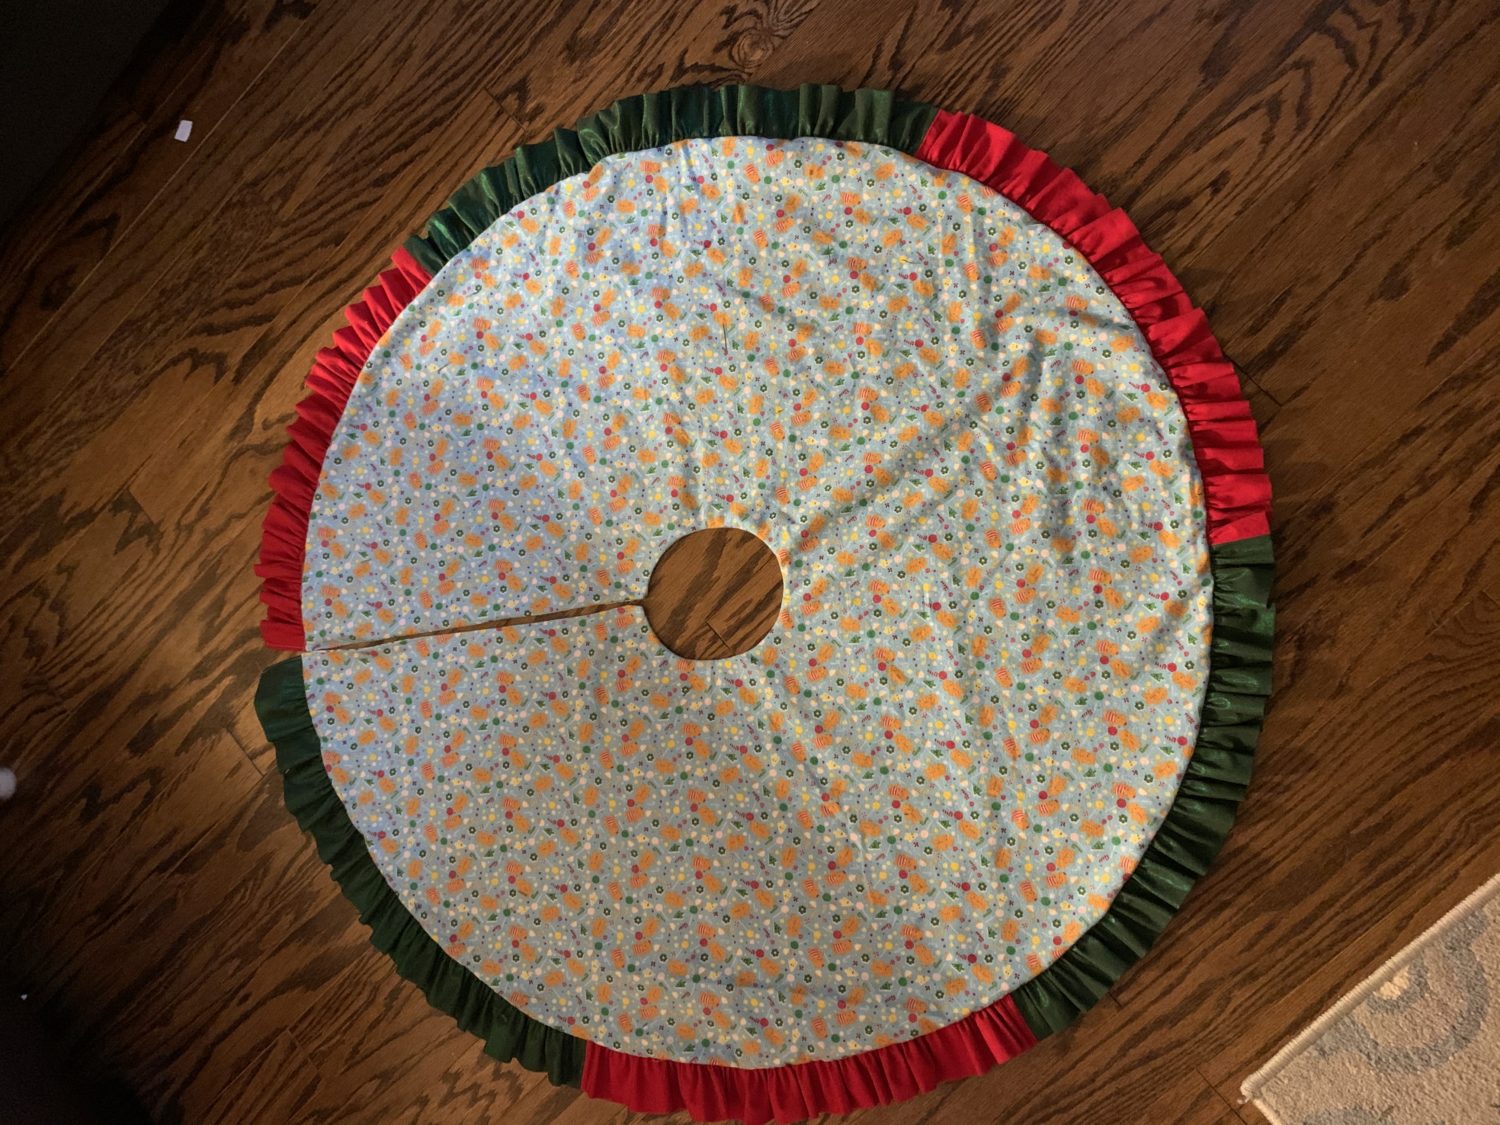
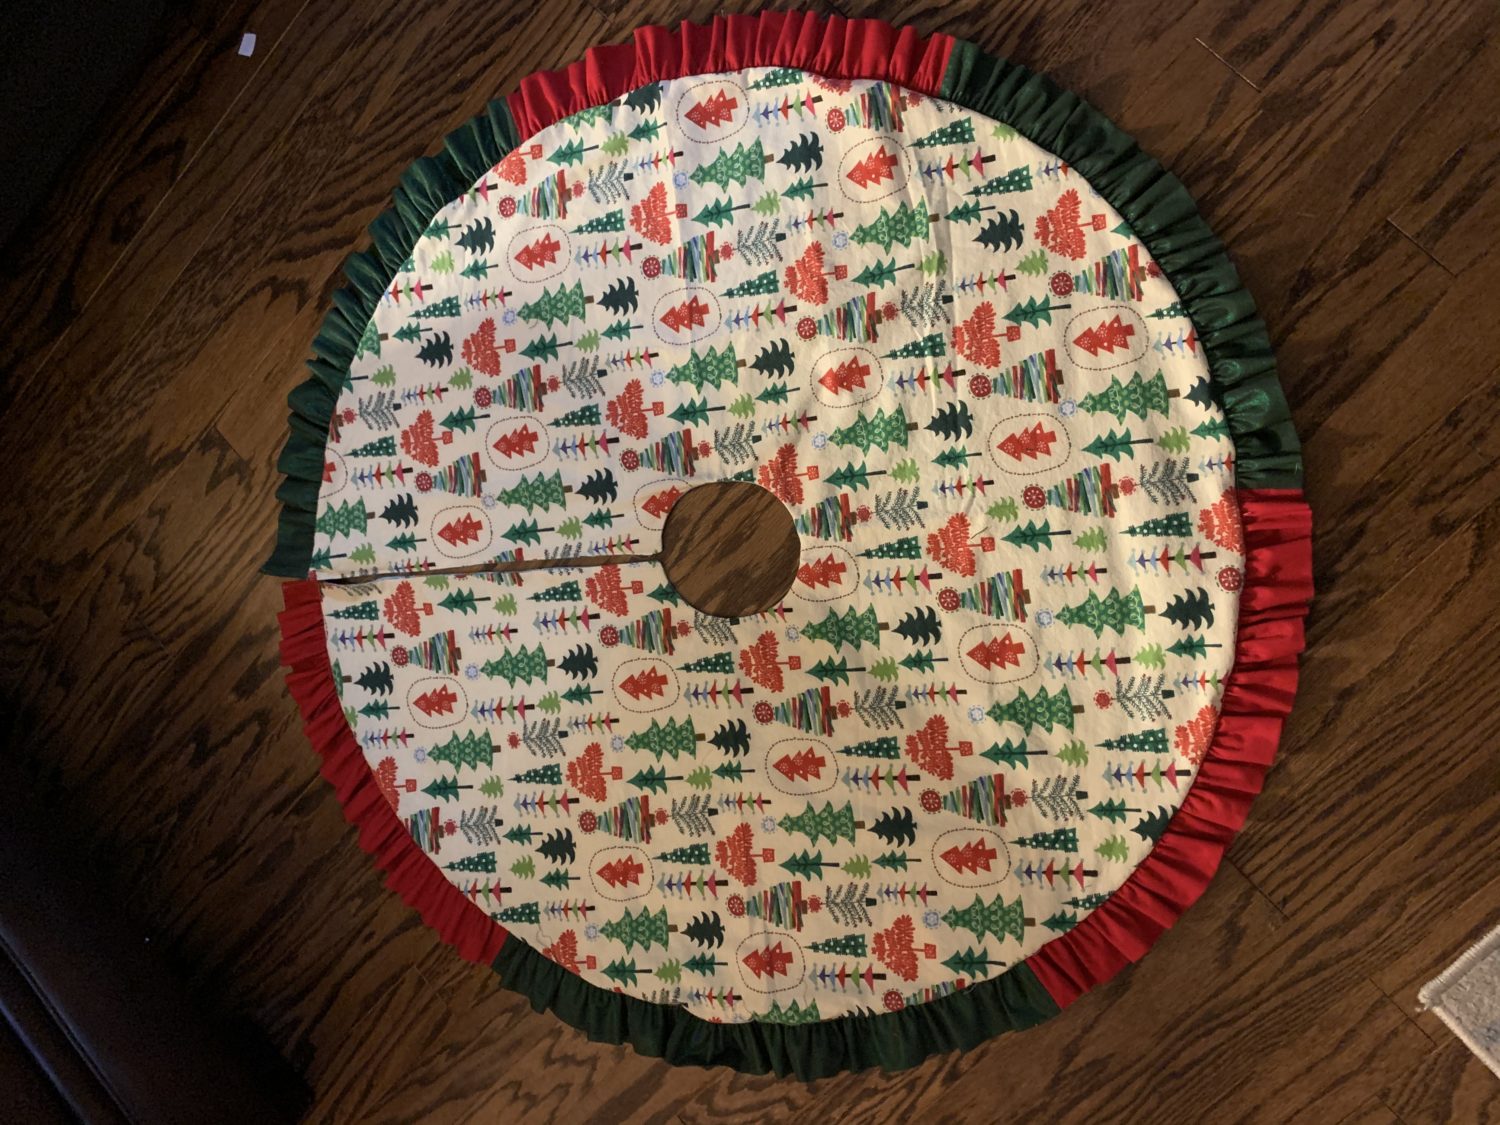
You did it!
You’ve made your very own tree skirt! Now go put it under your tree and admire your hard work!
Want more FUN DIY Freebies? Check out the FREEBIE TUTORIALS and the FREEBIE PATTERNS!
As always, we’re here to help if you need it! Join us HERE and on Facebook, Instagram, Twitter, Youtube, and Pinterest. We’re everywhere you are.
This is so cute and much less complicated than what I imagined. I’ll be making one for sure. Lindsay, thank you for creating this tutorial and sharing!