Guest Post from Robin Abbott
It’s quite an honor to be writing a blog post for 5 out of 4 patterns! This is such an amazing group of people and I am truly blessed to be a part of the 5 out of 4 family (join the waiting list if you aren’t already with us!) The family group is actually where the inspiration for this post came from and we thought everyone would enjoy it.
During a live video discussion with Jessica the subject of needles came up. Many of us wanted to know when to use which needle and how to keep track of all the different sizes. Someone commented noting that a file existed for a needle pillow for exactly such a purpose. So, I created one just for the 5oo4 group! It can be found here:
Let’s cut to the chase, this file can be used in so many ways, from iron on sheets to printable magnets! Here I will show/explain 3 of these many options: Preprinted fabric, HTV application, and a magnet!
It’s time to make a NEEDLE PILLOW!
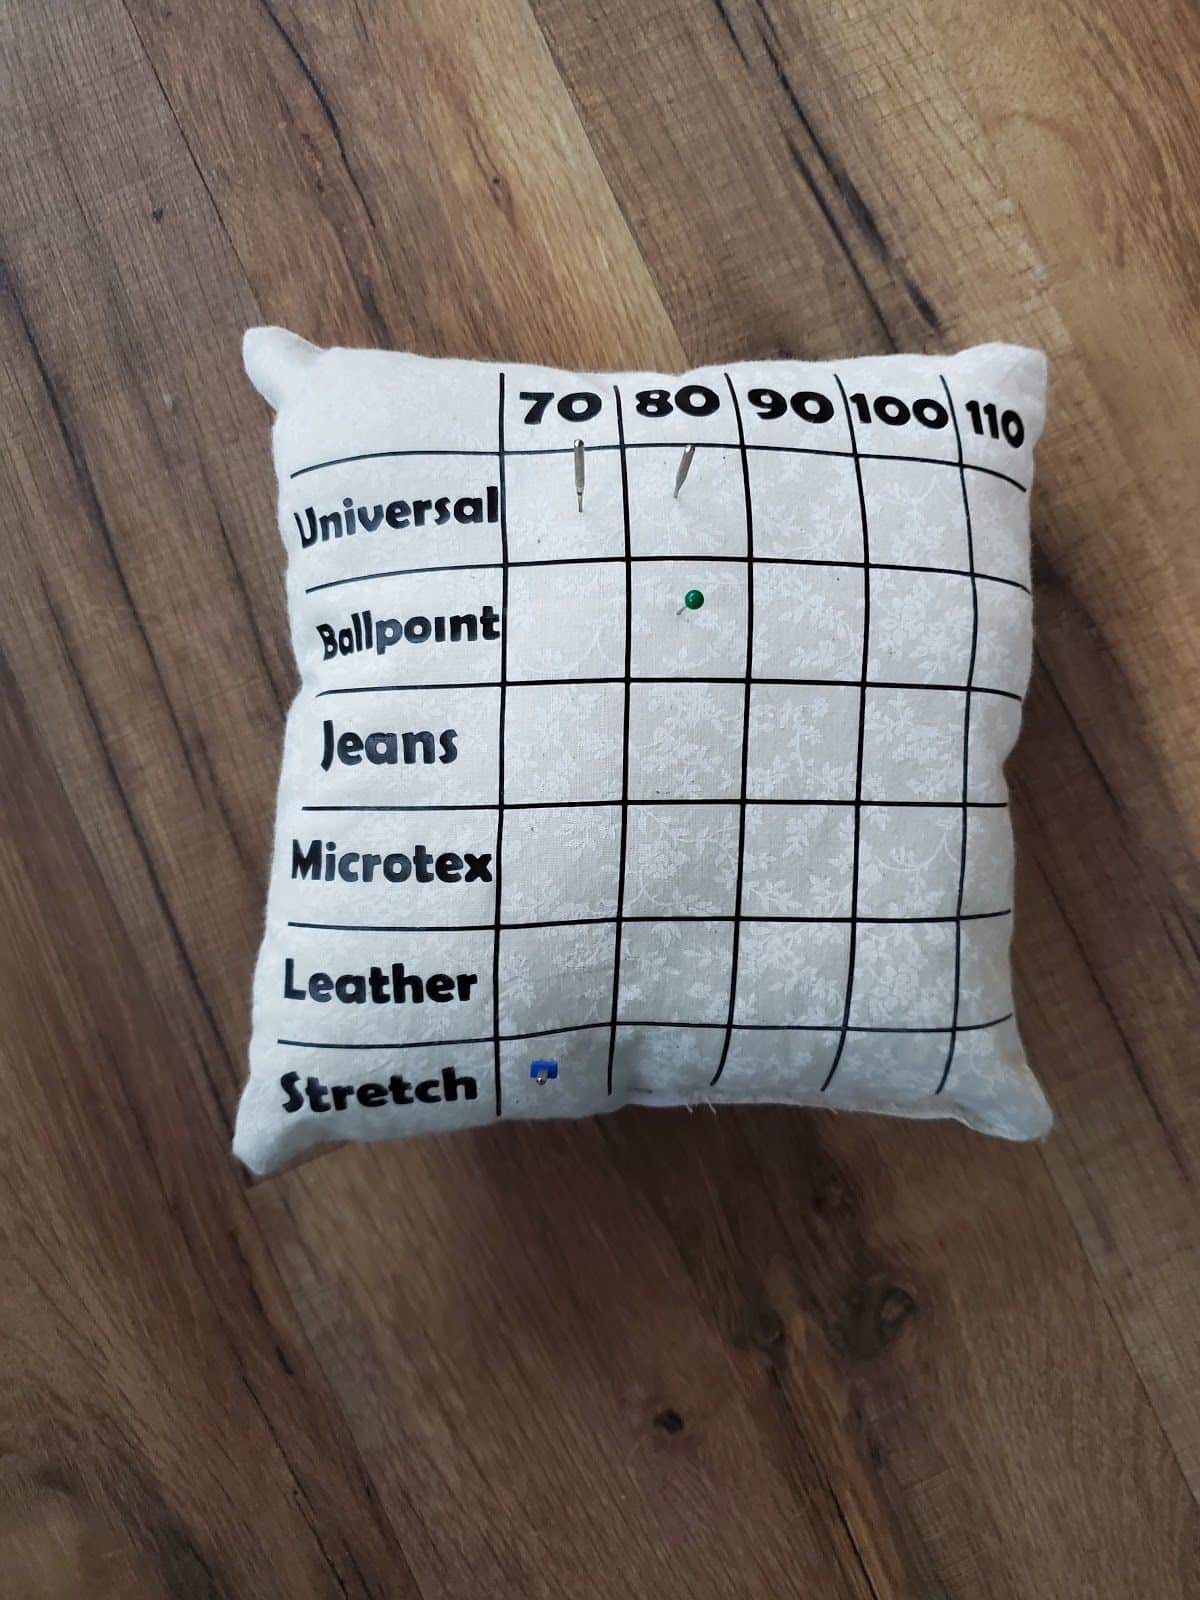
As you use needles, instead of finding the original case, you simply stab (or lay flat on a magnet) your needle into the corresponding square. Use a colored push pin to mark the current needle in your machine! This saves your eyes from trying to read the tiny numbers on the needles.
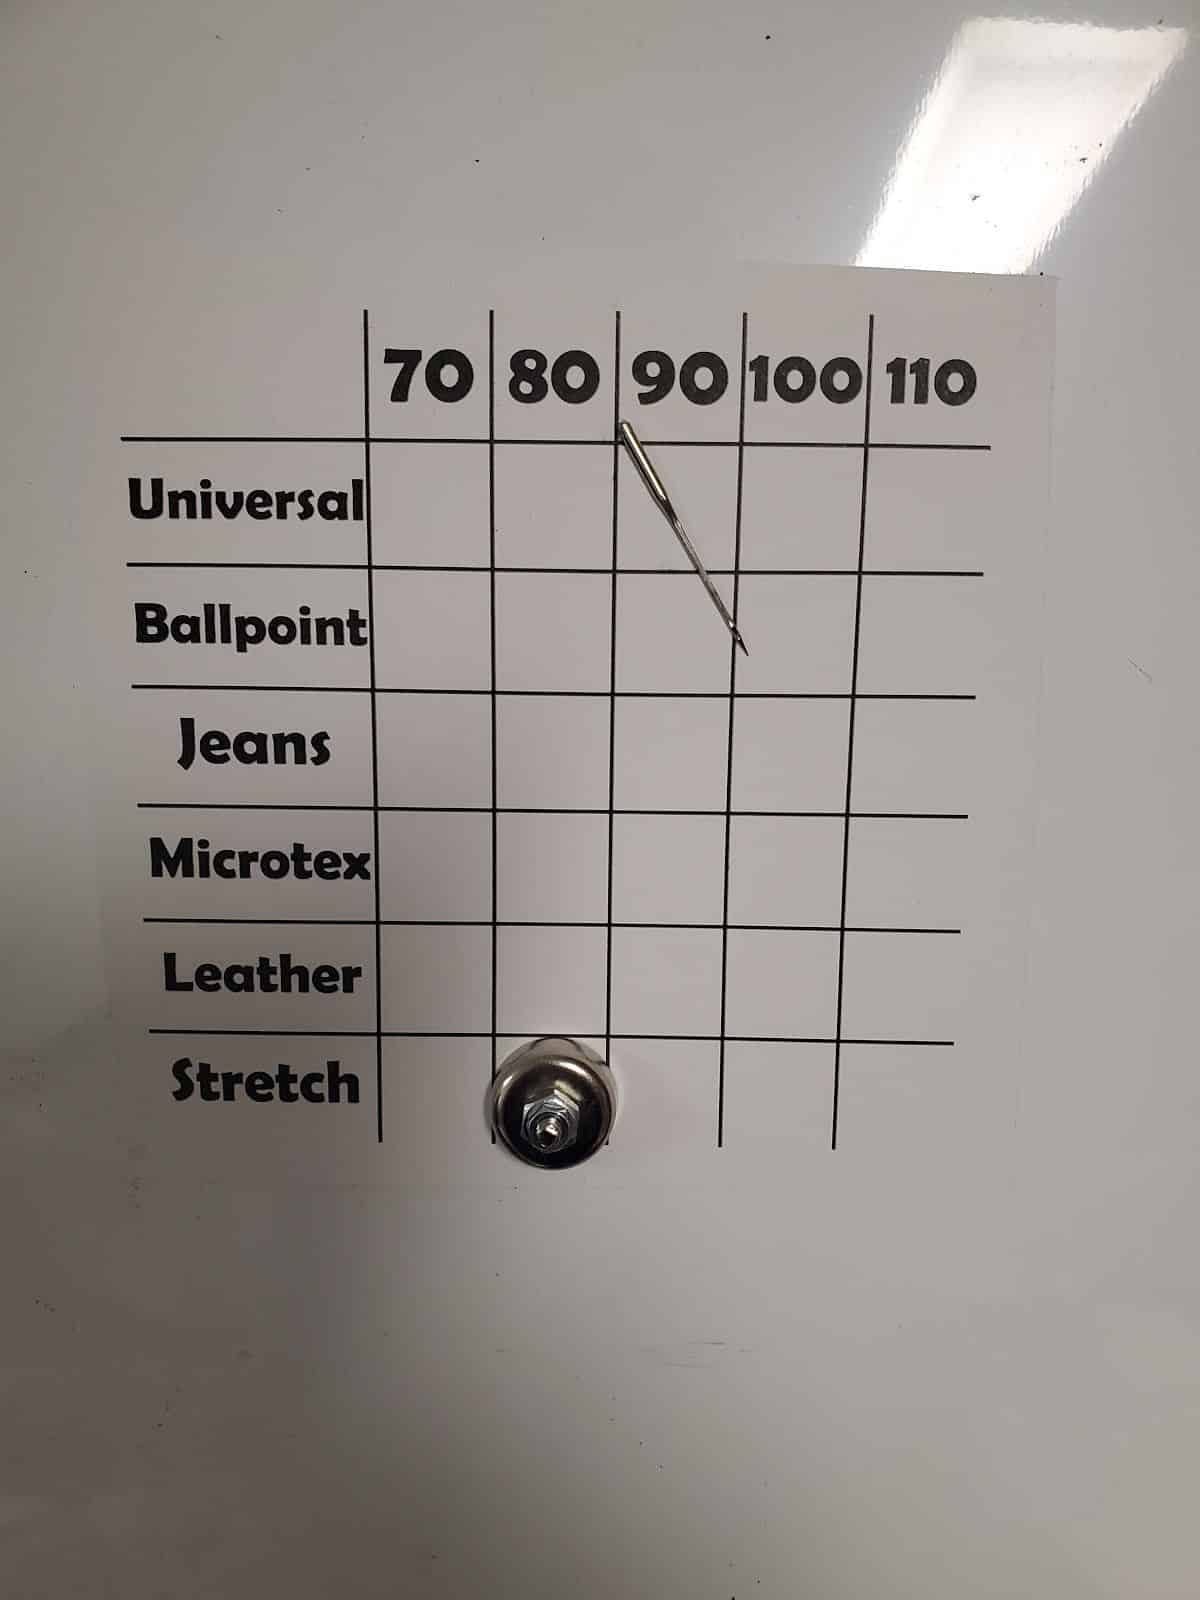
Printable Magnet
This is extremely simple, all you need is printable magnet paper and a compatible printer. Find the magnet paper I used HERE. Using this and the file linked above (I’ll link them again below), simply print to your desired size. This can be placed on a whiteboard, refrigerator, etc. You could even print this on plain paper and put it where ever you want. Here I have my current needle marked with a general magnet I happened to have. This is printed at only 5×5, a bit too small in my opinion.
HTV or Fabric Printed Pillow Versions
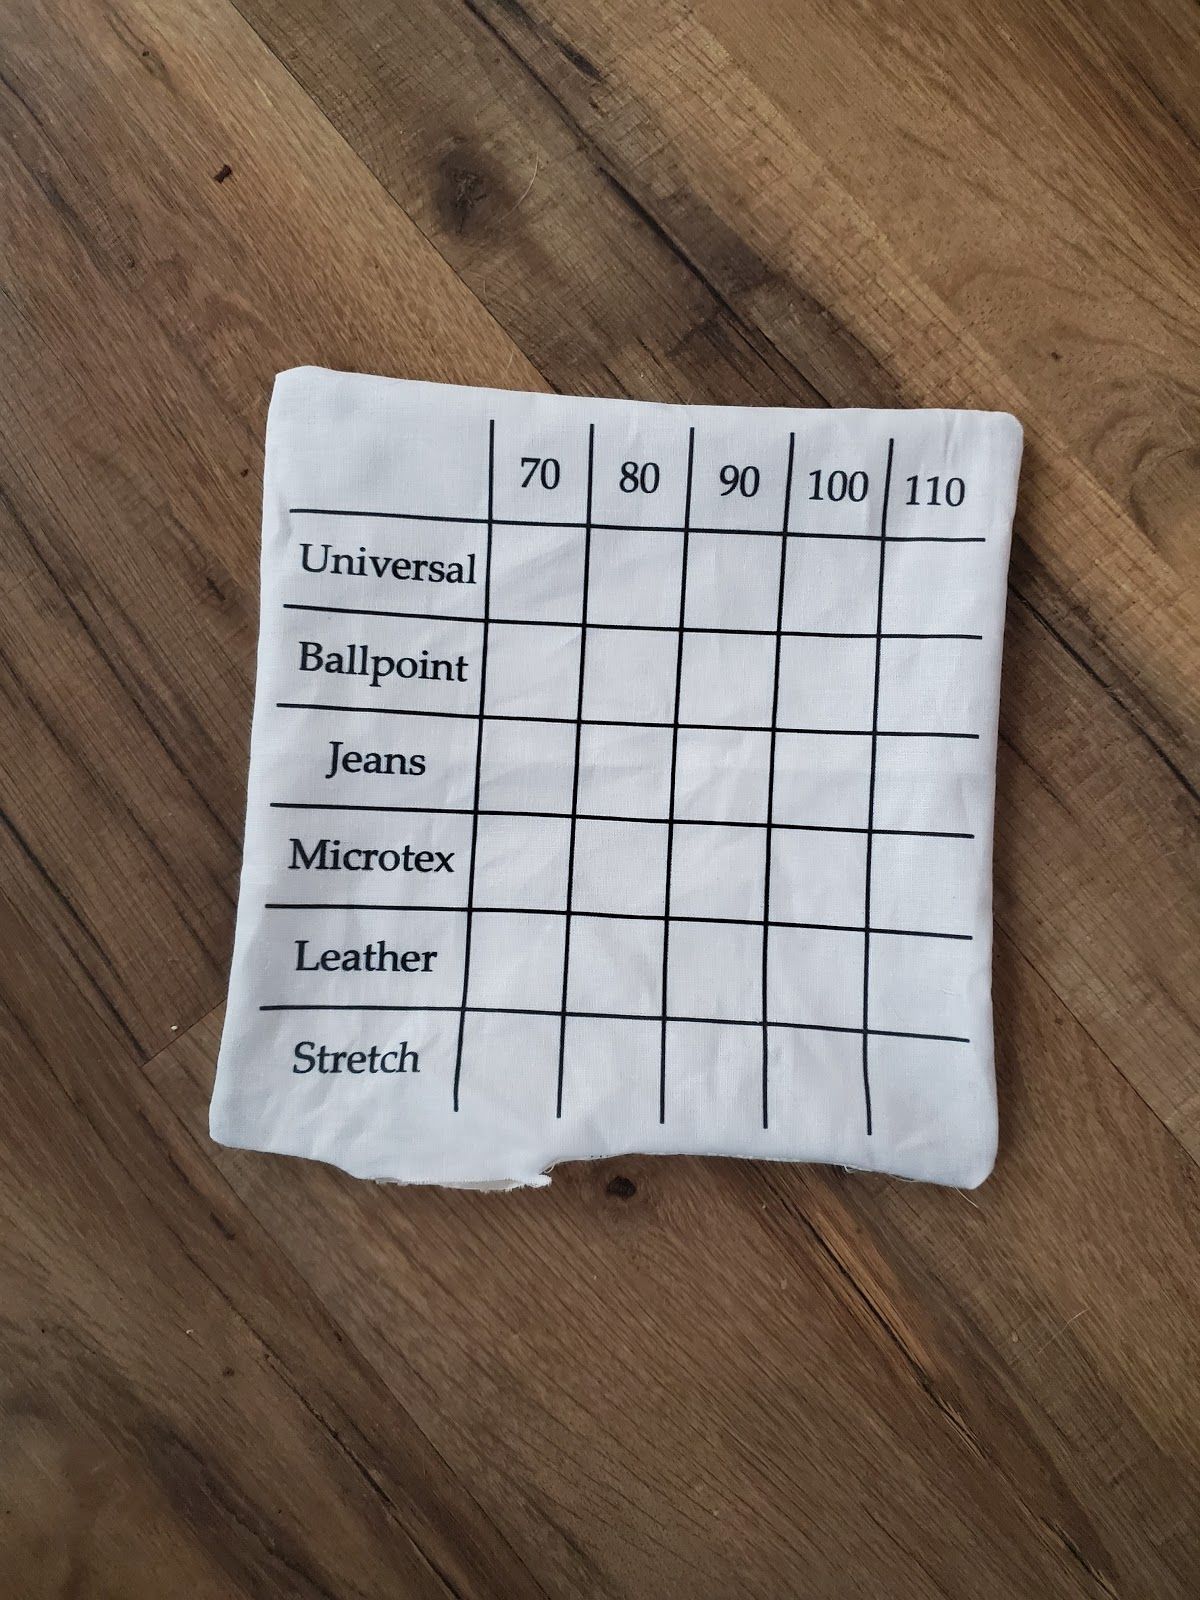
For the vinyl application and fabric printed versions I made sure the image was on both sides of the pillow.
Supplies
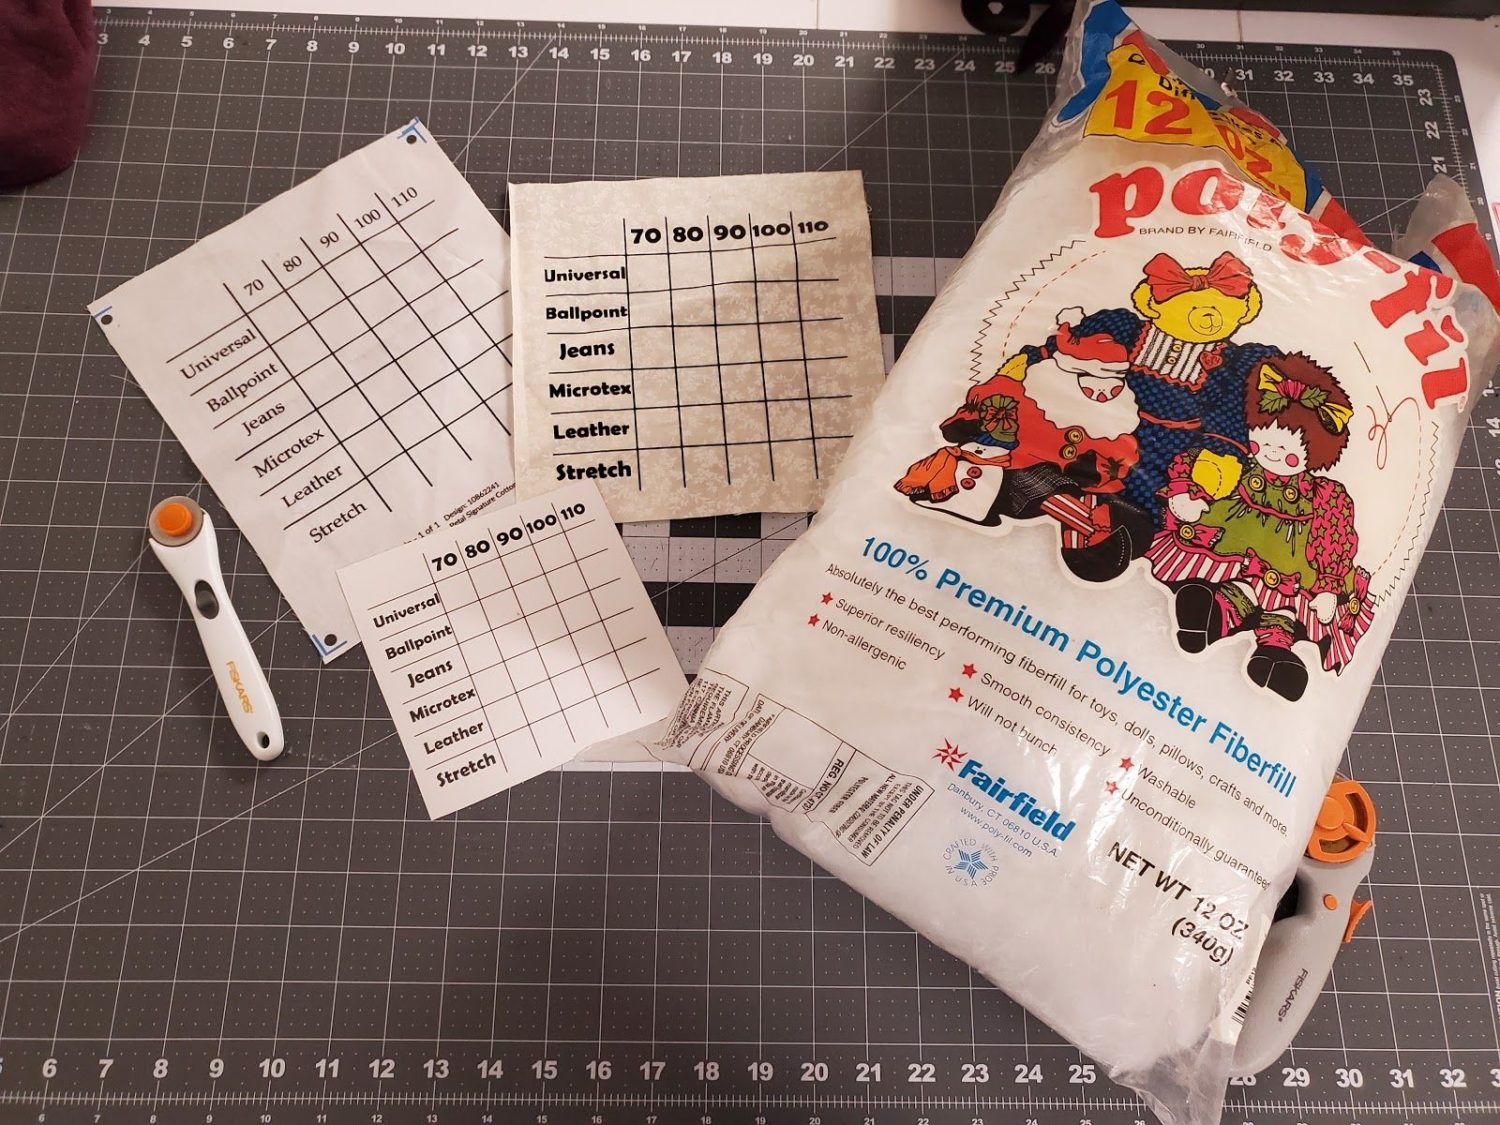
- Two 8″x8″ fabric pieces (woven or knit is fine, I used woven)
- Poly-fil
- Basic sewing supplies, needle/thread/etc
- As far as the image, there are two options:
Option 1: Use your silhouette/cricut/other cutting machine to cut 2 images on HTV and then follow the manufacturer instructions to adhere to your fabric.
Option 2: You can purchase the preprinted fabric from Spoonflower: HERE. Or send it to a fabric printer of your choice.
- Last, you’ll need the files.
Let’s Sew
Now that you’ve adhered your HTV or received your printed fabric place your two squares RIGHT SIDES TOGETHER.
Next, stitch around the square leaving a 1″-2″ opening at the bottom for turning and stuffing.
Now, turn RIGHT SIDE OUT being sure to push out the corners.
Next, fill your pillow with poly-fil or preferred stuffing to your desired thickness. Mine is about 2.5″-3.5″ in the middle.
To finish, use your preferred method to stitch the opening closed. I’m lazy and just folded in my seam allowance and top stitched since it’s just for me and doesn’t need to be pretty. If you want to make it pretty you can use a ladder stitch to close it up. There’s even a Sewing School episode if you’d like to learn how to accomplish this fun stitch. Find it HERE.
There you go! Your very own Needle Pillow.
A quick and simple needle pillow project to help keep you organized! It’s a great scrap buster or gift for all of your sewist friends!
*Special thank you to Jean Sutton who was kind enough to do the vinyl fabric for me since I don’t have the tools for that portion!
As always, we’re here to help if you need it! Join us HERE and on Facebook, Instagram, Twitter, Youtube, and Pinterest. We’re everywhere you are.


Leave a Reply