
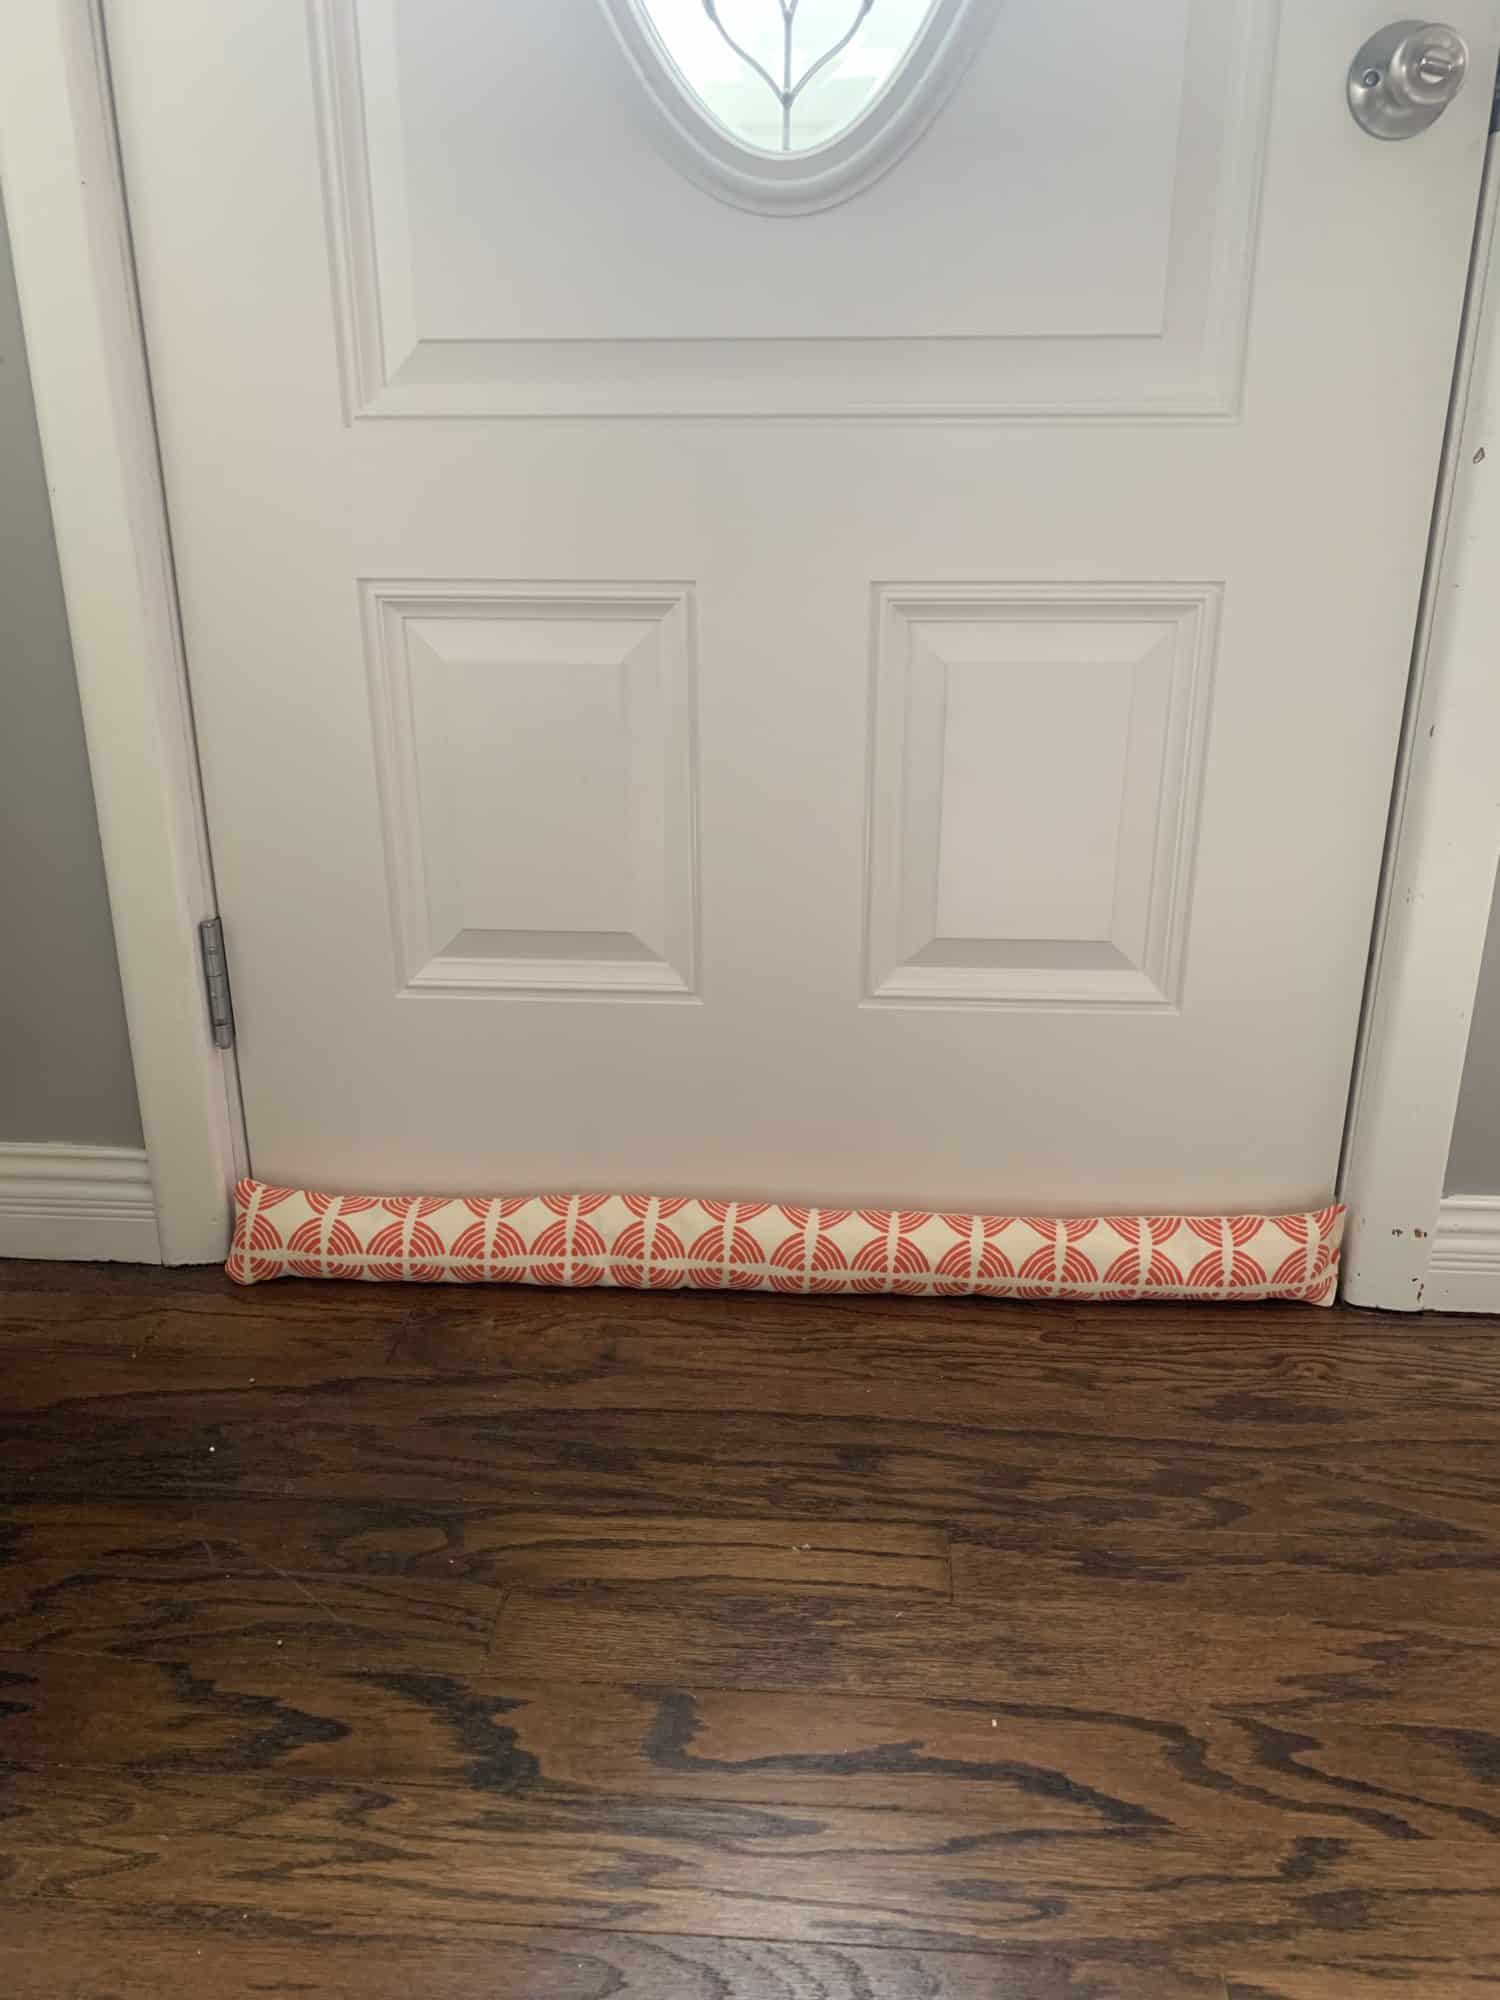
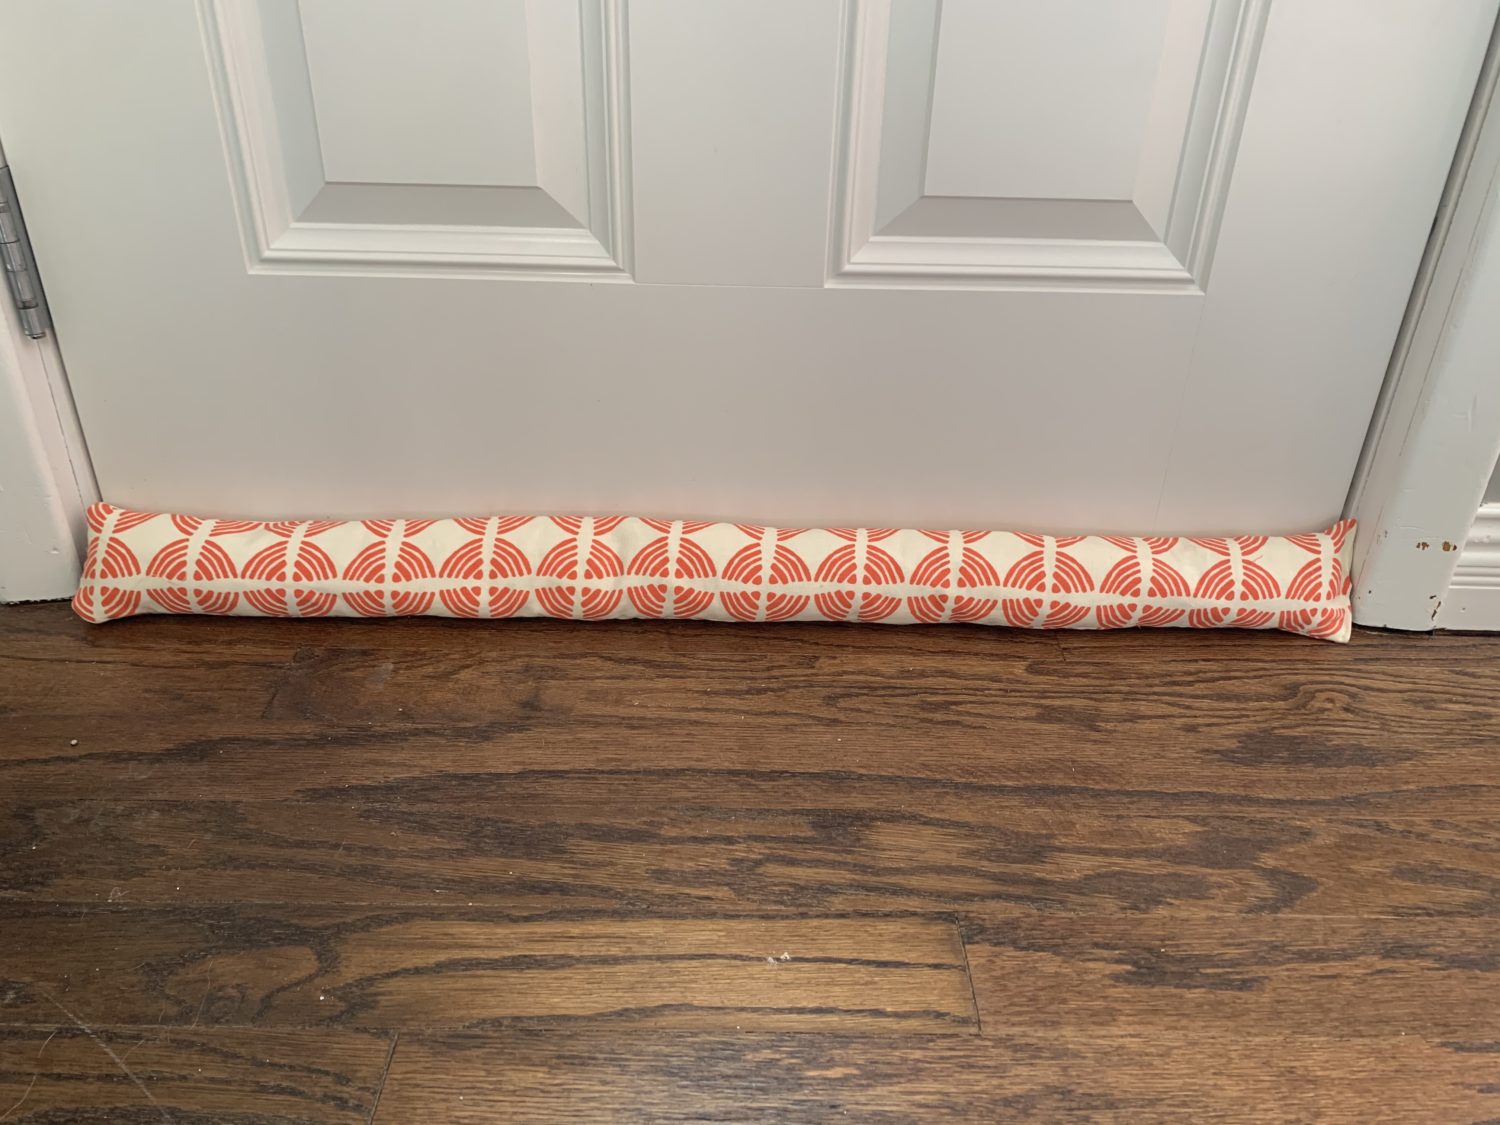
It is winter and it is cold here! I feel like I’m always trying to warm up! I decided to make a DIY door snake/draft guard to try to keep the warm air inside and the cold air outside. A door snake/draft guard is meant to stop the drafty air from coming in under your doors. You can even make these for your windows if it feels drafty there, too. The idea is that the door snake will block the cold from leaking into your house and stop the warm air from getting out. They are super quick and easy to make, and if it helps keeps me warmer, why not make one for every door! Want to make one with me? Let’s go 🙂
Materials
- Fabric
- You can use any type of fabric that you want. I chose a home décor fabric since it is a little thicker and will hopefully stop more cold air.
- You’ll need about a half yard or so.
- Stuffing
- I used some cotton batting and fiberfill to fill my door snake.
- Normal sewing supplies (sewing machine, pins/clips, scissors, thread, etc)
Measure your door or window
- Determine the length that you want your finished door snake to be.
- Measure from door jam to door jam.
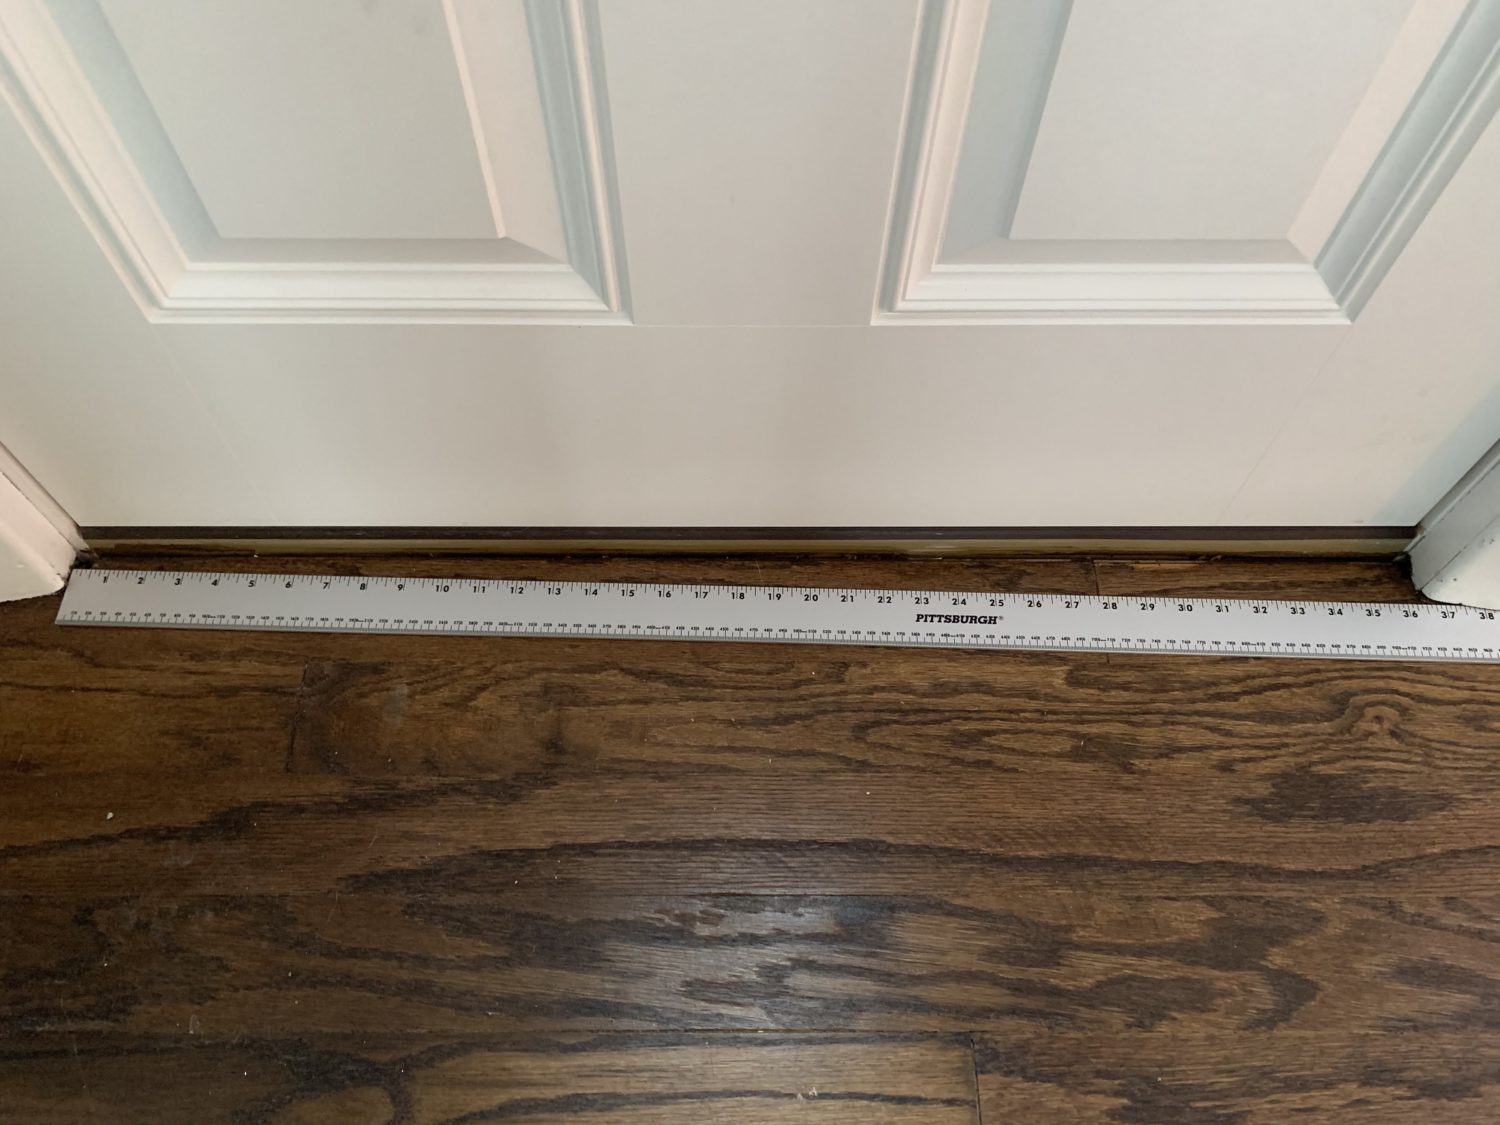
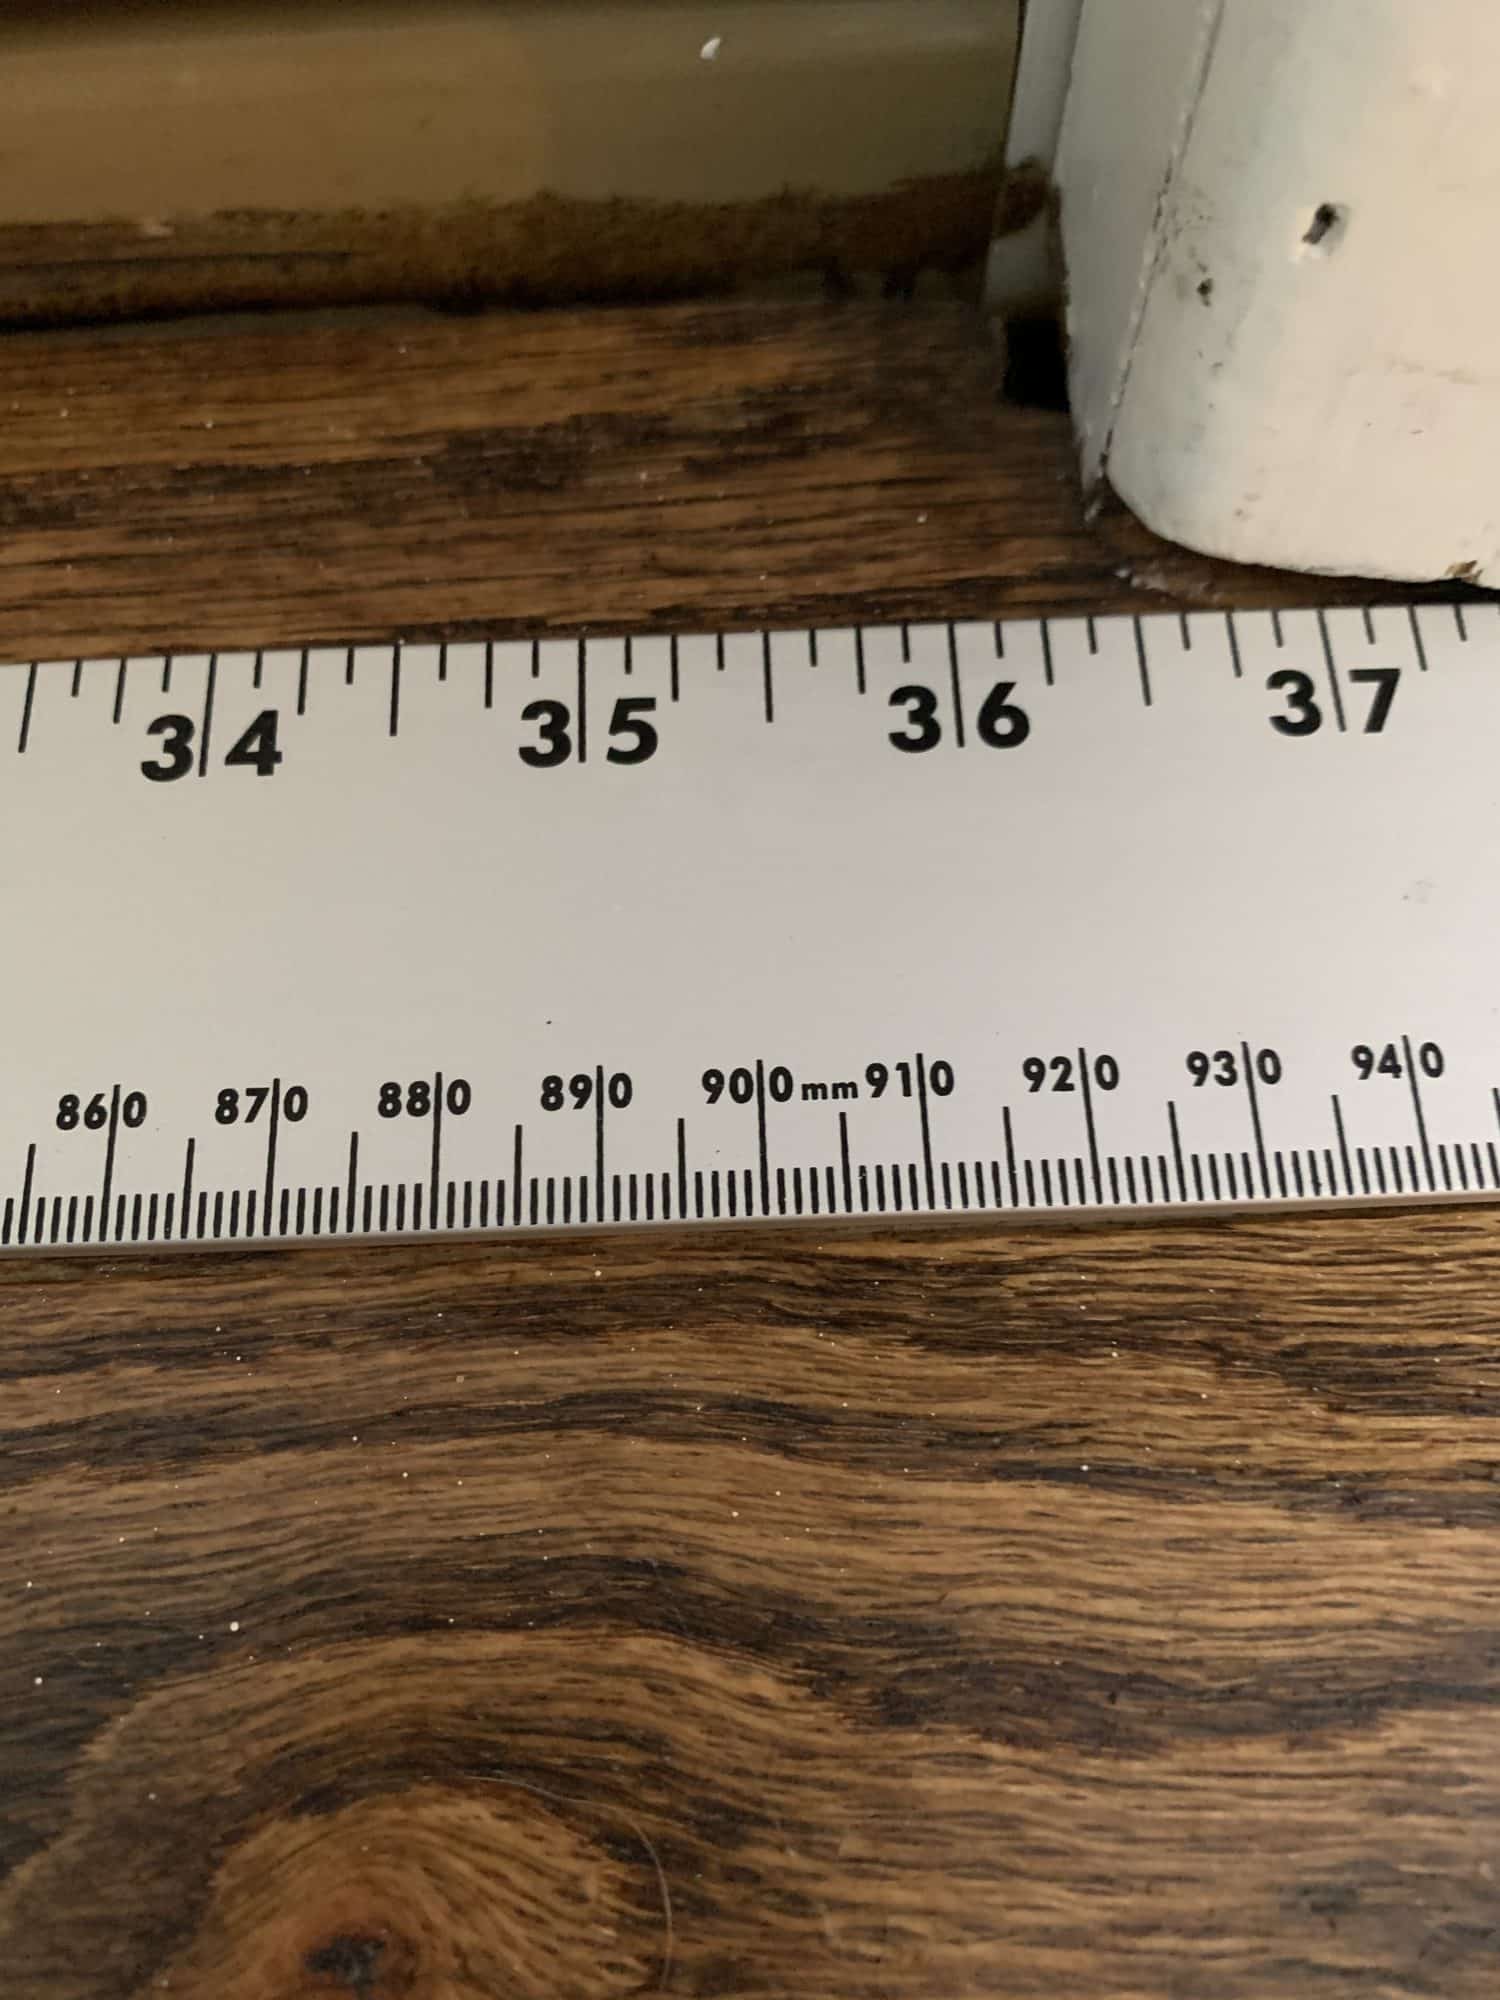
- Add in your desired seam allowance. This is the length that you’ll want to cut your fabric.
- Decide how high you want your door snake to be.
- Mine is about 2 inches high, just enough to cover the seal. That’s the finished height.
- I cut my fabric at 8 inches wide.
Cutting fabric
- Now that you have your measurements, you can cut your fabric.
- Cut one piece of fabric
- My fabric measured 38 inches by 8 inches
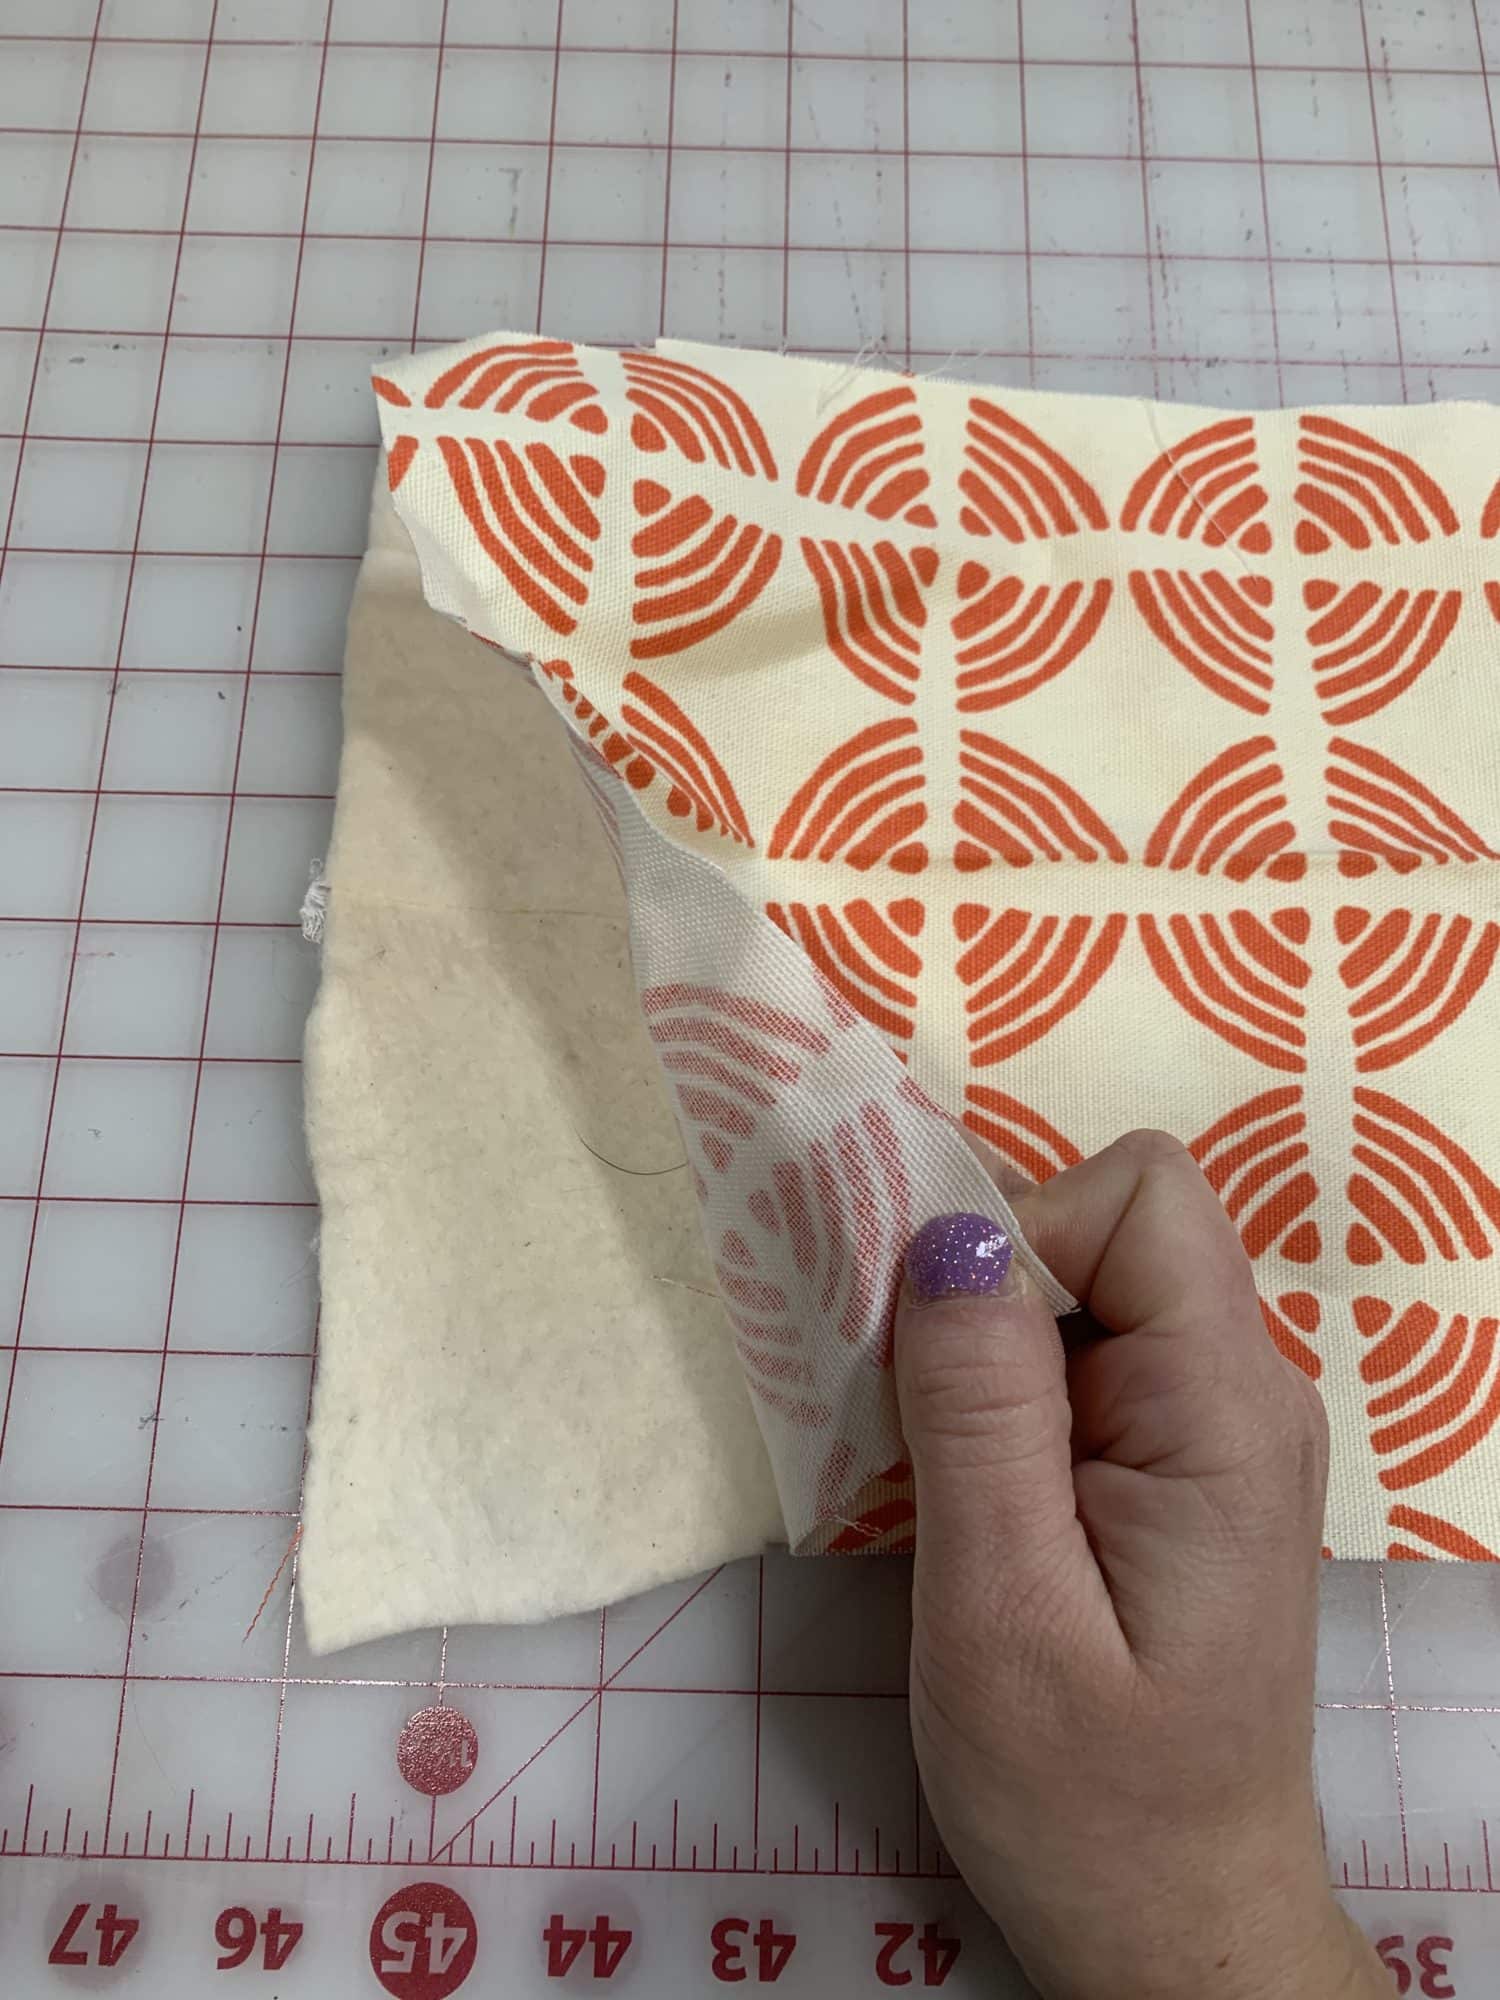
- I also cut cotton batting to the same measurements as my main fabric.
- This is optional. I just used it as another layer of fabric to hopefully hold out more cold air. You can definitely skip the batting and just use fiberfill or fabric scraps to fill your door snake.
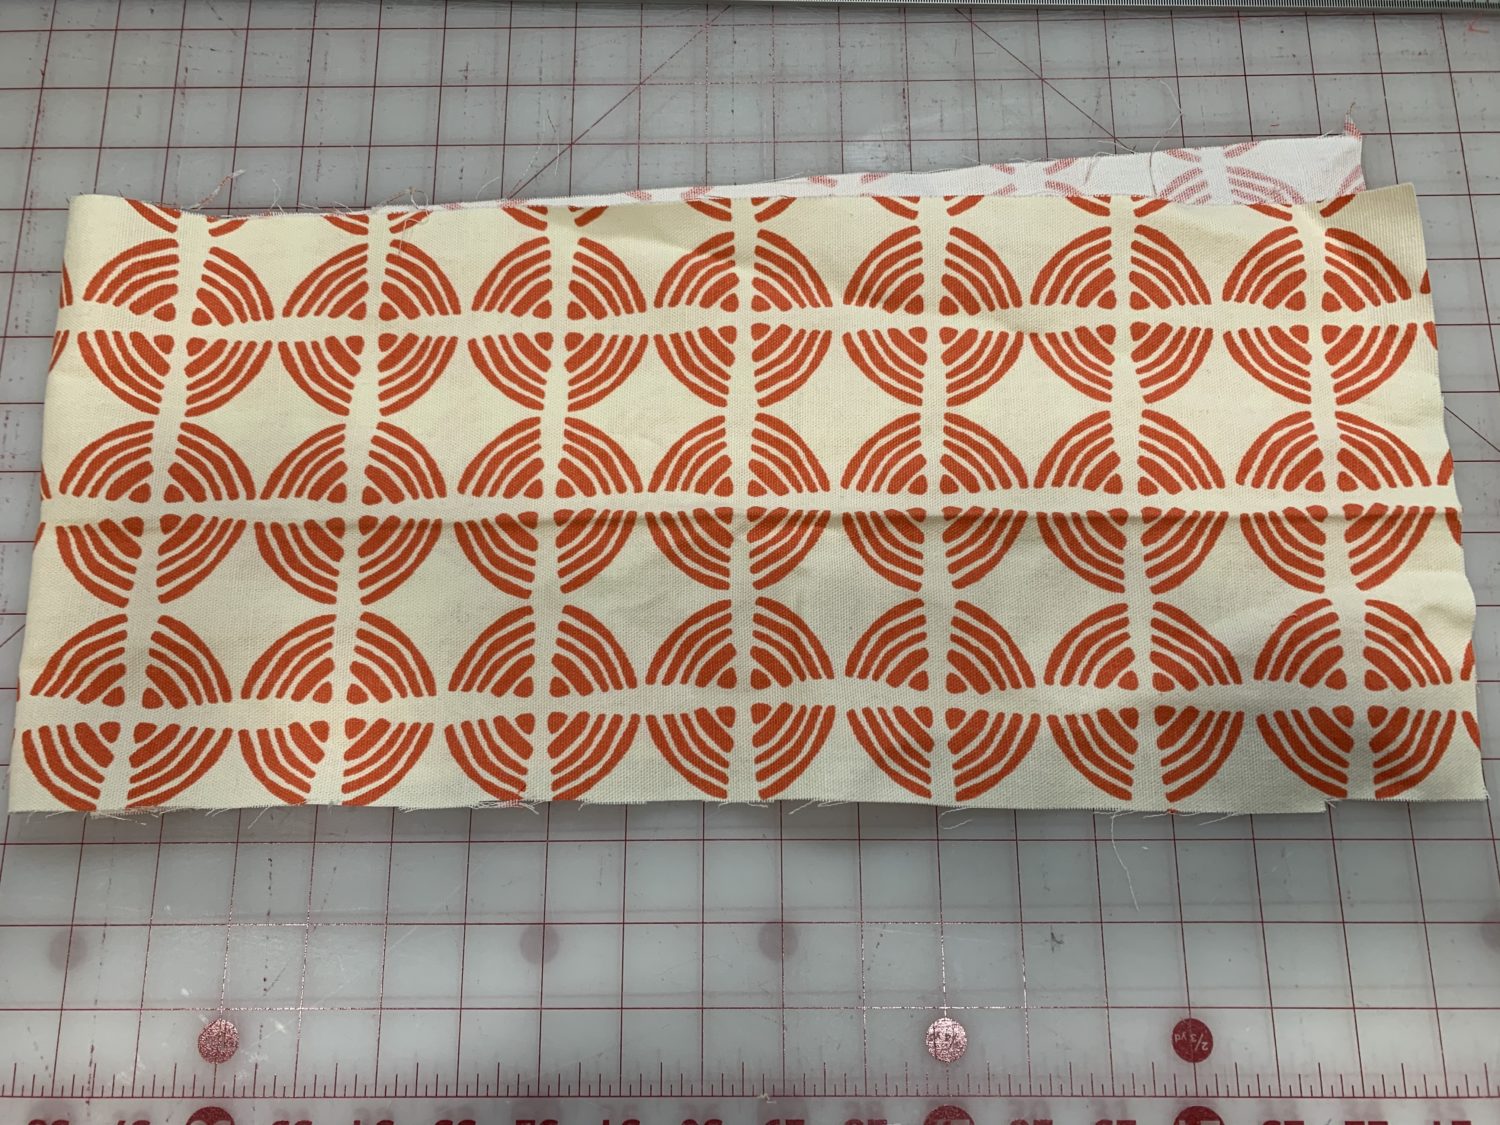
Main fabric 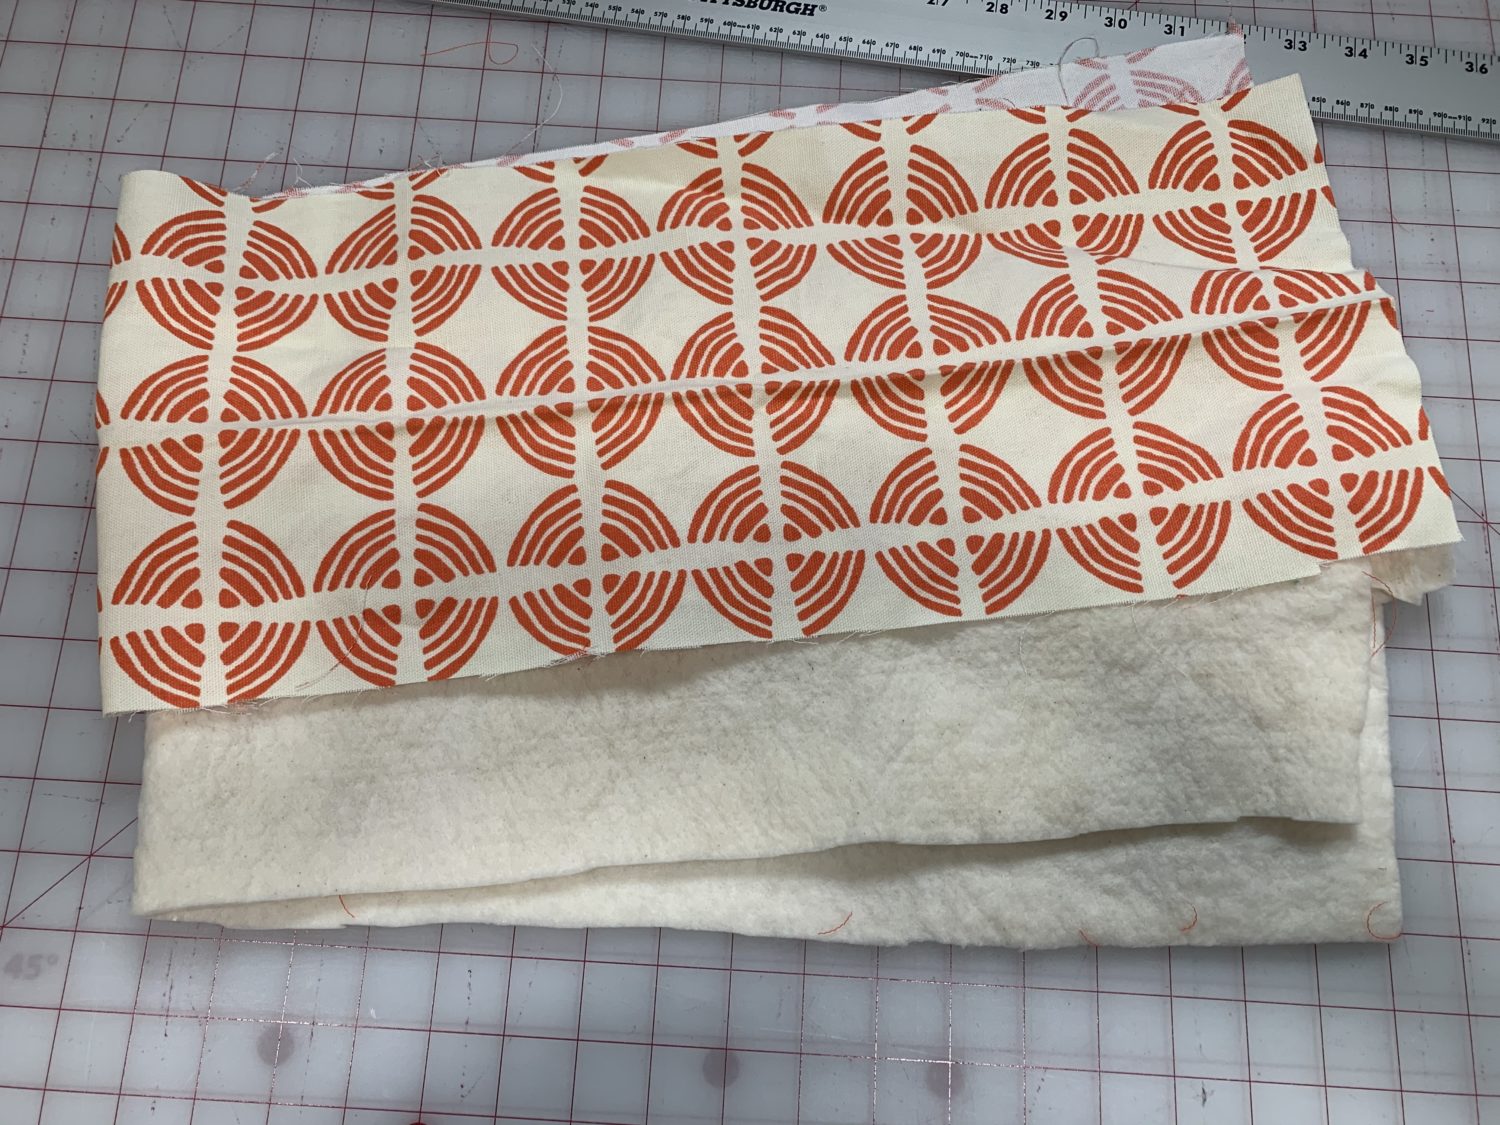
Main fabric and batting
Time to sew!
- If you are using the cotton batting, lay it out on the bottom. Put your main fabric on top right side up.
- So, the batting will be against the wrong side of your fabric. That way, it will be on the inside of your door snake.
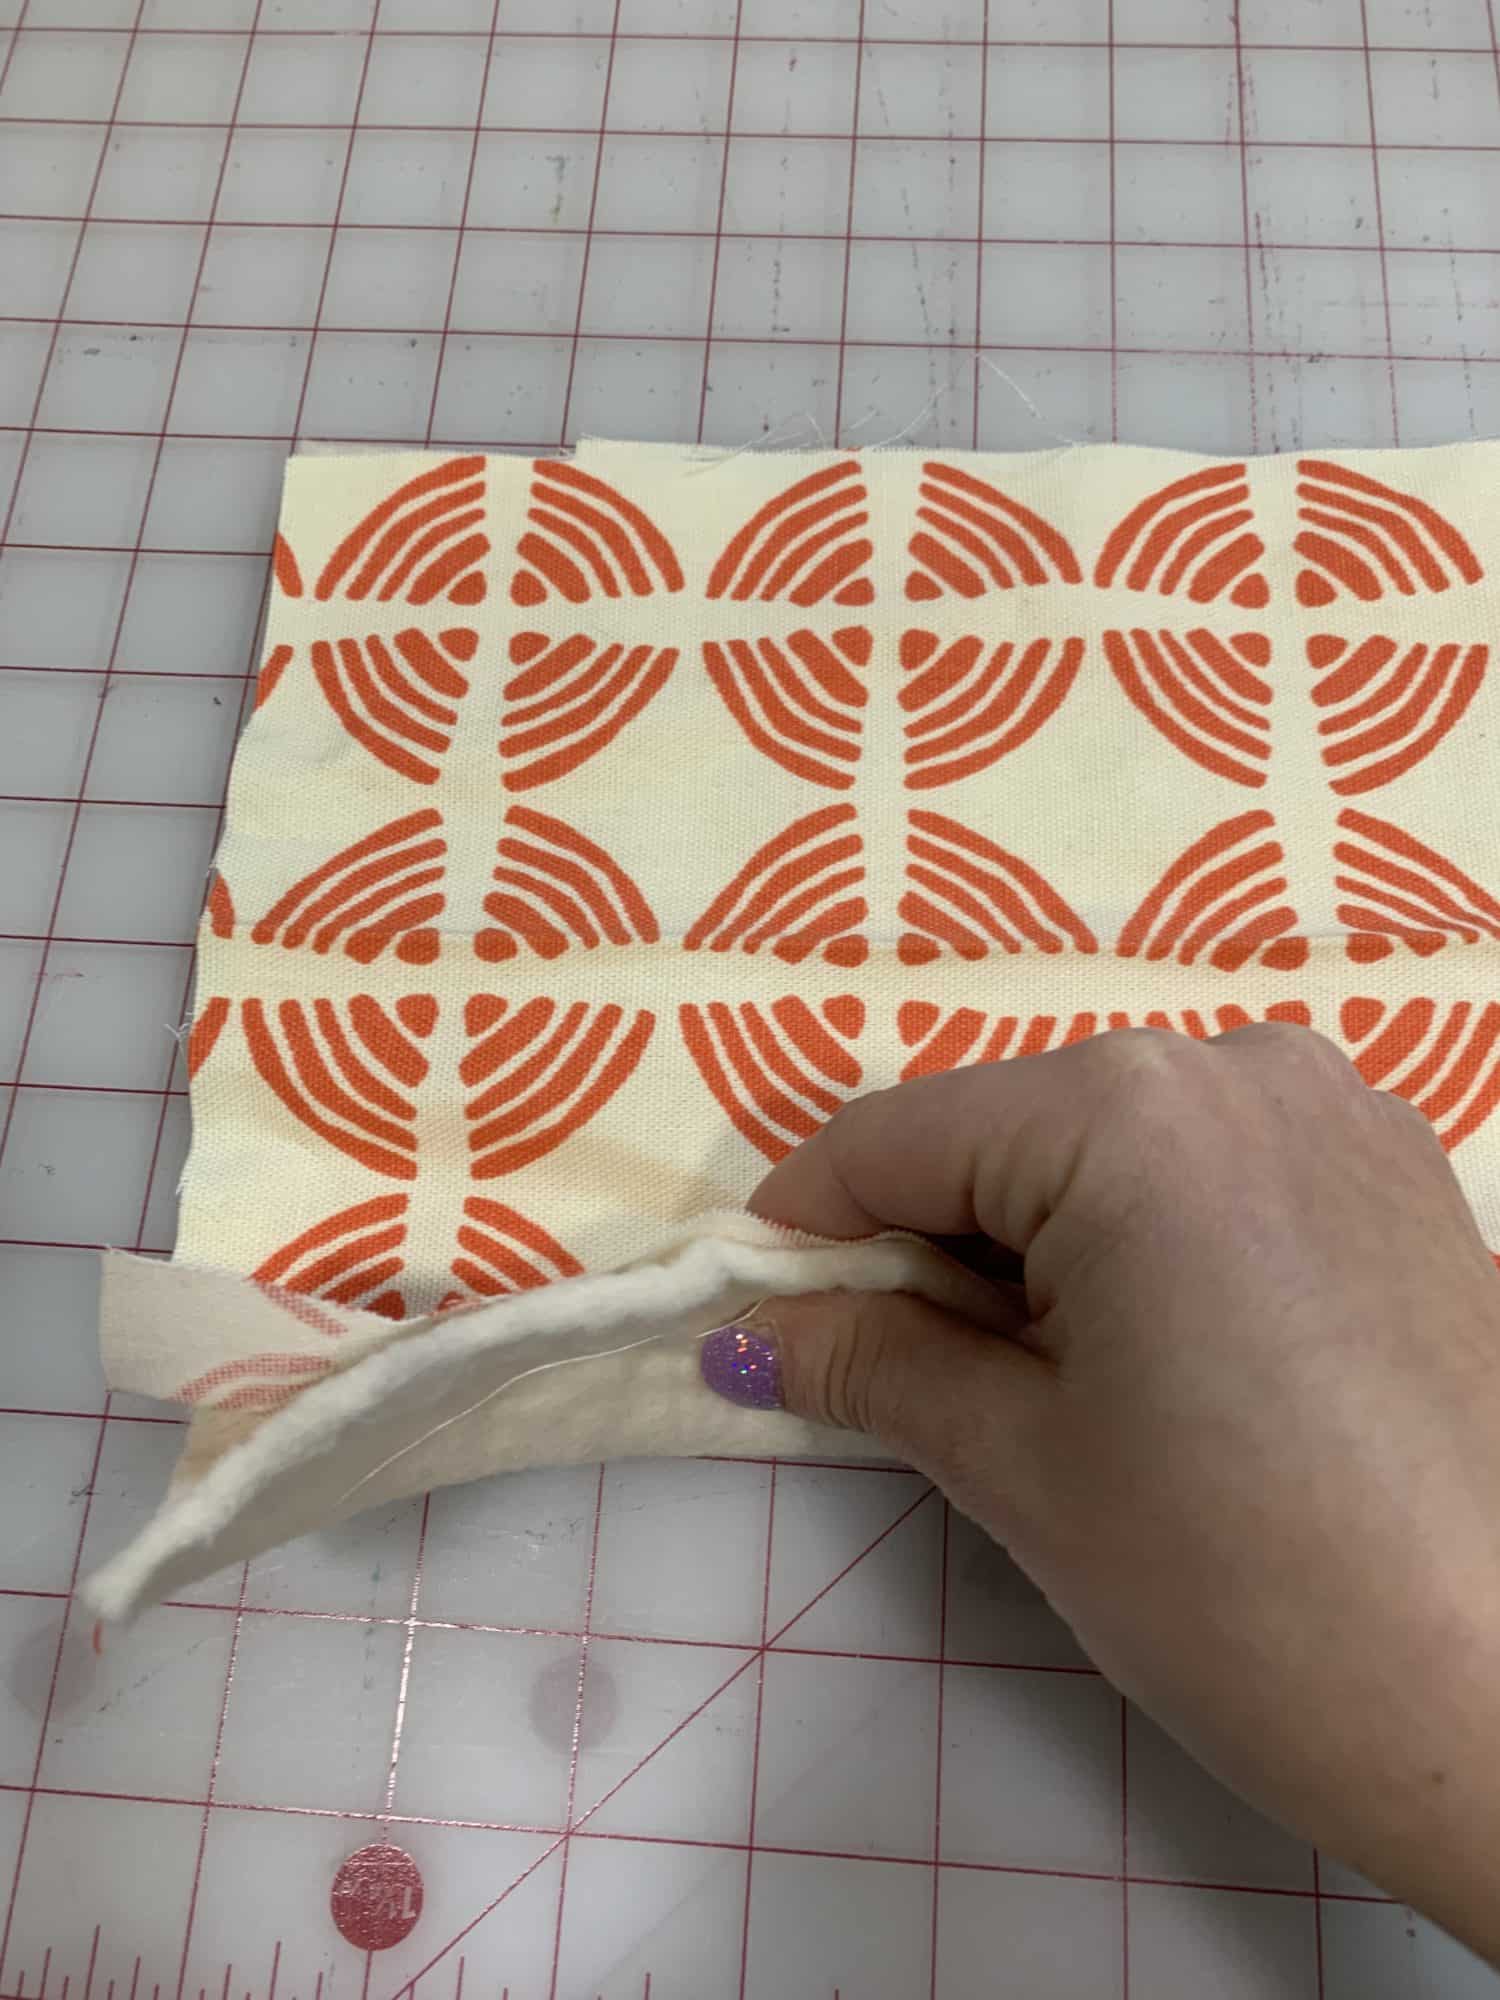
- Fold your fabric long ways with right sides together (this means “hot dog” style fold).
- Clip or pin along one short side and along the long side
- Leave one short side unsewn so that you can flip right sides out and then stuff it.
Fold right sides together 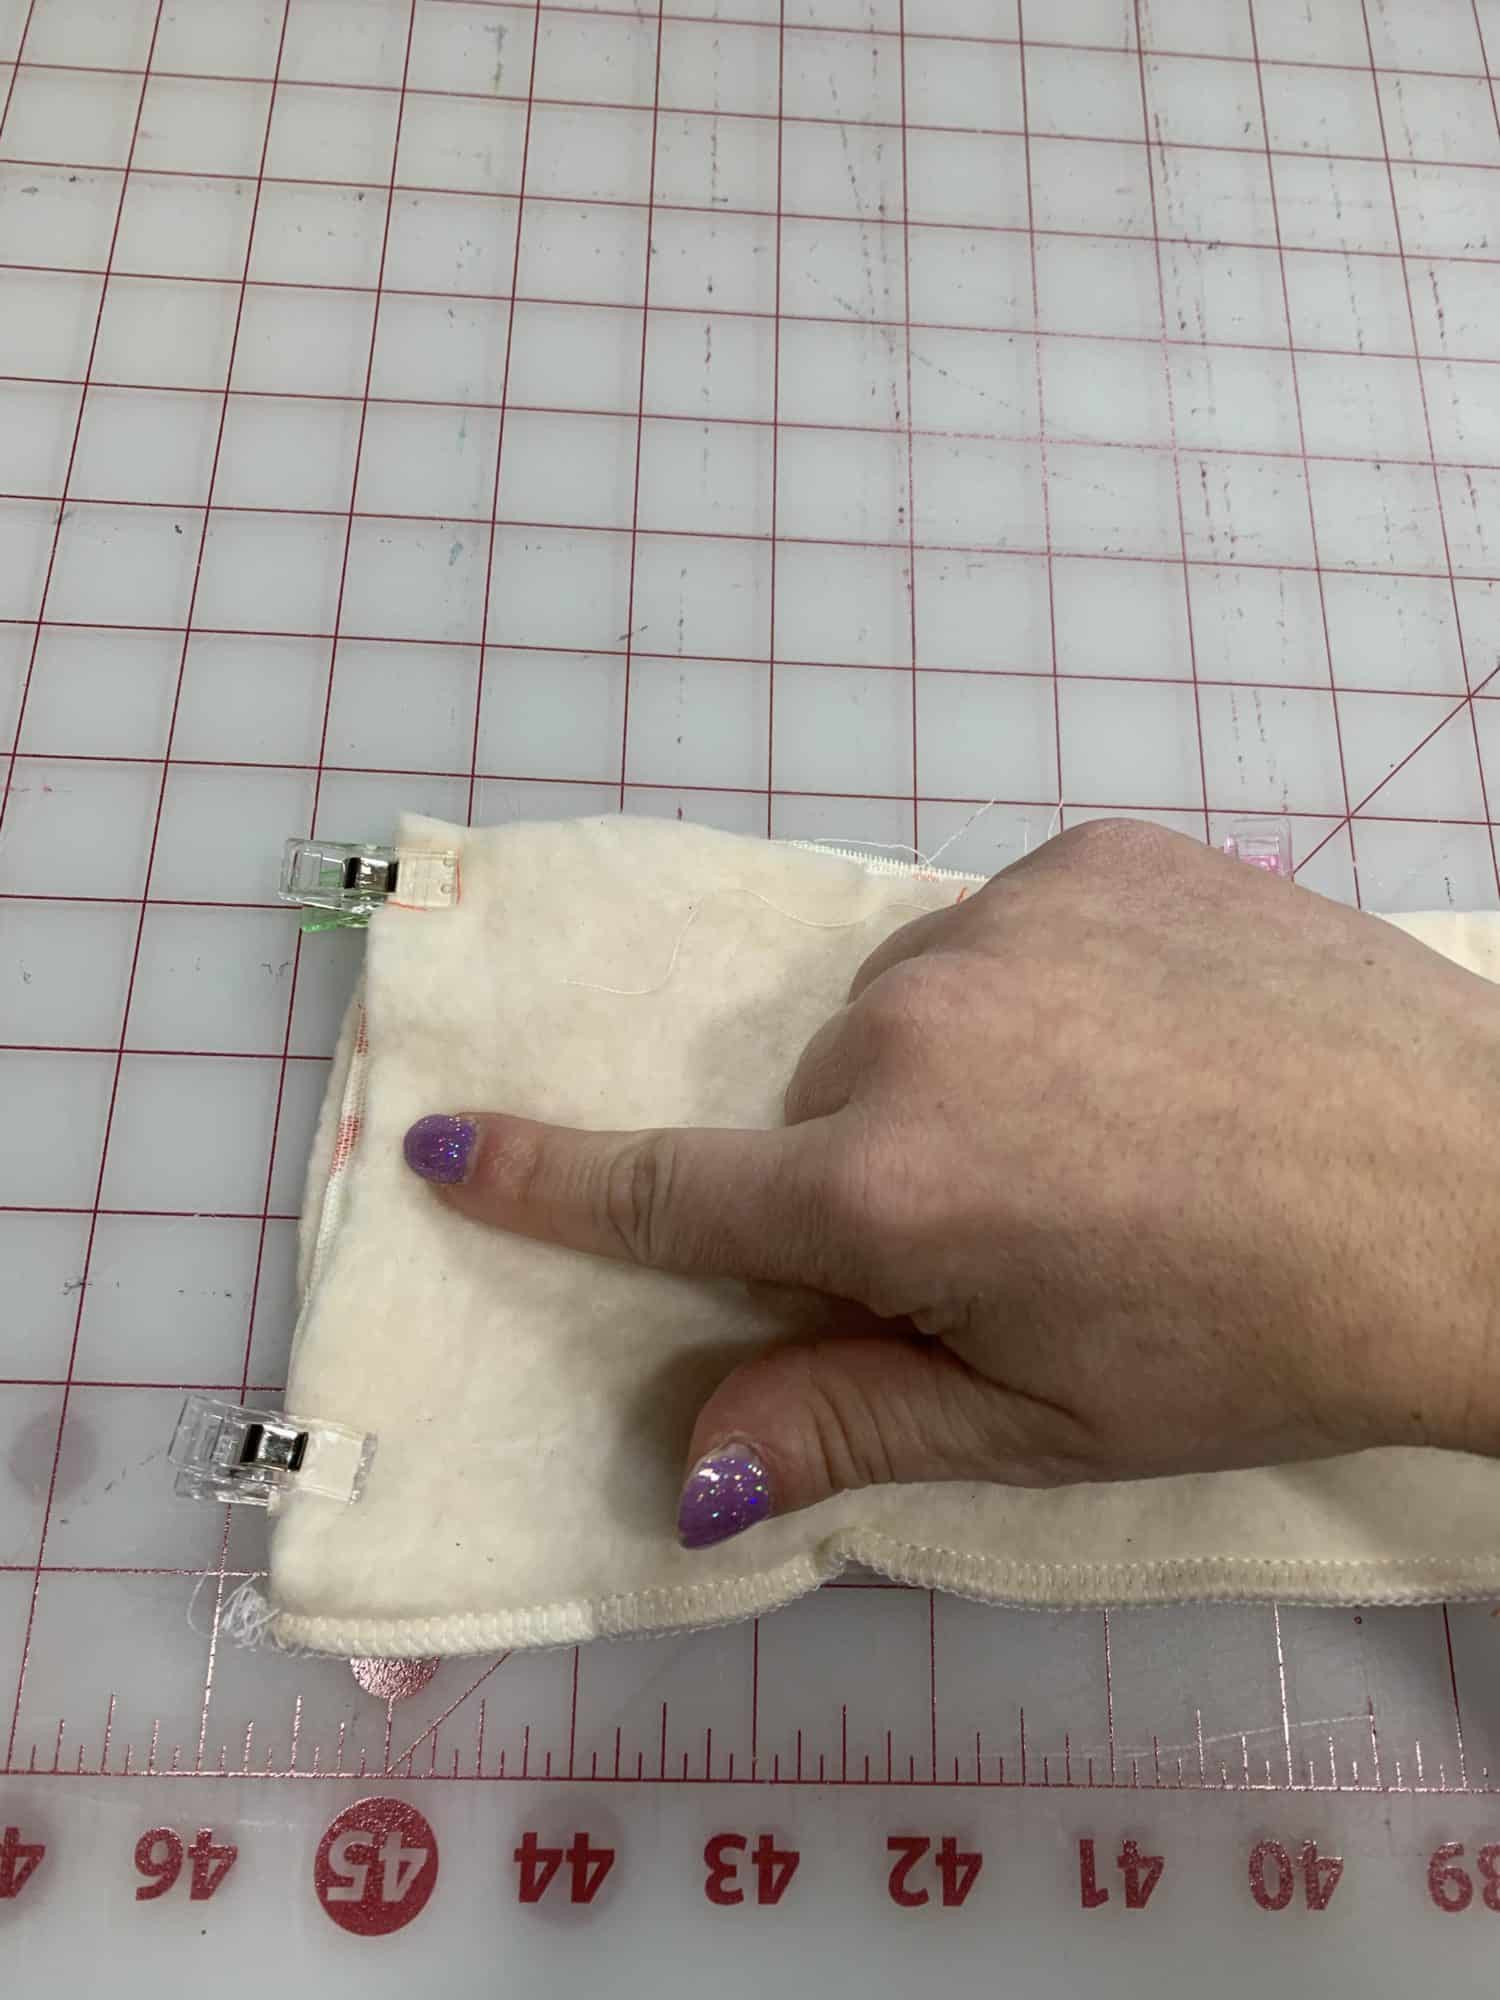
Sew one short side 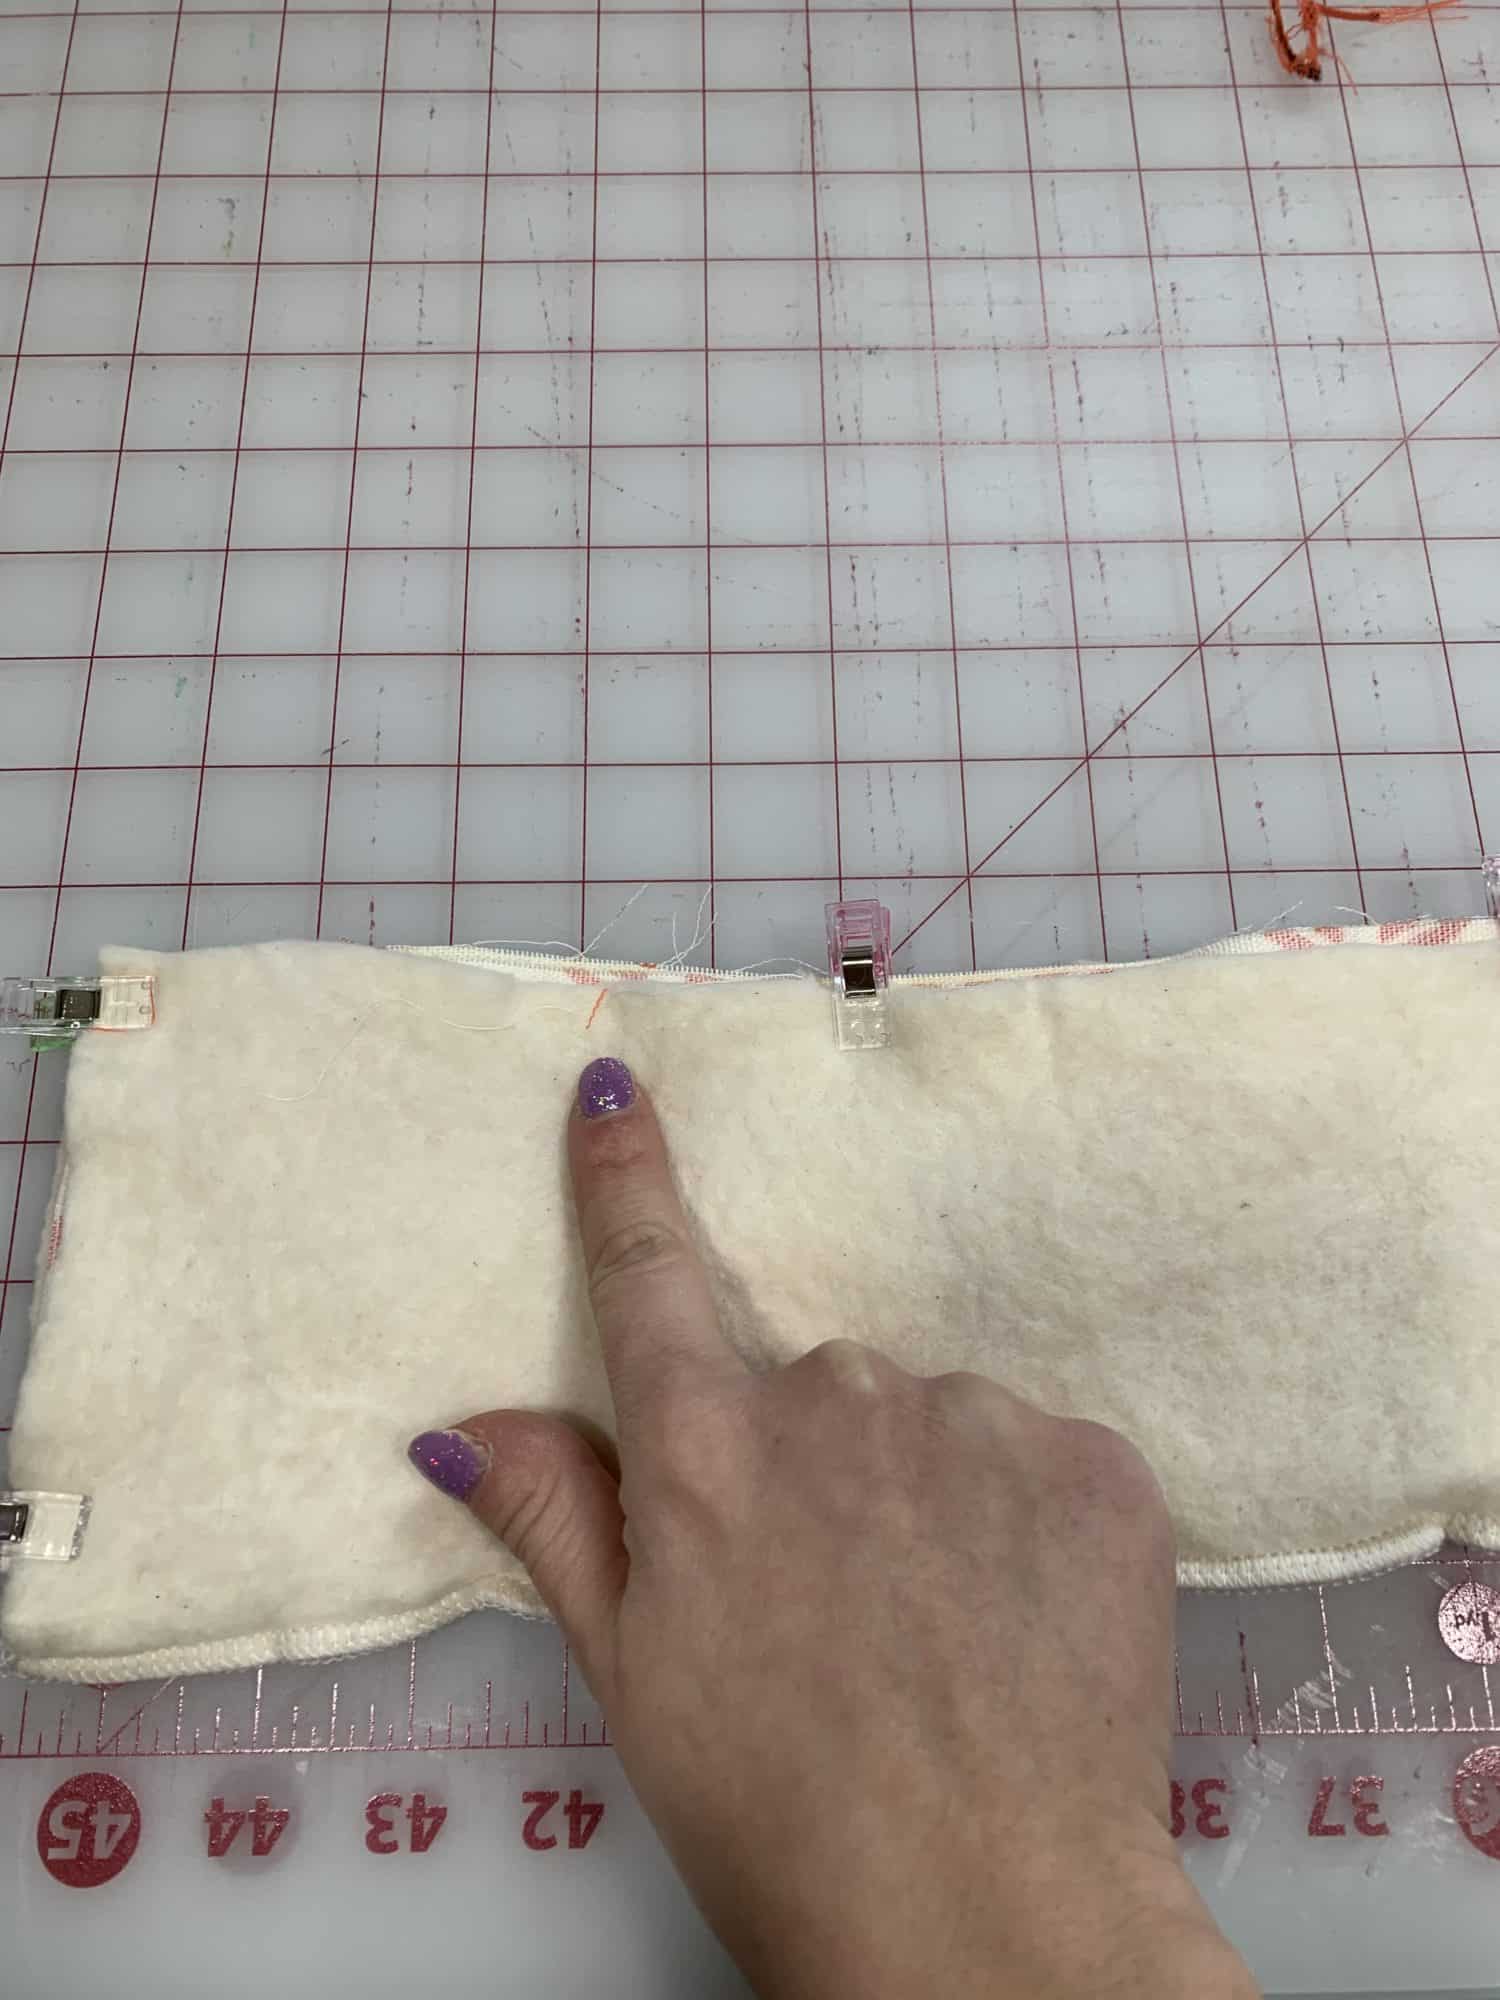
Sew the long side
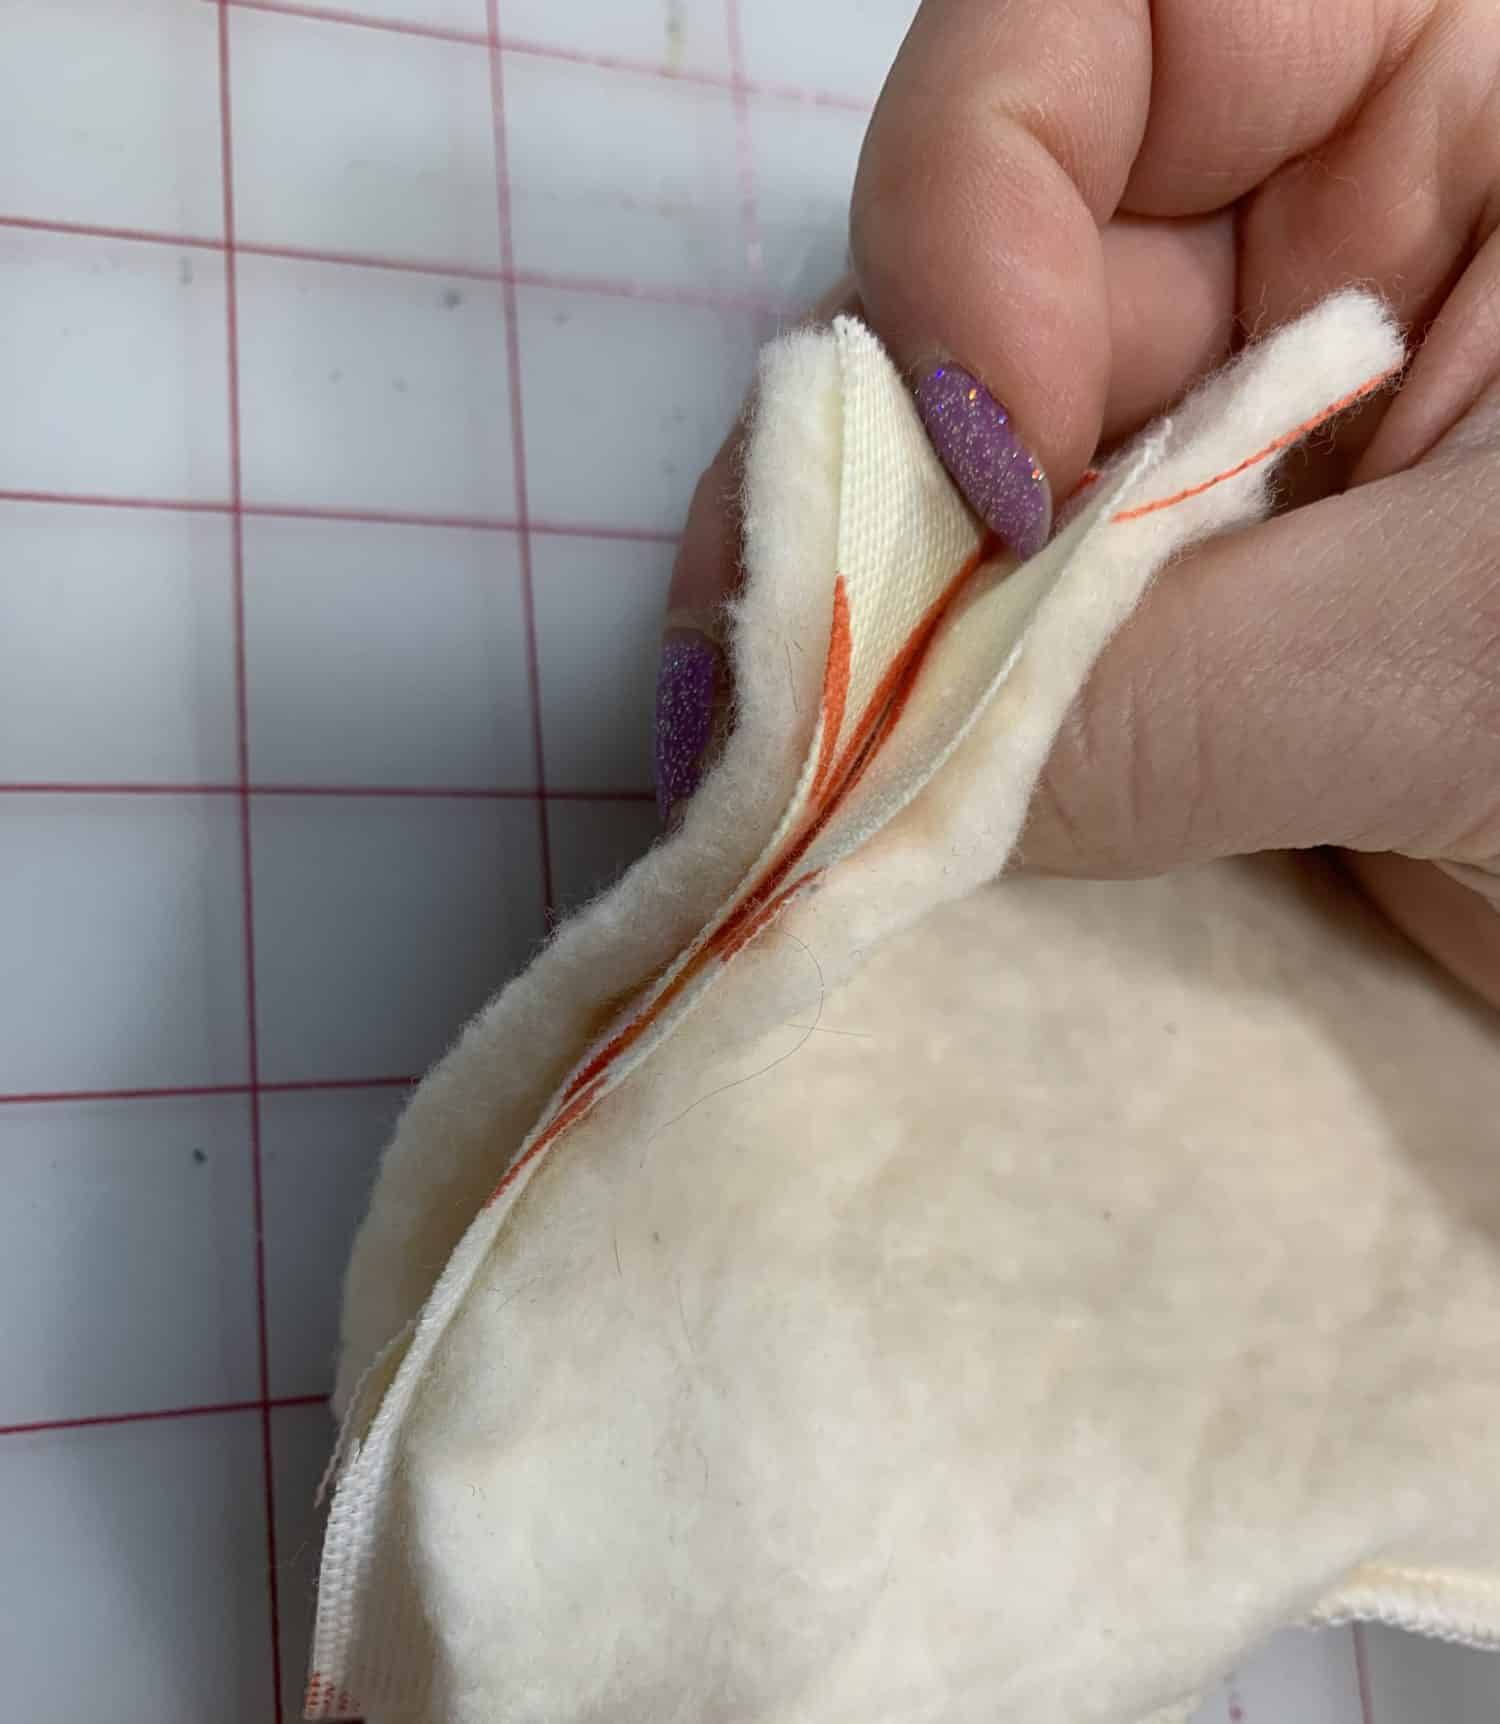
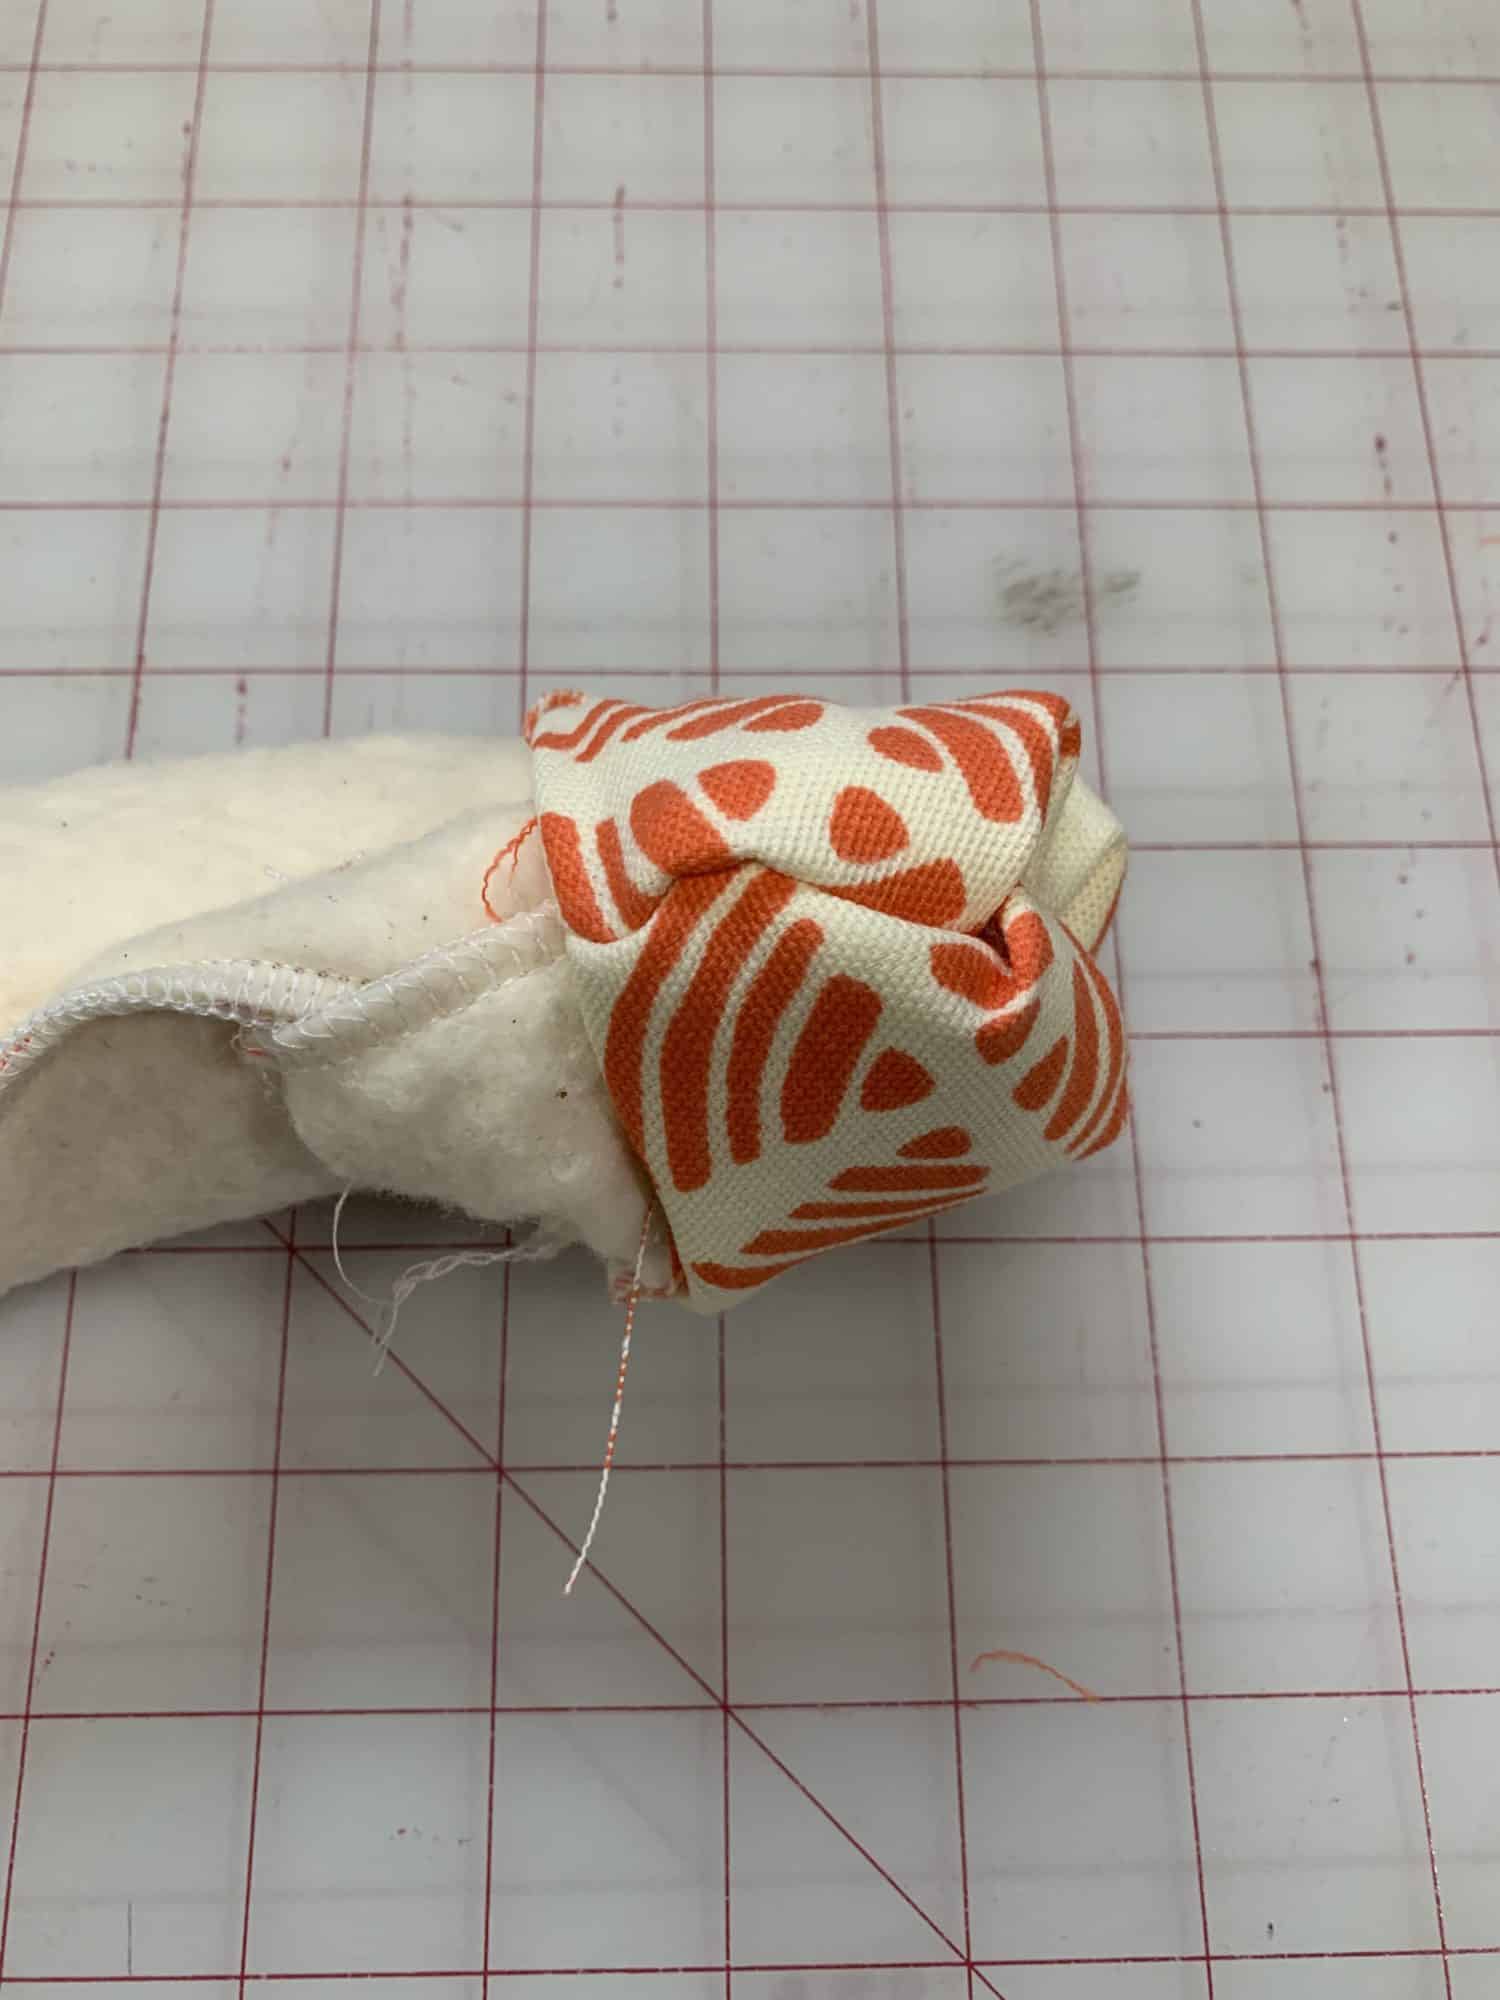
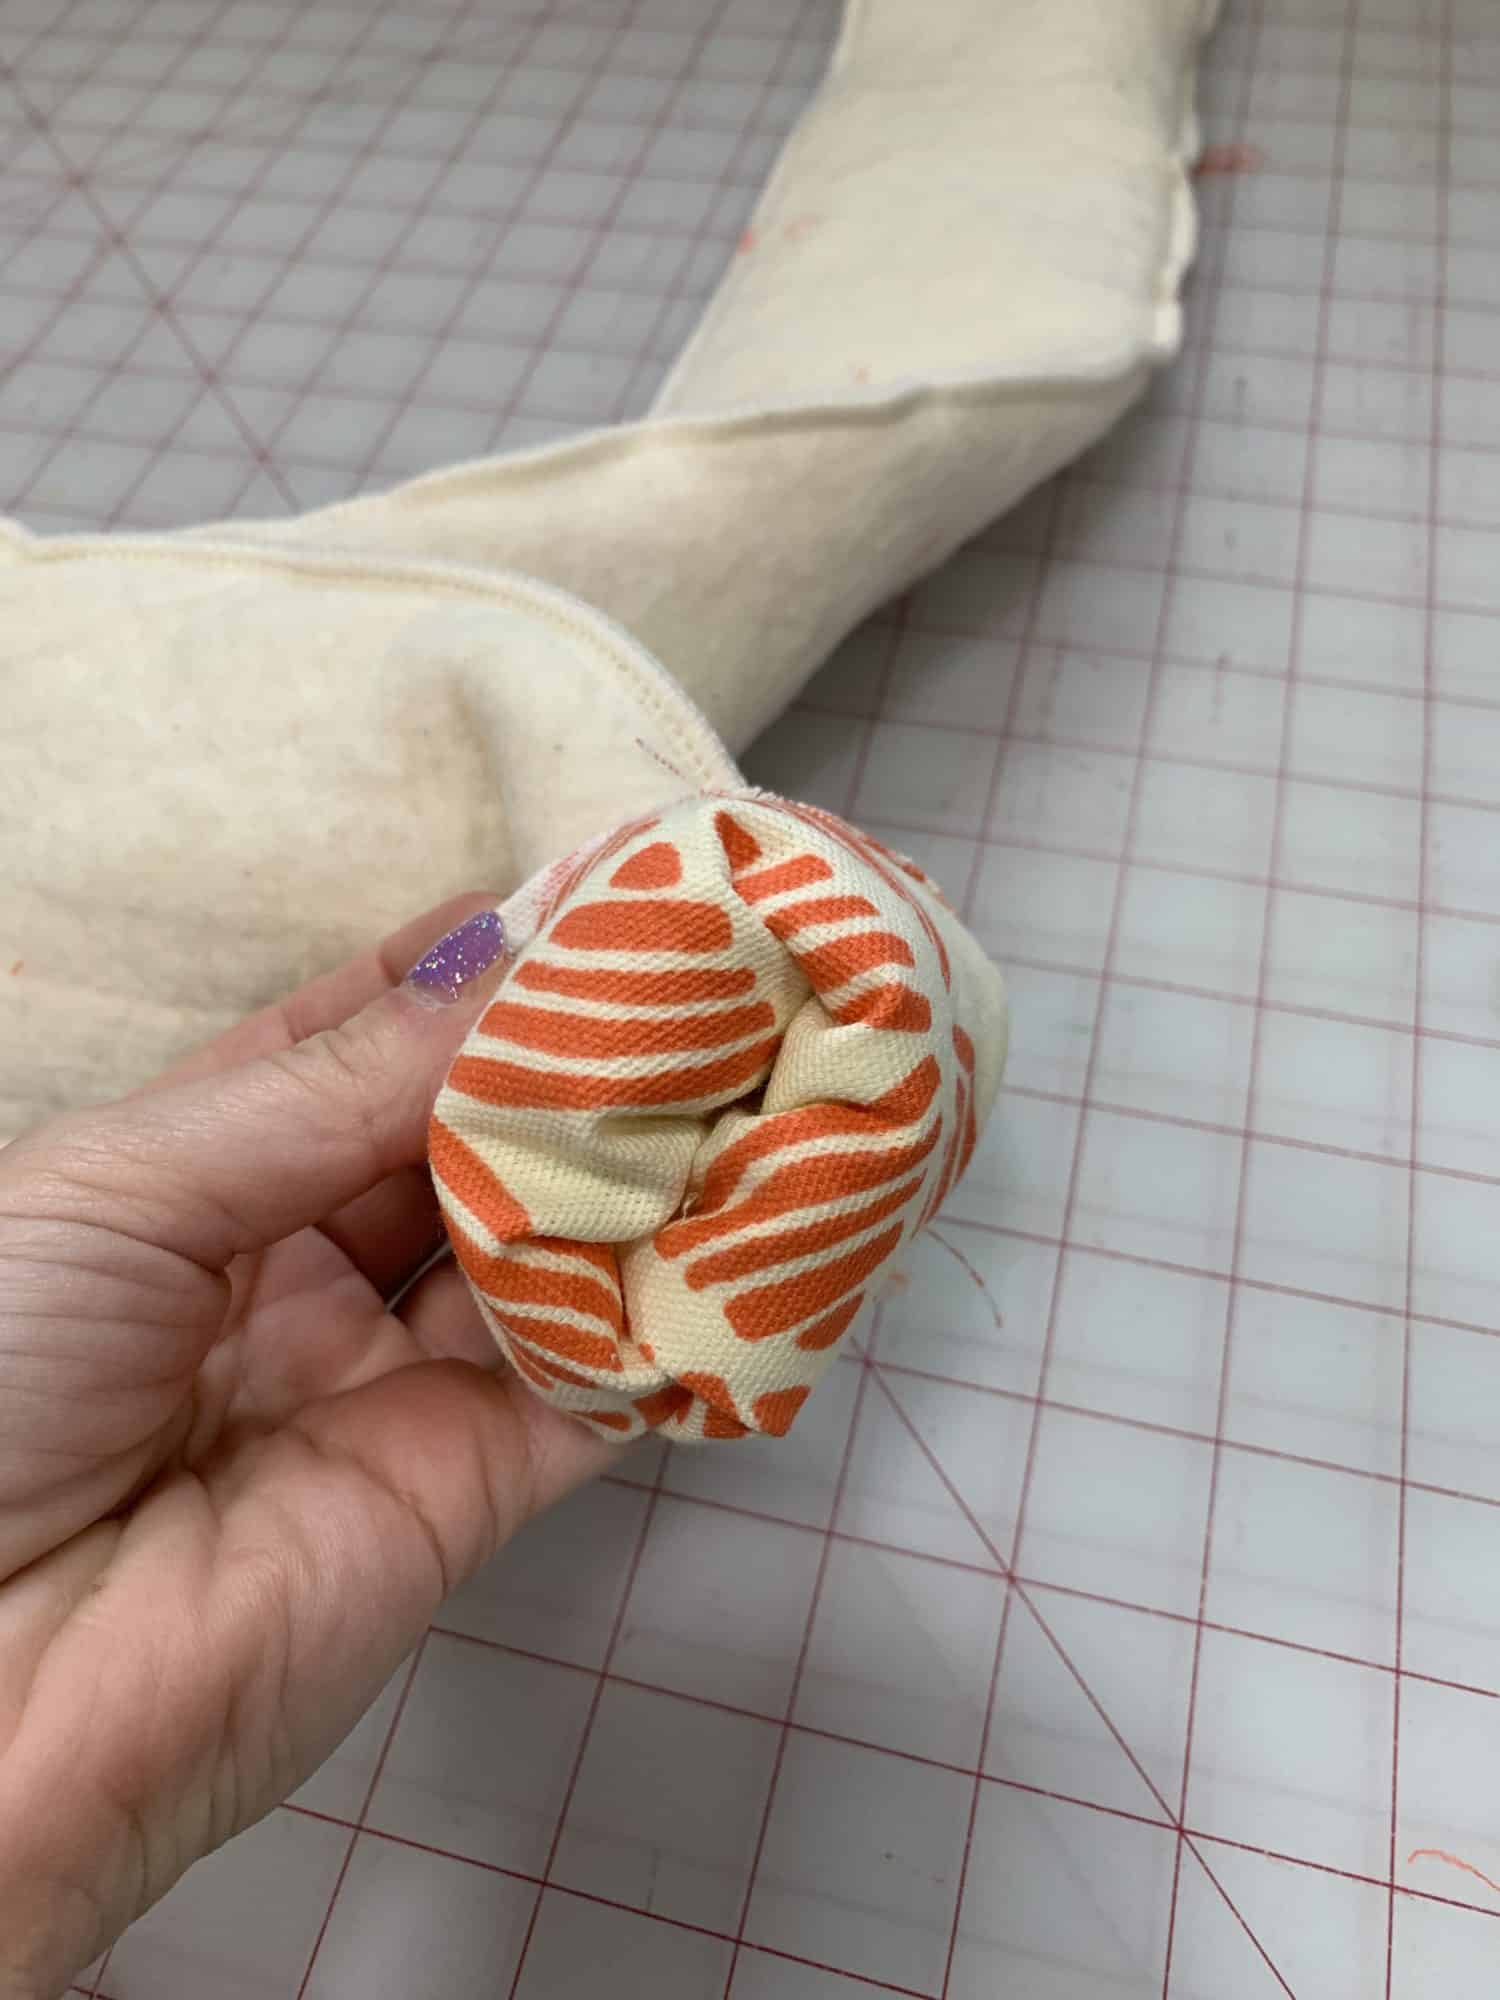
- Once it is all sewn, you can turn it right sides out
- This takes a bit of time and patience. I found that it worked best to start at the top and gently pull it out little by little.
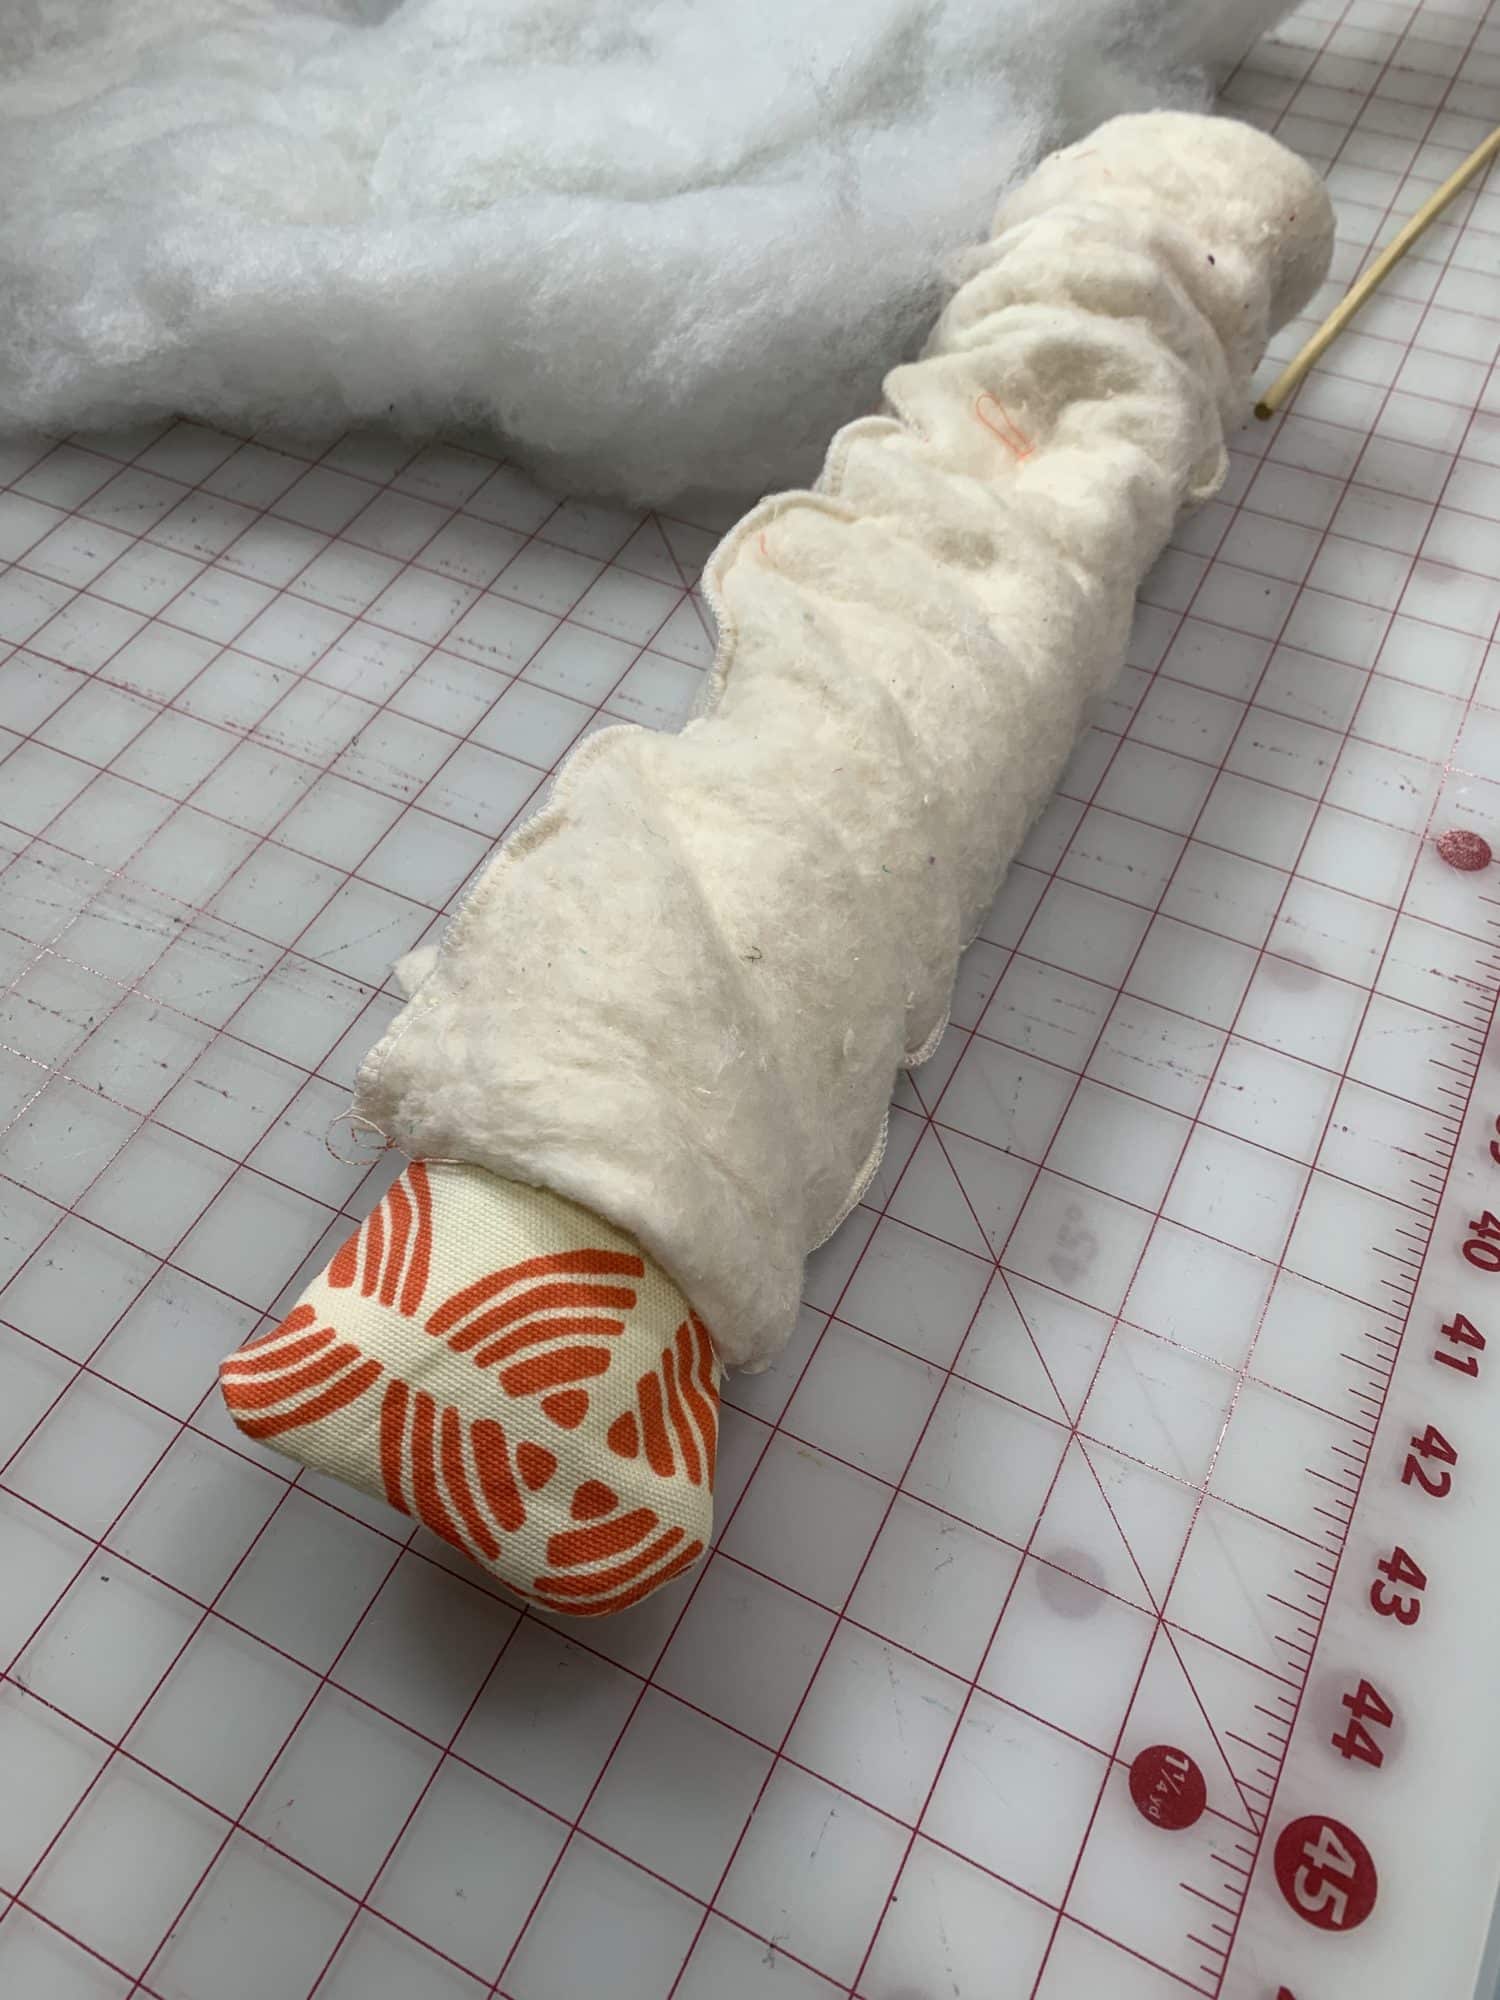
Stuffing
- I used fiberfill to fill my door snake. You can use whatever insulating material you choose.
- Use a chop stick, tube turner, or anything long and skinny to help you stuff your stuffing down into the door snake.
- Put in a little stuffing at a time to prevent it from getting stuck. Don’t ask me how I know 🙂
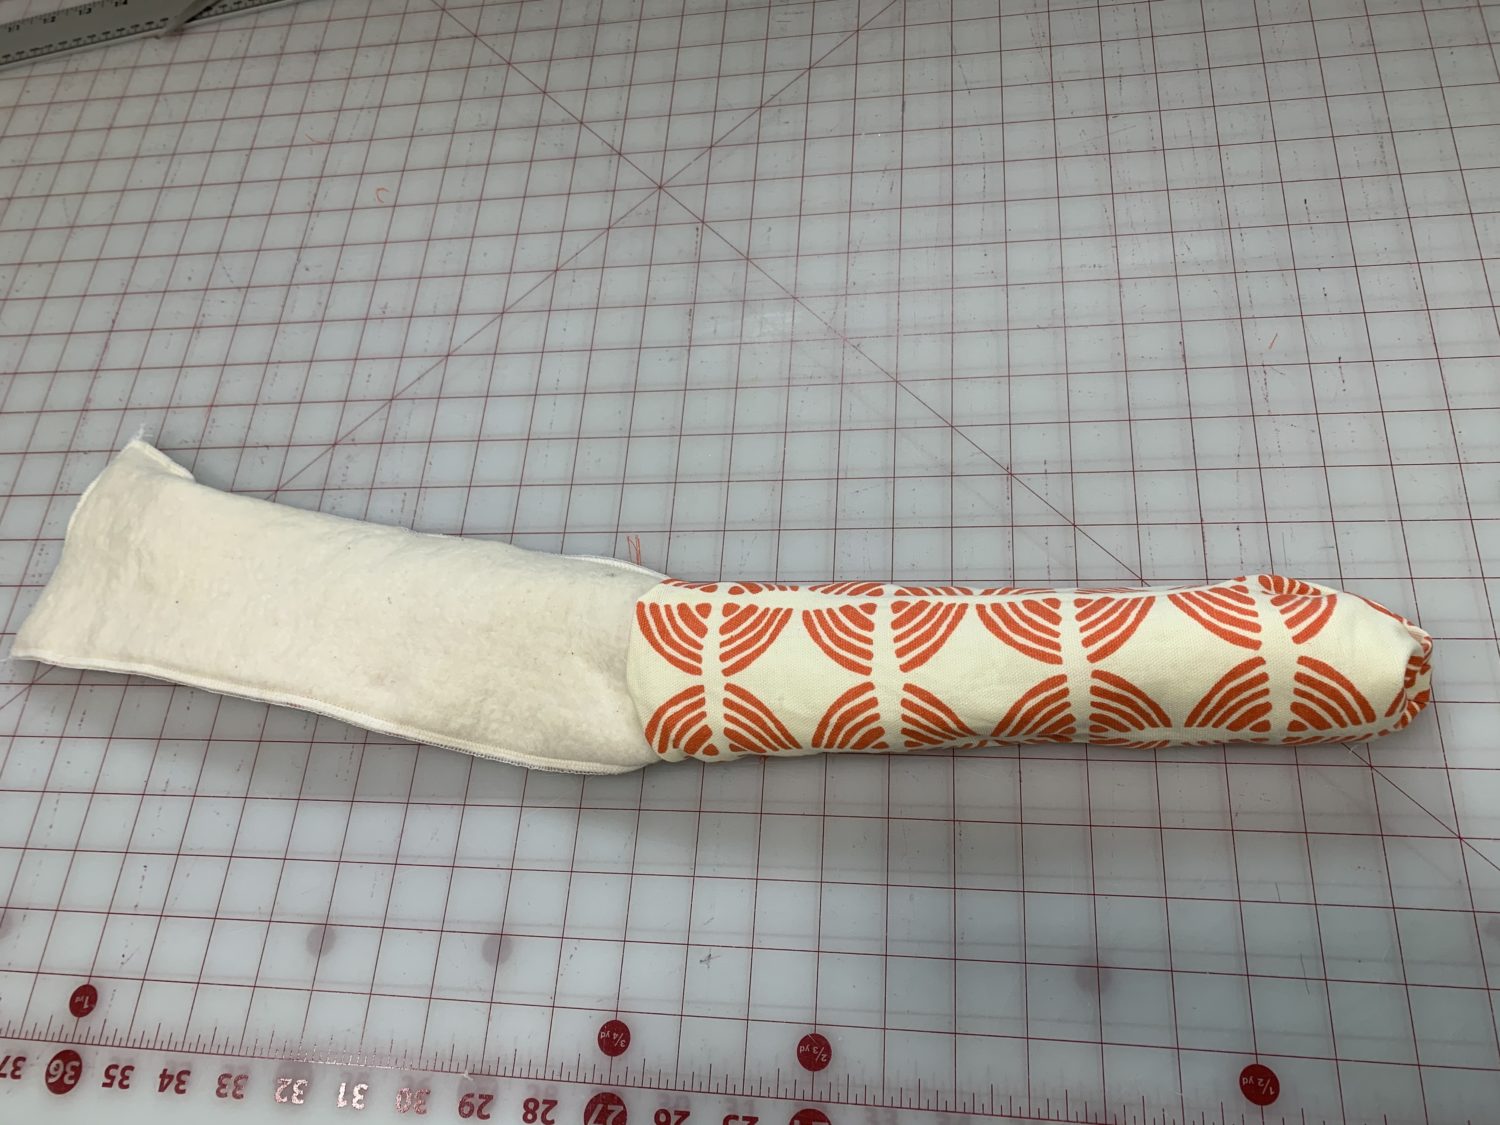
- I found it helpful to fold the fabric back down on the door snake (almost as if I was turning it inside out). That made it a little bit shorter and I had less distance to try to shove the stuffing into.
Fabric folded back 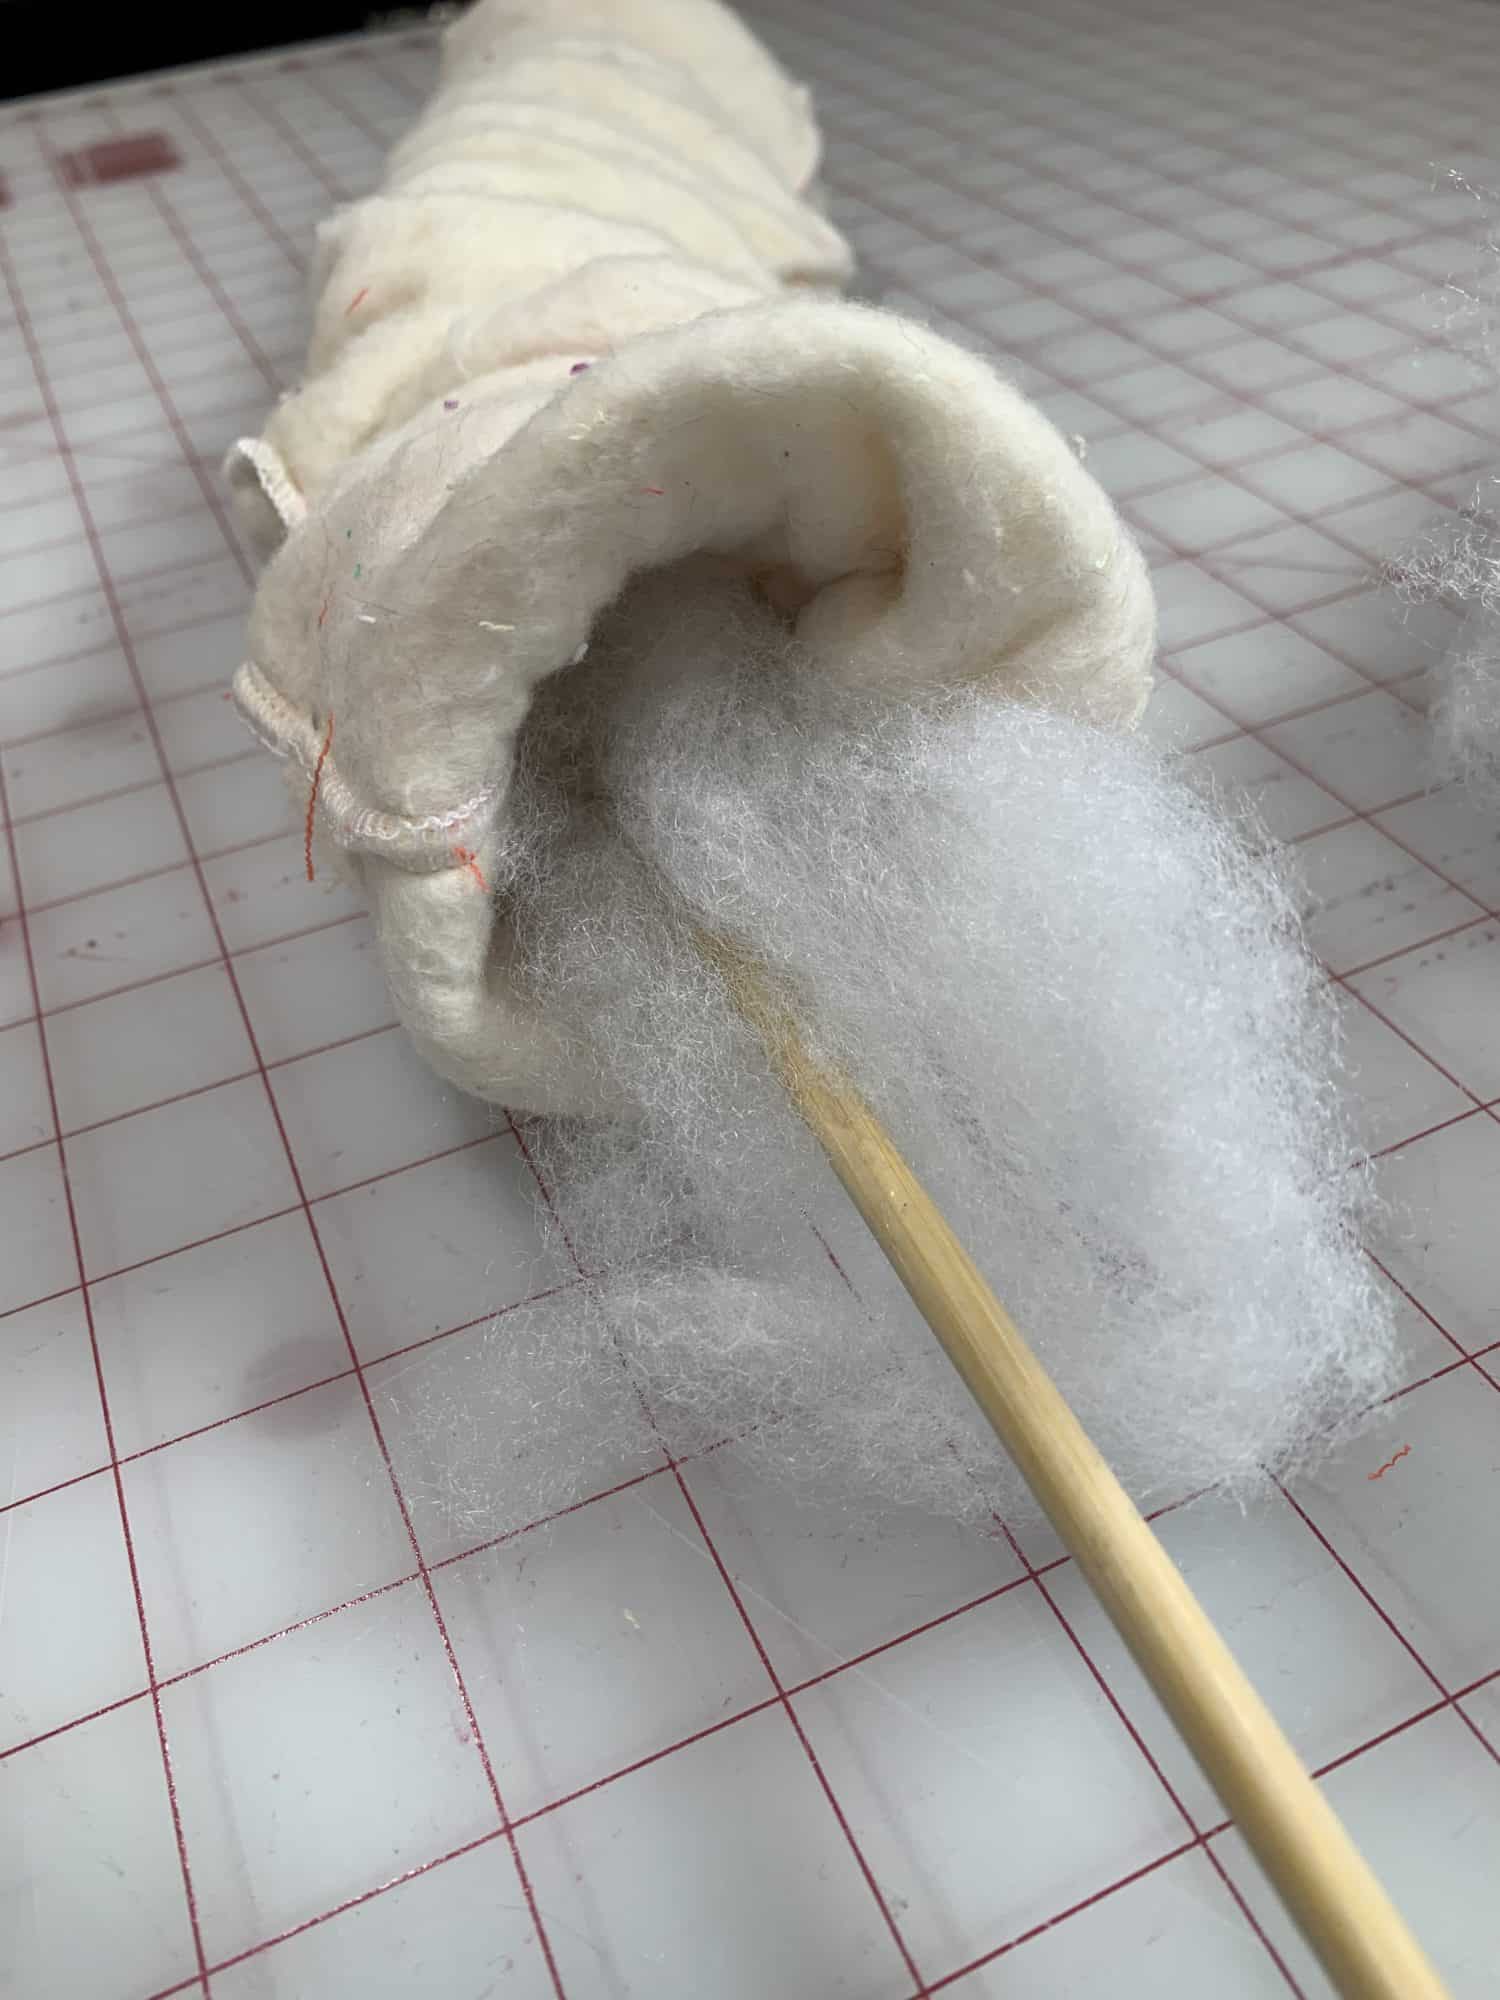
Almost done
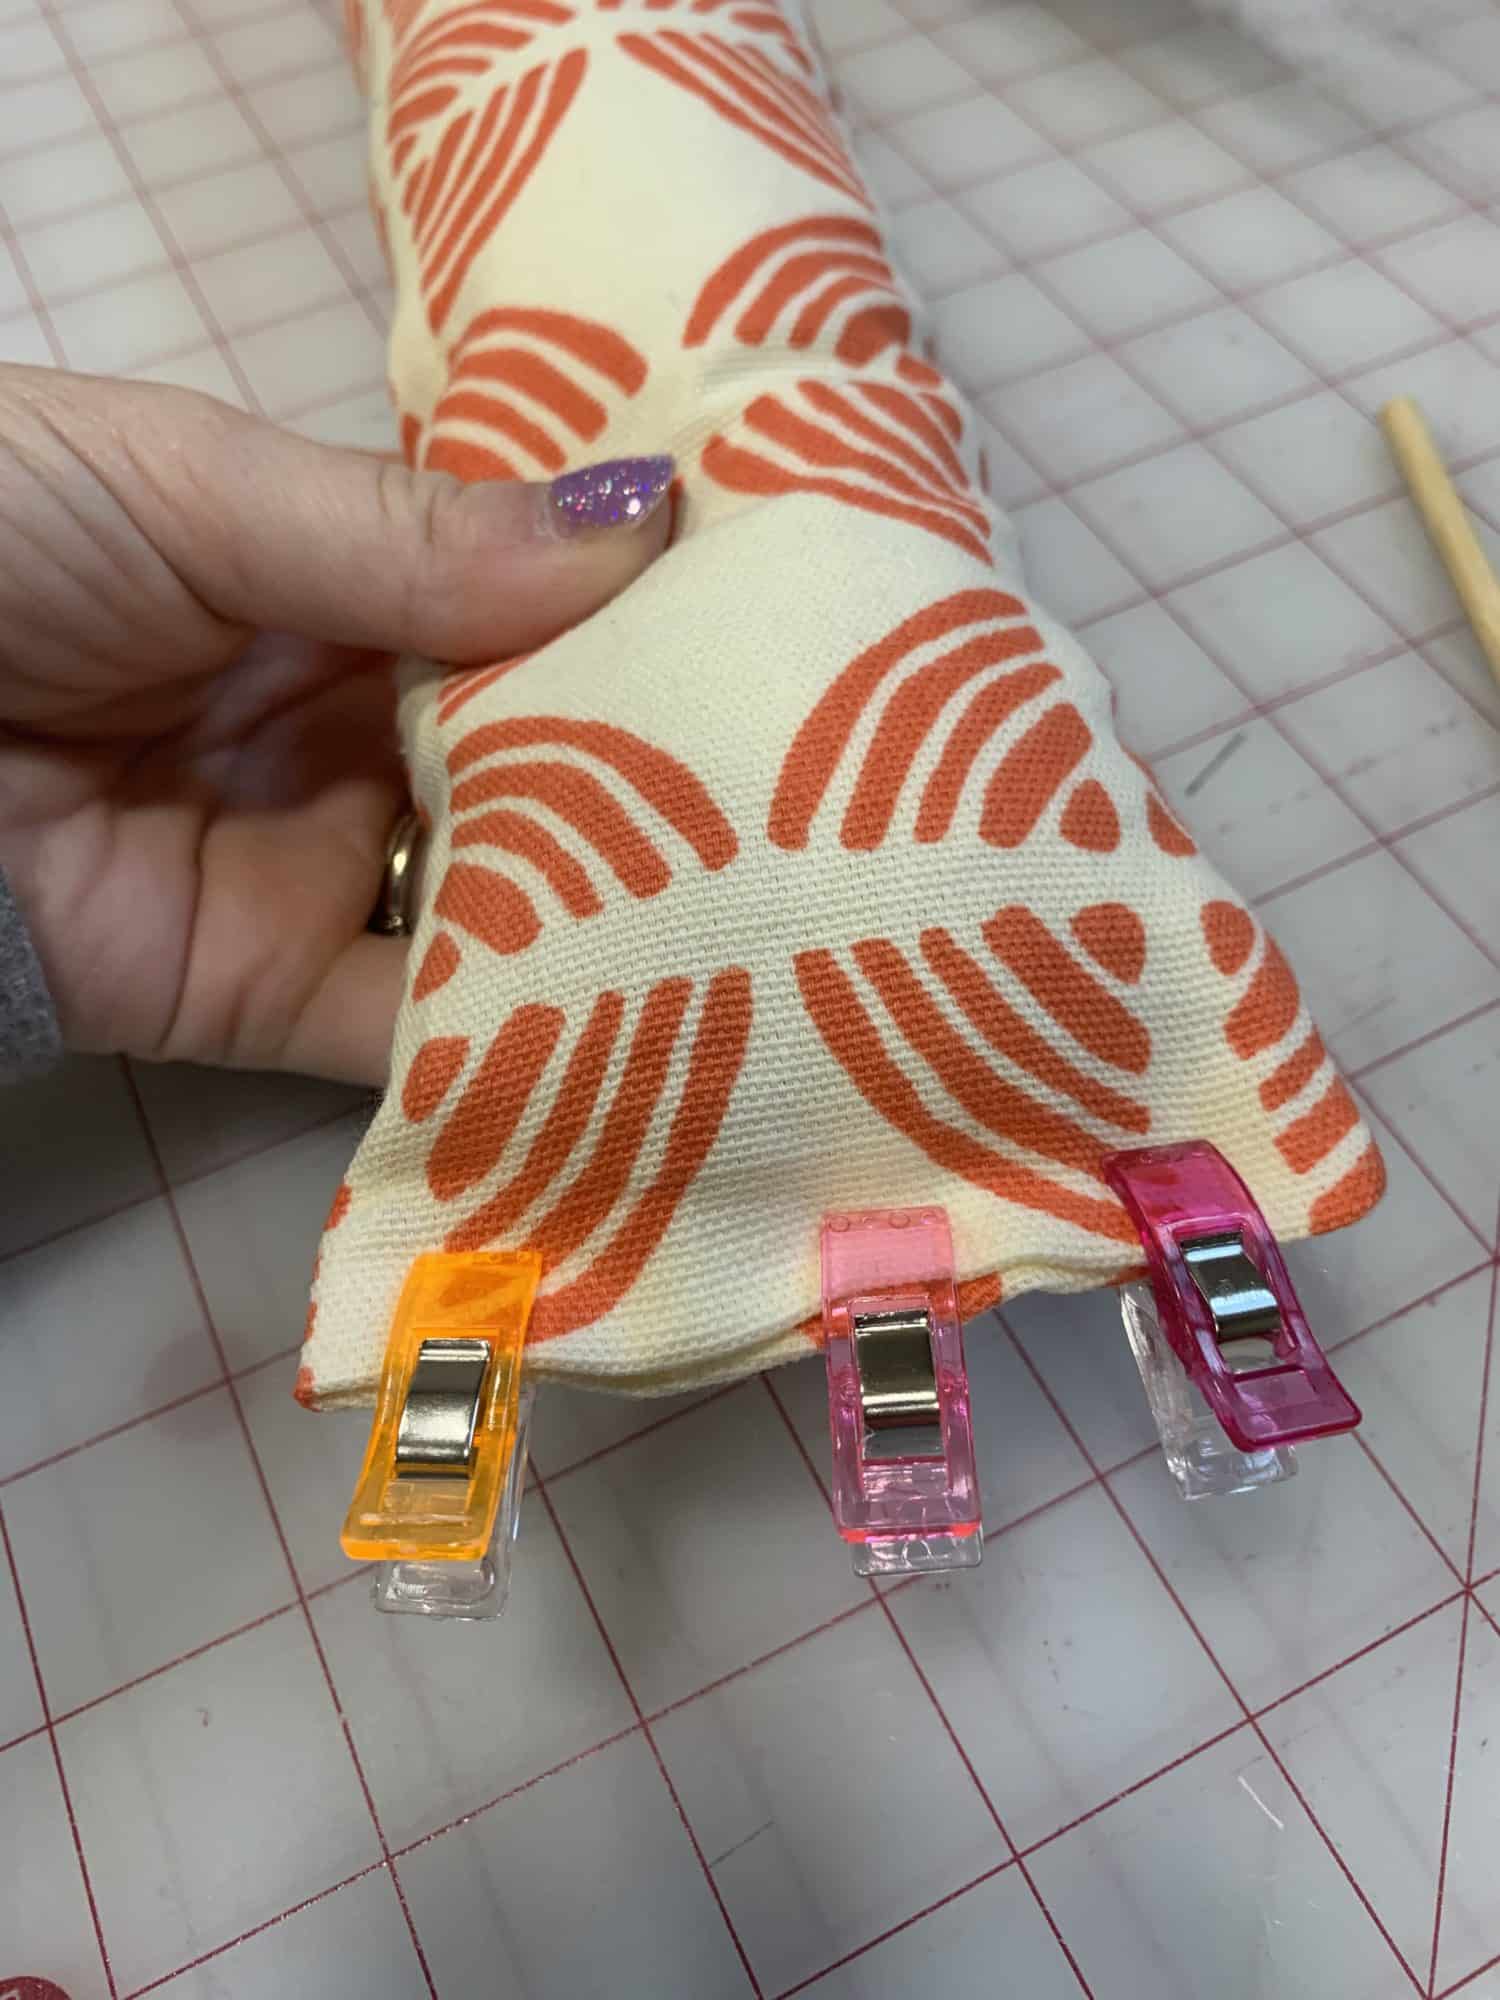
- Once the door snake is stuffed, fold the top edge of fabric into the door snake. Use whatever measurement you chose for seam allowance and turn that much fabric.
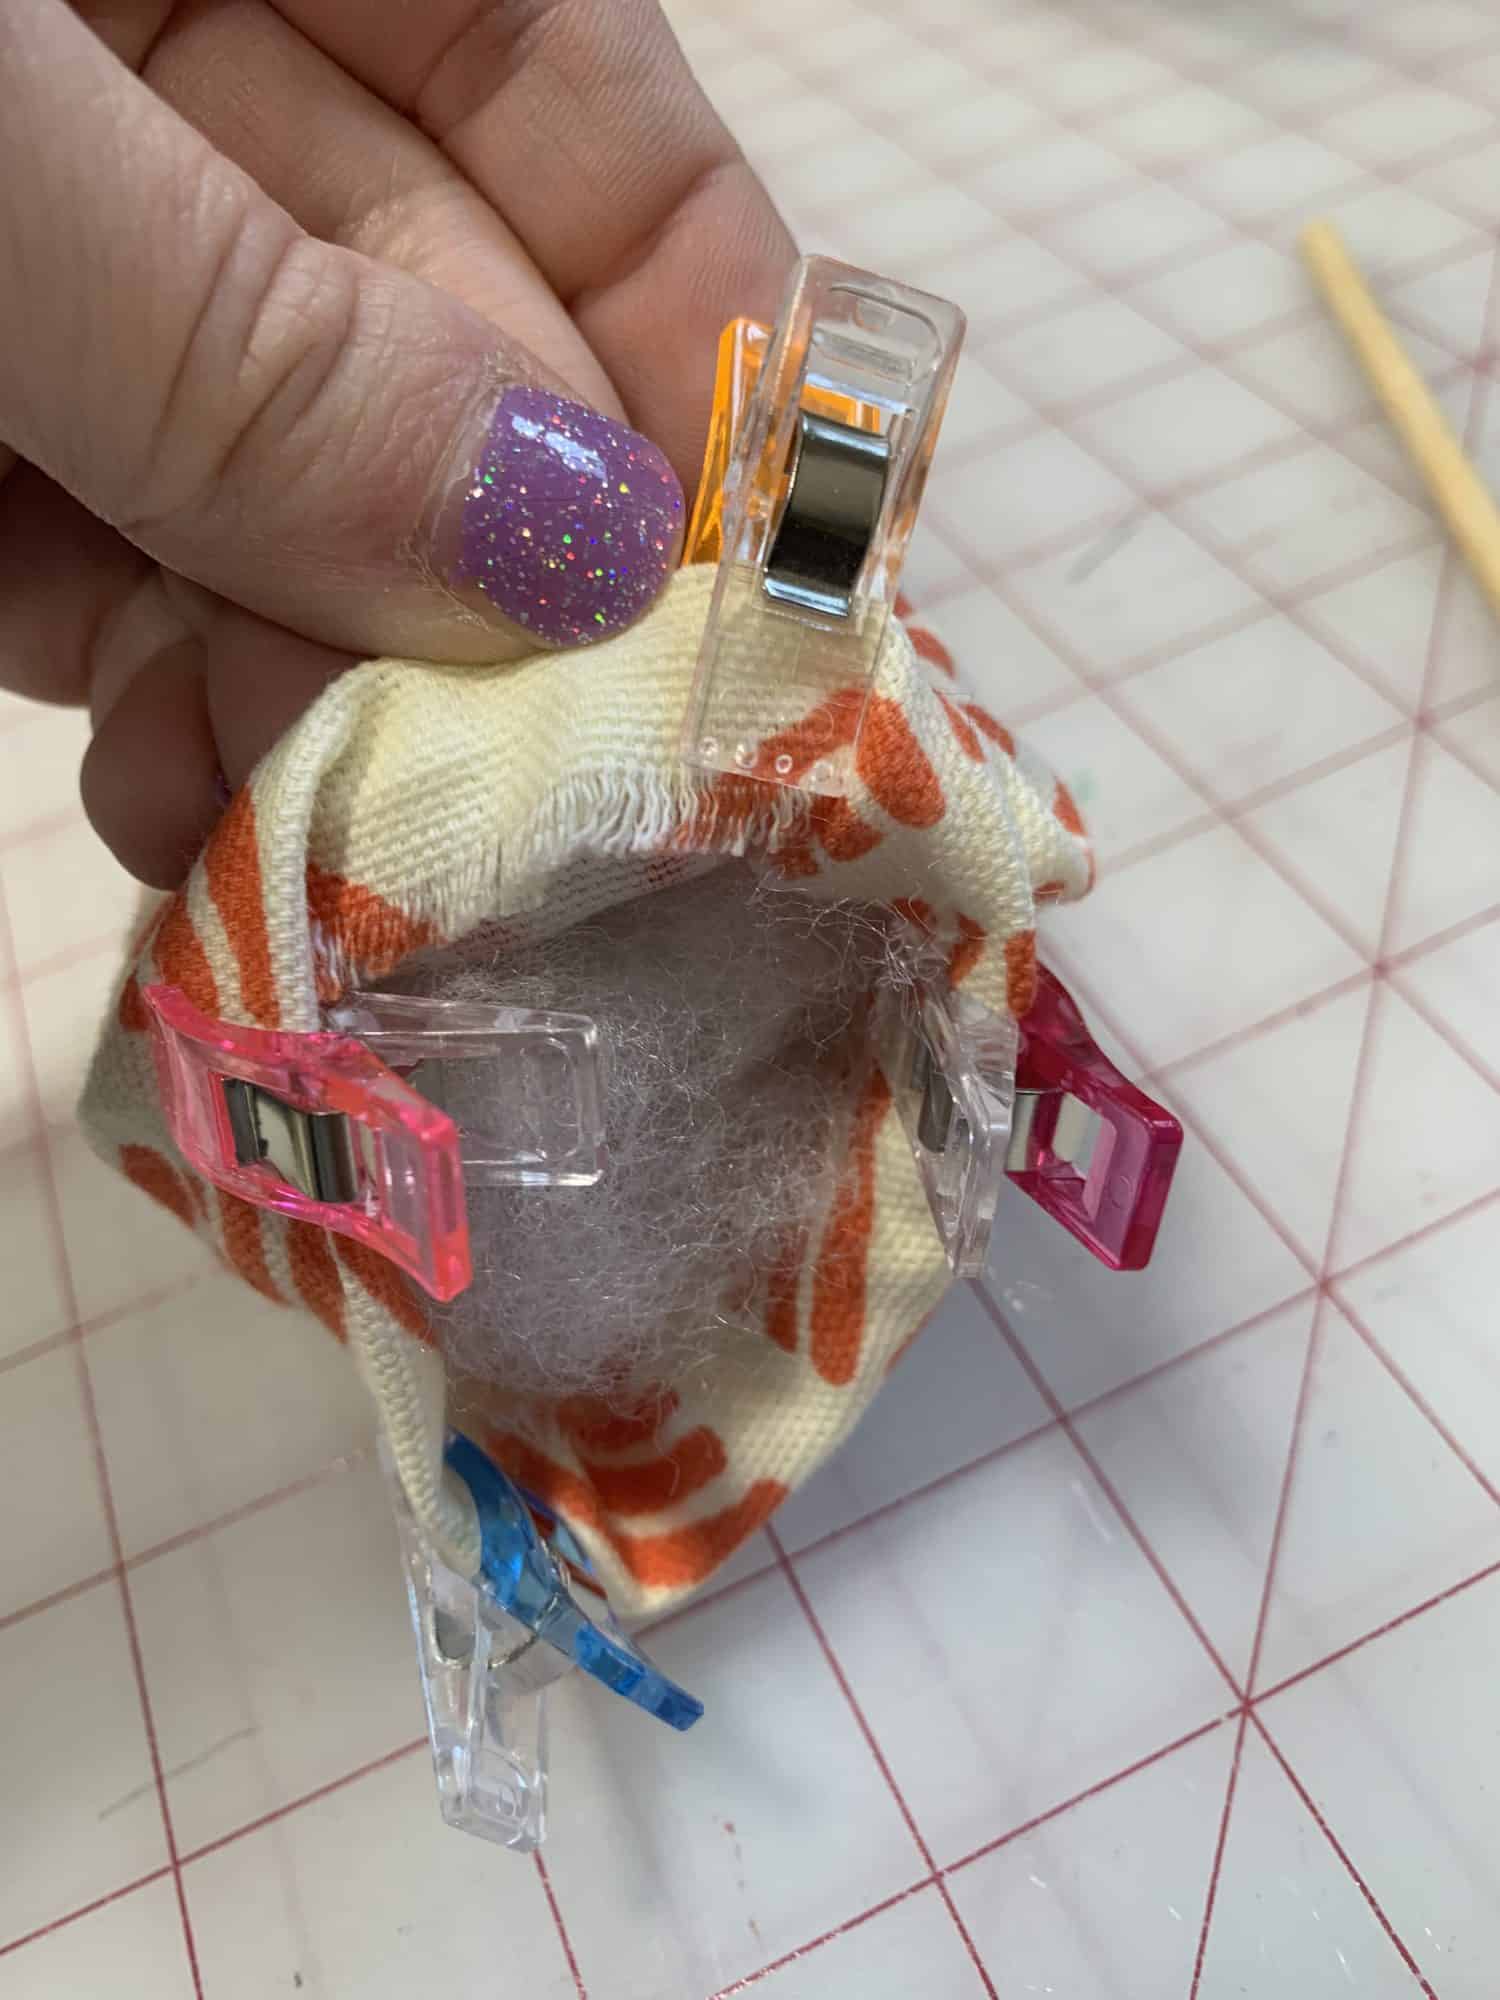
- Close the top gap by putting the fabric together
- Sew this gap closed
- Hand sew it closed with a ladder stitch so that you don’t see the stitches.
- You can also use a sewing machine if you prefer. You will see the topstitching here, though.
Your DIY door snake/draft guard is done! Time to put it in front of your door and keep that cold air outside!
Want more FUN DIY Freebies? Check out the FREEBIE TUTORIALS and the FREEBIE PATTERNS!
As always, we’re here to help if you need it! Join us HERE and on Facebook, Instagram, Twitter, Youtube, and Pinterest. We’re everywhere you are.
You were reading my mind! I am tackling this project tomorrow. Thanks for the post. Made my mental math much easier..😂😂
You’re welcome! Glad it helped!
After reading this, I put my hand at the base of my door, expecting nothing… Yeeeeeks! 🤦♀️ COLD AIR! WILL MAKE A DOOR SNAKE!
😄💝 THANK YOU FOR THE PATTERN!!!
Bara
I made one of these for my front door a couple of years ago – just wanted to add it is a great scrap buster for all those scraps we have!