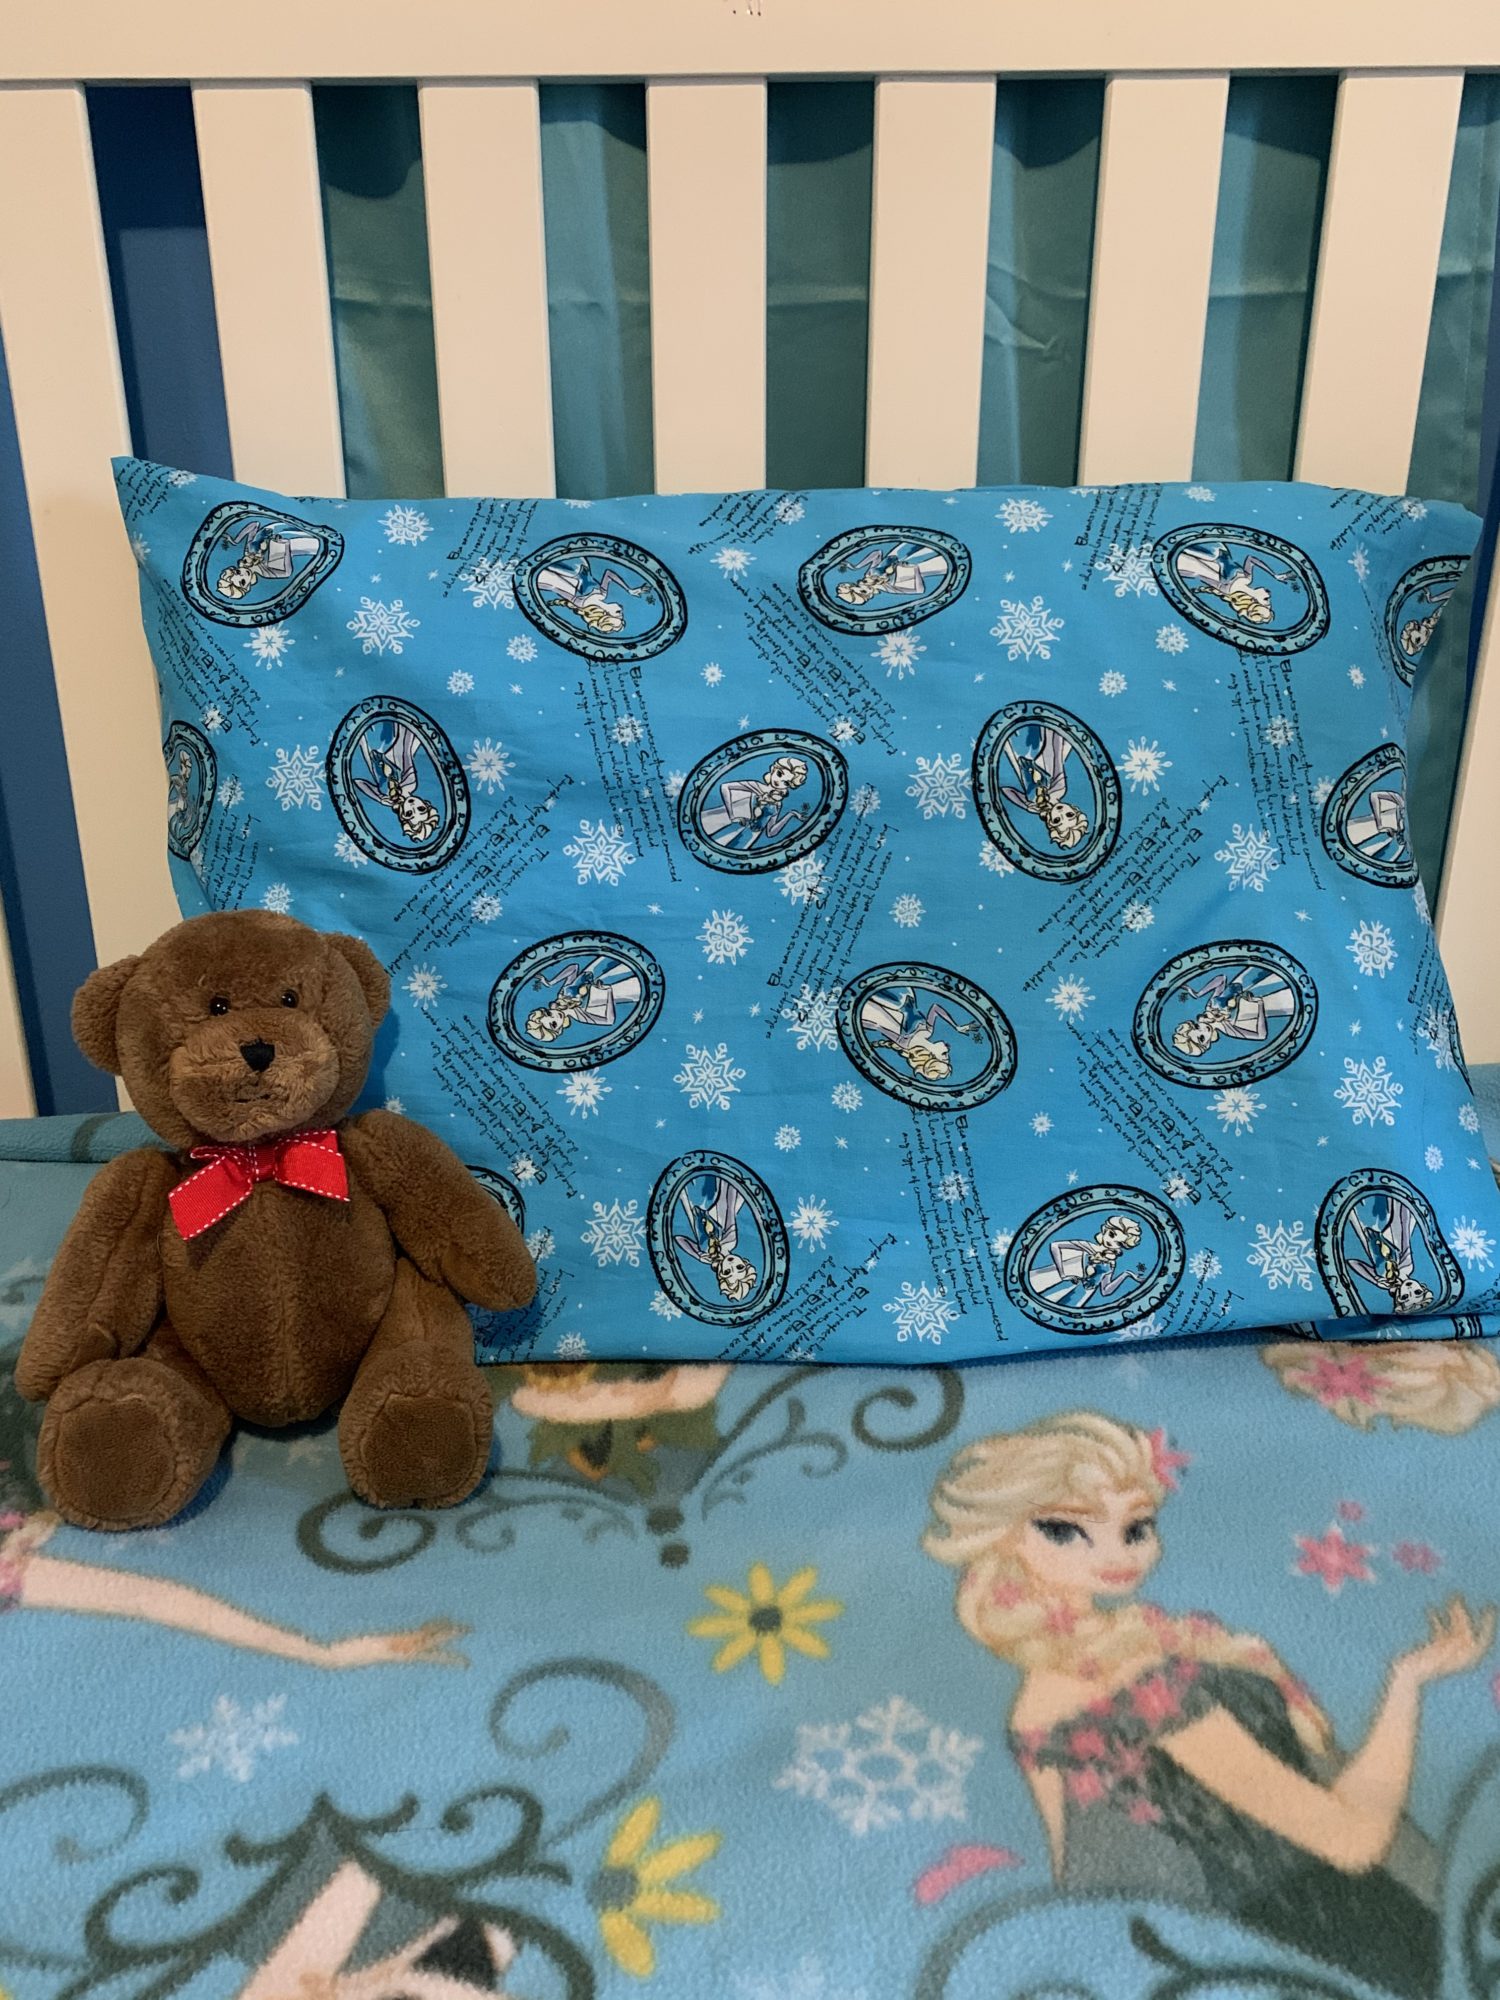
My 5 year old has been begging me to teach her how to sew! I thought that a great first project would be a DIY basic pillowcase. It is super easy to sew (it’s all straight lines!) and it’s super useful. There’s a few things that I did a little differently just to make it easier for her to sew and be a more kid friendly project. Do you have a kiddo that wants to learn how to sew? Grab them and lets sew a DIY basic pillowcase, sewing with kids edition!
Materials
- About 1 yard of fabric
- You can really use any fabric that you want for this, we used a quilting cotton
- Ruler
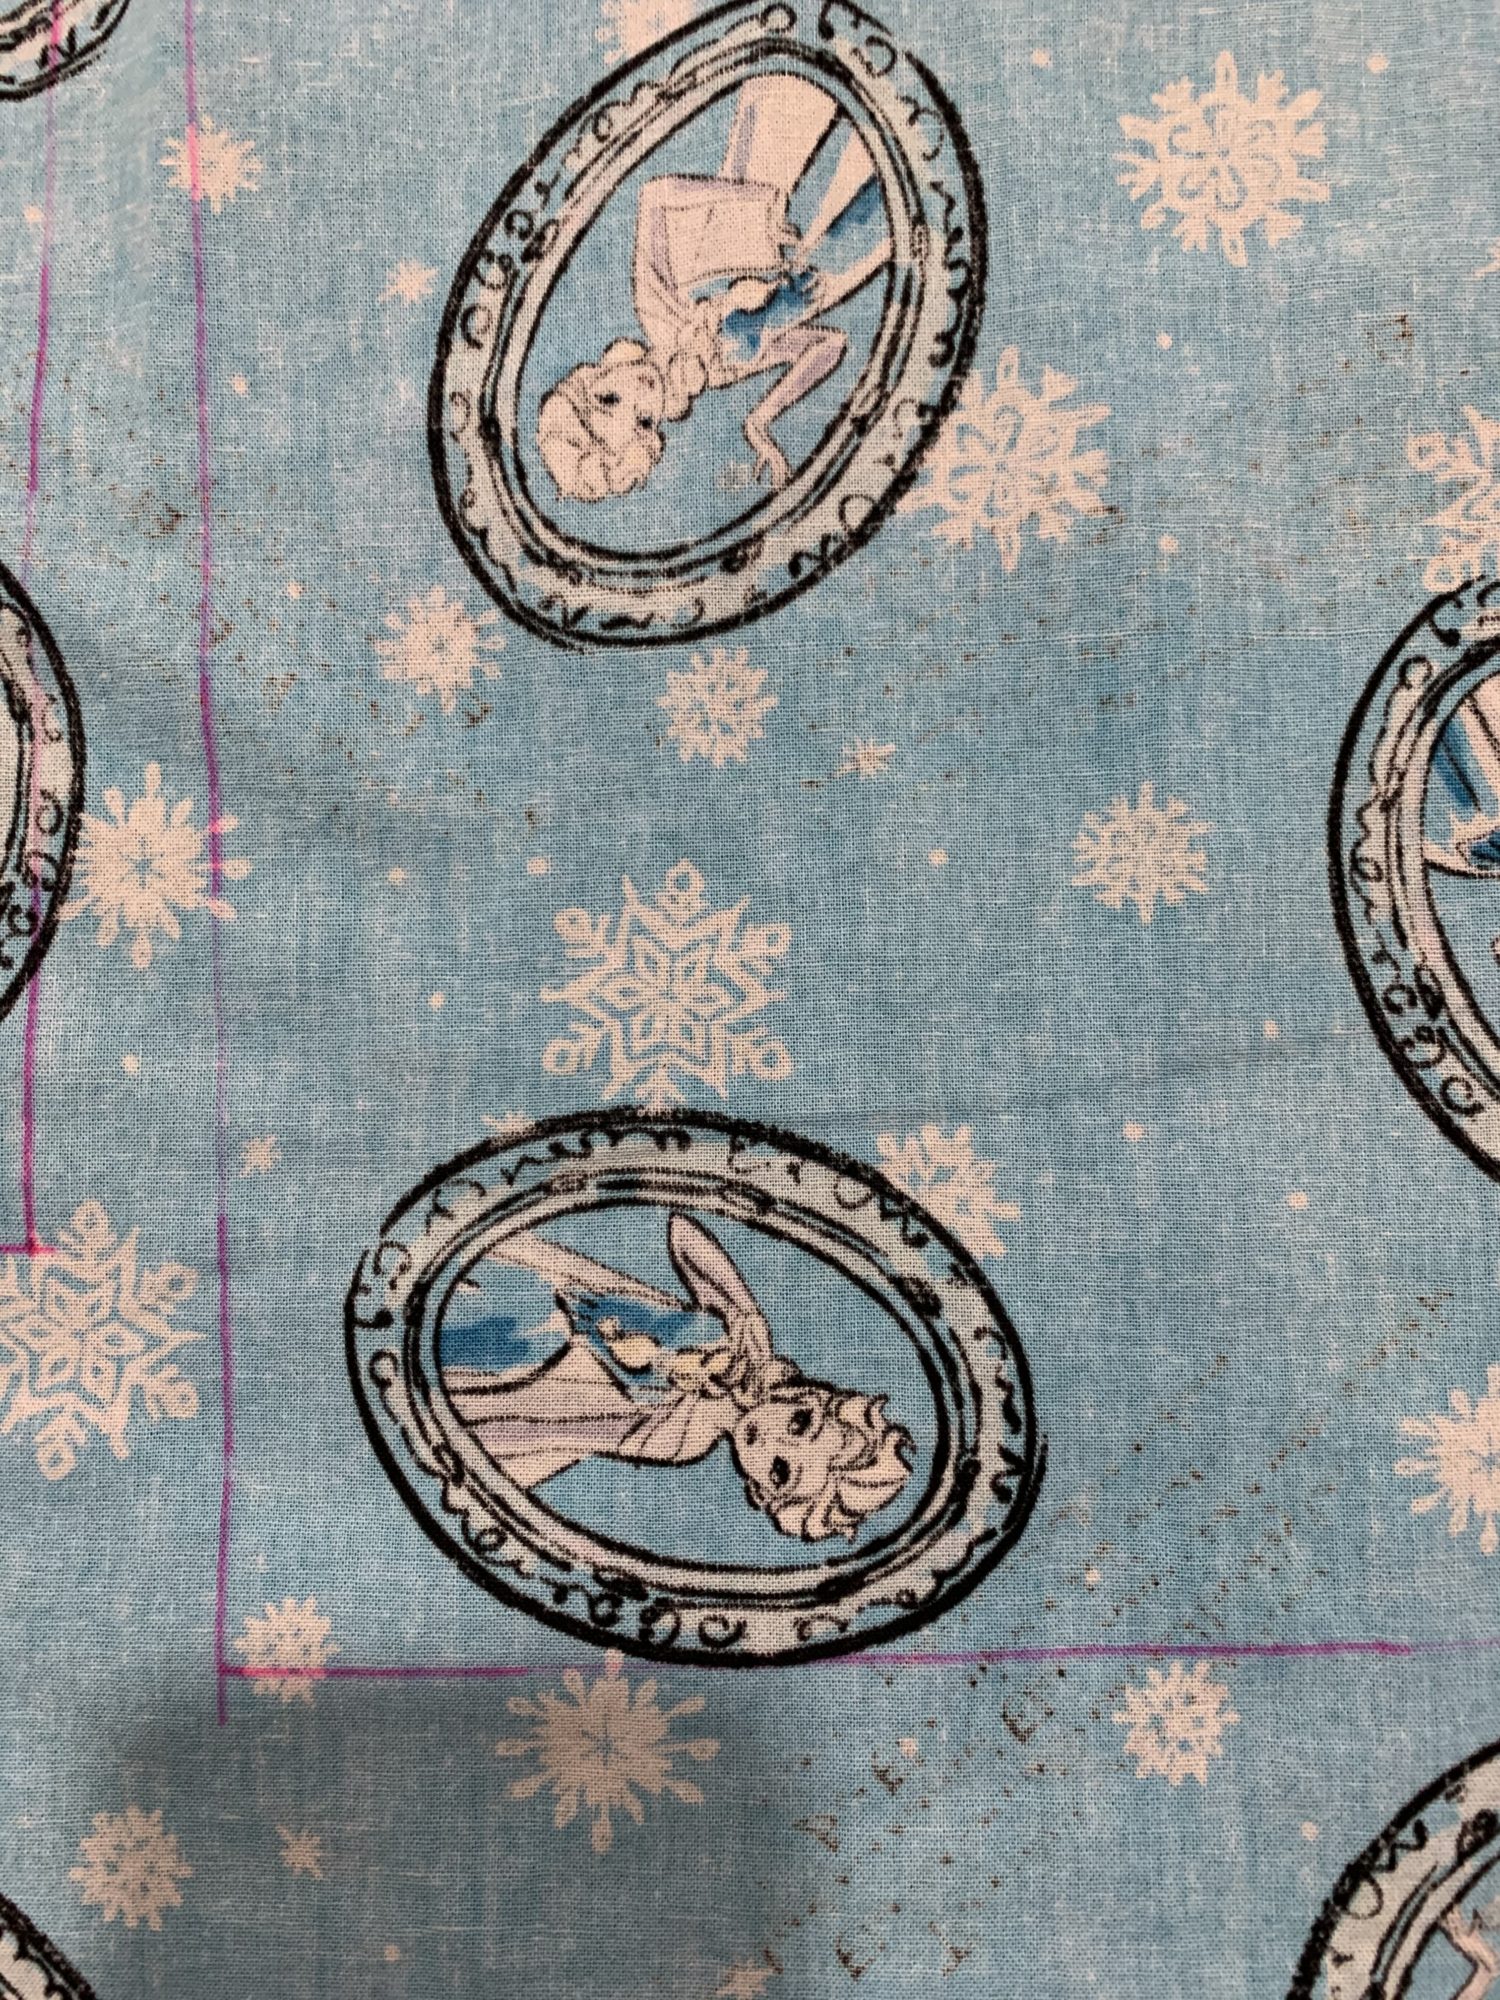
- Something to mark your fabric (pen, marker, etc)
- I used a highlighter because it wouldn’t be seen, but if you prefer, you can use a washable fabric pen
- Normal sewing supplies (scissors, pins/clips, sewing machine…)
Decide on your measurements
I measured a pillowcase that we already have to determine our measurements for the new pillowcase. The finished measurements that we want are 20 inches wide by 28 inches long. She has a pretty standard pillow, so your measurements will likely be pretty similar to that. Now that we know how big we want the pillowcase to be, we have to add our seam allowance so we know how big to cut our fabric.
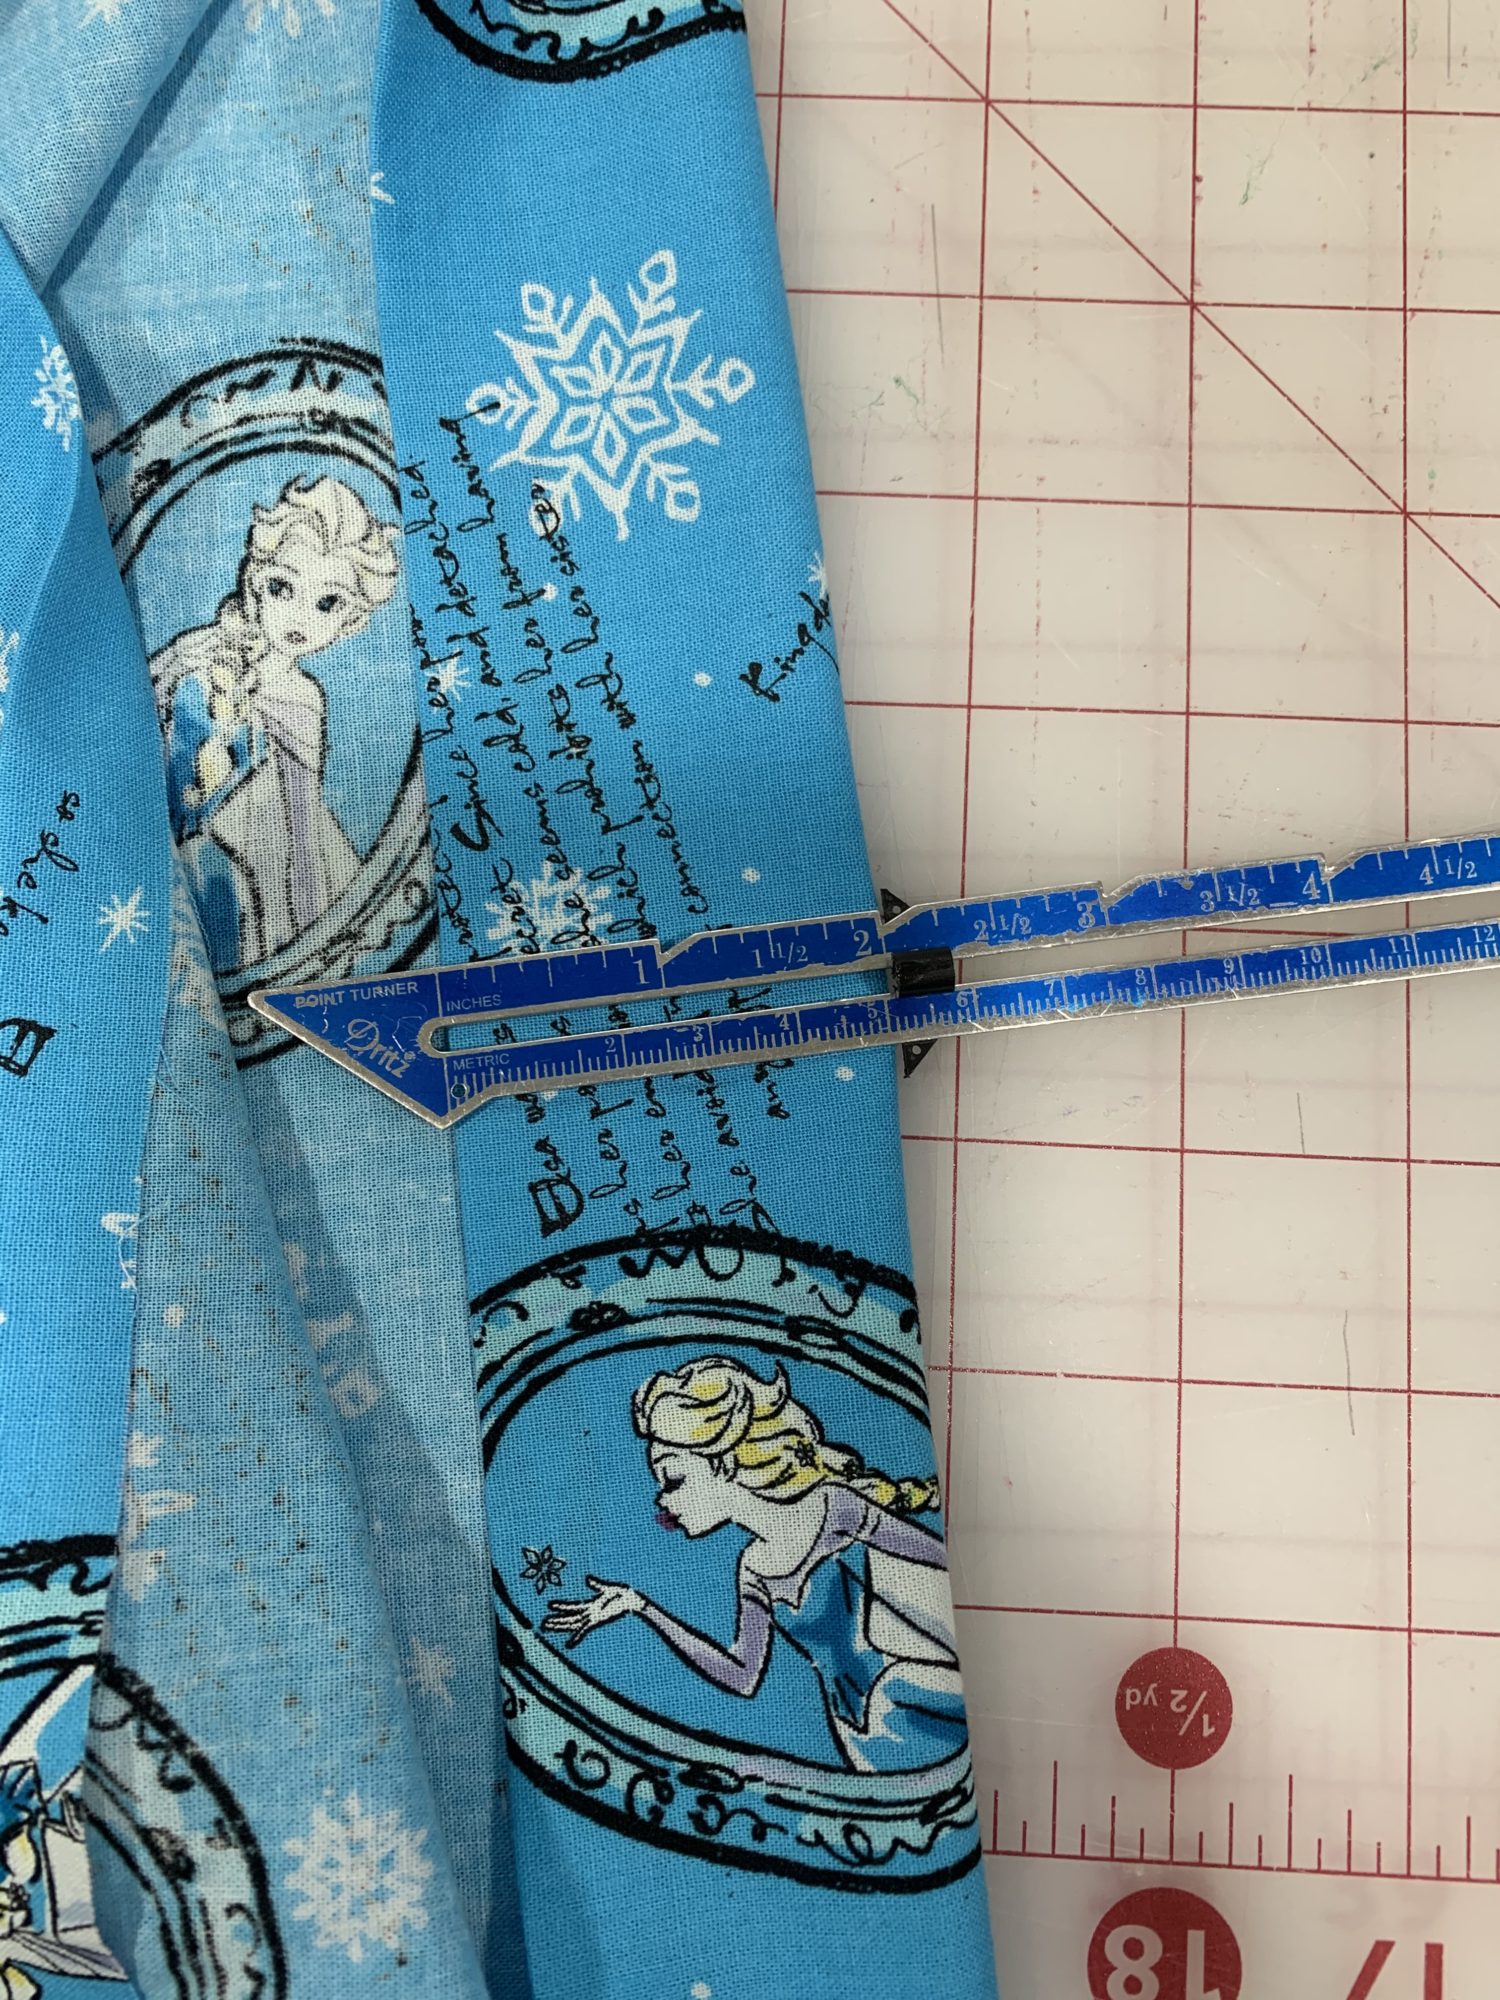
Add 1/2 inch seam allowance to both sides (20+.5+.5=21), so we want the width of the fabric to be 21 inches.
Add 1/2 inch seam allowance to the bottom and a 2.5 inch seam allowance to the top (28+.5+2.5=31), so the length of the fabric is 31 inches. We added 2.5 inches to the top because I wanted a deeper hem, I just think it looks nicer that way.
Prep fabric
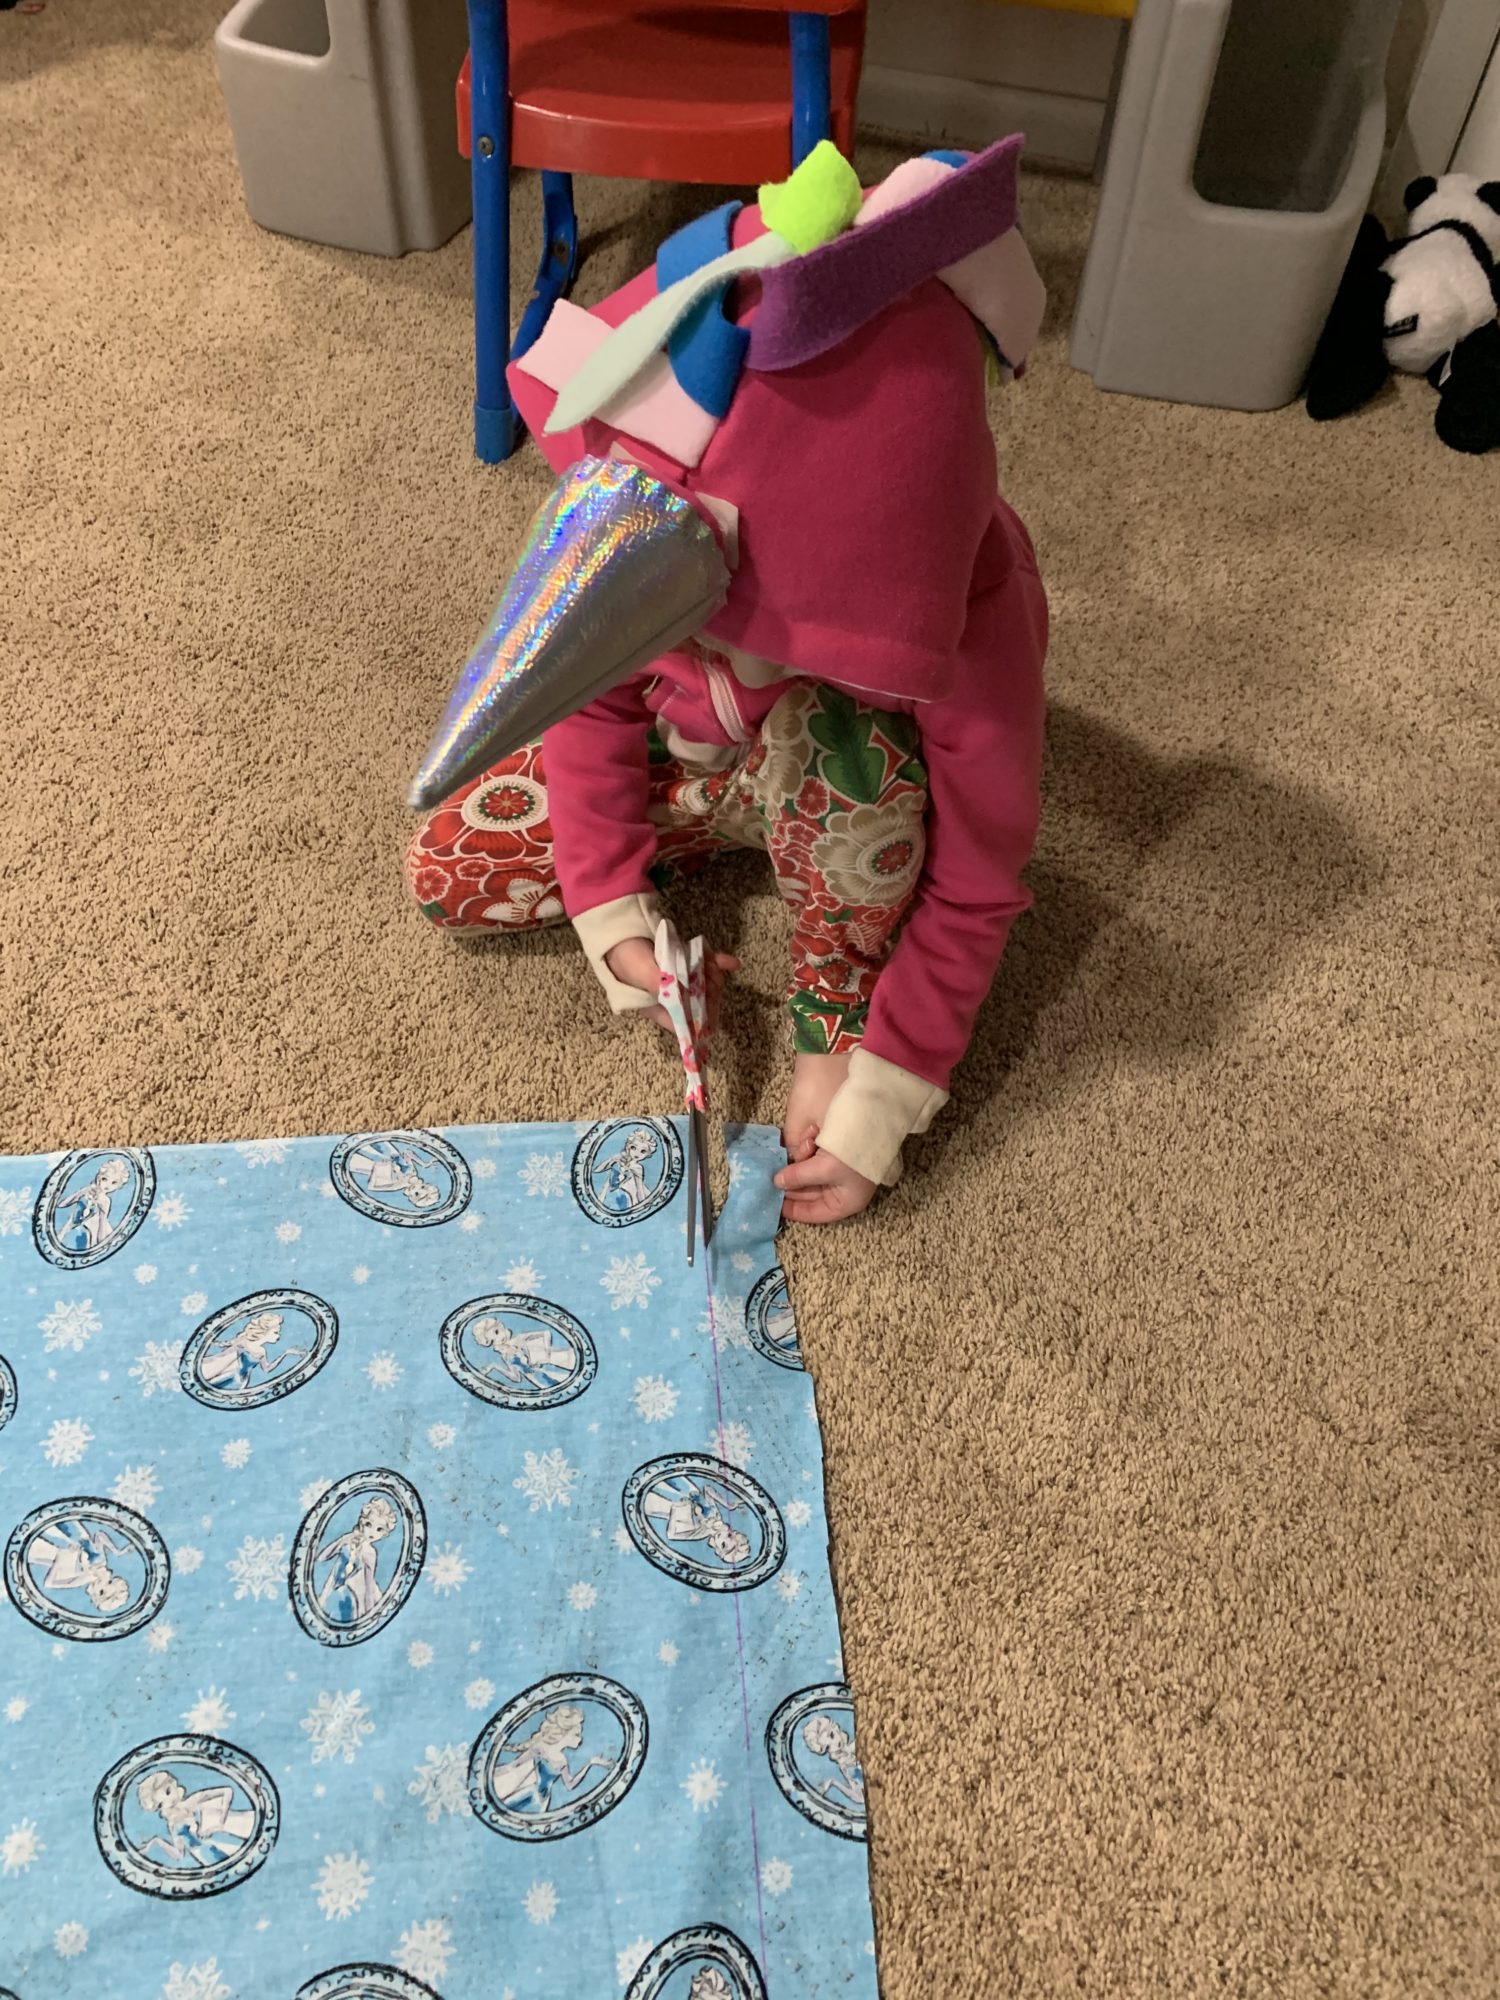
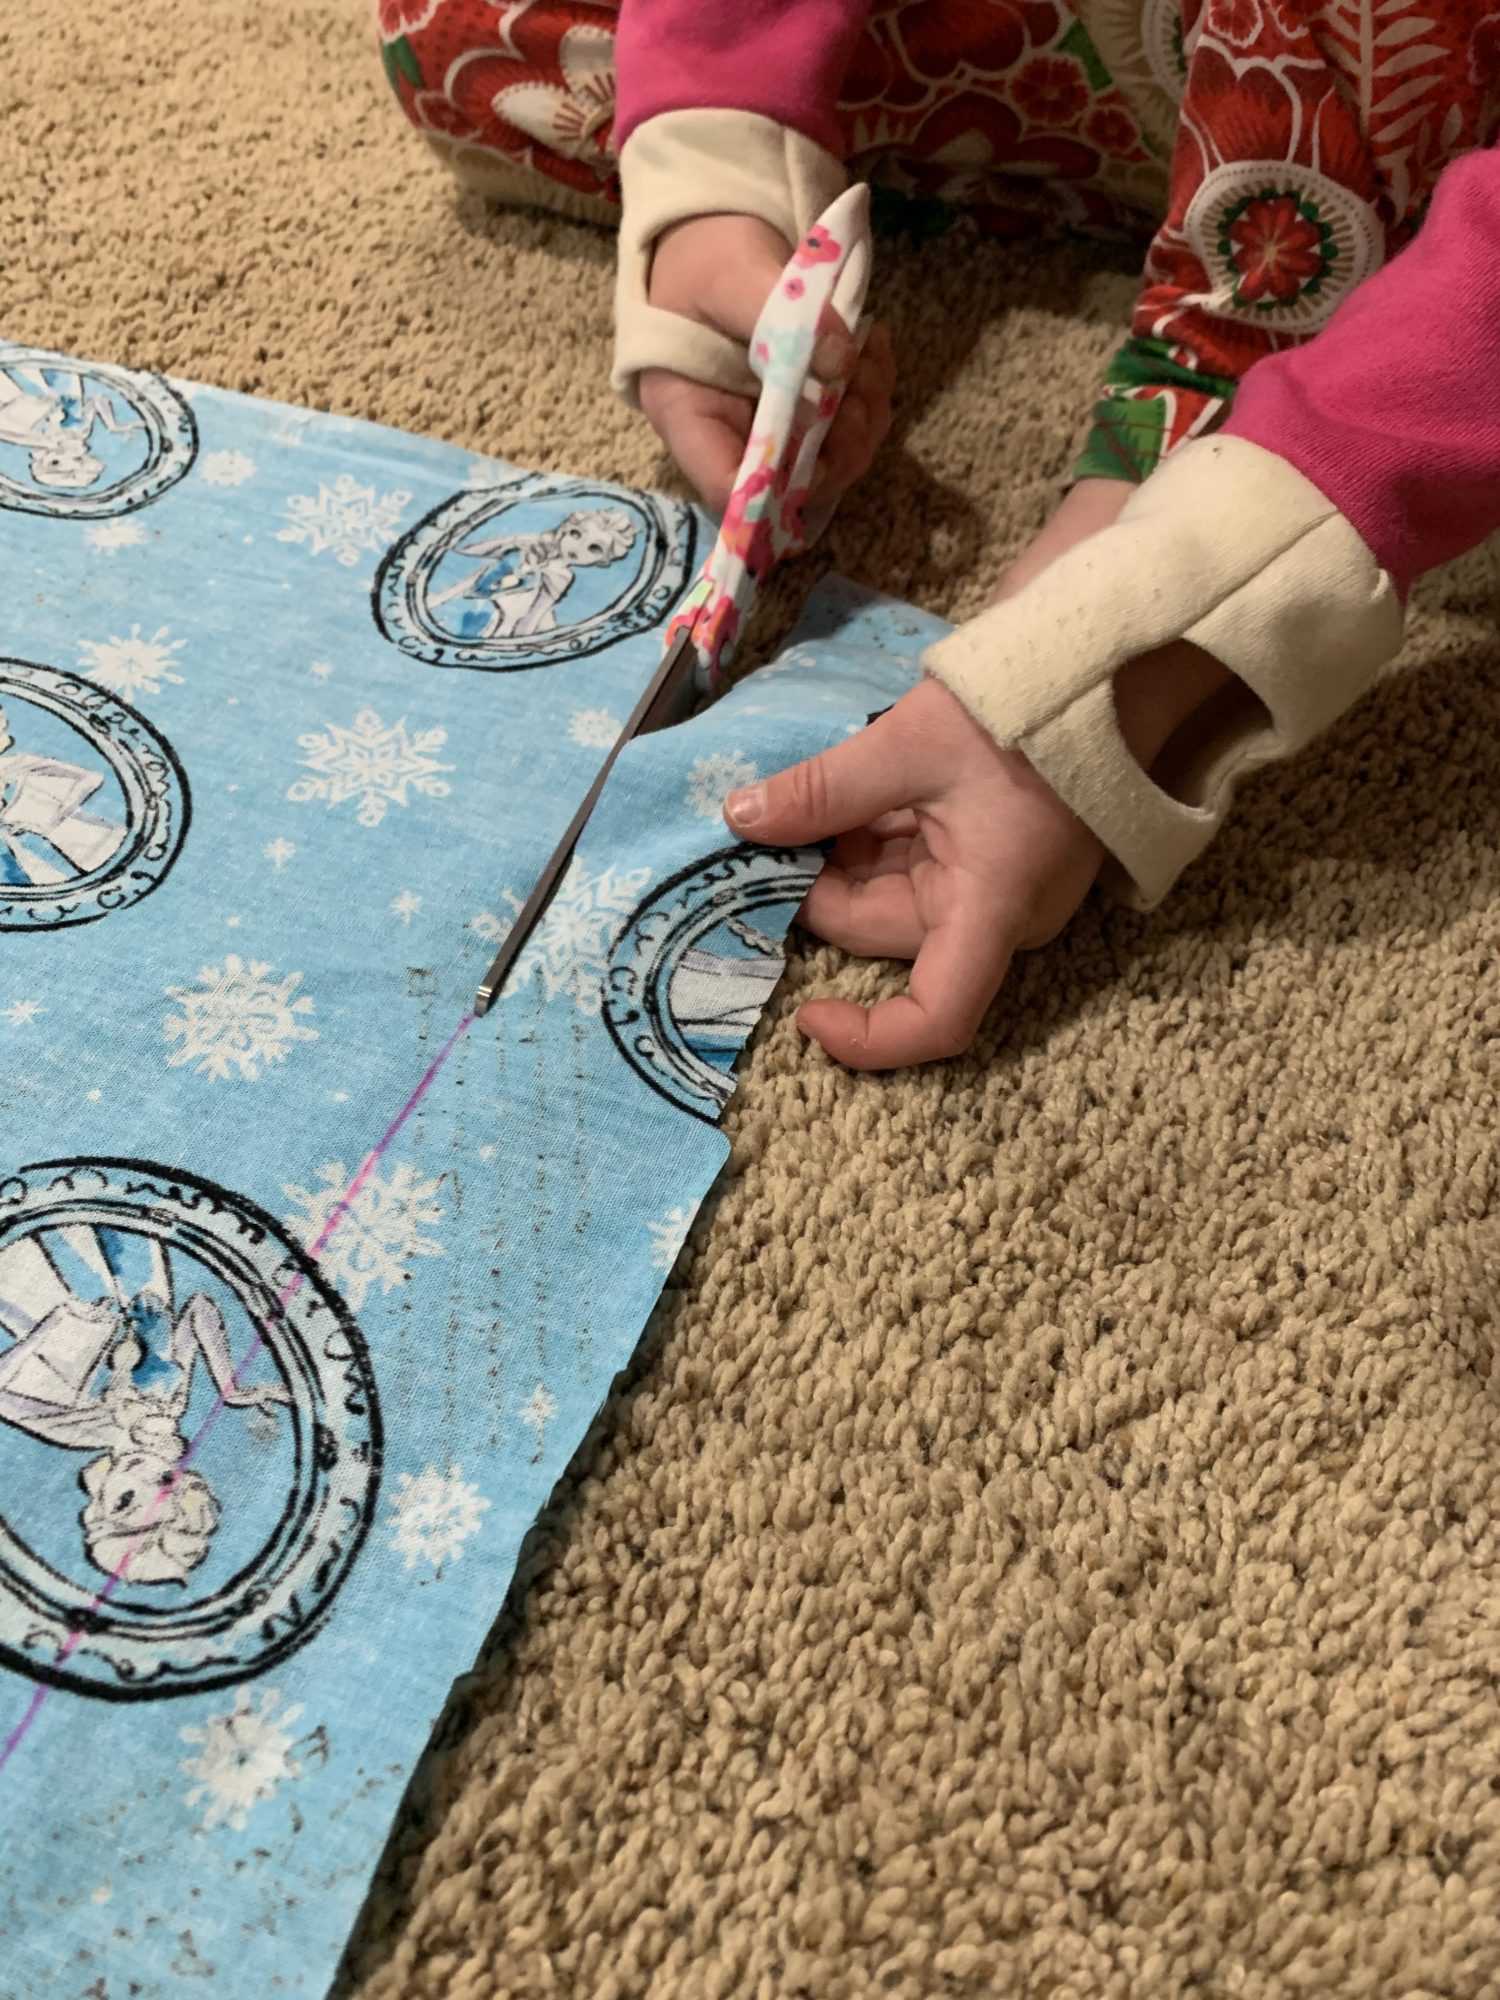
I wanted my daughter to be able to do the bulk of this project, so I decided to draw the lines on the fabric and let her cut it out by following the lines. It just made it easier for her than a ruler and a rotary cutter. I’m also not quite comfortable giving her a rotary cutter yet!
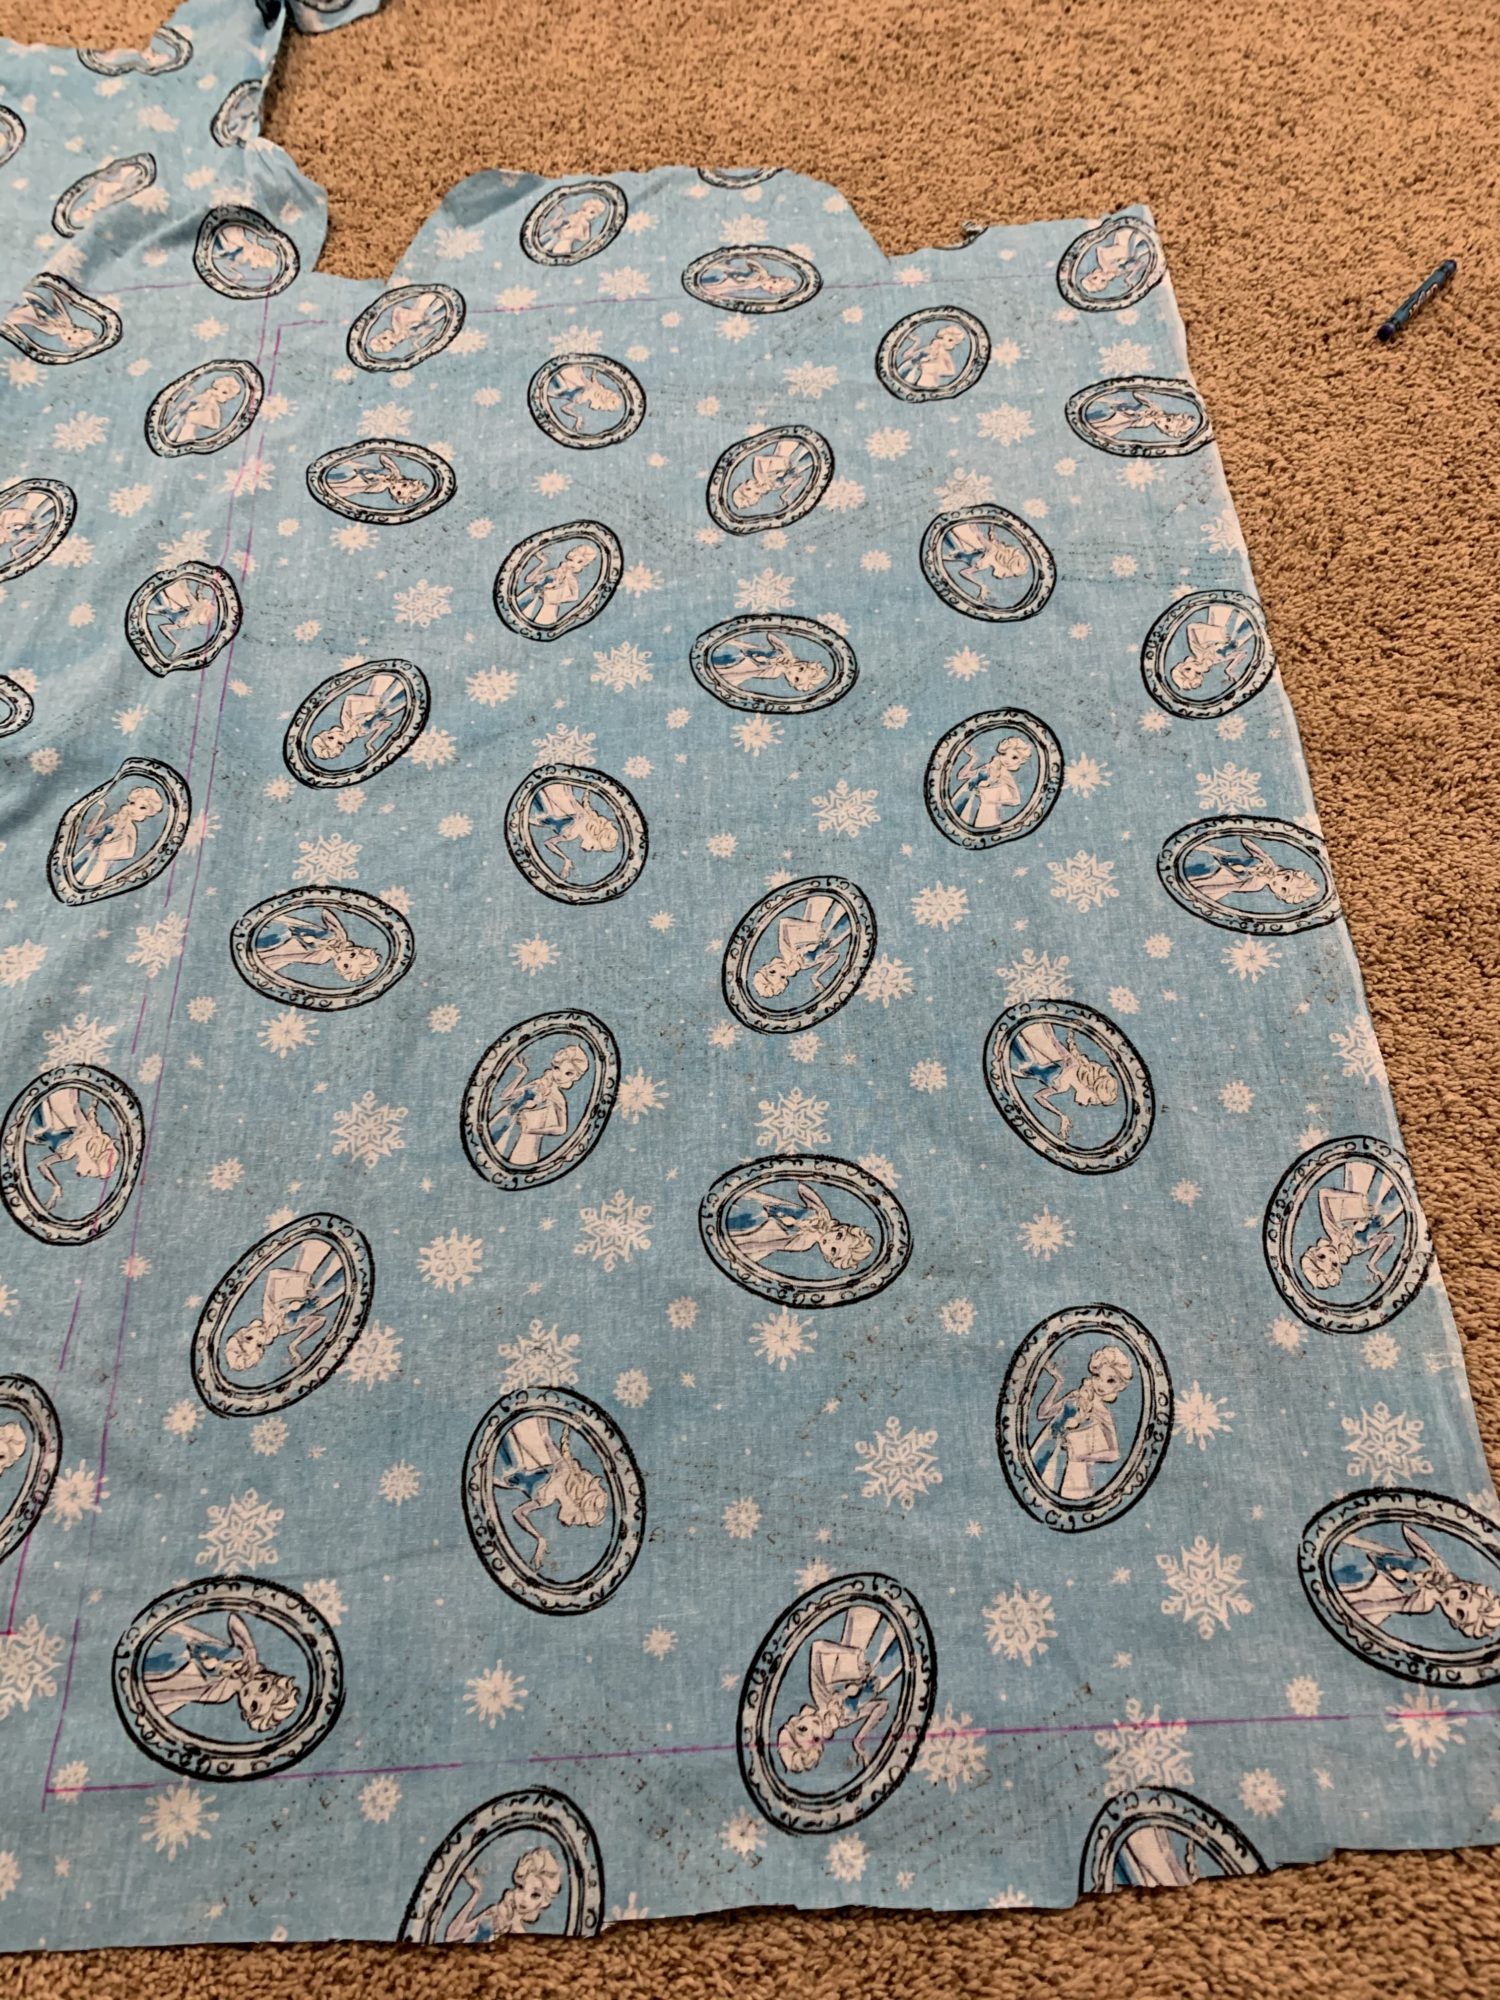
You’ll need to cut two pieces of fabric to the dimensions that you determined in the above section. I let my daughter do all of the cutting, so it isn’t quite perfect, but she really did pretty well! We also had a good lesson on what fabric scissors are used for and what they aren’t! 😃
Time to sew
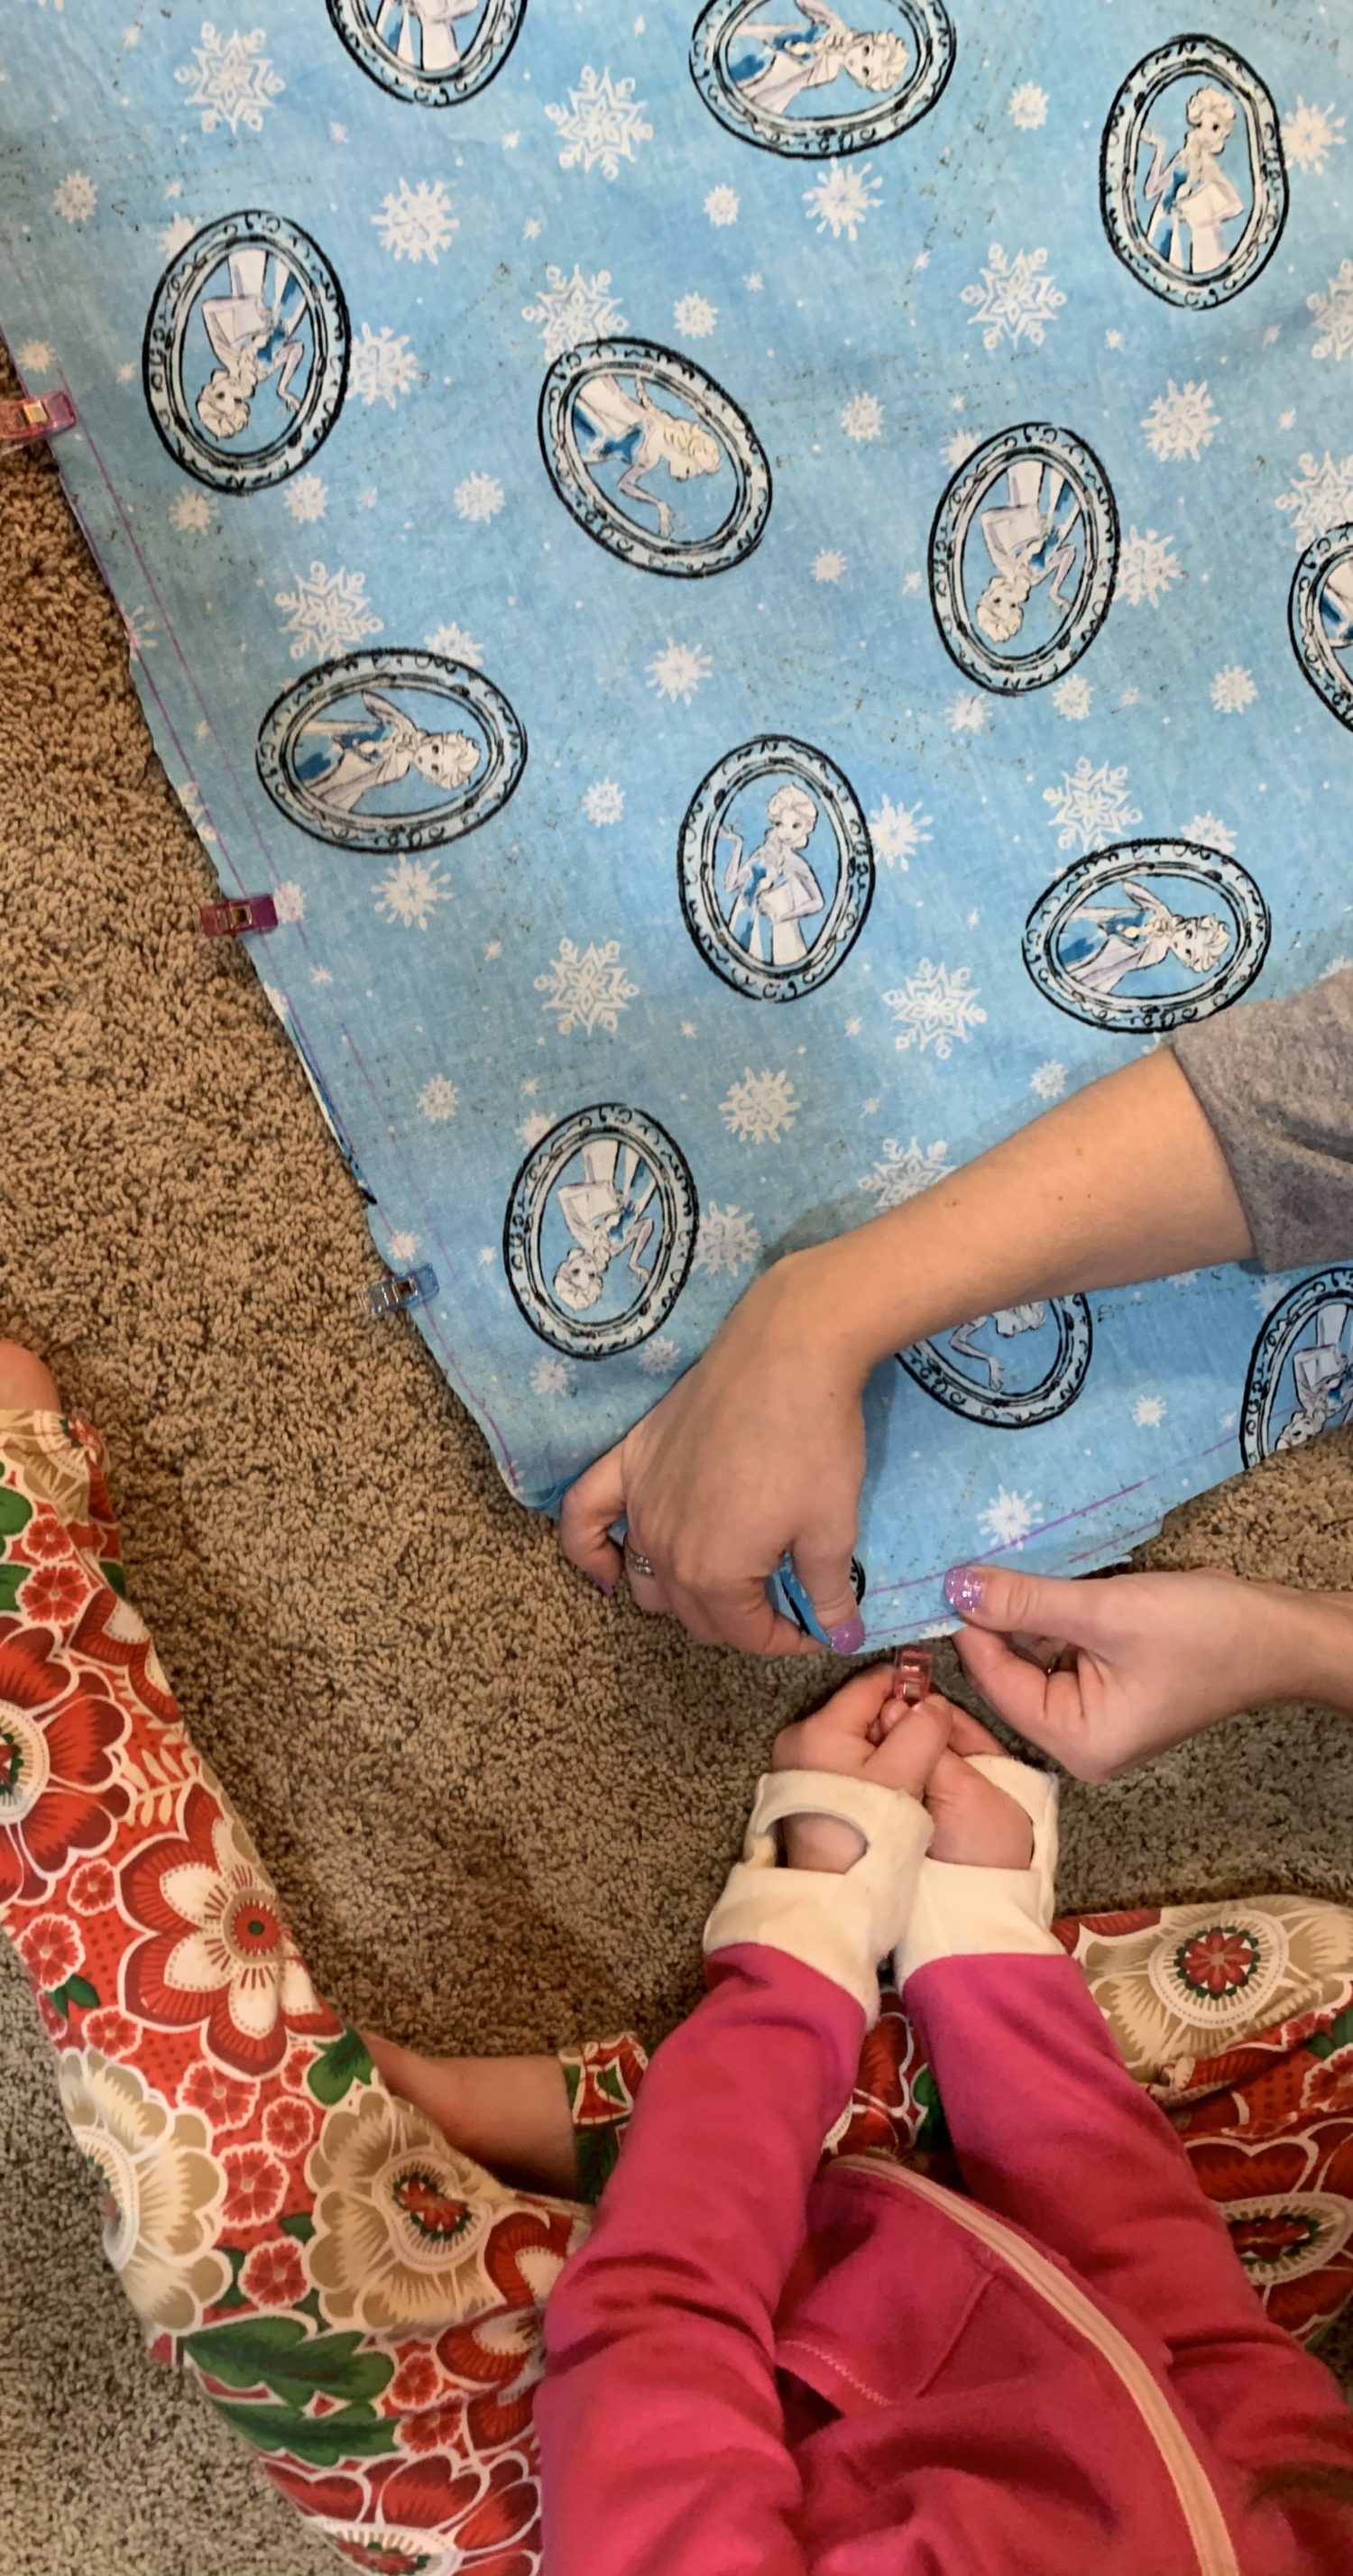
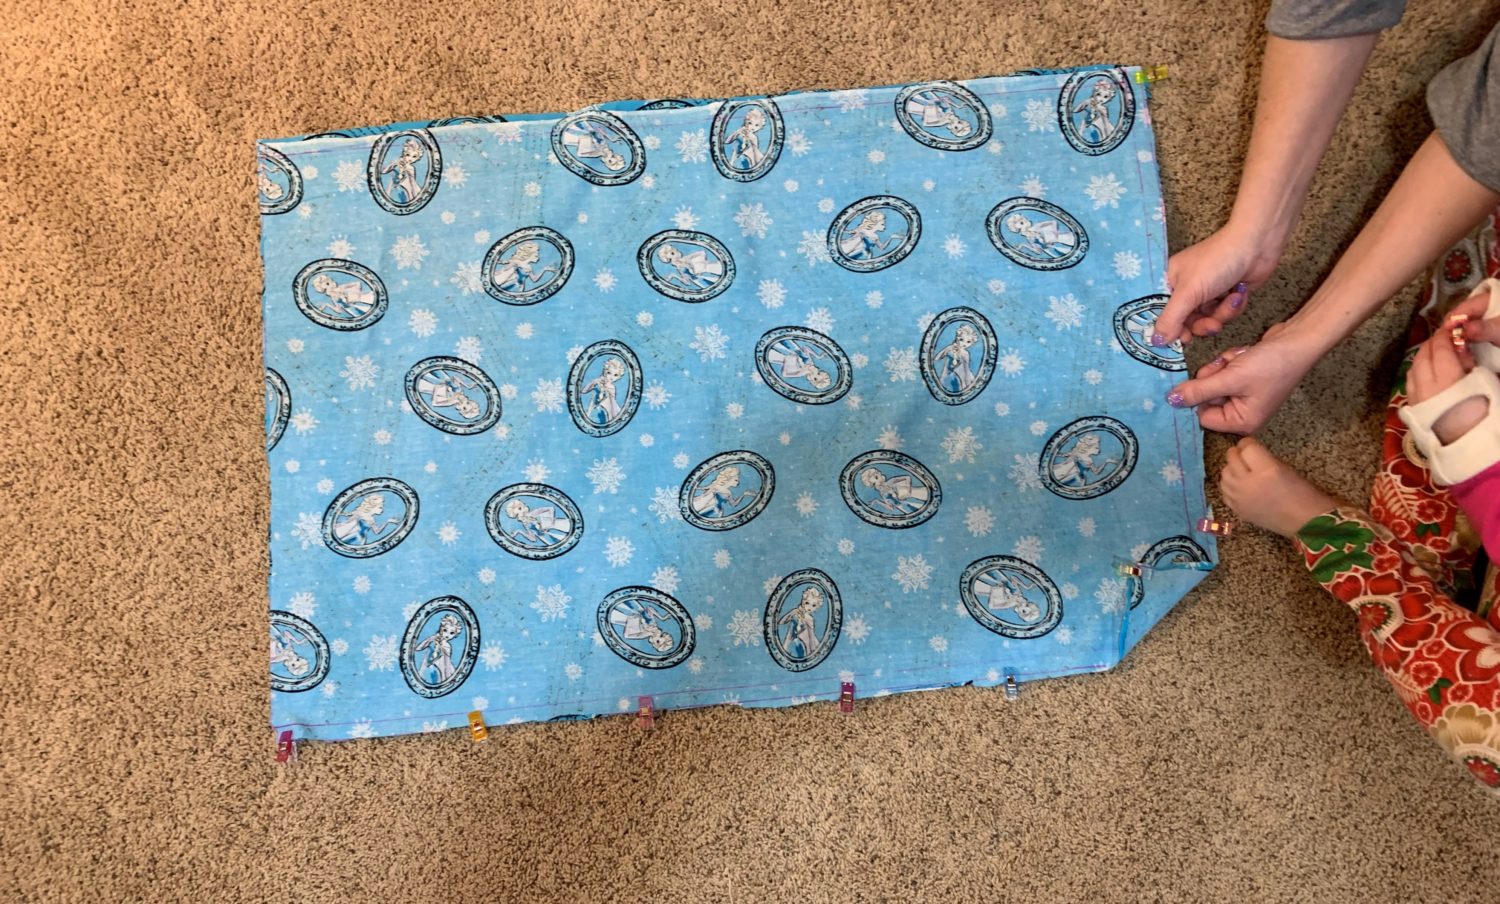
- Put the two pillowcase pieces right sides together.
- Clip or pin around the two sides and the bottom.
- The clips are great for little hands and are safer than pins!
- I measured out the seam allowance and drew stitching lines so that my daughter knew where to sew.
- It really helped her to be able to line up the needle with the line and she was able to keep it mostly straight!
- Sew around the bottom and the sides. Leave the top unsewn.
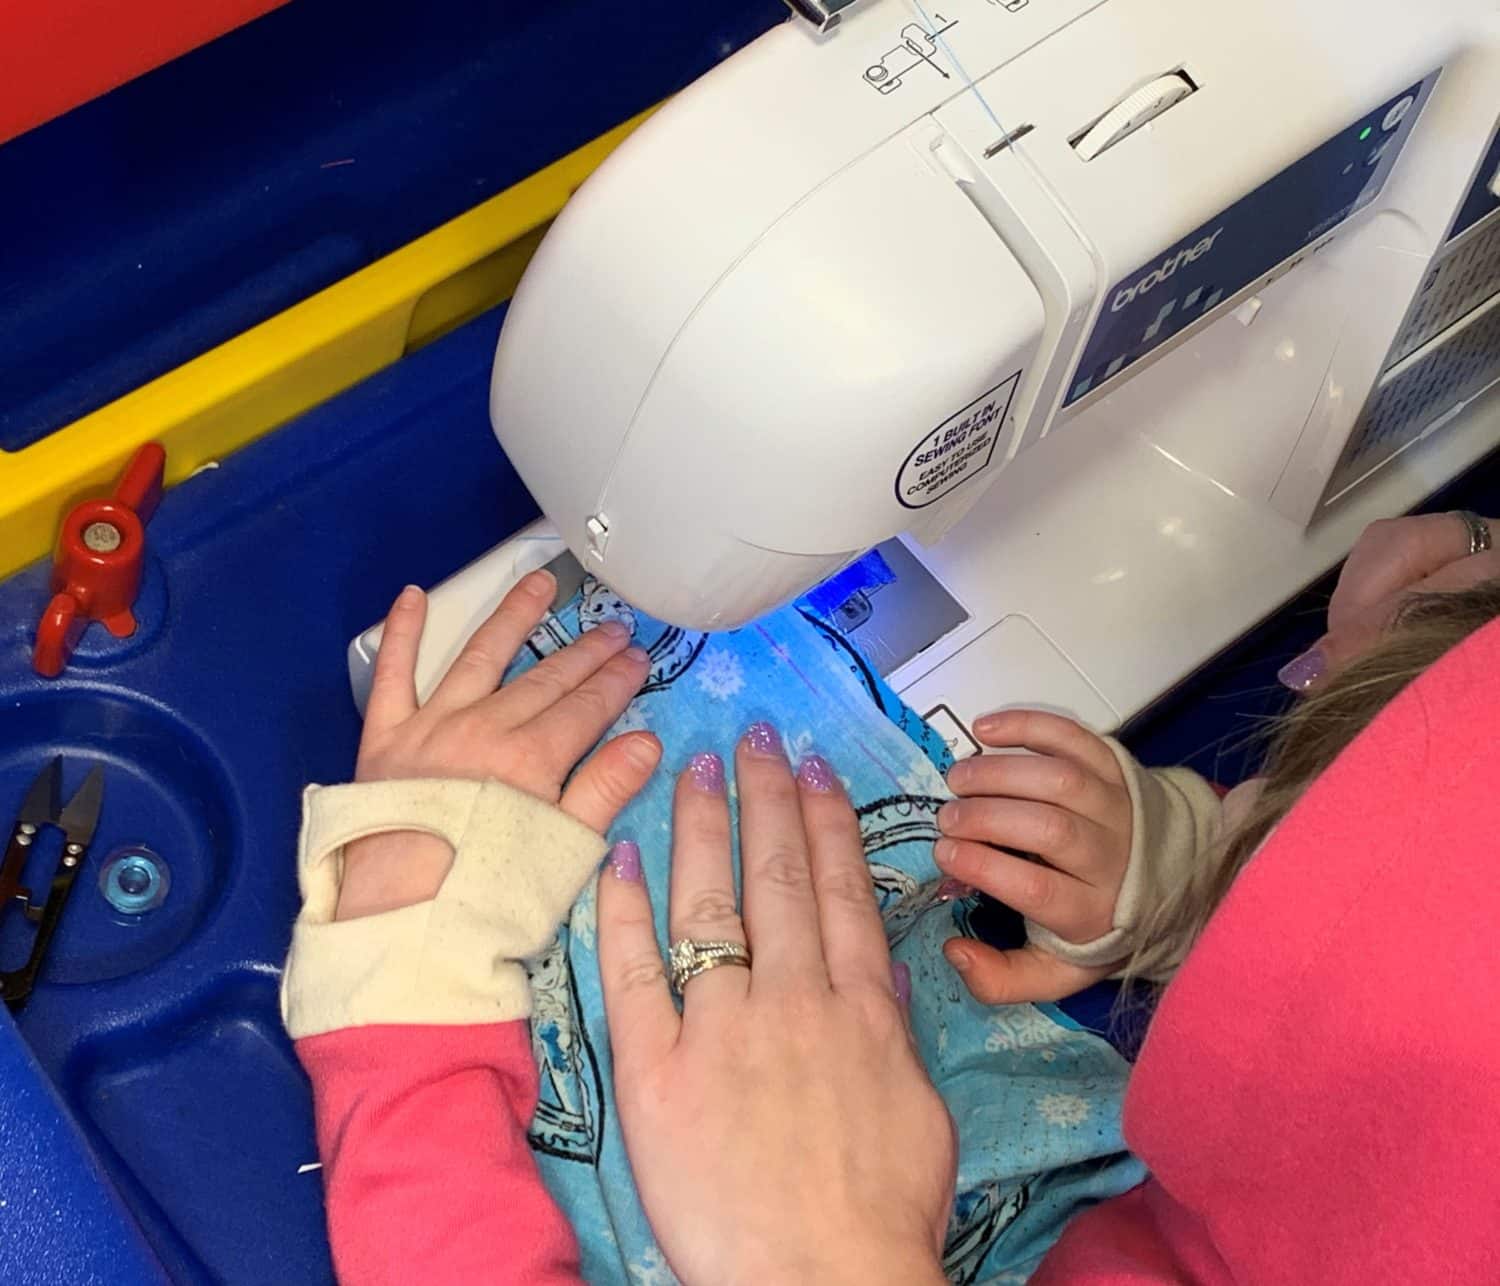
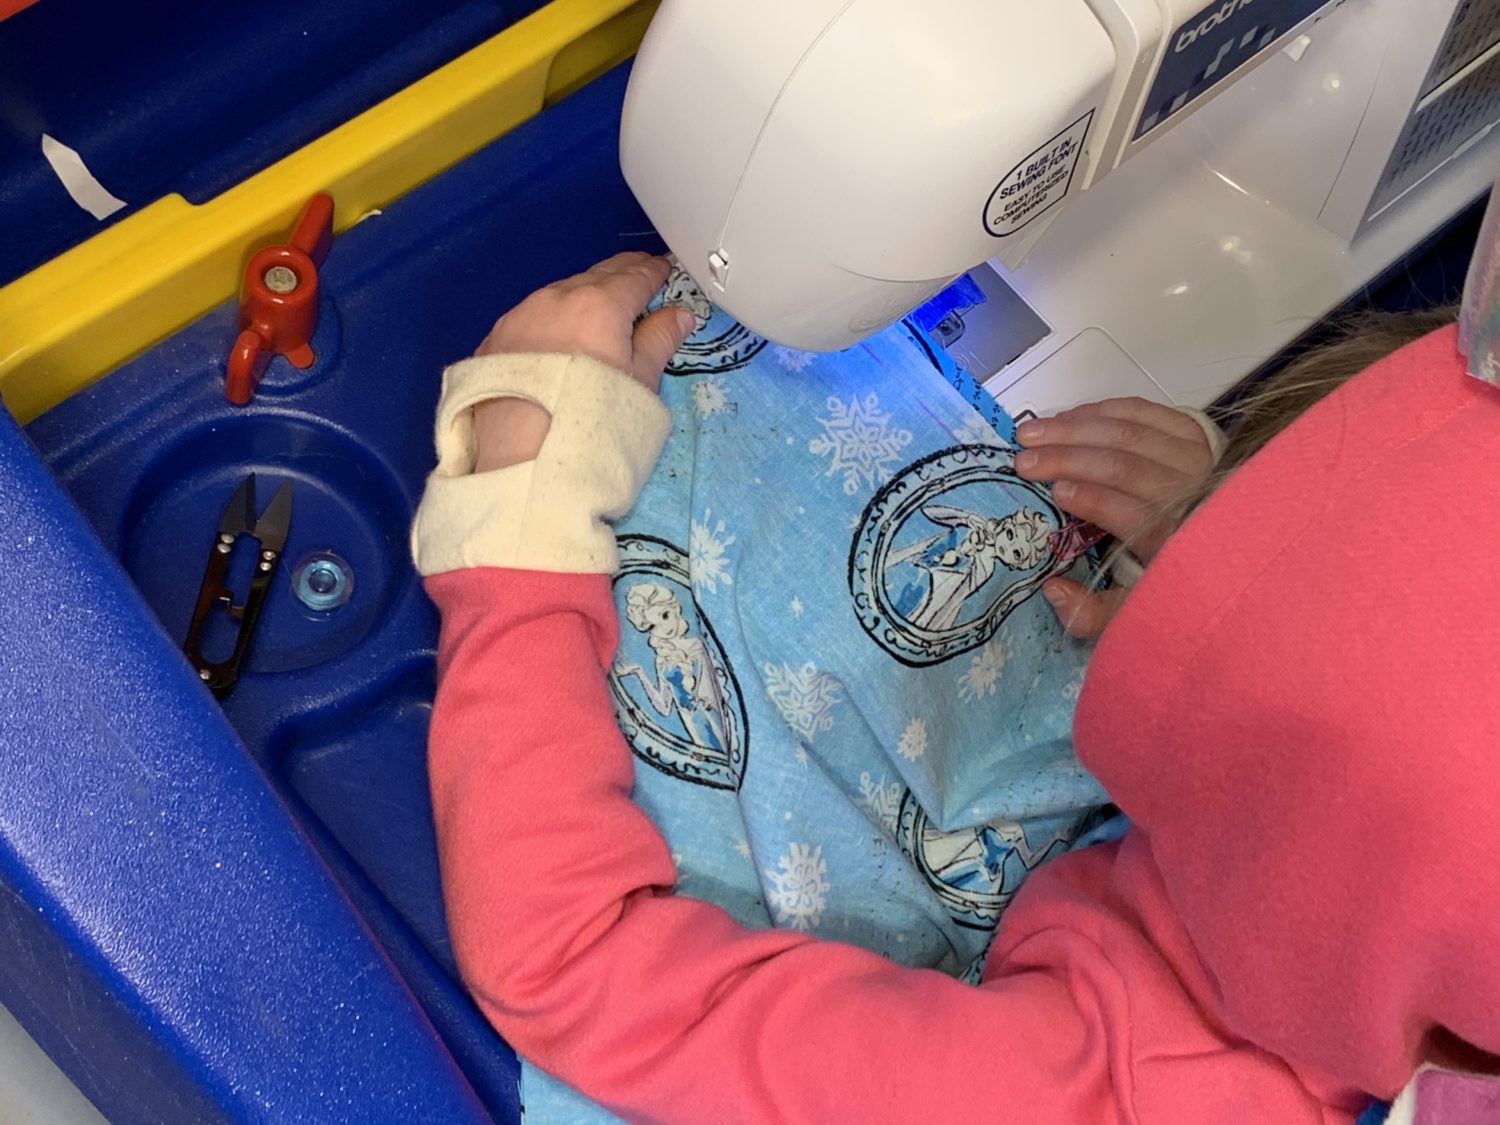
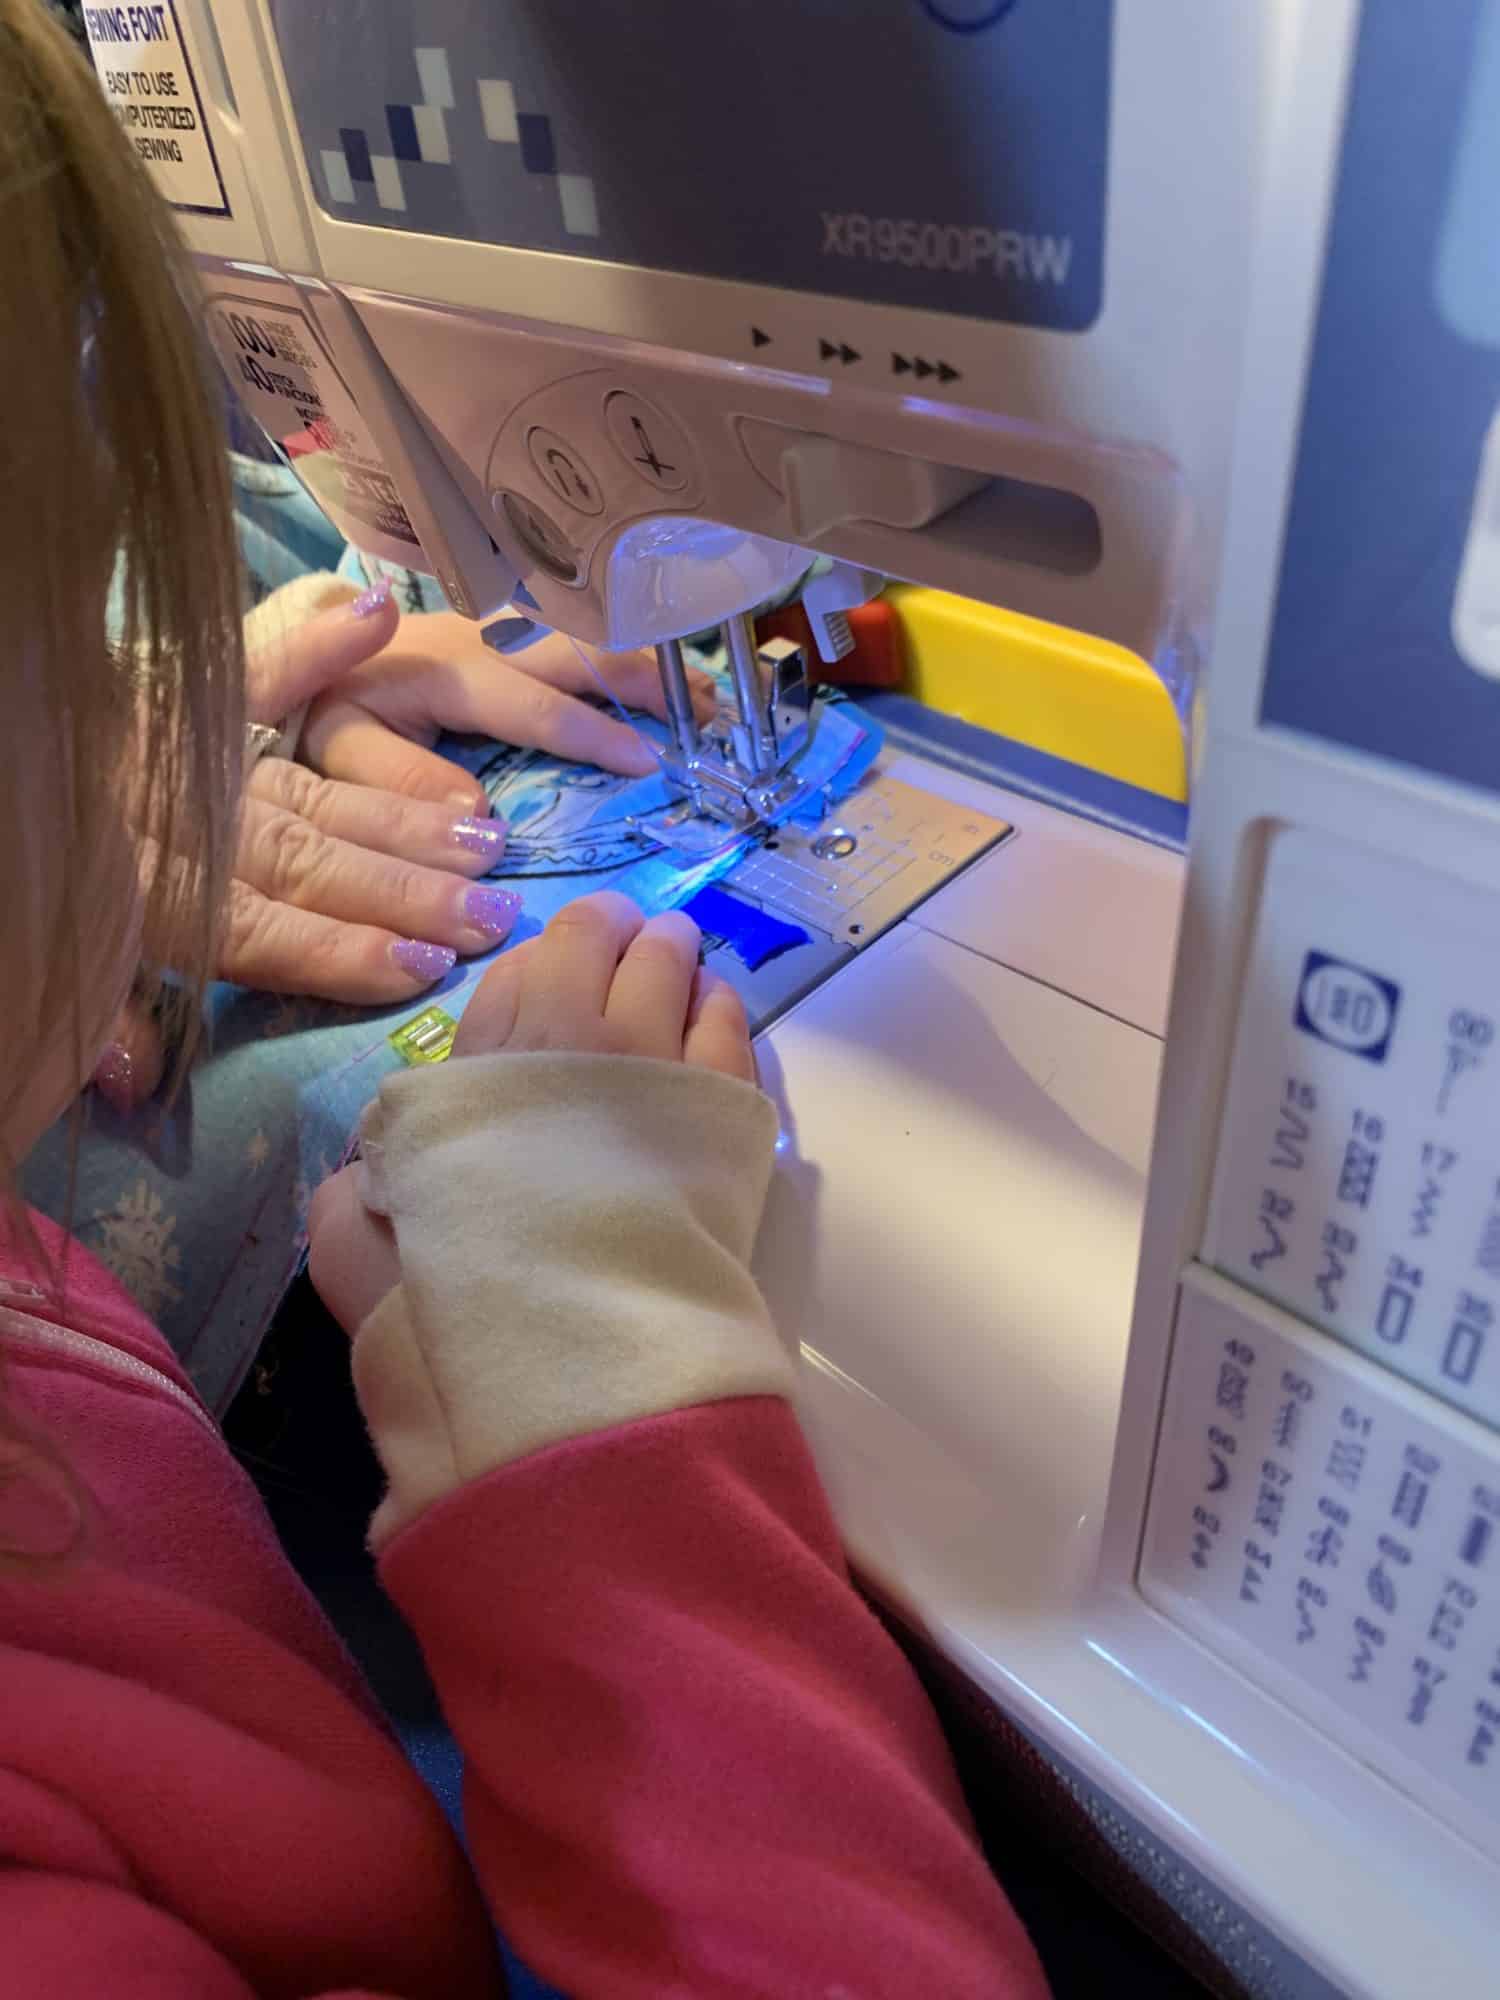
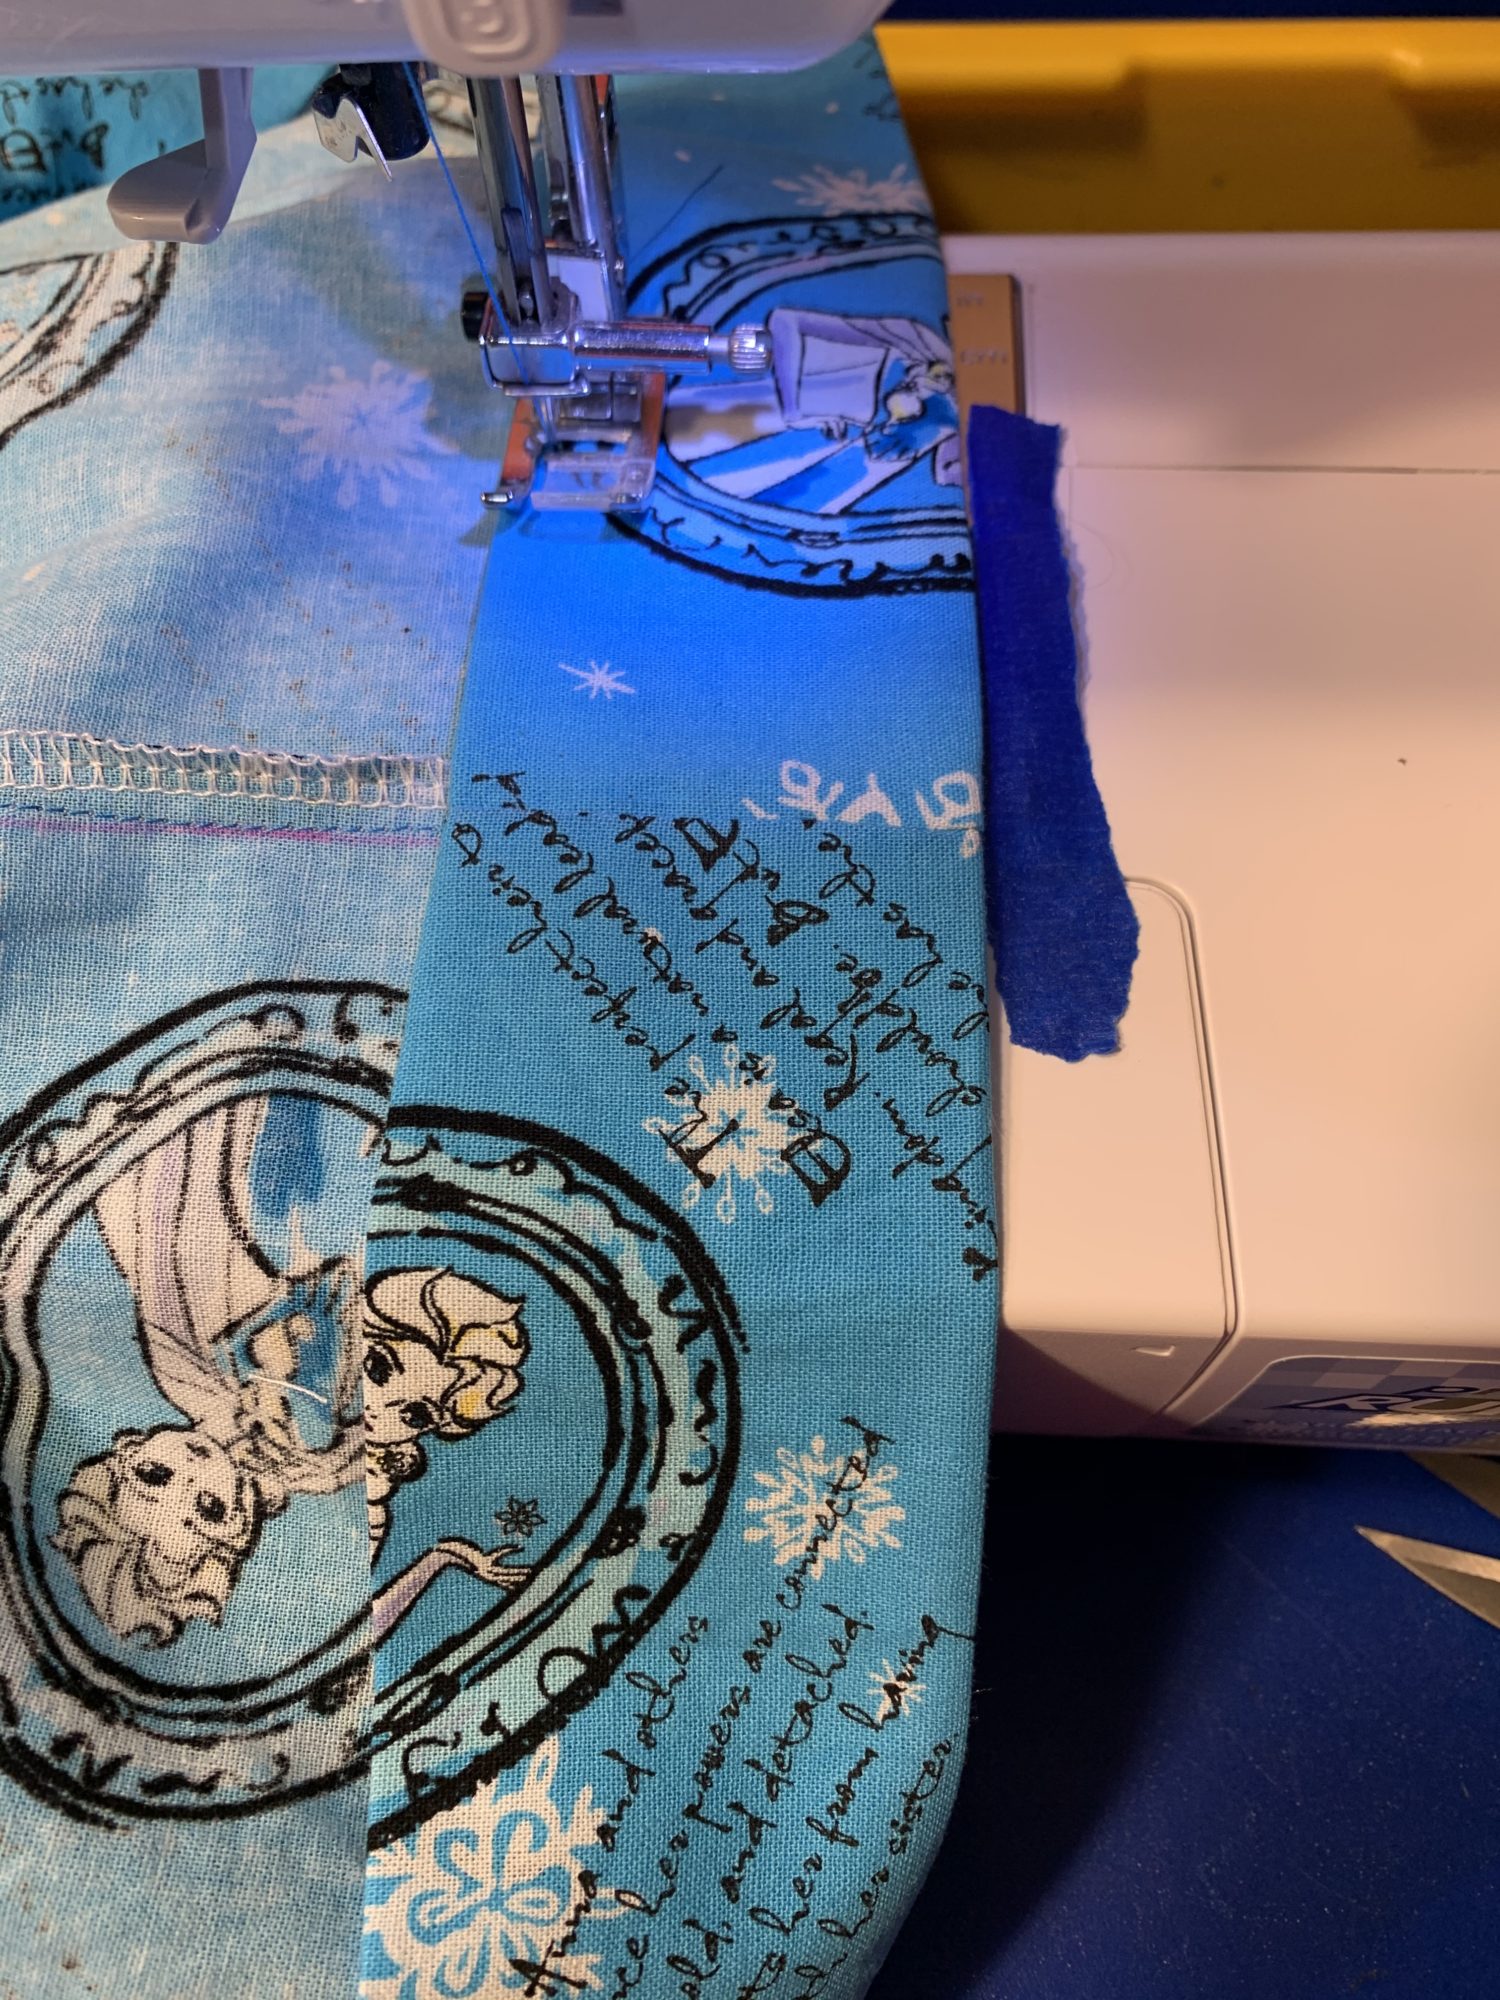
- I put my old sewing machine on my daughter’s desk so that she could reach the pedals.
- I also put a piece of tape in front of the presser foot so that she knew not to put her fingers too close to the needle!
- I let her do all of the sewing, but I kept my hands there to help her if she needed it!
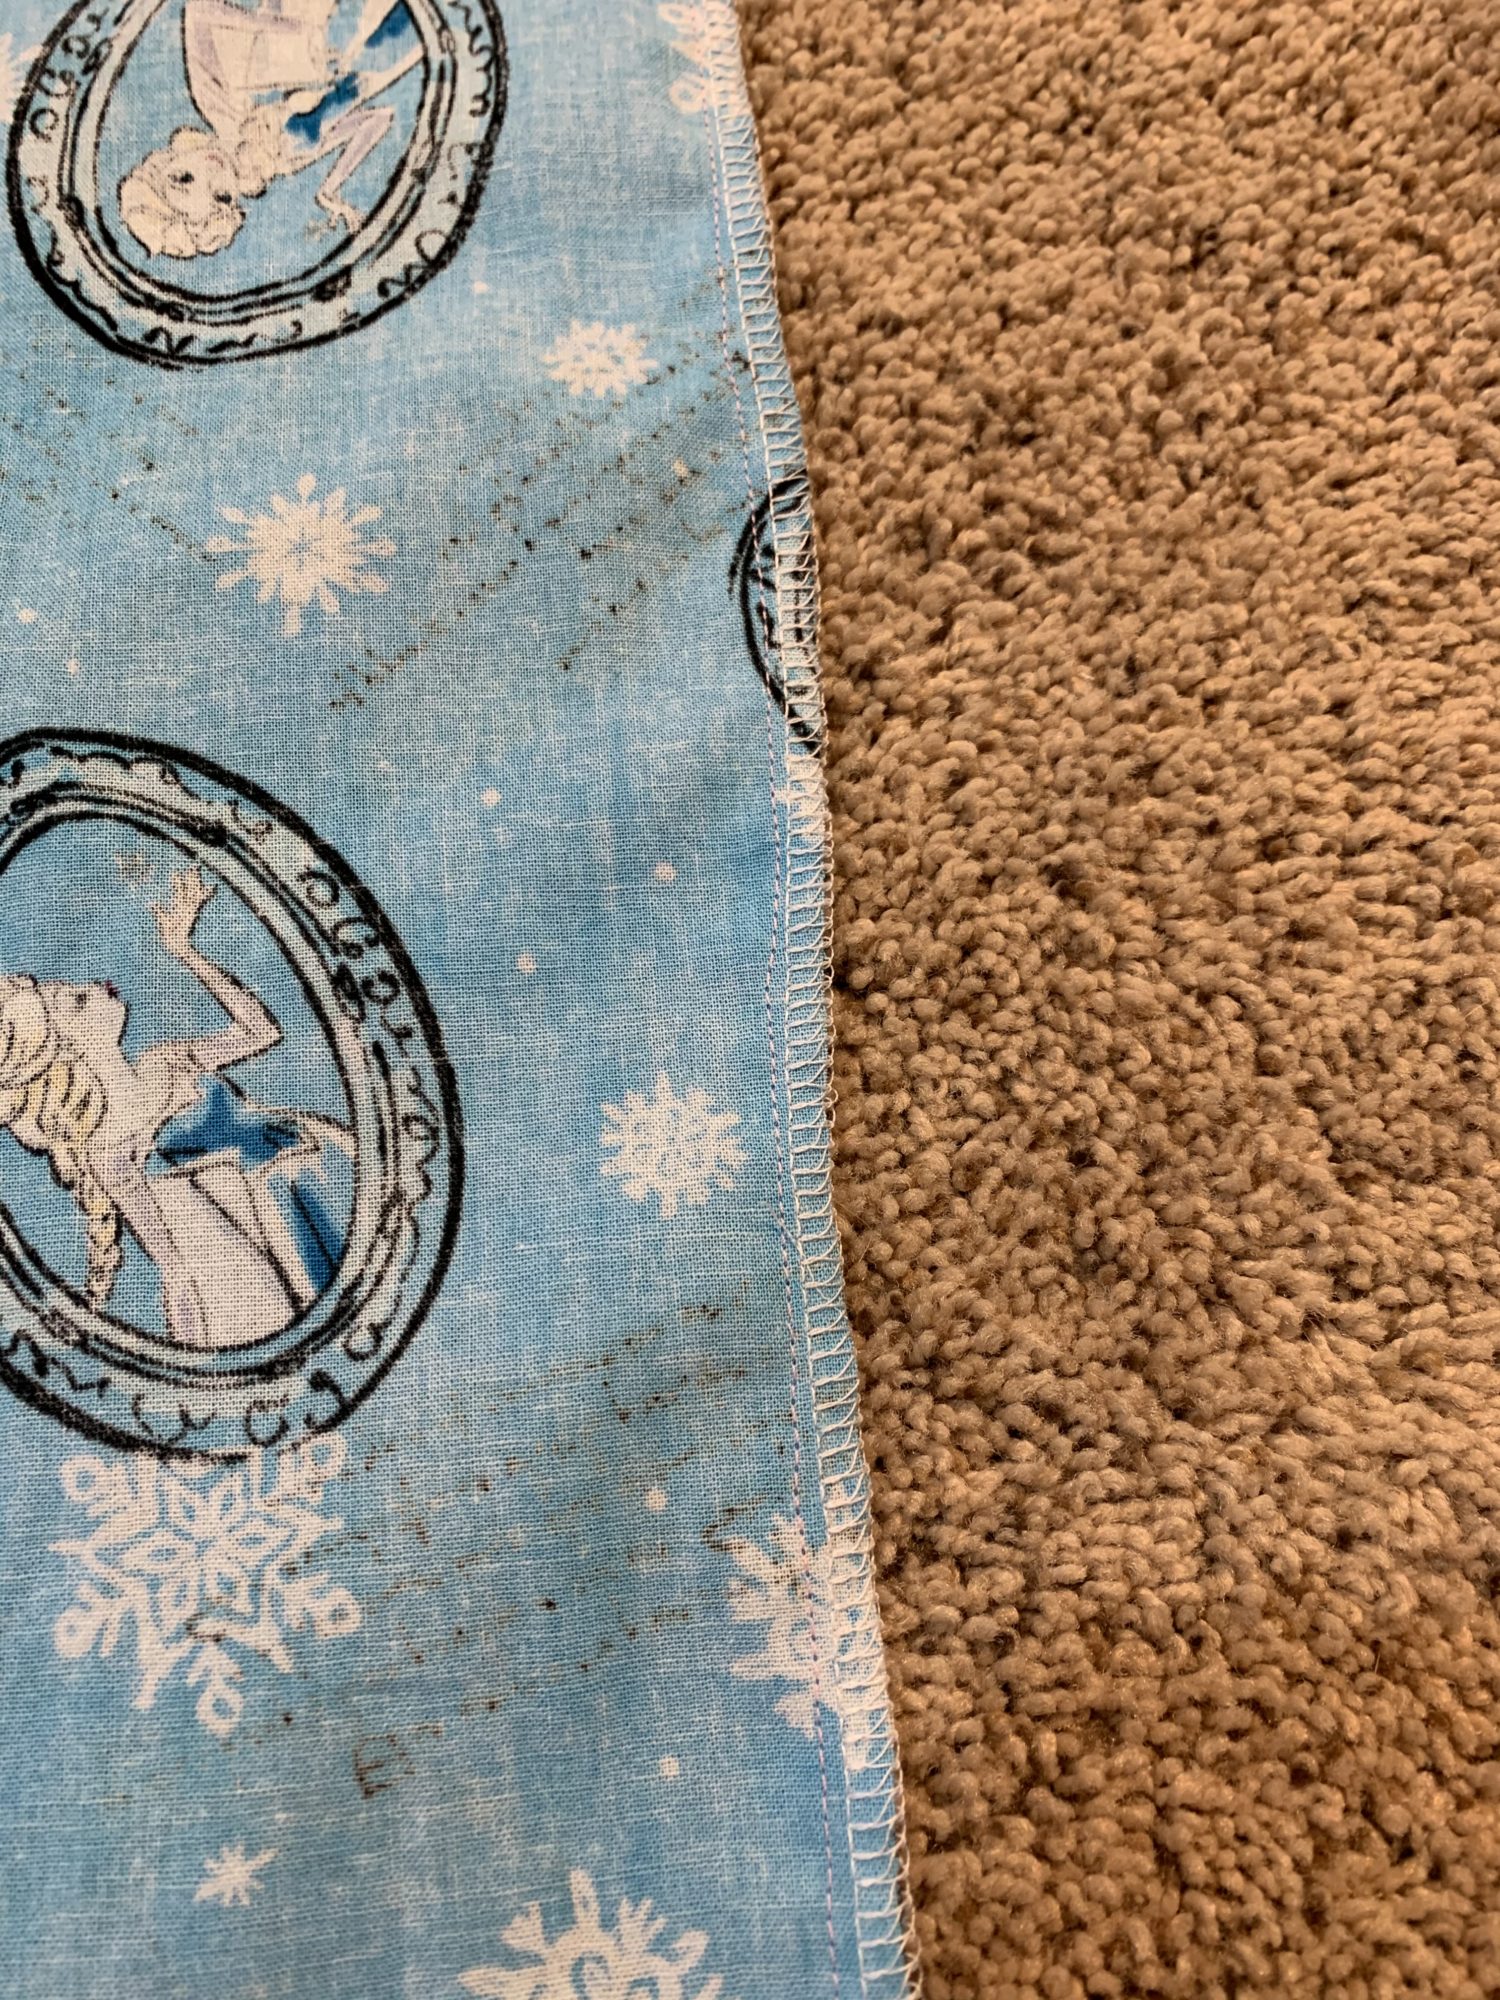
- Finish your seam allowances so that they don’t fray
- I used my serger, but I did this step. I’m not ready to let my 5 year old use my serger!
Hemming the top opening
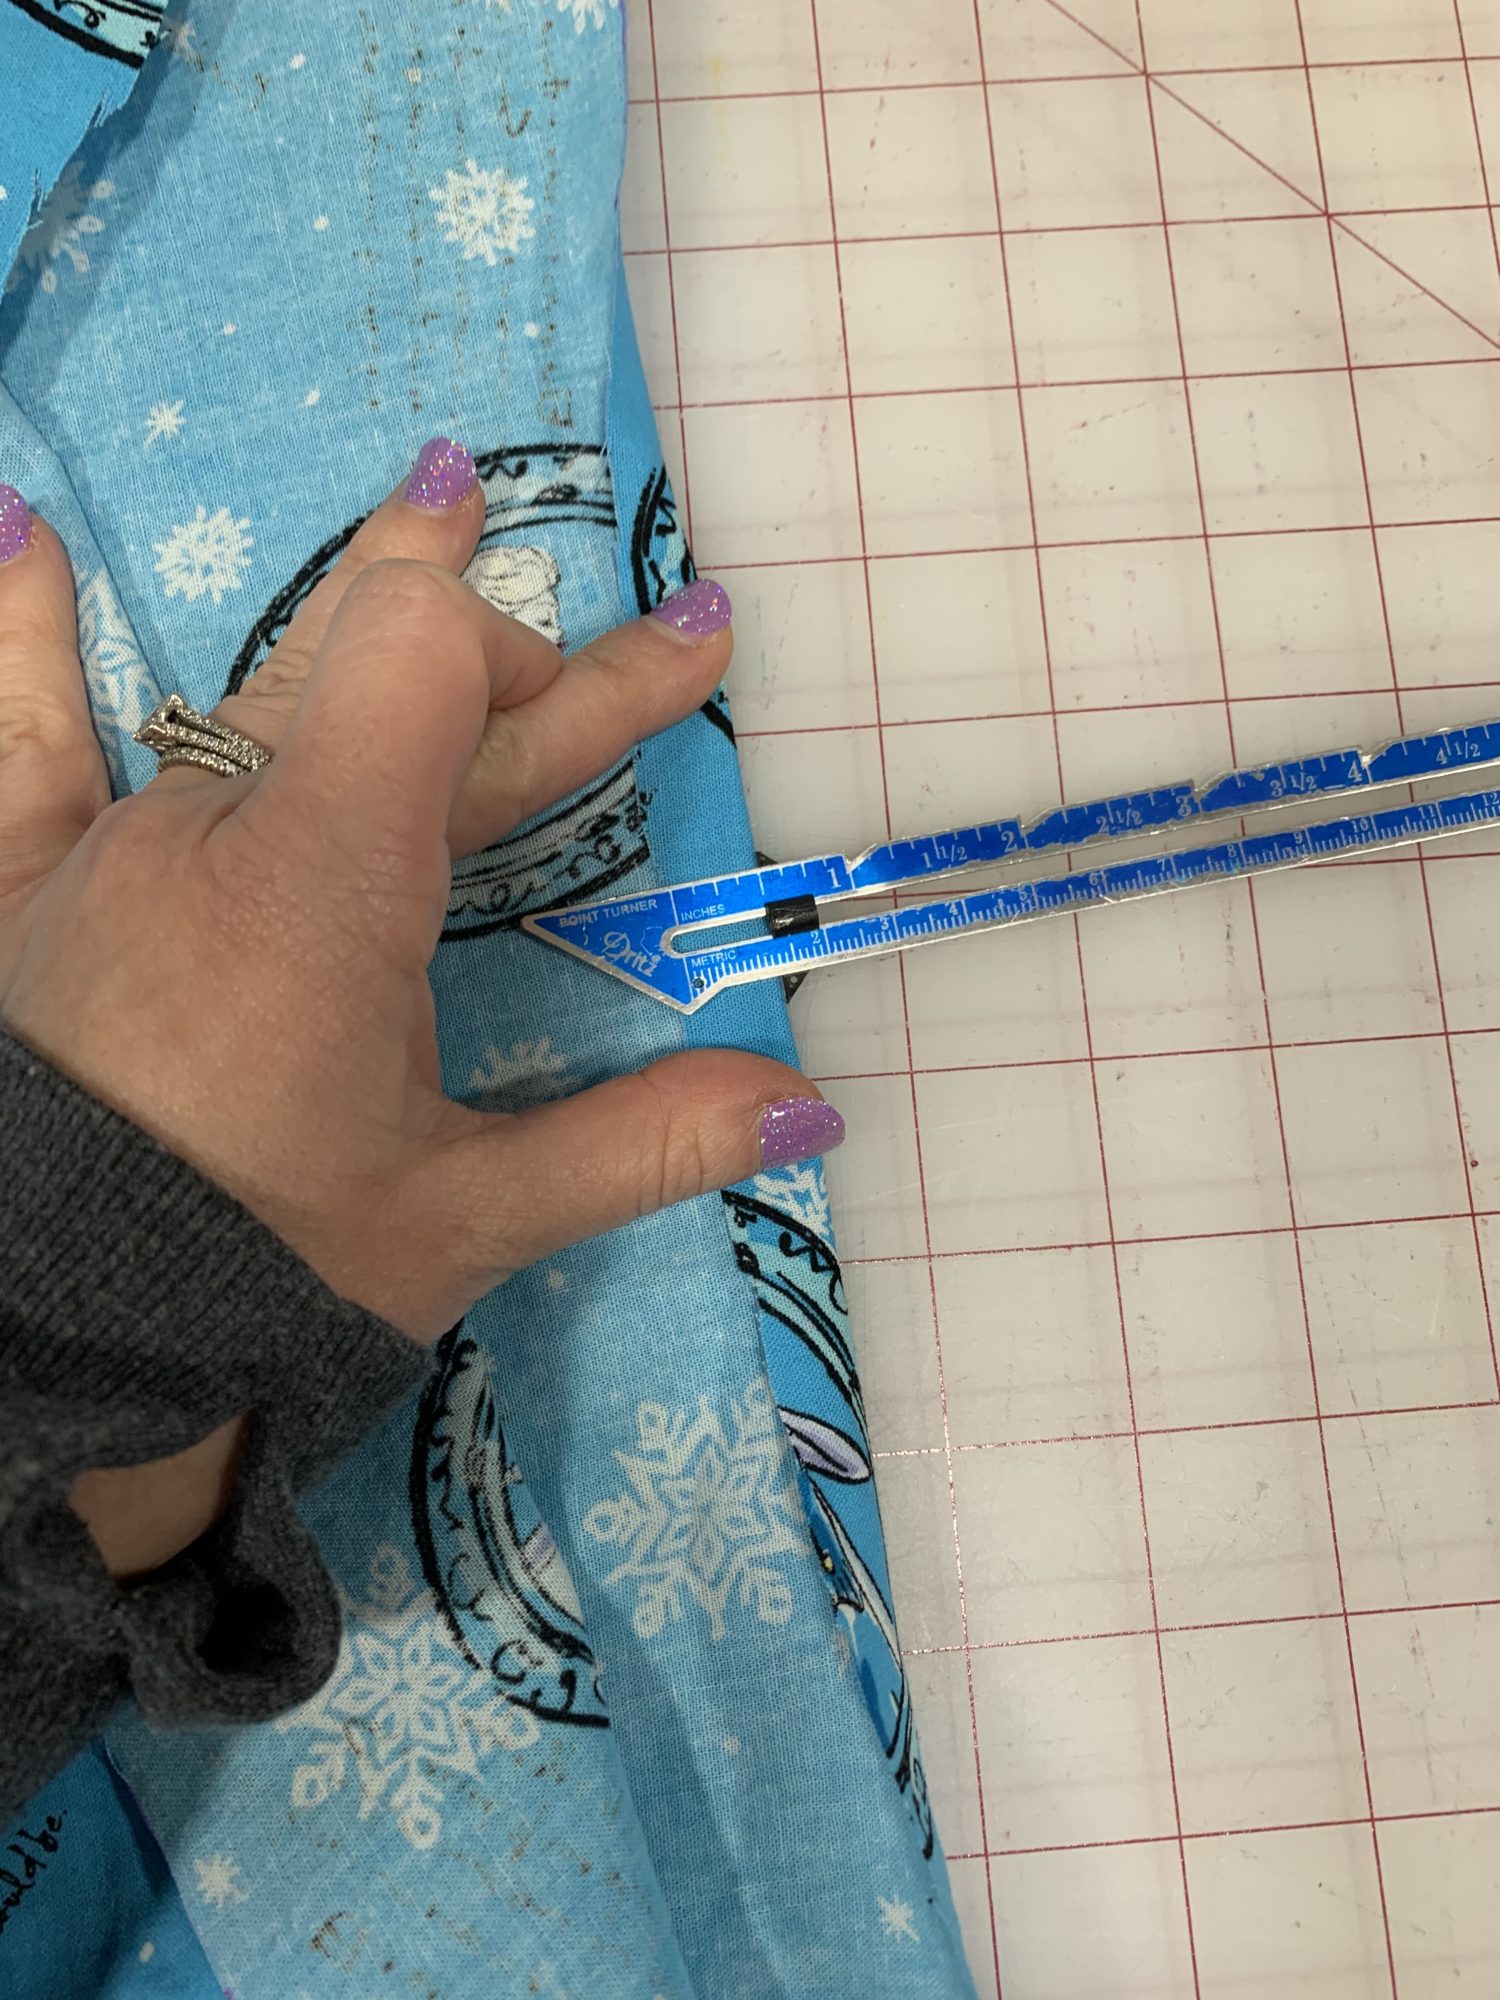
- Turn the top raw edge toward the wrong side of your fabric by 1/2 an inch
- Press well
- Turn the edge another 2 inches
- Press well again
- I also did the pressing just to prevent little fingers from getting burned!
- Sew along the bottom edge of the fold to secure your hem
- I did not draw a stitch line for her to follow this time because I didn’t want it to show after the pillowcase was finished. I did put a piece of tape on the sewing machine to guide her, but it didn’t work as well as drawing the stitch line. She didn’t understand the tape as much as the line. I think that next time I would use a washable pen and draw the stitch line.
All done!
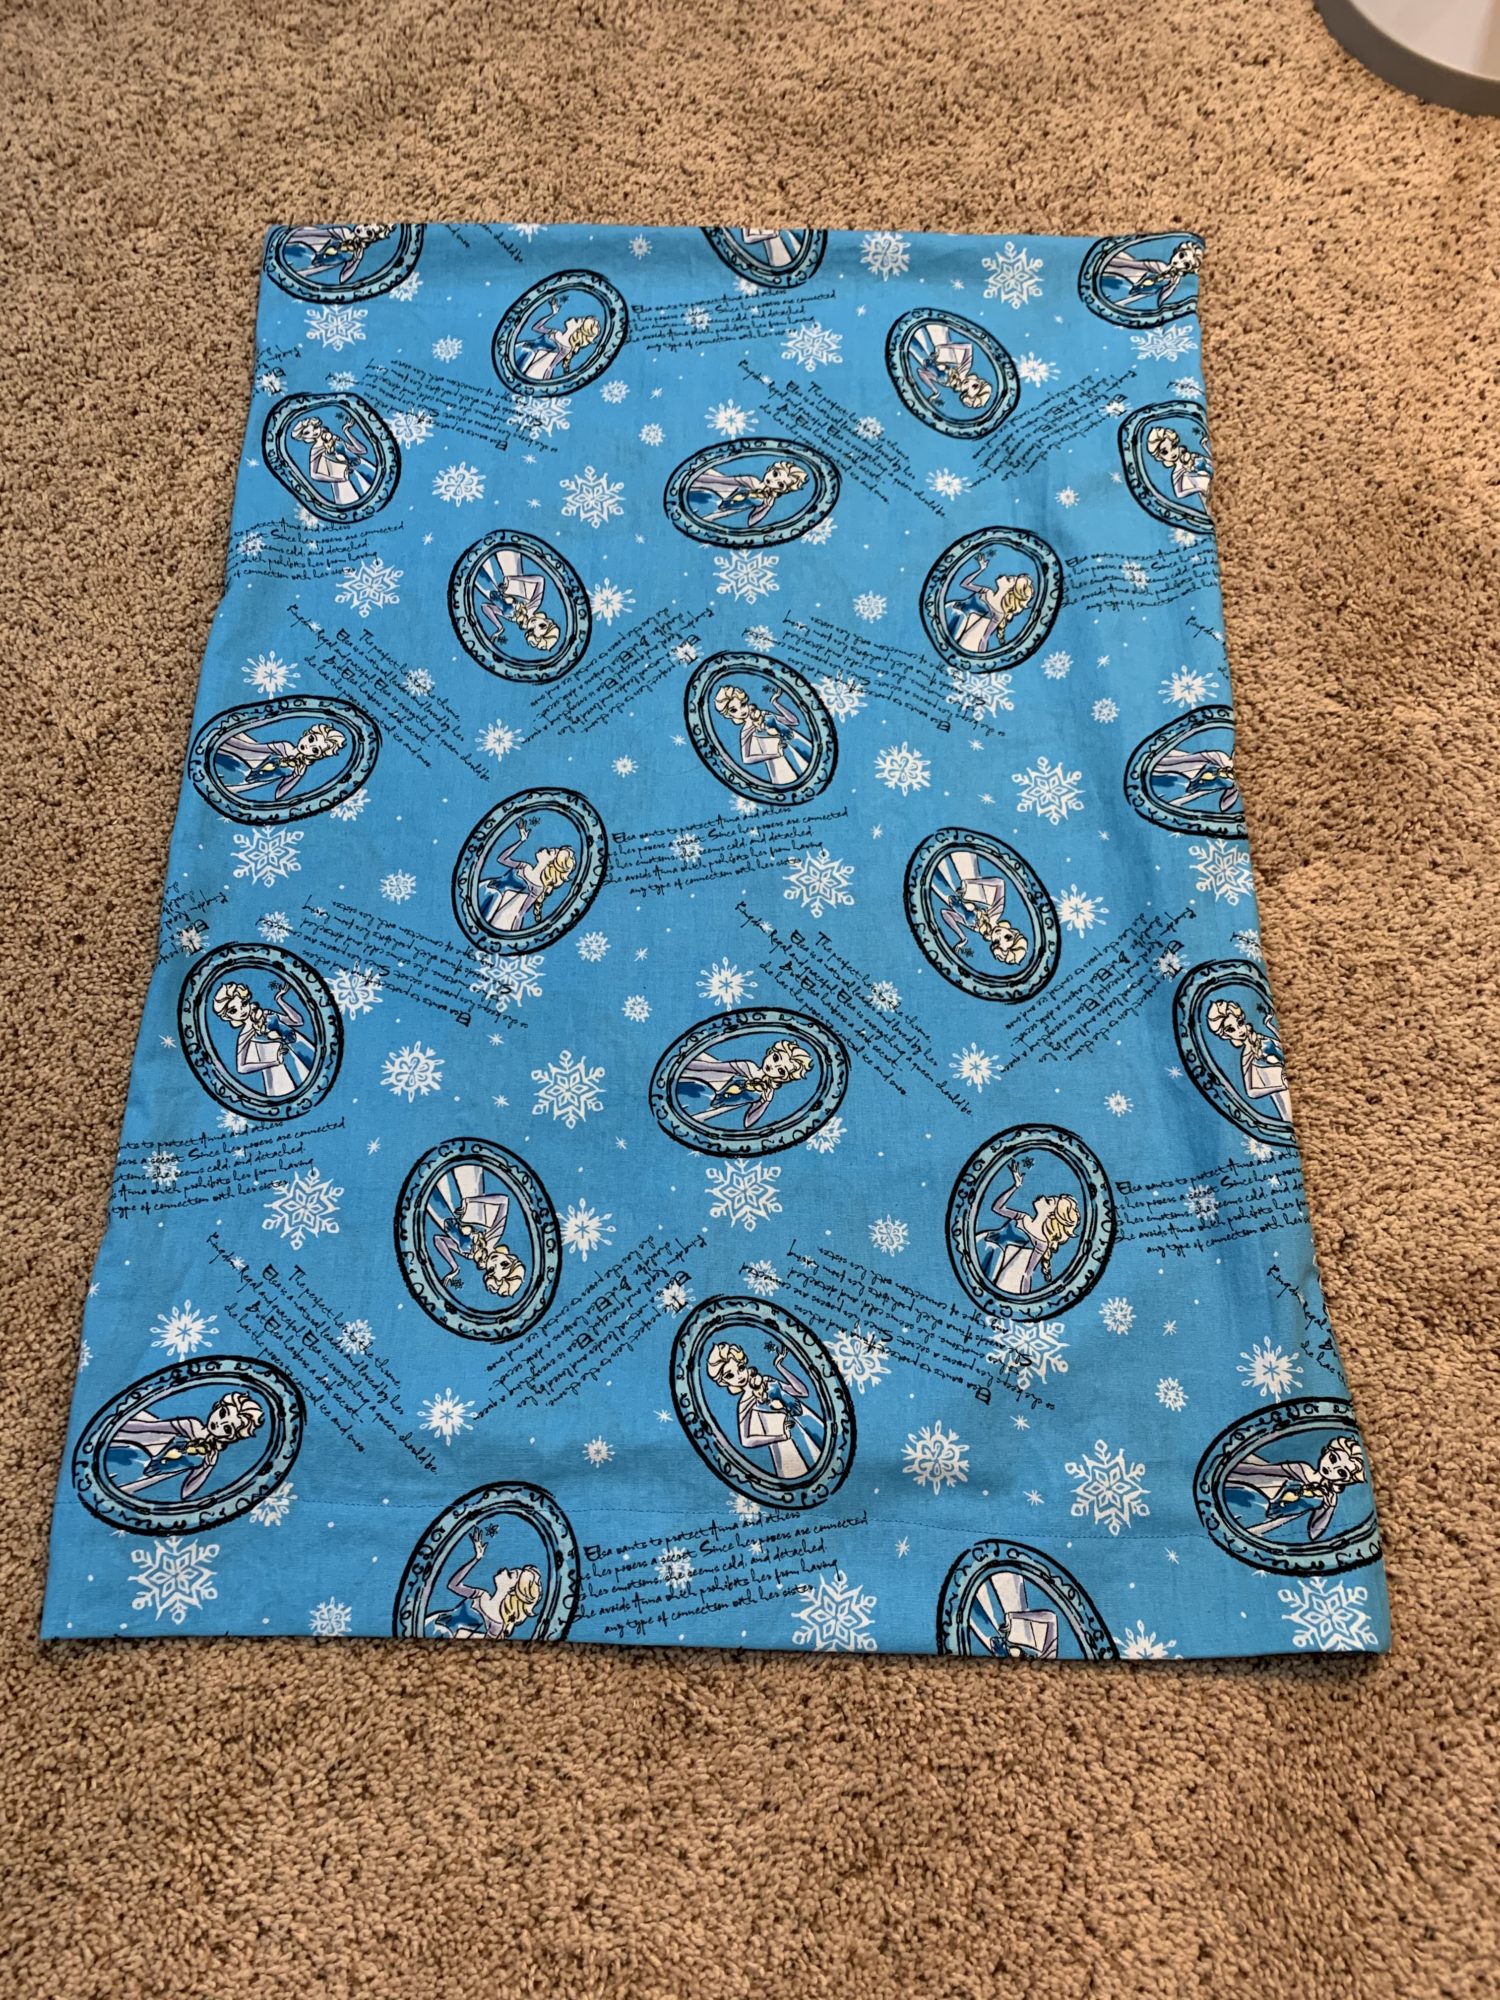
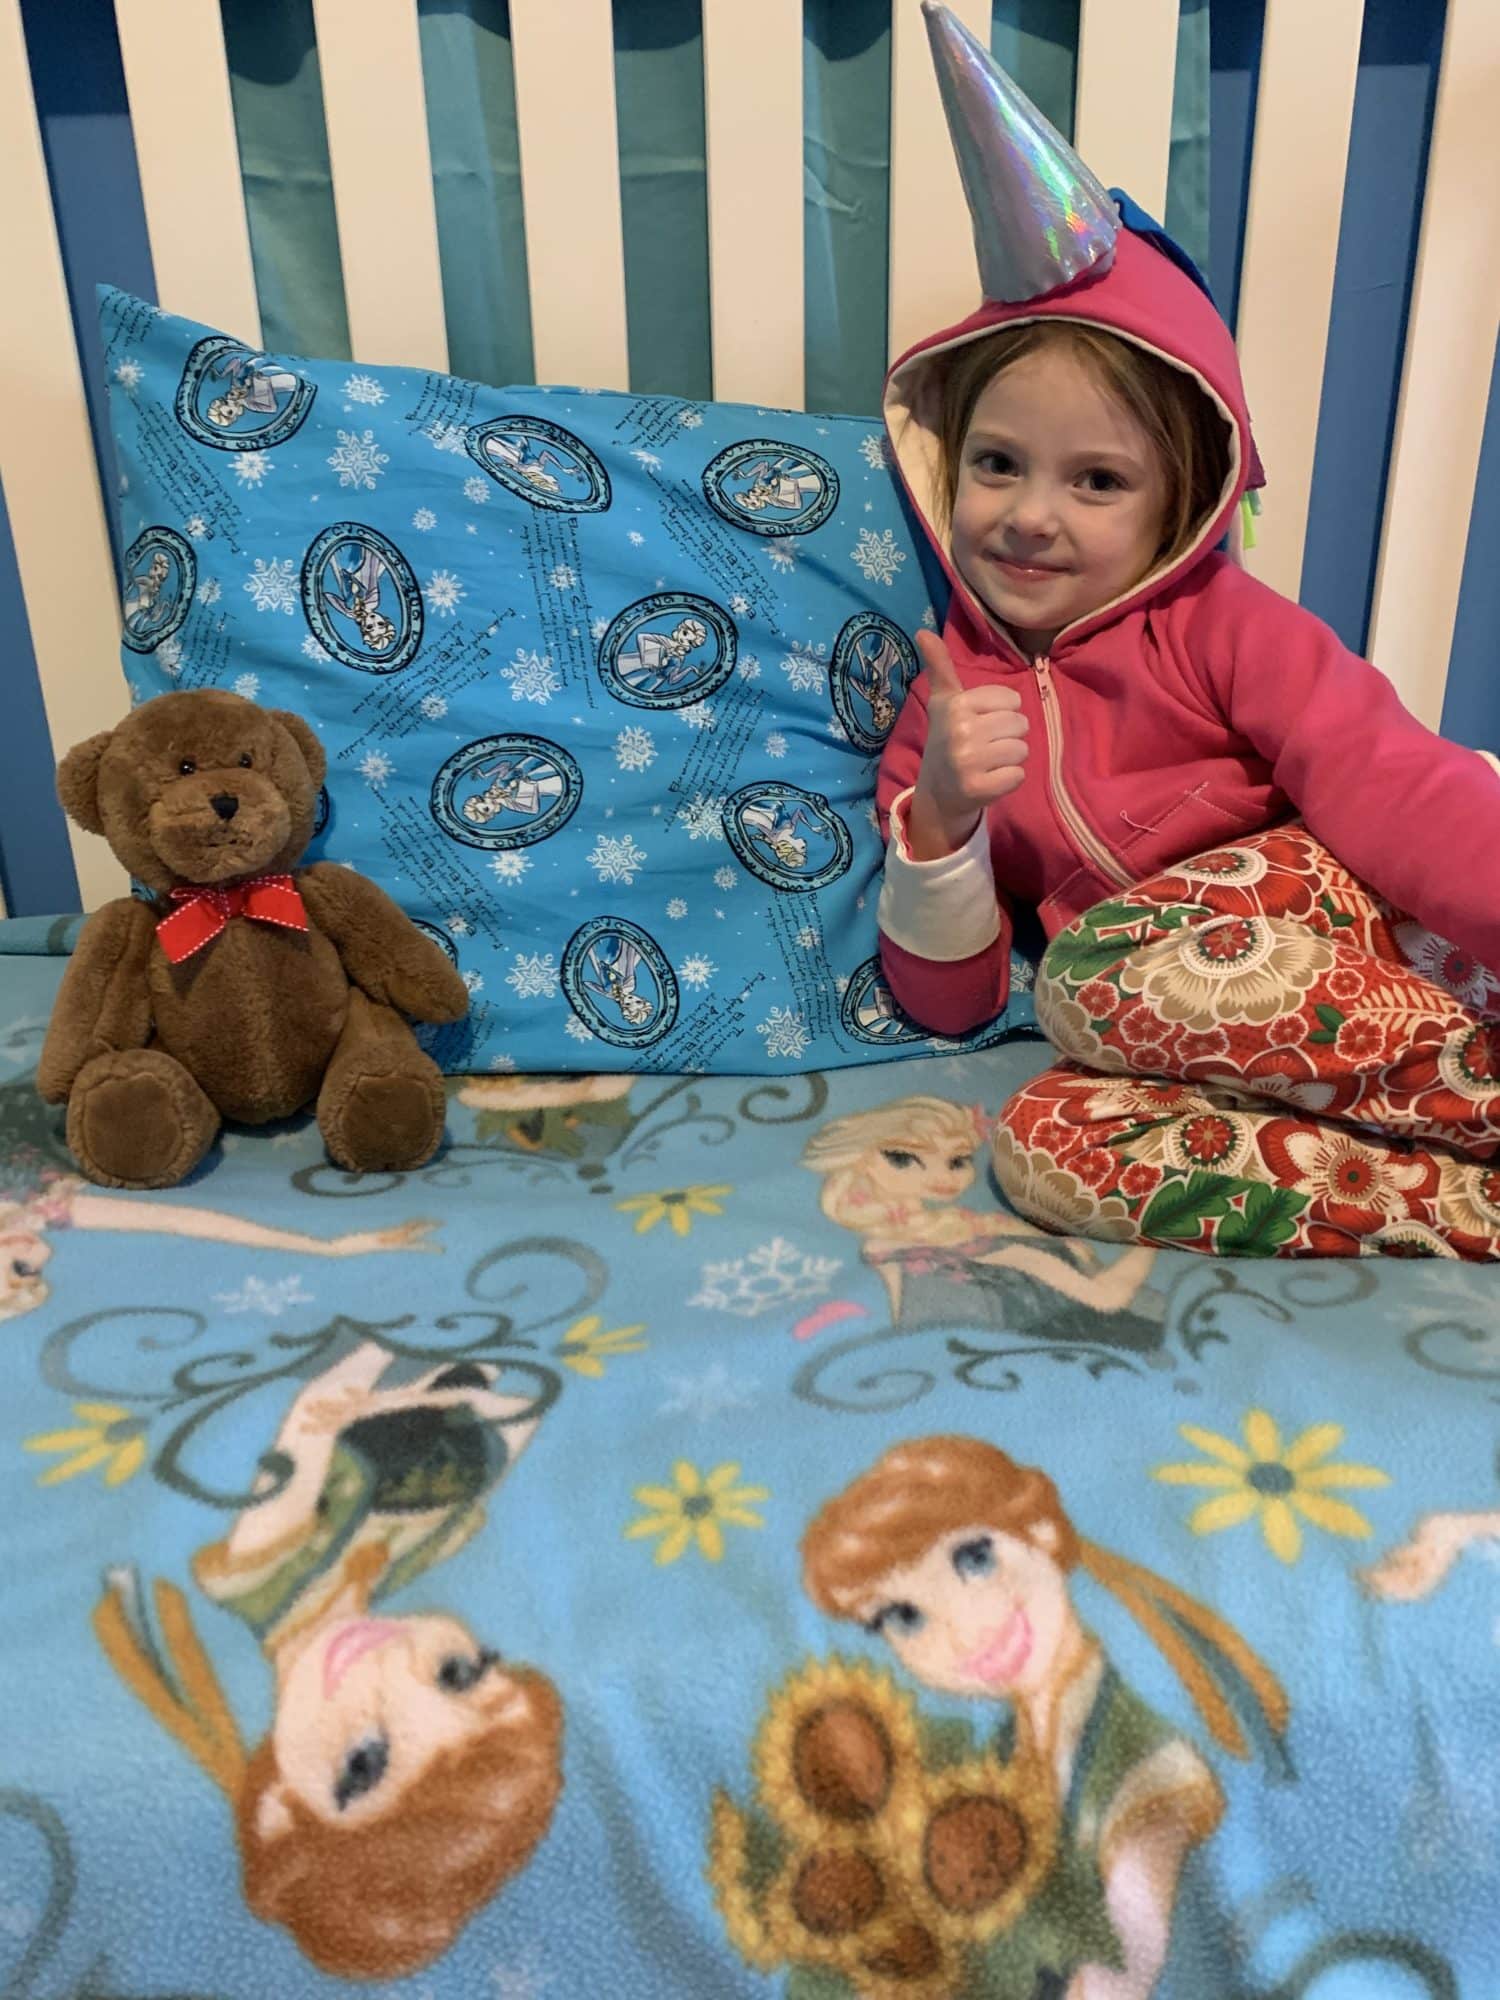
It’s so great to see the look of joy on her face! She is so proud that she sewed a project all by herself! I just love seeing the sense of accomplishment that she feels! I hope your kids enjoyed sewing their very own basic pillowcase!
Do you like her outfit?! Haha! She picked it out! It is rather ironic that she chose this hoodie to wear today since I made it for her! See the post here 🙂
Want more FUN DIY Freebies? Check out the FREEBIE TUTORIALS and the FREEBIE PATTERNS!
As always, we’re here to help if you need it! Join us HERE and on Facebook, Instagram, Twitter, Youtube, and Pinterest. We’re everywhere you are.
Leave a Reply