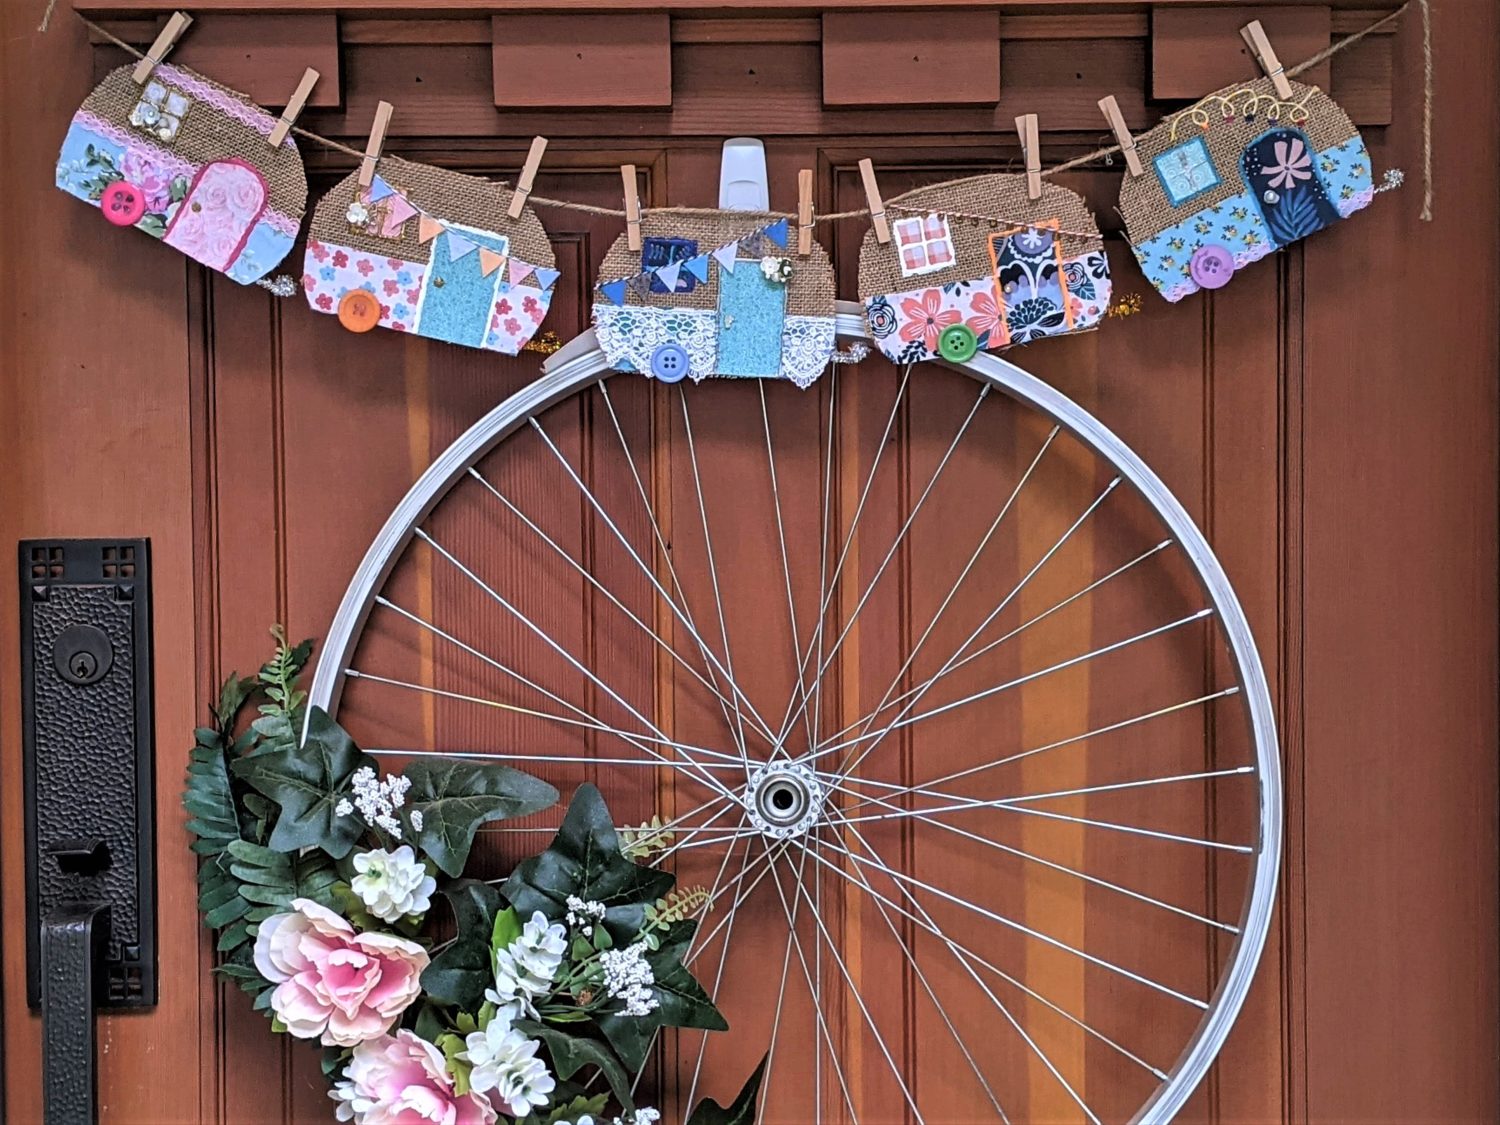
Camping and summer go hand-in-hand, so obviously I needed some adorable campers to decorate my house for summertime. I provide the camper outline, and you get to be crafty and create your dream camper convoy to display in your home. Let’s go camping!
Supplies:
- Download and print your camper template:
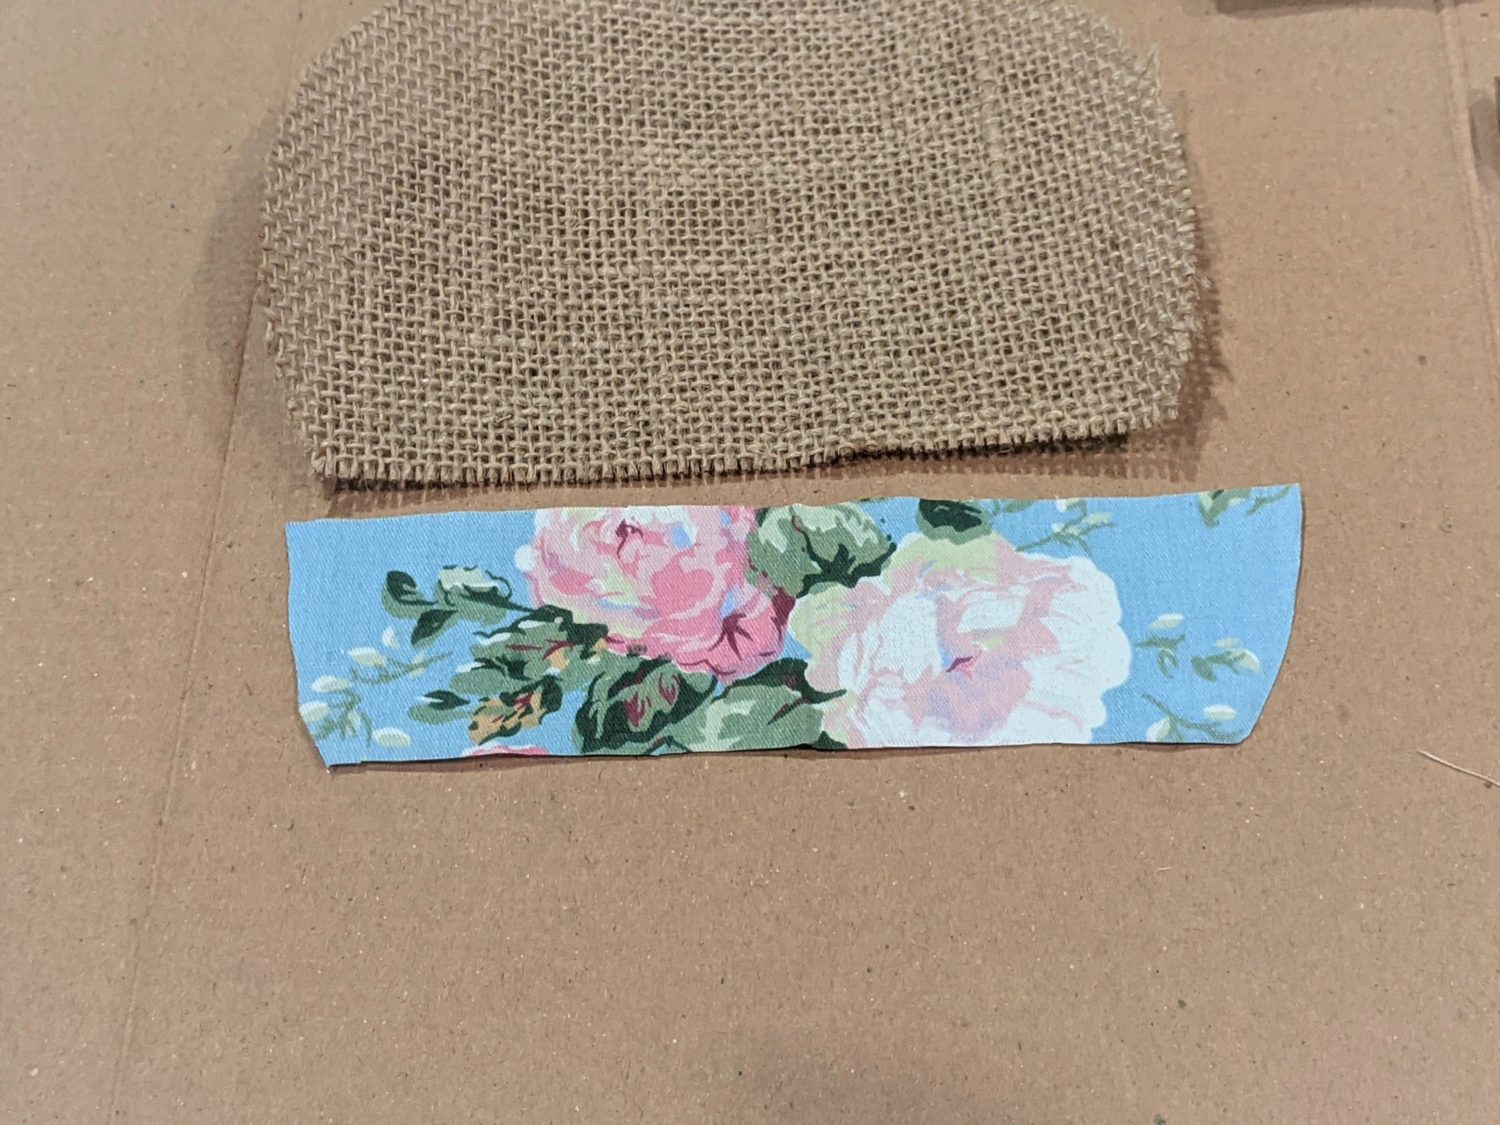
- Burlap, or other sturdy material for the main camper piece
- Fabric (bottom, door, and window)
- Other embellishment items: string, ribbon, felt, etc.
- Fabric glue, and/or sewing machine
- Button (wheel)
- Air soluble marker
- String and mini clothespins
- Optional: fabric paint, pipe cleaner (for hitch)
Cut out your pieces:
- Print and cut out your camper template
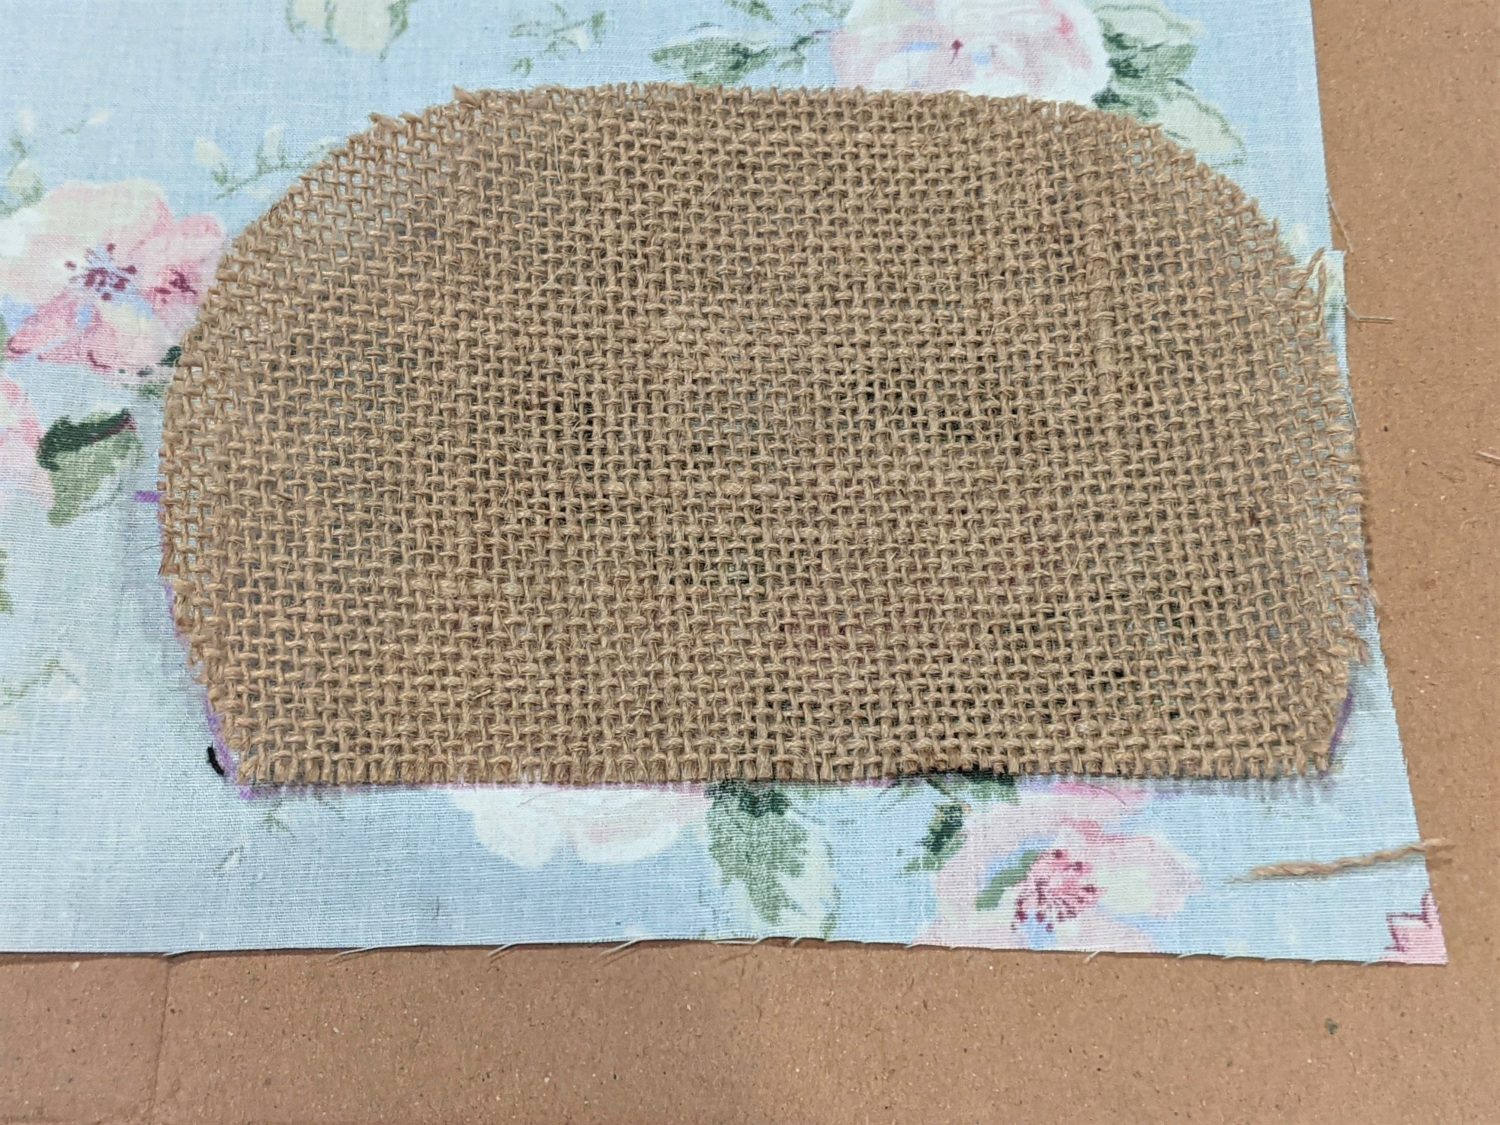
- Use the camper template and trace the outline onto your burlap or other main material with your air soluble marker
- Cut out your other camper parts from your fabric:
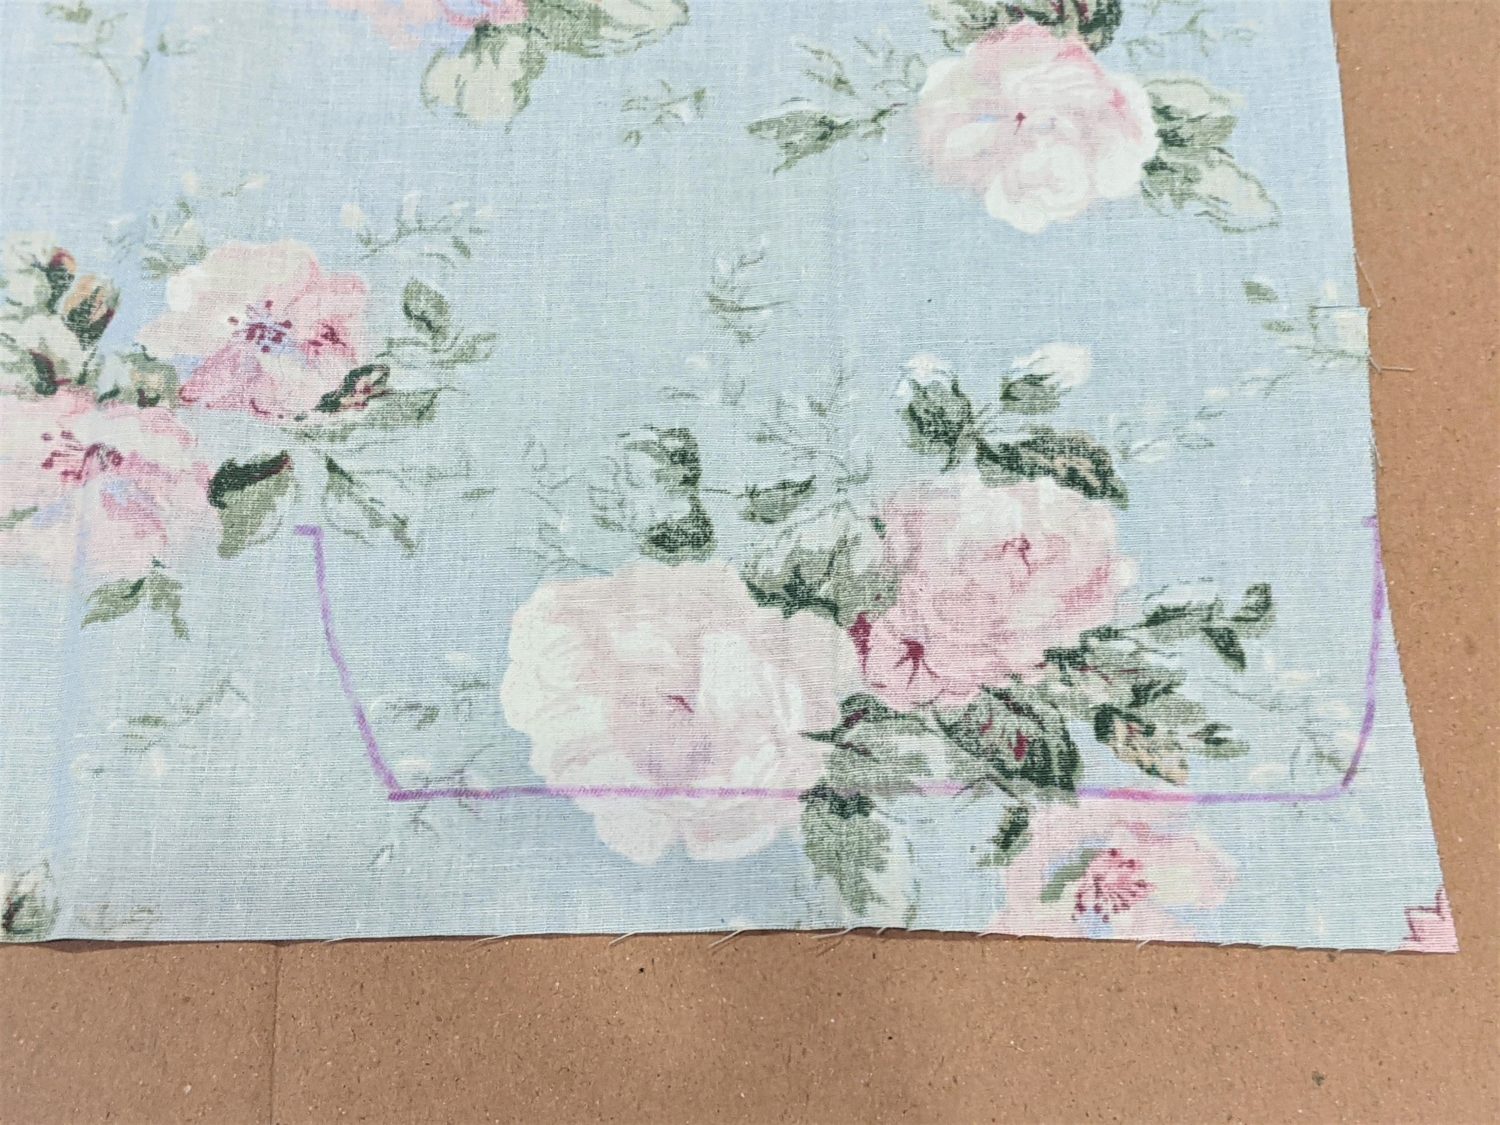
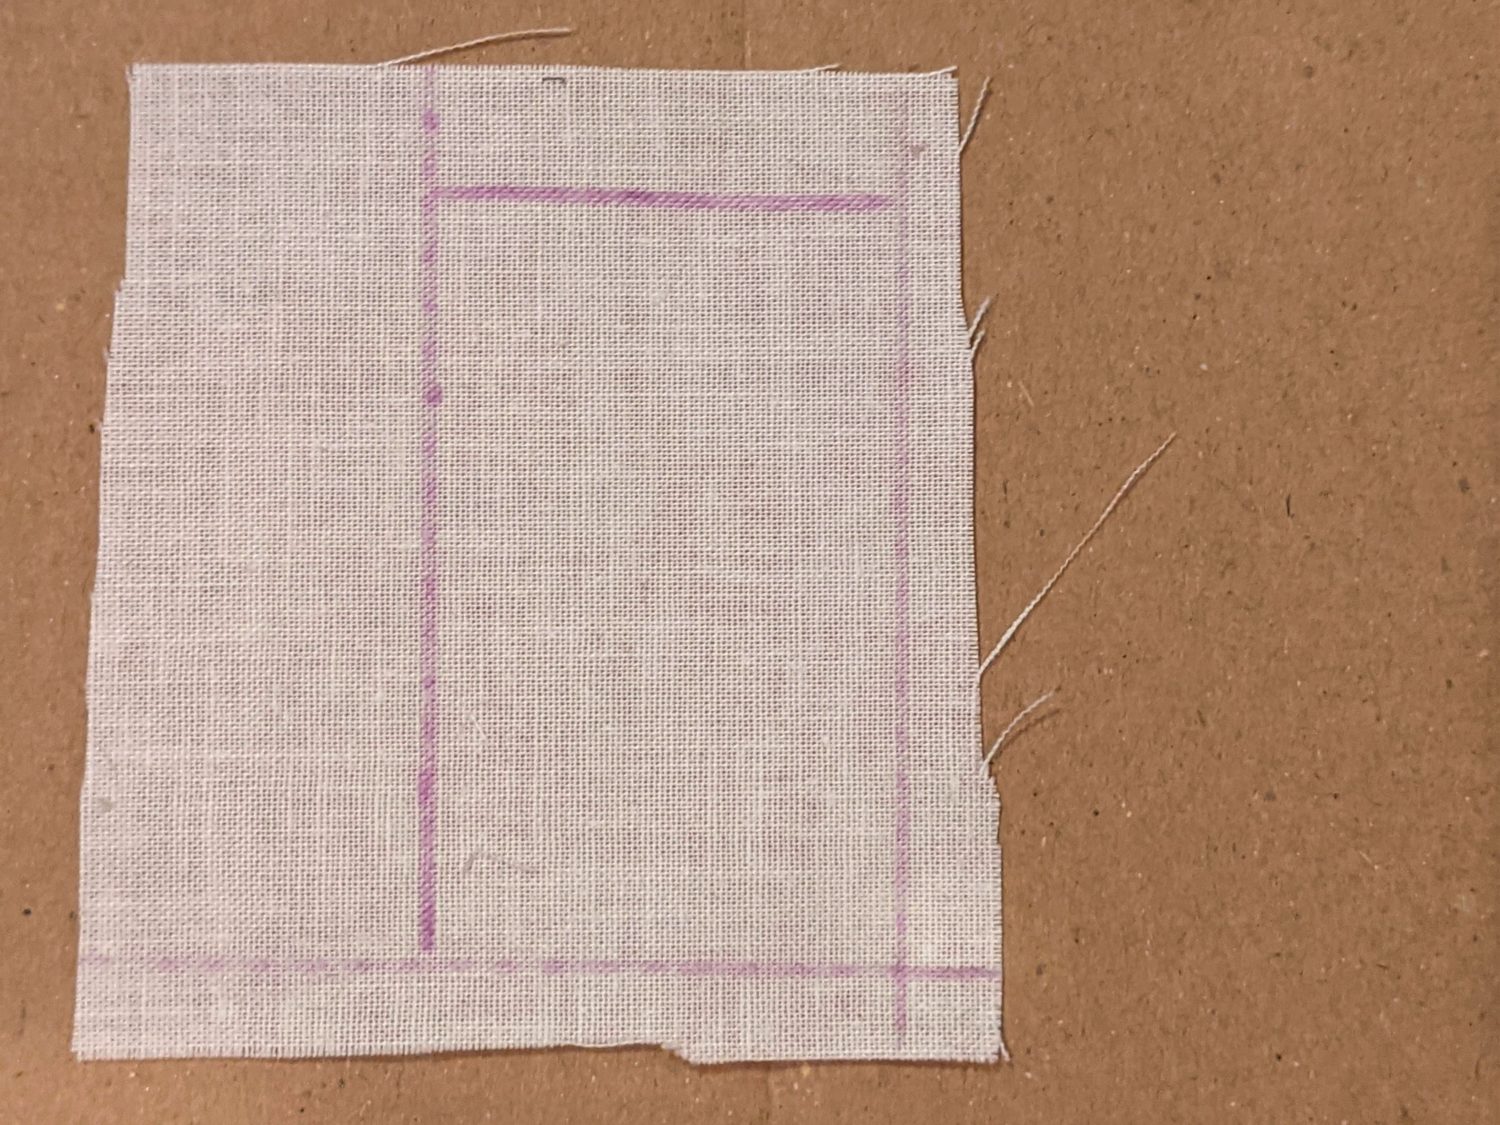
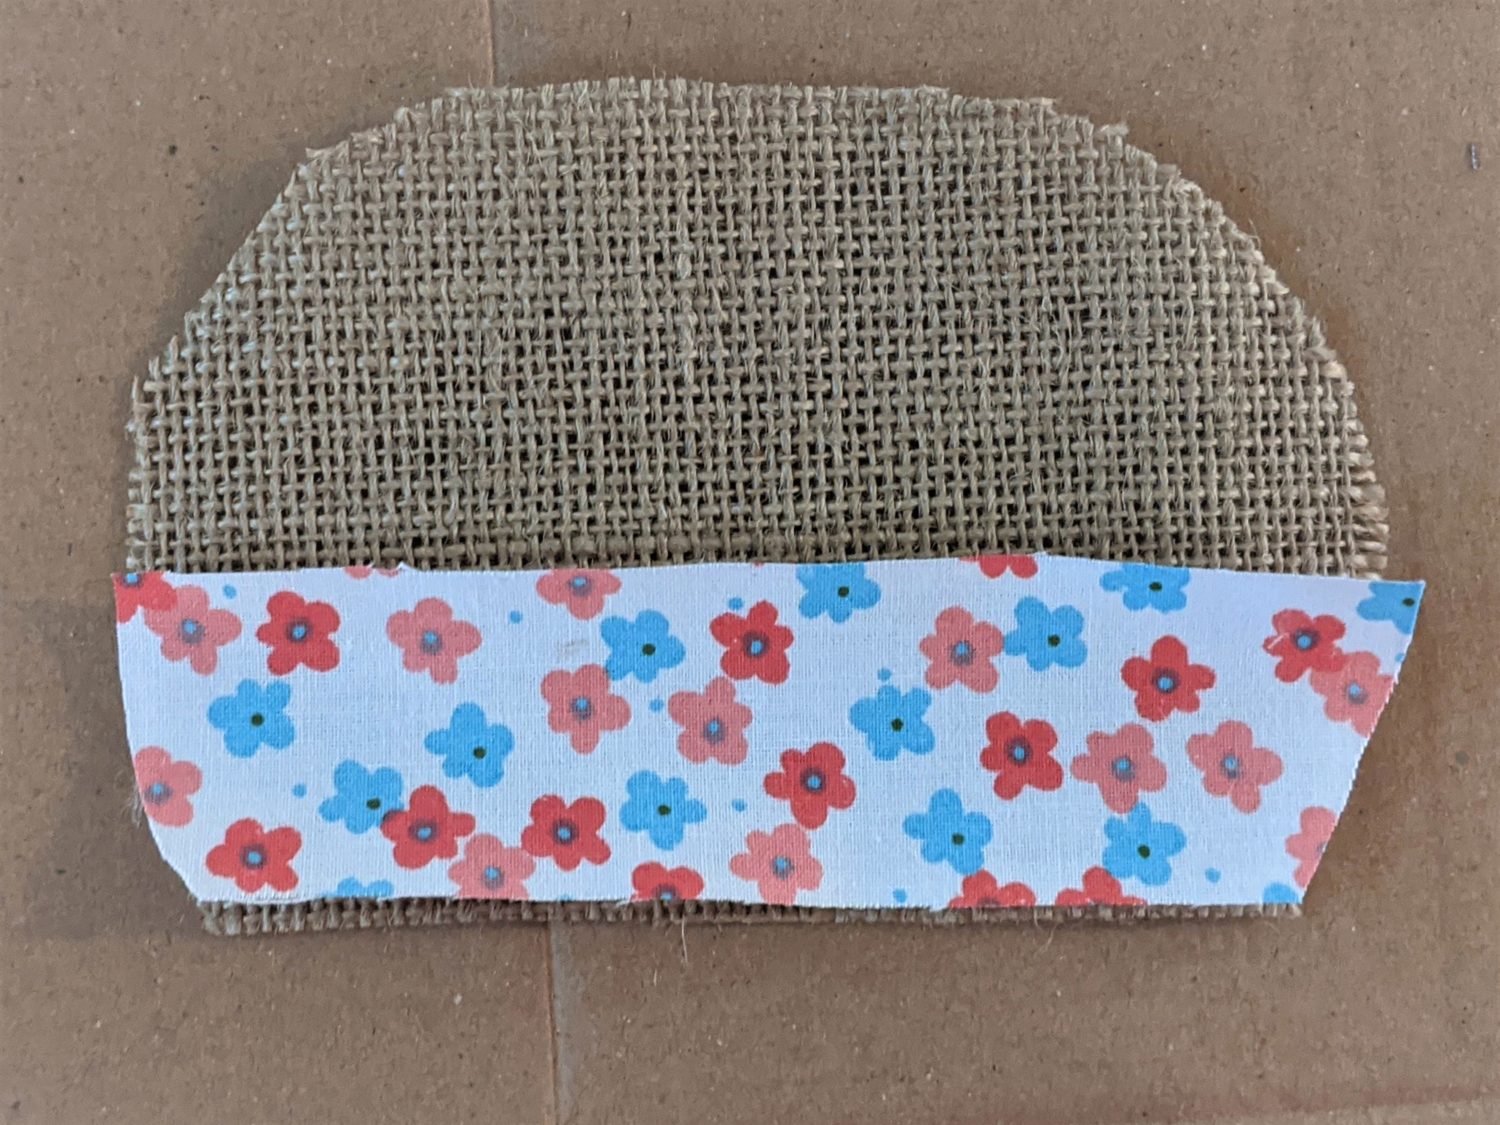
- Bottom Liner:
- Lay the camper template on your fabric
- Measure up 1.5″ from the bottom and mark on each side
- Trace from your markings, down the sides, and along the bottom
- Cut out bottom liner piece
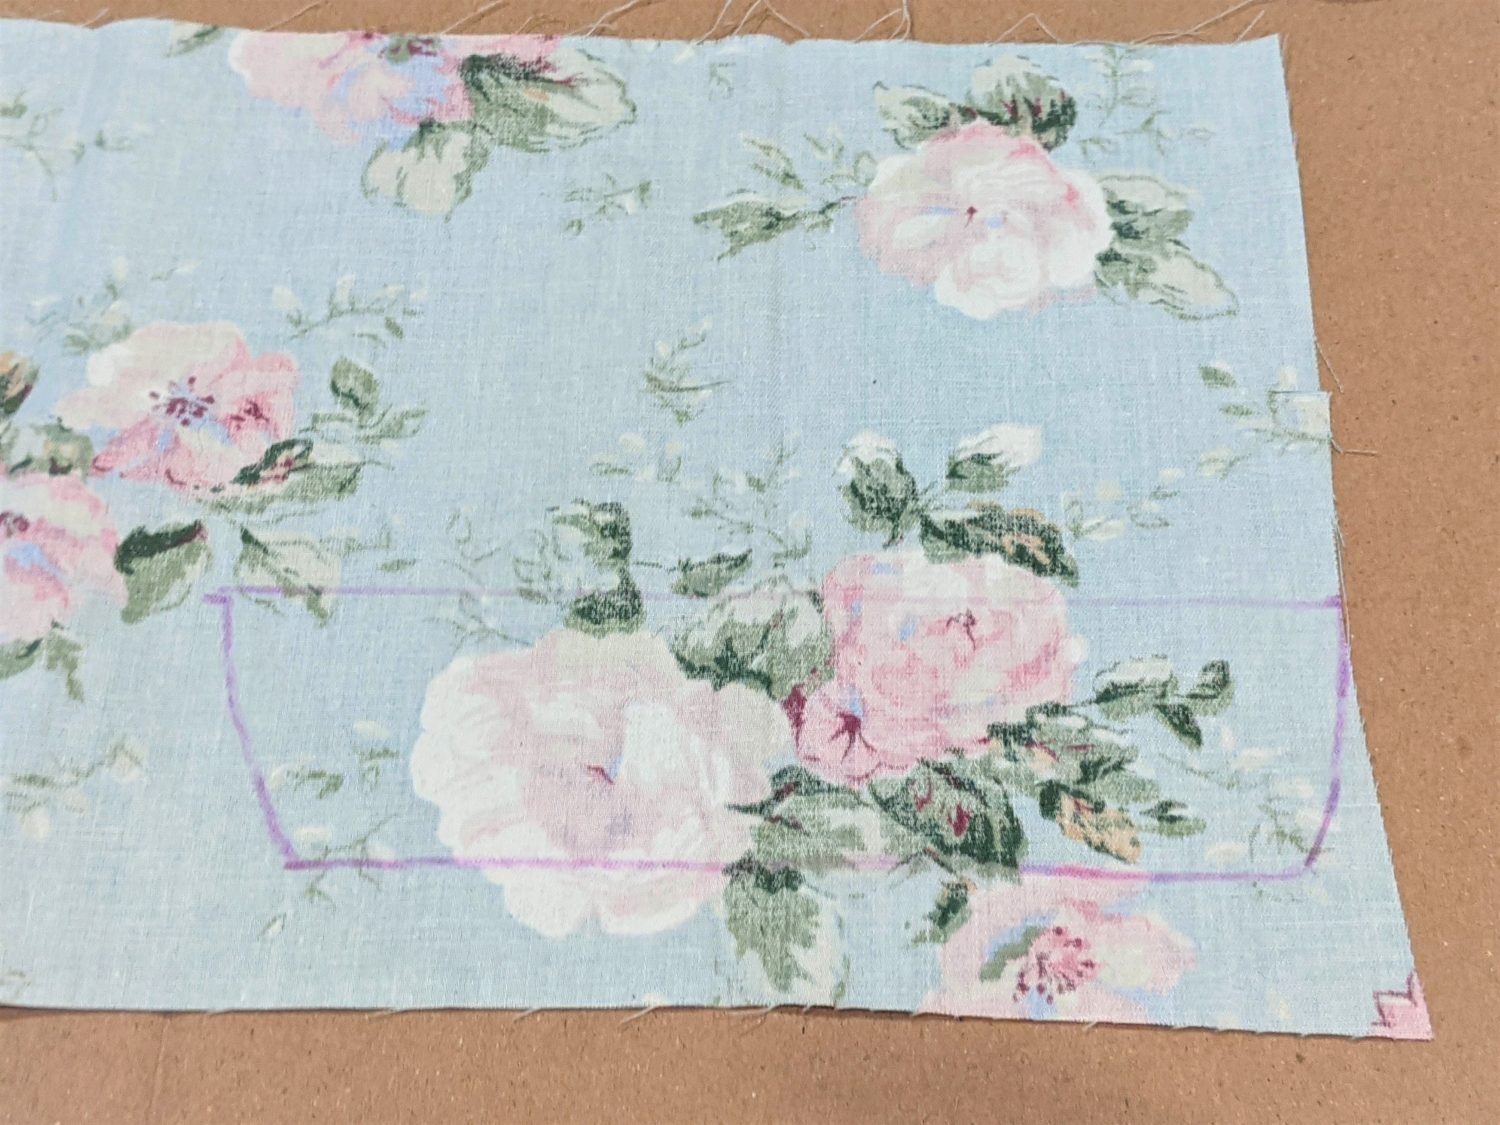
- Door:
- Trace a 1.5″ X 2.5″ rectangle on the back of your door fabric and cut out
- Optional: round the top of the door by folding the piece in half hot dog way and drawing an arch along the top
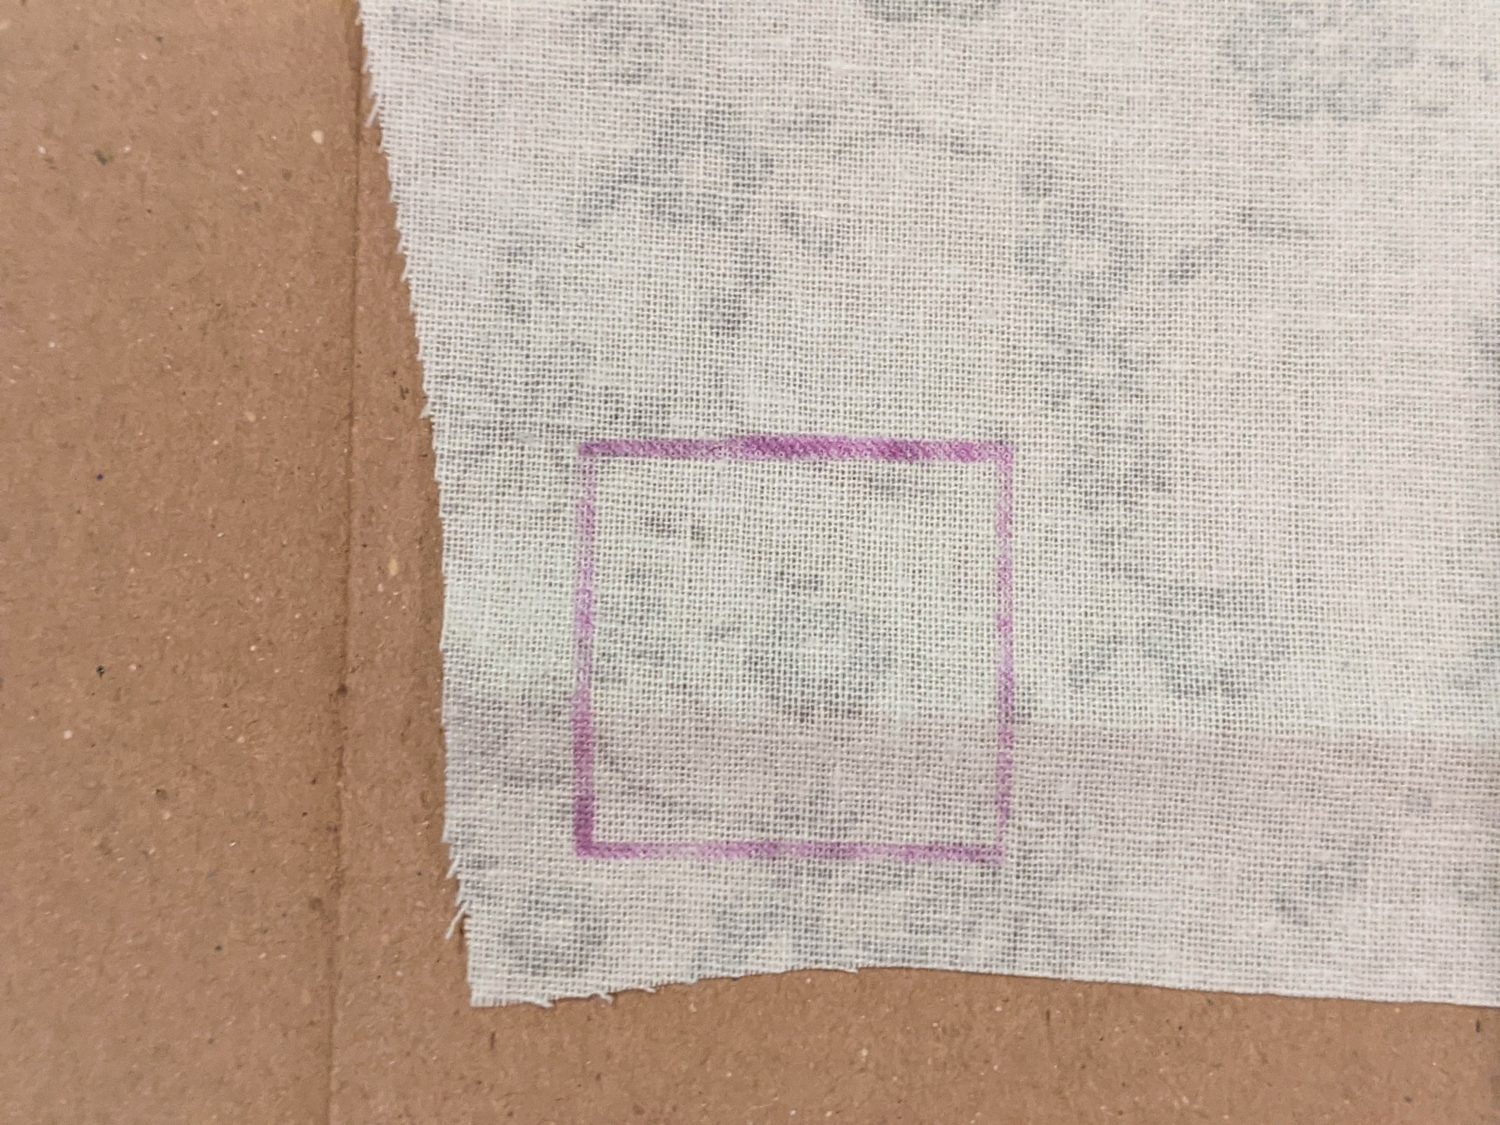
- Window:
- Trace and cut a 1″ X 1″ square on your window fabric and cut out
Trace door 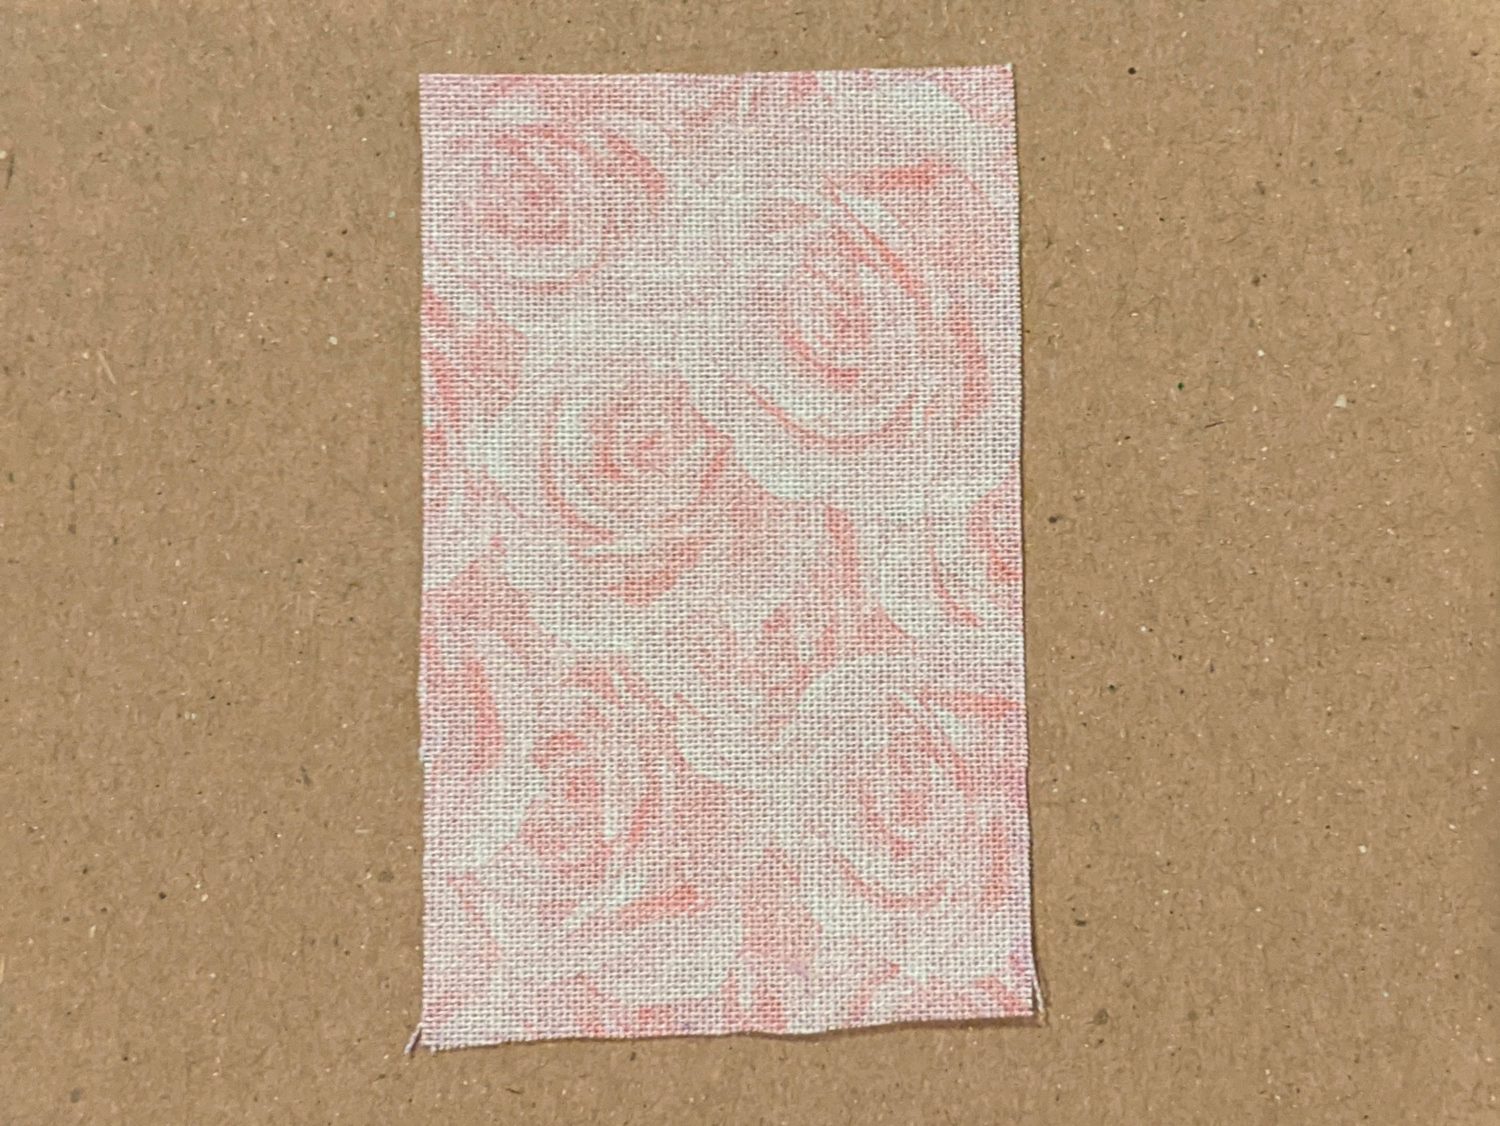
Cut out door
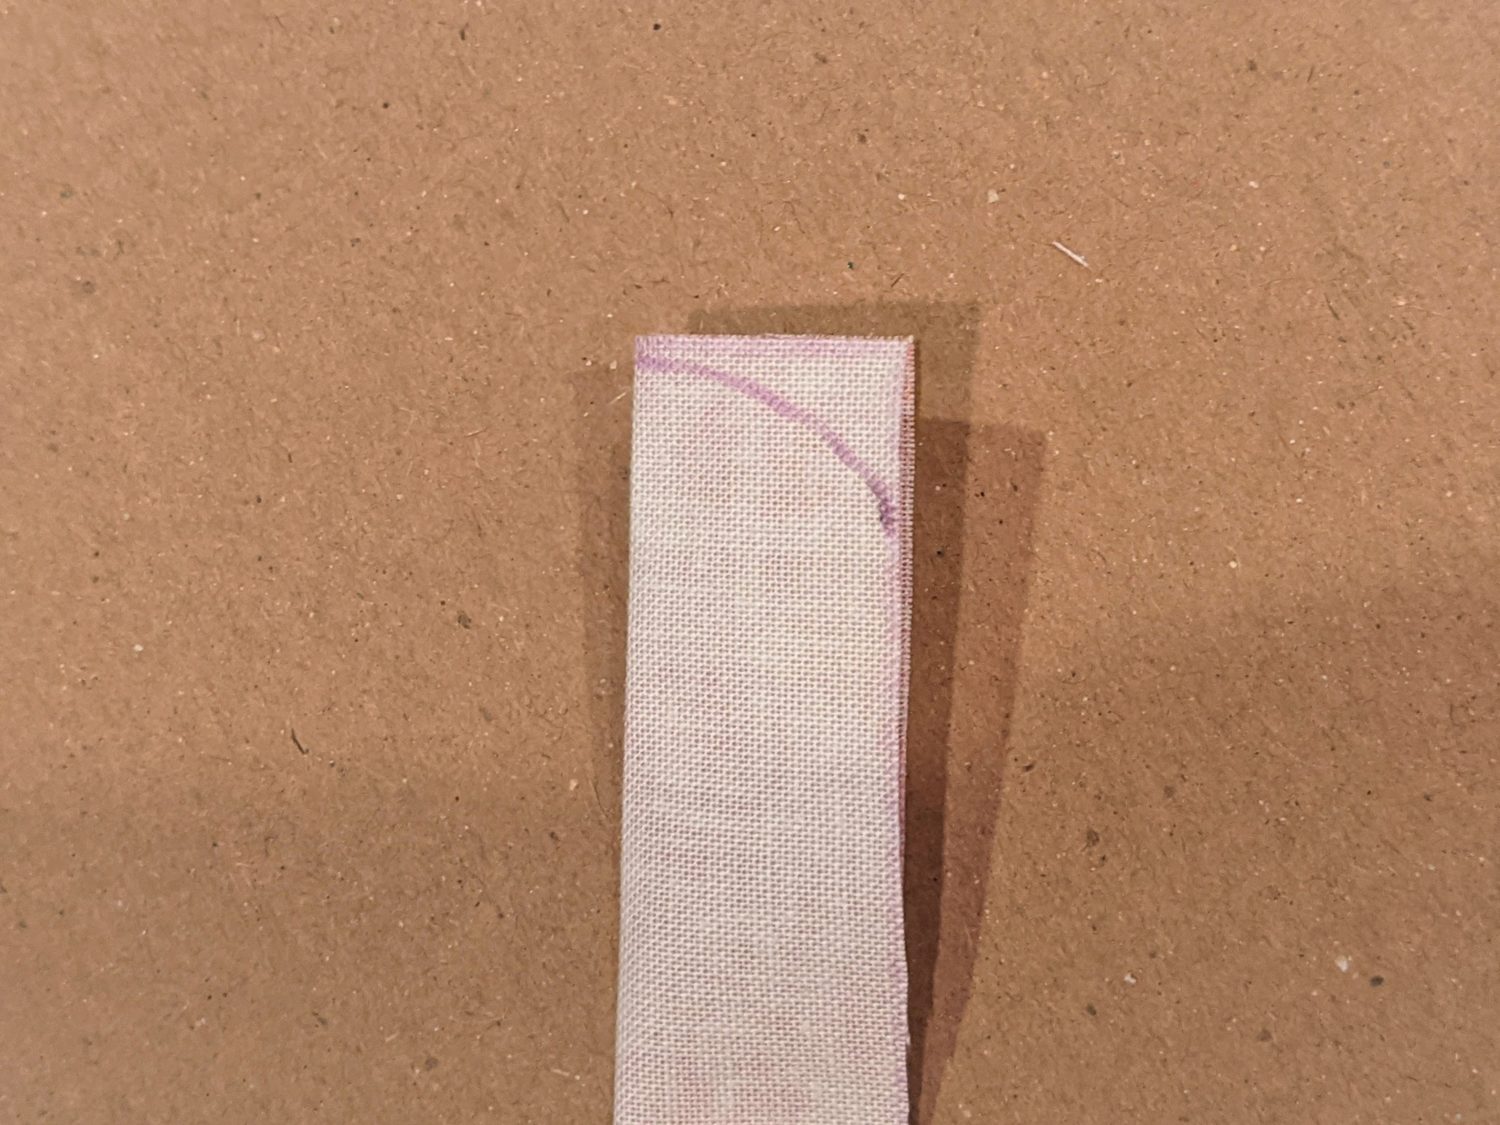
Round the top 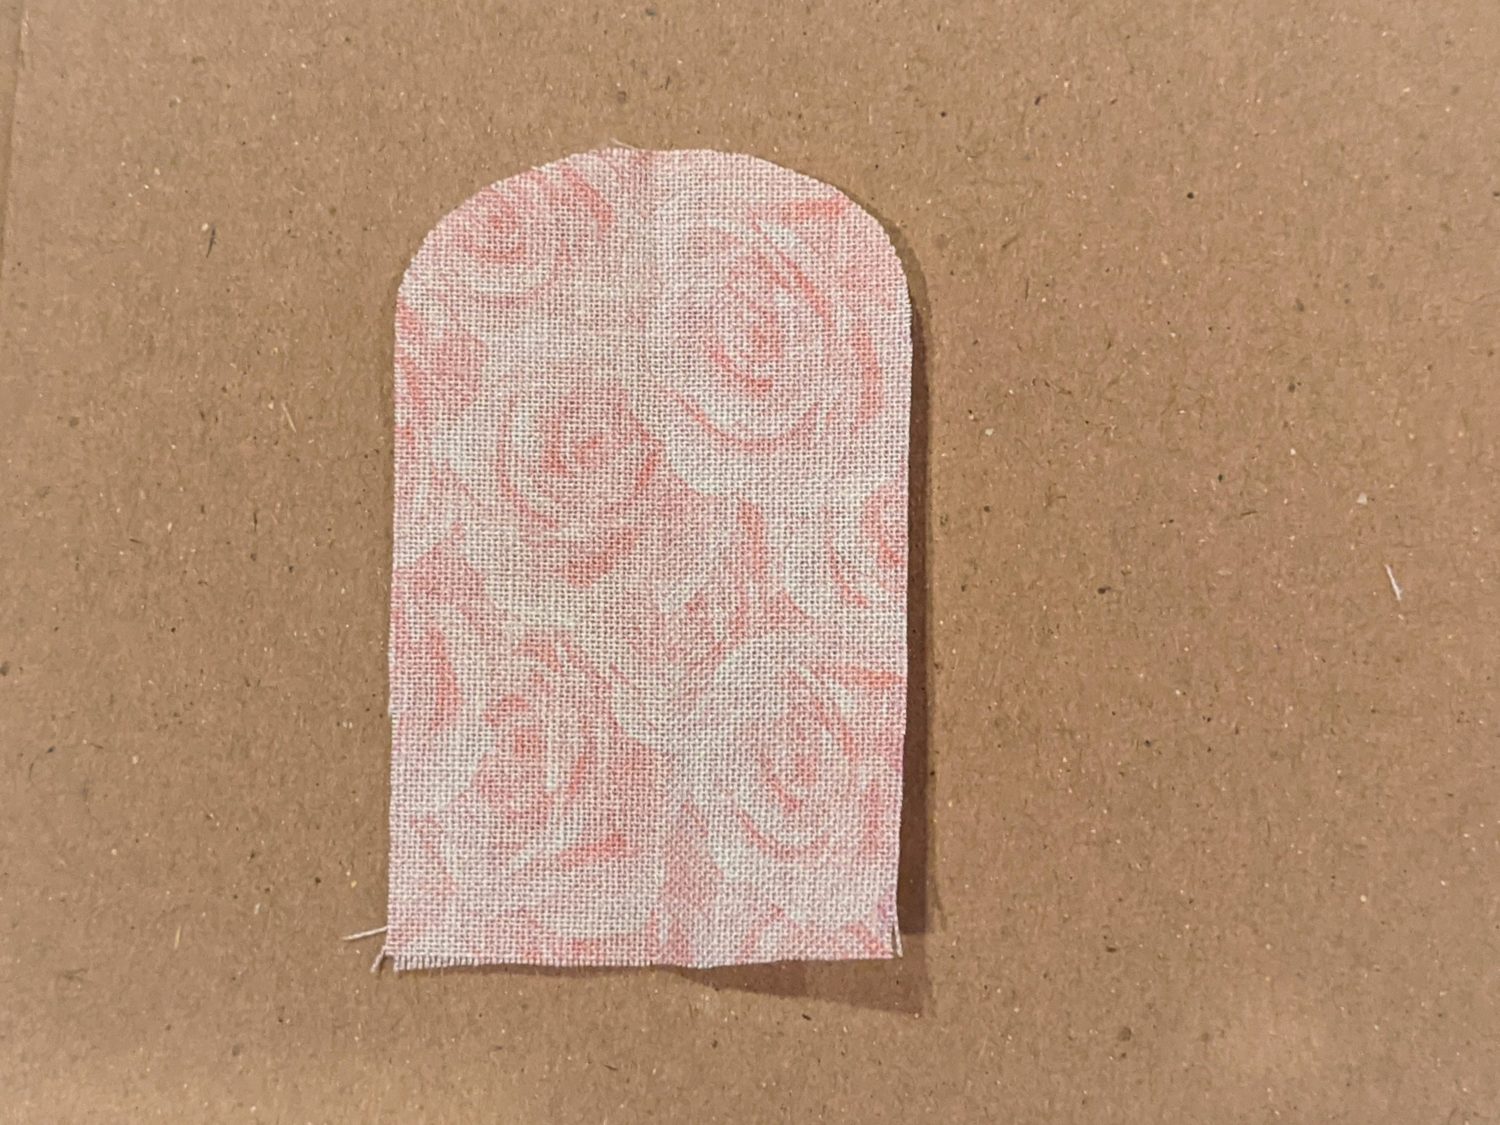
Window
Time to get creative!
I used fabric glue to attatch all of my fabric pieces so I will tell you to glue each piece on in the instructions, but you can sew them on if you prefer.
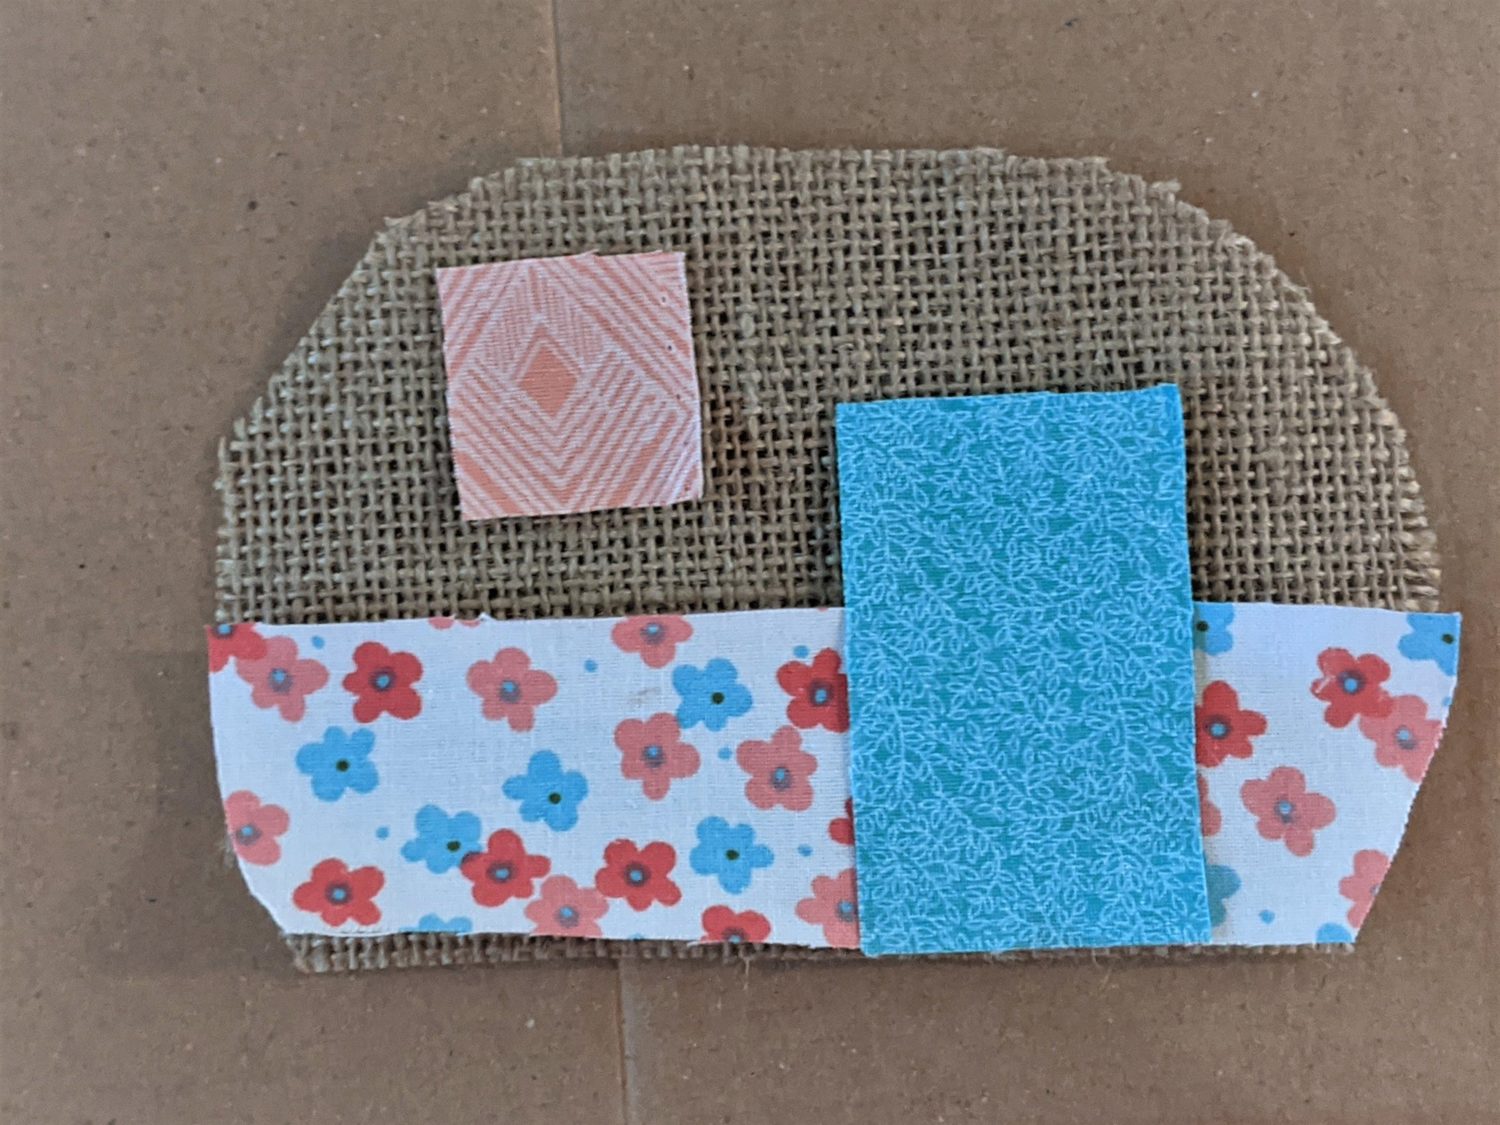
- Glue the bottom camper liner fabric along the bottom edge of the main (burlap) camper
- Line the bottom of the door up with the bottom of the camper and glue it on top of the bottom liner fabric
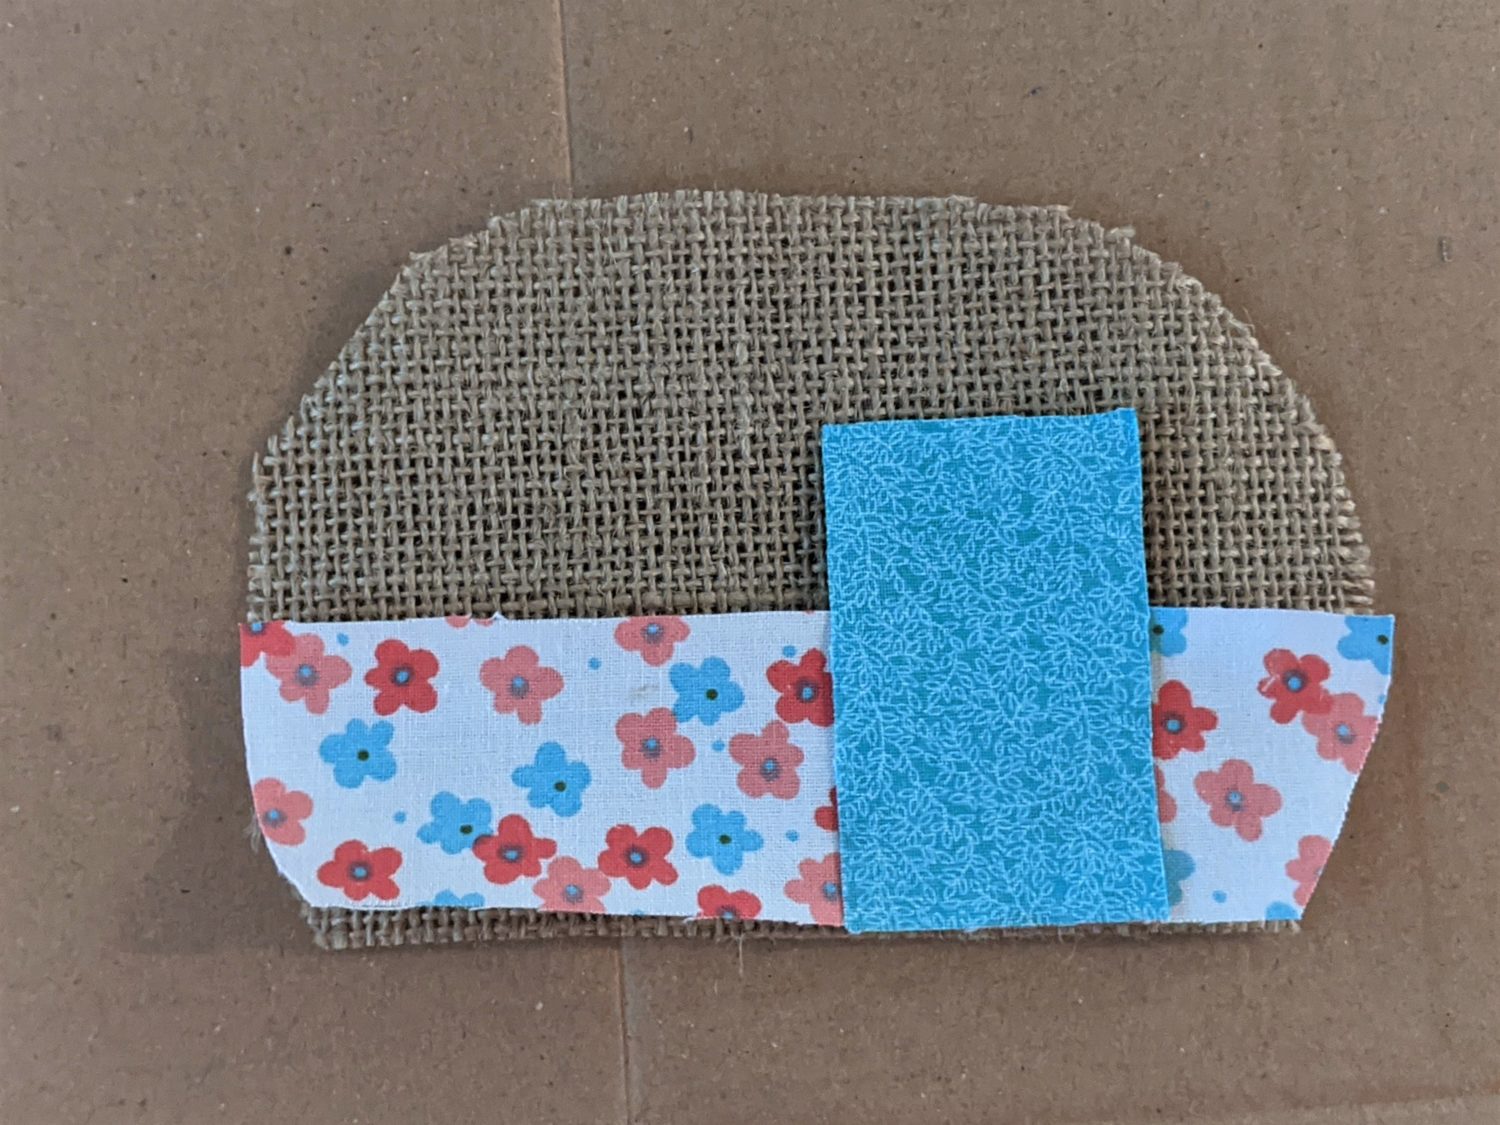
- Finally, glue the window to the camper
Adding on details
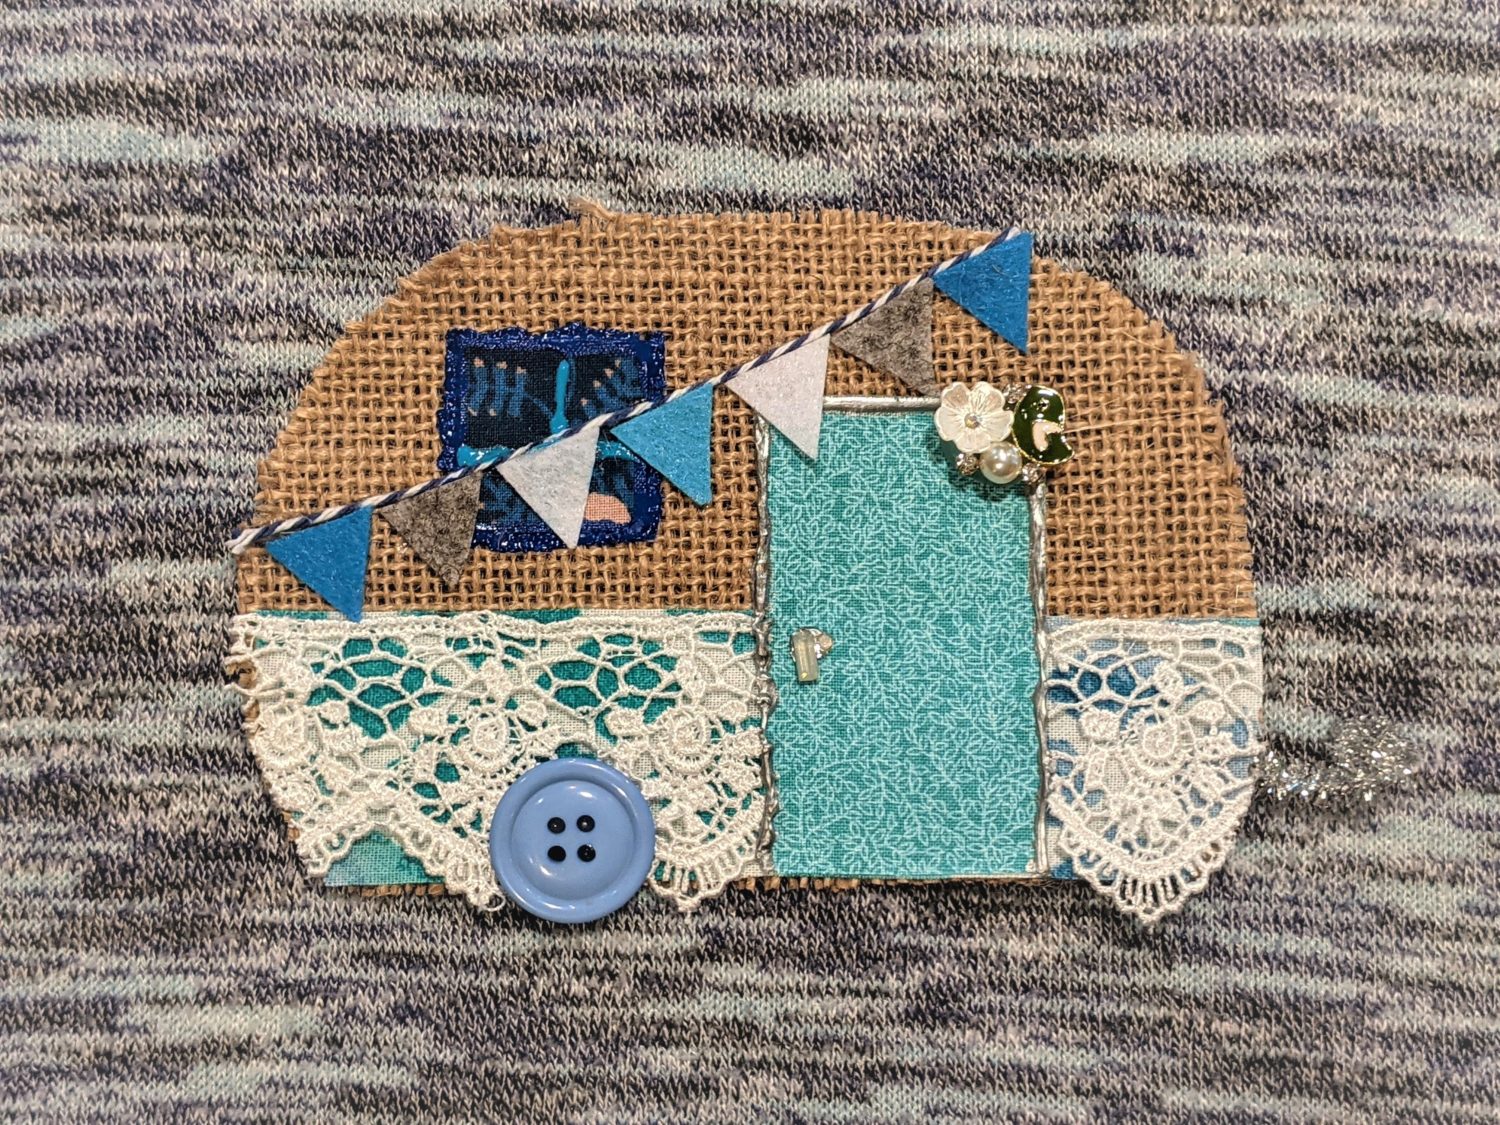
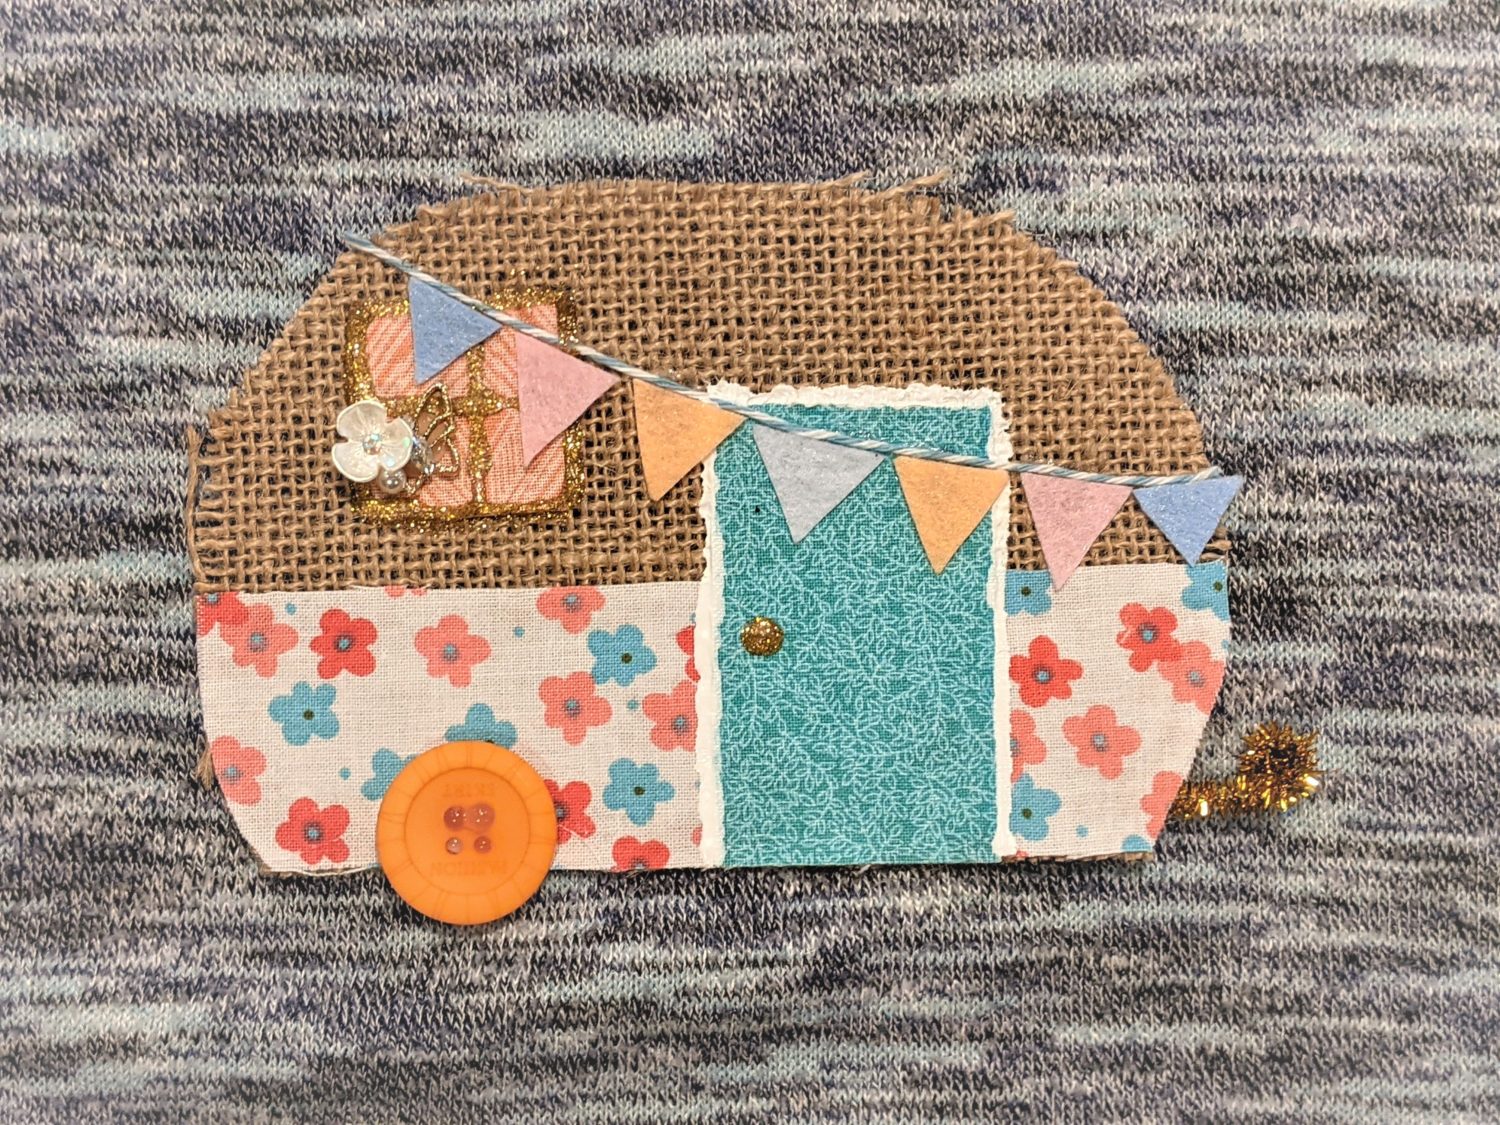
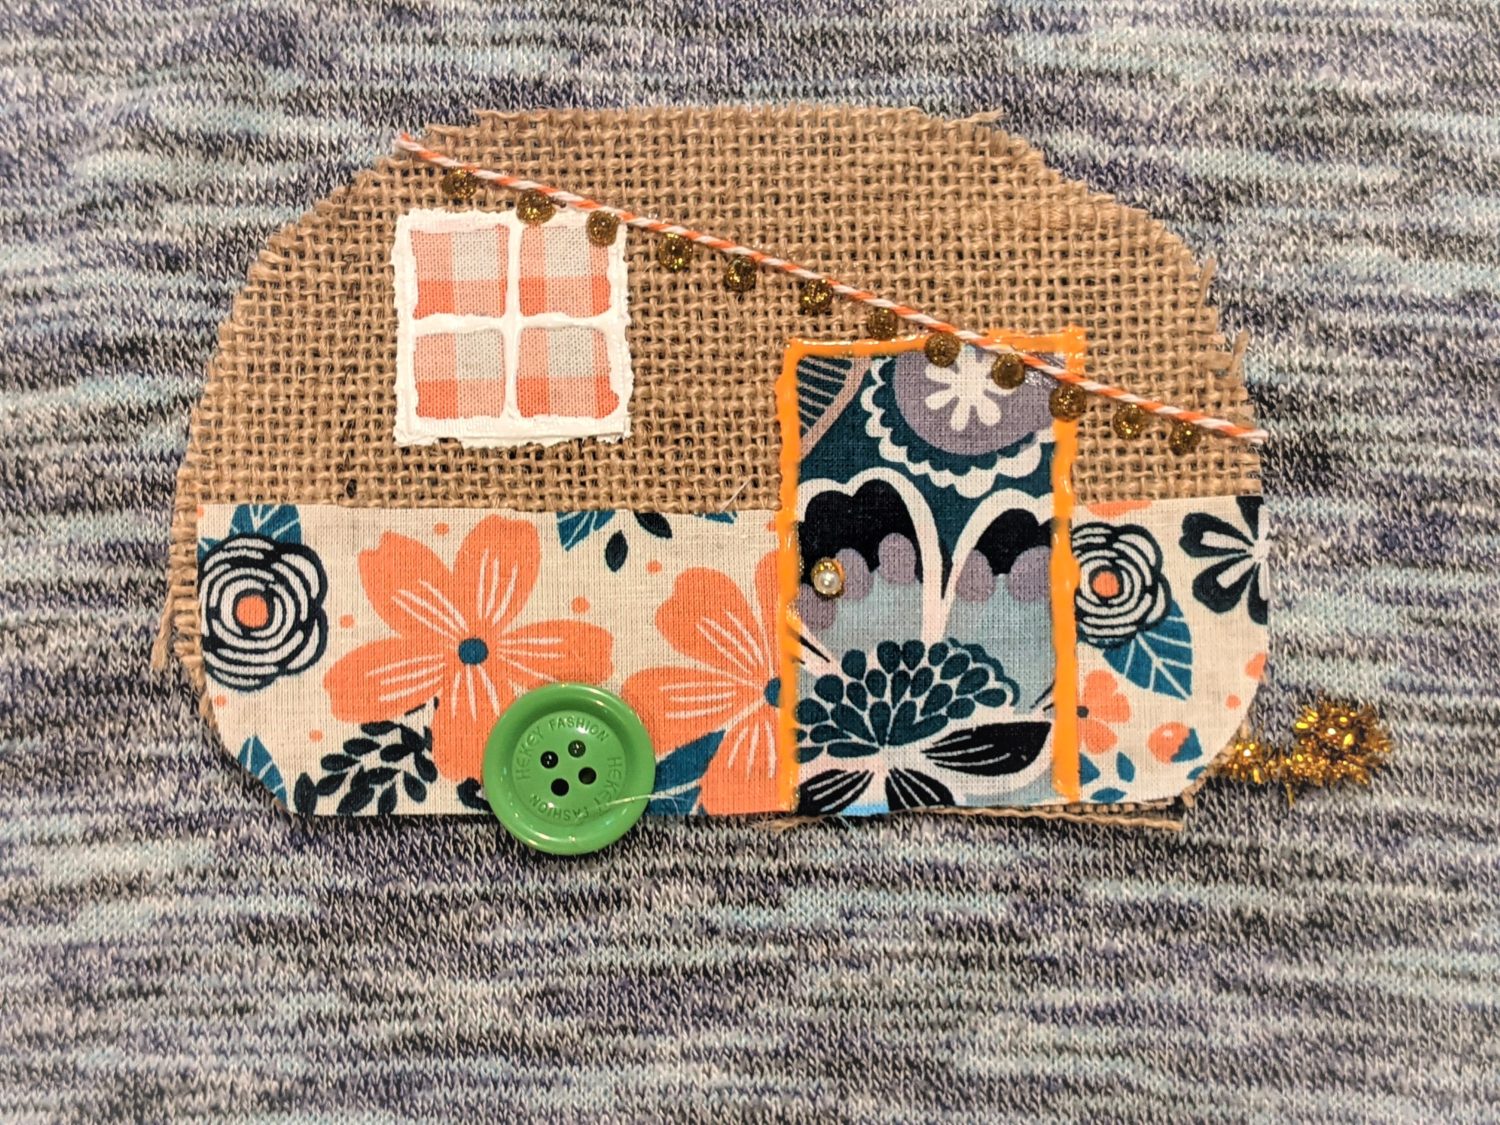
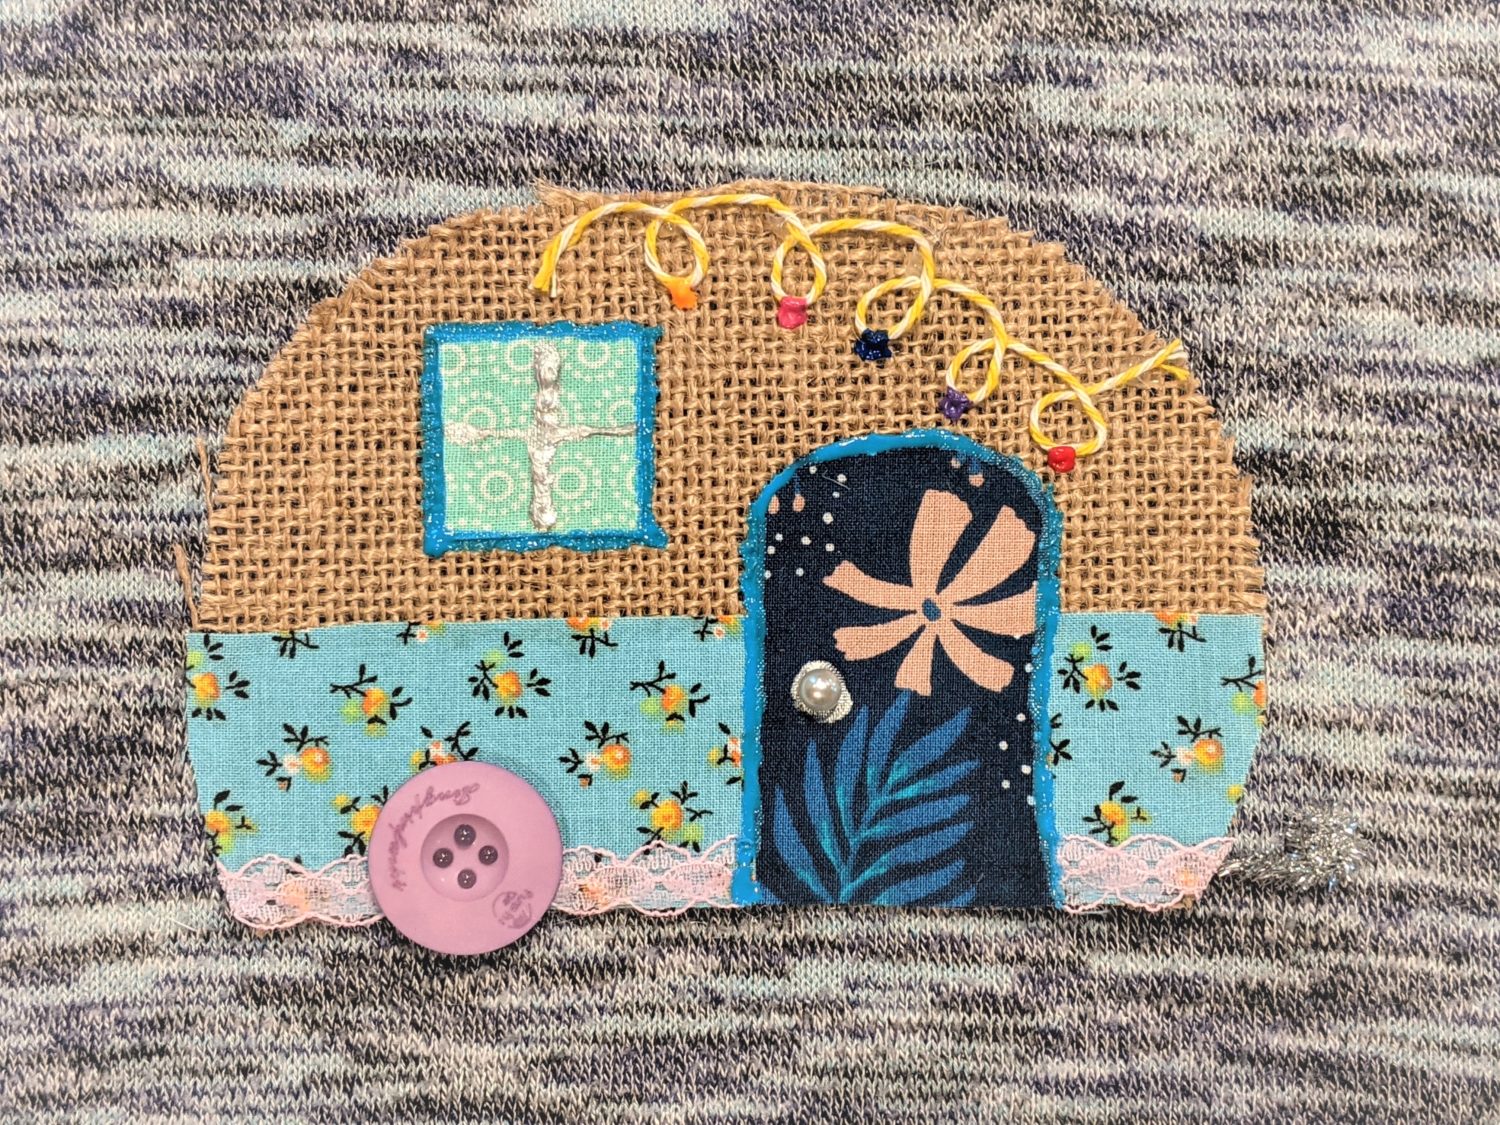
I used a variety of craft supplies I had in my house to decorate my campers. Use anything that makes you happy to personalize yours. You can click on the pictures below for a closer look at each one. Some things I did to decorate mine are:
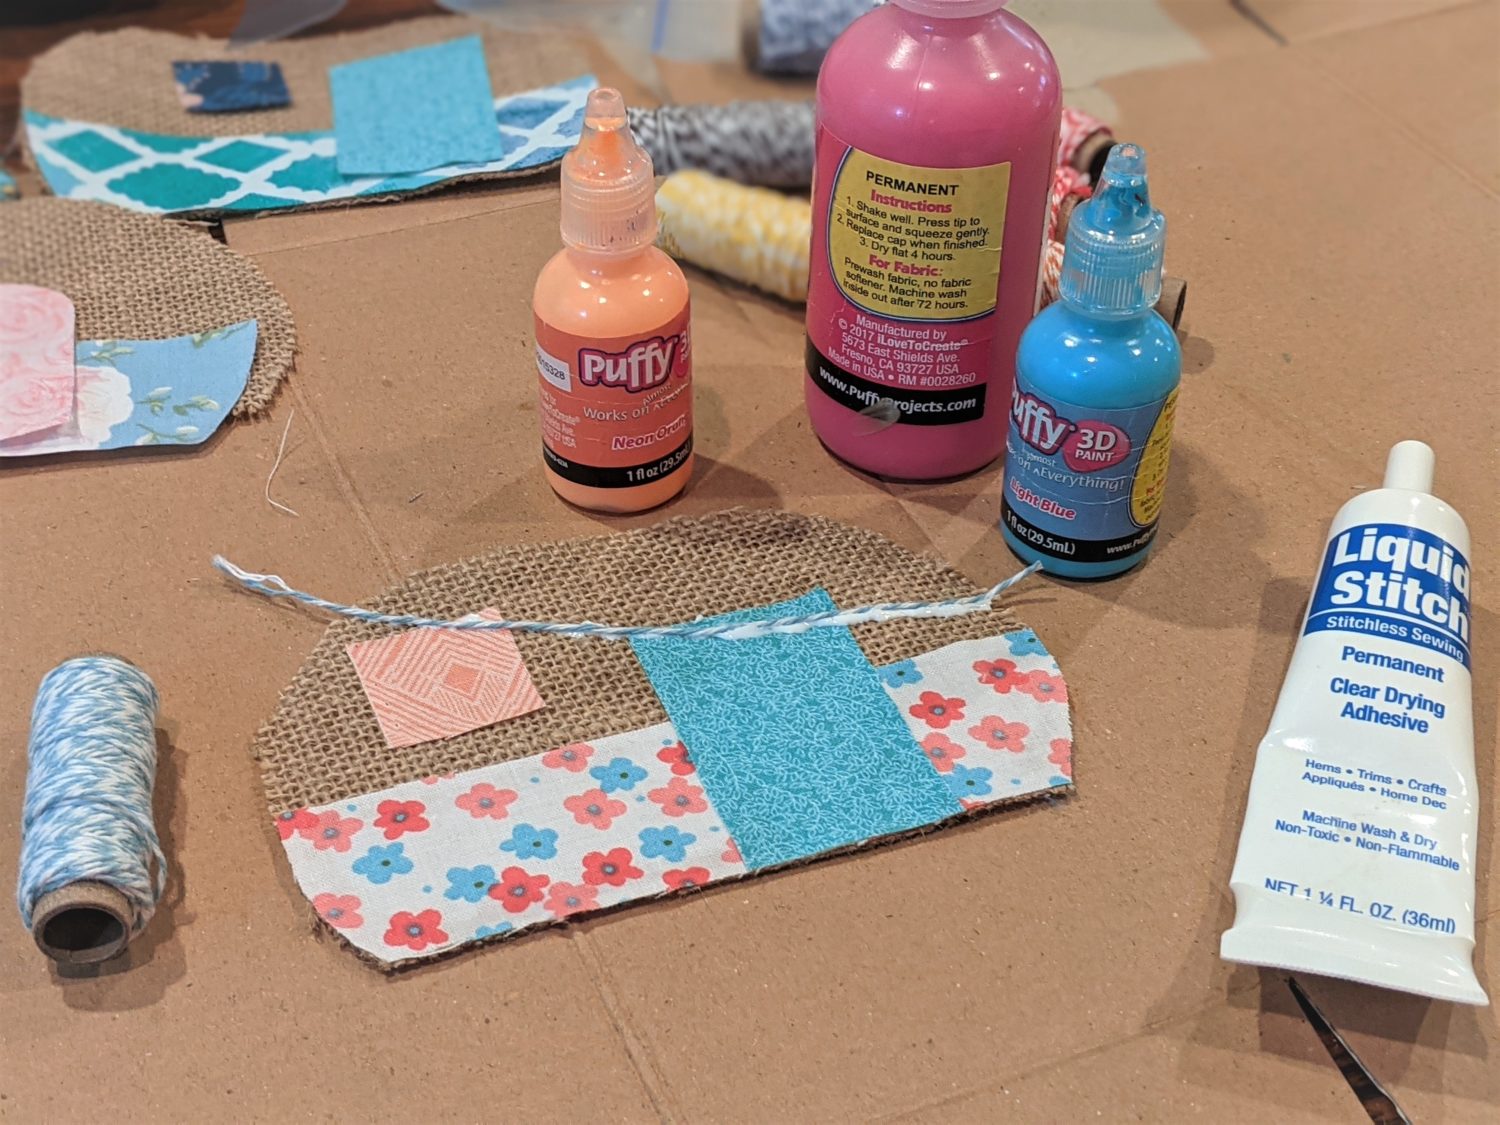
- Hot glue a large button on the back end for the wheel
- Fabric glue string to make a line for lights or bunting
- Cut small triangles from felt or fabric and glue to the string for bunting
- Use fabric paint to add lights, doorknobs, and trim detail
- Glue on small beads or accessories
- Roll up the end of a pipe cleaner and hot glue it to the backside of the camper to make a trailer hitch

All that’s left to do is display those fabulous little campers!
Want more FUN DIY Freebies? Check out the FREEBIE TUTORIALS and the FREEBIE PATTERNS!
As always, we’re here to help if you need it! Join us HERE and on Facebook, Instagram, Twitter, Youtube, and Pinterest. We’re everywhere you are.
Leave a Reply