It’s Day Two of the Agility Tank and Dress and we’re sewing! Who’s excited?
If you like to sew along with someone and the Agility seems a little intimidating check out this sew along. We’ll cover all the steps!
ETA: Check out the “Let’s Talk” section at the bottom of the post for more clarification.
Get your patterns today, there’s still time to get involved.
Get your copy today and follow along with us each day.
We’ve separated the tutorial into five parts:
- Day One: Print, Assemble and Cut Fabric
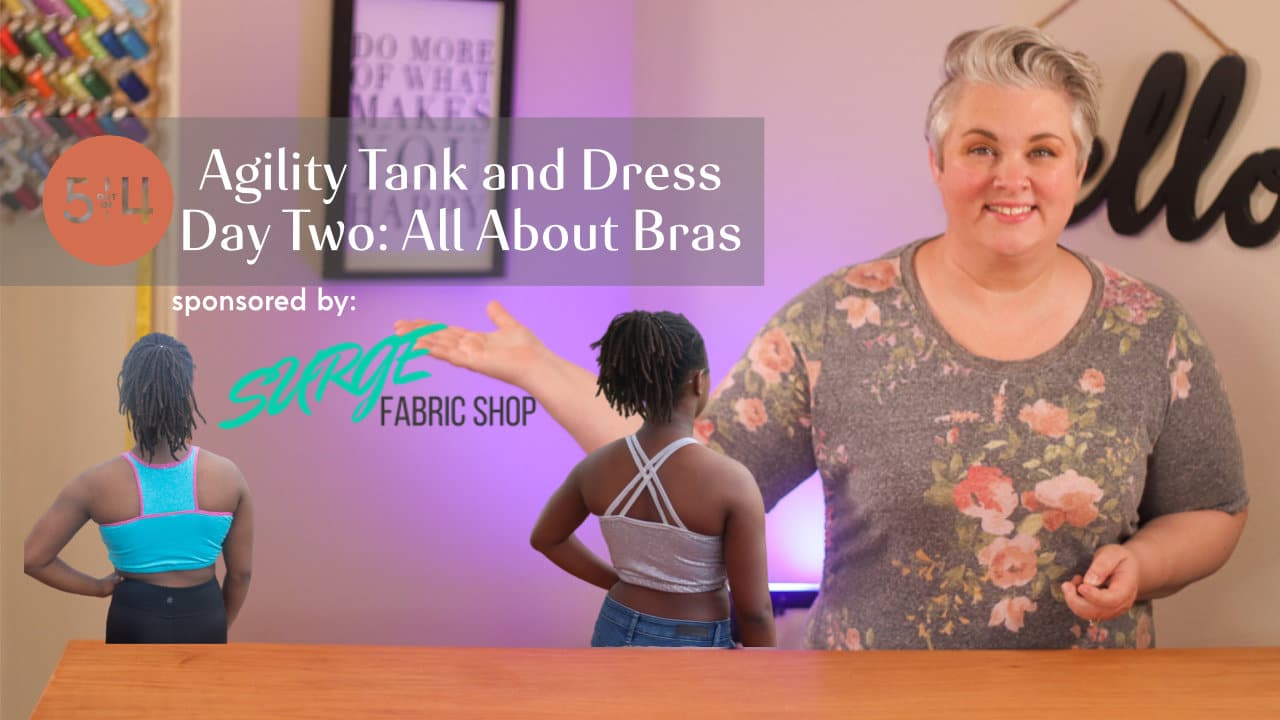
- Day Two: T-Back and Strappy Back Bras TODAY IS FOR THOSE WHO ARE MAKING BRAS ONLY
- Day Three: Nursing Bra
- Day Four: Tank & Dress
- Day Five: Finish Up and Photos
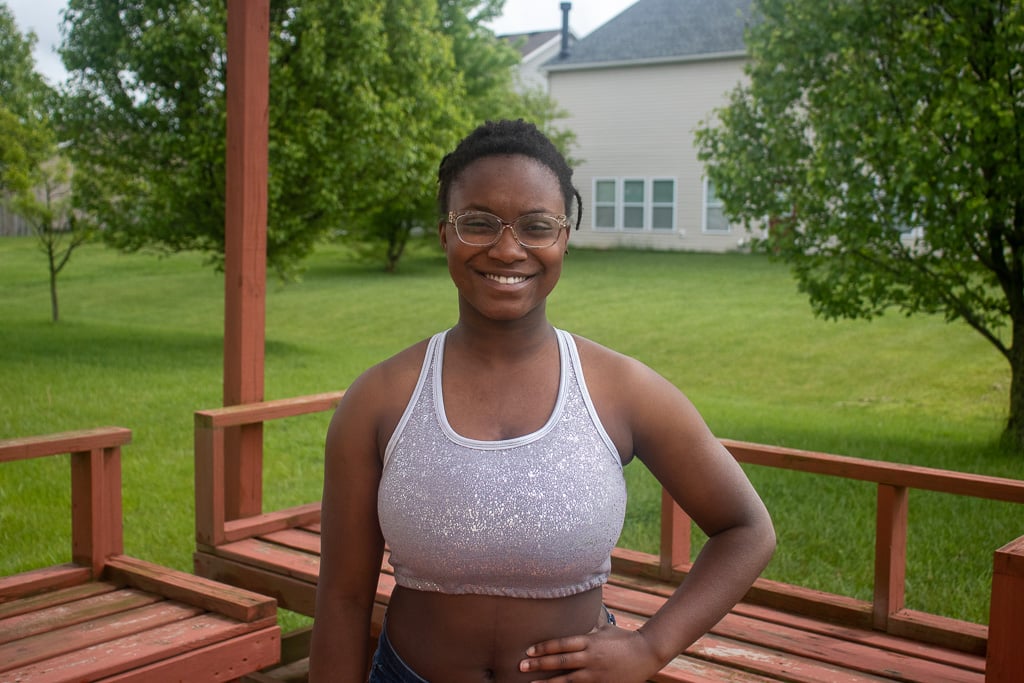
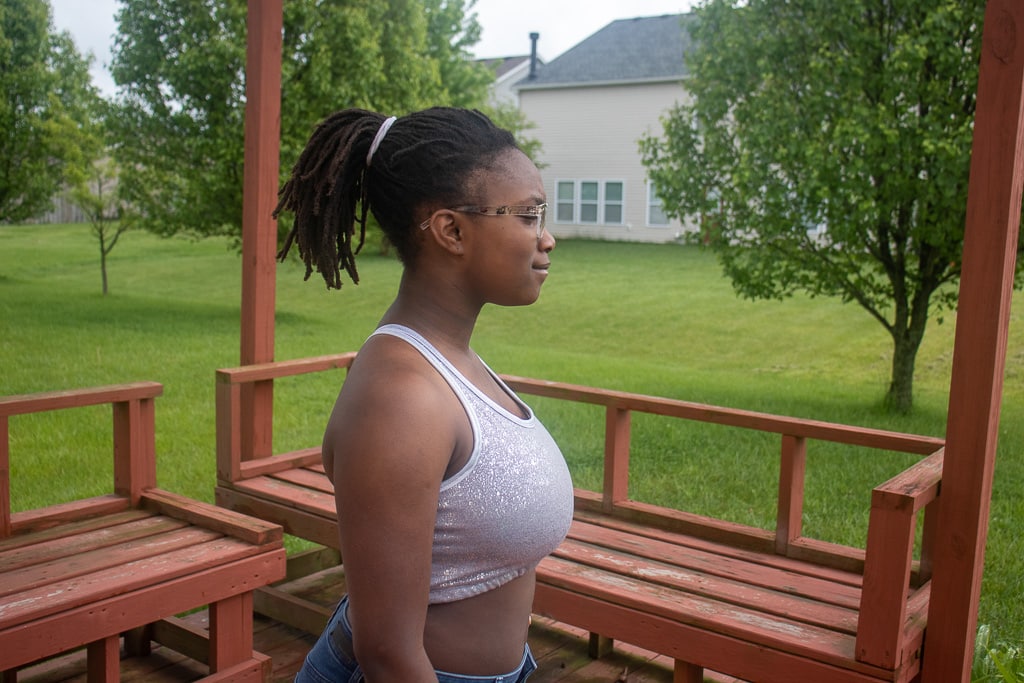
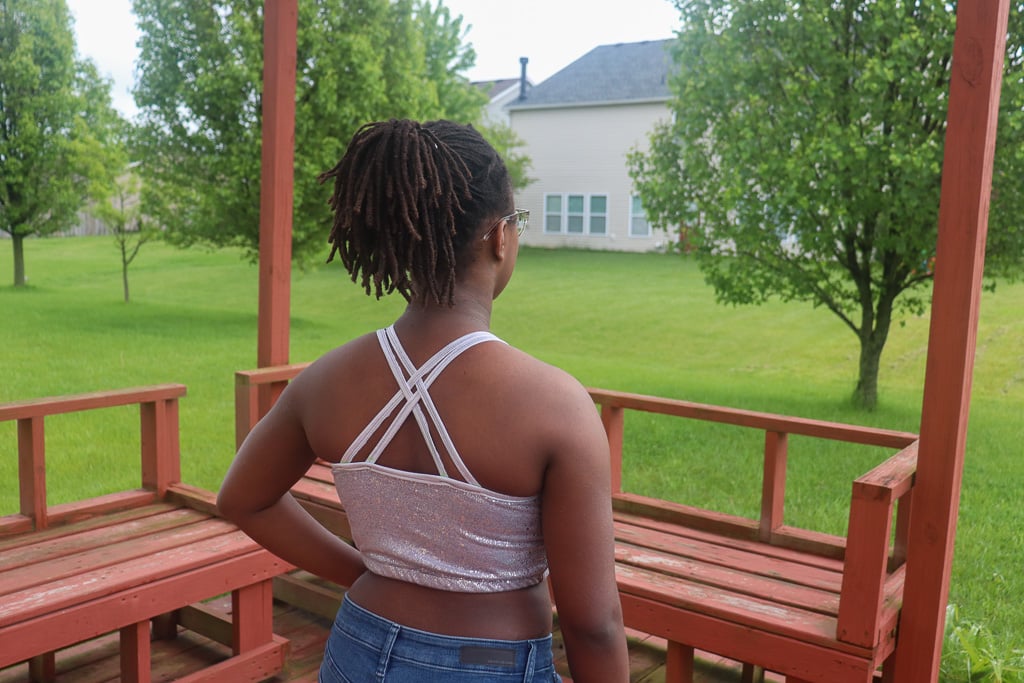
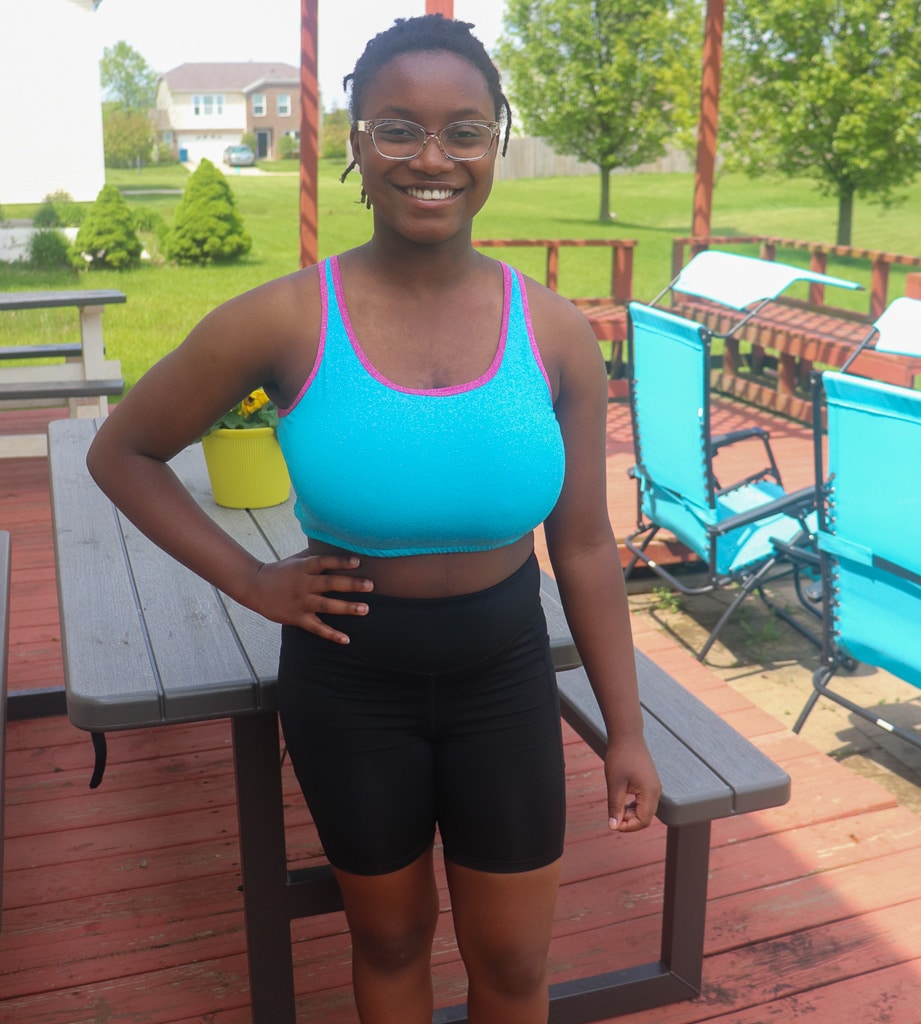
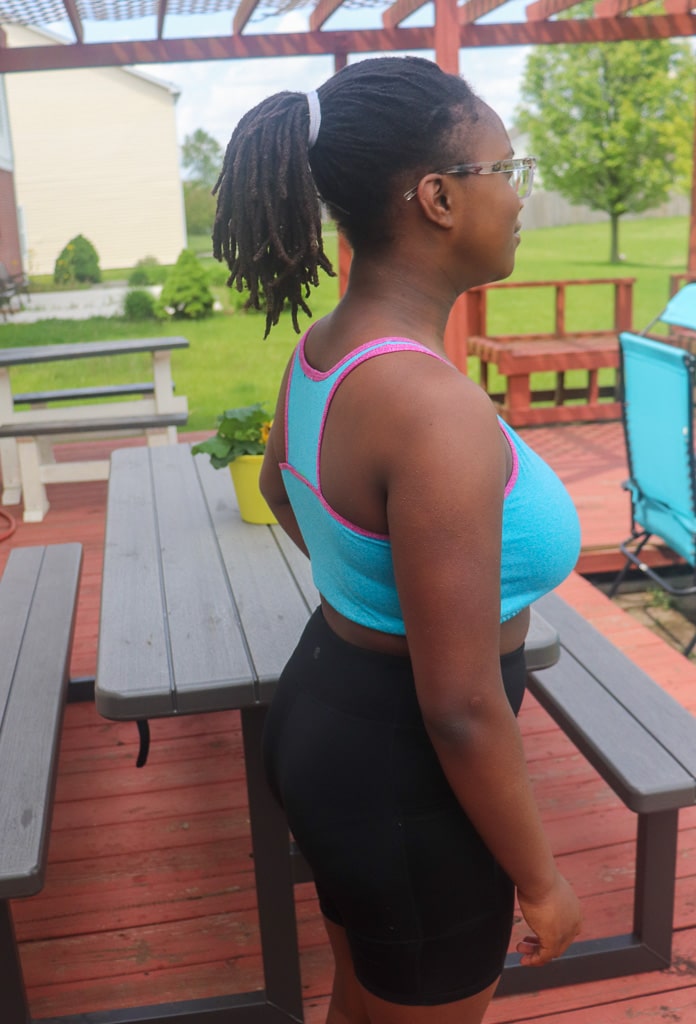
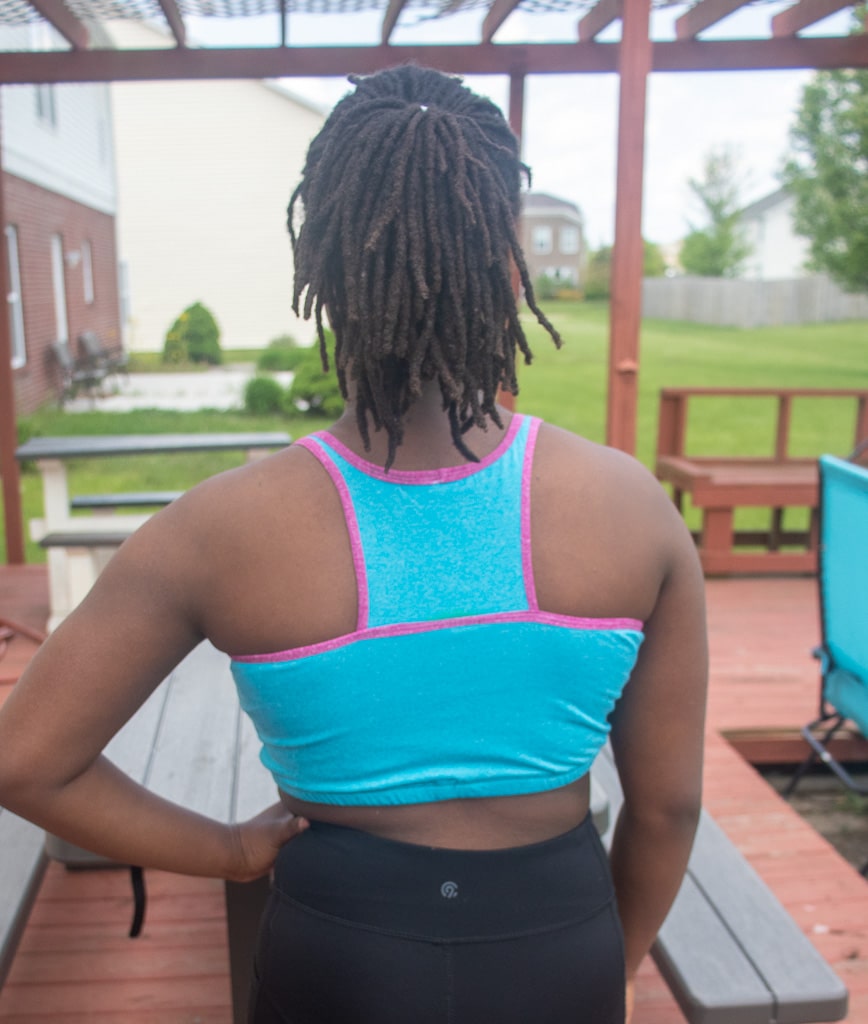
Laura’s making the T-Back and Strappy Back bras for her daughter today.
Making the T-Back Bra? Start from the beginning of the video
Making the Strappy Back Bra? Jump to 31:25 to get started. Then, when you’re ready for the undercuts elastic jump to 26:51
Here’s your Day Two Tutorial:
Just in case you need it, here’s the clear elastic video I referenced in the video:
Need a little more help on your single fold binding? Here’s a sewing school episode just for you:
Let’s talk about fabric a bit.
I chose two different weight of Athletic Brushed Poly for my daughter’s bras. Now, as you’ll see, she’s full busted and needs support. The T-Back bra was a lighter ABP for the main and lining. I also sandwiched Power Mesh/Net between the main and lining. Unfortunately, this didn’t give as much support as I had hoped. However, she LOVED it and it’s super comfy.
For the second bra, I used a much heavier weight ABP with Power Mesh/Net and added elastic to the binding. The difference is amazing!
We’ll see you tomorrow for Day Three of our Agility Tank and Dress Sew Along and Tutorial. We’ll start sewing our Agility Tank and it’s going to be super, extra, fun!
Make sure you post your DAY ONE progress HERE and your DAY TWO progress HERE for you chance to win a $10 gift card! We can’t wait to see what everyone does this week.
As always, we’re here to help if you need it! Join us HERE and on Facebook, Instagram, Twitter, Youtube, and Pinterest. We’re everywhere you are.
Edit:
LET’S TALK!
It seems there has been a little confusion. Normally, when I plan a Sew Along I separate the tutorial out into five section of gradual sews. The Agility is just a little different in that it has so many options. Here’s what I needed to cover:
- T-Back Bra ONLY
- Strappy Back Bra ONLY
- Nursing Bra ONLY
- T-Back Tank/Dress with overlay
- Strappy Tank/Dress with overlay
- Nursing Tank/Dress with overlay
That’s A LOT!
This meant I had to separate things out a little differently, It also meant that participants may not need to sew every day, they may just sew one or two days depending on the option they chose. Due to the list above I separated it into the following sections:
- Day One: Print, Assemble and Cut Fabric
- Day Two: T-Back and Strappy Back Bras ONLY
- Day Three: Nursing Bra ONLY
- Day Four: Tank & Dress – Are you making a tank/dress? This is the day for you
- Day Five: Finish Up and Photos
Well got almost through this and tried it on – too small – I need more room for my breast. Good thing I am doing a muslin.. I am too old to wear a sports bra by itself but I really like that this has a overlay. Now just need to make a bra that fits the breasts.