Guest Blog Post By: Jenni Early
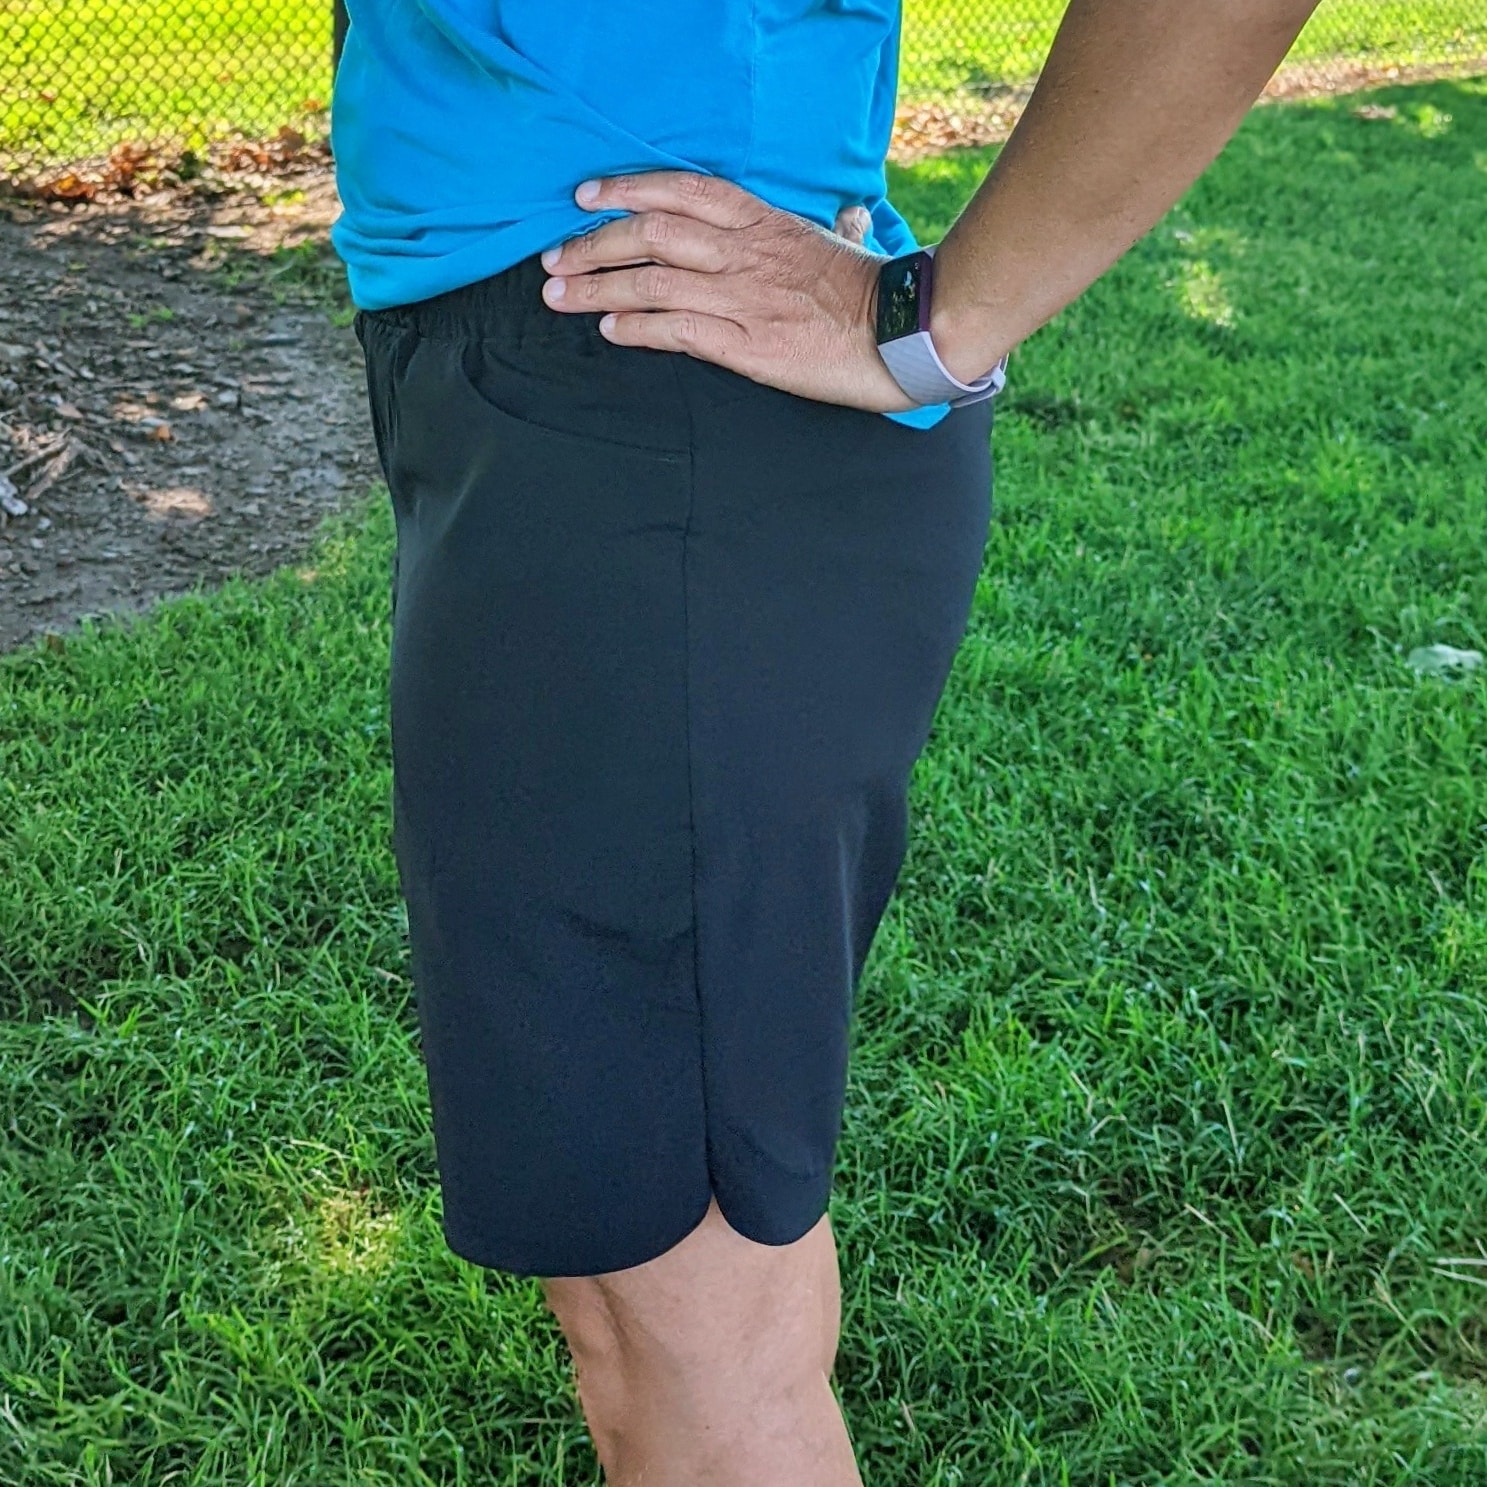
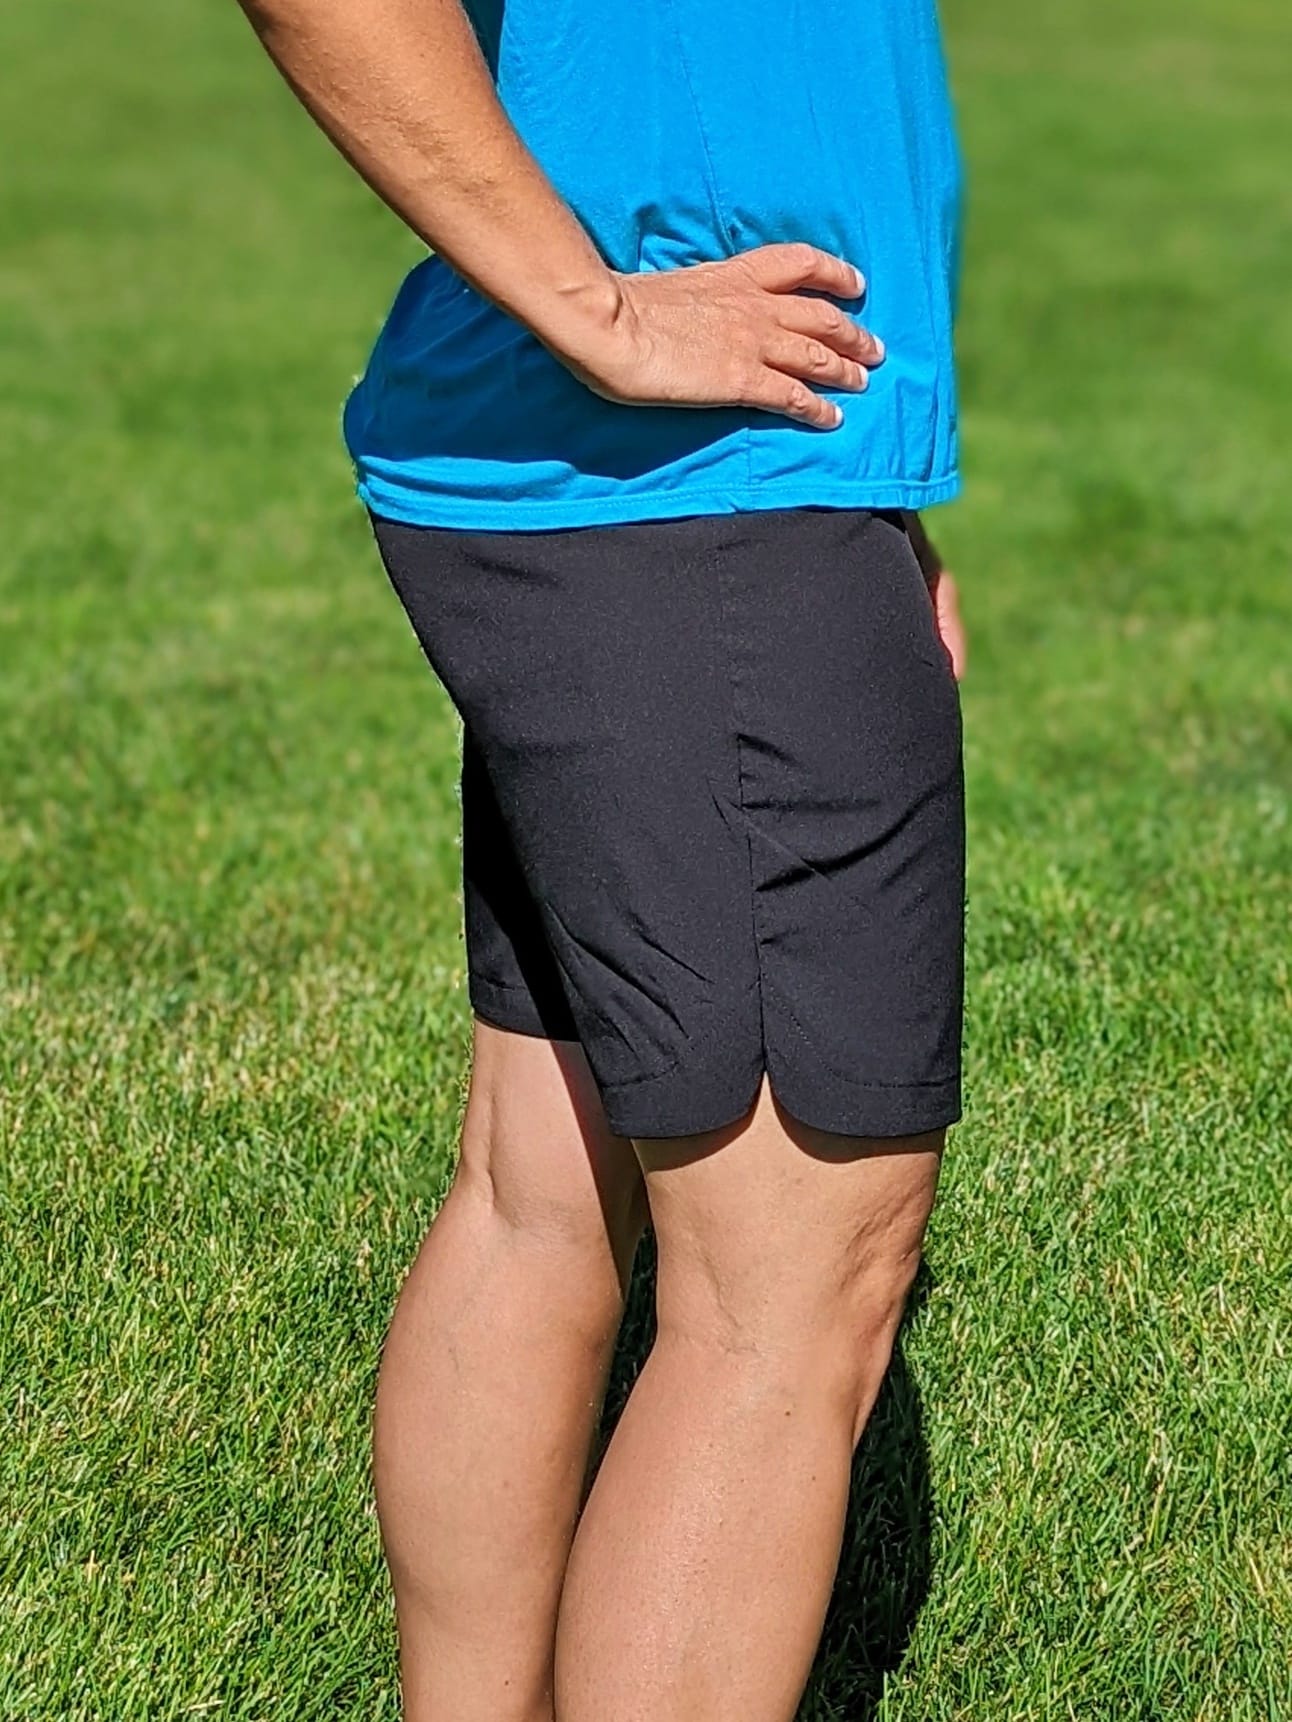
I have a pair of athletic shorts that I have been wearing all the time this summer, and I decided to try to recreate them using the Malia pattern. Here’s my inspiration:

And here’s how I did it:
Pattern and Supplies
For these shorts, I used a very lightweight stretch woven “running short” fabric from The Fabric Fairy.
- Cut out the fronts, backs, yoke, back pocket pieces, and the elastic waistband out of the stretch woven in my hip size.
- (The pattern calls for a knit fabric for the yoke and waistband, but I found that the woven worked fine as long as I didn’t grade to a smaller waist size as I normally would so it would still fit over my hips.)
- Cut on the longest cut line, but on the curved line instead of the straight one. (My finished shorts inseam is just a bit shorter than 9 inches.)
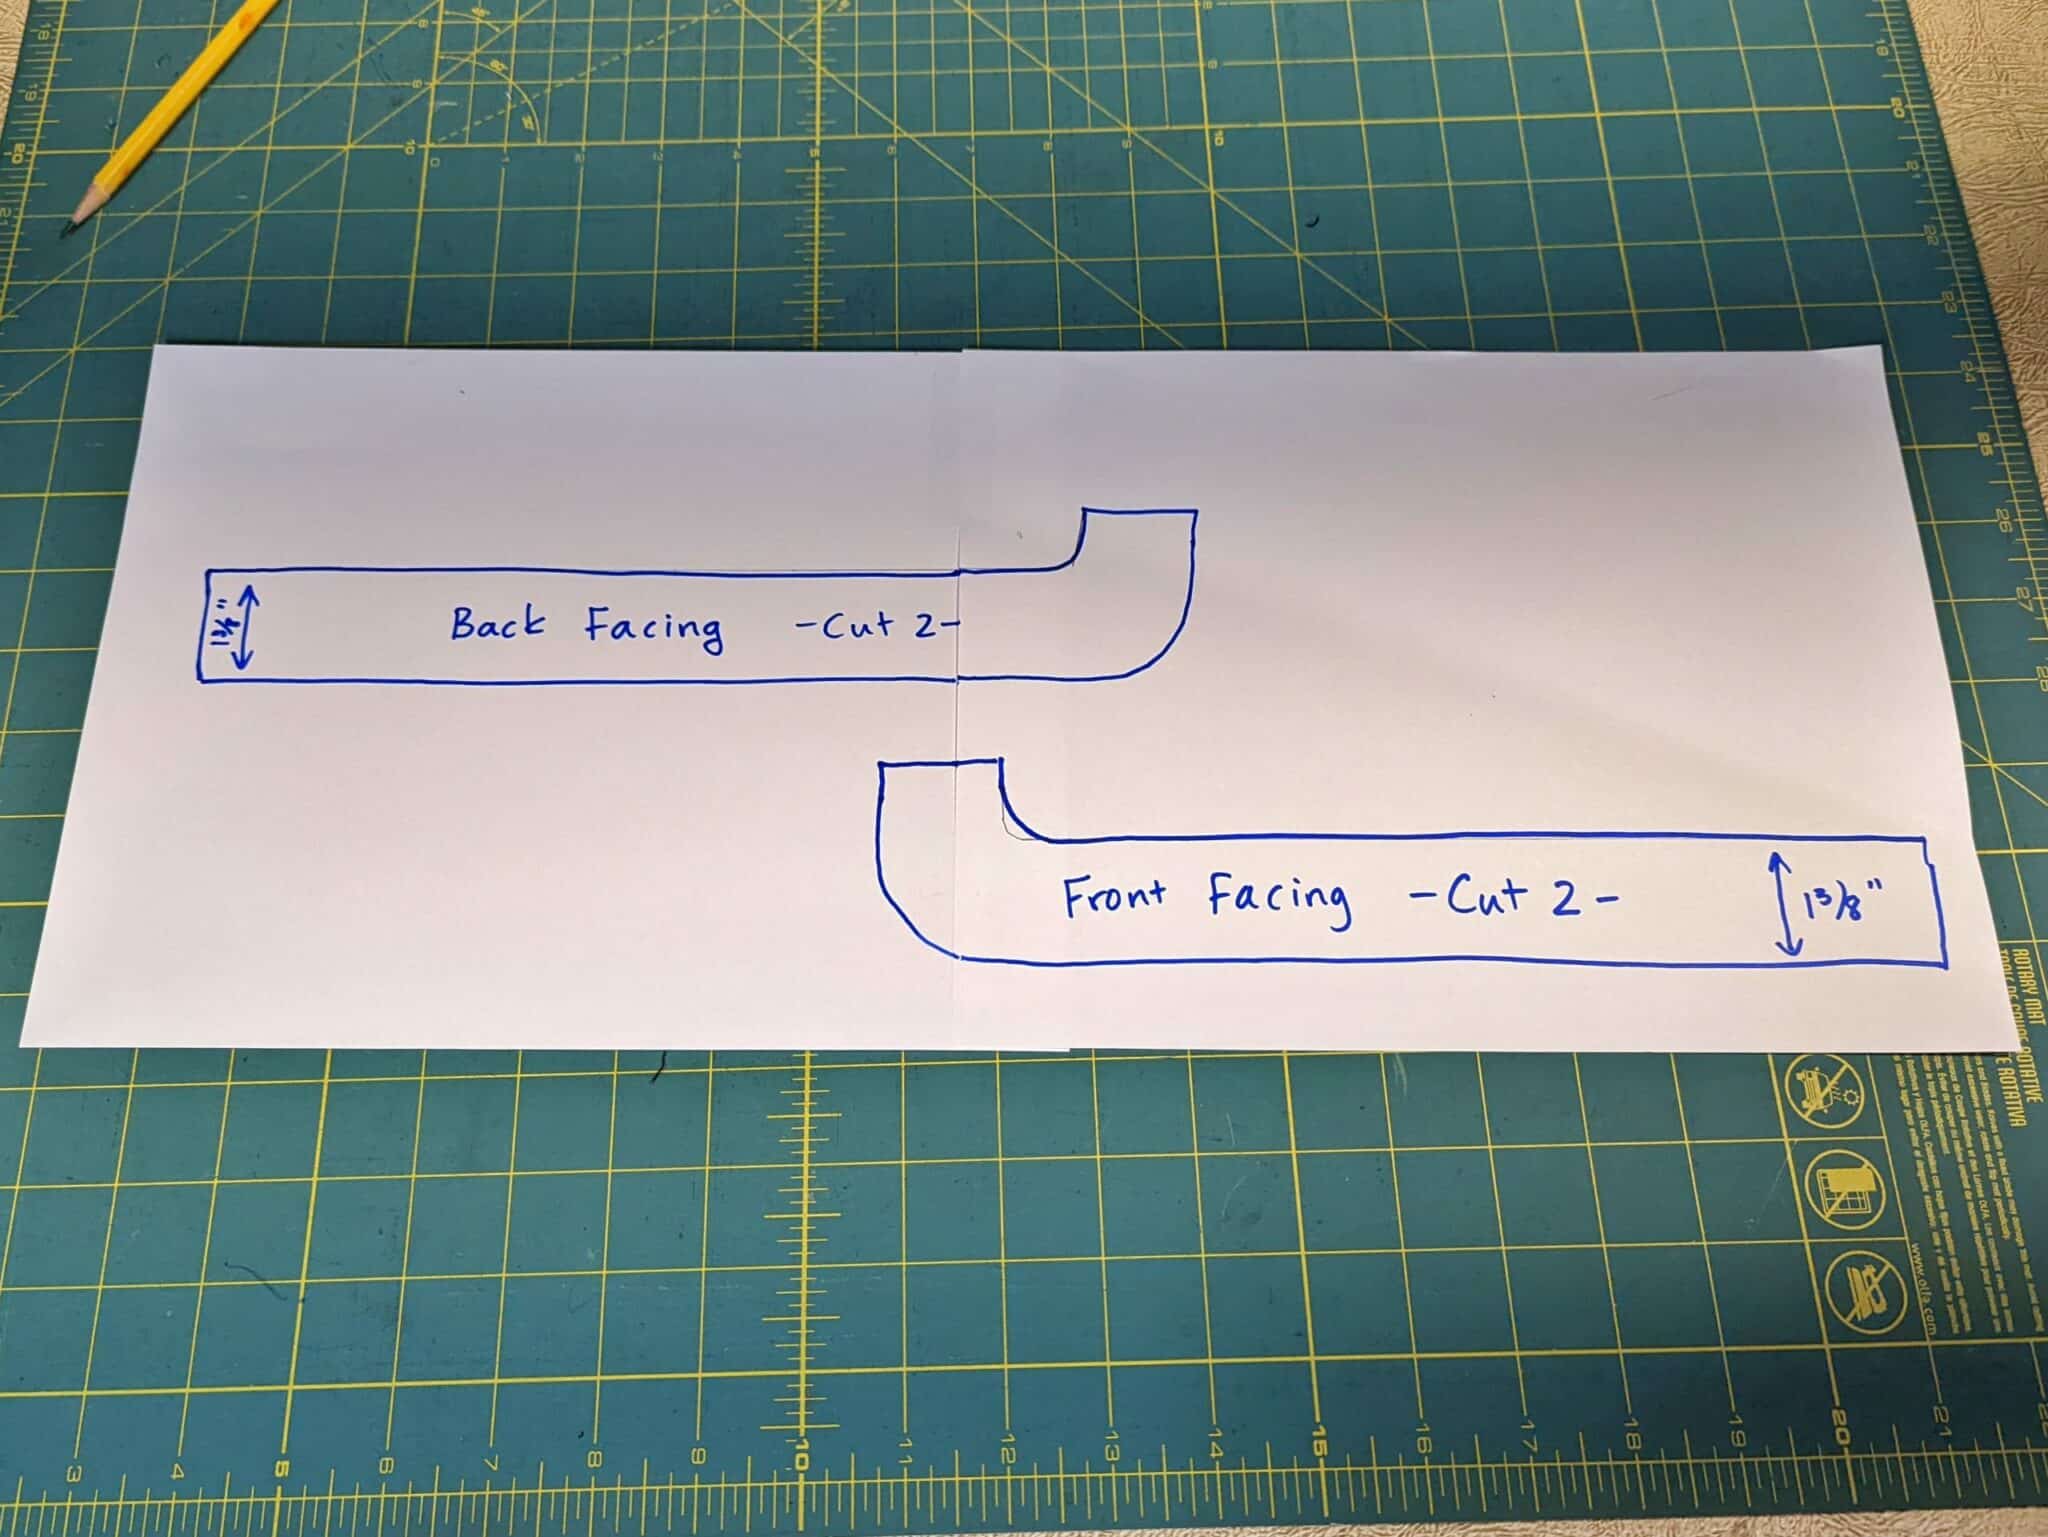
- You will also cut a facing for the bottom of the front and back pieces that is 1 ⅜ inches wide and follows the curve of the bottom of the shorts.
- Cut two front facings and two back facings.
- I also cut some pocket pieces from the Susie Lounge Set shorts pattern in my size for the front. And I cut a rectangular gusset for the pants (more on that later).
Sewing it up – Start with the hems
- Sew the front and back crotch curves as instructed in the pattern.
- Serge or use and overcast stitch along the inside curve and top part of all facing pieces.
- Sew all four facing pieces onto the shorts right sides facing.
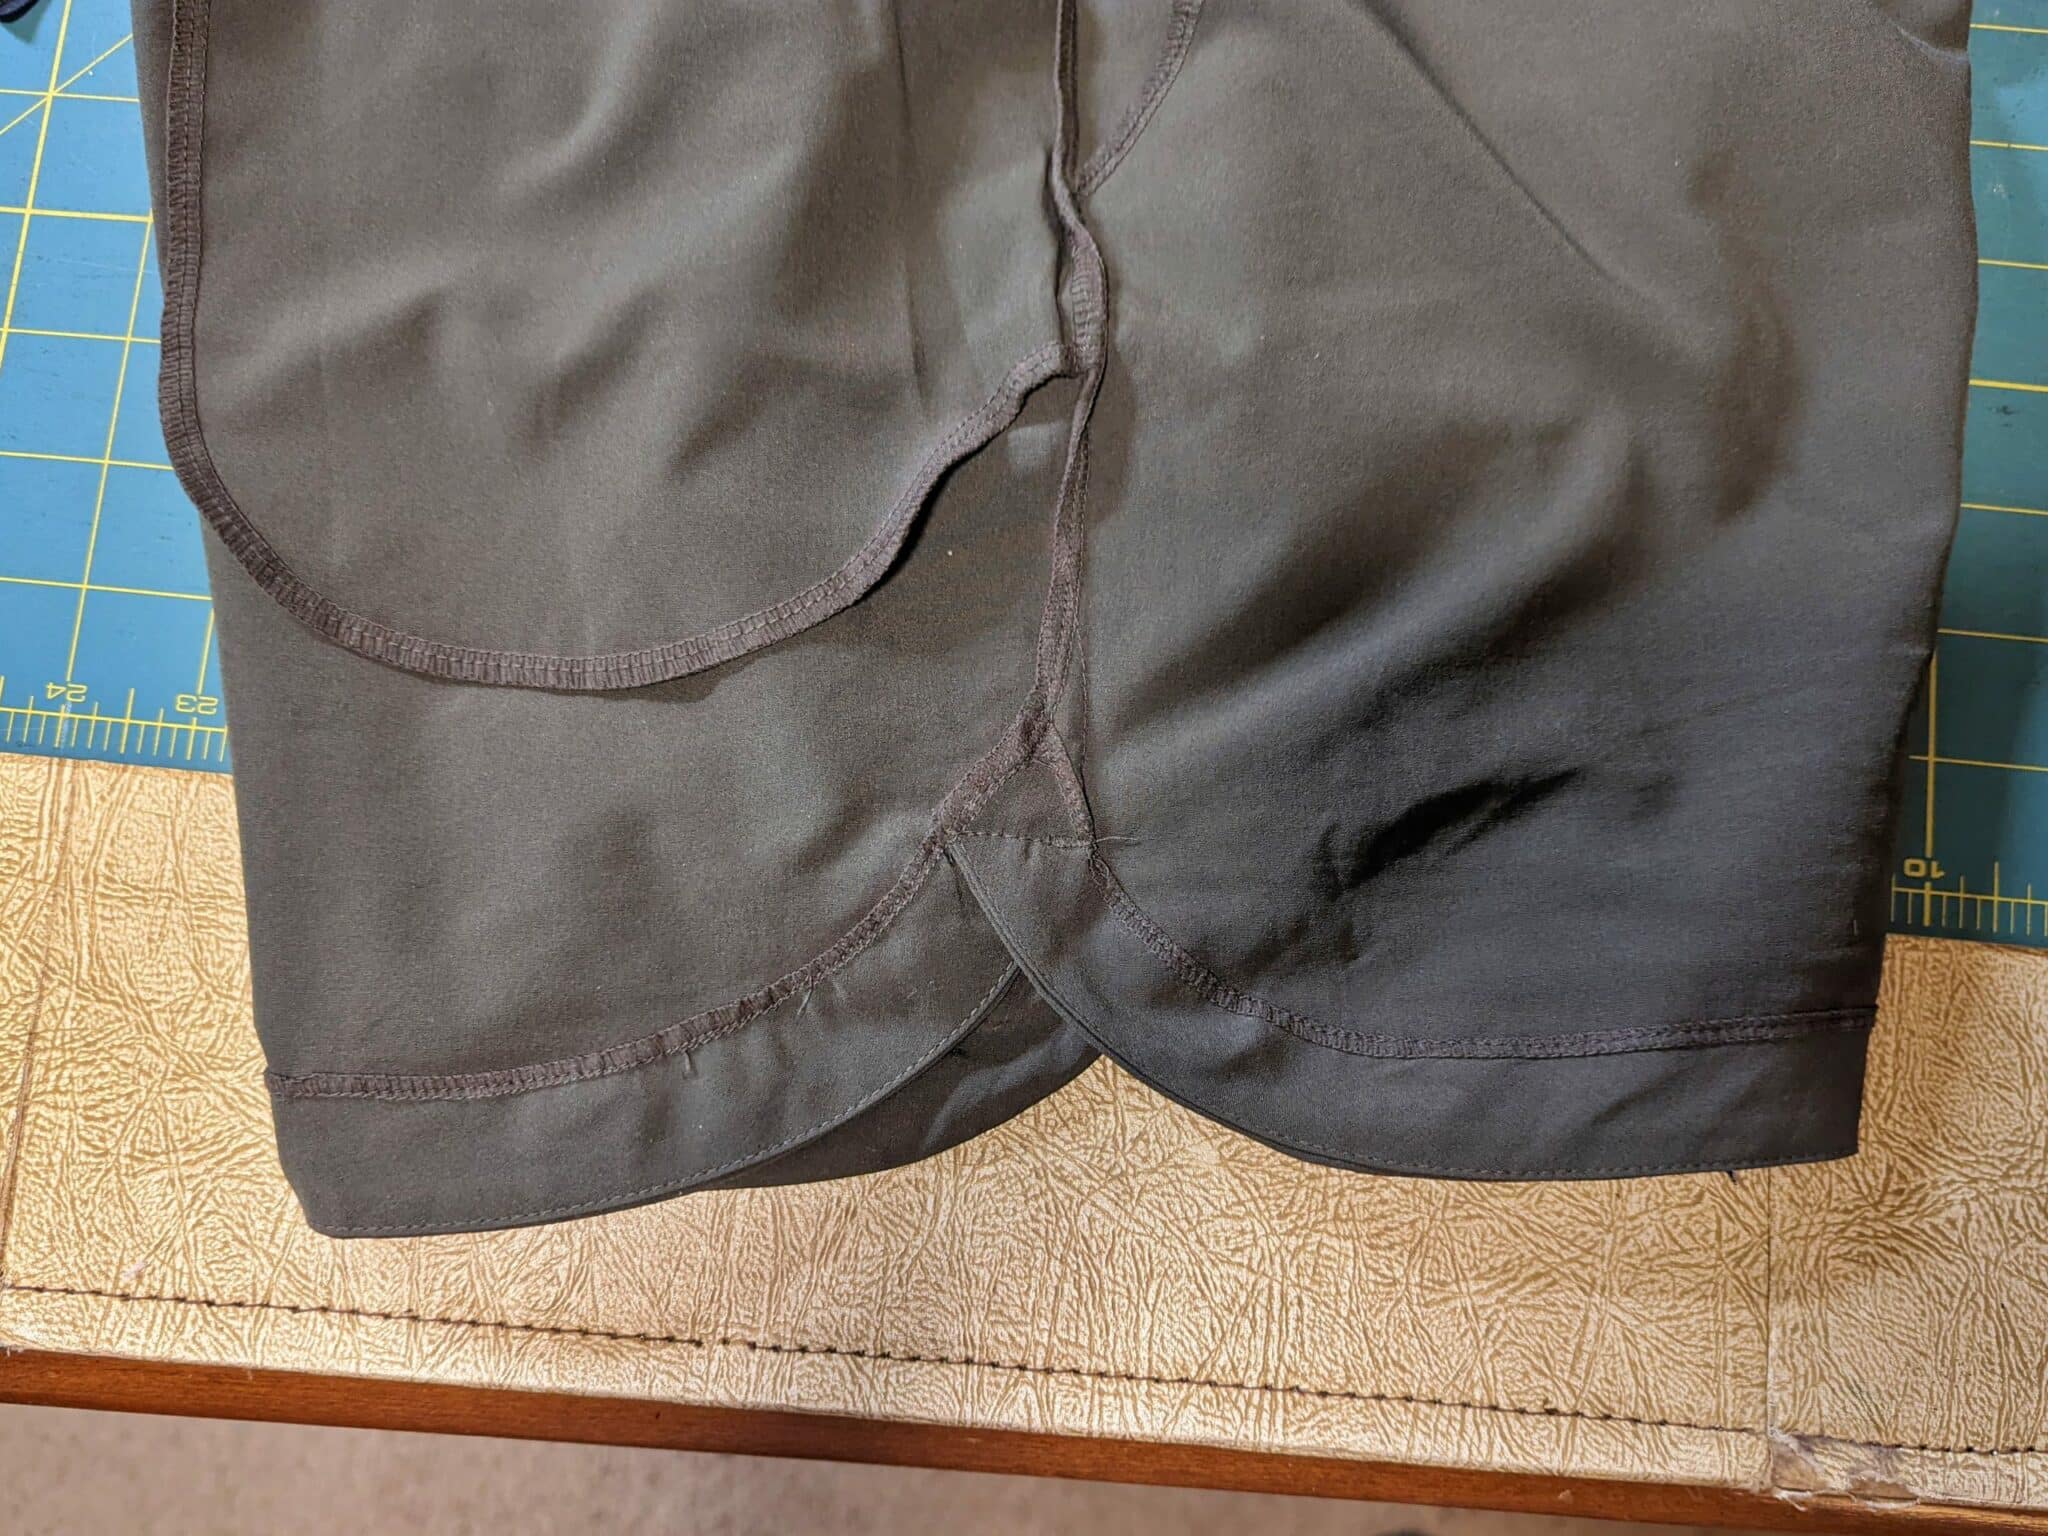
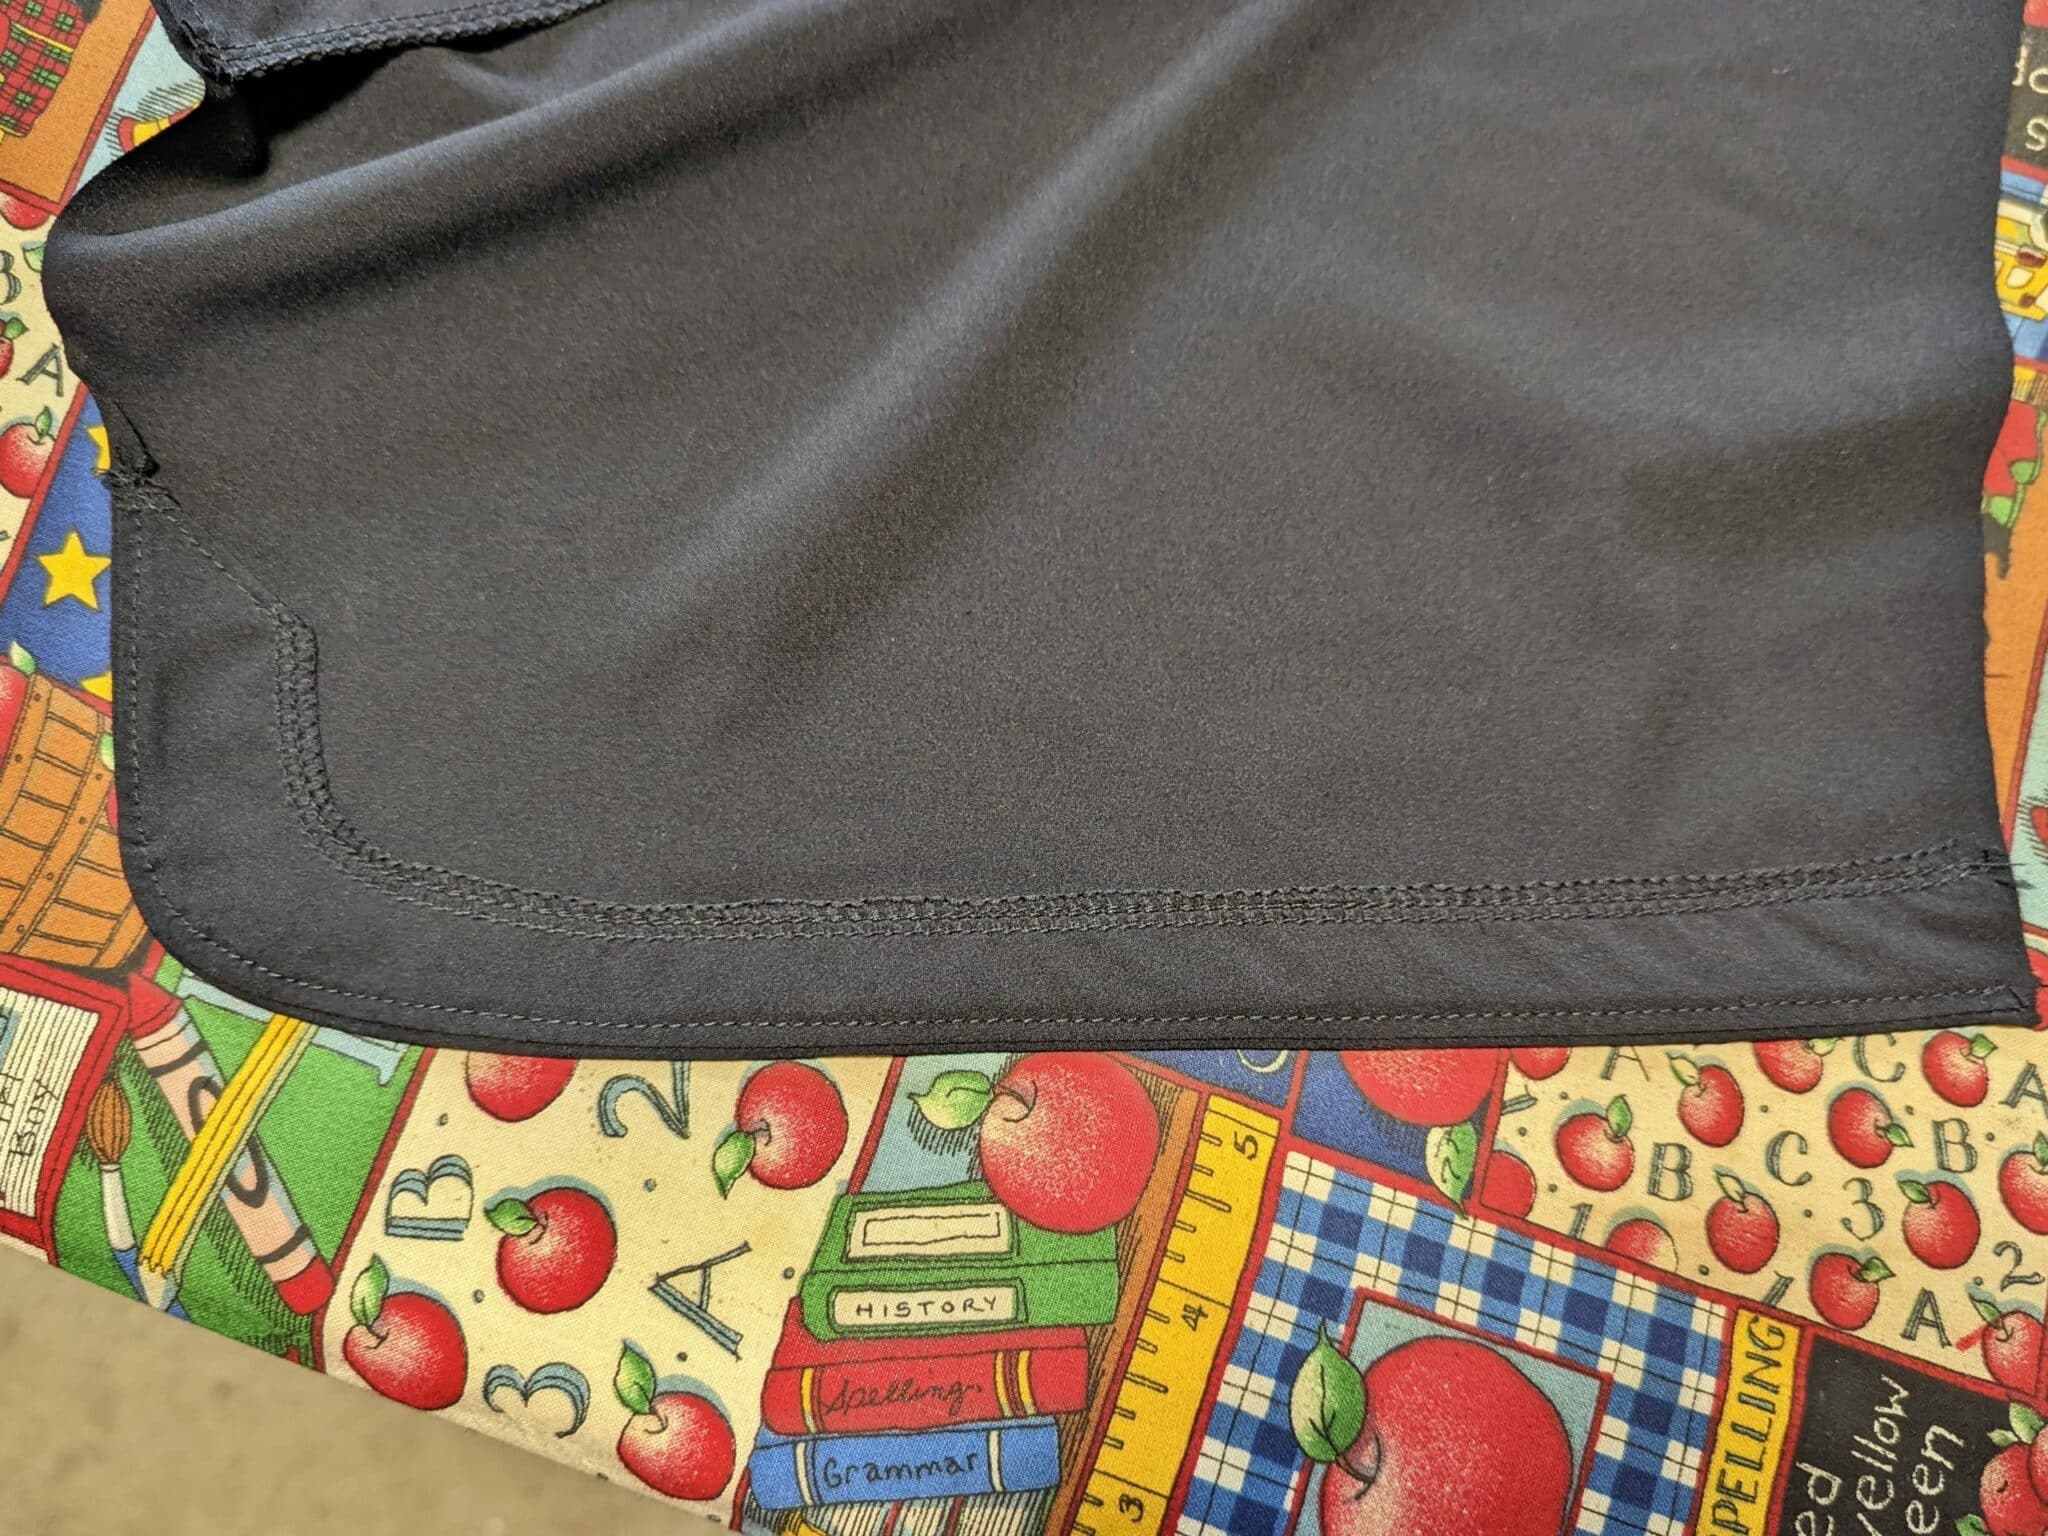
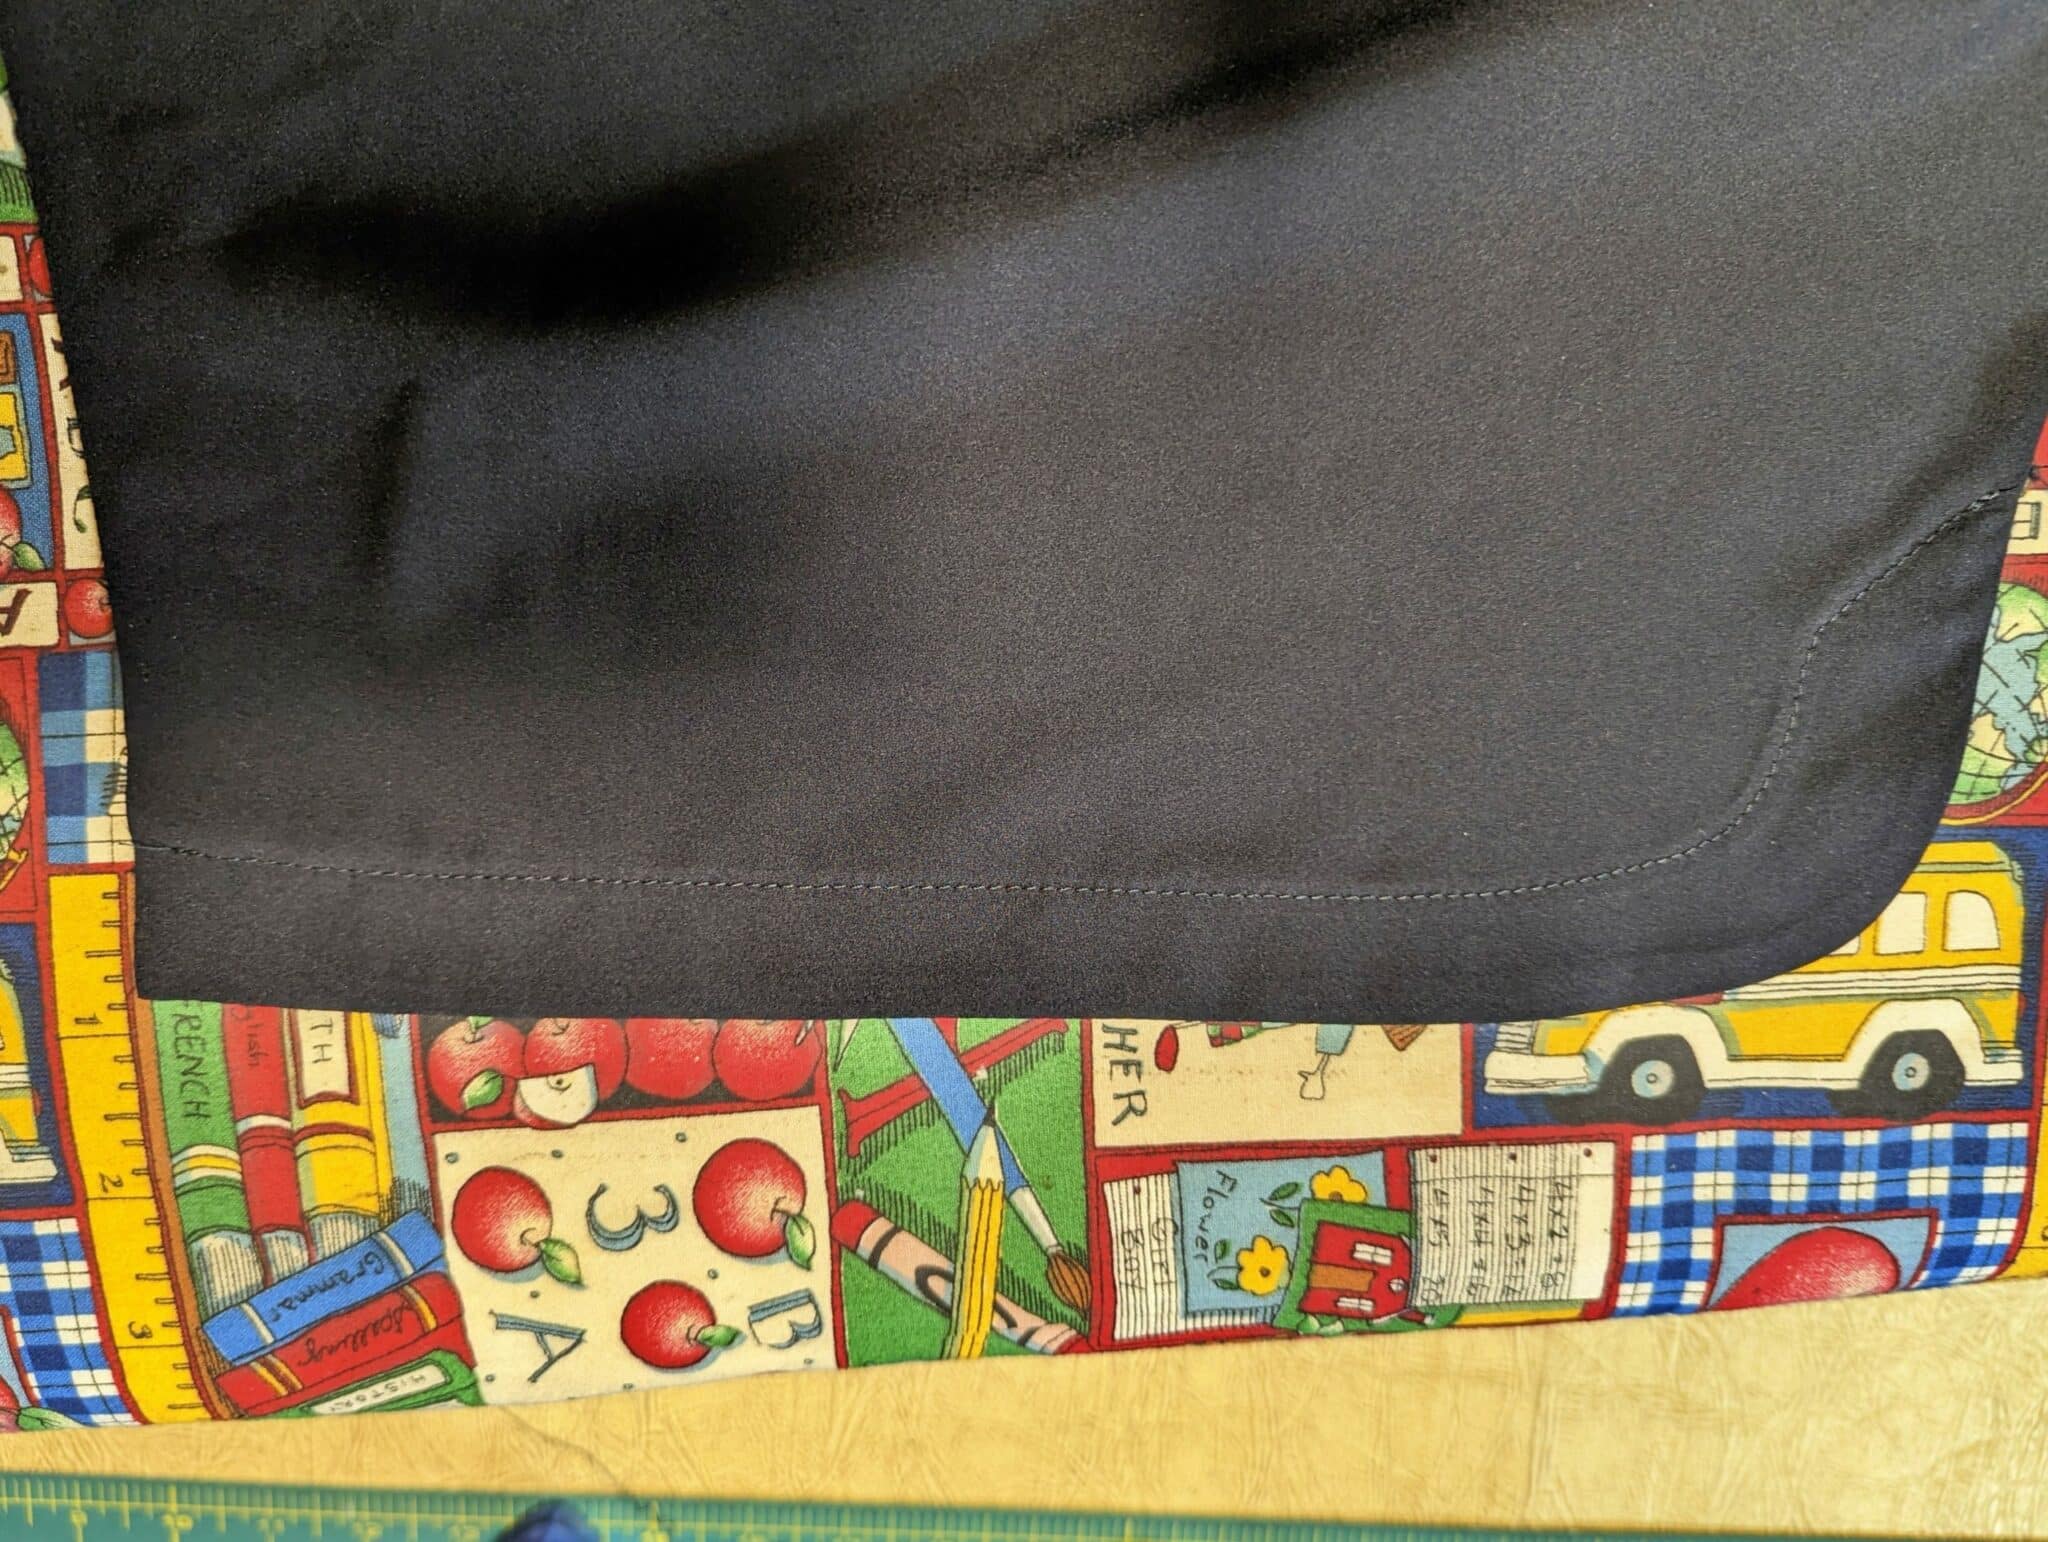
- I understitched the facing to the seam allowance, flipped them up, pressed, and then sewed along the serging on the edge of my facing pieces to tack the facing in place.
- (From the front, this makes it look somewhat like a 1 inch hem). Here are some photos of the back and front of one of the pieces.
The Shorts Construction
- Sew the pockets to the fronts and backs of the shorts.
- The instructions for the back pocket can be found in the Malia pattern.
- The instructions for the front pockets are in the Susie Lounge Set short pattern (and probably a number of other 5oo4 patterns as well).
- The process of the back pockets also sews on the yoke.
- Sew the outseams and attach the elastic waistband piece as instructed in the pattern.
Adding a Rectangular Gusset
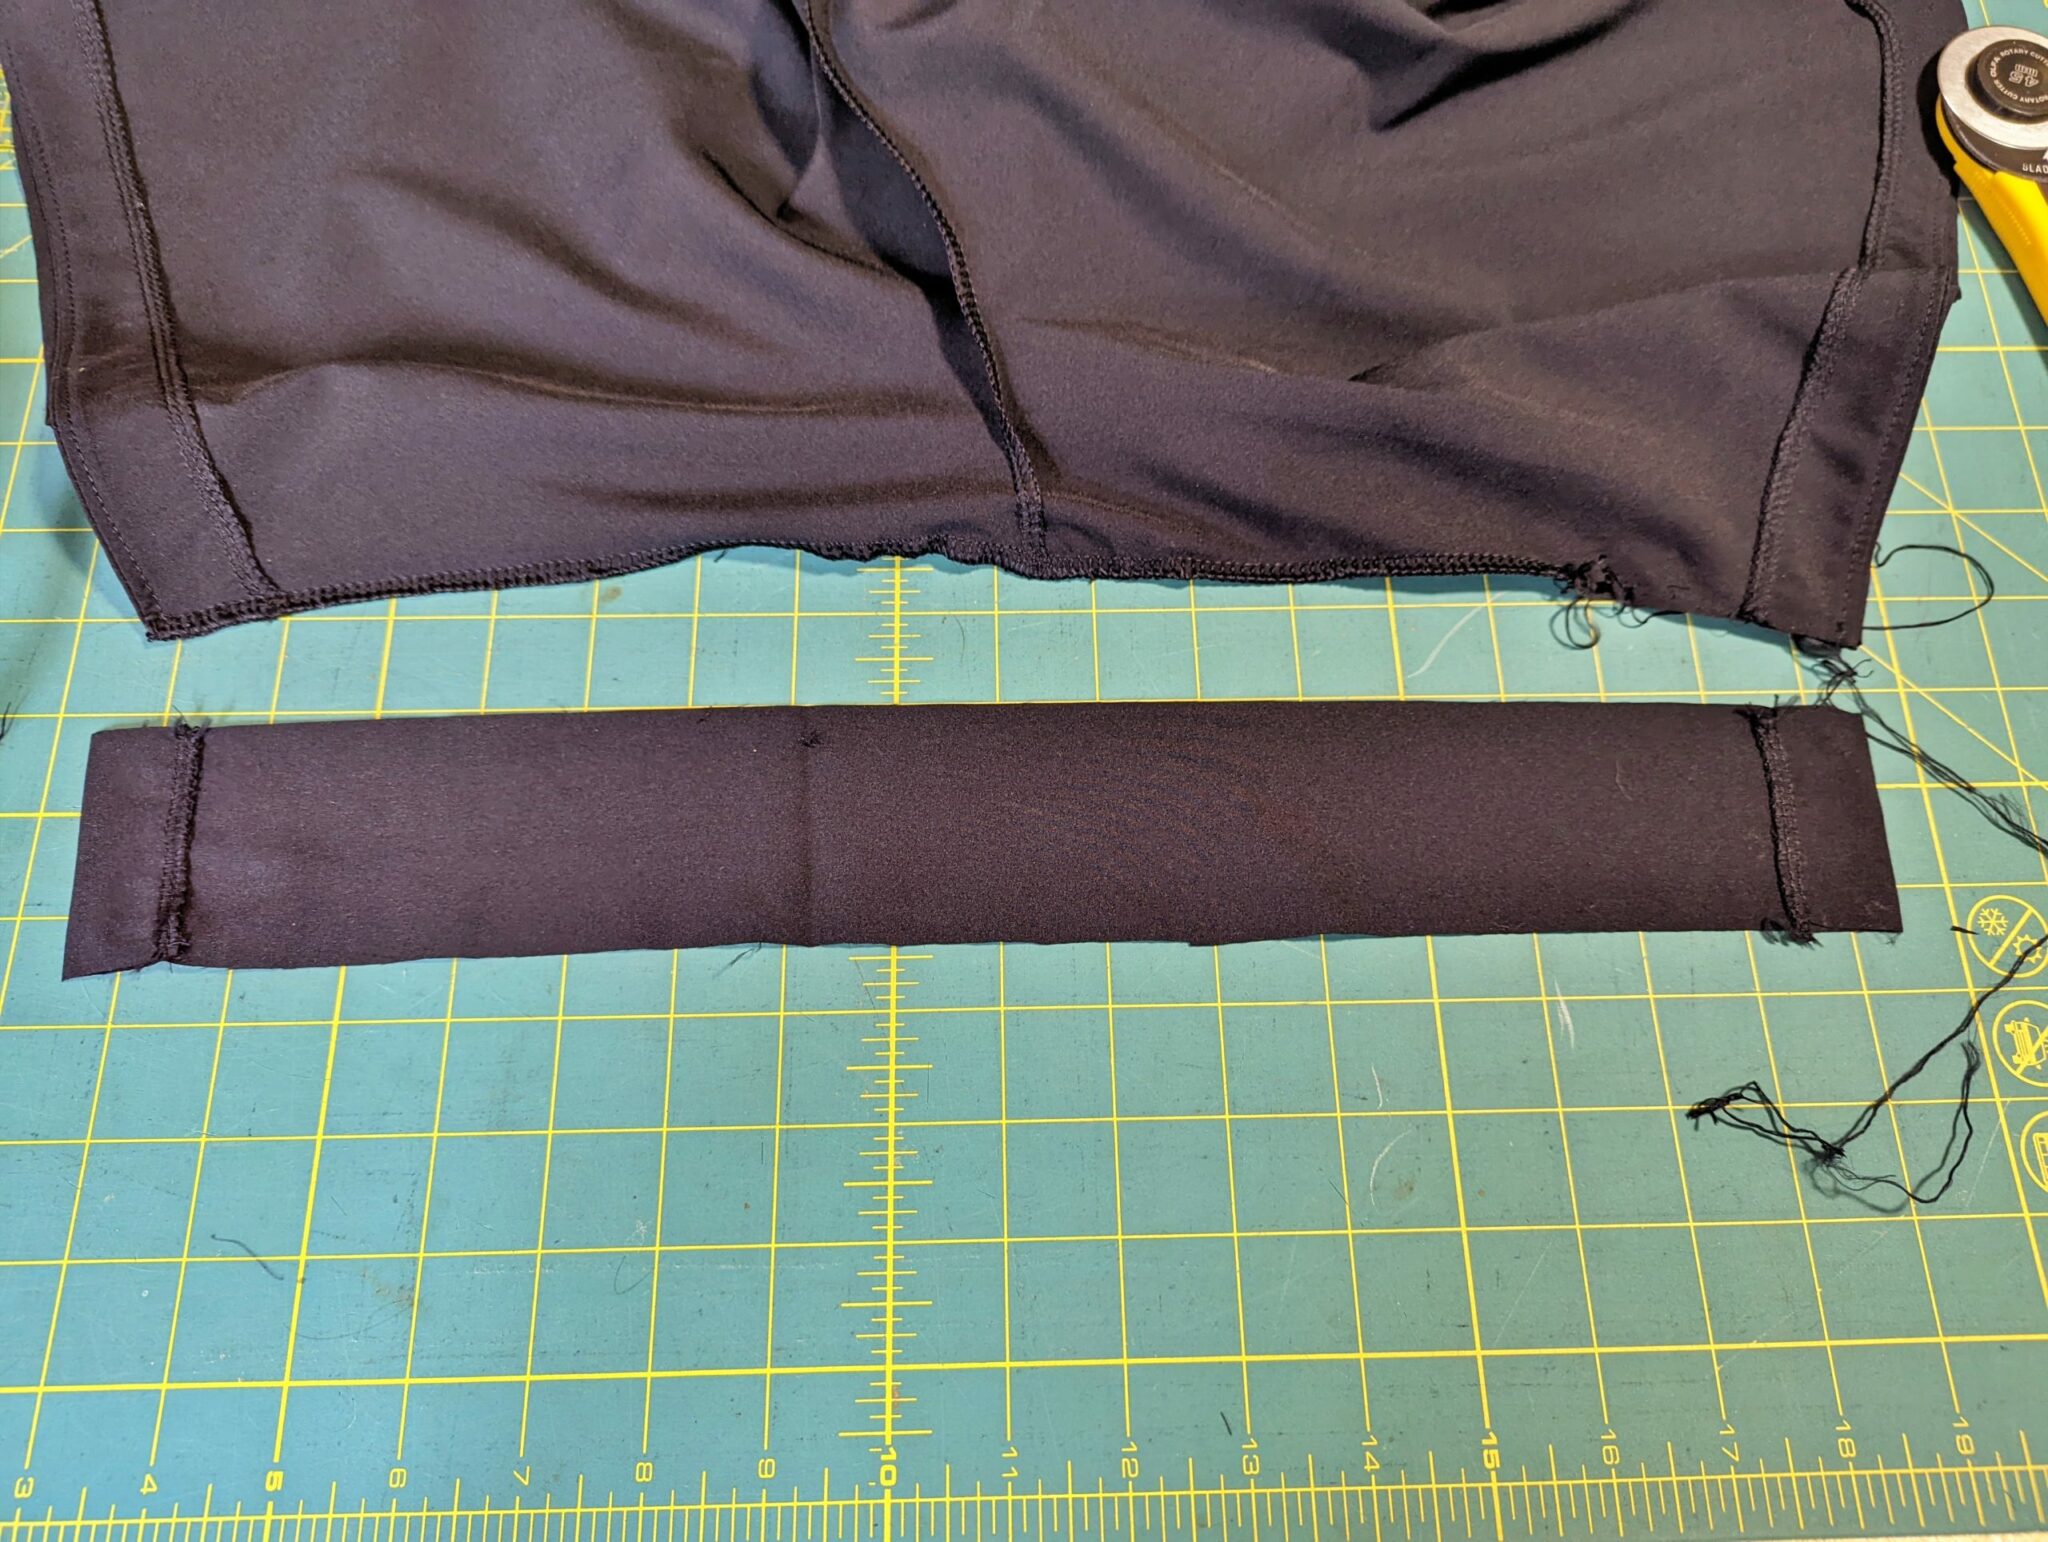
- I chose to add a rectangular gusset to this pattern that went all the way along the inseam of the shorts from one side to the other.
- (This gave the shorts slightly more ease around my thighs, adding enough room for the pockets both in front and in back.)
- I measured the inseam on my shorts and cut my gusset two inches longer than that to allow for the hem. This meant that it was just under 20 inches for my shorts.
- (I chose to make my gusset 2 ⅜ inches wide, but you could modify that depending on how much ease you wanted to add.)
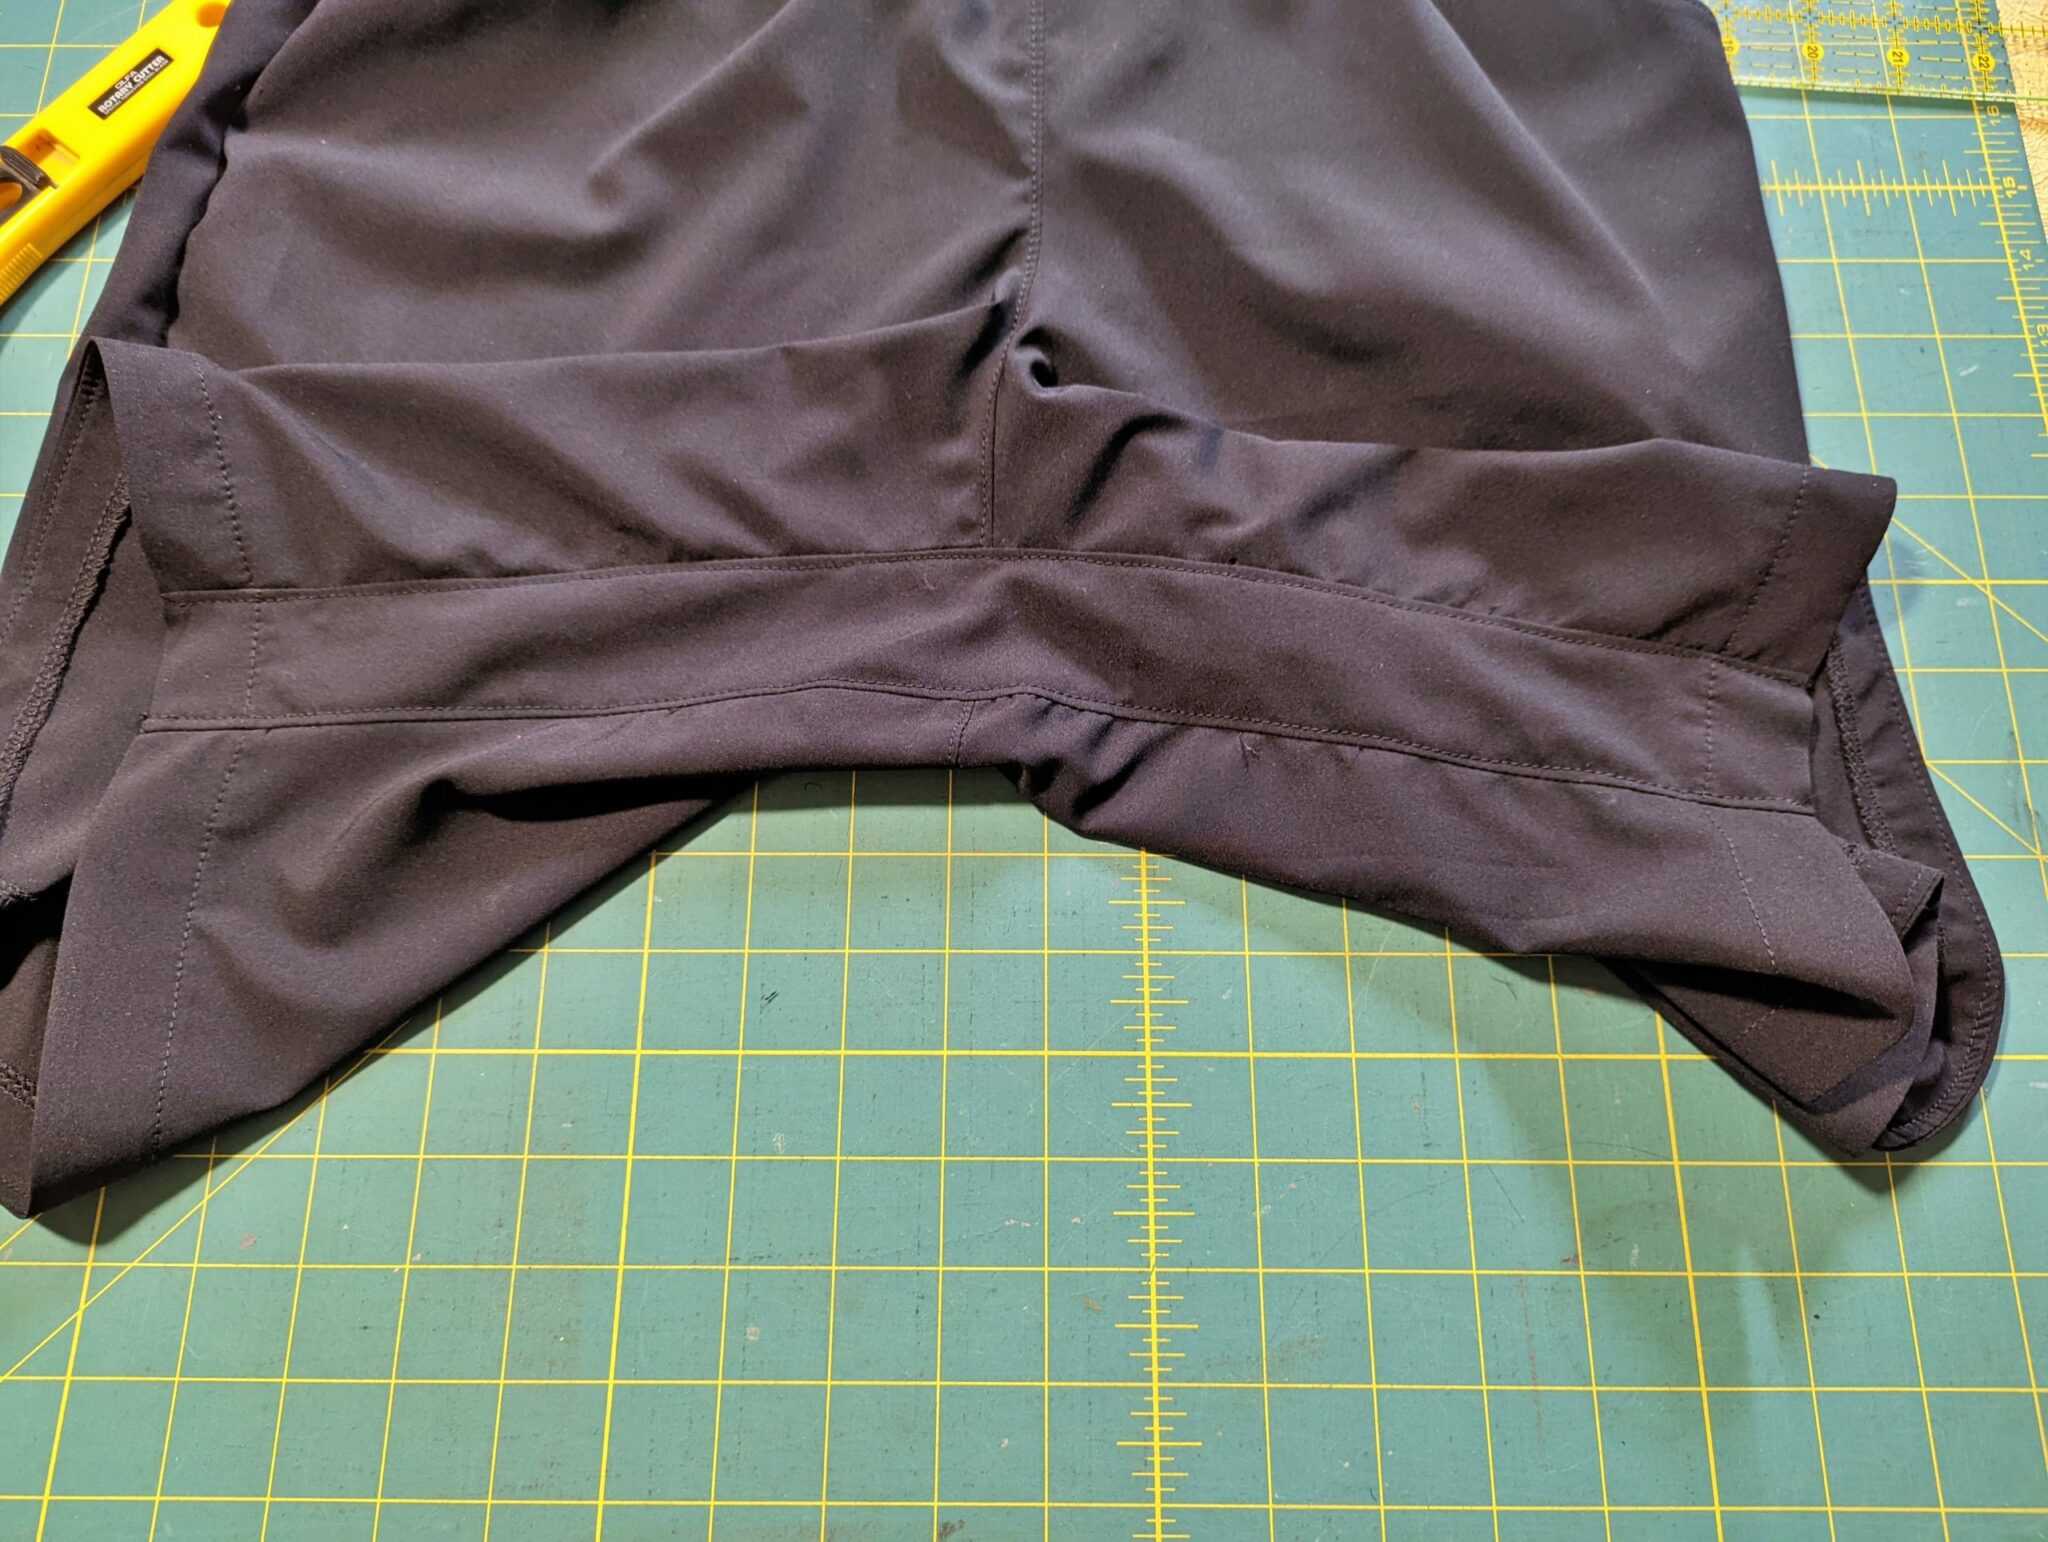
- Pin and stitch the gusset to the back and front inseam, topstitching along the edge both times.
- I made sure to match my gusset hem to my facings in front and back so it was a continuation of the same line.
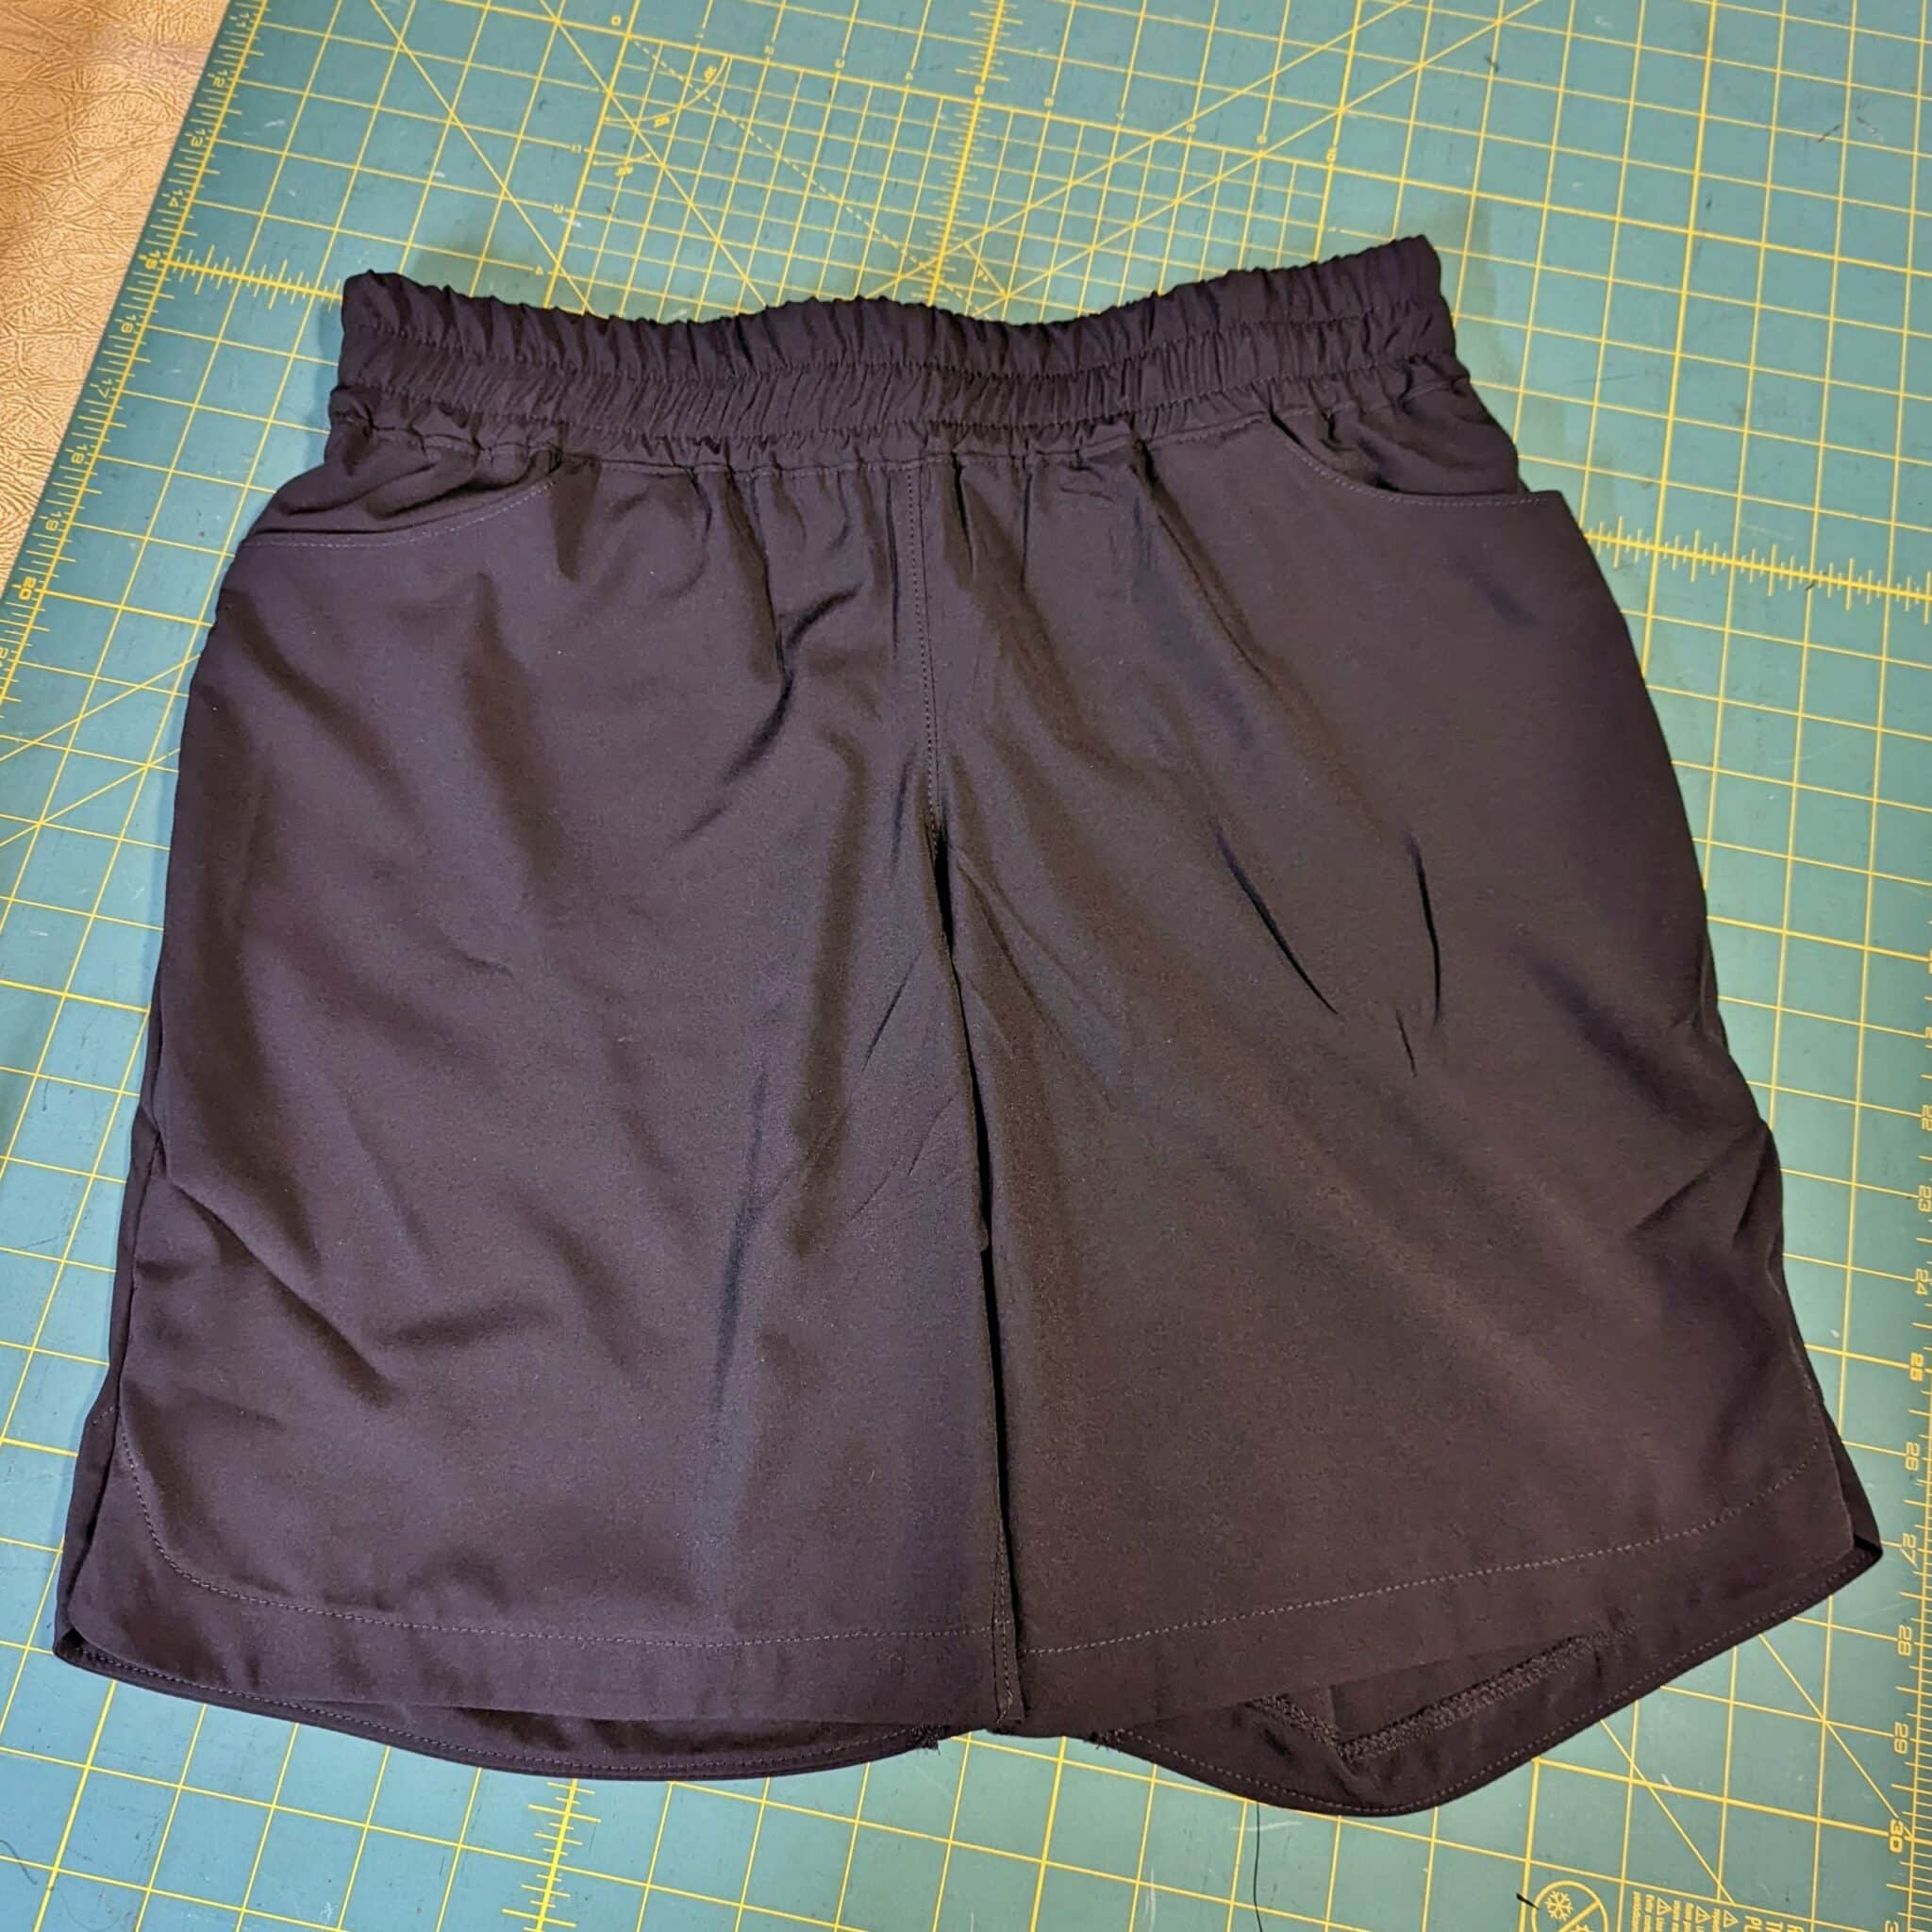
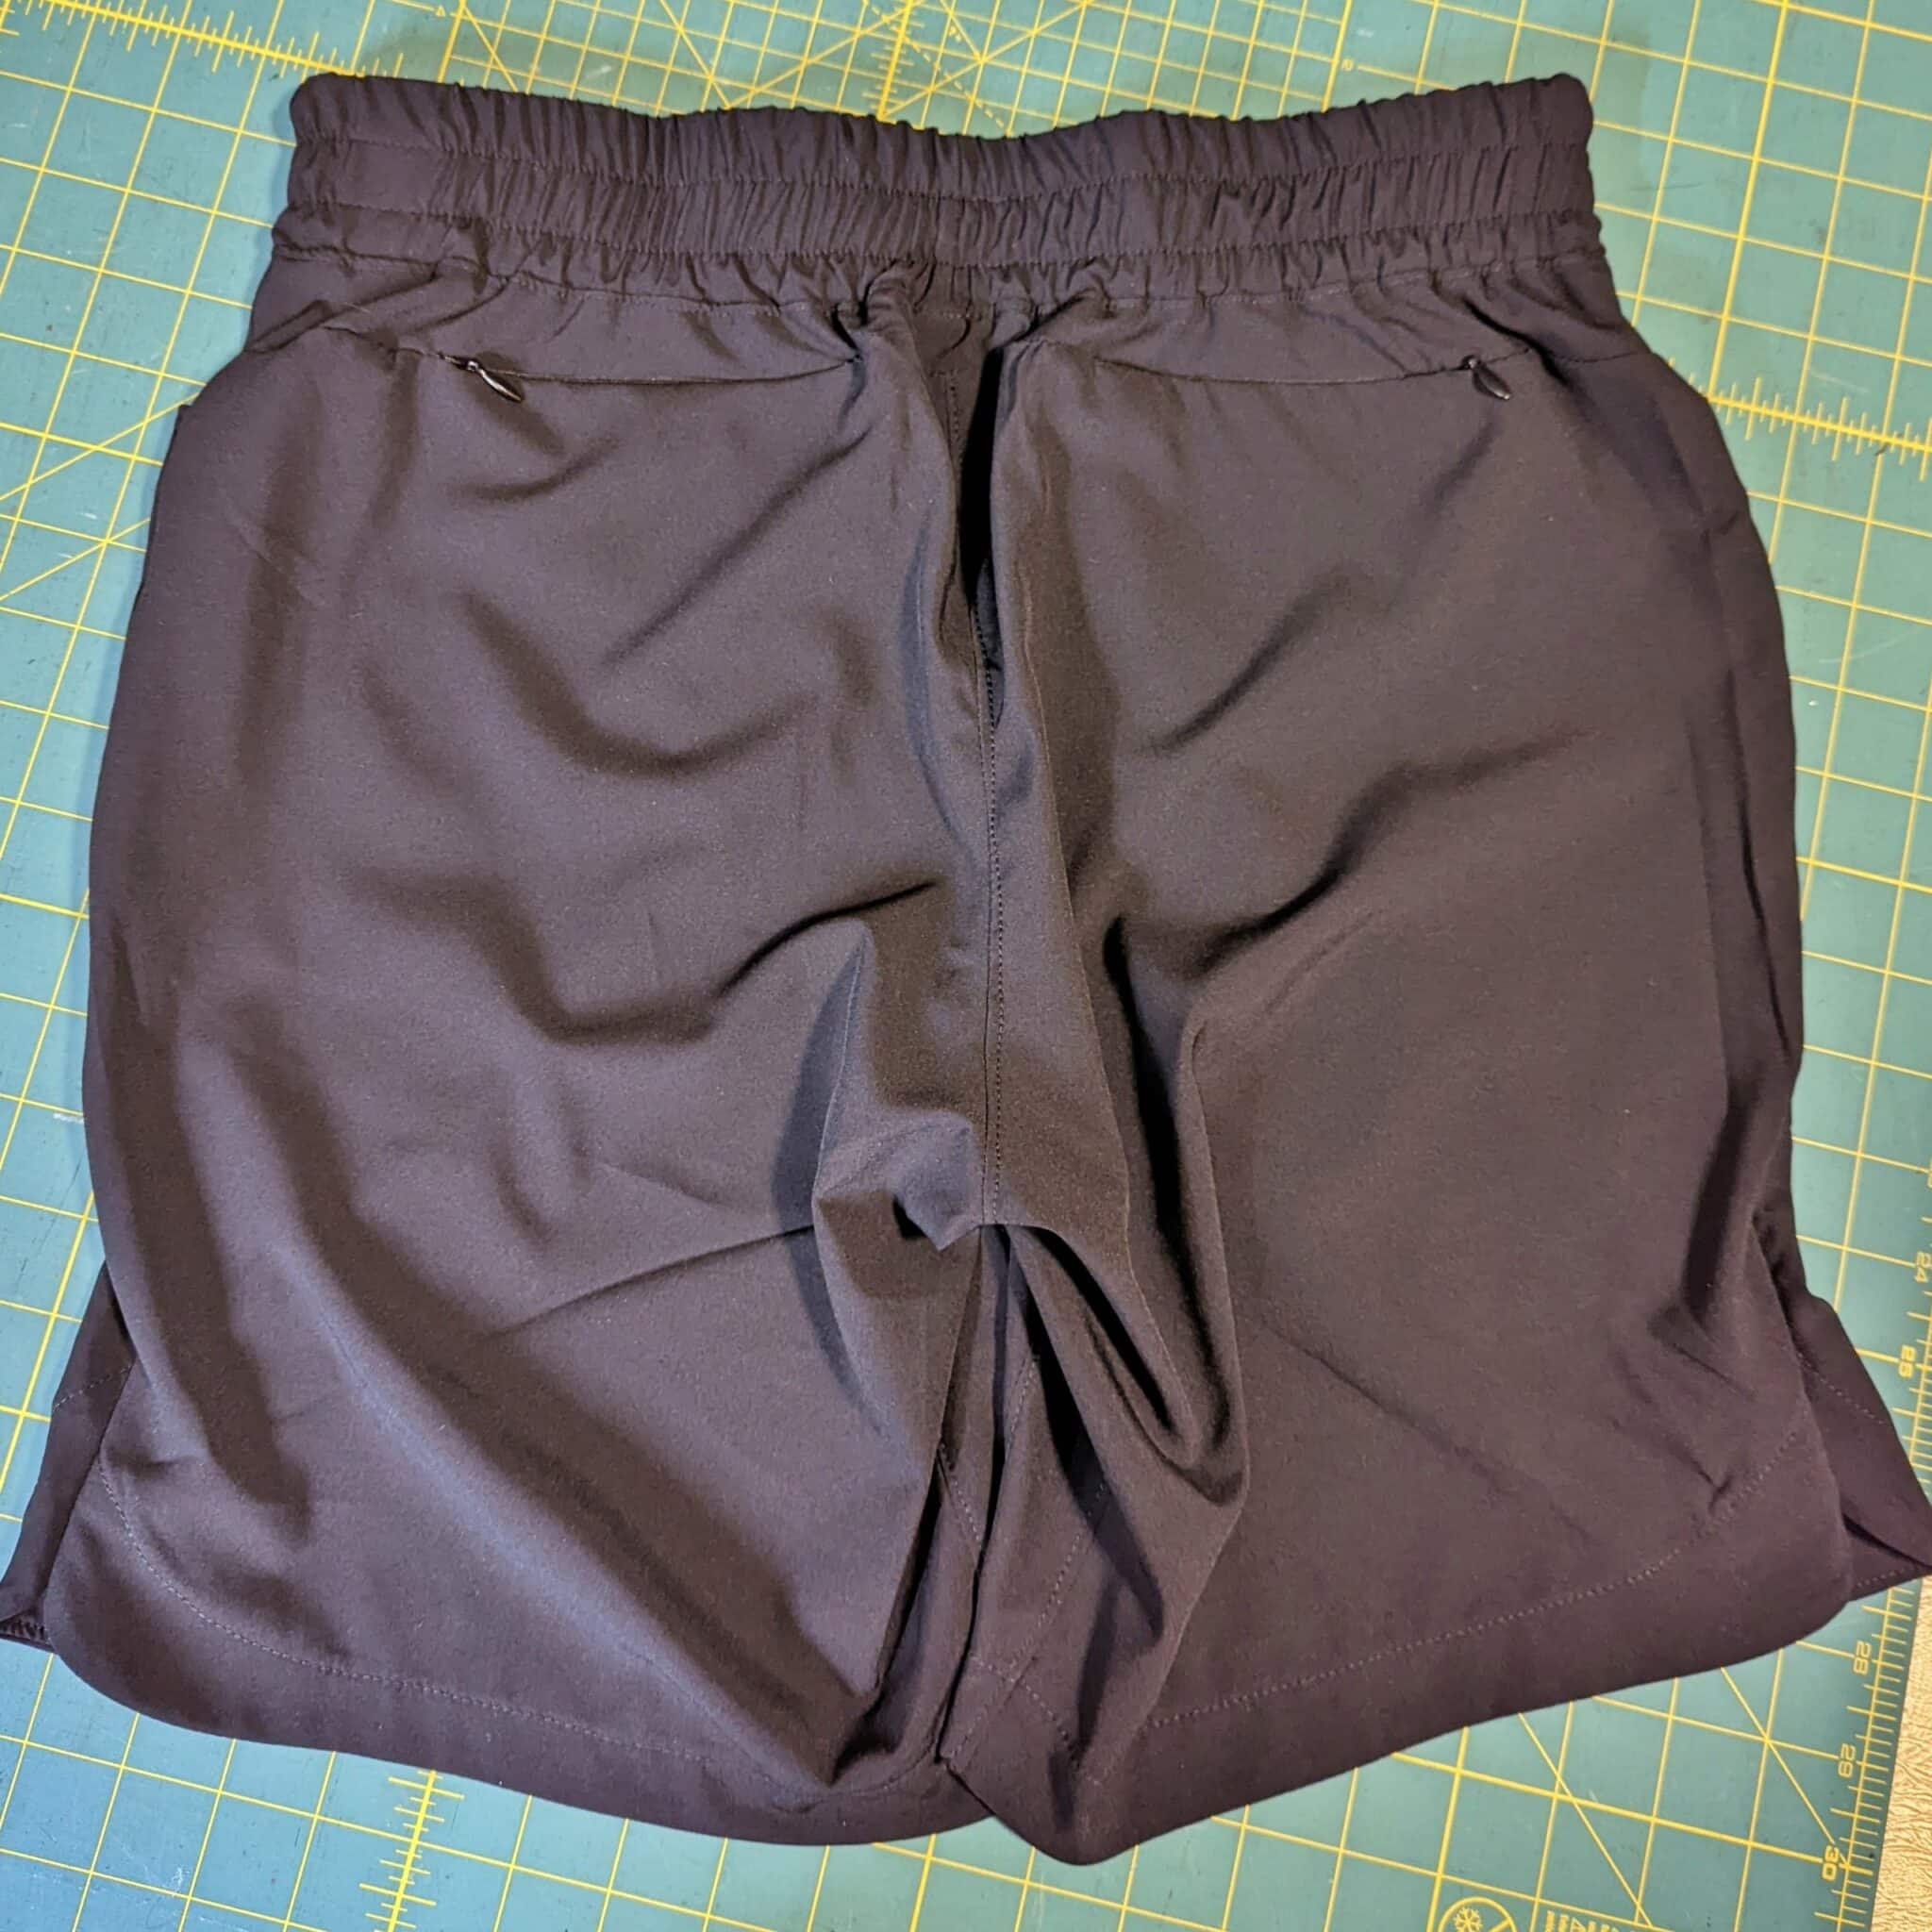
My Finished Project
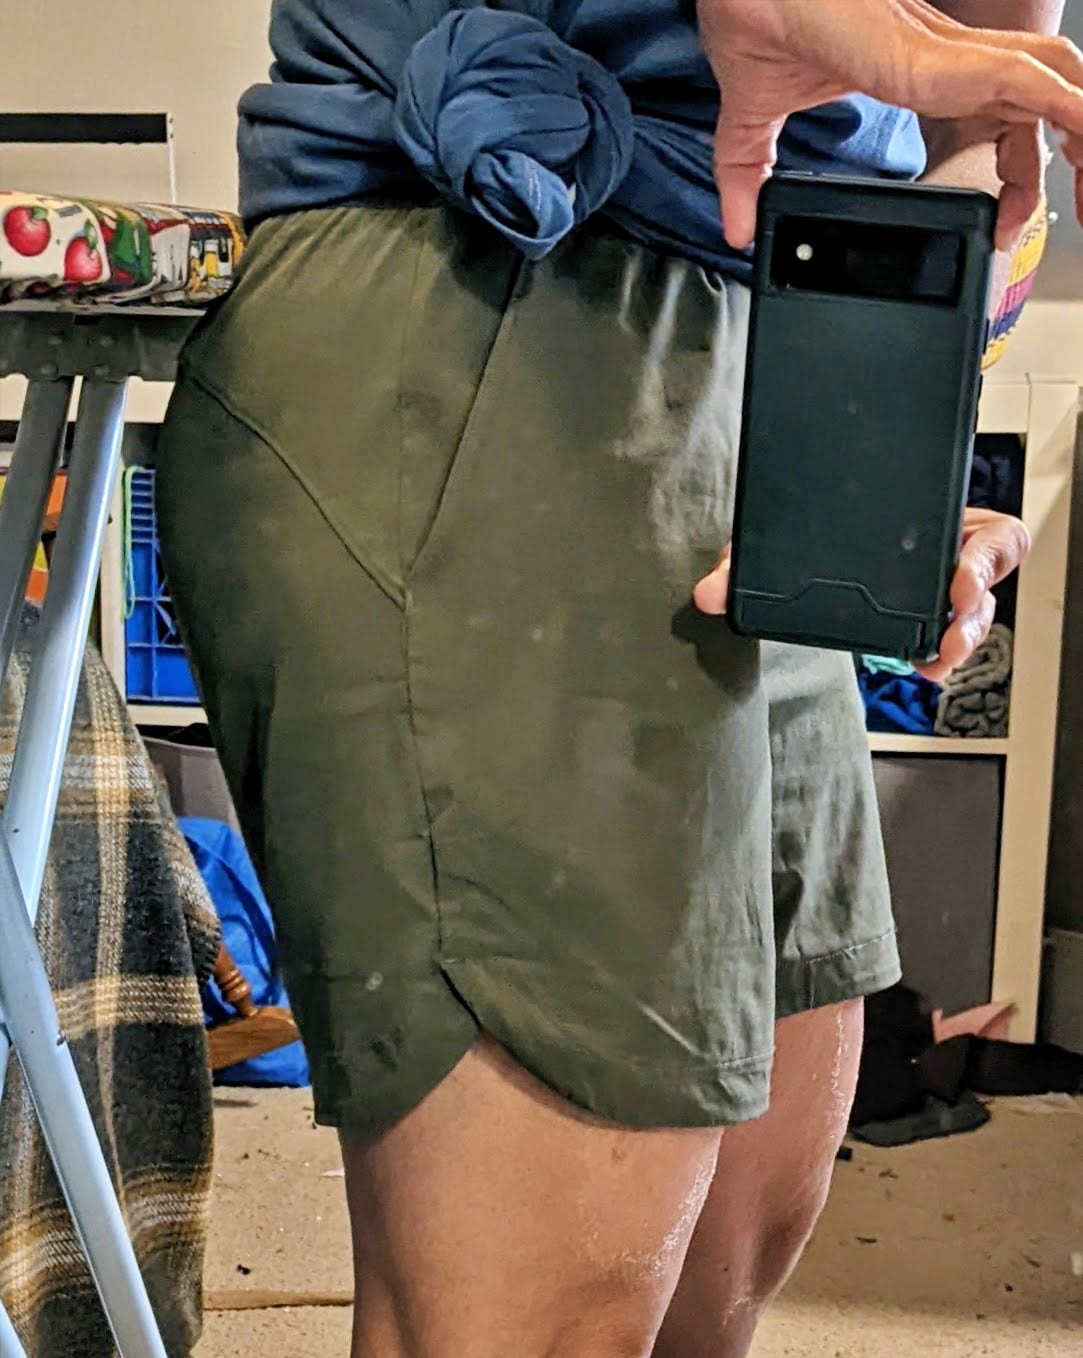
And then my shorts were done! Here are some flat lays of the finished garment:
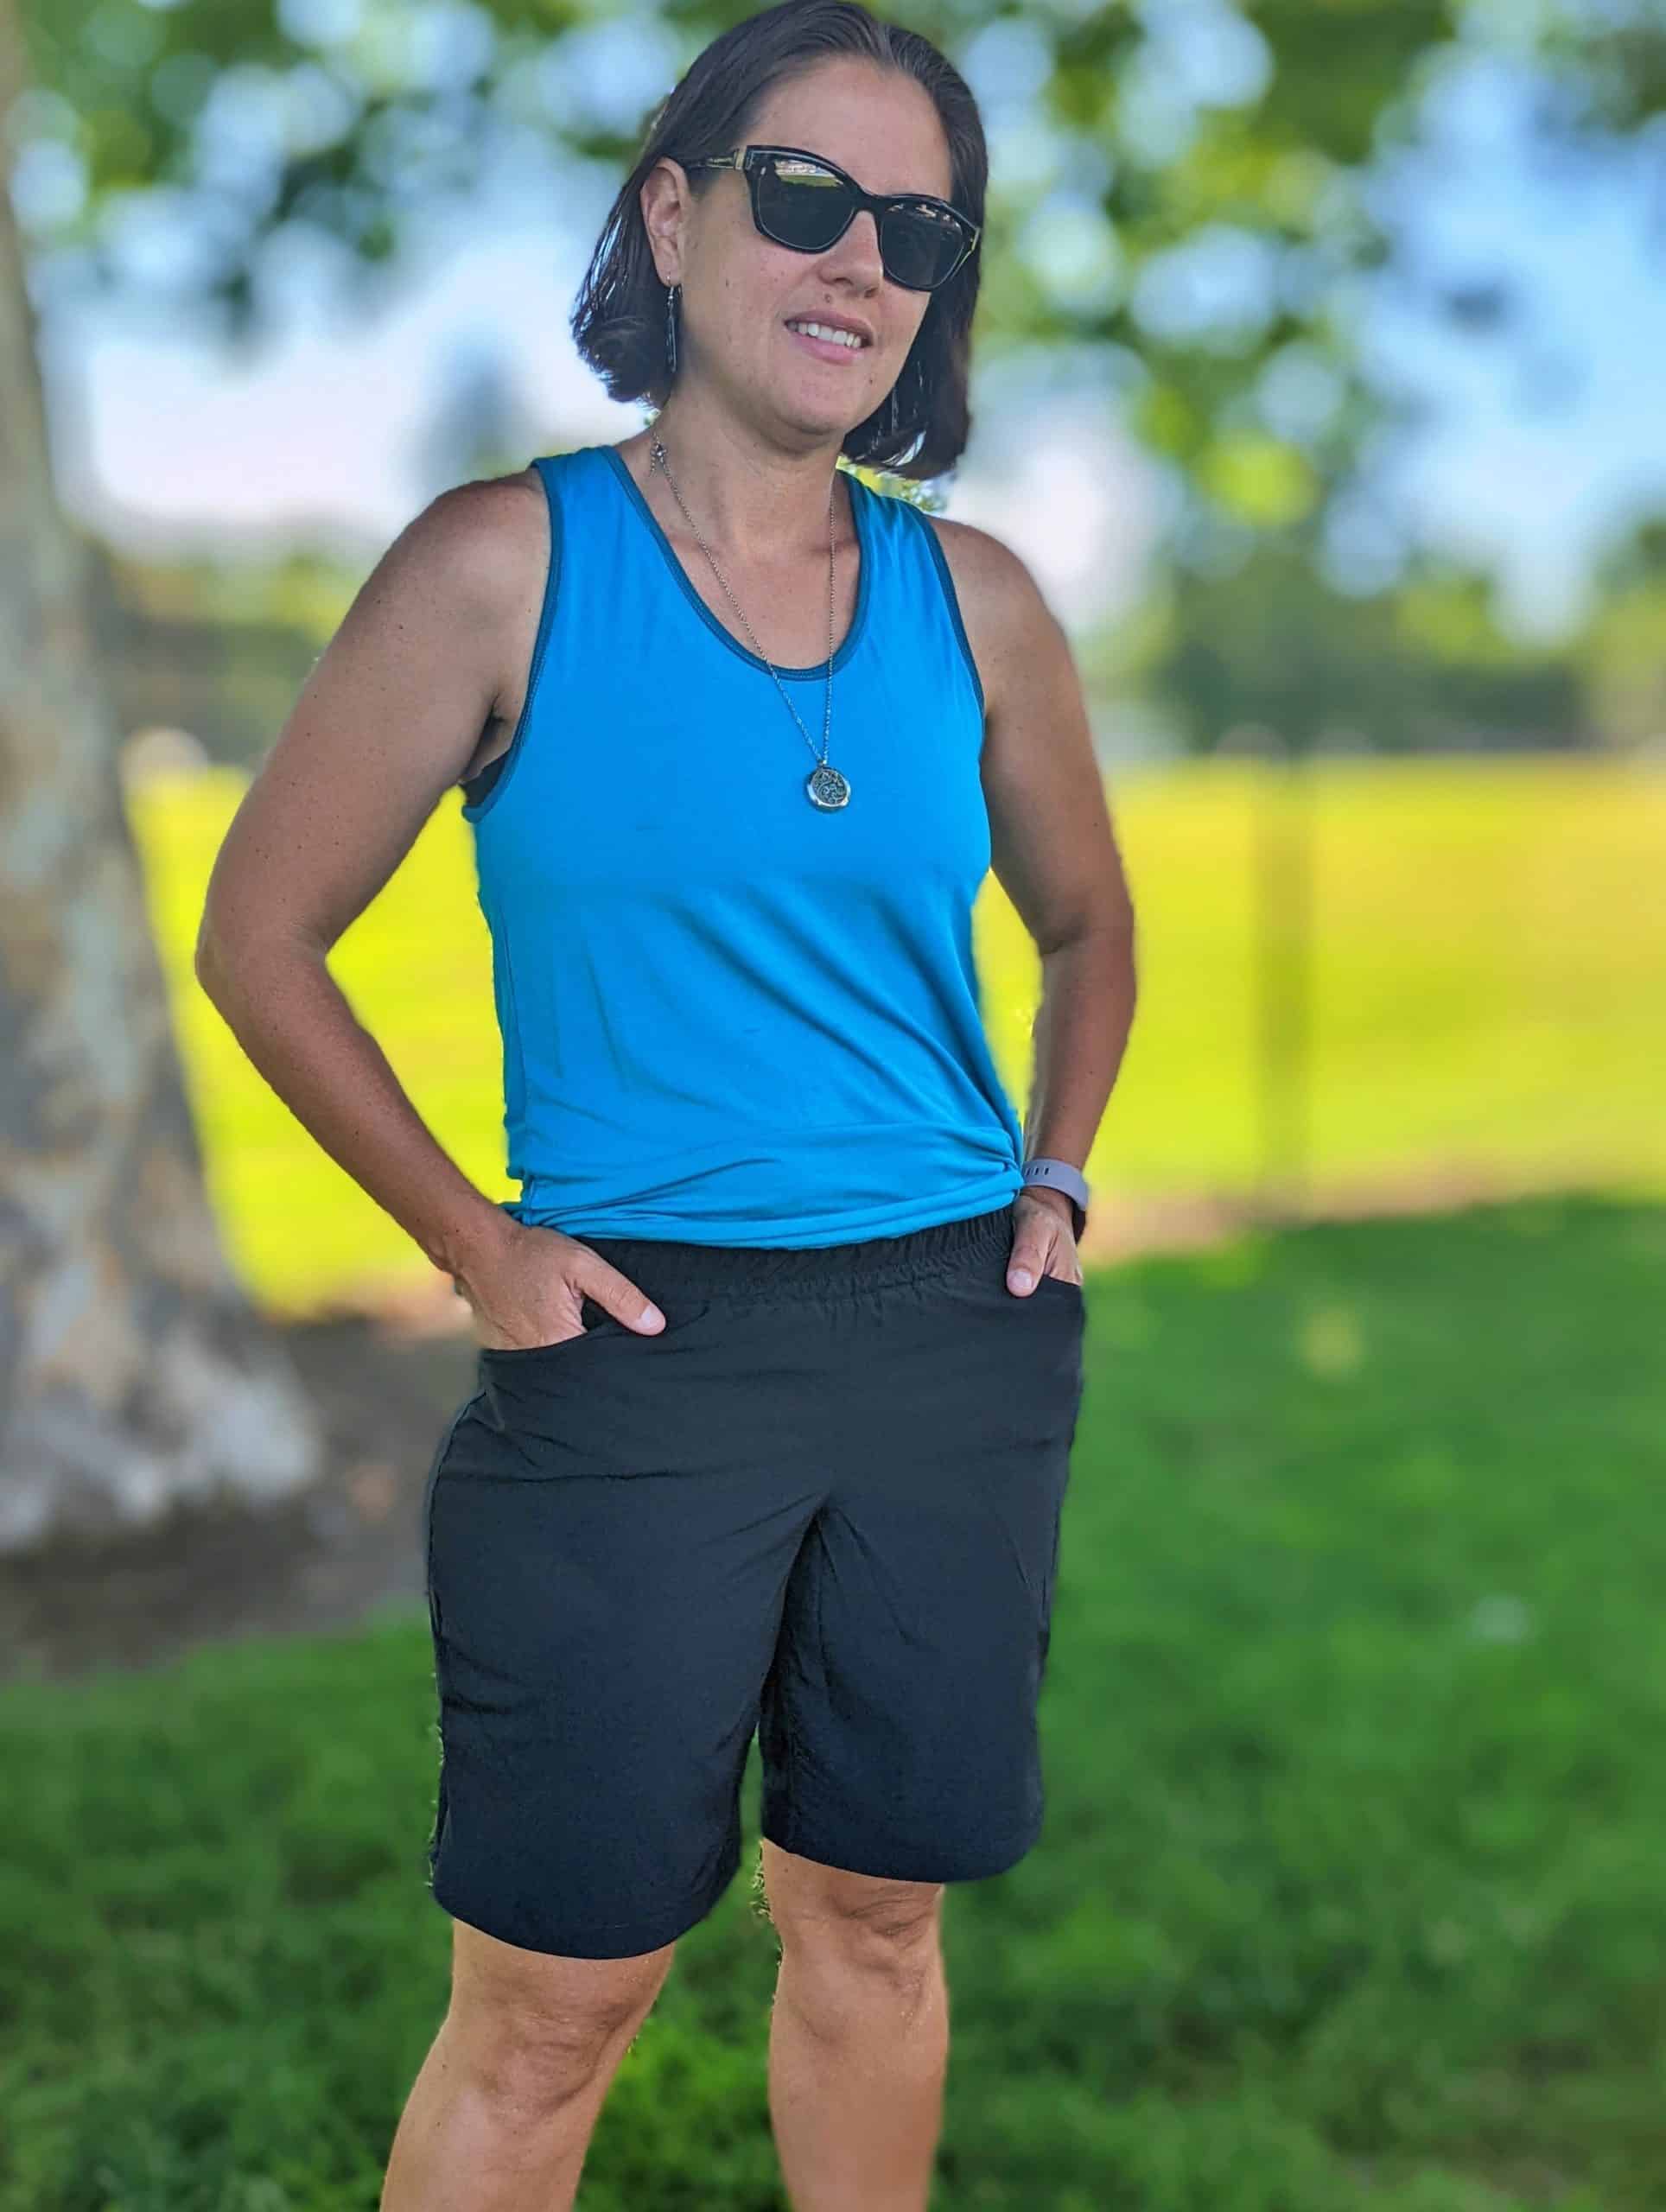
And some more pictures of what it looks like on my body:
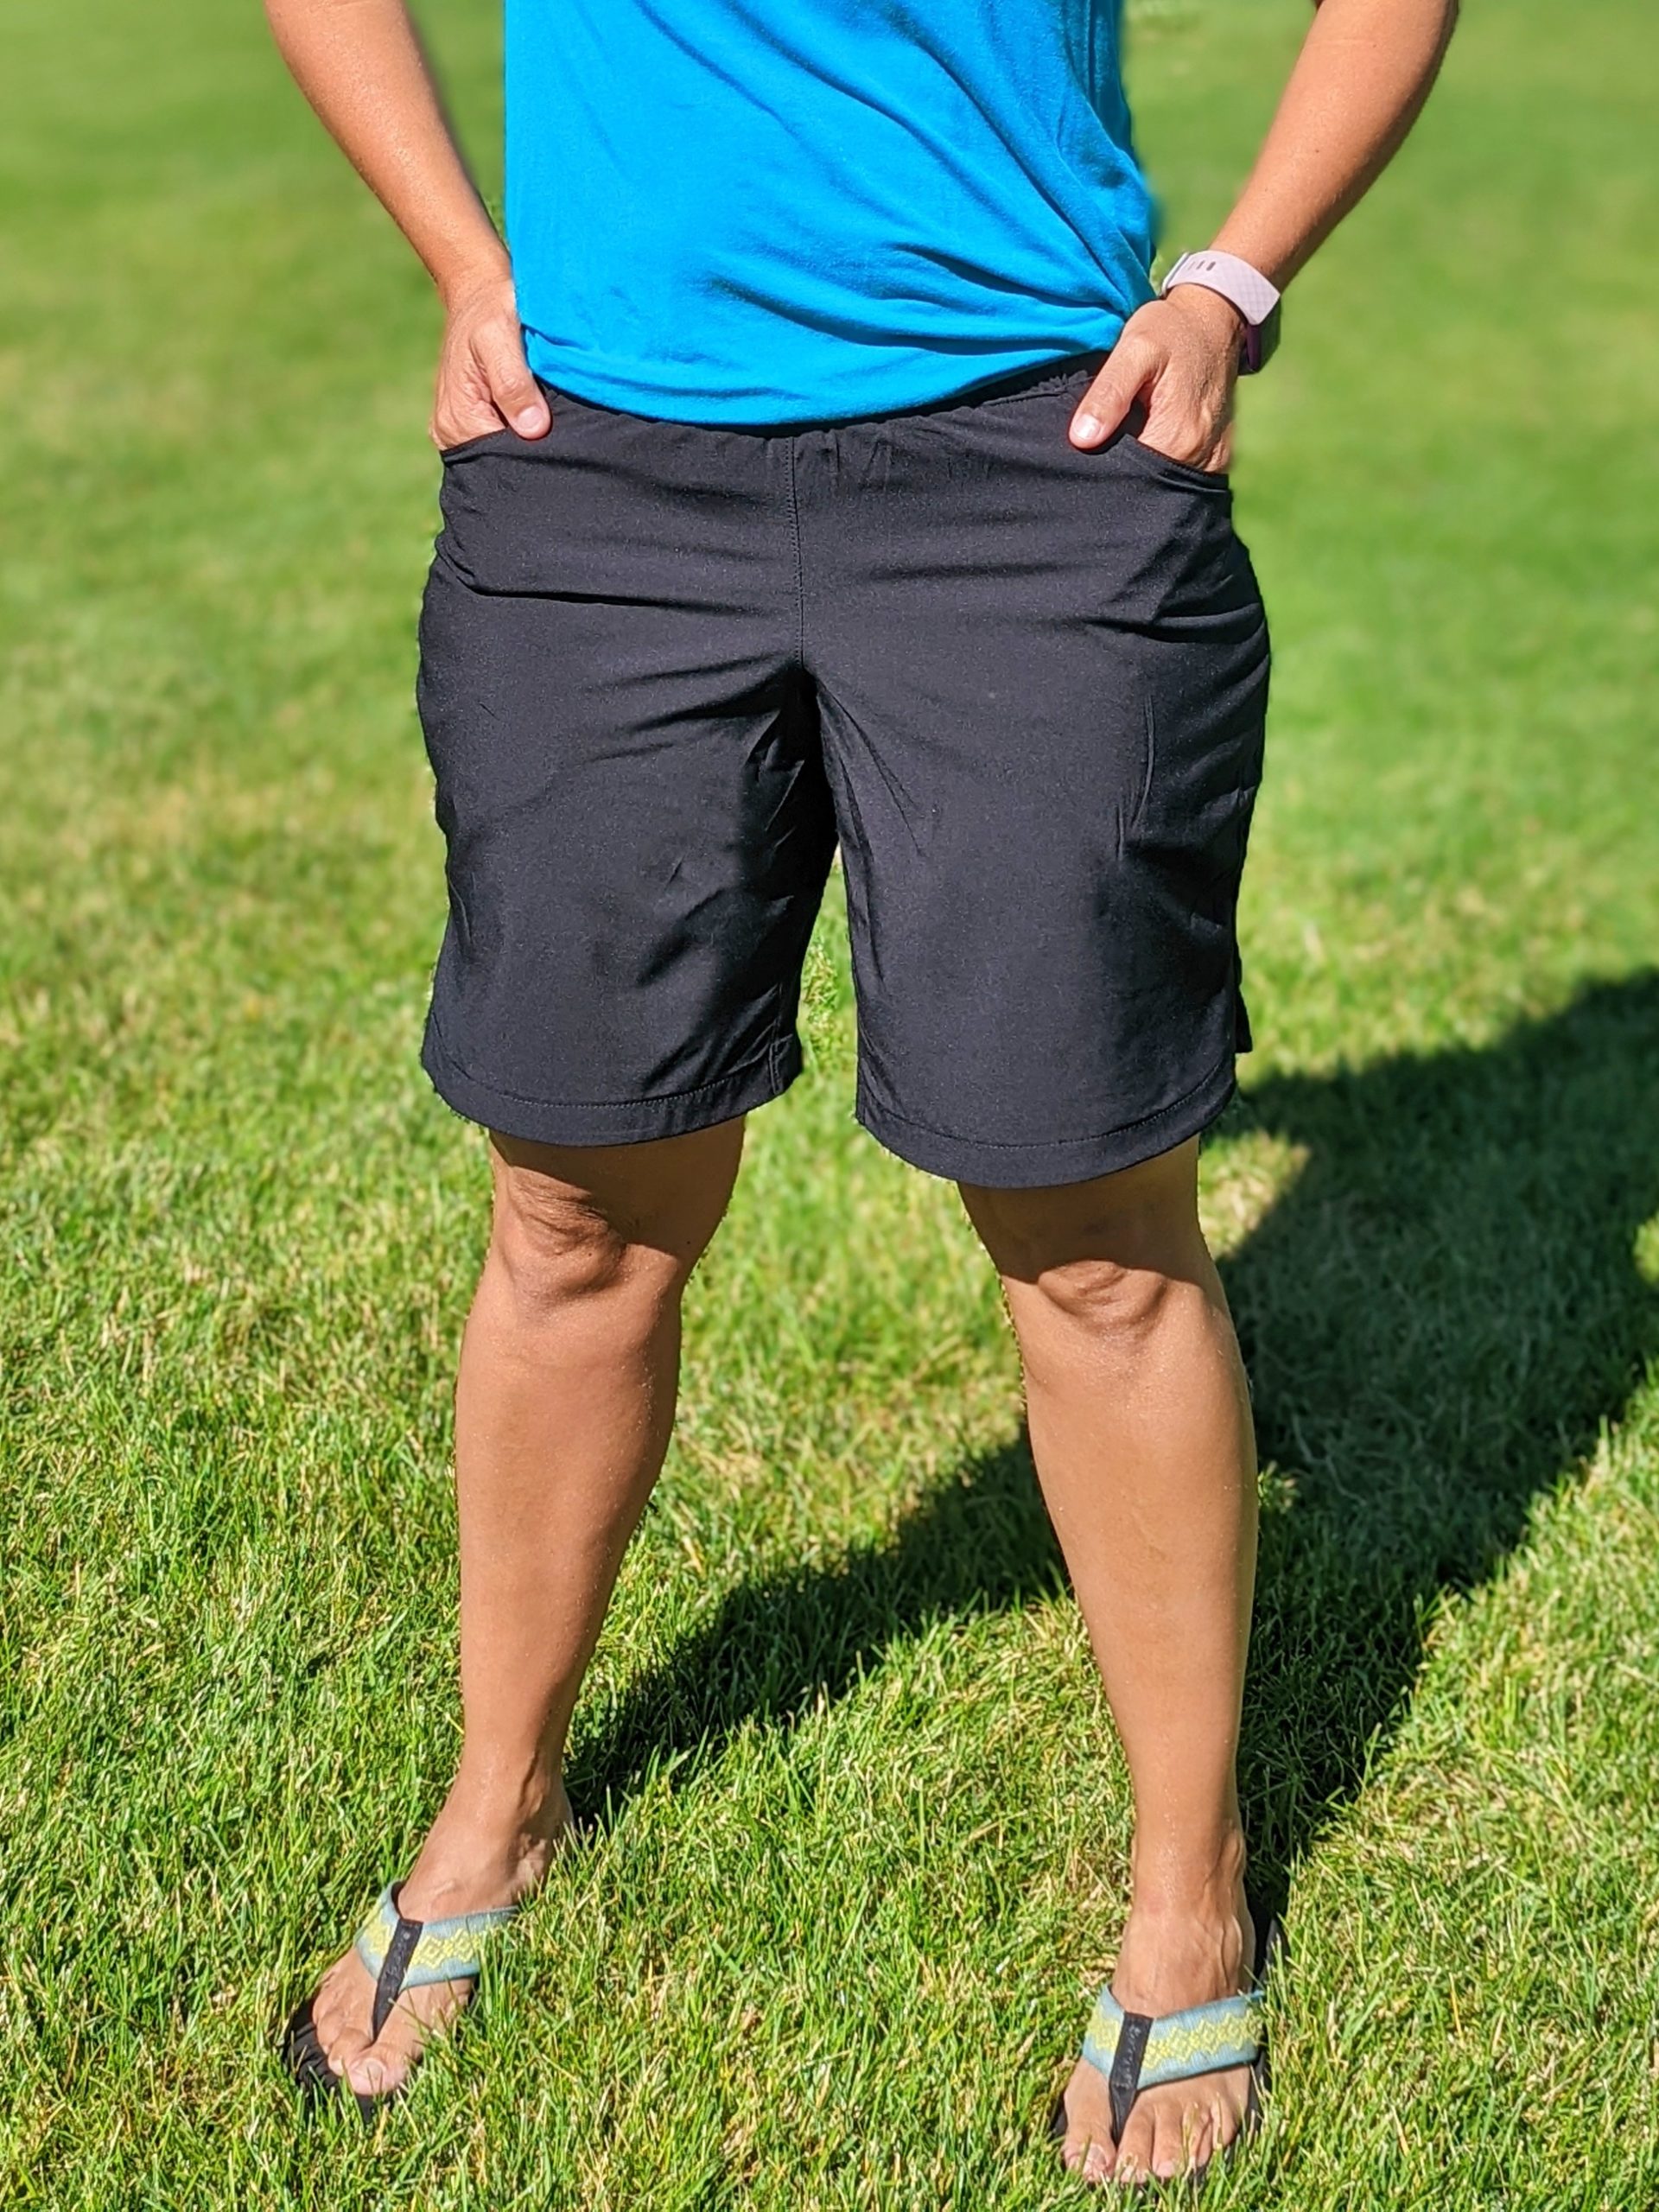
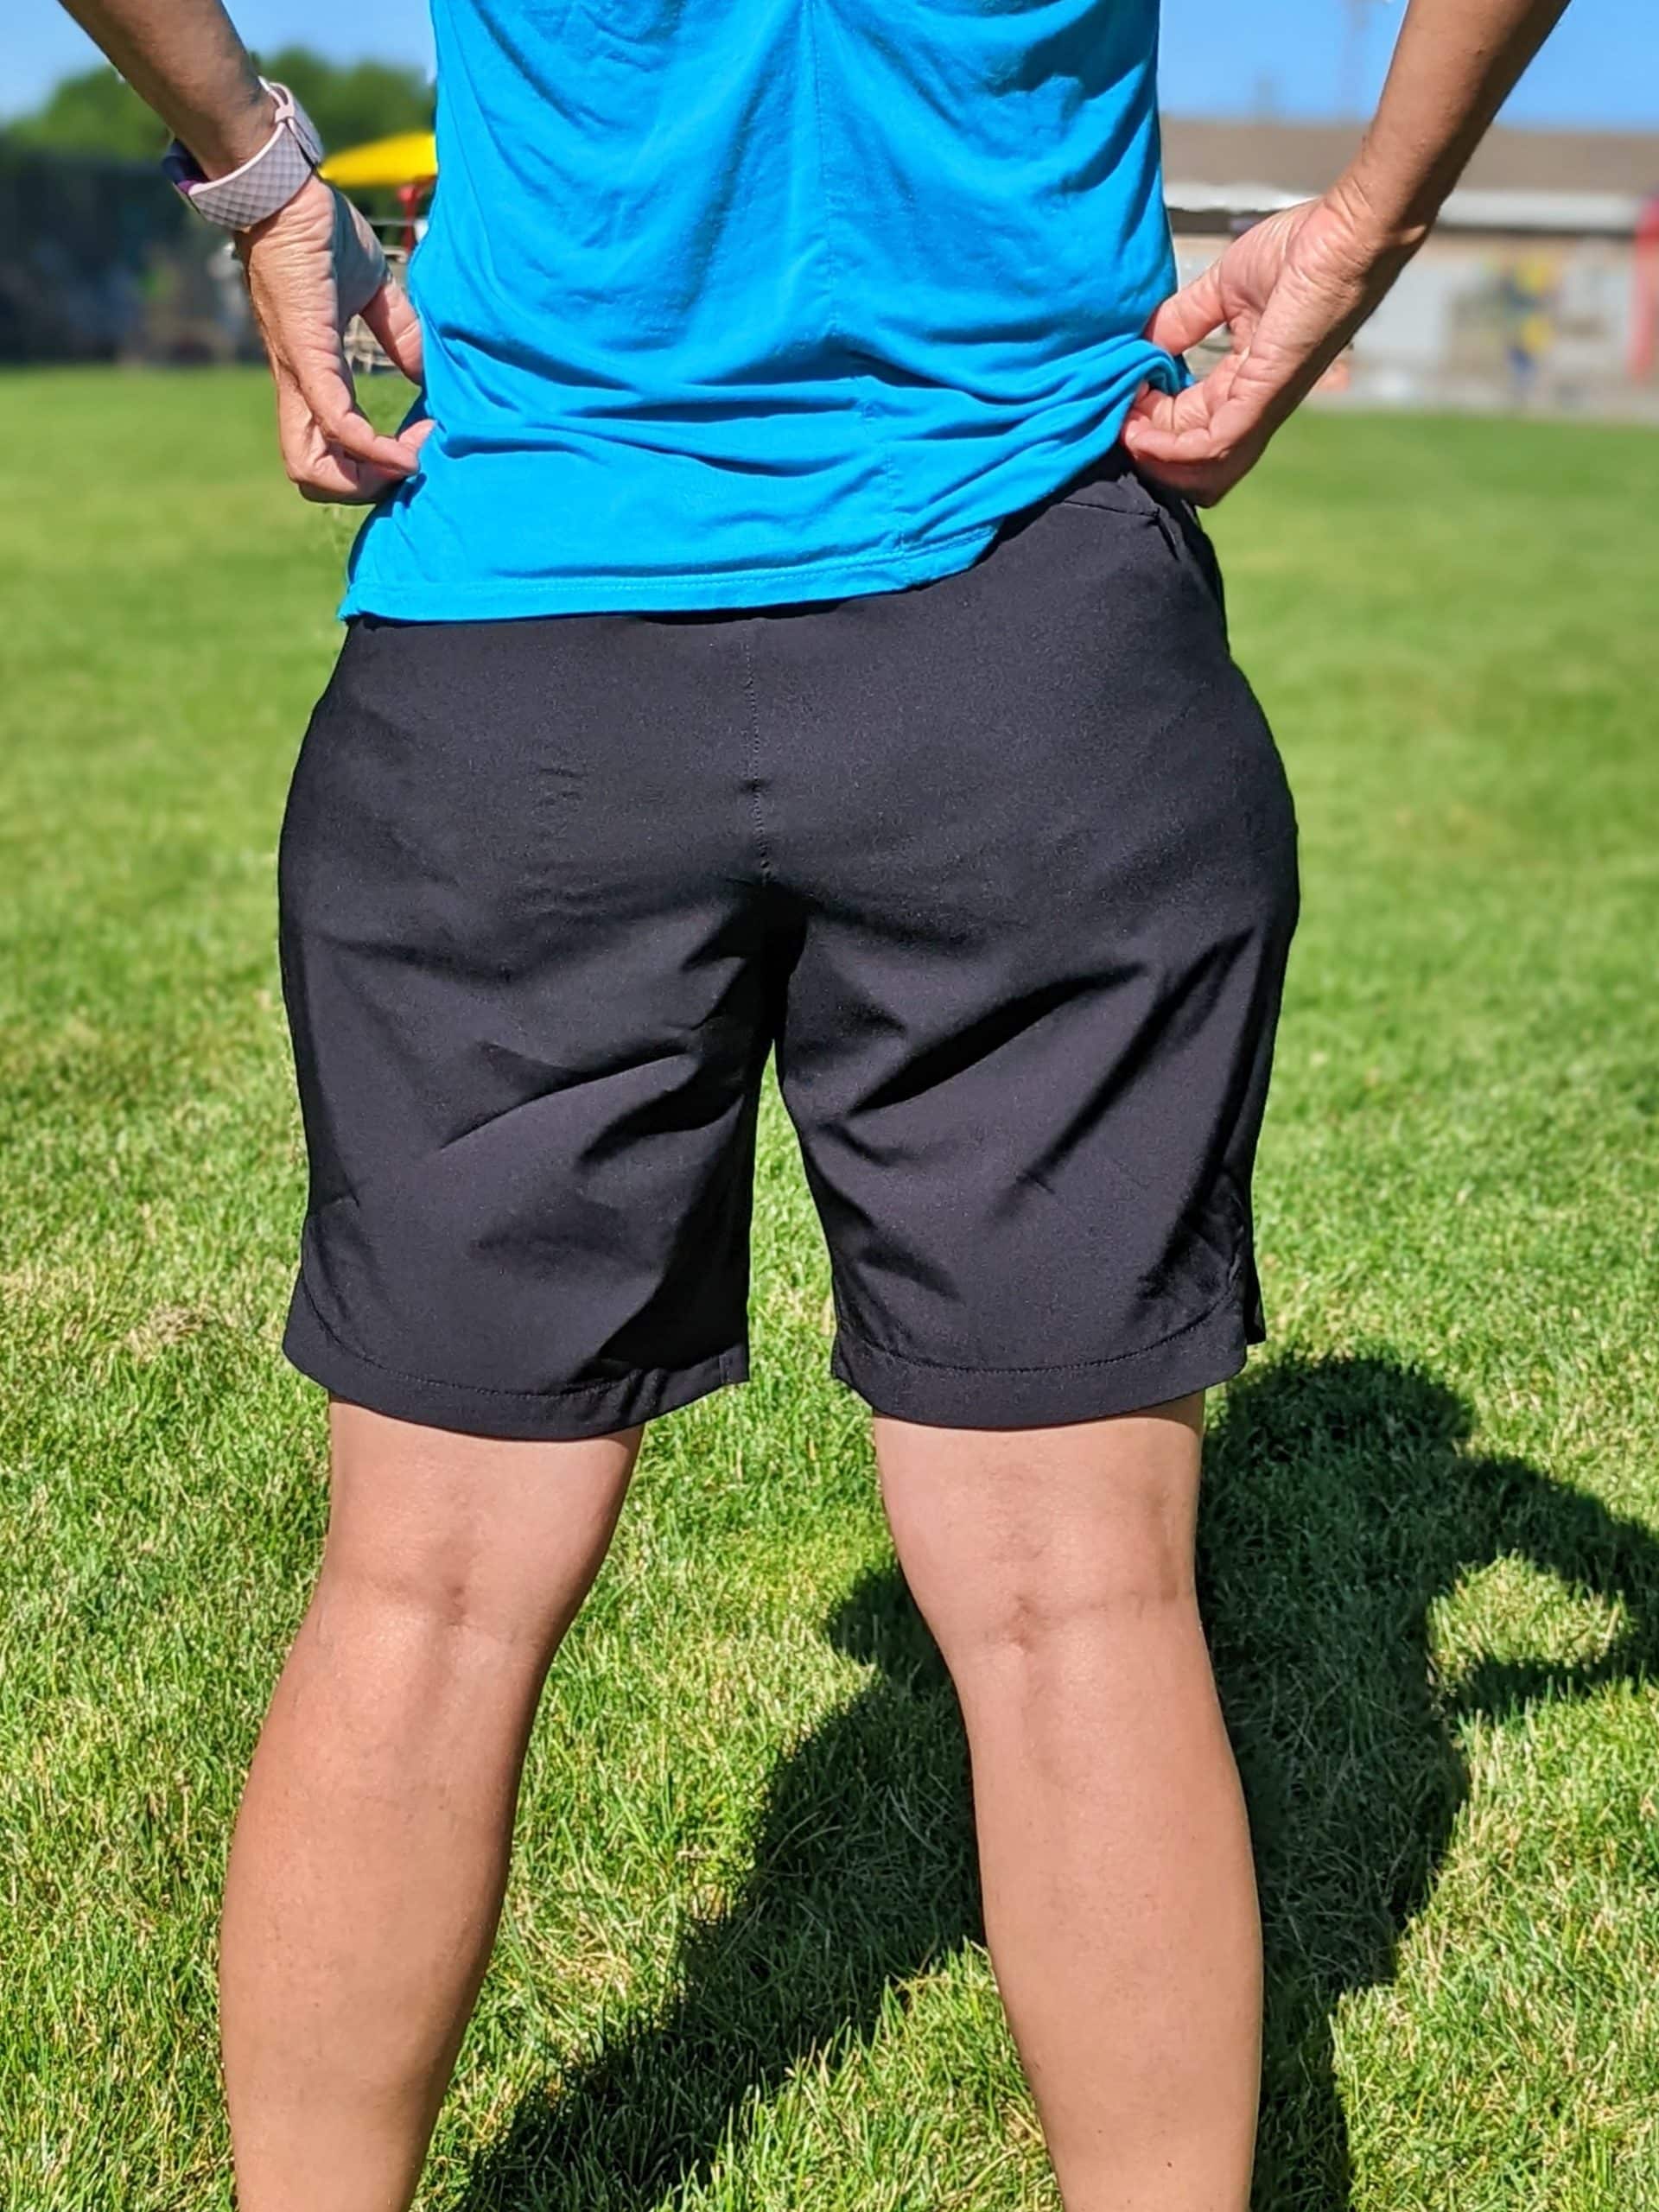
I am super-happy with these. Were I to attempt it again, I might size up one size (my hips are right in-between two sizes, and I sized down) and increase the gusset width just slightly to allow for a bit more ease.
Bio
Jenni Early is a homeschool mom of six who spends much of her free time sewing up garments for her family and friends. You can check out her blog here sewingandthetrivium.com. Jenni is one of 5oo4’s Brand Ambassadors. She says, “I love 5oo4 because the patterns are so practical. They are what my family and I would wear anyway. I love the inclusive size range and the fact that each pattern has so many options!!”
Want more FUN DIY Freebies? Check out the FREEBIE TUTORIALS and the FREEBIE PATTERNS!
As always, we’re here to help if you need it! Join us HERE and on Facebook, Instagram, Twitter, Youtube, and Pinterest. We’re everywhere you are.
Jenni you did an awesome Job!
Thank you so much!! I just got back from summer camp, and I wore these almost every day 🙂
I love this! I need to be sure to keep this front of mind when trying this pattern! Thanks so much for sharing this information!