
My middle daughter only wears Little Ninja Leggings. Seriously. This week I have a stack of 7 pairs that I’m just about done with, but wanted to give a few at least a little something extra. I made this cute cross-front waistband and now I think I need to make some for me! You can get the Little Ninja Leggings HERE, or the Adult Ninja Leggings HERE and both are FREE patterns!
Pattern Prep
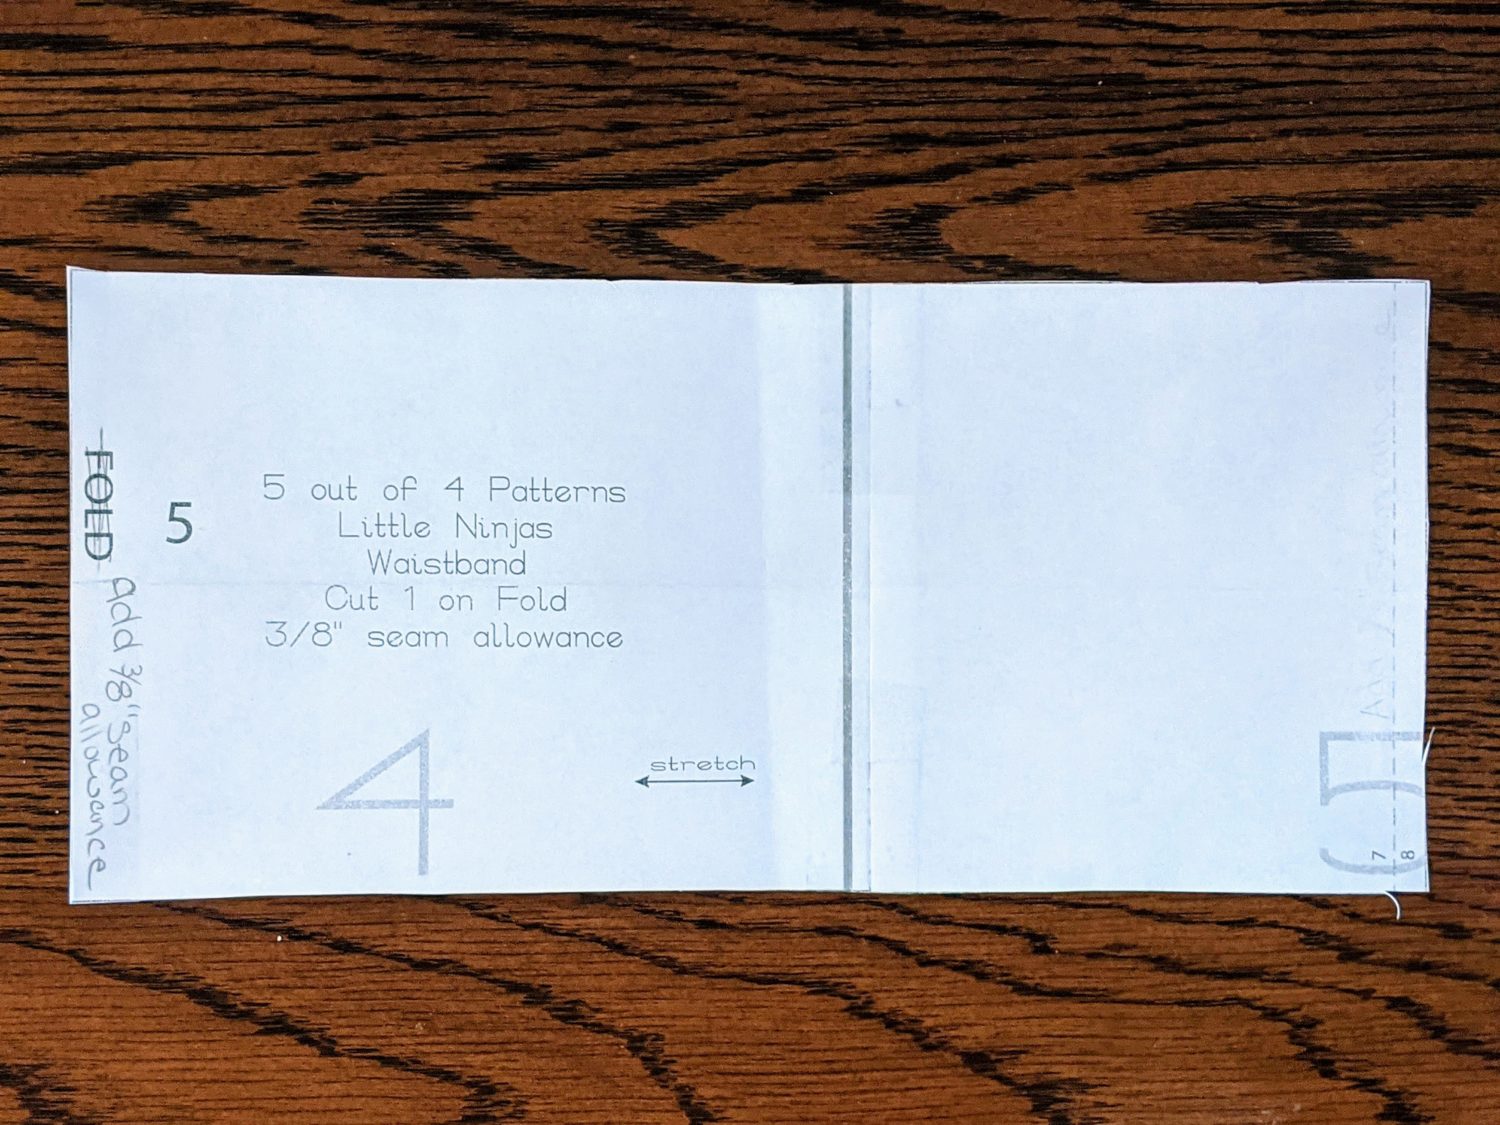
Get your pattern printed and assembled. You will only need the waistband piece for now, so you can set the rest to the side.
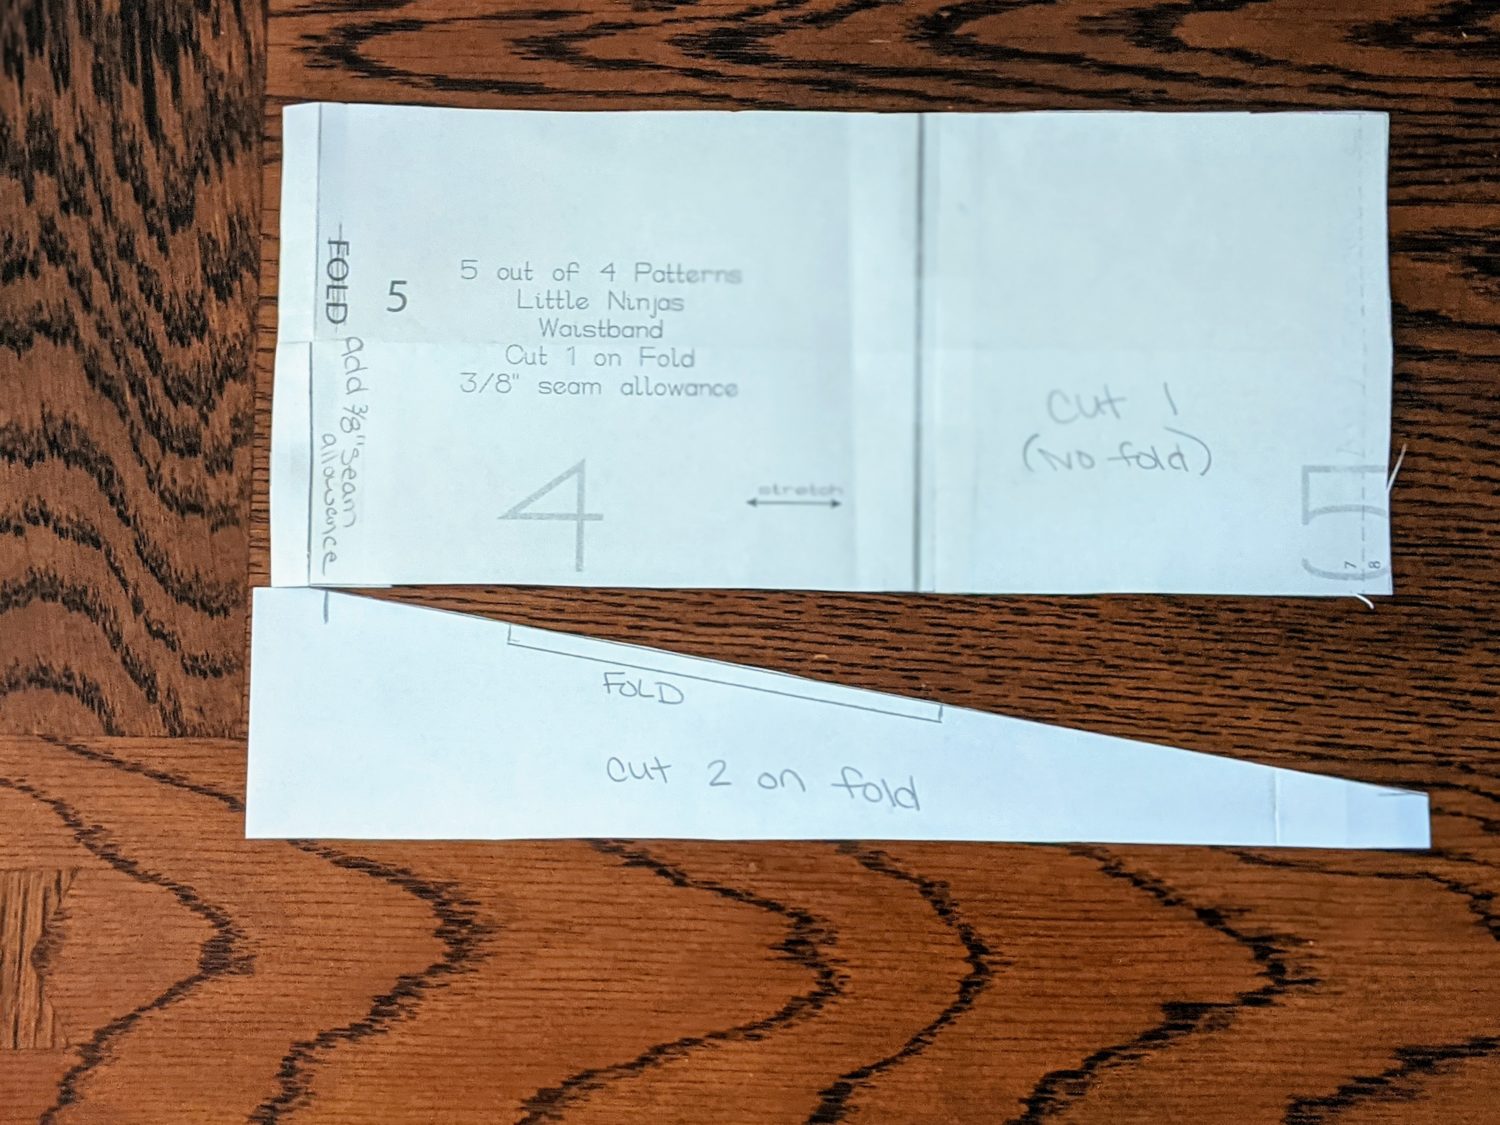
- Cross off the part on the waistband that says FOLD and add 3/8″ to it for your seam allowance.
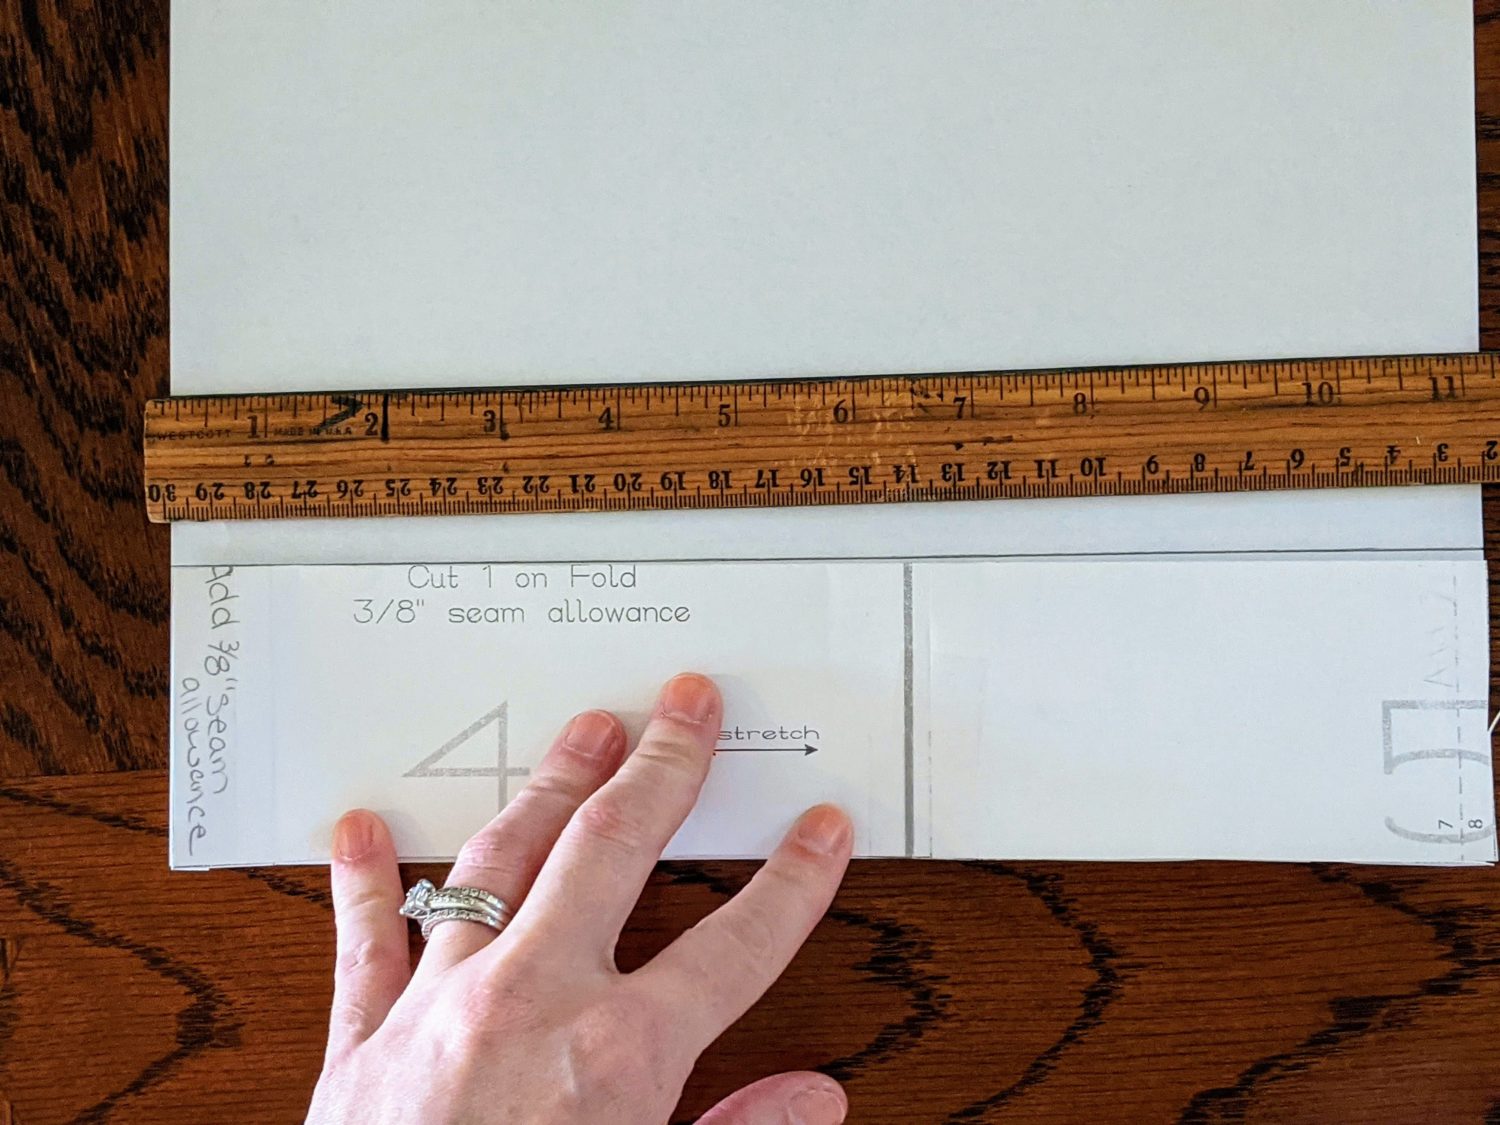
- Fold the pattern piece in half hot dog way.
- Trace the folded piece onto another sheet of paper that you will use to create the cross-front piece and cut out the traced piece.
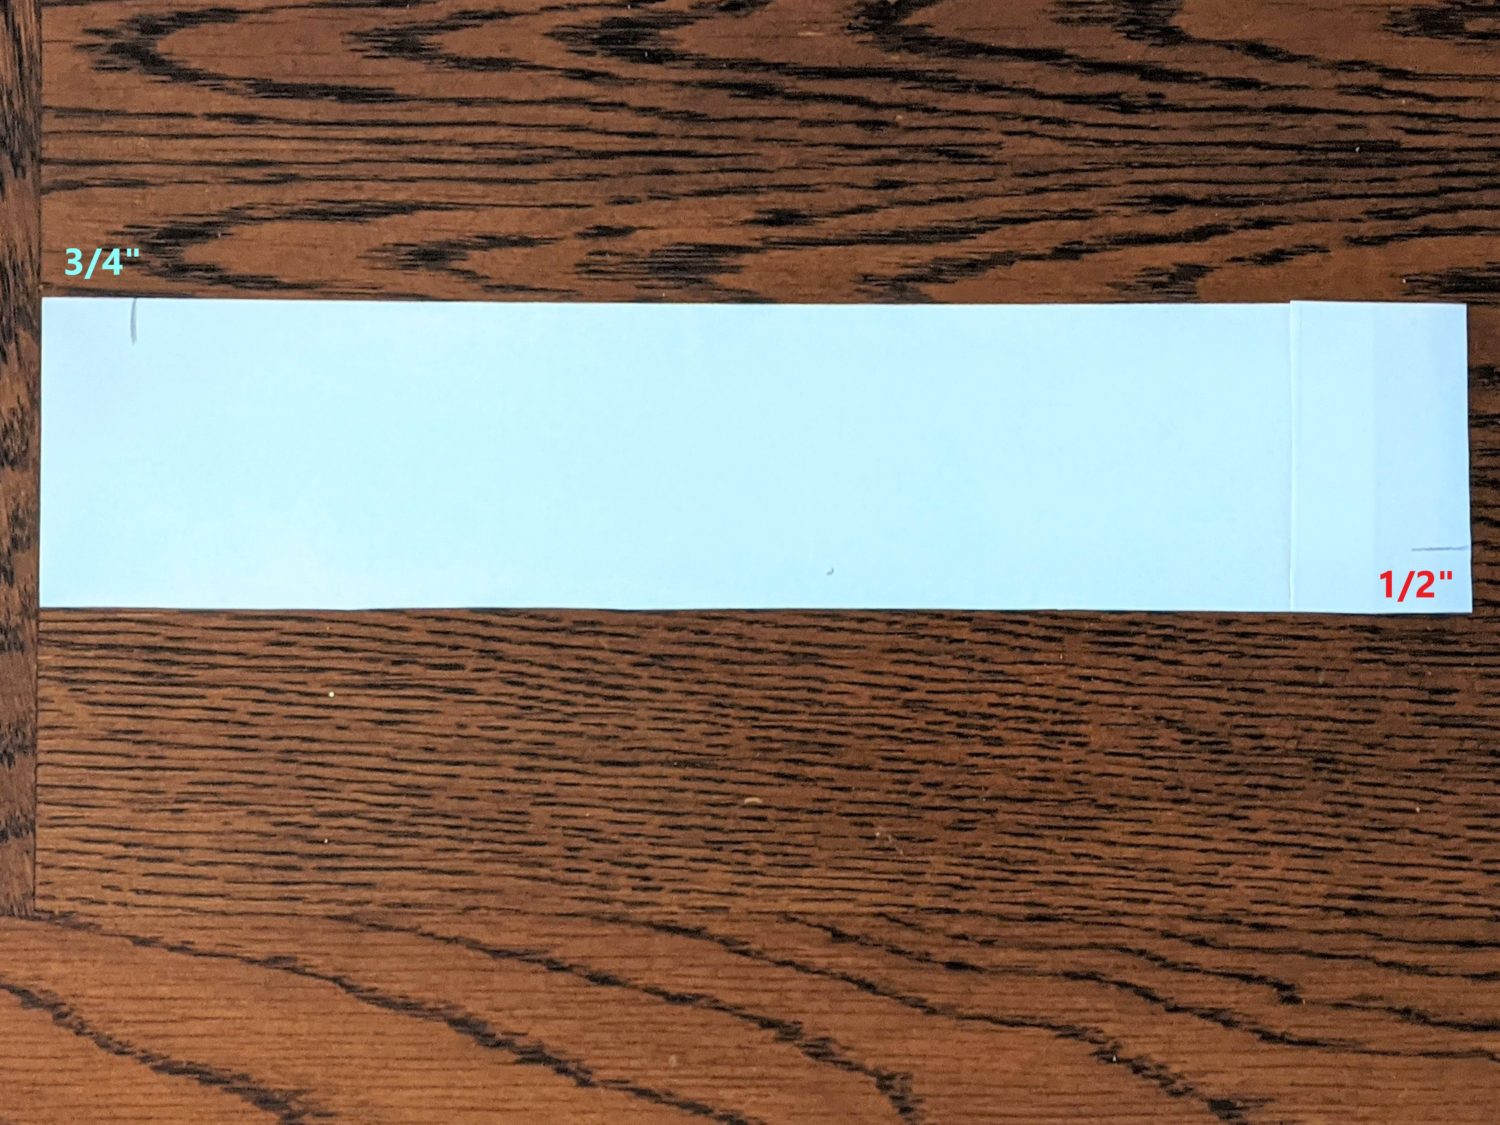
- On the new cross-front piece, measure up from the bottom right 1/2″ and draw a small line.
- Next, on the top left side, measure over 3/4″ and draw a small line.
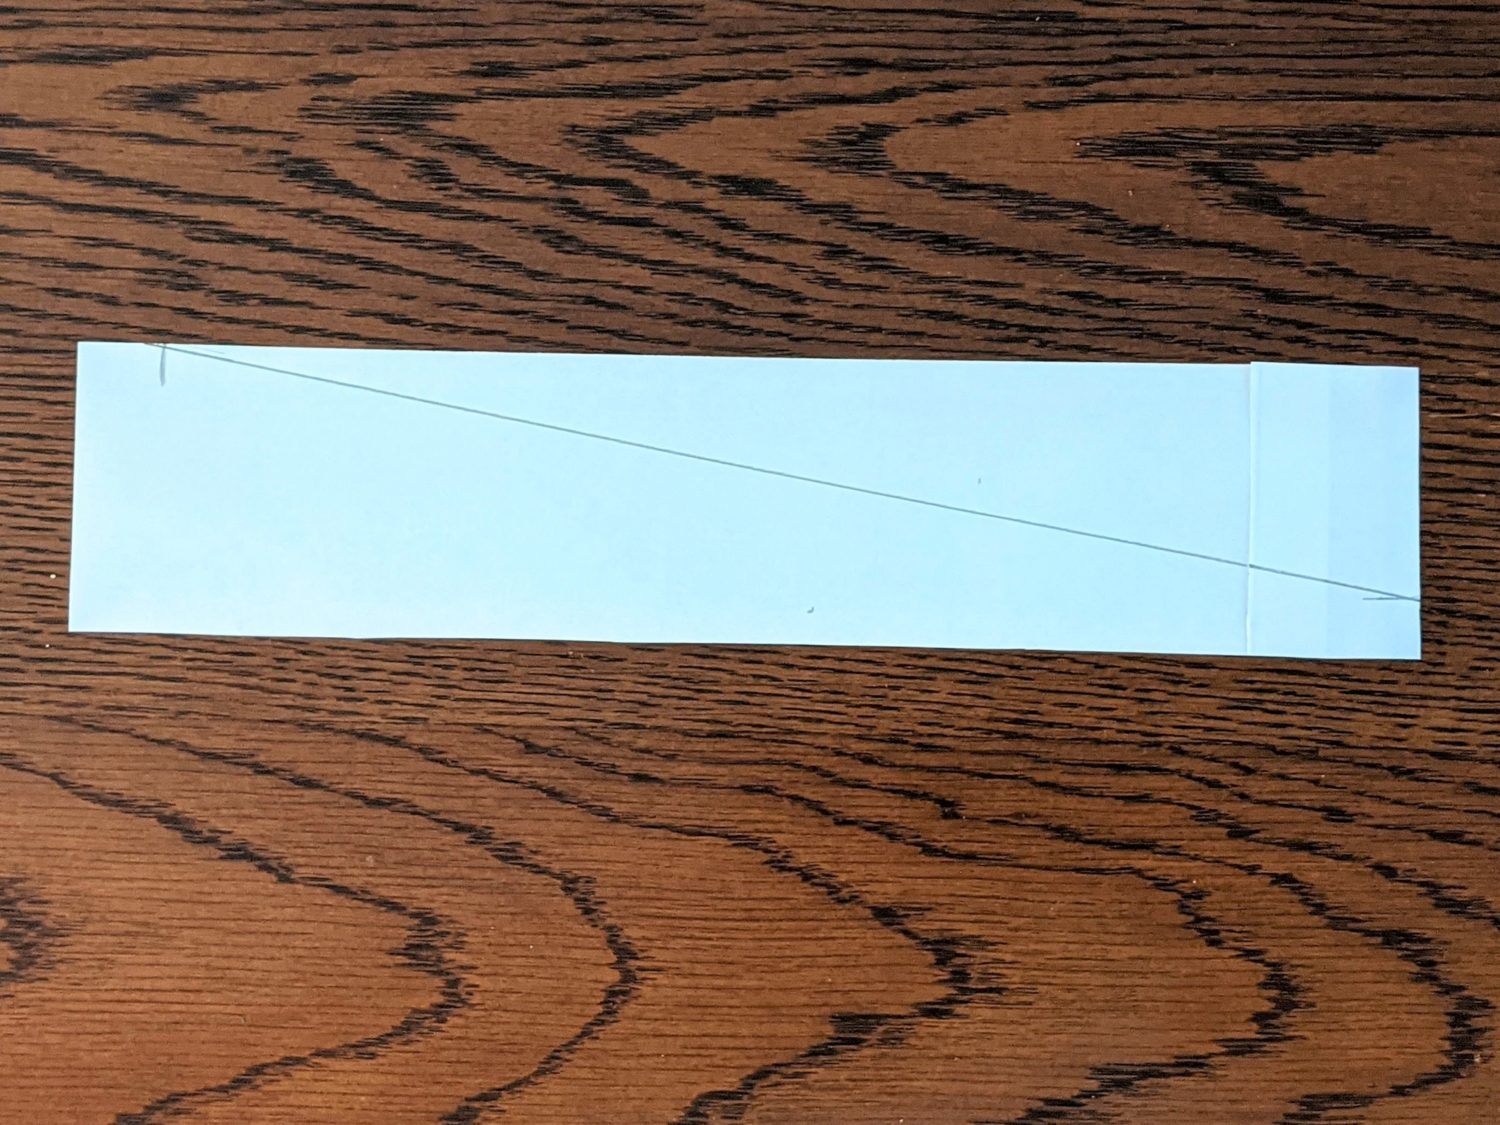
- Connect the two points at the edges of the paper using a ruler.
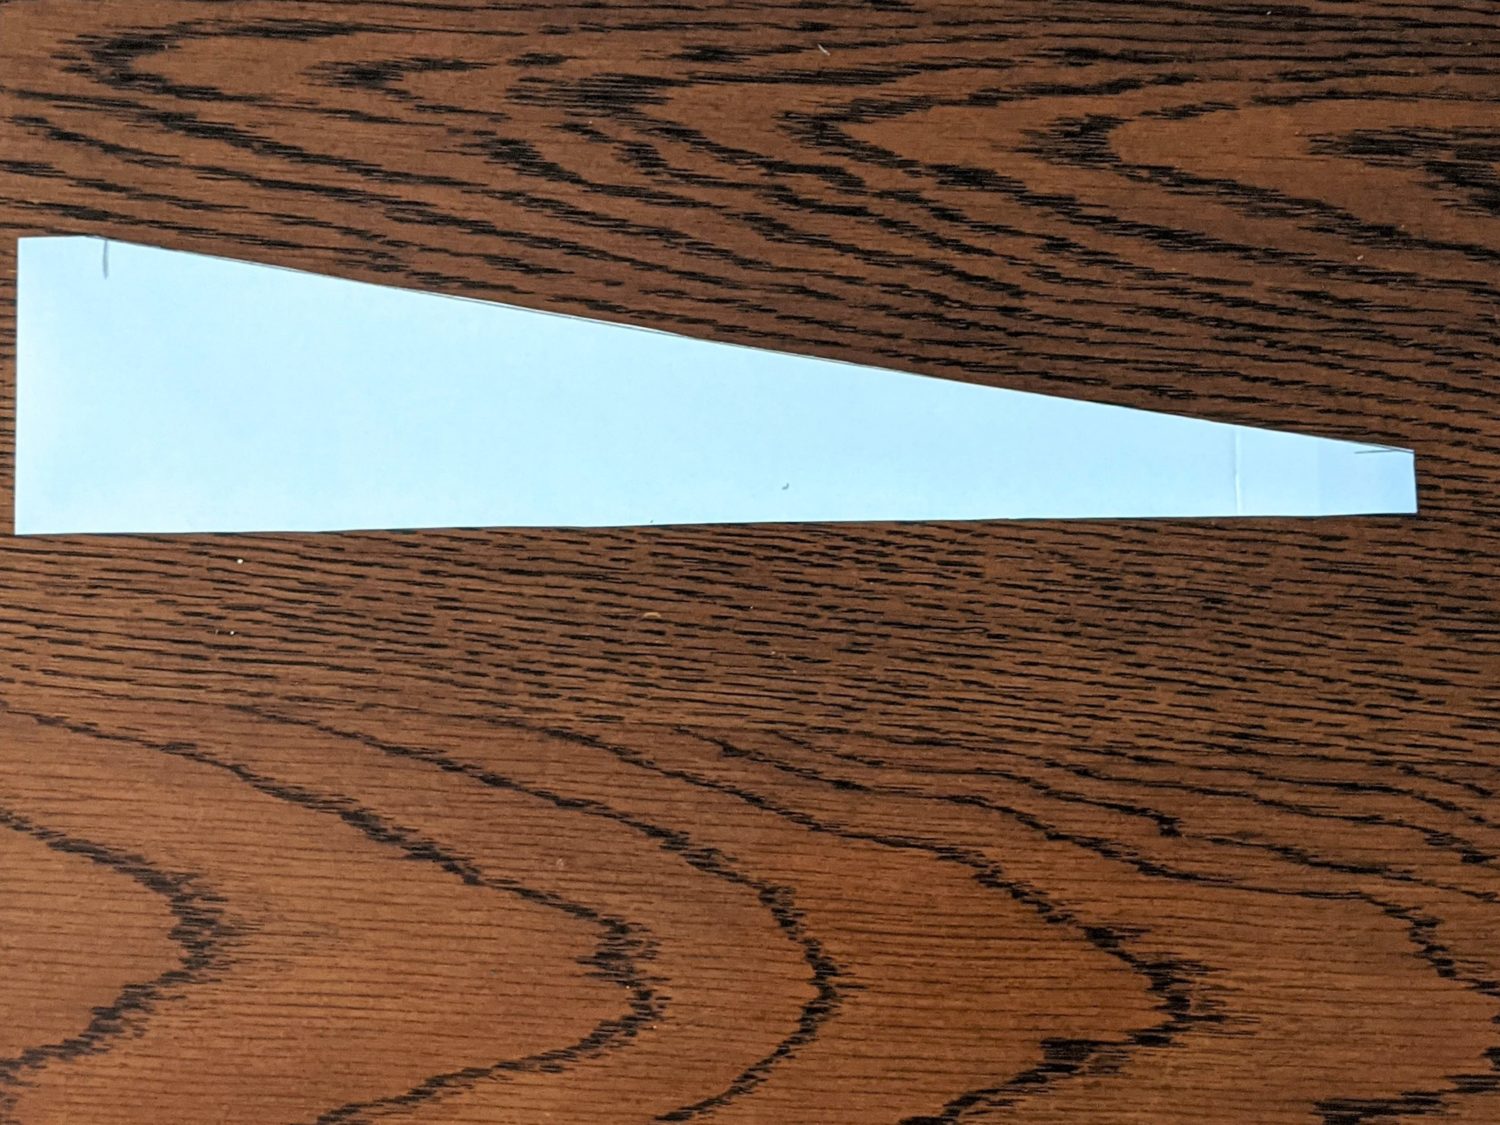
- Cut off the top portion of the paper, only keeping the bottom as your new pattern piece.
- Make your marking for the fold line along the top angled edge.
- Write on the new pattern piece: cut 2 on fold, and on the original piece: cut 1 (no fold)
Cutting Out Your Fabric
- Cut 1 back waistband piece using the orignial pattern piece, remember you aren’t folding it.
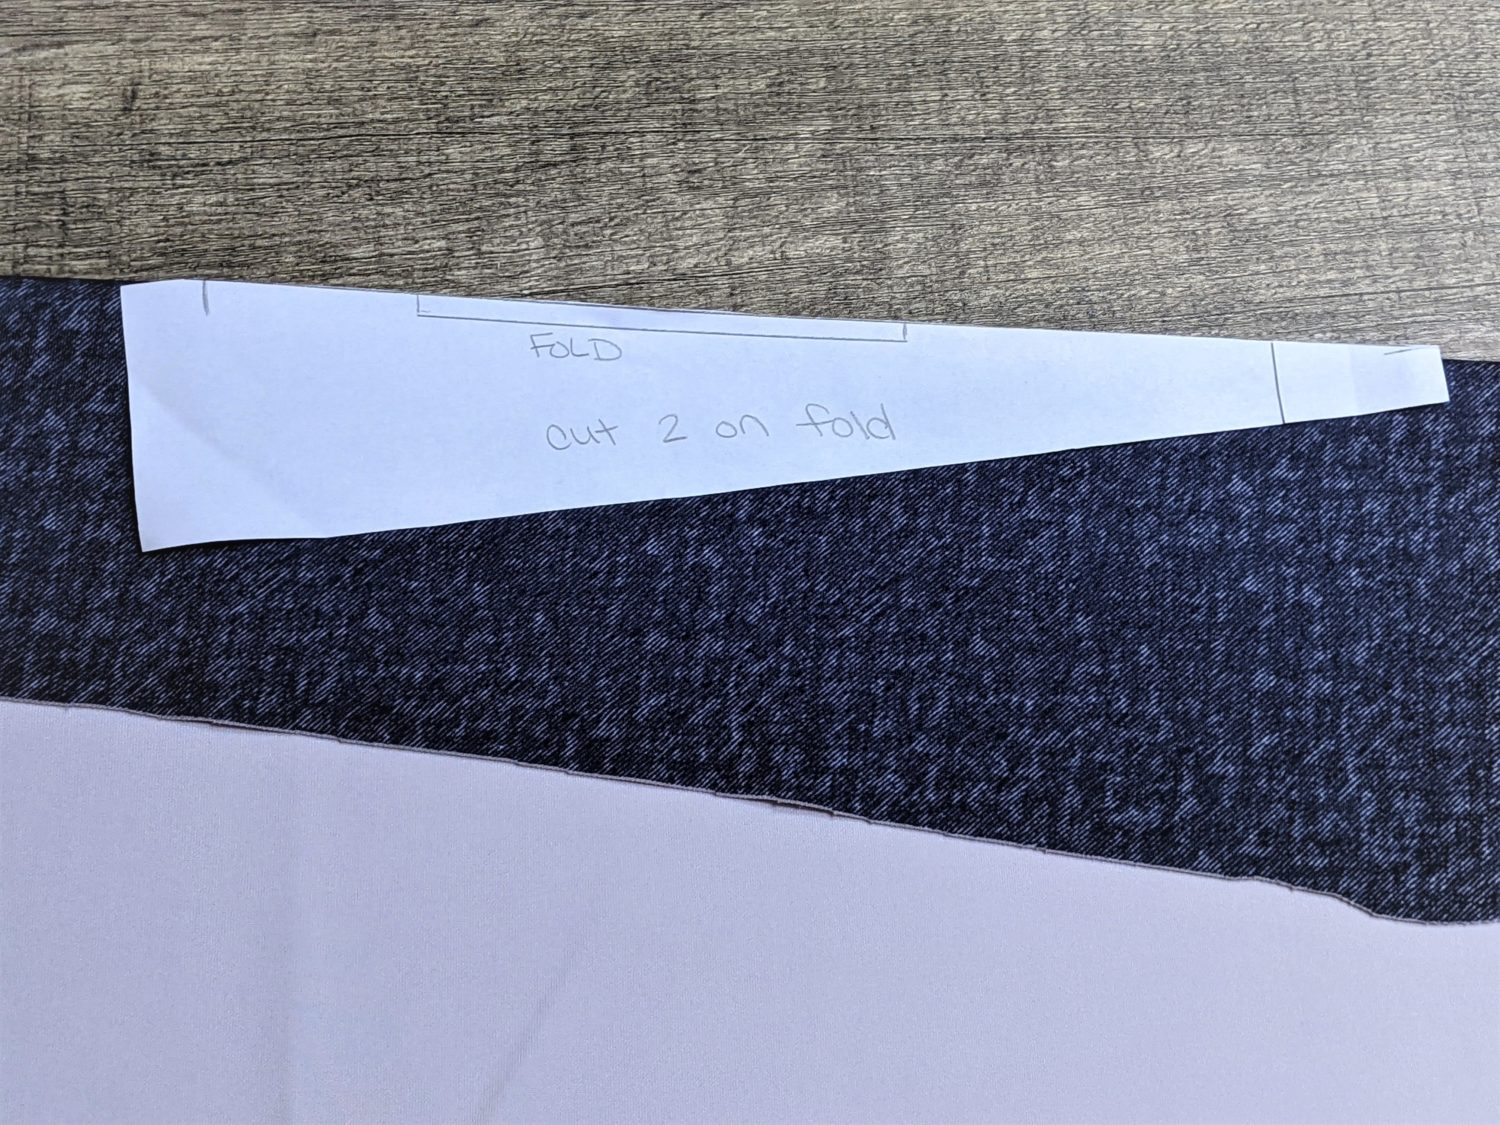
- For the cross-front bands, fold the fabric horizontally at a slight angle cut out two pieces on the fold side that you marked on the pattern piece.

Making the Waistband
Piece 1:
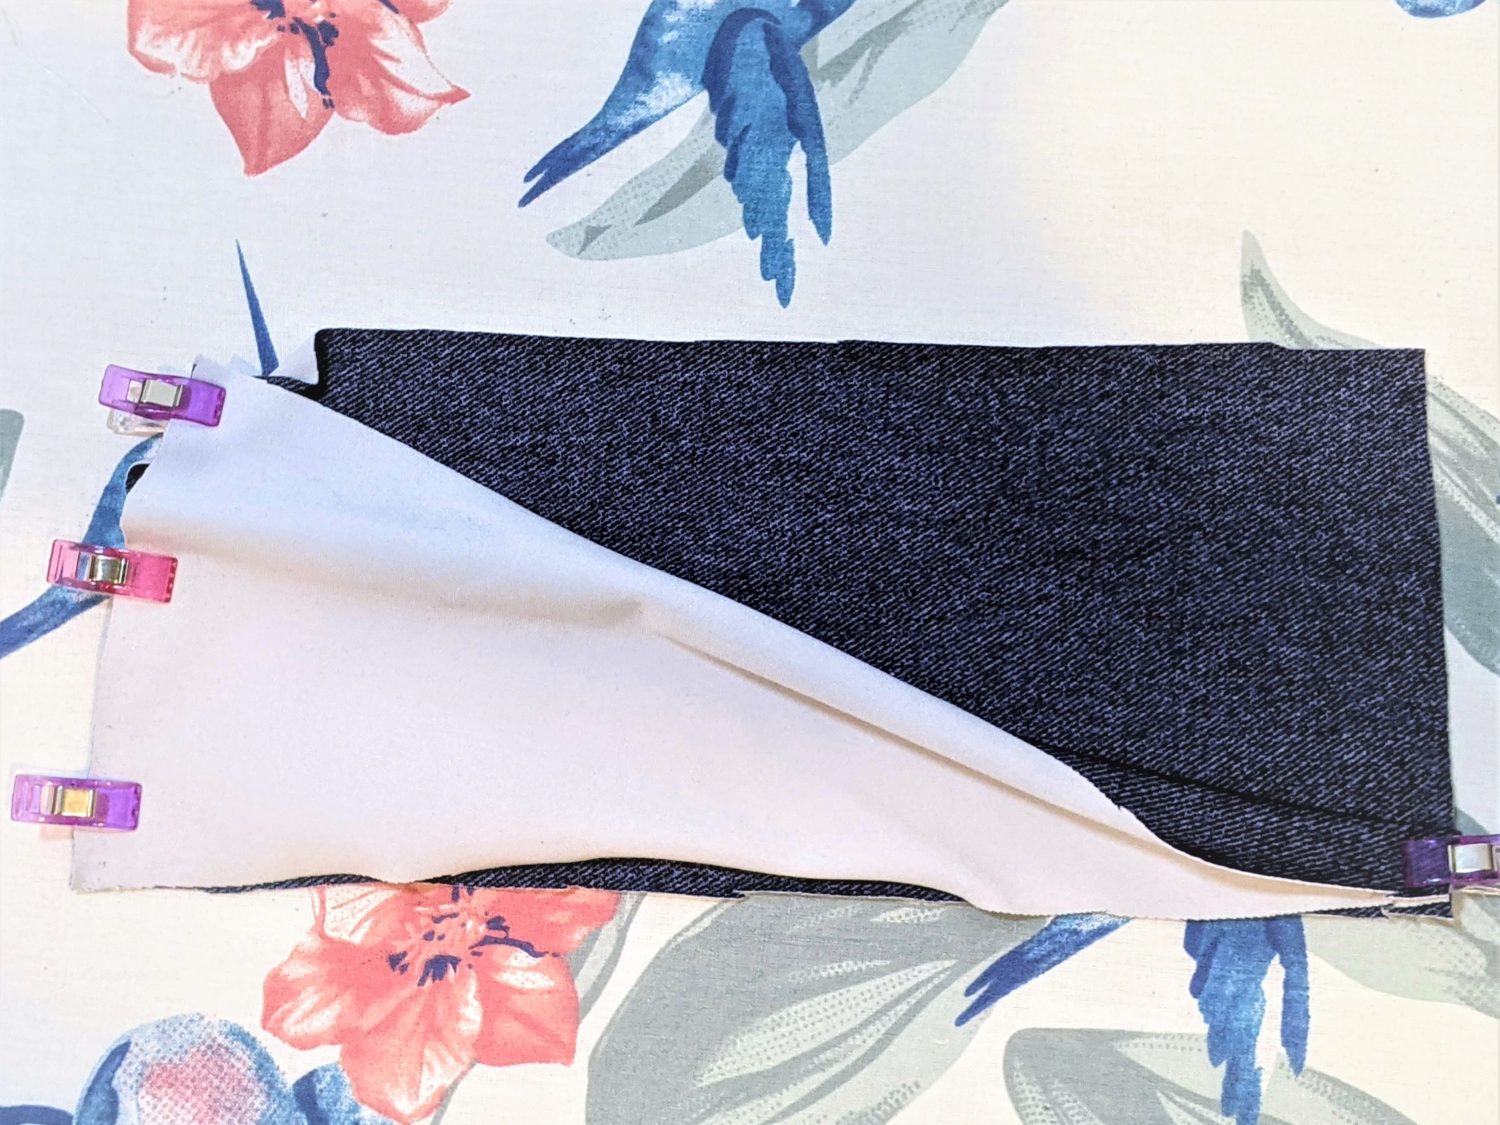
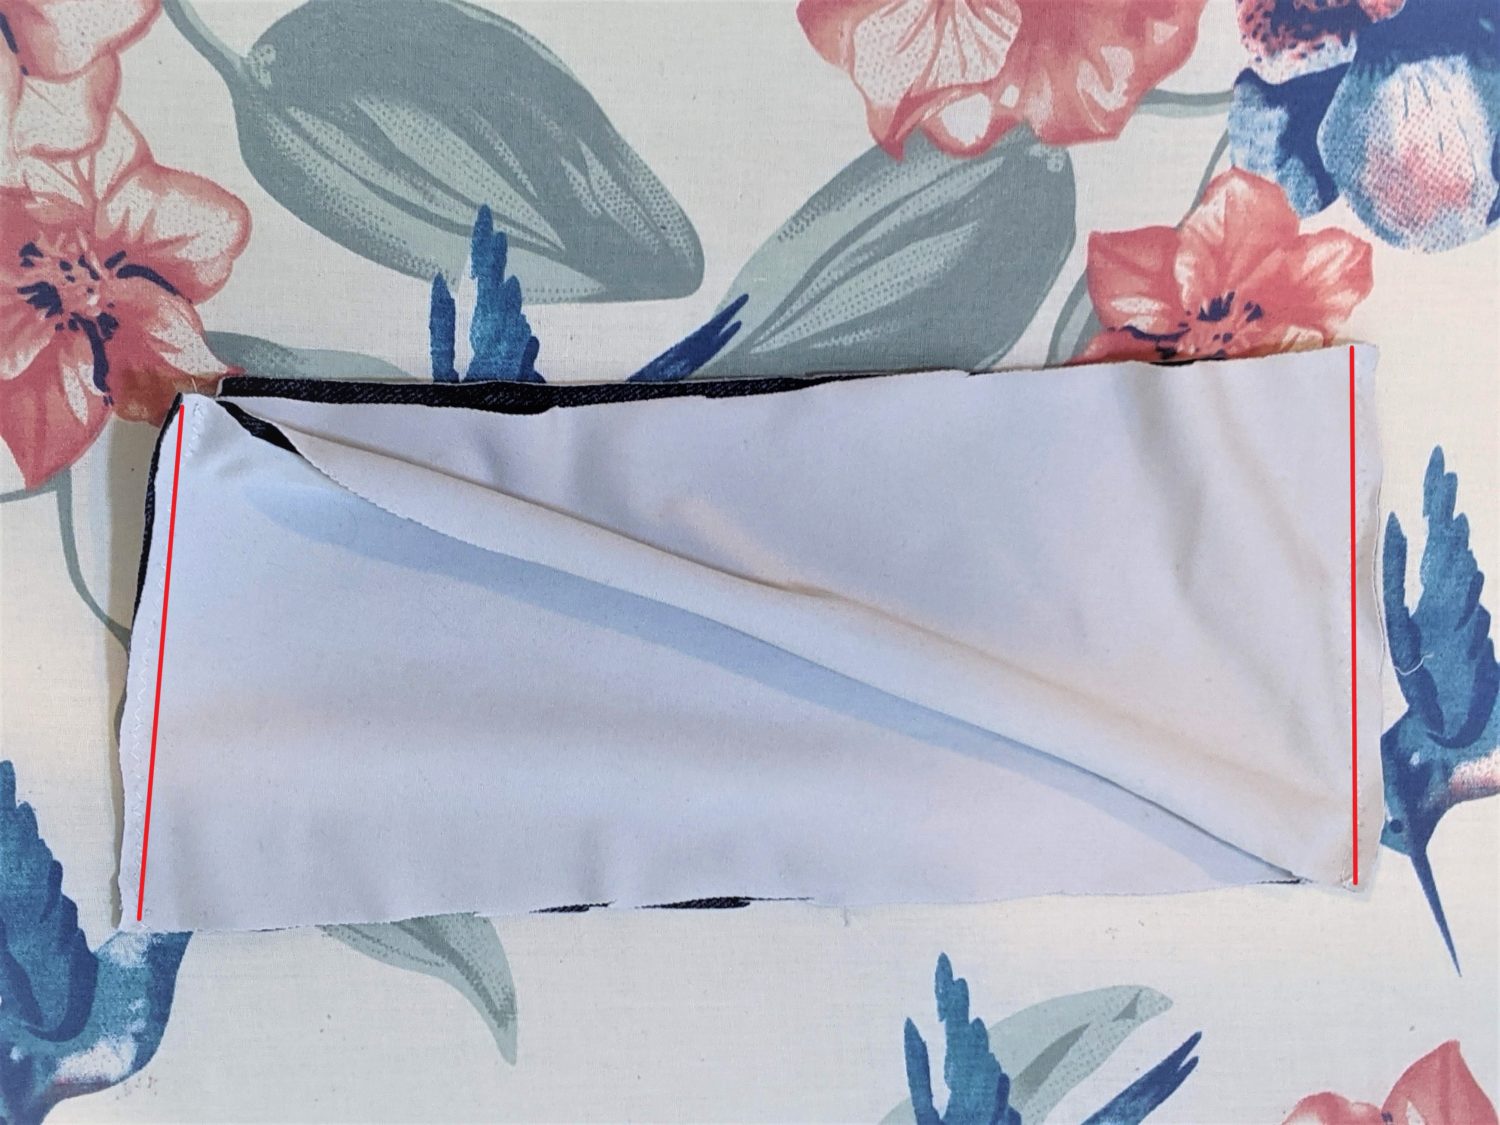
- Lay your back waistband piece out right side up.
- Take one cross-front piece (piece 1) and lay it right side down on the back piece, lining up the wider side along the left edge of the back piece. Pin in place.
- On the opposite edge, fold the narrow side of piece 1 in half towards the bottom of the band and pin it to the lower right edge of the back band.

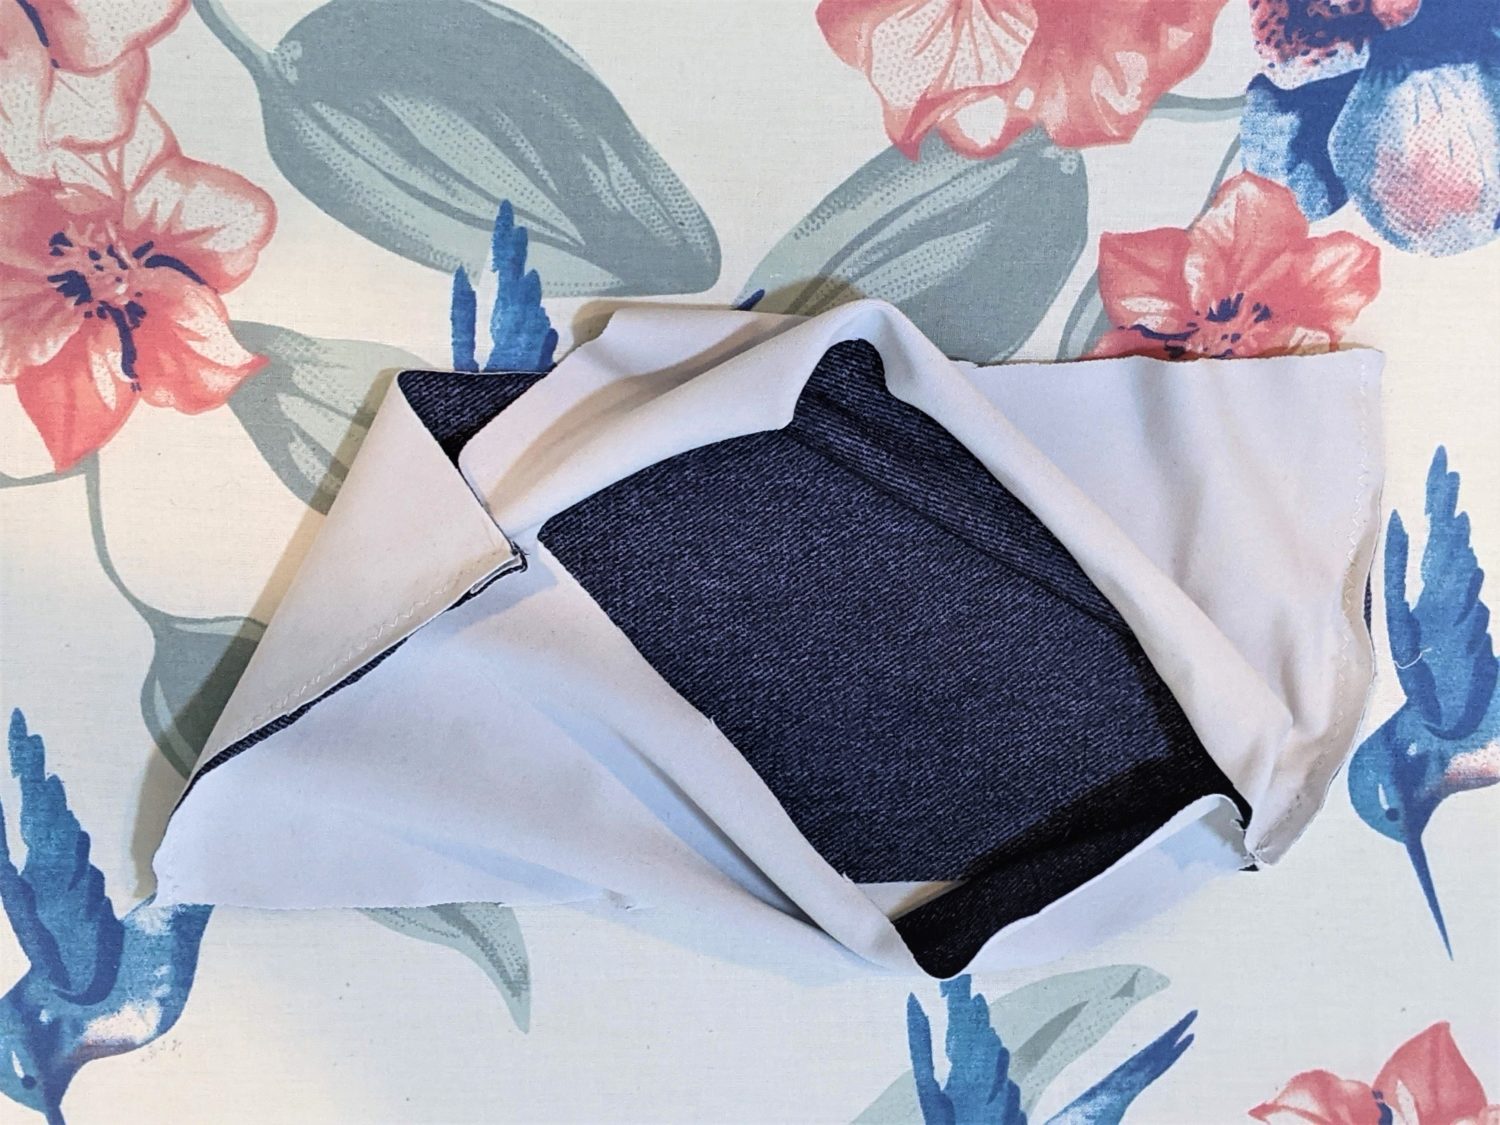
Piece 2:
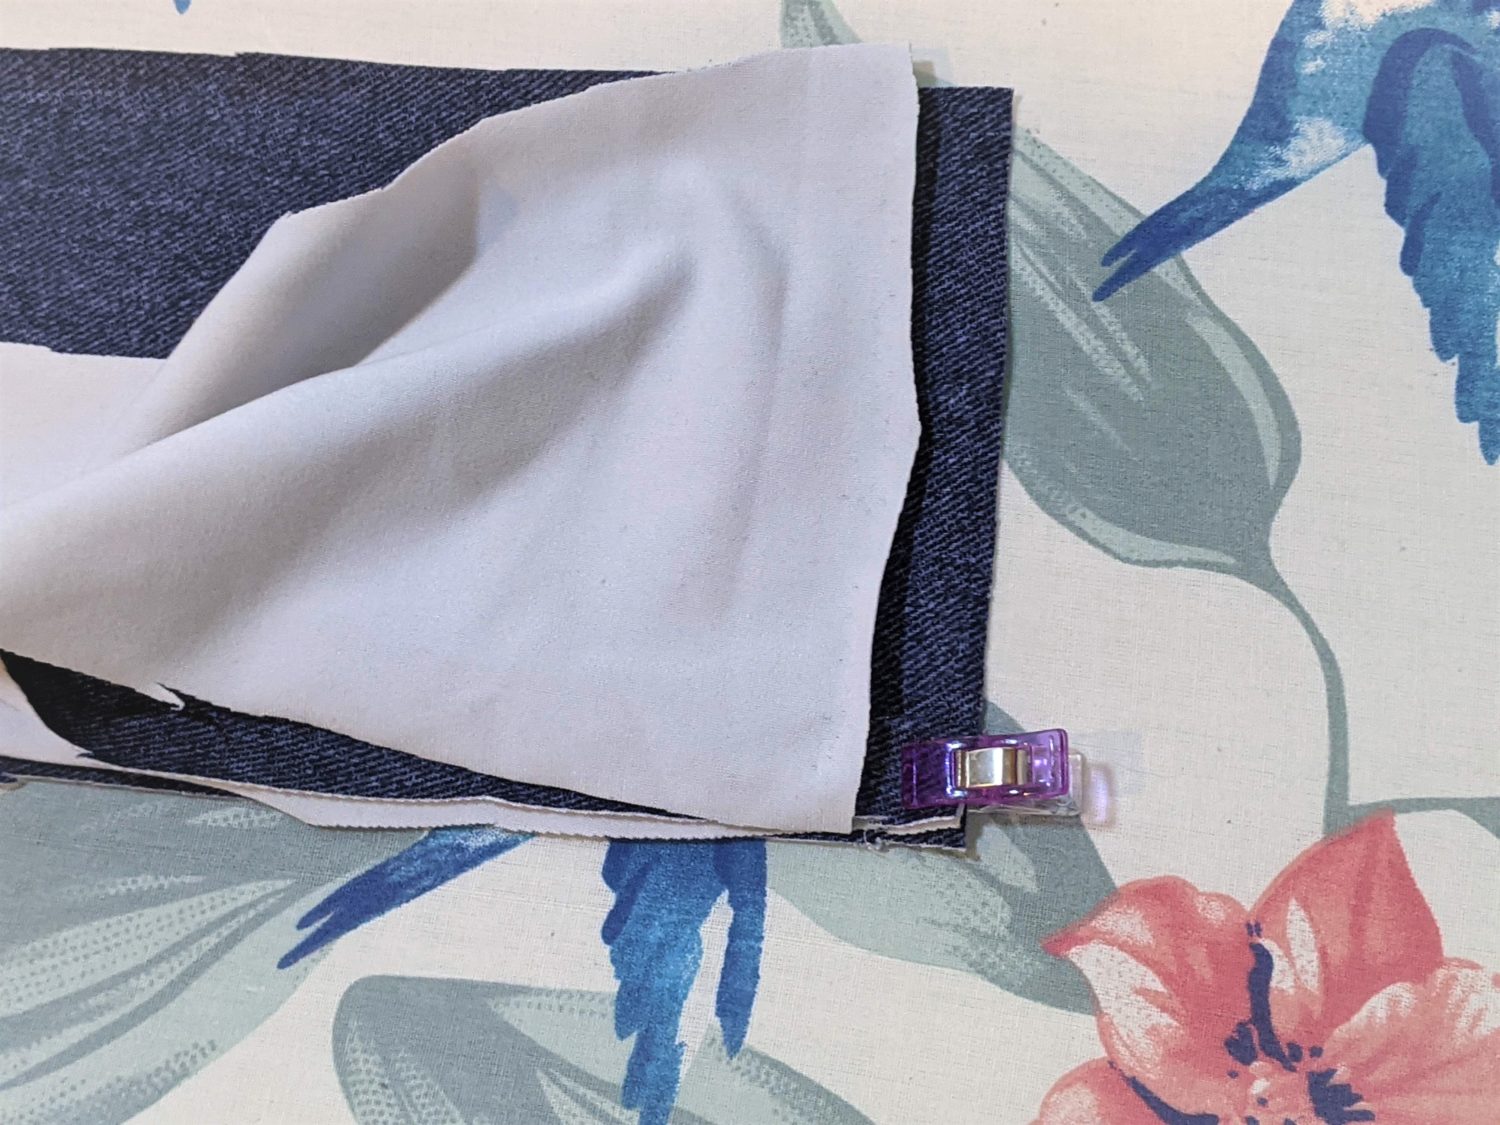
- Take your other cross-front piece (piece 2), and line up the wider side along the right side of the back band sandwiching the narrow folded section of piece 1 between them.
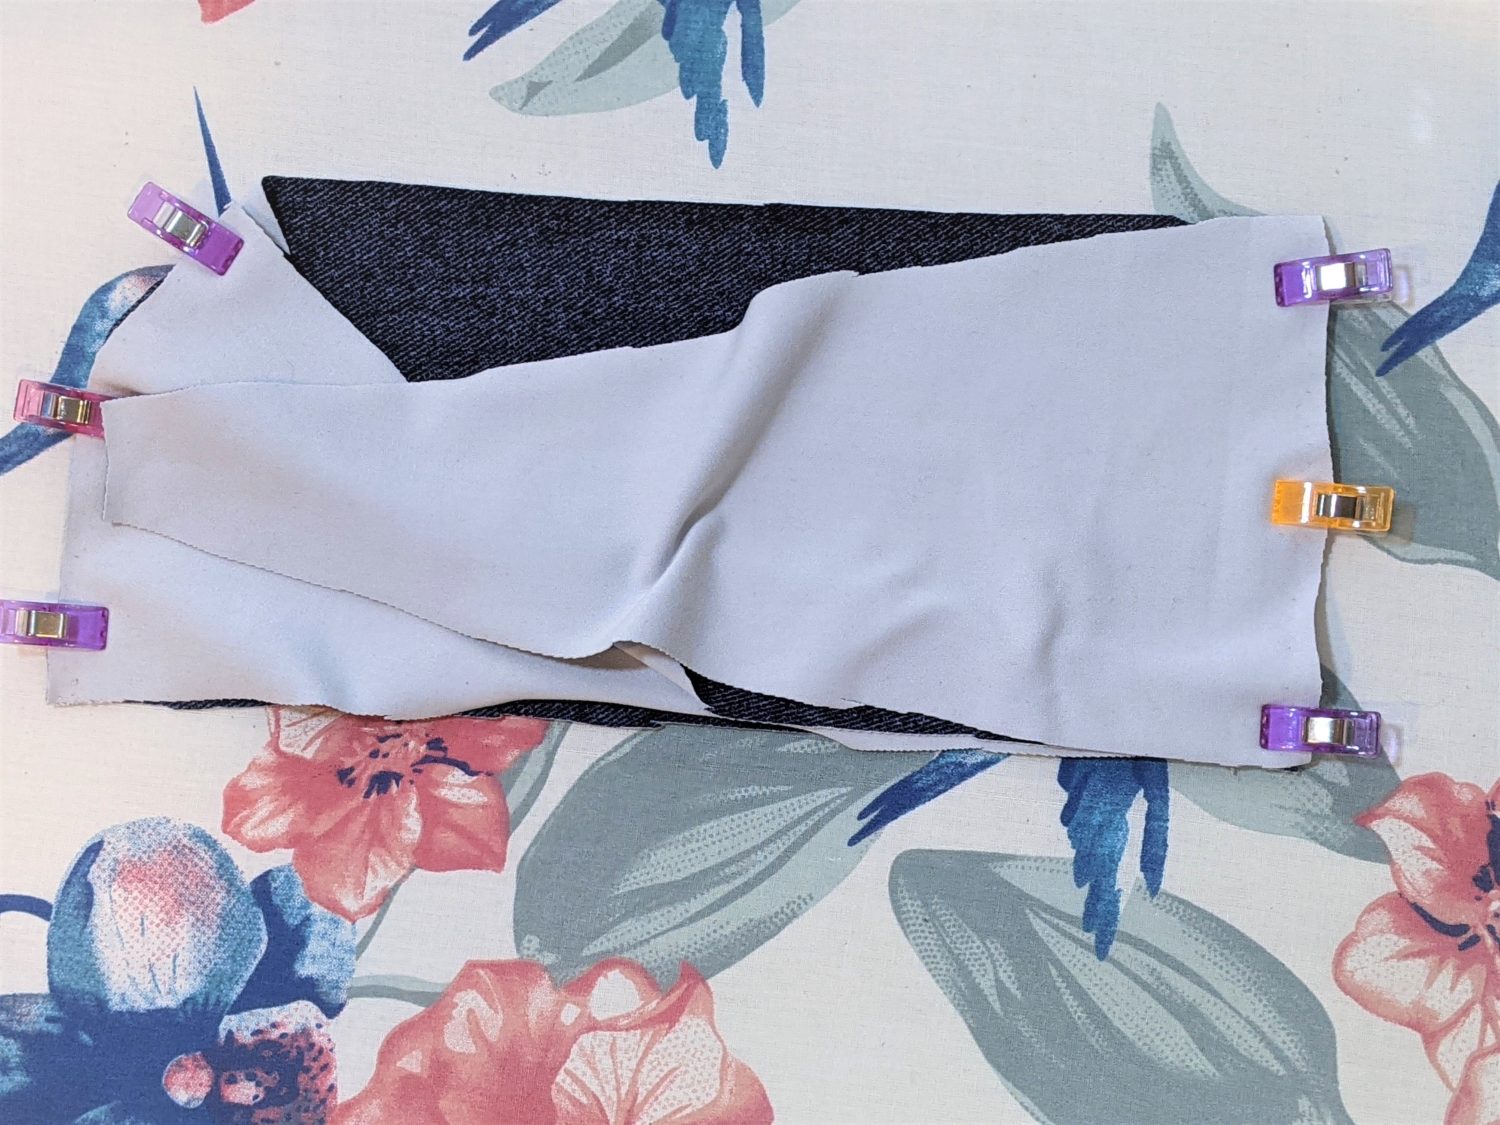
- Remove the top pin on the left side and fold back piece 1.
- Fold the narrow side of piece 2 in half up towards the top edge of the back band.
- Place the folded edge along the top corner of the back band, then place piece 1 back on top and pin it in place sandwiching the narrow folded section of piece 2 between them.
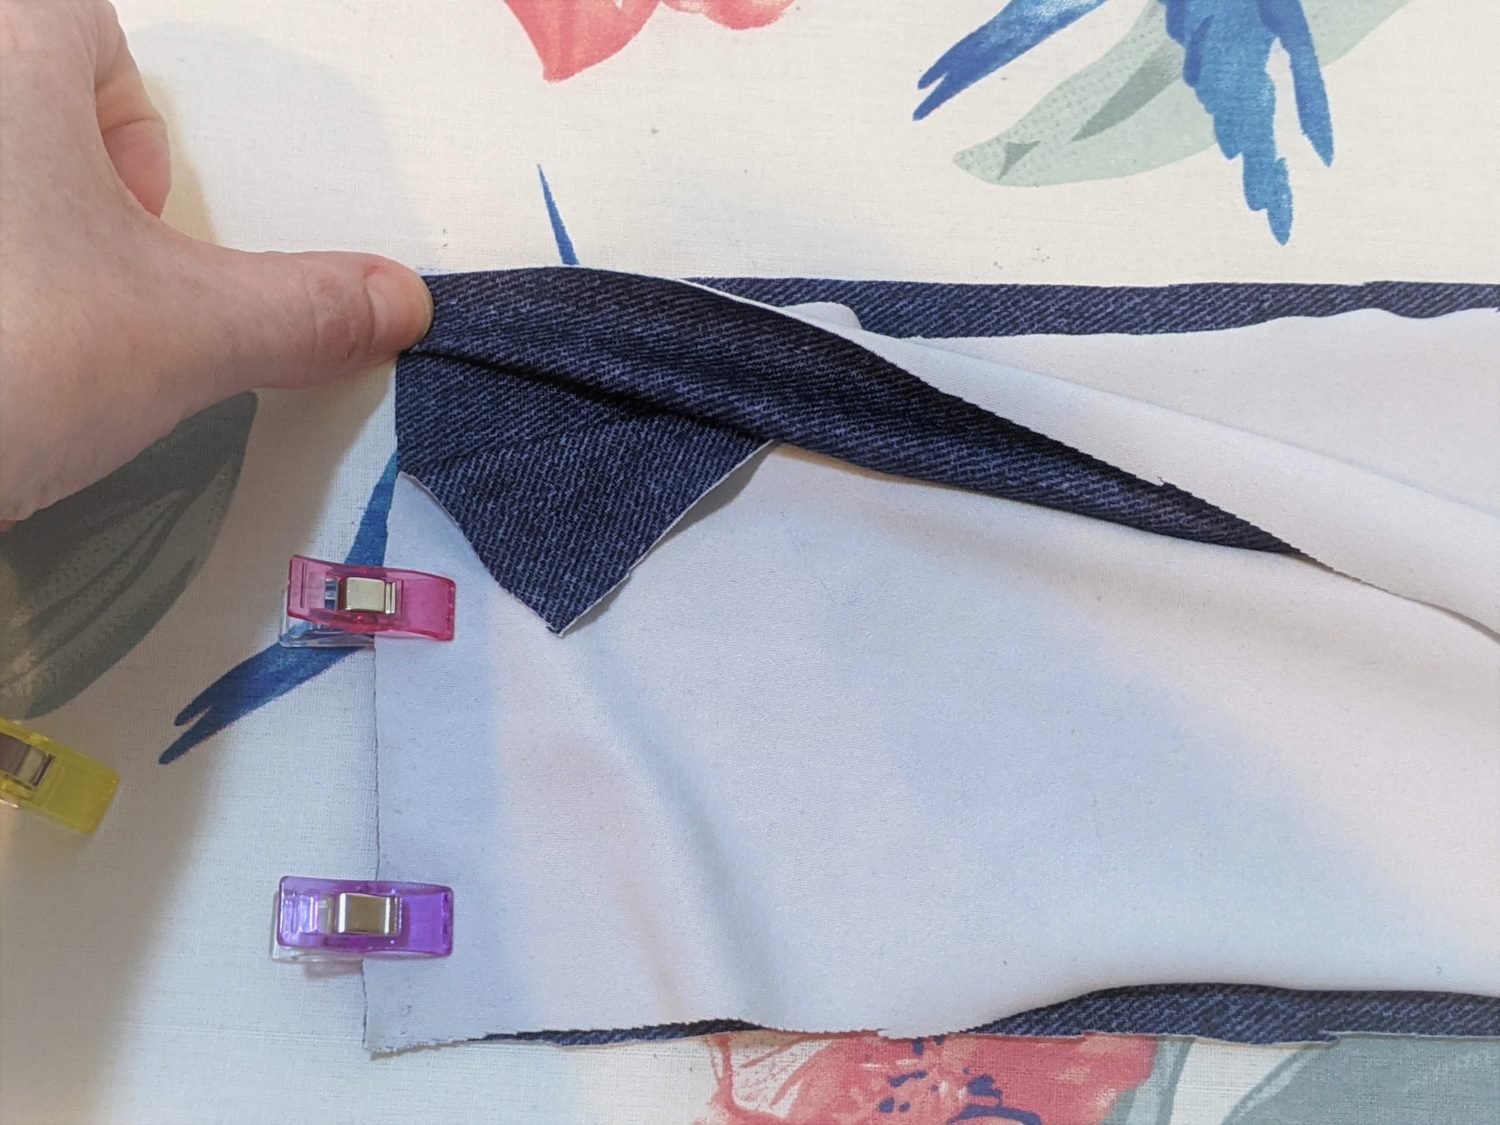

- Sew along the pinned edges using a stretch stitch or serger.
Attaching the Band
- Sew your leggings together following the tutorial with the pattern.
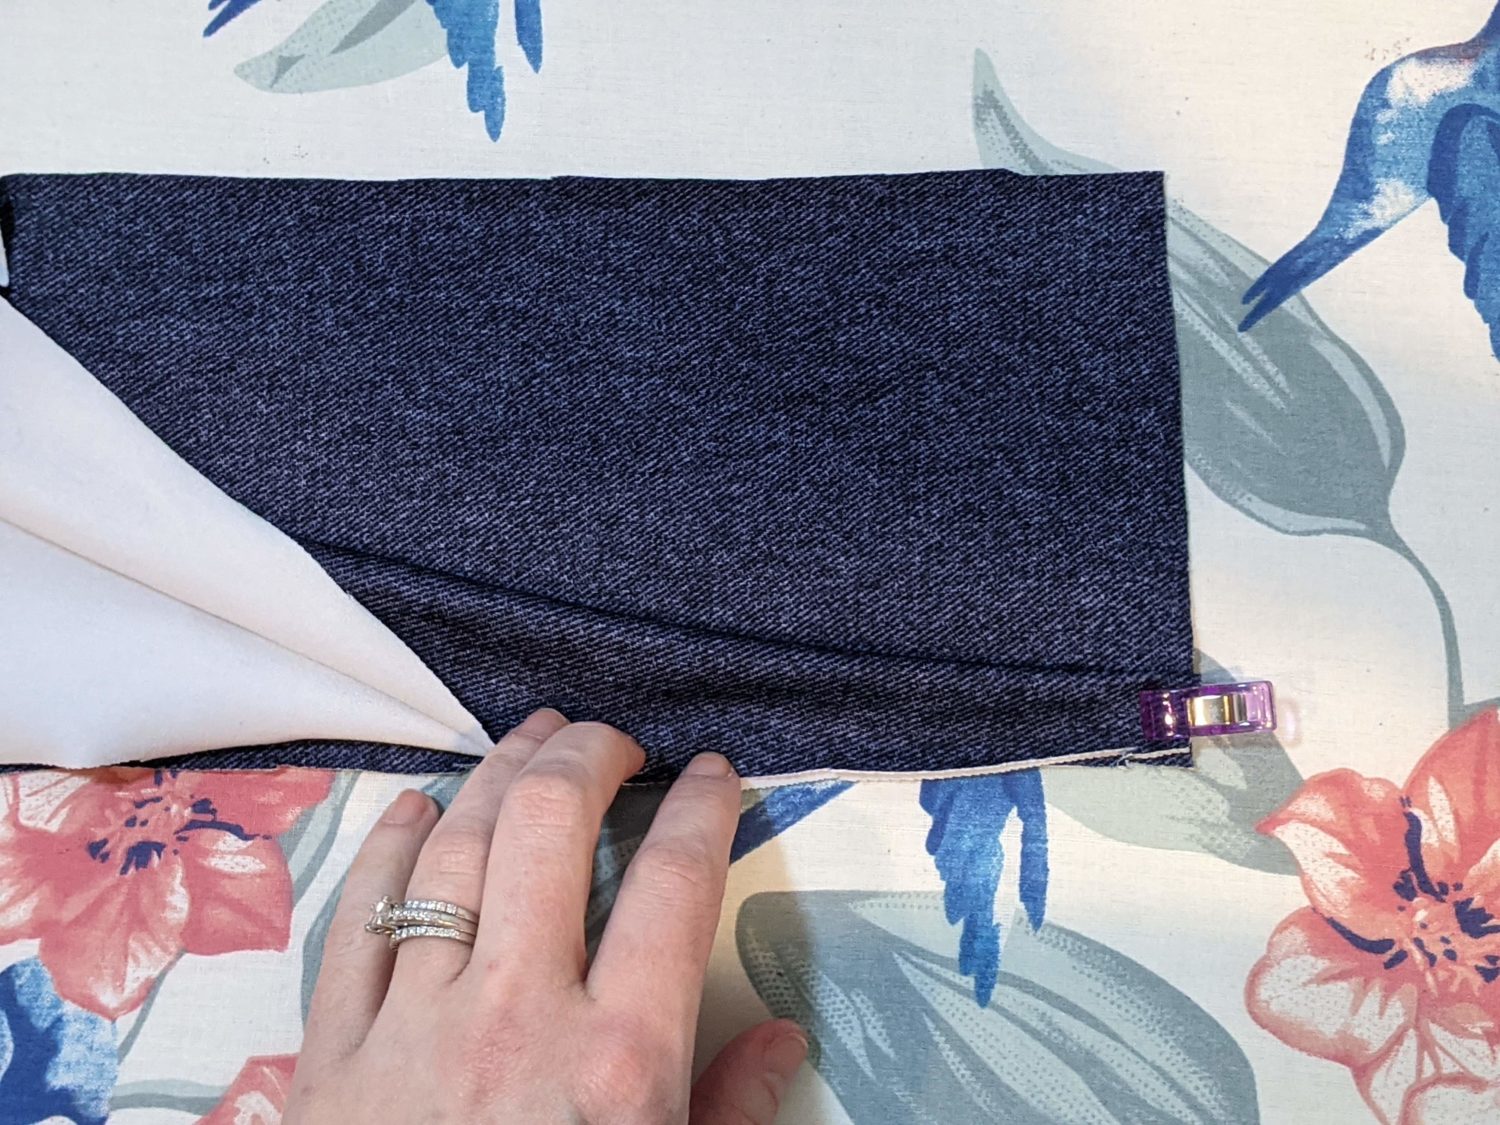
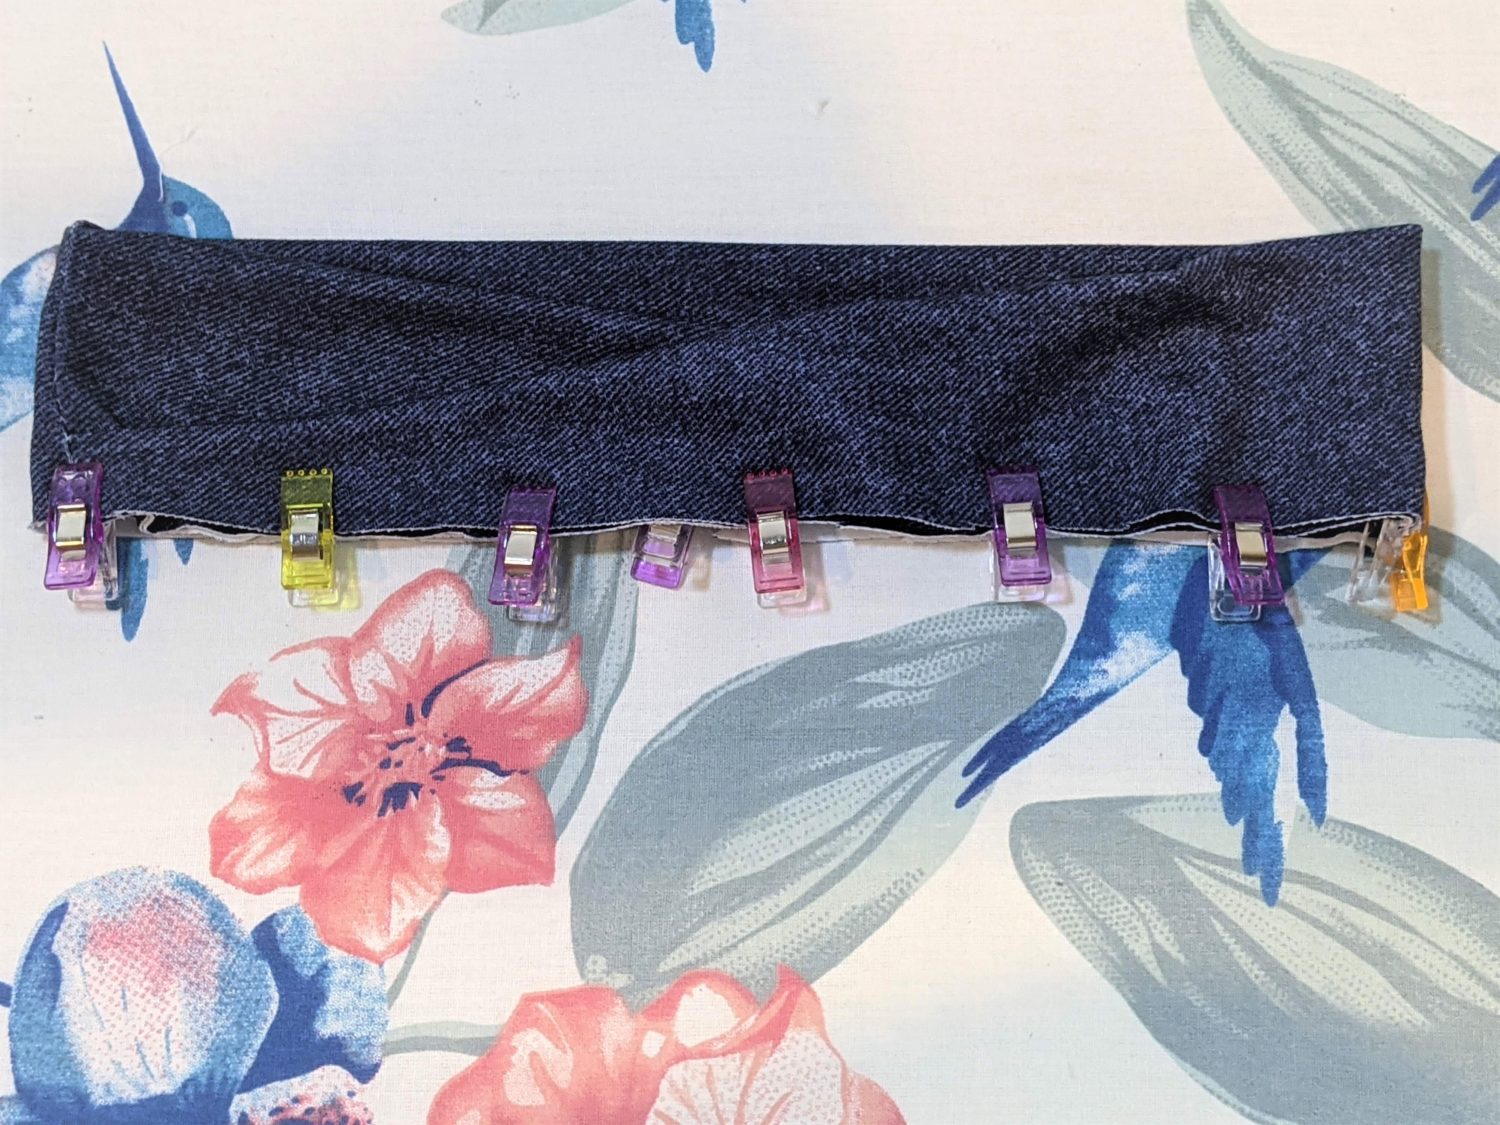
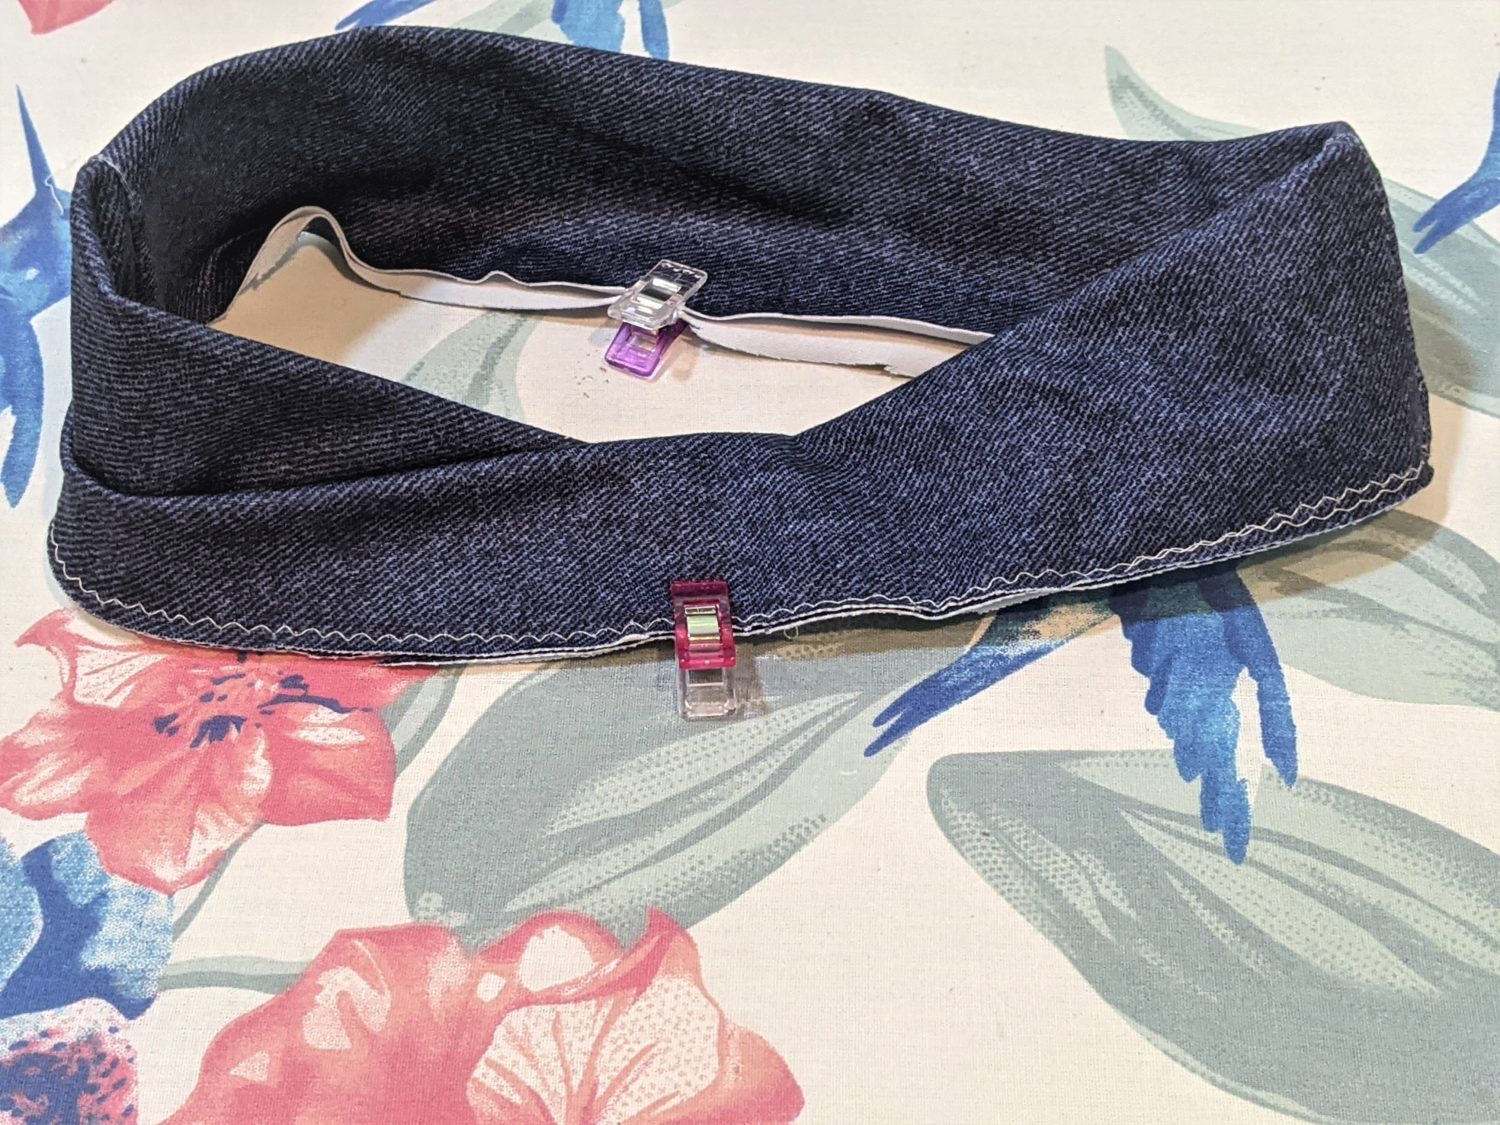
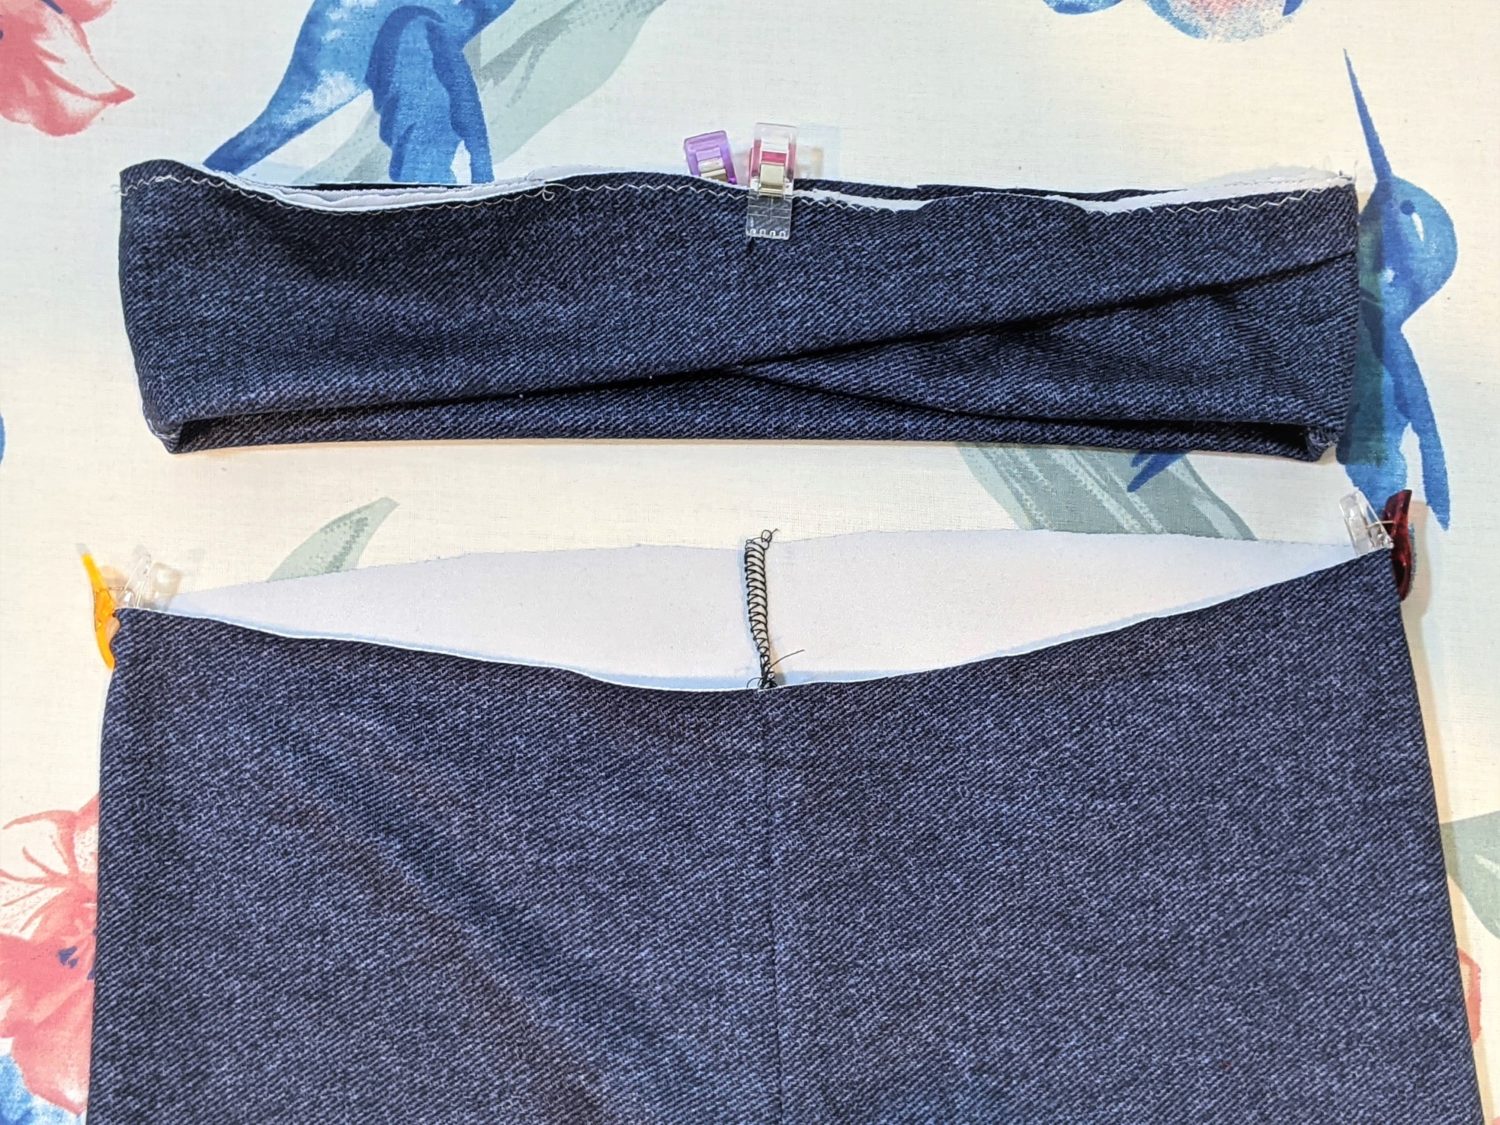
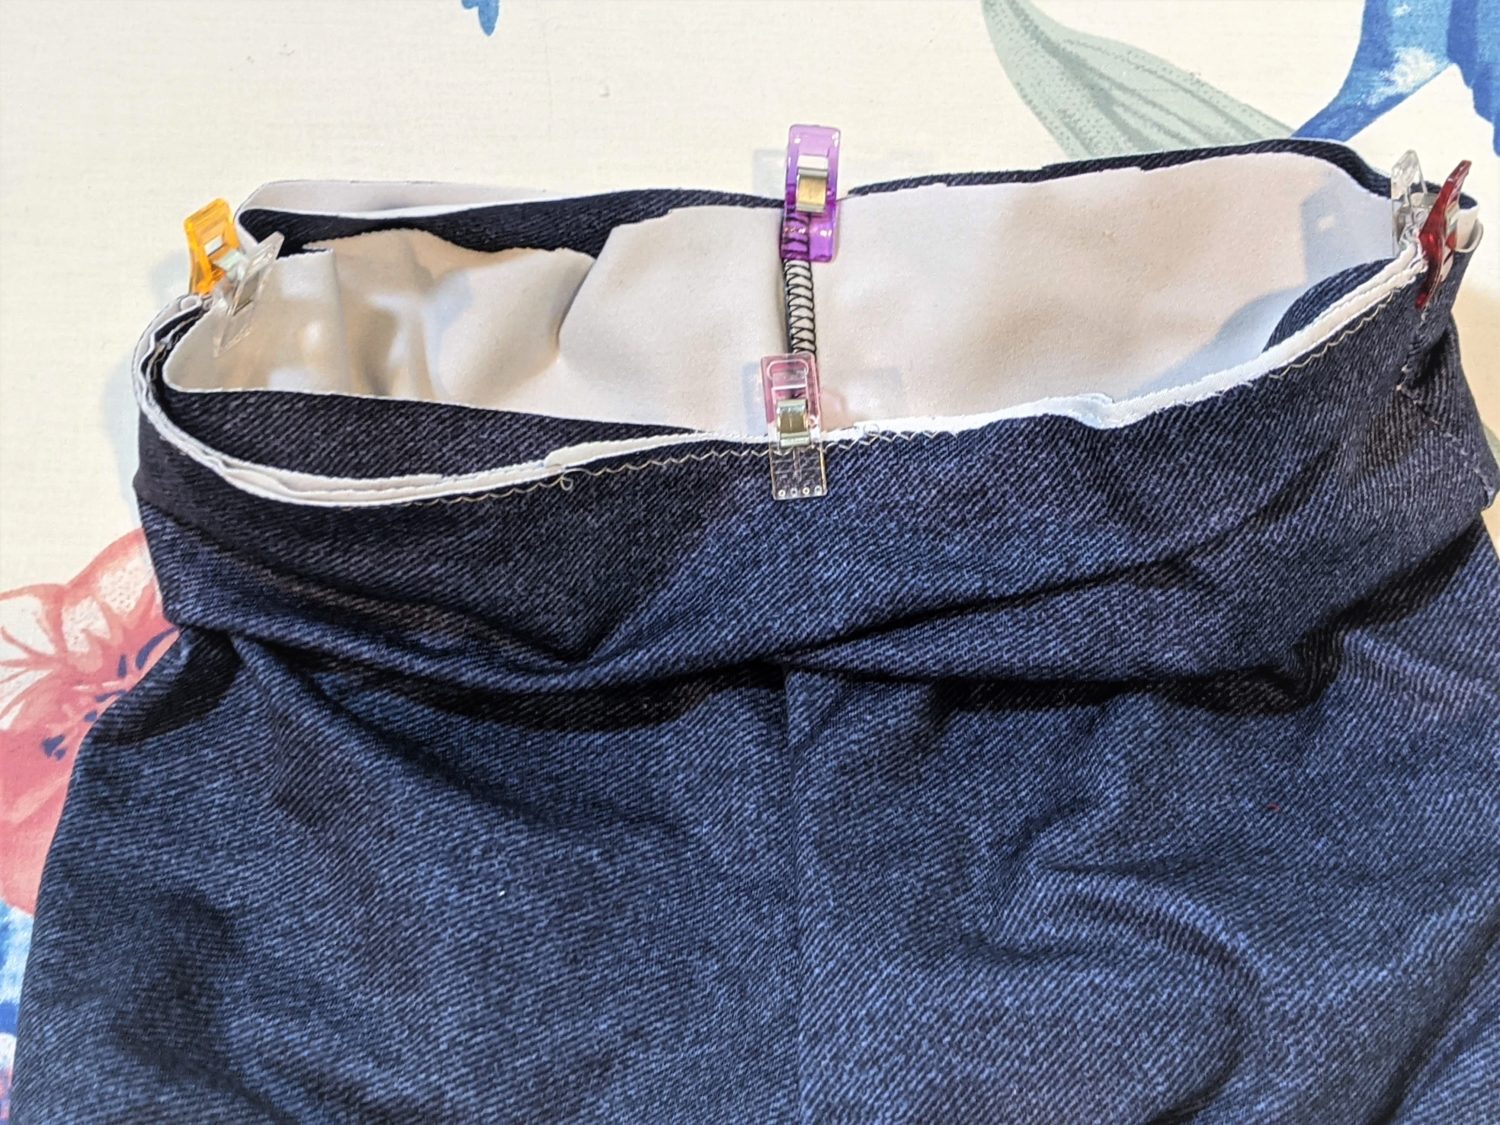
- Fold the band in half with the wrong sides together.
- Pin together at the side seams, the center back, then all along the cross-front edge. There should be 4 layers pinned together along the front edge.
- Baste all 4 layers together along the front using a long zigzag stitch to keep them all in place as you attach the band.
- Find the center front and pin.

- Grab your pants and pin to mark the quarter points at the front and back seams and center of each side.
- Slide your band down over the right side of the pants then line up your front, back, and side points of your pants and band.
- Attach the band using a stretch stitch or serger stretching the band gently as you go just as you would with a regular band as described in the pattern’s tutorial.
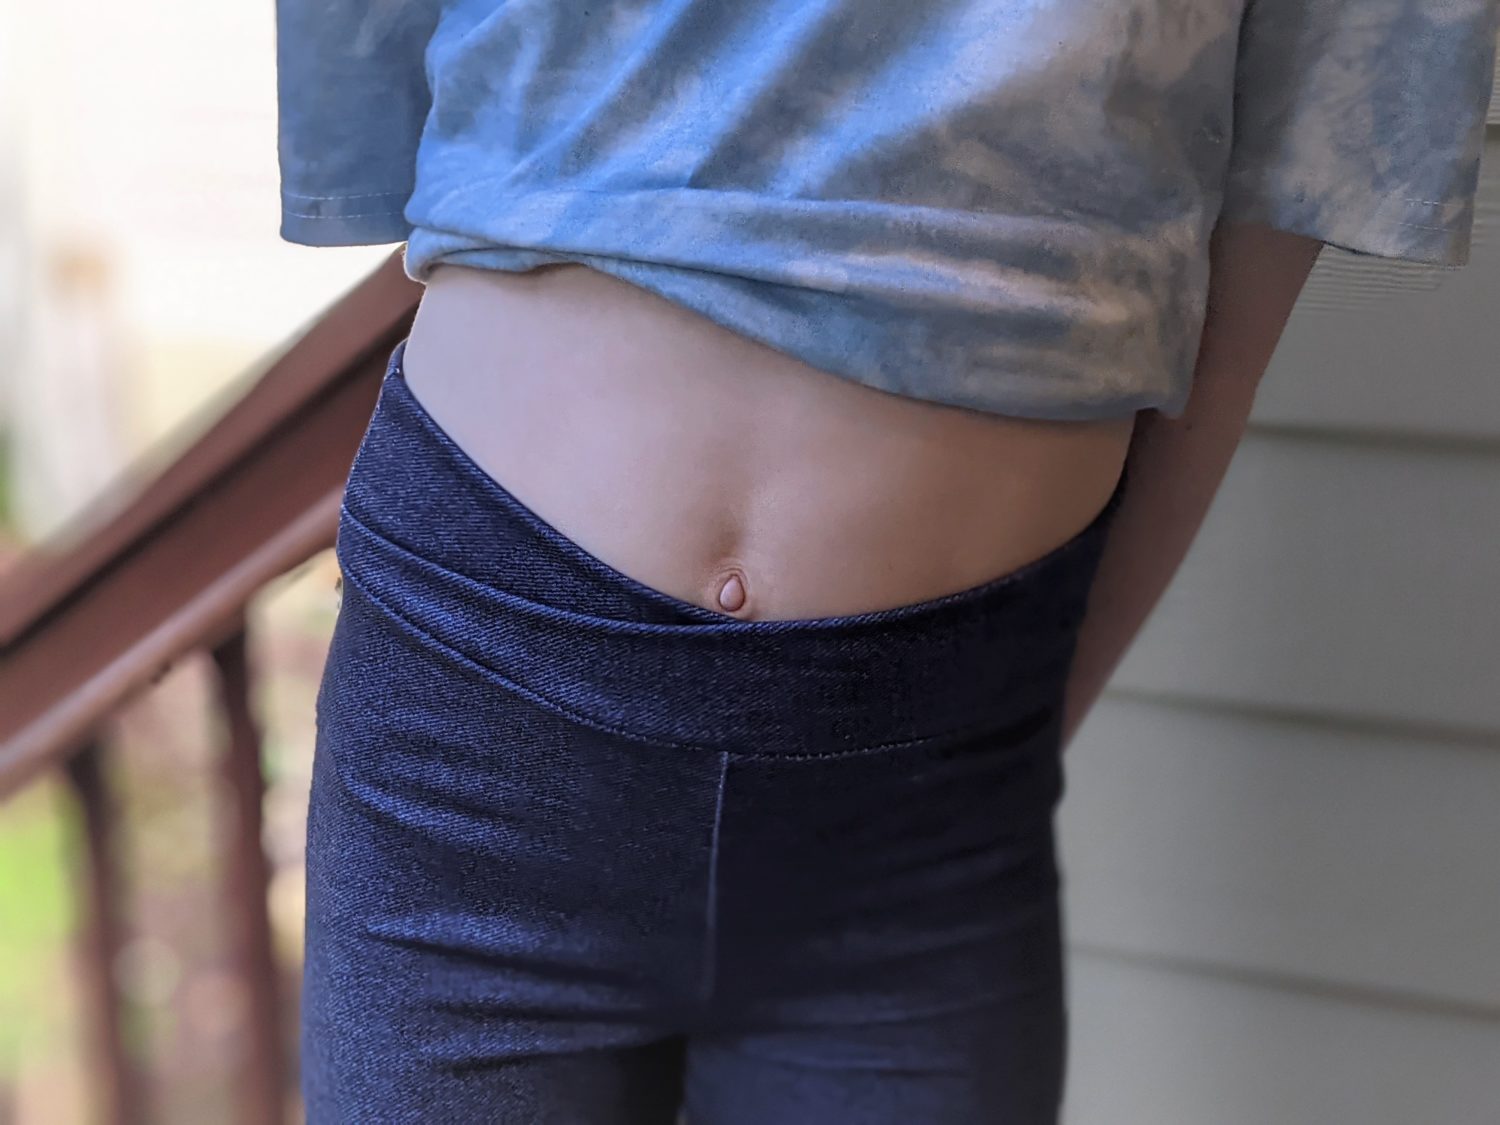
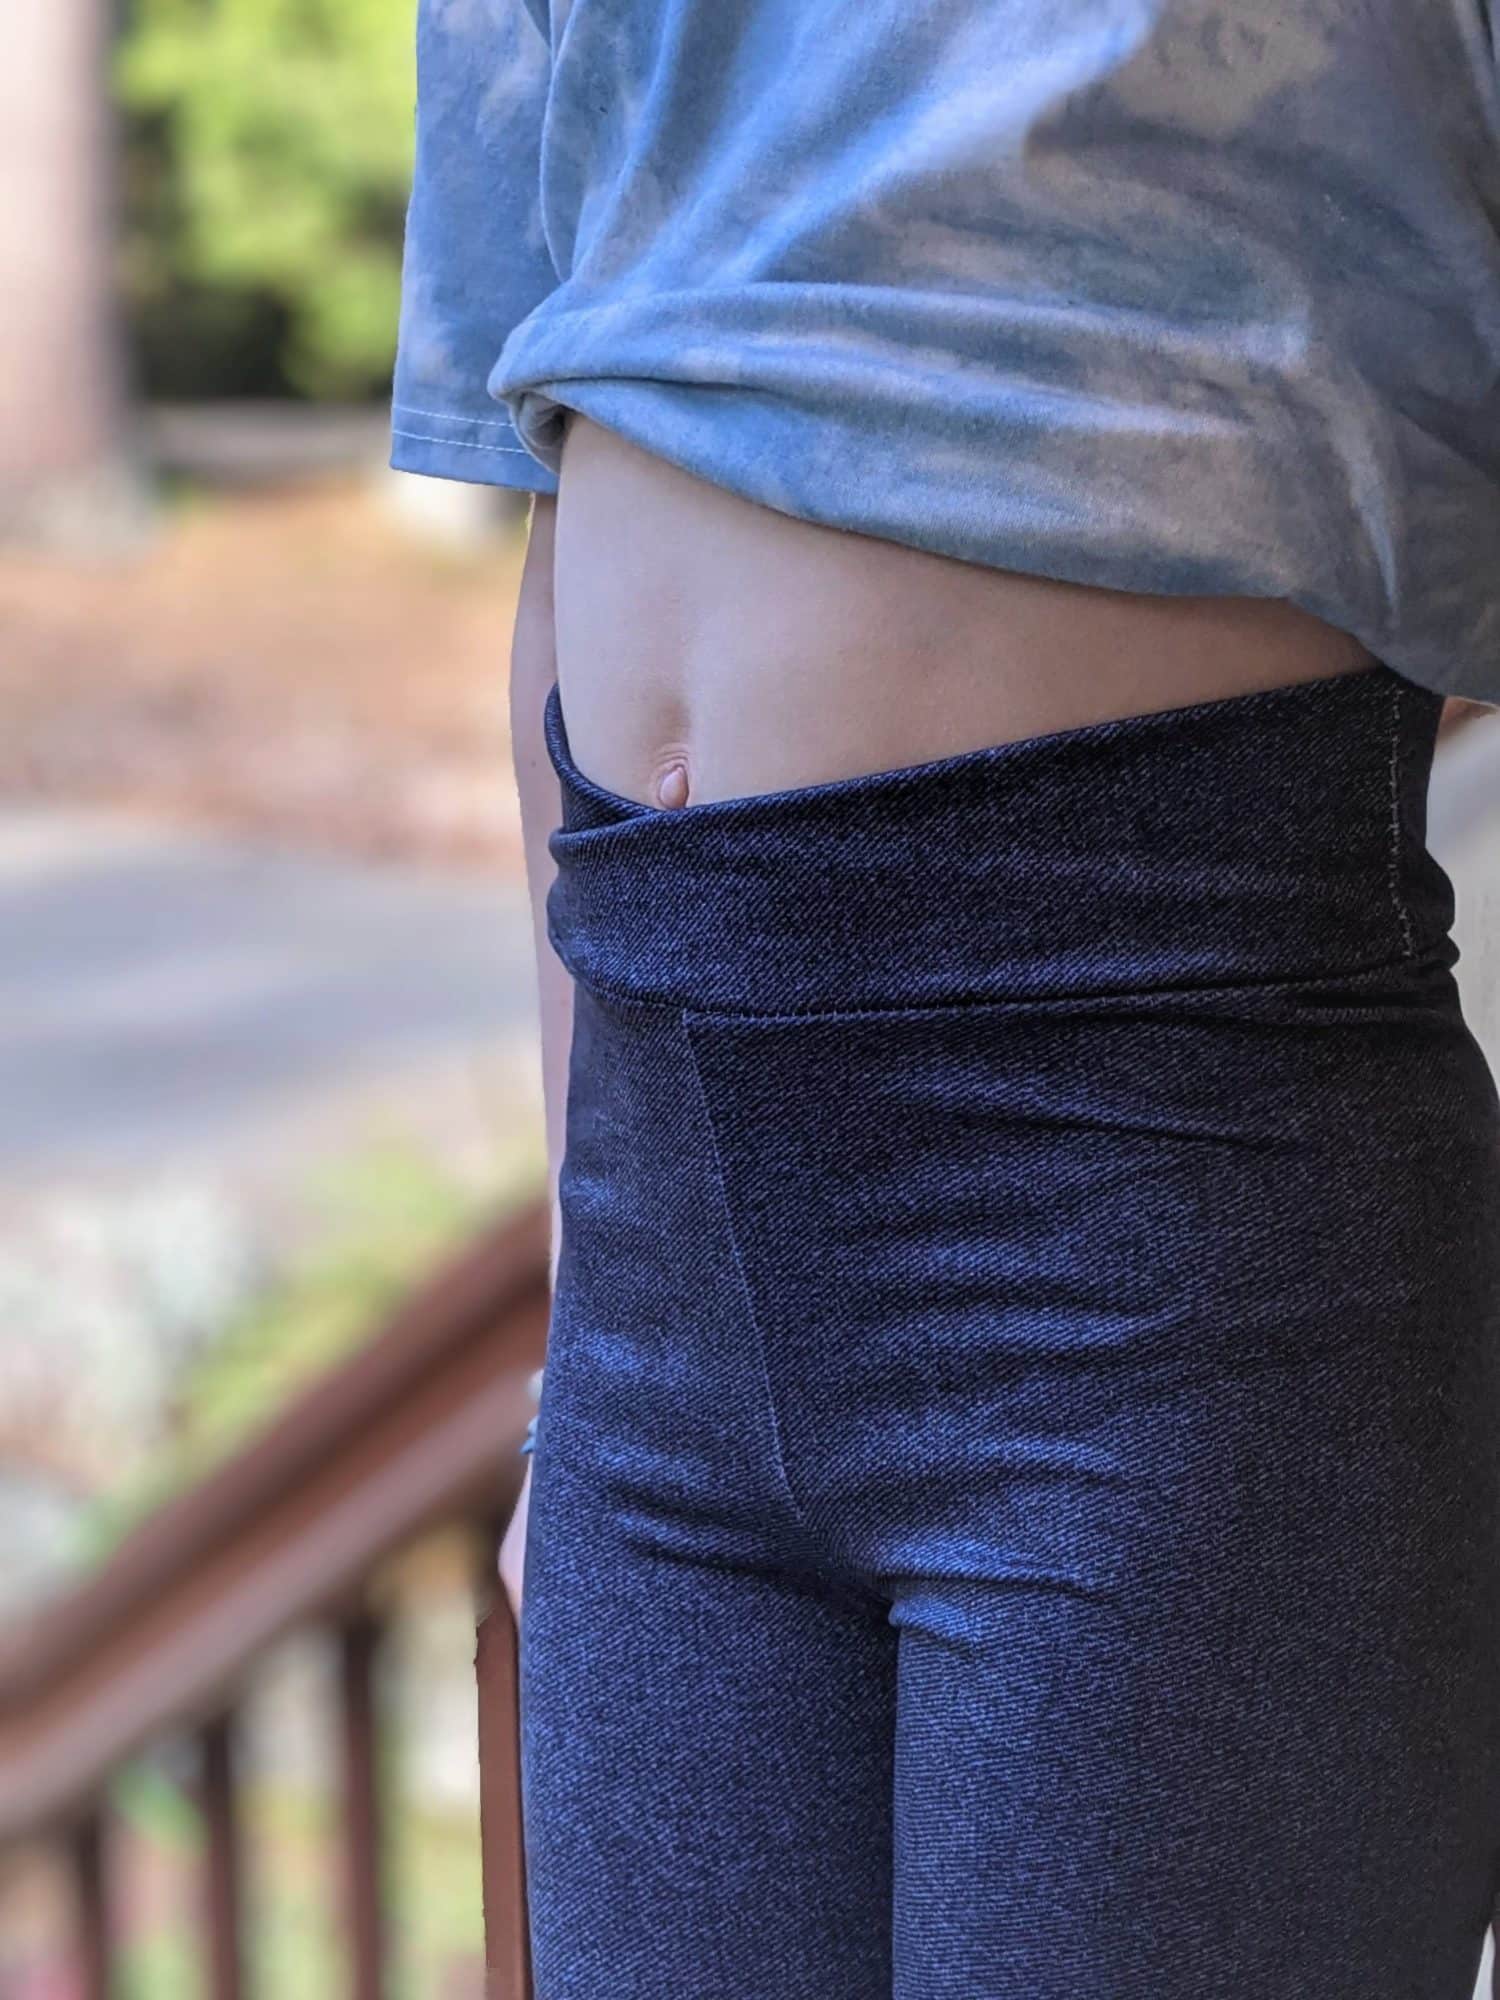
That’s it! Now you have an easy way to add a little pizazz to your leggings!
Want more FUN DIY Freebies? Check out the FREEBIE TUTORIALS and the FREEBIE PATTERNS!
As always, we’re here to help if you need it! Join us HERE and on Facebook, Instagram, Twitter, Youtube, and Pinterest. We’re everywhere you are.
Leave a Reply