Guest Blog Post from Shirley-Ann Meunier
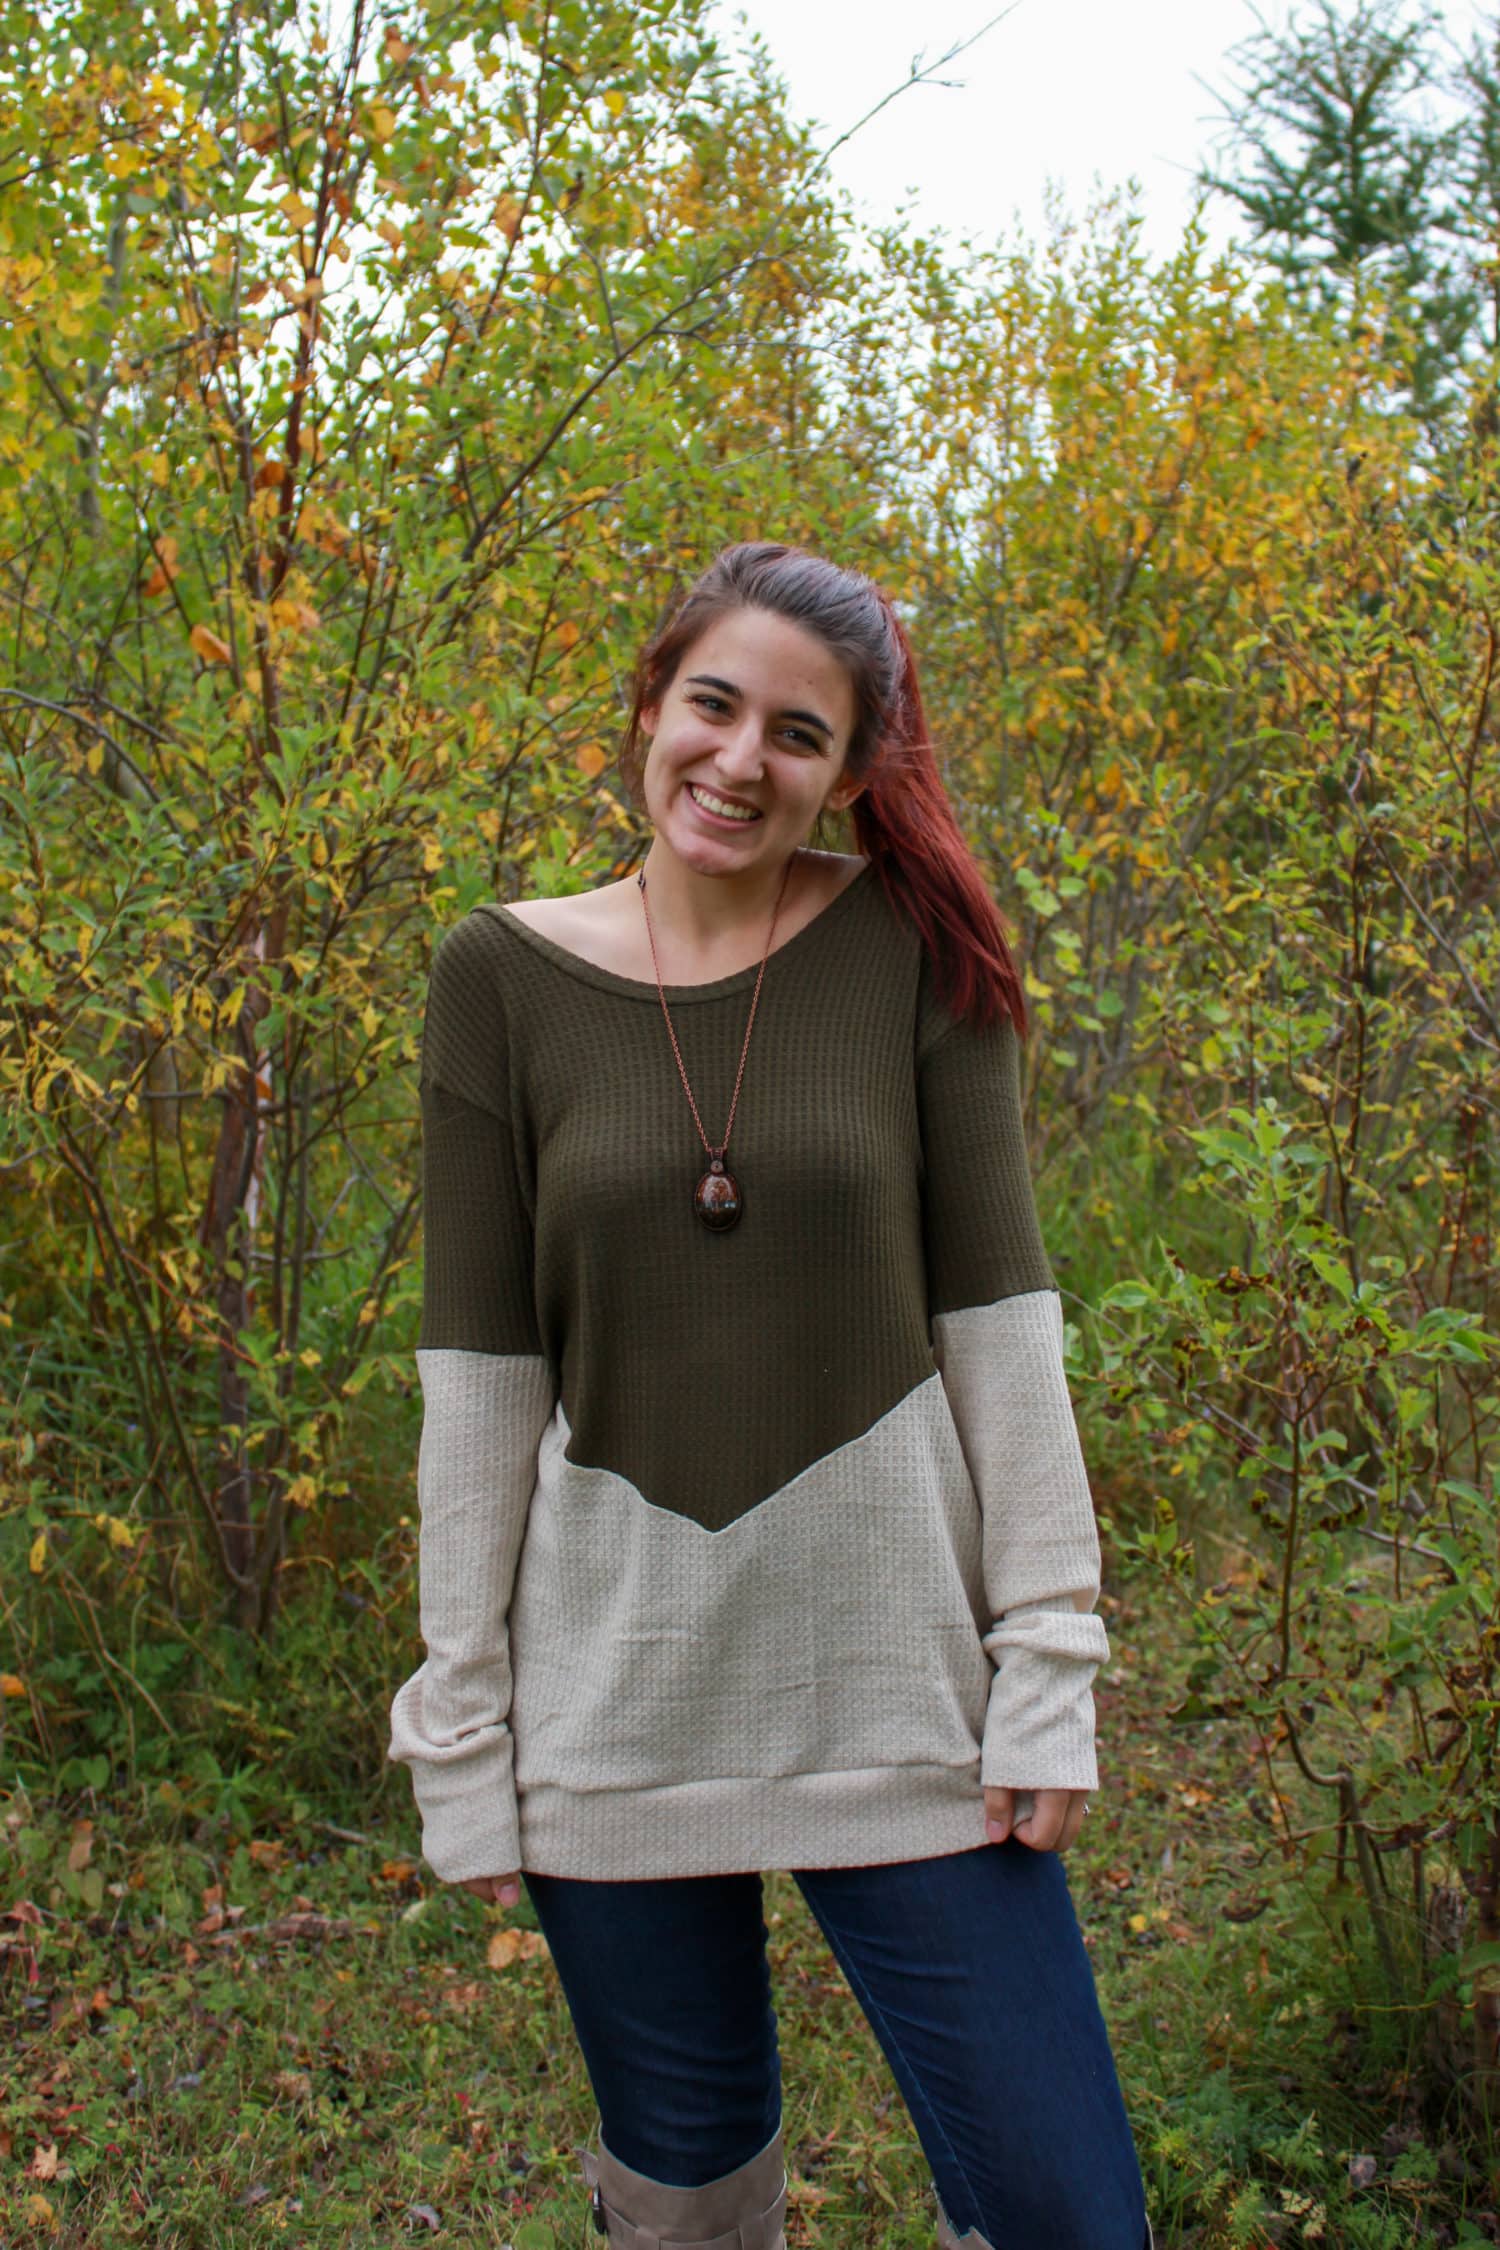
I love a good oversized sweater! I also tend to buy scrap packs of fabrics and usually have some small cuts to use. That’s how this idea came on, and the V-back (or front!) just adds the perfect feminine touch to that shirt. The PERFECT Pattern for this hack is the Josephine Crop, Top, Tunic and Dress. There’s even a kids version you can get your hand on HERE. Follow along to see how to make your own!
Oversize
That’s the easiest part. Depending on how oversized you want your sweater, you could size up one or 2 sizes. For mine, I sized up 2 sizes.
An important thing to think about is the fabric you will be using. A lighter/strechier fabric will naturally look more oversized than a heavier fabric like french terry or fleece.
Additionally, I cut mine somewhere between top and tunic cut line and cut the sleeves about 1” longer. This was just to emphasize the oversized look (I am 5’7” so keep in mind that if you are shorter and tend to have to take off lenght on shirts, you may not need to add any length to get that look)
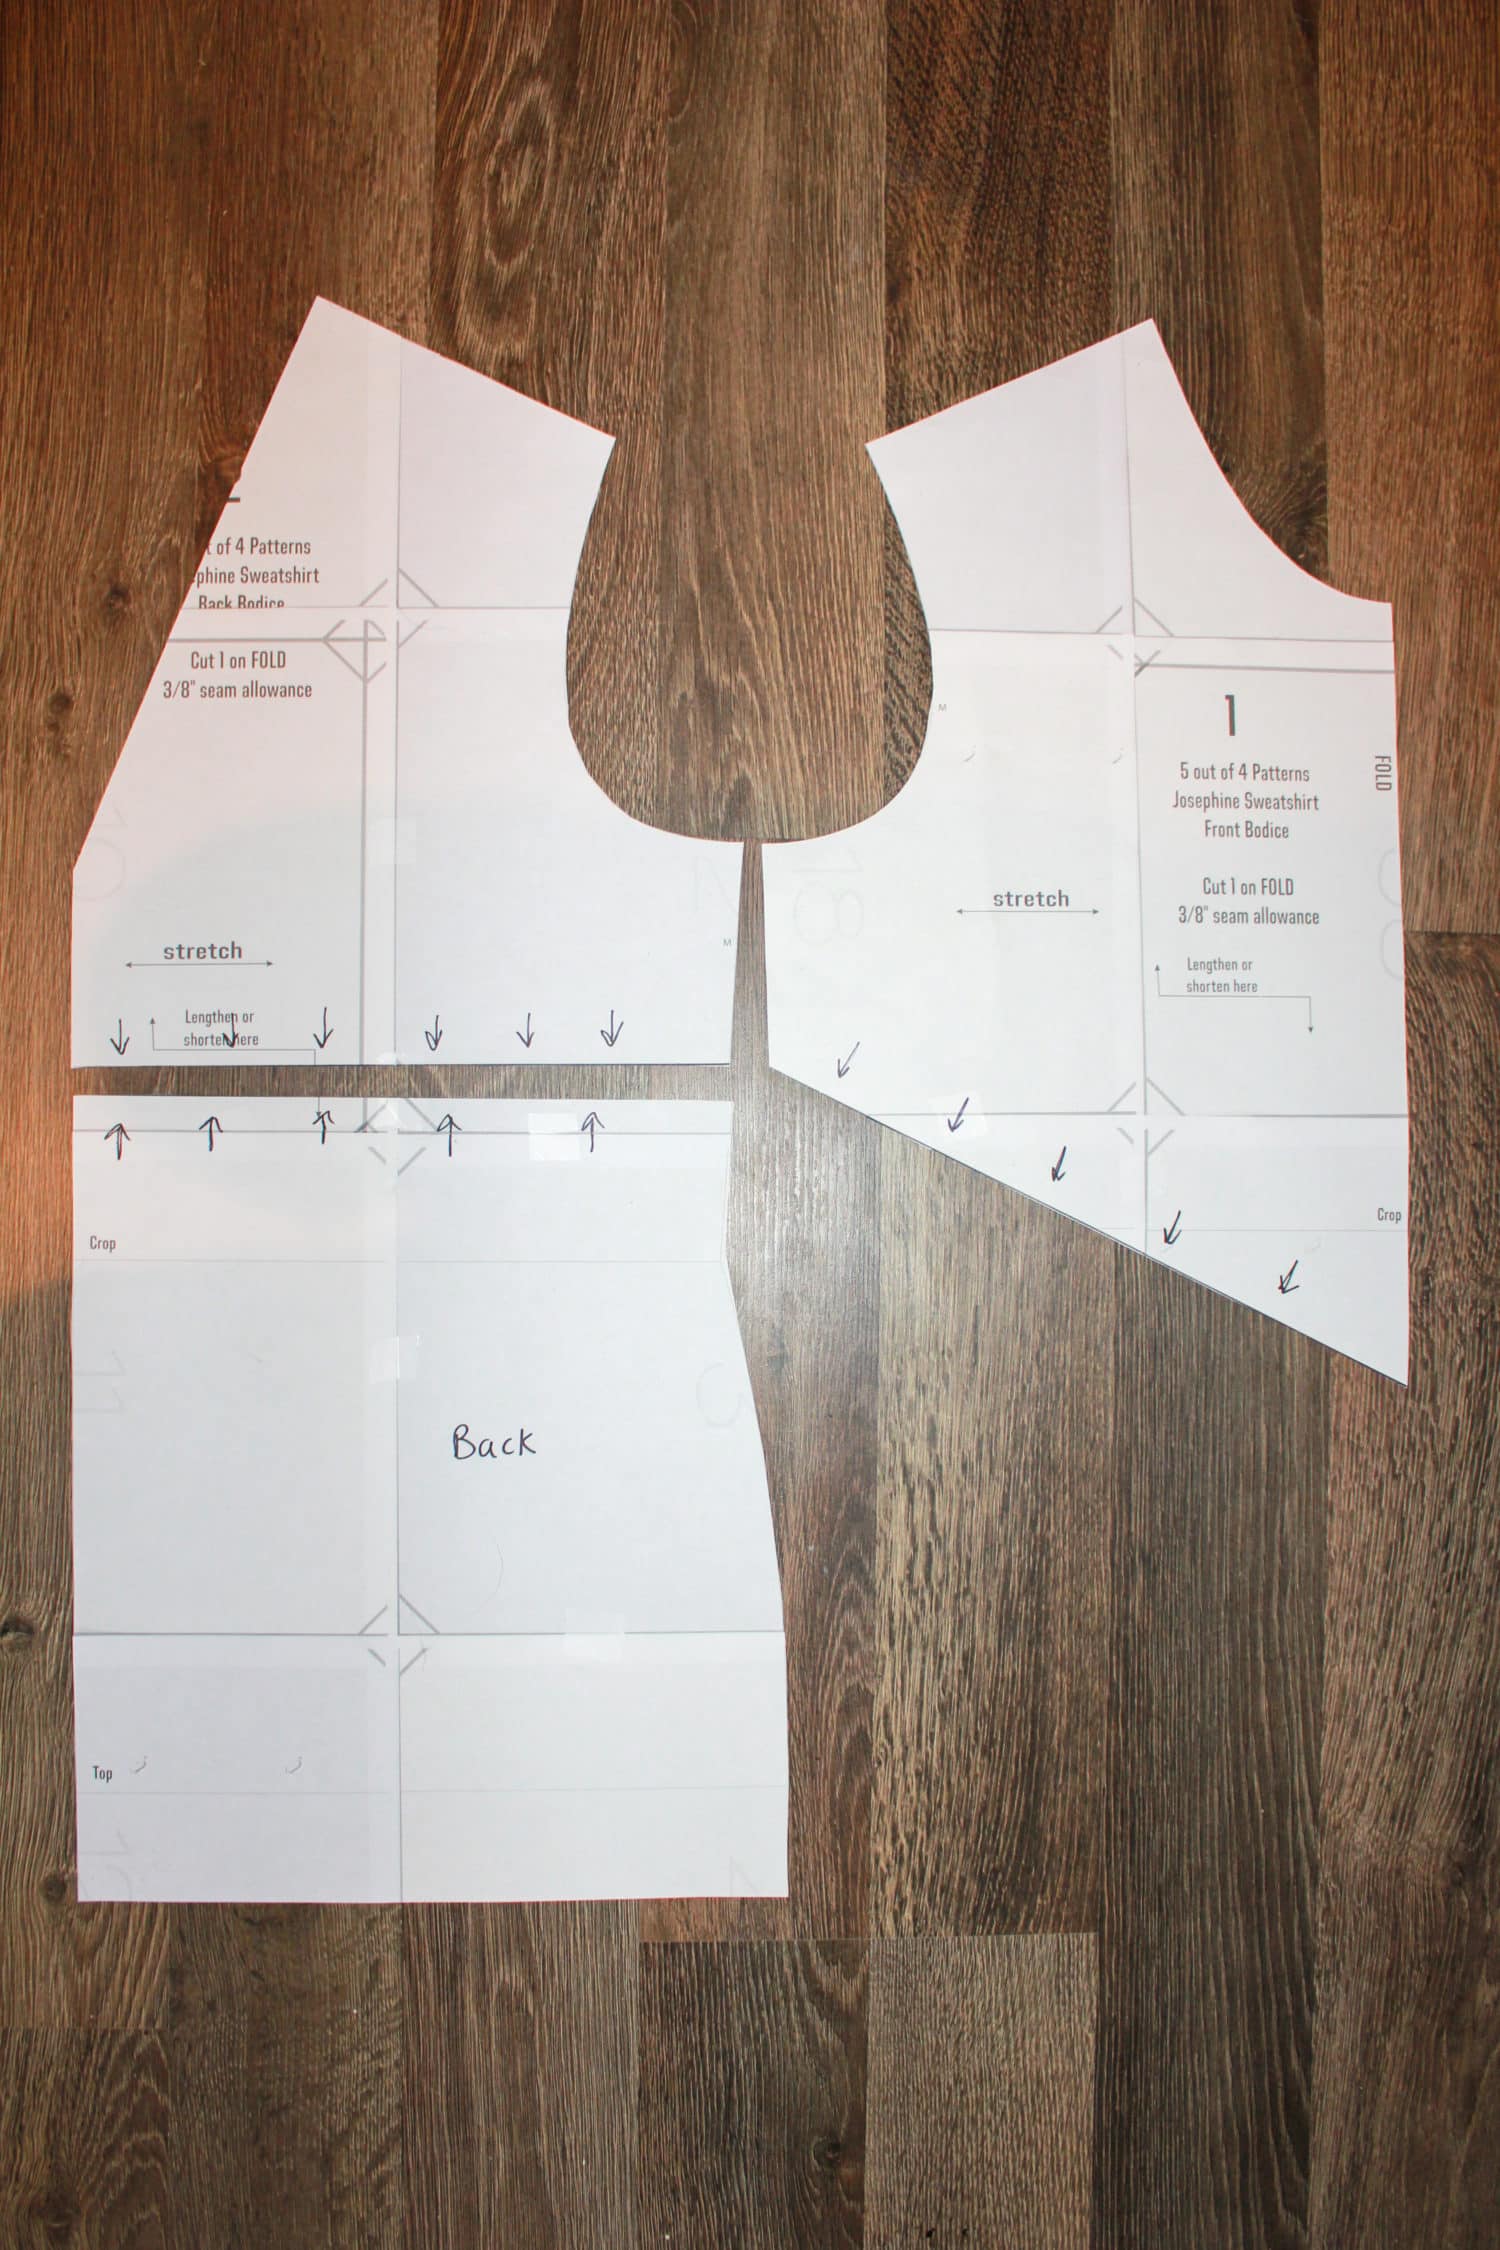
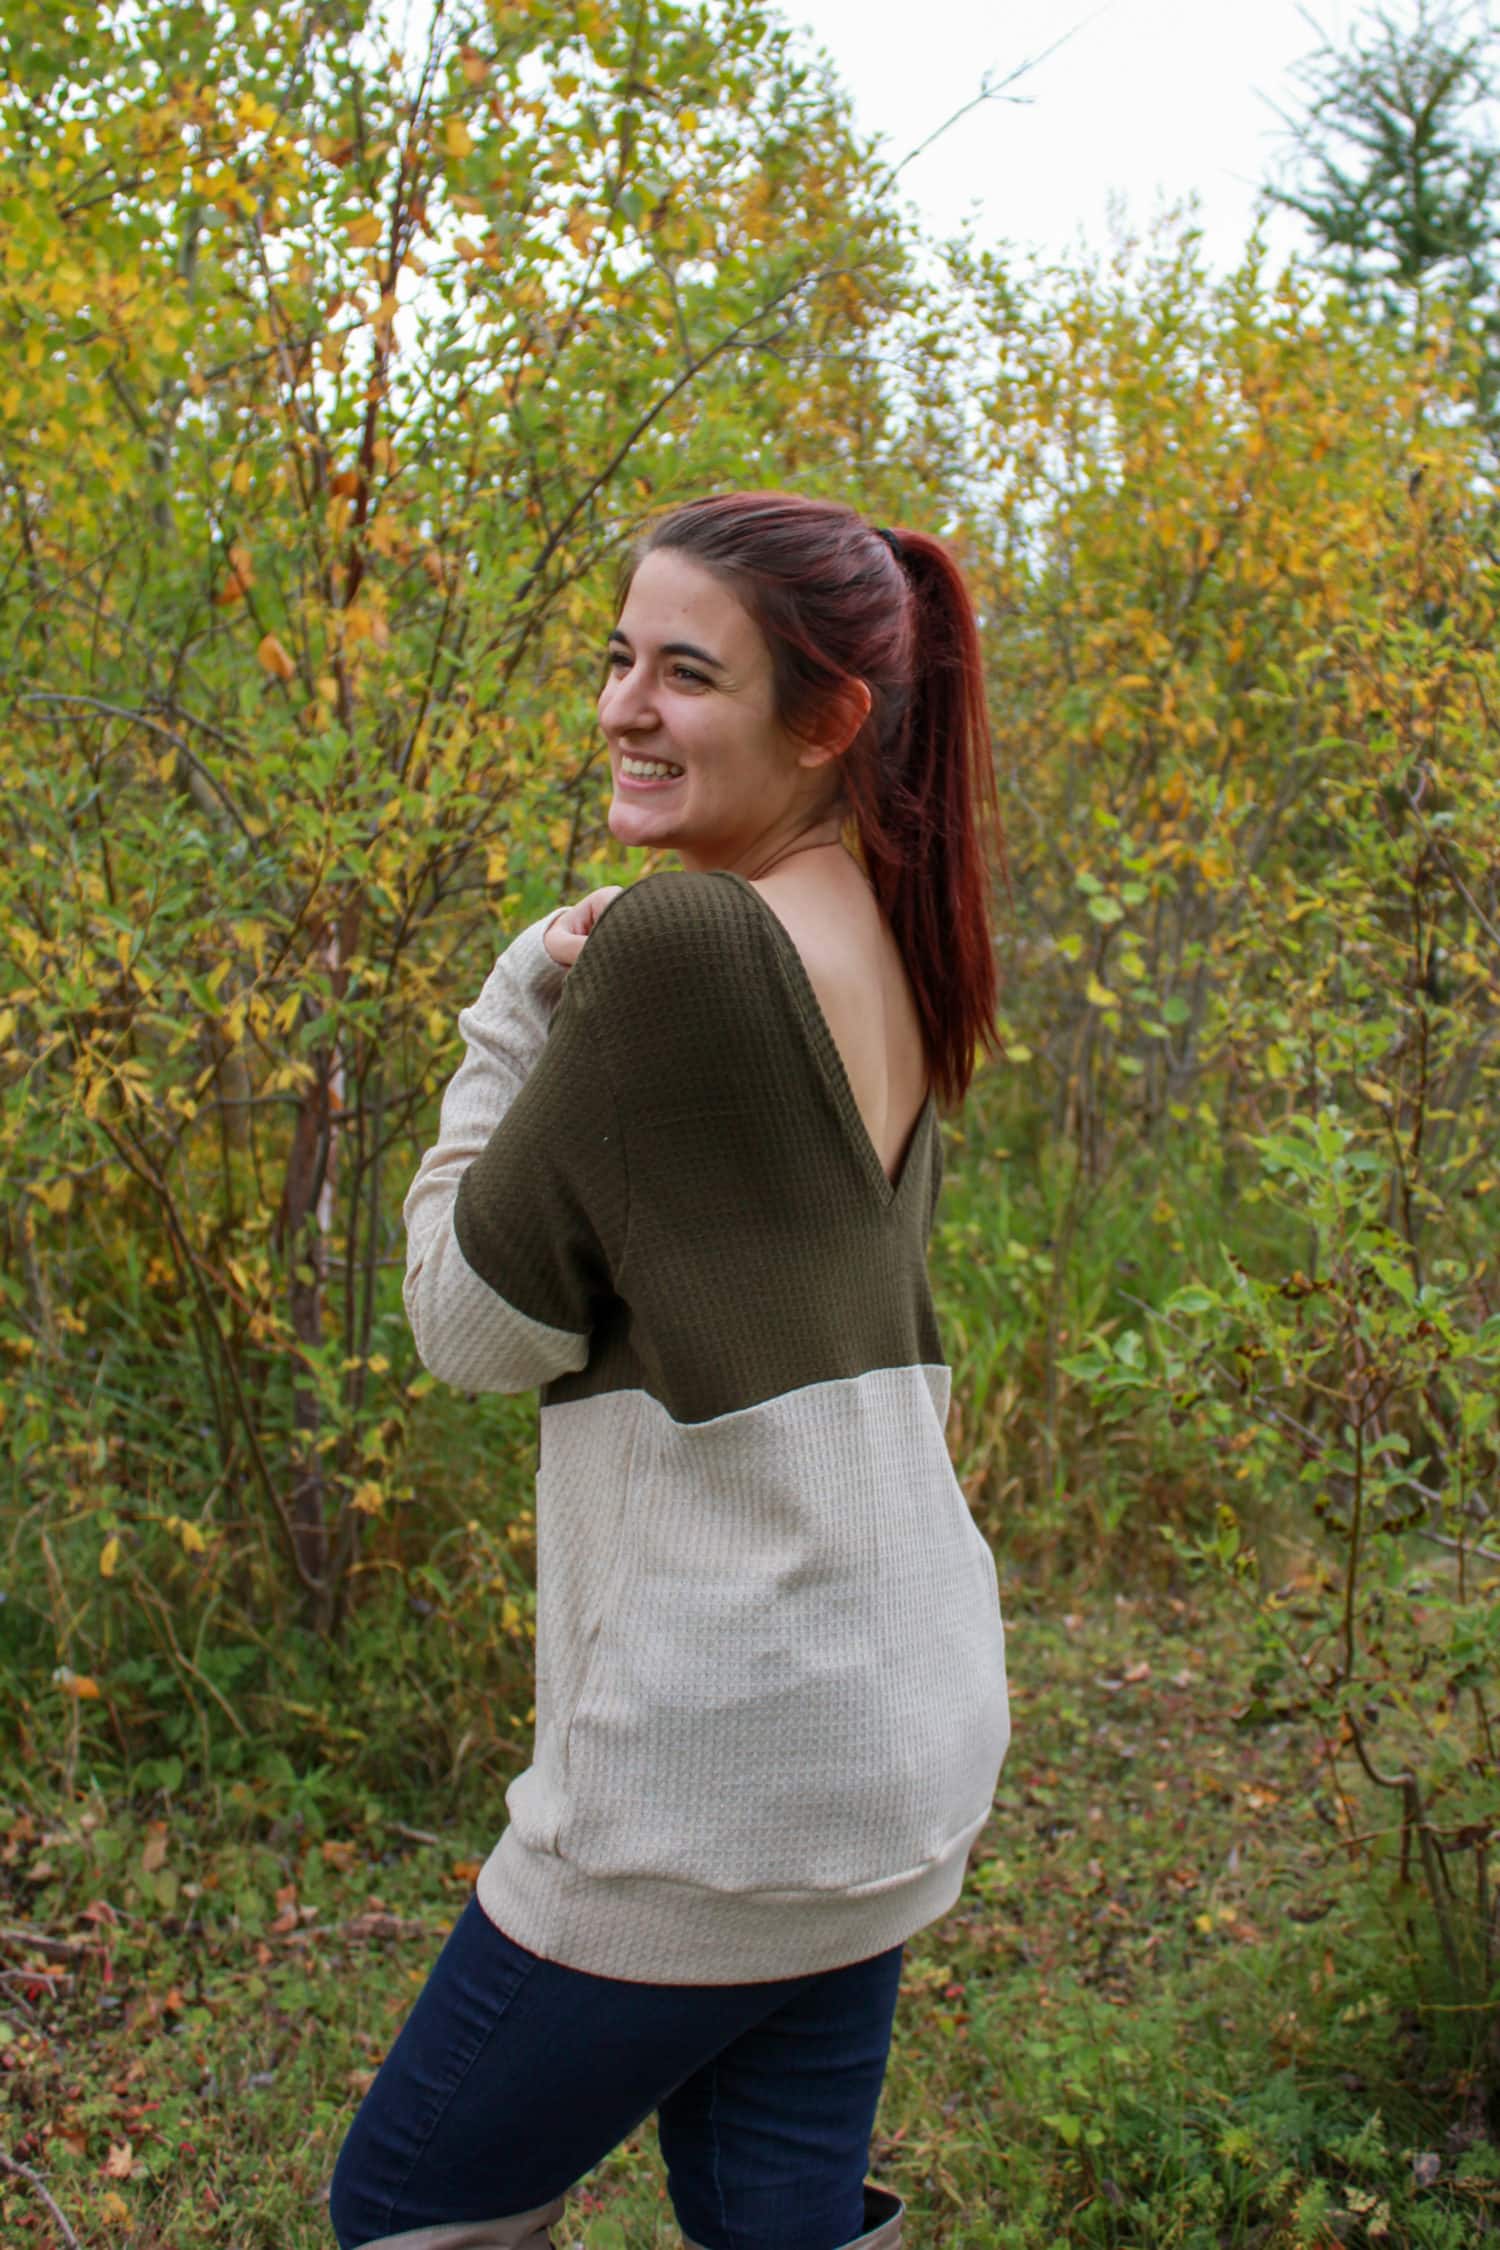
Let’s Tackle that V-Back
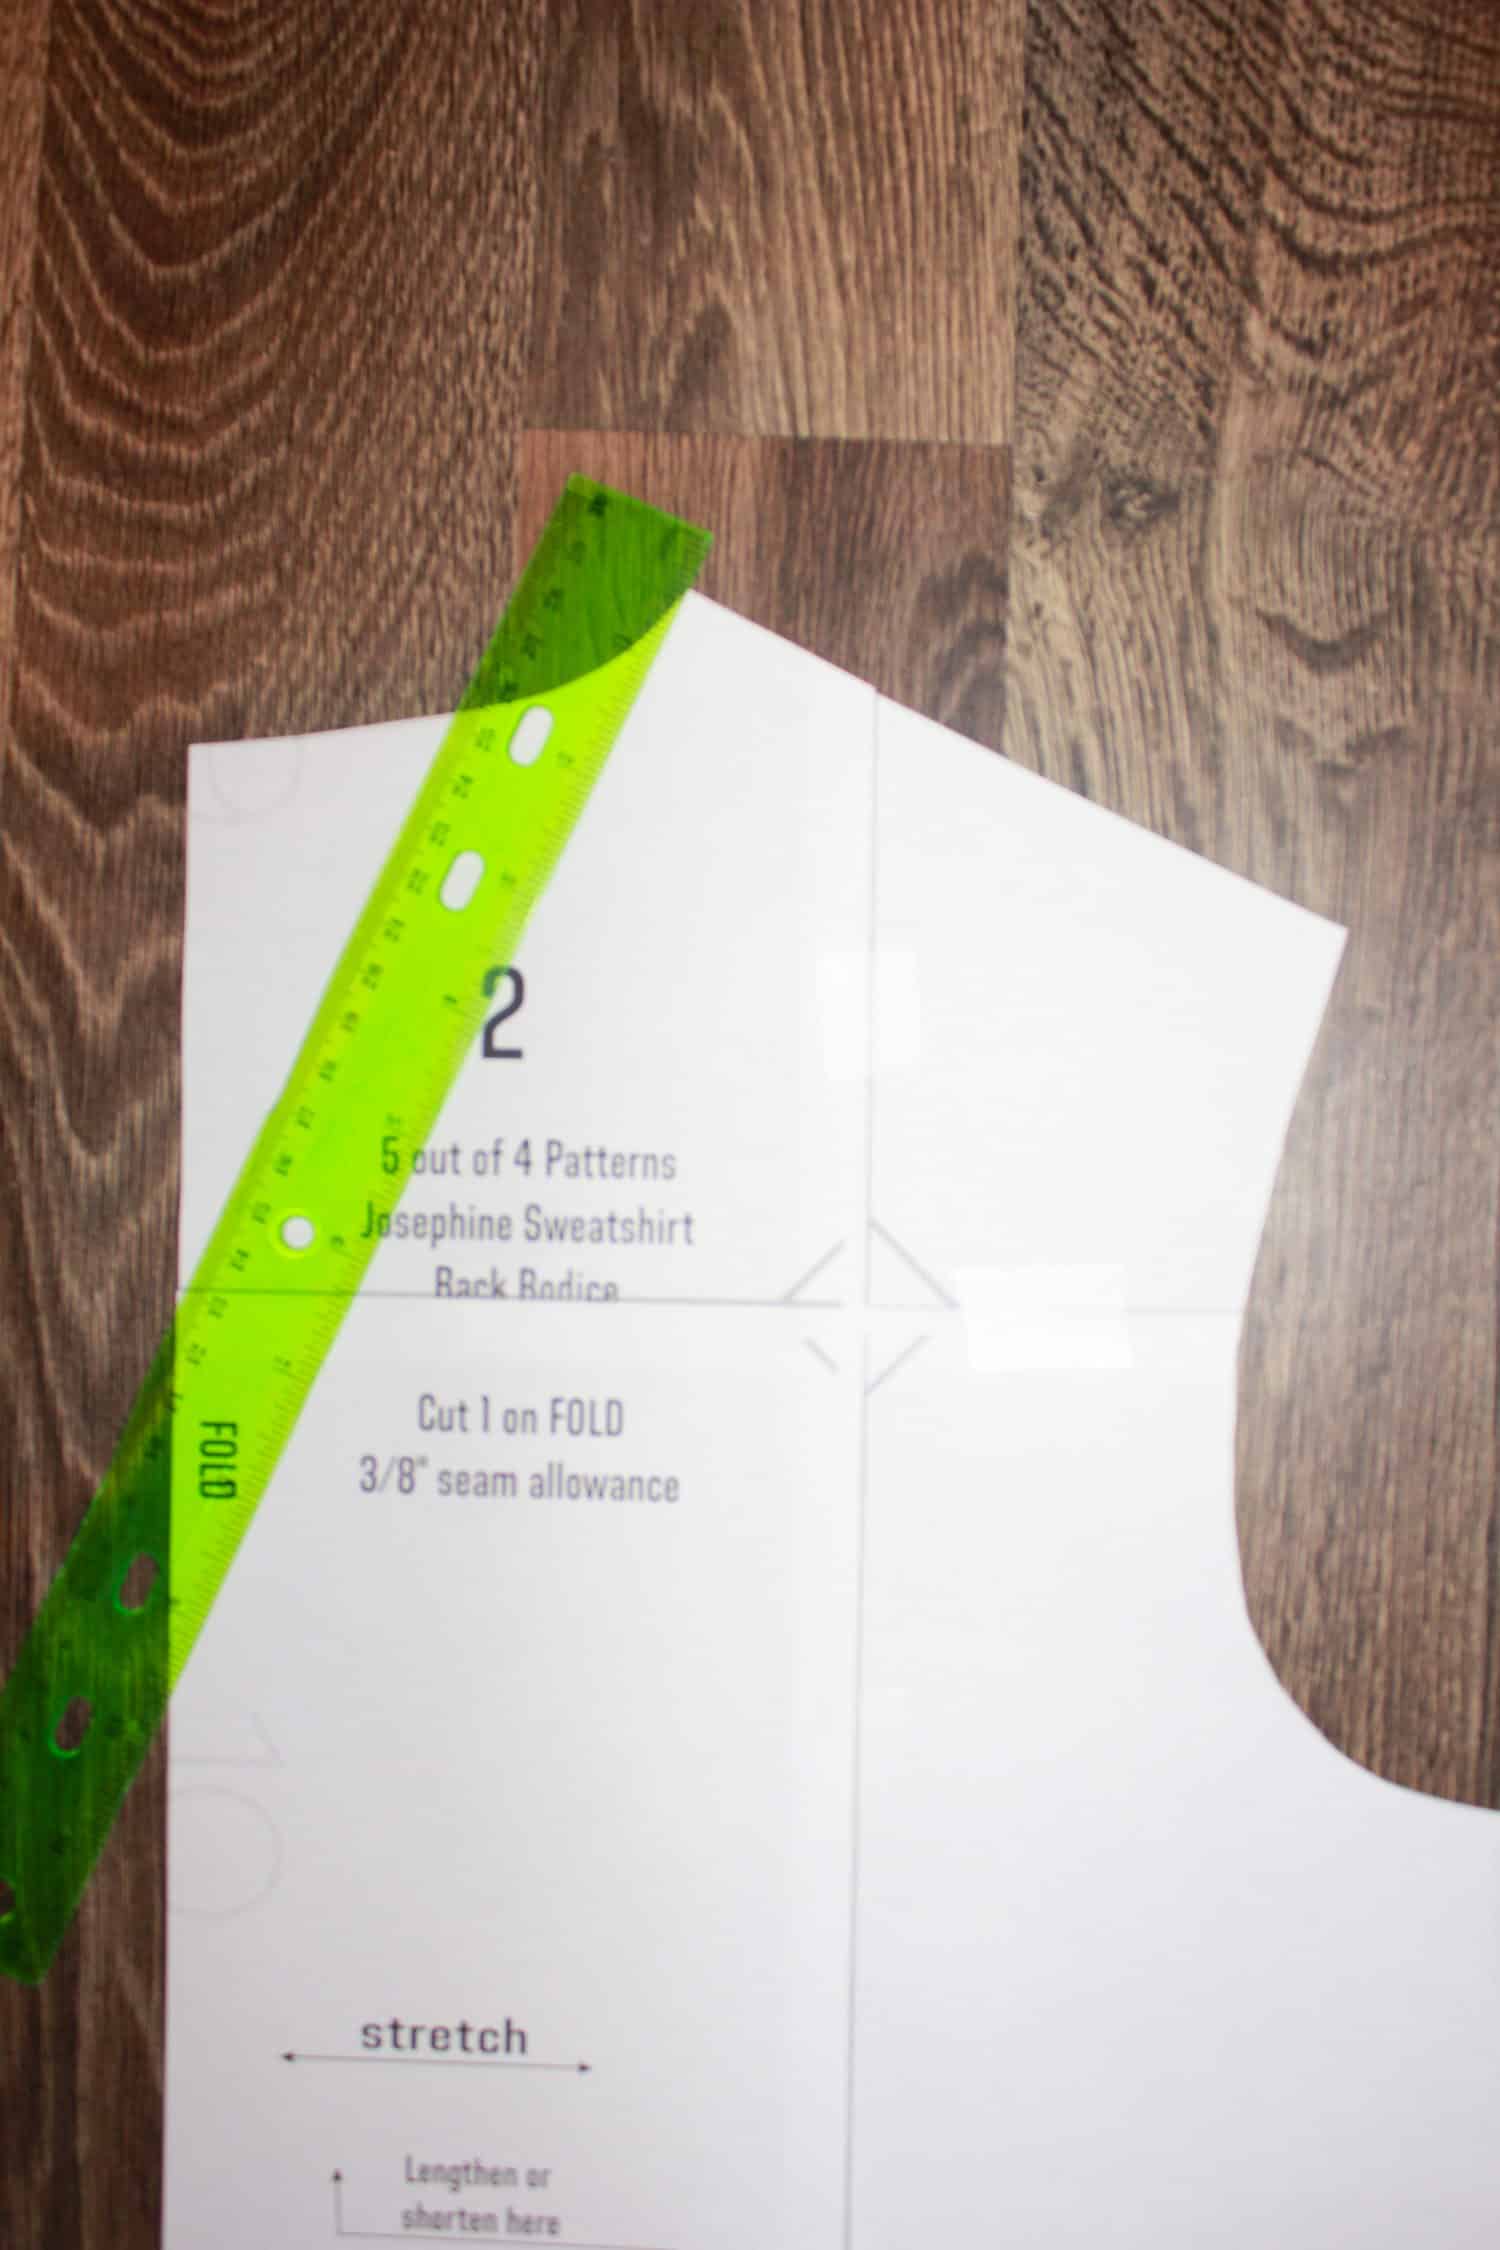
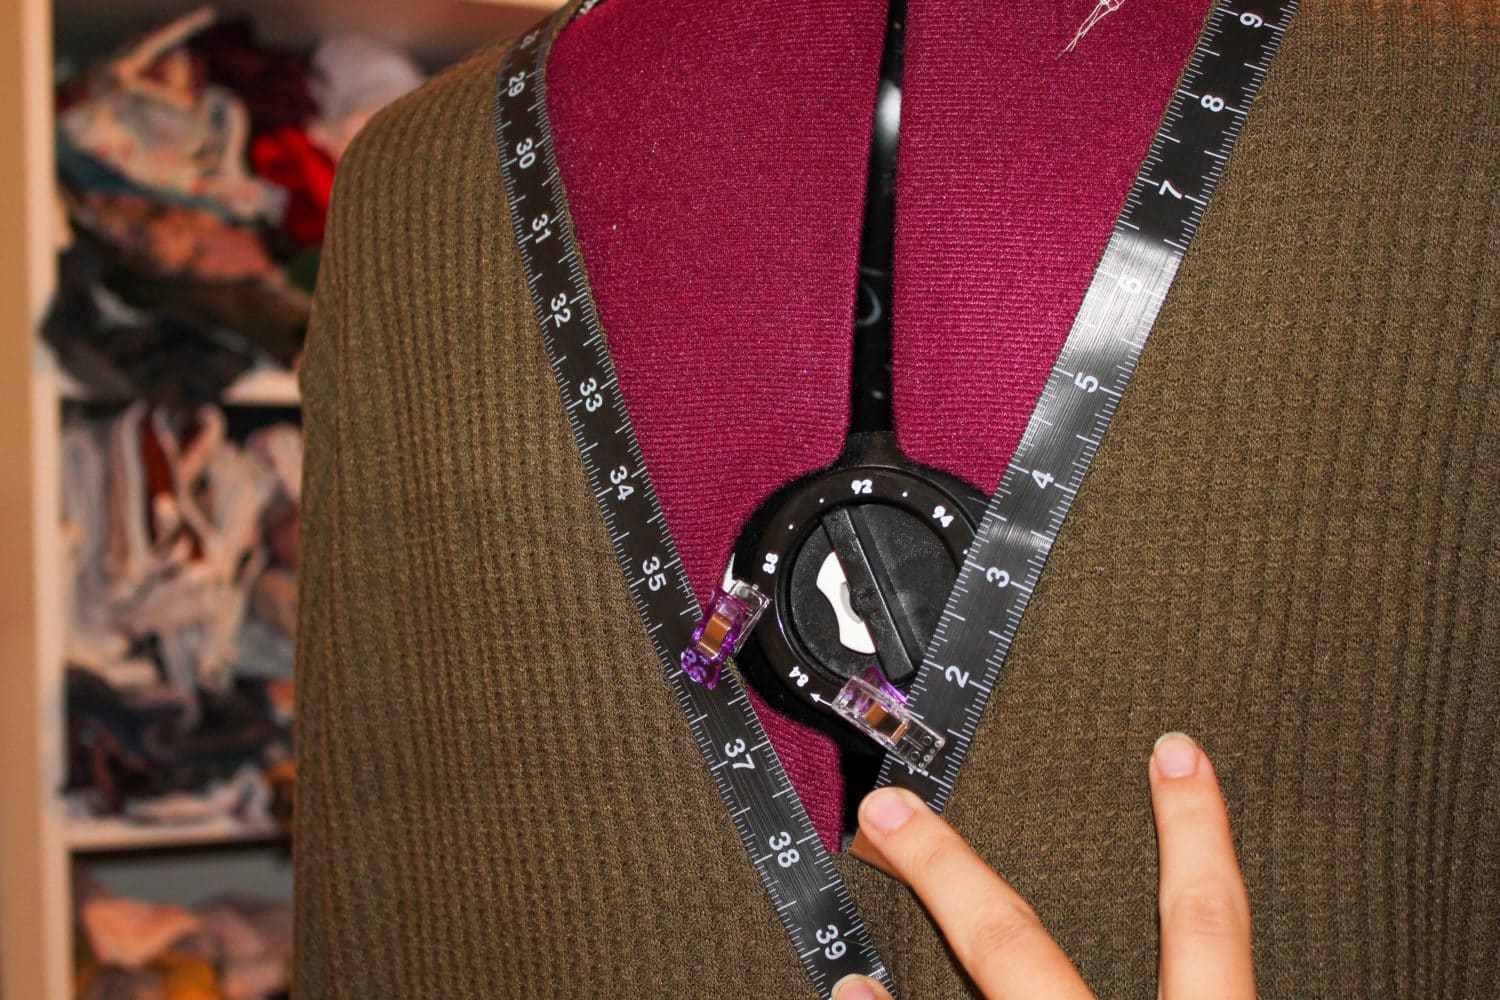
Take your back piece and a ruler. You can decide how deep you want your ”V” to be, I started mine about 8 inches from the top of the pattern piece. Now take your ruler and draw a line from that point to the beginning of the shoulder line. You want the shoulder to stay the exact same width so you don’t have to modify the front too. Cut at that line.
Color-Block
(If you don’t want to color-block your sweater, you can cut your pieces and go directly to the pattern tutorial and come back here for the neckband instructions)
Basically, color-blocking is super easy, you just cut where you want and add seam allowances.
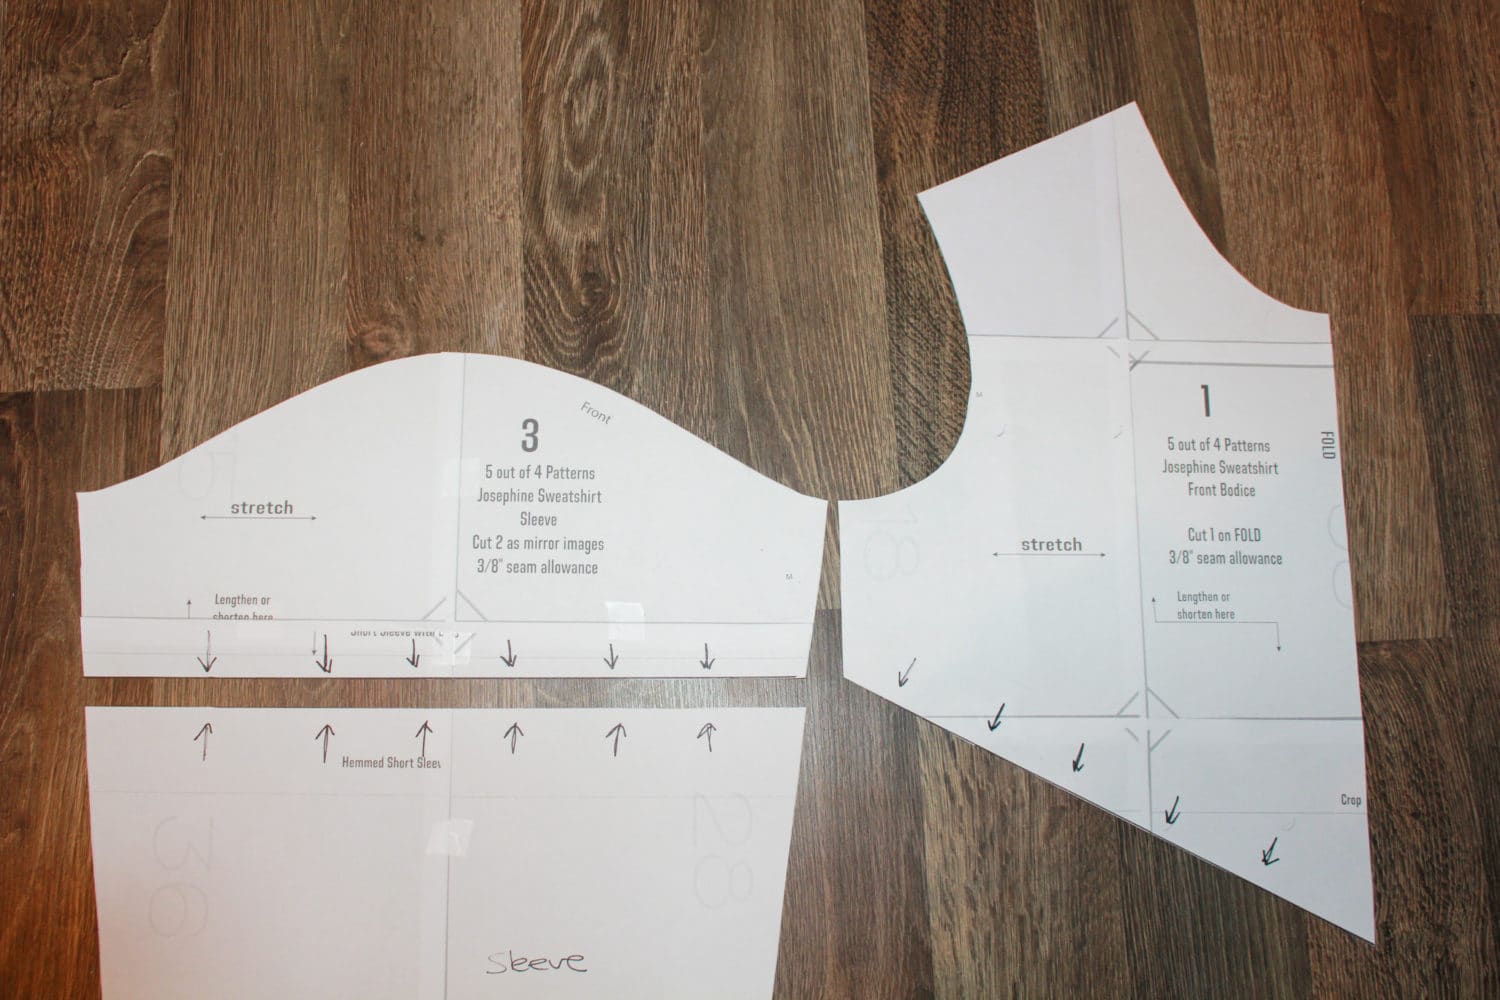
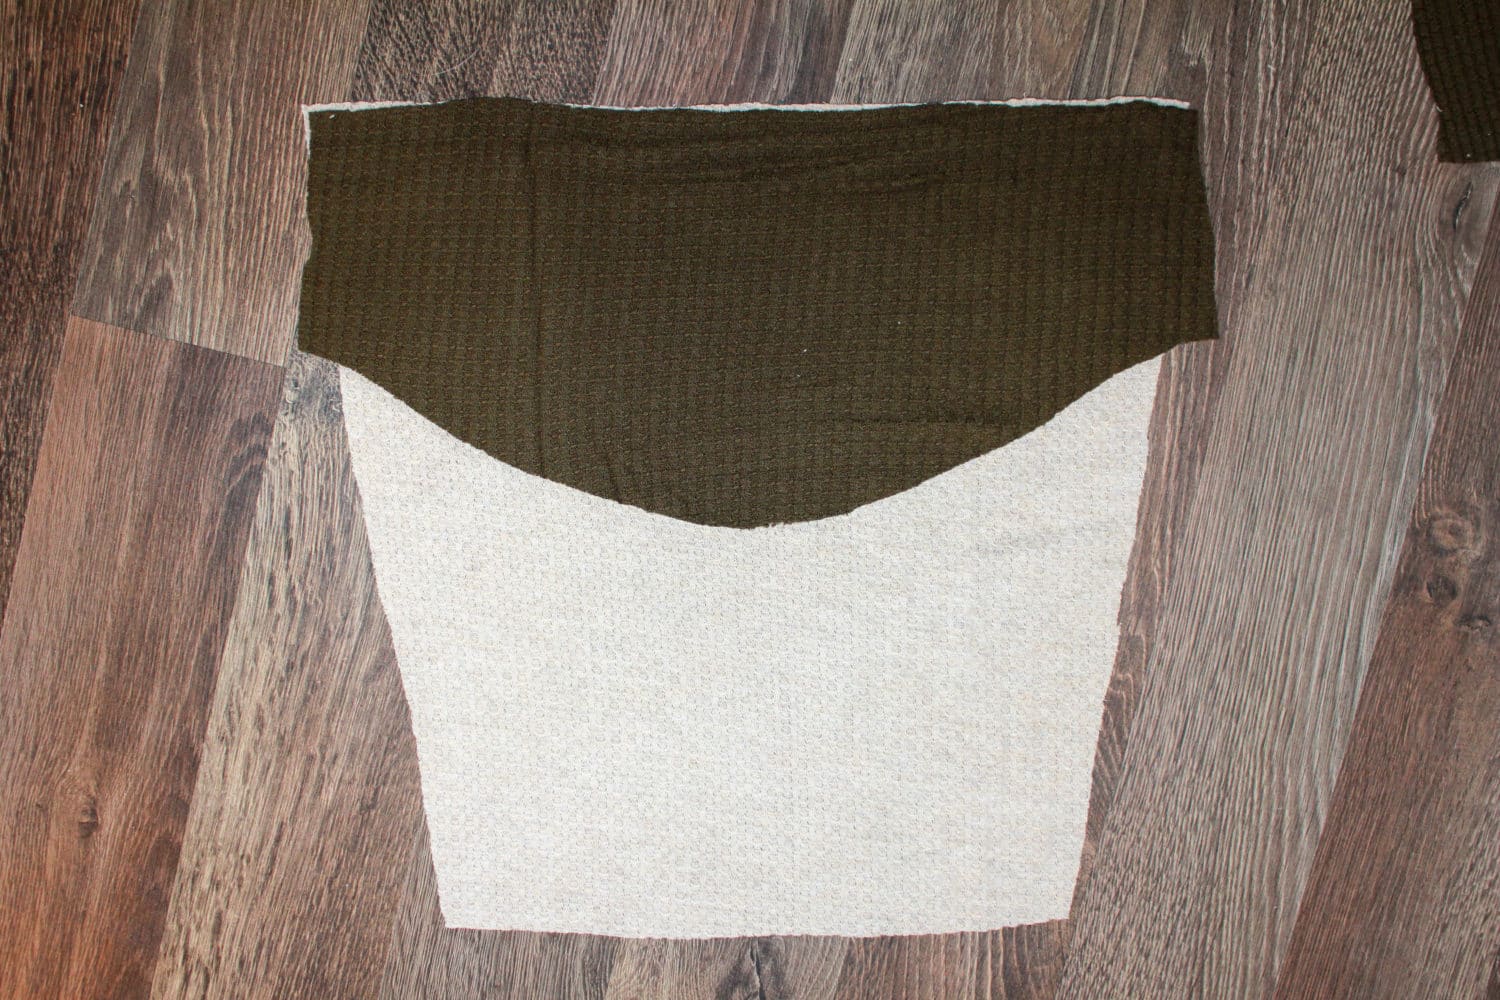
Here I wanted a ”V” color-block in the front and straight in the back and on the sleeves.
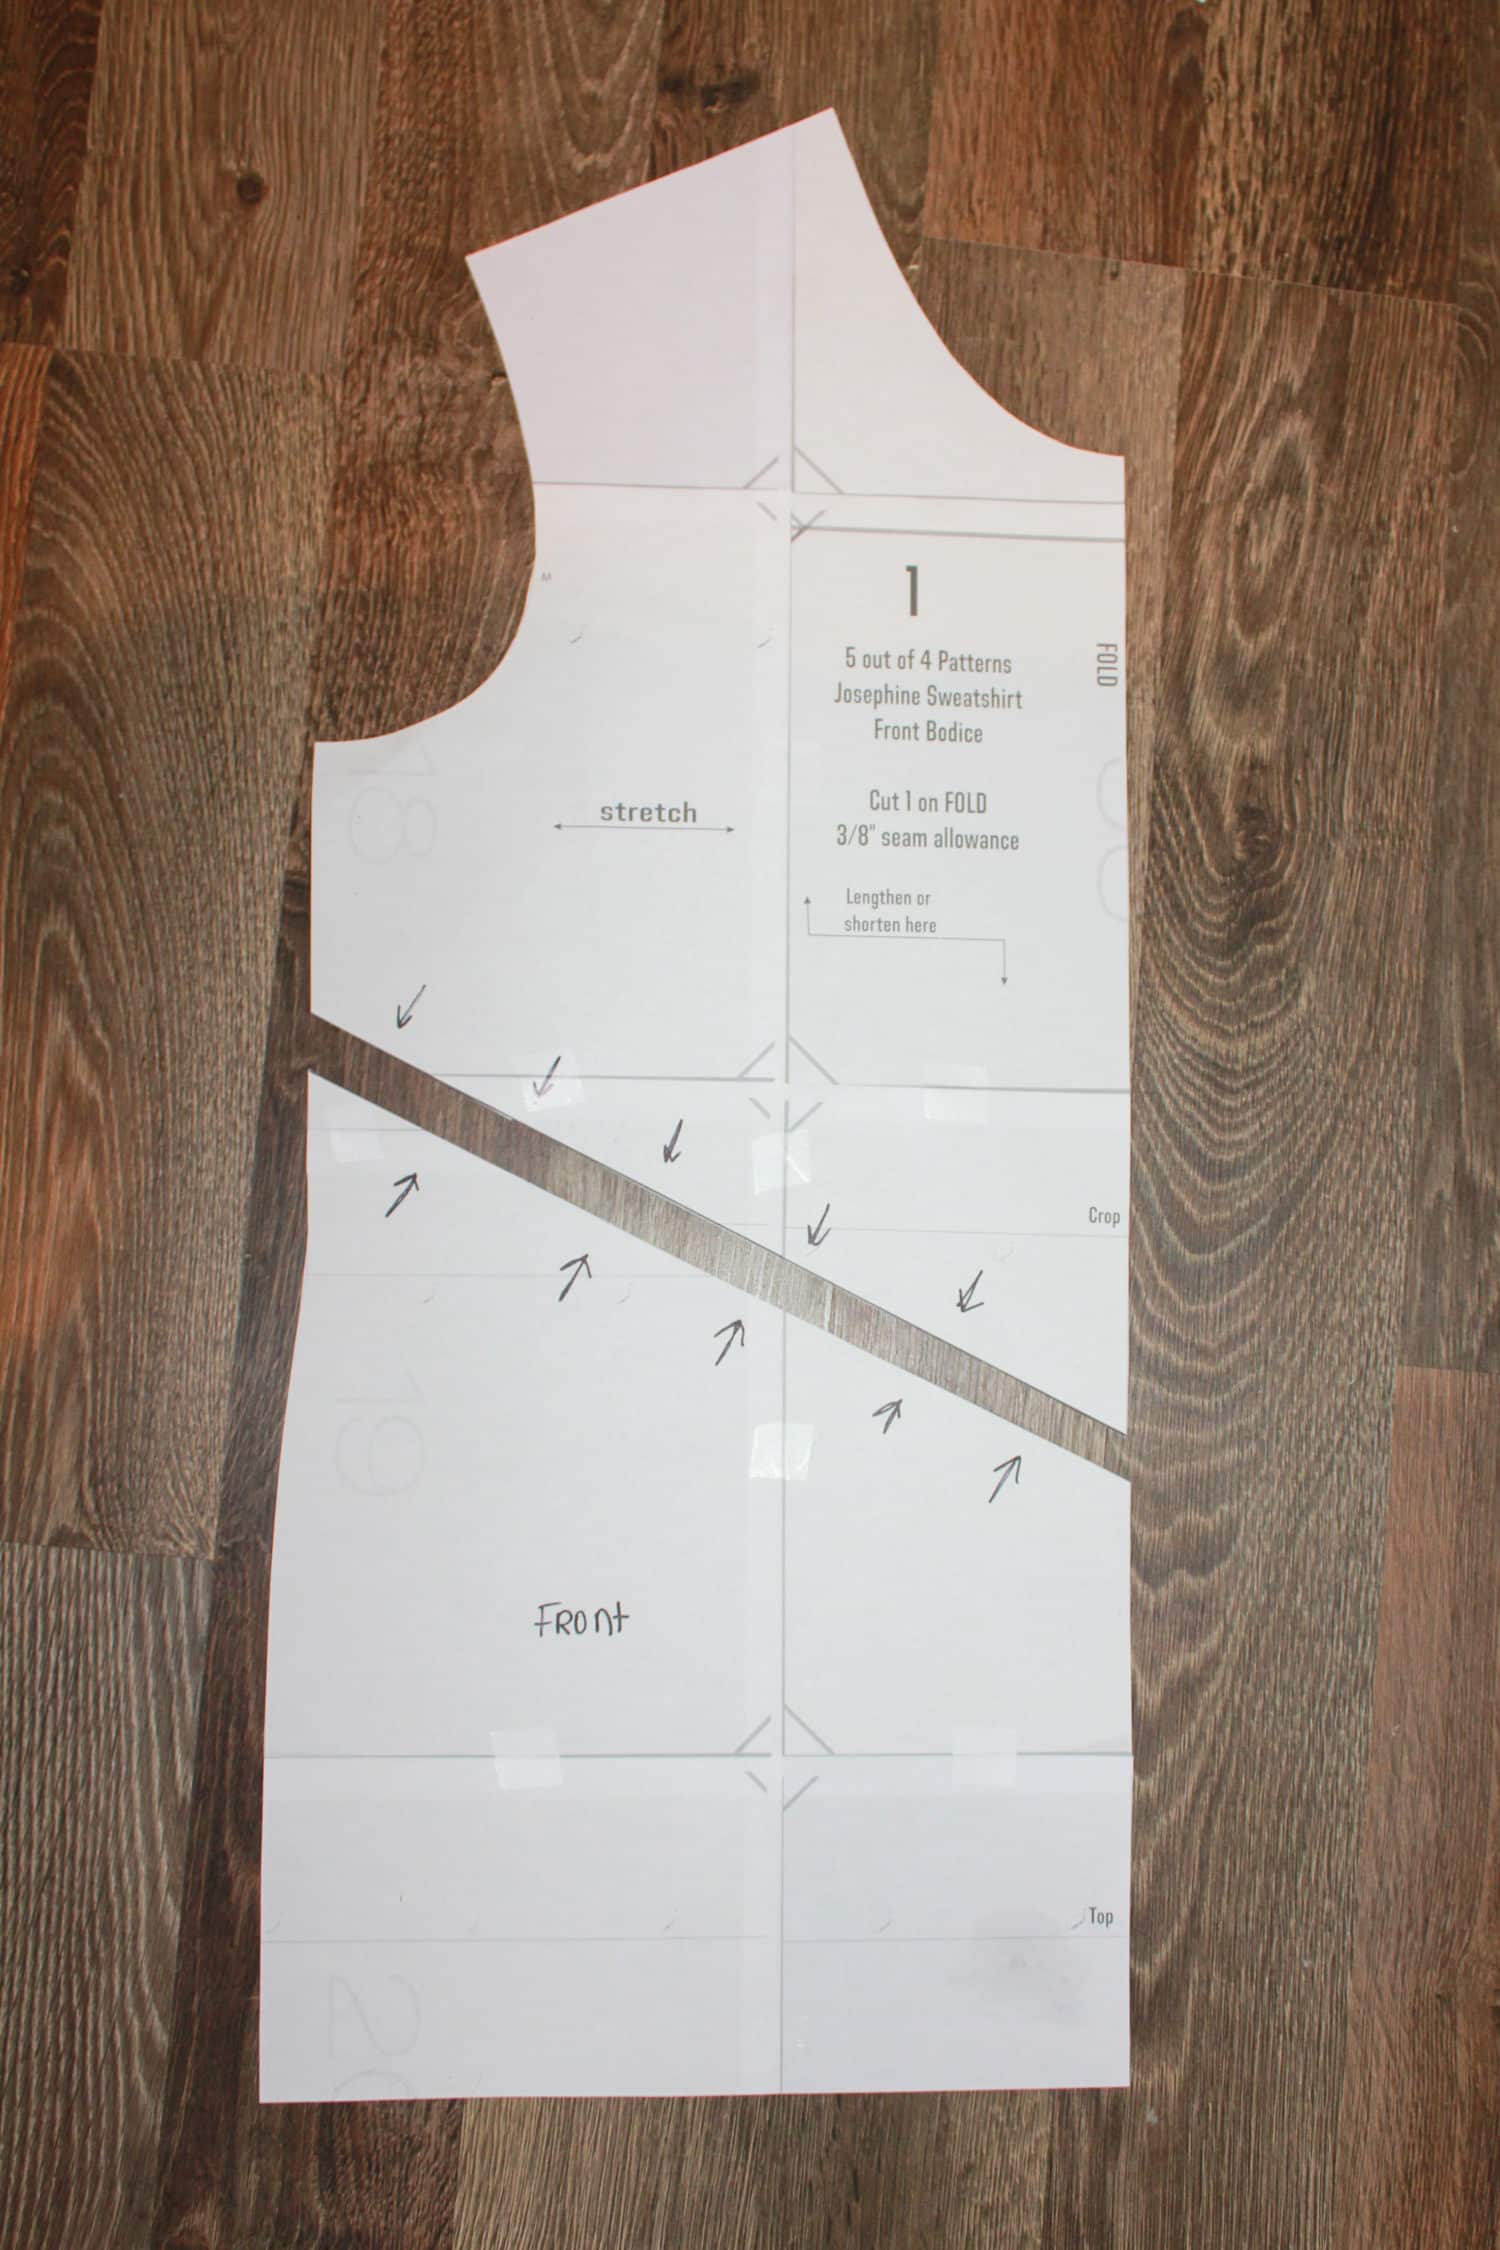
- Start with the front, making a diagonal line with a ruler and cut. I like to draw a tons of arrows where I cut just to remind me to add seam allowances when cutting fabric, but you can use the method you prefer.
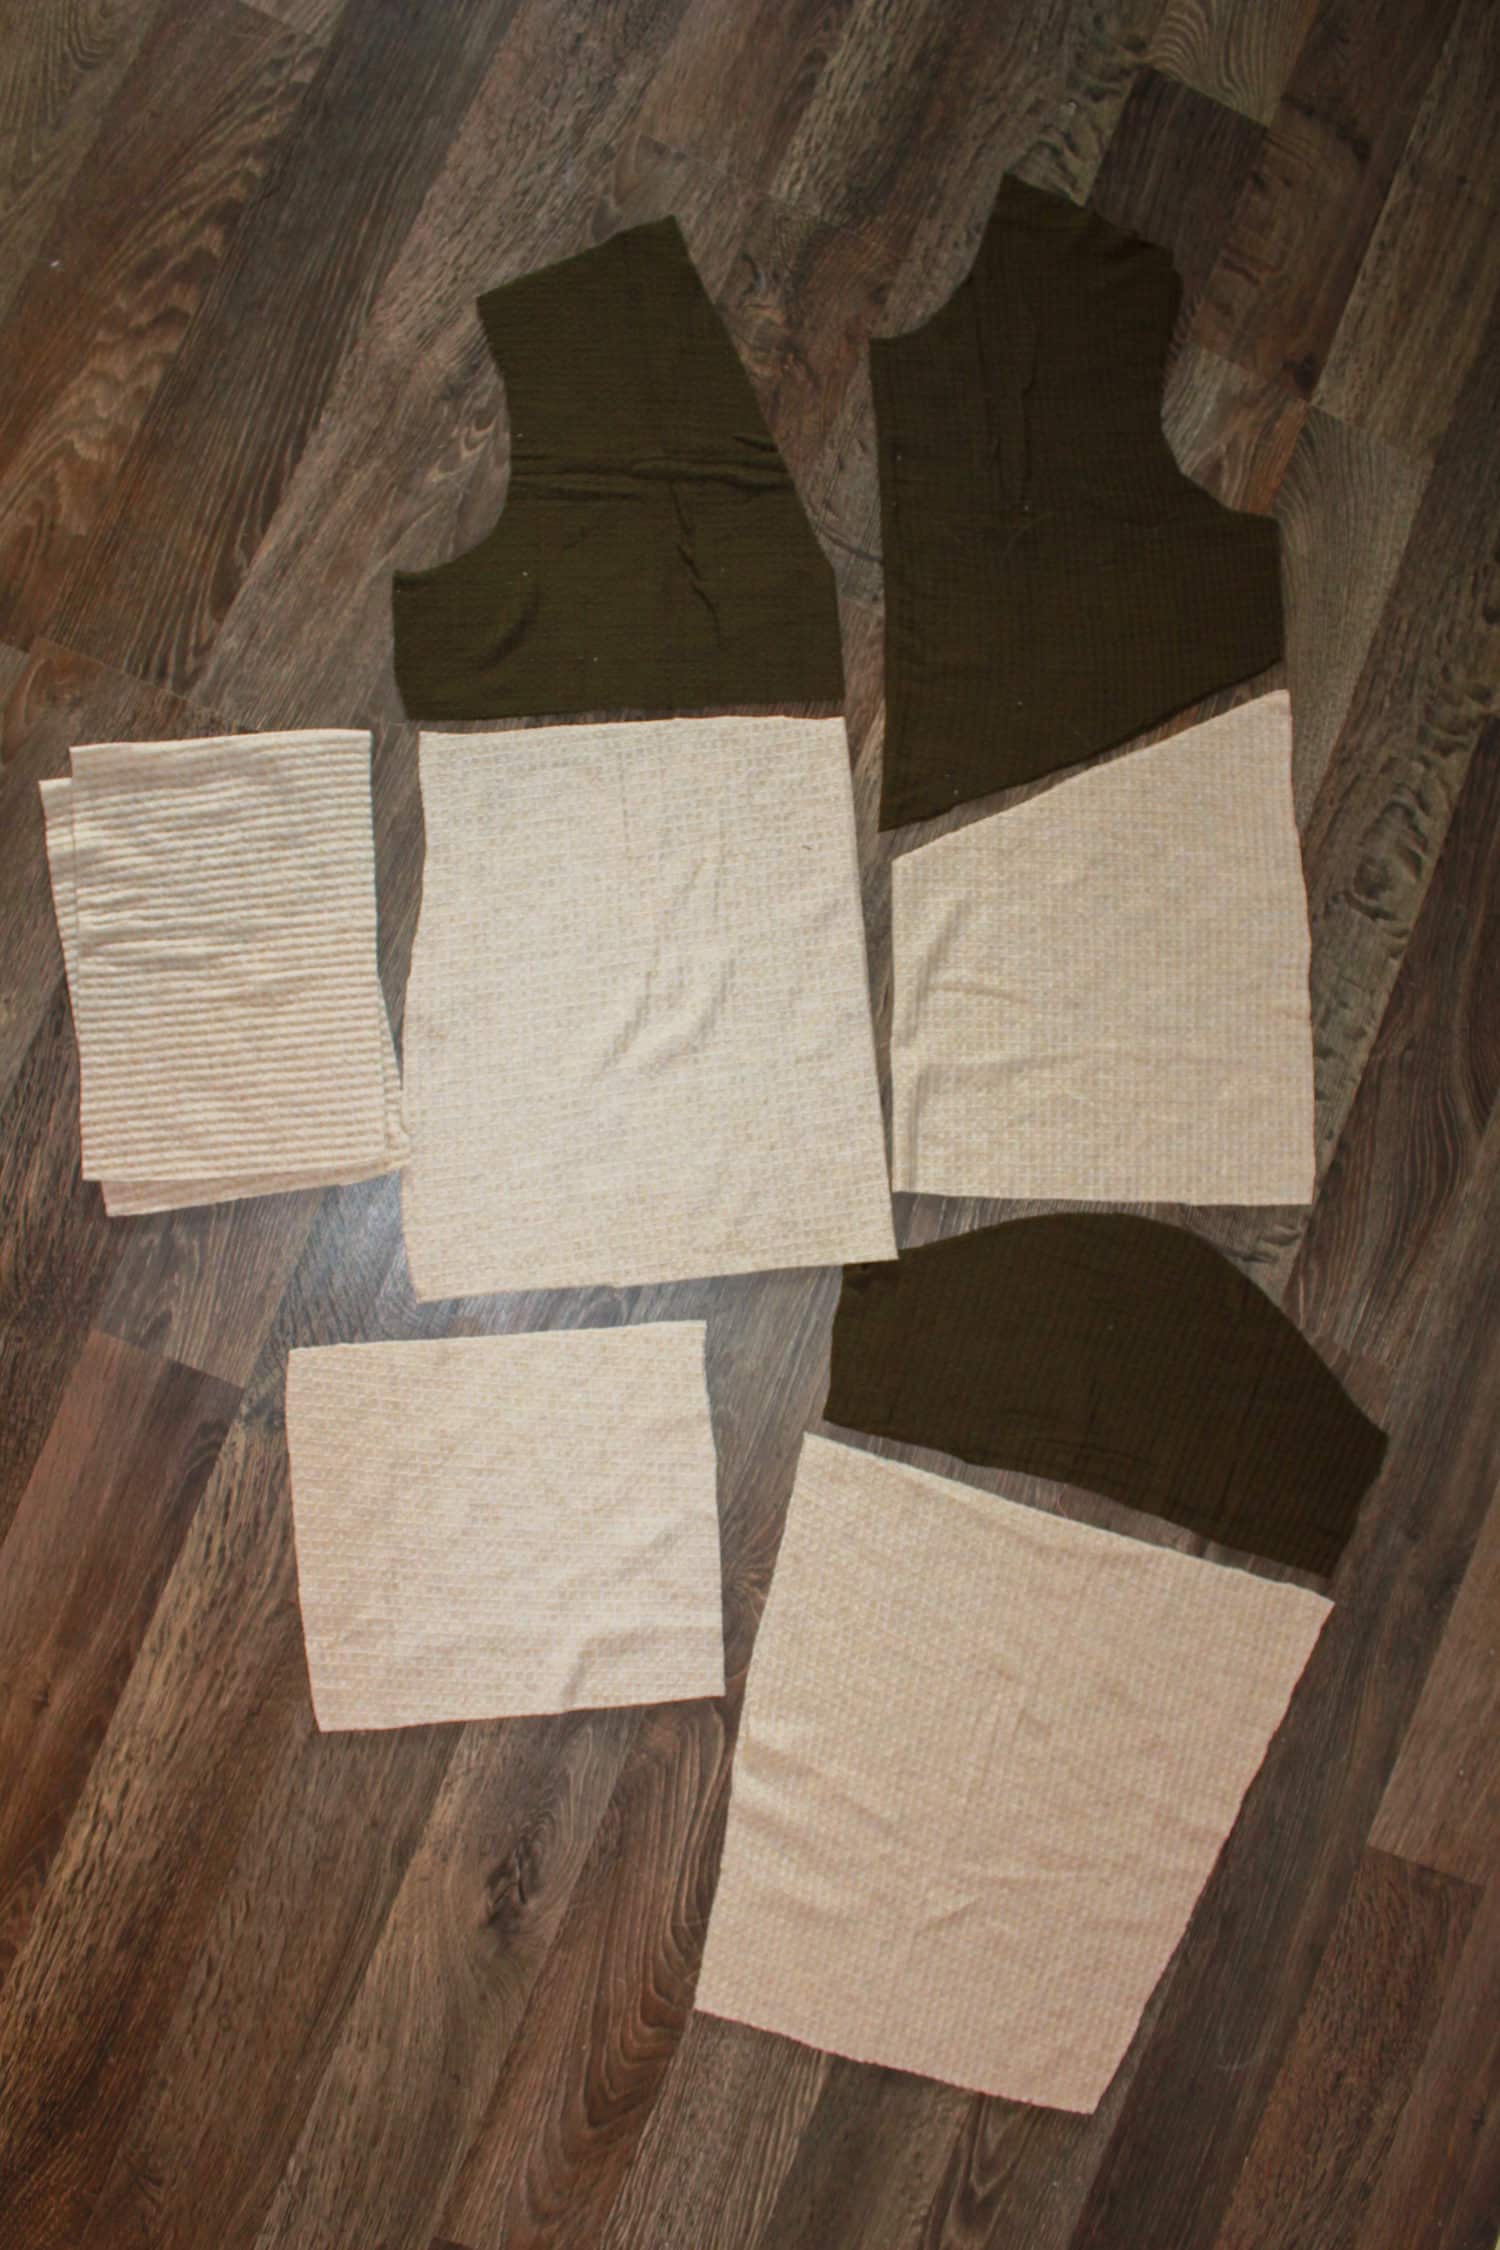
- Then I lay my front piece beside my back piece and sleeves to make sure a cut at the same distance from the armhole.
- Now you can cut your fabric (we’ll cut the neckband later) and should end up with something like this:
Construction
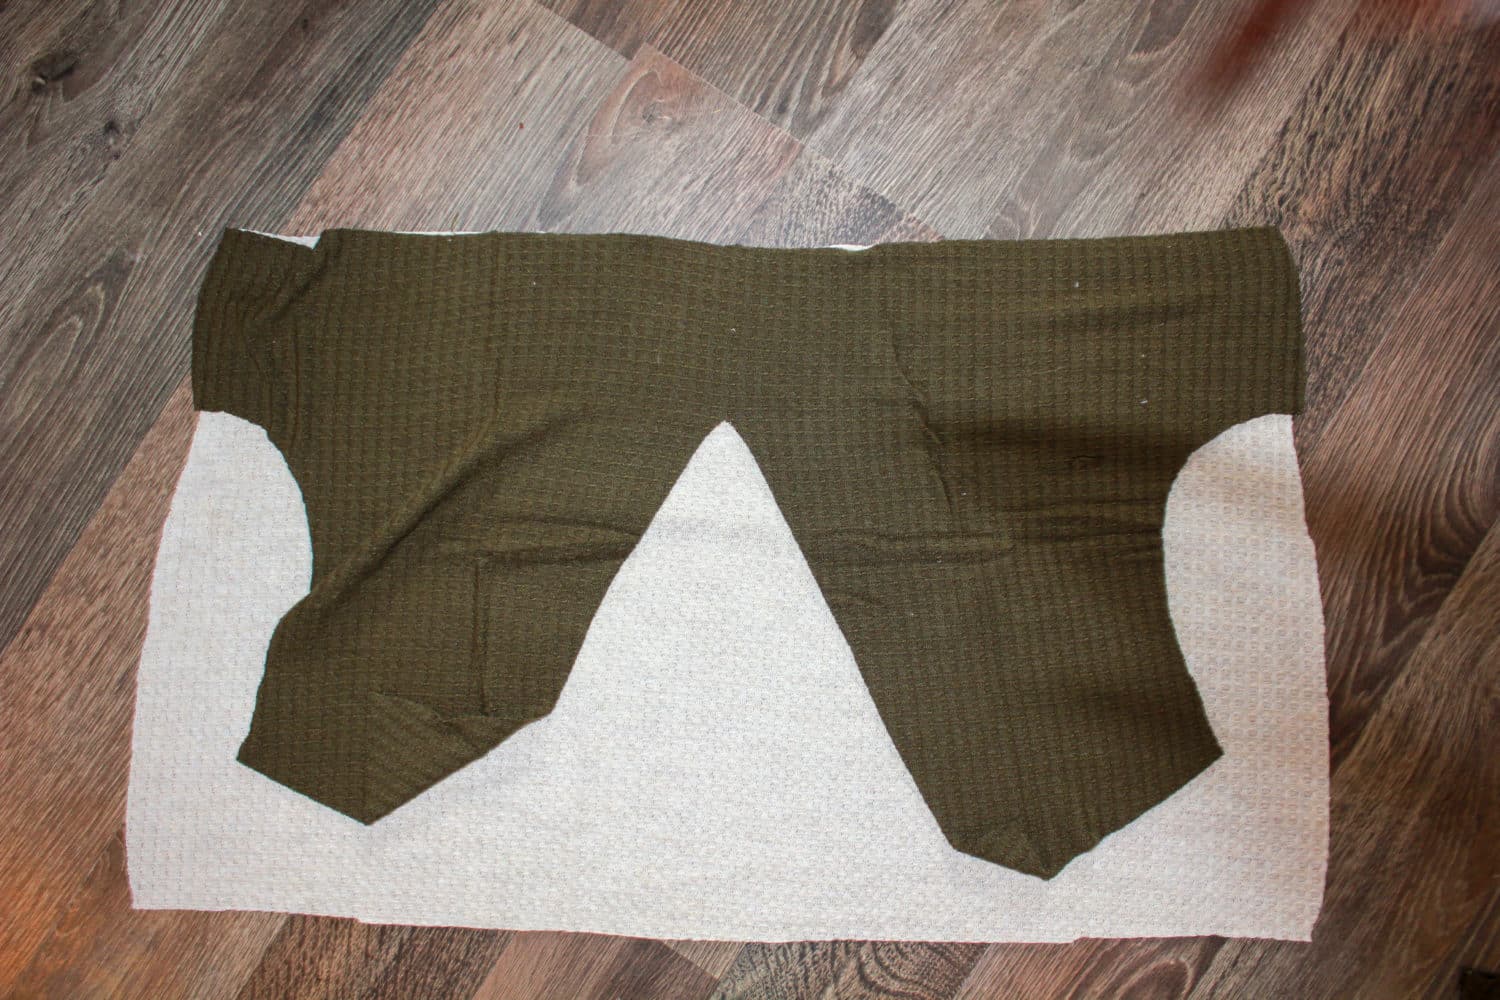
- Place your top back and bottom back right sides together and sew with a strecth stitch or serger. Repeat with your 2 sleeves top and bottom. Press. Topstich if desired.
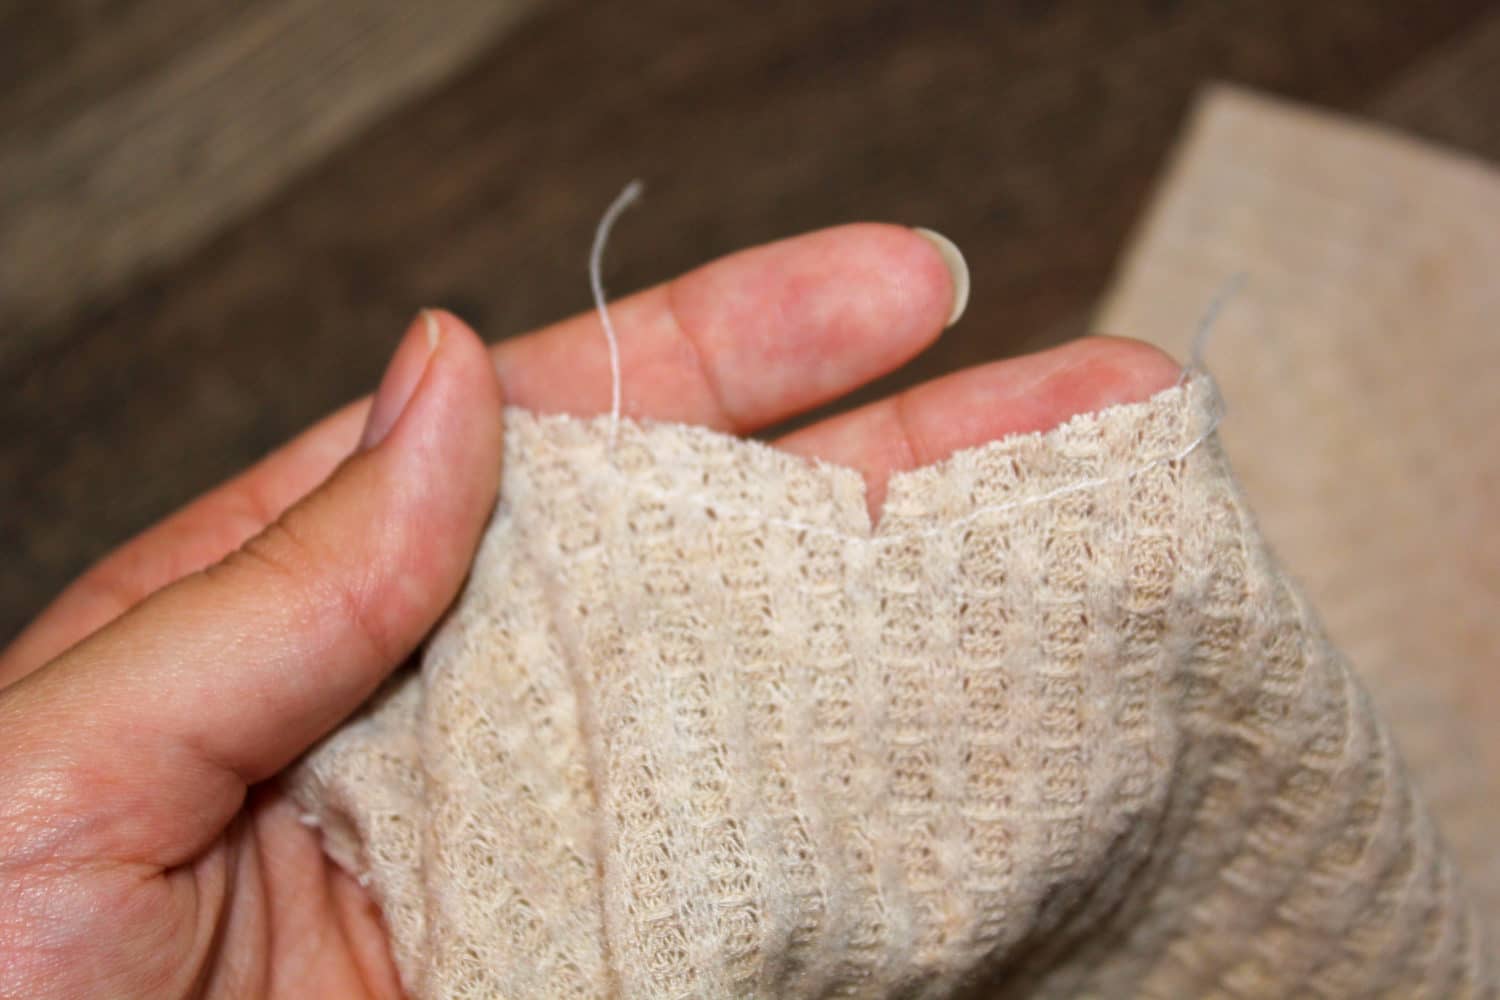
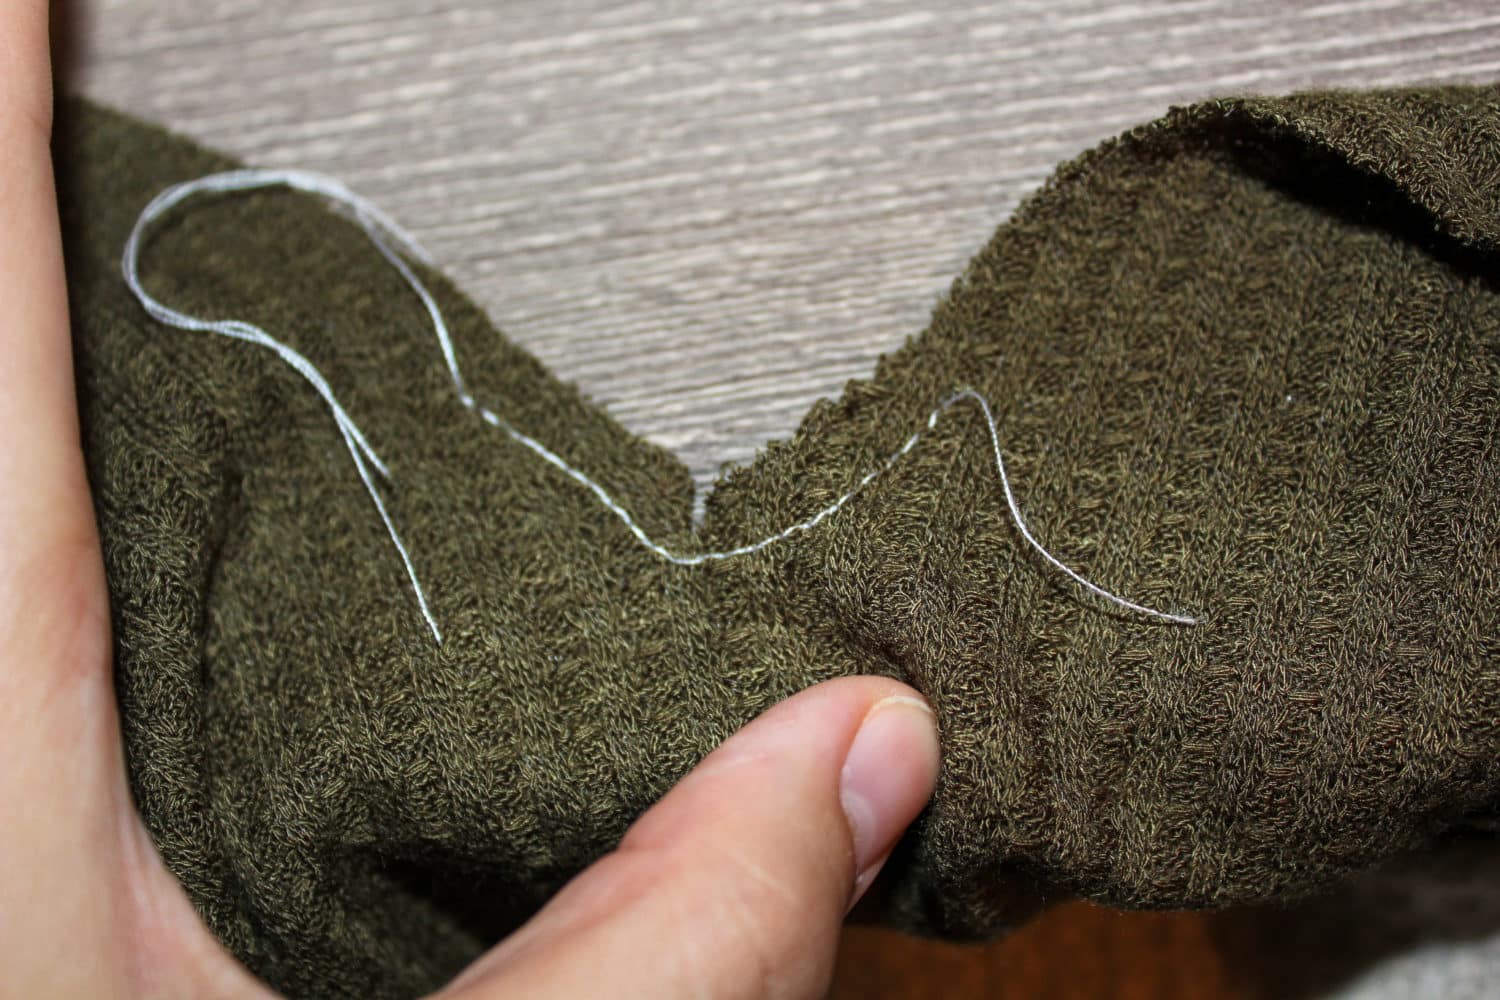
- Now if you chose to make a ”V” front, it’s a little bit trickier. Sew a stay-stich at the “V” of your bottom front piece, about one inch on each side.

- Then make a small notch in the middle making sure to not go through your stitches.
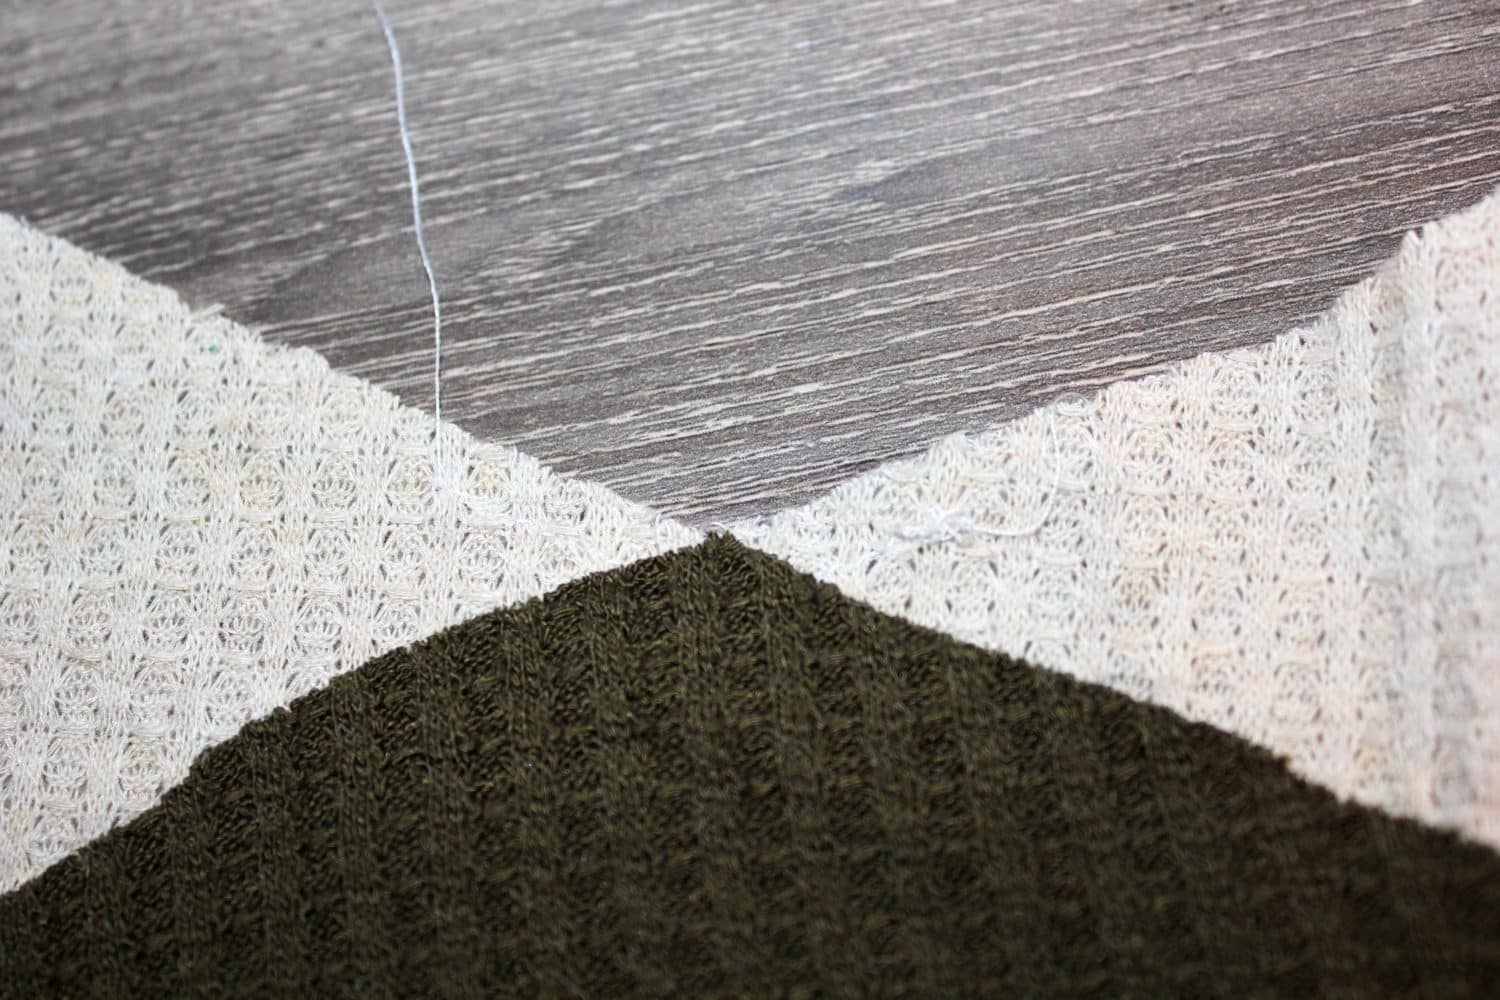
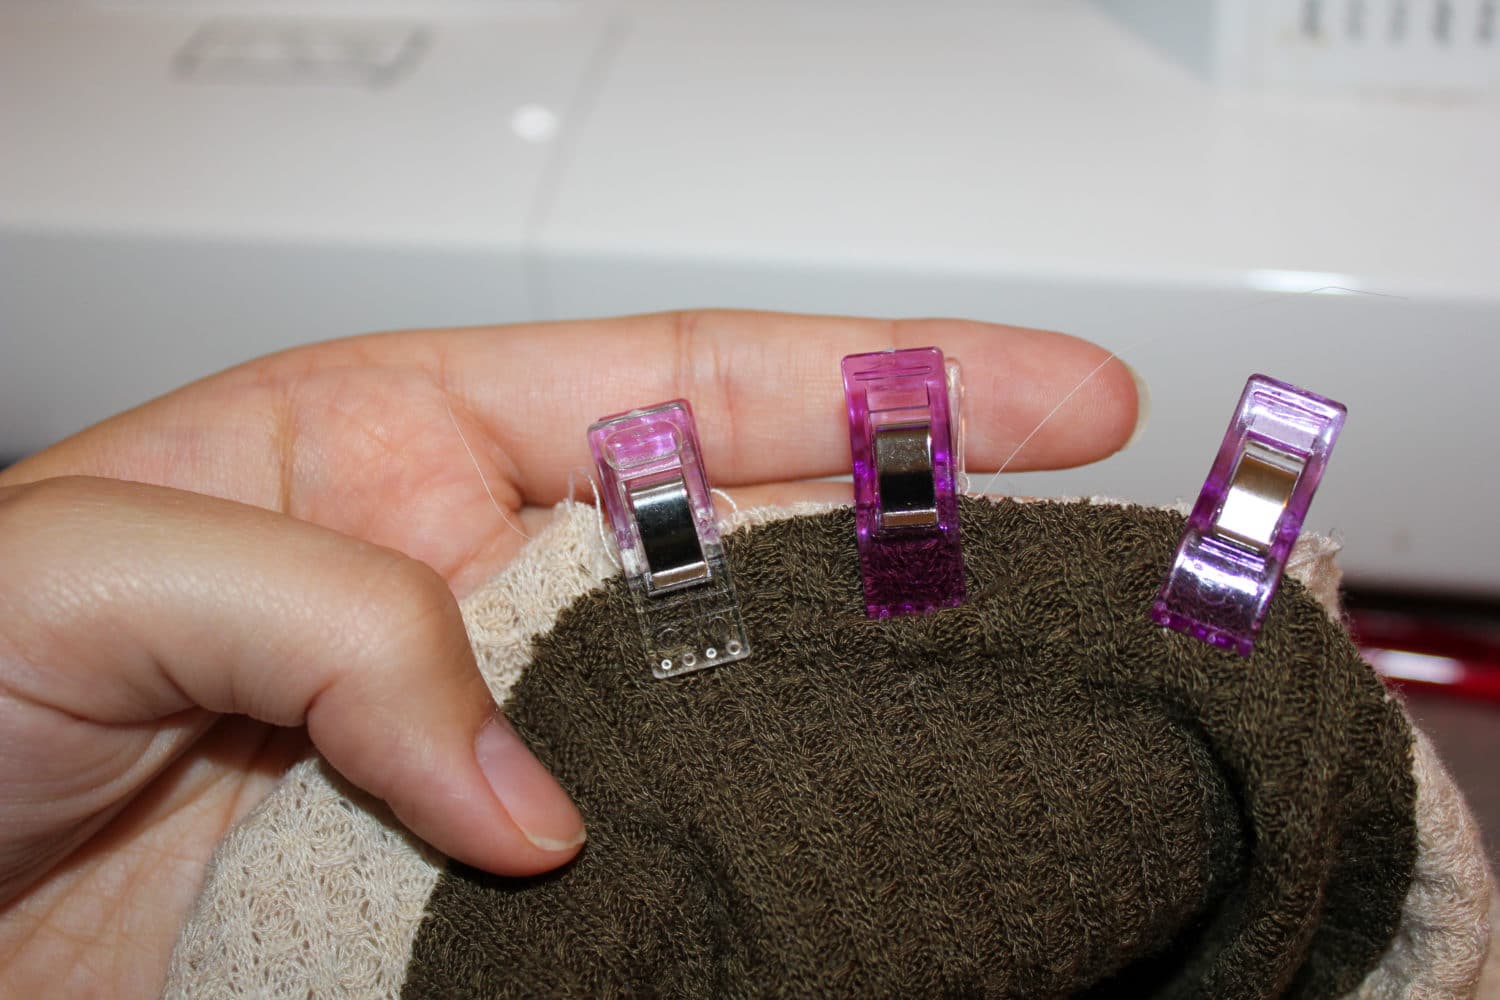
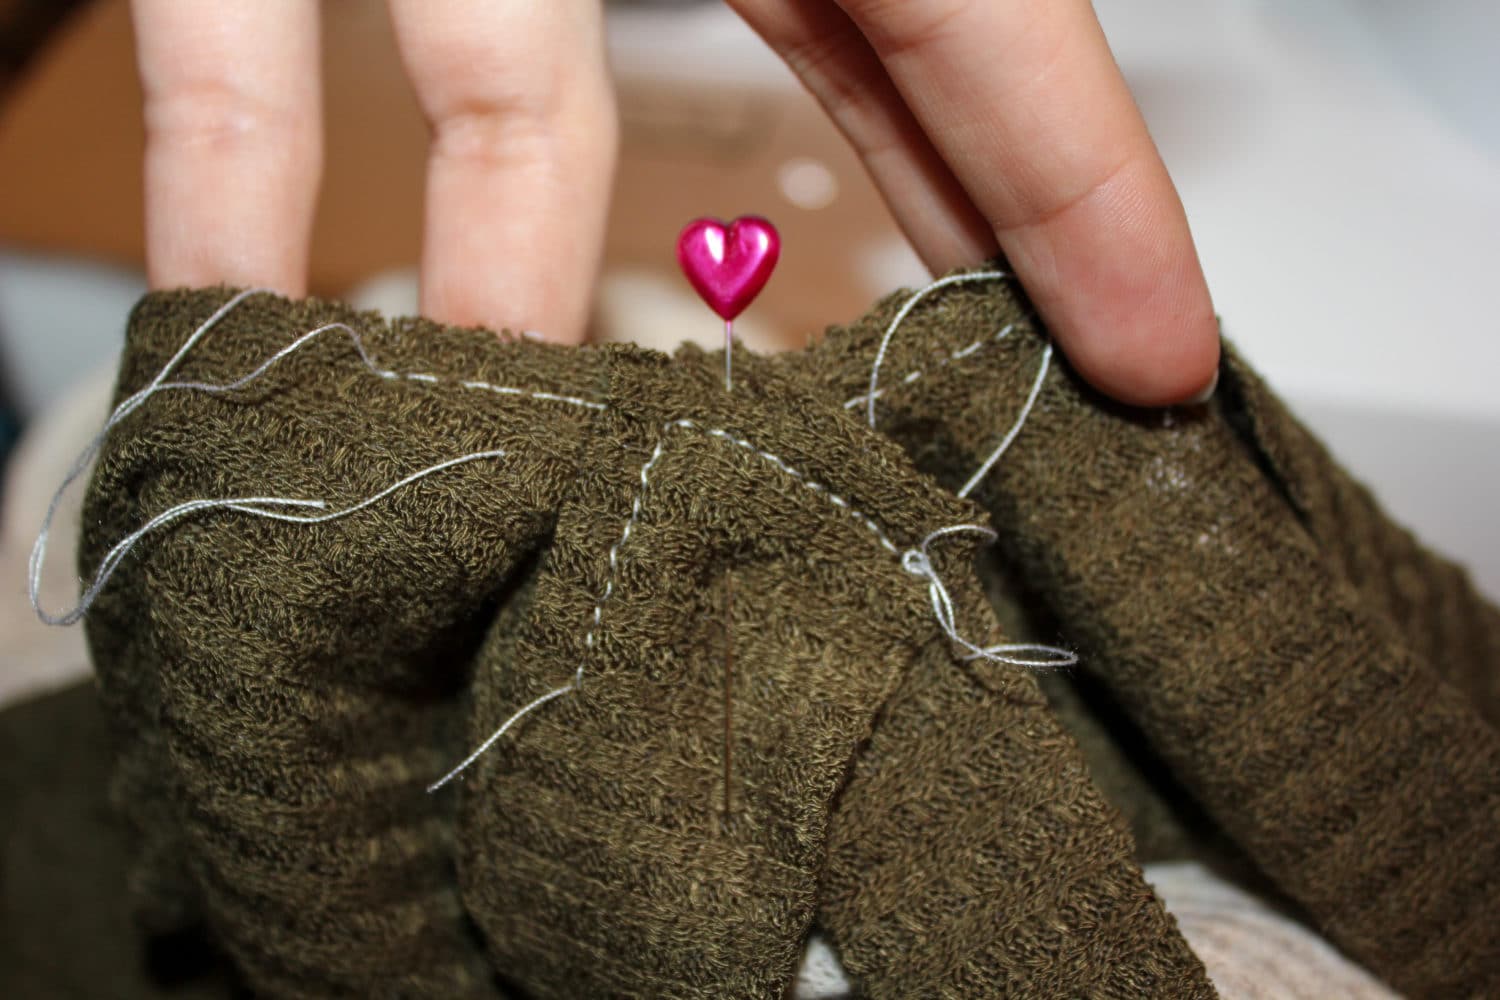
- Place your top front piece right sides toghether with your bottom piece and align the V with your notch. Pin.
- Align raw edges on each side of the “V” easing the fabric. Baste in place, and make sure your are satisfied with the result before sewing.
- Sew your top front with bottom front right sides together. If you use a serger, I like to start at the “V” and sew each sides separately. Press. Topstitch if desired.
- Now you can go and continue with the pattern tutorial until you are ready to install your neckband.
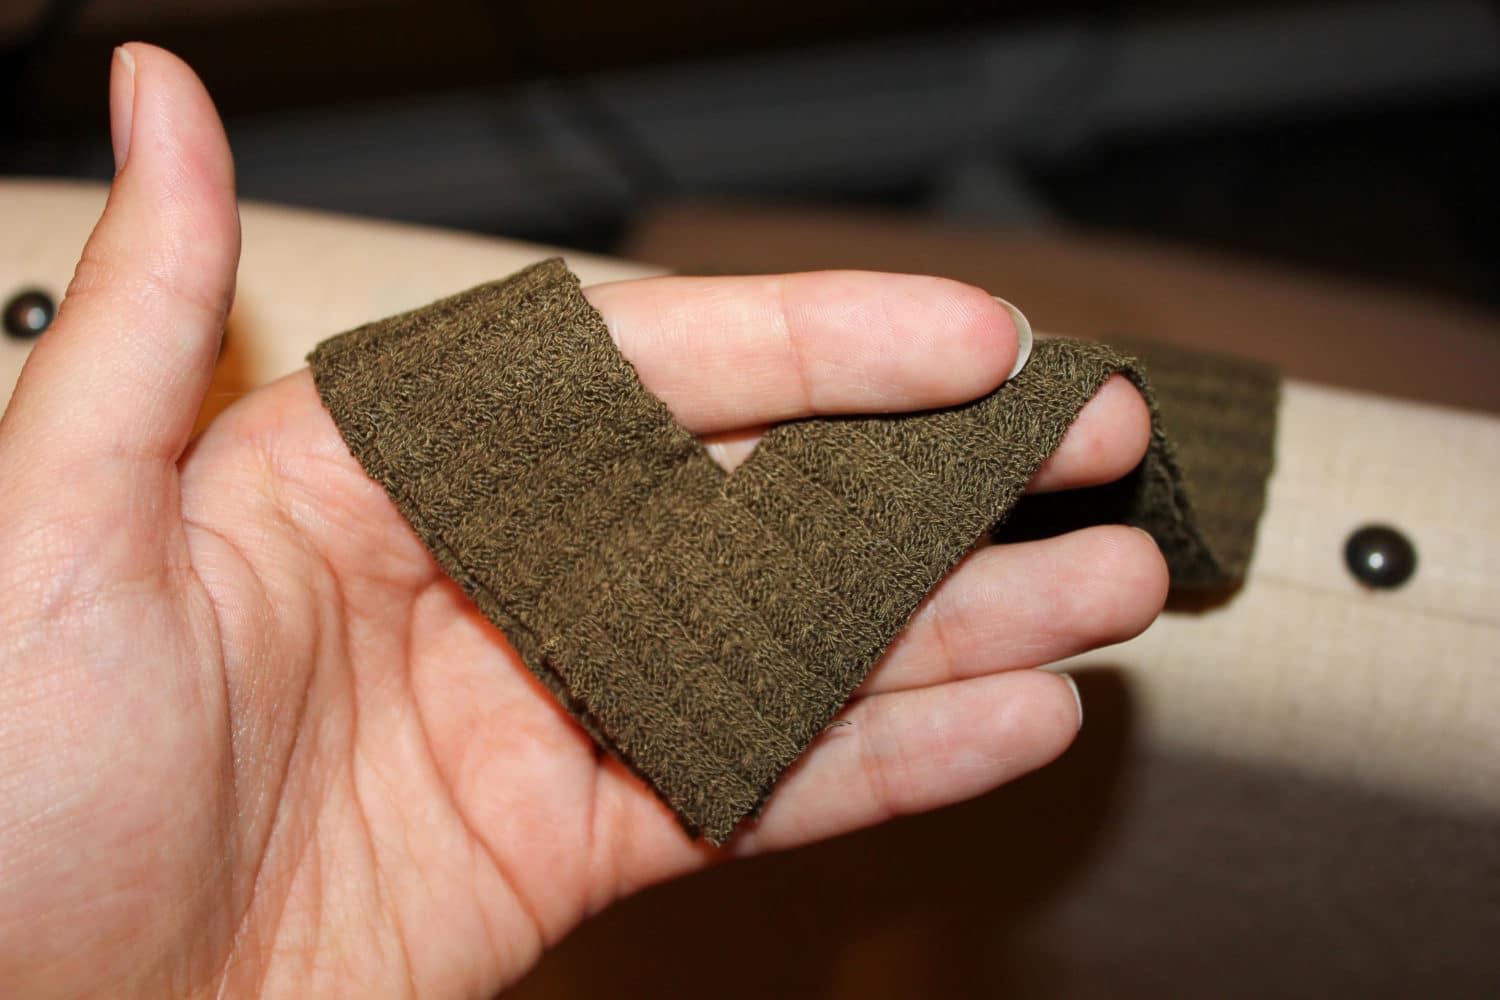
Neckband
- First you need to know how wide you want your neckband to be. I like mine to 3/4″ so I cut the piece 2.25” wide (3/4 x 2 + 3/8 (SA) x 2)
Then you need to measure your neckhole. Mine is 38.5″
- Take that measurement and multiply it by 0.8 or 0.85 (depending on the stretch of your fabric). Mine is super stretchy so I multiplied by 0.8. And then add to it the width of your your neckband once folded (1 1/8″ for me, I rounded to 1). So 38.5 x 0.8 + 1 = 31.8″.
- So I cut my neckband 31.8″ x 2.25″. Please don’t take my measurements and calculate your own because the size, the deepness of the “V” and the fabric used can make a huge different on the measurements.
- Fold your neckband lenghtwise and press. Overlap the edges like this and baste in place
- Your are going to use the same method as the front colorblock. Staystich the “V” on the back piece. Cut a small notch in the middle without going through you stitches. Place the neckband right sides together with your back pieces aligning the “V” with the notch. Align the raw edges on each sides of the “V” easing the fabric. Baste in place and make sure you are satisfied with the result before sewing.
- Quarter your neckband and shirt and sew them right sides together, starting and finishing at the “V”. Press. Topstitch if desired.
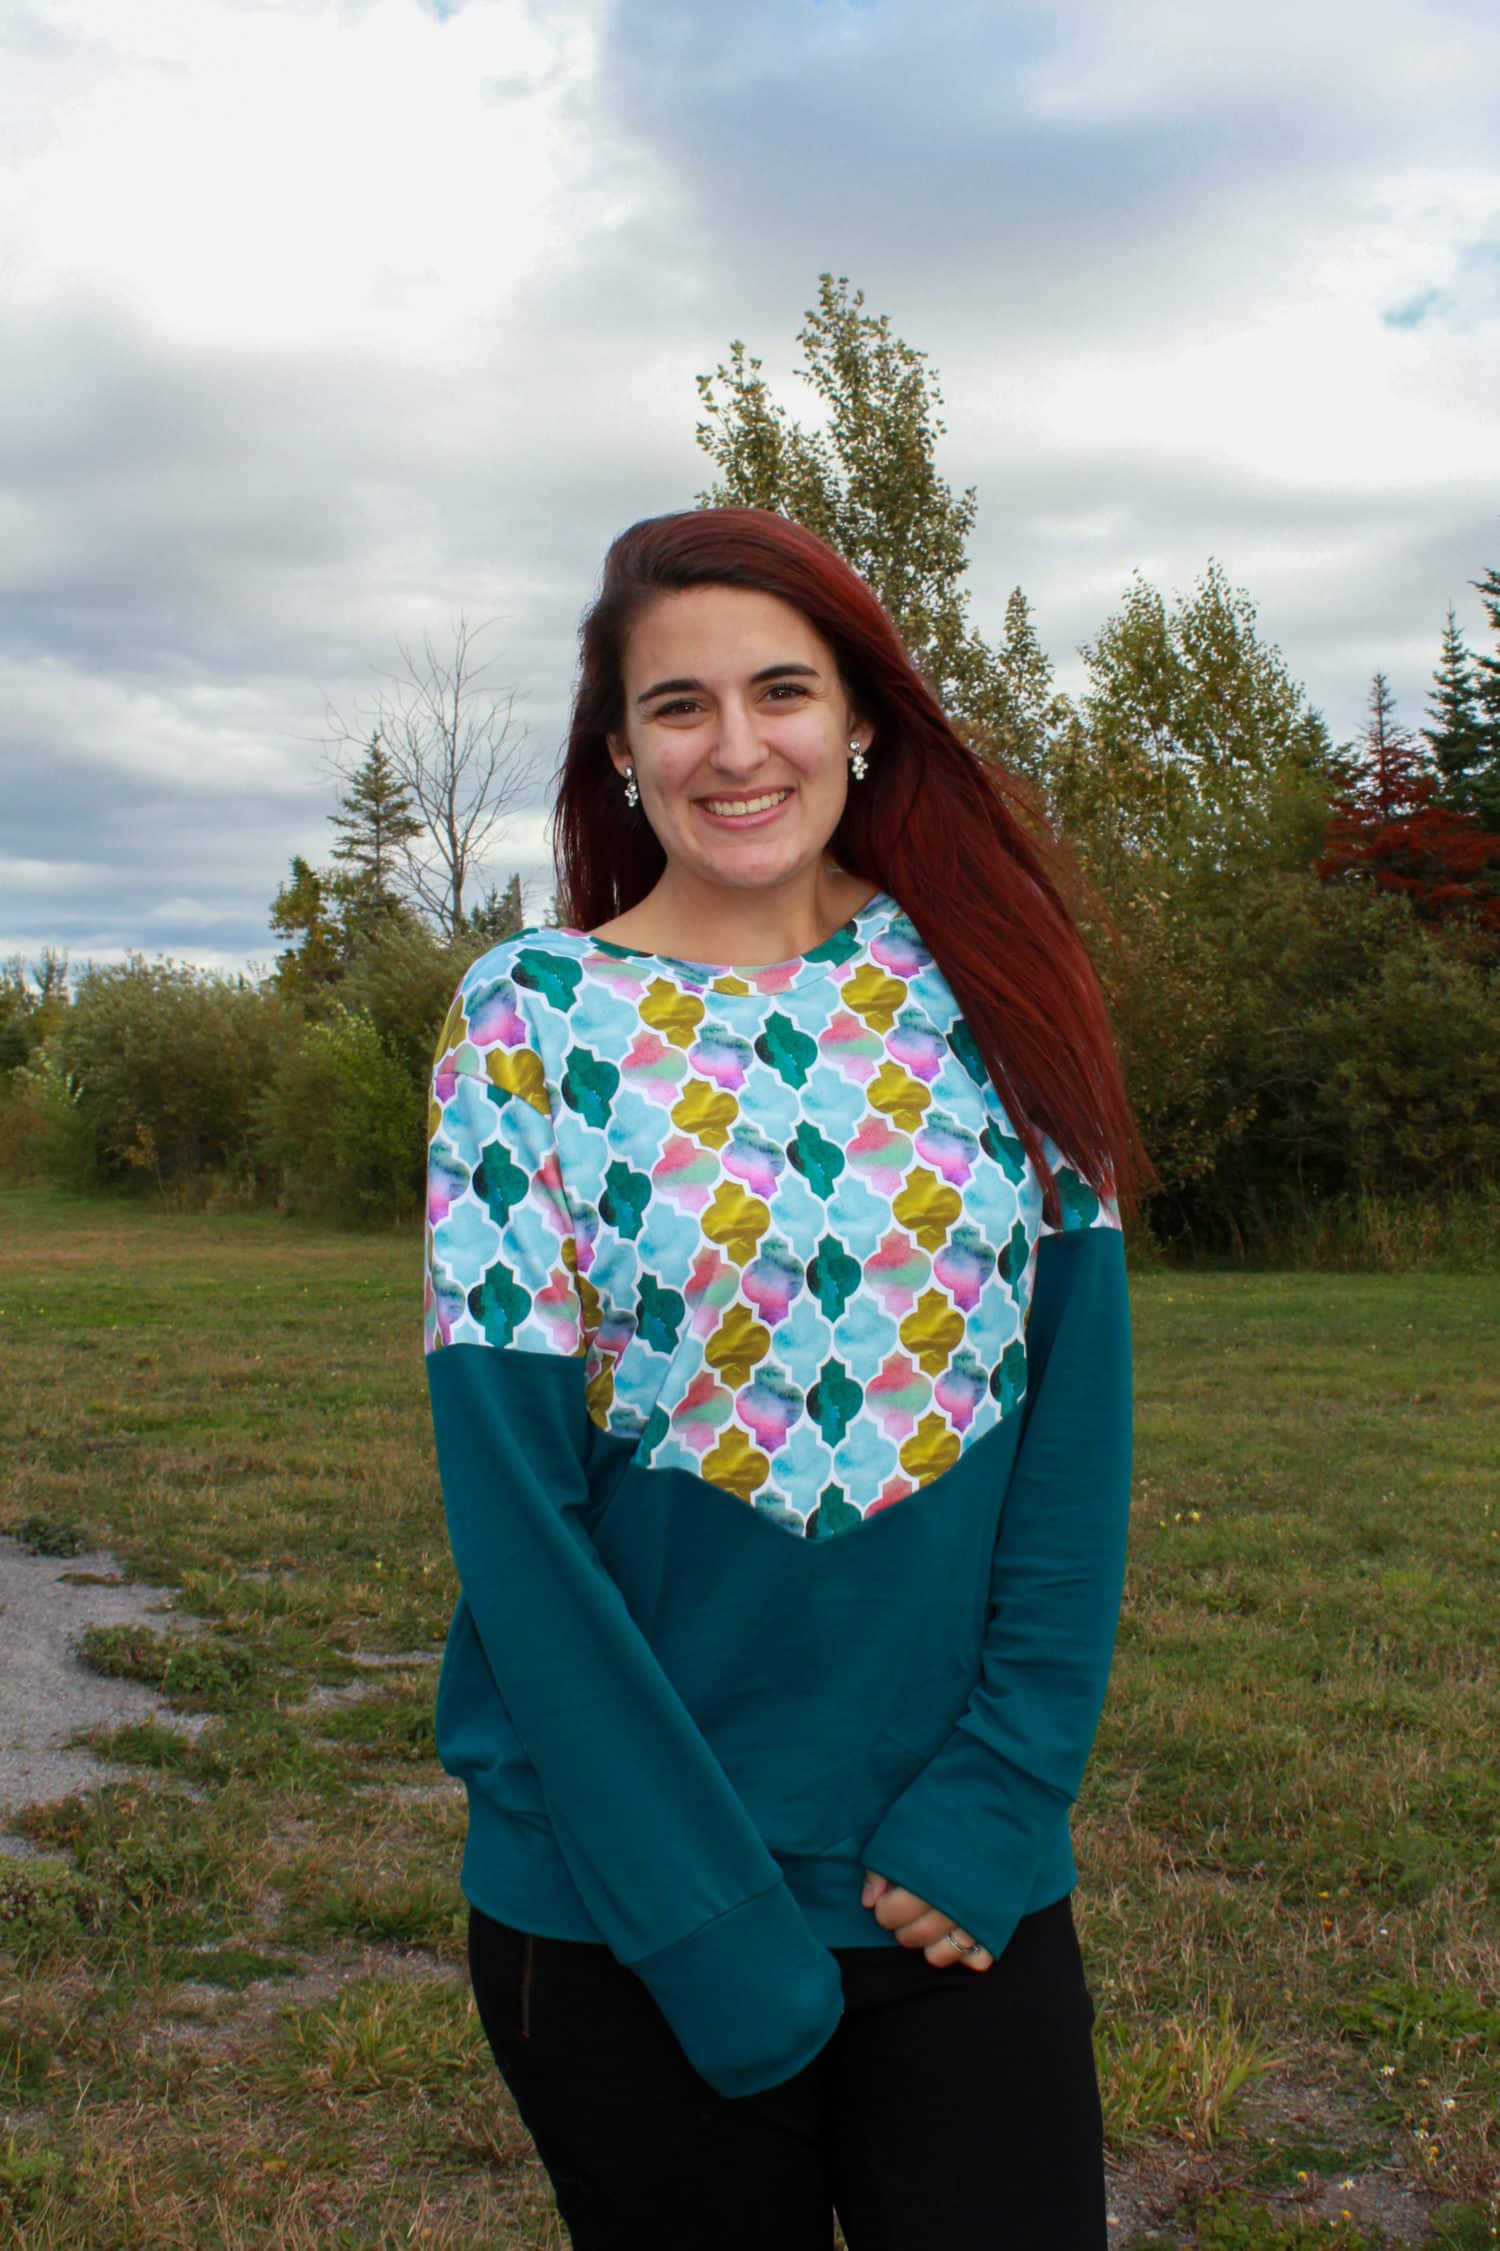
Yay! You are done and can now admire your new, personnalized and unique sweater!
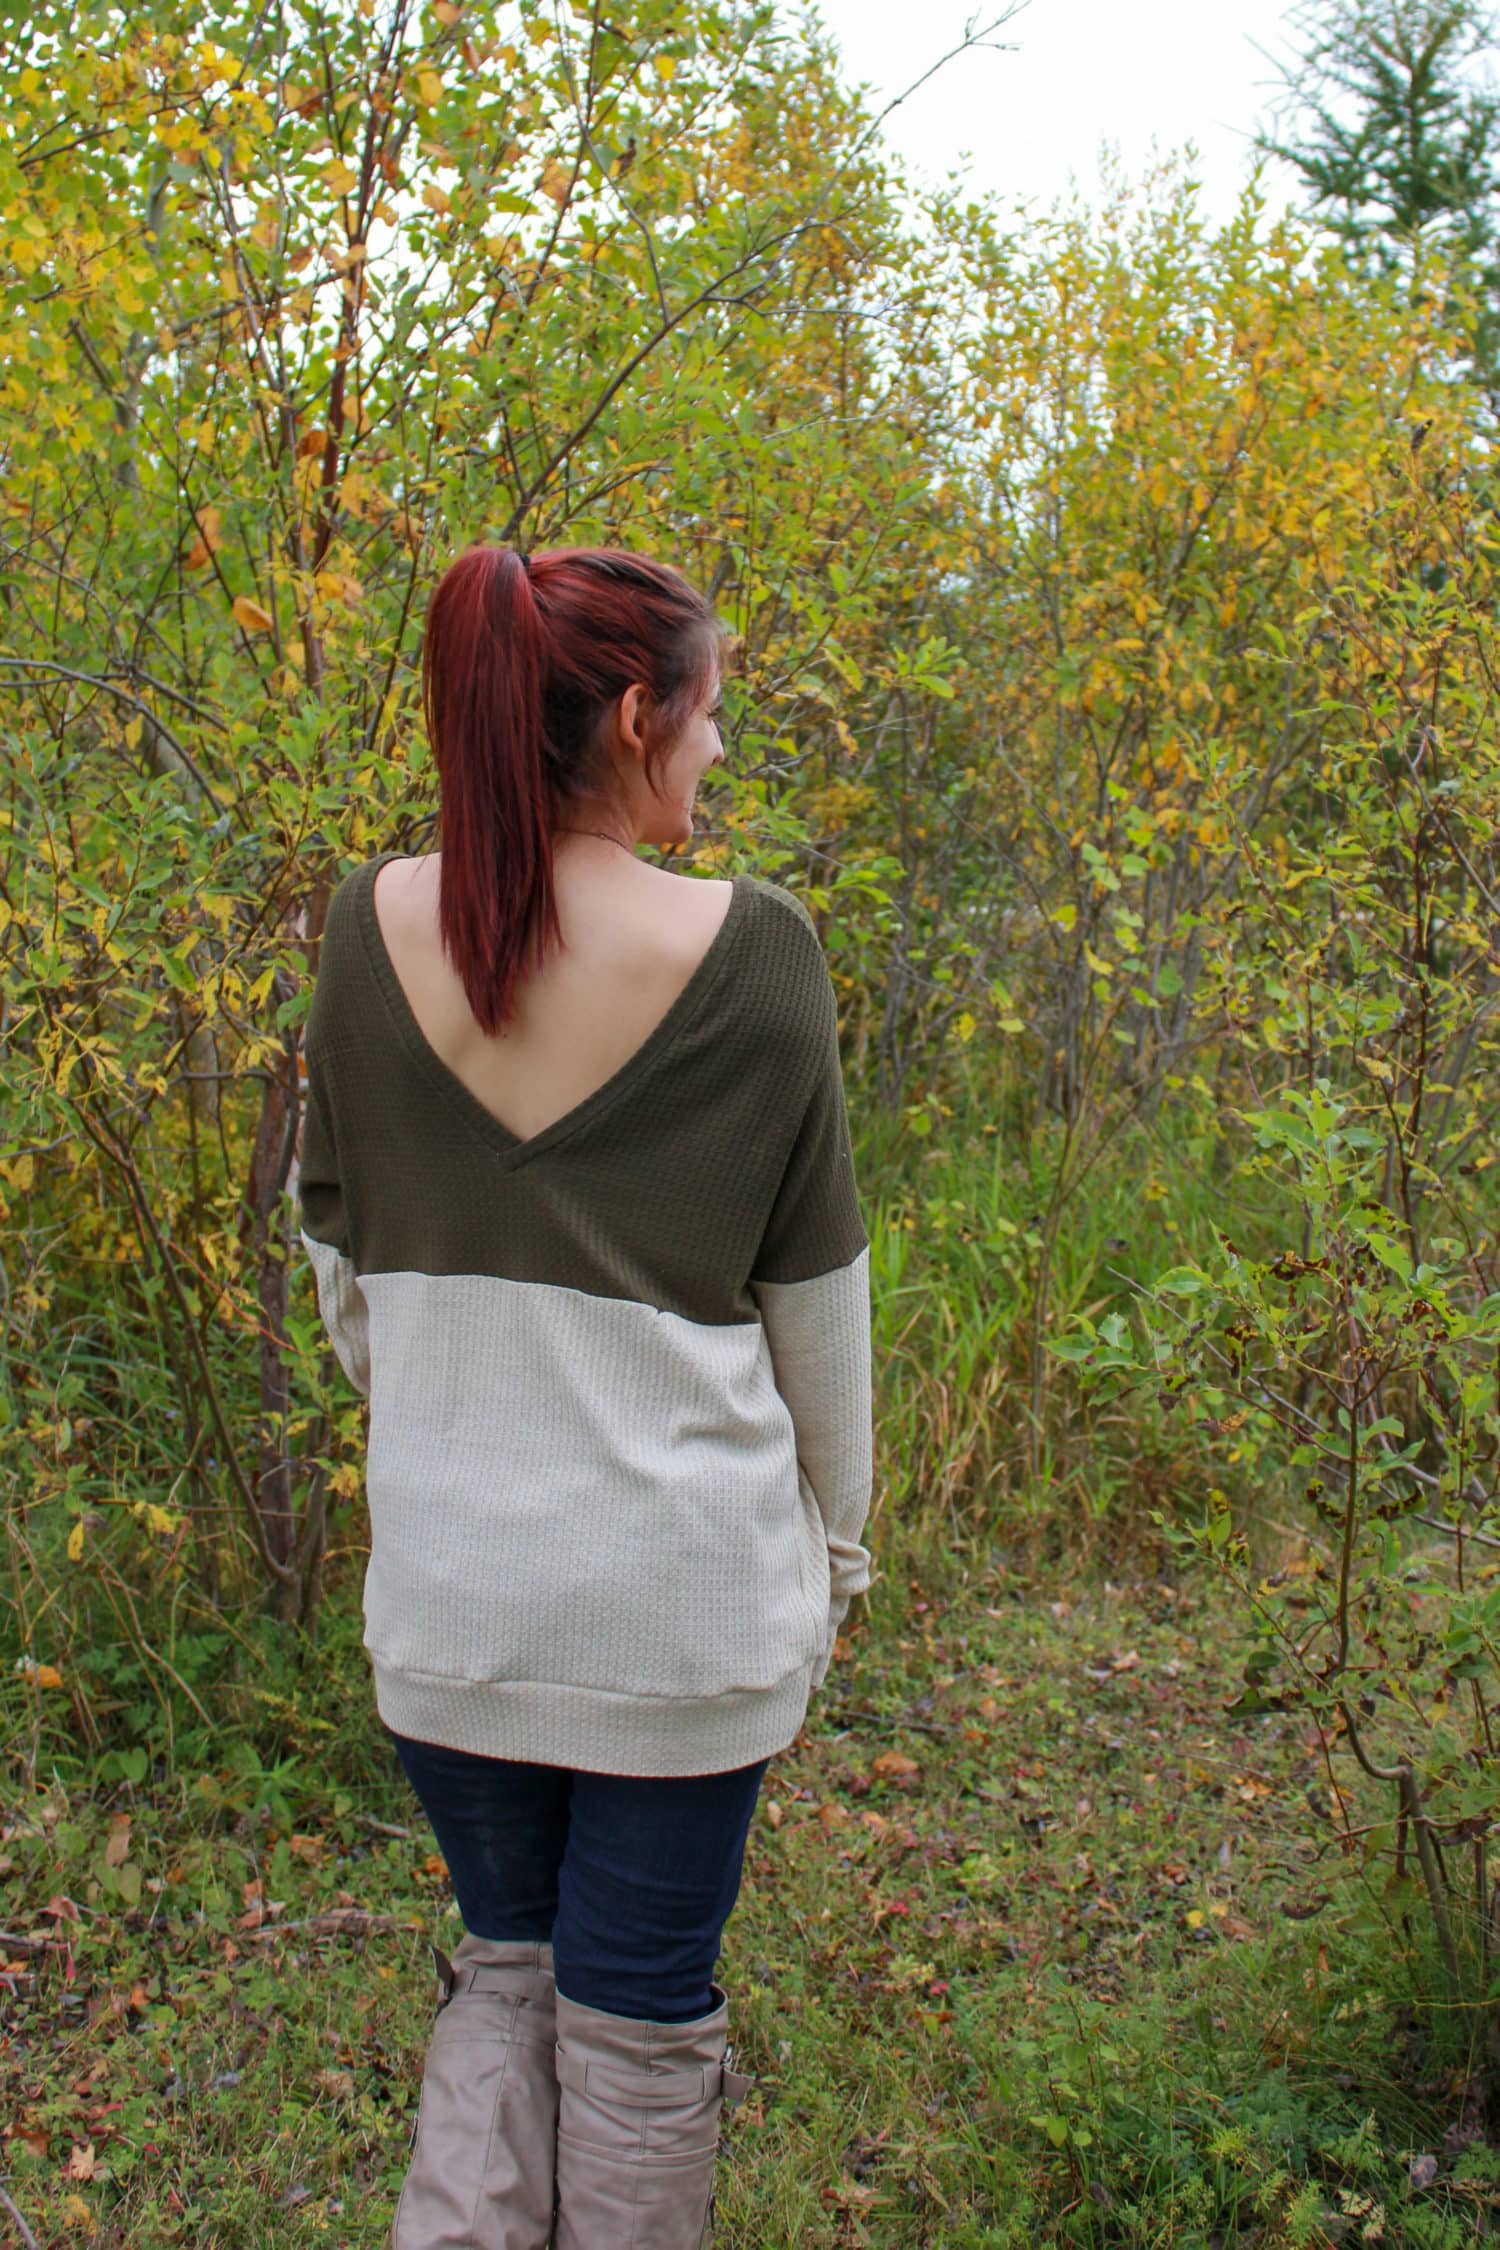
You can wear the “V” in the back or in the front, as desired.
And see how the fabric change the look? Here I used the exact same pattern pieces. The kaki and beige sweater look way more oversized and slouchy (I don’t even want to wear the “V” in the front because I find it shows more than I want!). The other one is in french terry, still look oversized but more structured and modest.


Get to know Sherley-Ann:
Sherley-Ann is a FABULOUS 25 year old, from Quebec, Canada. She’s married with two beautiful kids: Jacob, 3, and Flora, 16 months. She’s a nurse in emergency/ICU and loves her job 💗 She wouldn’t change it for anything else even during a pandemic 😂
She started sewing 3.5 years ago when she was pregnant with Jacob. Since then, her hobbies are pretty much limited to sewing, buying fabric, sewing, buying fabric and buying fabric. She loves to make unique tailor-made clothes for herself and the people she loves.
BONUS Facts:
She loves food.
She drinks more coffee than water.
She’s seen all 15 seasons or Grey’s anatomy 5 times and ready to watch them again anytime.
She met my husband in Haiti, but he is from Quebec like Her. Got married at 19.
She hates to exercise but loves sewing athletic wear.
Need more DIY projects in your life? Check out all the posts on our BLOG!
As always, we’re here to help if you need it! Join us HERE and on Facebook, Instagram, Twitter, Youtube, and Pinterest. We’re everywhere you are.
Leave a Reply