
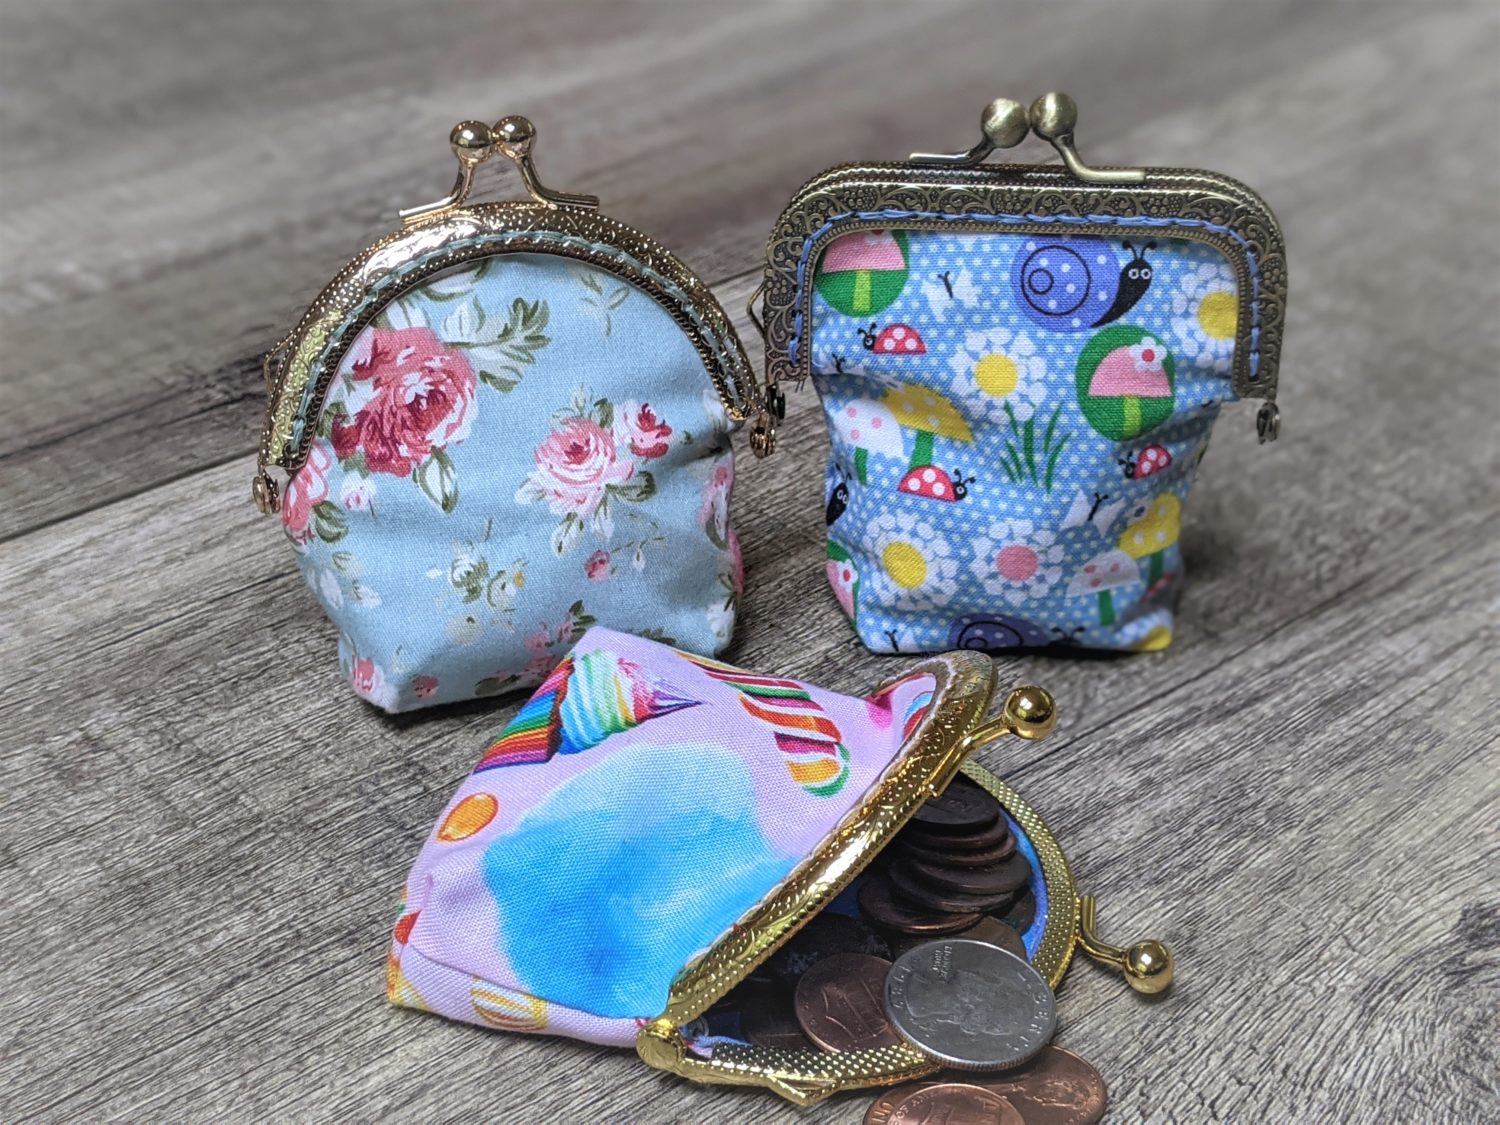
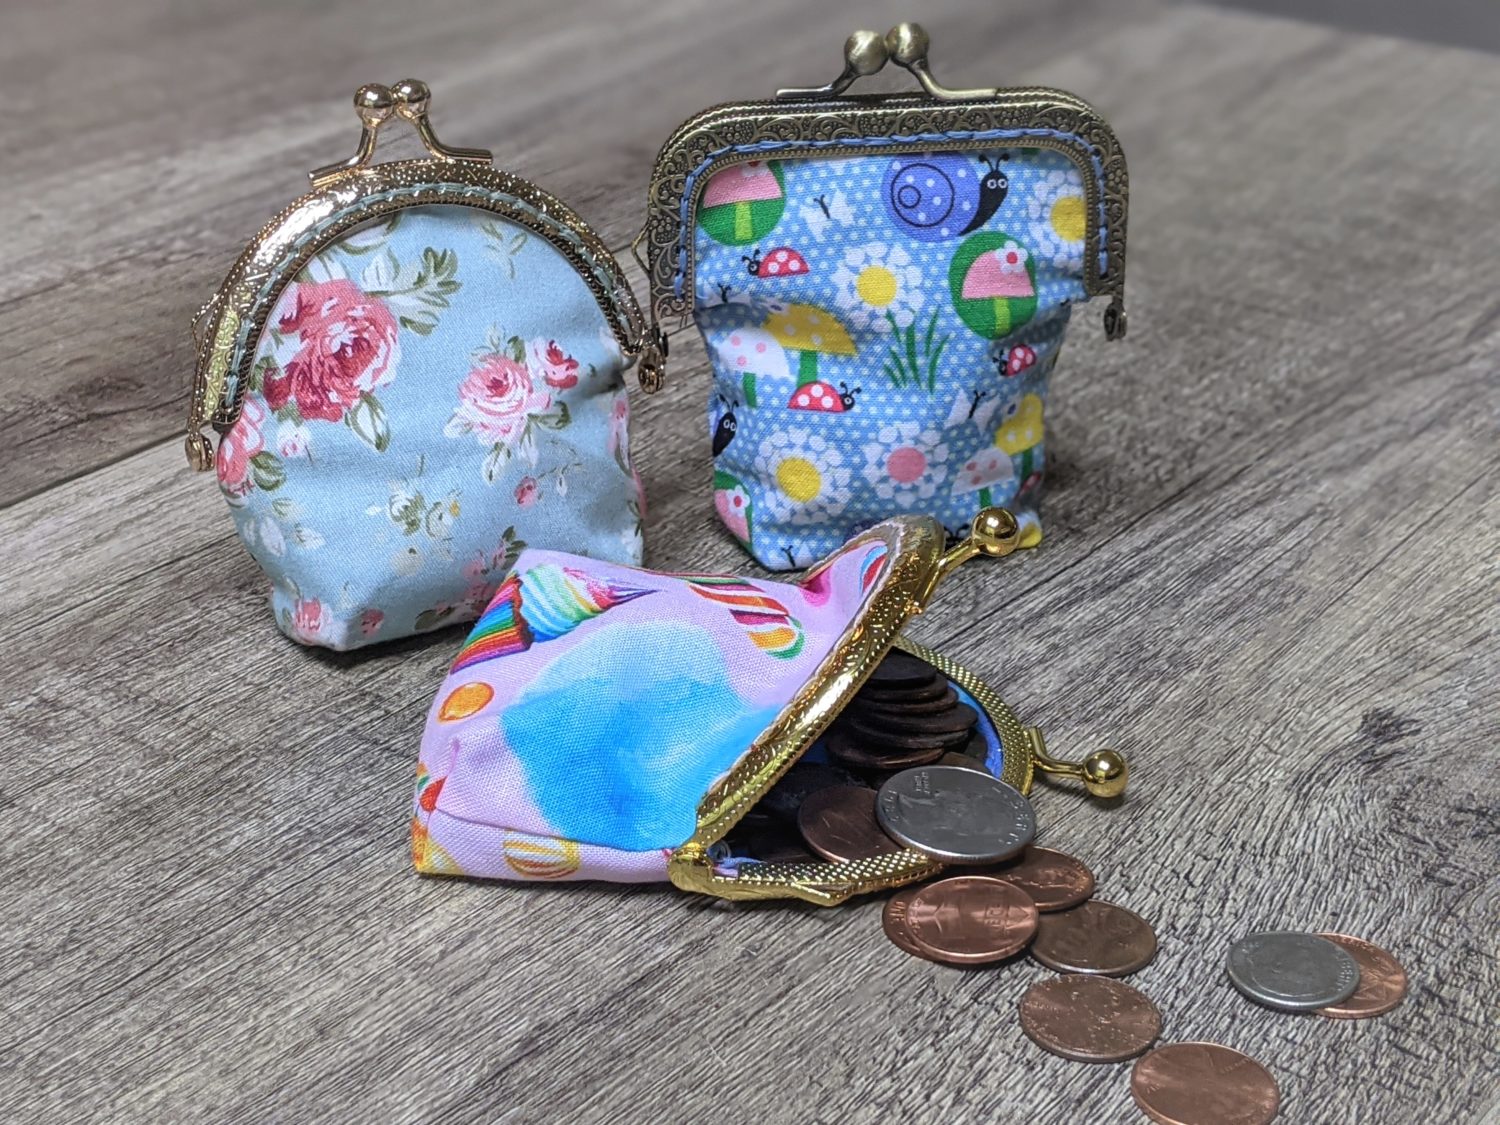
These little coin purses are a great scrap buster and my girls love them for storing all of their tiny treasures. I’ll show you how to make your own coin purse template using any size clasp that you have to create your own custom purse.
Supplies:
- Coin purse clasp
- The ones used here are approximately 3.5″ clasps
- Woven fabric: main and lining
- Sewing machine and basic sewing supplies
- Optional: fusible interfacing and iron
Make Your Template
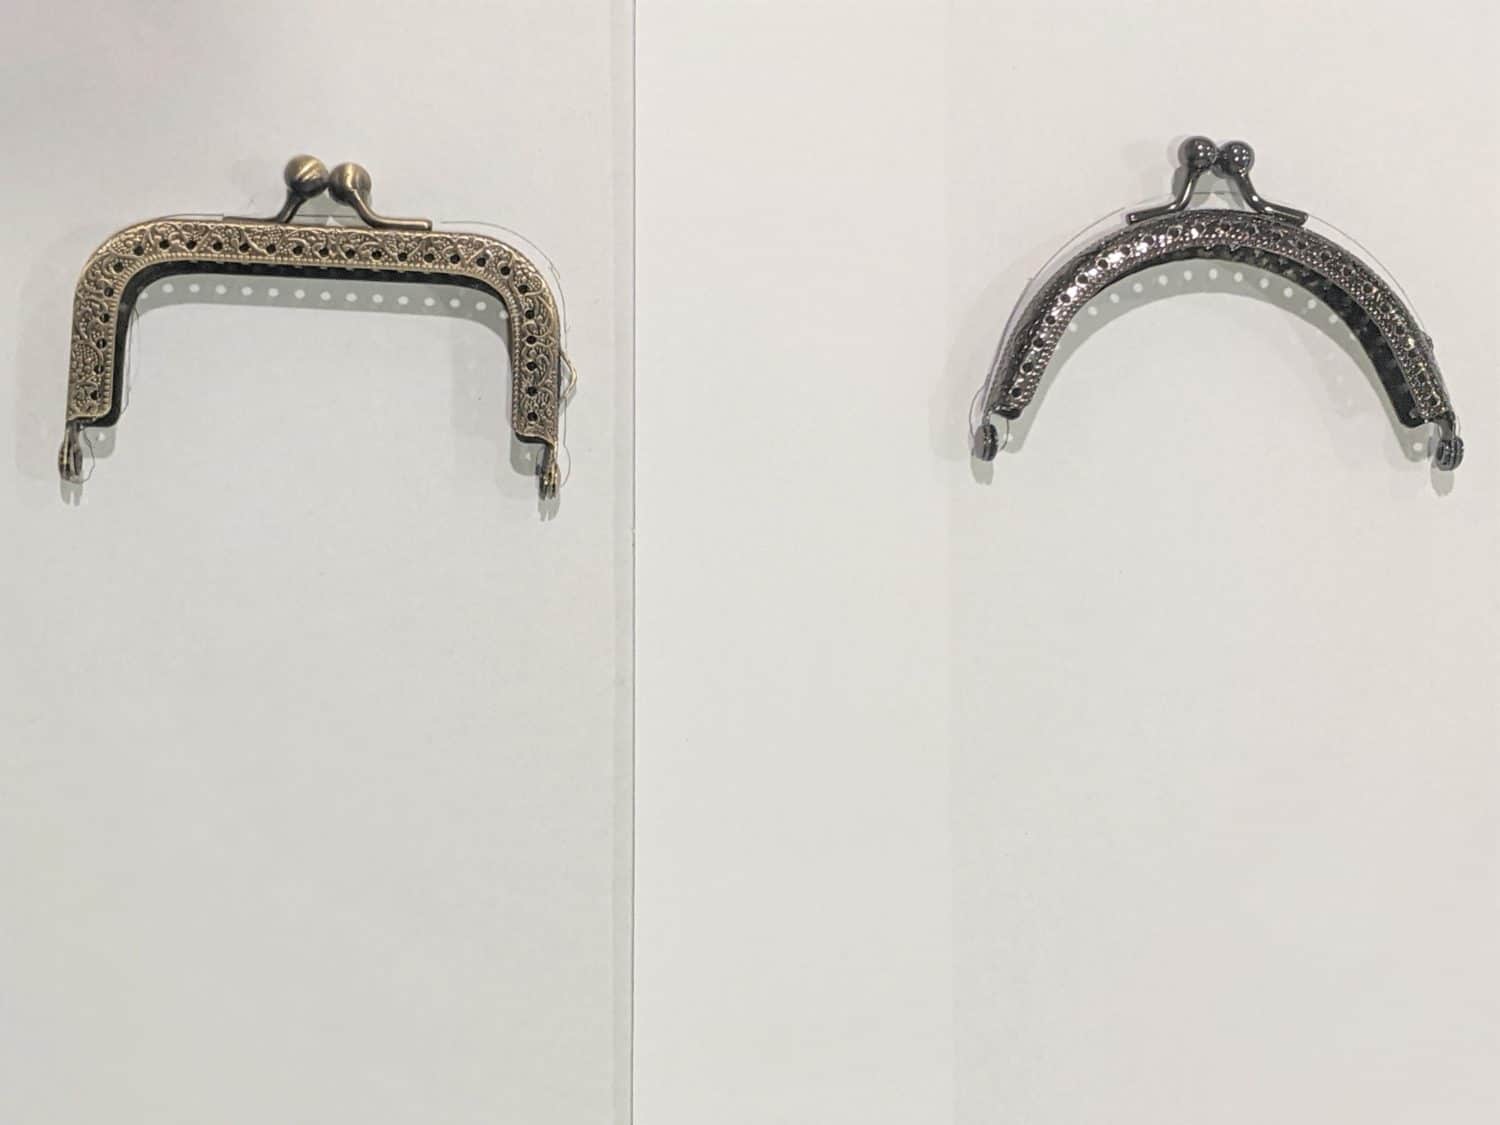
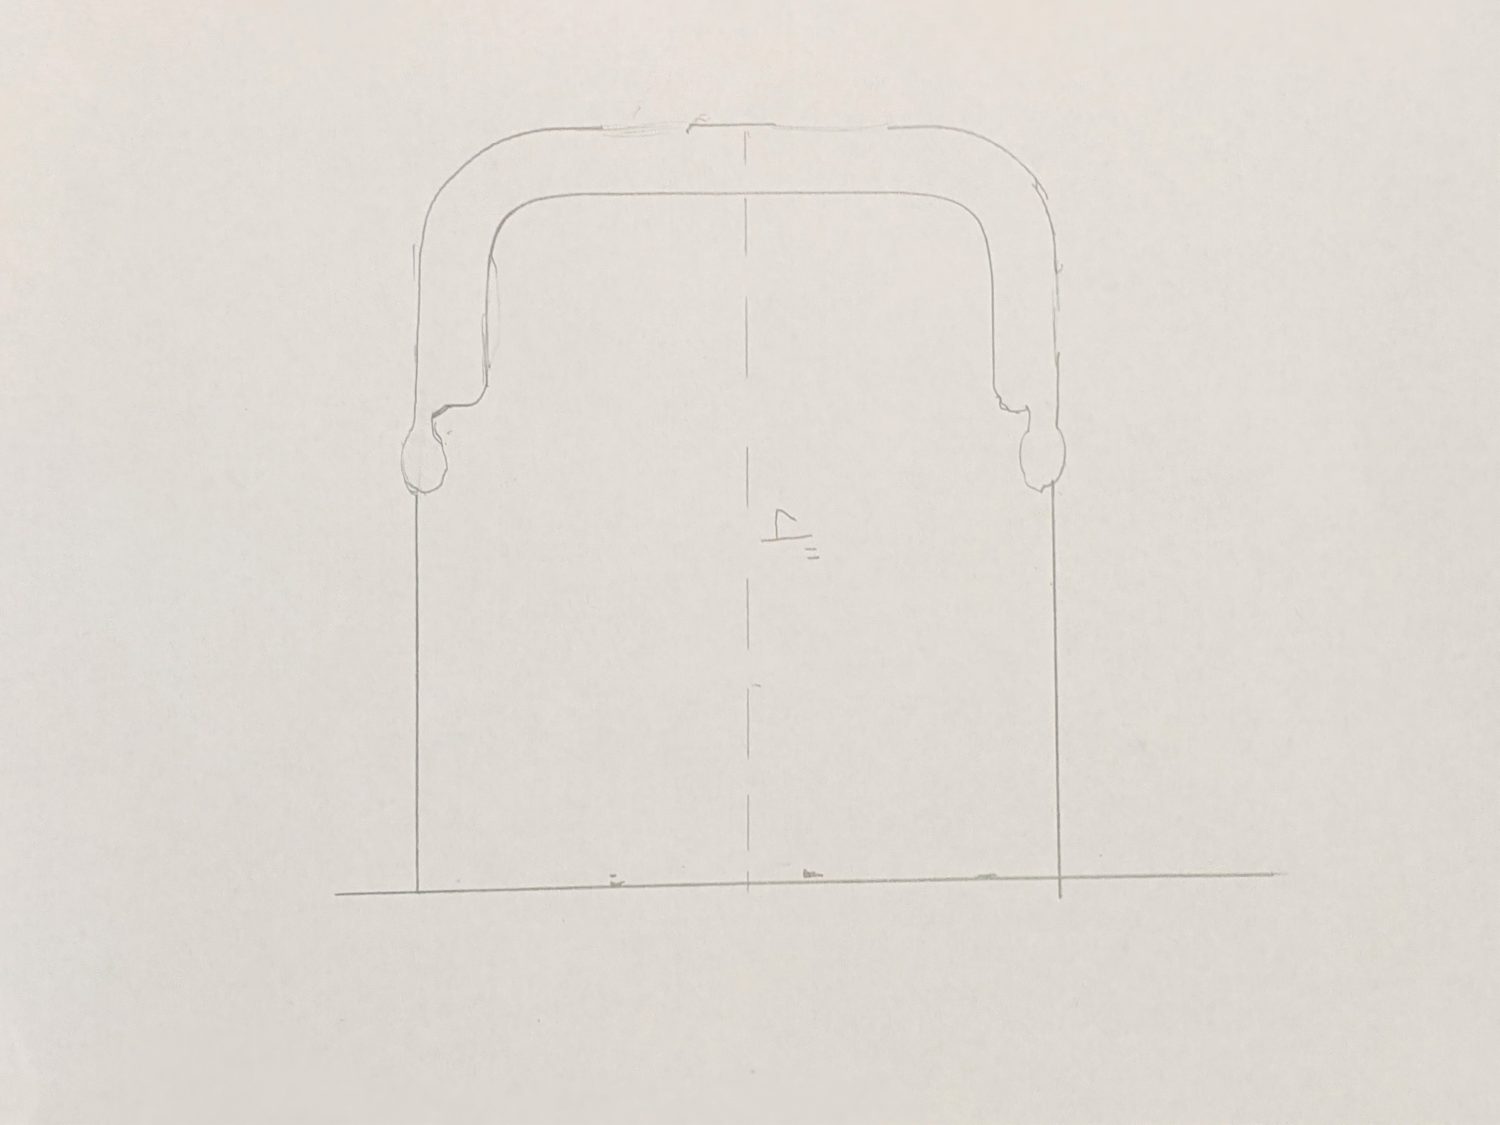
- Set your clasp on a sheet of paper and hold it in place.
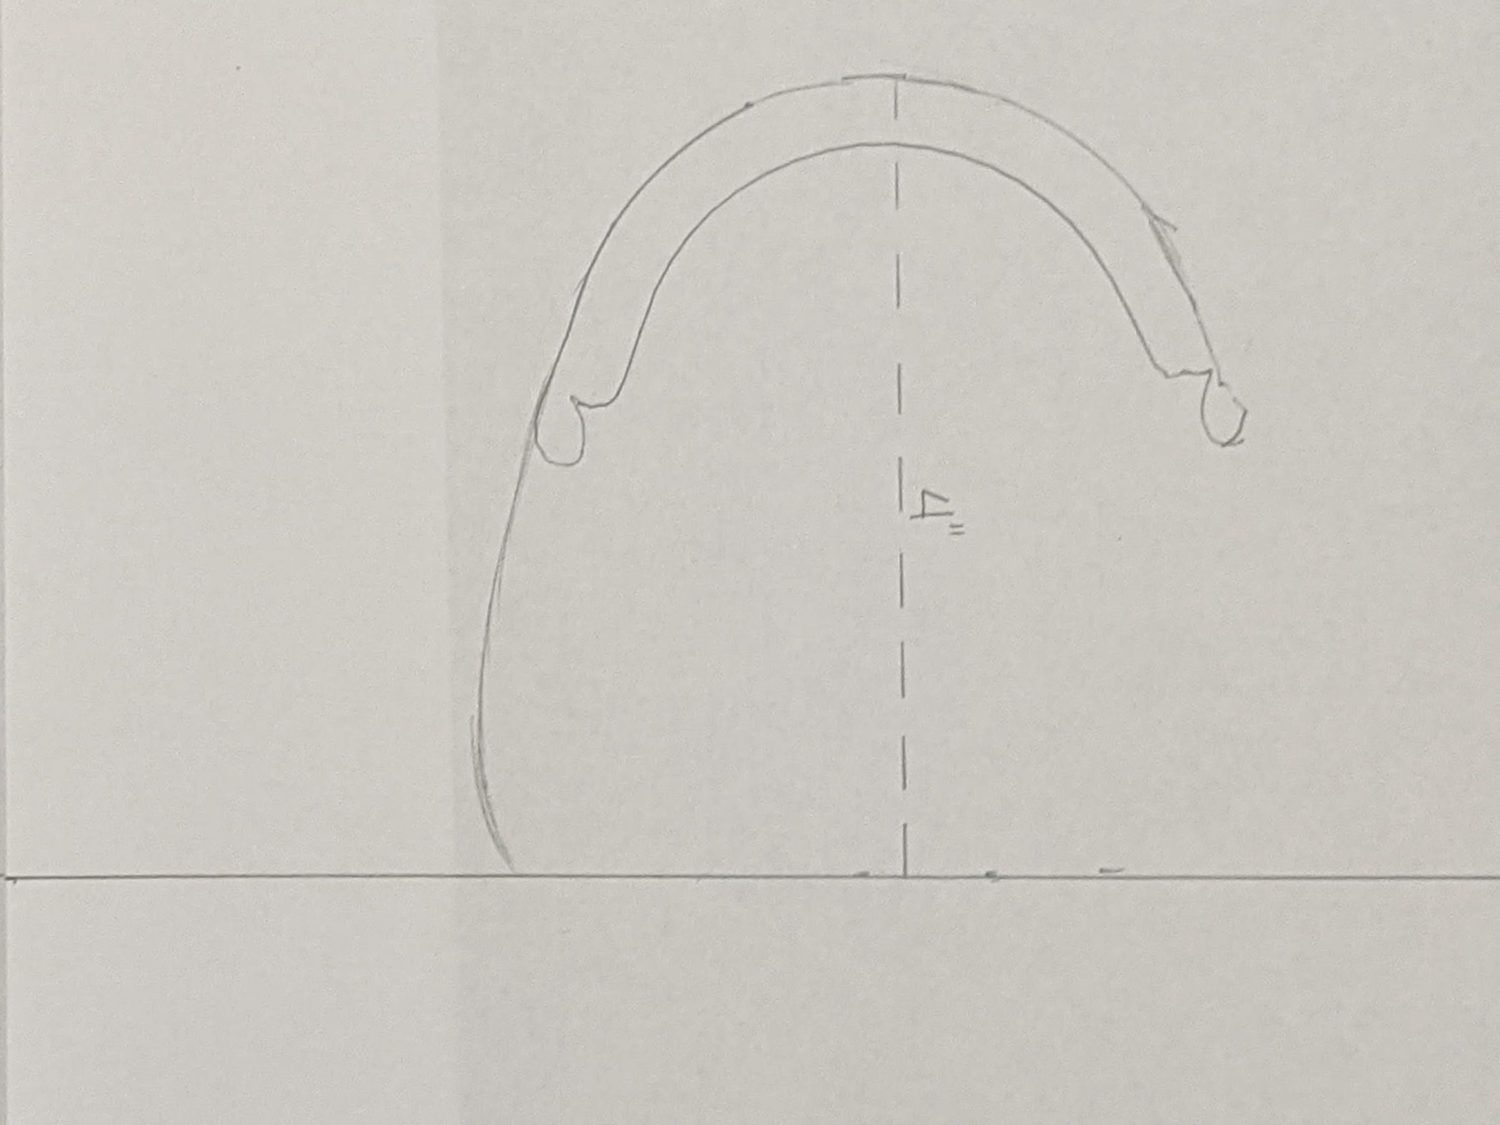
- Trace around both the inner and outer edge of the clap and hinges.
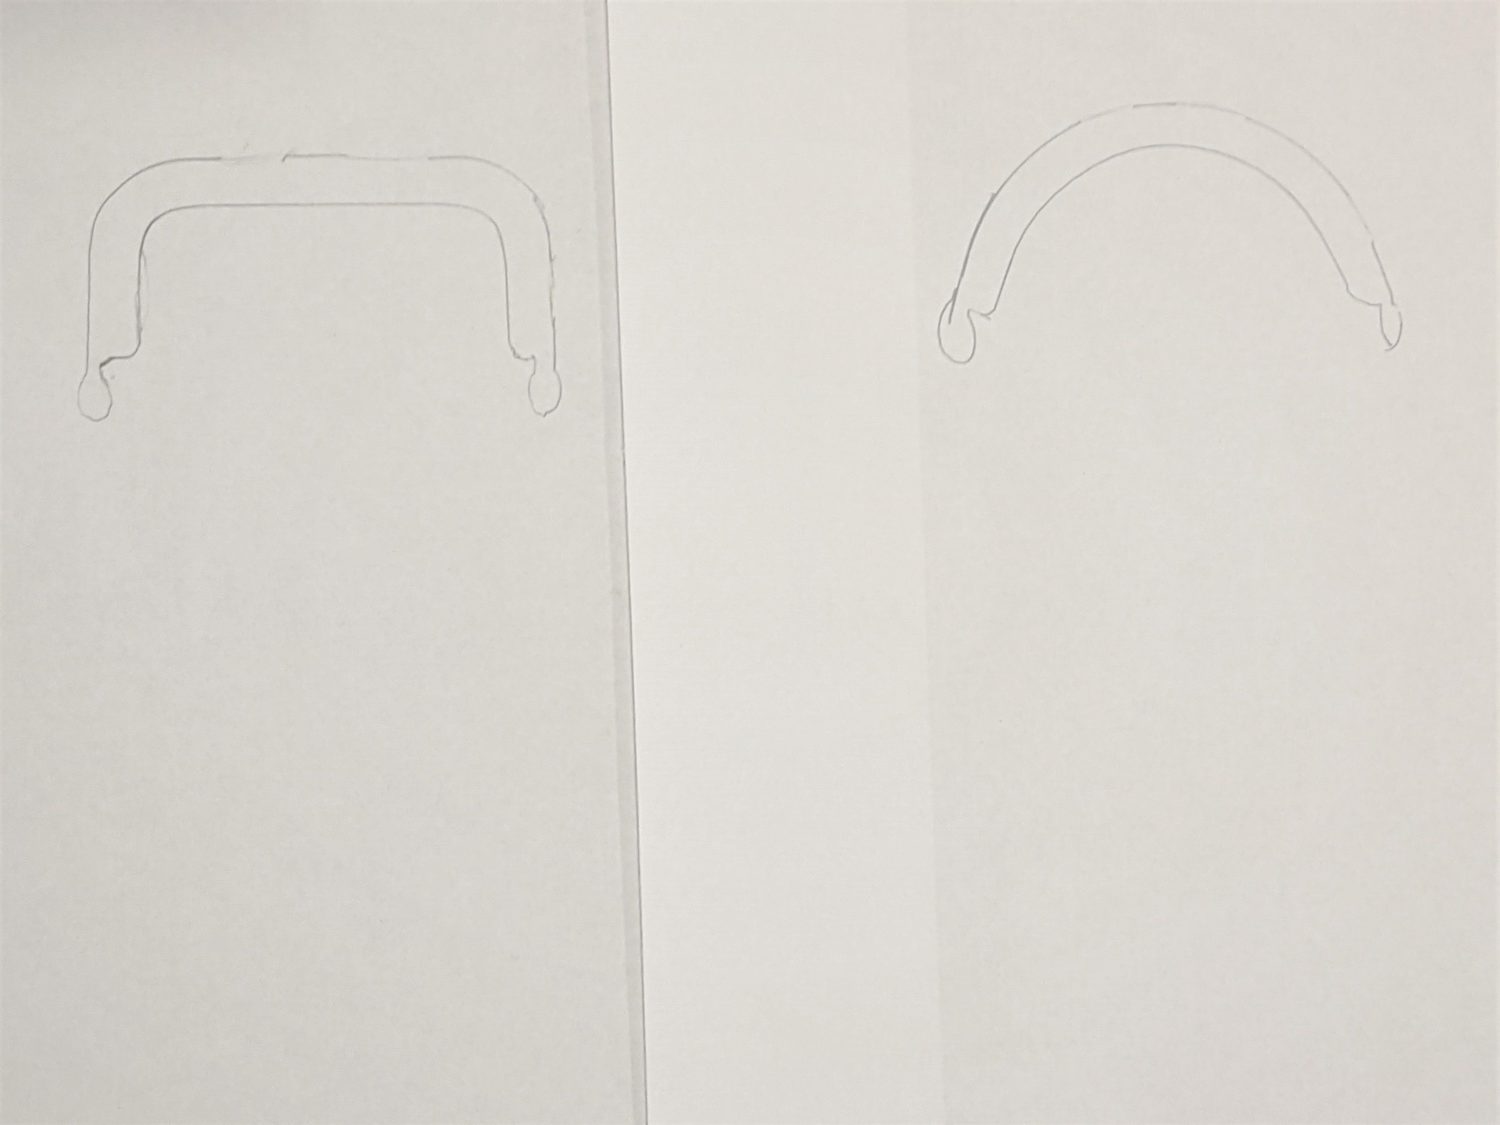
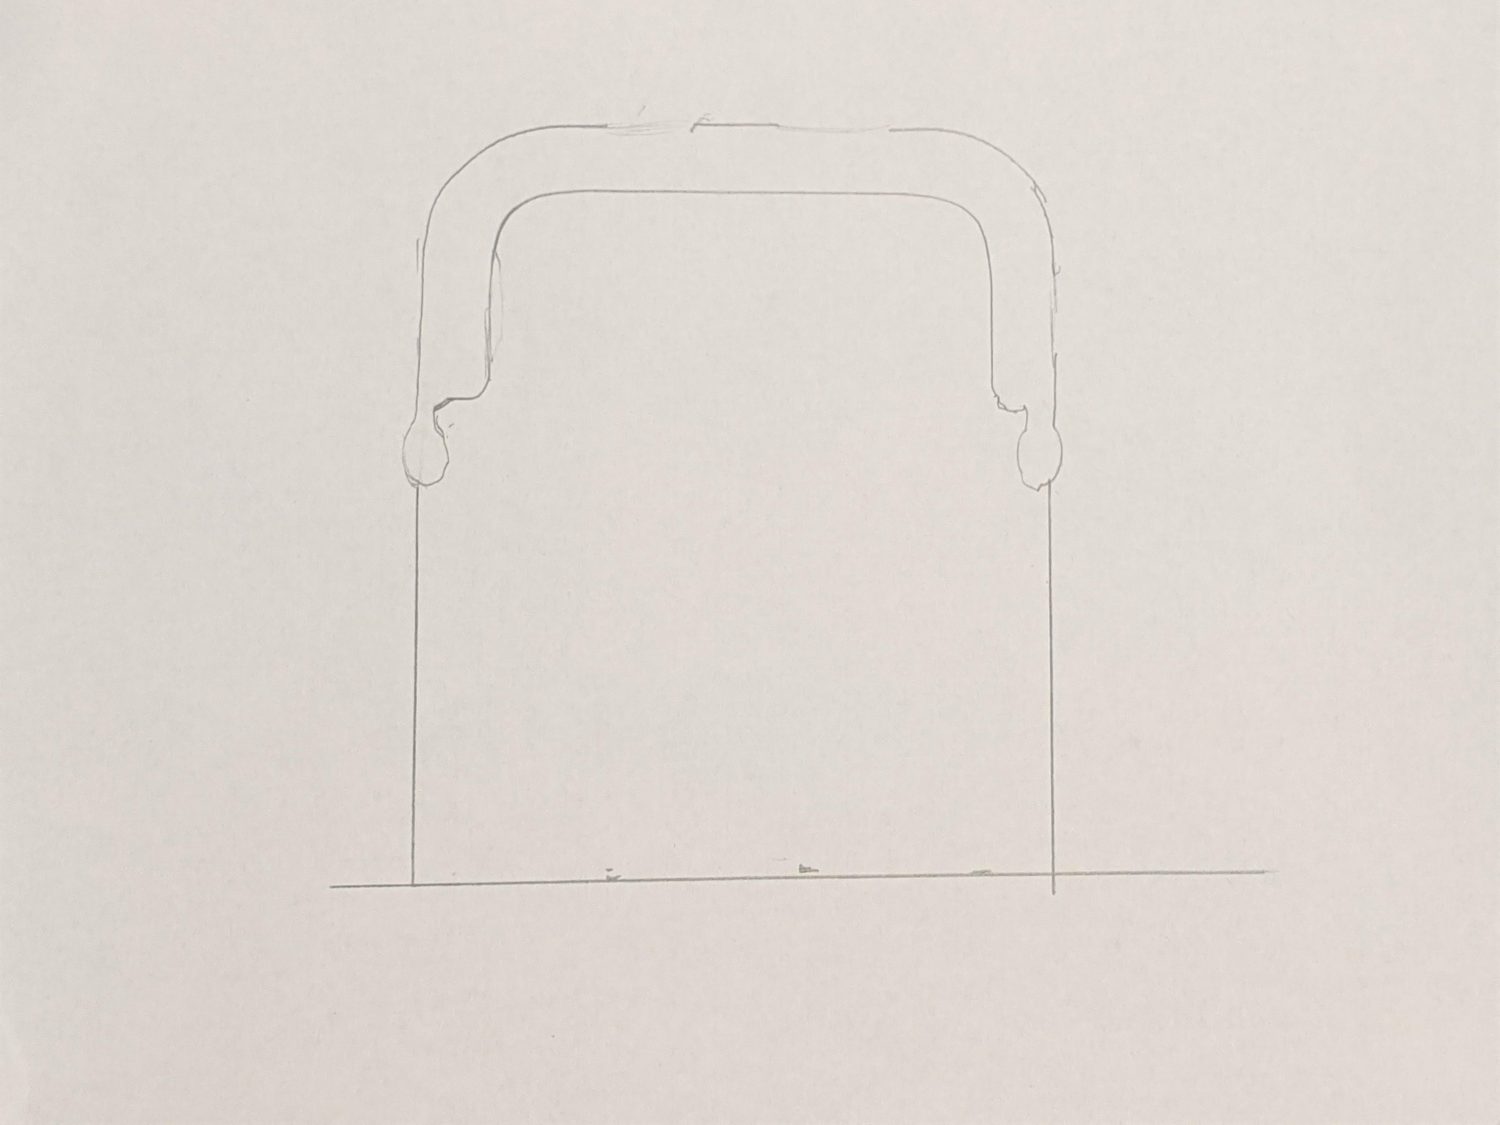
- Along the outside edges of the clap tracing, extend both sides down to the size you want.
- For my 3.5″ clasp, I made the purse template 4″ tall.
- For a curved style clasp, I curved the purse out below the hinges slightly.
- *Tip: Draw your template on one half of the clasp, then fold it in half to cut out so you make sure it is symmetrical.
- Cut out your template.
Cut out the Pieces
- 2 main fabric pieces
- 2 lining fabric pieces
- Optional: 2 fusible interfacing pieces
Preparing Your Pieces
- If you are using fusible interfacing, iron it onto the wrong side of the lining pieces per the instructions for your interfacing.
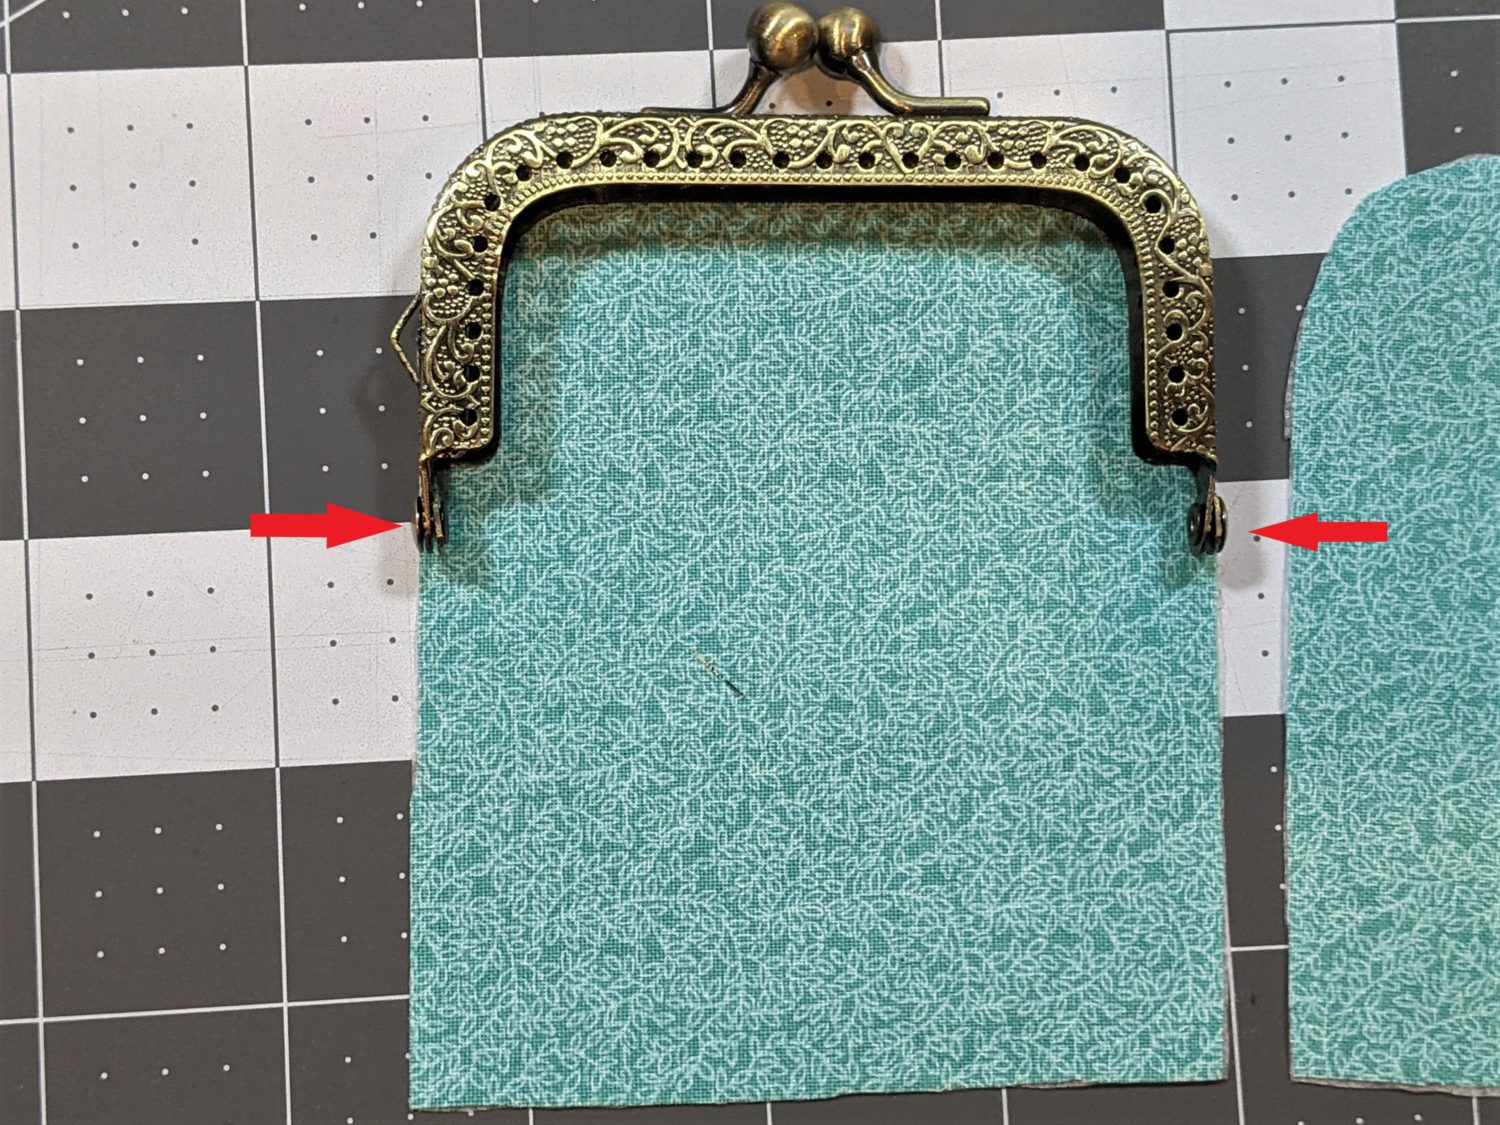
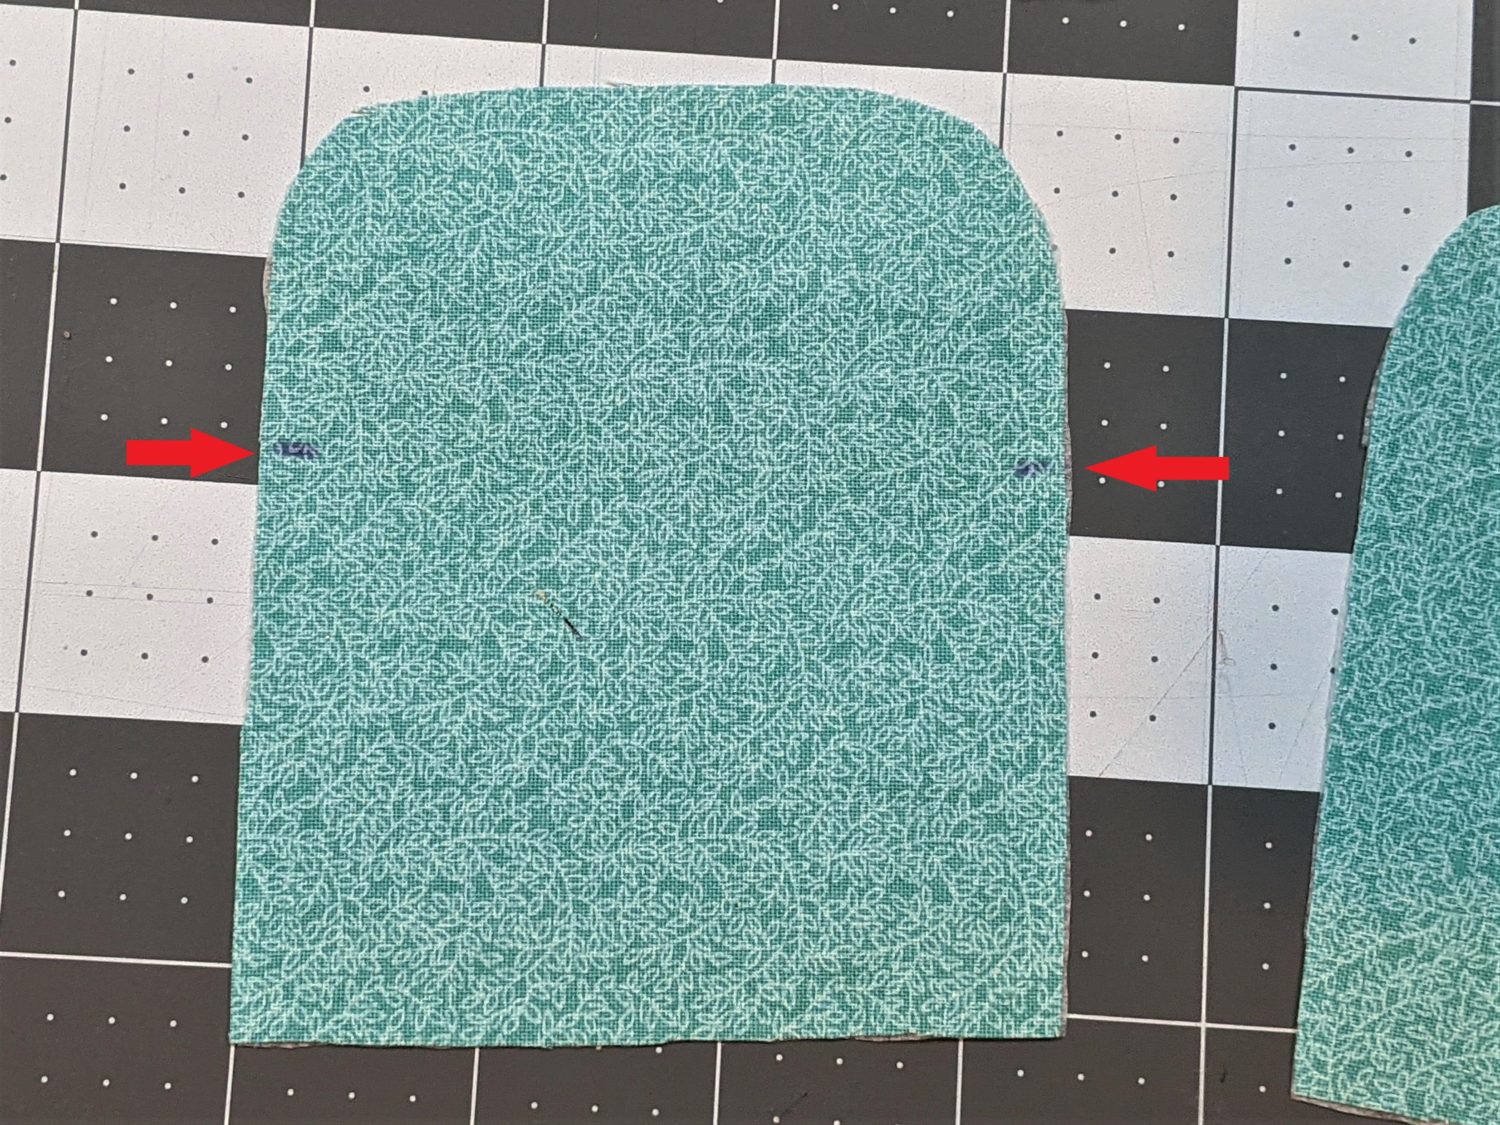
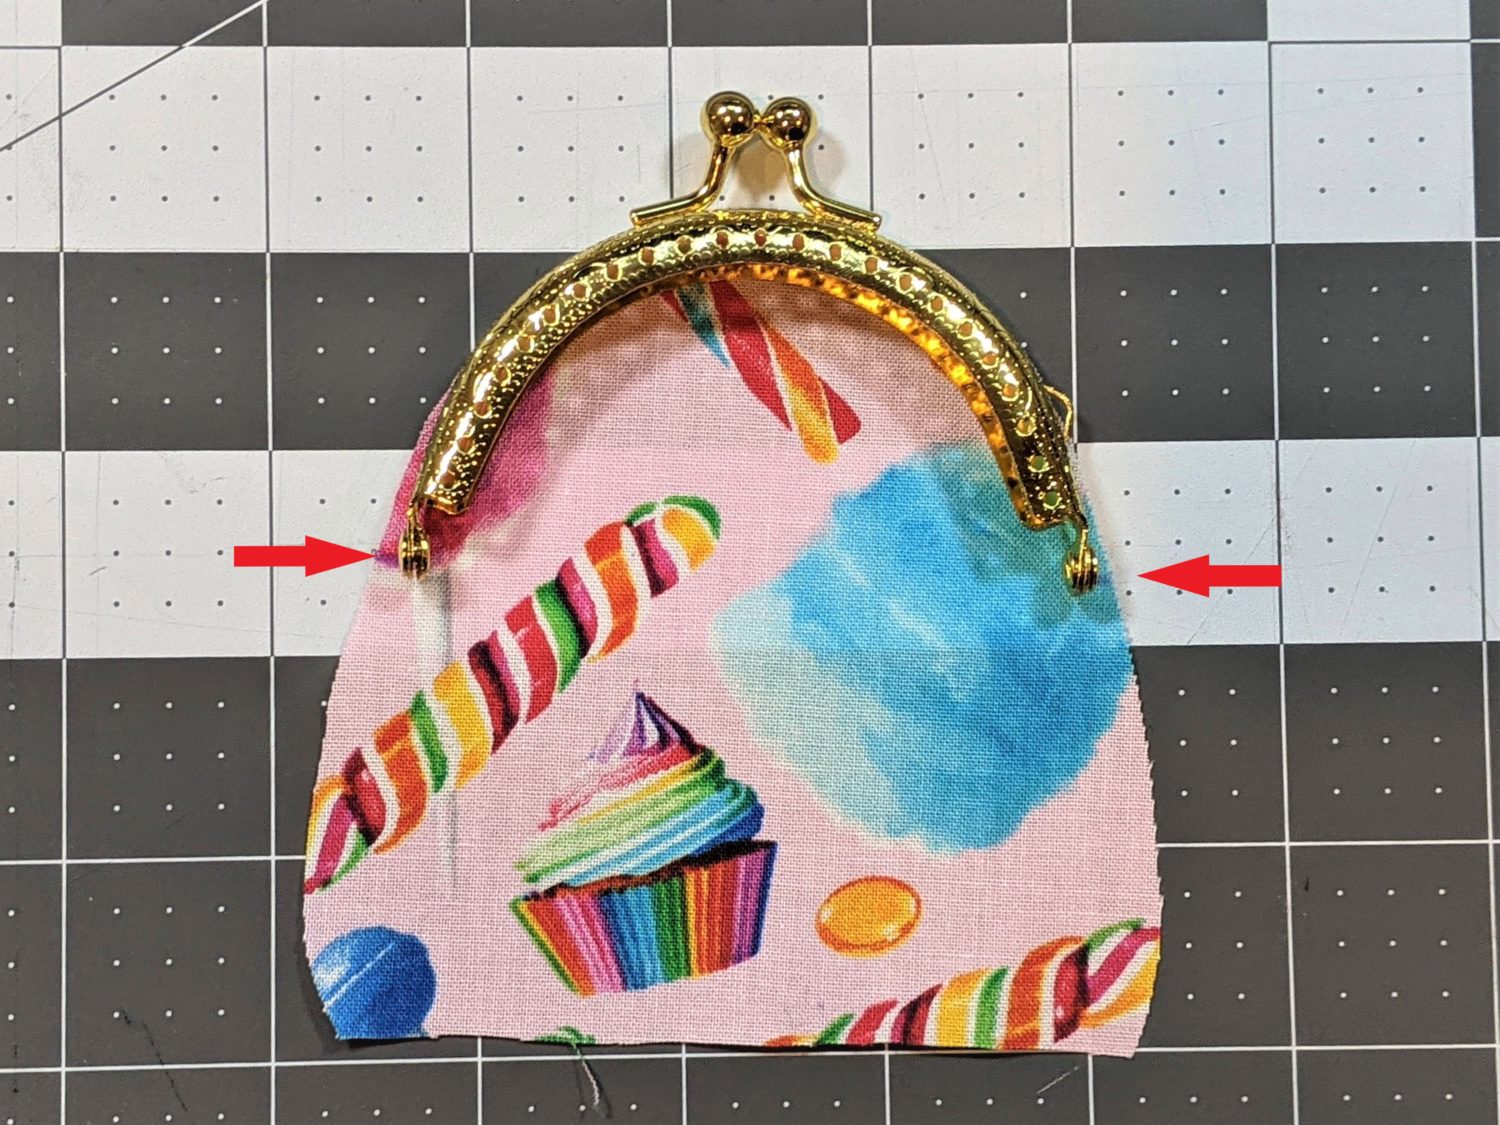
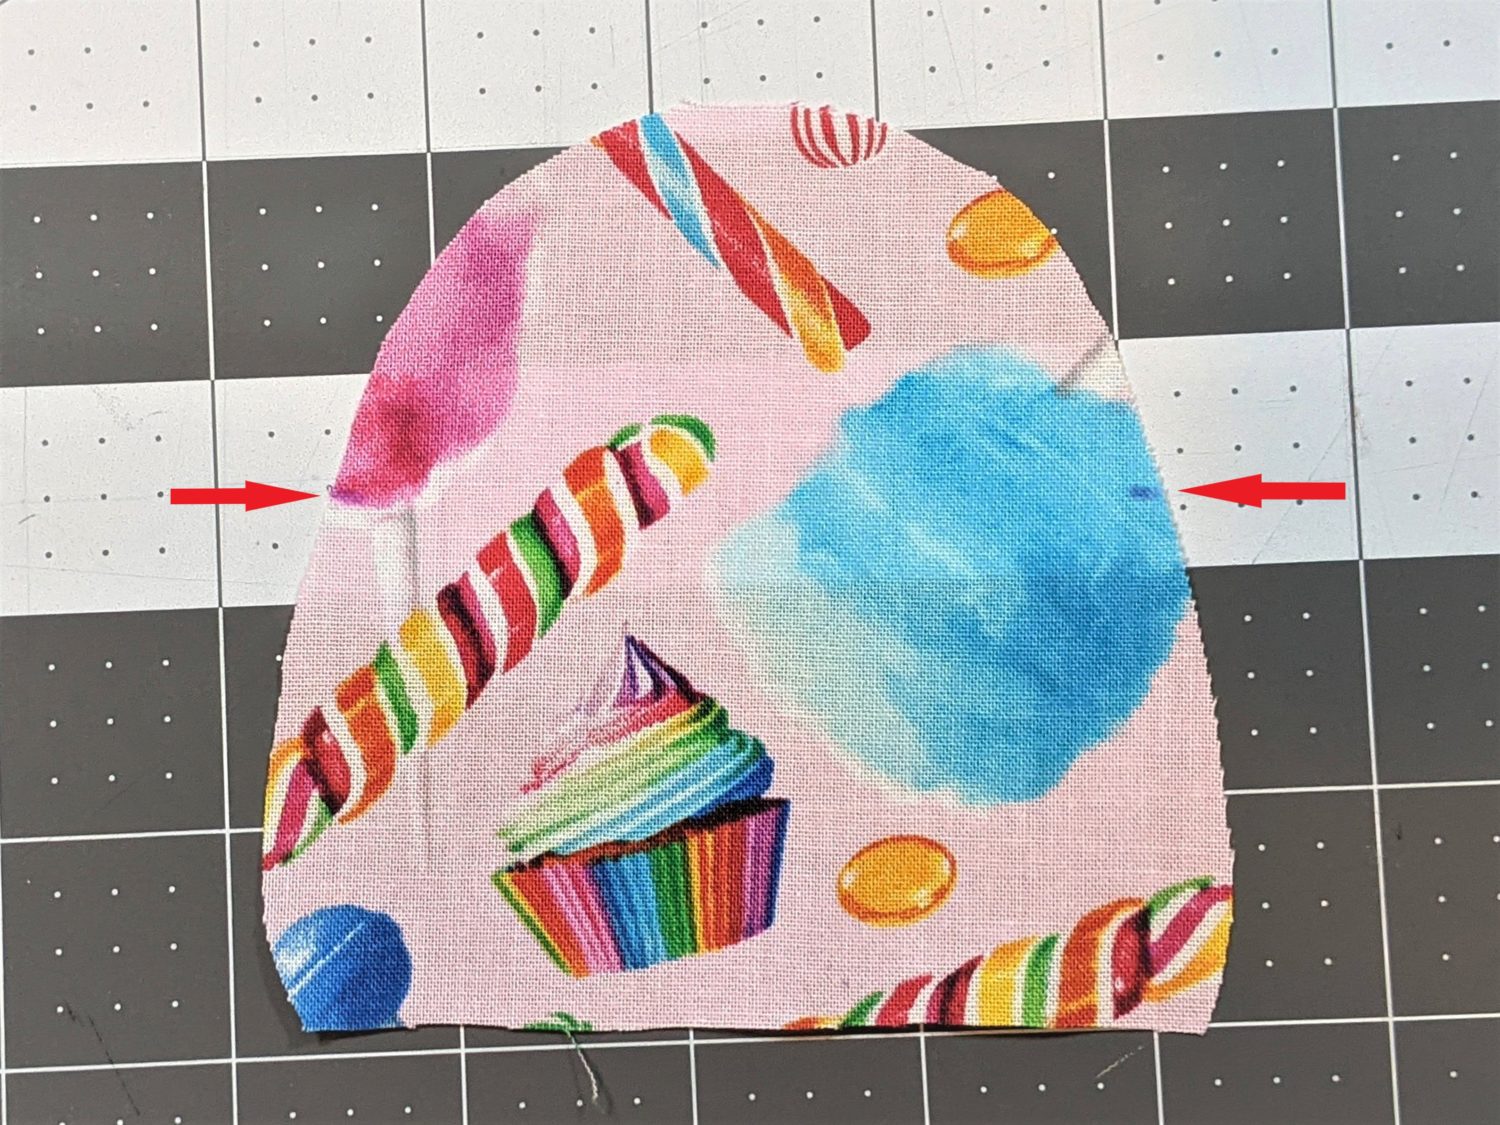
- Set the clasp on top of your fabric pieces and mark on the fabric where the hinges sit.
Let’s Start Sewing!
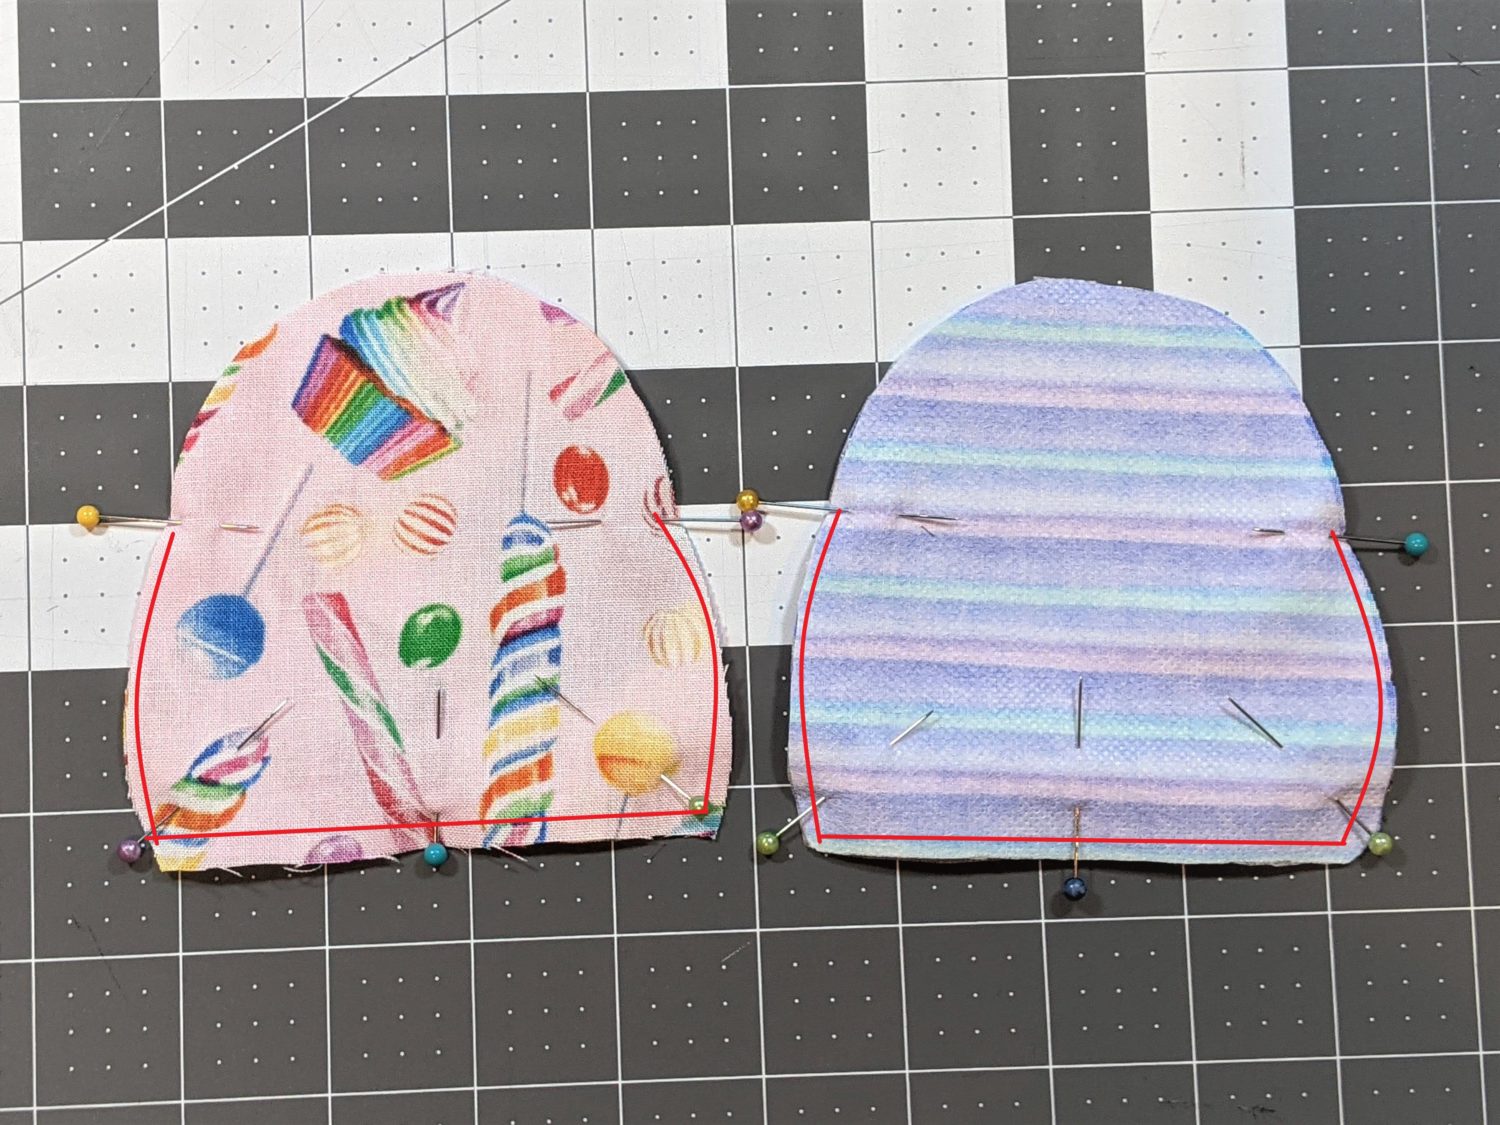
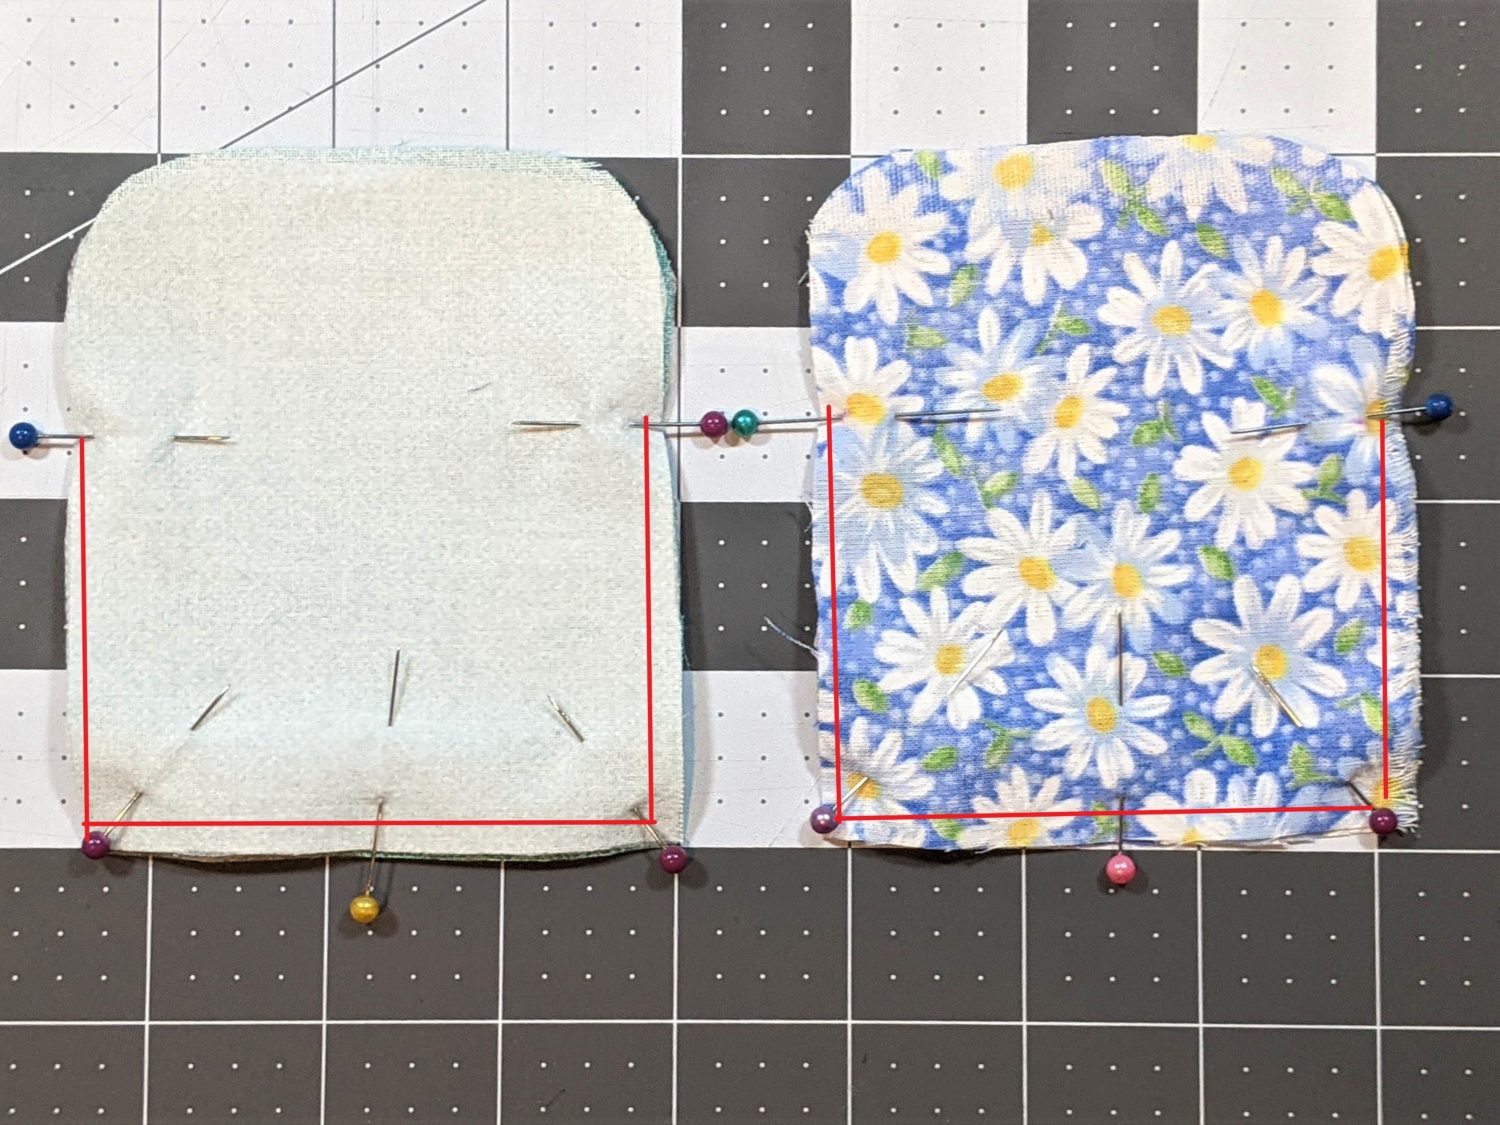
- Lay your main pieces right sides together and pin from the marked hinge points down and along the bottom.
- Sew along pinned edges with a straight stitch using a 1/4″ seam allowance. Backstitch several times at each hinge point.
- Repeat with the lining pieces.
Box the Corners
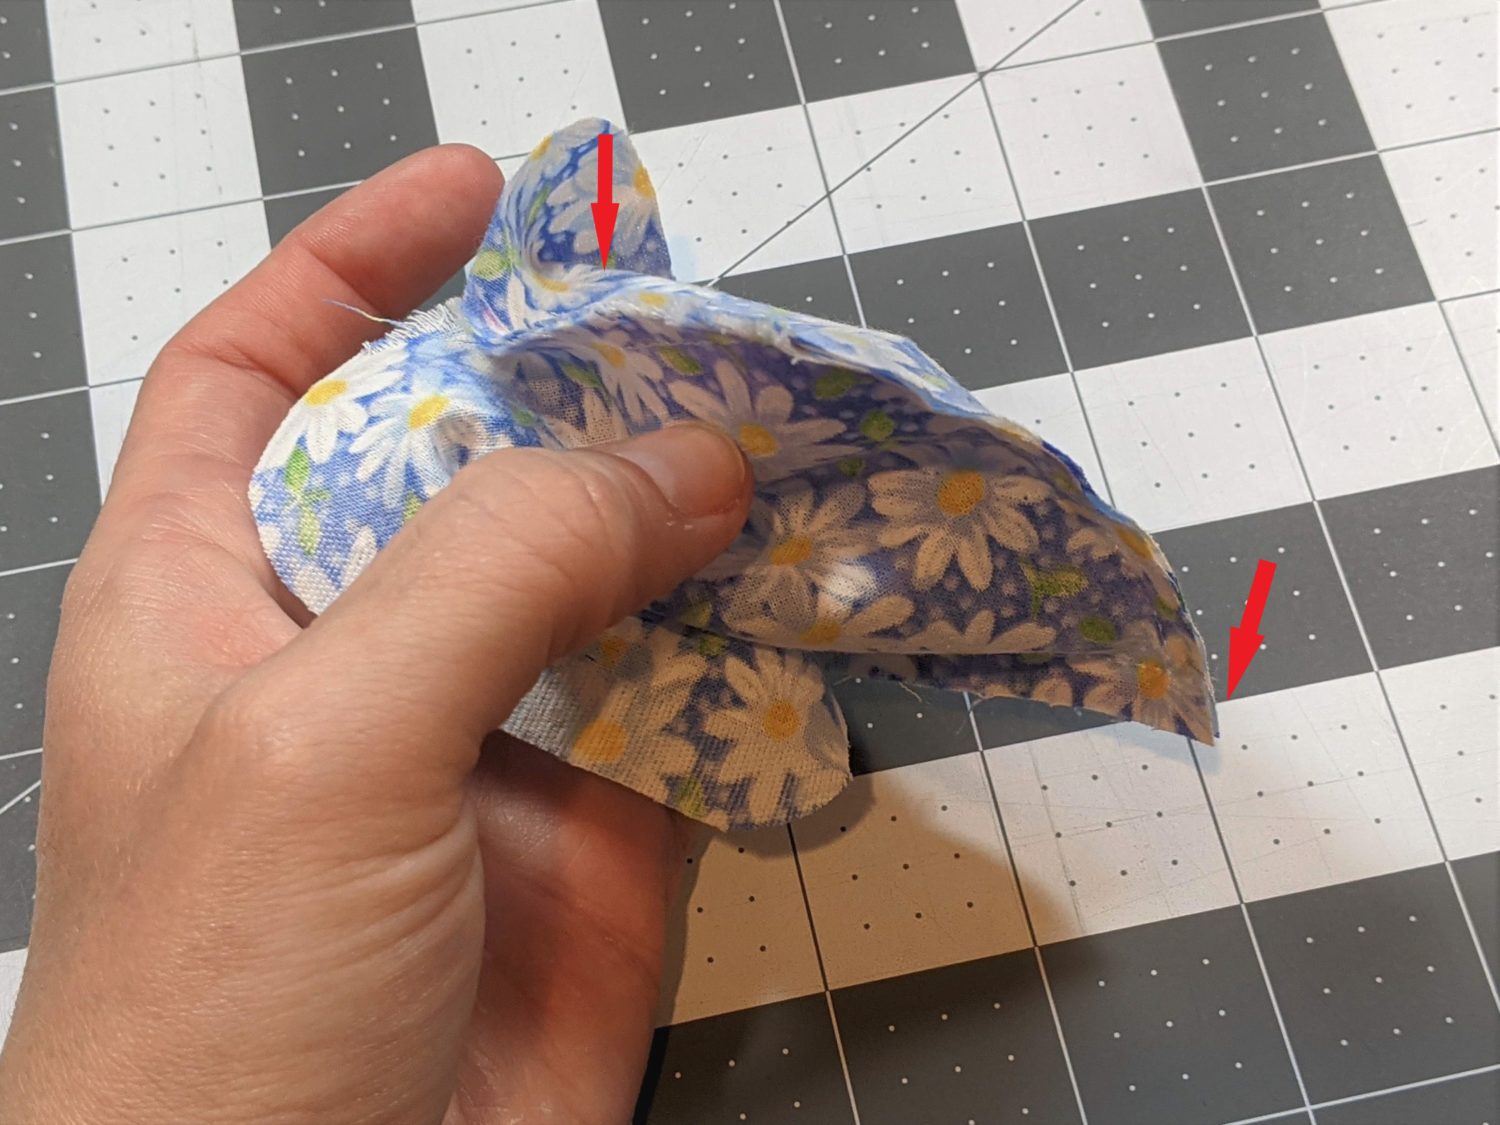
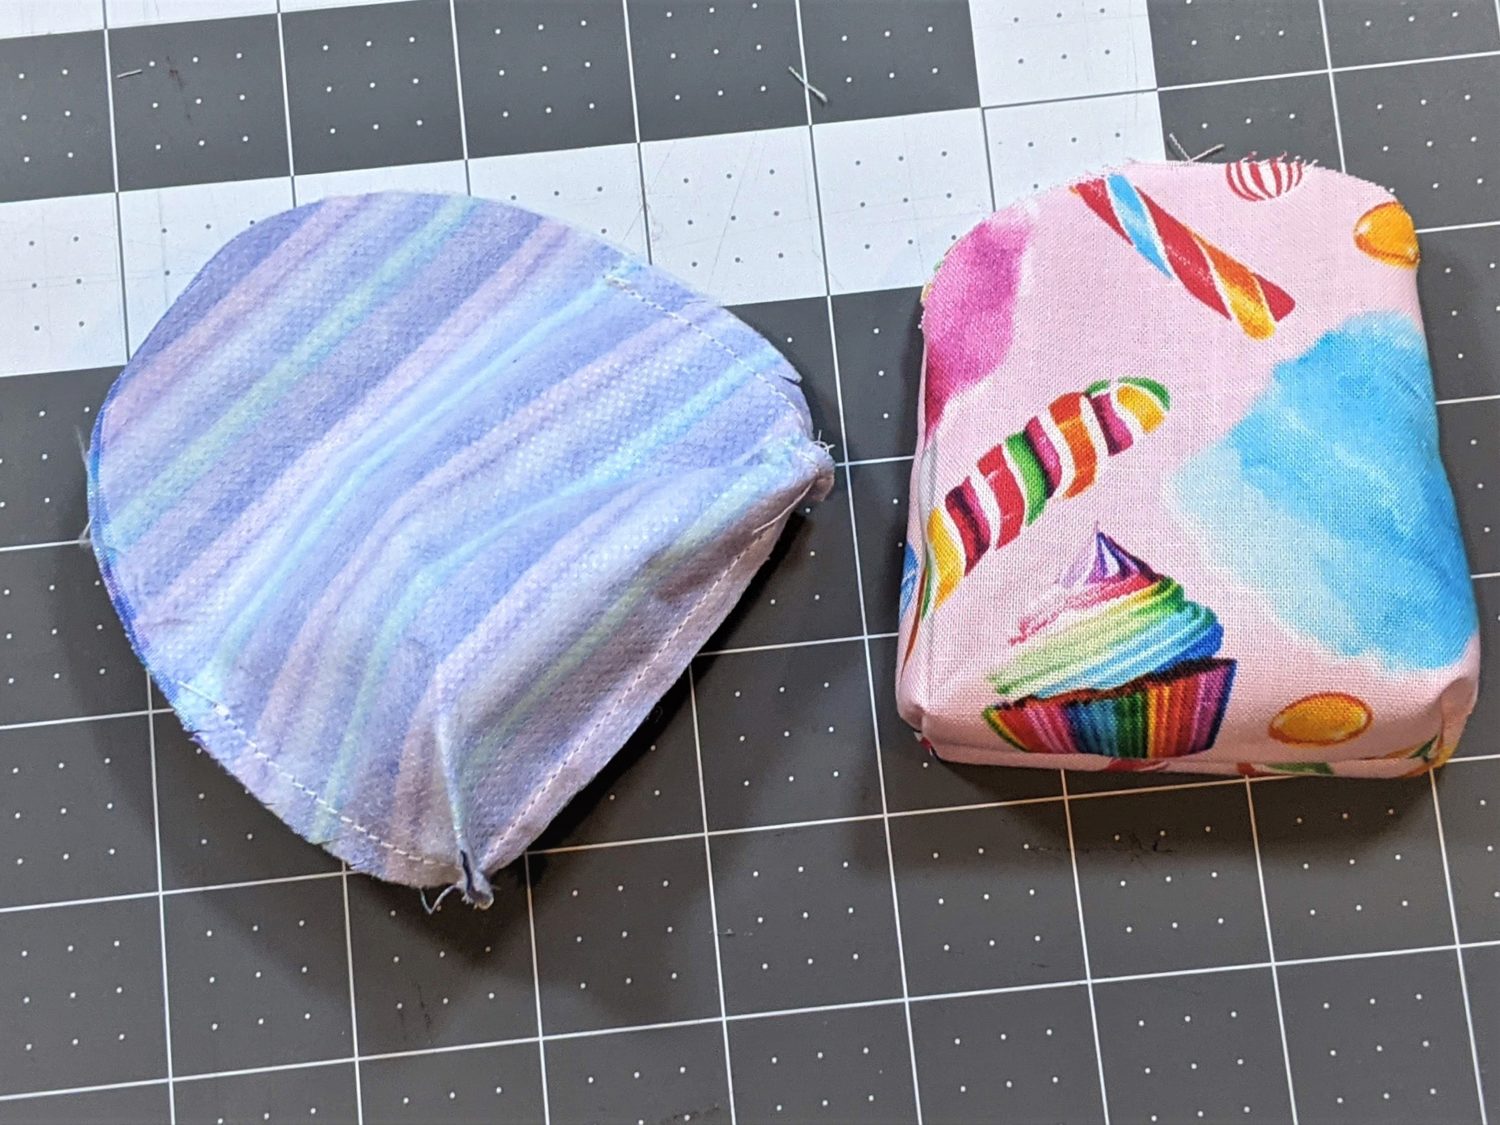
- At the bottom edge of the main and lining pieces, take each corner and push the seam flat creating a flat bottom and points at either side.
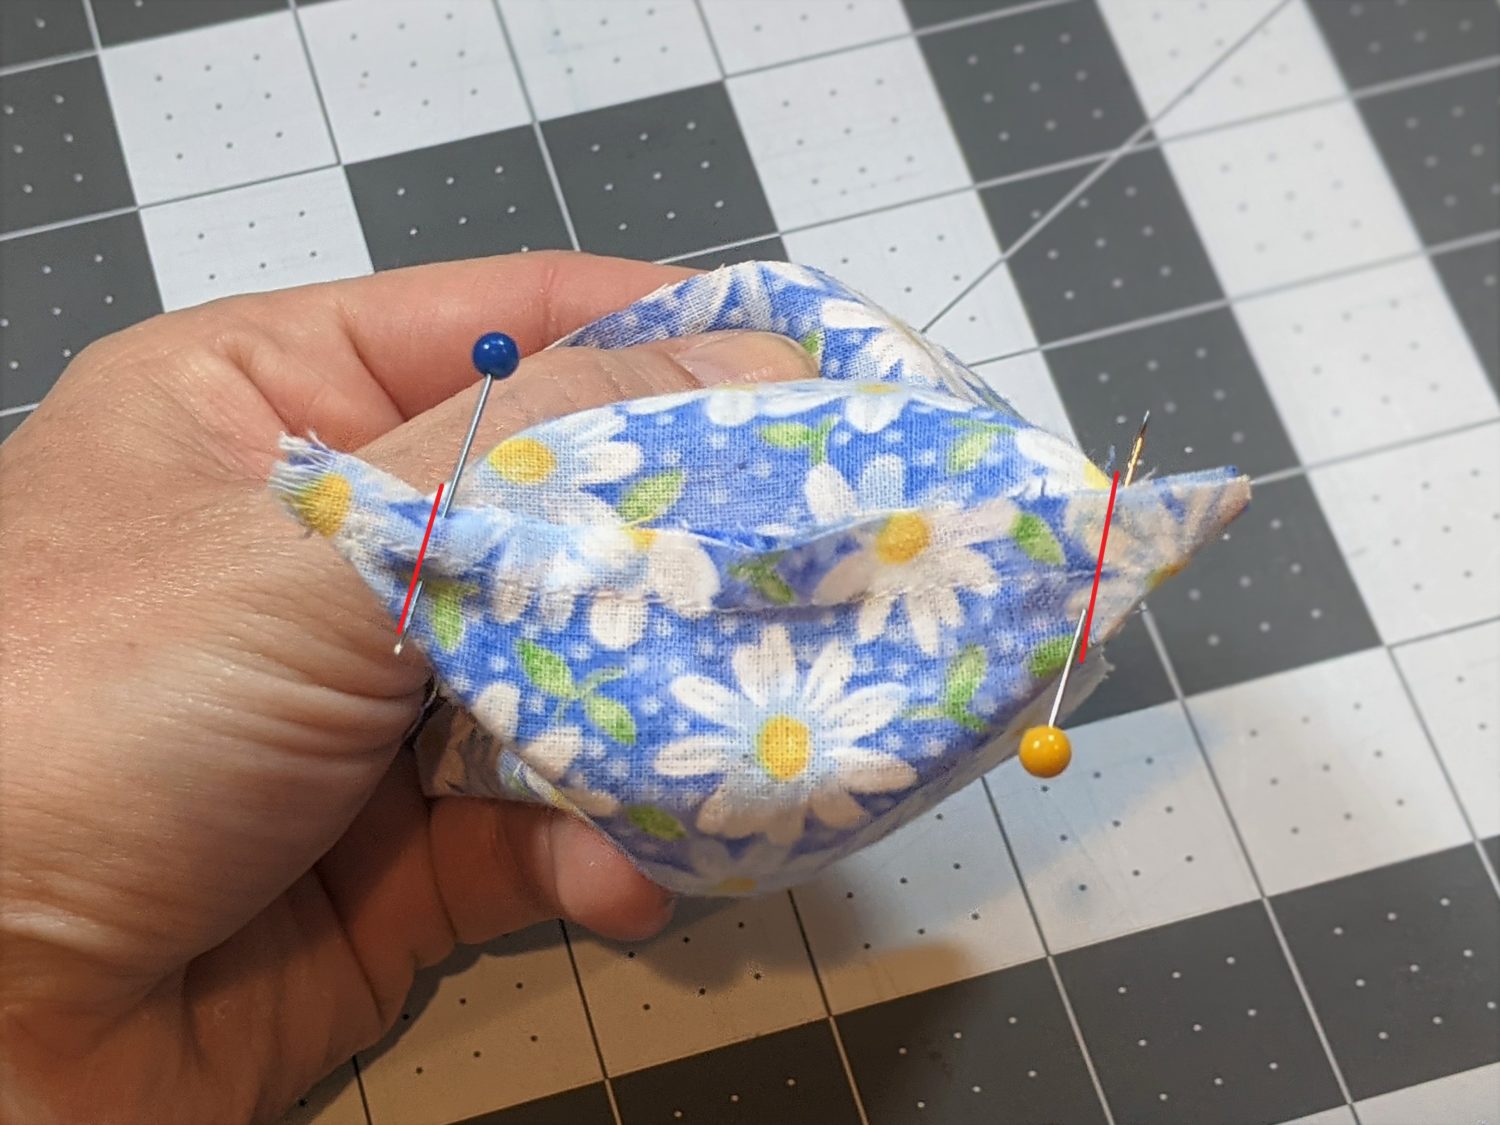
- Measure in from each point and pin. For this size, I measured 1/2″ in from the point. If yours is a different size, you may need to adjust this measurement.
- Make sure your measurement is the same for all of the corners.
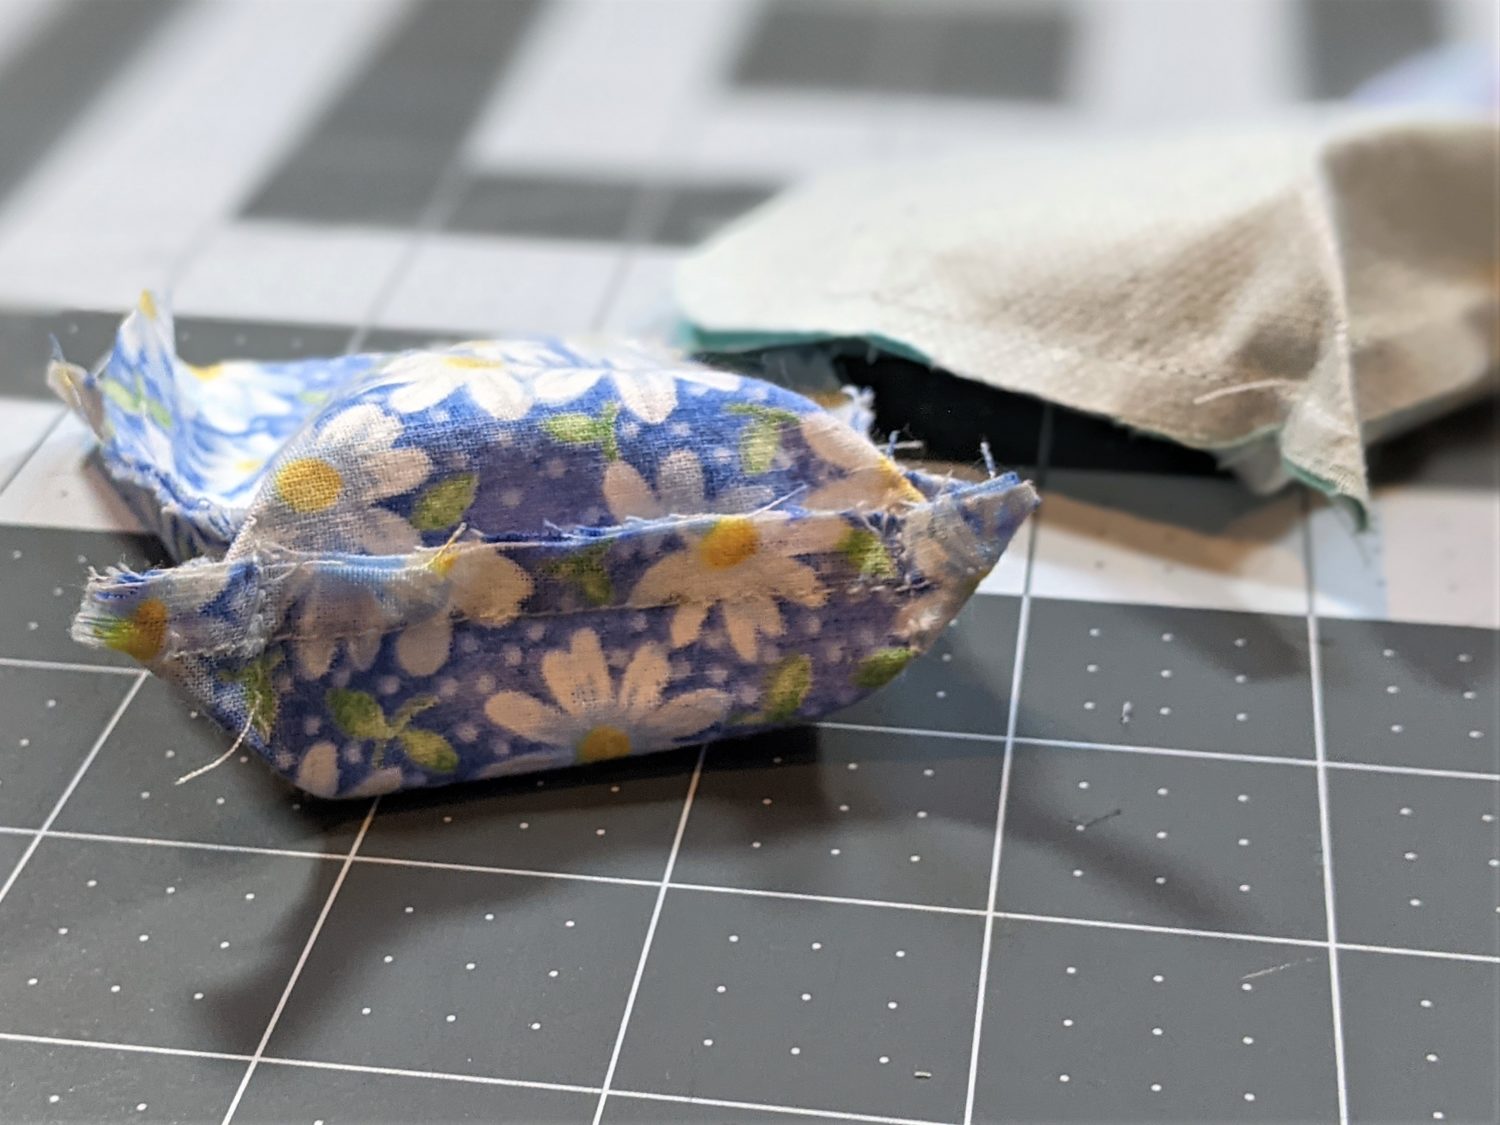
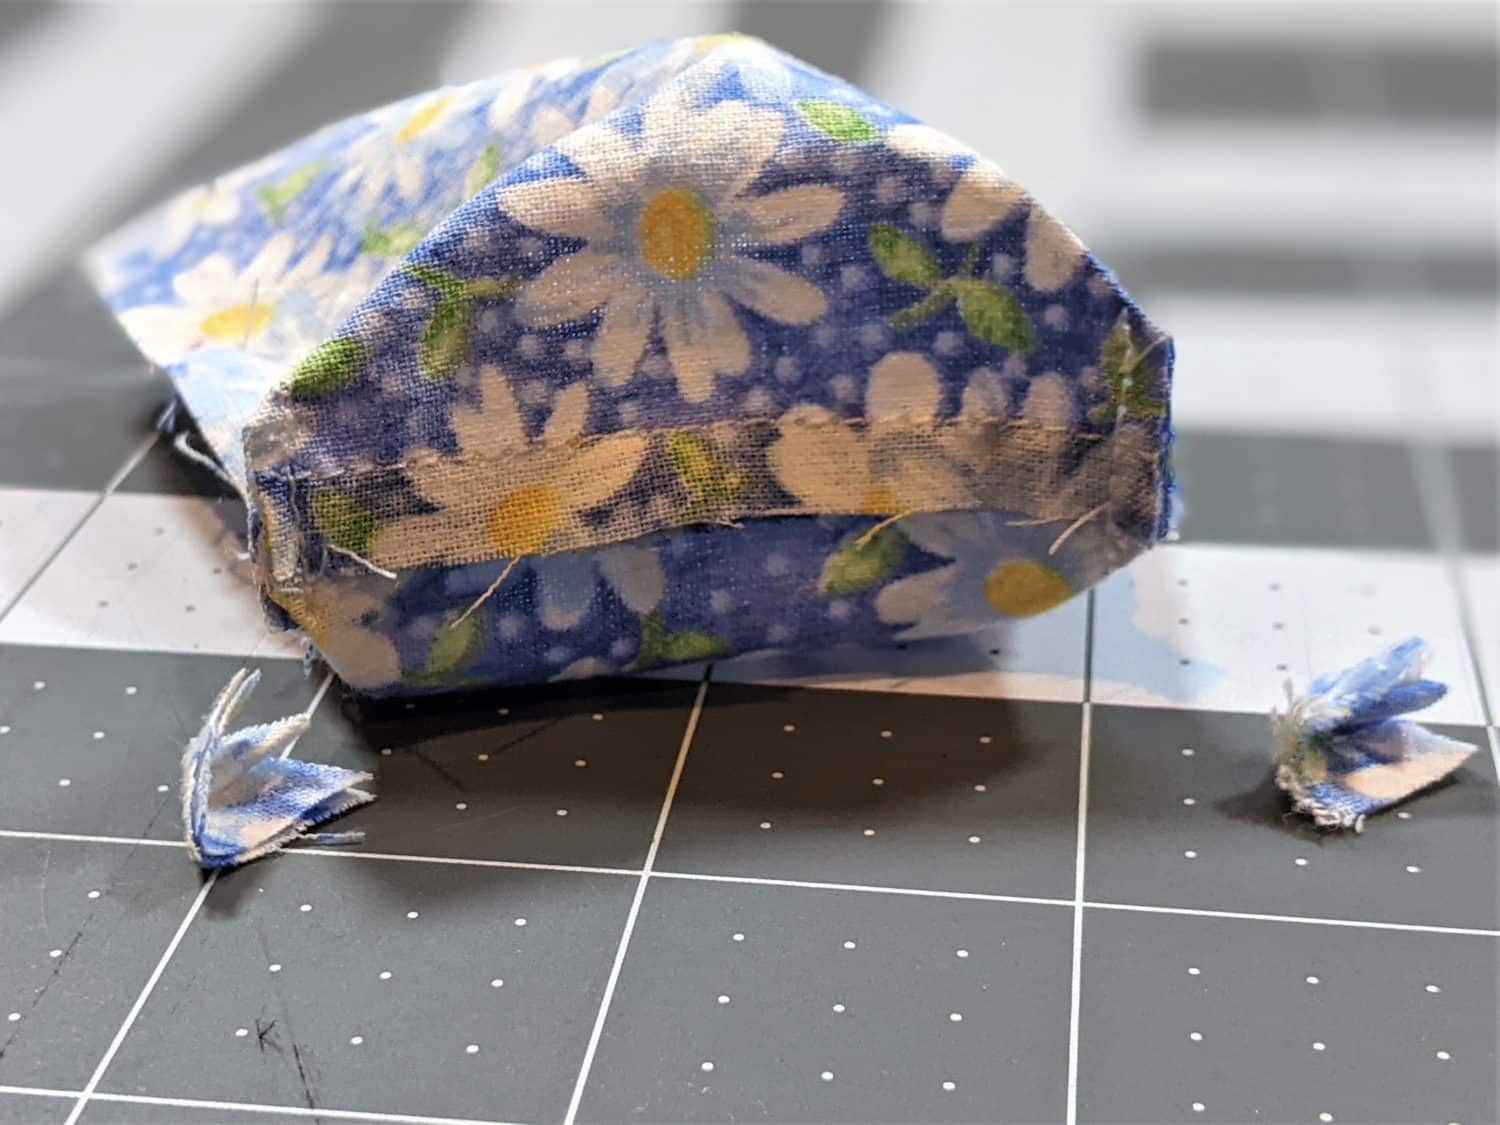
- Sew with a straight stitch along the pinned line.
- Cut off the point close to the stitching.
Put the Main and Lining Together
- Turn the main piece right side out.
- Slide the lining piece inside the main with the wrong sides together.
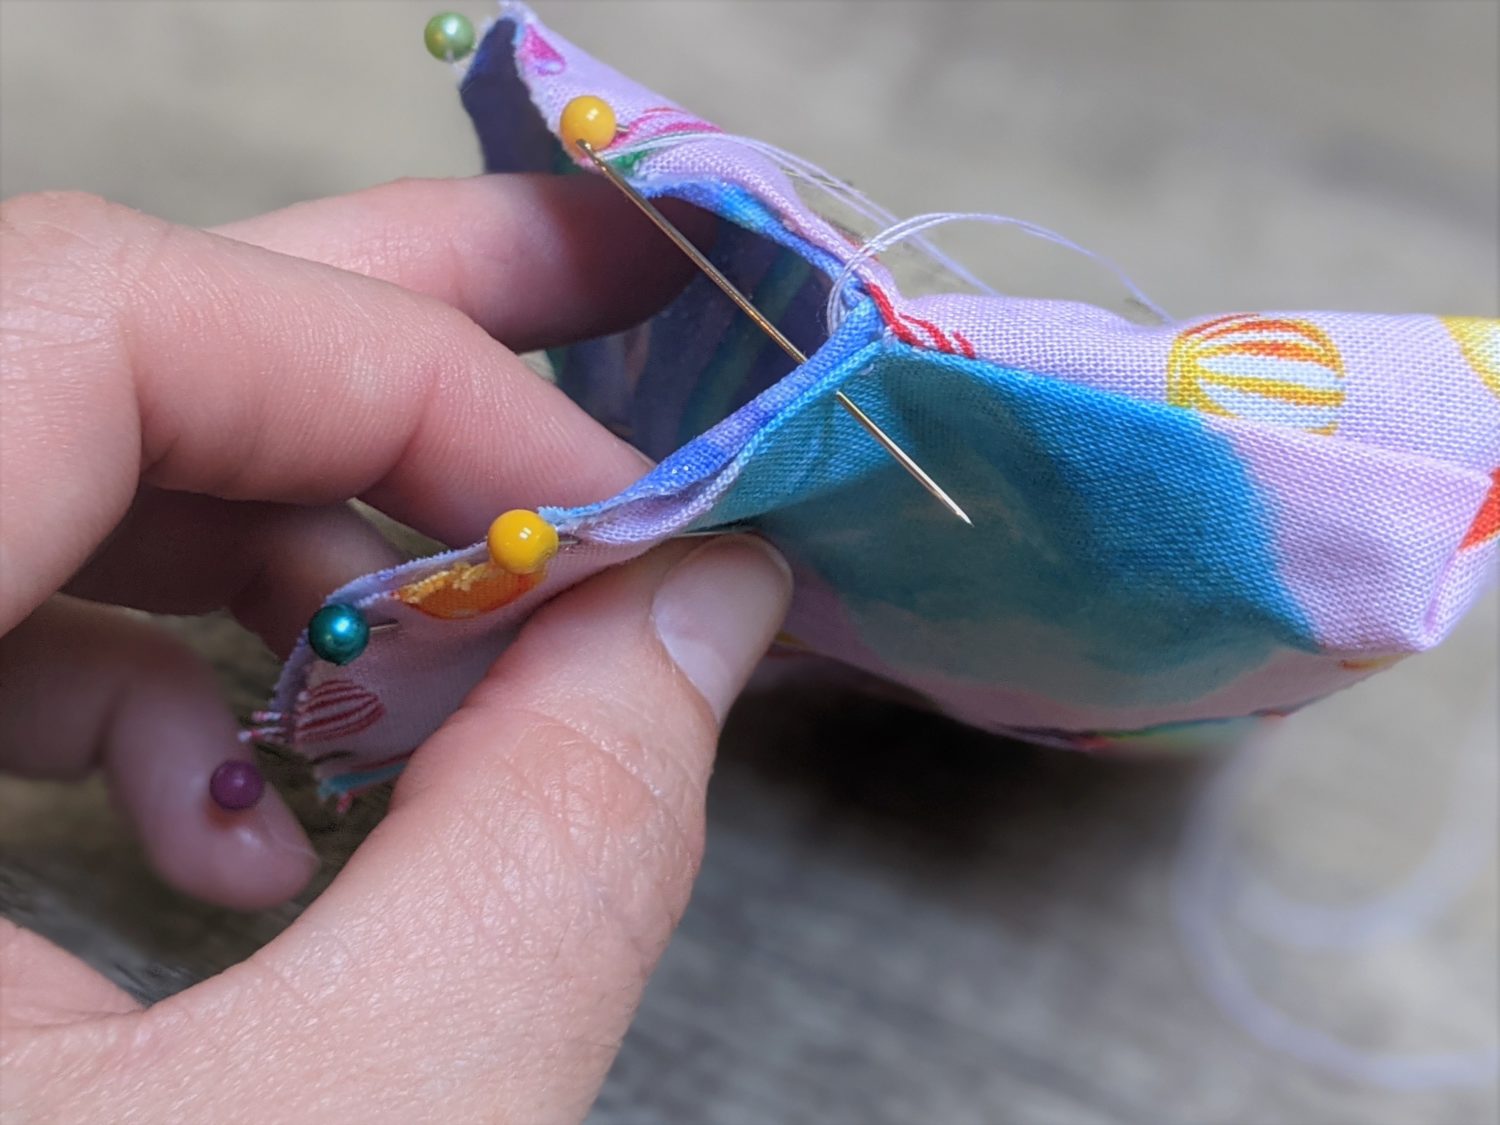
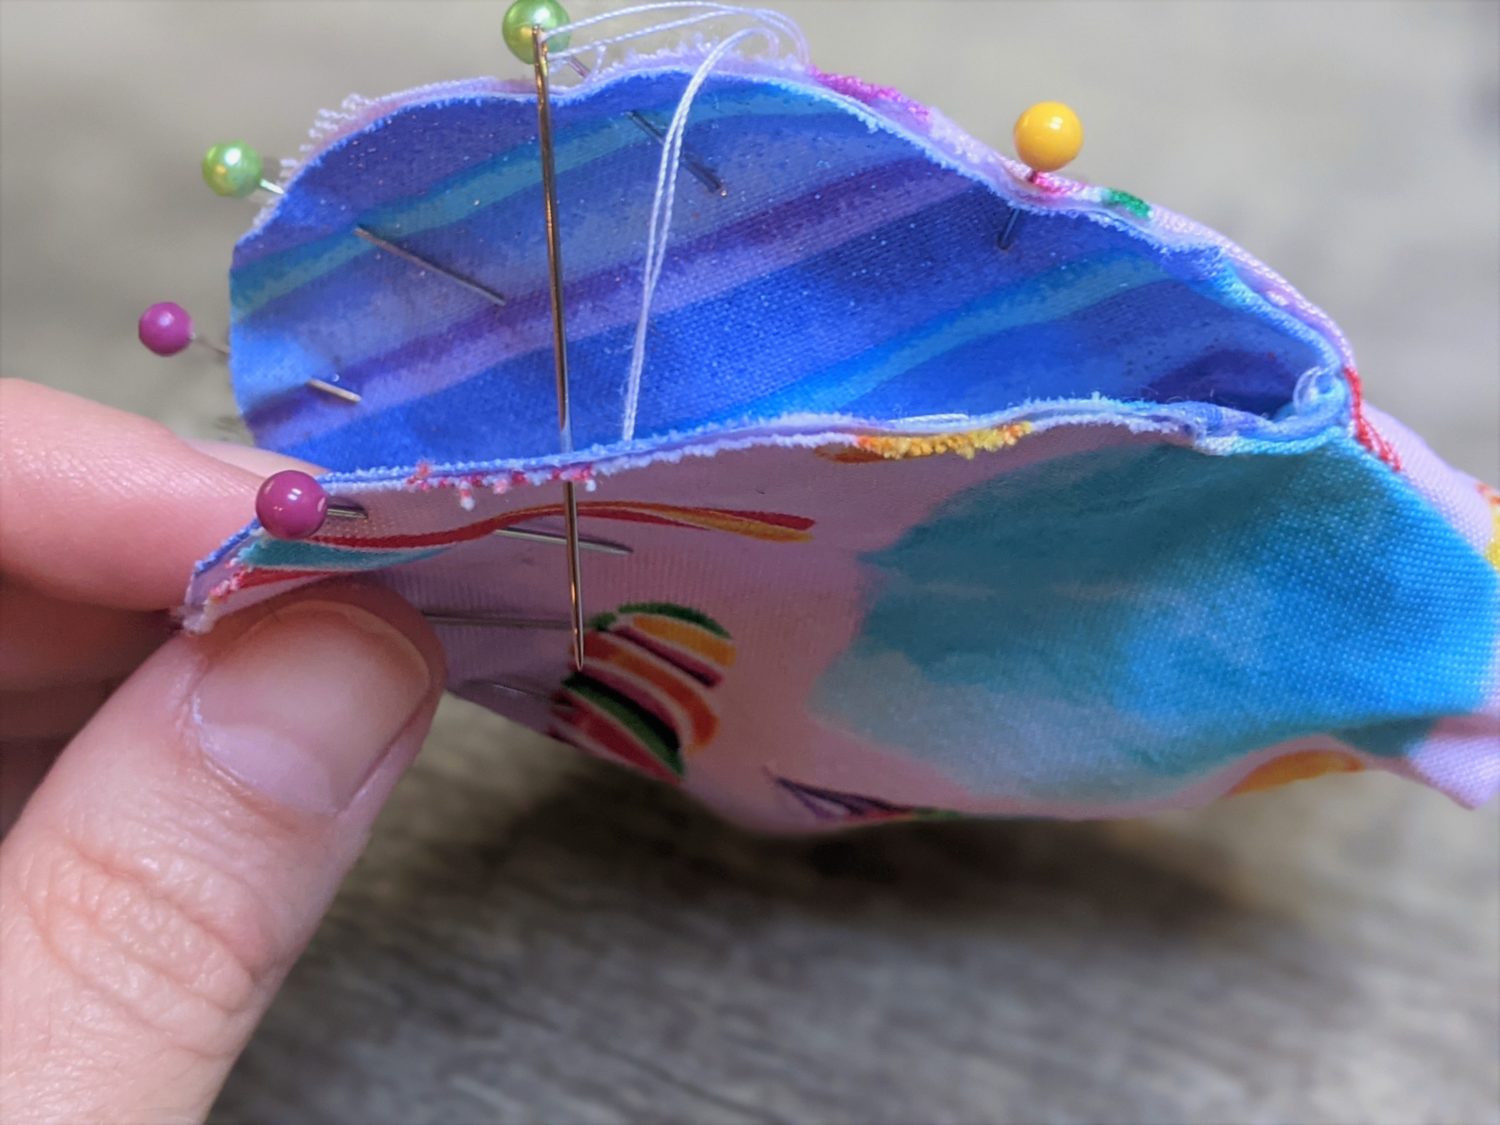
- At the hinge points, turn the raw edge of both pieces in and pin together to enclose those raw edges.
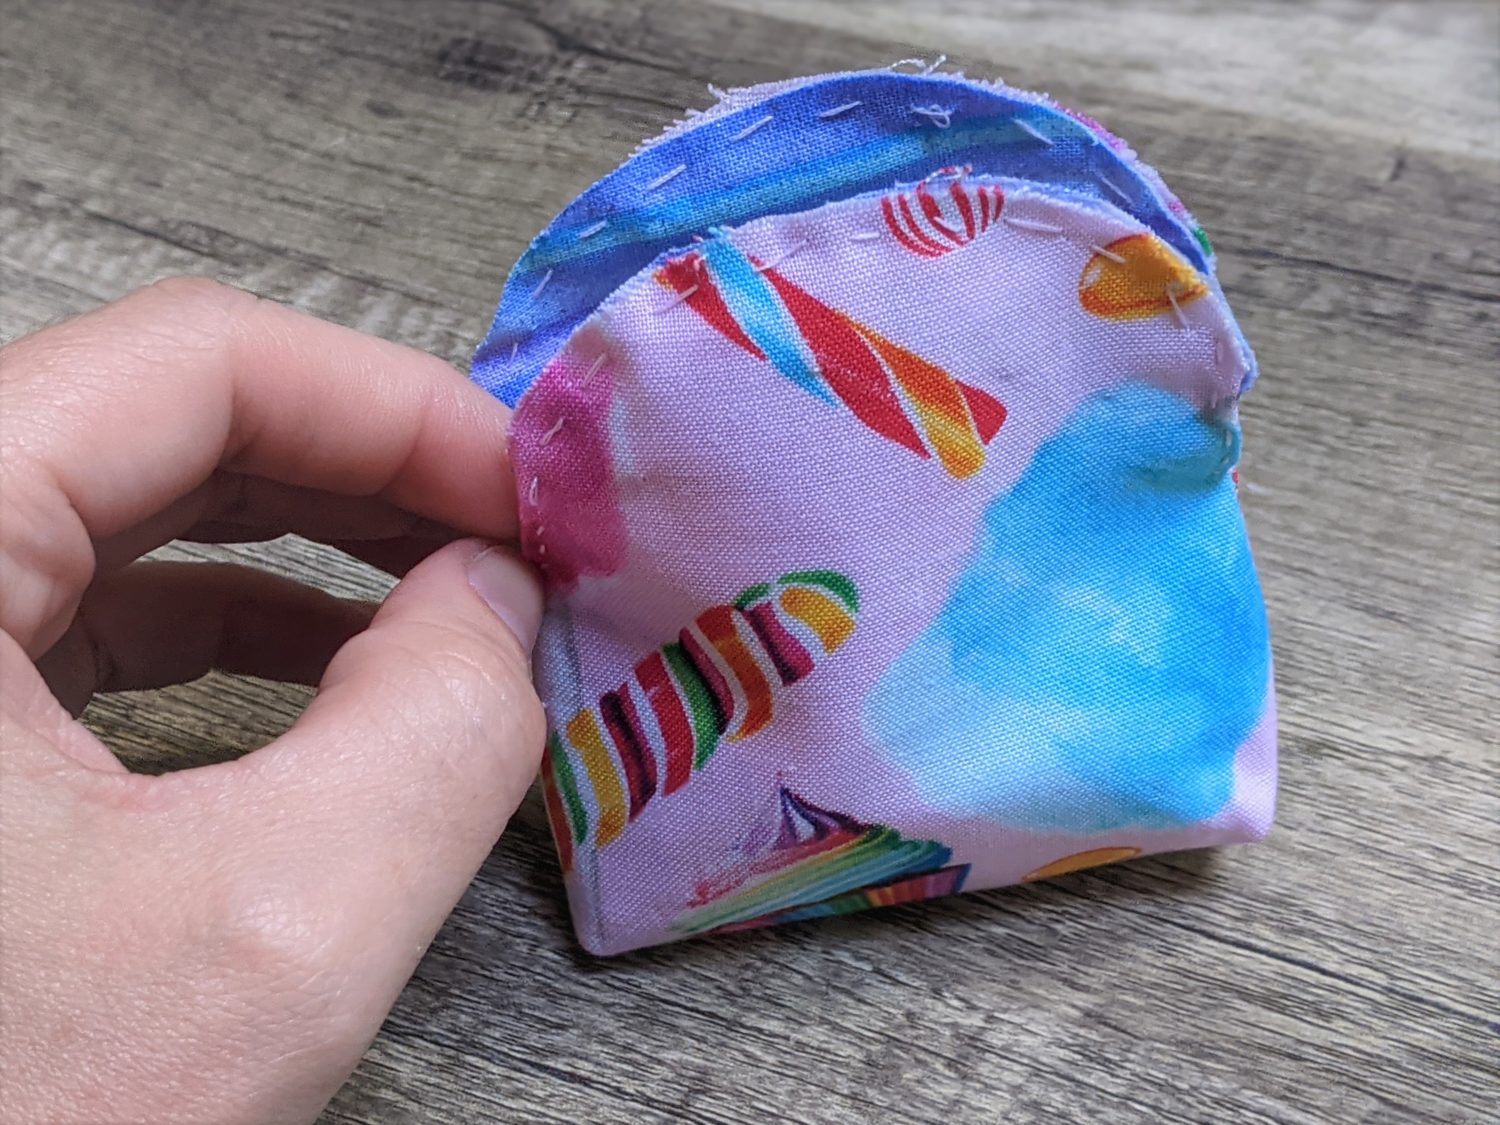
- Pin along the rest of the top edges.
- The top edges will be hidden underneath the clasp so I left them raw. If you prefer, you can turn them in to enclose them just like the hinge points.
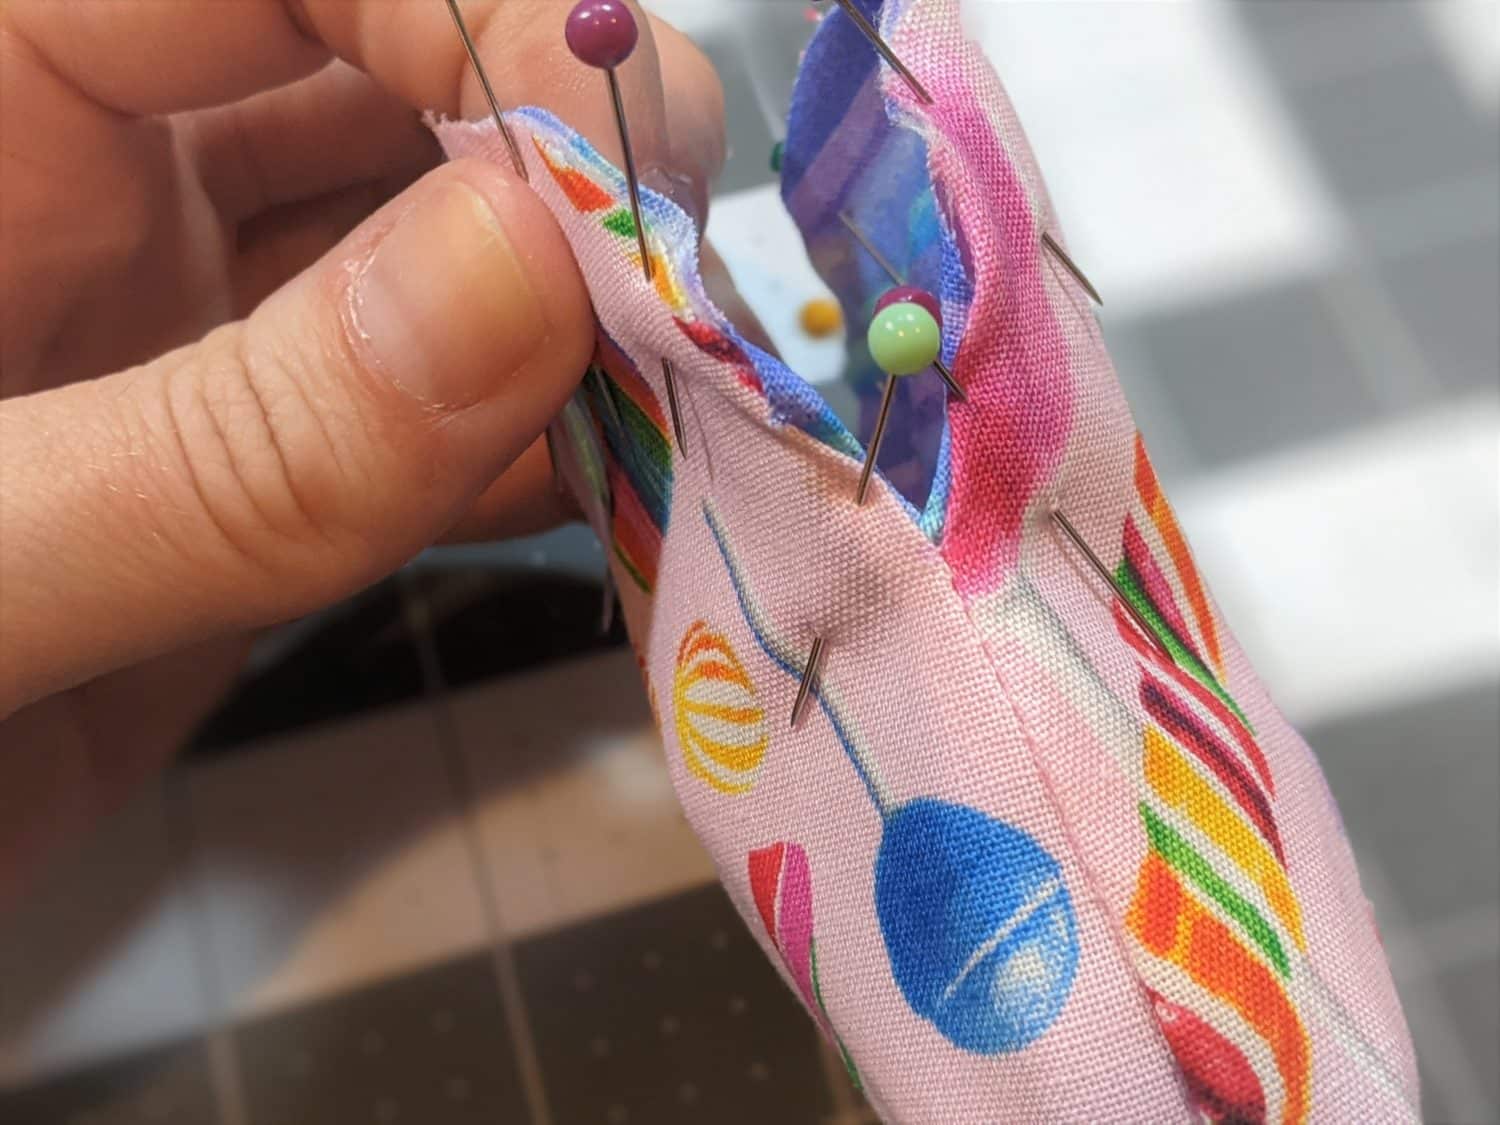
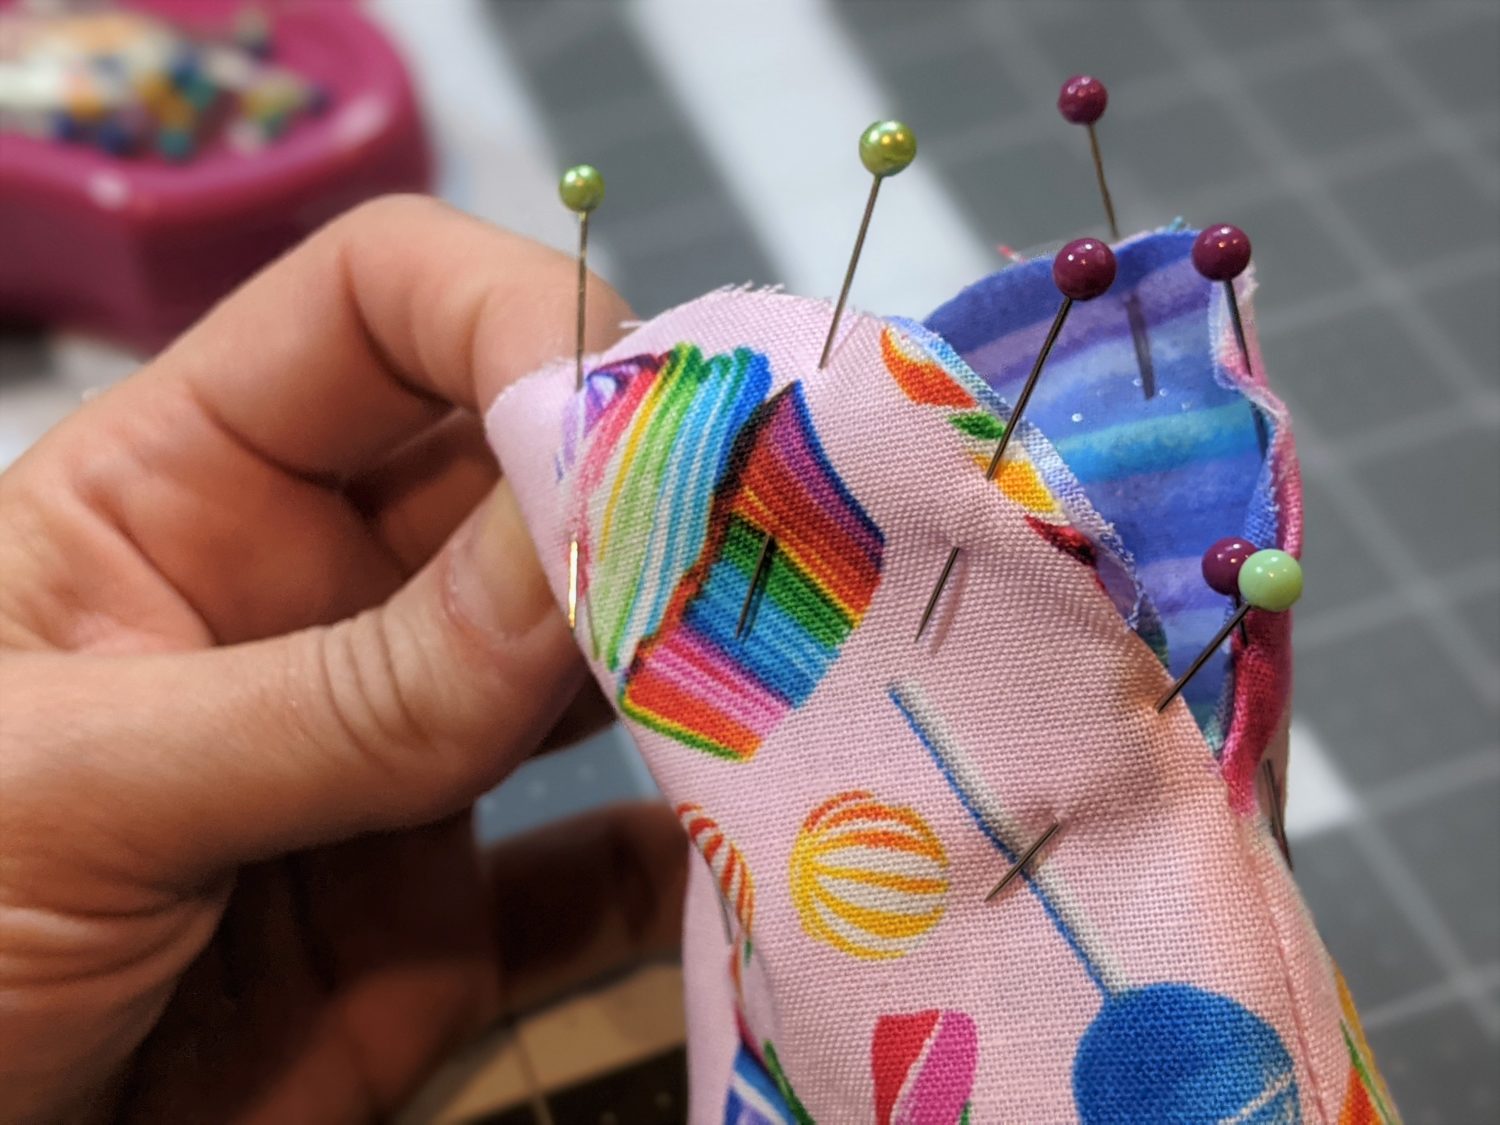
- Starting at one hinge point use a needle and coordinating thread and sew small stitches close to the edge.
- Continue sewing around the top edges using a longer basting stitch to hold everthing in place, then repeat the small stitches on the other hinge point.
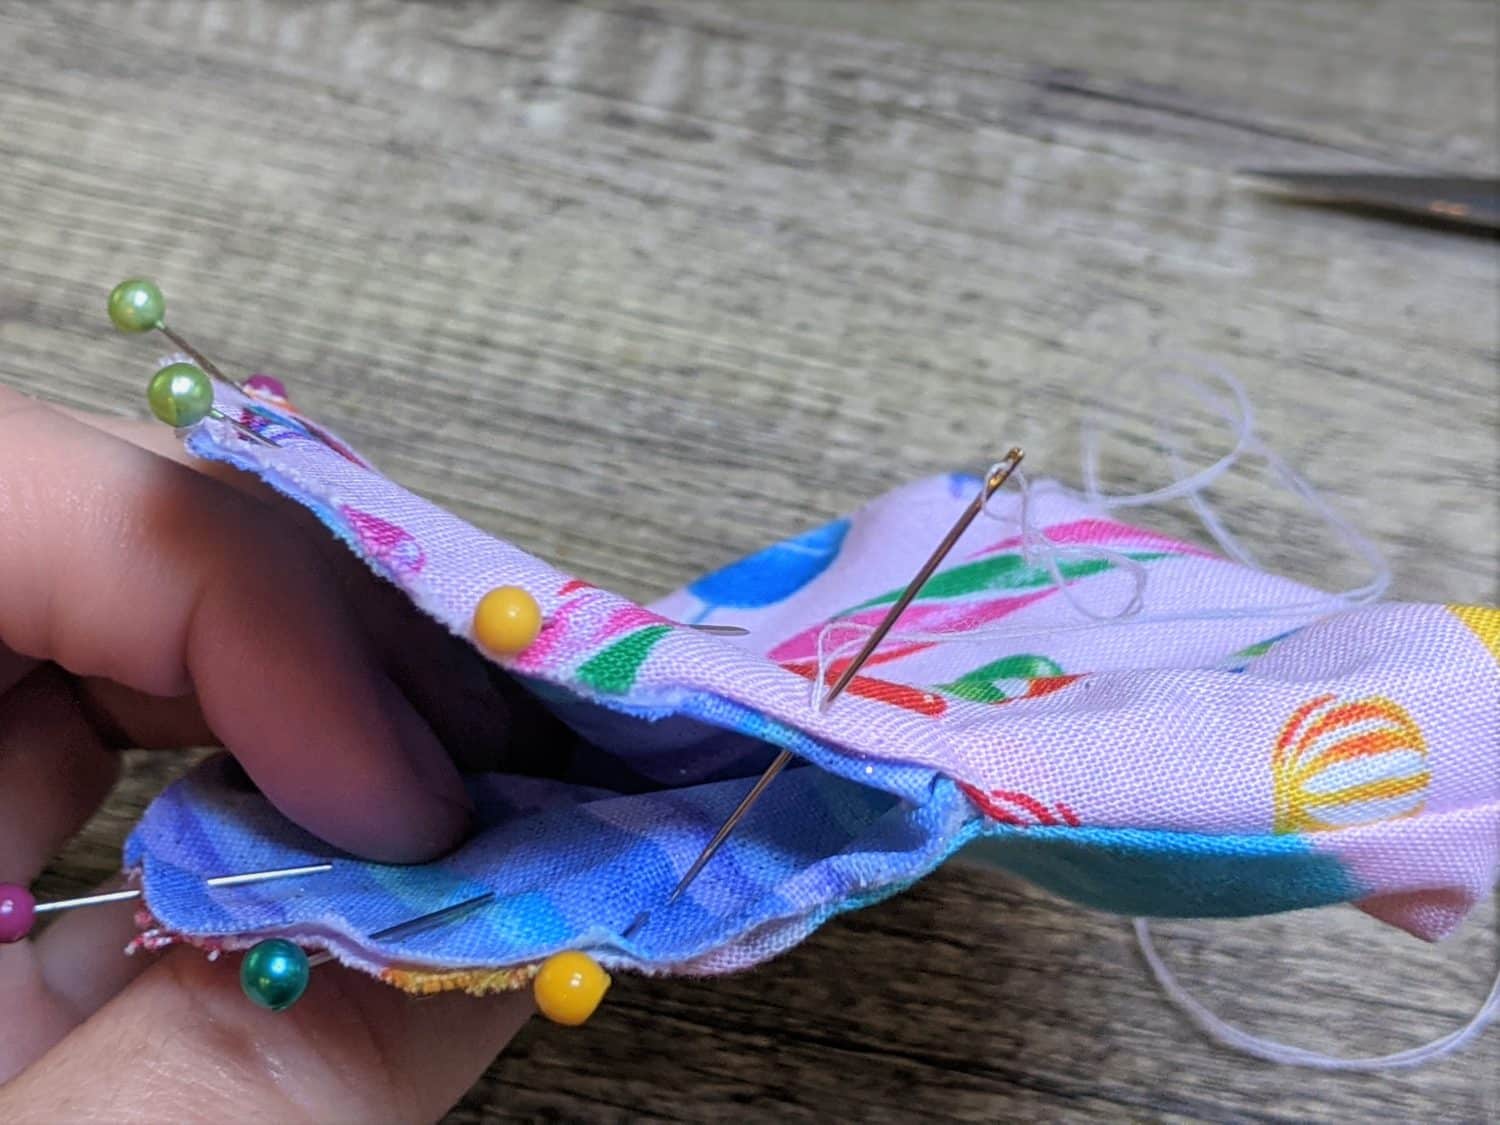
Attatching the Clasp
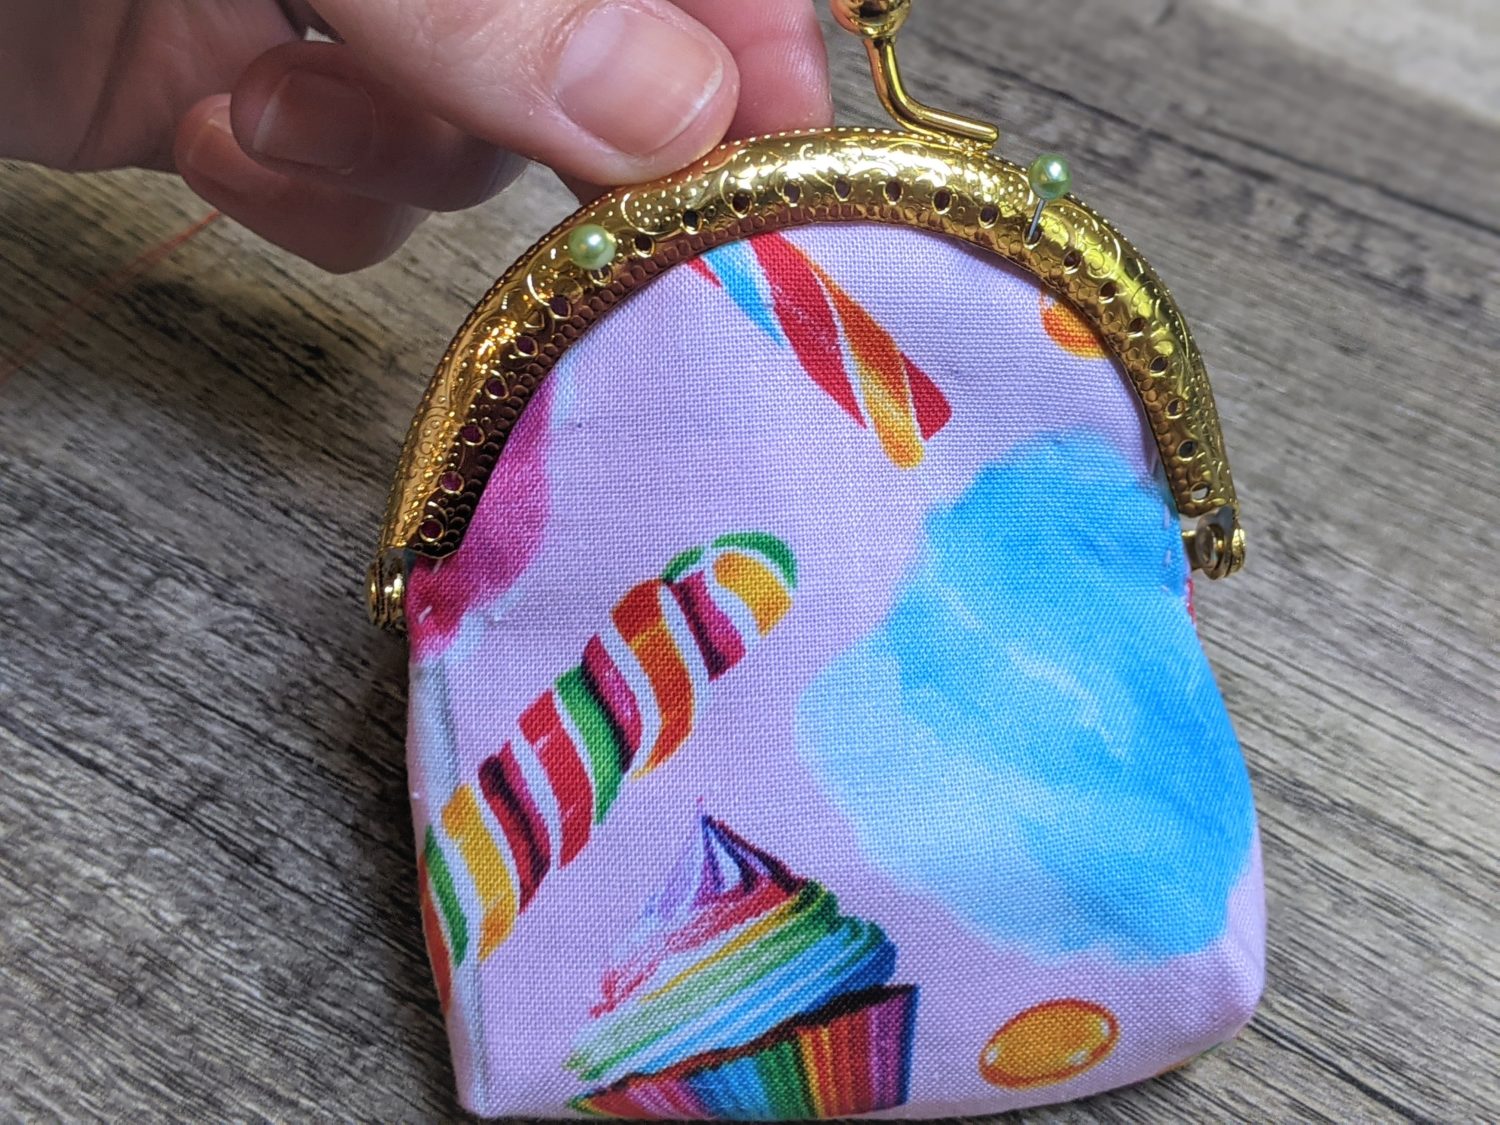
- Slide the clasp over one edge of the purse pushing the fabric all the way up to the top.
- Pin in place or hold it between your fingers while you sew.
- Use a contrasting thread that will be easily visible when removing later to baste the clasp to the fabric.
- Insert the needle from the front through the first hole in the clasp and push it through the fabric at an angle coming out just under the back edge of the clasp.
- Use a straight stitch or whipstitch through each hole to hold in place.
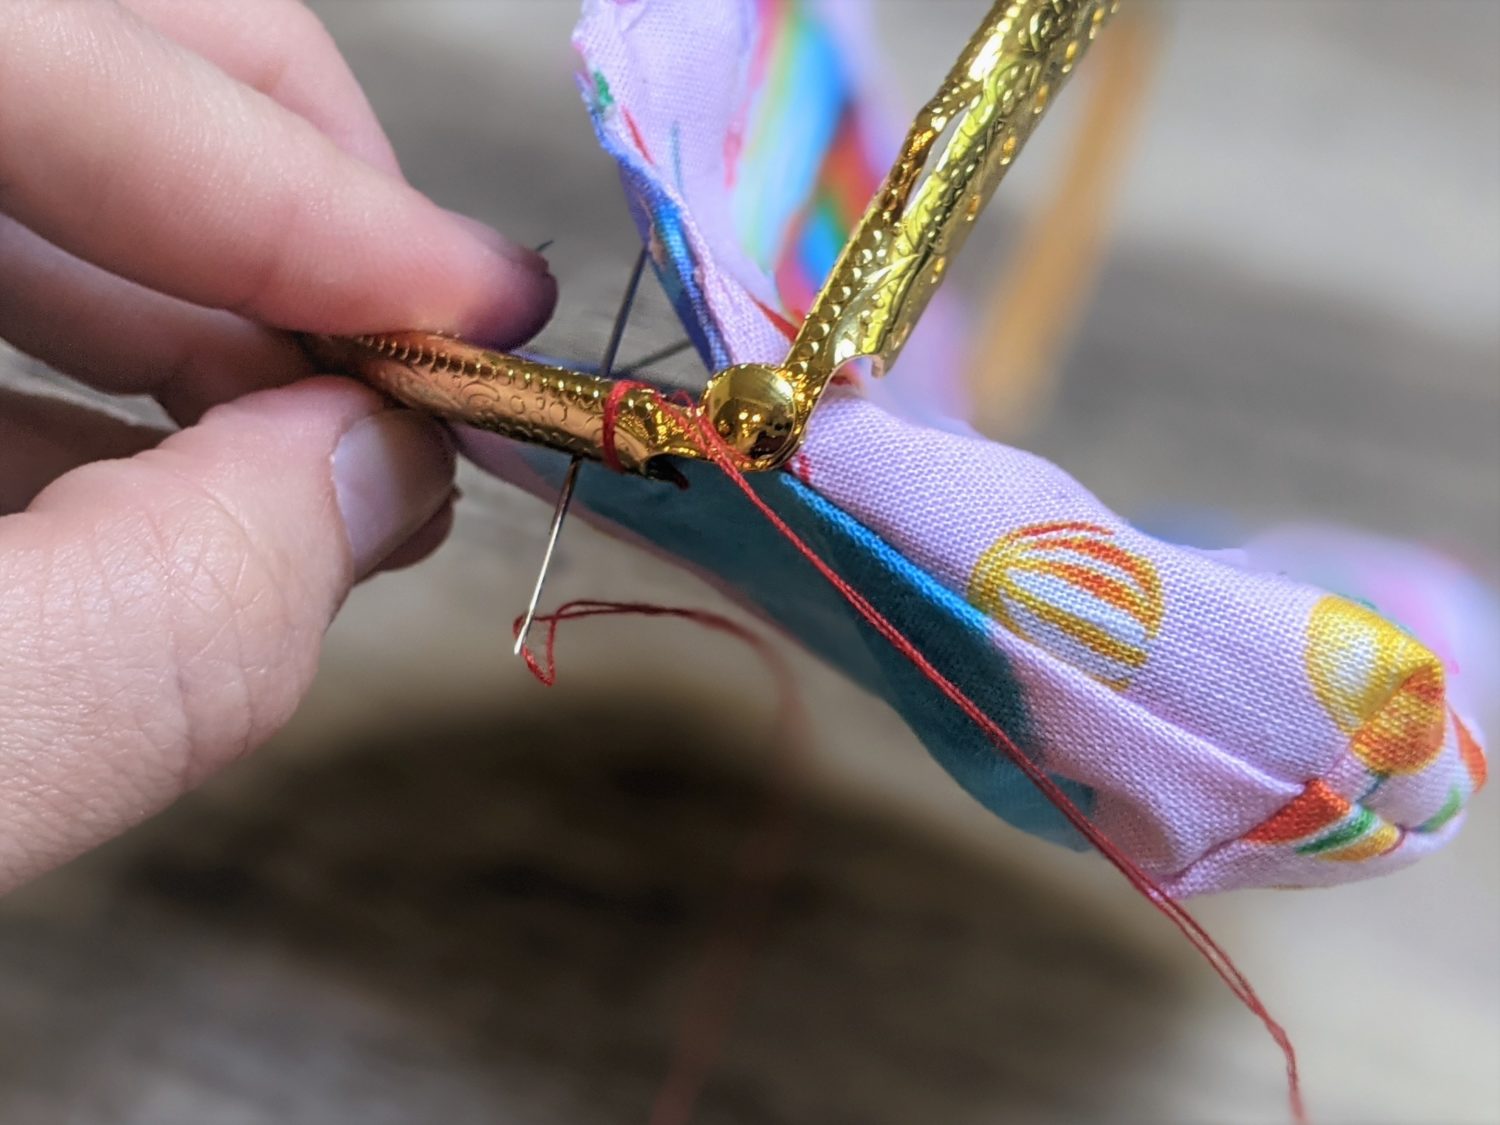
- Switch your thread to a coordinating color. This thread will be visible along the outside of the clasp.
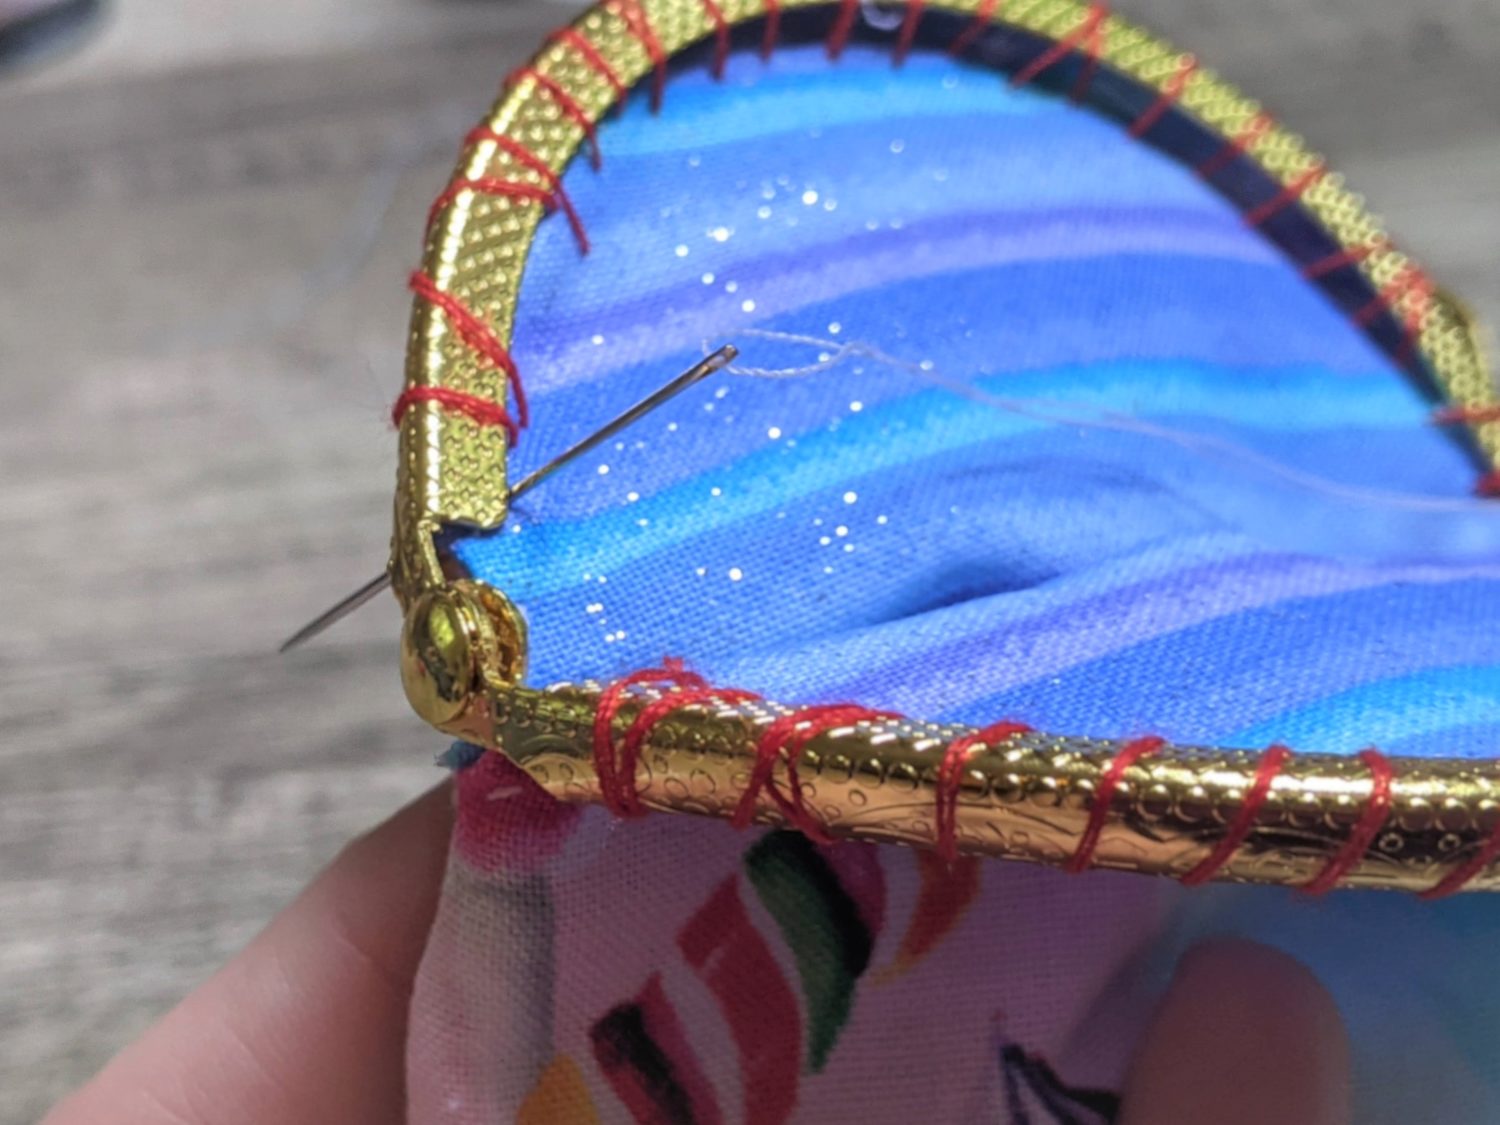
- Slide the needle in through the back underneath the clasp edge to hide the knot and push it through the first hole.
- Continue stitching along the holes in the clasp until you reach the last hole. It is a good idea to work your way back to the start to sew an extra set of stitches to keep it secure.
- Repeat on the opposite side of the purse.
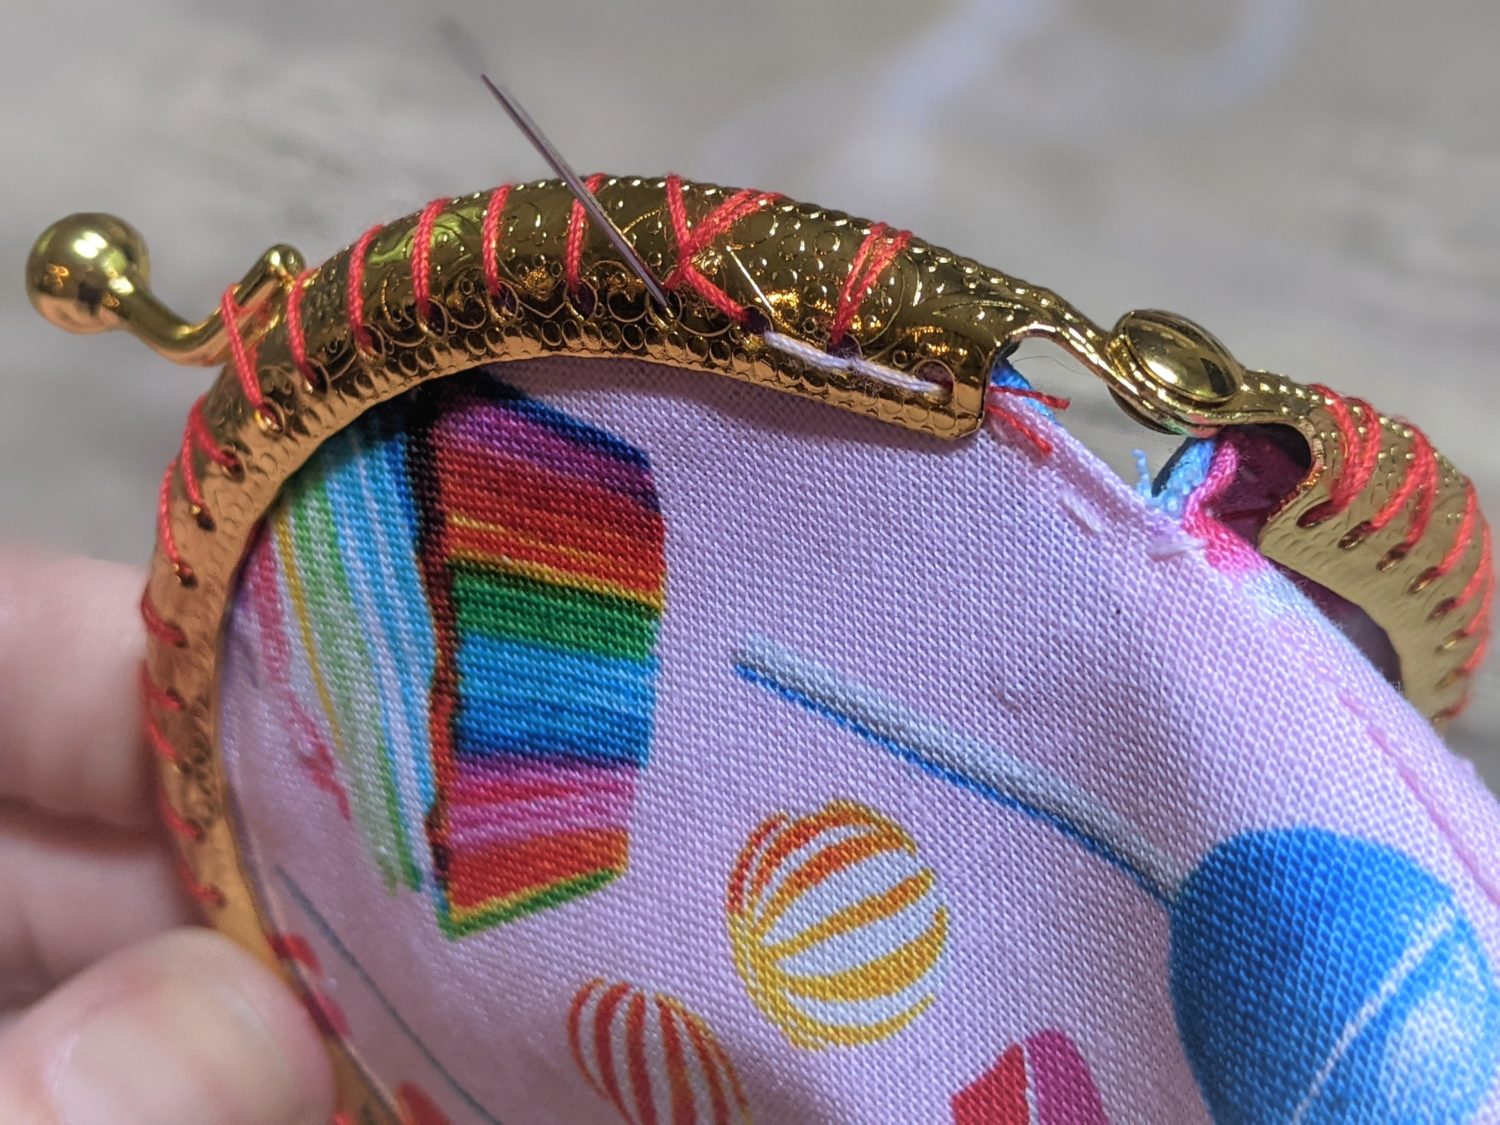
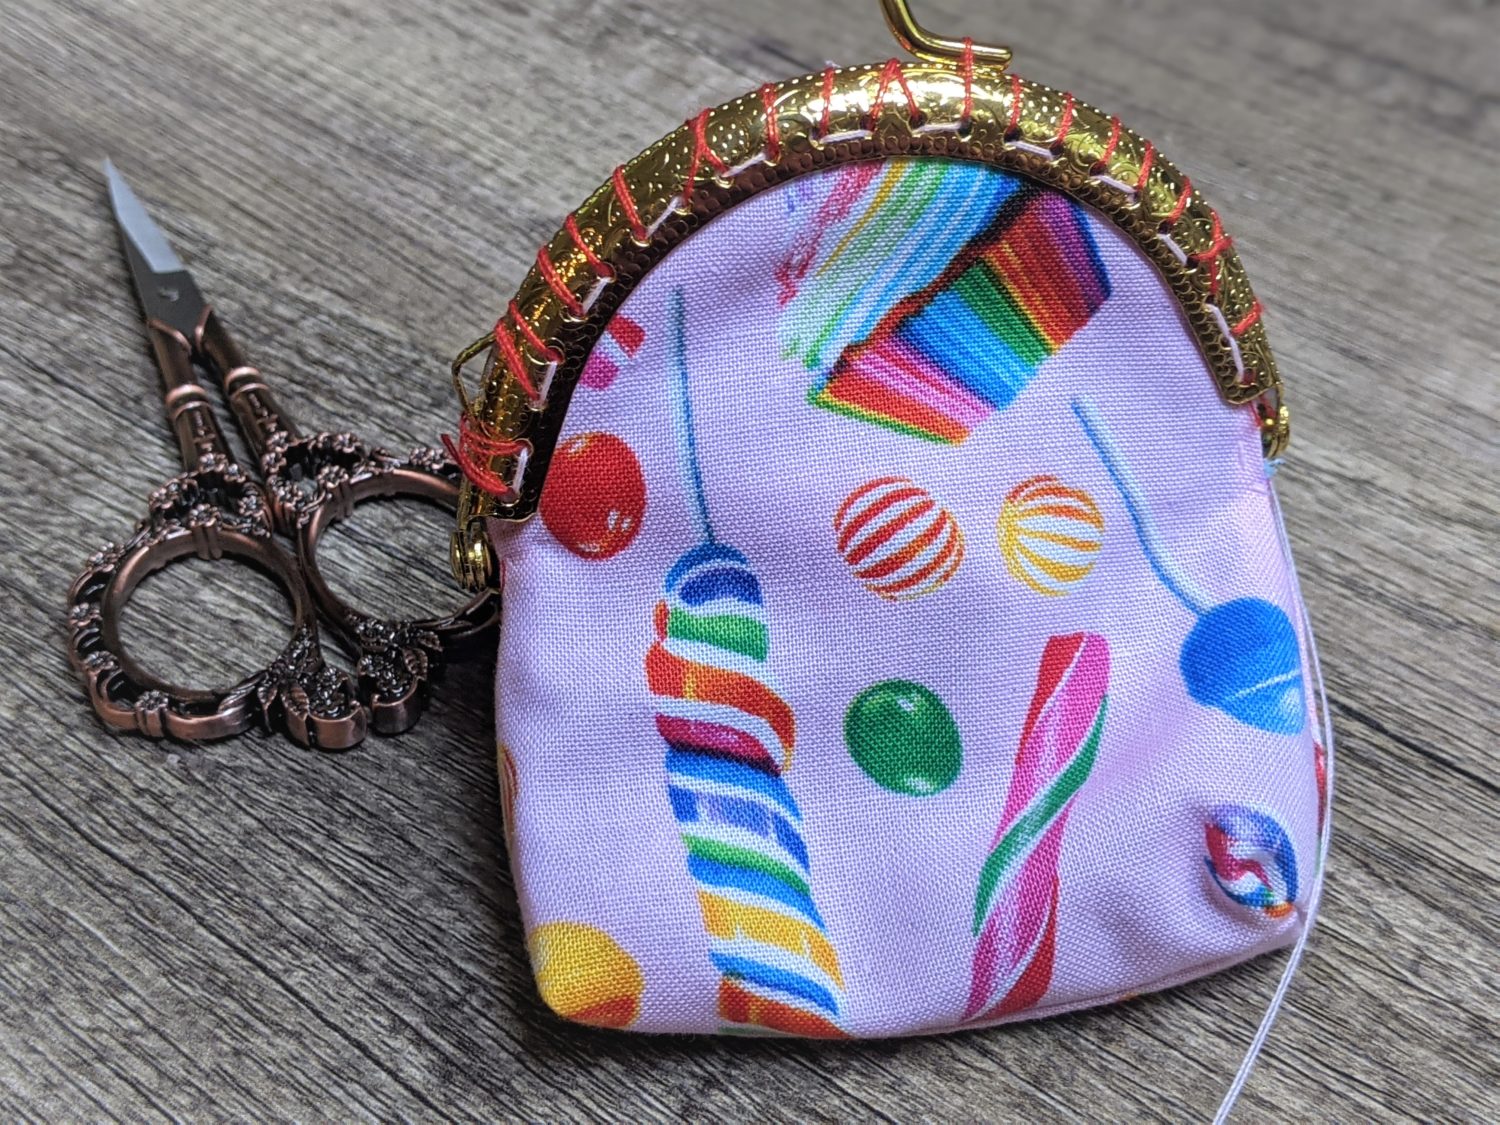
- Once you are done sewing both sides, carefully cut the basting thread and pull it out.
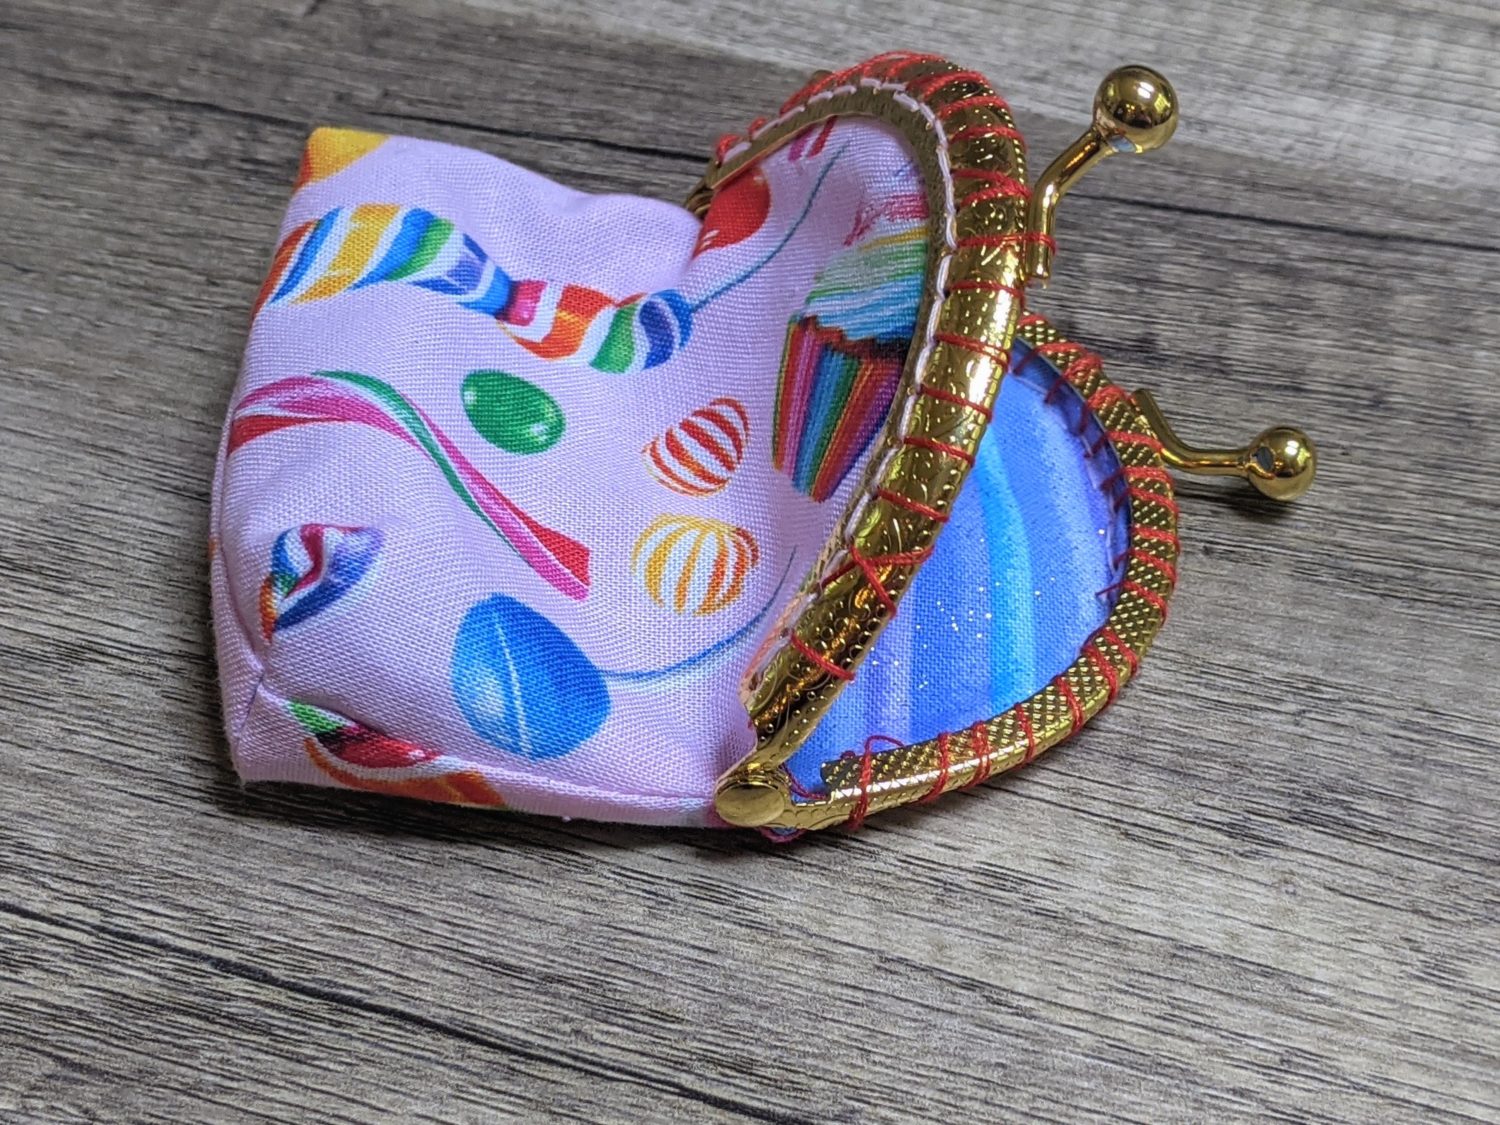
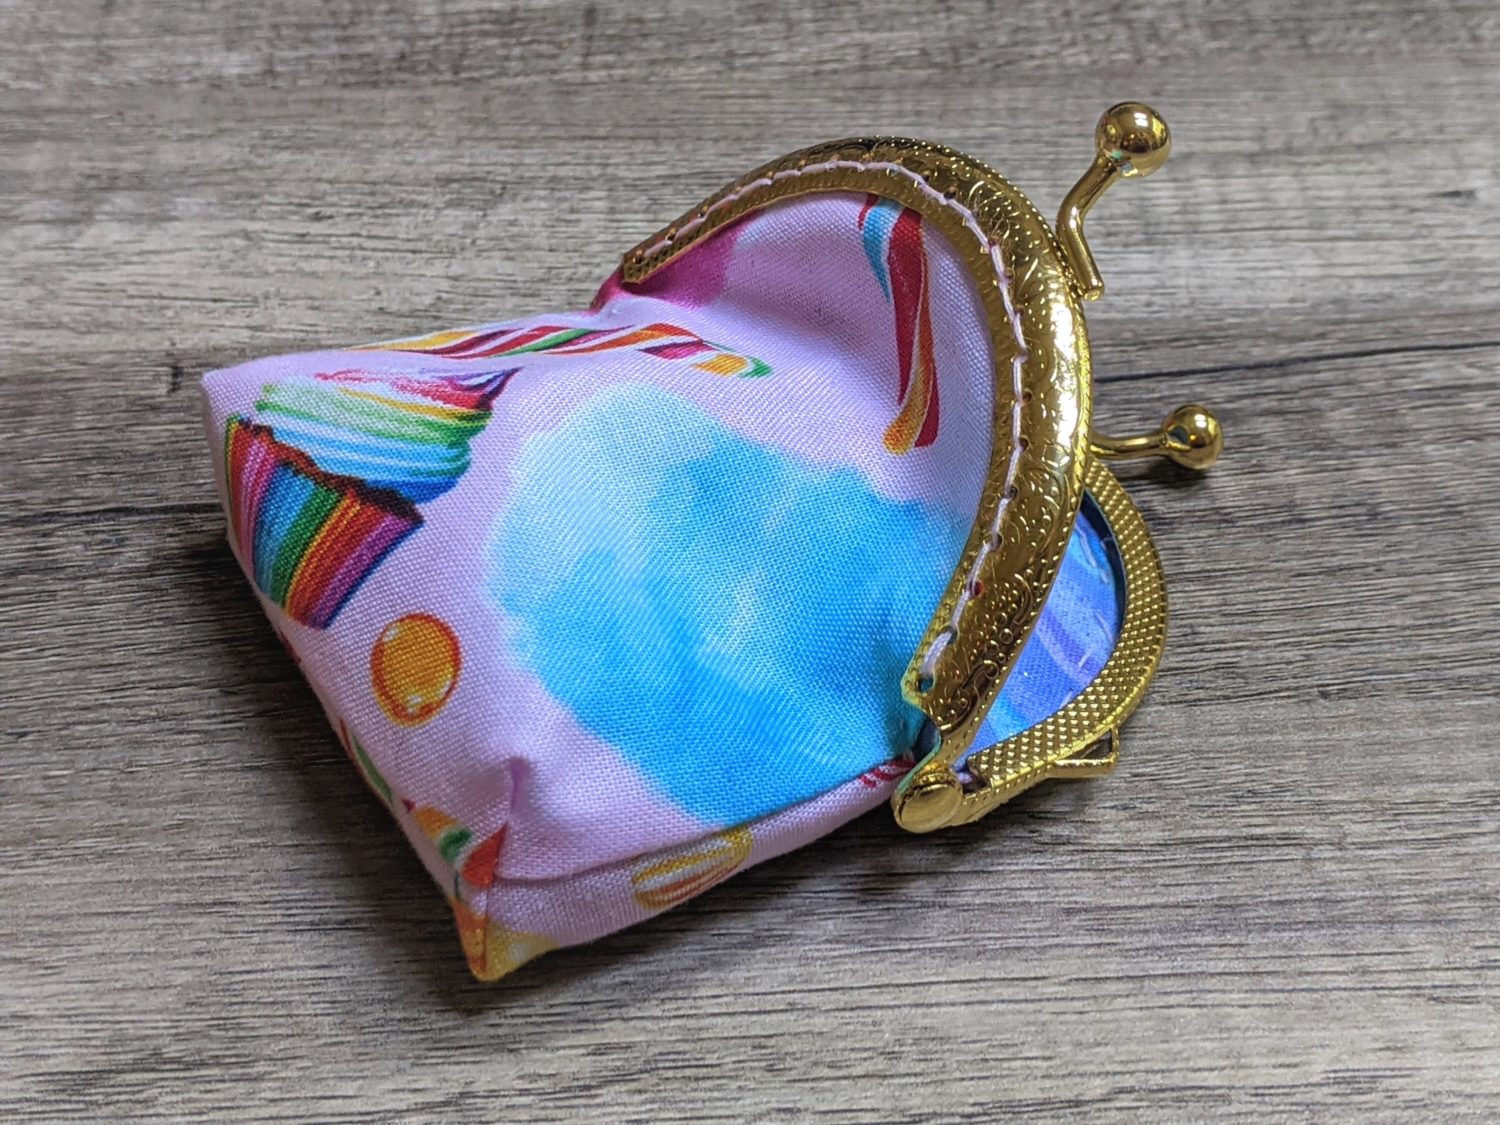
Fill them up with coins and treasures and you’re set!
Want more FUN DIY Freebies? Check out the FREEBIE TUTORIALS and the FREEBIE PATTERNS!
As always, we’re here to help if you need it! Join us HERE and on Facebook, Instagram, Twitter, Youtube, and Pinterest. We’re everywhere you are.
THANK you for the tutorial. I made a purse. seems like the purse frame is wider than what the fabric fills up inside it. I’m tempted to use the pliers to squeeze it shut.. would it be okay to do that? or should I just let it go?