
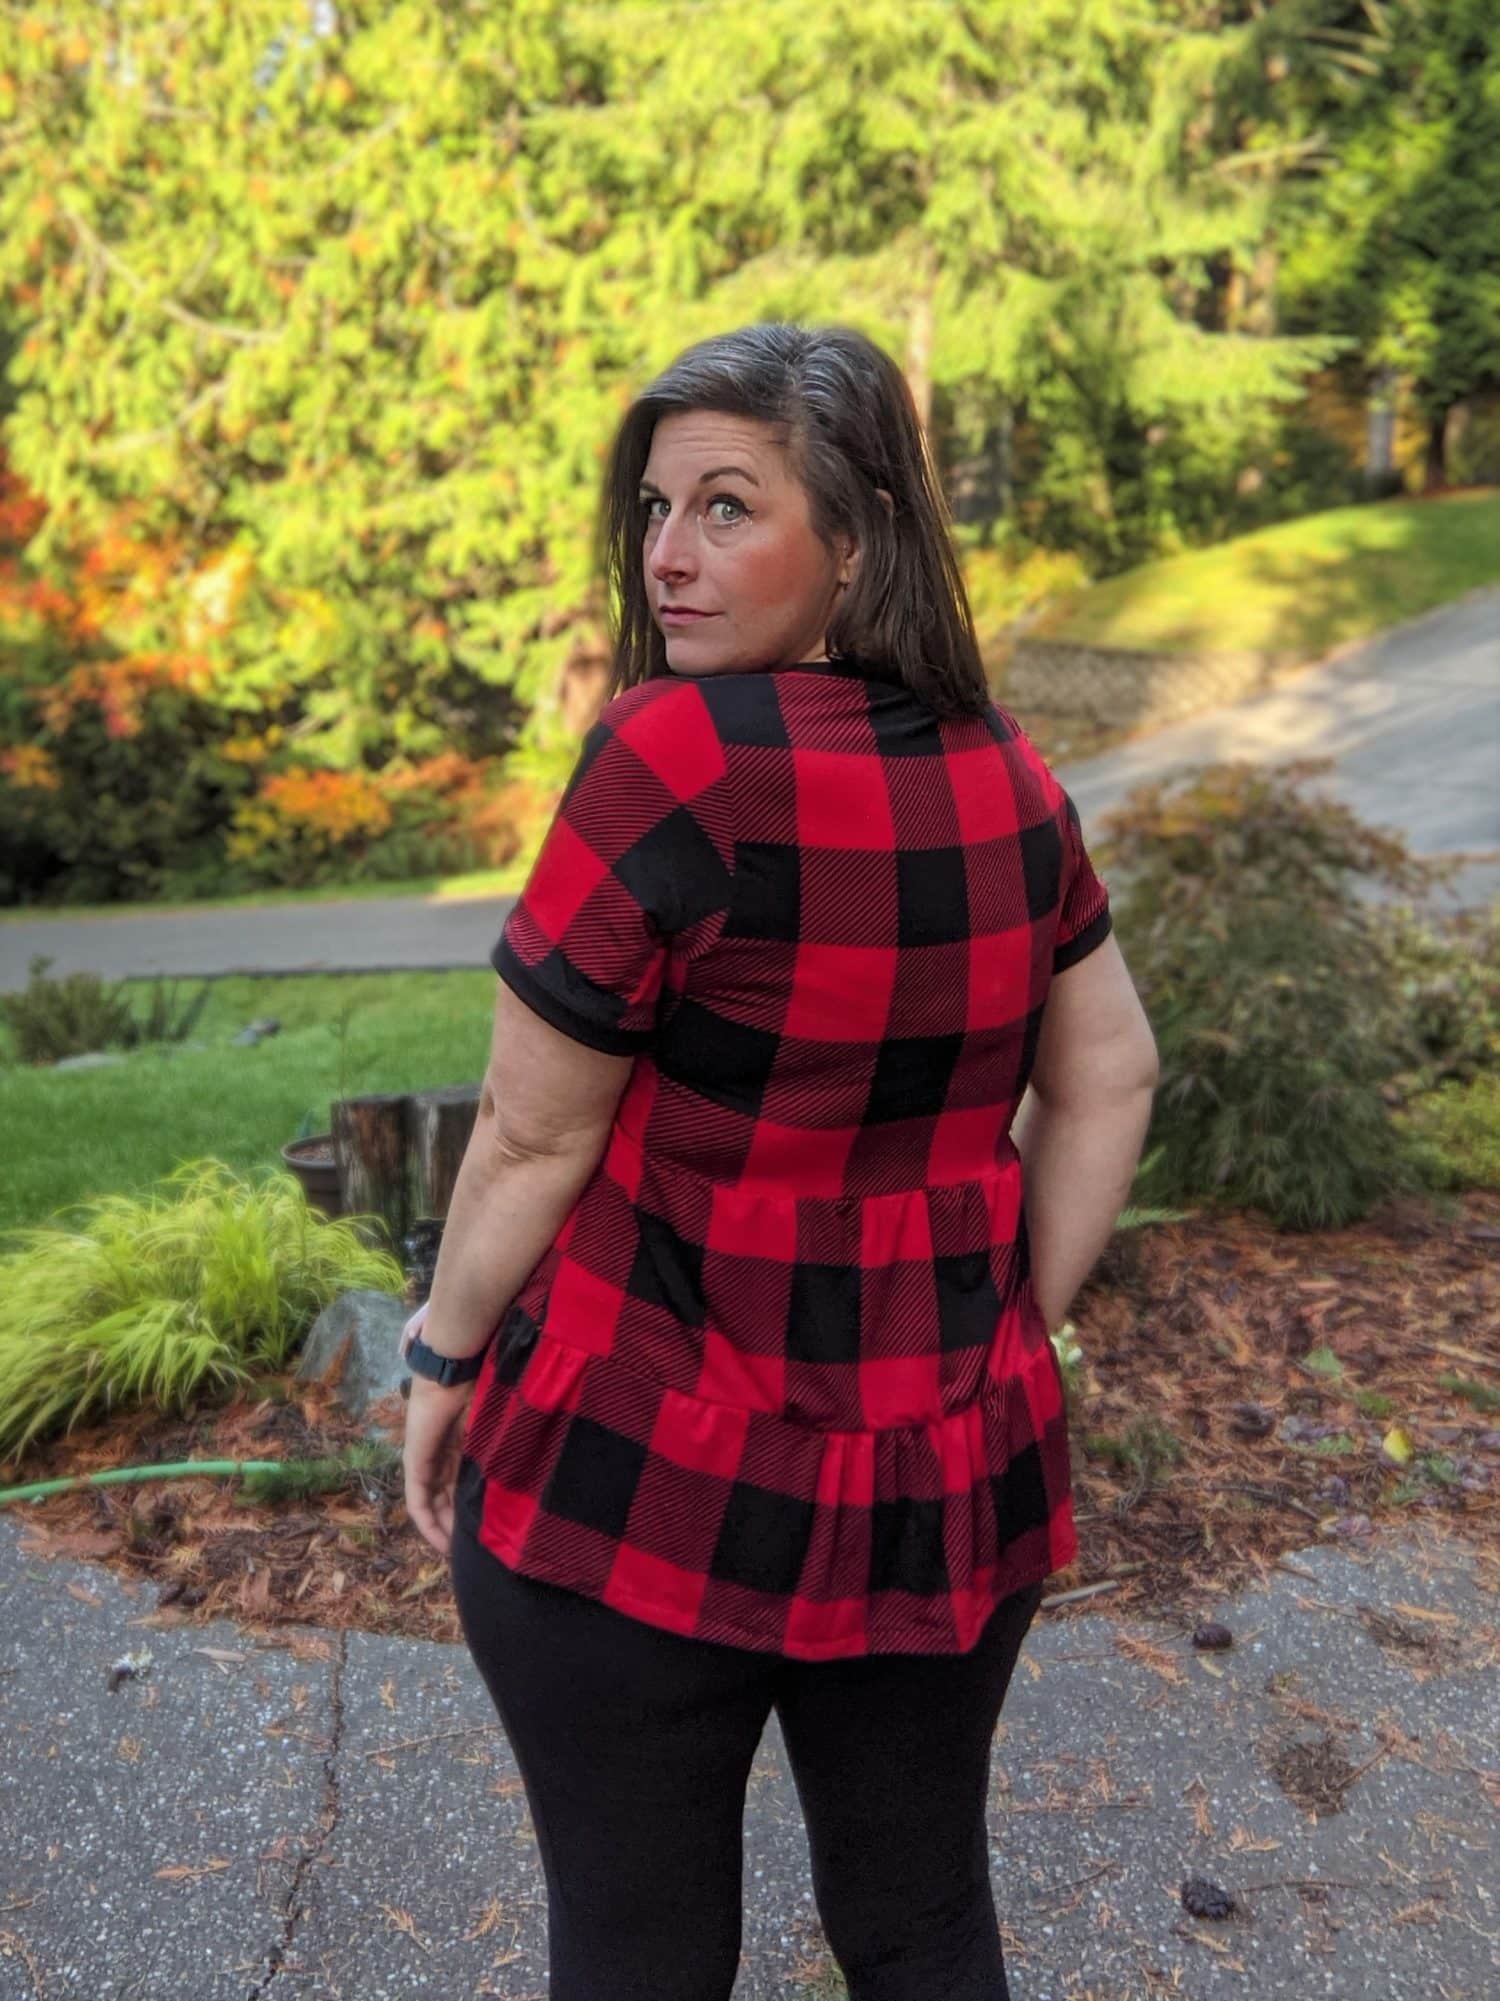
The Calypso Top and Dress has the beautiful tiered style that I love, but I can also be really particular about seams. There are certain spots that I don’t like the feel of a seam touching me, one of which is over my chest. I really love this top and wanted to make it work for me, so I made some adjustments to the pattern to lower the top seam and it’s just what I was wanting. If you don’t already have the Calypso Top and Dress, you can grab it HERE.
Let’s Get Started
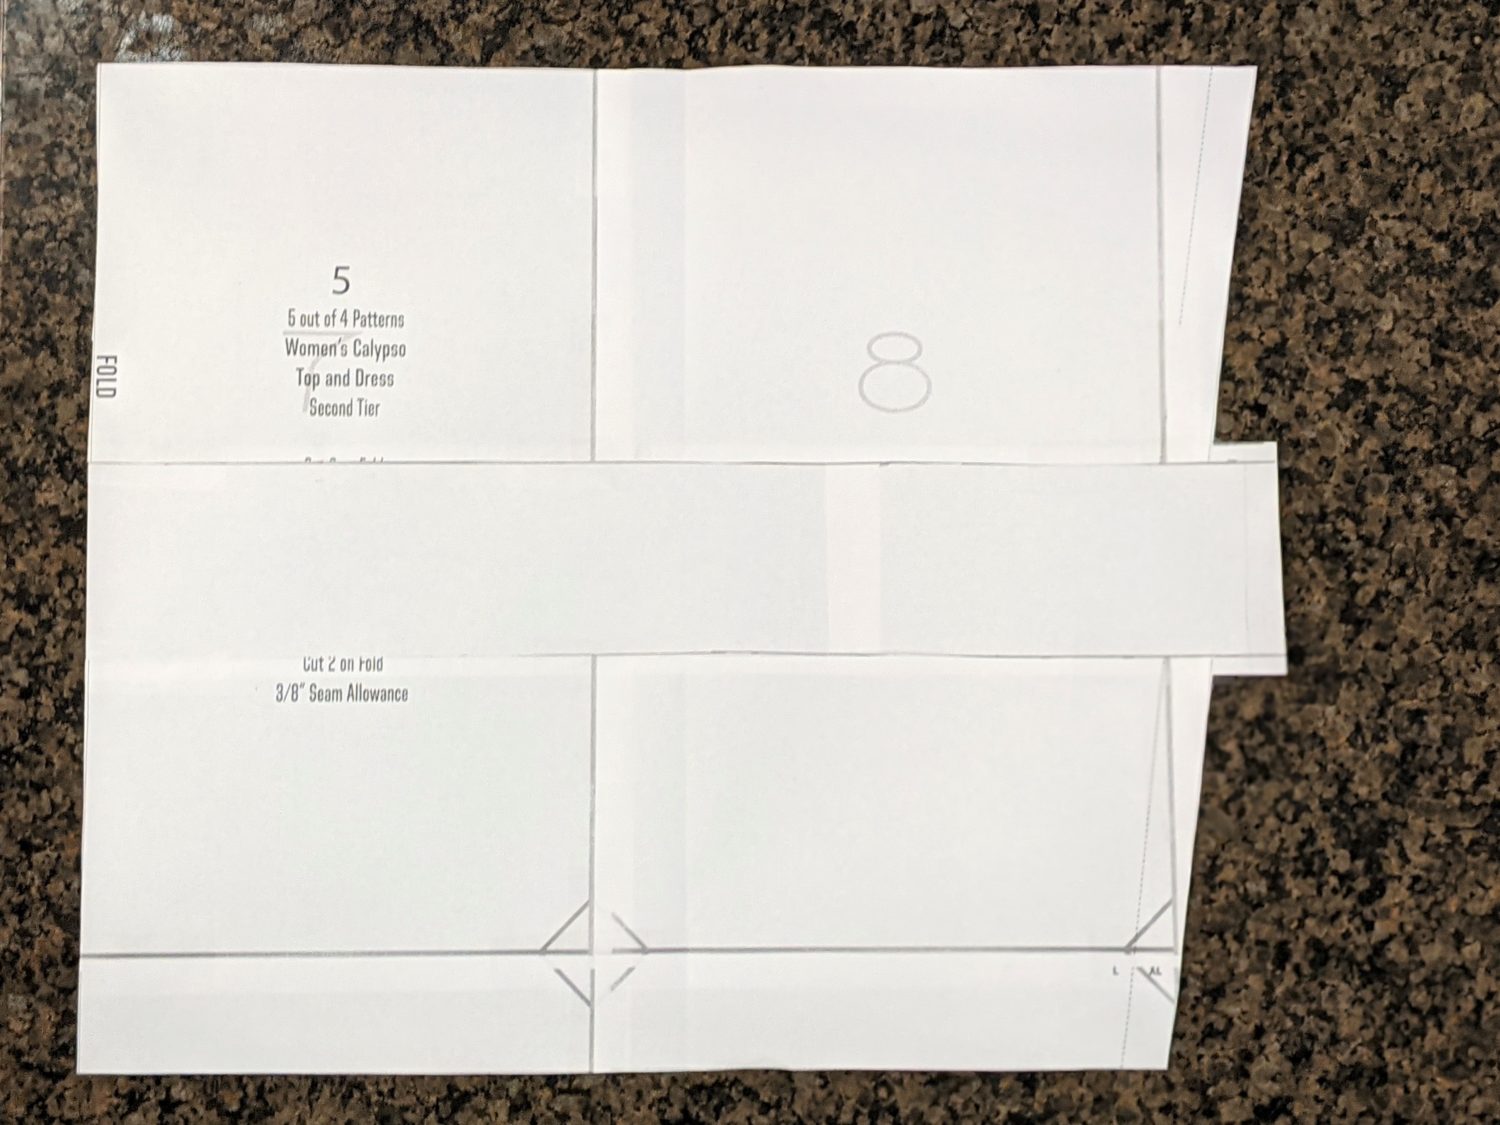
Once you have your pattern printed, assembled, and cut out, you are ready to start your adjustments. Grab some tracing paper, or tape some printer paper together to trace your new pieces on.
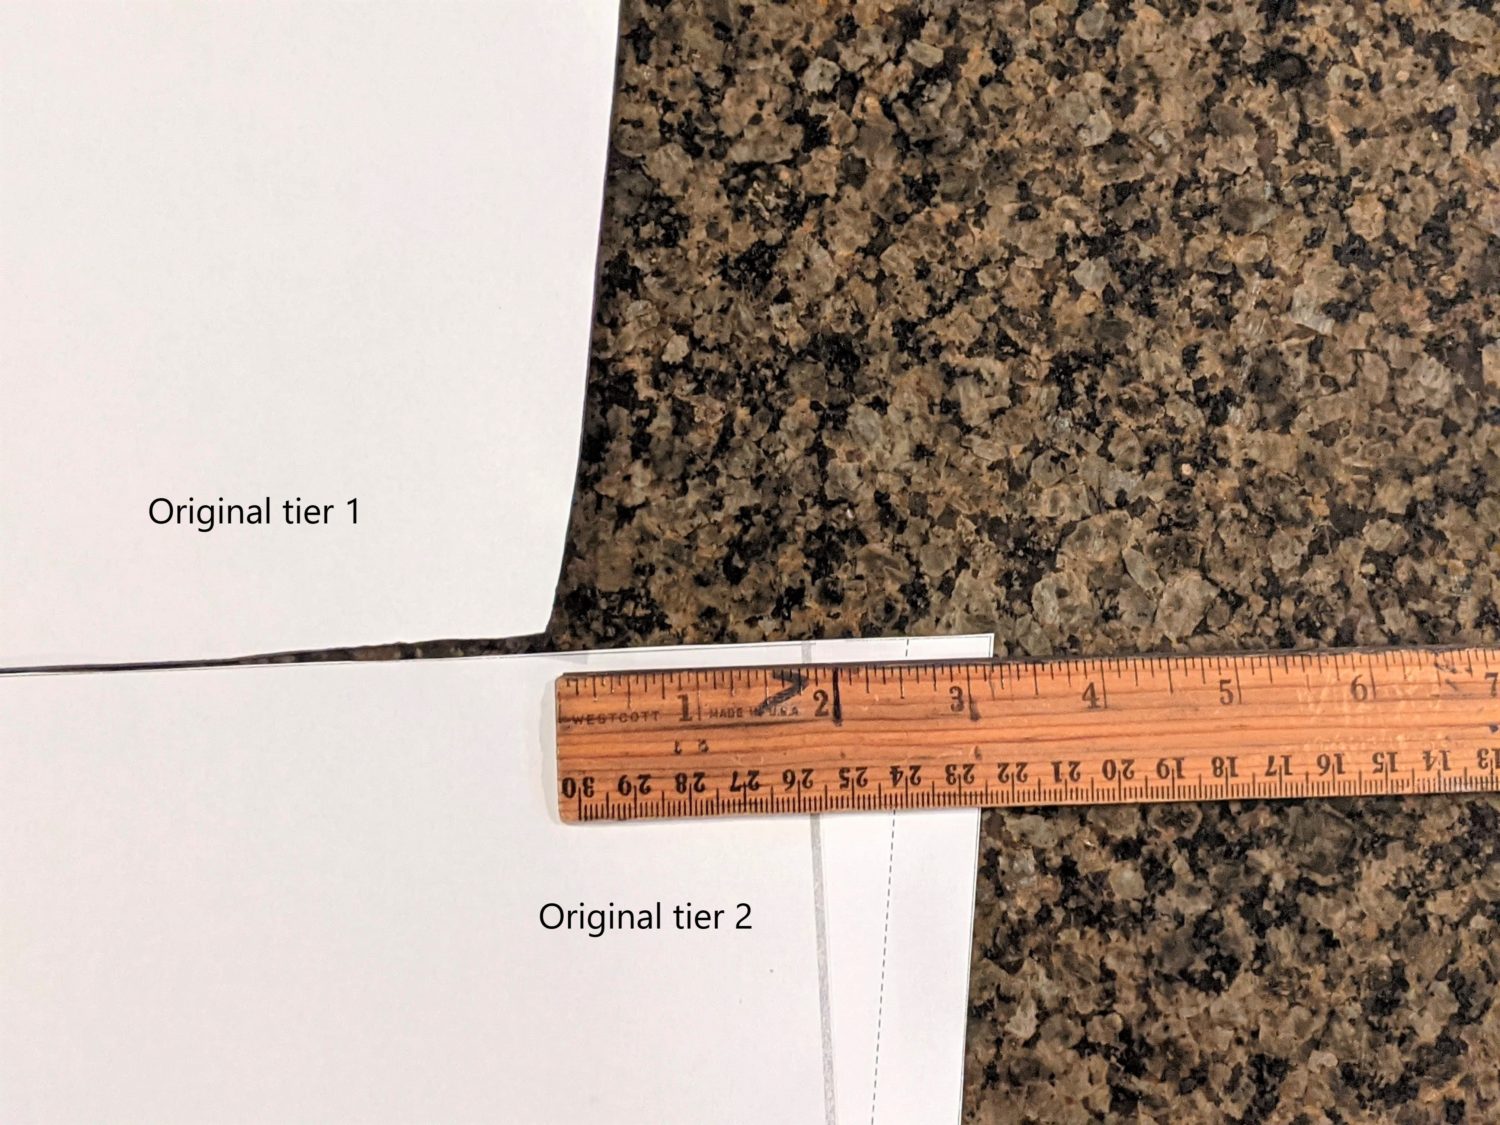
- Take the top front bodice piece and measure up 3/8″ from the bottom edge and draw a line across.
- On the top edge of the first tier measure down 3/8″ and draw a line across.
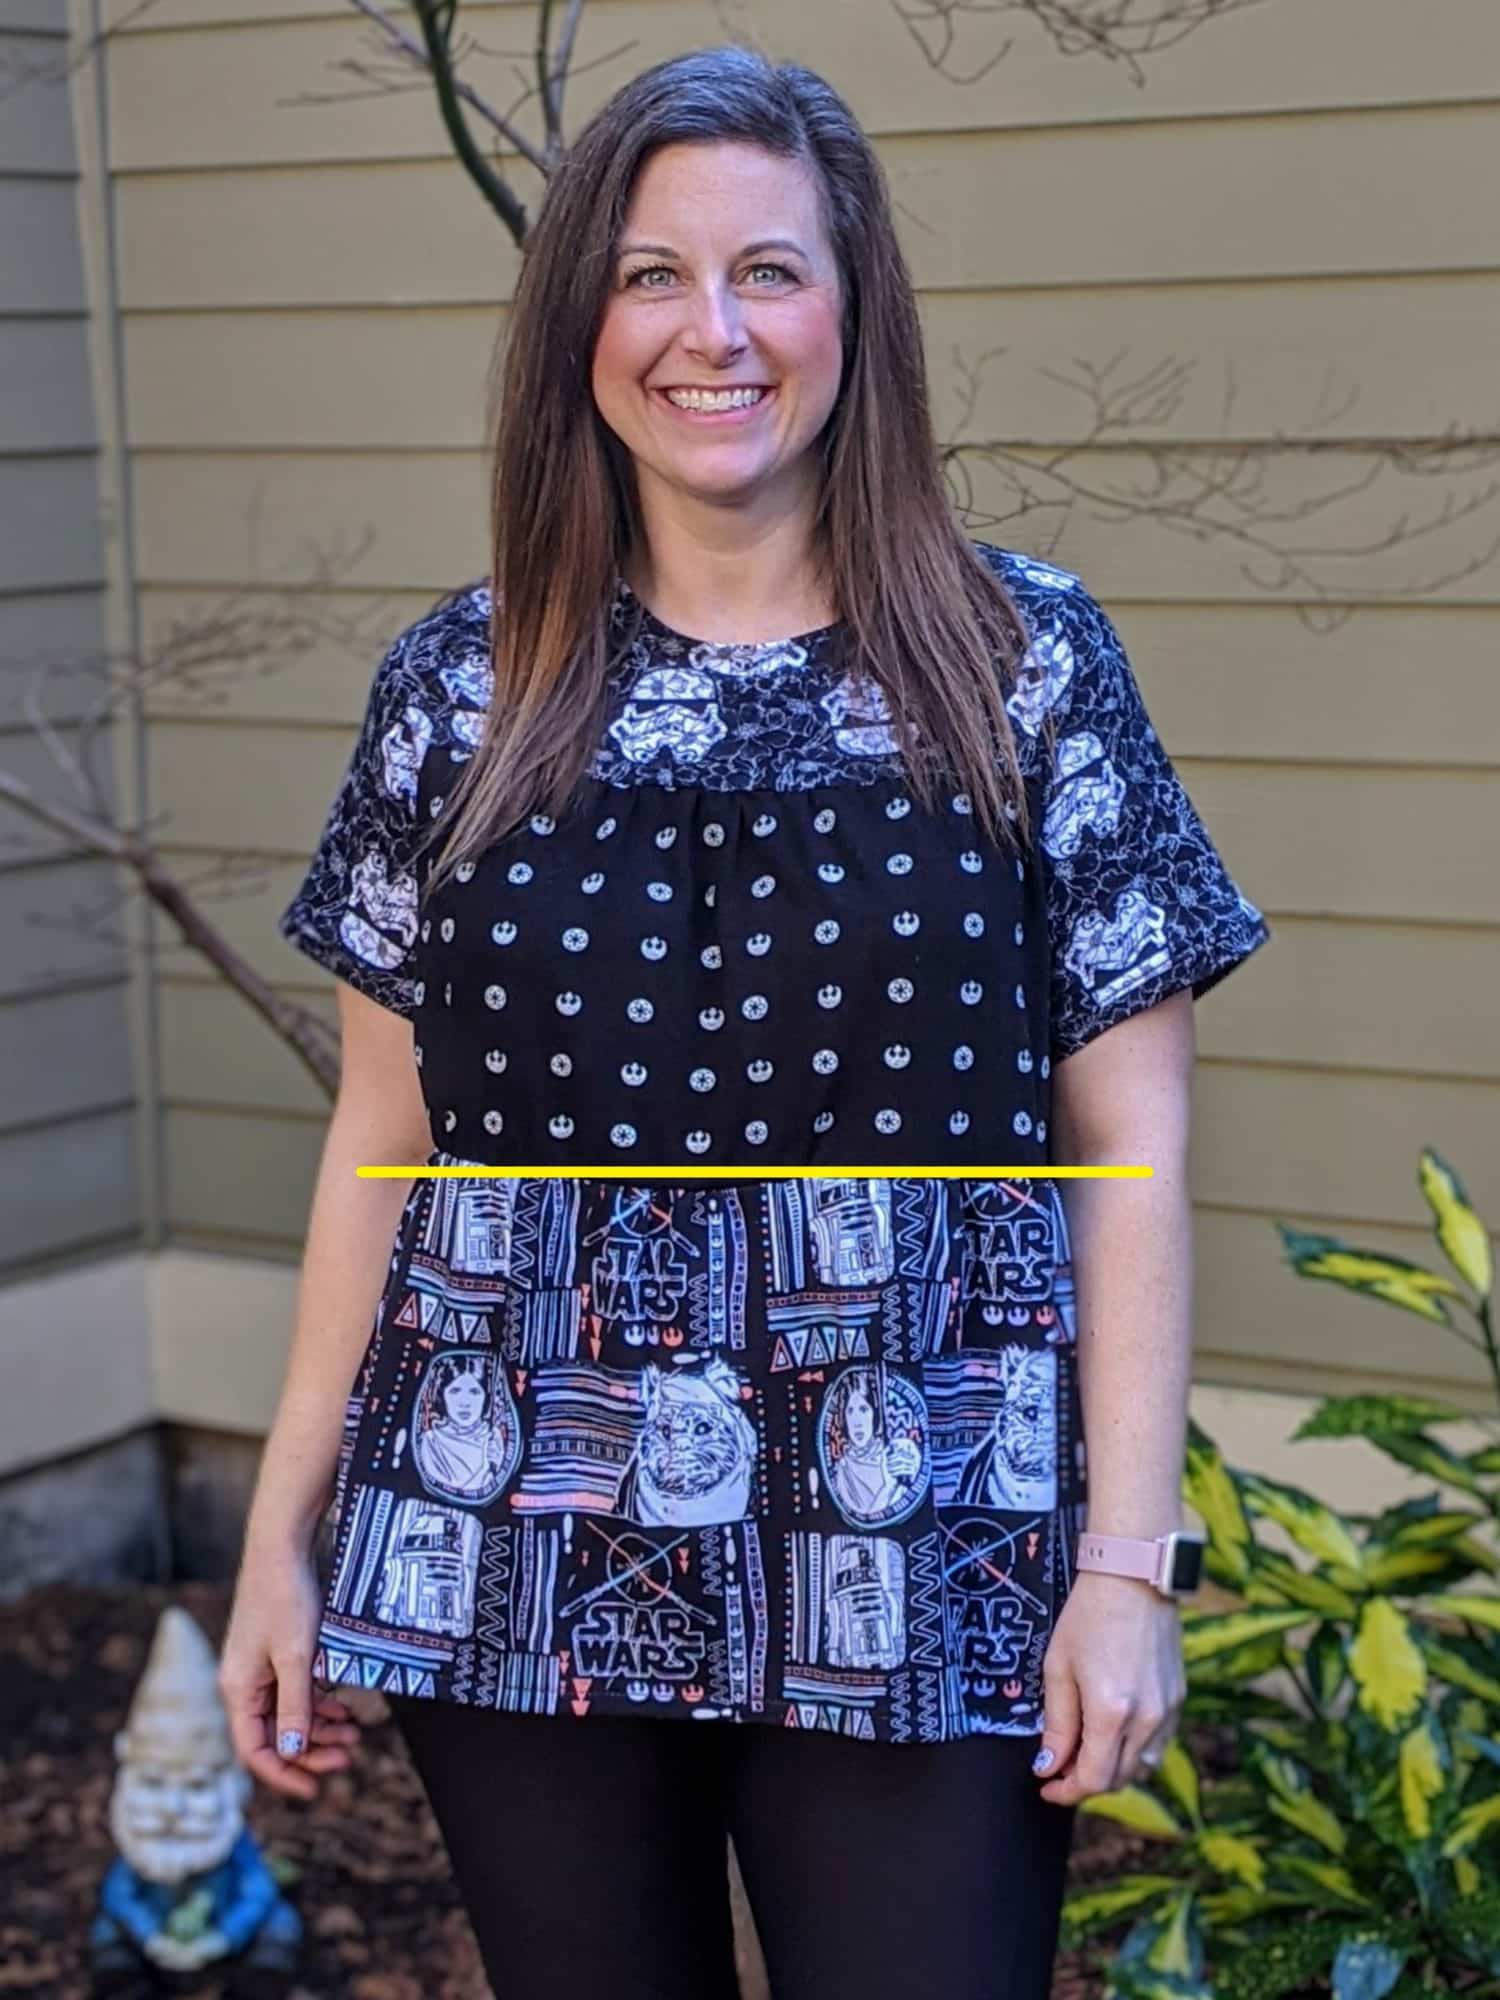
The yellow line is where I want the bodice to end and the tiers to start. 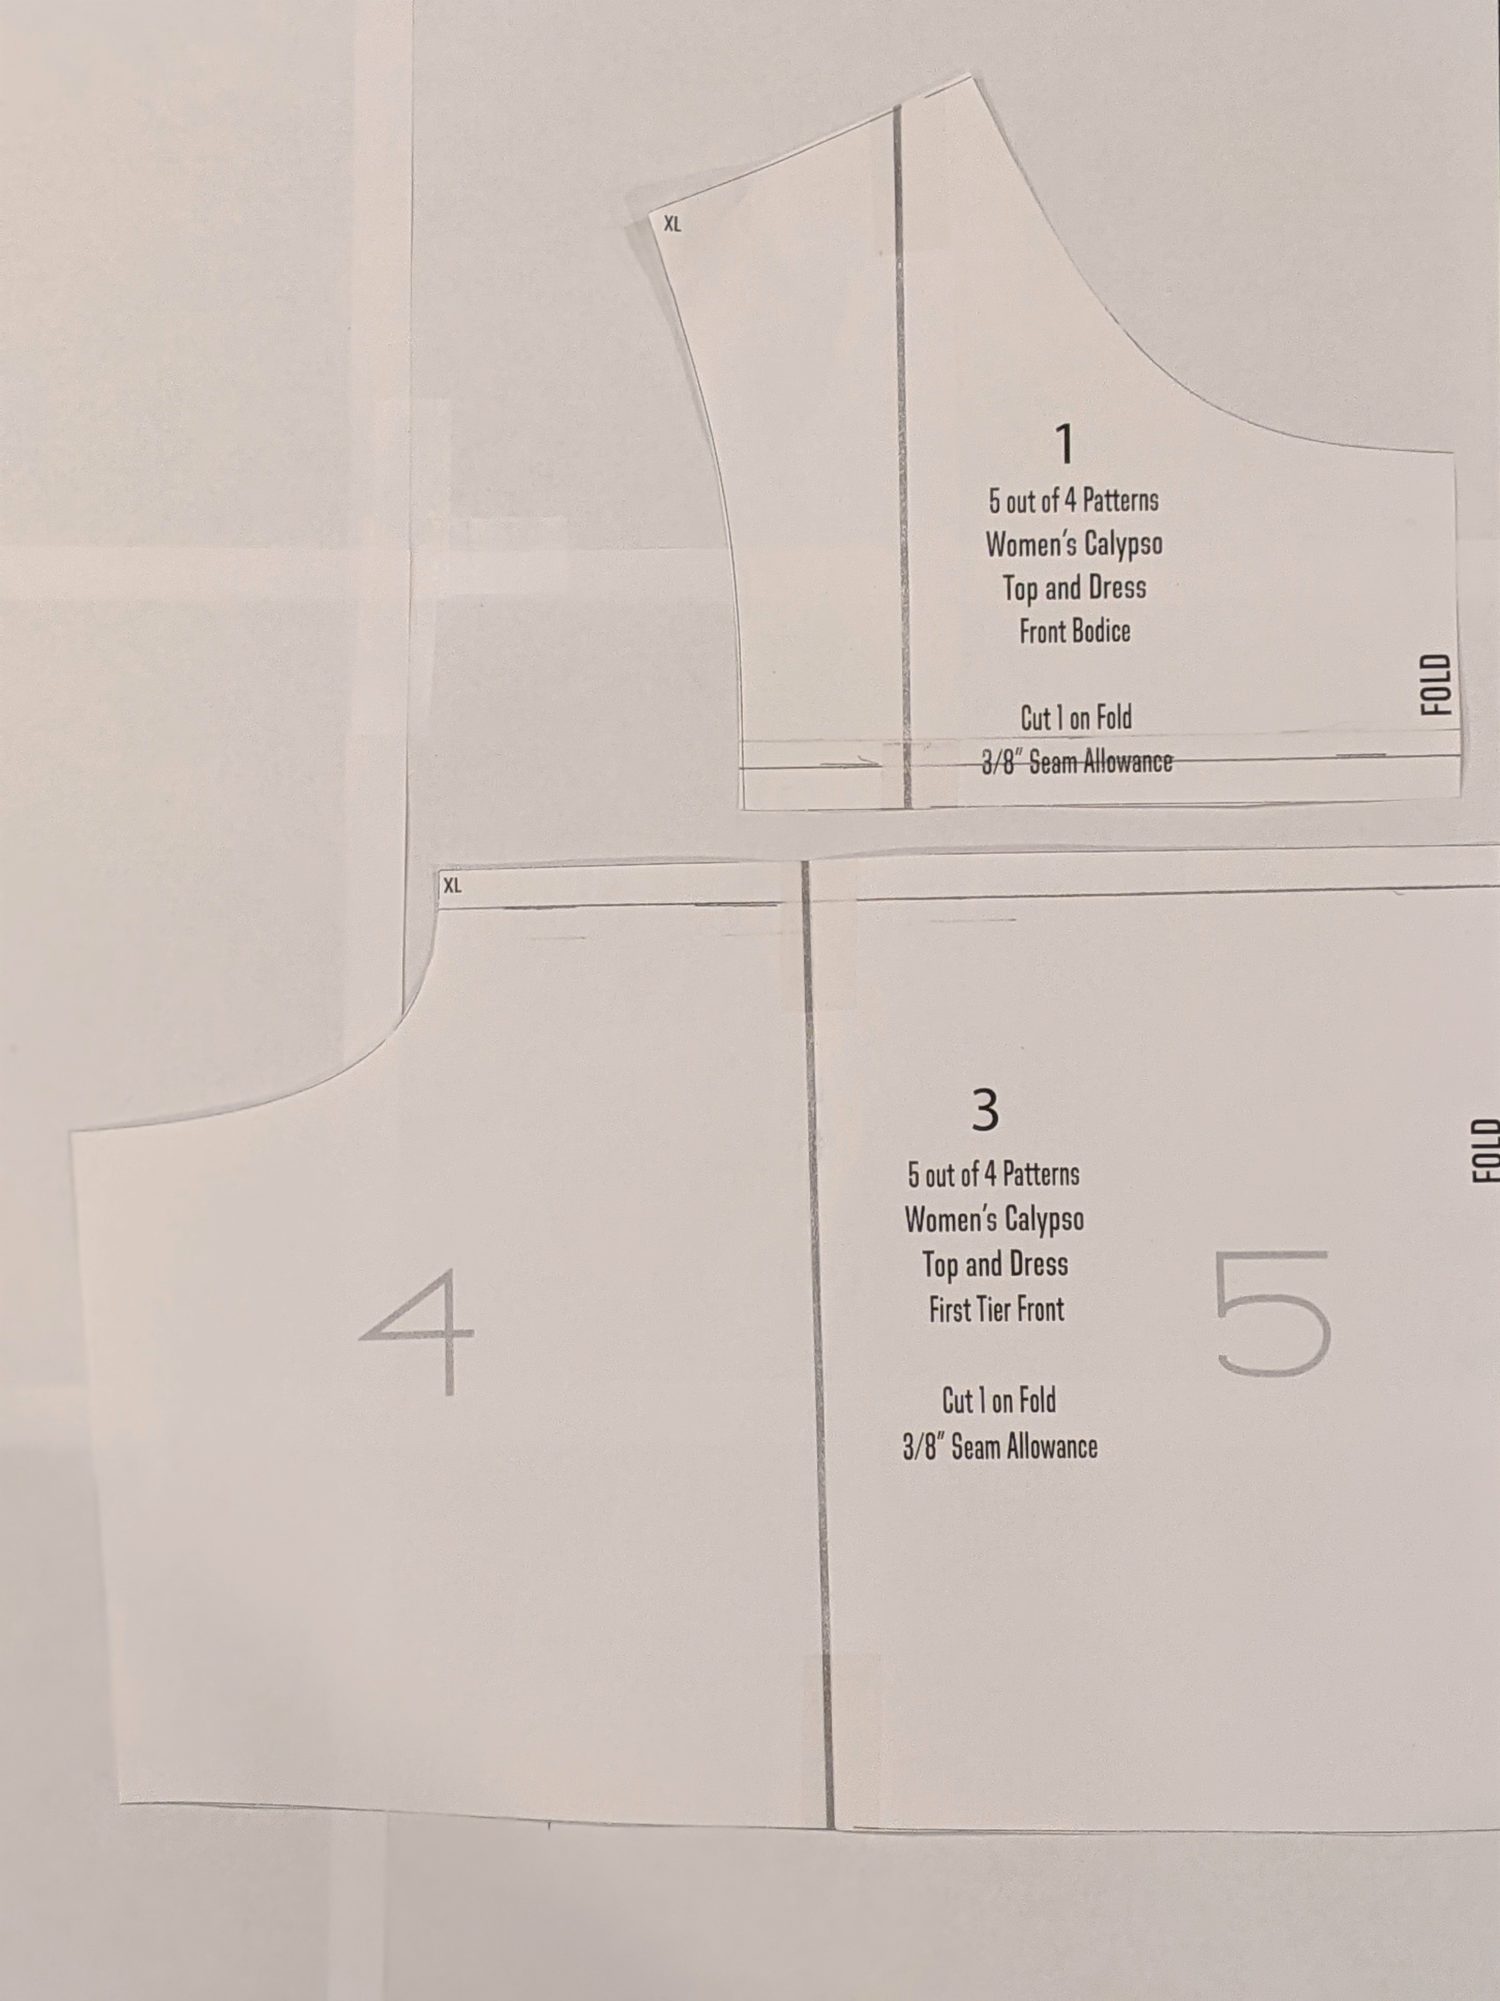
Mark 3/8″ on the bodice and first tier to remove the seam allowance.
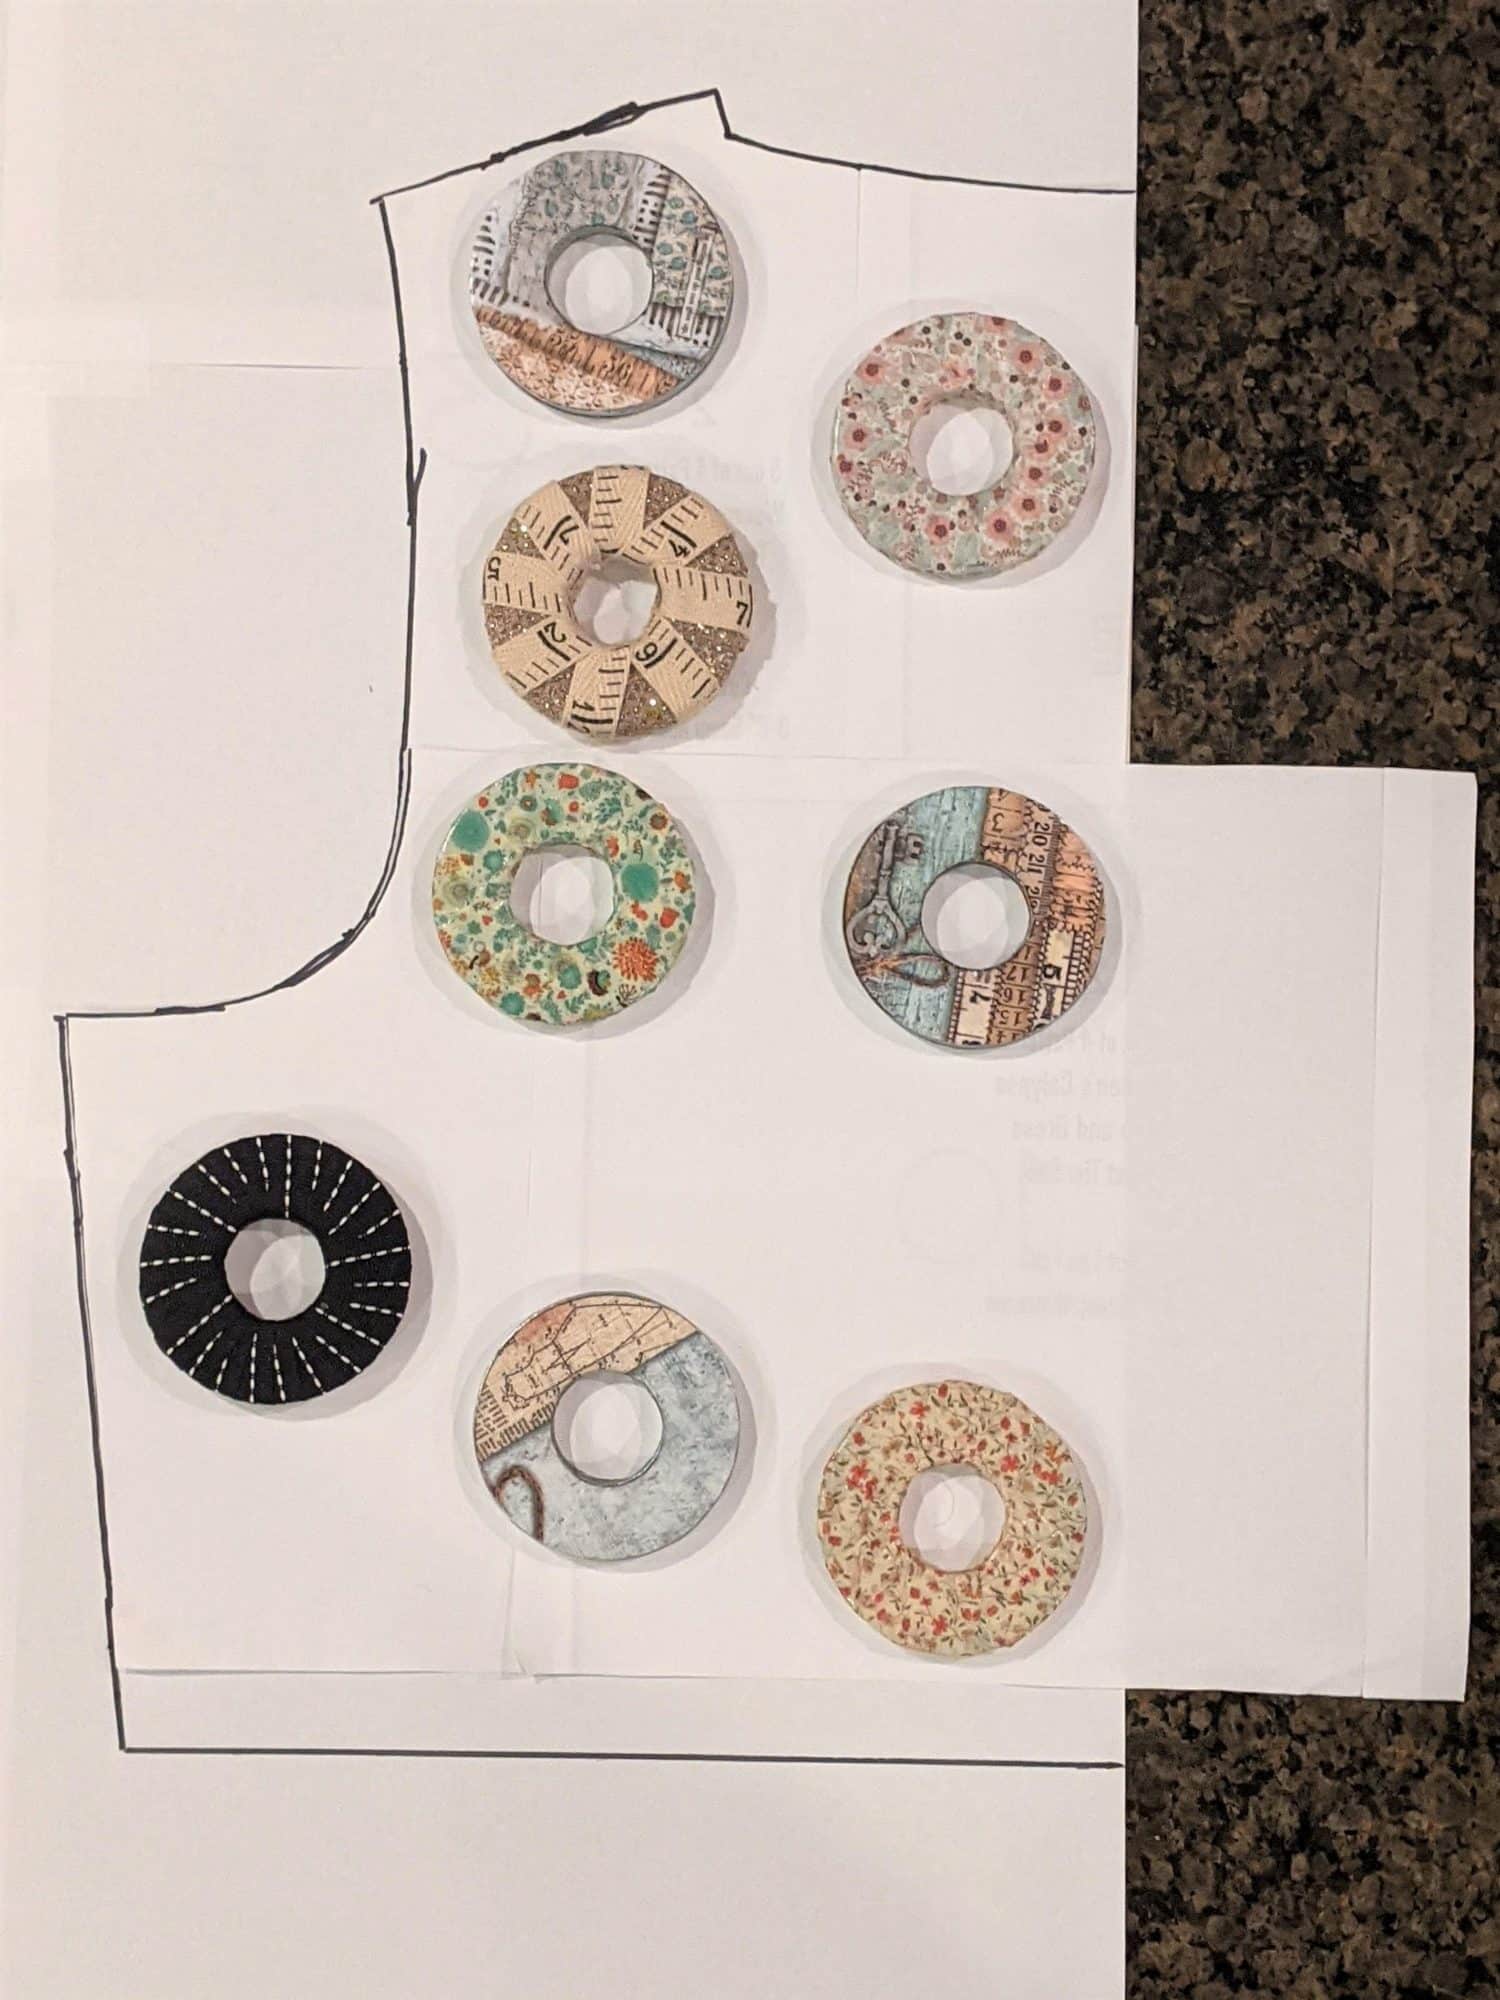
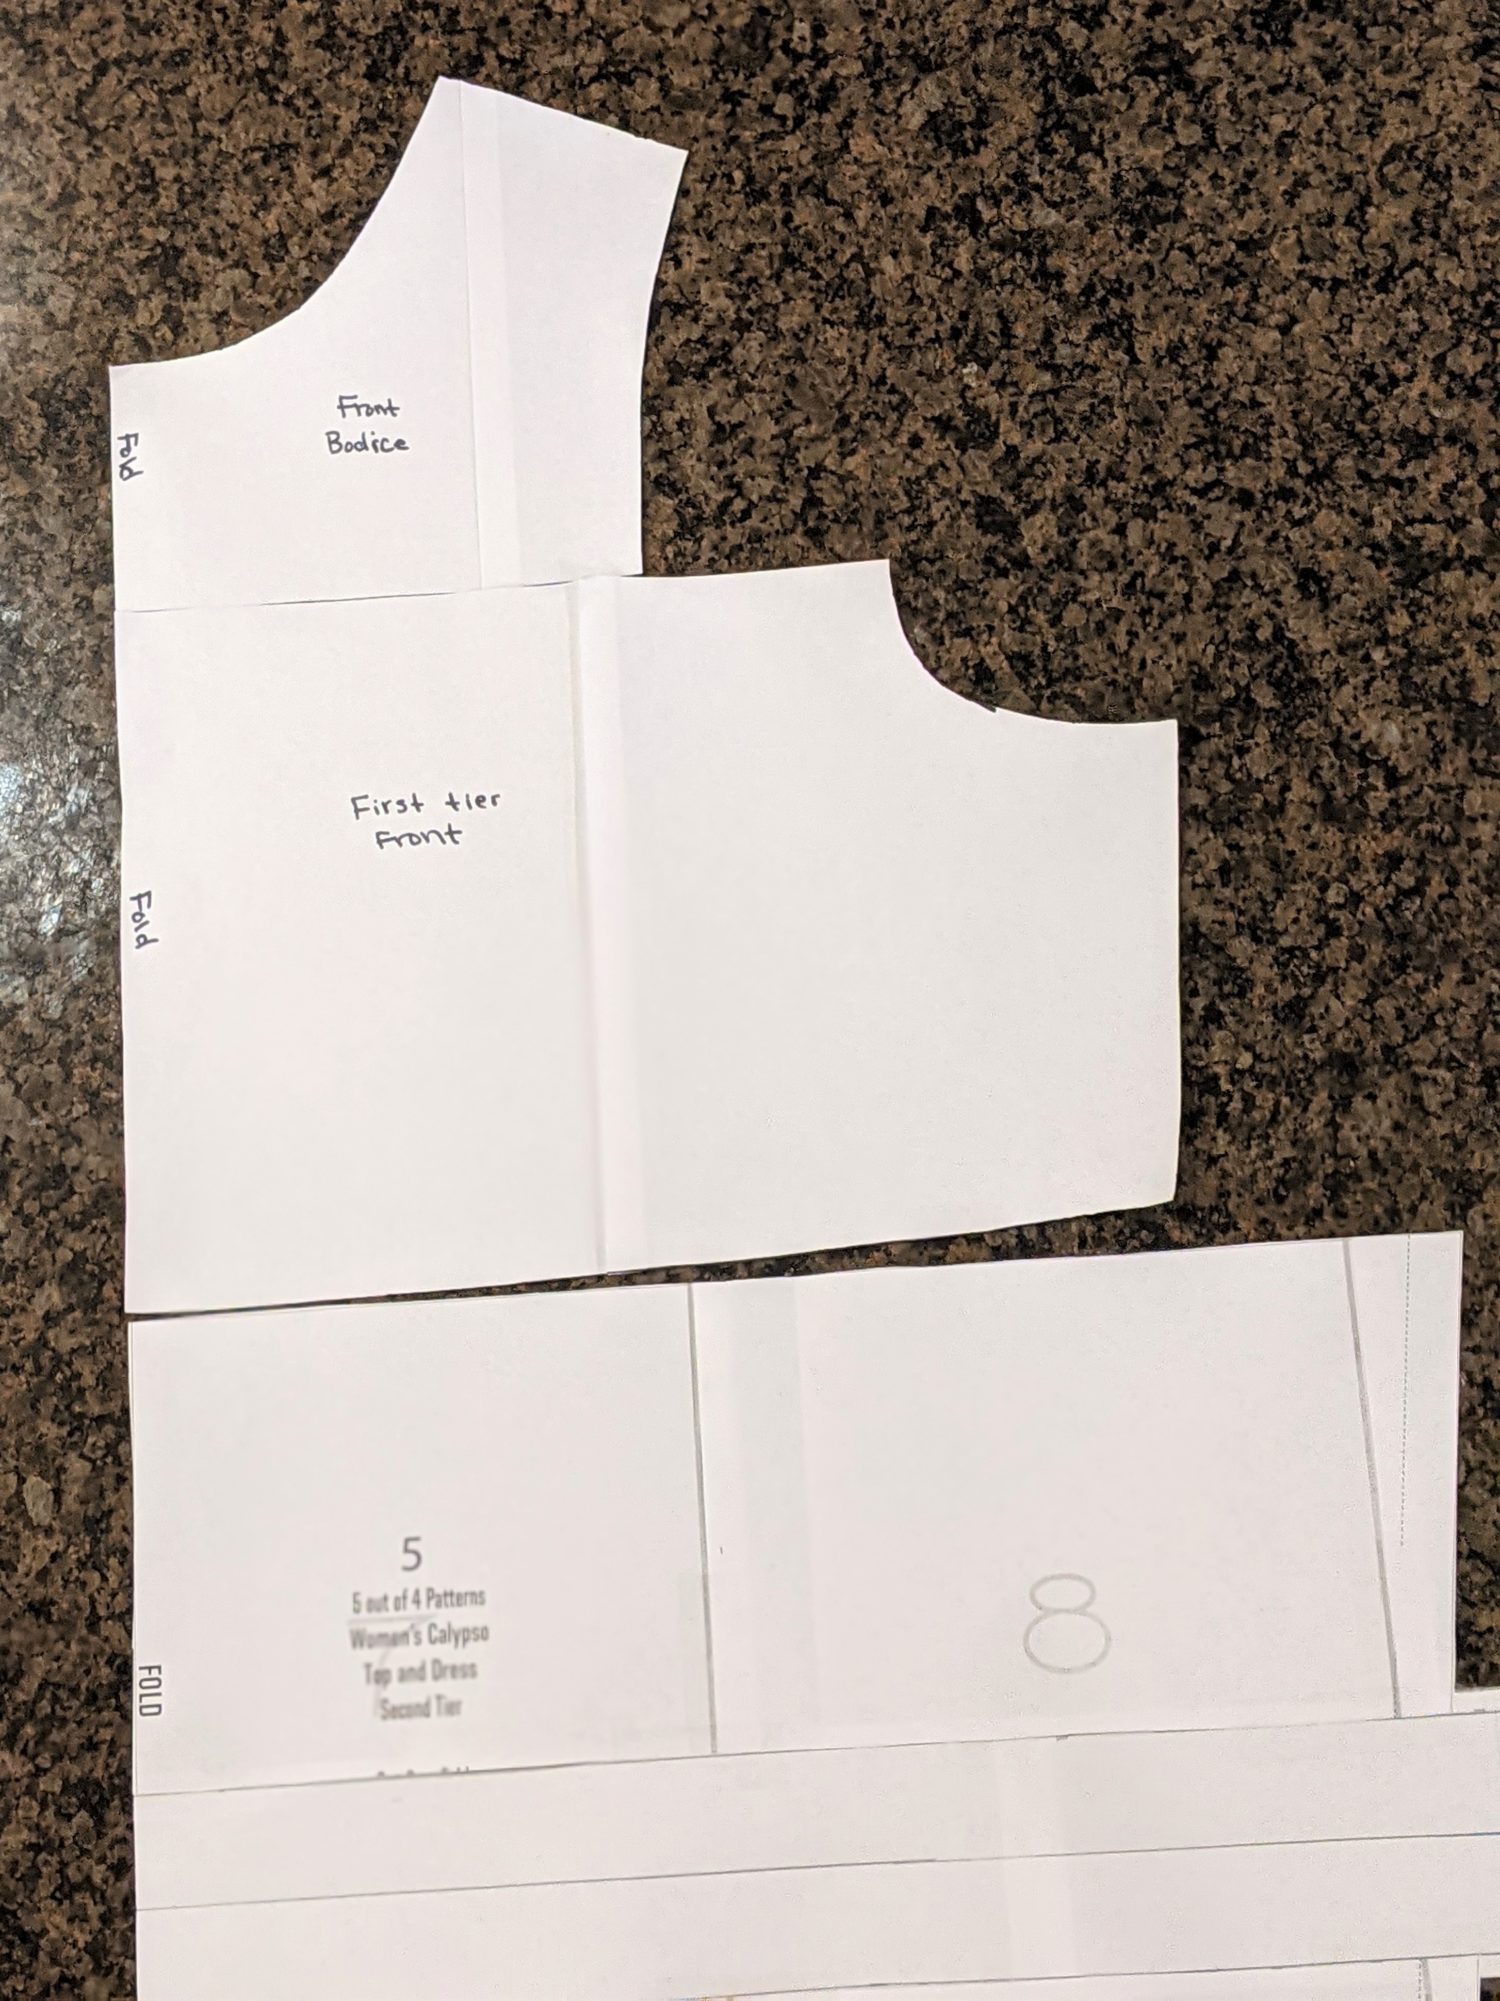
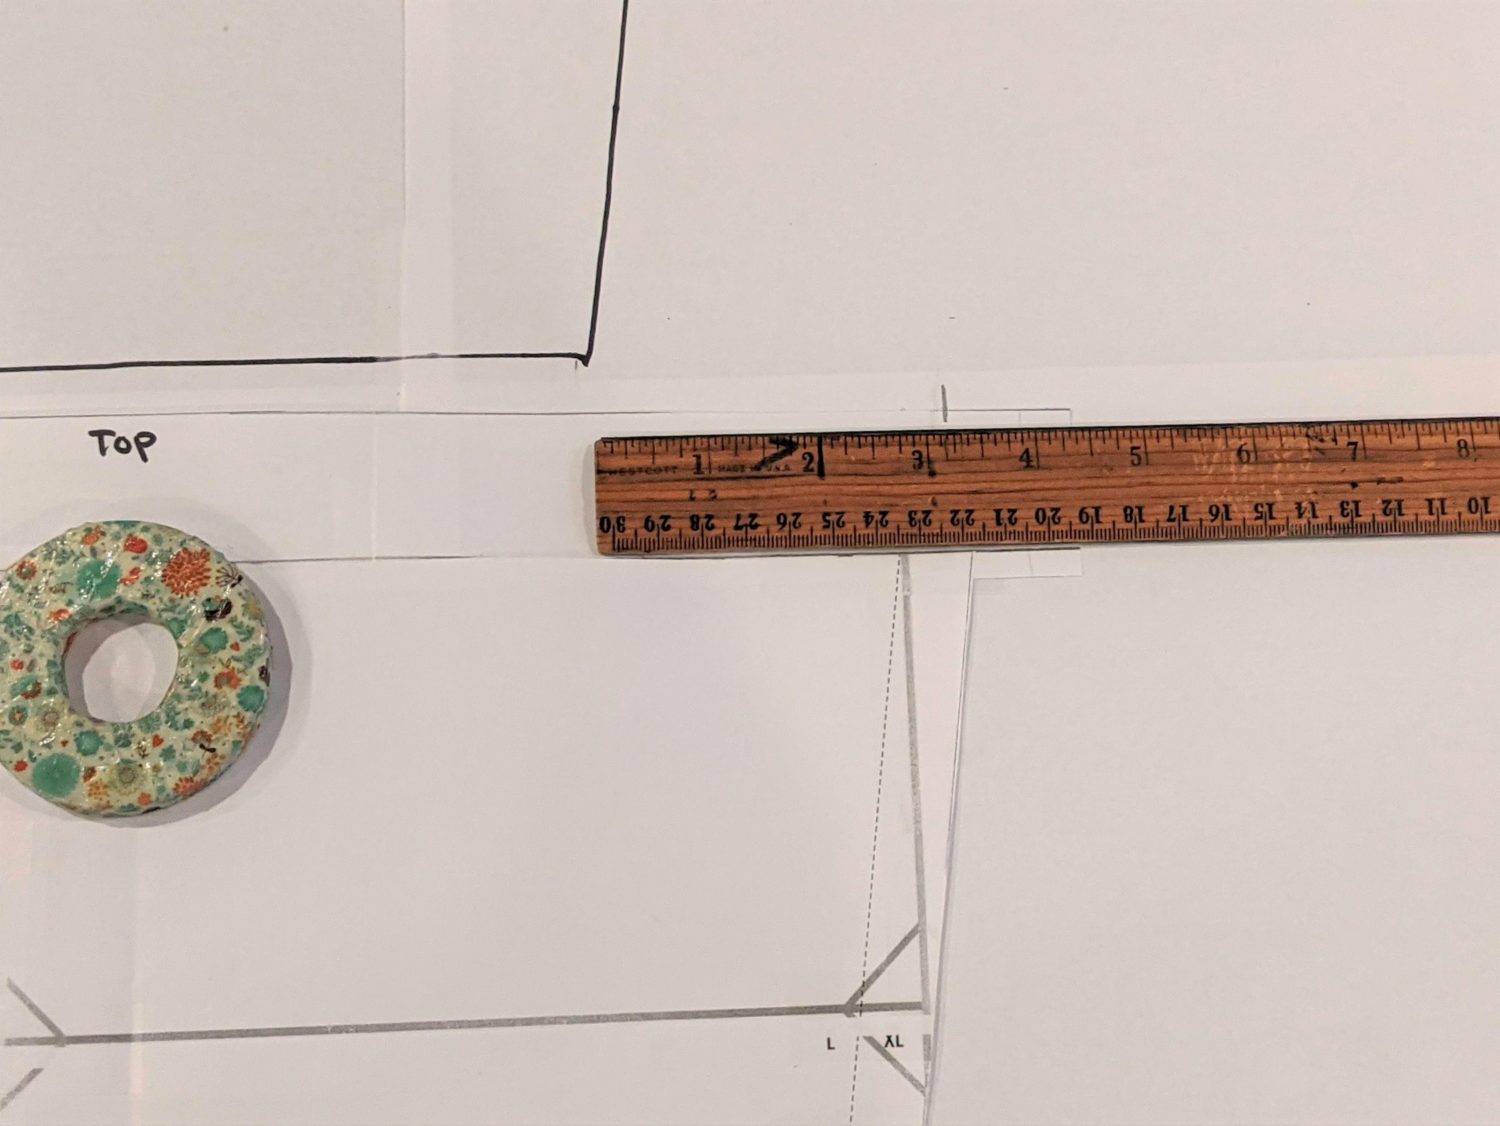
- Set the top front bodice and the first front tier on your tracing paper and line them up so that the 3/8″ lines you drew are stacked on top of each other.
- Since you aren’t sewing them together as you originally would, this removes the excess of the built-in seam allowance in those pieces.
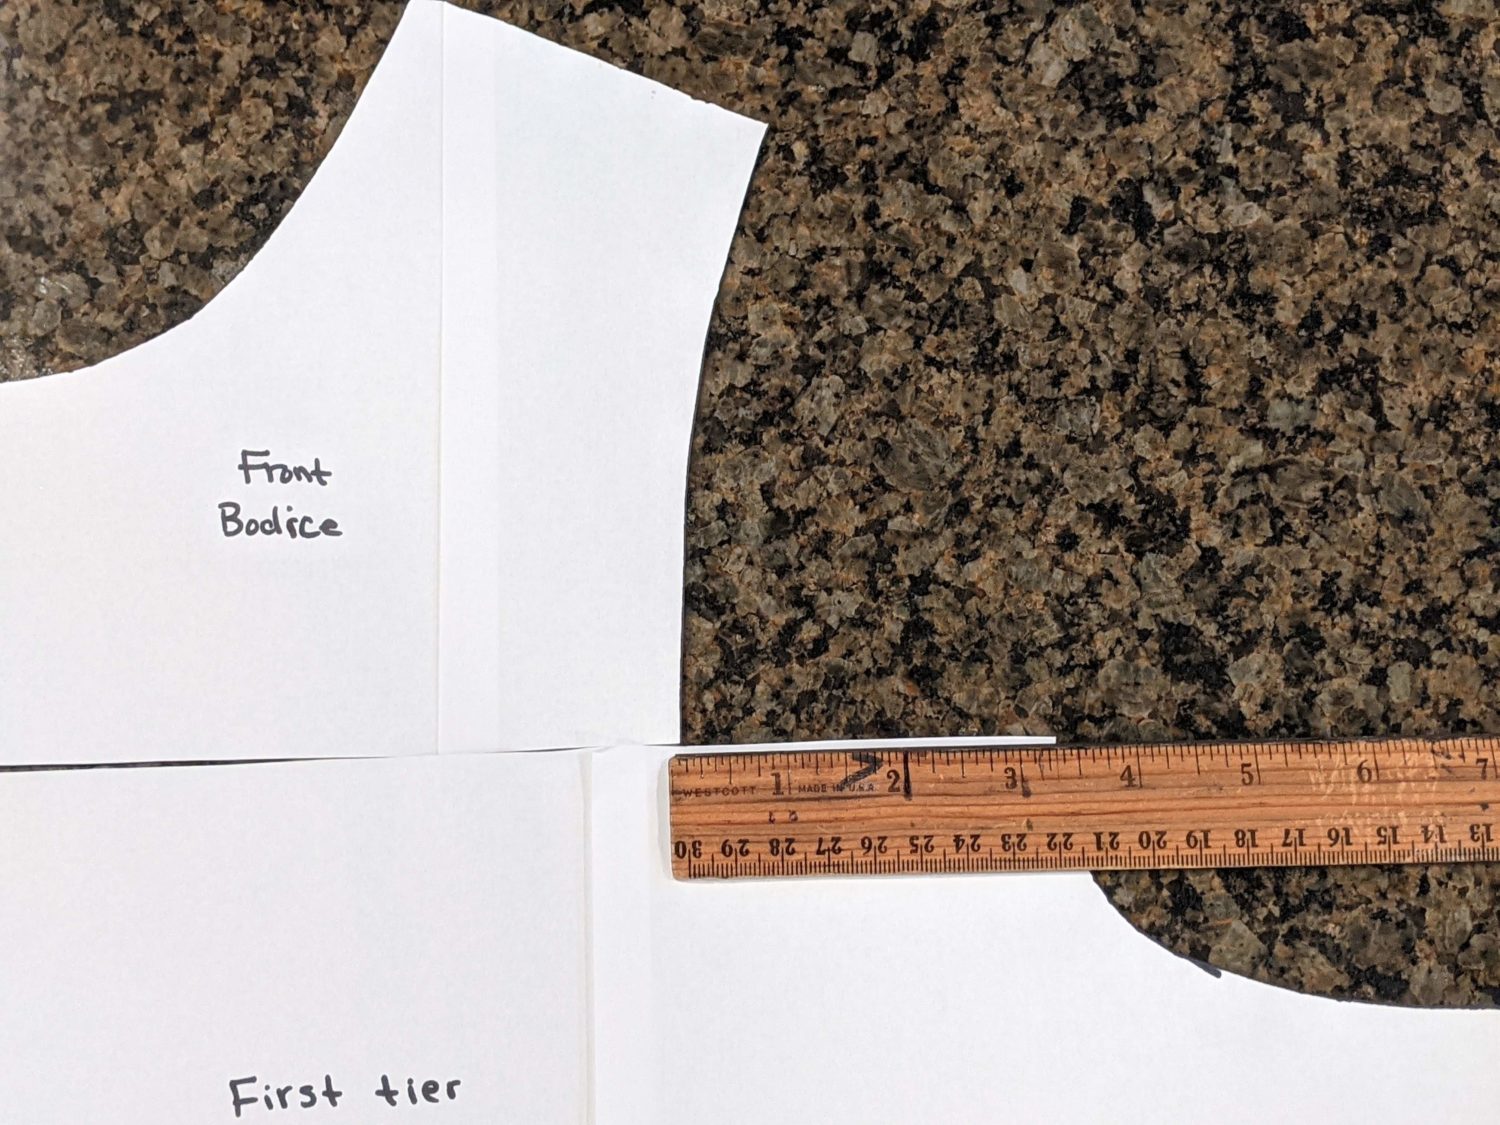
- Slide the first tier over so that the armscye matches up with the bottom of the bodice piece.
- Place pattern weights on your pieces, then measure down 3/4″ along the bottom edge and draw a new line.
- This is the extra that was removed from the pieces when you put them together. I am adding it back in along the bottom to give the top bodice a little more length.
- Trace around both pieces down to your extended bottom line to create your new top bodice piece.
Stack the pieces removing the excess seam allowance. Line up at the armscye. 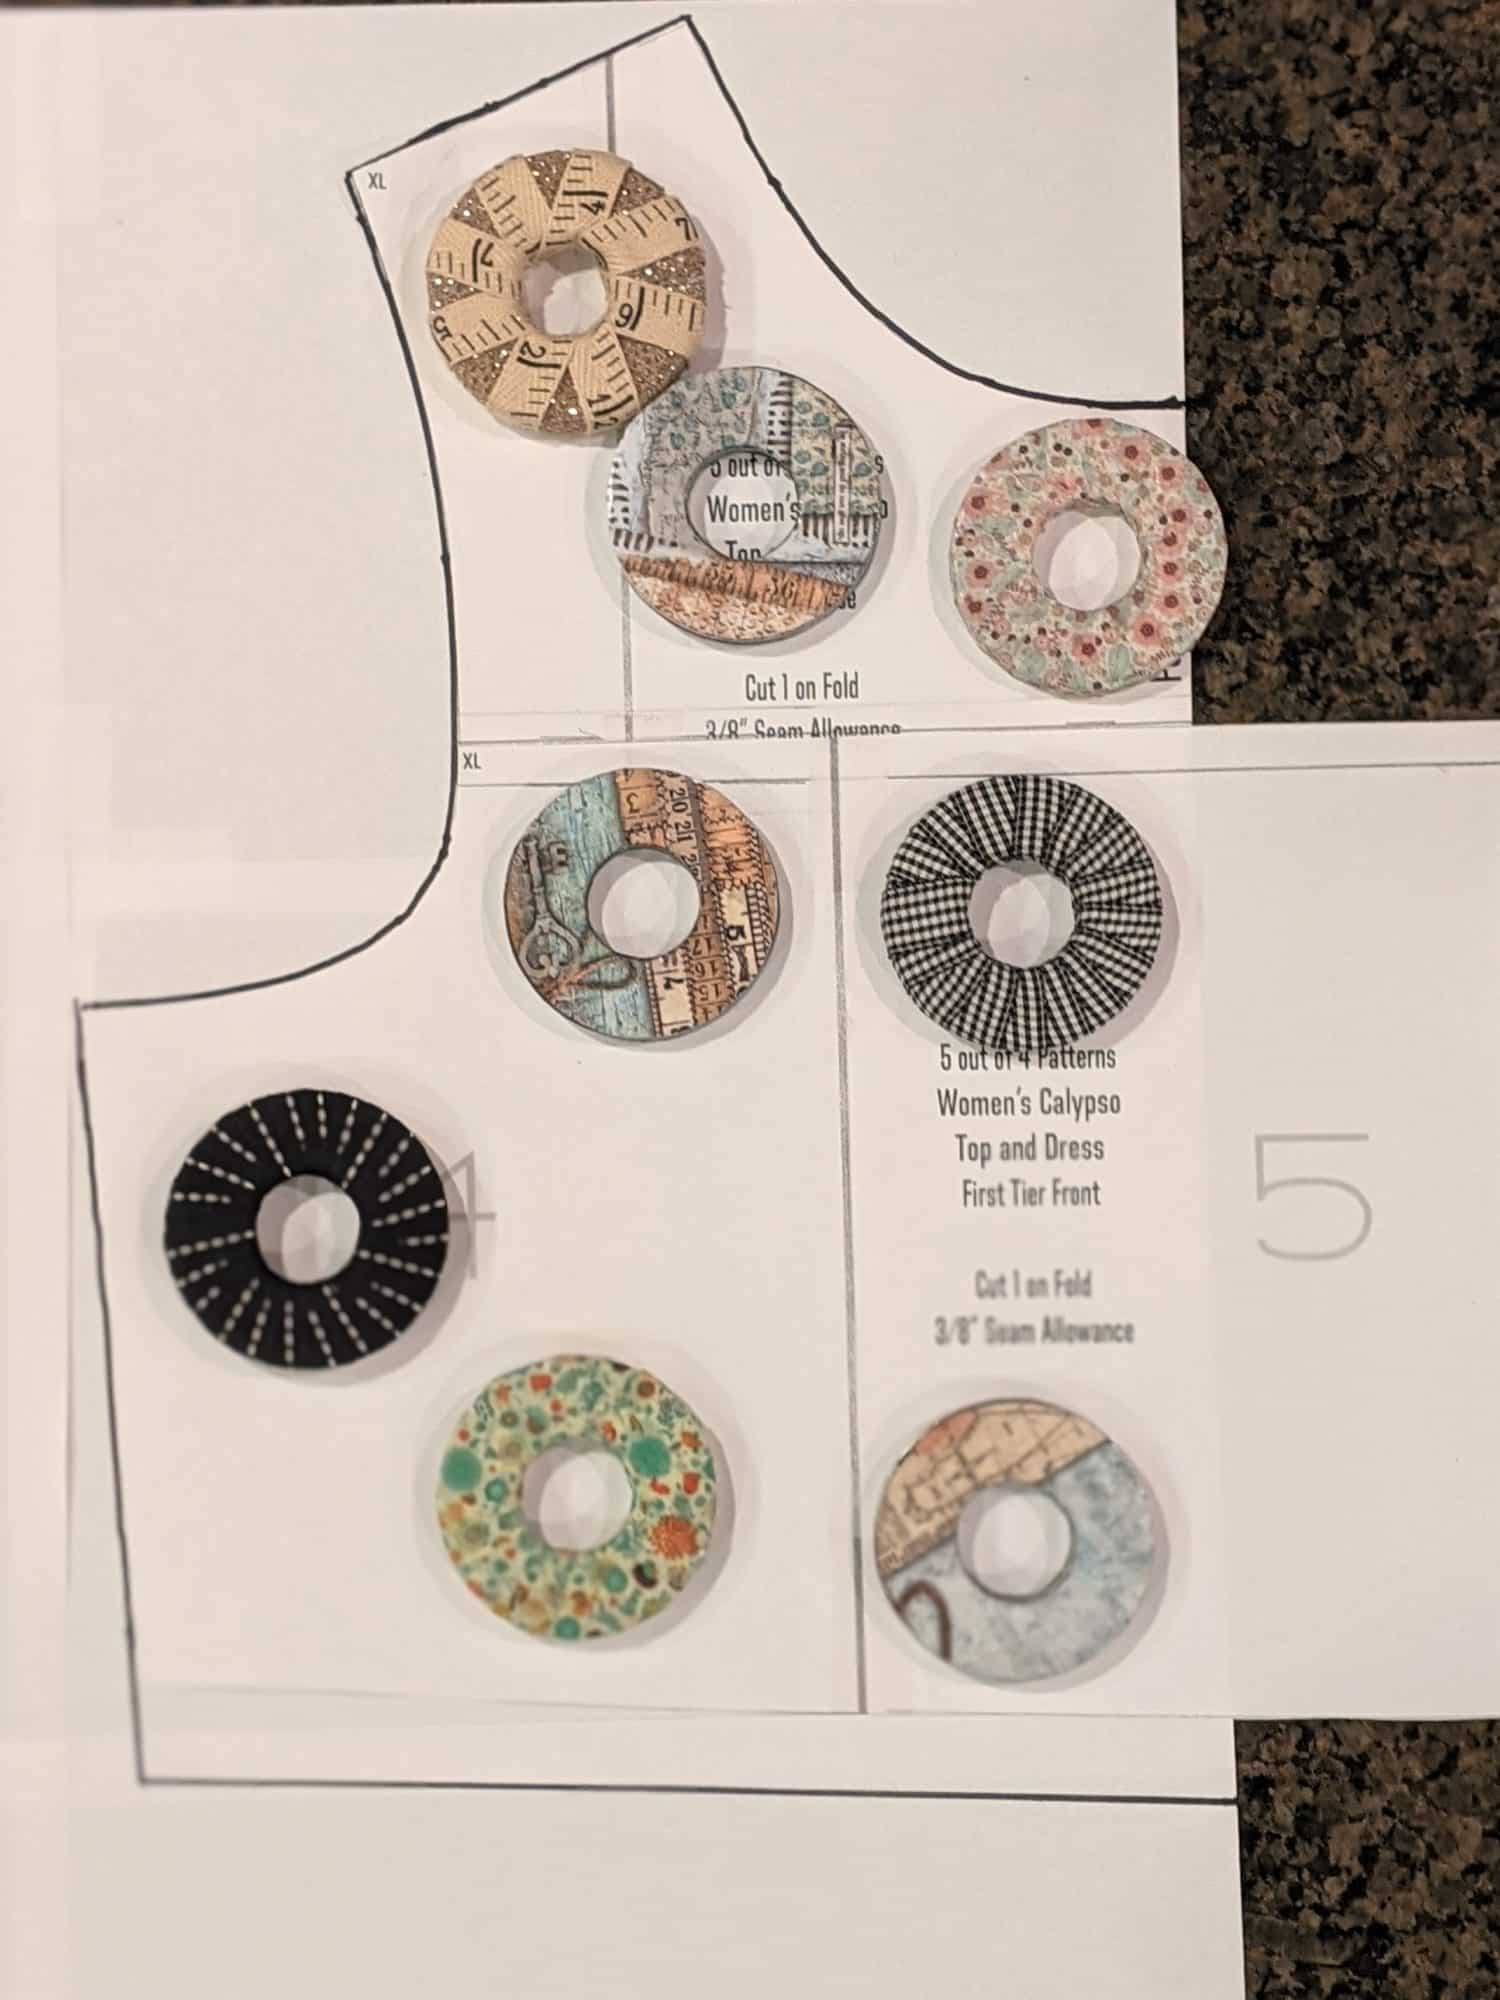
Add 3/4″ to the bottom and trace. 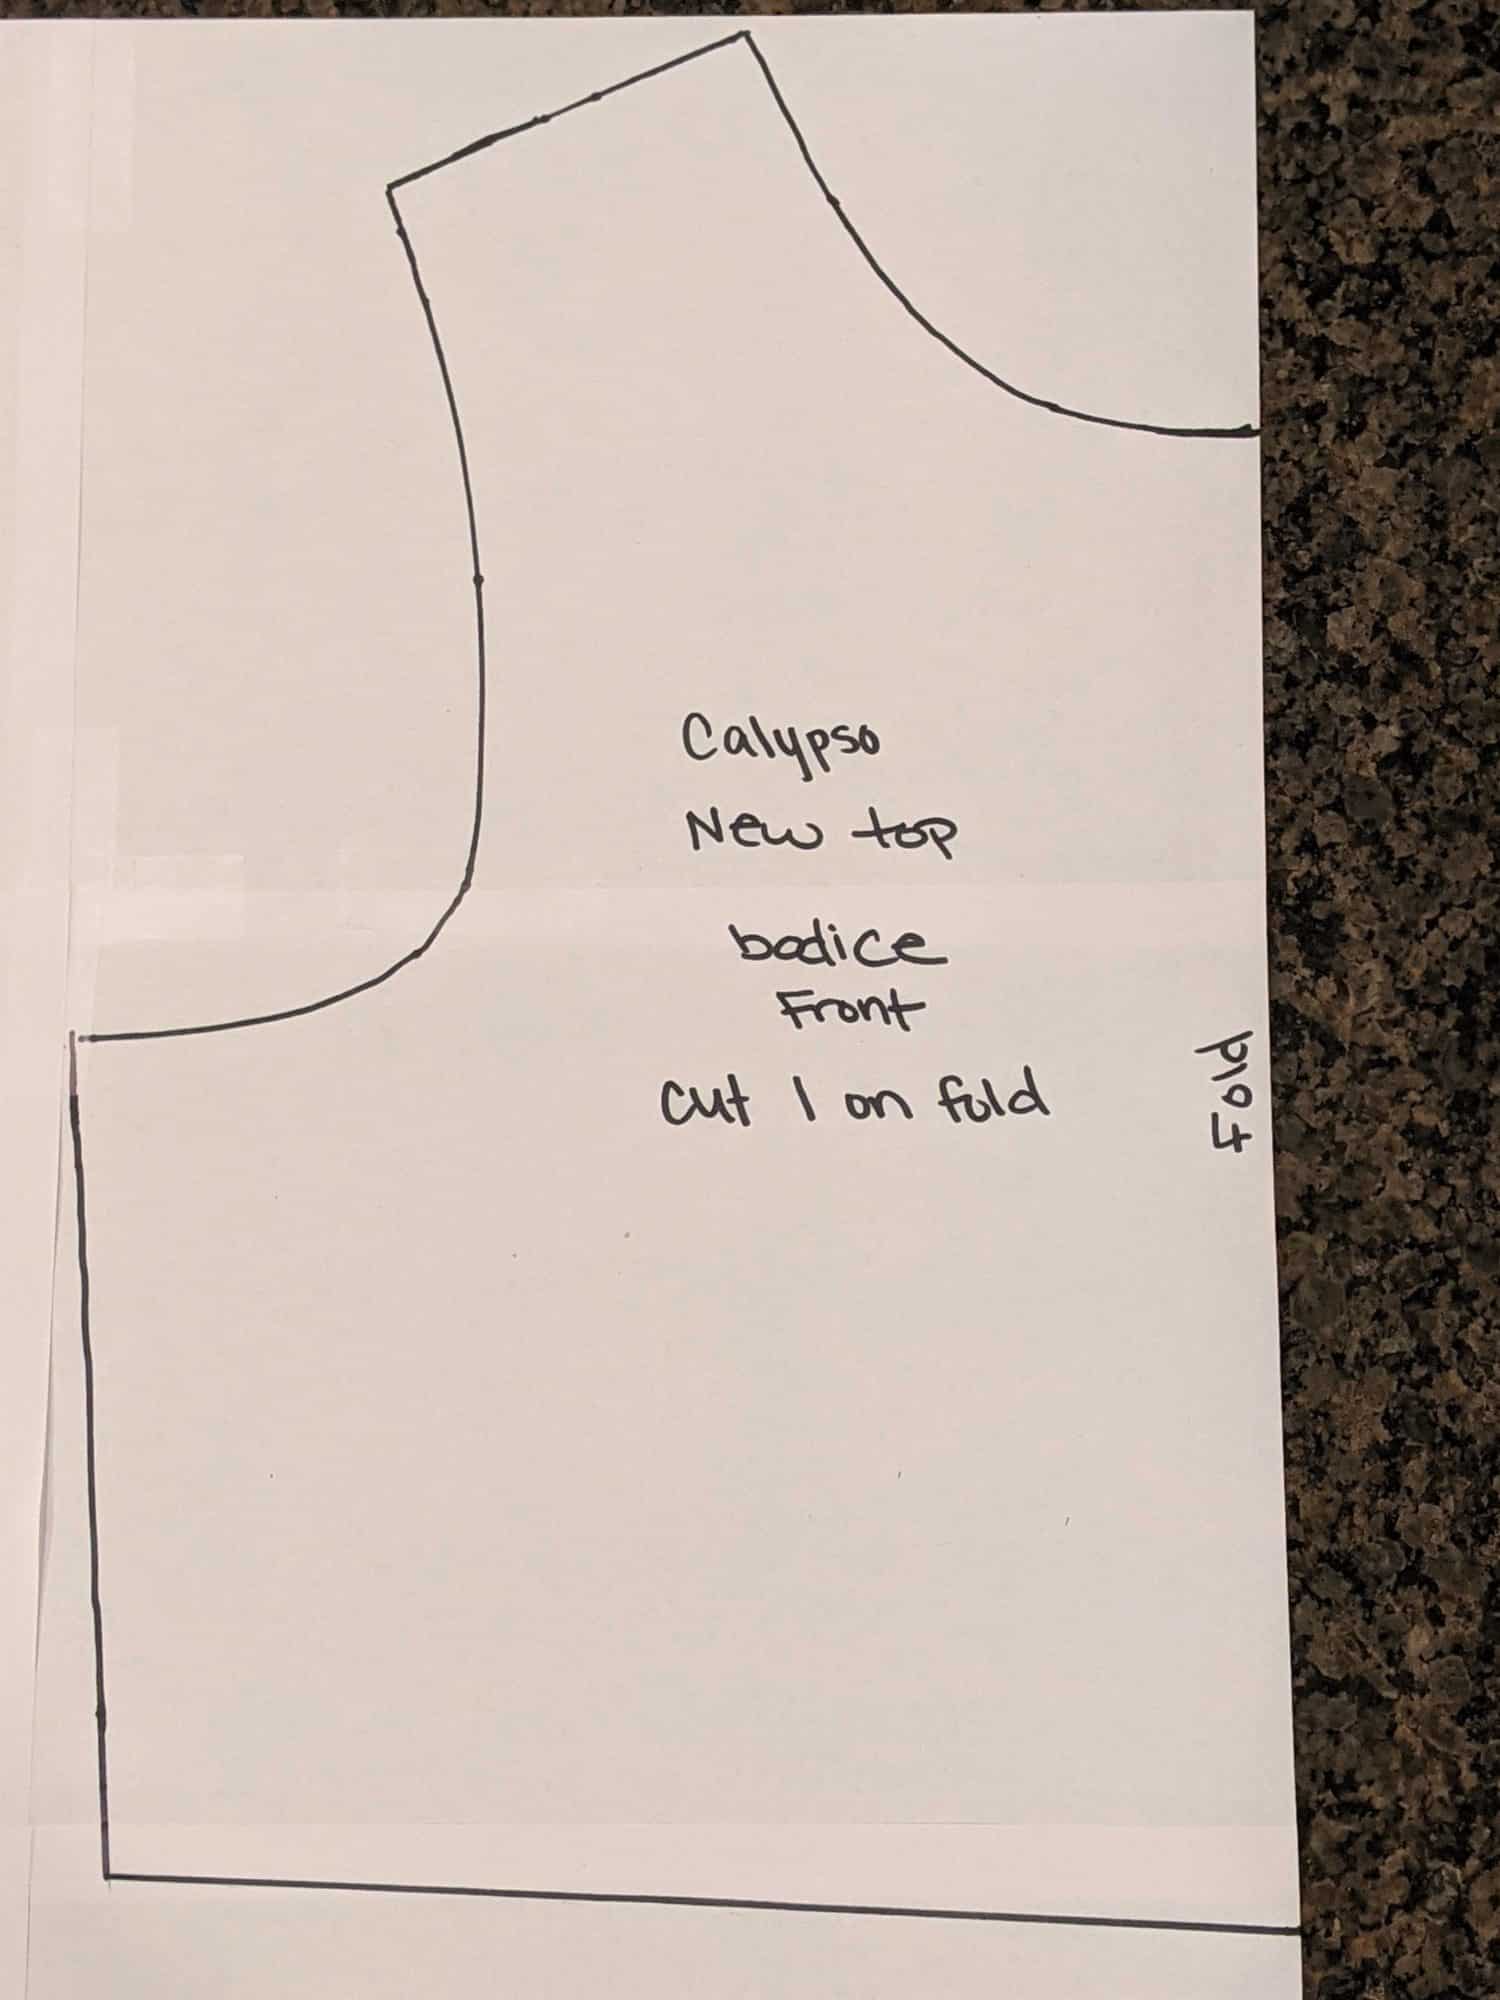
New front bodice top piece.
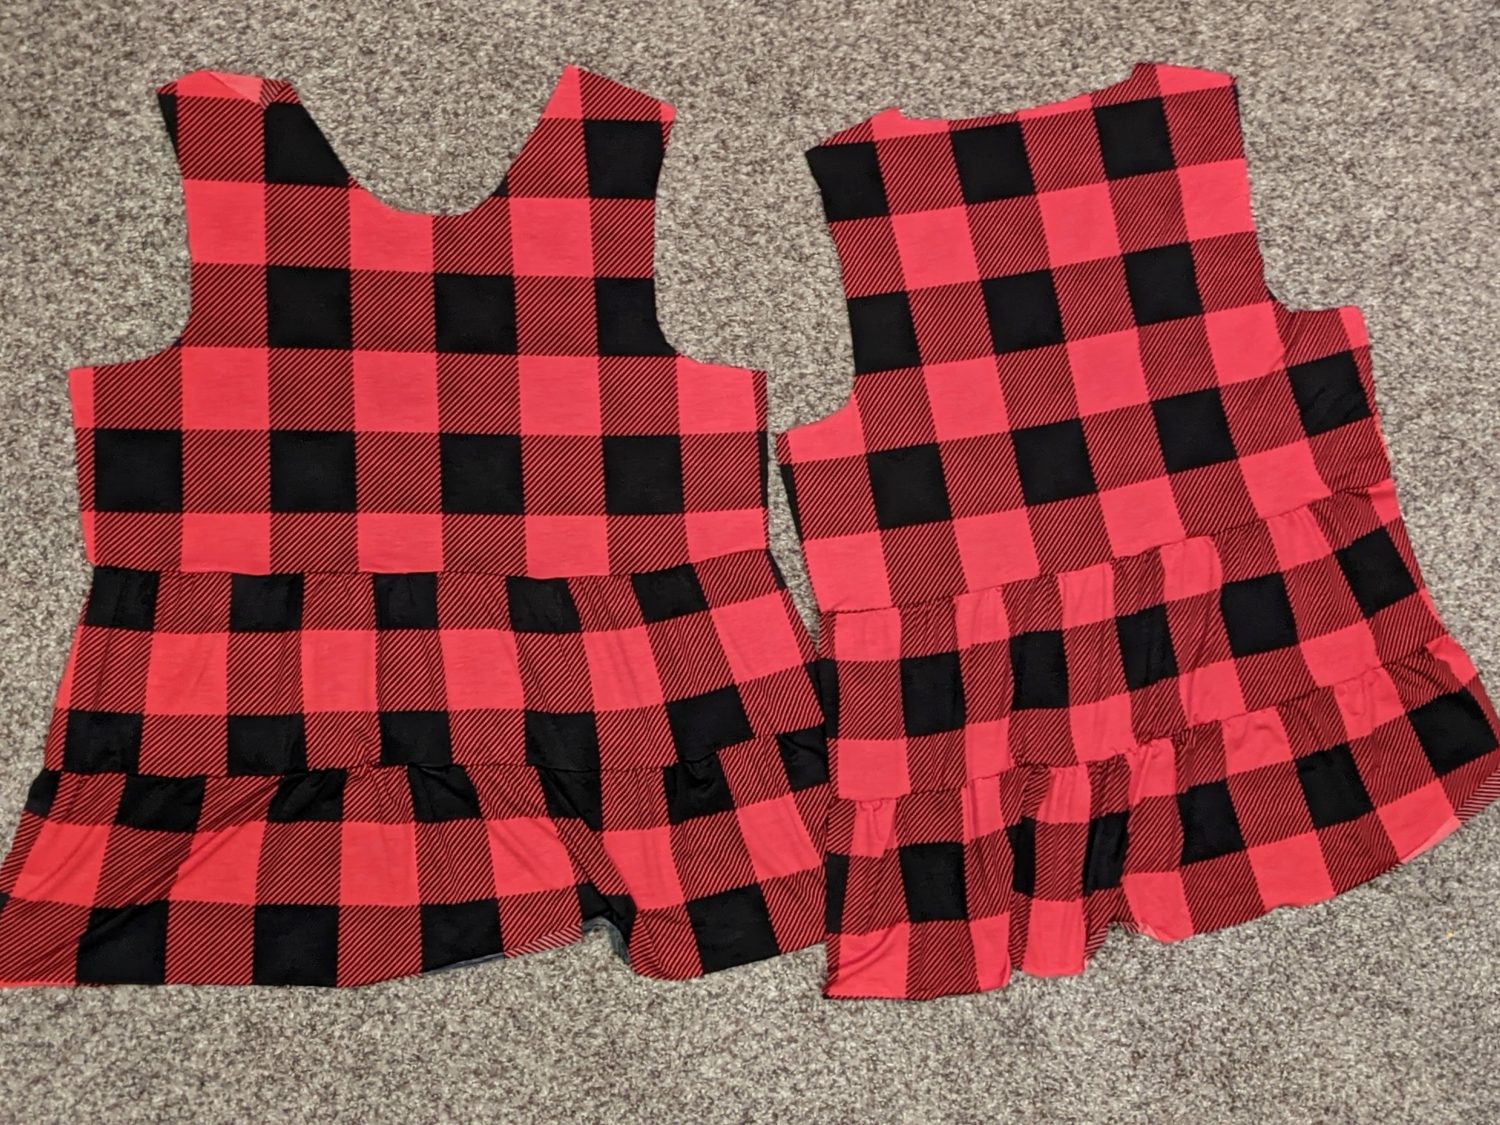
- Repeat with the top back bodice and the first back tier.
Repeat with the back bodice and back first tier. 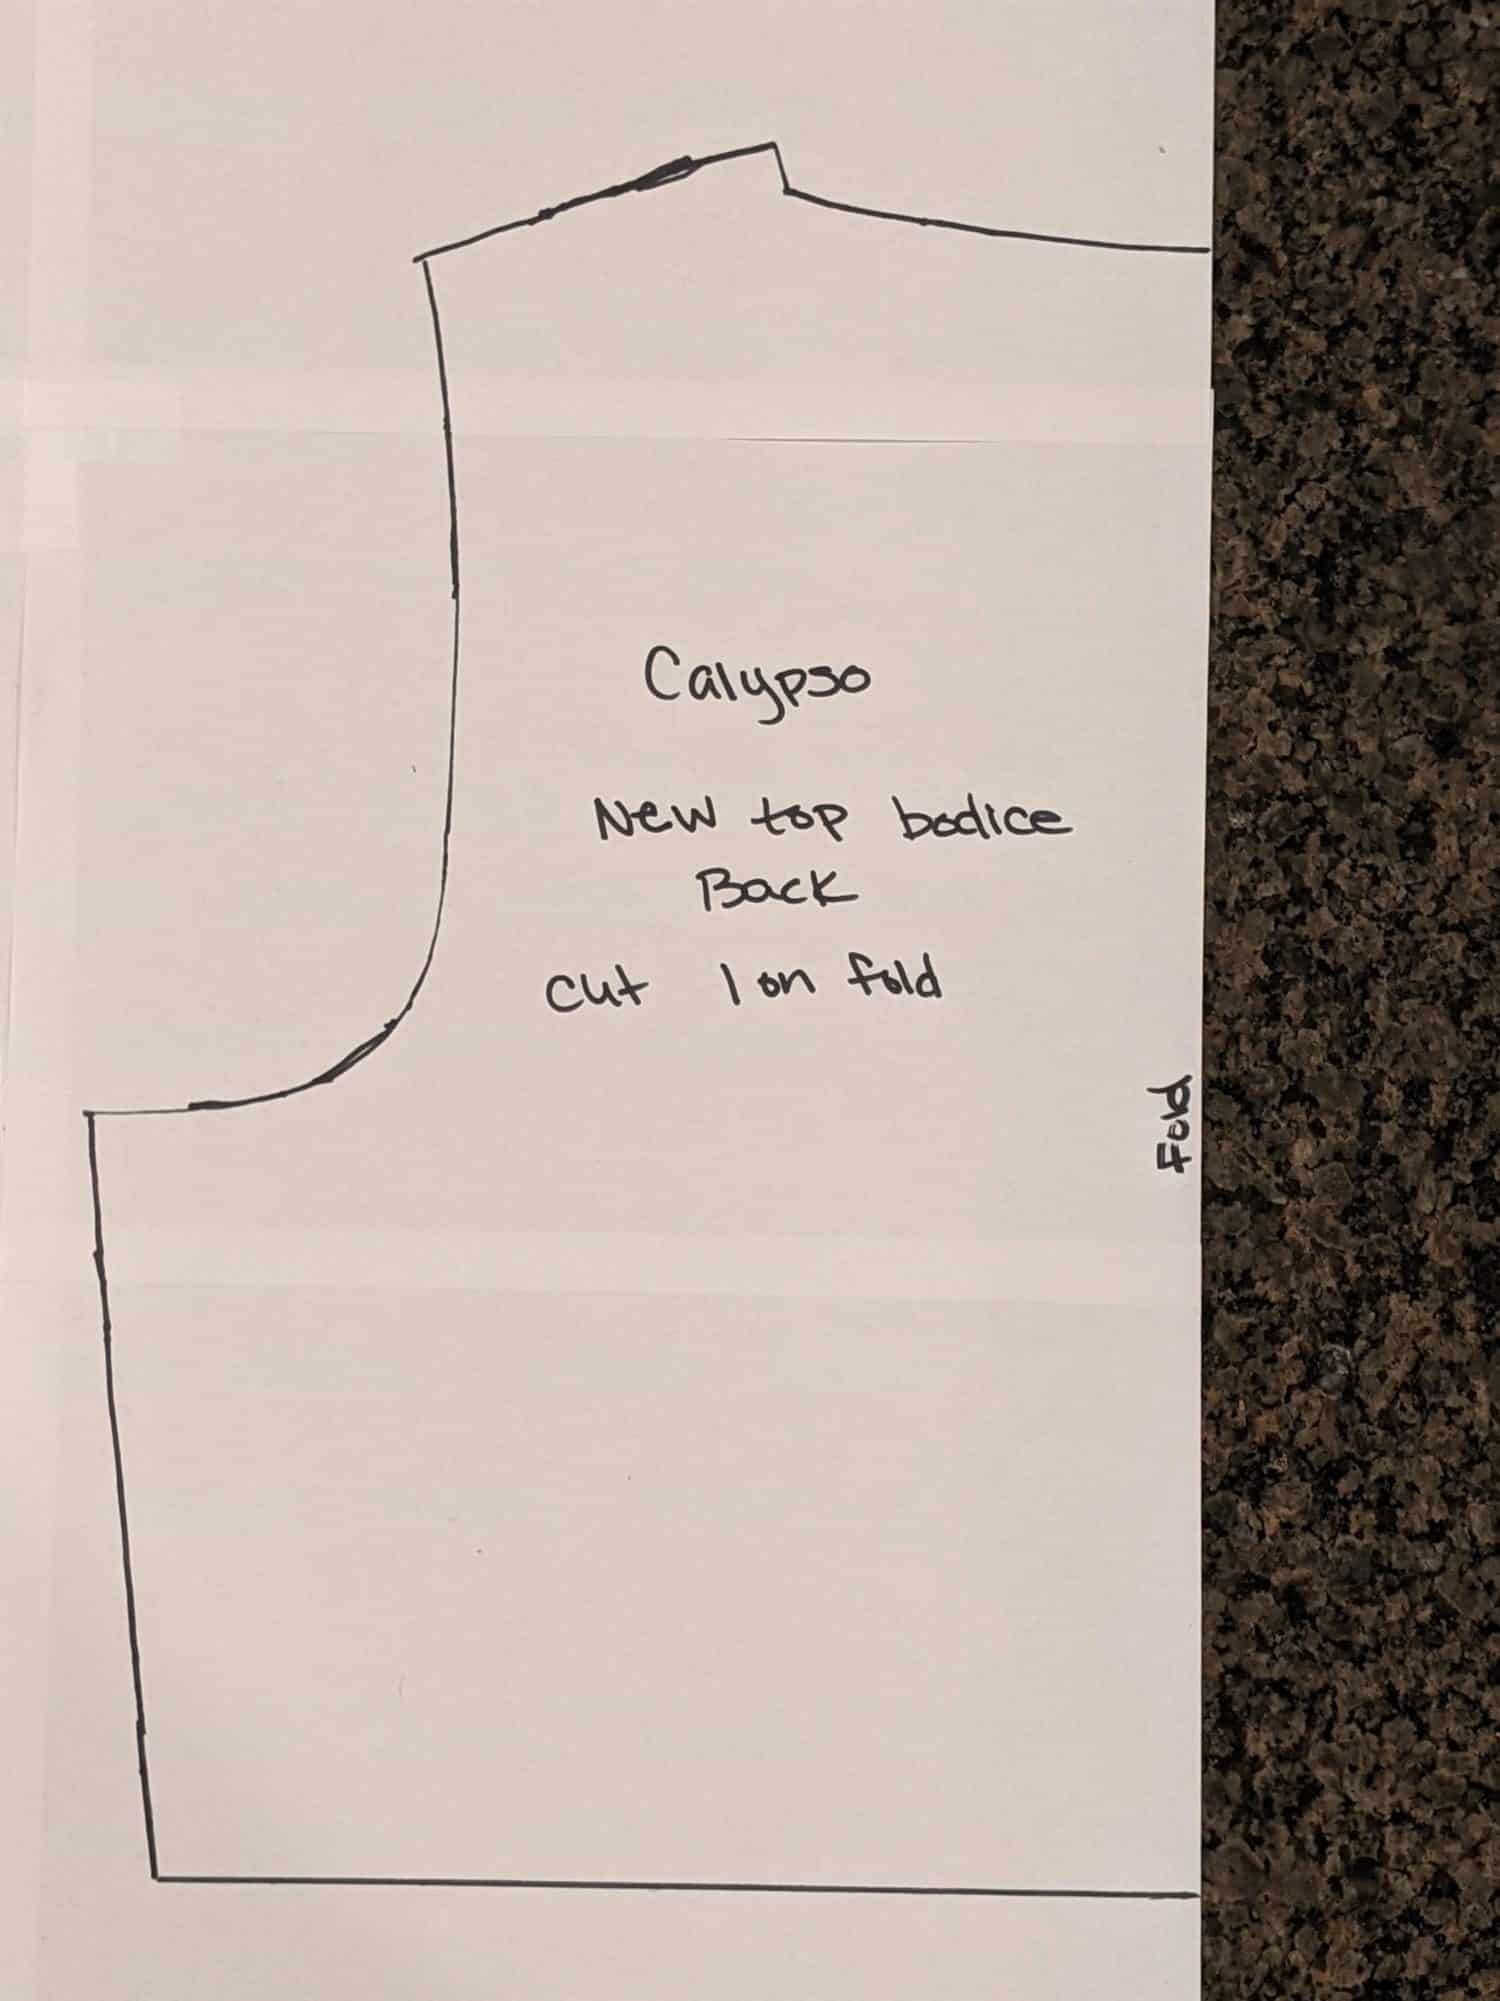
New back bodice top piece.
Second Tier Adjustments:
Create Two New Tiers
Since I attached the first tier to the top bodice and I still want two more tiers, I need to make adjustments to the original second tier.
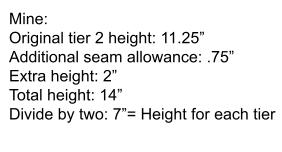
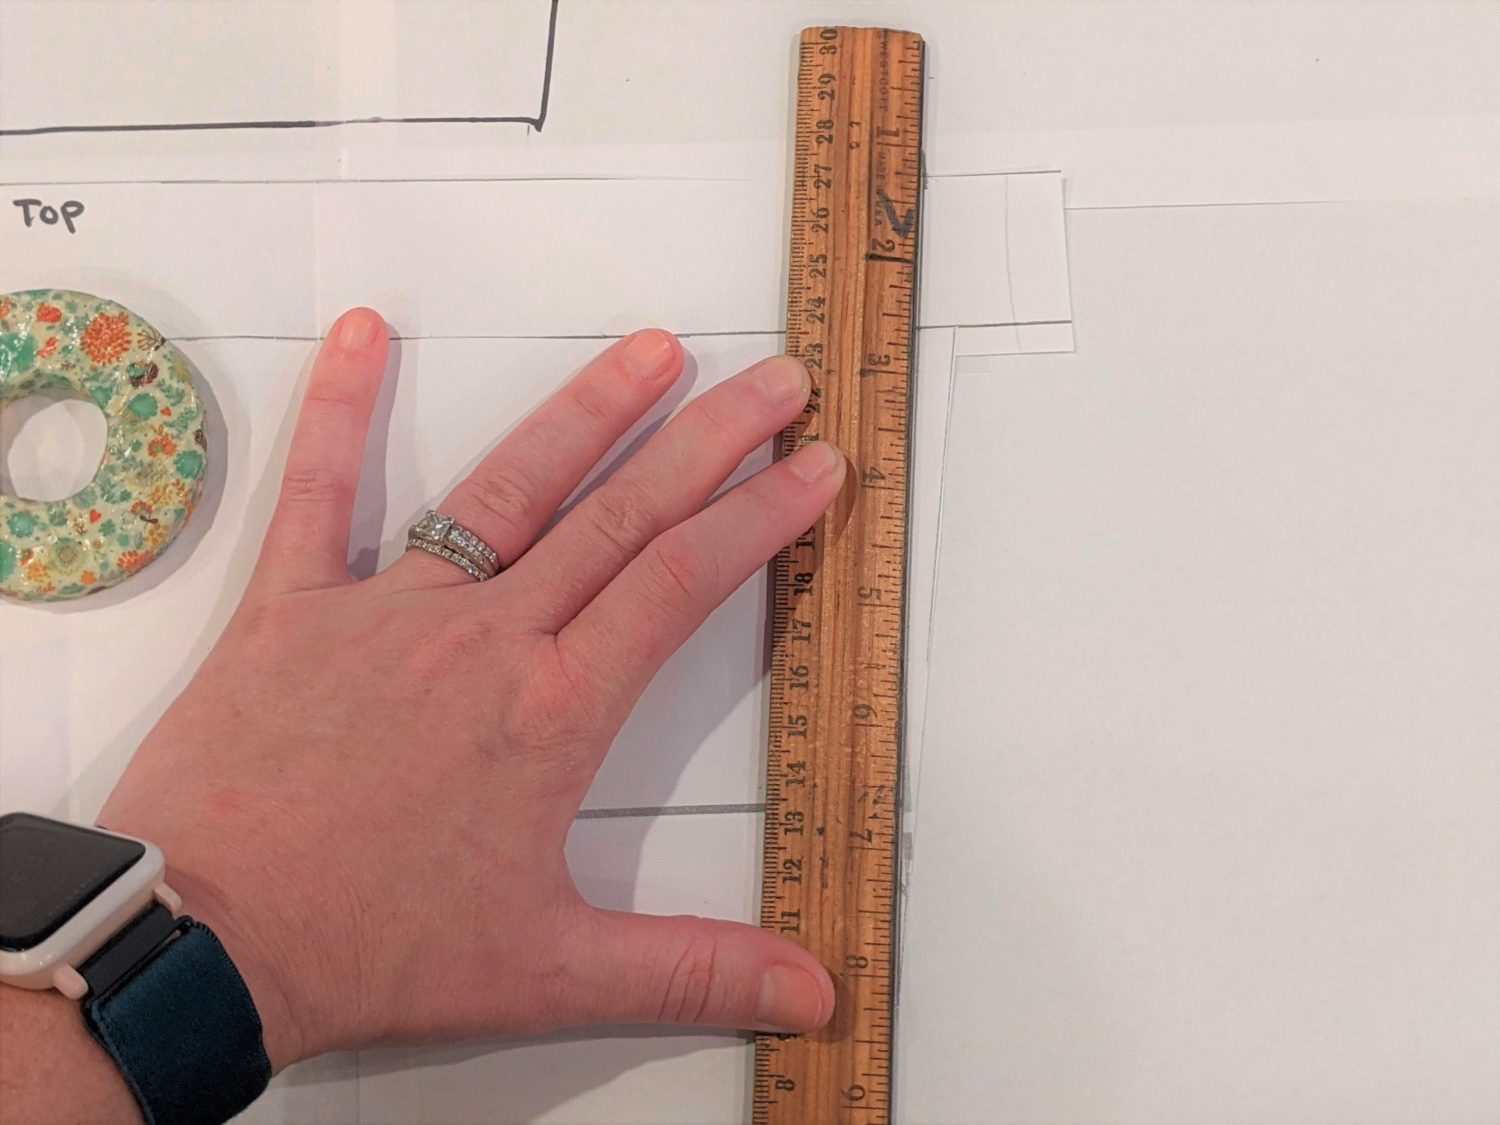
- Measure the height of tier #2
- To account for the seam allowance, add 3/4″
- Add another 2″ to widen each tier just a little. (You can add more to this if you want them to be wider. On the floral example at the end of this tutorial I added 4″)
- Add these three measurements together to get the new height for your tier.
- Divide this number in half to find the height for each tier.
- Subtract your original tier height from your finished height to determine how much you will need to add to the pattern piece.
- For mine: New height (14″) minus original height (11.25″) equals 2.75″ to add to my piece.
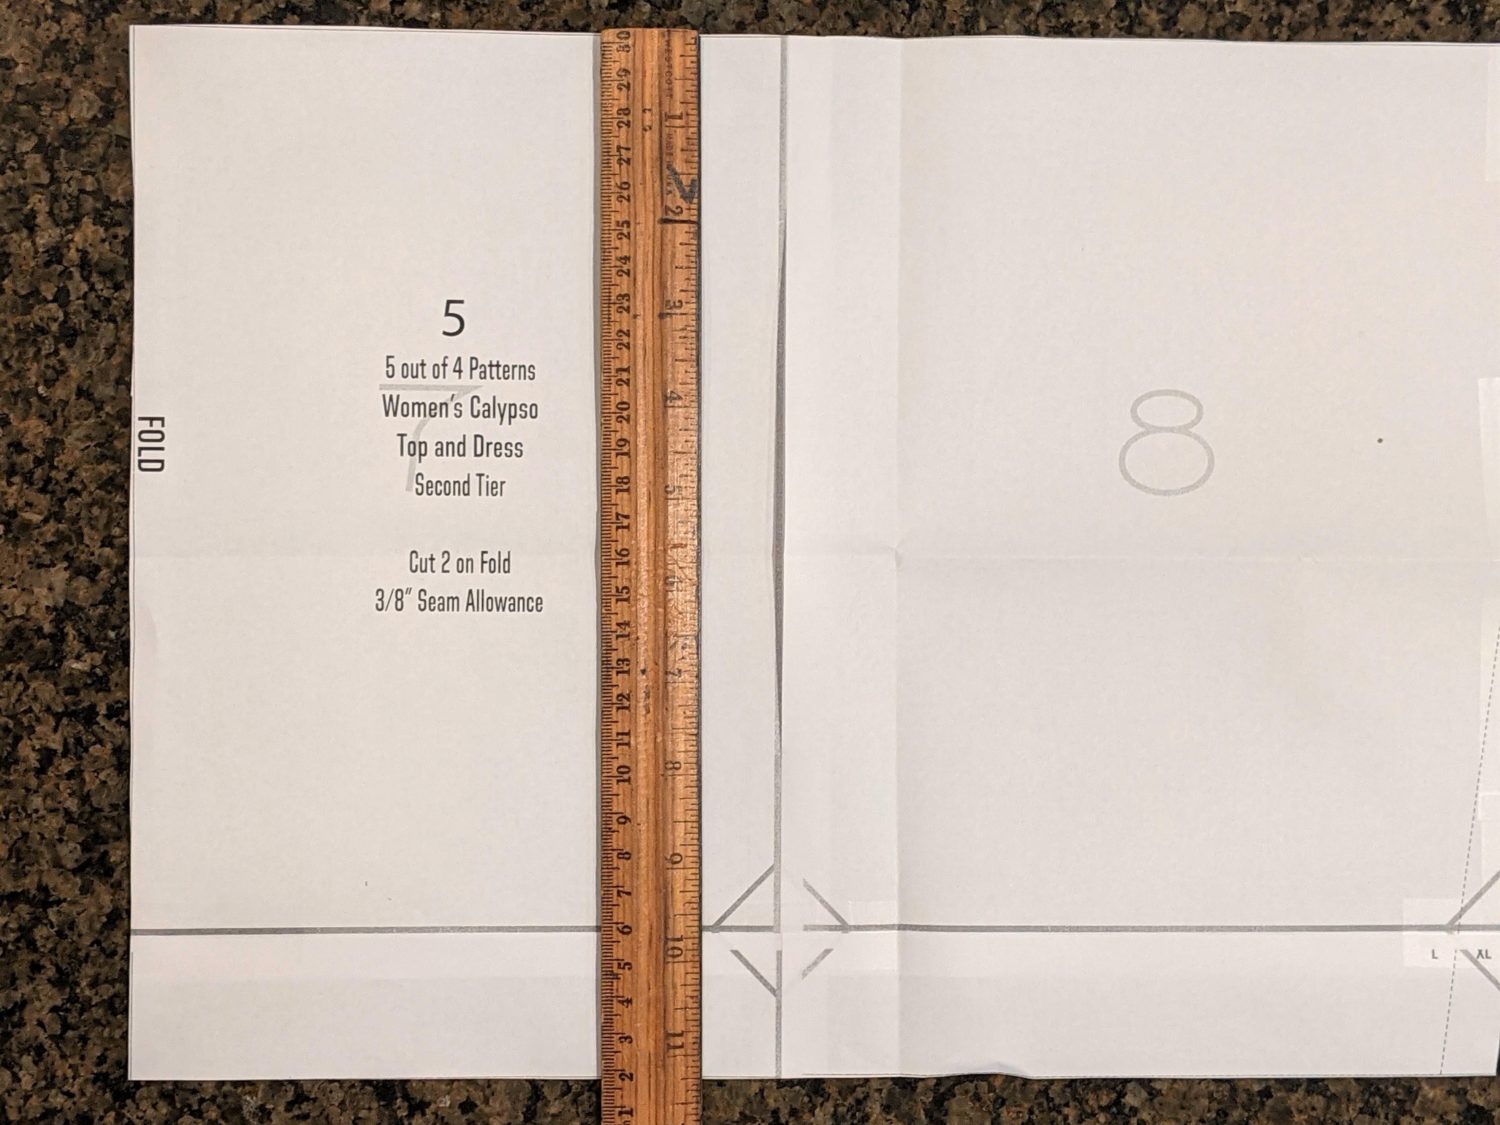
- Fold your original pattern piece in half lengthwise then cut it in half.
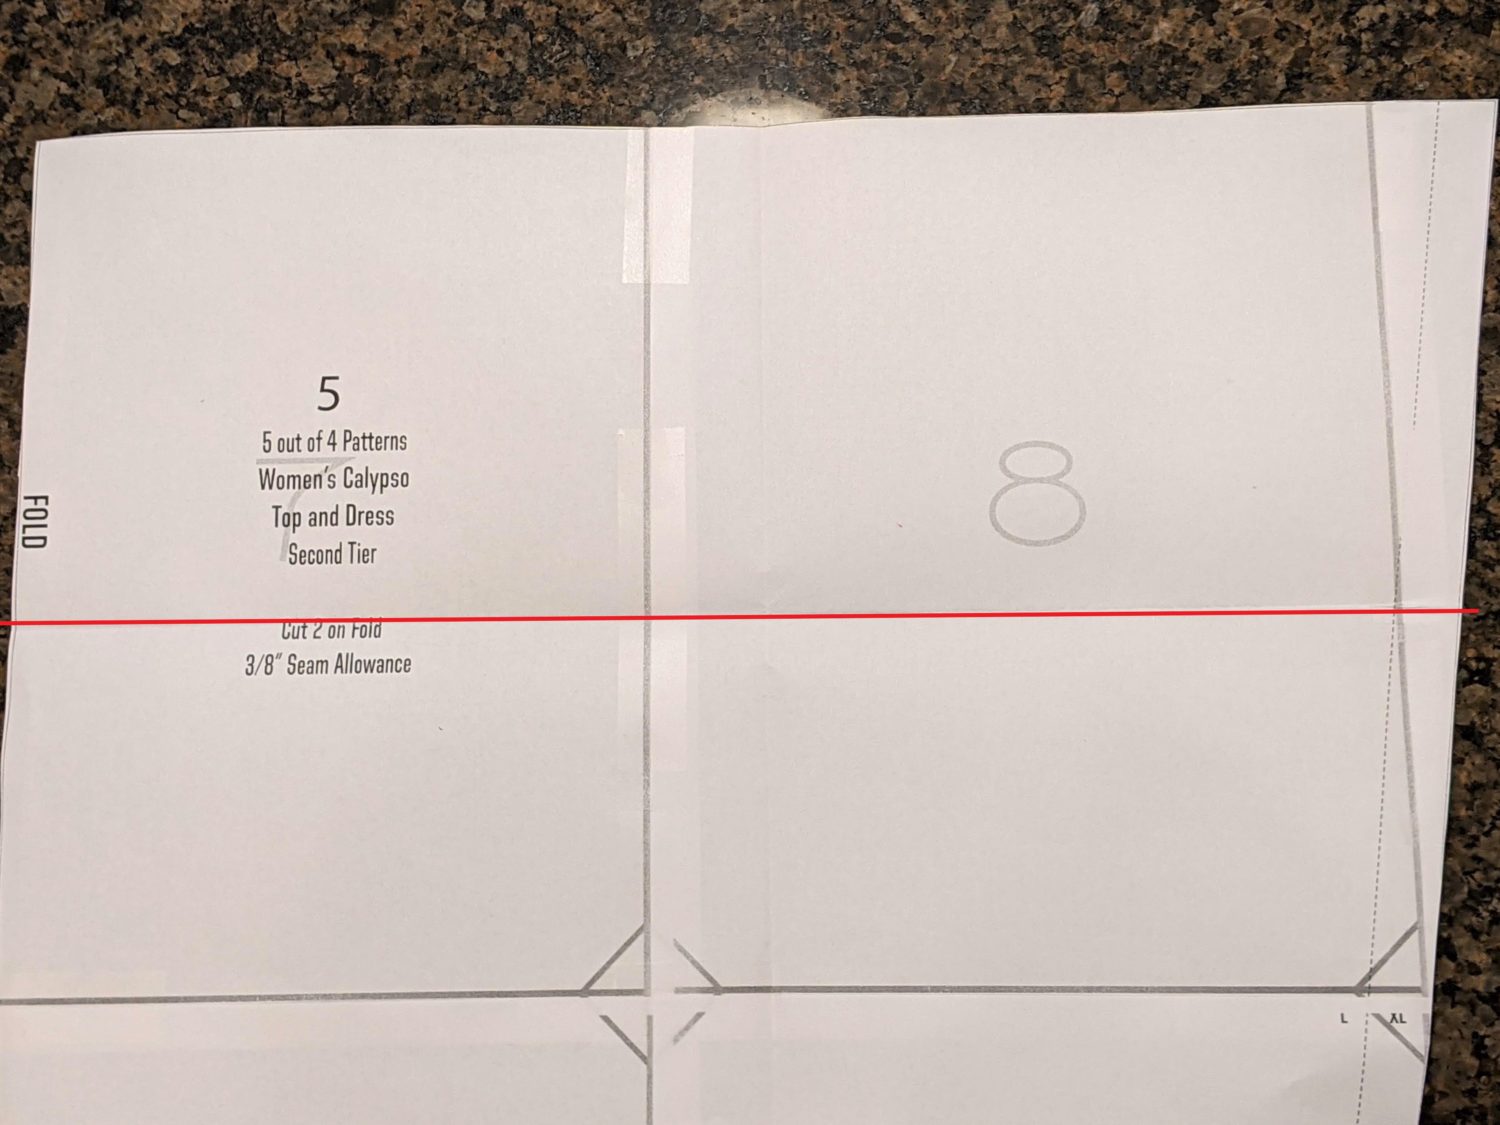
- Cut a strip of paper to the width you will be adding (plus enough overhang to tape it on)
- Tape the new strip along the length of the cut piece.
- Fold the new piece in half lengthwise and cut it in half.
- Label your new tier #1 and new tier #2.
Fold in half 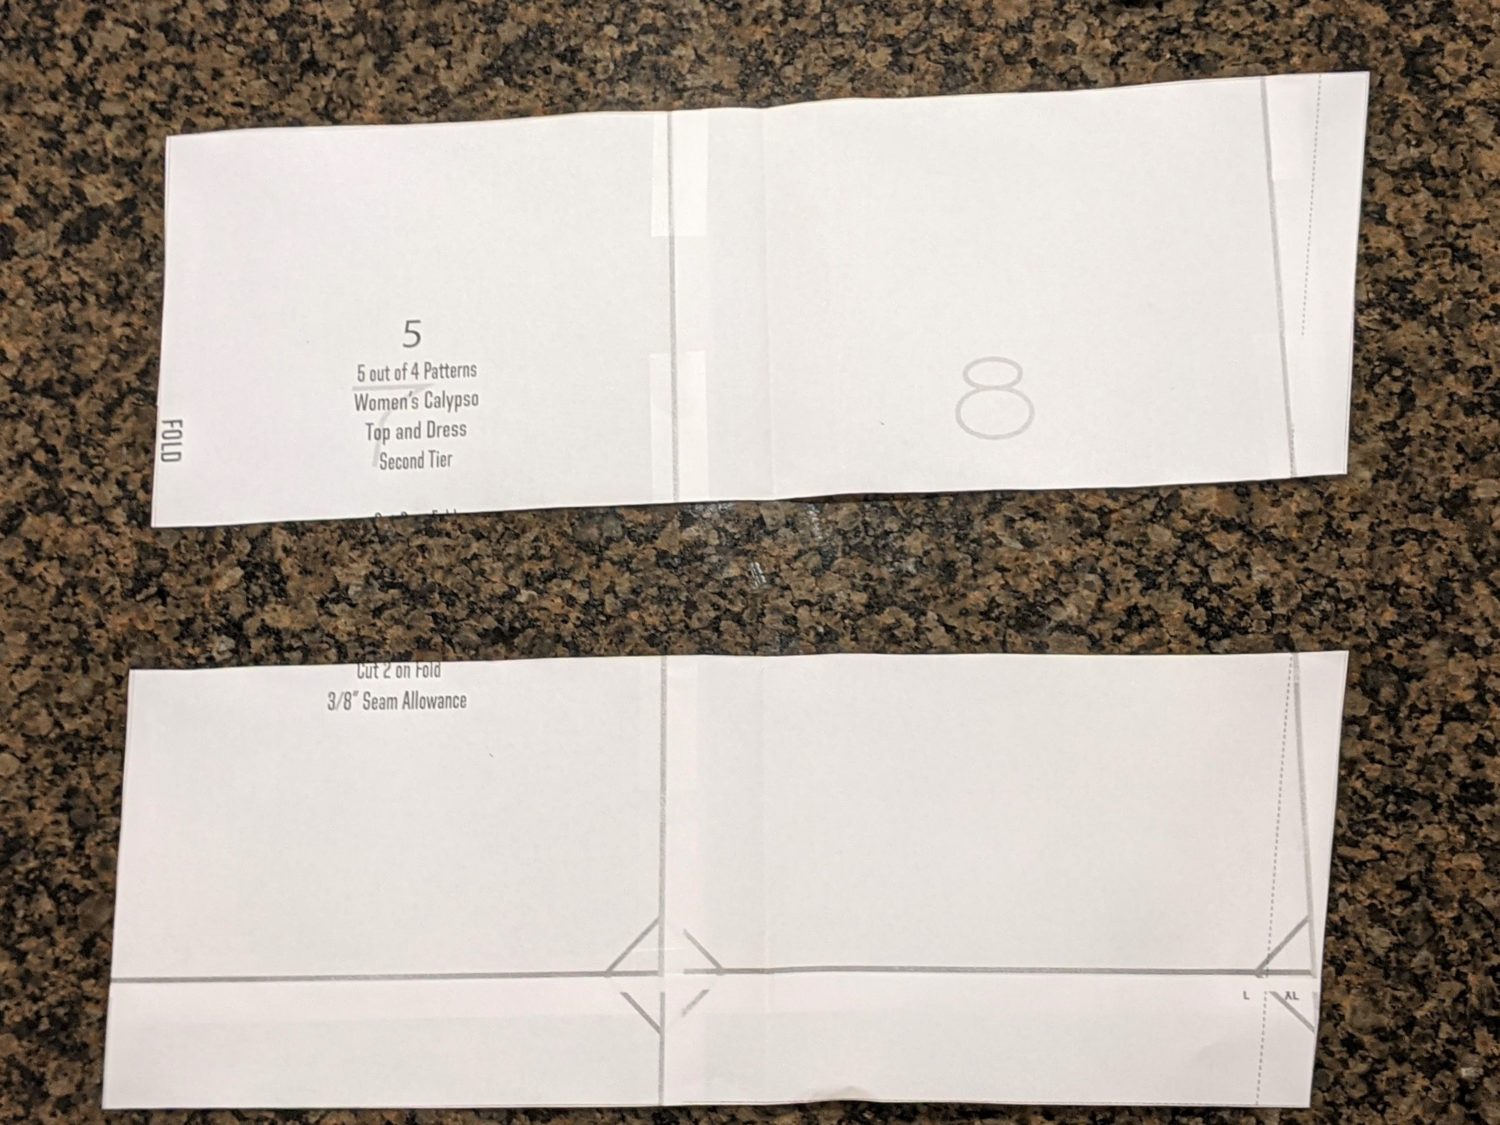
Cut in half
Add your extra width 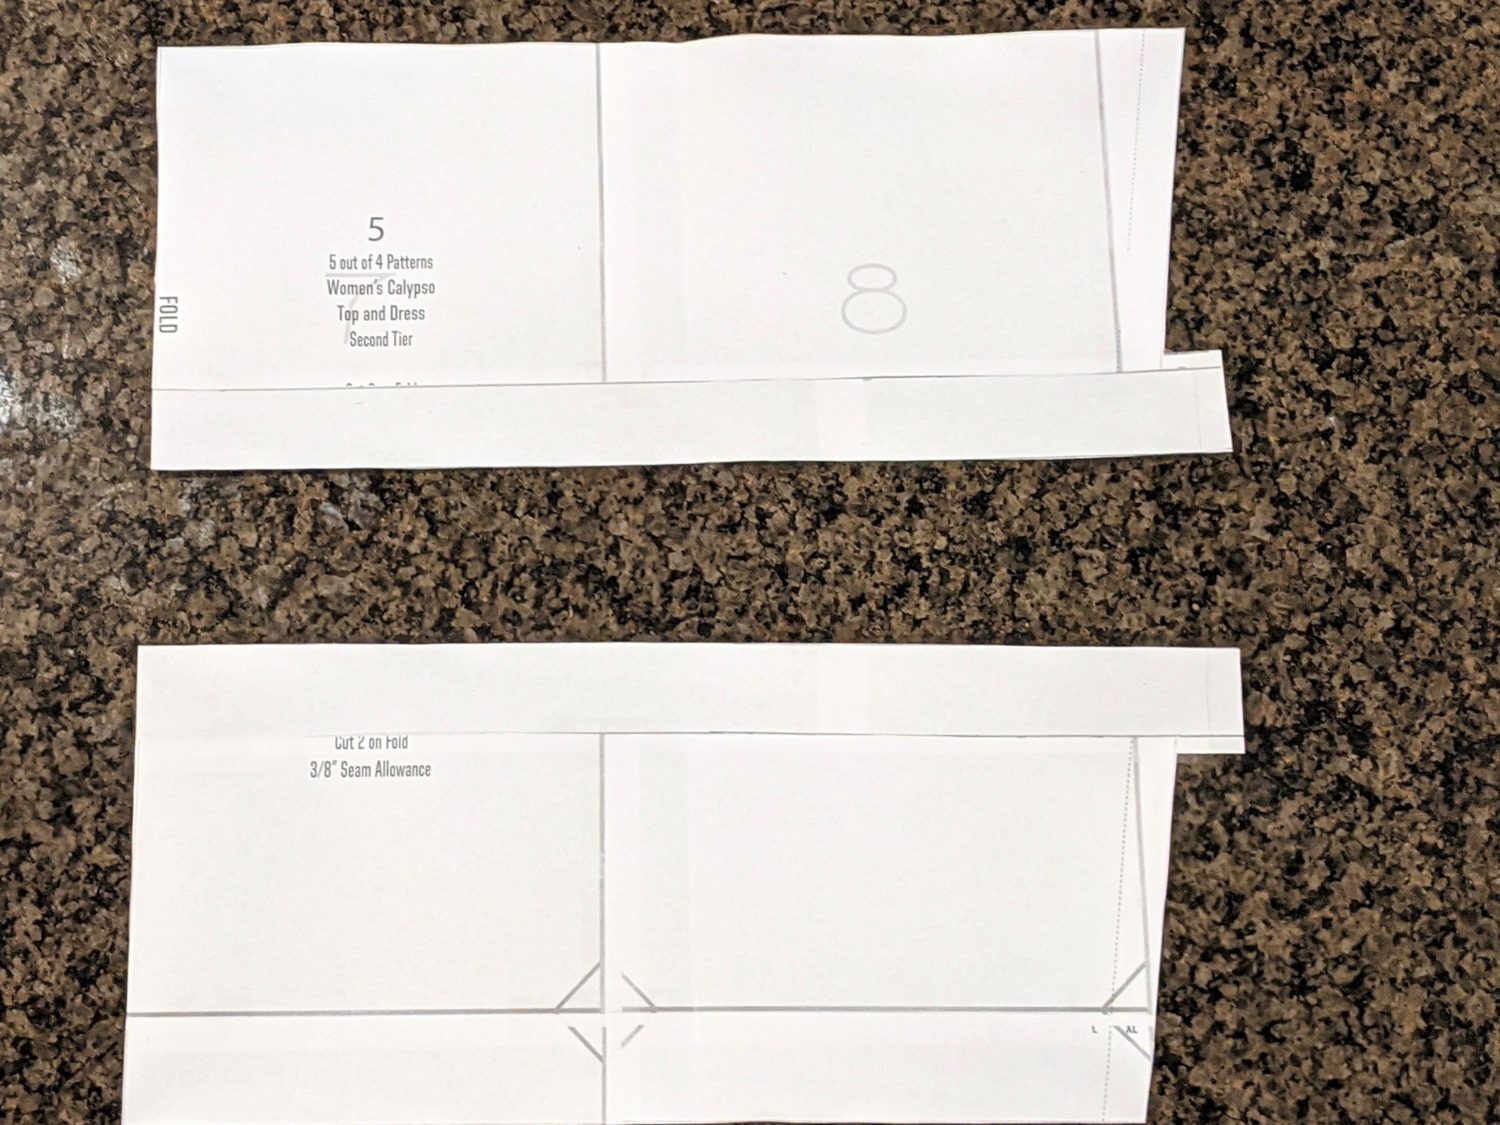
Fold and cut in half
Add Length to Each Tier
- Grab your original bodice, original first tier, and new second tier and line them up at their fold edge.
- Measure the distance from the edge of the upper tier to the outer edge of the lower tier for both pieces.
- Align the fold edges of your new first tier and new top bodice.
- Measure out from the top bodice edge the amount you measured above on the original pieces and mark.
- Take a straight edge, keep it parallel with the original pattern edge so that the angle is the same, and draw a line from your measurement mark down to the bottom edge.
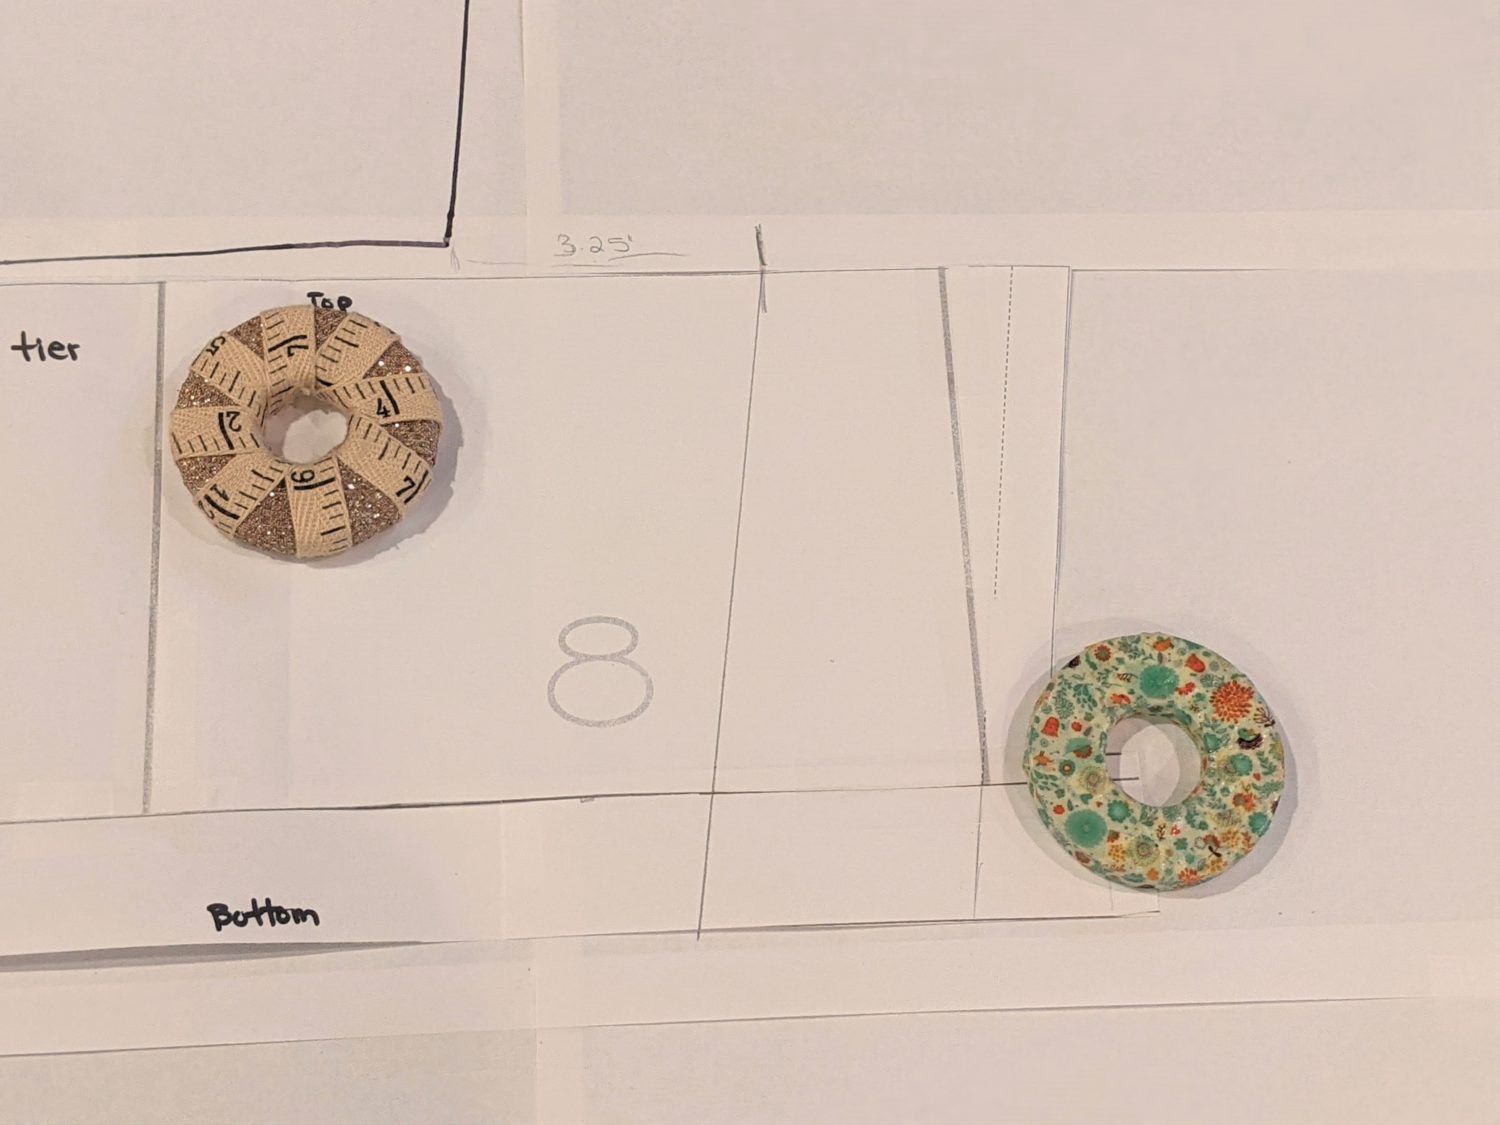
- Repeat the same steps with your new second tier, but angle the straight edge to the original bottom edge to keep the bottom the same width as the original piece.
- You can now trace your new pieces onto tracing paper or cut them from your adjusted pieces.

Sewing it up
- The construction will be exactly the same as the original. Follow the tutorial from the pattern to put it all together.
- *Note: I made a couple of other small changes to my pattern for personal preference. I lowered the neckline an inch and made the neckband 1/2″ wider. I also chose not to add the keyhole and tie detail to the sleeves. Instead, I cut them straight accross and added bands to the edge.*

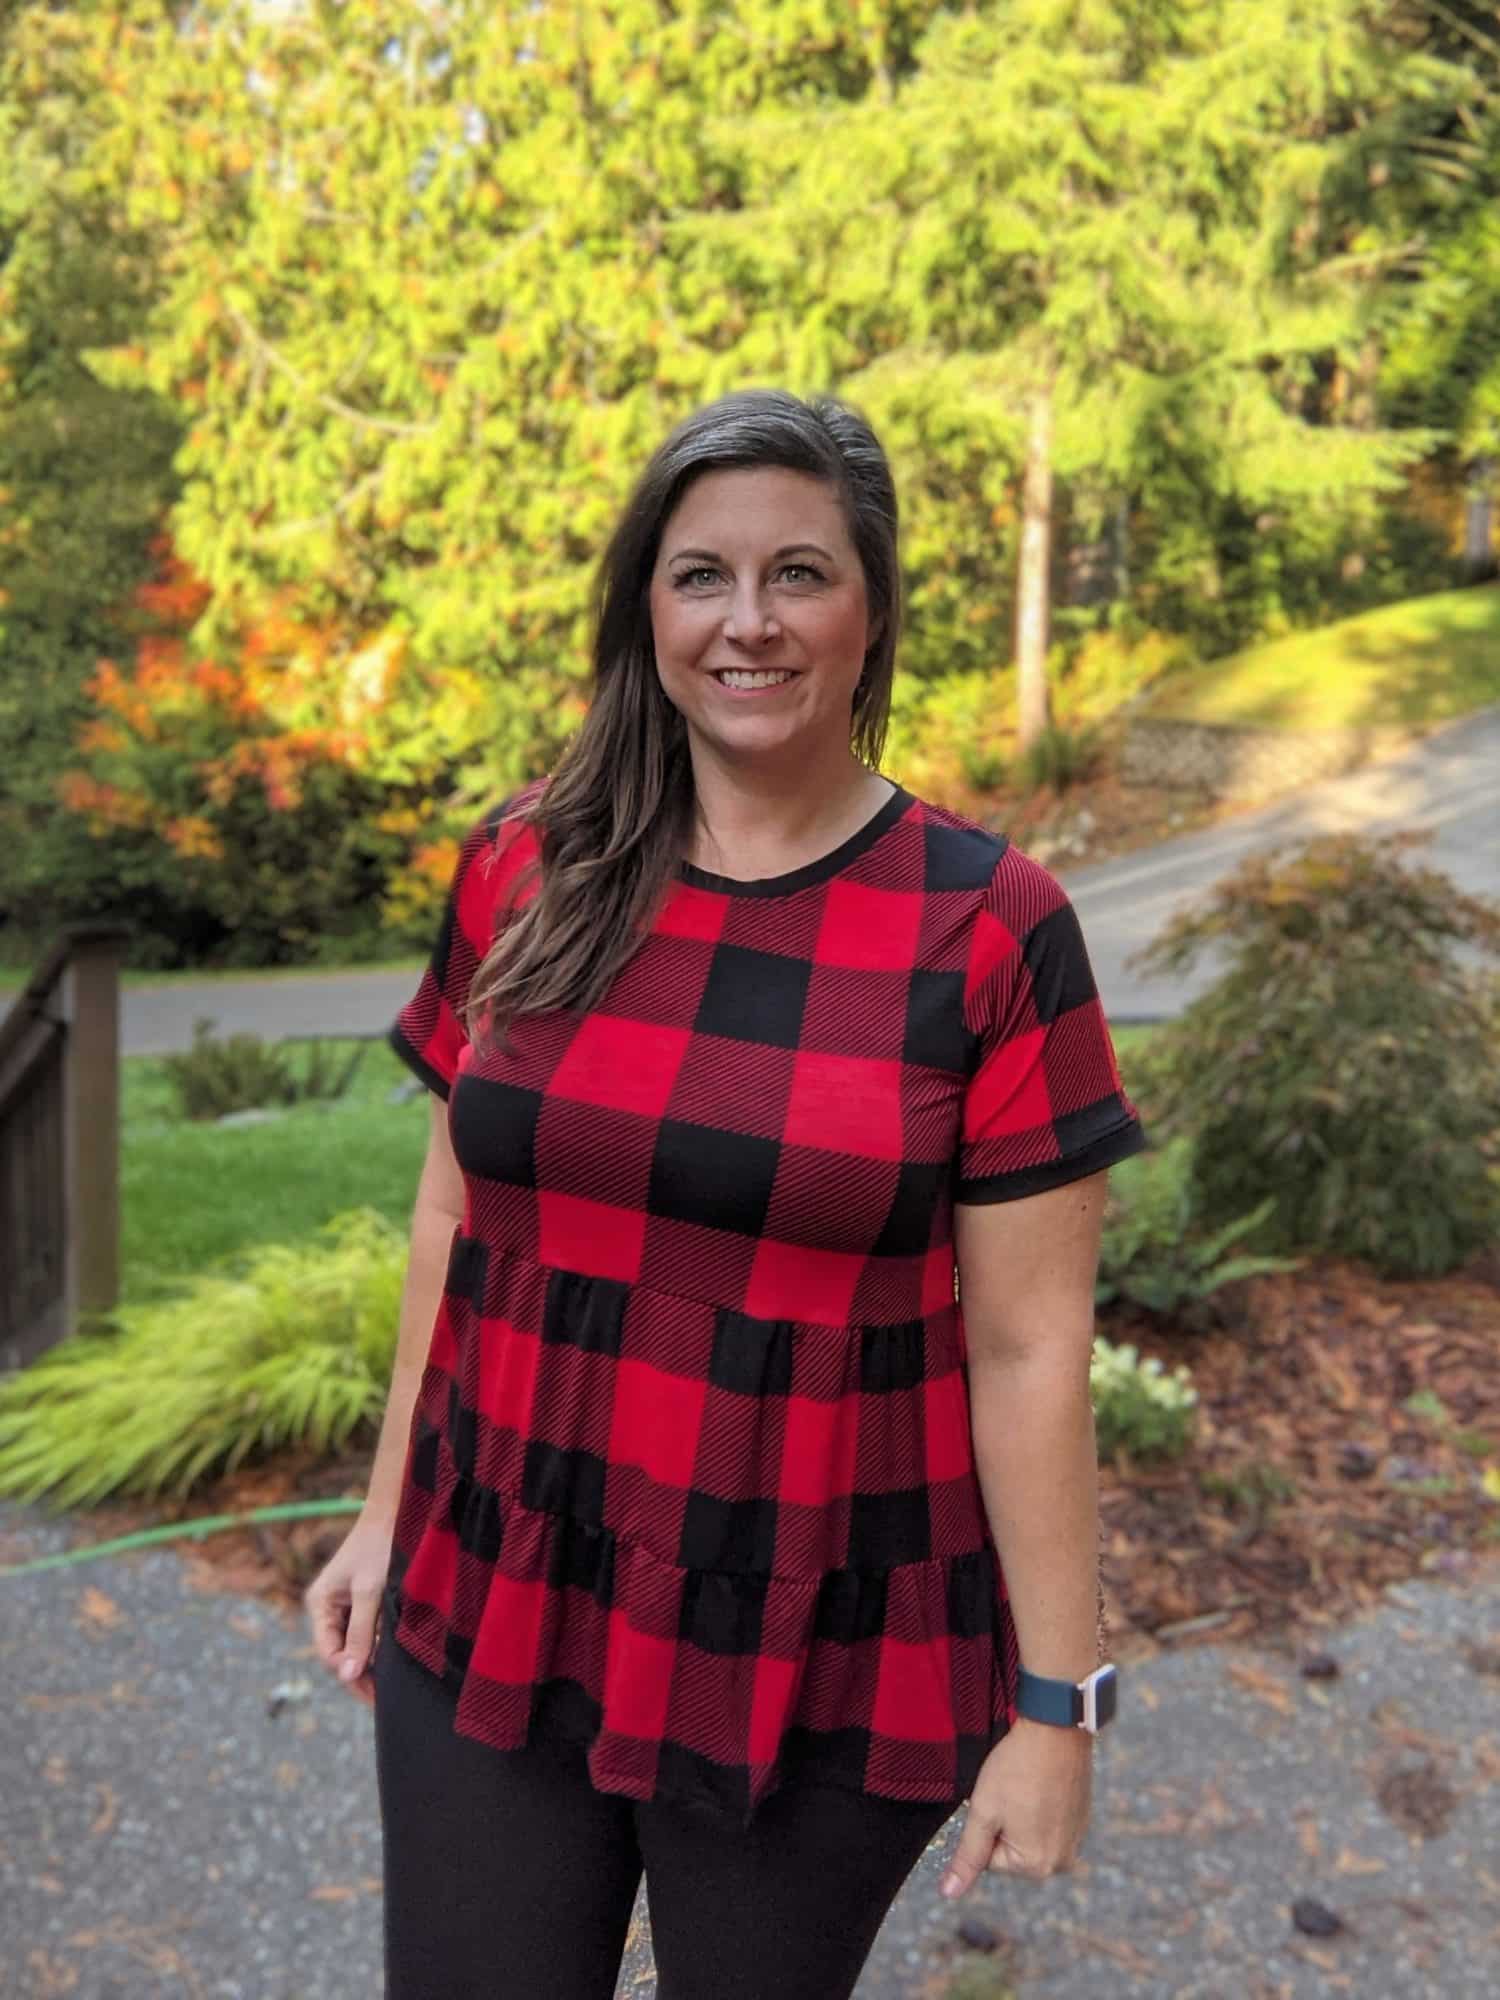
You are ready to rock your new Calypso top!

Want more FUN DIY Freebies? Check out the FREEBIE TUTORIALS and the FREEBIE PATTERNS!
As always, we’re here to help if you need it! Join us HERE and on Facebook, Instagram, Twitter, Youtube, and Pinterest. We’re everywhere you are.
Leave a Reply