I think it’s safe to assume that most of us in the sewing community have a good-sized stash of buttons. Maybe it’s just me, but I hope I’m not alone in my button-collecting habit. I was searching for a specific button for a project and thought I should use some of these for a craft. These came together so quickly and they are perfect for decorations, ornaments, and gift toppers.
Supplies:
- Buttons in assorted sizes and colors
- String or twine
- Optional: thin embroidery needle or tape to help with threading
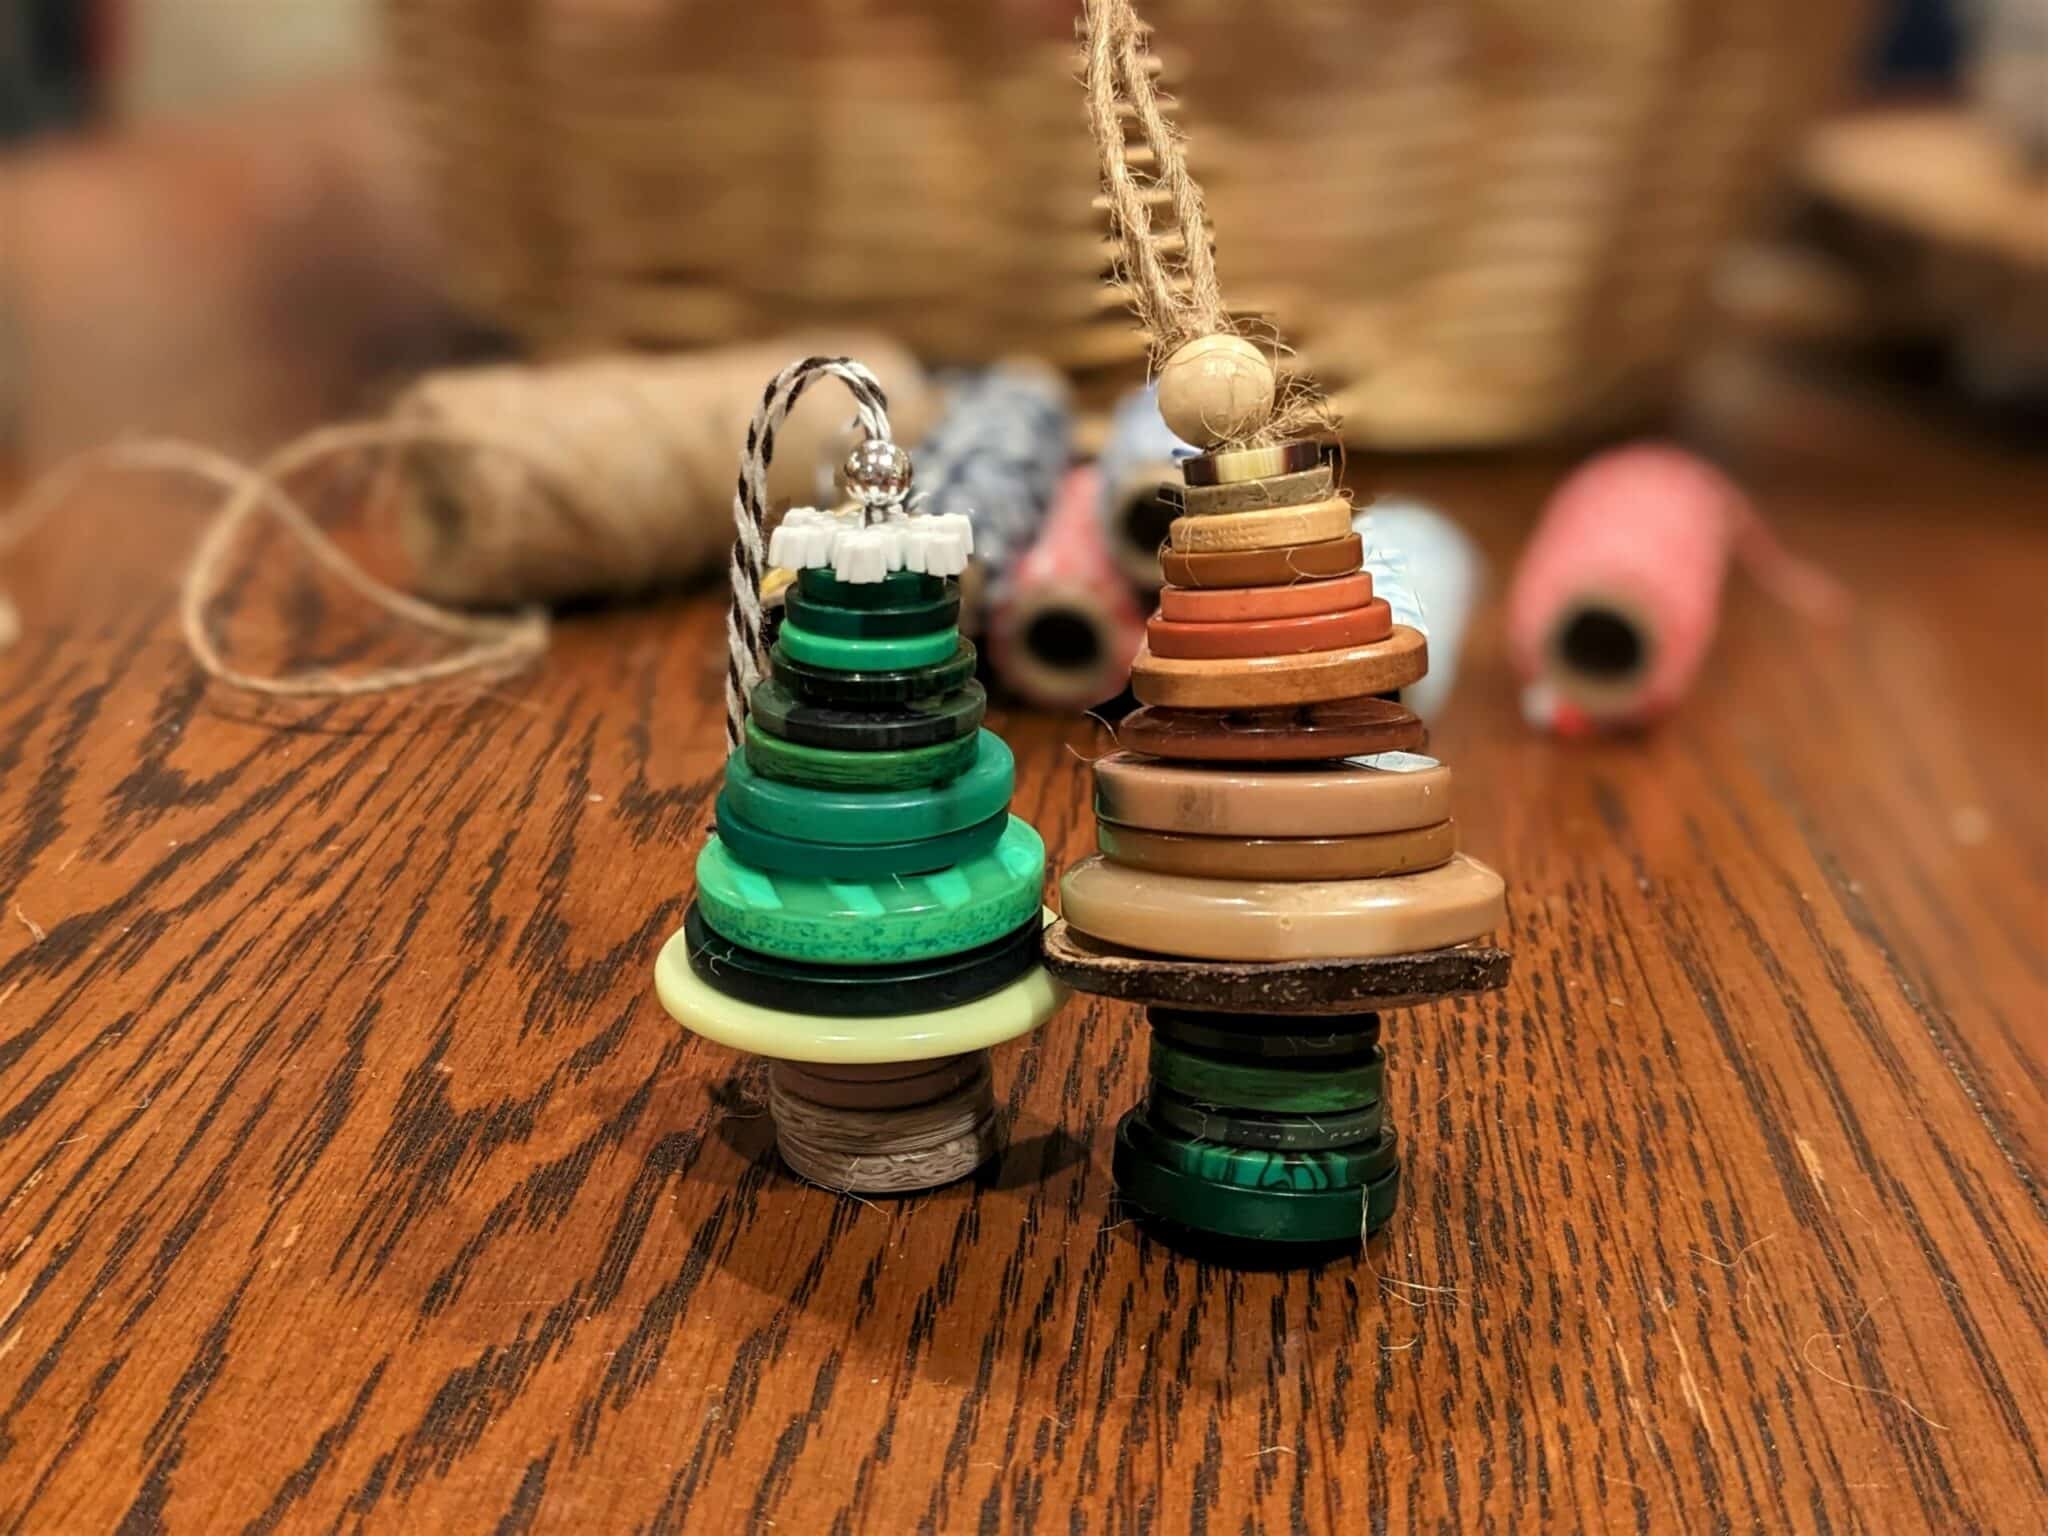
Plan Your Layout
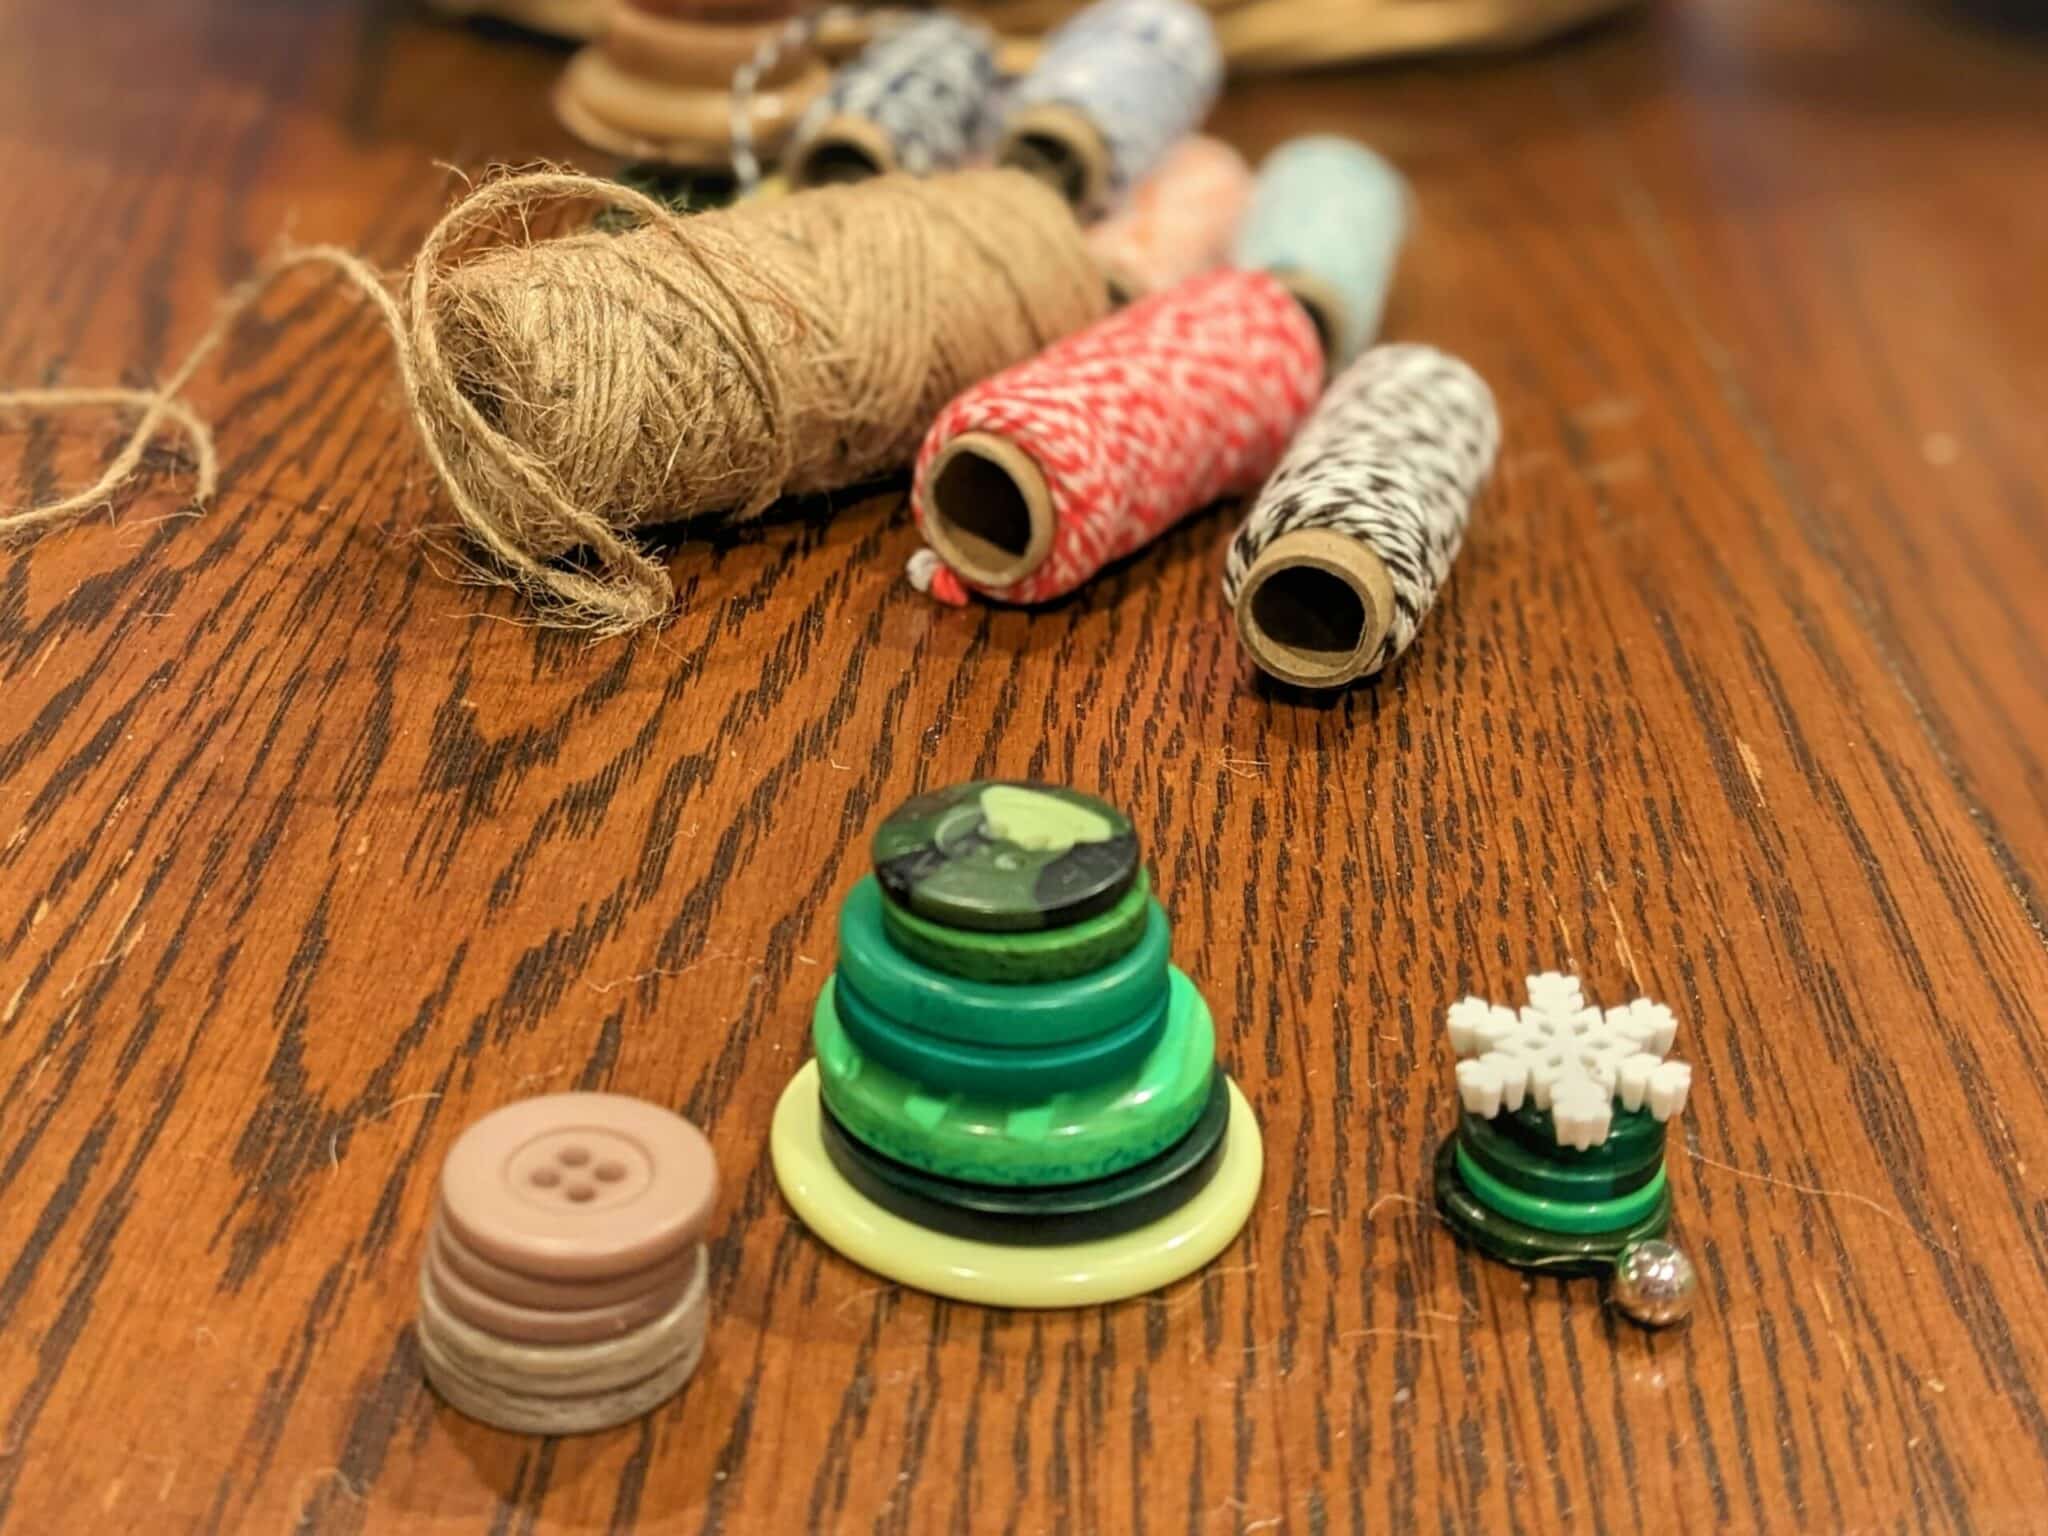
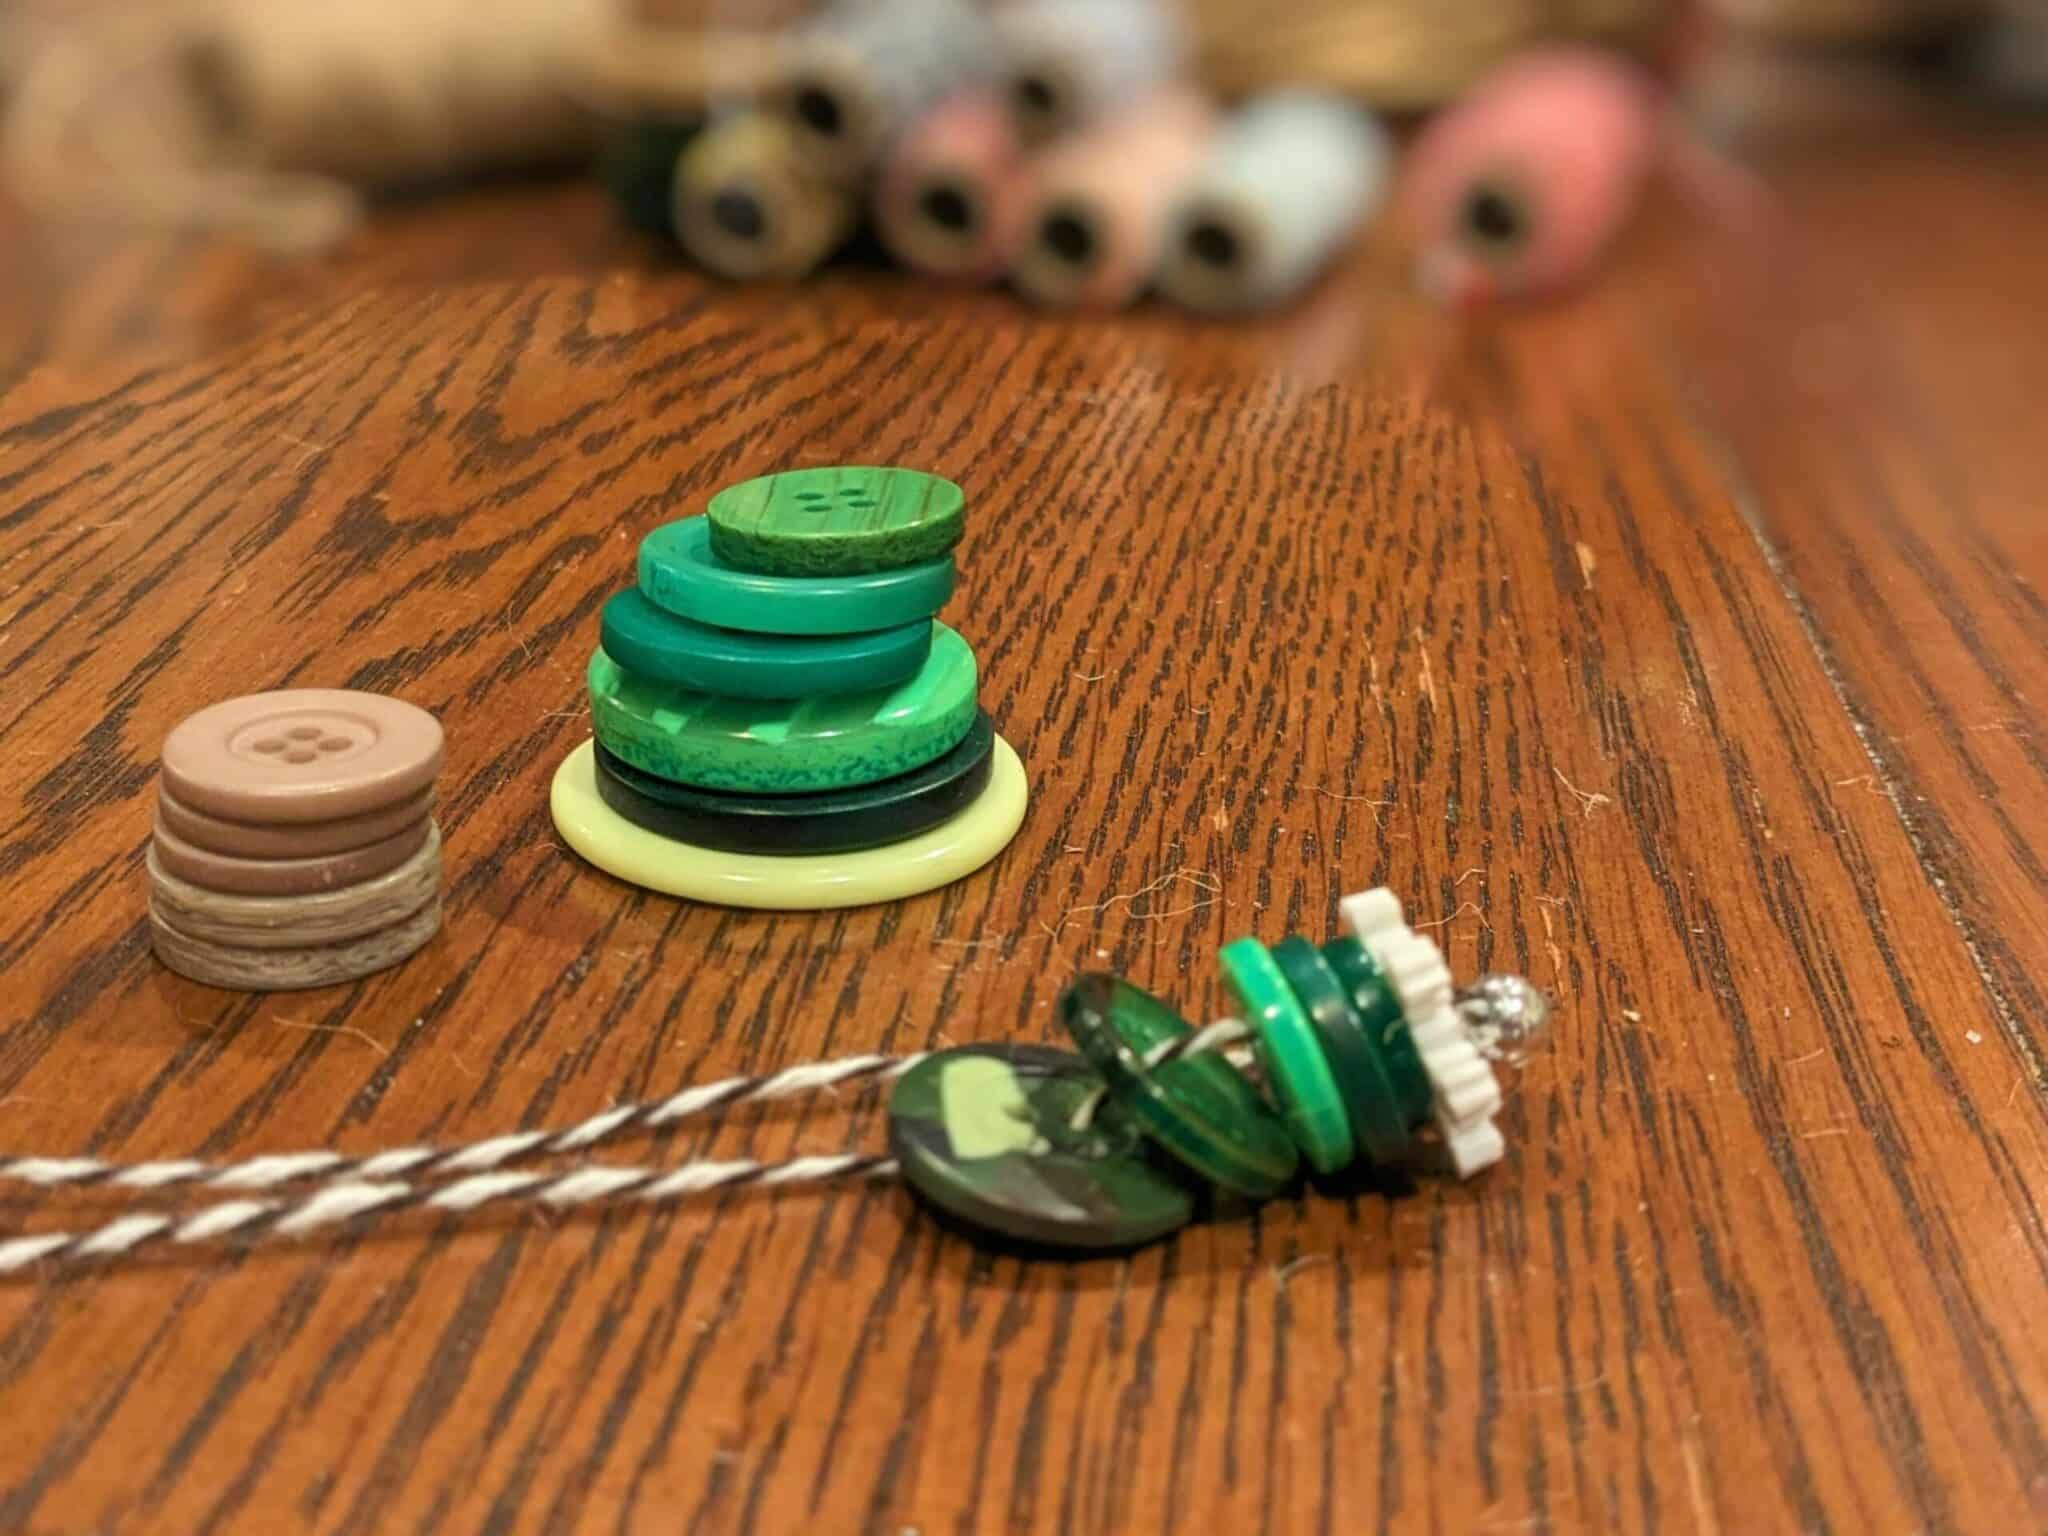
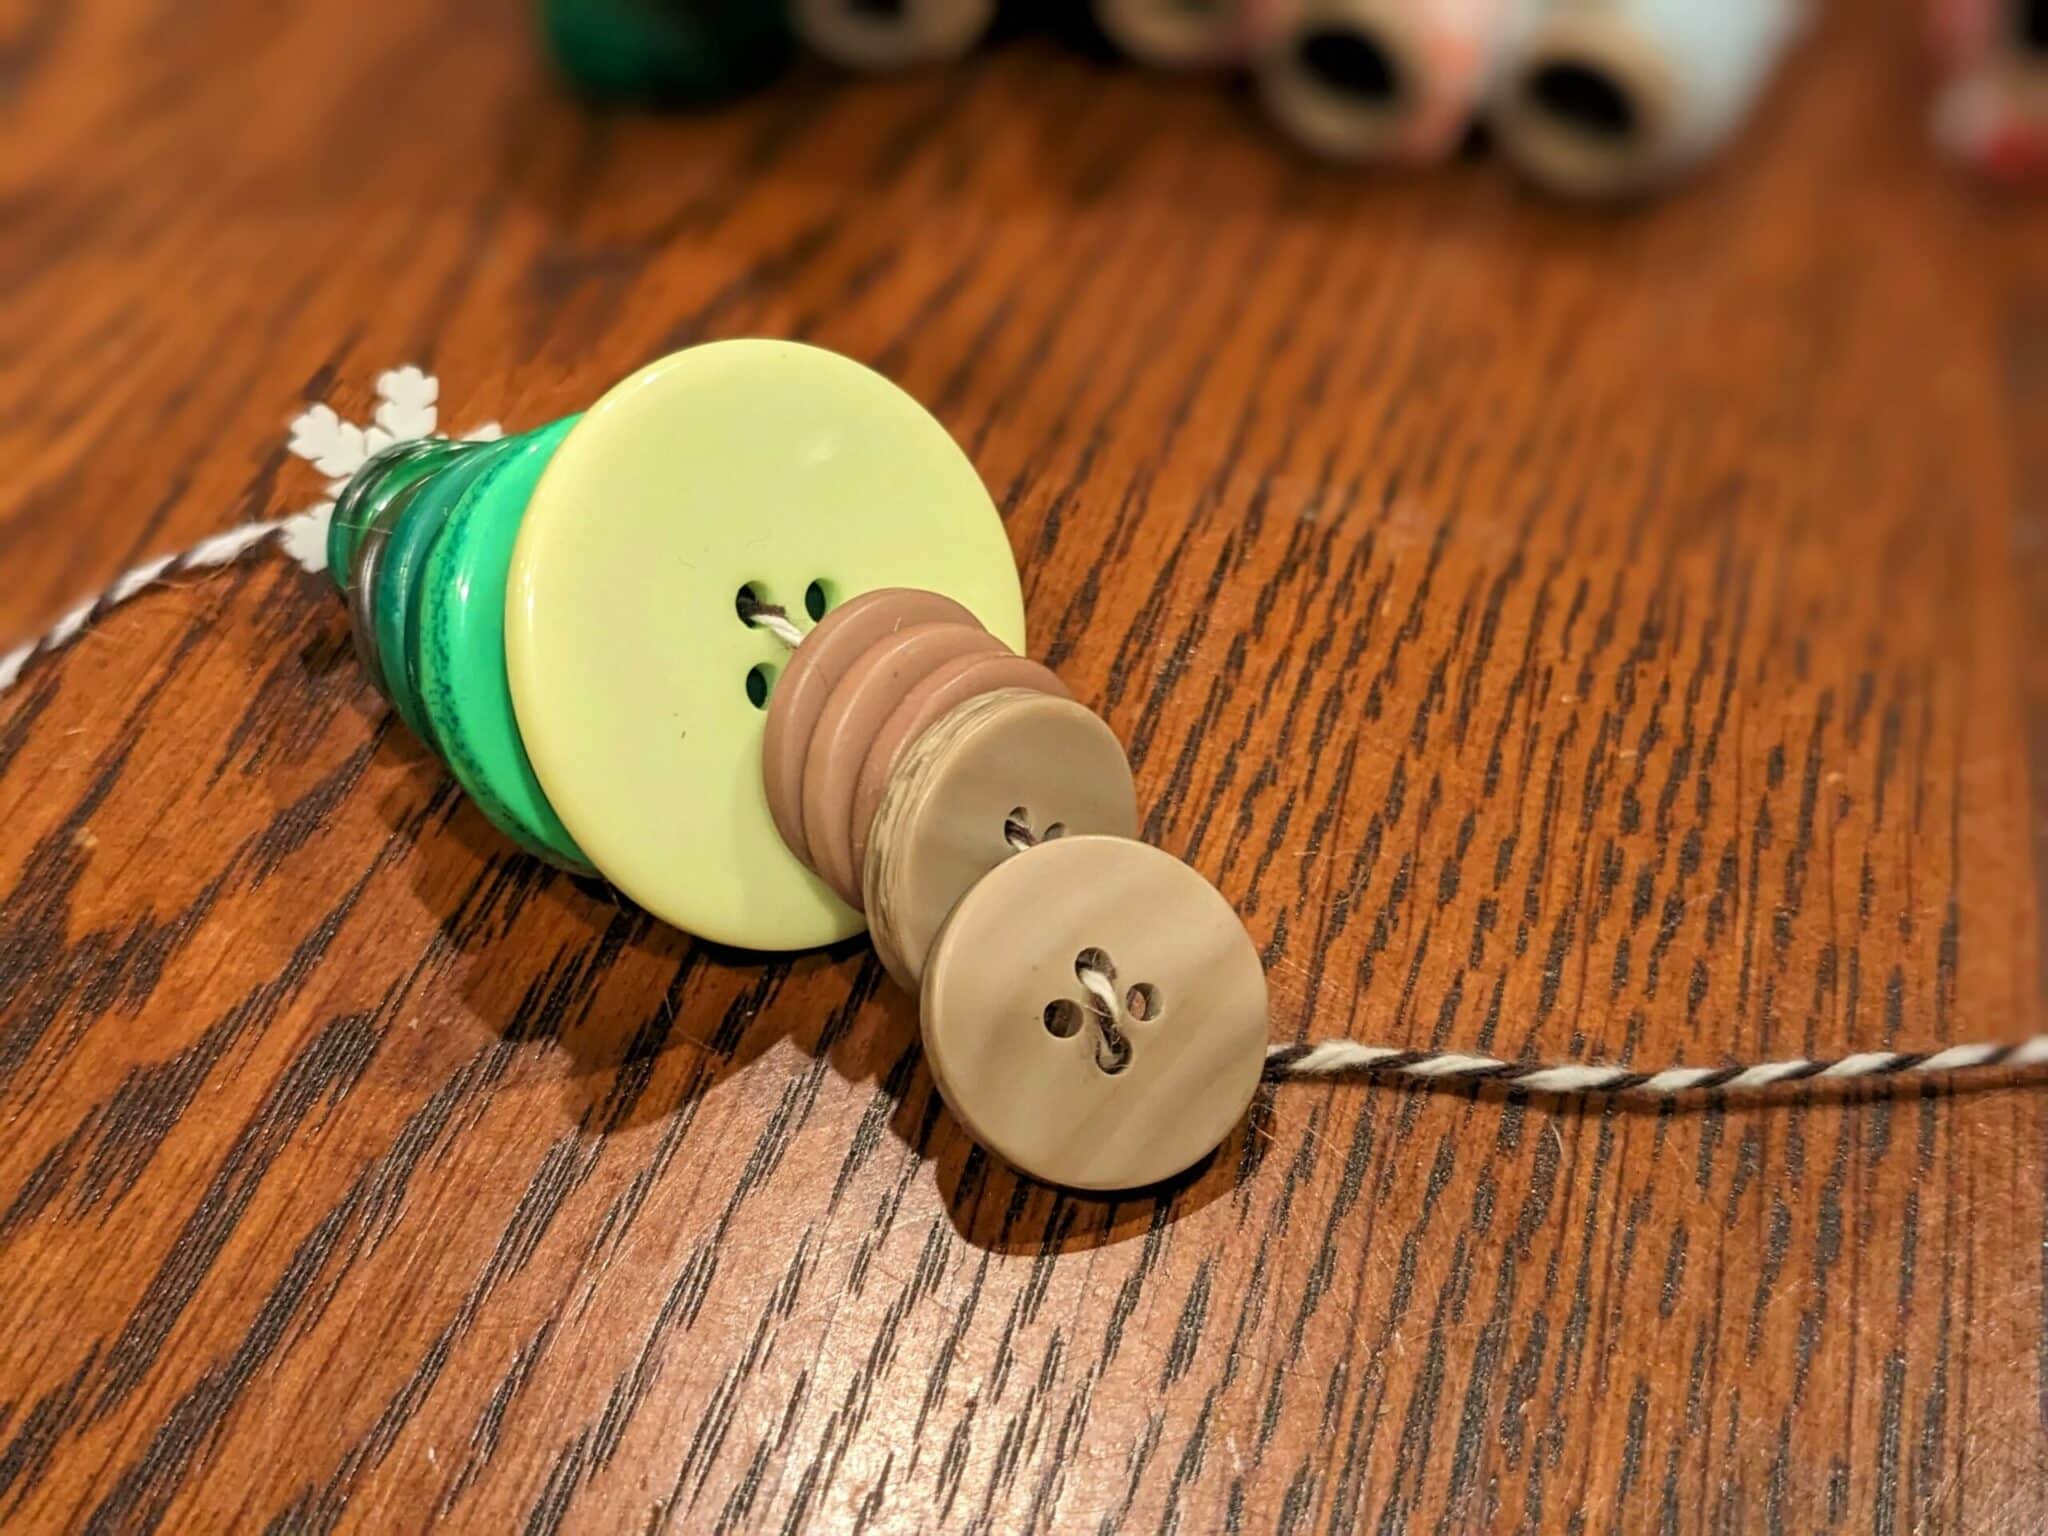
- Collect an assortment of buttons in any color pallet you’d like varying in sizes from small to large along with a few for the tree trunk.
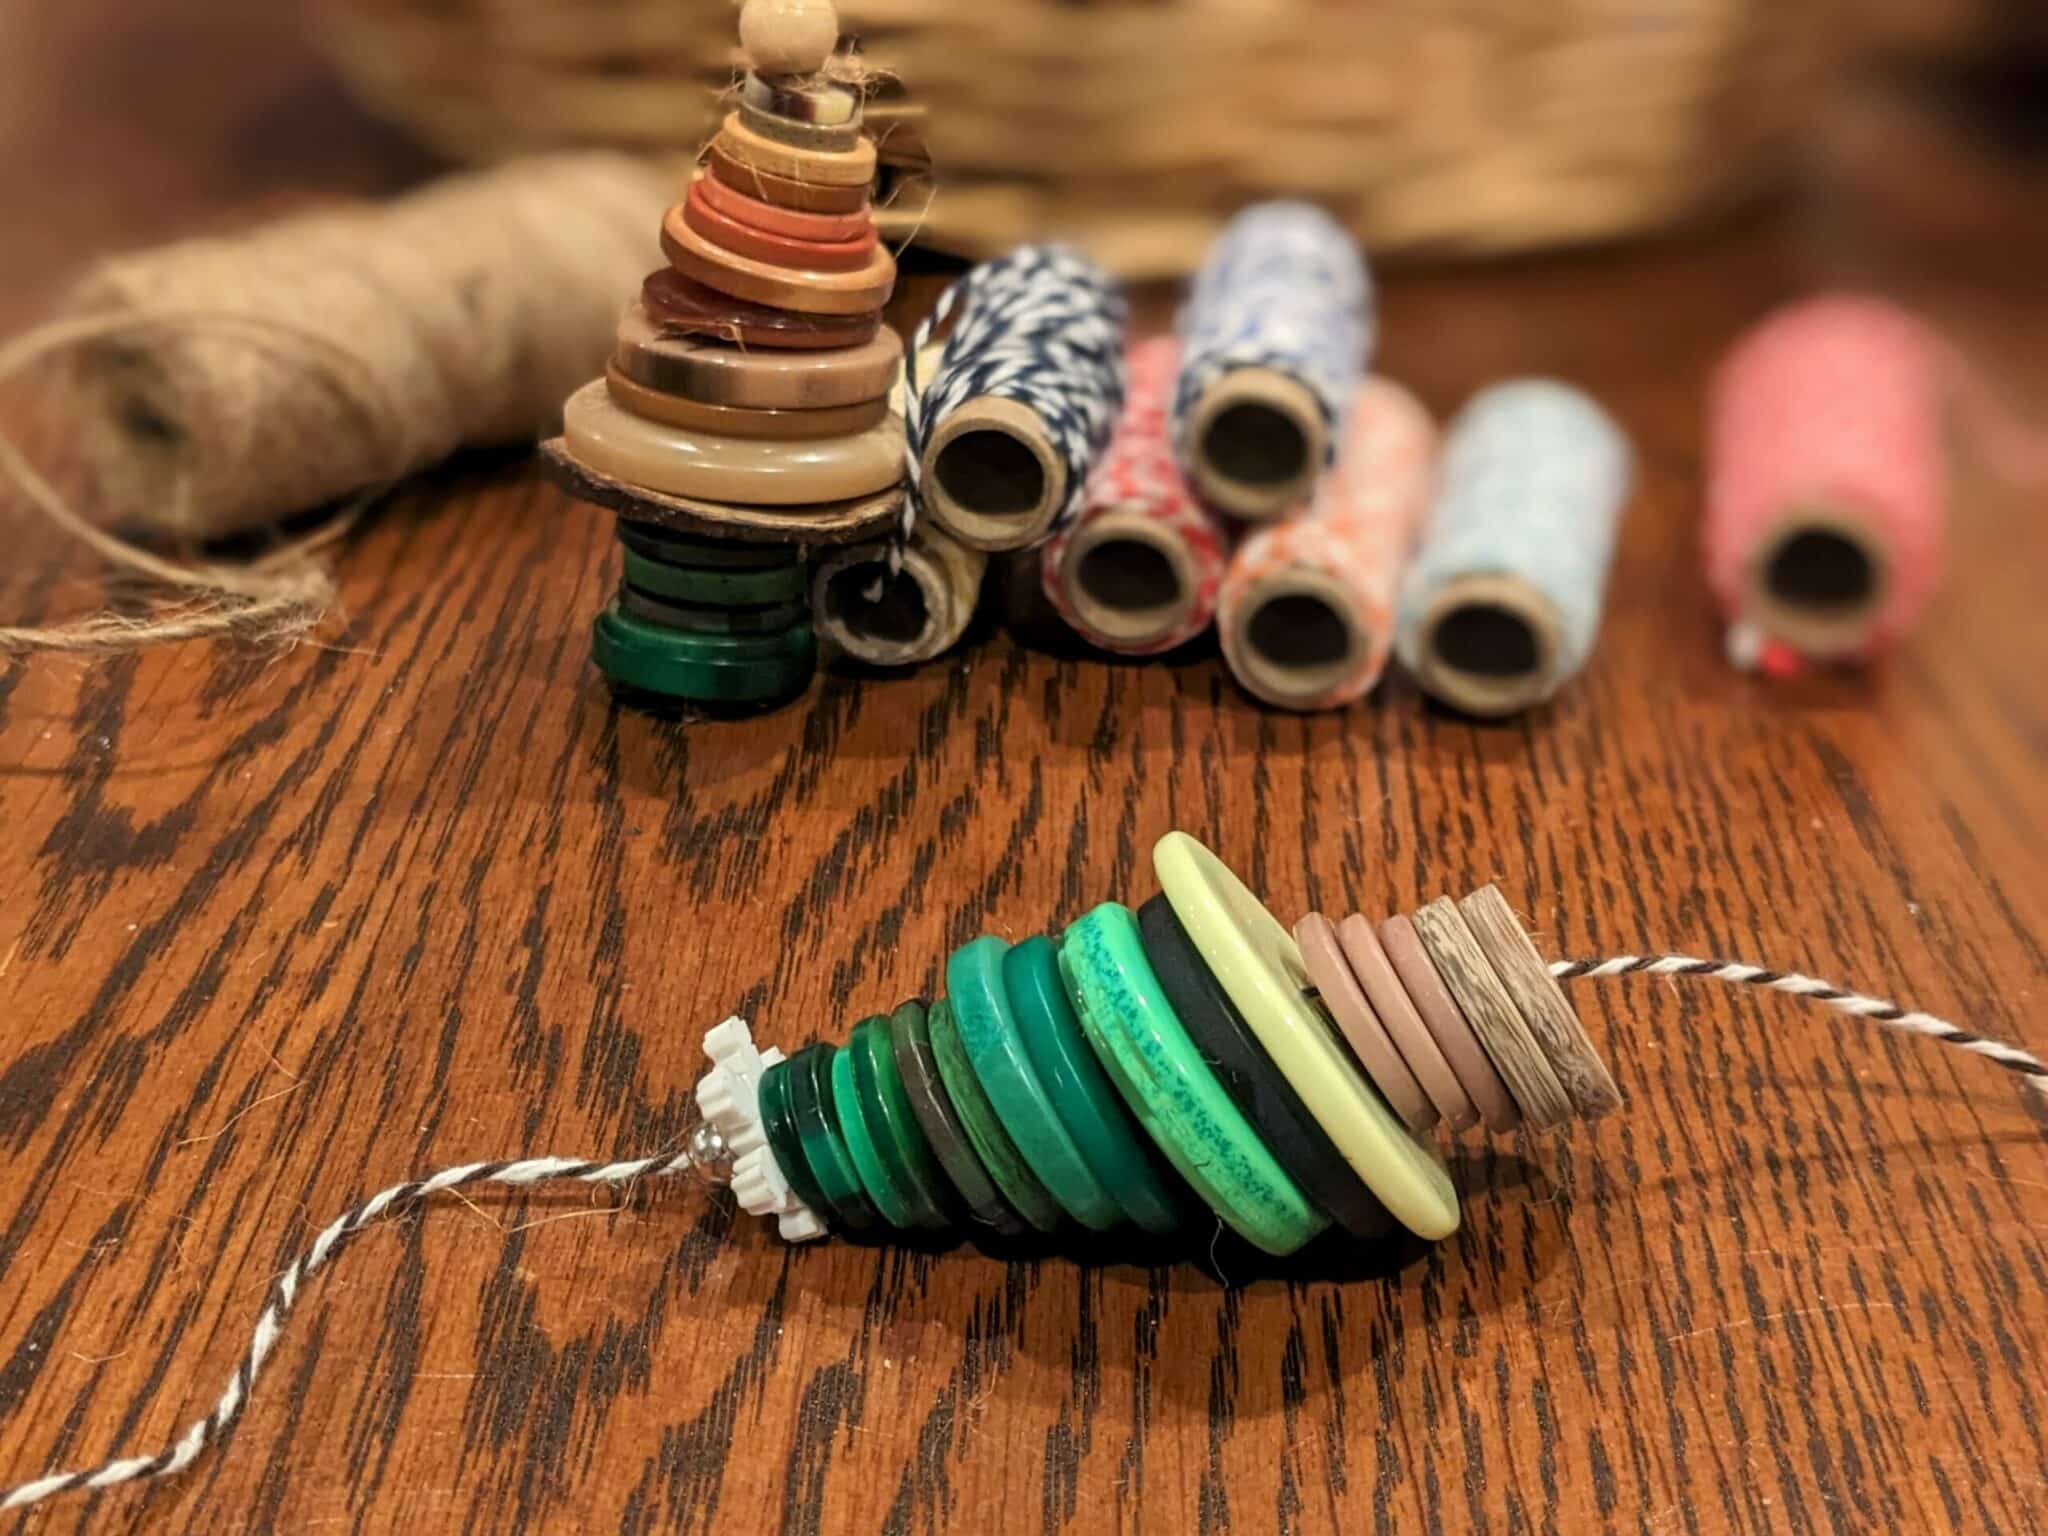
- Lay them out from smallest to largest and the trunk section below the largest button to plan the order you will string them in.
String on the Buttons
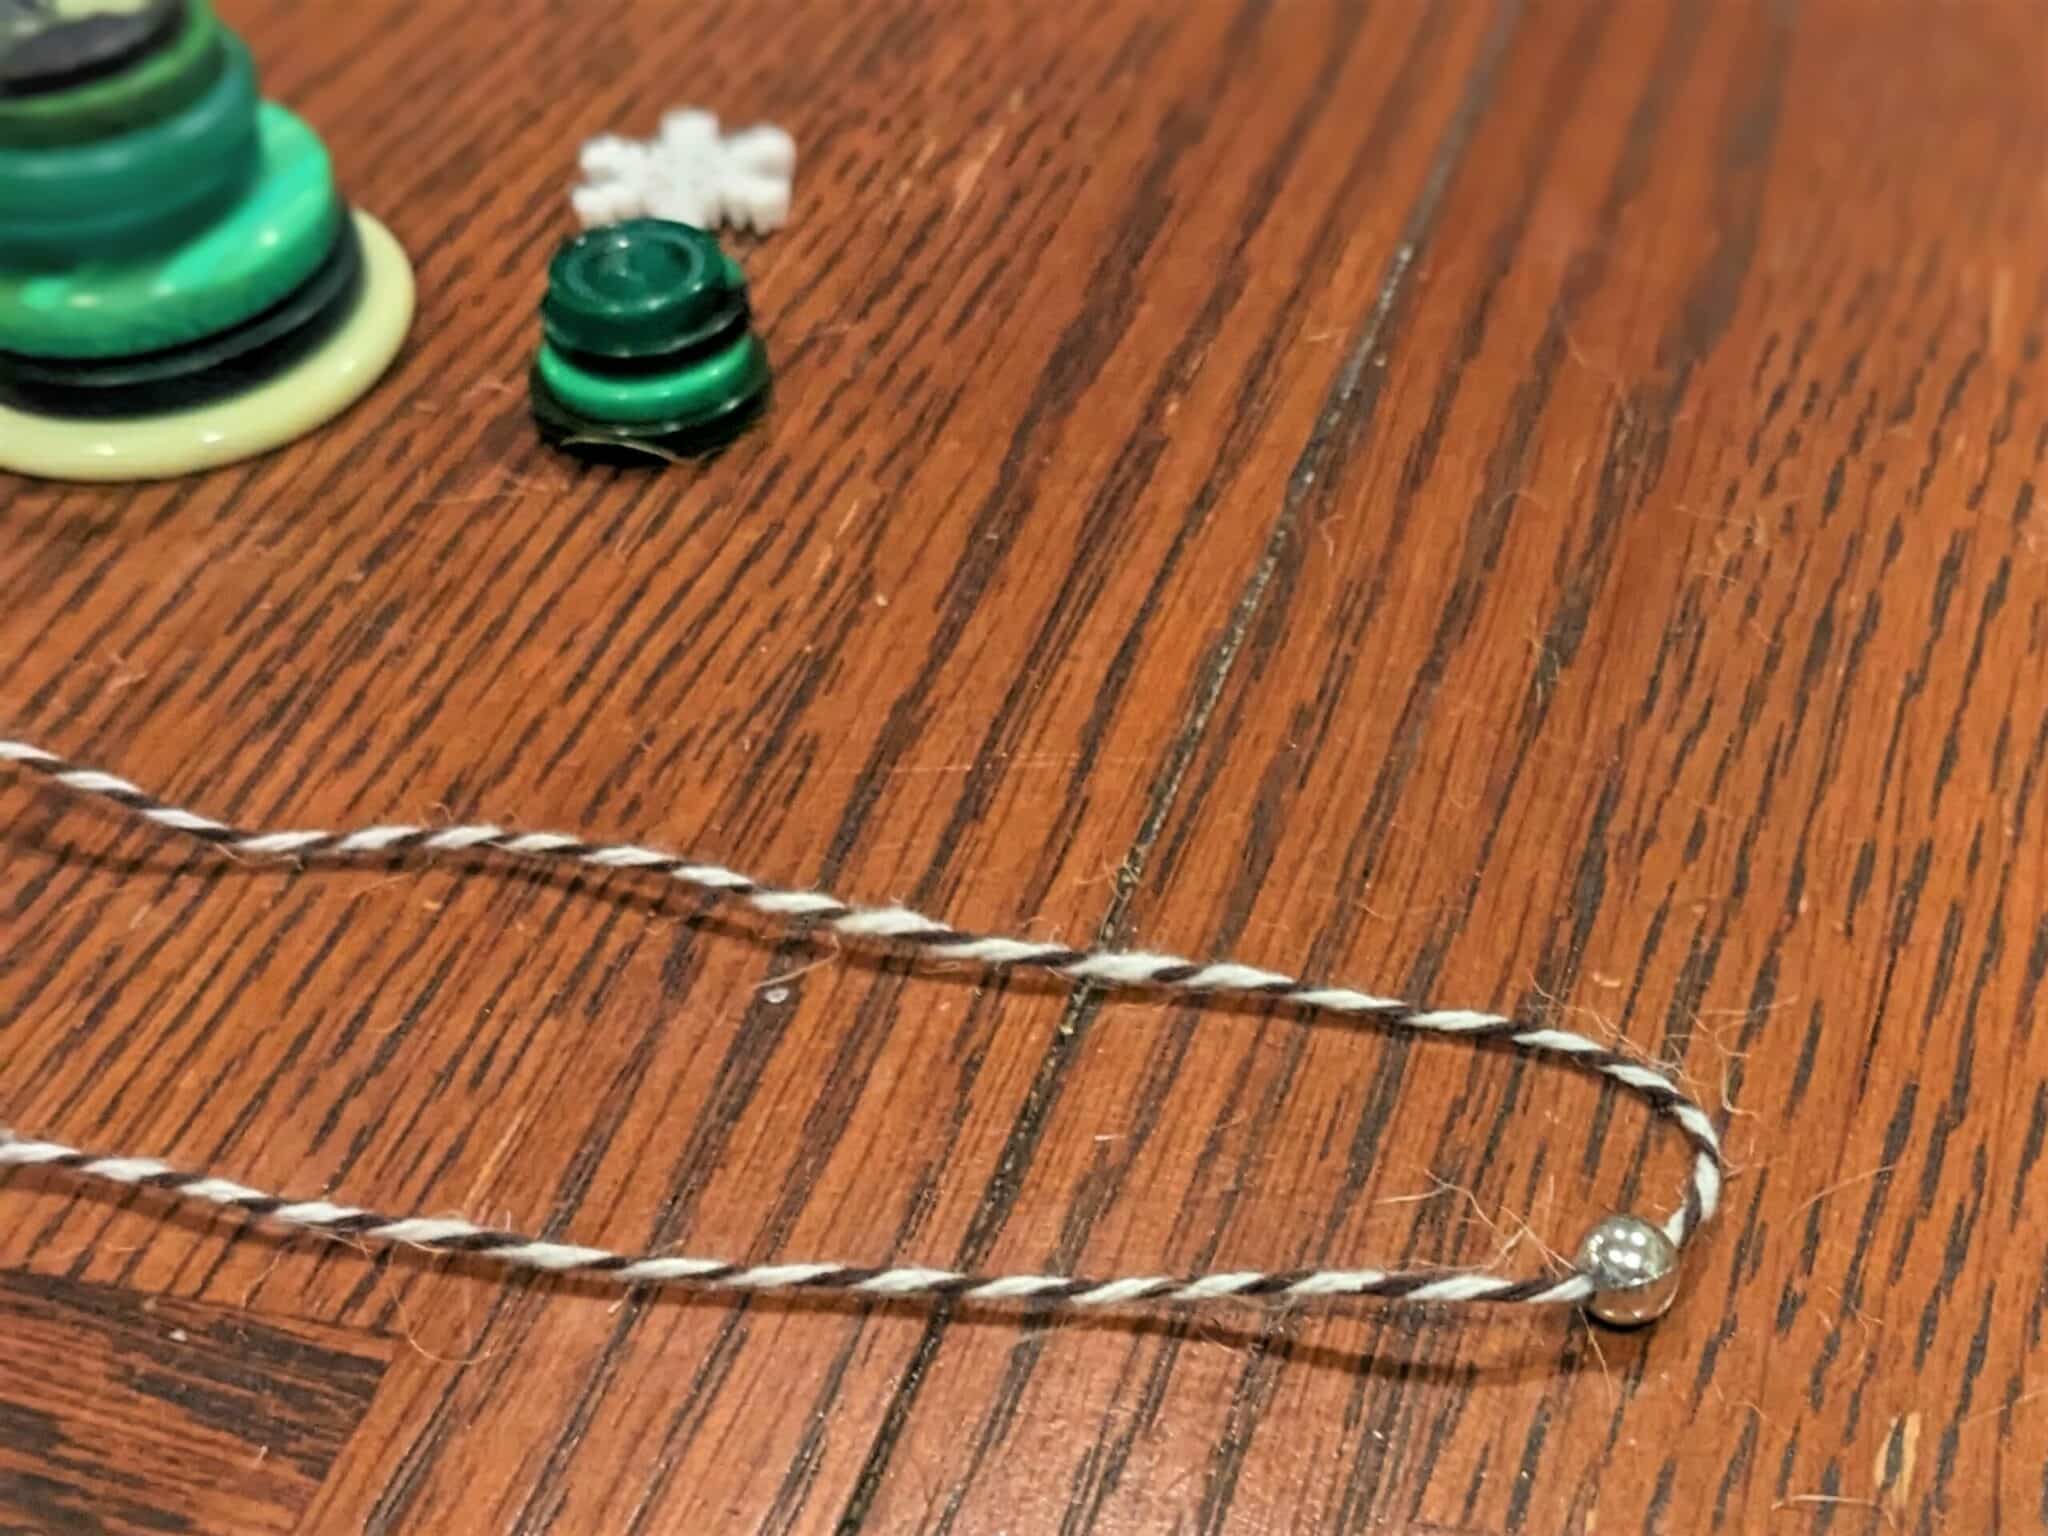
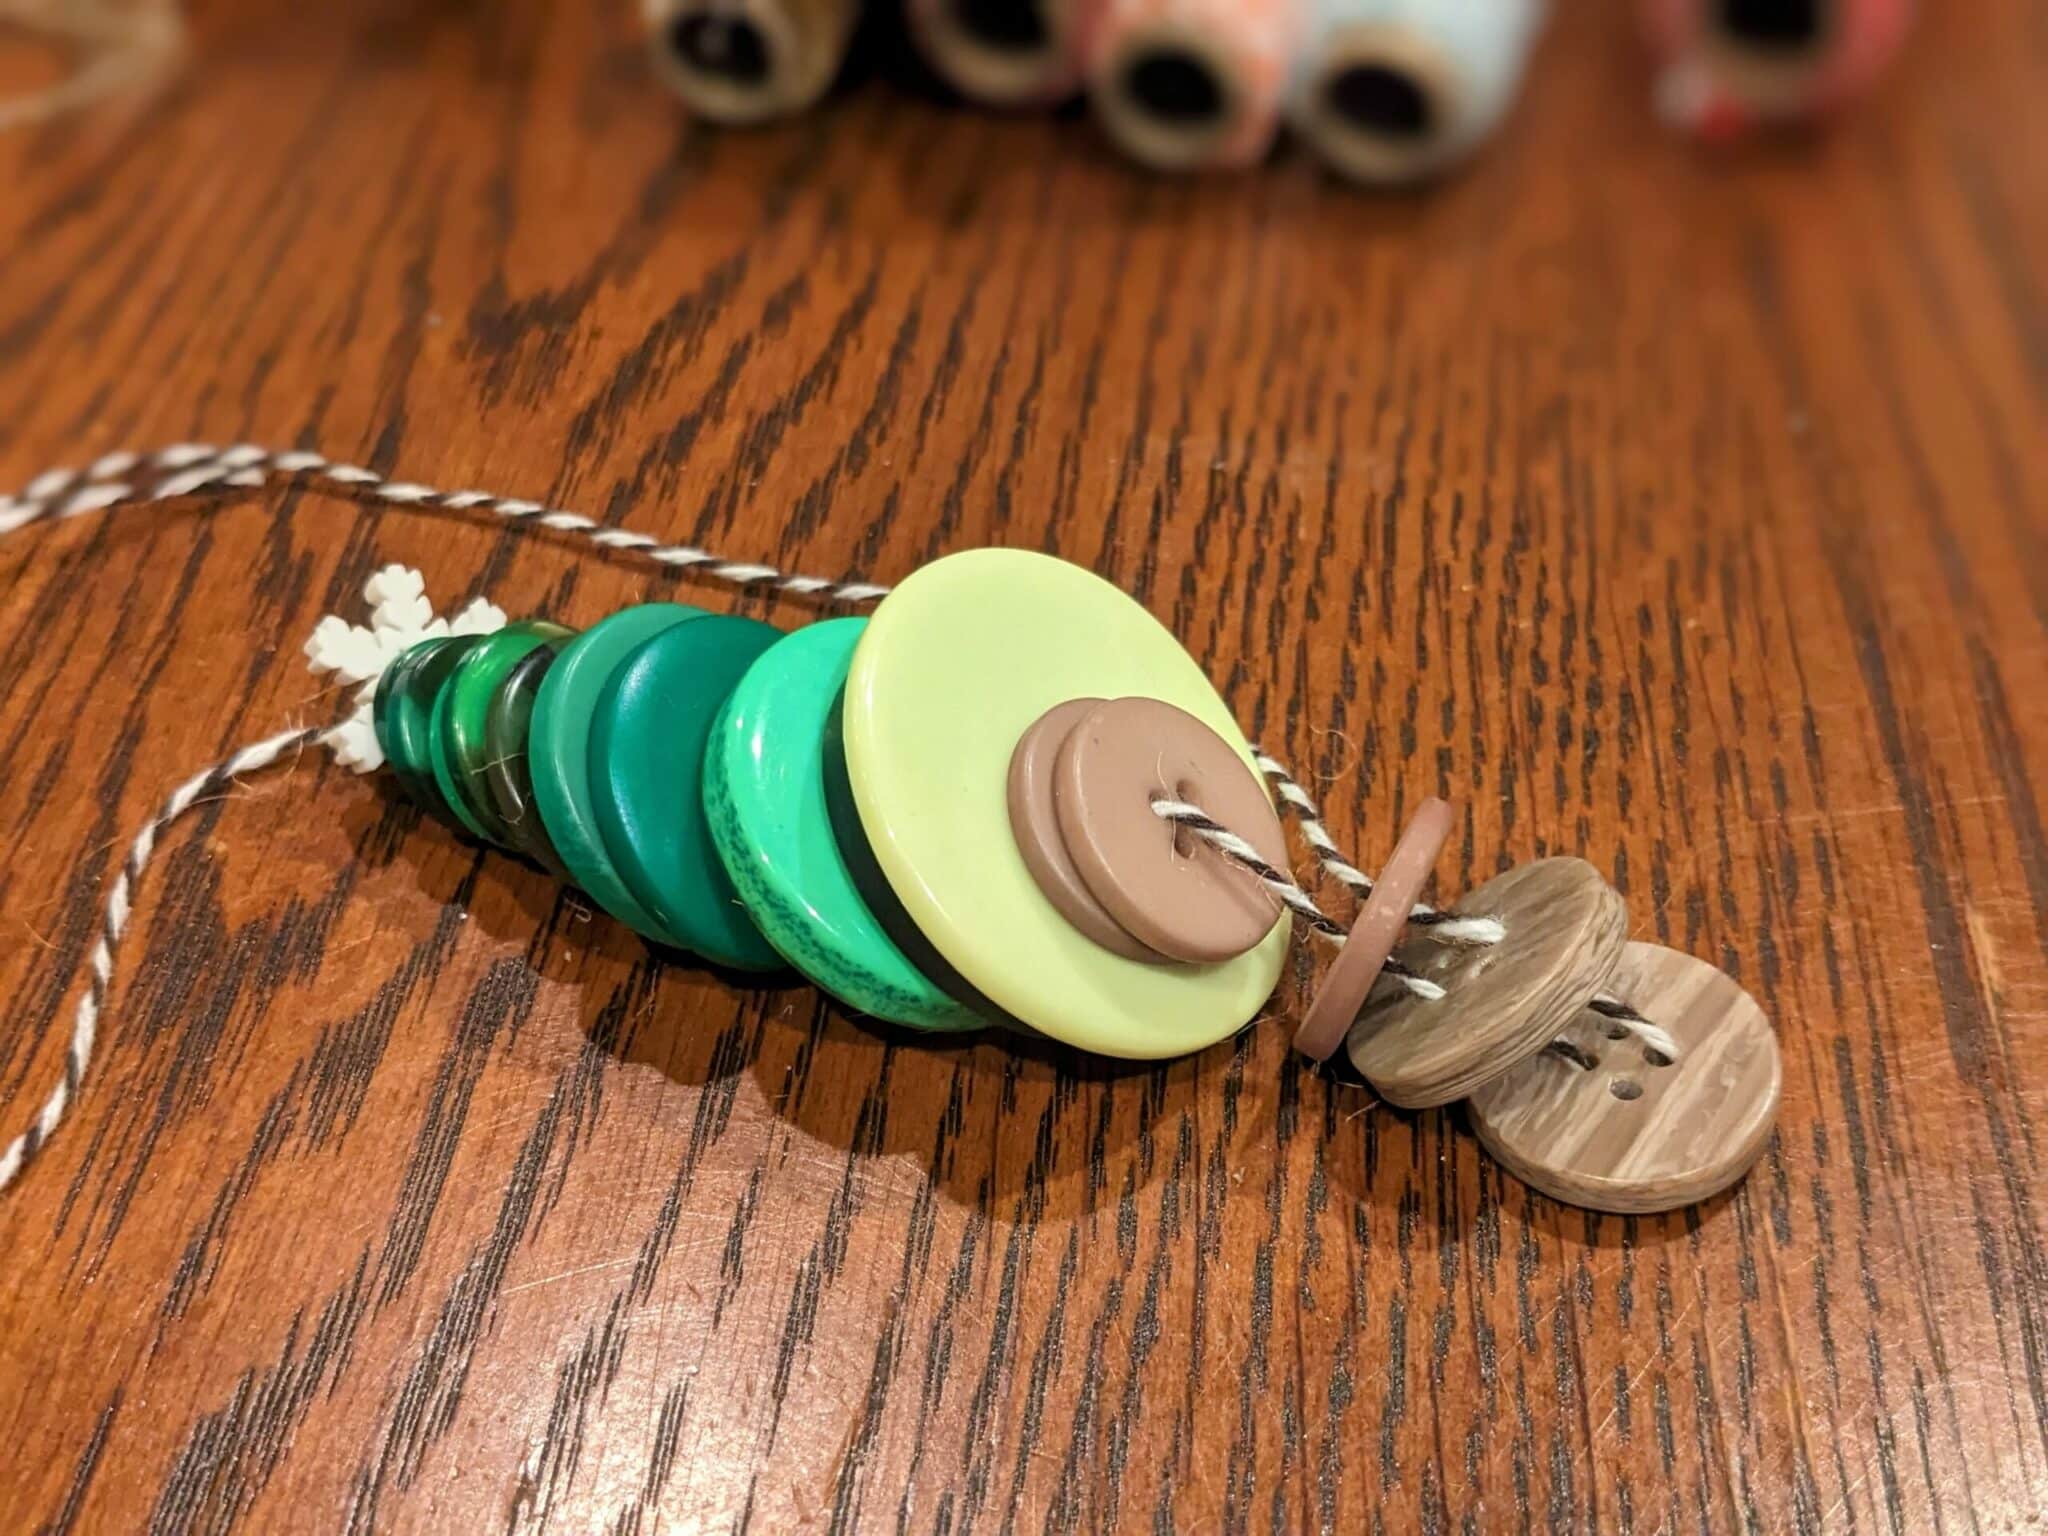
- Depending on the twine or string you use you may want to wrap a small amount of tape around the end or use a skinny embroidery needle to make it easy to push it through the button holes.
- Starting with the smallest button, thread the string through one hole in each button until you’ve reached the end of the trunk.

Back up to the Top
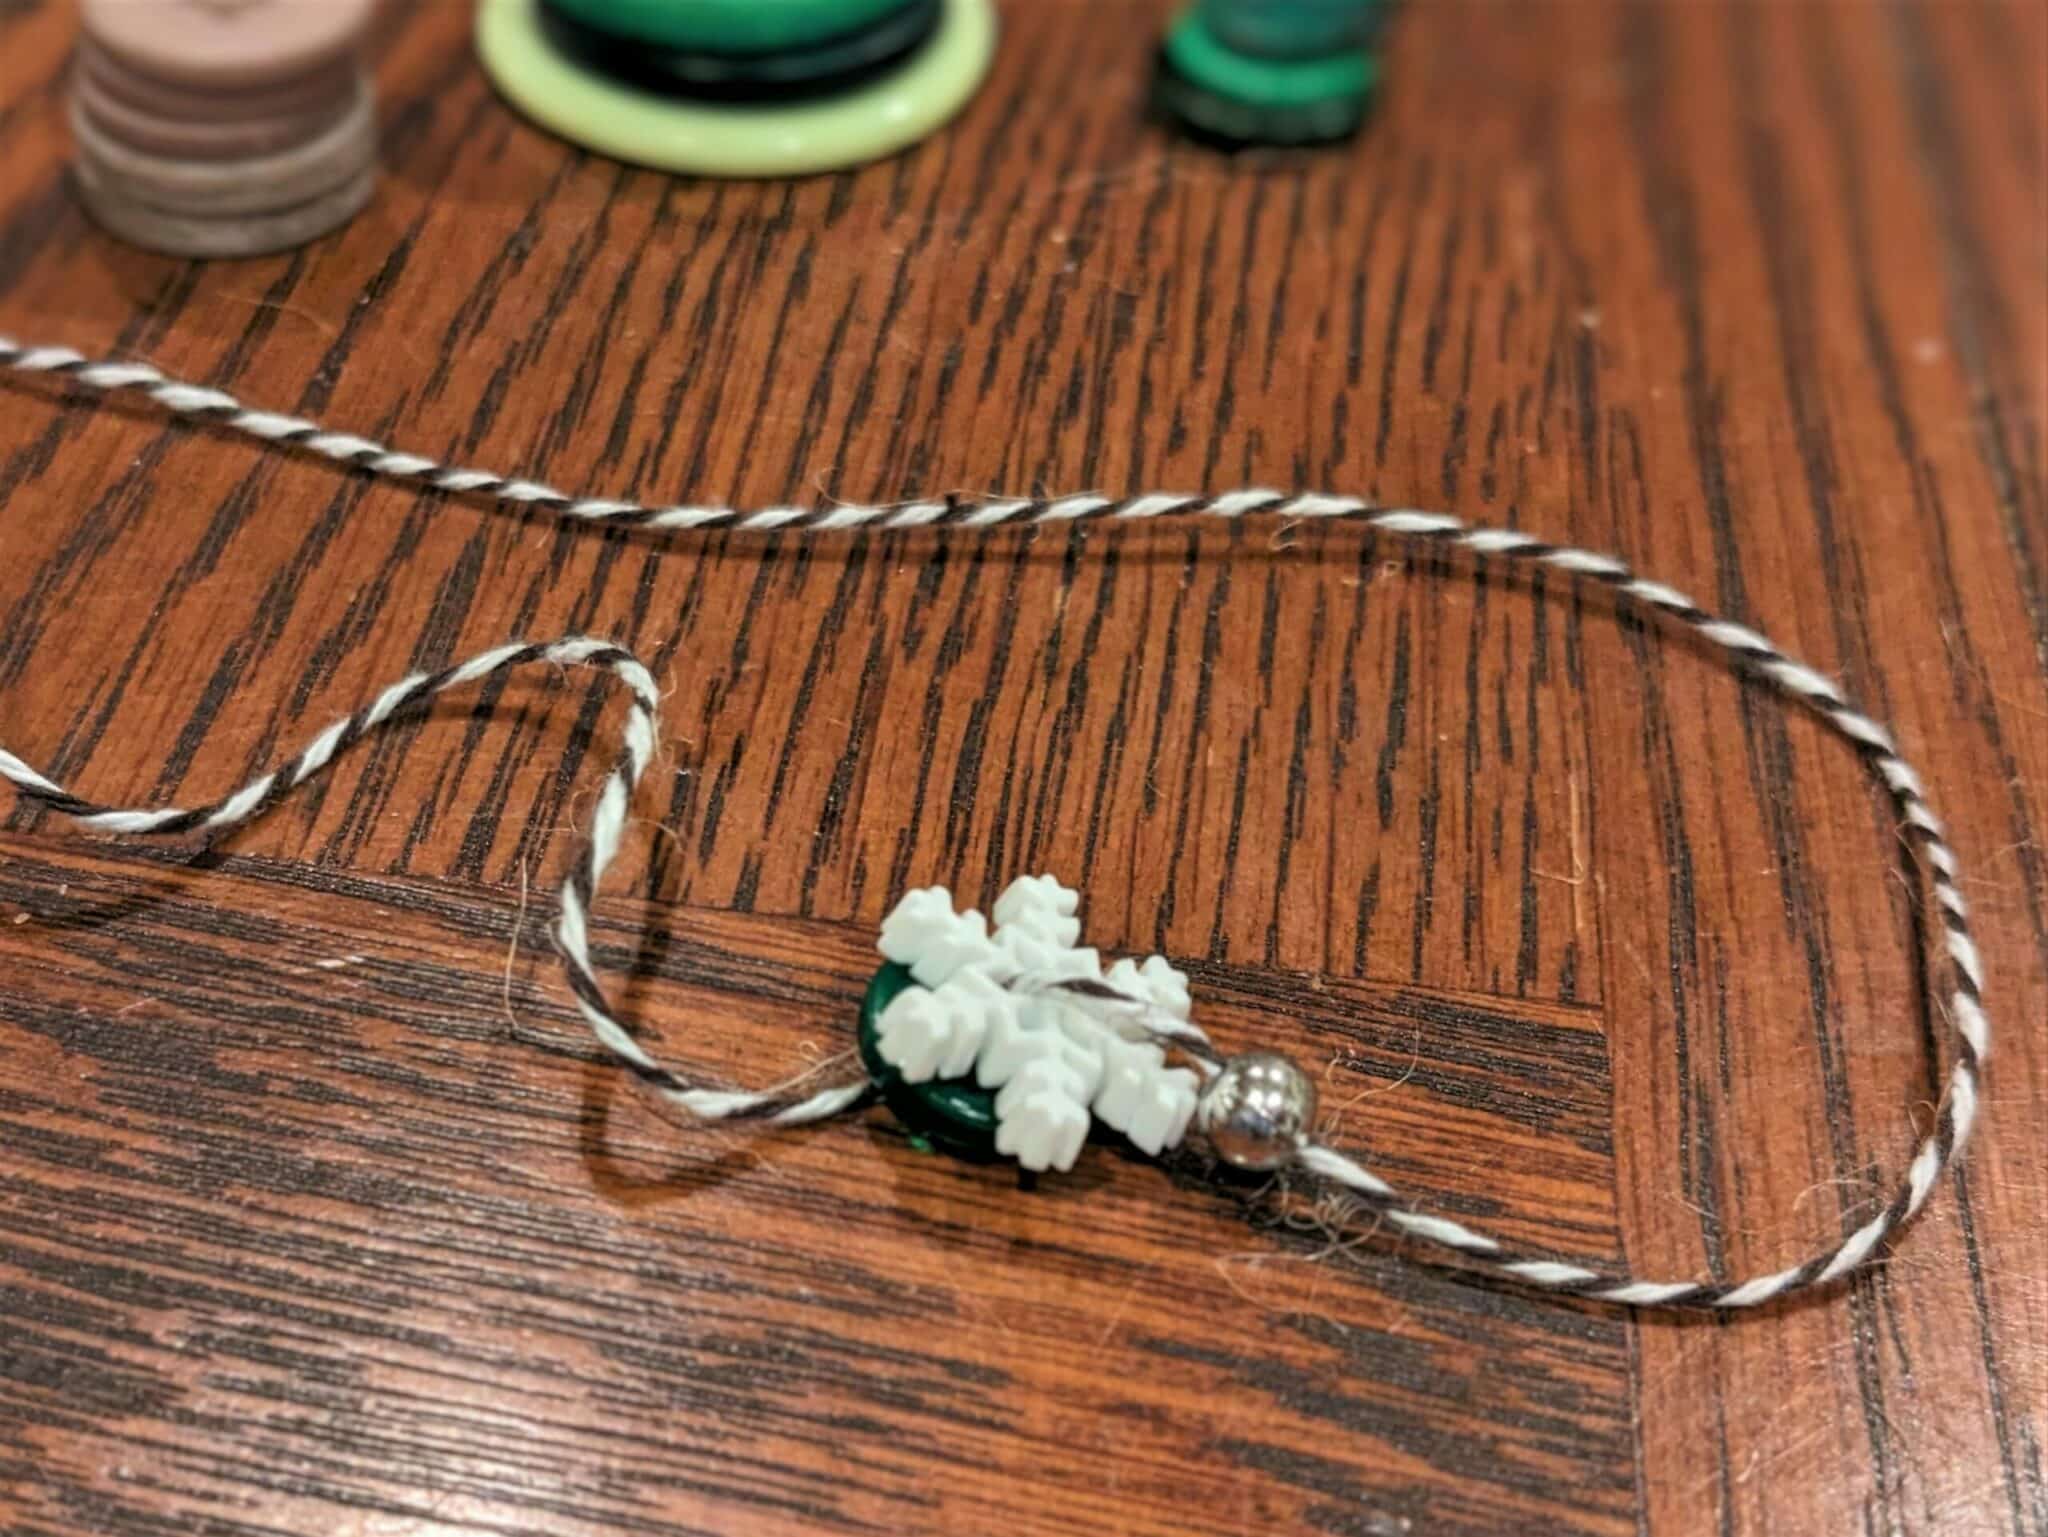
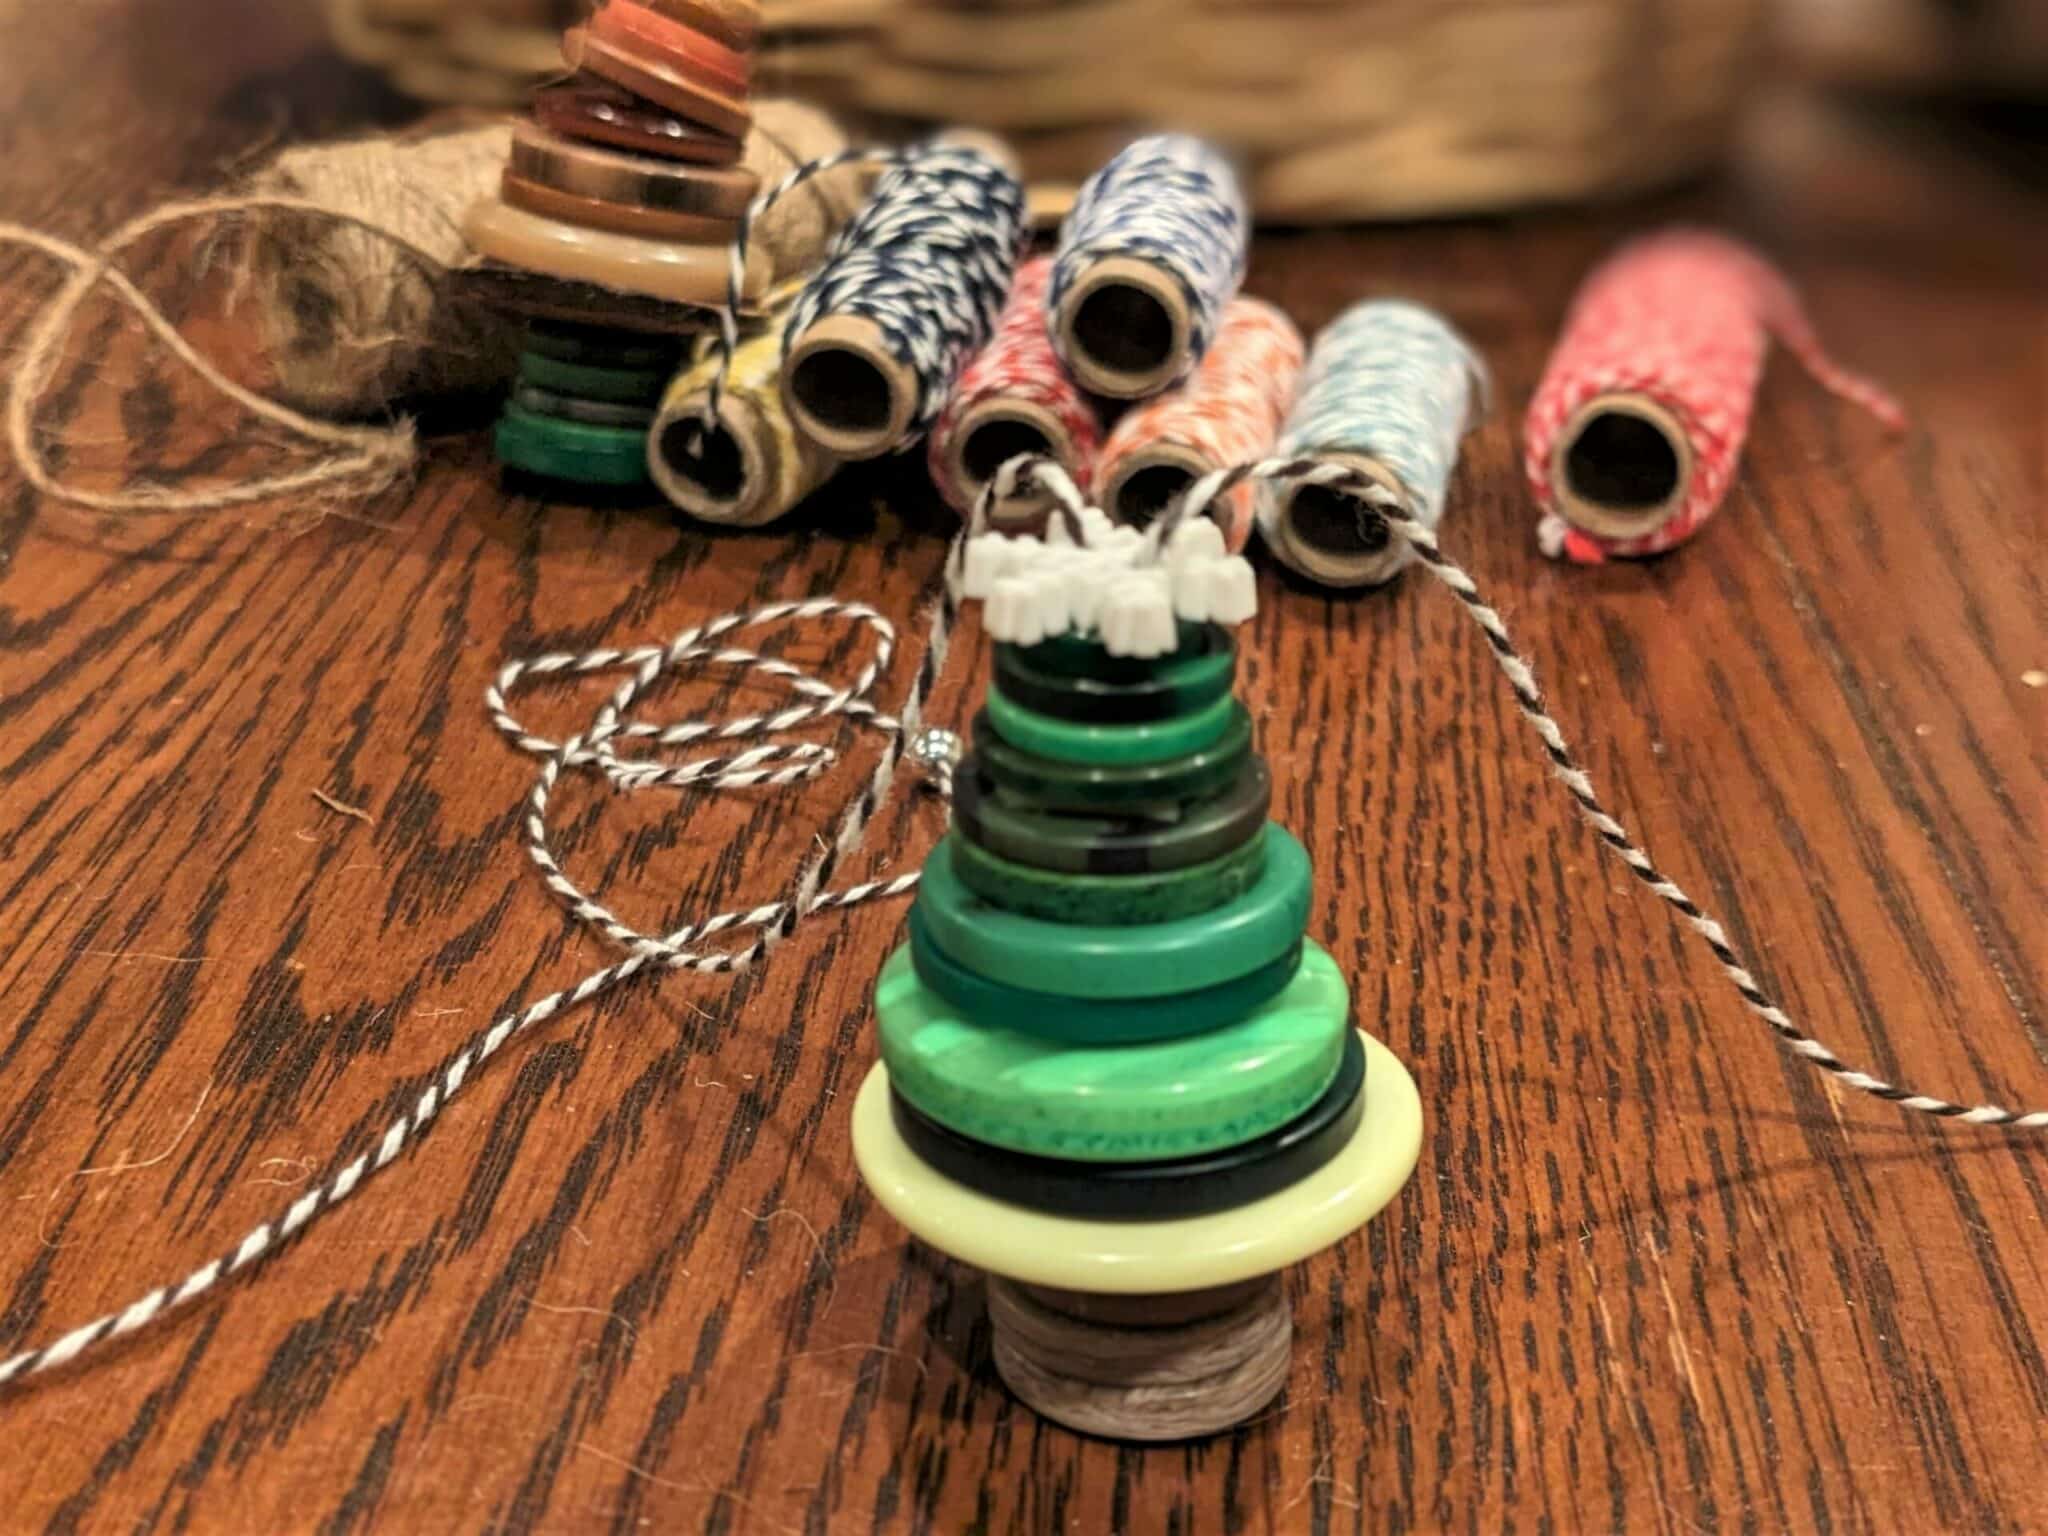
- Thread the string through the holes opposite the hole you previously went through.
- Continue all the way back up through the top. (I used a bead on the top of mine, so I just went back through the same hole.)
Finish and Tie Off
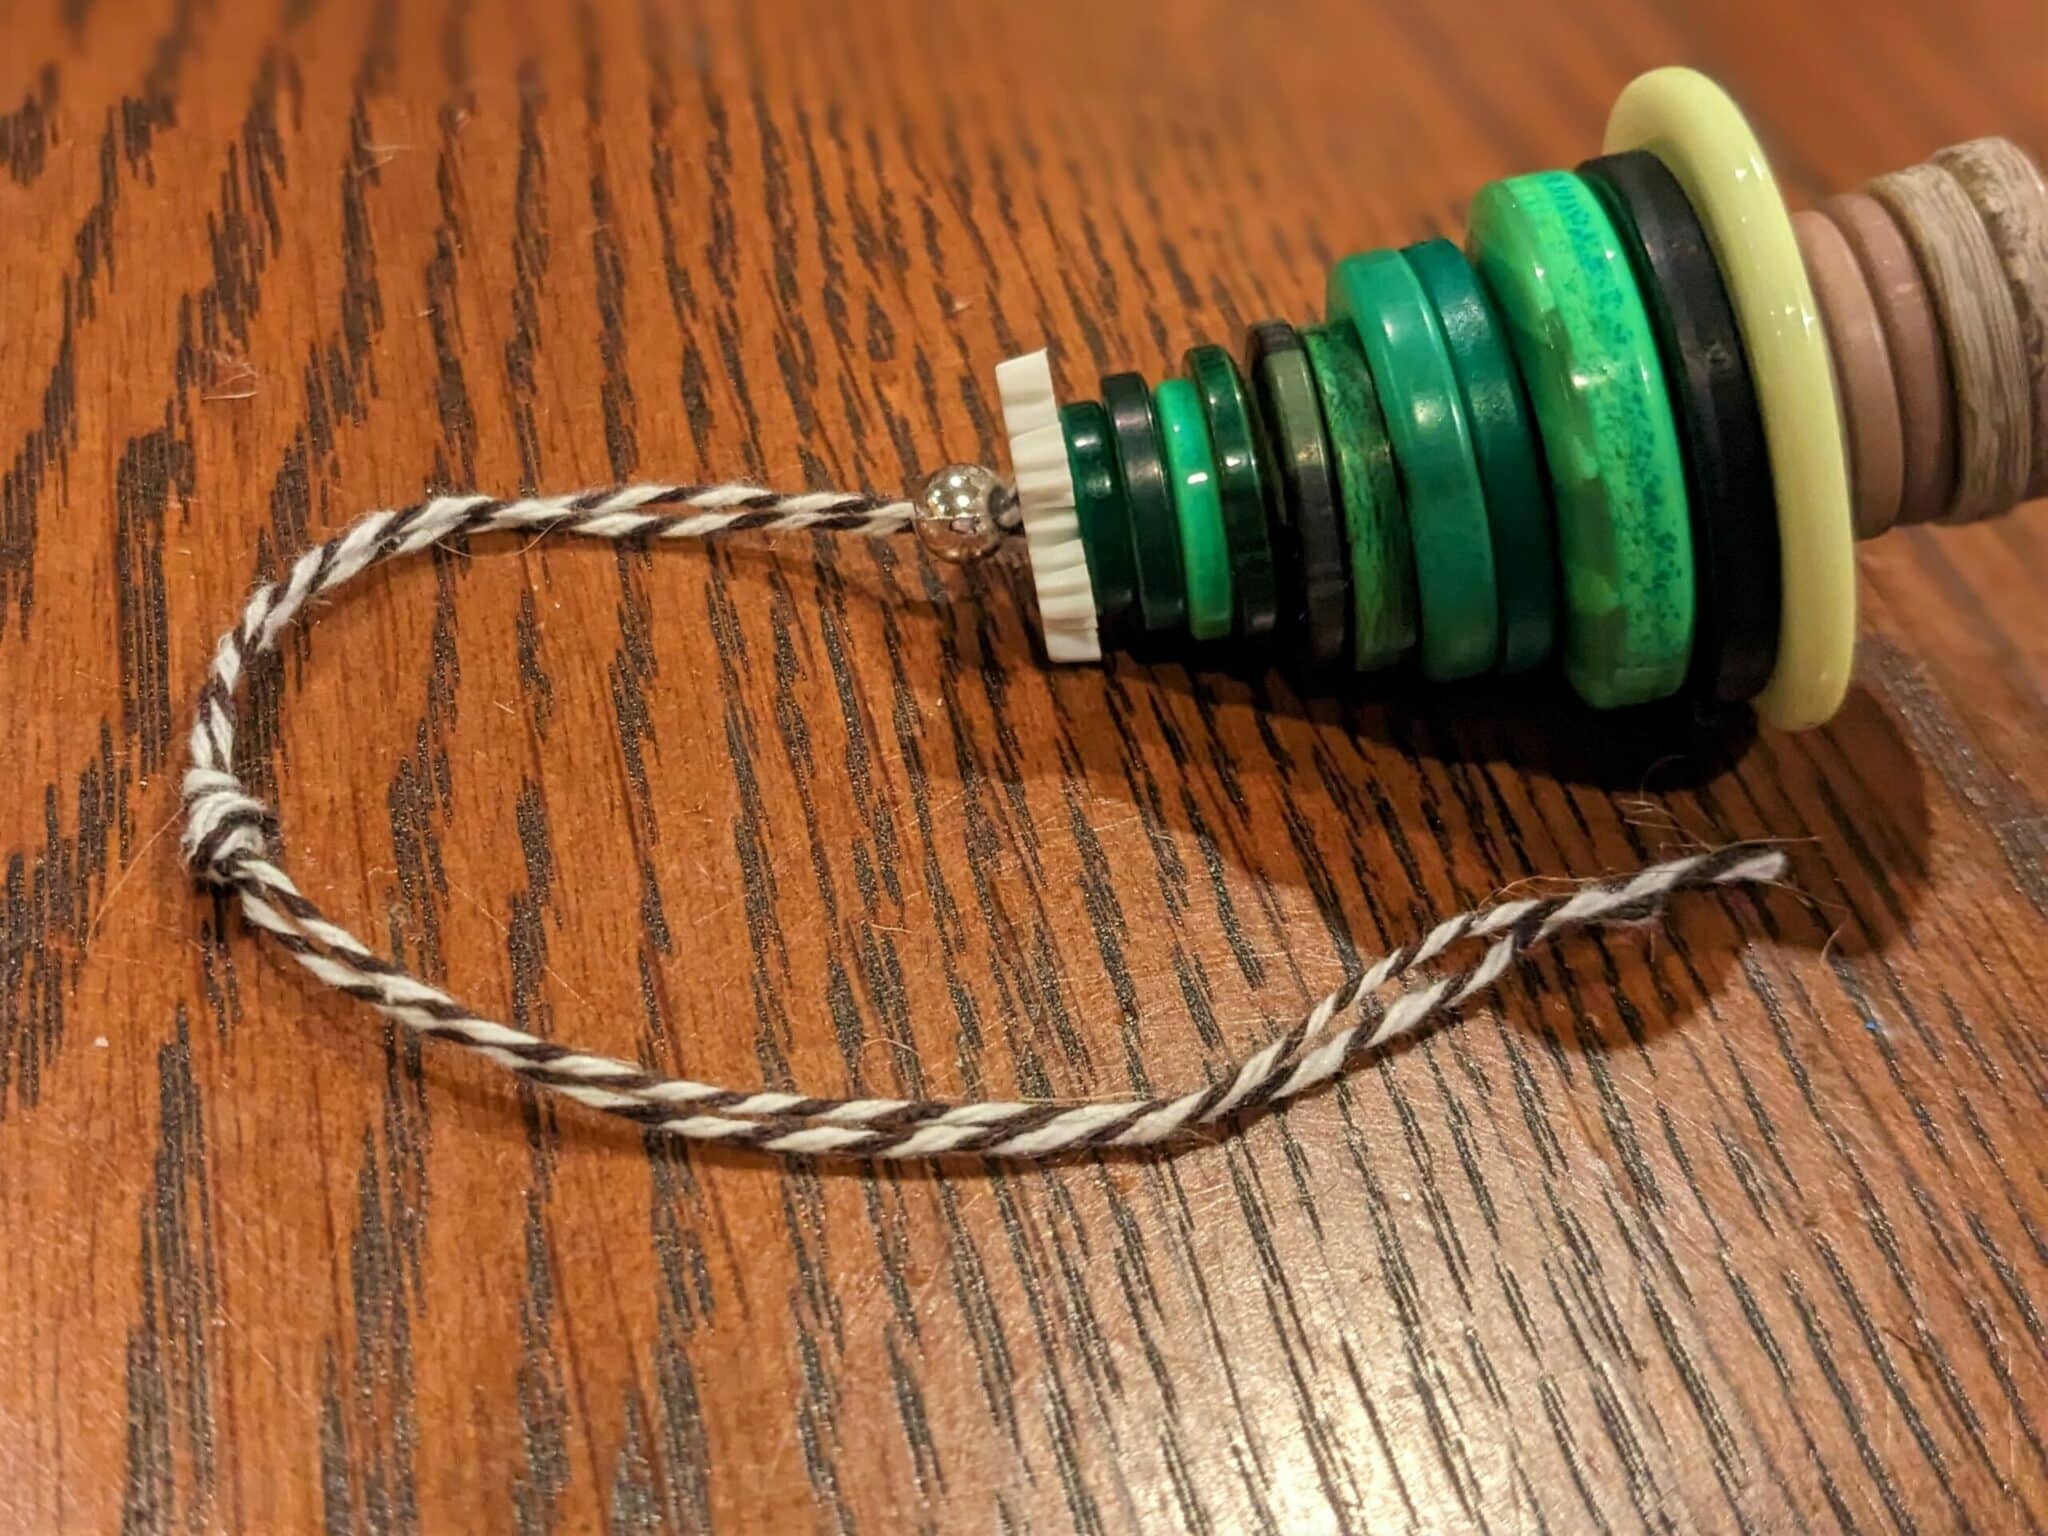
- Once you have reached the last button, tie a knot right above it.
- Decide how long you want your hanging loop to be, then tie the ends together and cut off any extra string.
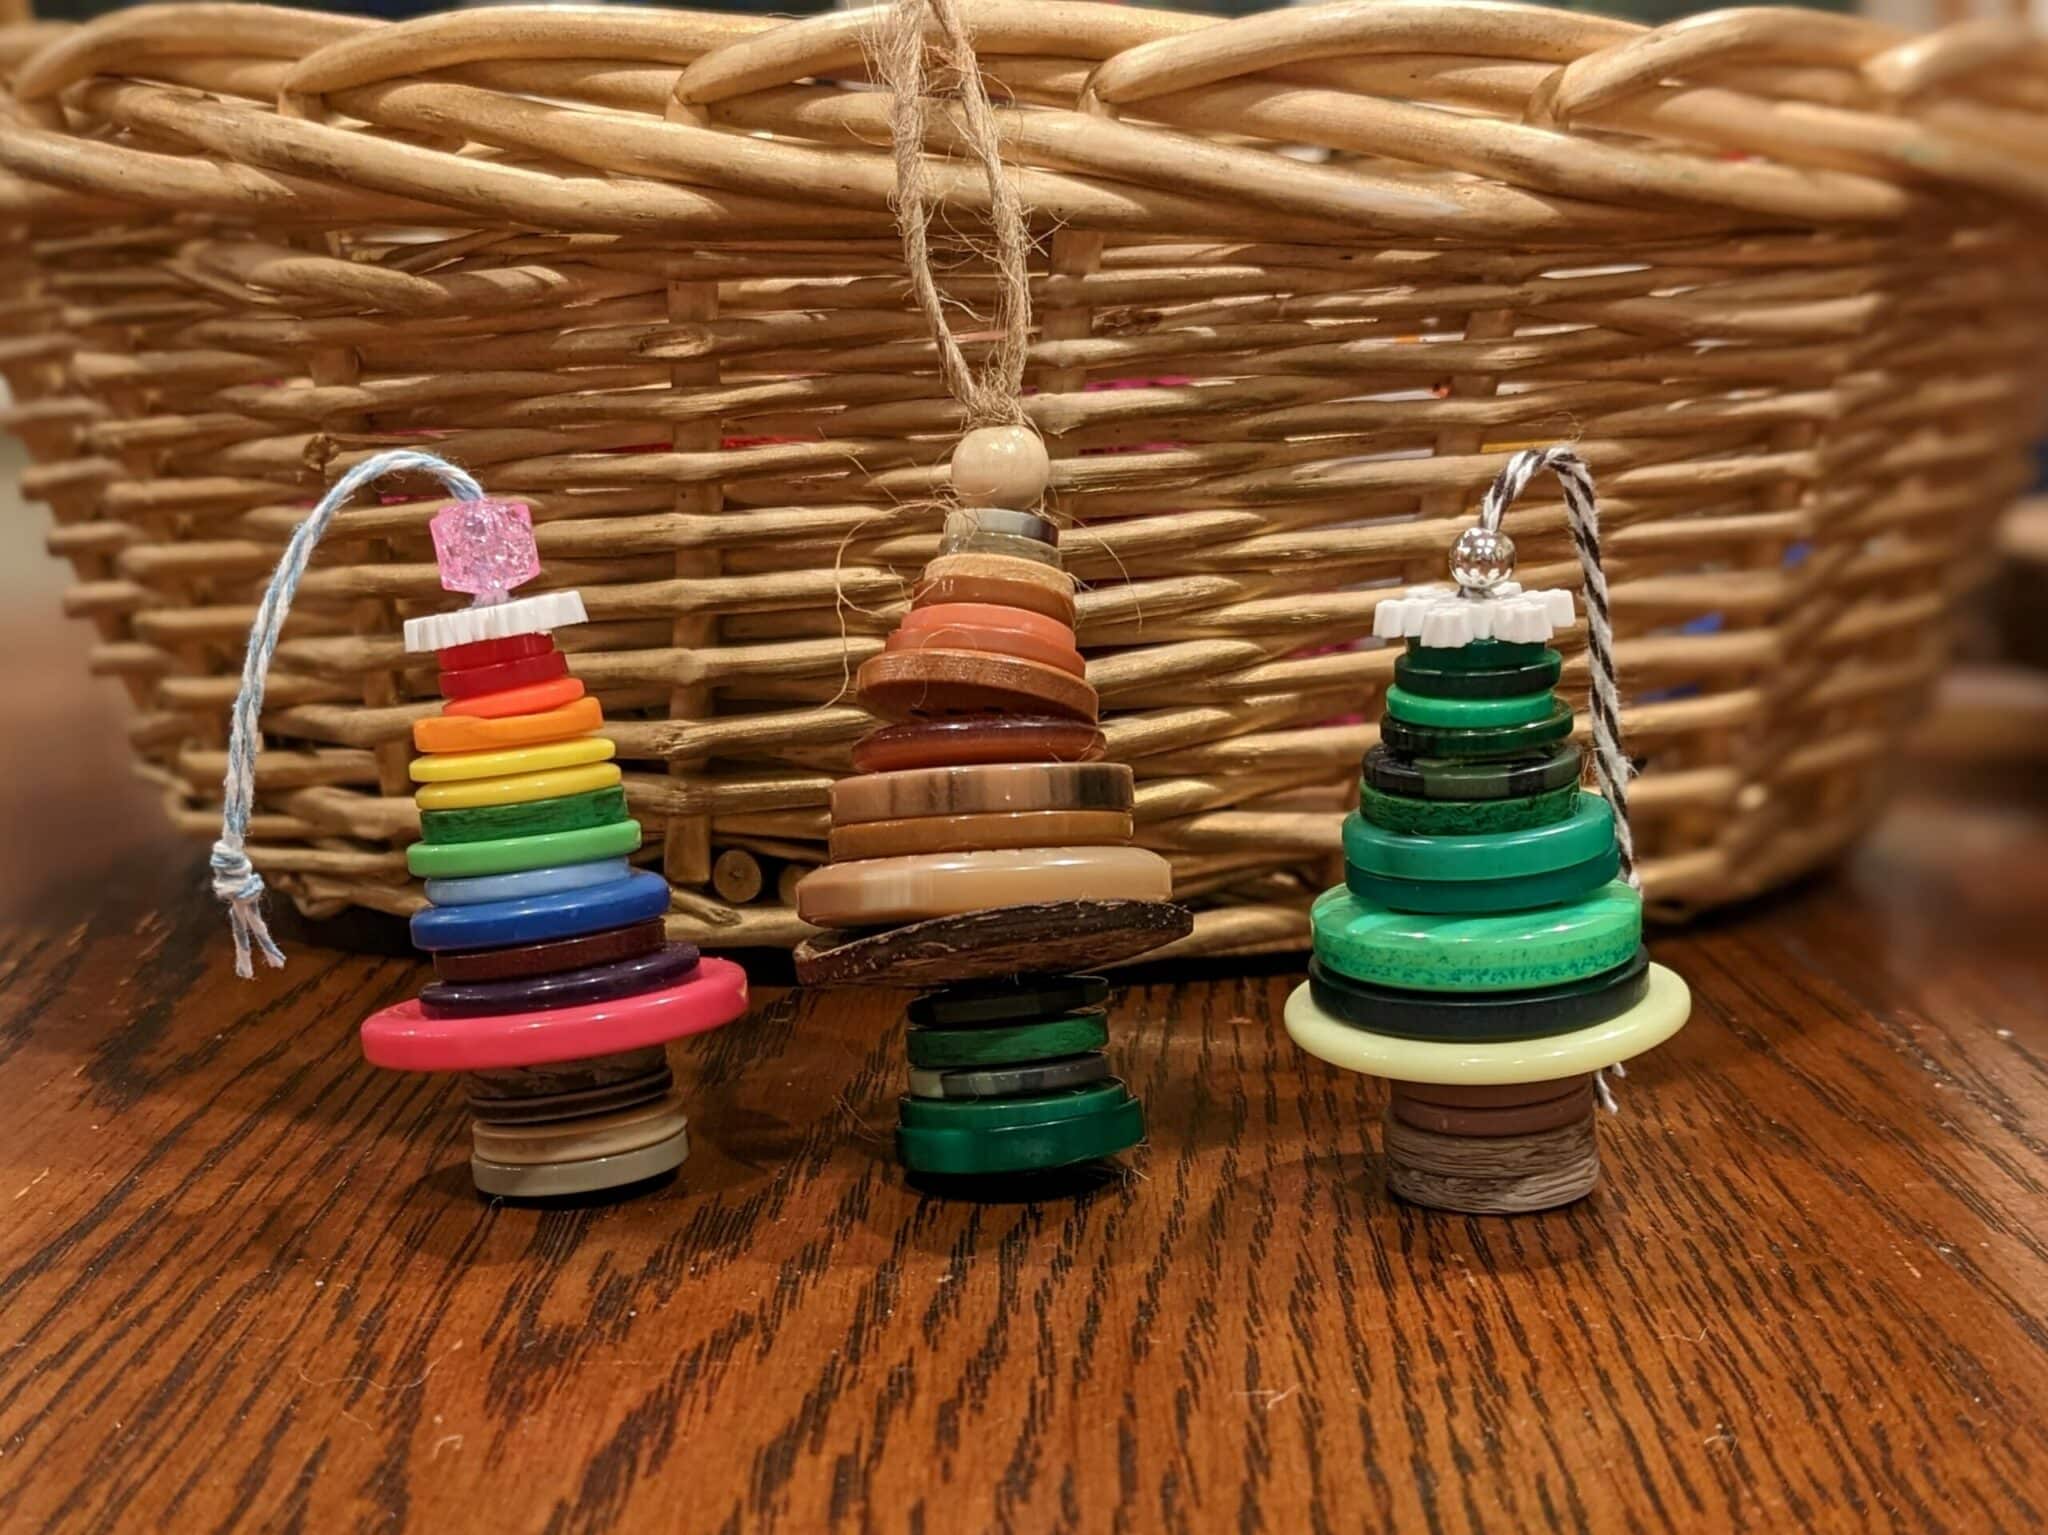
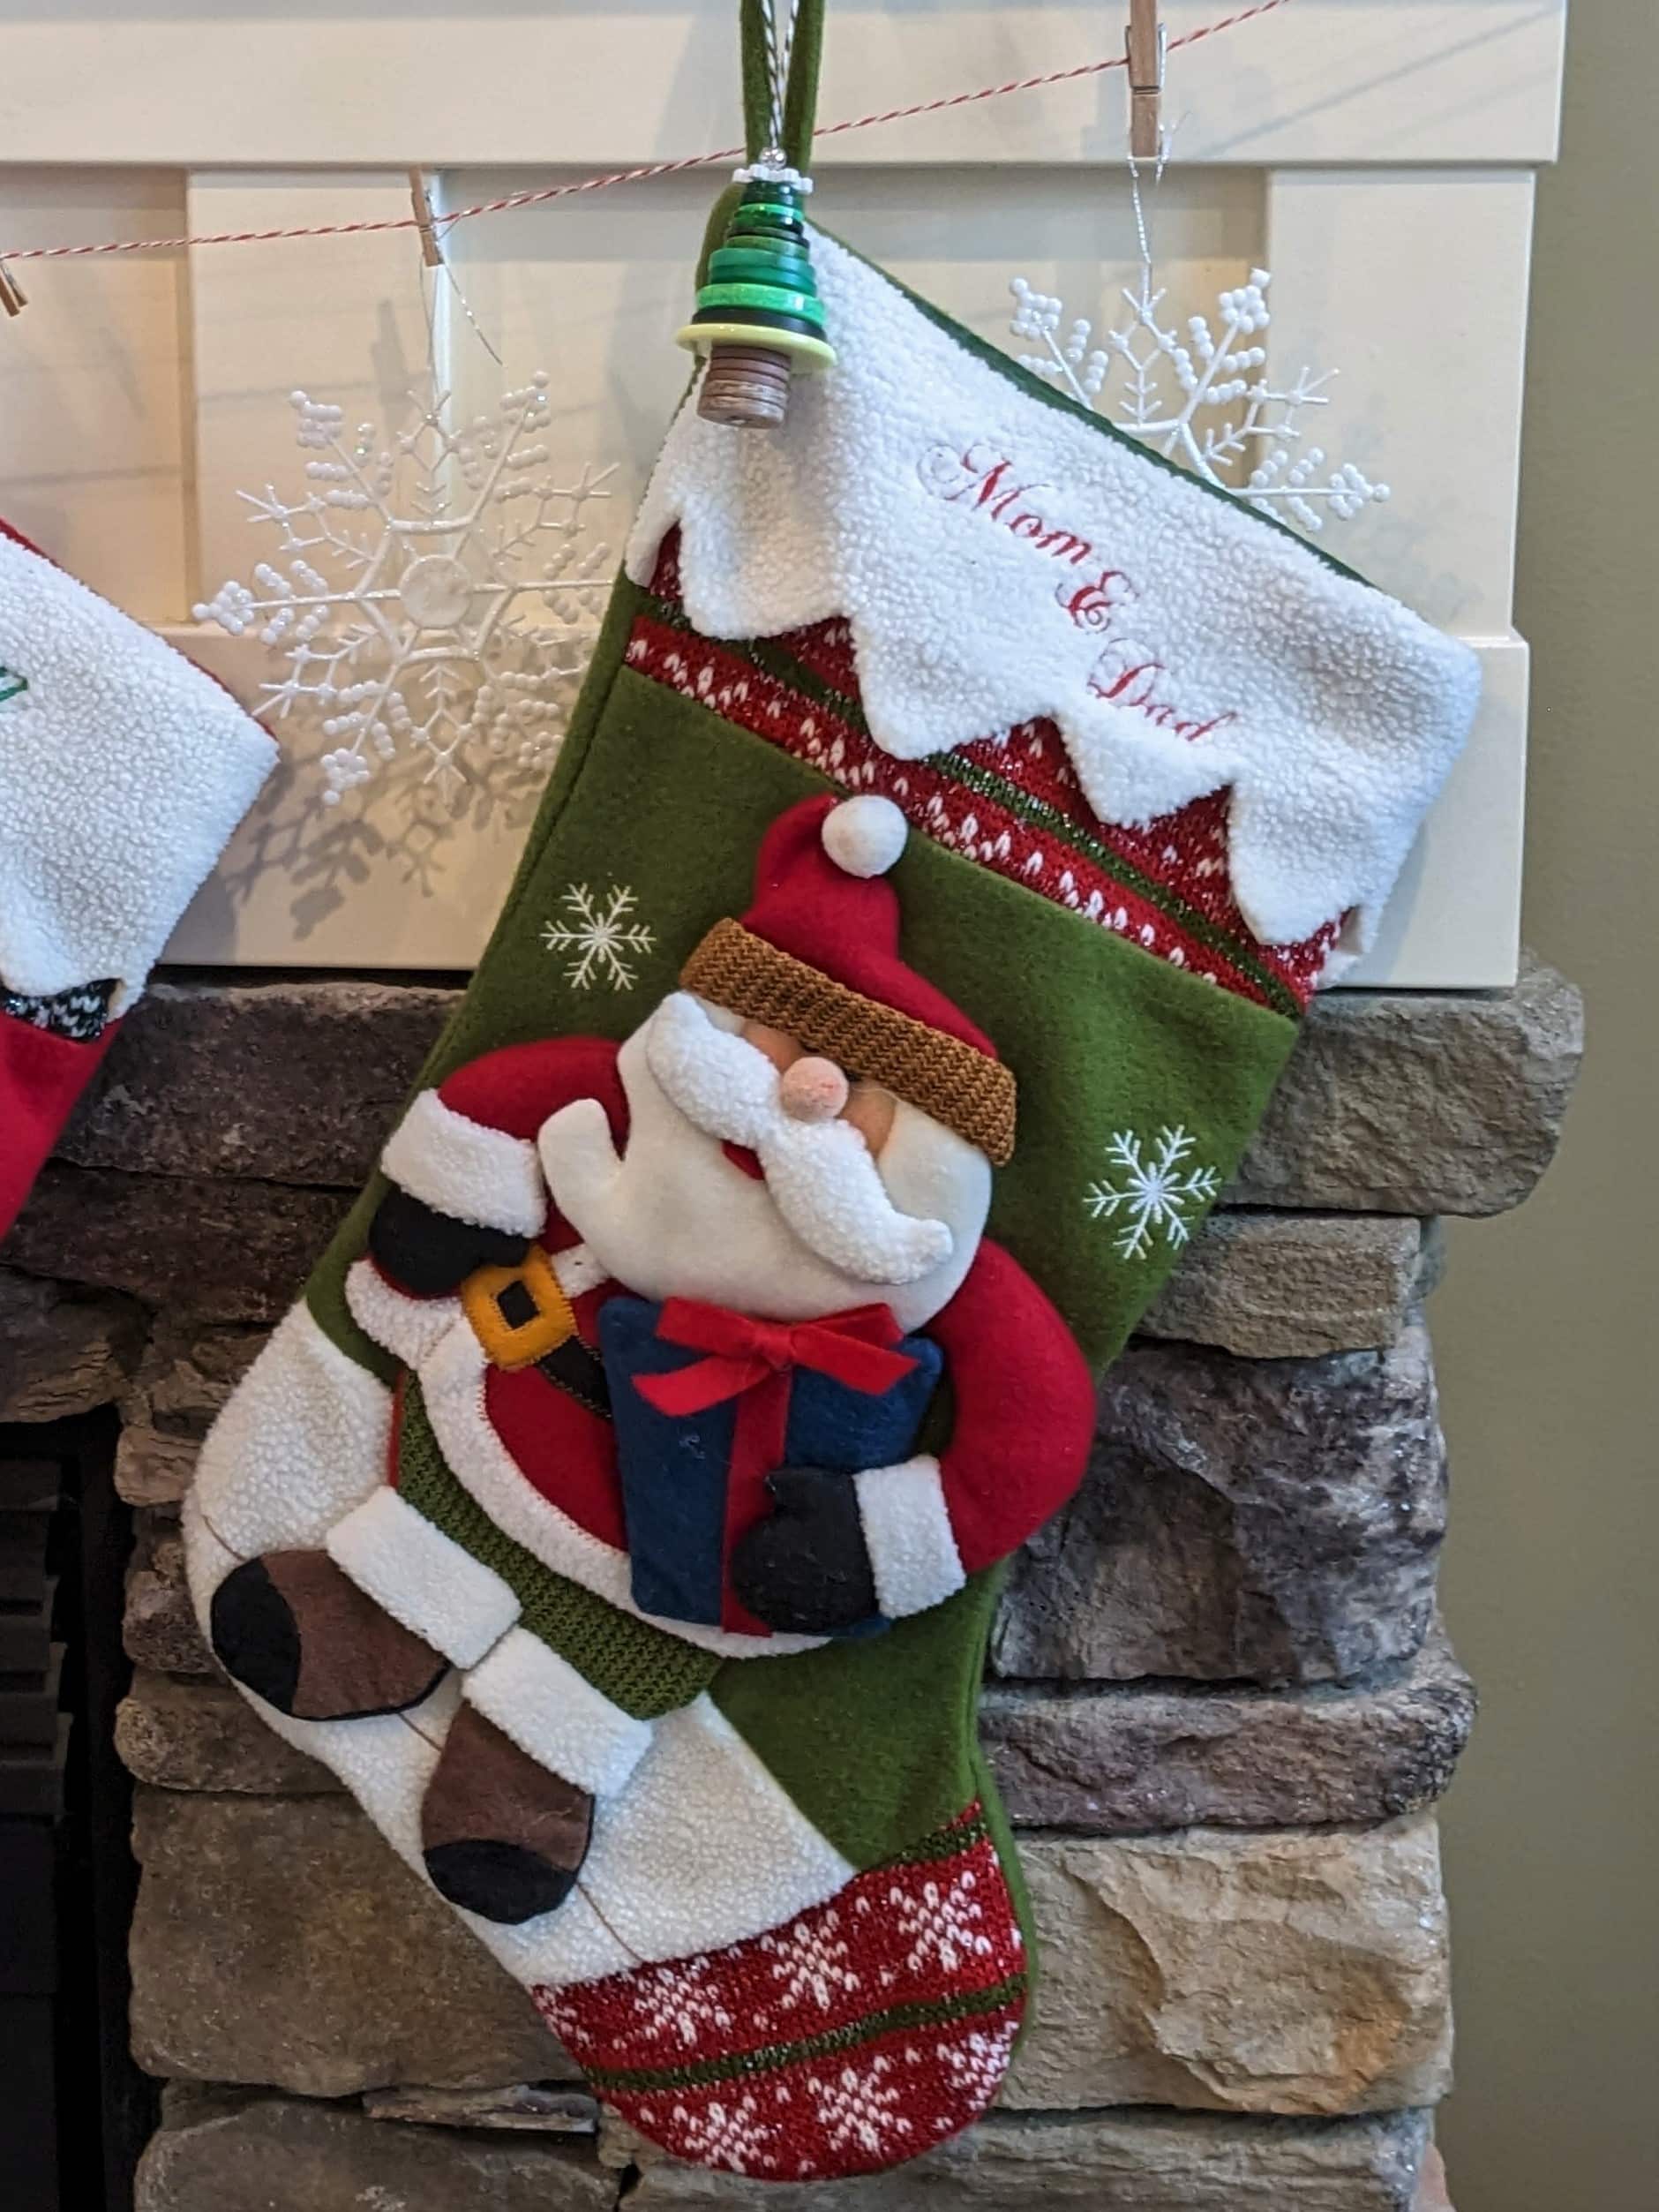
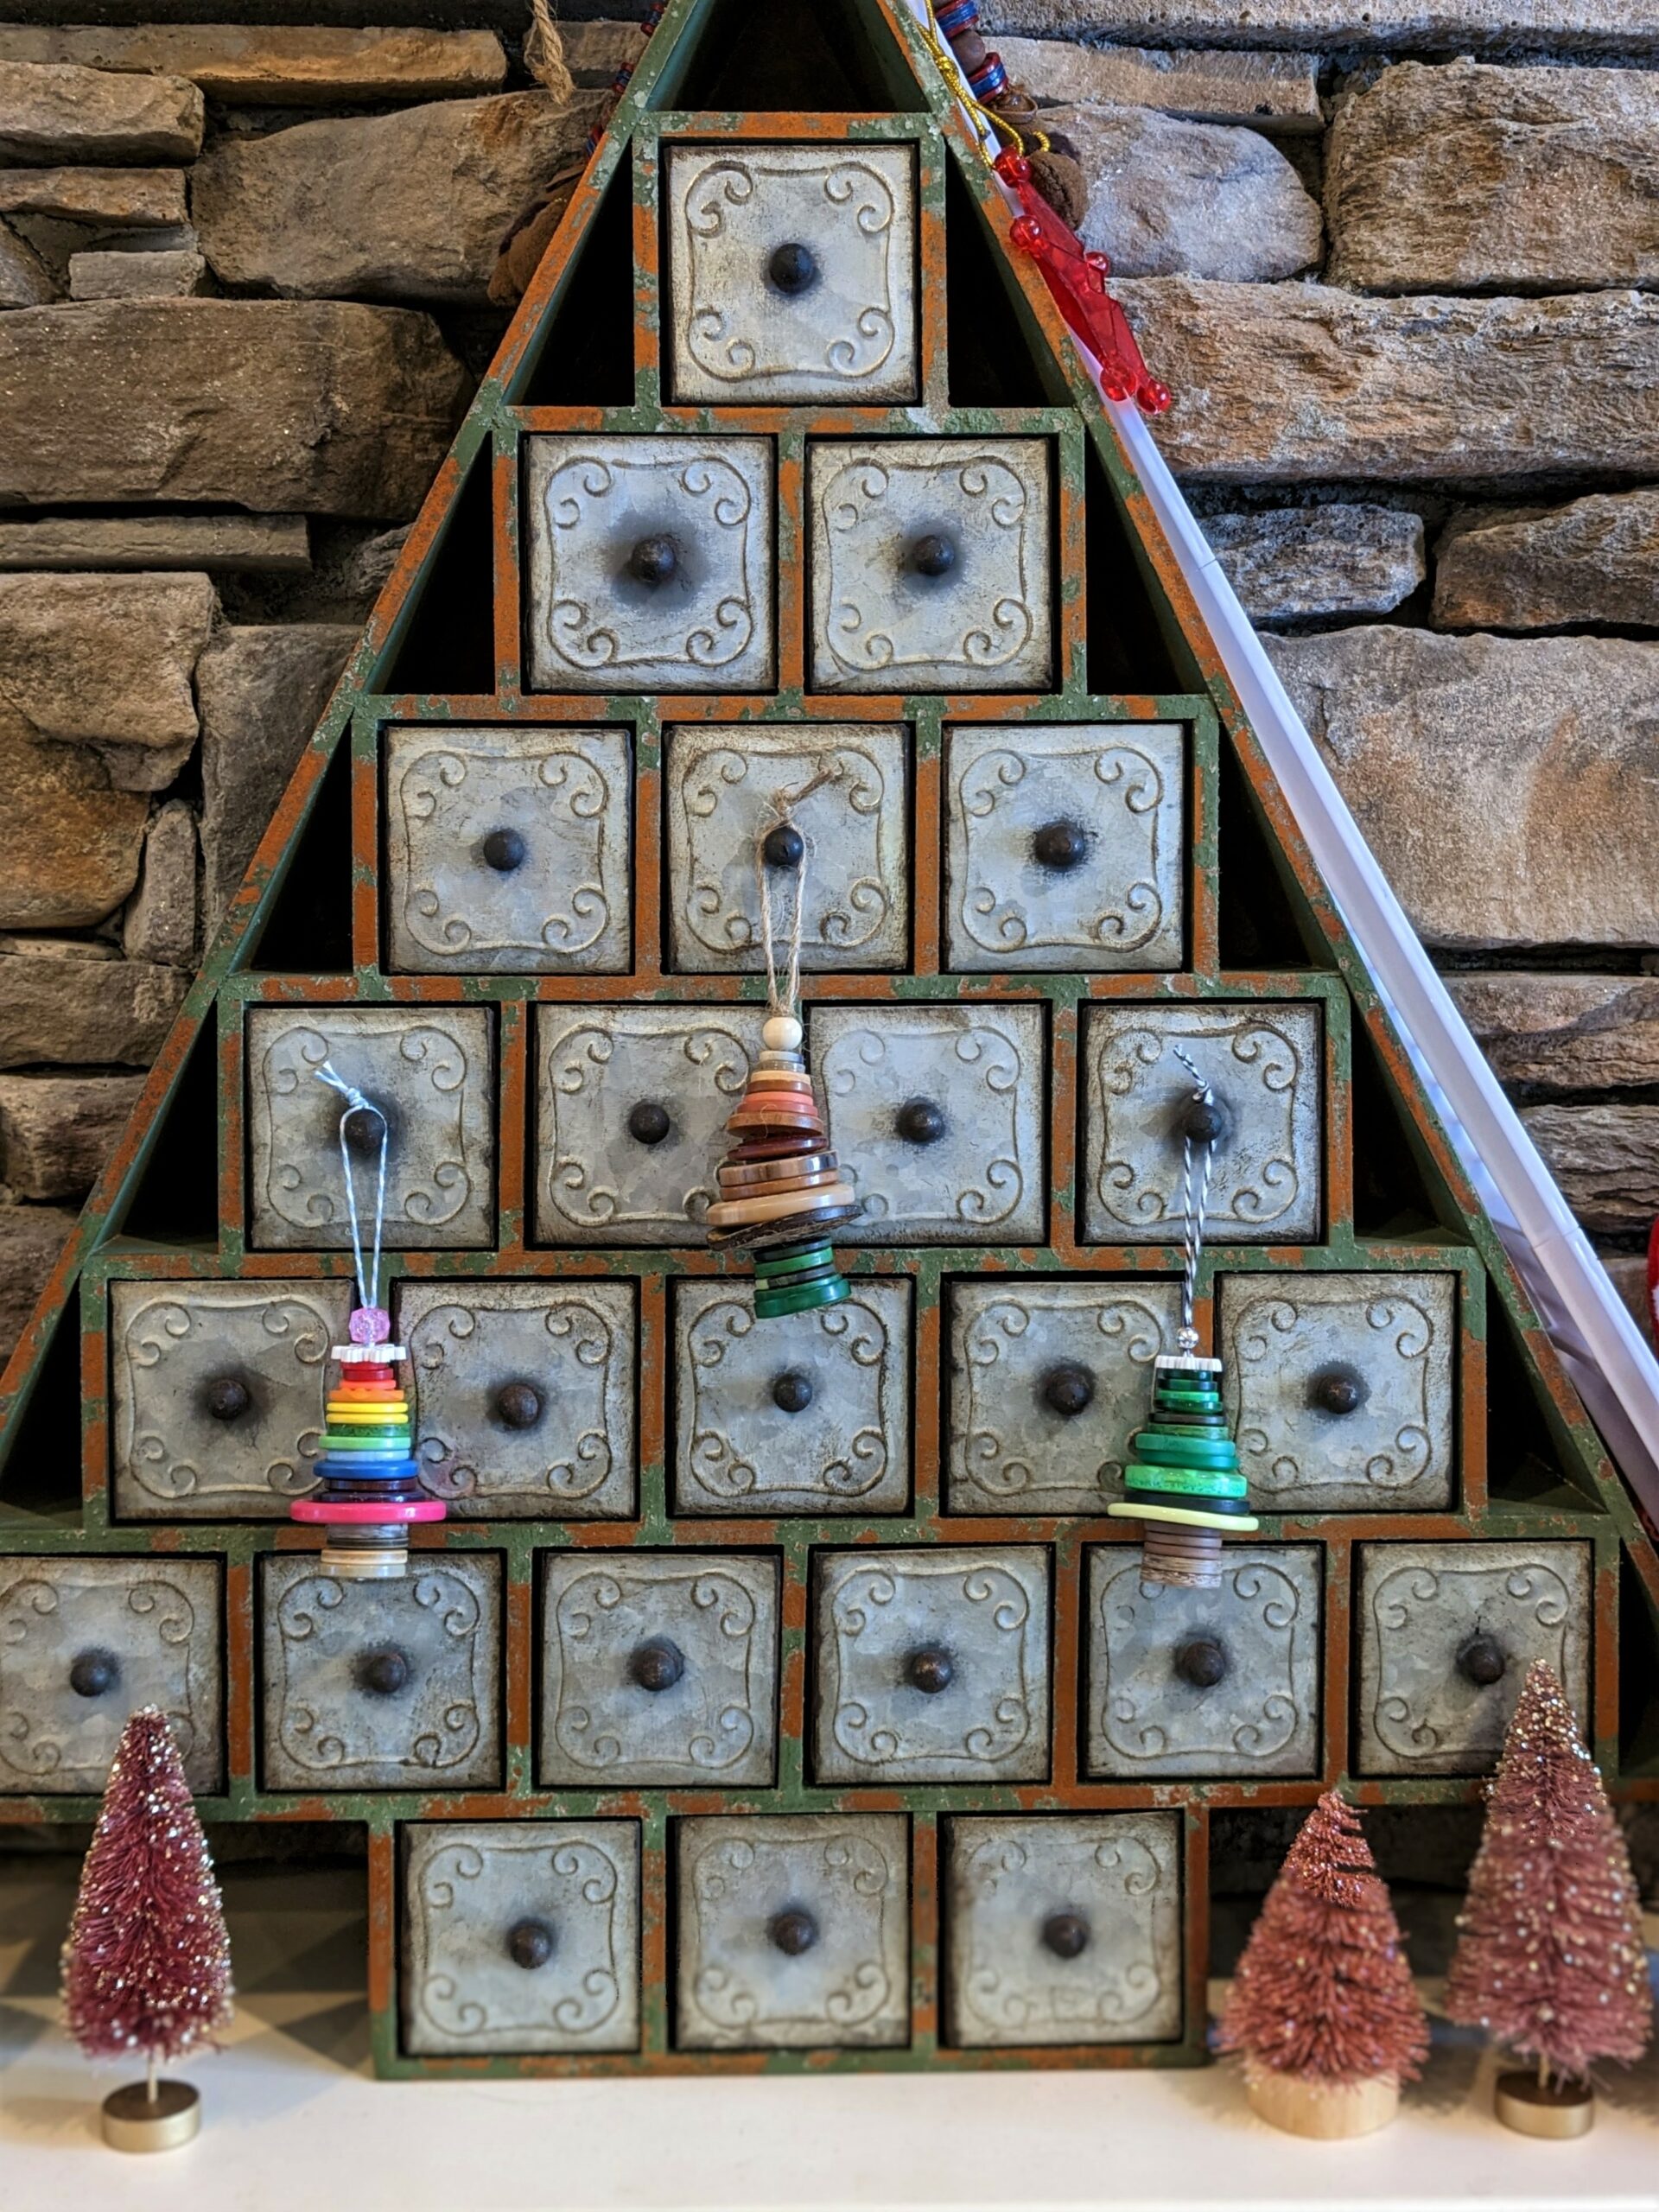
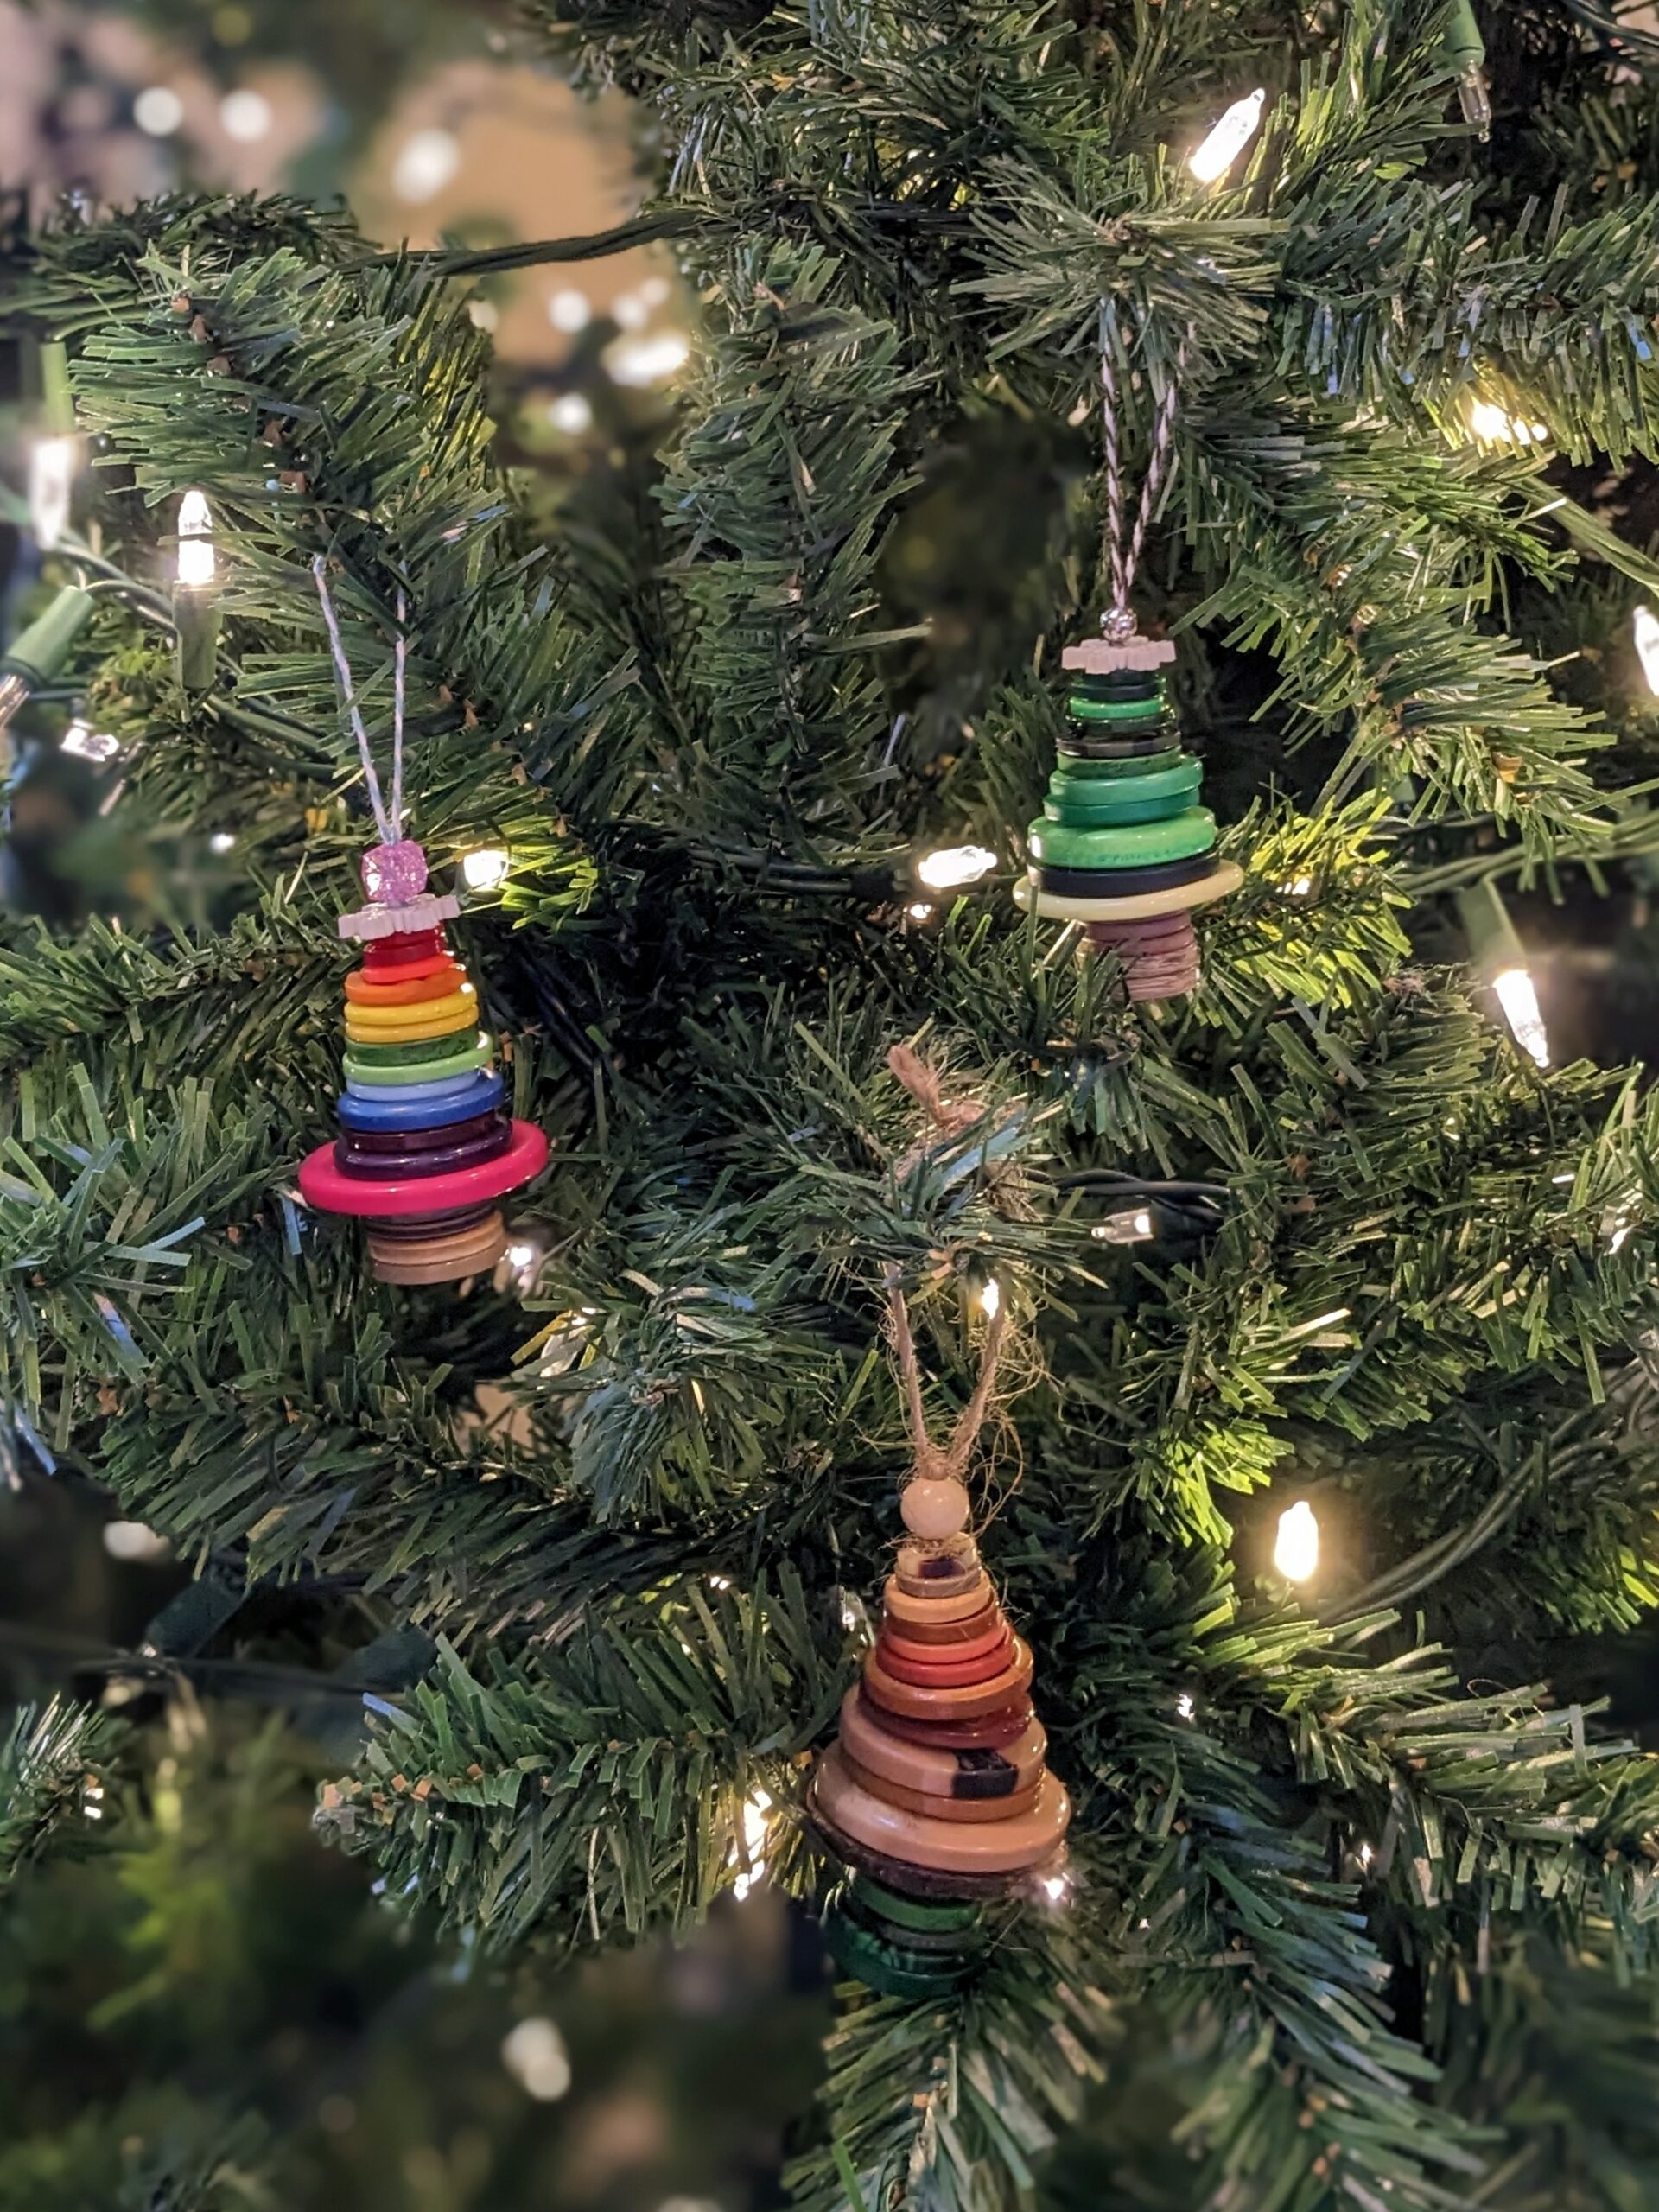
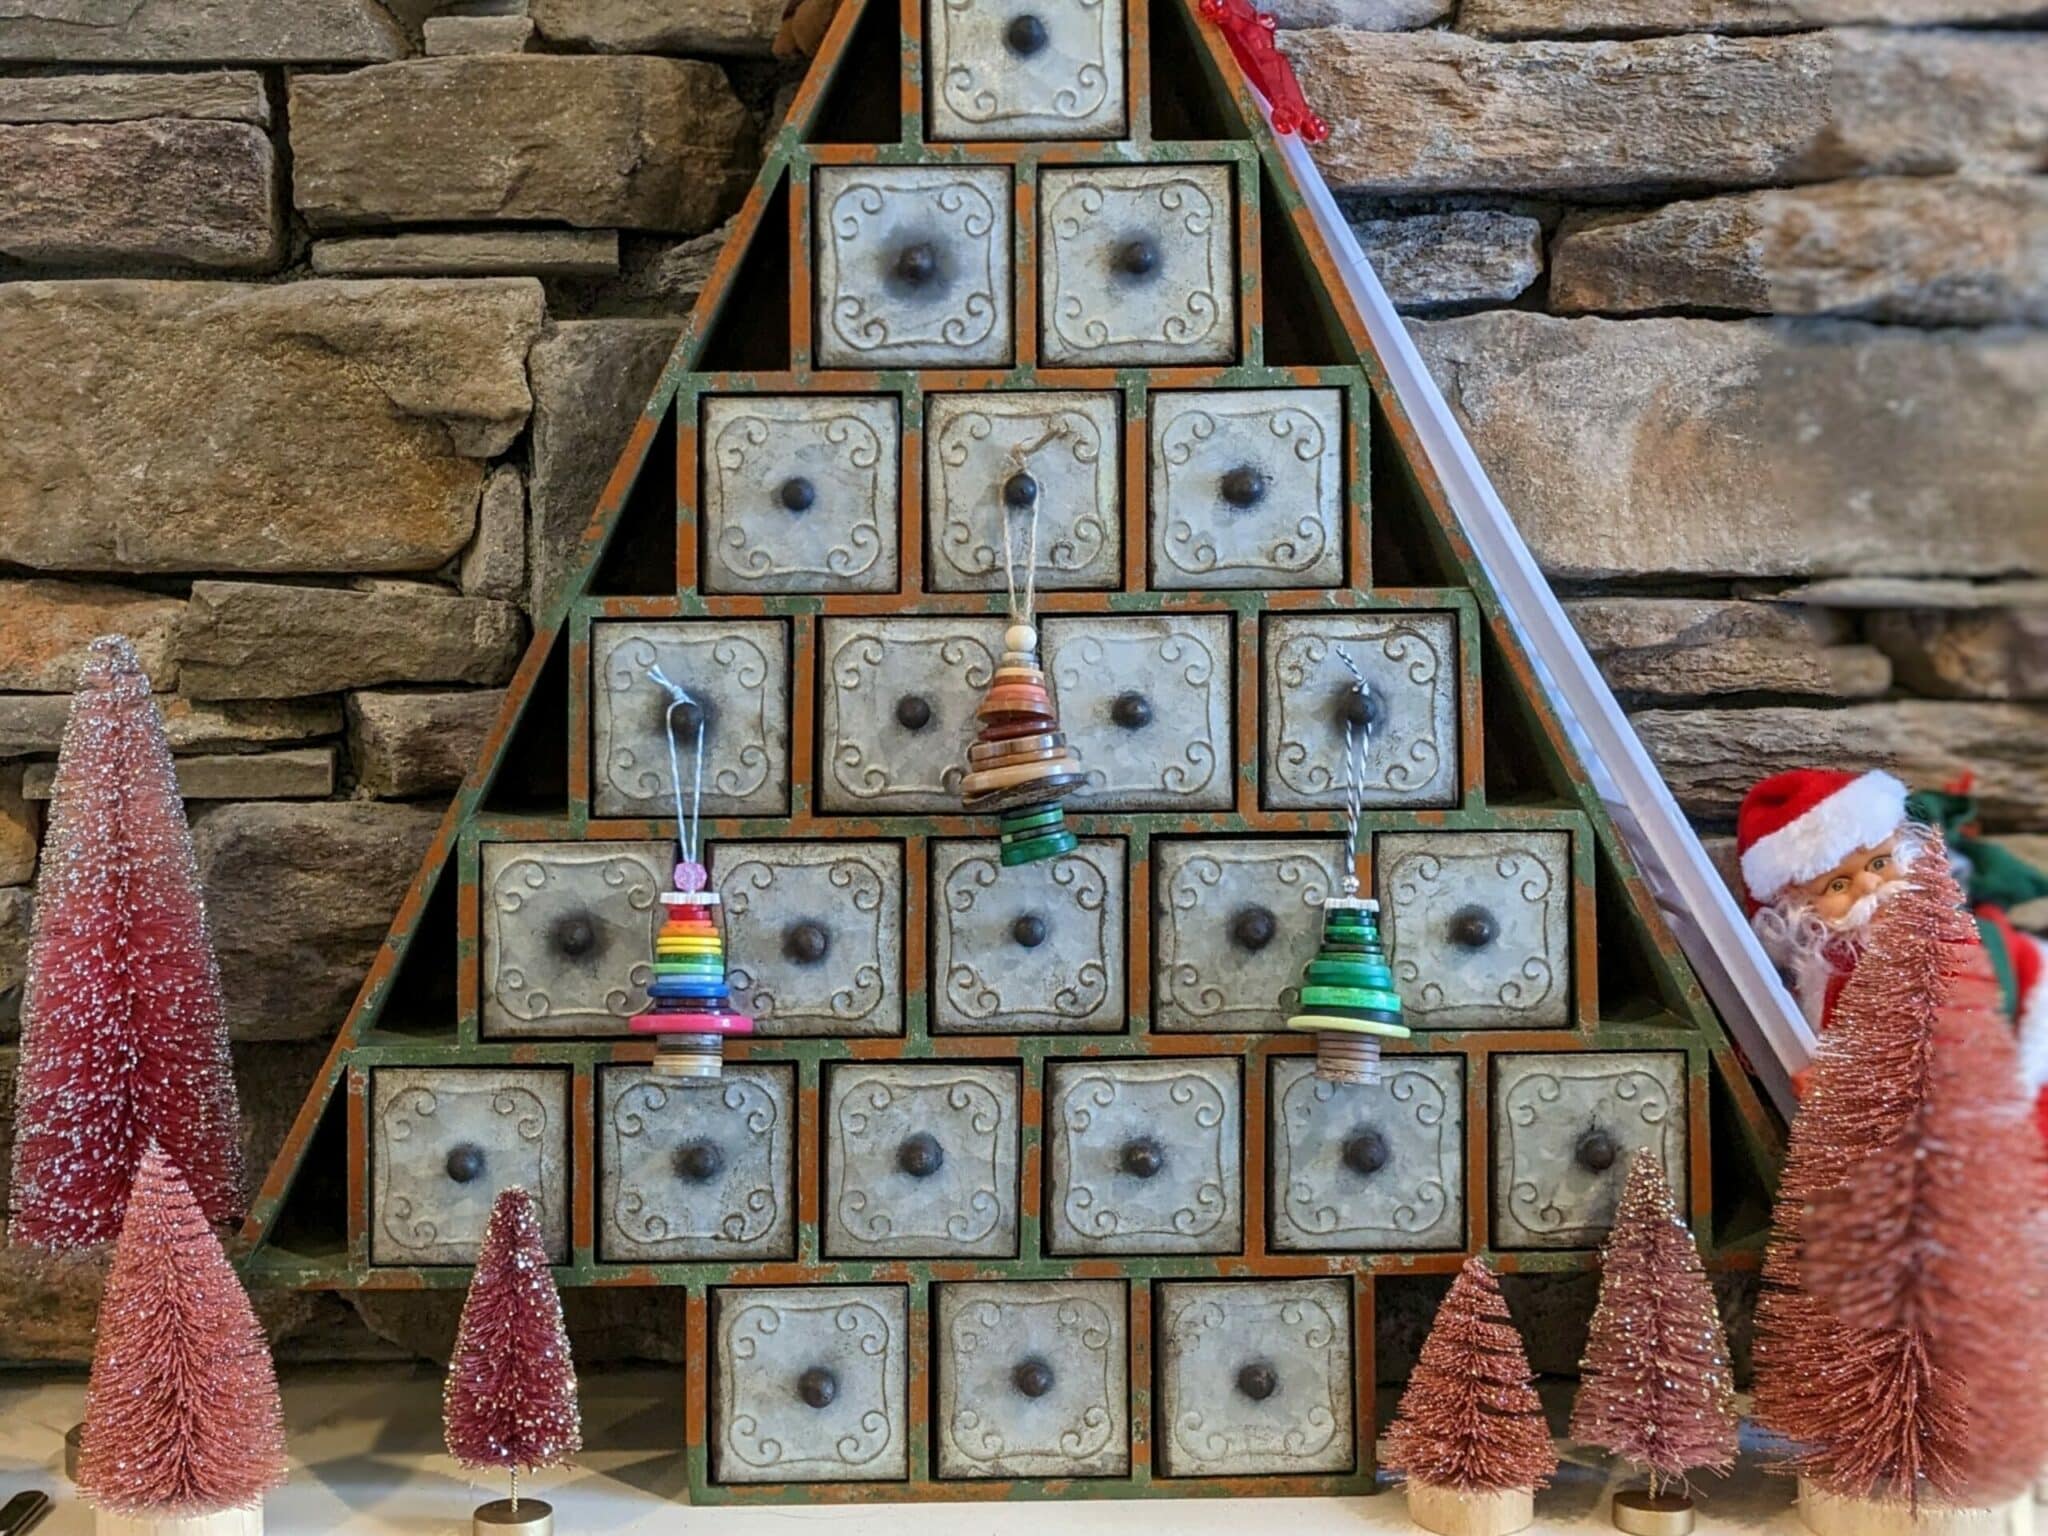
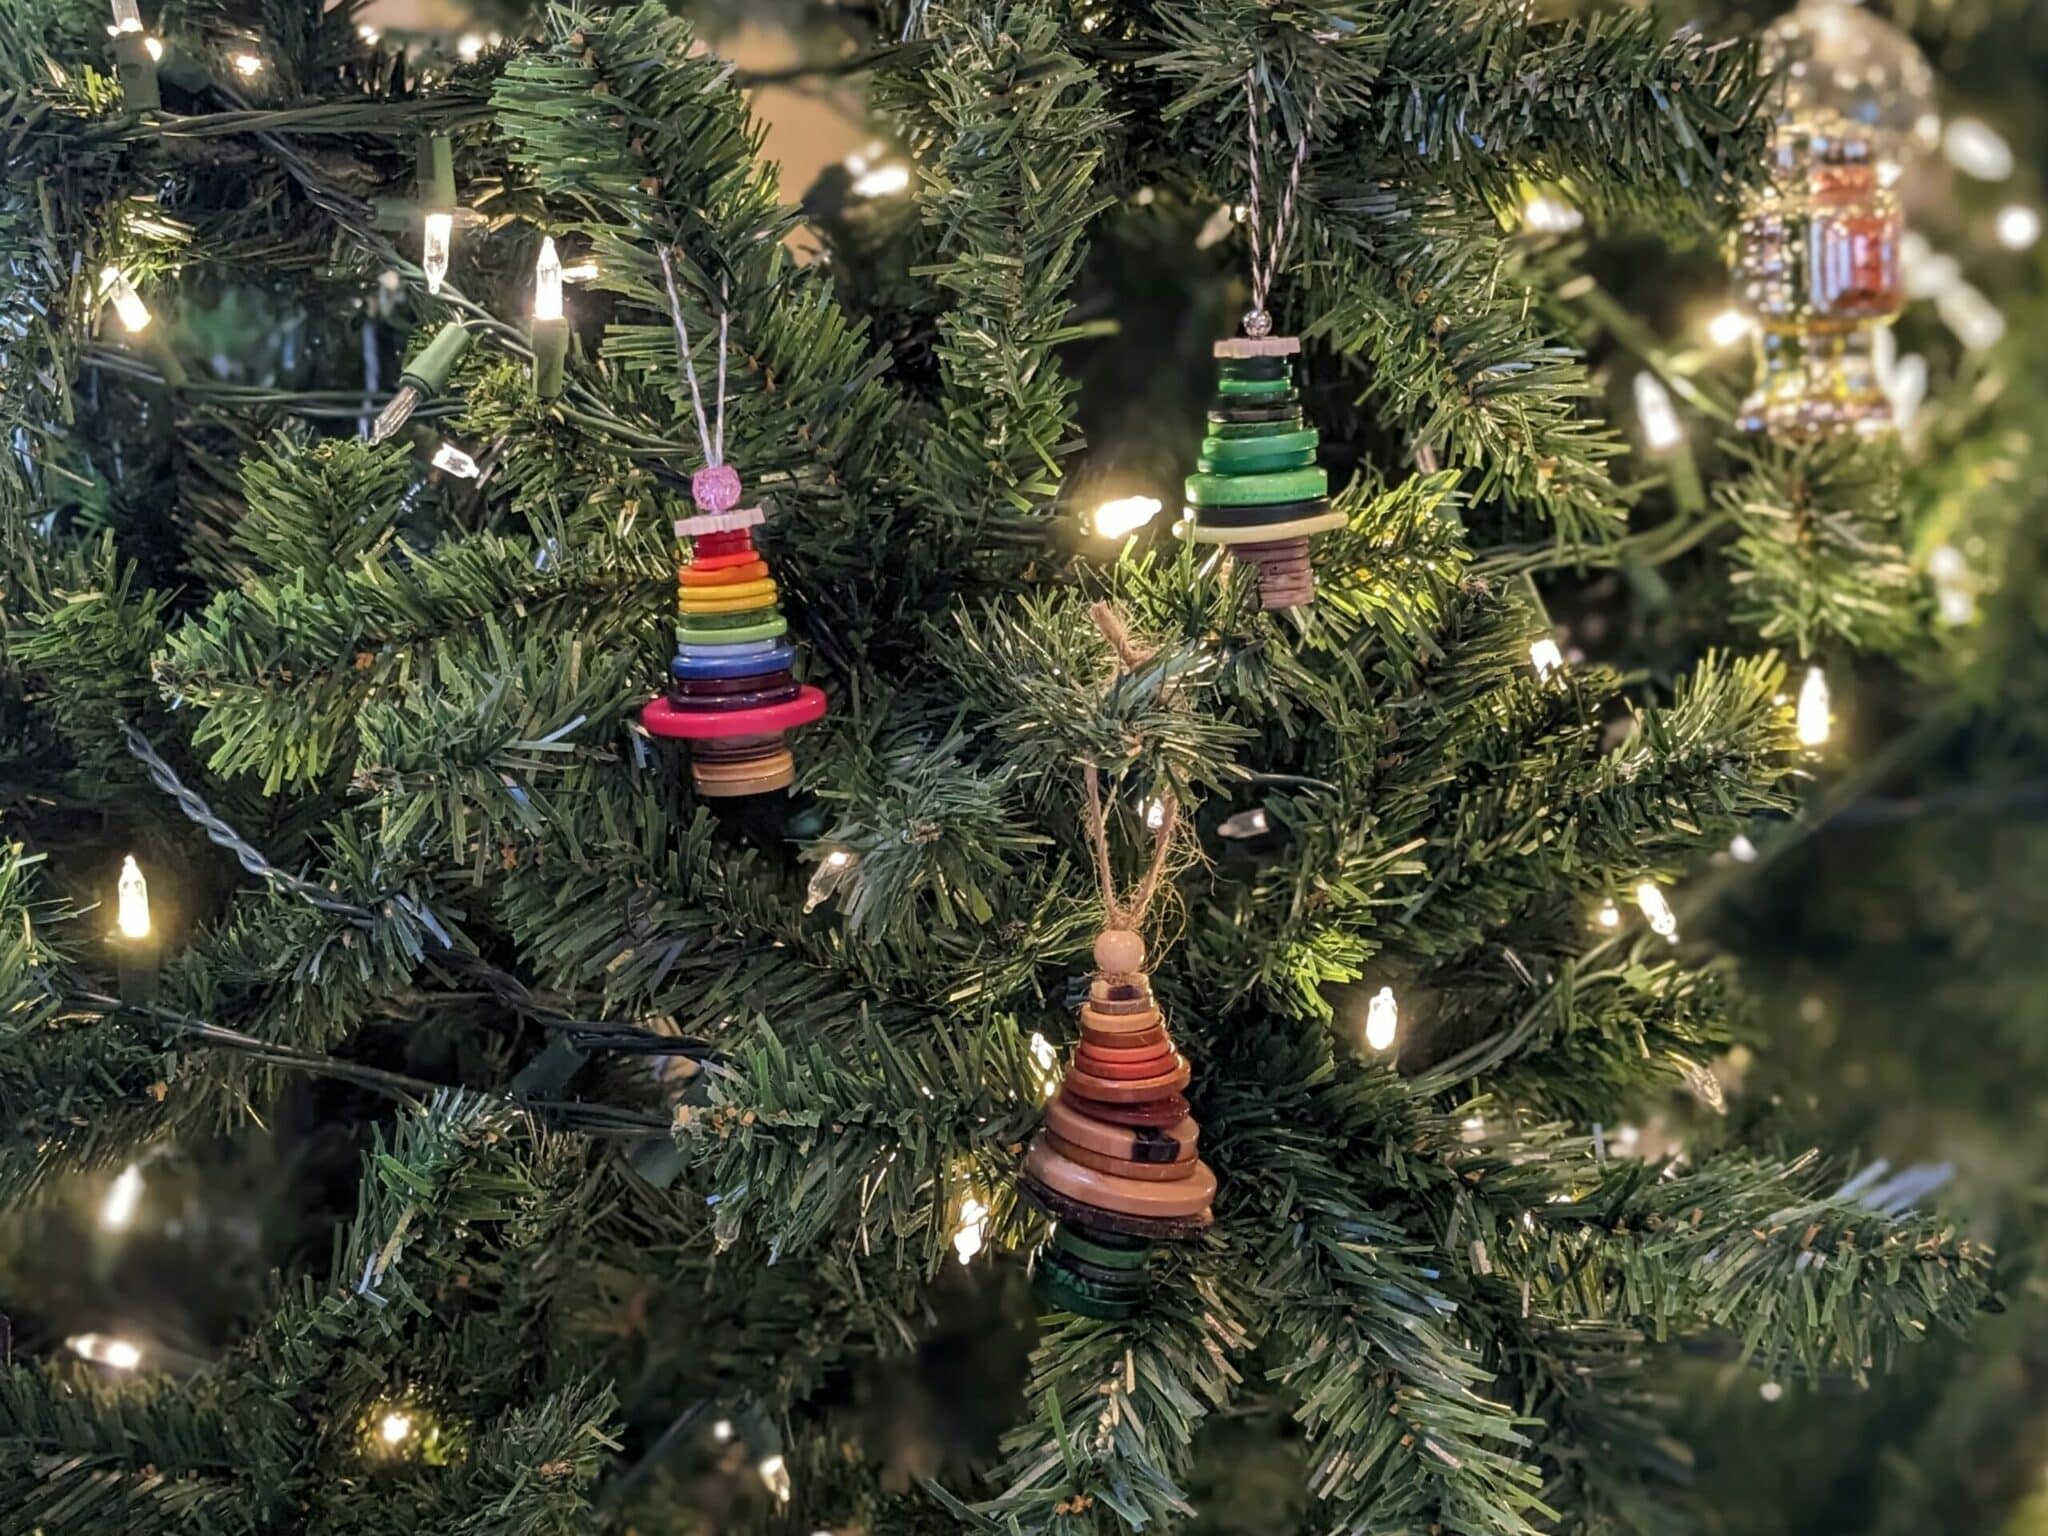
Make them in any color you’d like and decorate all the things with them!
Want more FUN DIY Freebies? Check out the FREEBIE TUTORIALS and the FREEBIE PATTERNS!
As always, we’re here to help if you need it! Join us HERE and on Facebook, Instagram, Twitter, Youtube, and Pinterest. We’re everywhere you are.
Leave a Reply